Mussels in Tomatoes and Cider

This academic year has been exam heavy and, in actual fact, by the official end of term the only person going to school was my husband.  Friday was the official finish – and this was supper.  I’d been to the supermarket to pick up milk (Seb drinks it by the pint – and I have no idea why we still buy milk in pints when we are supposed to be metric.  I’m disregarding the 2.272 litres labelling, as that’s just daft.) and they were reducing the seafood.

Mussels in tomato broth

50p for this lot.

For all mussels are reckoned to be best eaten between November and April (aka when there’s an ‘r’ in the month), I can’t walk away from them at that price.  The only reason for the ‘season’ is that winter is when they are at their ‘meatiest’.  Personally, I tend to avoid mussels in the spring because that’s their traditional spawning time but I gather climate change is making it all more complicated.

Anyway, I swung my trolley round and picked up some cider and a crusty loaf.

Mussels ready to be prepared

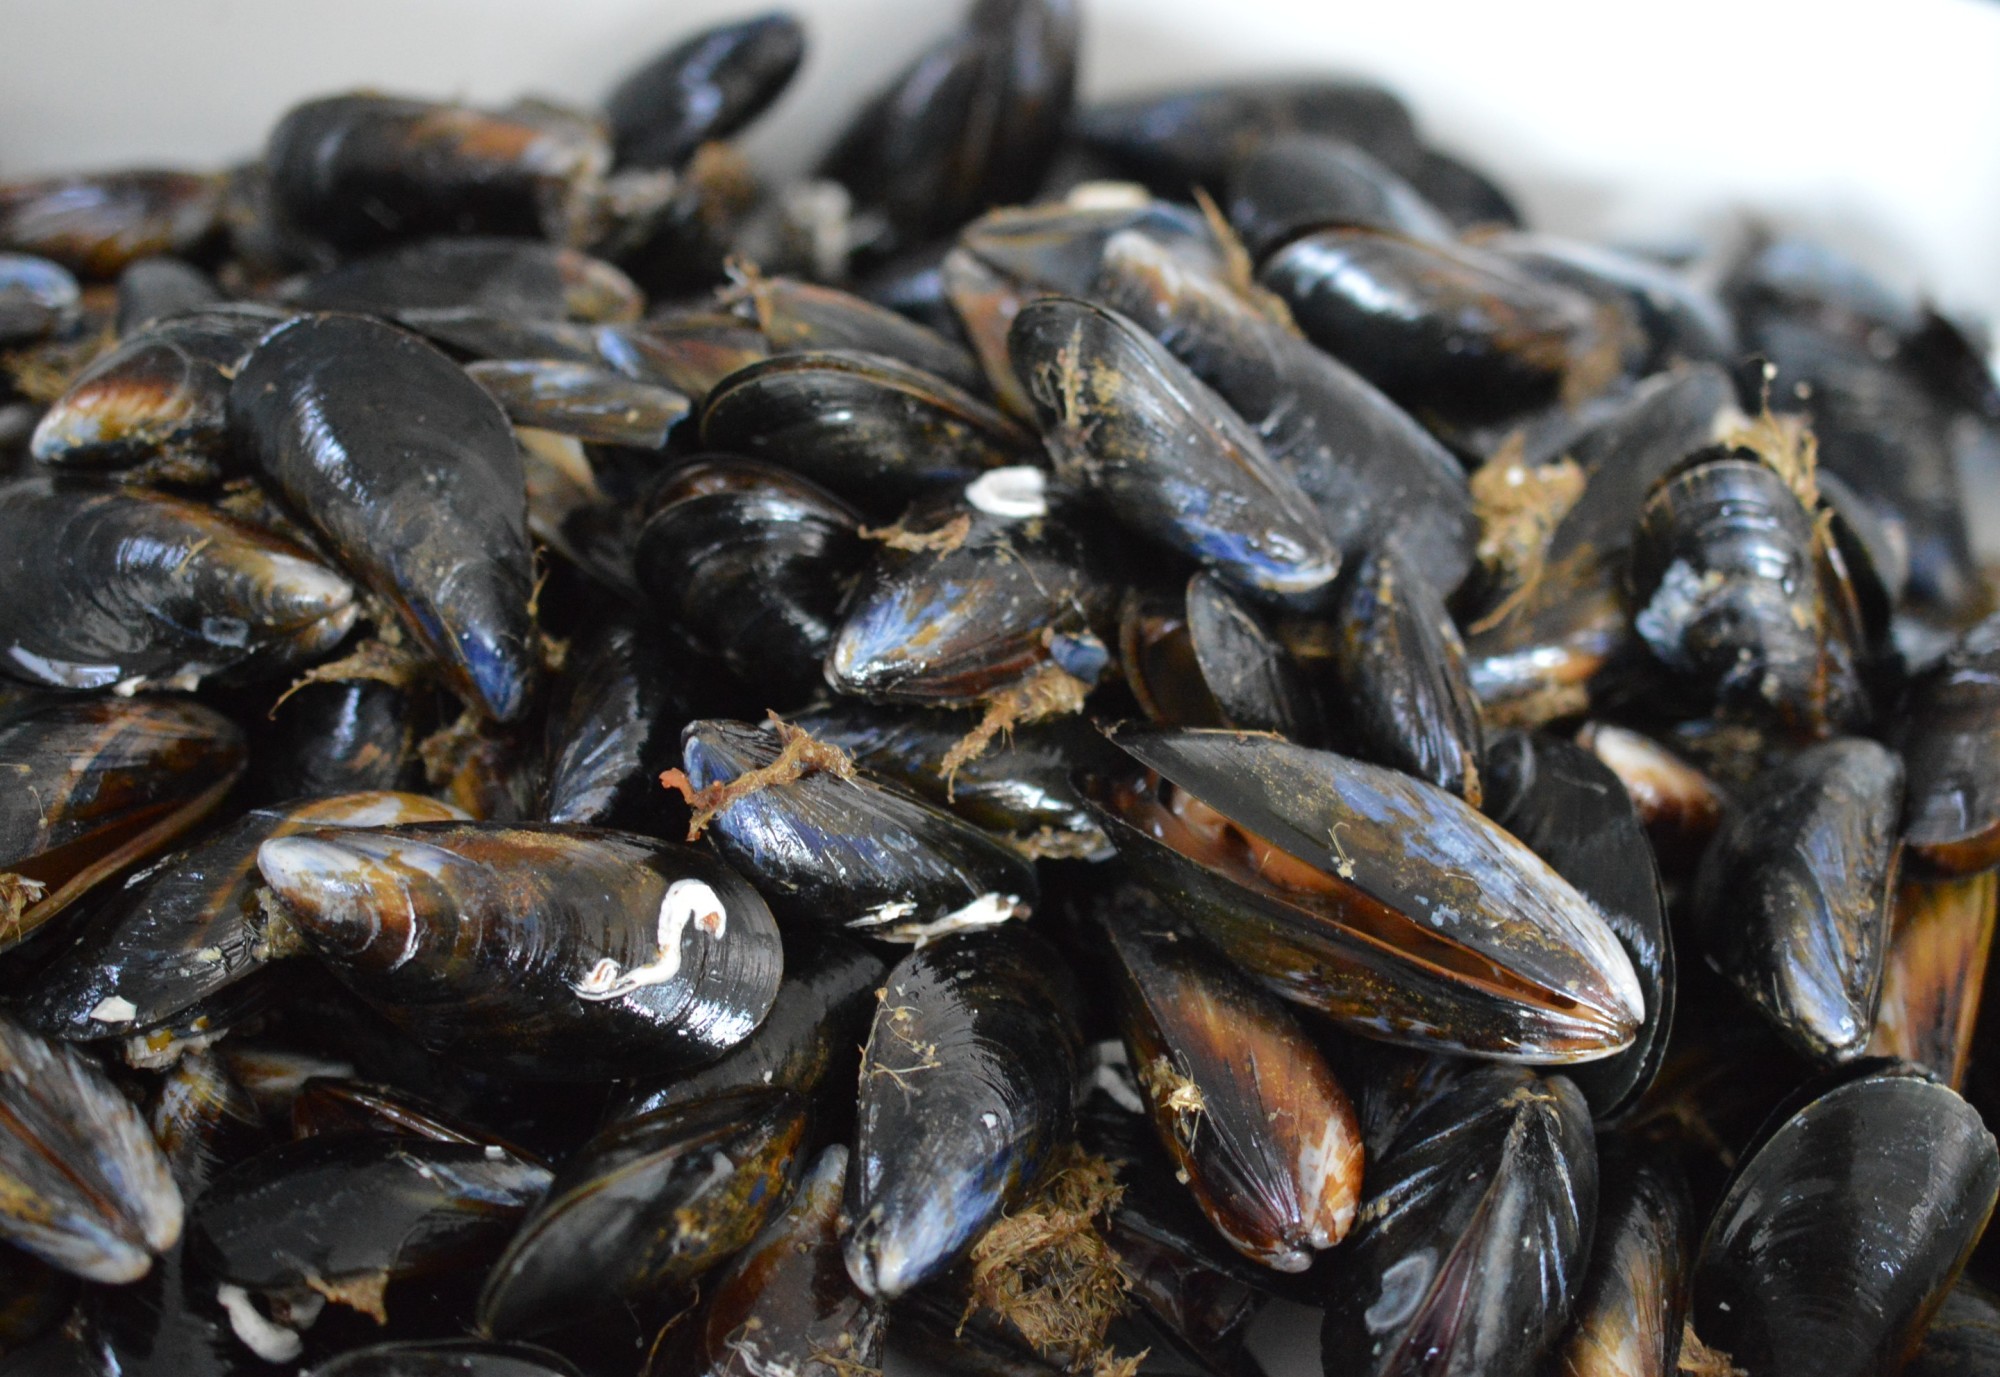
Mine are rope grown in classified water – so I know they’ve not been affected by any toxic algae.  They come in net bags and should smell like the ‘seaside’.  Mine did.  When you get them home you need to cut open the bags and put them in a dish to collect any juices.  Don’t clean them until shortly before you plan on cooking them.  And, plan on cooking them quickly.  Mussels don’t have a long shelf life.  At 50p, my guess was mine needed using the day I bought them.

Don’t cover them with a lid – or put them in a bowl of water.  If you store them in freshwater they’ll die (being sea creatures) and if you use salted water they’ll use up all the oxygen .. and die.  I covered mine with a piece of damp kitchen towel and popped it all in the bottom of my fridge.

Mussels in cider ingredients

I have a number of issues with mussels.  The first being they are alive .. and I am of a squeamish disposition.  The second is the smelling ‘like the seaside’.  Intellectually, I know that’s a good thing but it’s not a smell I like when I open the fridge door.

My final issue is the cleaning of them.  I understand it’s better to buy them uncleaned because they have a longer shelf life if the ‘beard’ is still attached, but it’s a horrible job prepping mussels.  I do not consider them a ‘wonderfully quick and convenient thing to cook’.

Mussels broken

My grandparents used to briefly soak their mussels in water and flour/oatmeal to ‘purge’ them.  In the UK you don’t need to do that any more as all commercially sold mussels have to be purified before they are sold.  So, that’s something in their favour.

My first job was to discard any with broken shells.  Even the slightest crack and it’s not worth risking the mussel being dead inside.  Chuck it away.

Mussels - Nigel

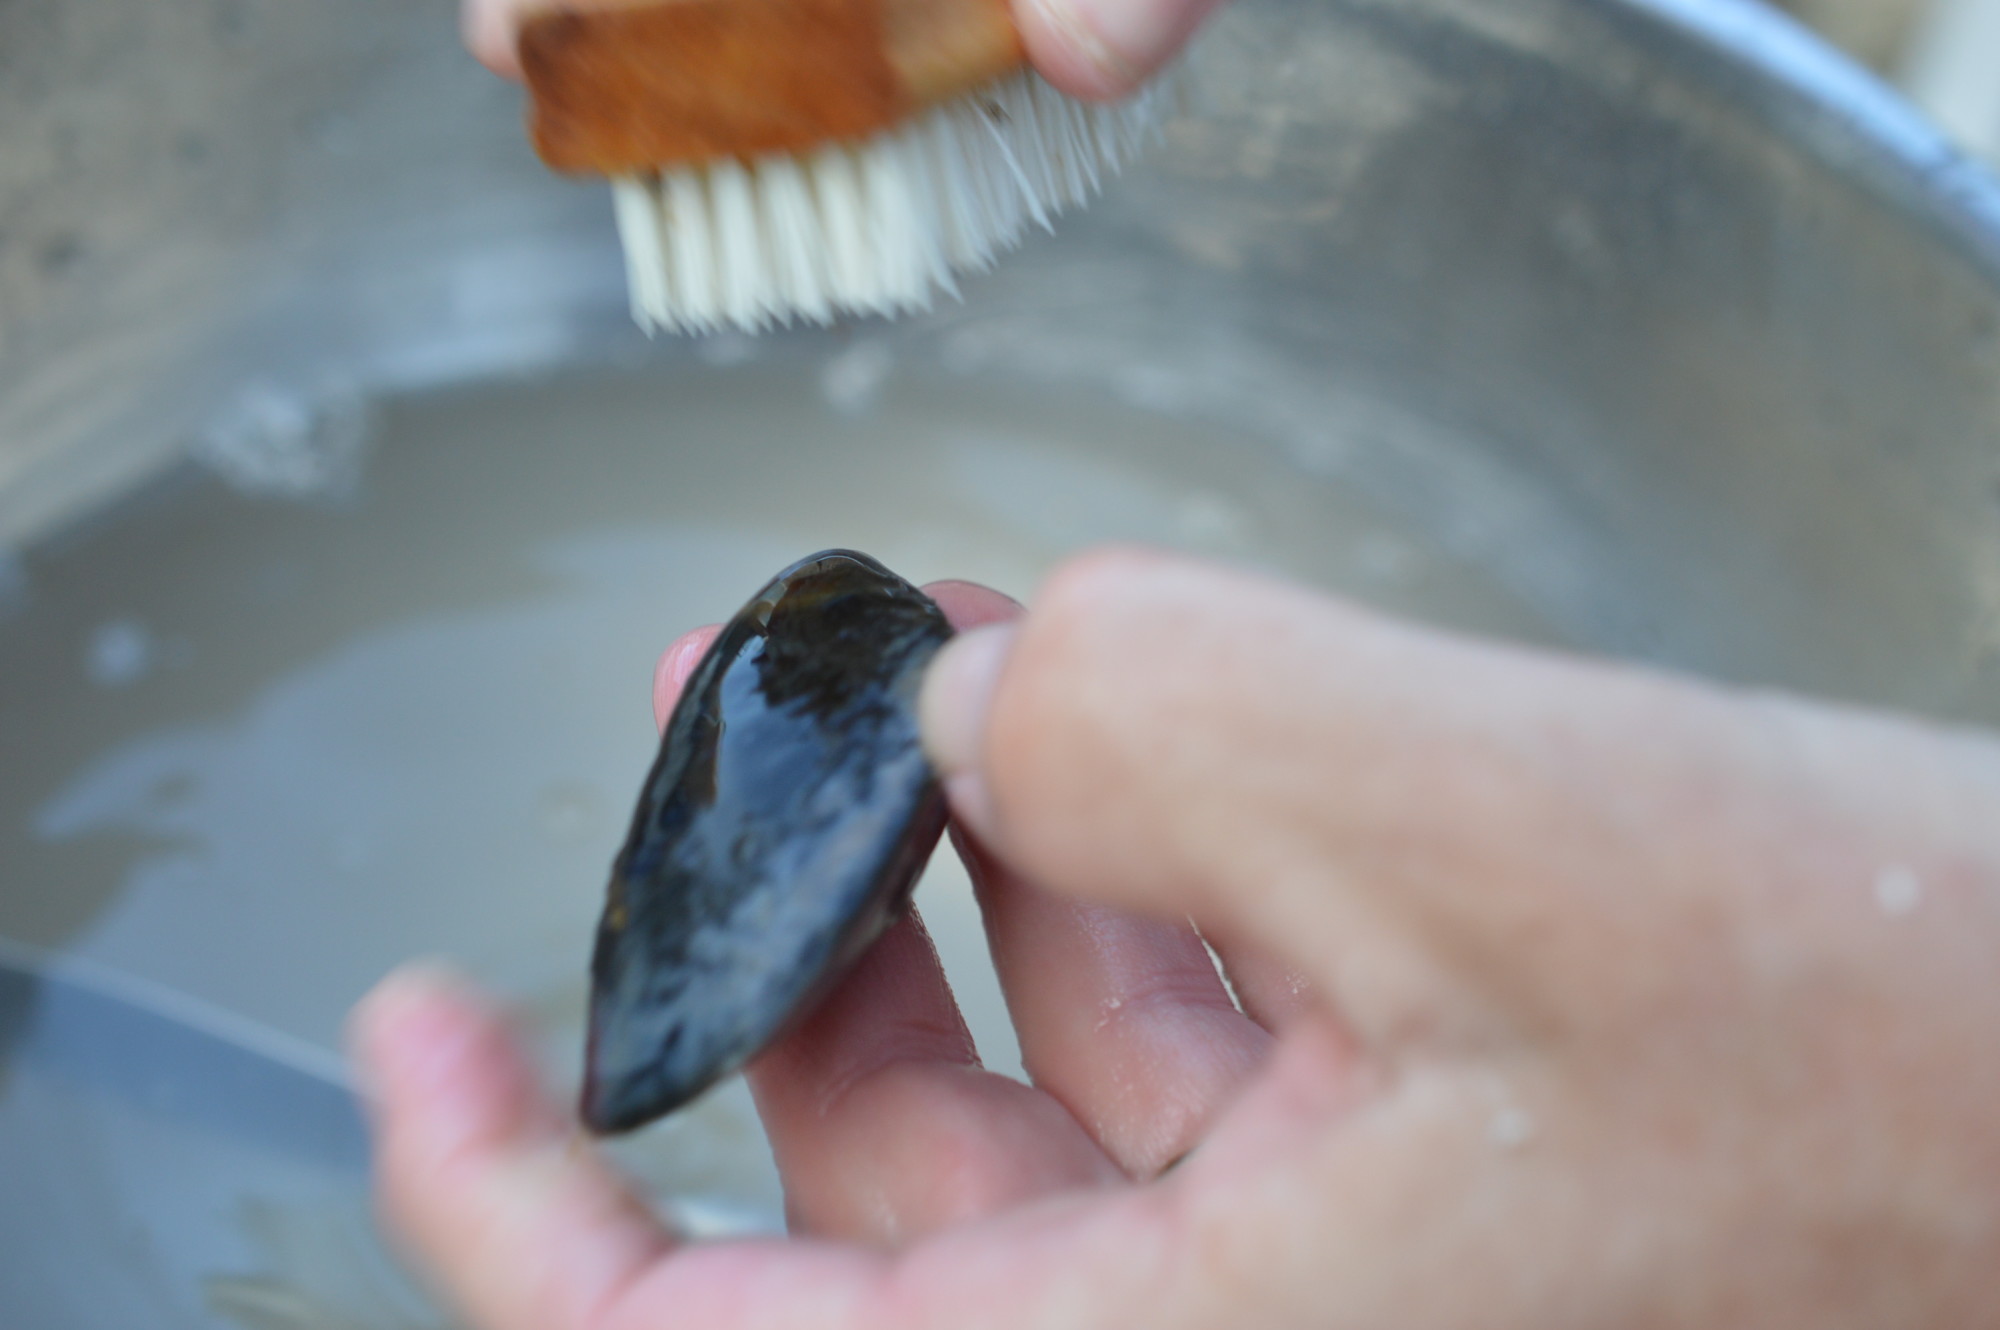
Next – and this is my top tip – delegate.  Always.  These are not my hands.

Scrape off any barnacles.  Give them a brush over.  Mussels grown on rope are not that bad.  If the shell is open, give it a sharp tap with your knife and it will slowly close shut.  If it doesn’t, chuck it away.

Mussels - beard

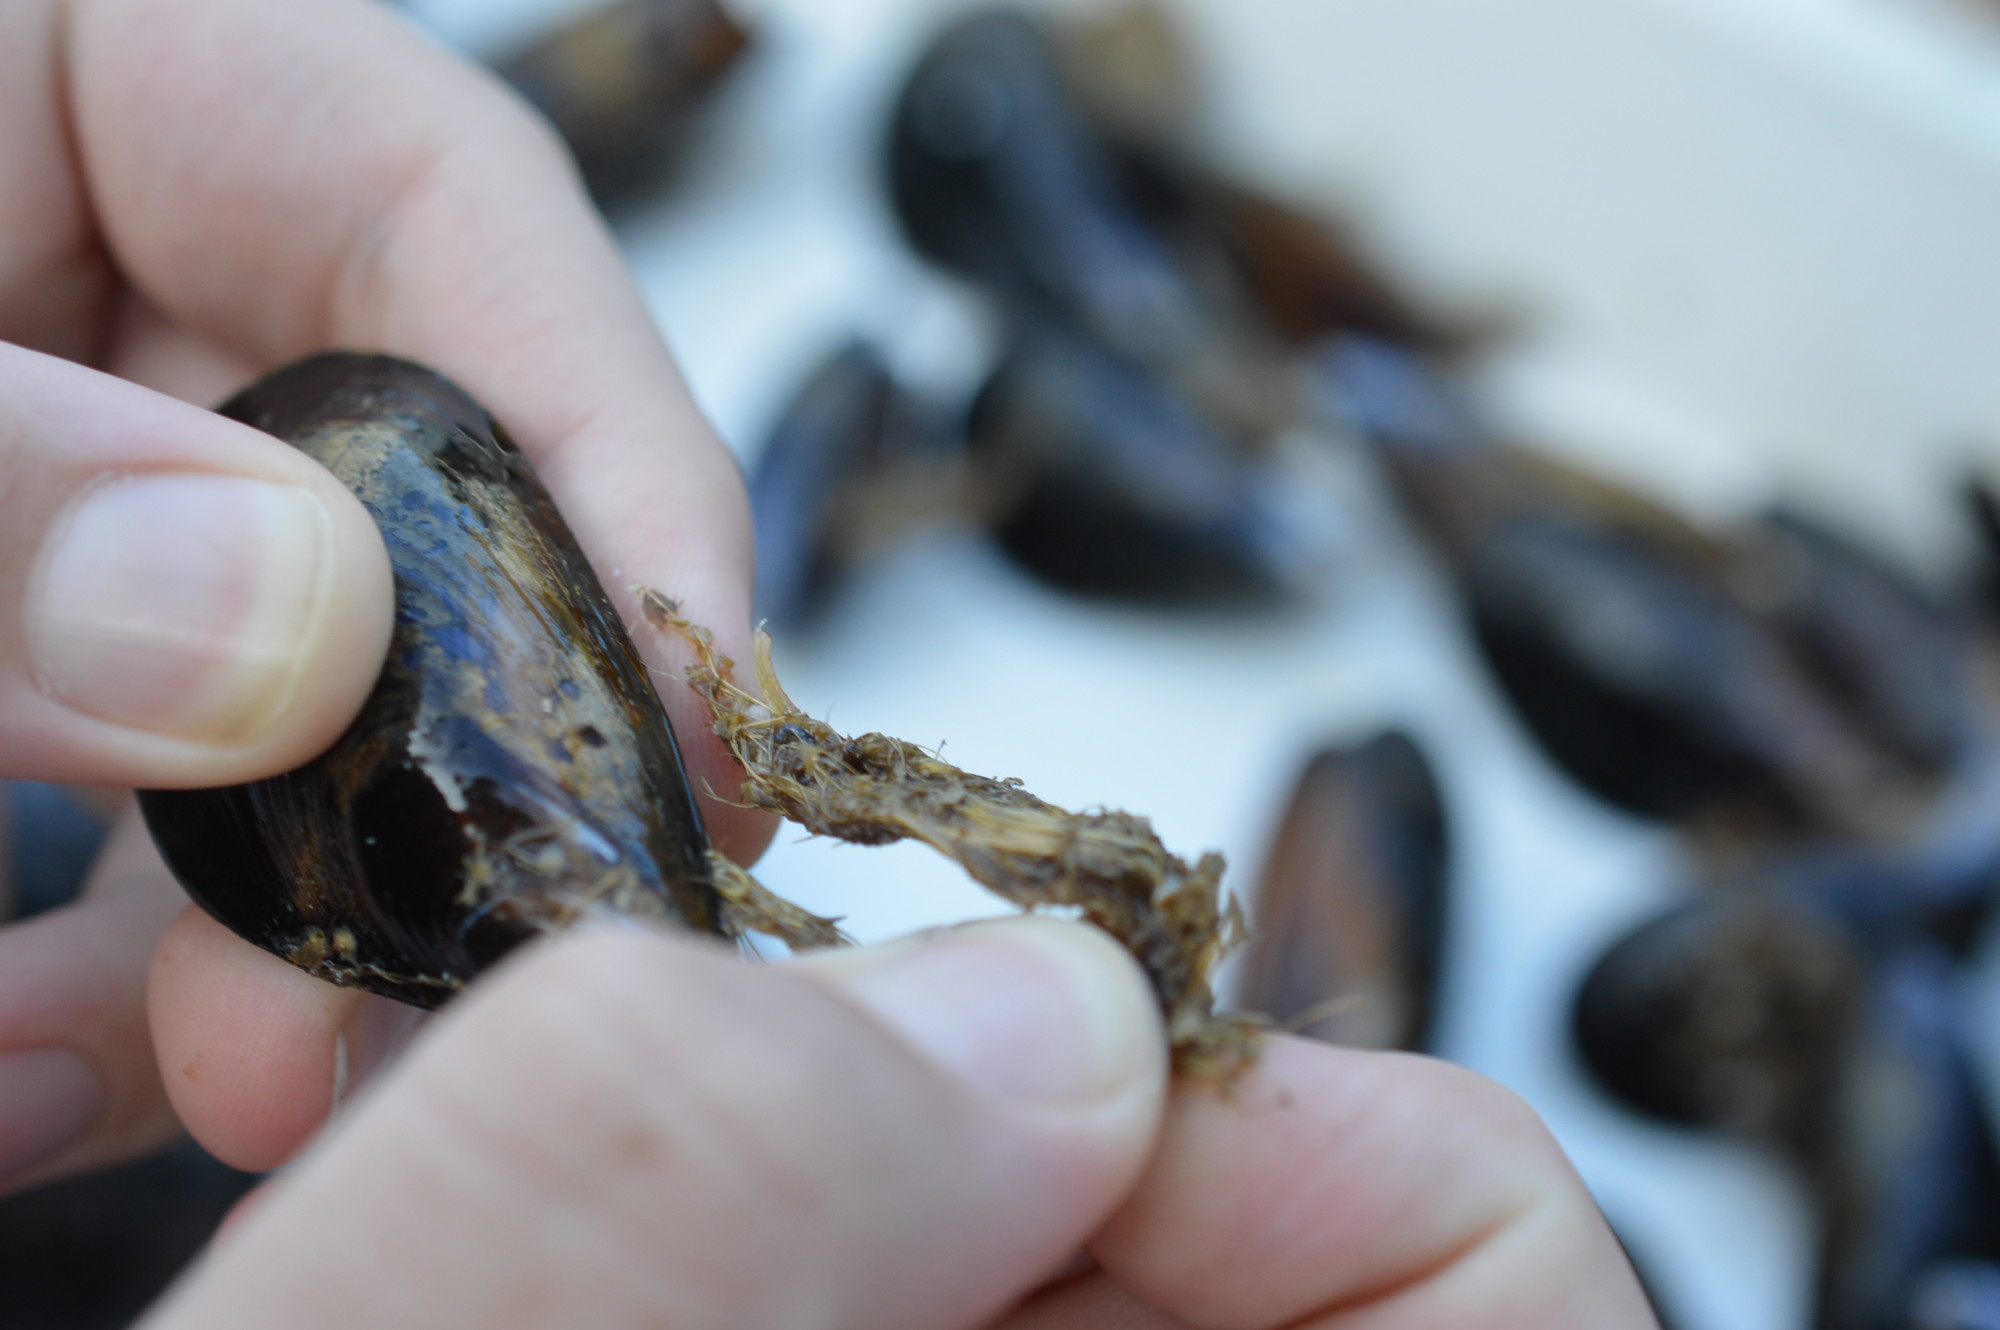
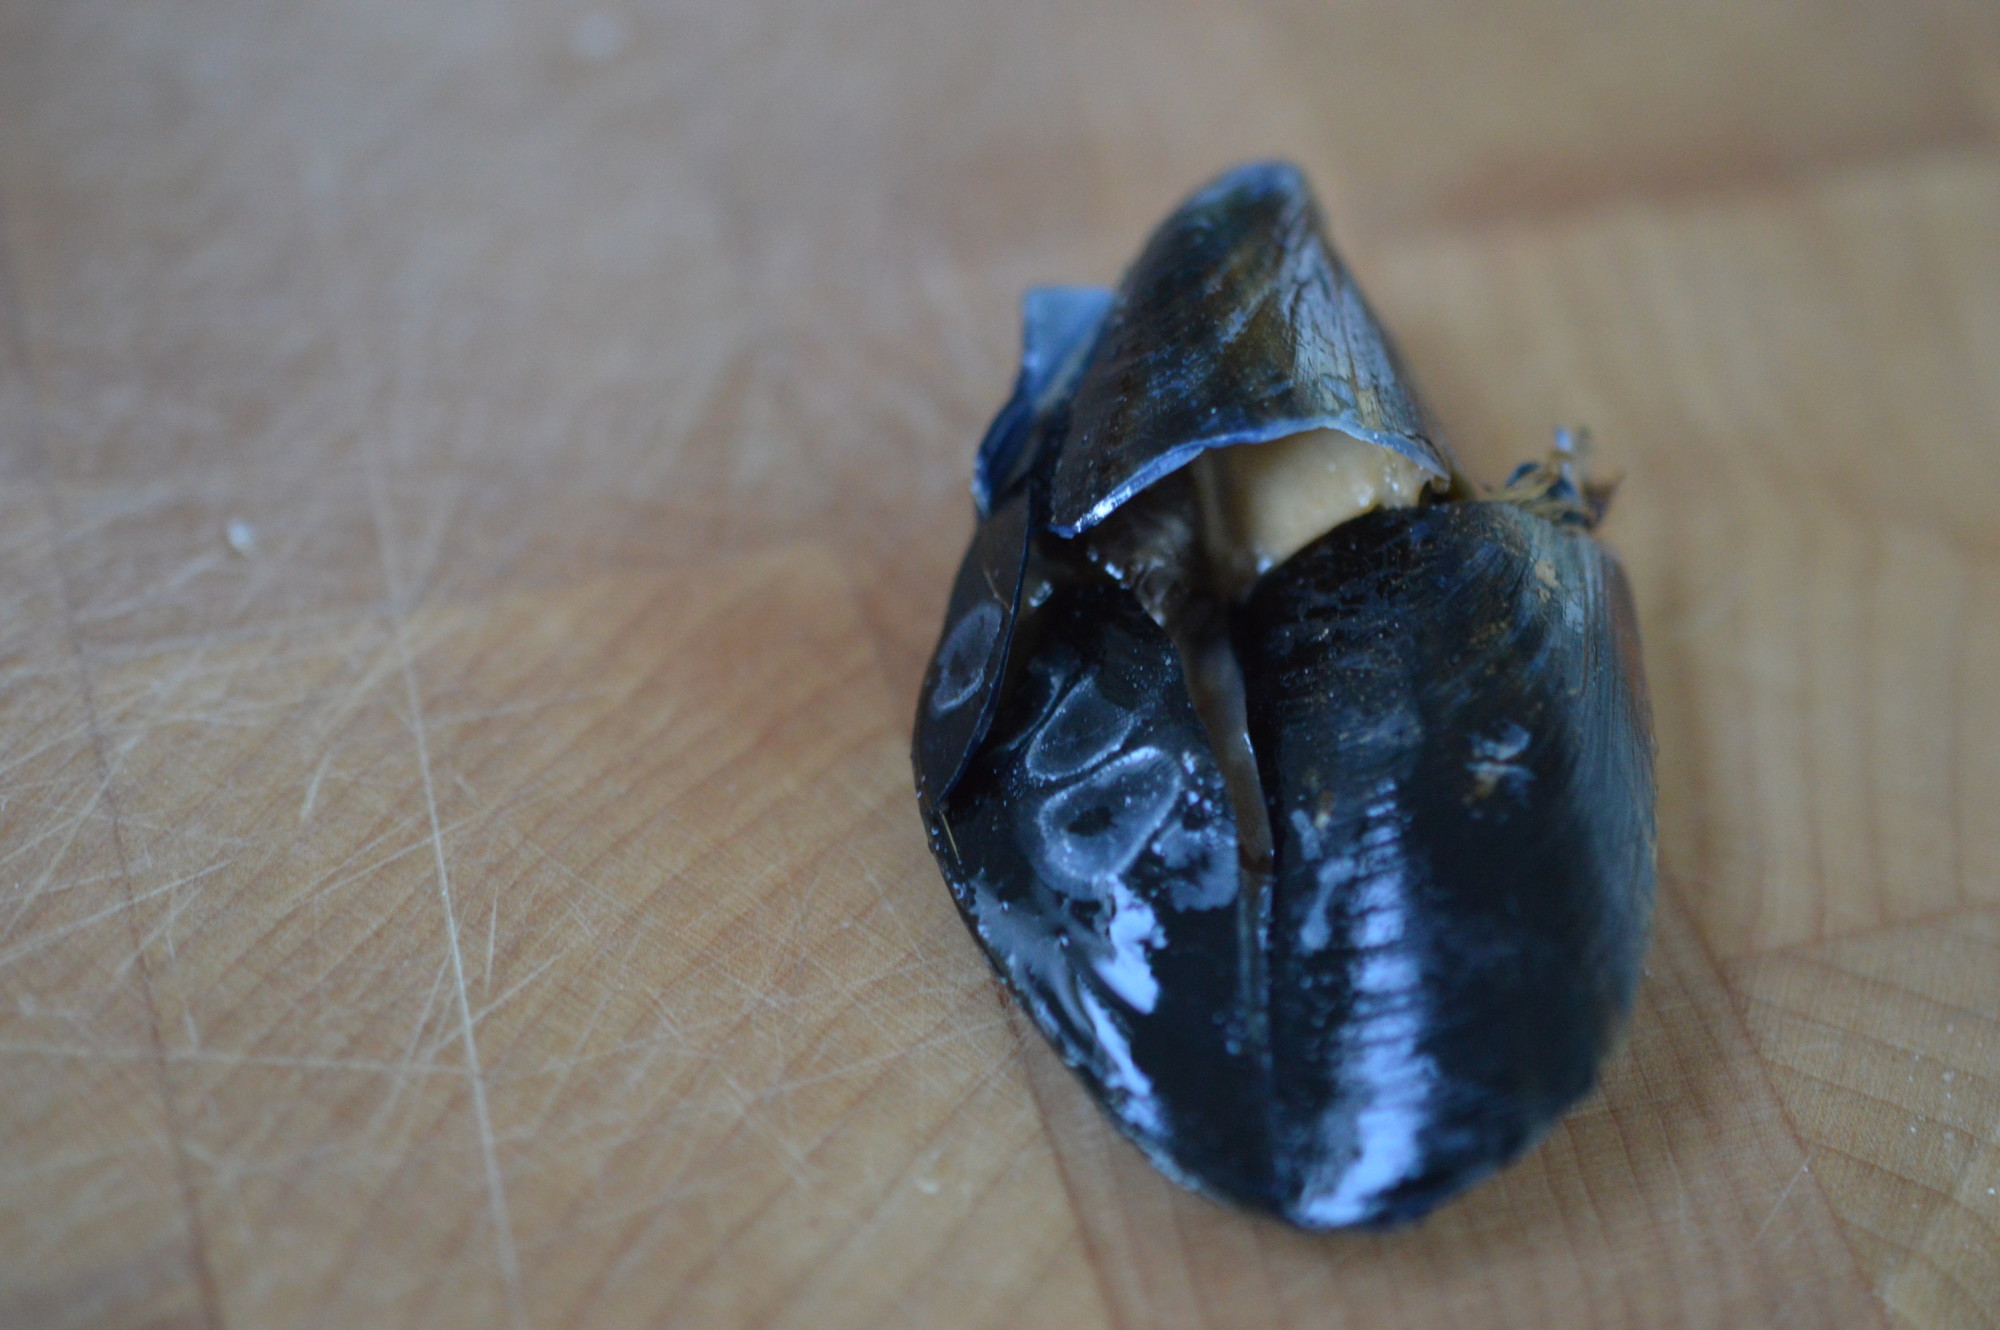
Now’s the time to pull off the ‘beard’ which are protein membranes the mussel uses to attach itself to a stable something rather than float off into the deep.  In my case, my mussels attached themselves to rope.  The other end is attached to them – which is why you pull this off shortly before cooking rather than prematurely traumatise it.  (Yes, I know I’m about to put it in a steaming pot, but this isn’t really for the benefit of the mussel.)

Mussels - chop onion

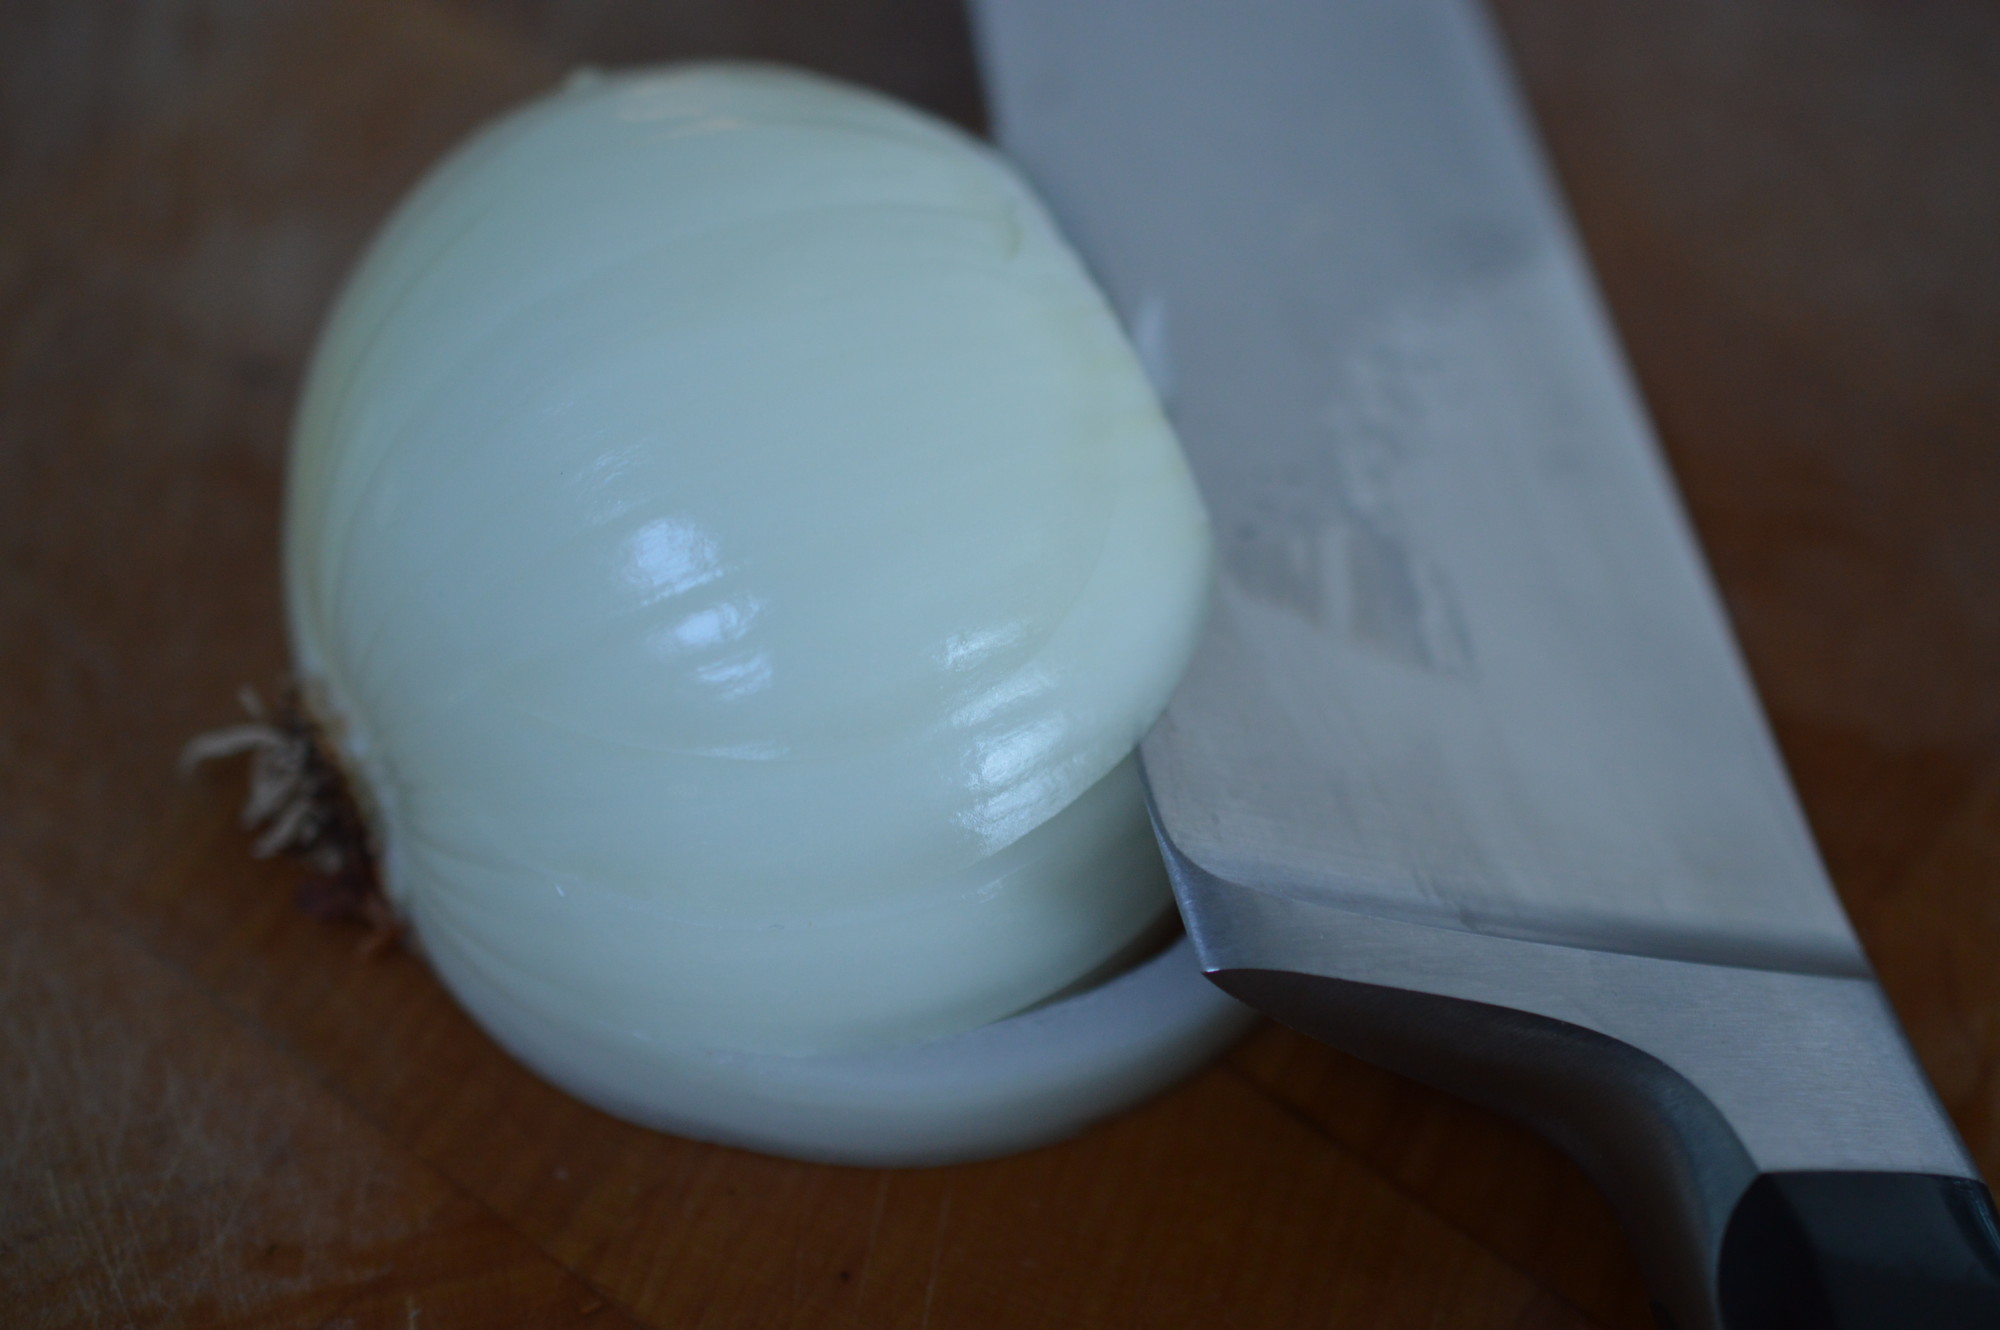
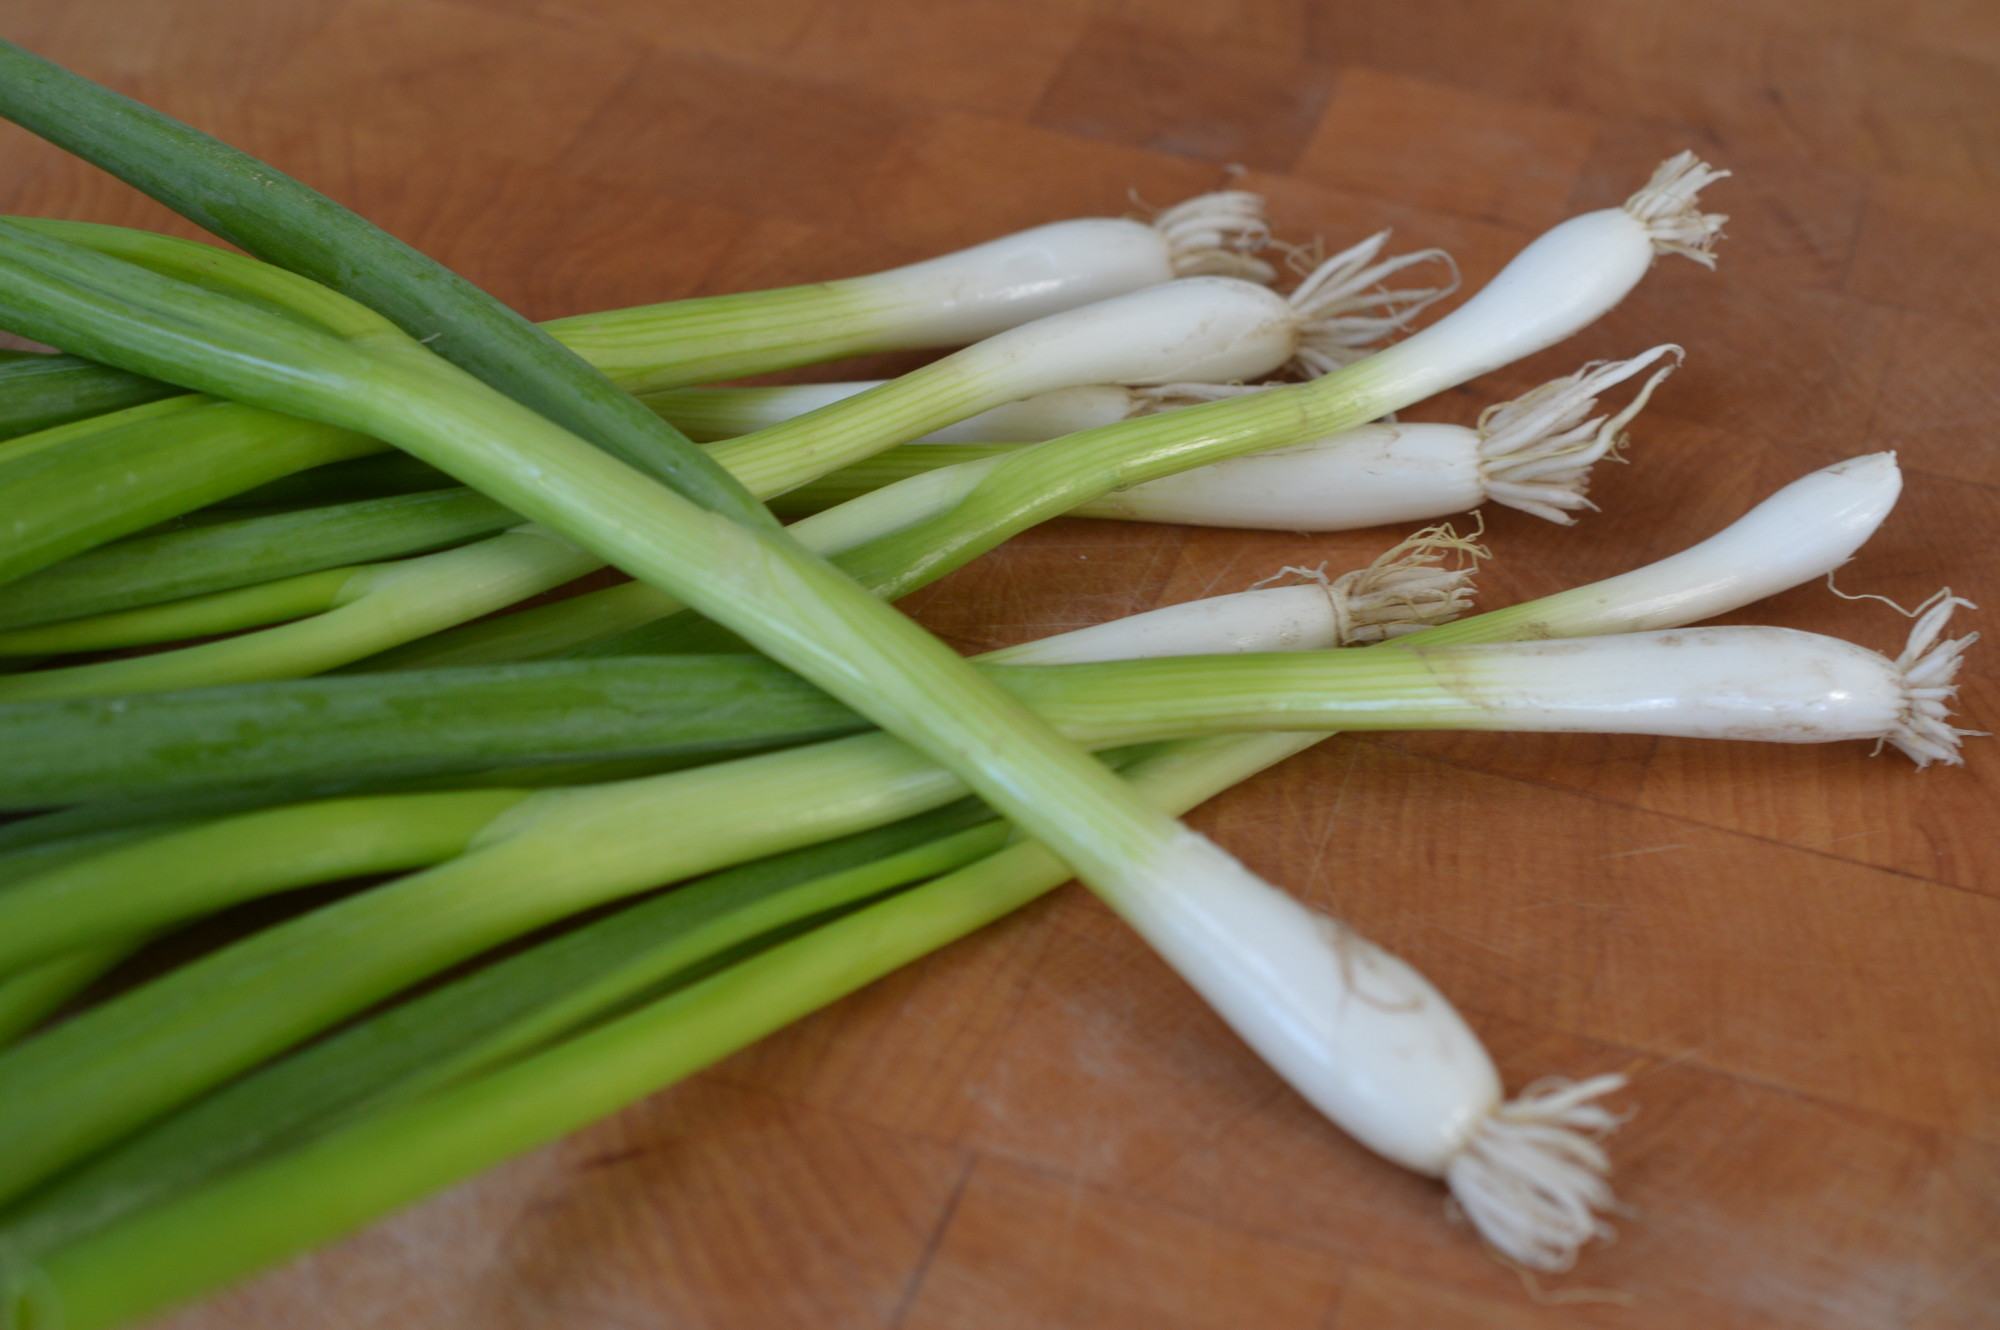
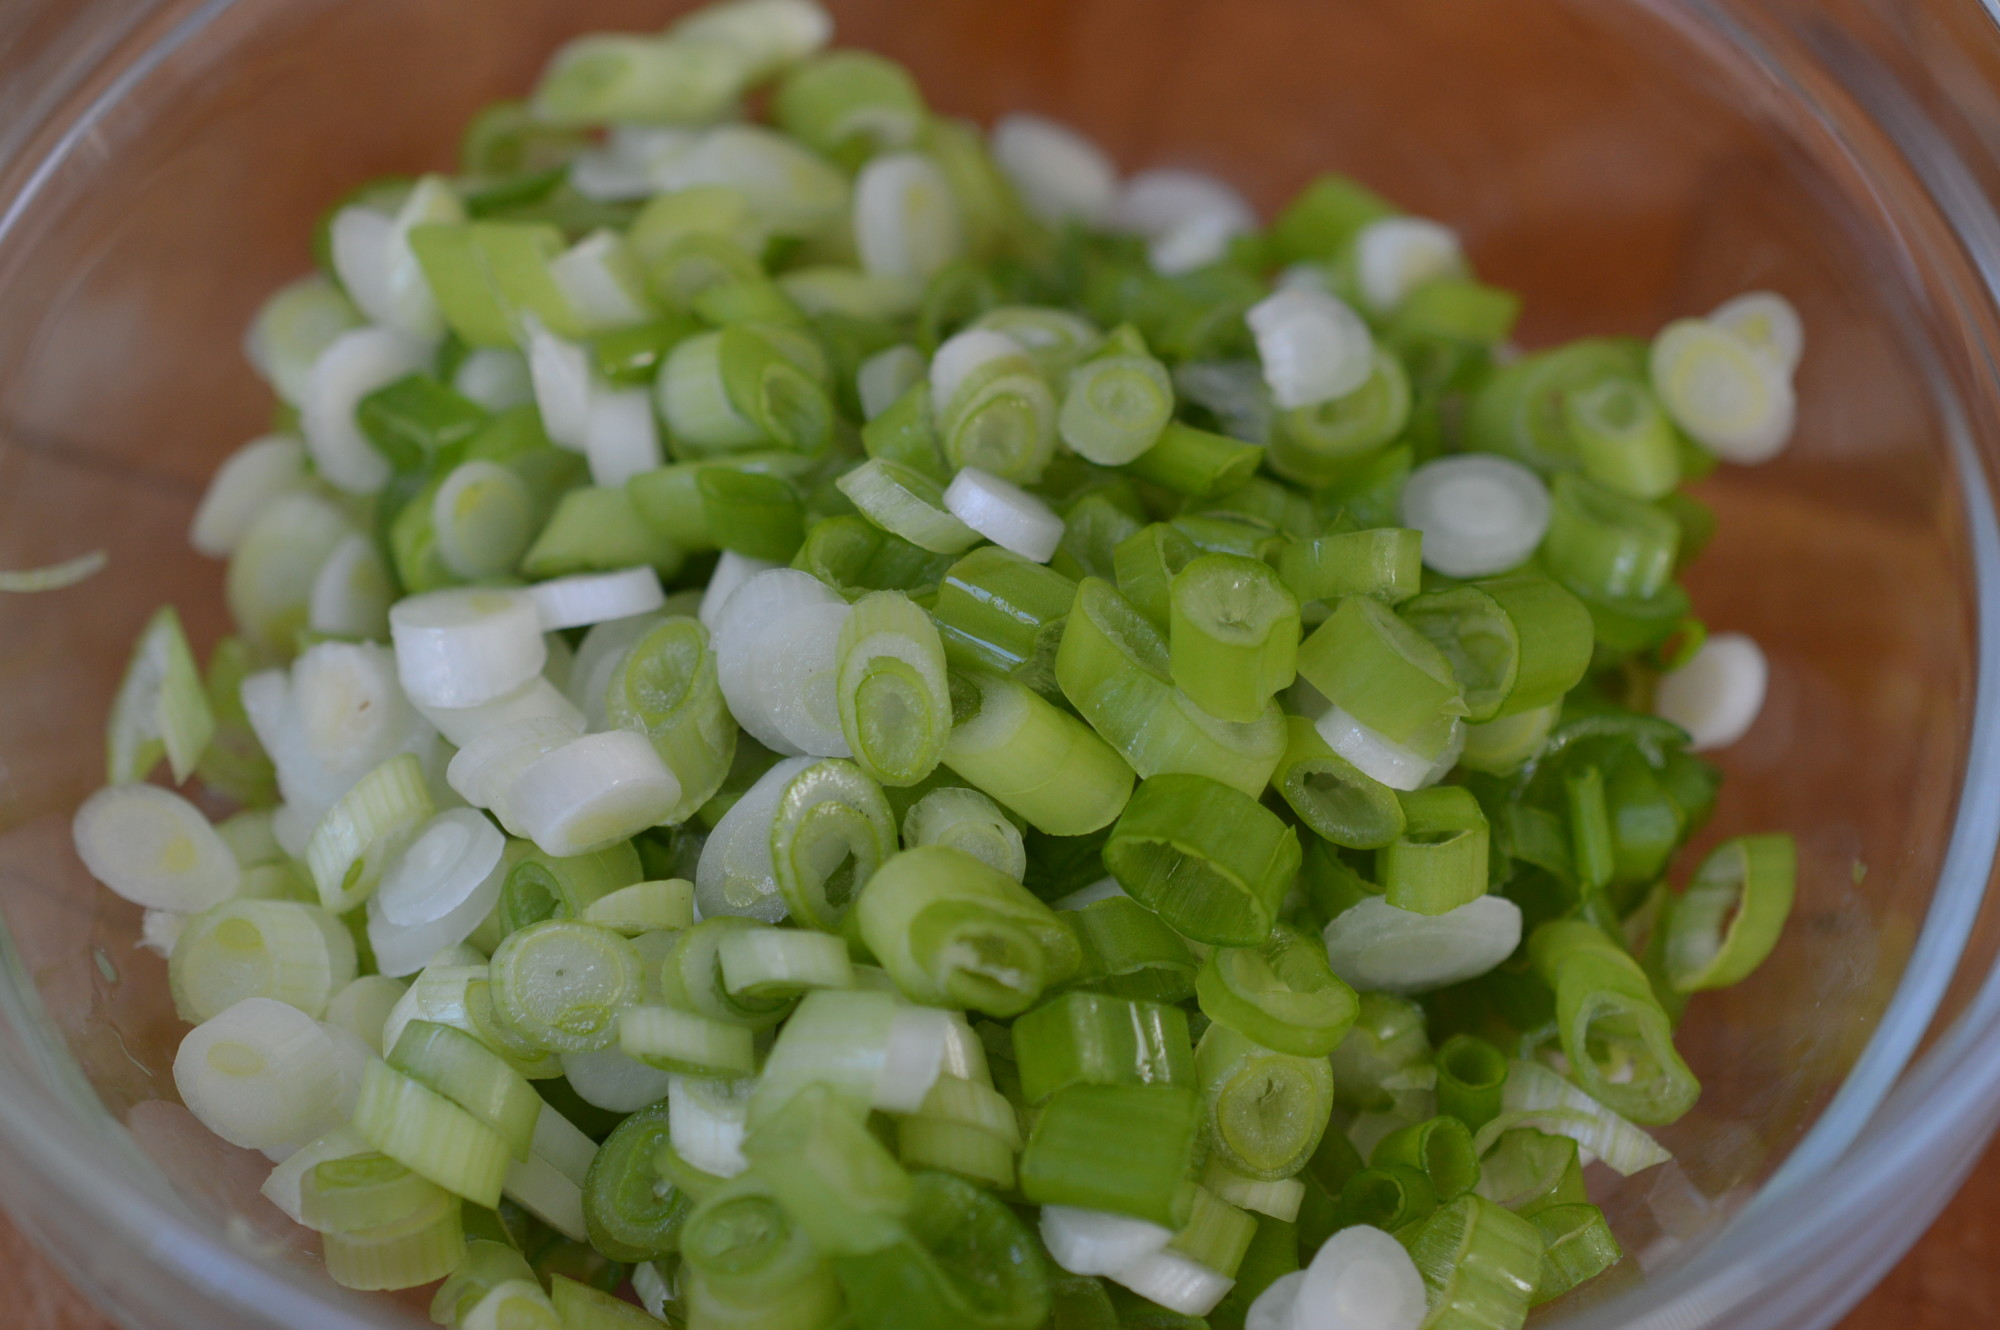
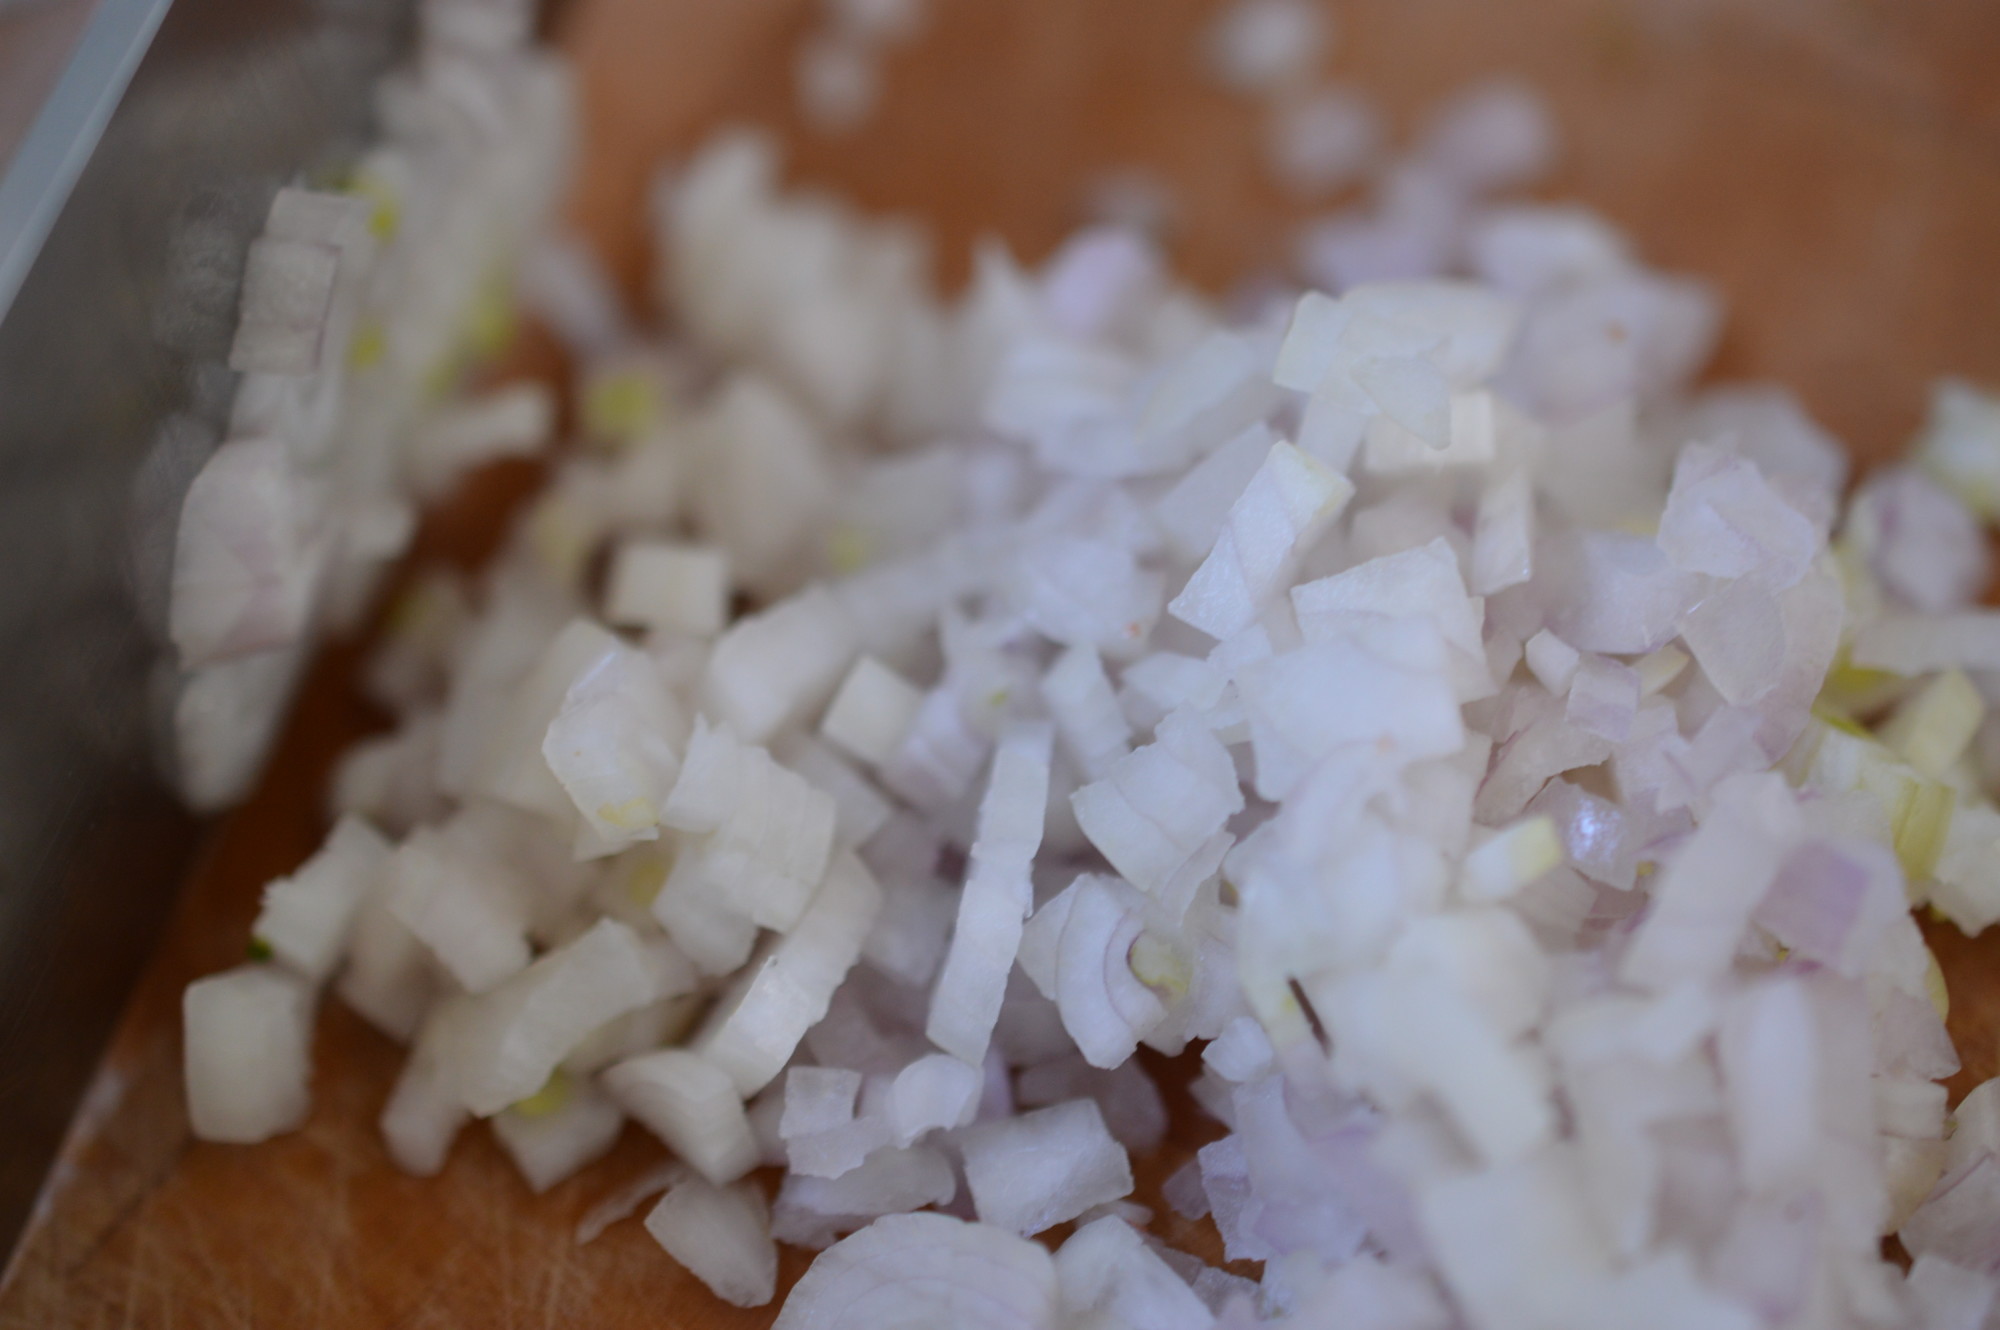
Meanwhile, I return to the clean end of the business.  Finely chop an onion.

Mussels - garlic

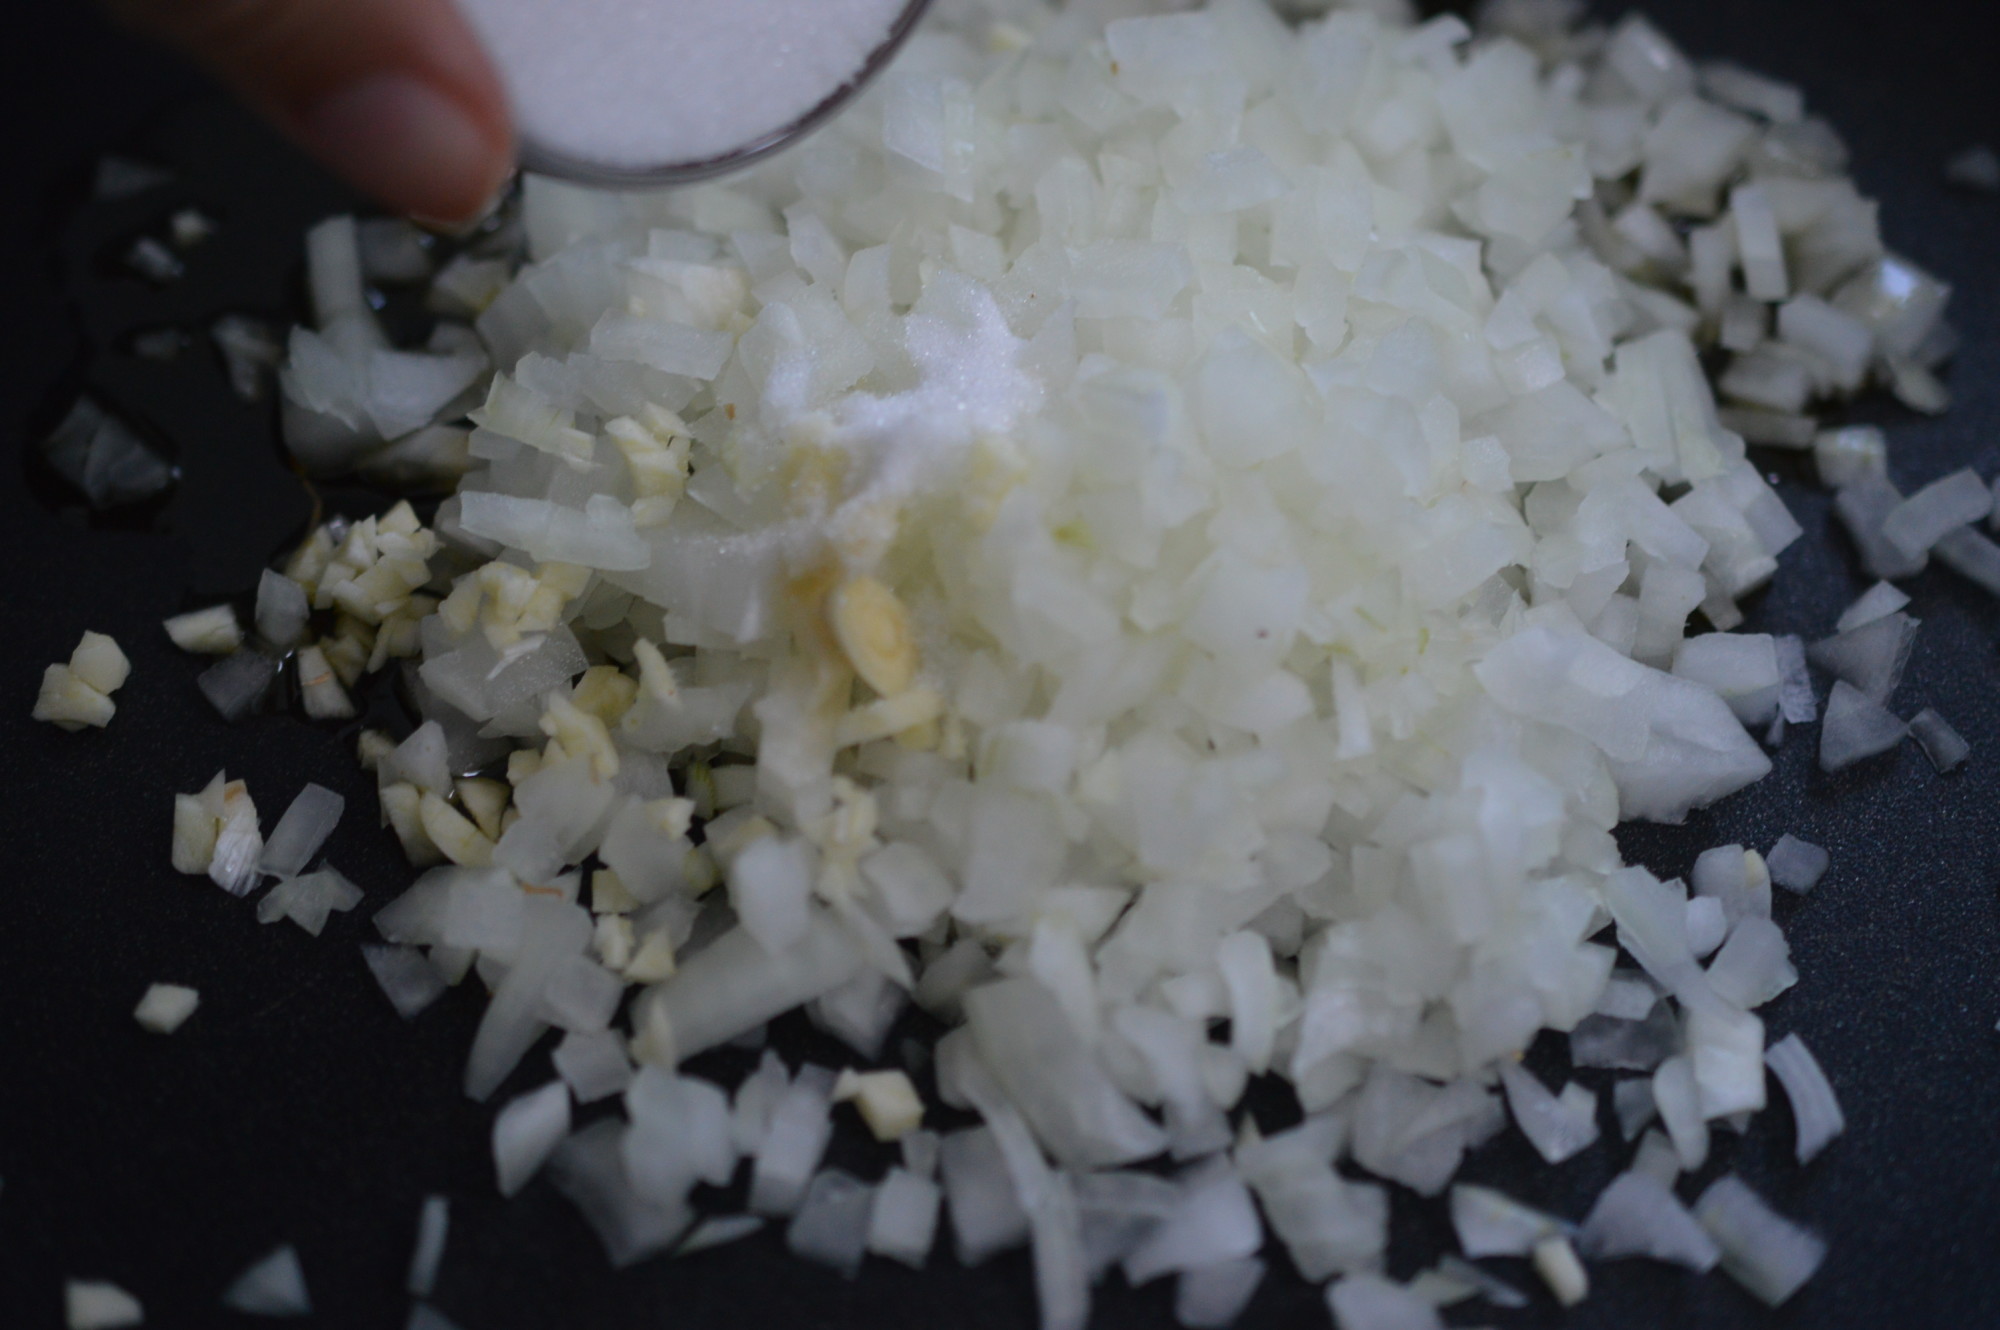
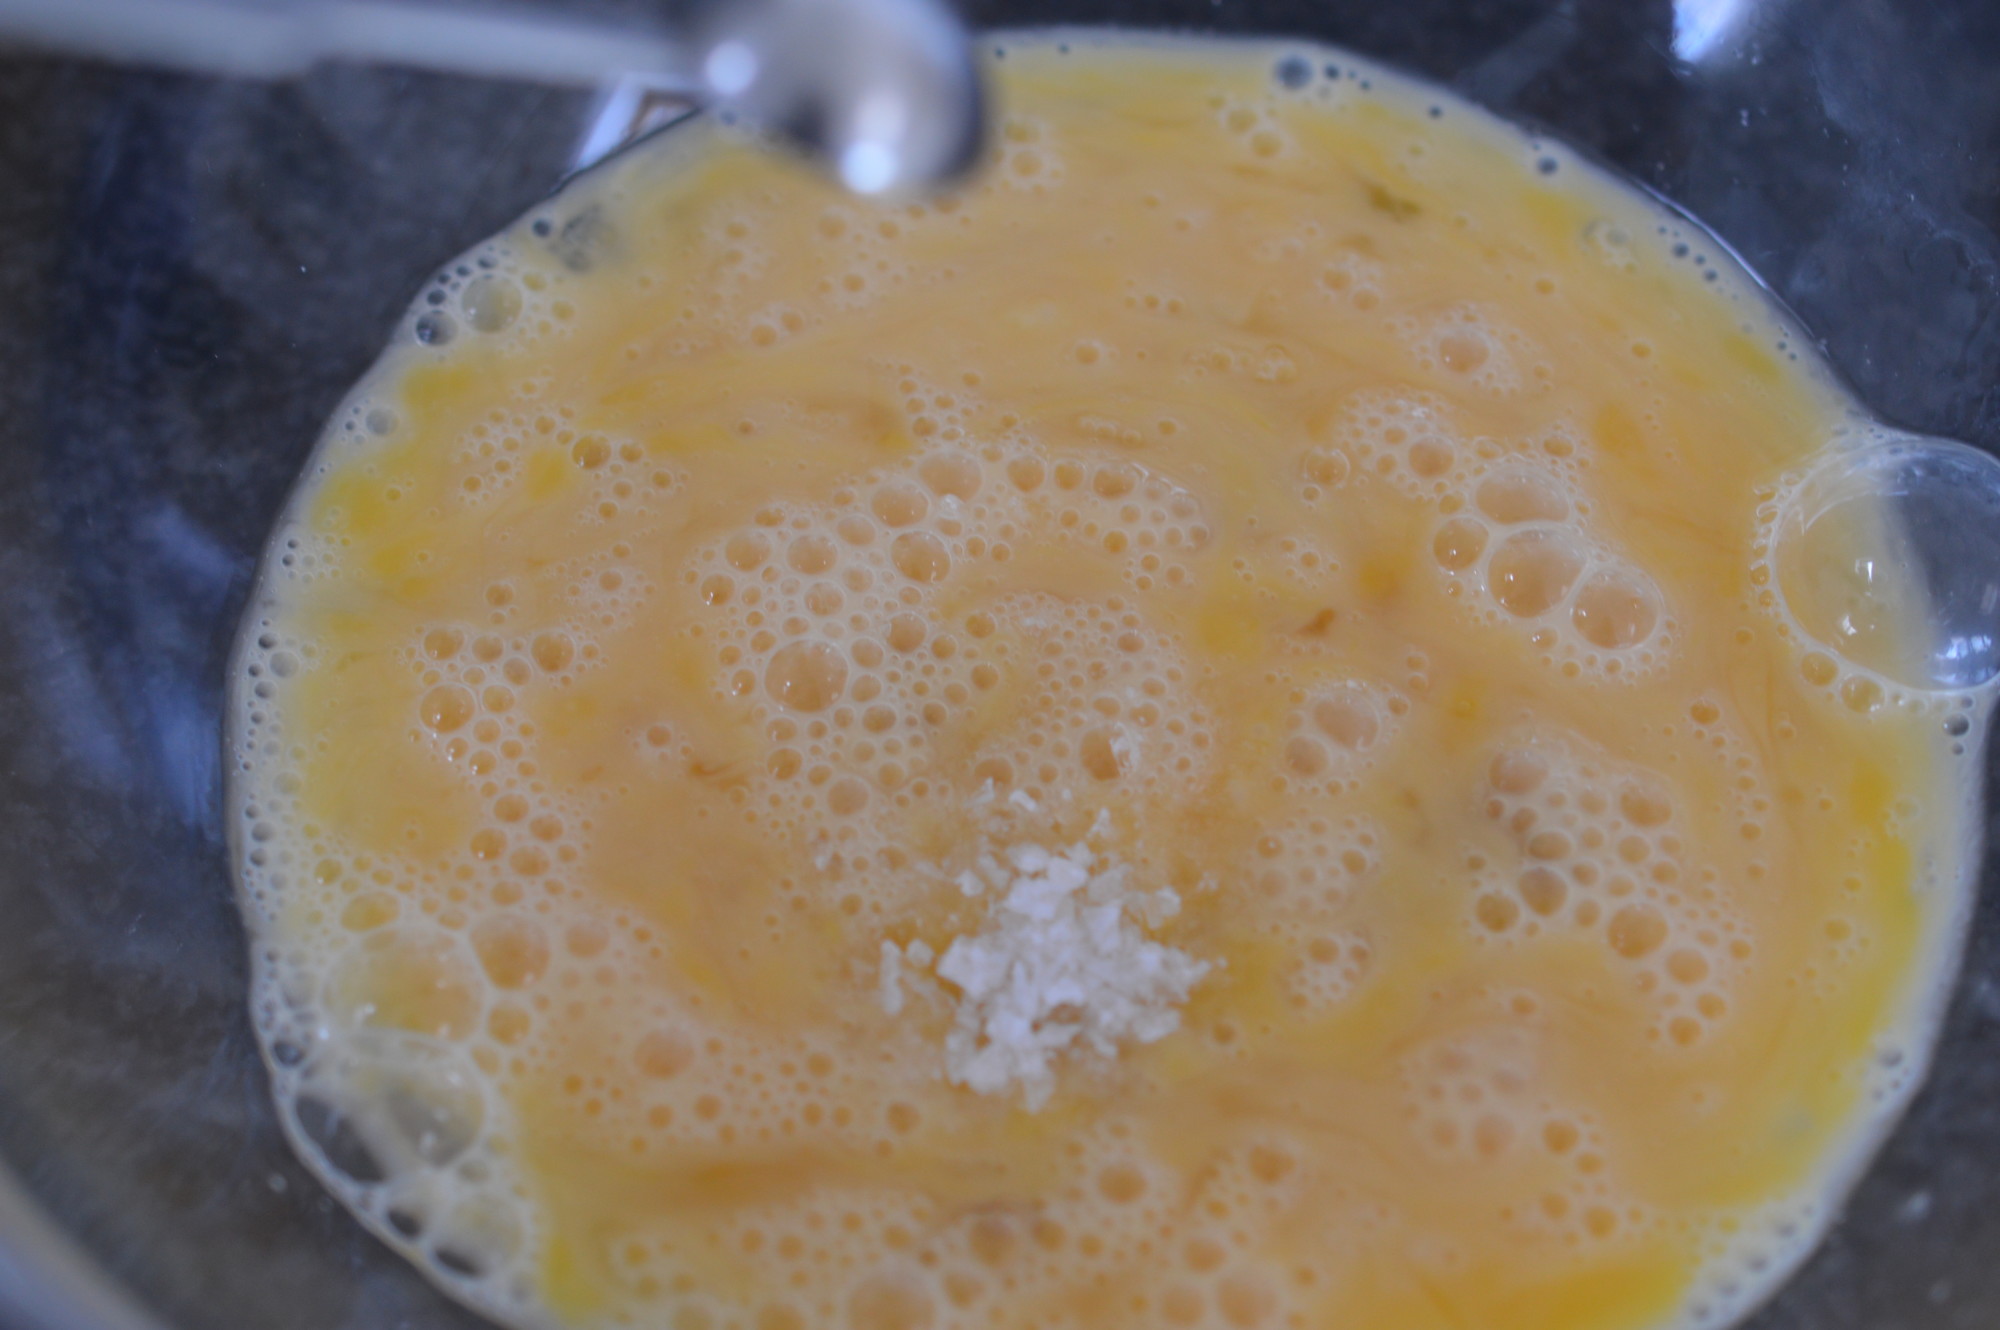
My Grandad would never have done such a thing – but I add a chopped clove of garlic.  A little sugar.

Mussels - soften onion

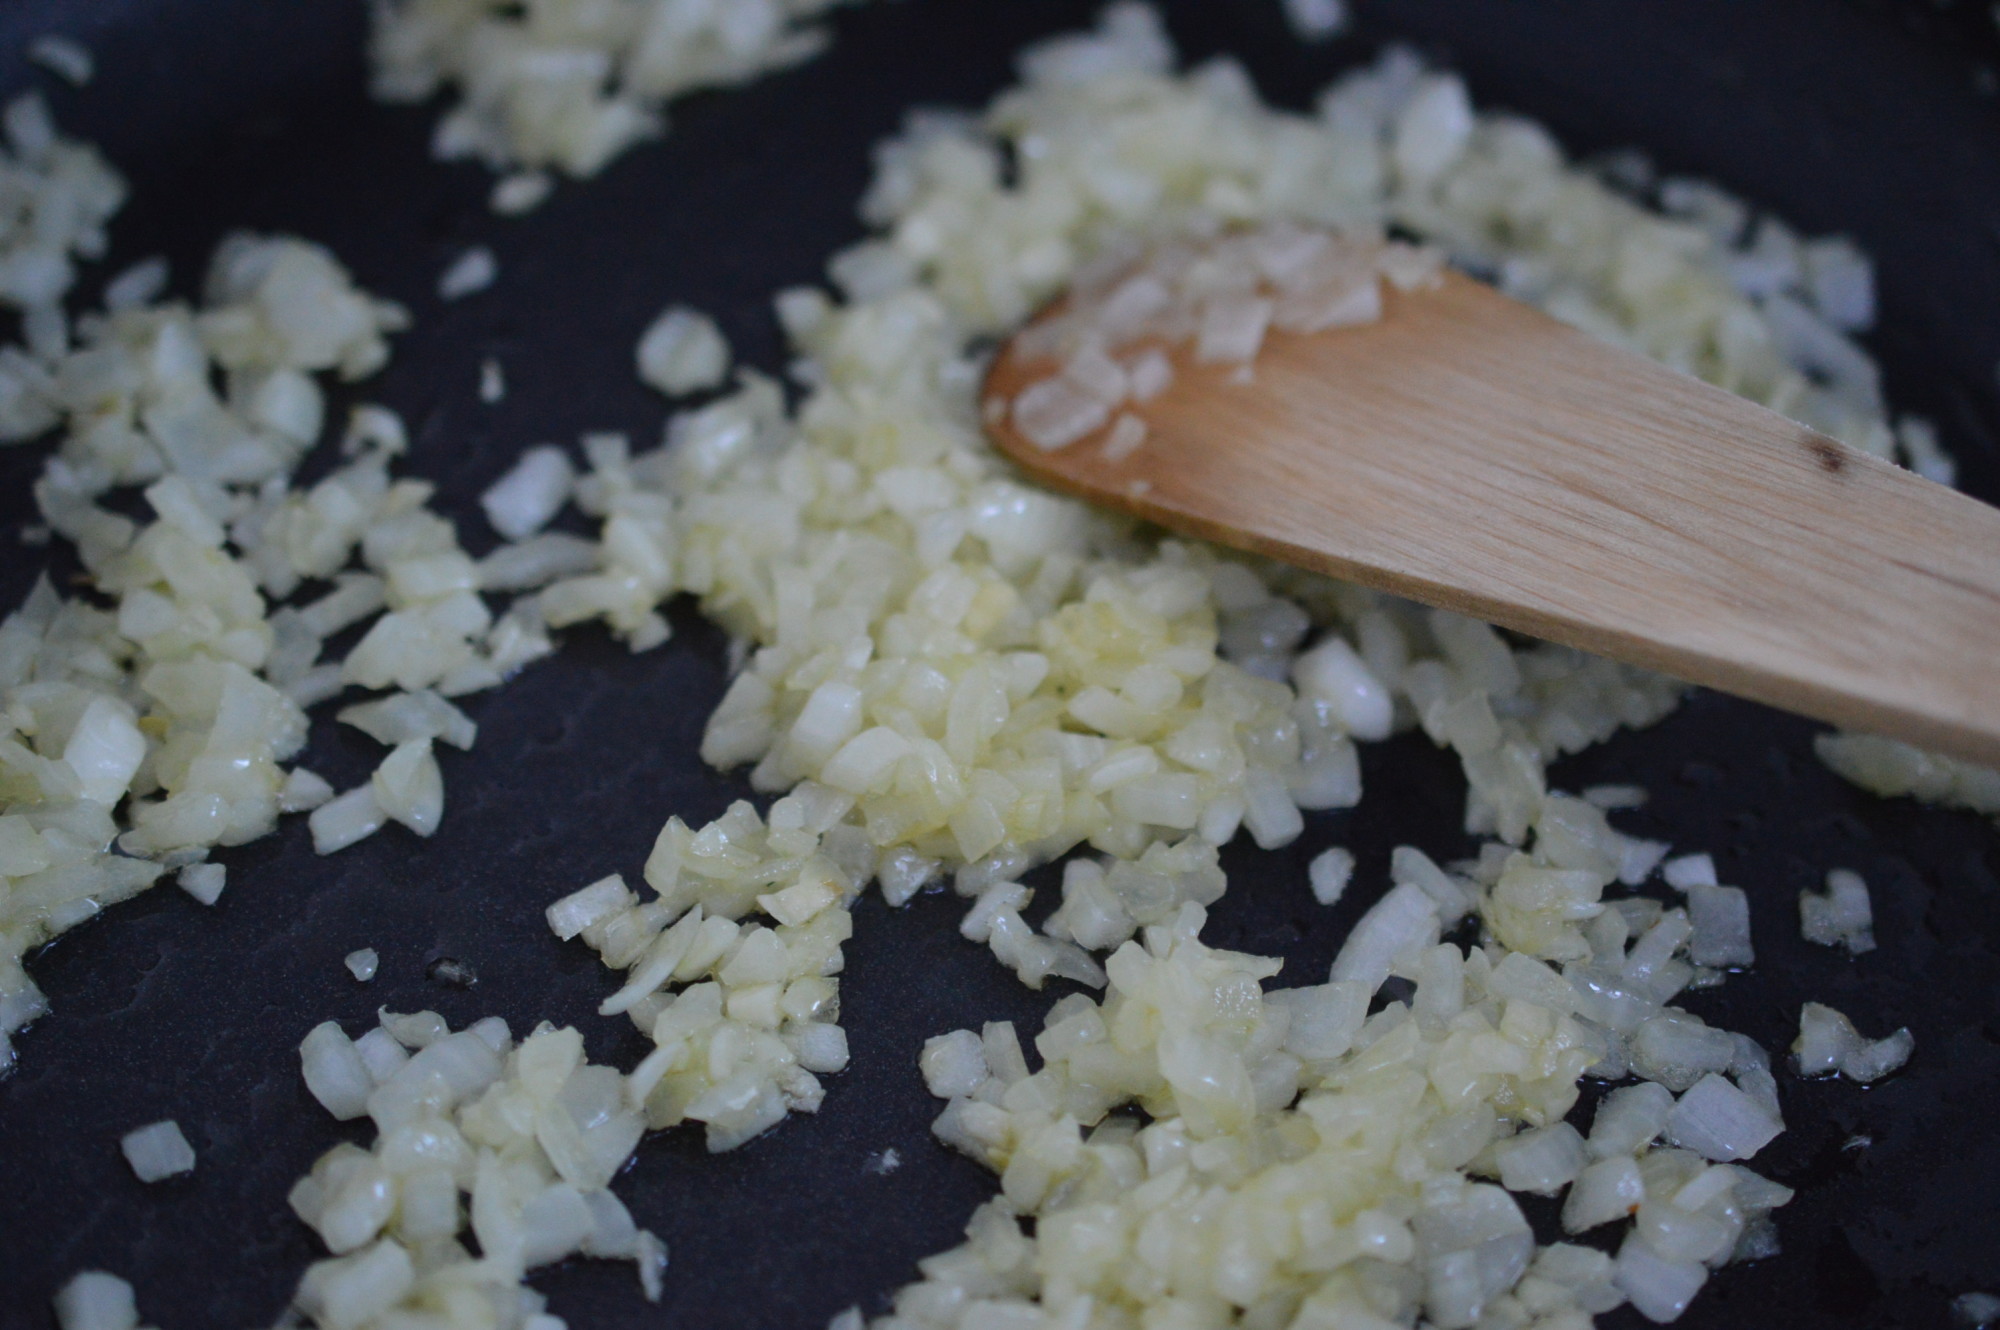
Soften in rapeseed oil.  He used butter.

Mussels - add cayenne

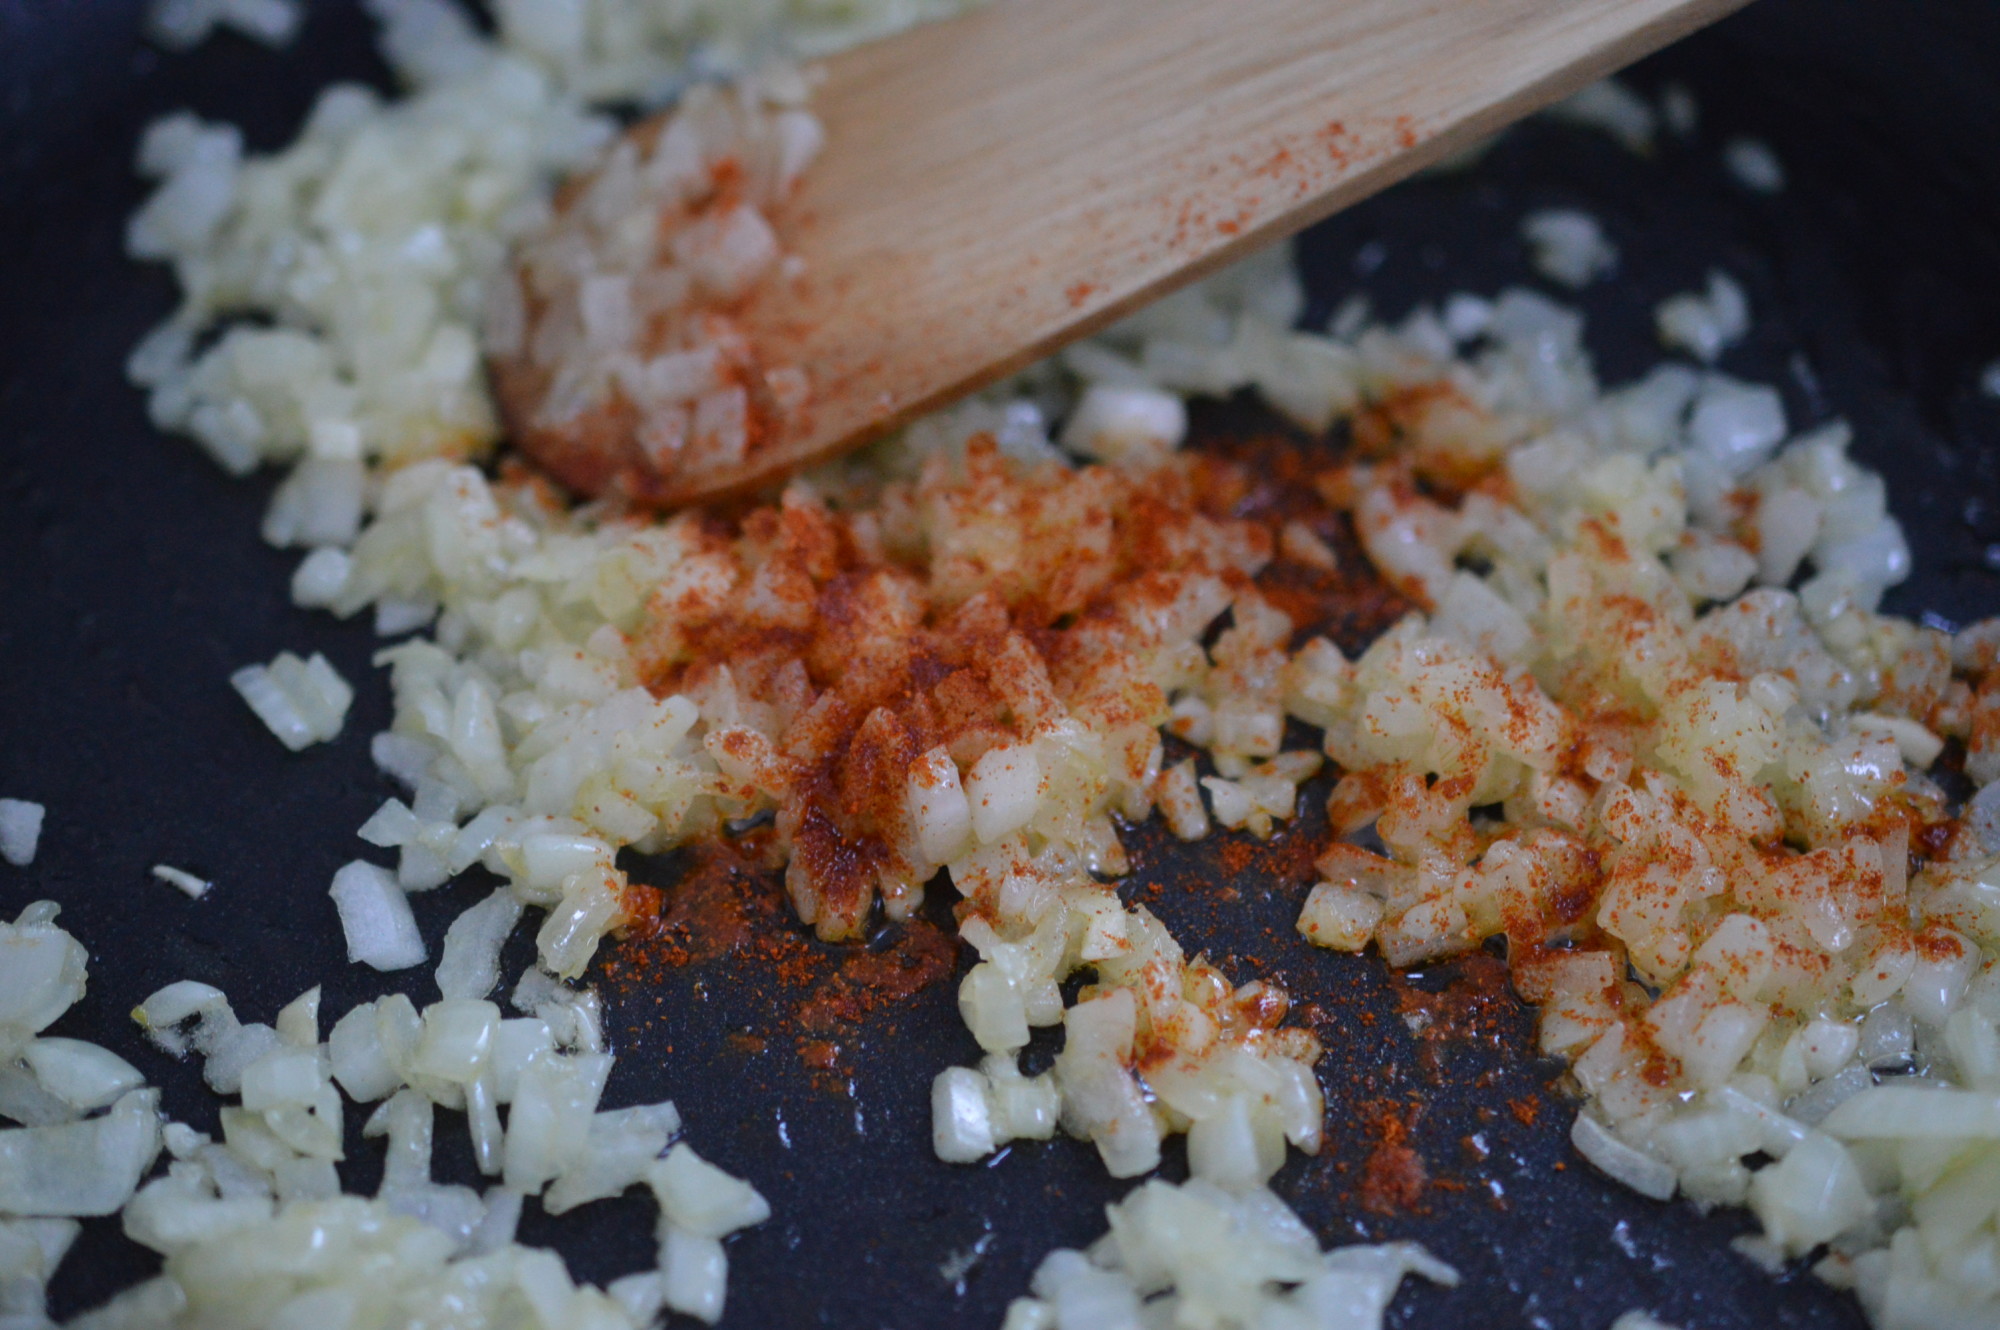
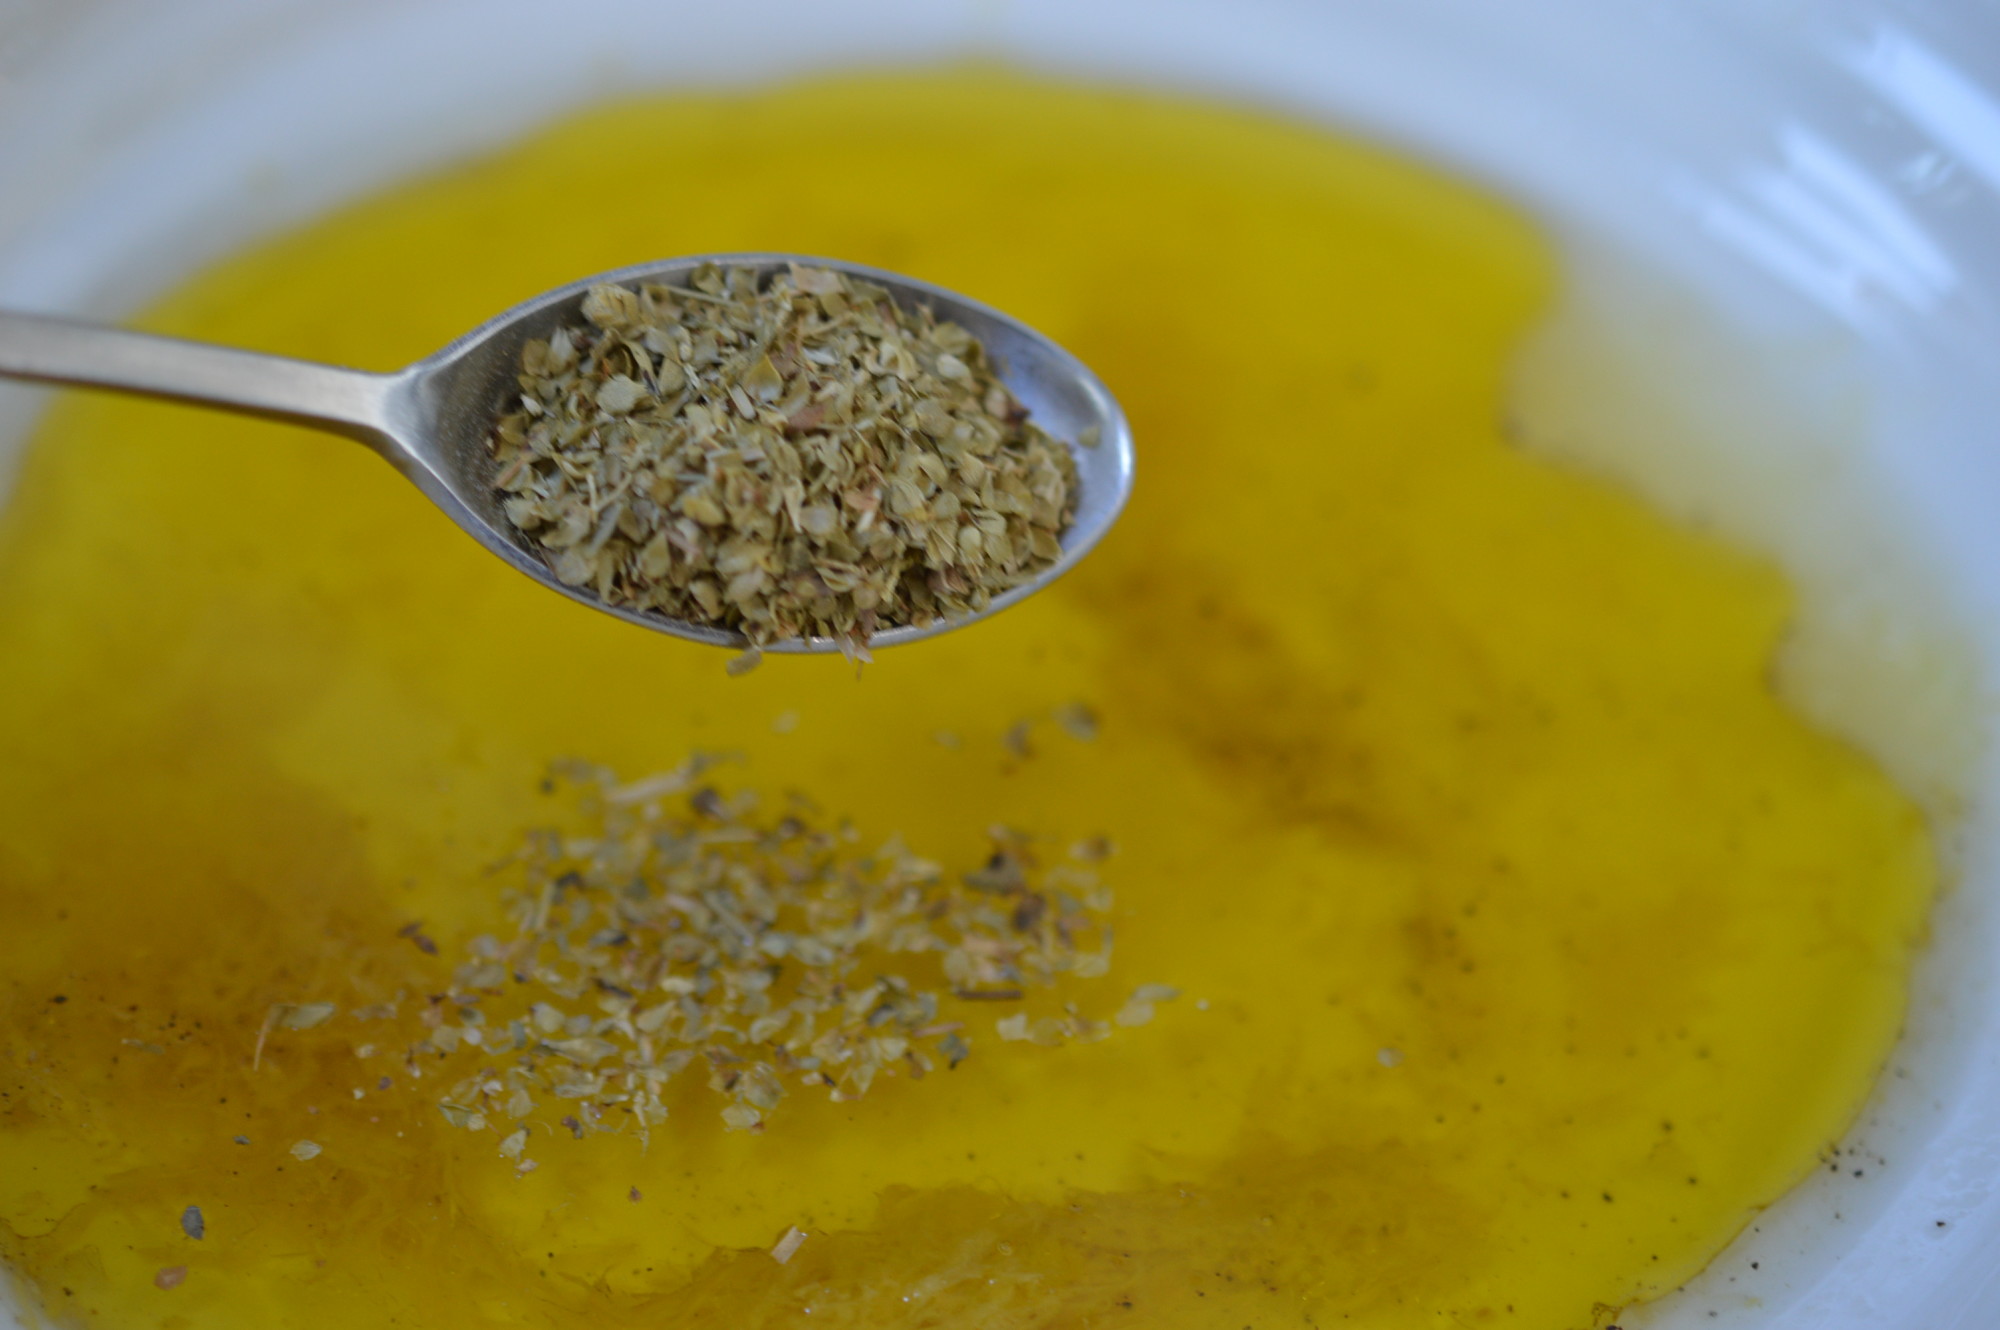
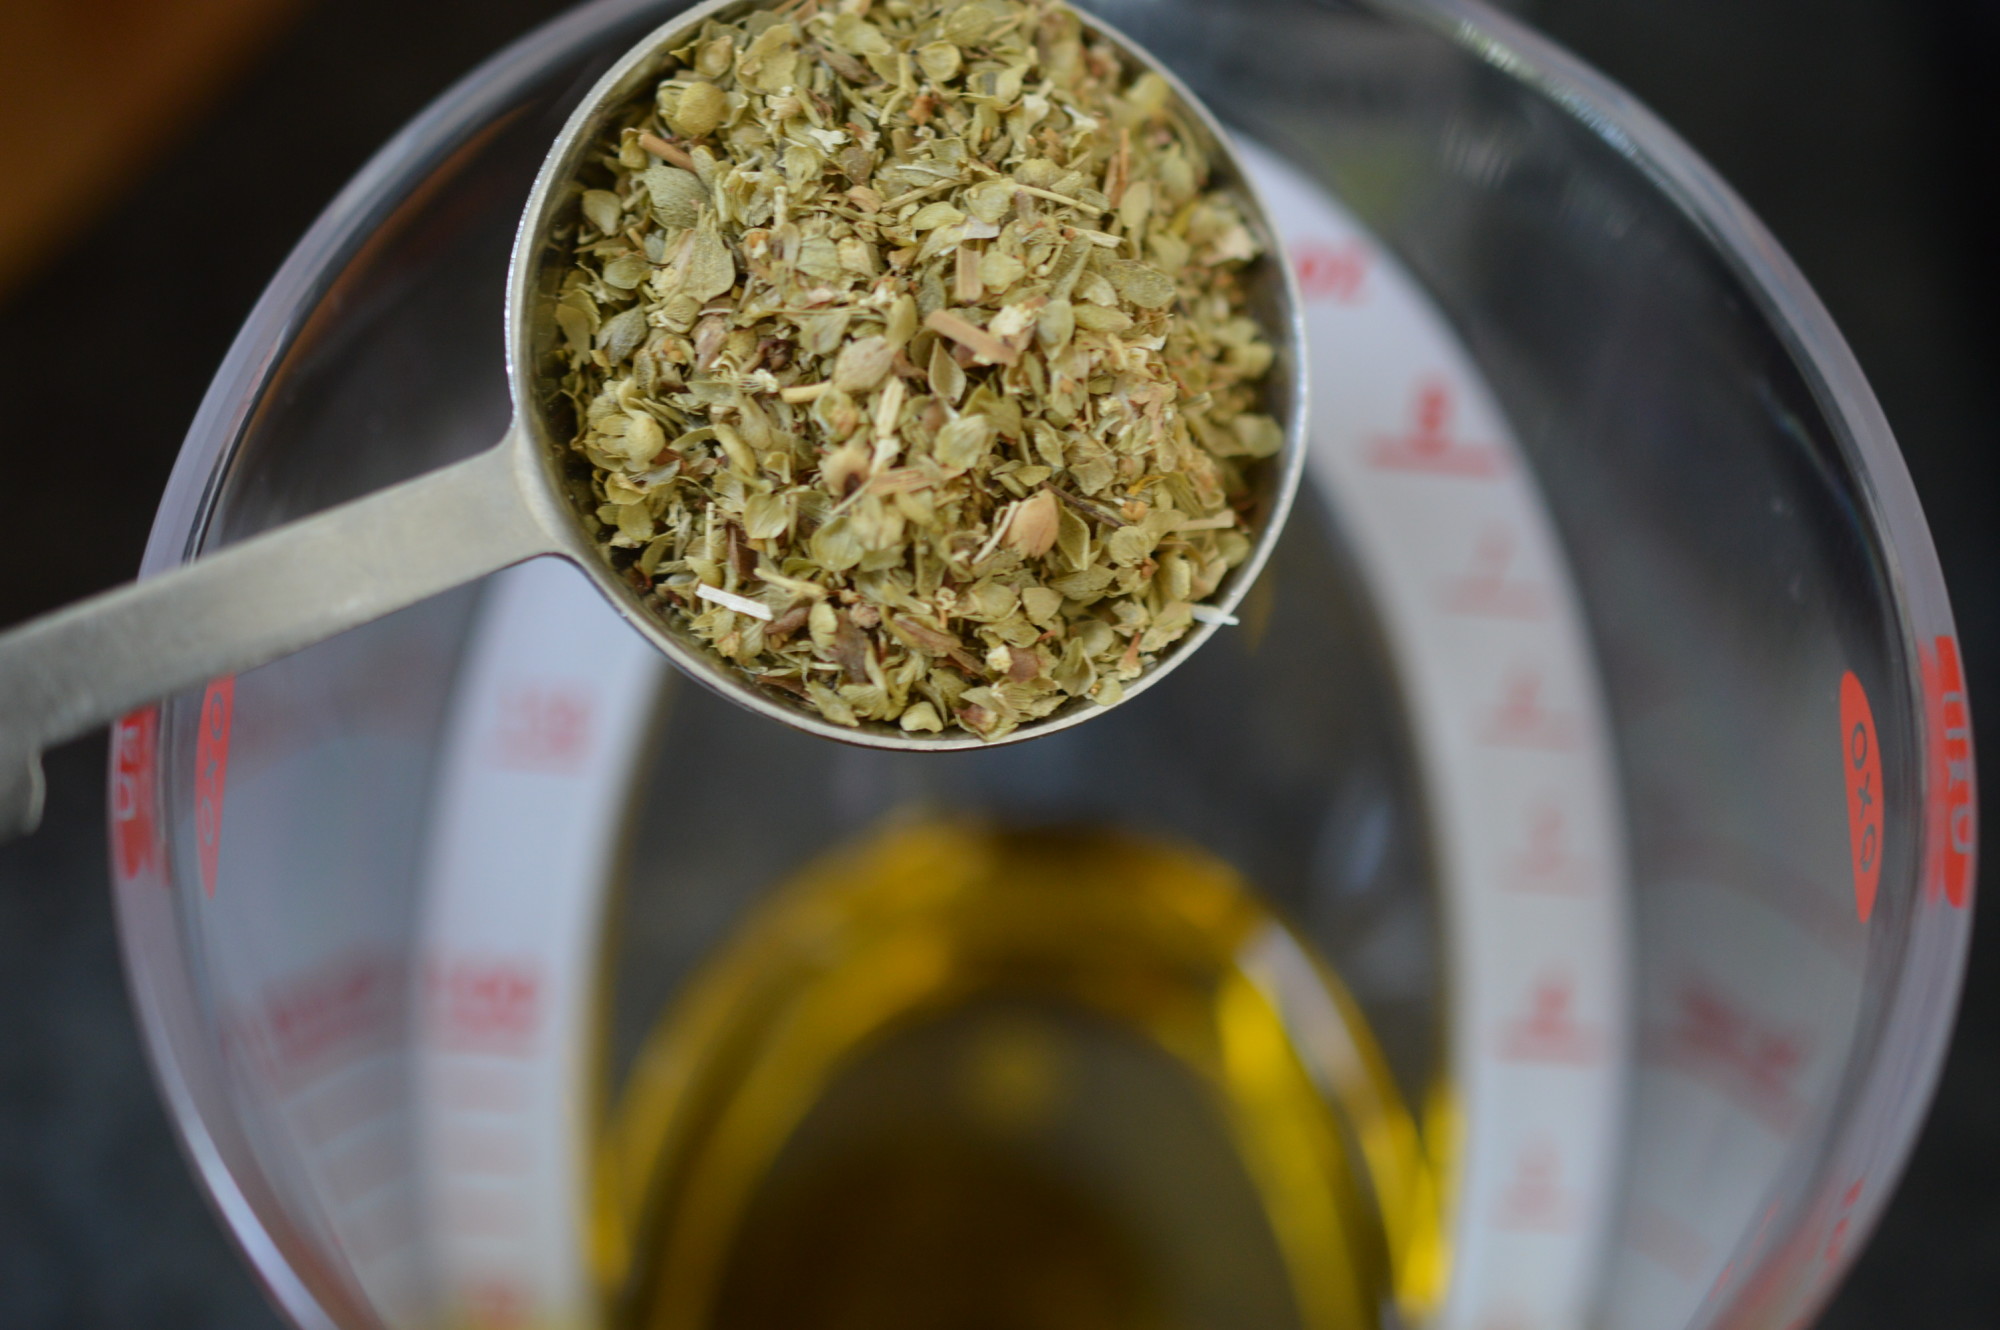
Again, I’m wilfully deviating.  A little kick of something is really tasty.  Cayenne pepper.
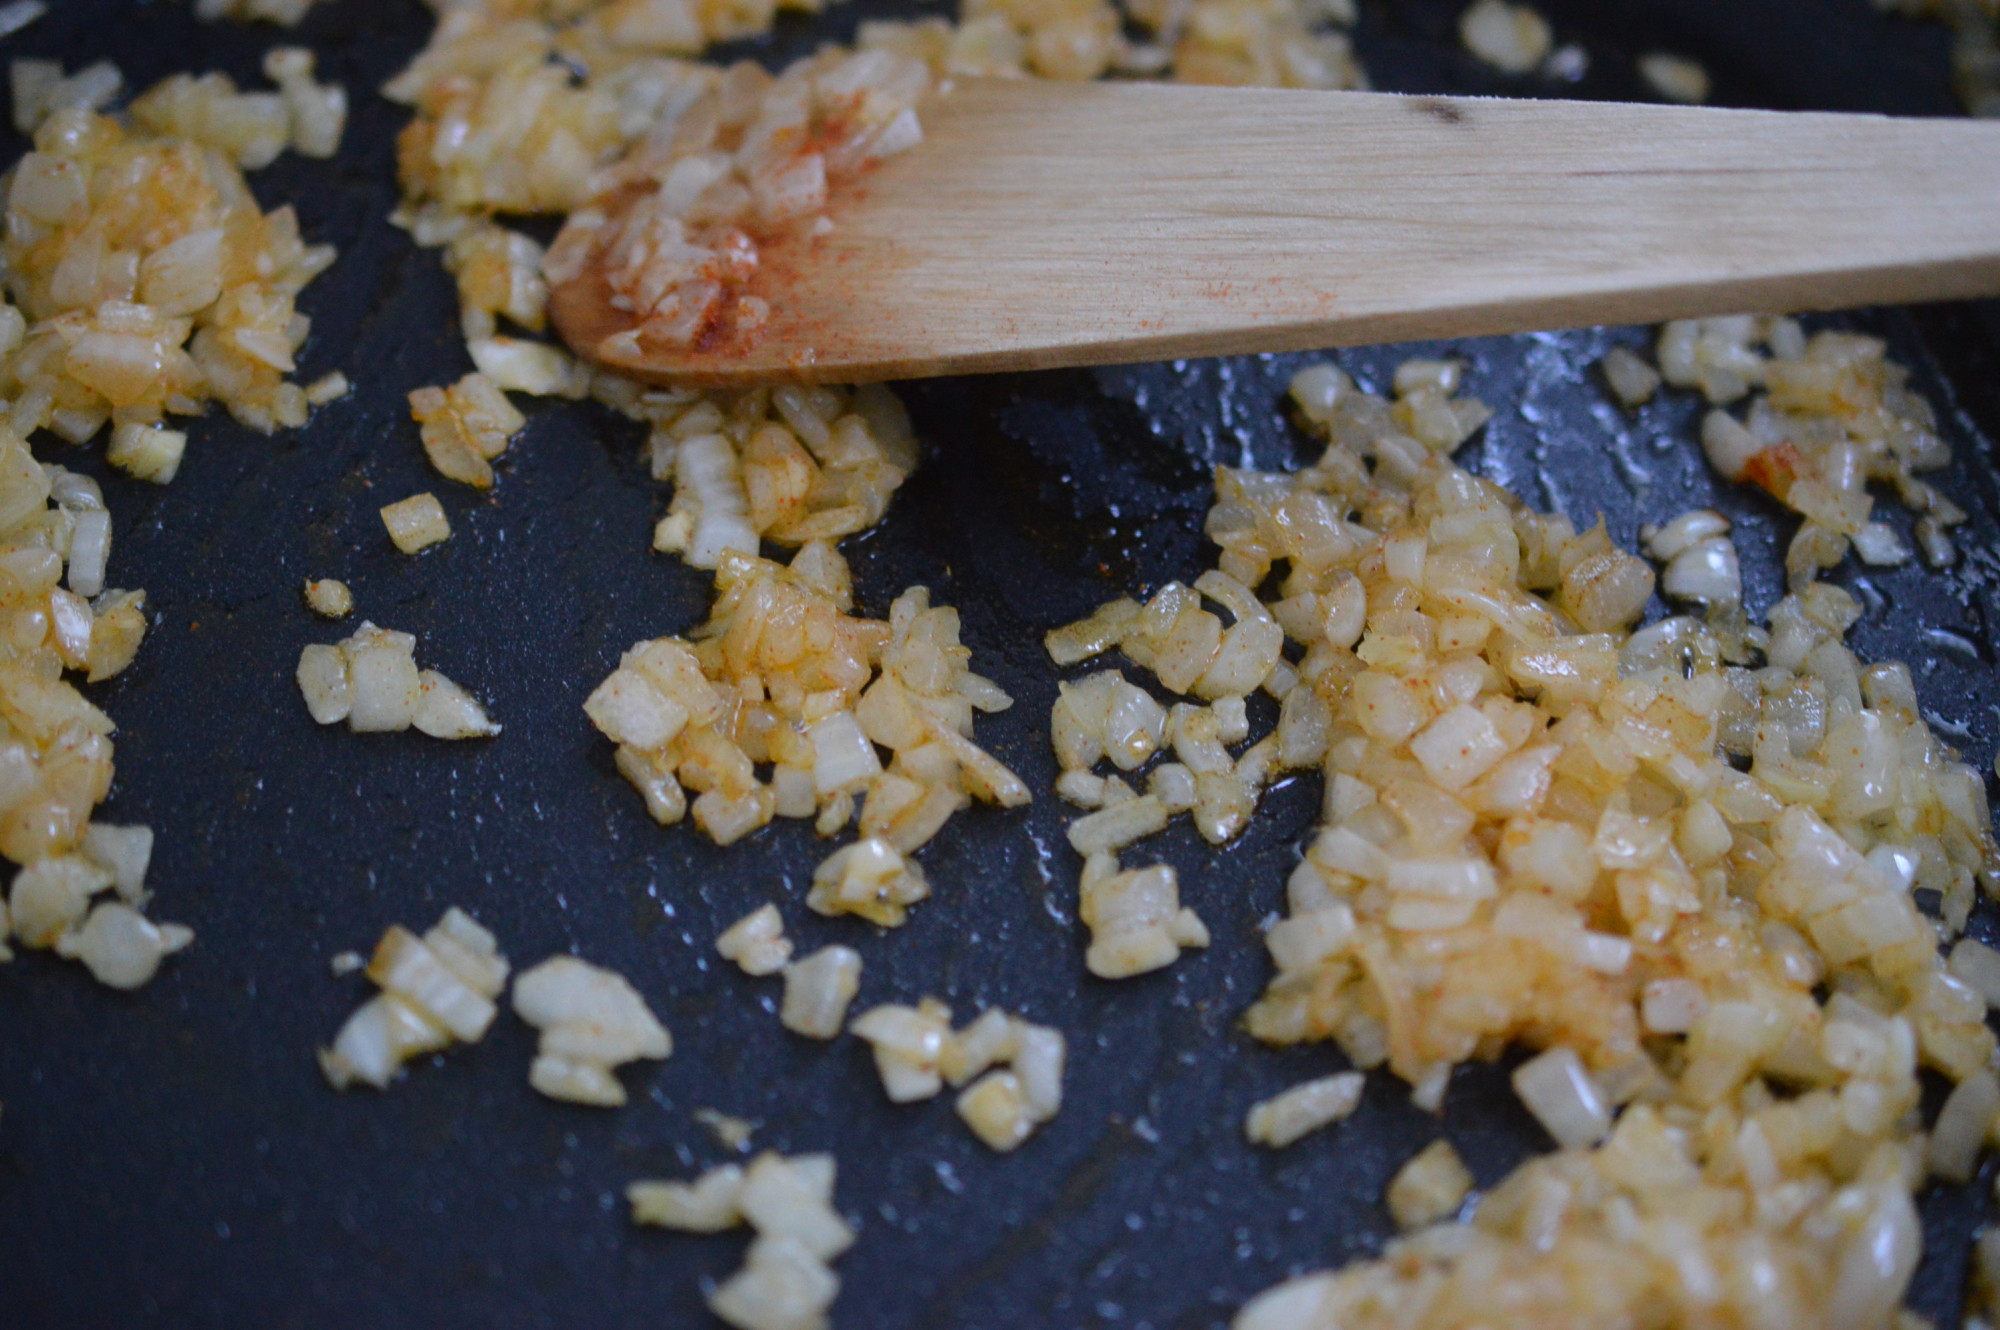
Mussels - stir in spice

Stir.

Mussels - cider

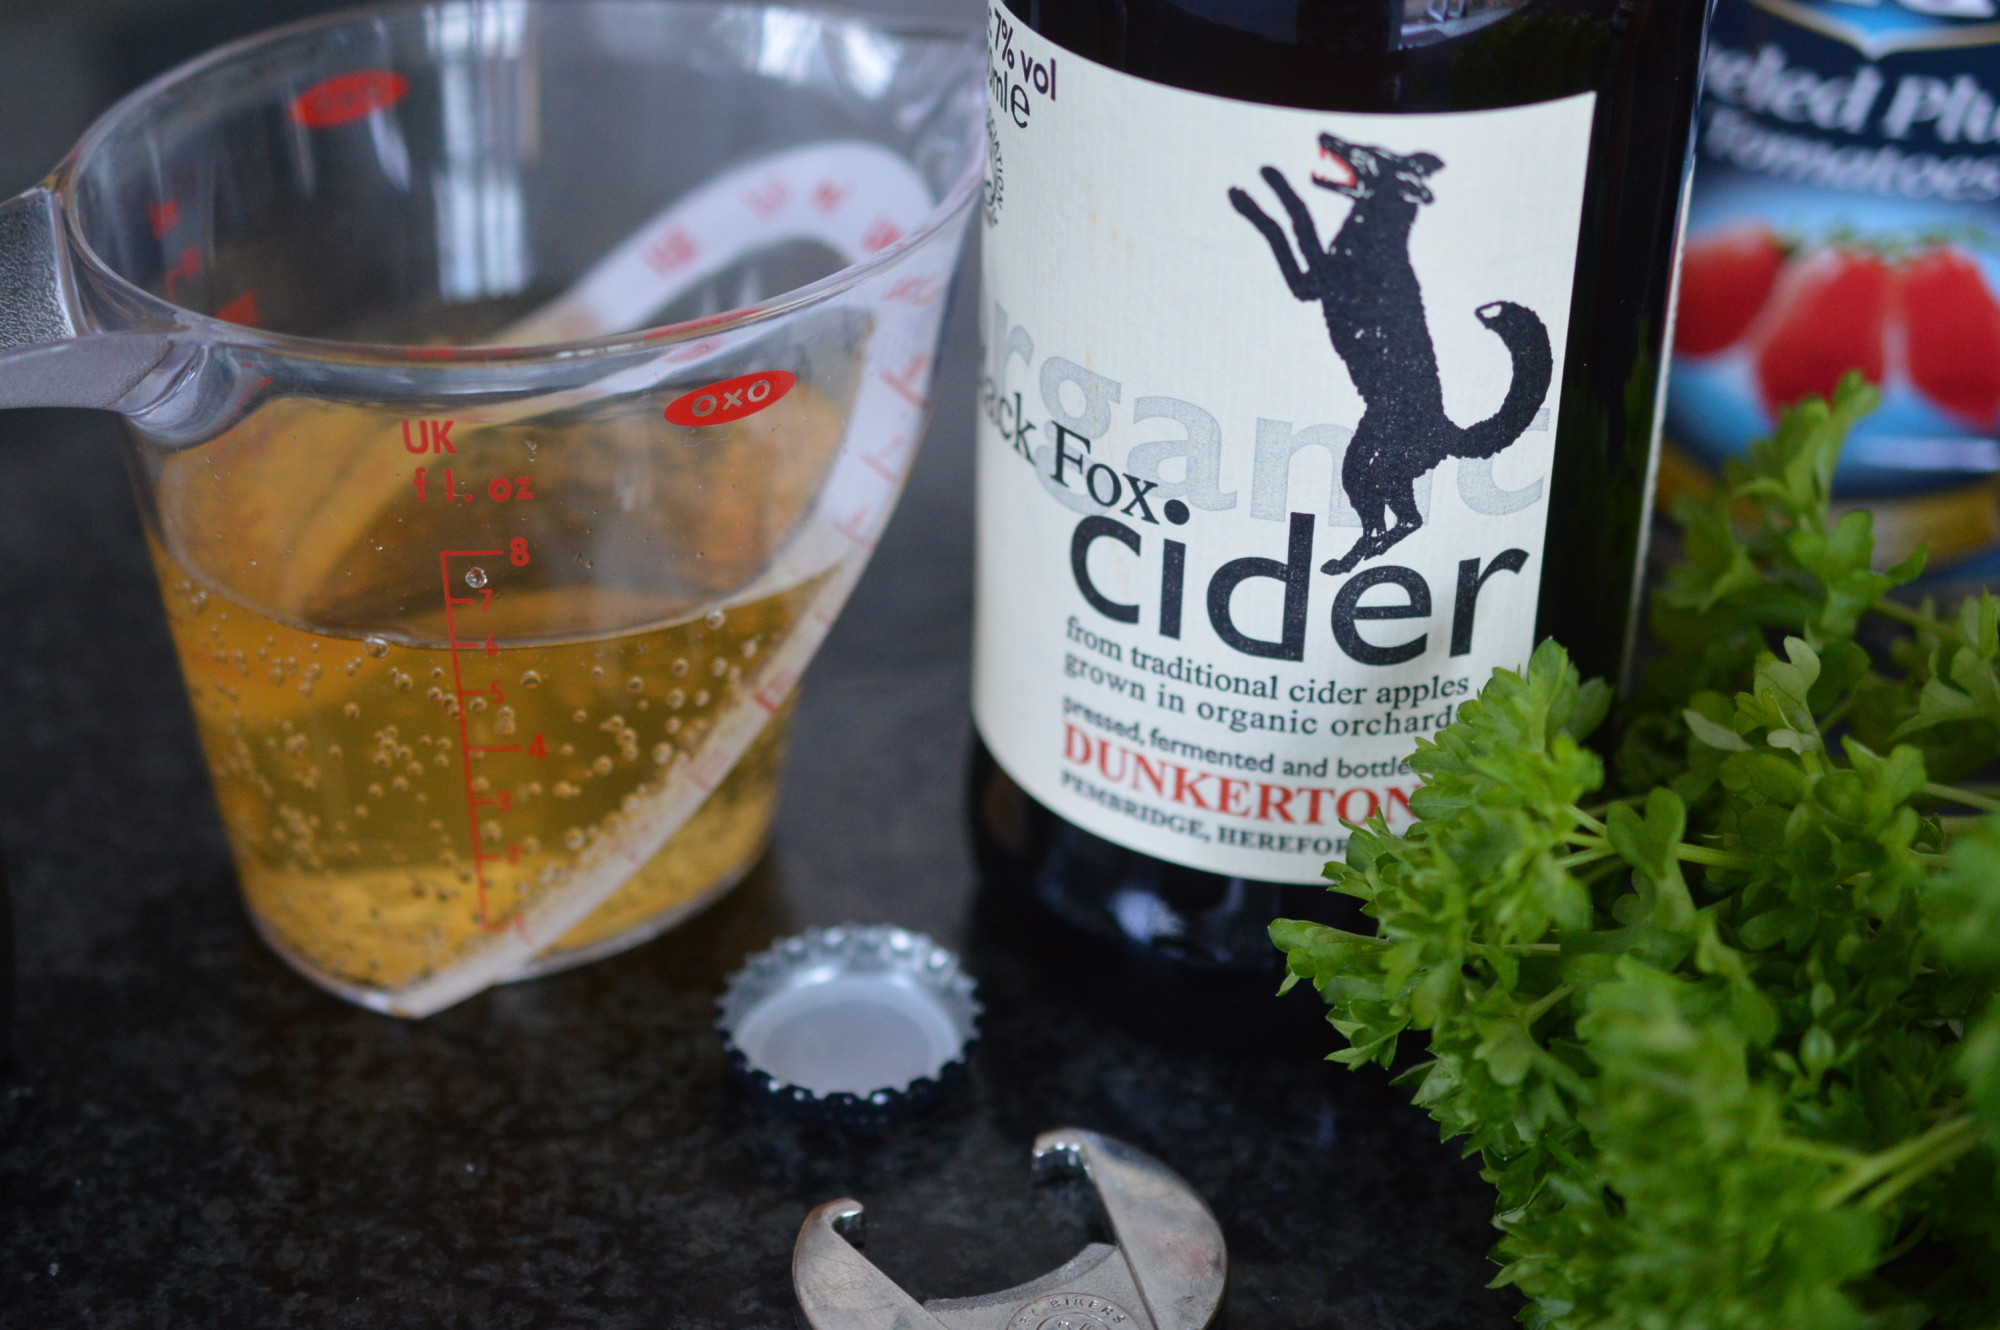
I’m using one of my favourite ciders.  Go for something dry.

Mussels - add tomatoes and cider

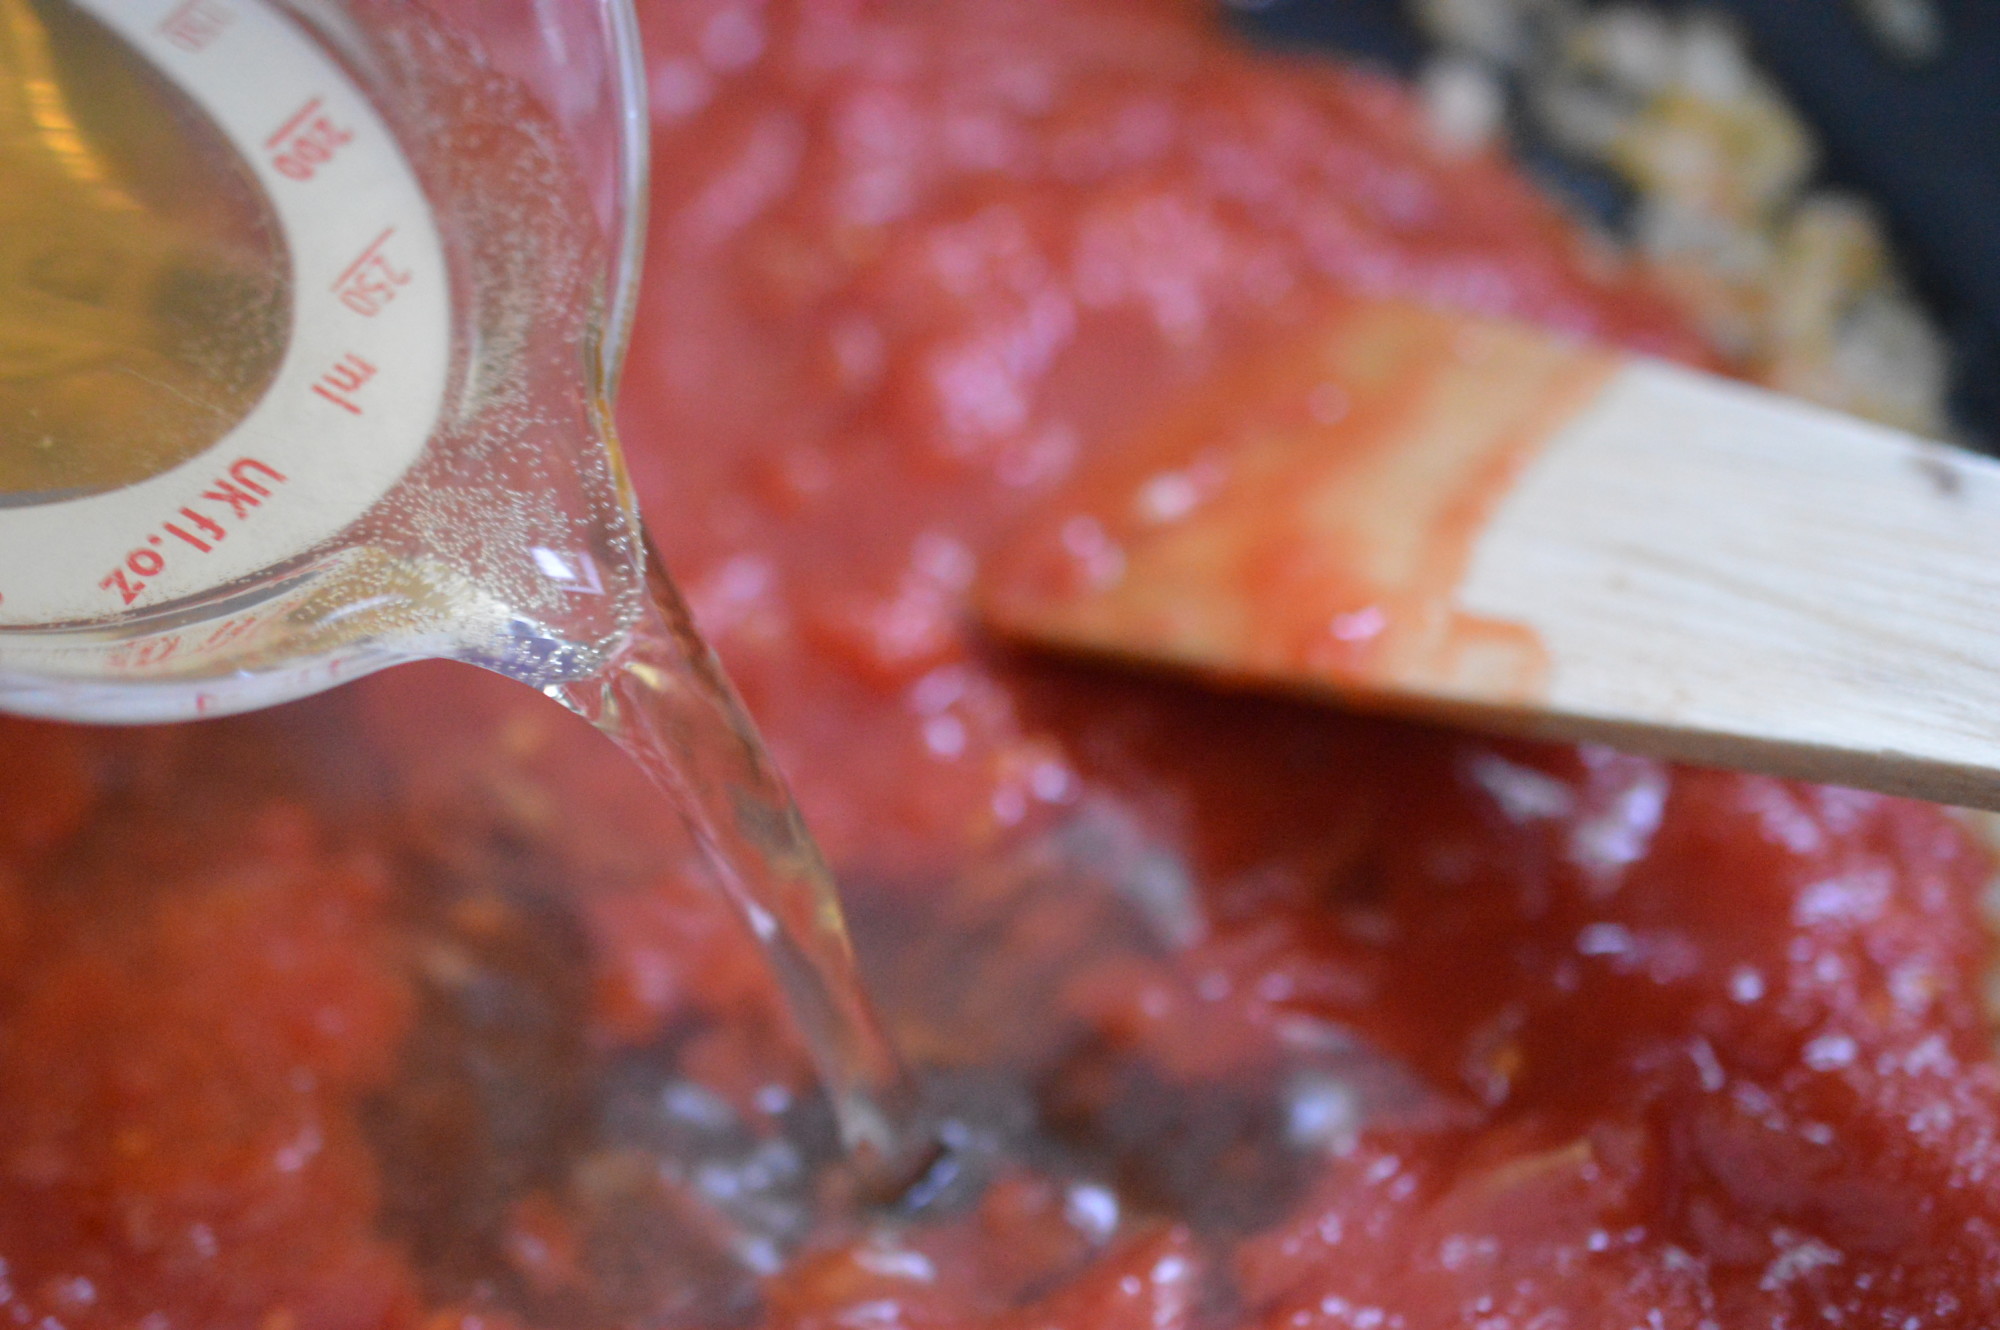
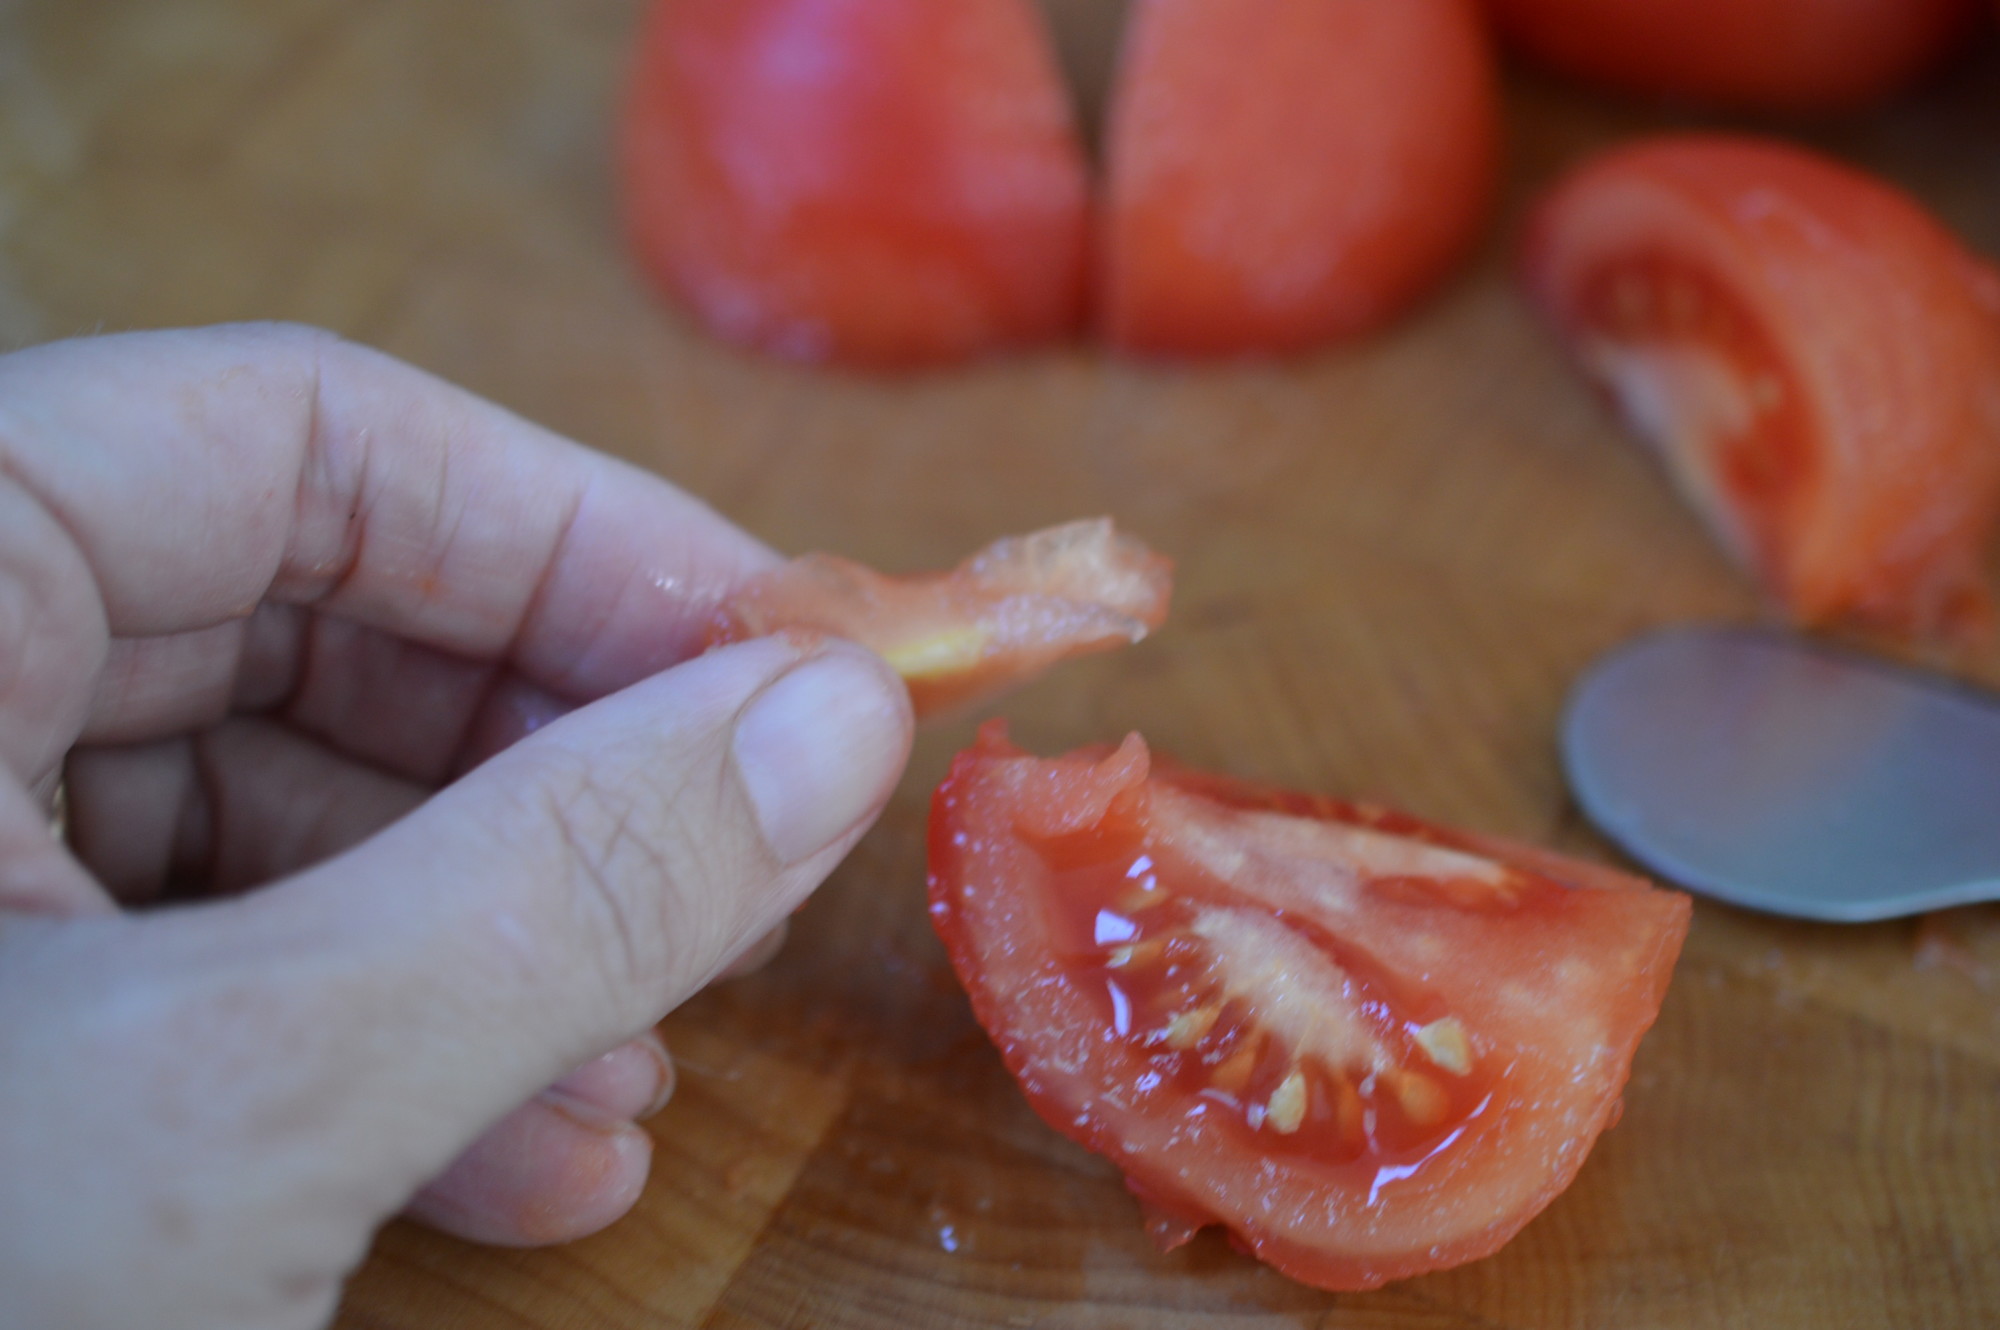
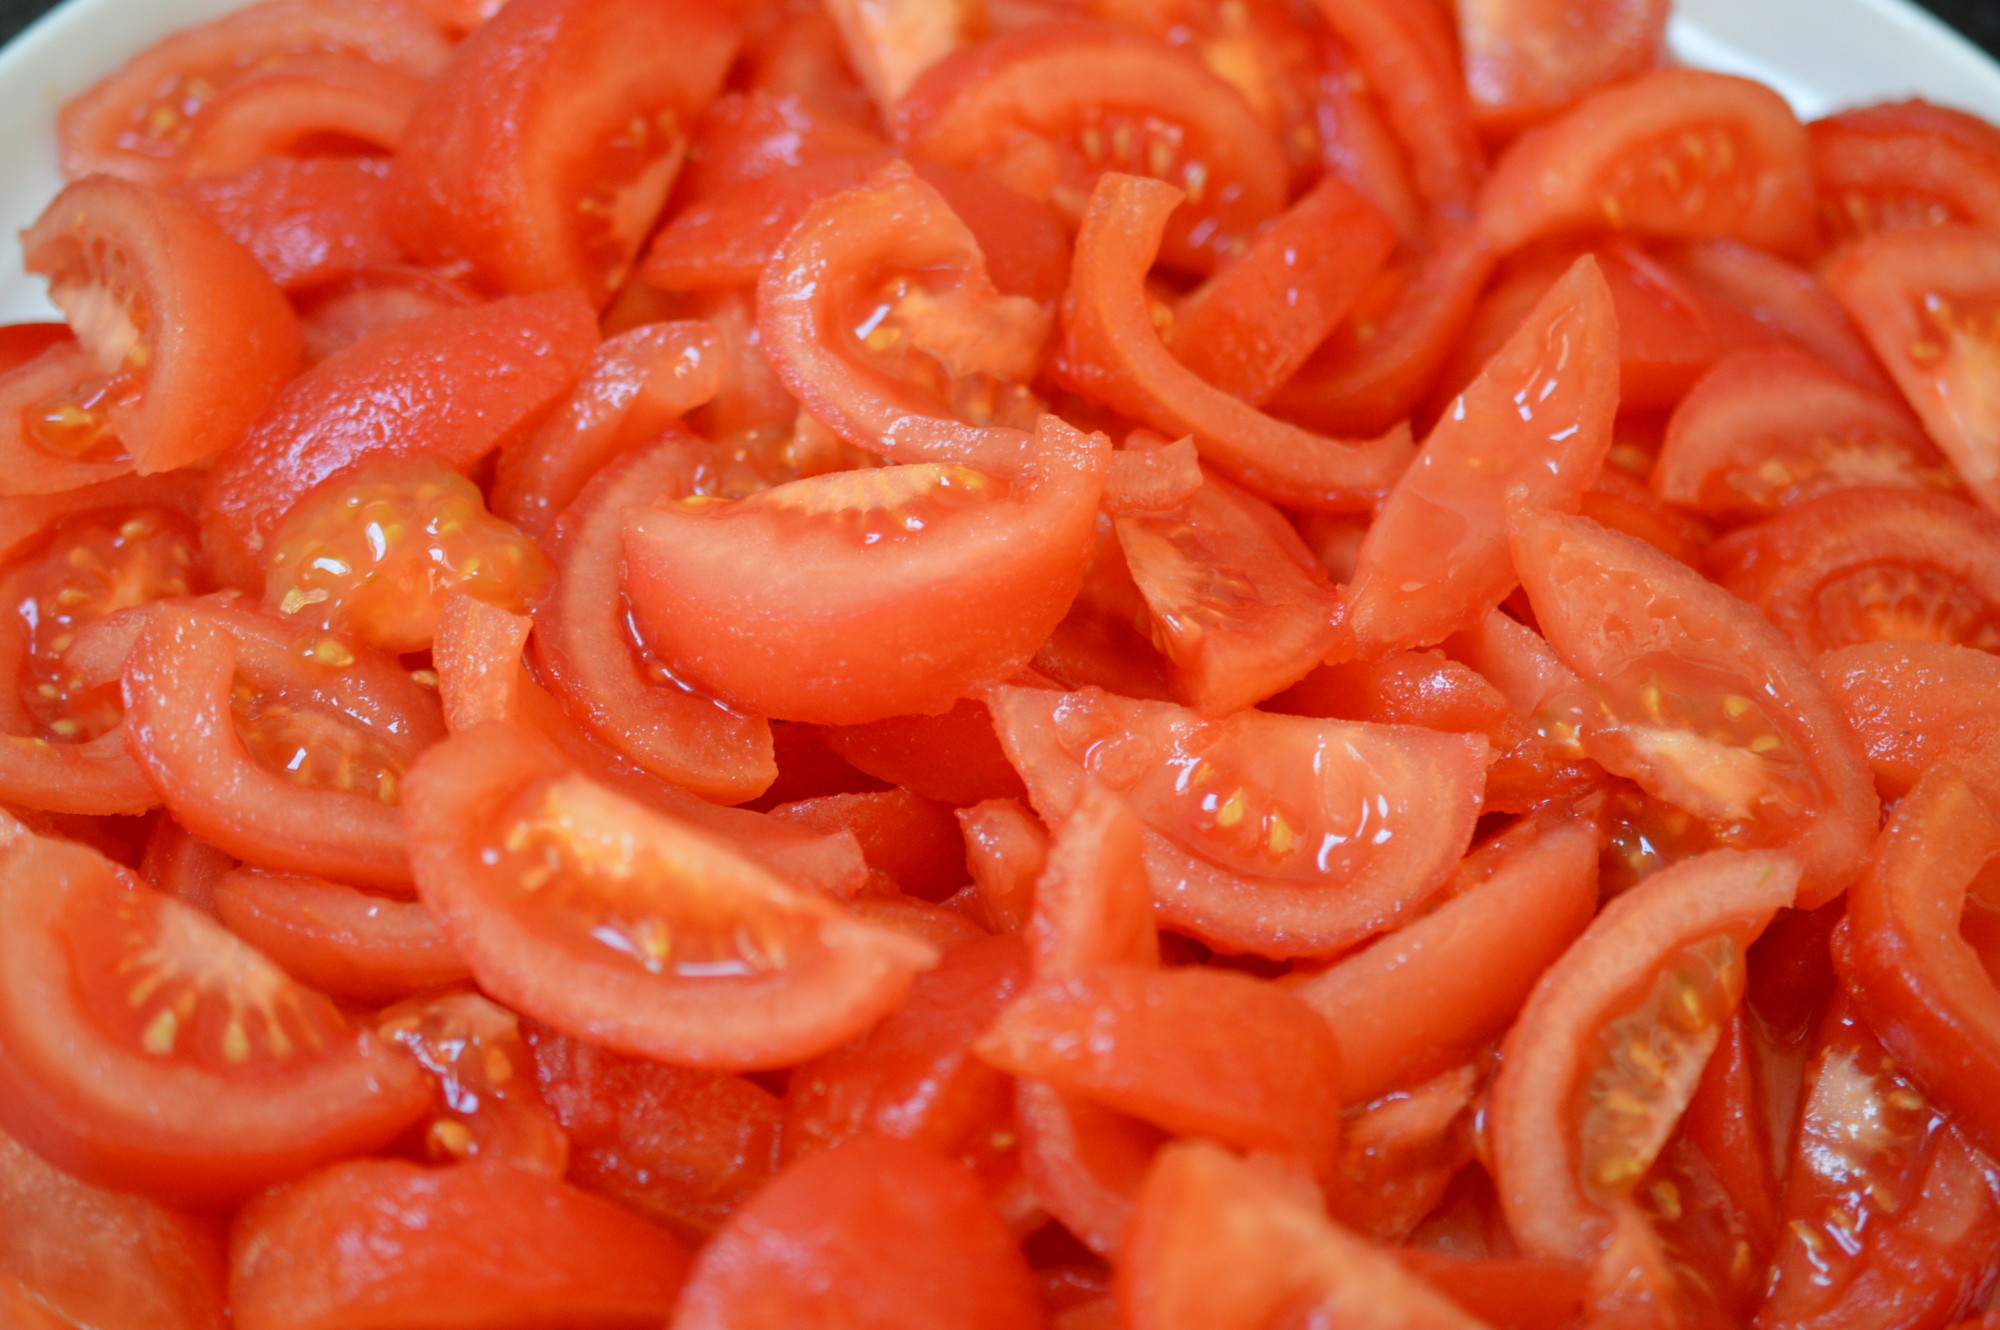
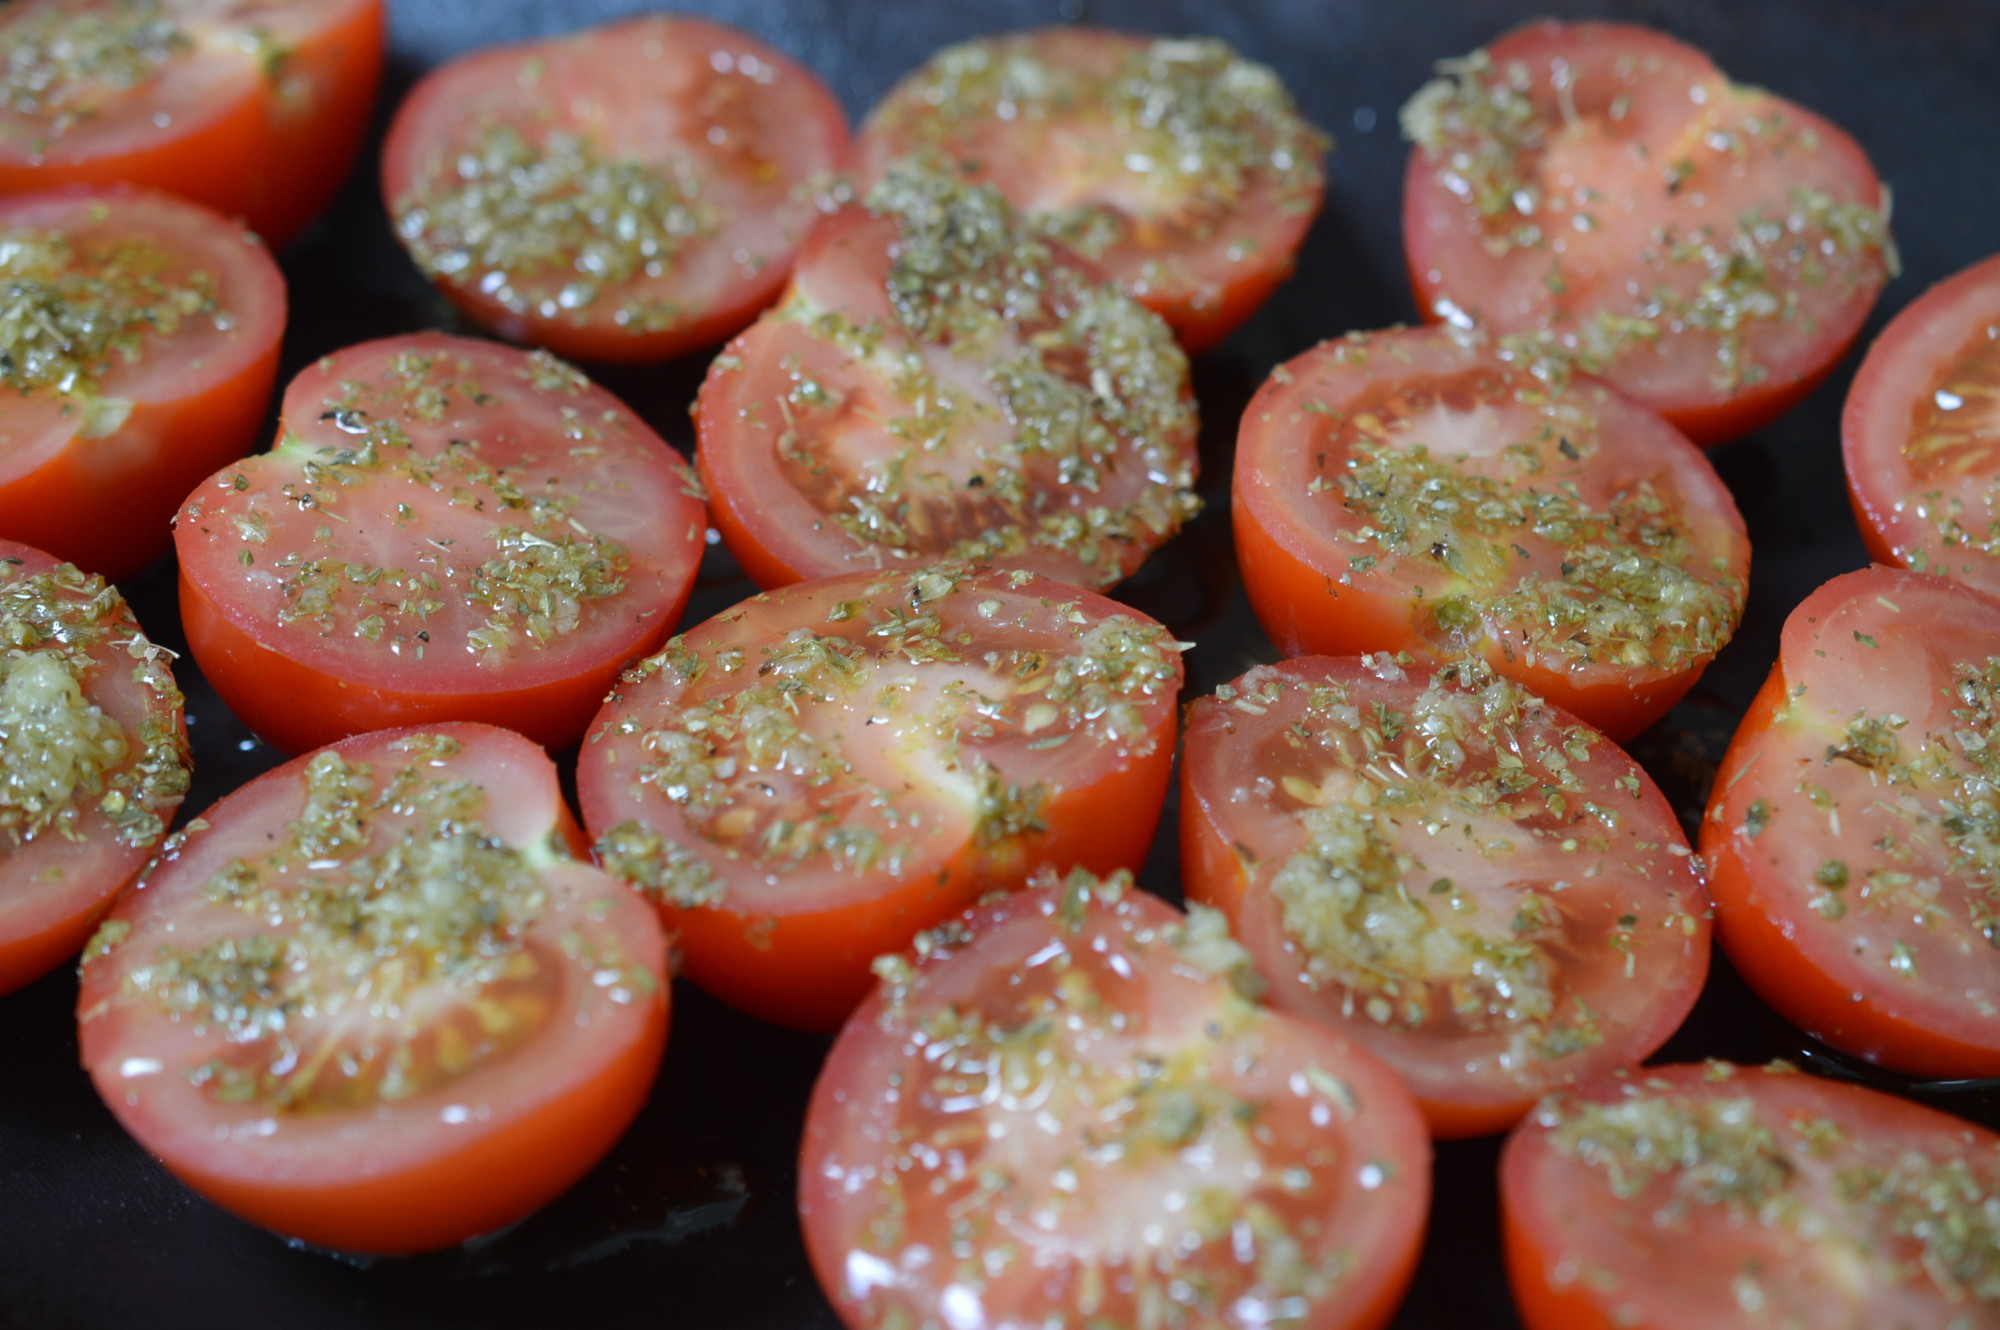
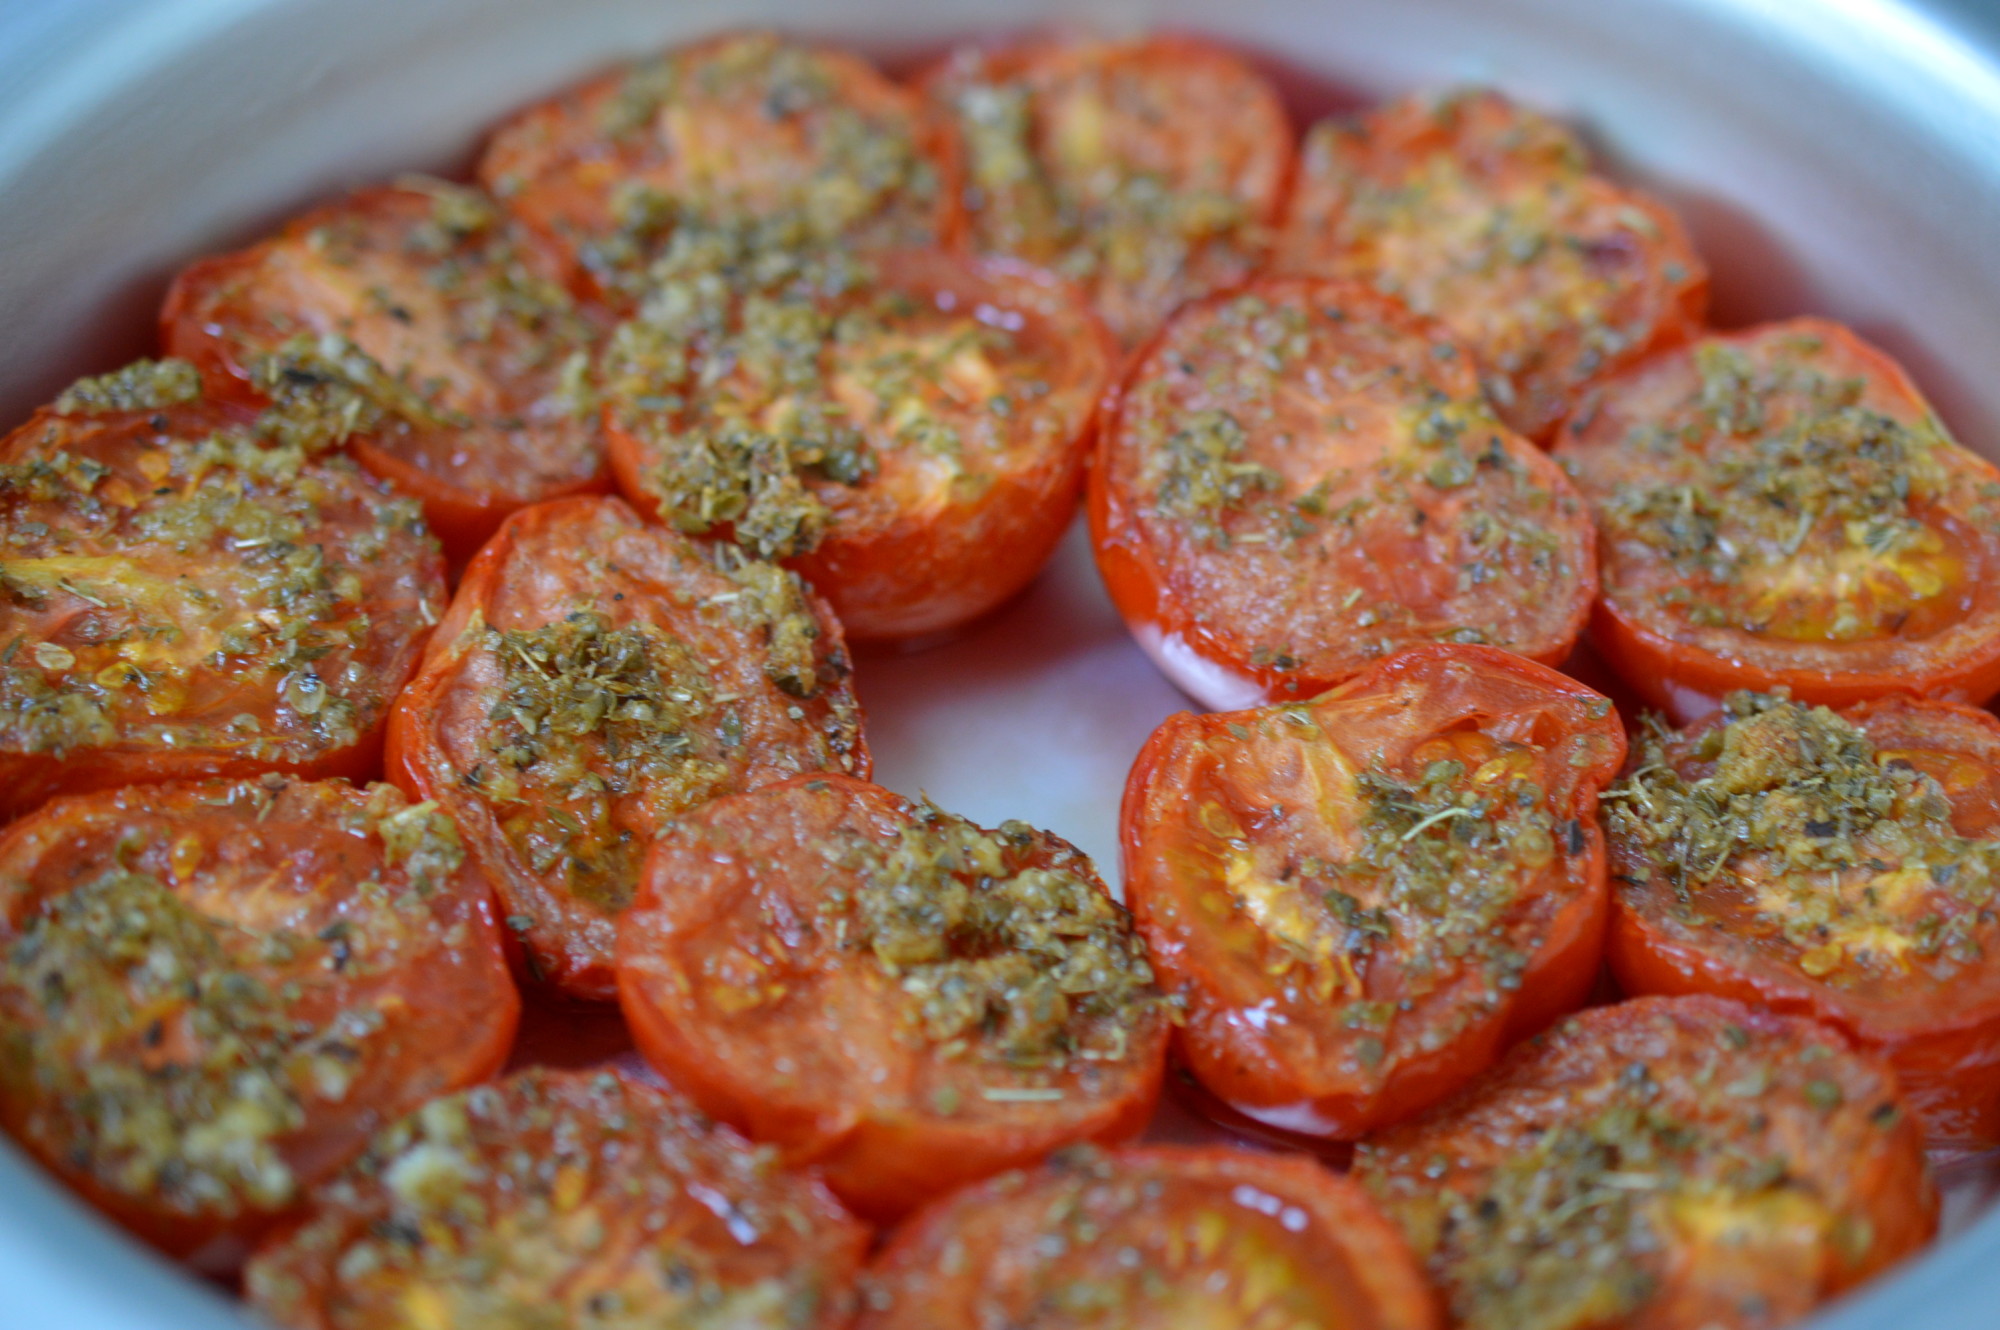
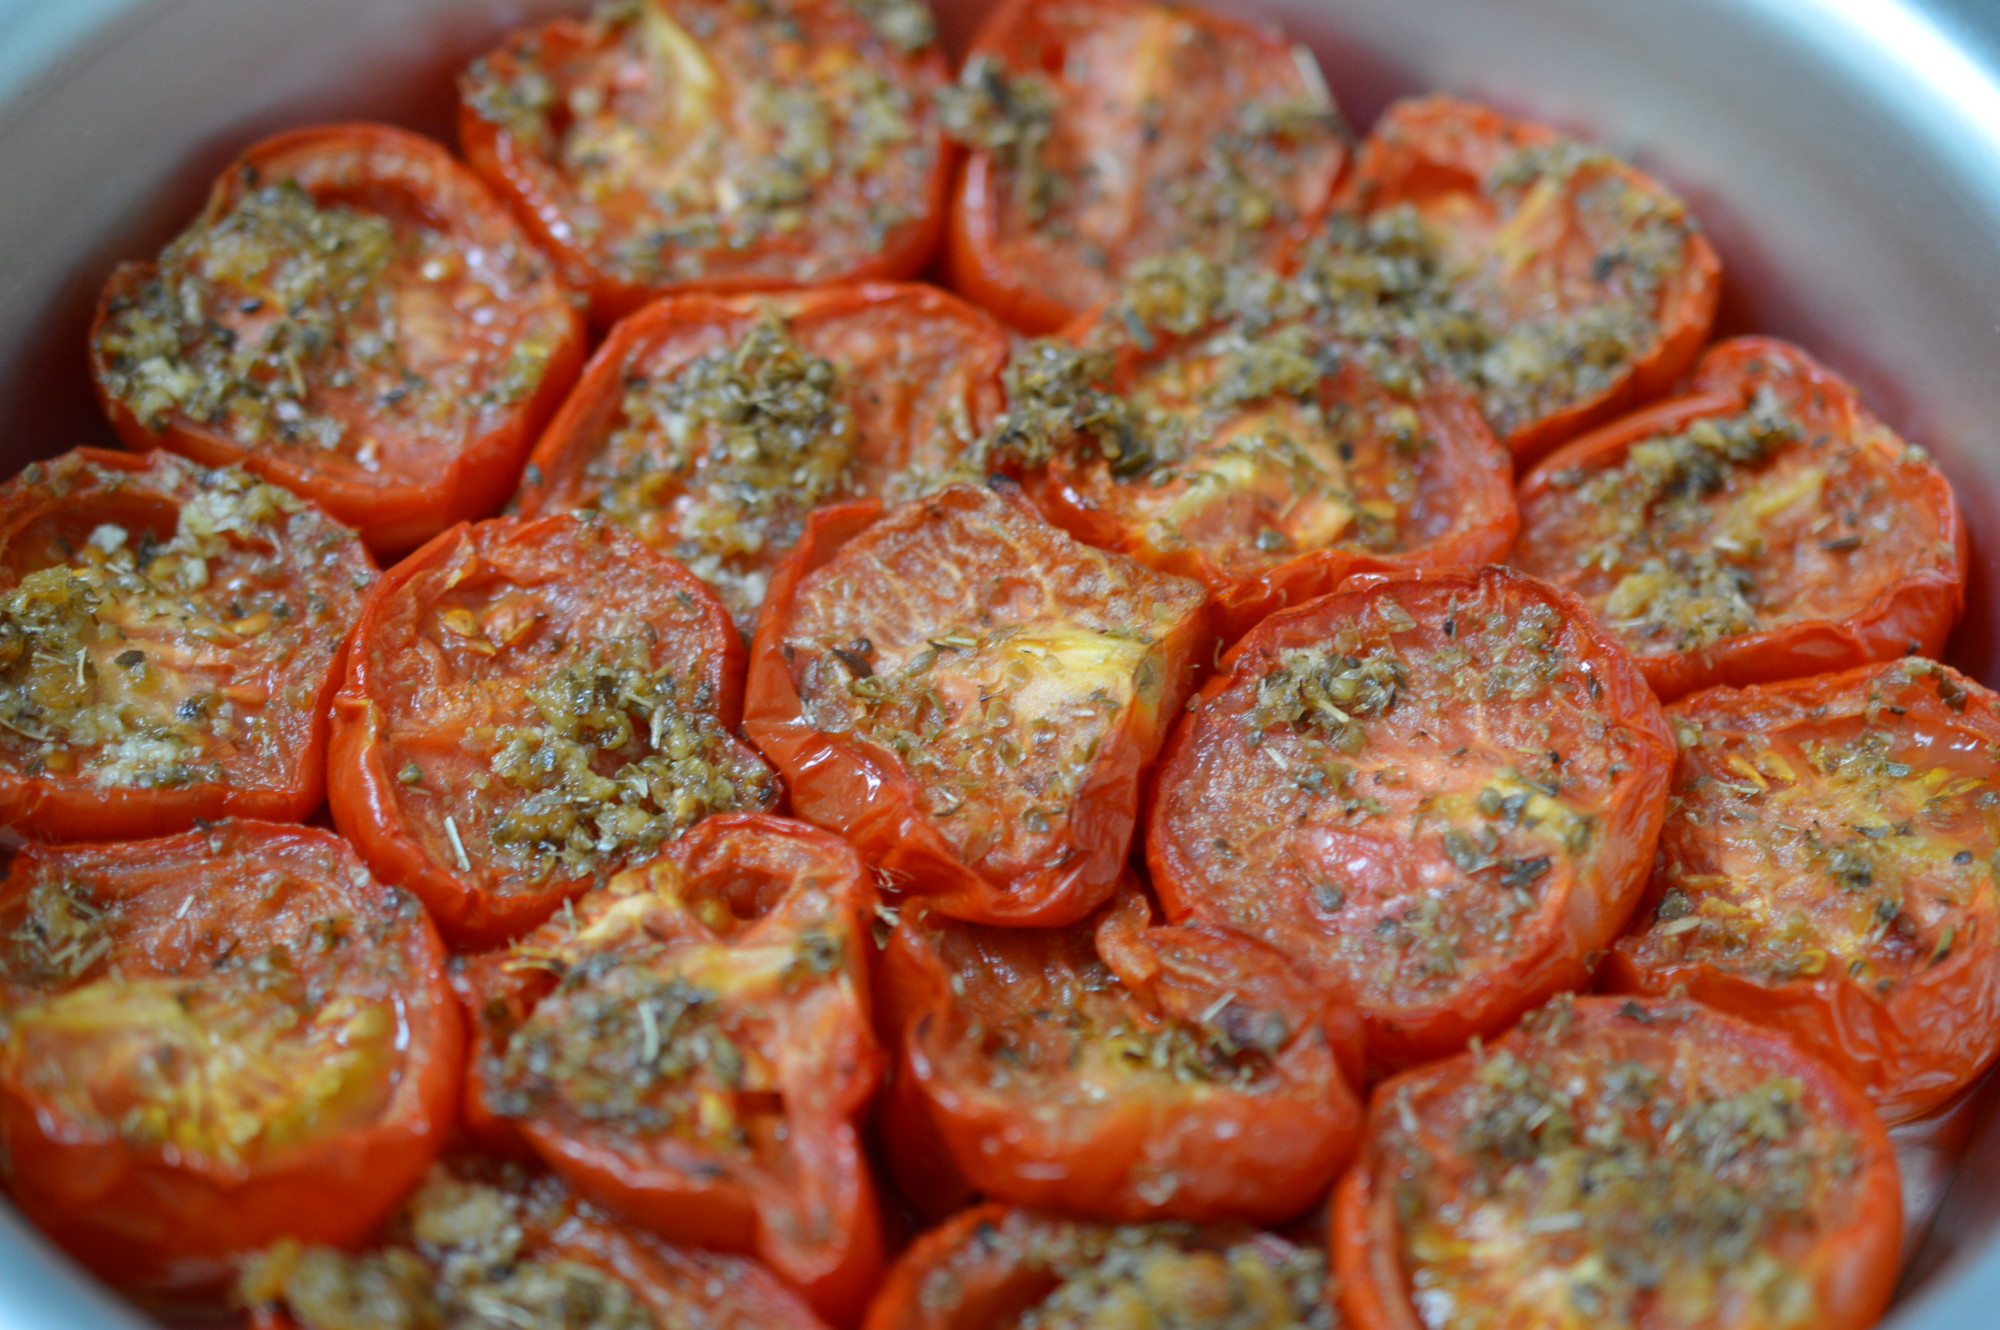
Add a tin of tomatoes and the cider.

Mussels - allow cider to preparation team

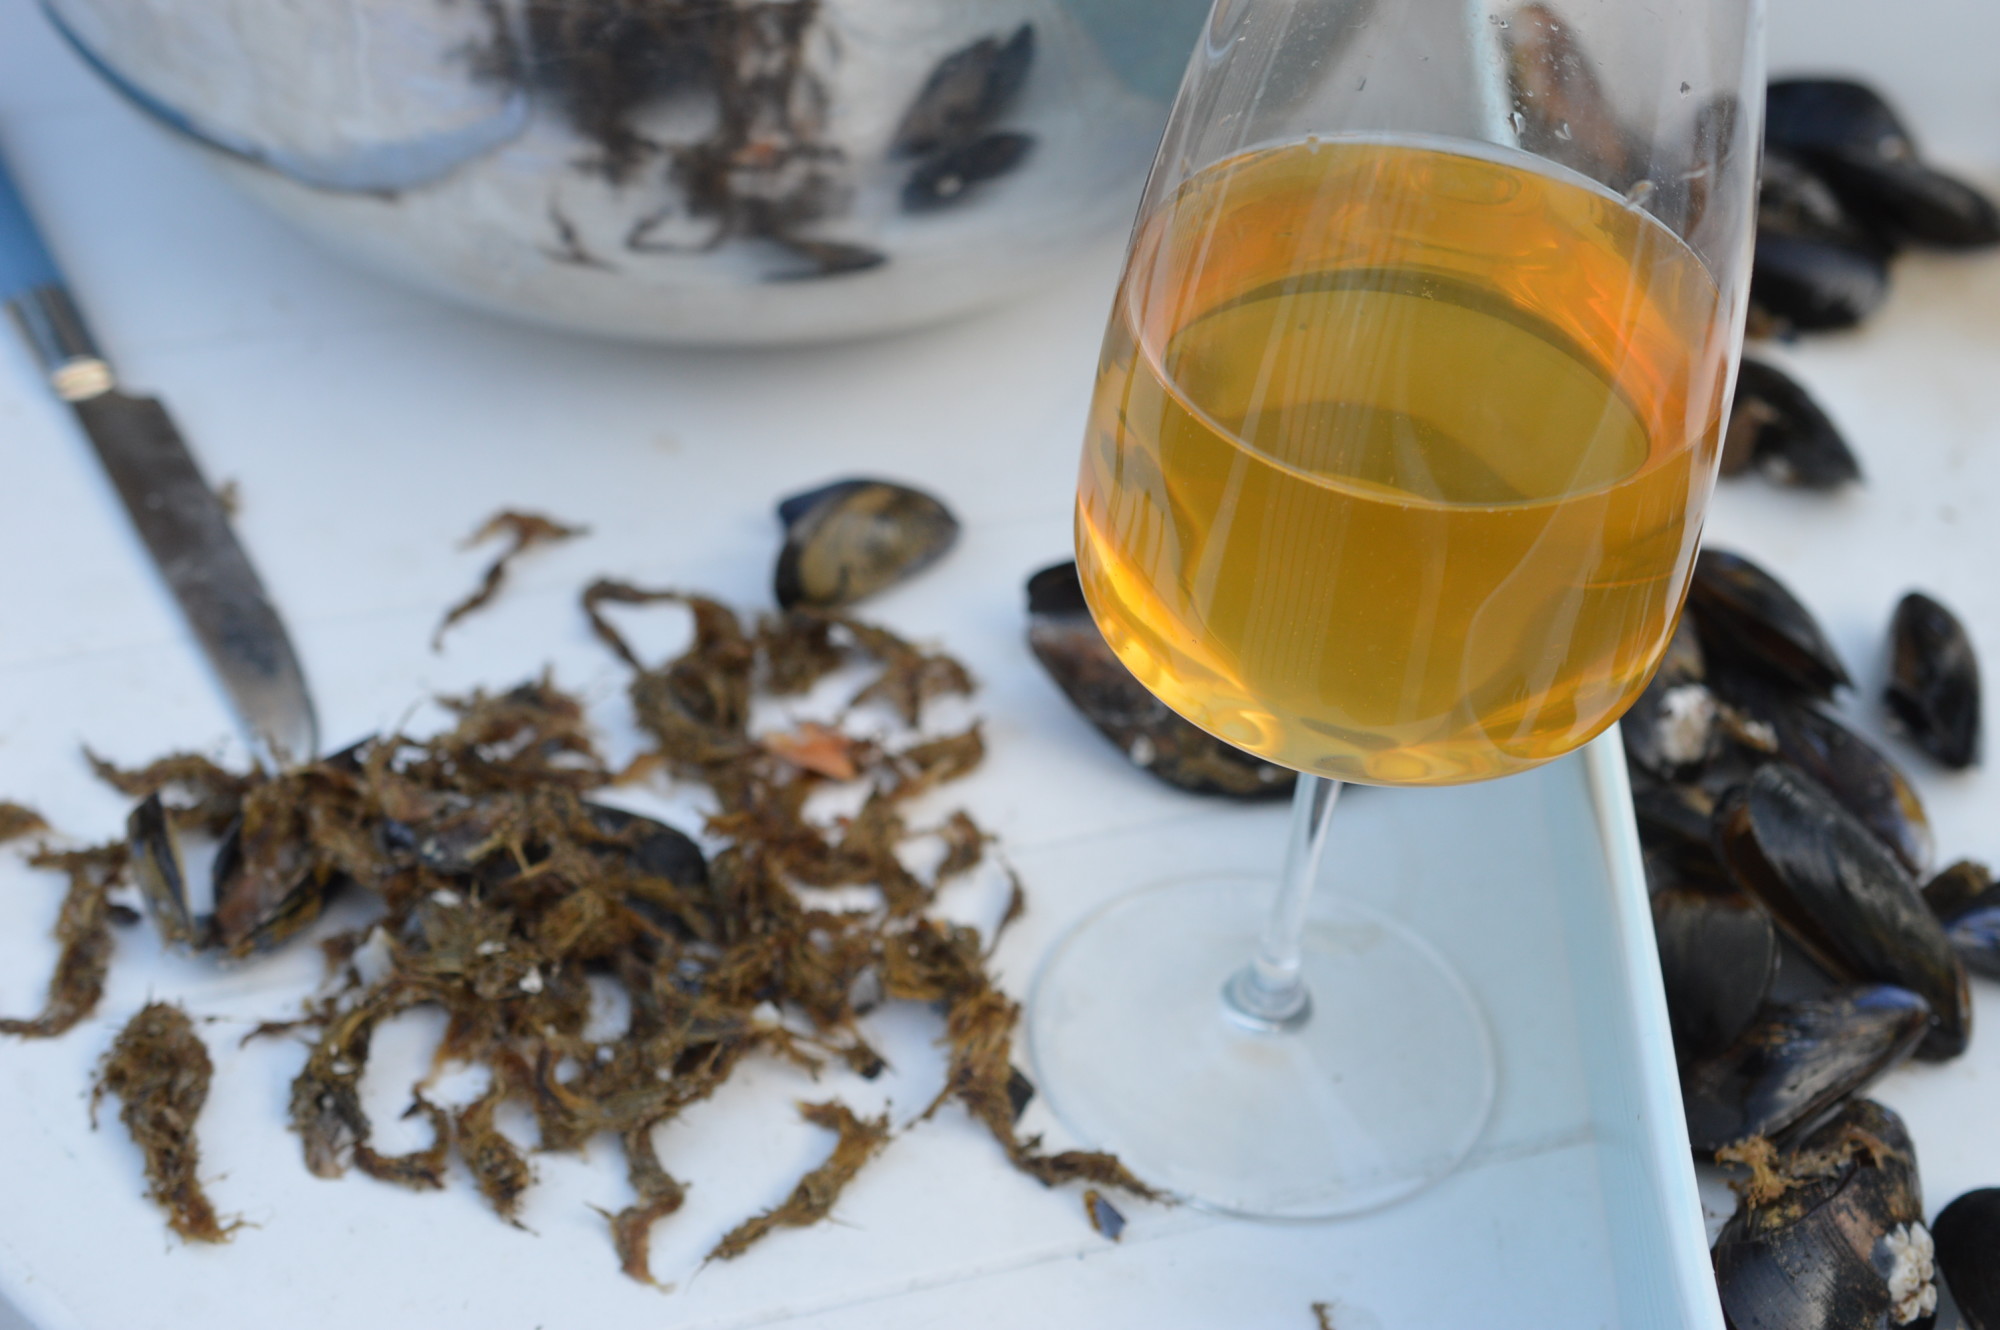
This is something of a moral dilemma.  The rest of the cider could be considered ‘cook’s perks’ .. or you could motivate the person/perspons cleaning the darn things.

Mussels - all clean

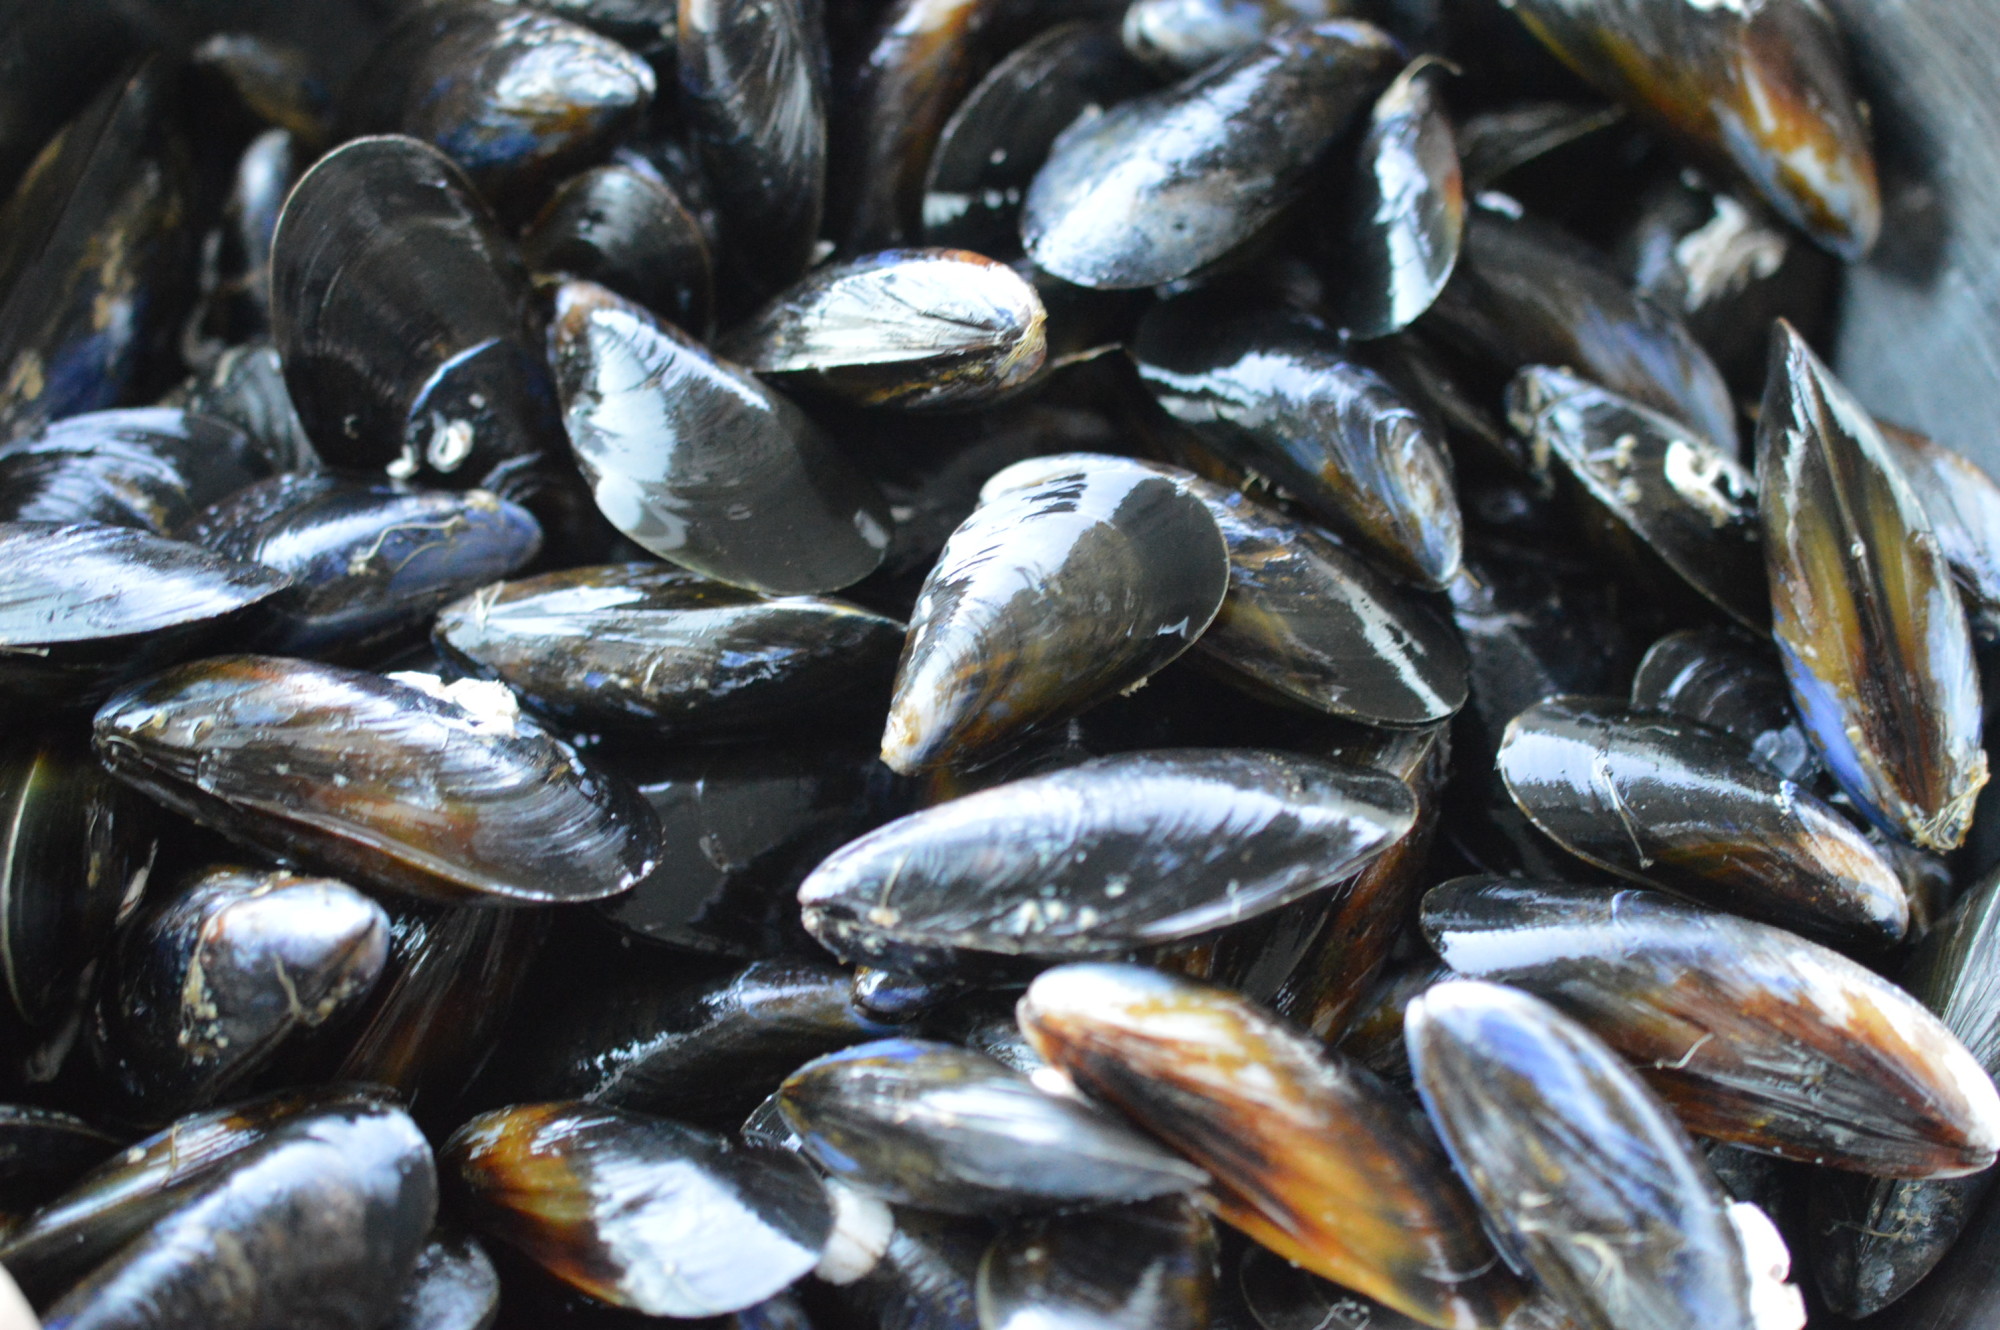
There they are – ready for the pot.  Give them a rinse under cold running water.

Mussels - cook sauce

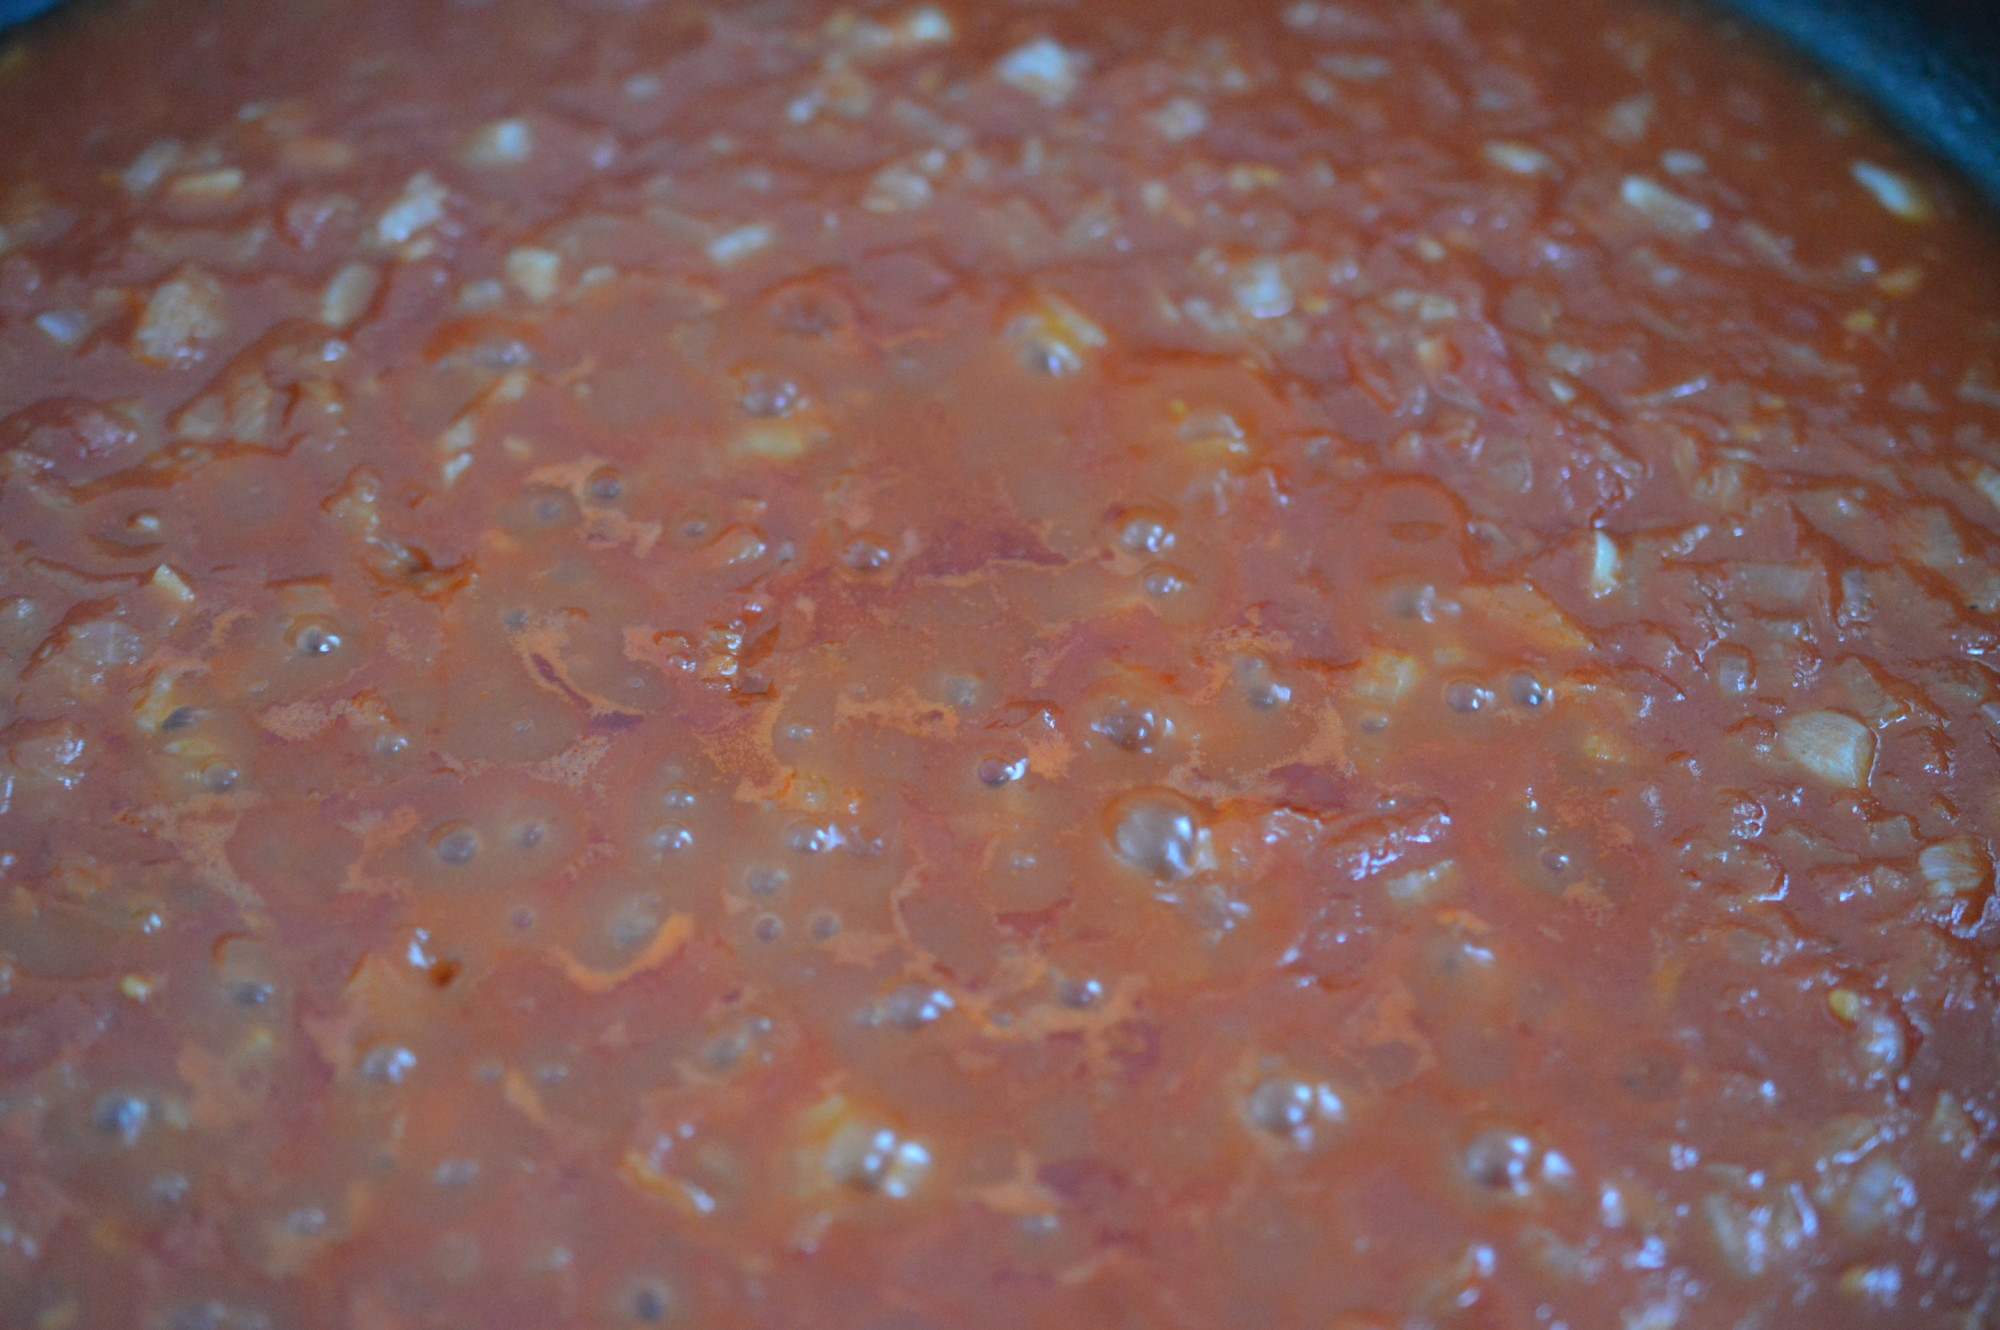
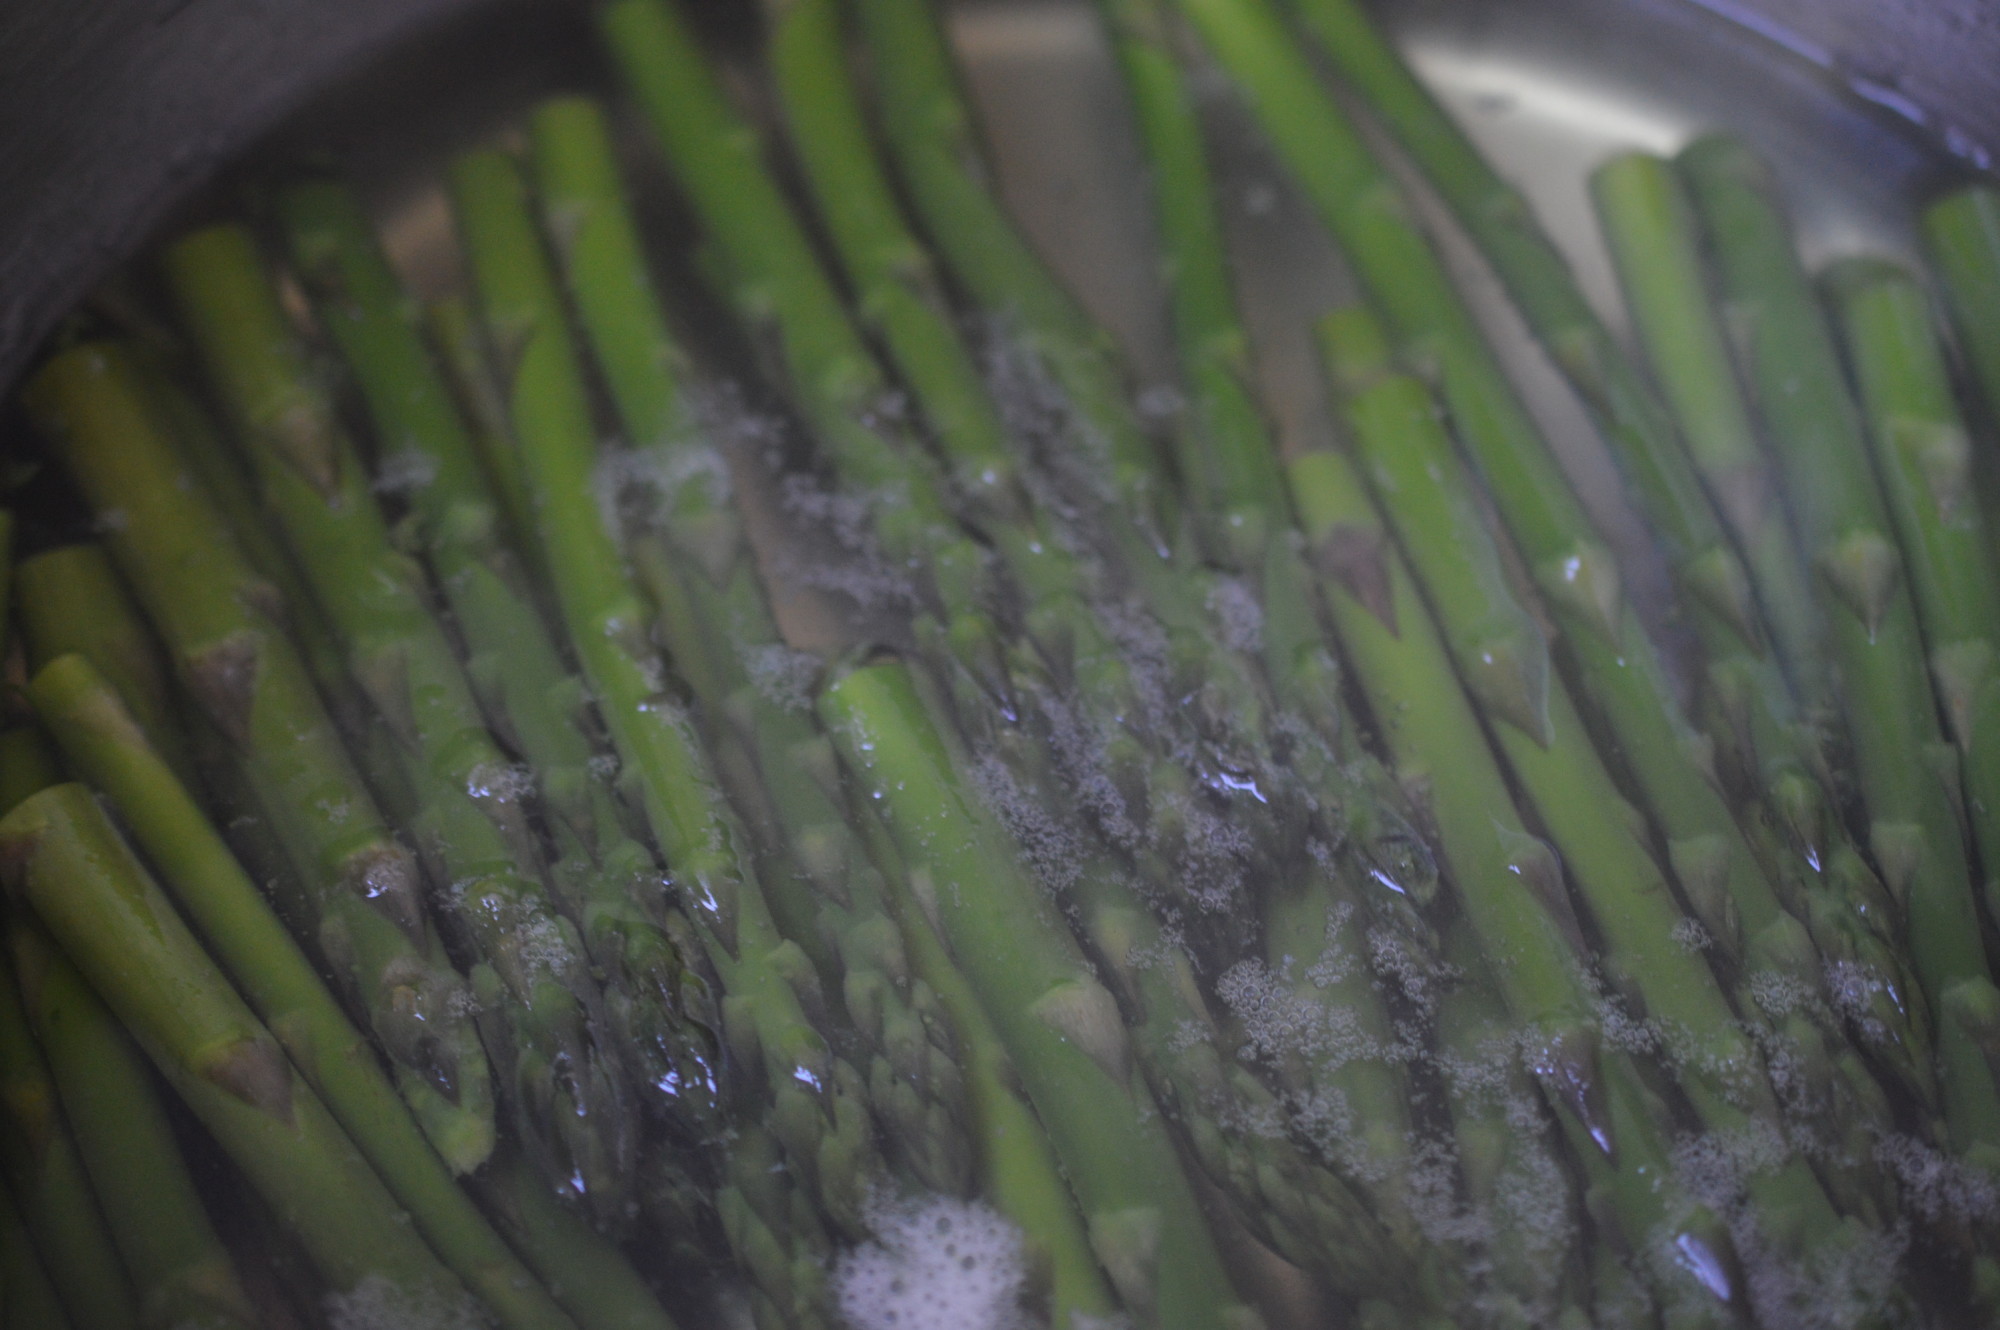
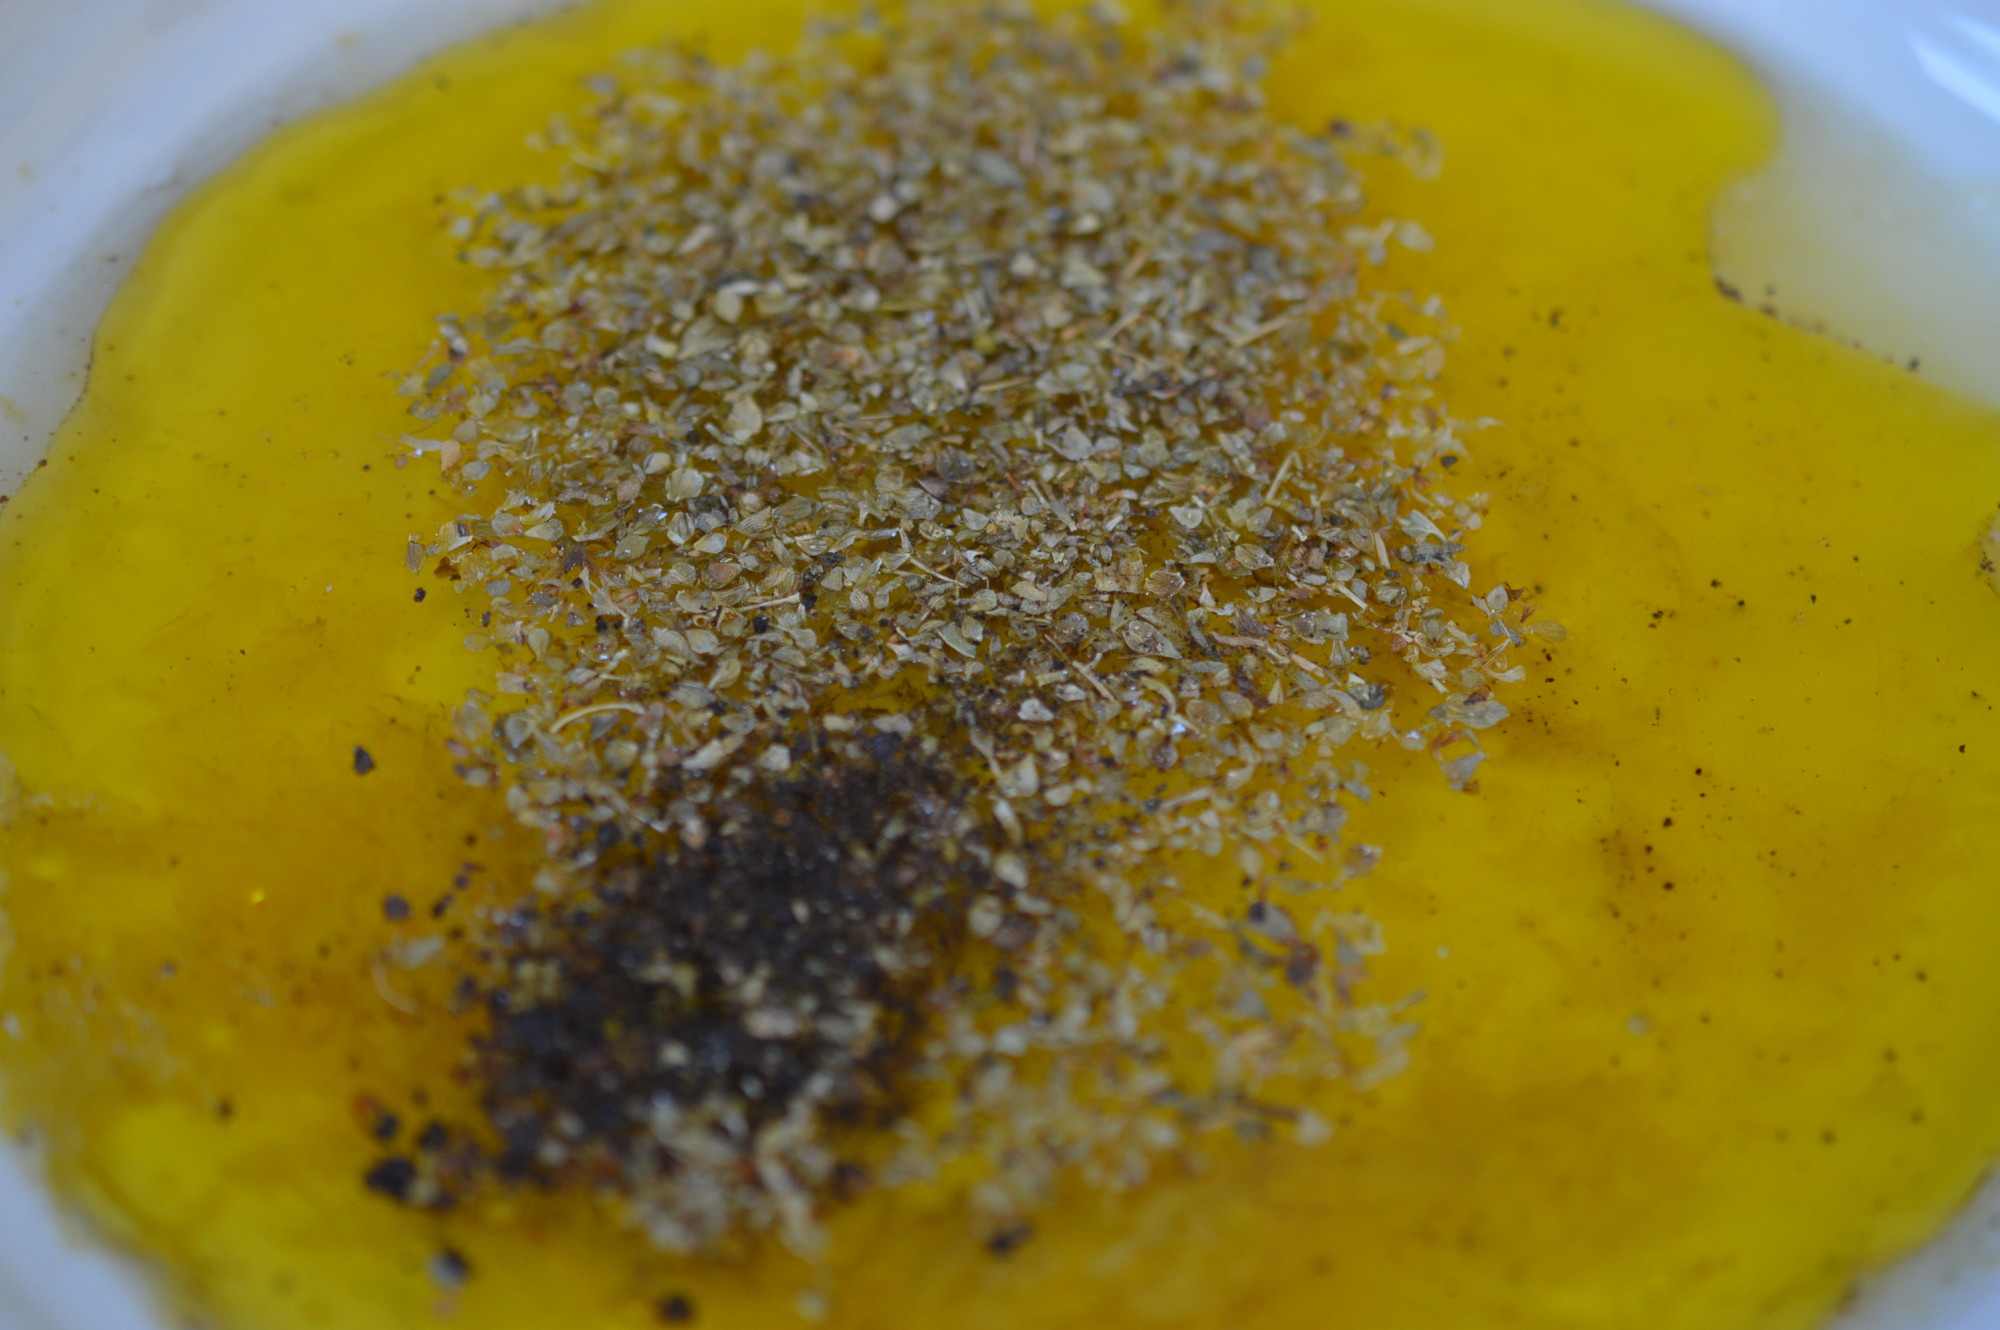
Give the sauce a little taste to check for seasoning.  A little pepper, maybe.  Don’t add any salt now as the juices the mussels release are naturally salty.  Get everything boiling.

Mussels - steam

Tip the mussels in the pot and cover with a lid.  Give everything an occasional shake – but the steam will cook the mussels on the top without too much worry.  Through the misty haze of my see-through lid I watched the mussels open.
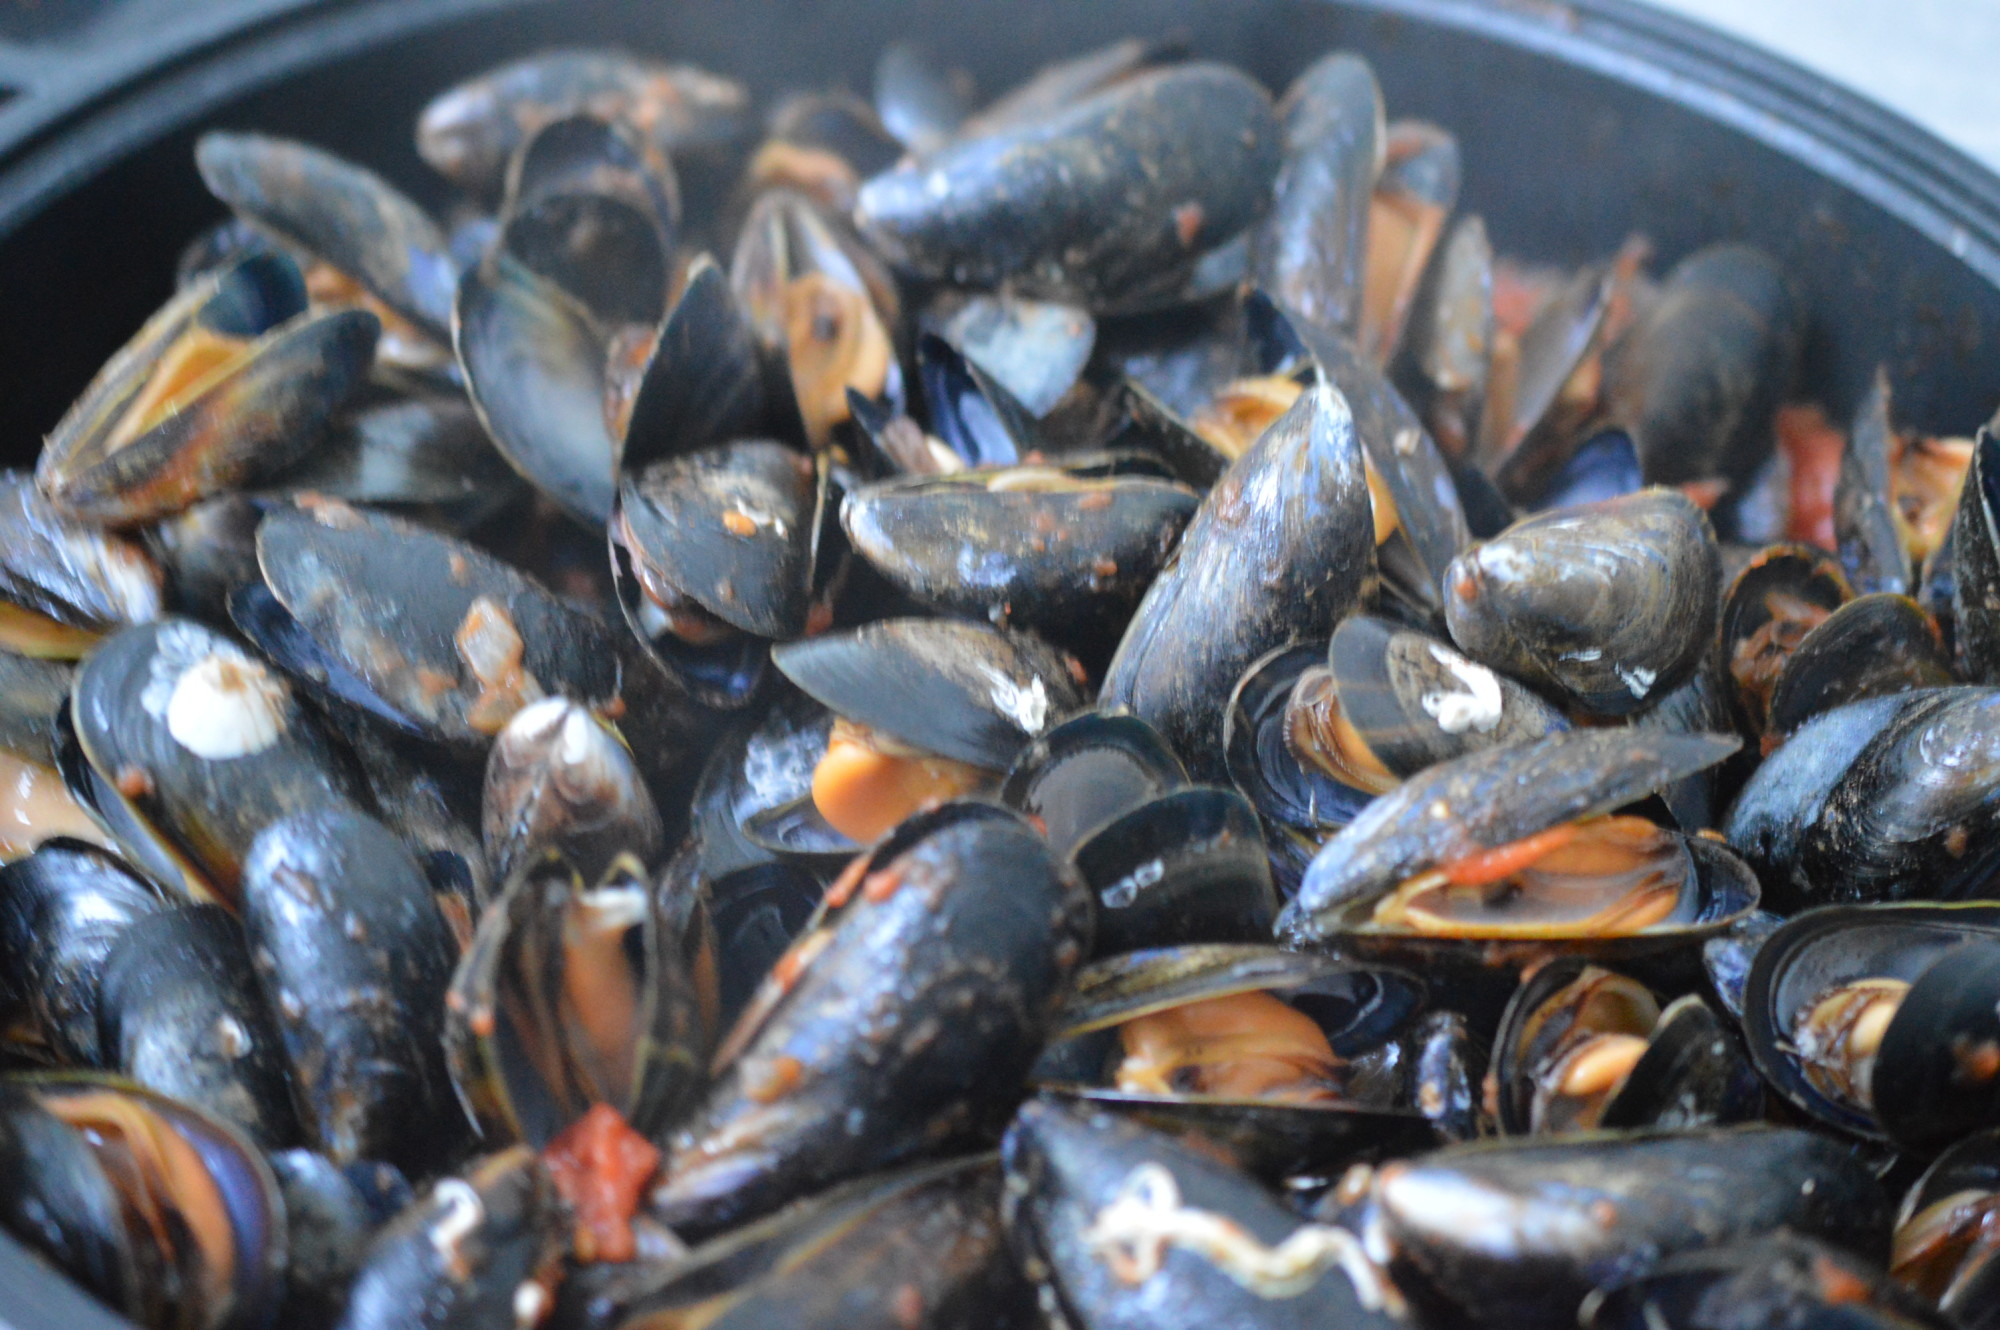
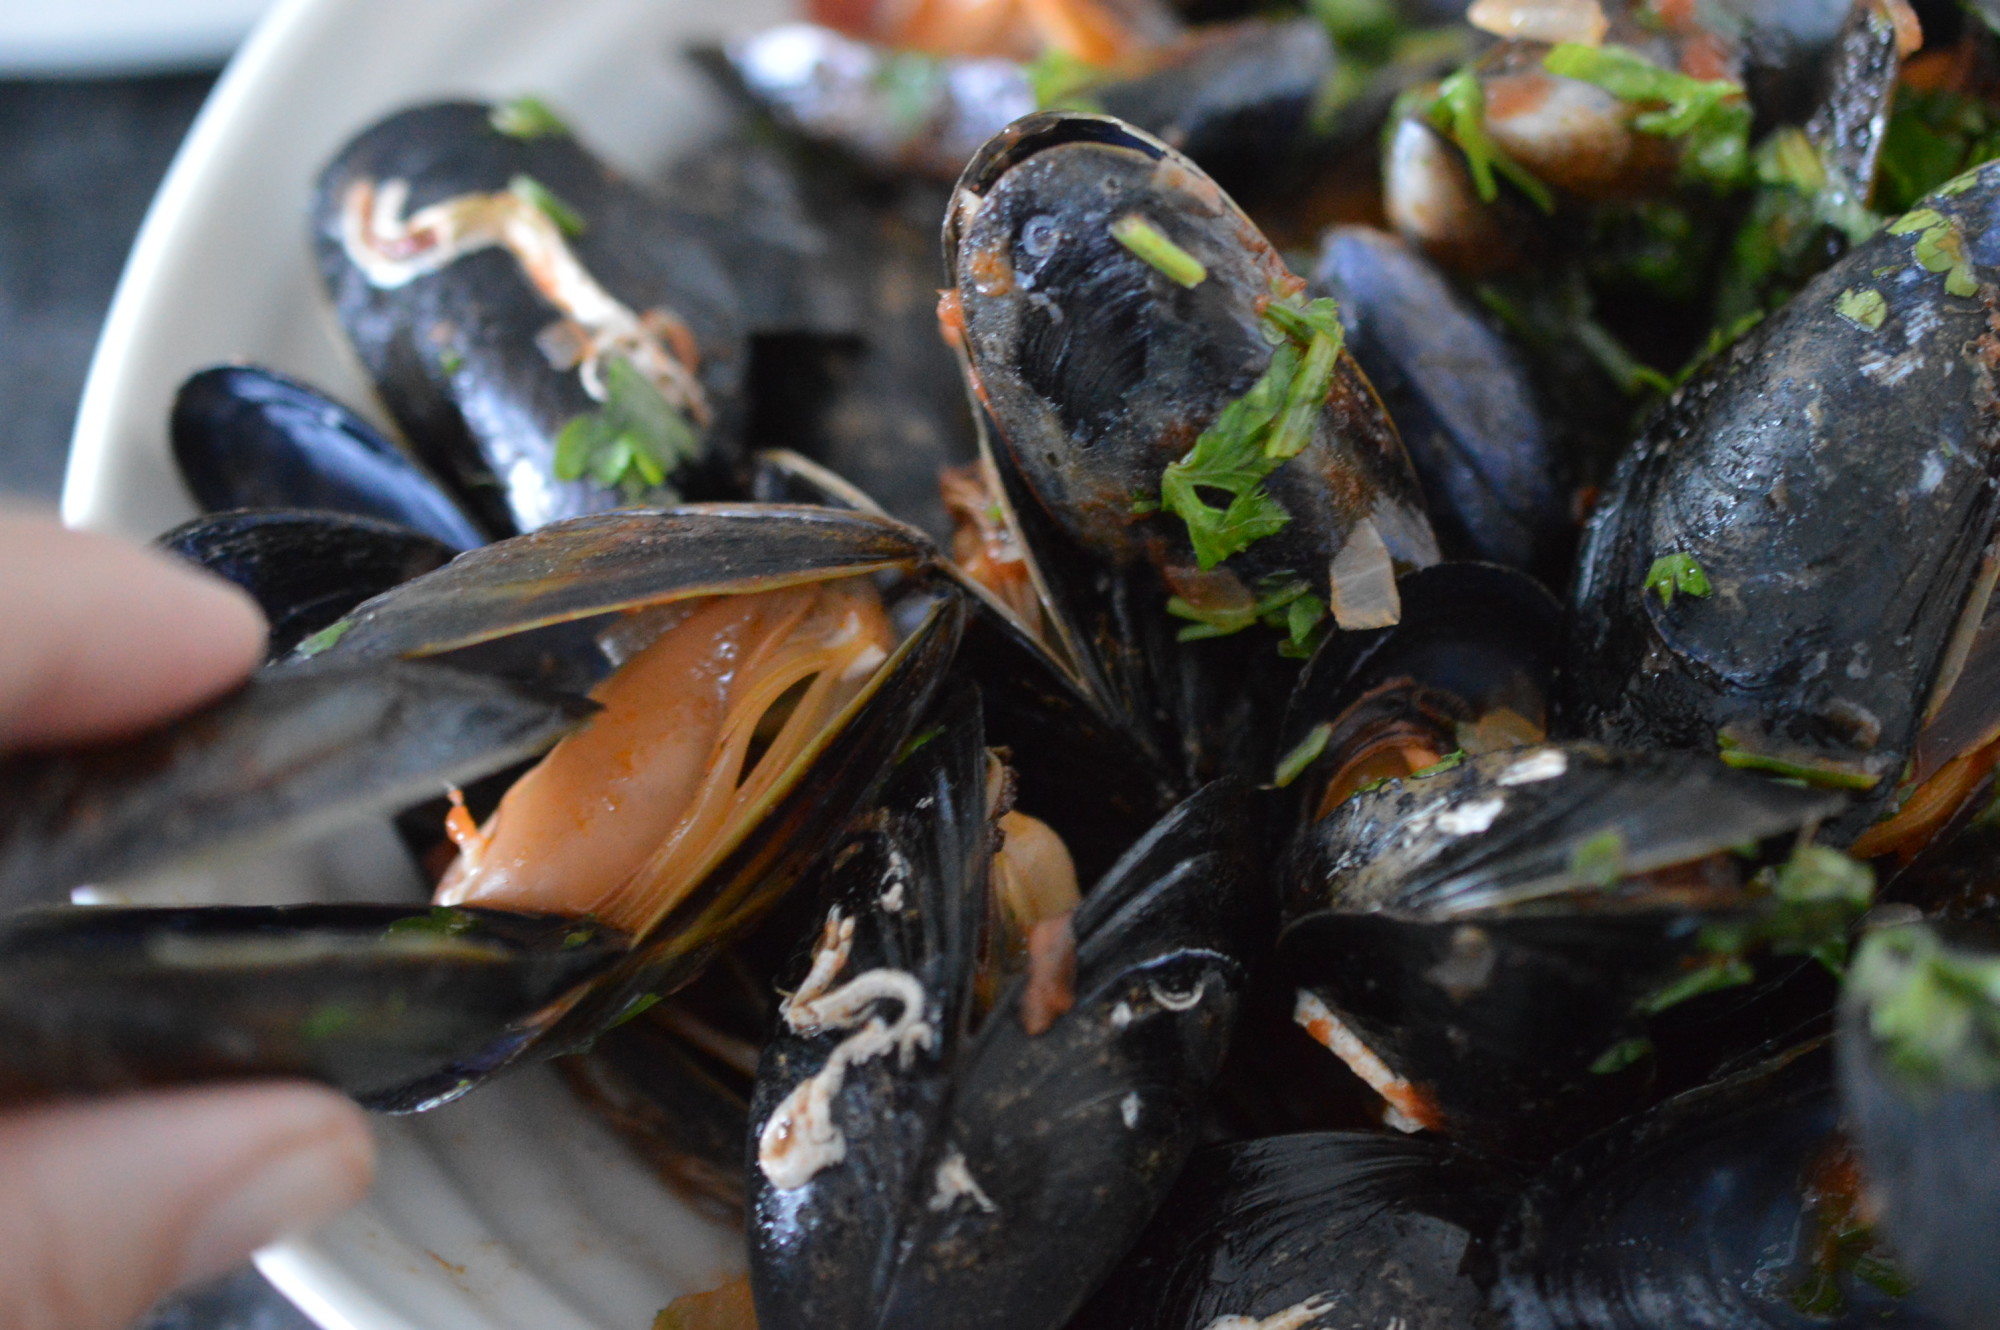
Mussels - cooked

There they are.

Mussels - add parsley

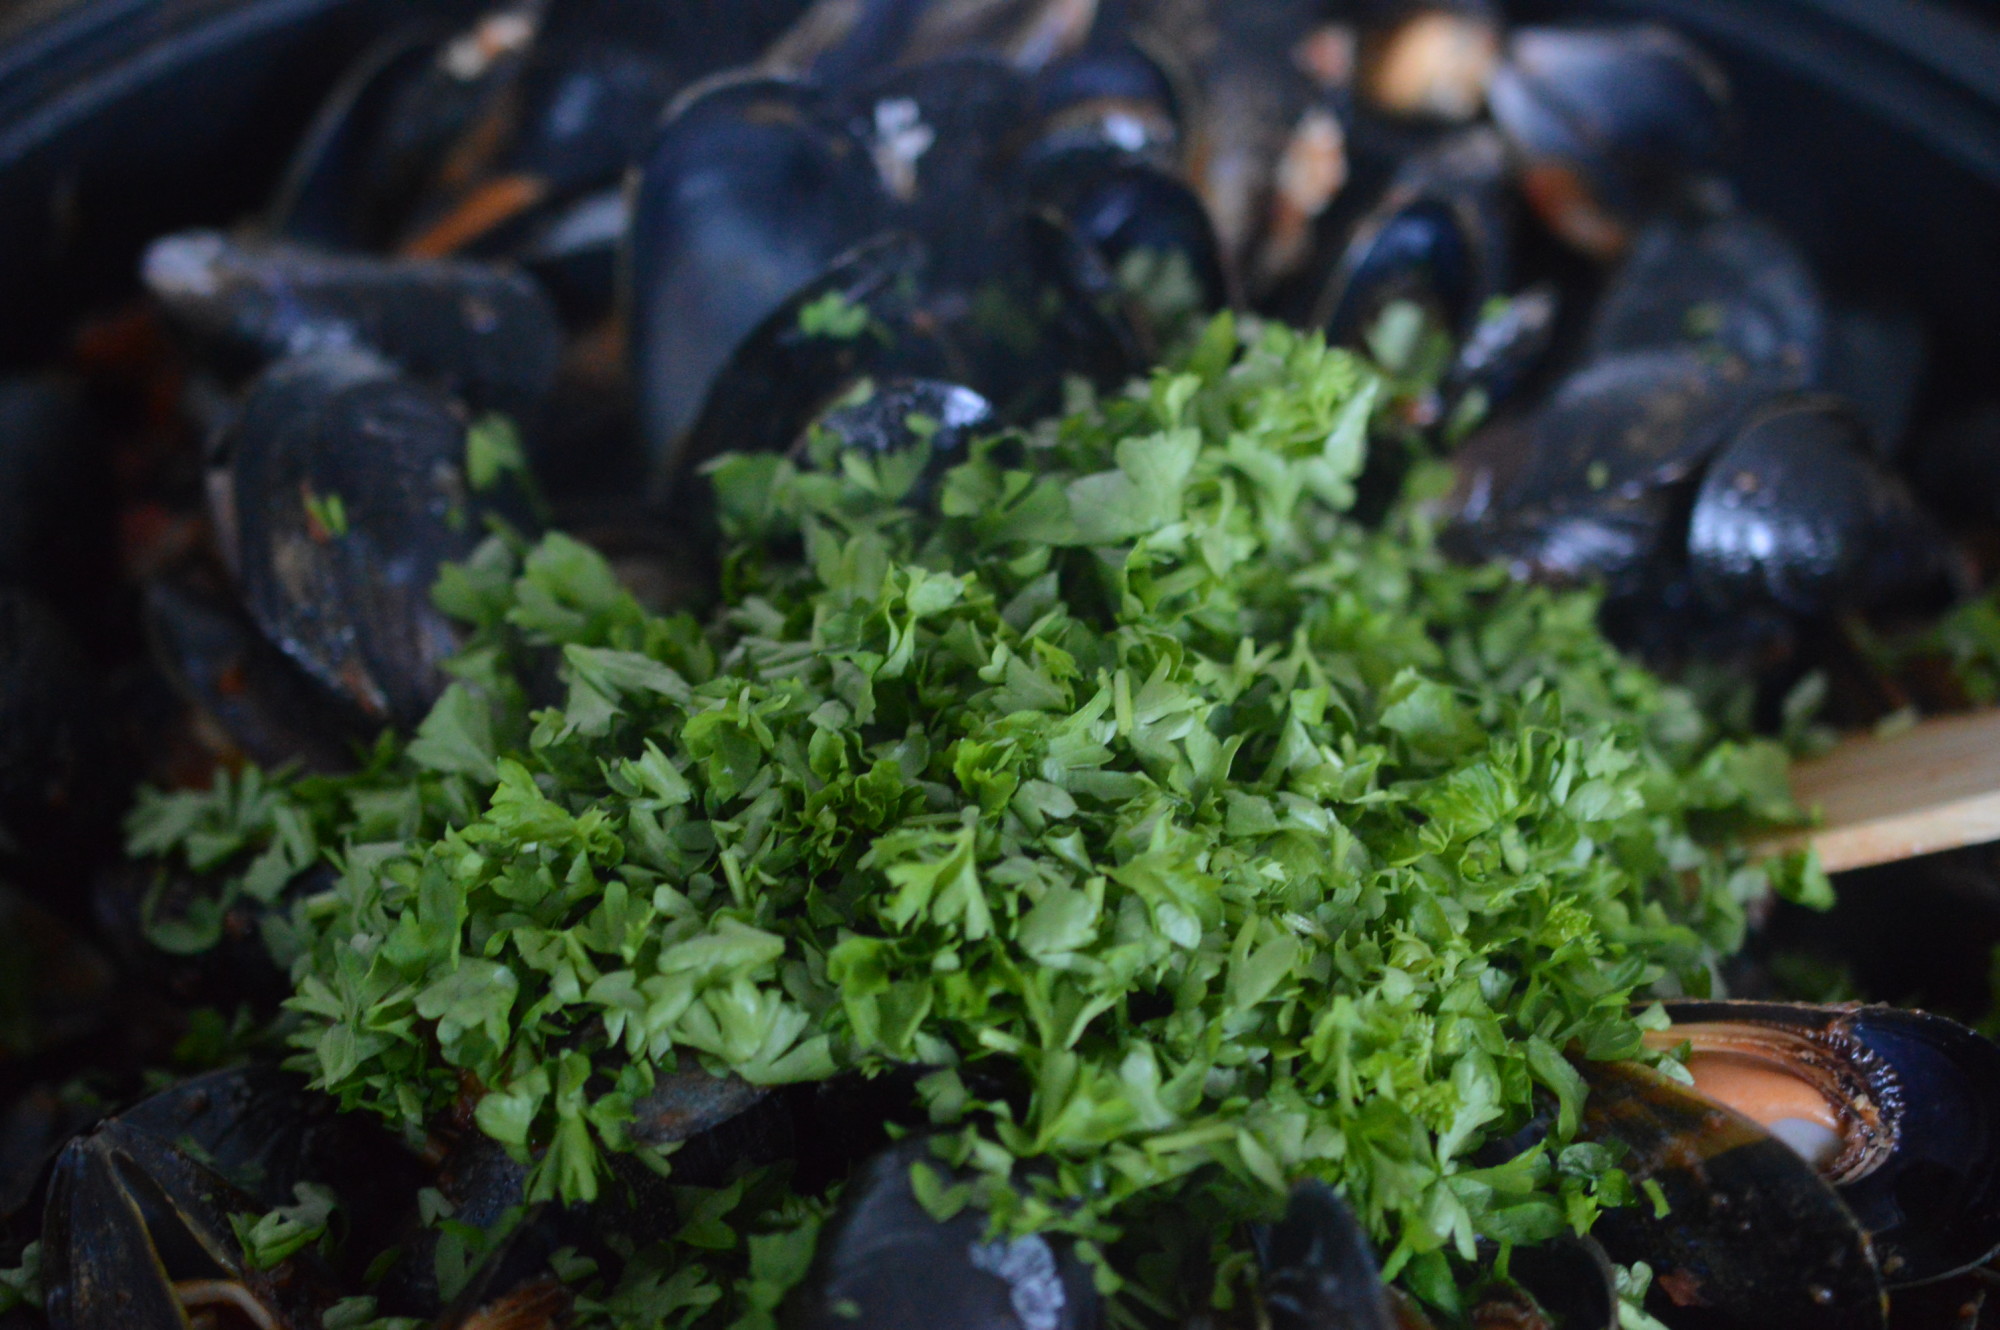
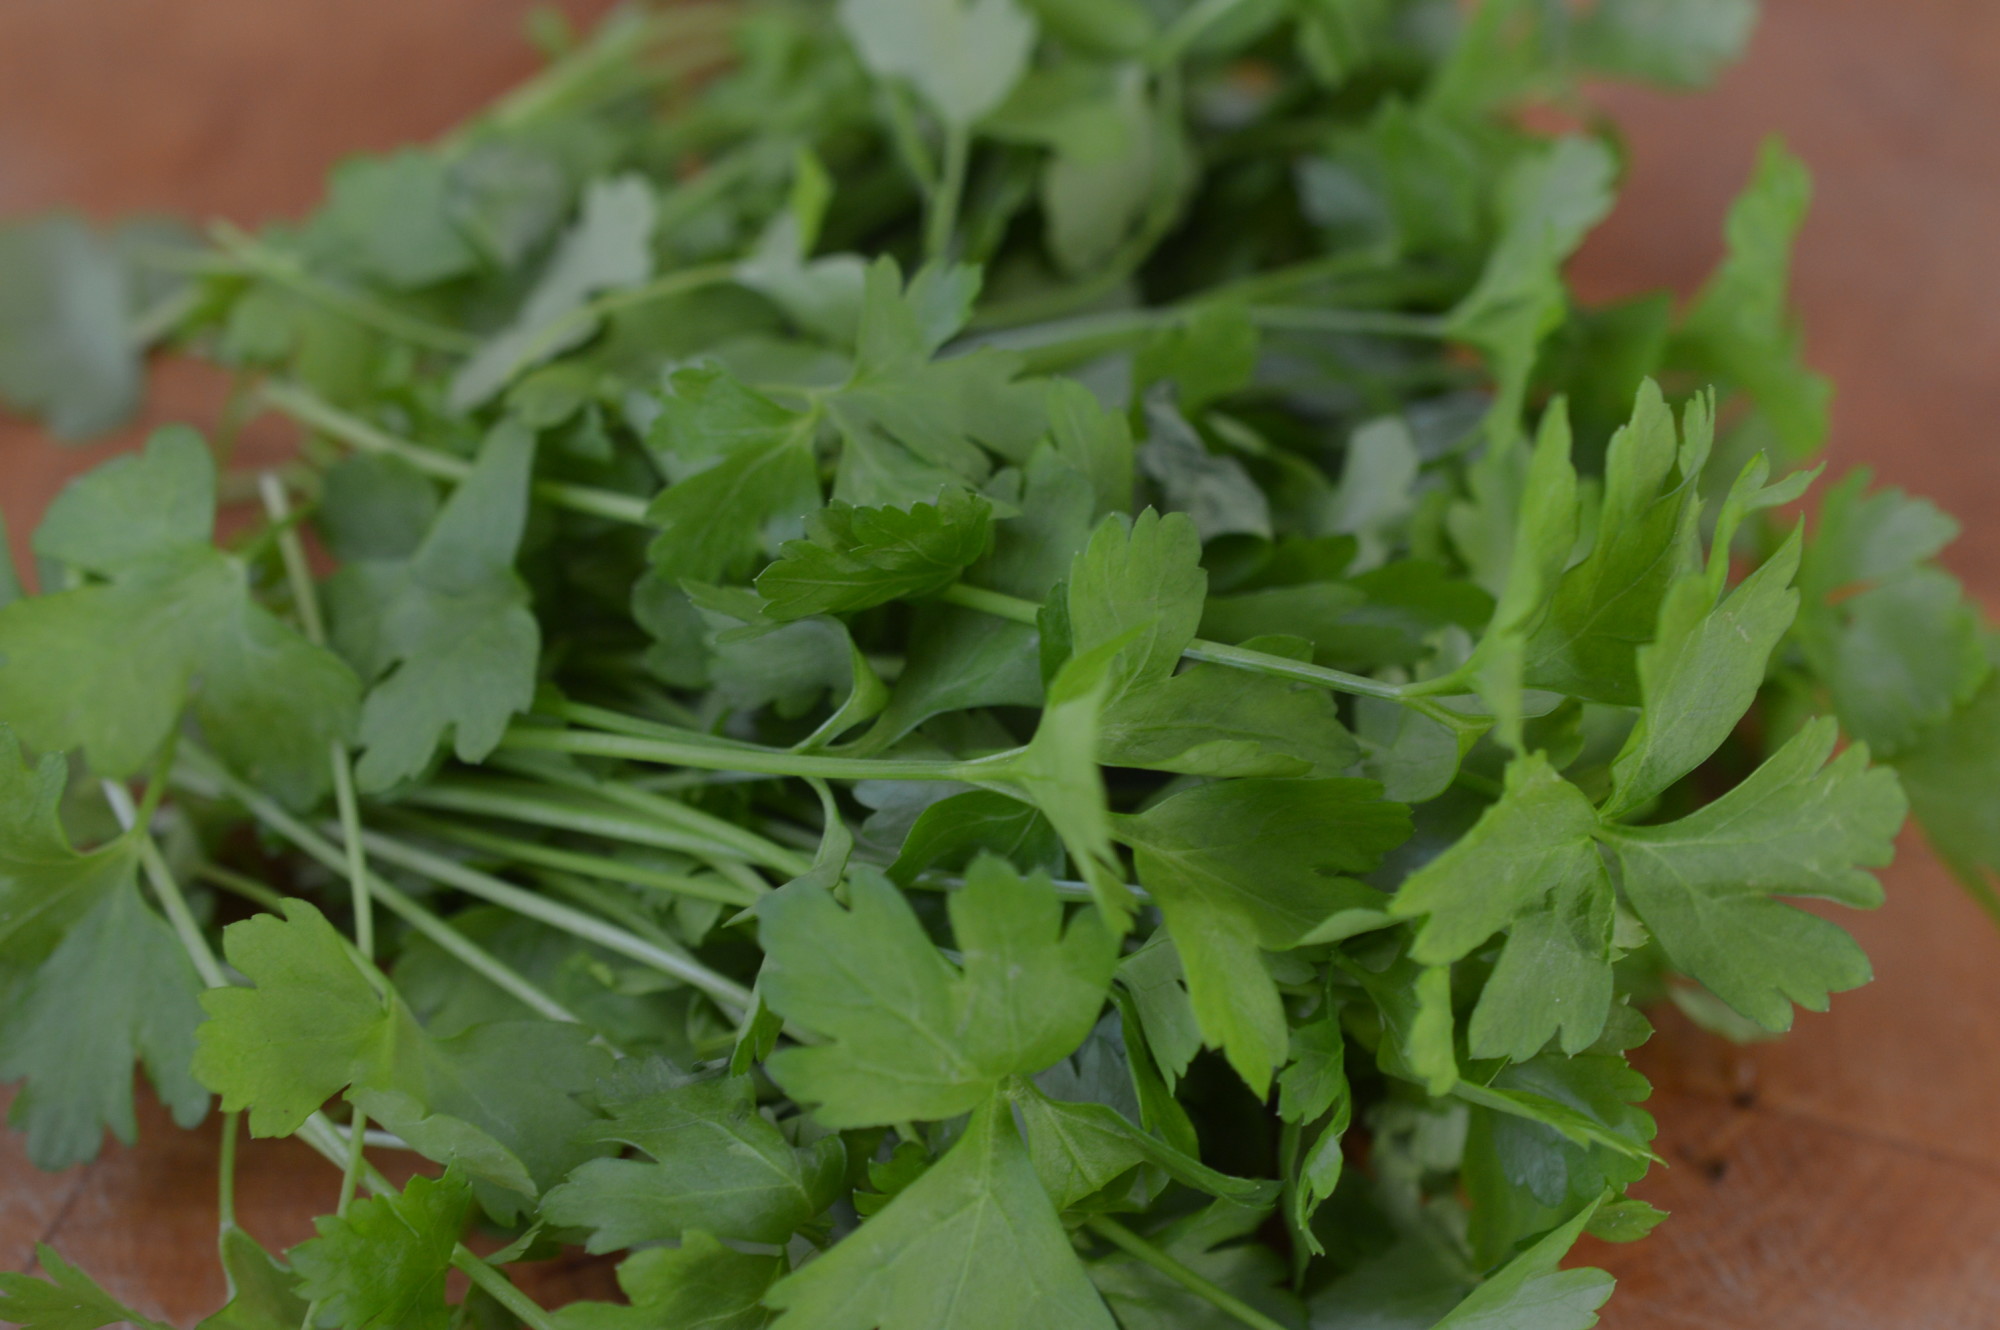
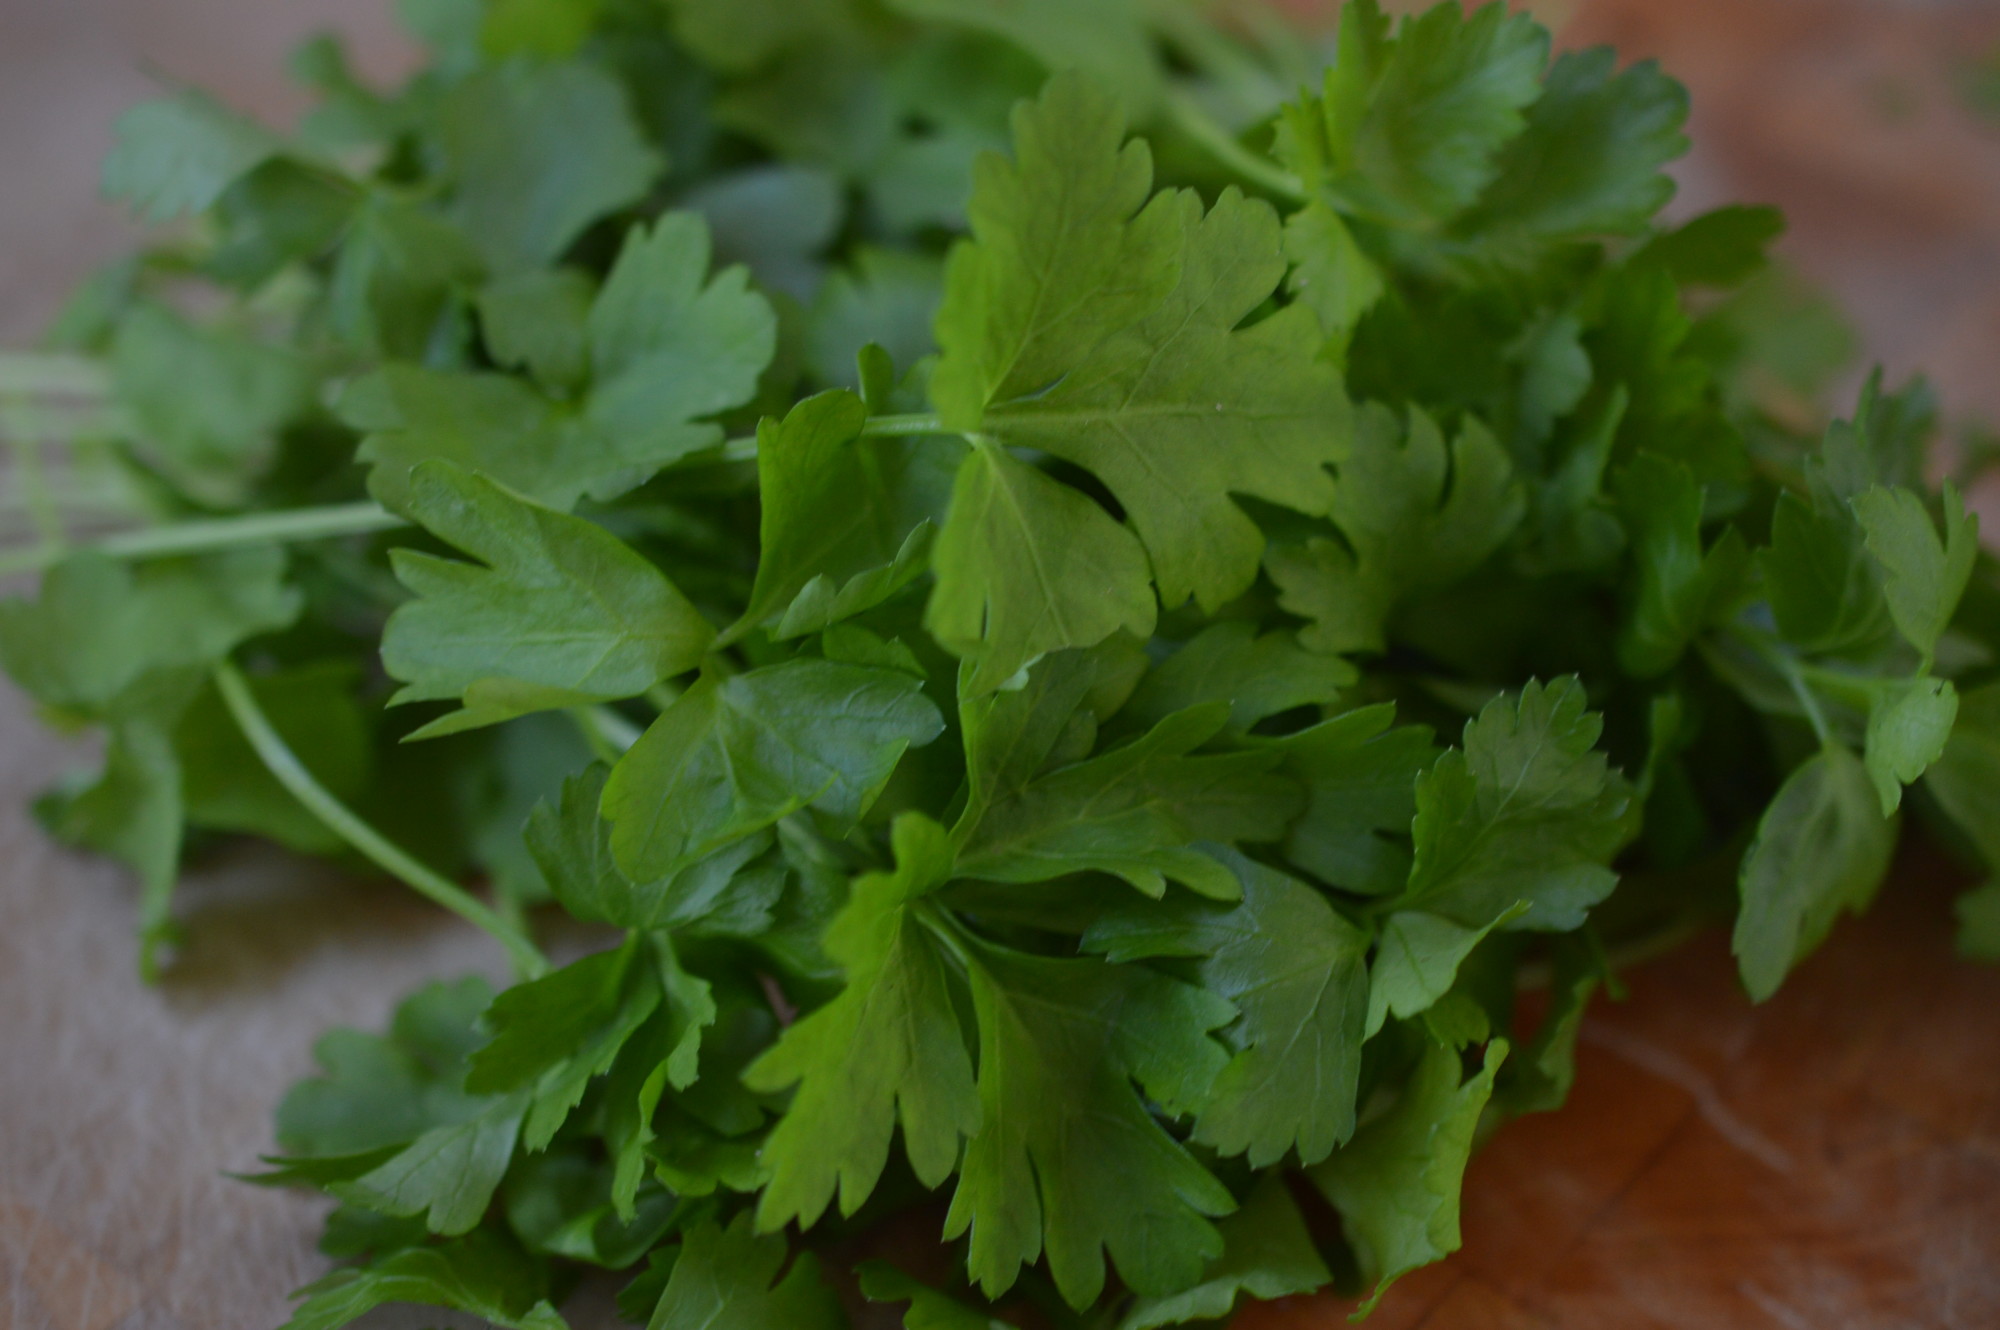
A little chopped parsley, as much for colour as anything else.  Curly was what my grandparents used and it makes me smile.

Mussels - served

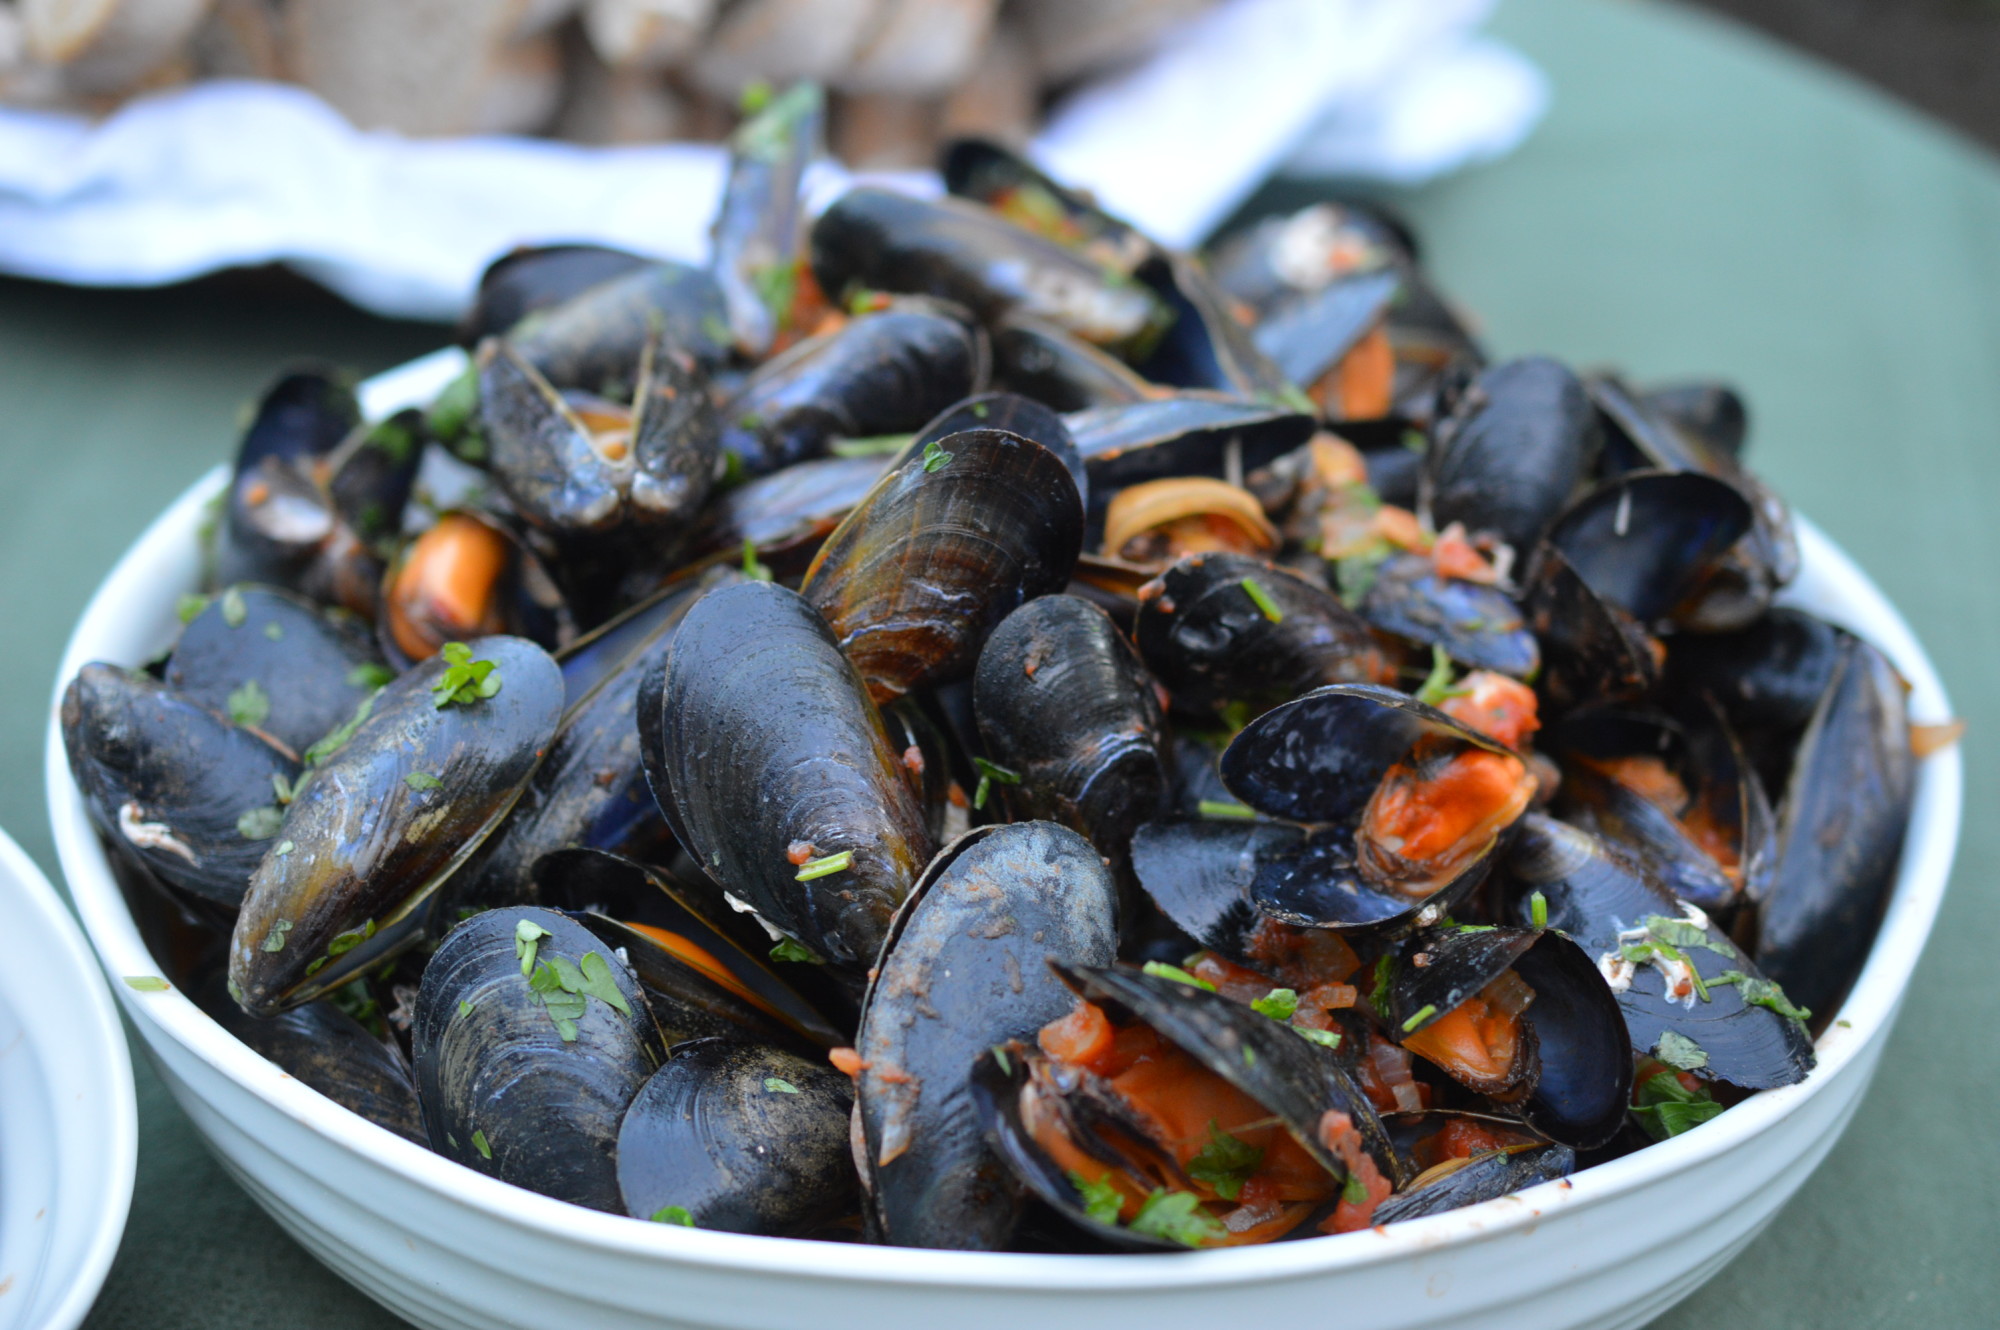
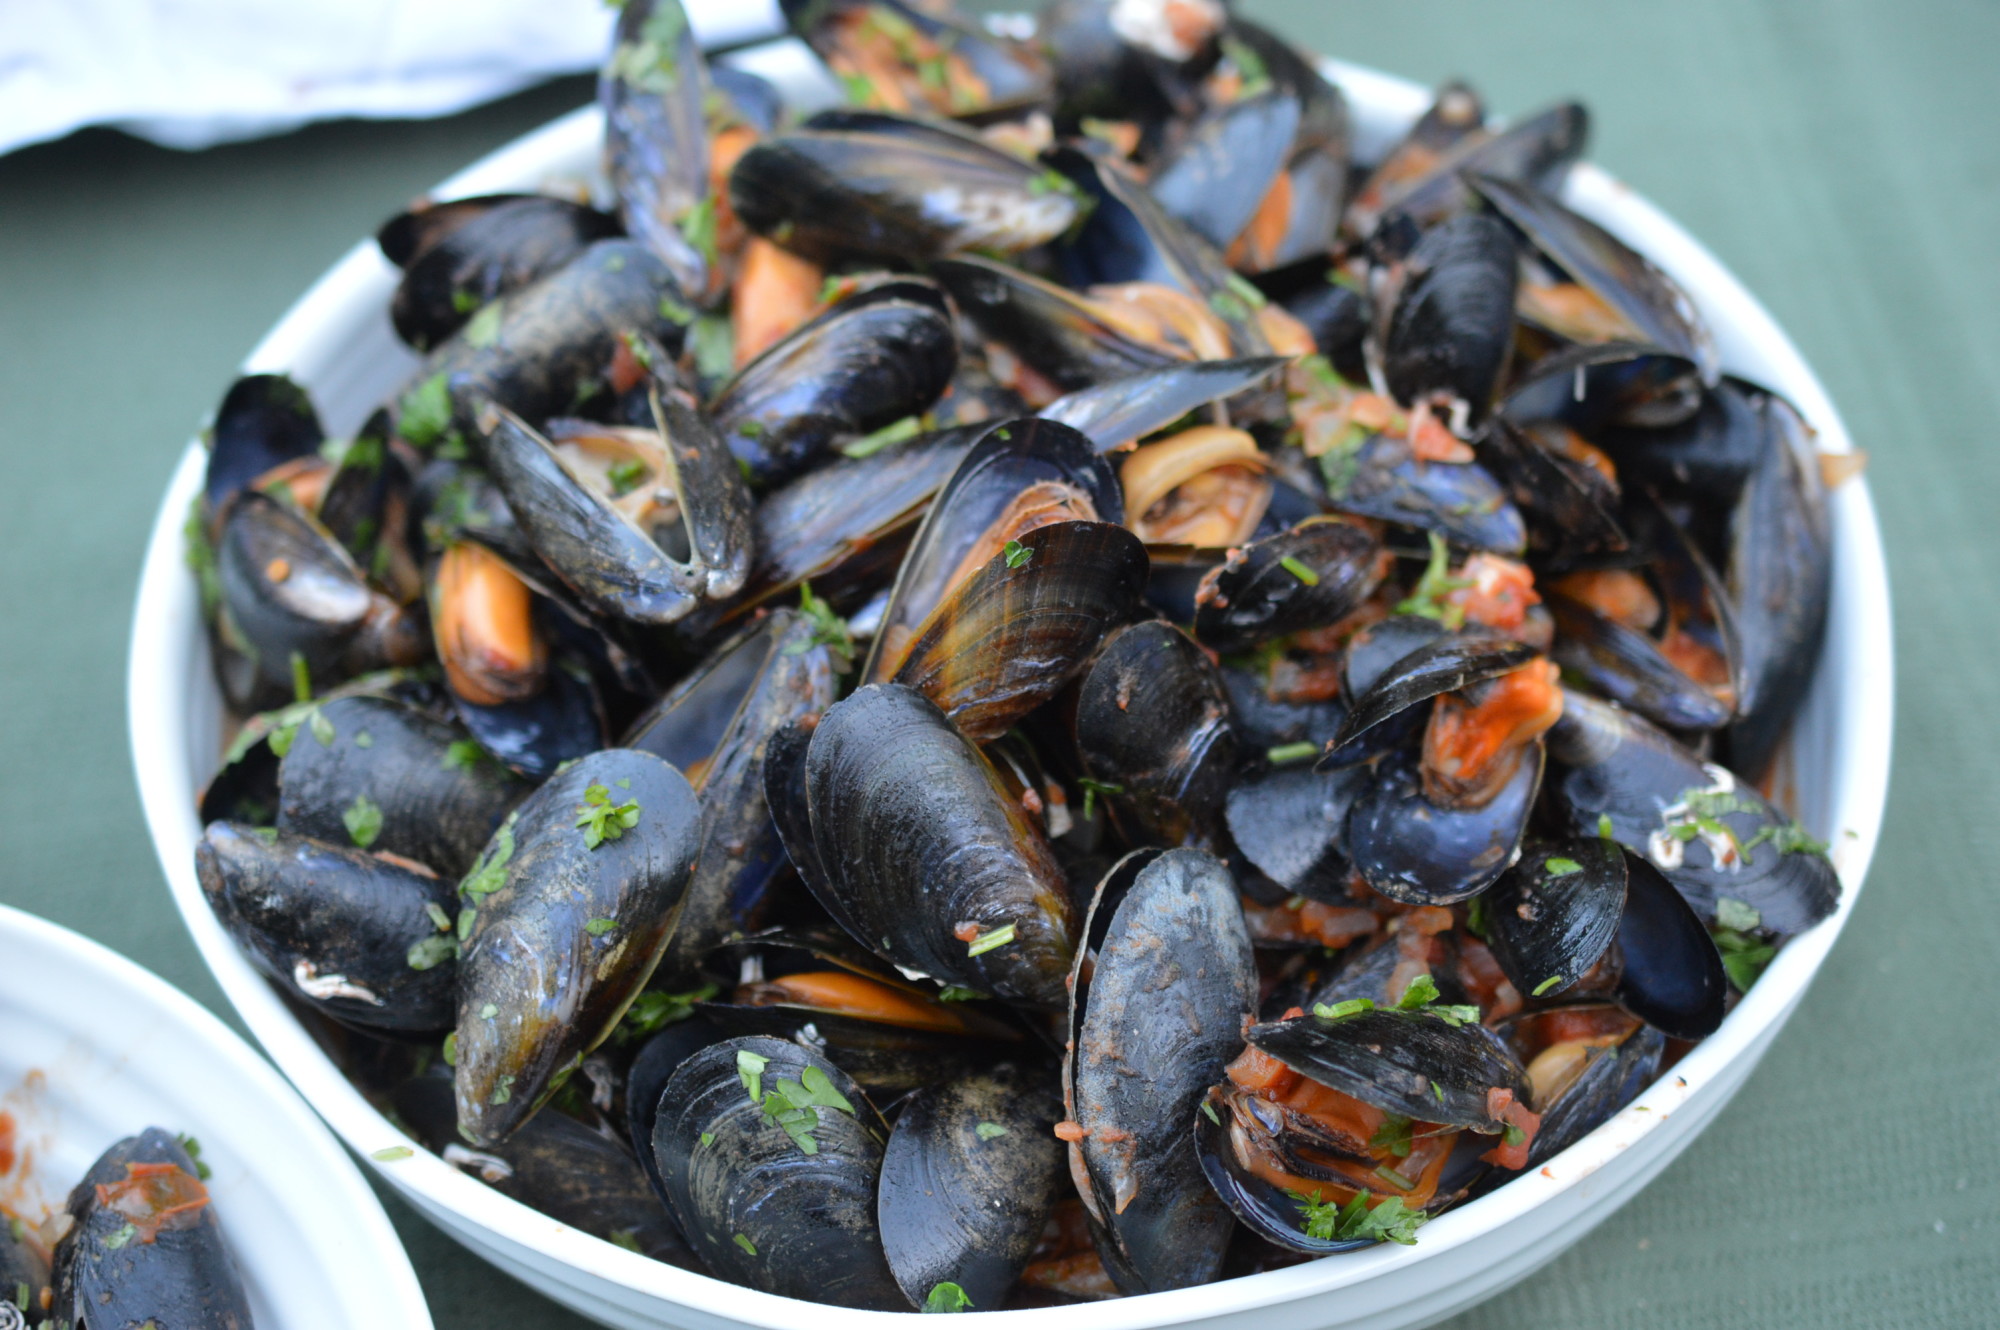
Give everything a stir and transfer to a big, warm serving dish.  If you spot any mussels which stubbornly remain closed, discard.  Don’t try prizing them open, it’s not worth it.

Mussels -eat

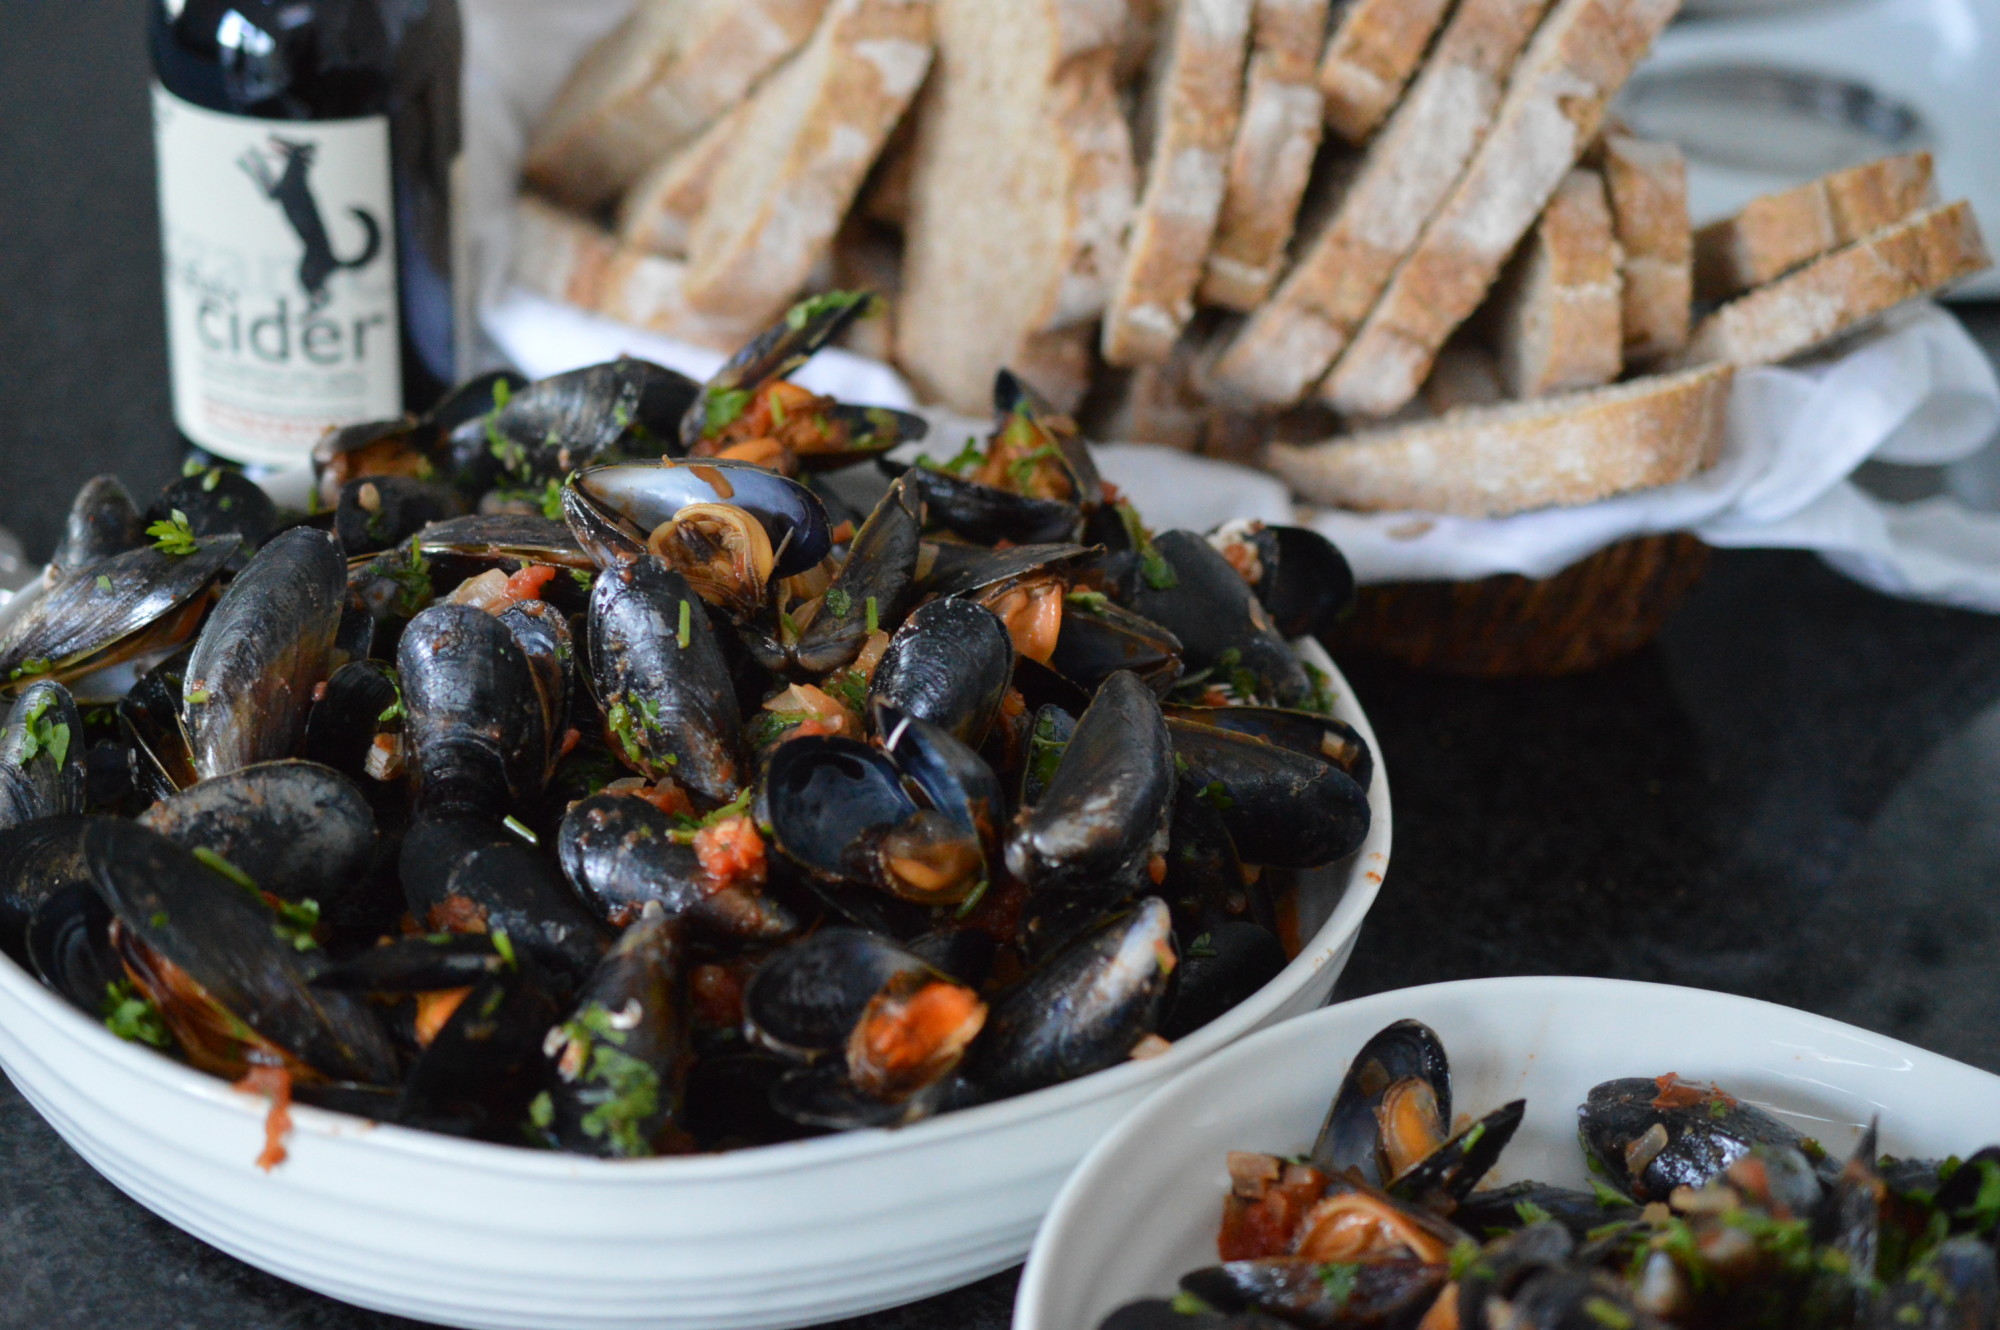
You’ll need some crusty bread to soak up all the juices and some bowls for the empty shells.  Use an empty shell as a pincer.  It’s all gloriously communal.  Eat.

Mussels - served 4Mussels in Tomatoes and Cider

Serves 4-7  (1lb of mussels is usually reckoned to be a portion, but I serve it with lots of crusty bread ..)

  • 4lb/1.8kg mussels
  • 1 onion, finely chopped
  • 1 clove of garlic, finely chopped
  • 1 teaspoon of sugar
  • 2 tablespoons of rapeseed oil
  • A shake of cayenne pepper
  • ¼ pint/150ml dry cider
  • 400g/14oz tin of tomatoes, chopped
  • Fresh parsley
  • Black pepper
  • Lots of crusty bread to serve

Prepare the fresh mussels.  Discard any with cracked shells or any which do not shut when tapped with the back of a knife.  Scrape off any barnacles and pull of the ‘beards’.  Rinse under cold water.

Heat the rapeseed oil in a large pan and soften the onion, garlic and sugar.   Cook until the onion is soft and beginning to take on a little colour.  Add the cayenne pepper and stir.

Add the tomatoes, cider and a little black pepper.  Bring to a boil.

Add the mussels.  Cover with a lid and cook, shaking the pan occasionally.  3-5 minutes later the mussel shells will have opened.

Sprinkle with parsley.  Stir.  Transfer to a large, warmed serving dish and discard any mussels which remain shut.

Eat.

Print.


Tortilla Española

Or Tortilla de Patatas.  Or Spanish Omelette.  It’s the same thing.  With or without onion, warm or cold – it’s delicious.

In my house it’s less of a tapas event and more of a family supper when we’re all rushing in and out and unlikely to be in the kitchen at the same time.  It’s very well-behaved.  Packs up well for a picnic, too.

Tortilla Espanola 15


That’s what happened this Friday.  Not a picnic – but the kind of crazy evening where something left on the side was the only way to go.

Tortilla Espanola

I’m going to stick my head above the parapet and say I like onion.  I don’t include parsley – but that’s because I think the green flecks spoil the paleness of it all.  I prefer a floury potato and I don’t soak away the starch.

Tortilla Espanola 1

I peel my potatoes.  You can cube or slice them – I slice.  You wouldn’t believe how so few ingredients could divide so many people …

Tortilla Espanola 2

Even the choice of oil is contentious.  Mine is a really unpretentious sunflower oil, but I also use a good but not extra virgin olive oil.  I think olive oil has the edge, but you’d need to be eating examples side-by-side to tell.  I use a large frying pan/skillet (it really is a ‘skillet’ as I’ve embraced the cast iron Lodge import having discovered them in a brilliant shop near Seb’s university) and put in about 2cm/¾” (ish) of oil.  What you want is for the oil to just cover the potato, whether you’ve cubed or sliced it.  I fry in batches, so as not to reduce the temperature of the oil too dramatically.

It’s similar to how I cook my chips.  And, when you stop to think about it, this really isn’t a million miles away from ‘egg and chips’.  No wonder I like it.

Take your time.  Fry gently.  You want the potato to be completely cooked through but with no colour.  Don’t rush it.

Tortilla Espanola 3

When the first batch is done, lift out with a slotted spoon and transfer to a sieve set over a bowl.  Then, on with the second.  I fry my potatoes in three batches.  When my third and final batch of potatoes is almost done, I add the finely chopped onion.  Like the potato, it needs to be soft but uncoloured.

Scooping out finely chopped onion is difficult-to-annoying so pour the final batch of potatoes, onion and the hot oil into the sieve.  Be careful!  Really.  Leave to cool in the sieve.  (The longer you leave the potatoes and onions to cool, the stronger the taste of onion you’ll end up with.)

Tortilla Espanola 4

Break the eggs into a large bowl and add a little salt.  I like ½tsp of malden sea salt, but you’ll have to adjust to your salt (because they are not equally ‘salty’) and palate.

Tortilla Espanola 5

When the potatoes are cold enough to touch they can be added to the egg.  Empty the sieve contents into the large bowl of beaten eggs.

Tortilla Espanola 6

Stir together – gently.  The cooked potato slices are at risk of breaking up if you’re too heavy handed.

Tortilla Espanola 7

Use a small frying pan.  Mine is 20cm, which is a little under 8 inches.  Don’t go larger than 24cm or you’ll have trouble ‘flipping’ and a traditional Spanish Tortilla is deeper than an Italian frittata.  Aim for the potato/egg mix to reach the lip of the frying pan.  Press down.  The potato should be tucked beneath the egg.

Tortilla Esapnola 8

When the edges of the tortilla have started to ‘set’, cover loosely.  My milk saucepan has a lid which does the job nicely, plus it has a see-through lid.  That’s useful.  Cook over a gentle heat until the top of the tortilla has set.  As in, very little runny egg left.  How long is a bit difficult to say as it will depend on how high a heat you’re cooking over.  Don’t rush it.  Keep the heat low as that will stop the bottom catching before the top is set.

Tortilla Esapnola 9

Getting ready to flip.  Just loosen the edges with a spatula.

Tortilla Espanola 10

Then place a clean plate over the top.  It’s easier if it’s significantly larger than the frying pan.  Until you’re confident it might make sense if you do it over the sink, but it’s really not difficult.  Just do it.

Tortilla Espanola 11

The flipped tortilla has a little bit of juice.  Try and save that.  Put a little bit of the oil in the frying pan and tip in the juices.  Then ease the tortilla back into the frying pan.

Tortilla Espanola 12

Now what was the top is the bottom and the bottom is the top.  Again a low low heat.  Over cooked egg has the texture of leather.  Keep the whole thing moist.

Tortilla Espanola 14

When the underside is set, it’s time to tip it back out.  Even if you’re serving your Tortilla Española warm, give it 10 minutes to settle before you cut it.

Tortilla Espanola 17

If you’re channelling a Spanish vibe you might want to cut into cubes, pierce each one with a cocktail stick and serve with chilled sherry.  But, for a busy Friday night supper, I made three tortillas, served them cold and cut into slices.  I love this with a simple Spanish tomato sauce (Sofrito) and a green salad.

Eat.

Tortilla Espanola 17Tortilla Española

Makes 20cm tortilla.

  • 4 medium potatoes (between 700g-750g), peeled.
  • olive oil for frying
  • 1 small spanish onion, finely chopped
  • 4 large eggs
  • ½ teaspoon of malden sea salt

Slice or cube the potatoes.  In a large frying pan, heat enough oil to fry the potatoes.  Fry in batches, over a low heat, until the potato is completely soft and showing no colour.  As each batch is cooked,  lift out the potatoes with a slotted spoon and transfer to a sieve placed over a bowl.  When the final batch of potatoes is almost soft, add the finely chopped onions.  When everything is soft, carefully tip the entire contents of the frying pan into the sieve.  (The oil can be re-used.)  Leave the potatoes to cool.

Break the eggs into a bowl and add the salt.  Lightly beat together.  Add the potatoes and onion and gently stir.

Heat 1 tablespoon of olive oil in a 20cm frying pan and tip in the potato and egg mixture.  Use the back of a spatula to make sure all the potato is covered with egg.  Fry over a low heat.  When the edges start to set, loosely cover with a a lid.   Fry until the top has almost set.

Cover with a large clean plate – and flip.

Add another tablespoon of oil to the frying pan.  Tip the ‘juices’ from the plate into frying pan and gently ease the tortilla back into the skillet.  Fry gently until the underside is coloured.  Keep everything moist.

Tip out onto a plate.  Leave to cool for 10 minutes before cutting.  Serve warm or cold.

Eat.

Print.


Greek-Style Tomato Salad

This is just one of many, many tomato salads I make over the course the summer.  I love them.  It probably has something to do with the Sunday afternoon trips down my Grandad Dowton’s crazy paved garden path to pick tomatoes from his greenhouse.  Always supervised.  (It wasn’t, you must know, the kind of garden you were allowed to play in.  Wide flower beds were planted, Victorian style, with high maintenance bedding plants all lovingly raised from seed.)

I loved that strong, sweet smell of summer as you opened the greenhouse door.  Then, my brother and I would giggle over the irregular shaped ones before being given a warm tomato each to eat on the way back to the kitchen.

Greek-style tomato salad 1

This Greek-Style Tomato Salad isn’t anything my grandparents would have served.  I’m not sure if they ever tasted feta cheese and I’m certain they didn’t eat olives.

When you think about it they wouldn’t have been brought up on tomatoes.  The Victorians thought they caused illness unless you boiled them into submission.  Tomatoes only became a regular part of the British diet during the food rationing of the Second World War when any source of vitamin C was a good thing.

Greek style tomato salad ingredients

For all we think we’re so much more sophisticated with our food choices now, supermarkets sell some tasteless tomatoes.  On the vine or off it, they’re picked green and left to ripen.  I’m not convinced it’s worth paying the extra money charged for the on-the-vine sort and am absolutely certain there’s no point buying anything that has been transported miles in refrigerated storage units.

Mine came from a local farmers’ market, but the best tomatoes of all are the ones you grow yourself.  Second best, are the excess garden produce you sometimes see placed on tables by front gates.

Here’s the entire cast of characters of my salad, minus the feta which is still tucked in the fridge.  I made this on 1 July and that was a record breaking warm day and my kitchen is South facing.  It was hot.

tomatoes peeled 1

The round salad tomato is fine.  Don’t put them in the fridge and store root end down.  I have absolutely no idea why that works, but stem end down keeps them better.  When you come to use them, if there’s any decay you should throw the entire tomato away.  No just cutting off the rotten bit.

For a salad like this, I like the skins off.  Put a saucepan of water on to the boil and cut a shallow cross in the base end of the tomato. You’ll find it easier if you use a serrated knife – a bread knife is fine!

tomatoes peeled 2

When the water is boiling, pop the tomatoes in for 30 seconds.  1 minute, tops.

tomatoes peeled 3

Drain, then put the tomatoes into a bowl of cold water.

tomatoes peeled 4

The skins peel off.

tomatoes peeled 5

There they are.

tomatoes peeled 6

Cut into quarters and slice out the core.

tomato salad 6

Then into bite sized crescents.

greek style tomato salad 8

Season with sea salt and crushed black peppercorns.  A little sugar will help sweeten if you’re not entirely convinced they’re sufficiently sun-kissed.

Then, cover and leave to ‘settle’ for an hour.  I had a fly in the kitchen and spent the next ten minutes or so darting about the kitchen with a dampened tea towel in my hand.  I got the blighter.

spring onions

Wash, trim any straggly green bits and chop off the roots.

spring onions chopped

And slice.

flat leaf parsley

Roughly chop a bunch of flat-leaf parsley.

fresh oregano

Some fresh oregano, if you have it.  Just the leaves and roughly chop.

olives

I love olives.  Like Globe Artichokes, I met them in my twenties and thought they were so sophisticated.  Yes, I hated my first olive – but I worked at it.  Now I pop them like sweets.

These are Kalamata olives and I buy them stone in.  You don’t need a fancy olive stoner.  I just cut mine in half and ease any stubborn stones out with the tip of my knife.

DSC_0069

When it’s time to serve, start layering everything up.  Add the spring onions.

DSC_0071

Parsley, oregano and olives.

Feta cheese

Not all feta is equal.  I look for barrel-aged feta made from sheep or goat milk and buy in a block which I store in brine.  (The best feta I’ve ever eaten was made at home by a Greek lady living in London, so under EU rules I’m not even sure she could call it feta.)

If you want to tone down the salty edge, you can soak your feta block in a half milk/half water for an hour.

DSC_0074

Crumble in the feta and dried oregano.

DSC_0078

Add olive oil, lemon zest and the juice of a lemon.

Greek Tomato Salad finished

Give everything a mix.  Eat.

Greek Style tomato salad 3Greek-Style Greek Salad

Serves 8

  • 12 ripe tomatoes, skinned
  • Sea salt and cracked black peppercorns
  • 1 tsp of sugar, optional
  • 8 spring onions, including the green ends, finely sliced
  • Bunch of fresh flat leaf parsley, roughly chopped
  • 2 tablespoons of fresh oregano, leaves only, roughly chopped
  • 20 Kalamata Olives, stoned
  • 150g/5oz feta cheese
  • 4 tablespoons dried oregano
  • 12 tablespoons of cold-pressed Greek olive oil
  • Grated zest and juice of one unwaxed lemon

Core the tomatoes and cut into bite-sized crescents.  Arrange on a serving plate and sprinkle over sea salt and crushed black peppercorns.  Sugar, if needed.  Cover and leave for 45 minutes – 1 hour.

When you are ready to serve, sprinkle over the chopped spring onions, chopped parsley, chopped oregano, stoned olive and dried oregano.  Crumble over the feta.  Add the lemon zest, olive oil and lemon juice.

Eat.

Print.


Greek-Style Asparagus Salad

Yesterday was a record breaking hot day – and this was lunch.  I made some olive bread and put together a Greek-Style Tomato Salad, too, but I’ll post them next week.  I think I must be thinking ‘Greece’ because the news is so full of scenes from Athens.  Tough times ahead for a lovely country whichever way they vote, I fear.

Greek Style asparagus salad 2

I love Greek food, but then I love the herbs that predominate in it – oregano, mint, dill, bay leaves, Greek basil, thyme and fennel are the ones that spring to mind.  Being a home cook, I have to use what I can buy.  My oregano is not the evocative rigani, as far as I’m aware.  It’s Bart’s.  Greek basil, I can get.  The bitter salad leaves don’t taste quite as bitter as they do under Greek sunshine, but I probably would balk at so many unnecessary air-miles just to feed my children lunch.

Nothing for it, a visit to Greece is in my future.

In the meantime, we’re coming to the end of the British asparagus season.  I have treated my early spears with utmost respect and I’m now putting them in tarts, wrapping in pancakes and making them into salads.

DSC_0055

I picked up a couple of bundles – which was a little over 500g.  There’s a point on an asparagus spear where it’ll snap naturally.  That place marks the end of the fibrous bit and the start of the tender, delicious bit.

(Incidentally, I read something the other day about the English style of eating – and cooking – asparagus.  Apparently, we steam the whole asparagus spear and then use the fibrous bit to hold.  I will confess to eating with my fingers on occasion, but I’m afraid I eat the whole thing and would be irritated to get fibrous bits between my teeth.  Plus, I am inclined to lick my fingers when no-one is looking rather than look for a finger bowl.  I would be more disappointed in myself if the writer didn’t labour under the assumption all households own an asparagus steamer but I have never lived in a household which possessed one.)

DSC_0056

If you are aesthetically fastidious, you can neaten up the ends with a knife.  I do that.  Sorry!

My asparagus I would classify as ‘medium’.  What chefs call sprue asparagus (that’s the spindly ones) I’d use for something else.  Fatter asparagus will need peeling.  Just the lower part to make sure what you have in your salad is tender.

Whatever you are left with – pop the snapped off ends and any trimmings in a freezer bag.  That’s asparagus soup in the making.

The asparagus spears I give a rinse under running water and fill a wide saucepan with about 5cm/2″ of water.  Just enough to cover the asparagus in a single layer.  Ish.  You can be a little relaxed about it.

DSC_0062

When the water is boiling add a little sea salt.  I season lightly, partly because I’m going to save the asparagus water for soup and that will intensify the salt content and partly because these spears are going in a flavourful dressing.

Simmer for 3 minutes.  It’s almost more of a blanch.  Just tender.  Then drain, reserving the water if you want to make soup.  I put mine in a freezer bag for another day.  Usually, I lay the spears on kitchen paper to dry .. but I’d run out.

DSC_0058

And the dressing …

Finely zest one lemon.  Put it and the juice into a bowl.

DSC_0059

100ml/3½fl oz of cold-pressed Greek olive oil.  Use one you like the flavour of.

DSC_0060

1 teaspoon of dried oregano.

DSC_0061

Salt and pepper.  This is such a subjective thing, but I used 2 scant teaspoons of coarse sea salt and crushed 1 teaspoon of black peppercorns in a pestle and mortar.

DSC_0063

Give the drained – and still perky – asparagus a toss in the dressing.

DSC_0065

Finely chop three shallots and add those.

DSC_0066

A small bunch of flat-leaf parsley.  I had to use a small supermarket pot and I used it all.  Roughly chop.  It’s part of the salad so I like to see bits of parsley.

Marinated Asparagus close-up

Give everything a light toss and leave it at room temperature for all the flavours to get acquainted.  If you want to leave it longer than an hour, pop into the fridge and bring it back to room temperature before serving.

Greek-style asparagus salad 1

Eat.

Greek Style asparagus salad 2Greek-Style Asparagus Salad

Serves 4-6 as a side.

  • 2 bundles of medium asparagus spears (about 500g/1lb)
  • Zest and juice of 1 lemon
  • 100ml/3½fl oz of cold-pressed Greek olive oil
  • 1 teaspoon of dried oregano
  • 3 shallots, finely chopped
  • small bunch of flat-leaf parsley, roughly chopped
  • 1 teaspoon of roughly crushed black peppercorns
  • Sea-salt, to taste

Snap off the tough ends of the asparagus spears and freeze to use in stocks or soup.  Rinse the spears under running water.

Bring 5cm/2½” of water to a boil in a wide saucepan.  Season lightly and add the spears.  Simmer for 3 minutes, or until the asparagus spears are just tender.  Drain and spread on kitchen towel to dry.

Place the zest and juice of the lemon in a bowl.  Add 100ml/3½fl oz of cold-pressed Greek olive oil, 1 teaspoon of dried oregano and season with salt and crushed black peppercorns.

Lightly toss the asparagus spears in the dressing.

Add the finely chopped shallots and the roughly chopped parsley.  Give everything a final toss and serve at room temperature.

Eat.

Print.


Tomato Tarte Tatin

I bought myself a present.  There is no justification for that other than I saw, I wanted .. and I bought.

Tarte Tatin dish

I like to think I economised because I bought the smaller of the two sizes available which was cheaper, but it was probably a false economy because I now know I need the bigger one.  (We can pause here and discuss how irritating the sizing of bakeware is.  I’m happy to go metric or imperial but it would be really helpful if we’d make a decision …!)

Coincidentally, I also bought a bumper box of tomatoes at the market and immediately set about playing.

Tomato Tarte Tatin 17

As a child, grilled tomatoes on toast was one of my favourite breakfasts – and my love for it made it just a short step to putting them on flaky puff pastry for lunch.  There was a short hiatus after an unfortunate .. incident whilst pregnant with Dominic.  Probably too much information to share on a foodie blog, b-but … tomatoes are quite acidic.  The Duchess of Cambridge and I have both experienced hyperemesis gravidarum.  I’ll let you google that.

I’m over it now.

Tomato Tarte Tatin 1

Cut the tomatoes in half through the core.  If you cut the other way you’ll end up with half your tomatoes having a dot in the centre when you flip your  finished tart out.  It will taste exactly the same, but it won’t be as pretty.  And, yes, pretty matters.

For my 8″ tin, I used 9 medium sized tomatoes.

Tomato Tarte Tatin 2

50ml of olive oil (that’s about 4 tablespoons).  Add 1 tablespoon of dried oregano.  Marjoram is also lovely.

Tomato Tarte Tatin 3

Microplane 2 cloves of garlic (or chop finely) and add to the oil and dried oregano.  Season with sea salt and freshly ground black pepper.

Tomato Tarte Tatin 4

Lay the tomato halves cut side up on a baking sheet.  Then pour and dab the garlicky/herby/oil between the tomato halves.

Mine went into the Roasting Oven fourth set of runners for 1 hour until they were soft, slightly shrunk but not coloured.  In a conventional oven I would bake at 160ºC/325ºF/Gas Mark 3 for about an hour and half.  It will depend on how big your tomatoes are.

Tomato Tarte Tatin 6b

Lightly brush your tarte tatin dish with olive oil and arrange the tomato halves.  Make sure the cut side is facing upwards.  It’s the same principal as the pineapple upside-down-cake you probably made at school.

Tomato Tarte Tatin 7

Squeeze them in closely.  Any gaps will spoil the effect.  Then set aside to cool.  That bit’s important.  If the tomatoes are warm when you add the puff pastry the butter will start to melt and you’ll have much less puff.

Tomato Tarte Tatin 5

If you are using bought puff pastry – use an all-butter one.  You can  console yourself with the thought it has far less butter in it than if you use home-made ..

Tomato Tarte Tatin 6

Roll out to something between 3mm and 5mm.  Cut around the rim of the tarte tatin tin.

Tomato Tarte Tatin 8

While the tomatoes are chilling, place the pastry circle back into the fridge.  I use the base of a flan tin.  (Don’t waste any of the off-cuts, but don’t scrunch them up as you would shortcrust.  Fold the pieces on top of each other so you don’t interfere with all the layers and use it to make cheese straws.)

Now would be the time to increase the oven temperature to 200ºC/400ºF/Gas Mark 6.

Tomato Tarte Tatin 9

Place the pastry circle on top of the cold tomatoes.  Carefully tuck the pastry down the sides so it hugs the tomatoes.

Mine went in to the Roasting Oven fourth set of runners for 20 minutes.

Tomato Tarte Tatin 10

At 200ºC/400ºF/Gas Mark 6 it will also take 20 minutes.

Tomato Tarte Tatin 11

Remove from the oven and allow to cool for 5 minutes.  Just loosen the edges if it has caught anywhere.

Tomato Tarte Tatin 12

Place a cooling rack over the tarte tatin tin and flip it over.  I have a baking sheet underneath to catch any escaping juices.

Tomato Tarte Tatin 13

Then allow it to cool.

Tomato Tarte Tatin 14

It can be served warm or at room temperature.  Grind over some black pepper.  Decorate with basil leaves.

Tomato Tarte Tatin 16

Eat.

Tomato Tarte Tatin 17Tomato Tarte Tatin

Serves 4

  • 9 medium sized tomatoes
  • 2 garlic cloves, microplaned or chopped finely
  • 1 tablespoon of dried oregano
  • 50g/4 tablespoons of olive oil
  • 250g home-made or all-butter puff pastry
  • sea salt and freshly ground black pepper
  • To serve:  fresh basil leaves and a lightly dressed baby-leaf salad

Pre-heat the oven to 160ºC/325ºF/Gas Mark 3 and lightly grease an 8″ tarte tatin tin.

Cut the tomatoes in half through the core.  Lay them on a baking sheet, cut side facing upwards.

Add the microplaned garlic and the dried oregano to the olive oil.  Season with sea salt and freshly ground black pepper.  Drizzle the mixture over the cut surface of the tomatoes.  Bake for about 1½ hours.  Aga:  Roasting Oven, fourth set of runners, for 1 hour.

Roll out the puff pastry to a 5mm thickness and cut around the rim of the tarte tatin dish.  Arrange the tomatoes, cut side facing upwards, in the tarte tatin tin.  Chill both the tomatoes and the pastry.

Increase the oven temperature to 200ºC/400ºF/Gas Mark 6.

Lay the pastry over the tomatoes and tuck the edges down the sides.  Bake for 20 minutes.

Allow to settle for 5 minutes before flipping over on to a cooling rack.

Serve warm or at room temperature with a grinding of black pepper, some basil leaves and a lightly dressed baby-leaf salad.

Eat.

Print.