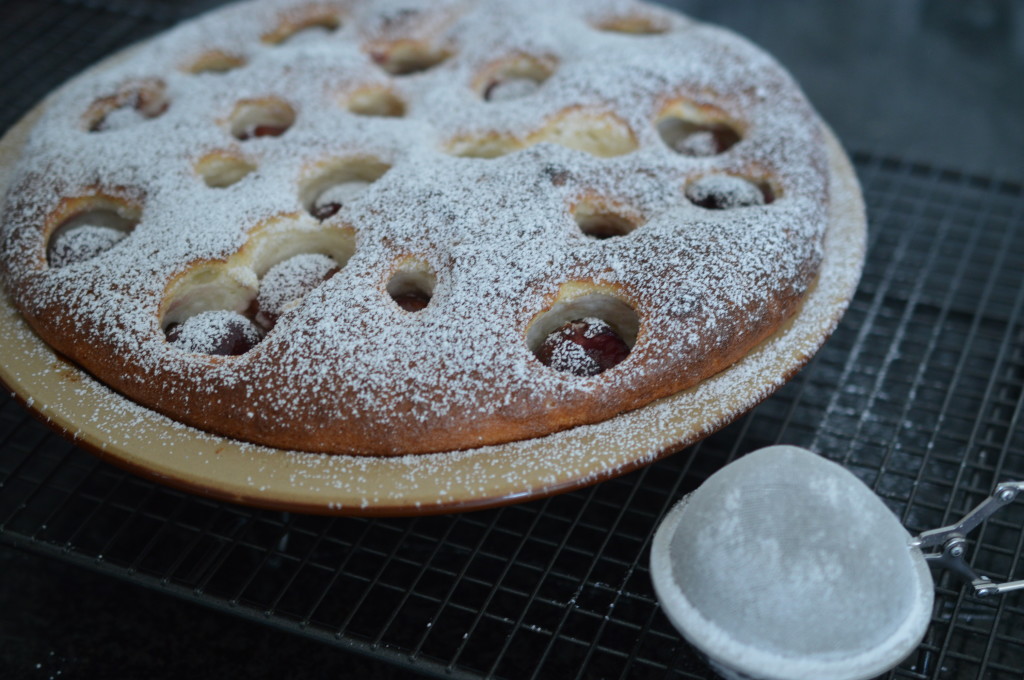
Kentish Cherry Batter Pudding

Kentish Cherry Batter Pudding is a close relative of Clafoutis.  So close I wouldn’t be remotely surprised to learn it made it’s way to England via some invading Normans.

Clafoutis comes from the Limousin region of France and is made with griottes, or sour morello cherries.  Traditionally, it’s a stone-in dessert.  The cherry stone contains amygdalin which is an active chemical in almond extract and keeping them in adds a little something.  Annoying, though.  I haven’t got the hang of spitting out cherry stones elegantly … and I’ve reached an age and stage where I’m worried about my teeth.

(Incidentally, if you make it with a different fruit you should called it flaugnarde.)  I have absolutely no idea why I retain that kind of information so effortlessly when working out how to use pdf on this blog is so entirely beyond me.

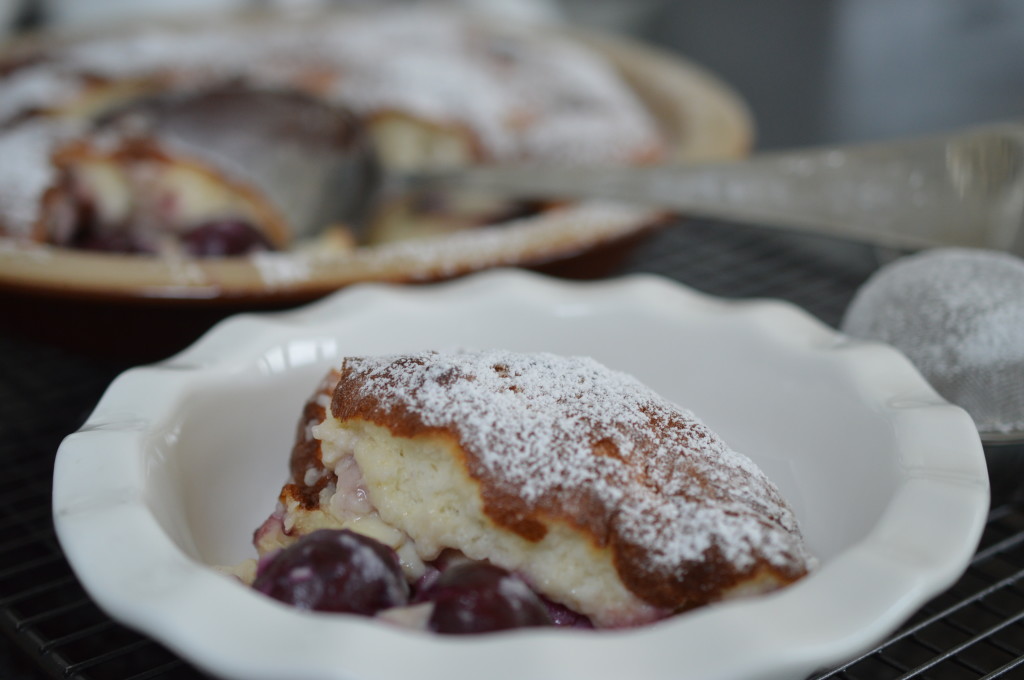
serving batter pudding

Kentish Cherry Batter Pudding is made with dessert cherries – which are much easier for me to get hold of.  It’s ‘Kentish’ not so much because batter puddings are a Kent thing but because it’s the county where the cherries are grown.  That’s Henry VIII’s fault.  A gluttonous monarch, he instructed cherry trees to be planted in Tenyham, Kent, in 1533.  Before the second world war there was something like 40 000 acres of beautiful cherry orchards in Kent, but the 12 metre-plus high cherry trees became uncommercial to harvest and 90% of the orchards vanished.

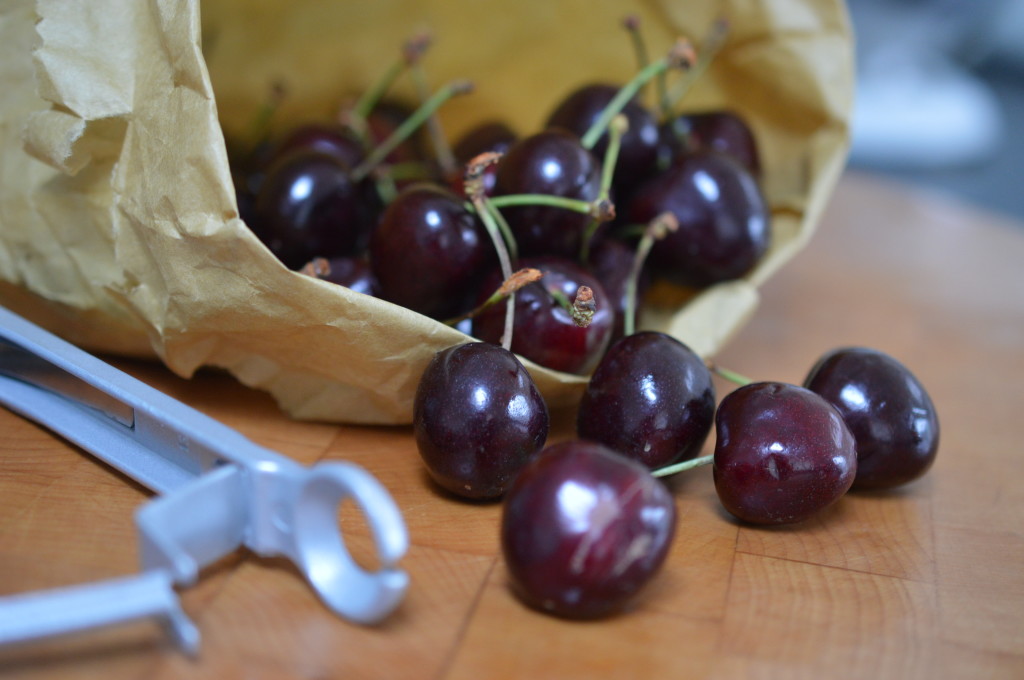
cherries

There were twenty tough years for the British cherry but now things are looking brighter, if not quite as photogenic.  Cherries are grown on dwarf shrubs and the short season has been extended by using polytunnels.  You can now buy British cherries from June to September – which is a source of great delight to my nephew, Josiah.

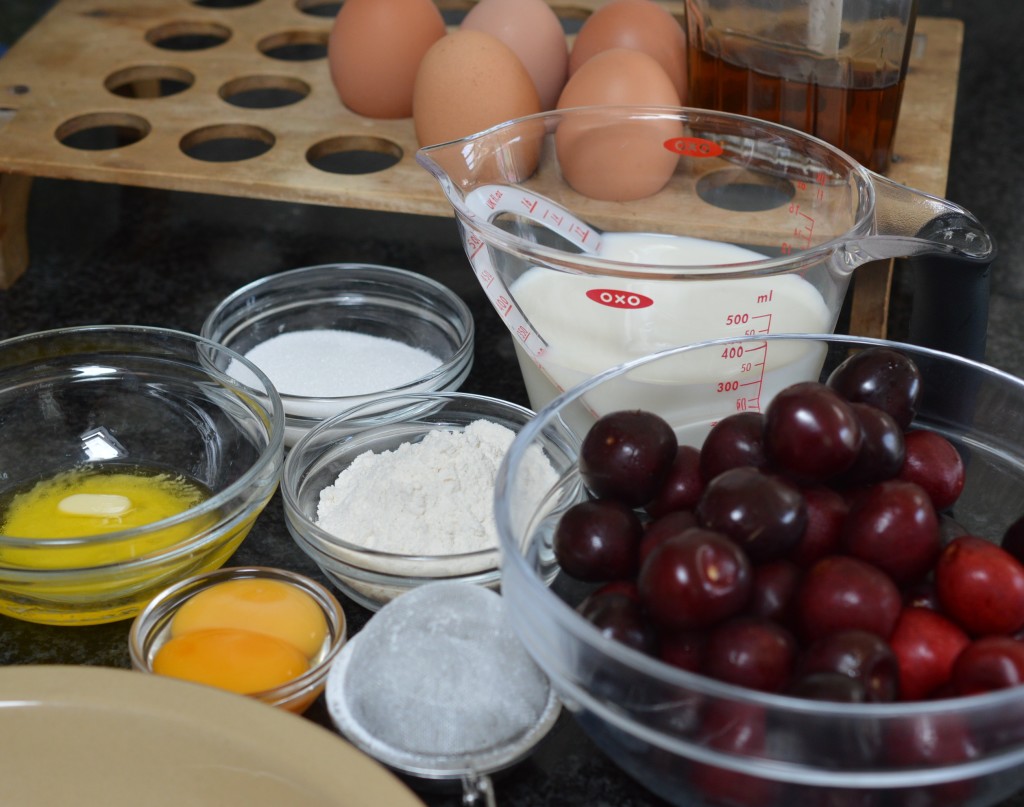
Kentish Cherry Batter Pudding 8

With the exception of the cherries themselves, a Kentish Cherry Batter Pudding requires store cupboard ingredients.

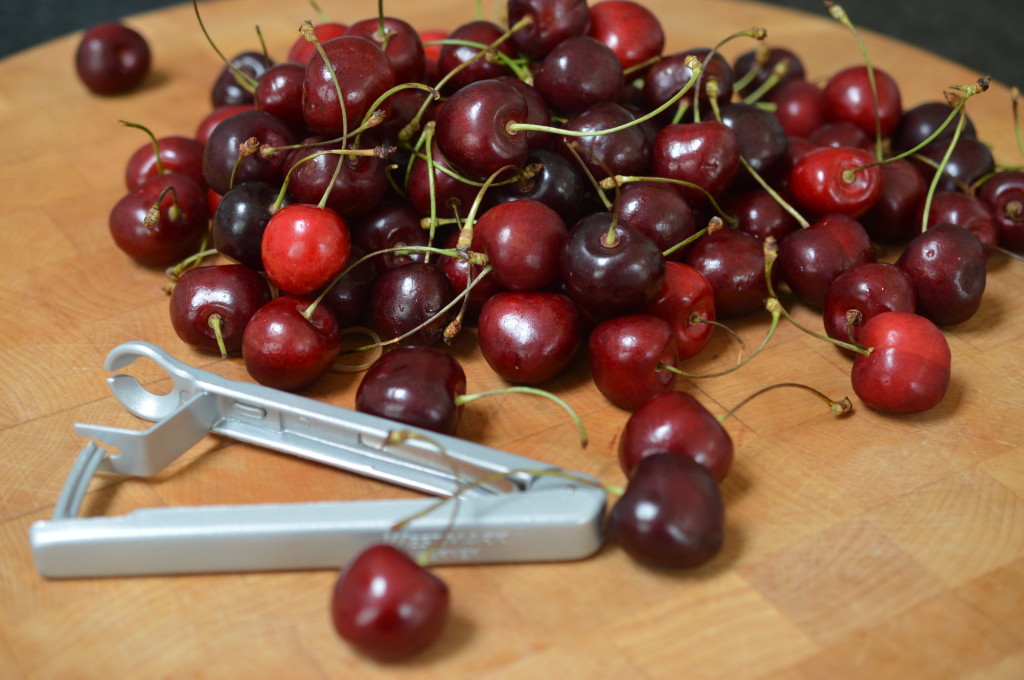
Cherries

And a cherry stoner.  Unlike it’s continental cousin, it’s stone out.  I love my Westmark Cherry Stoner.  It works.

Kentish Cherry Batter Pudding 2

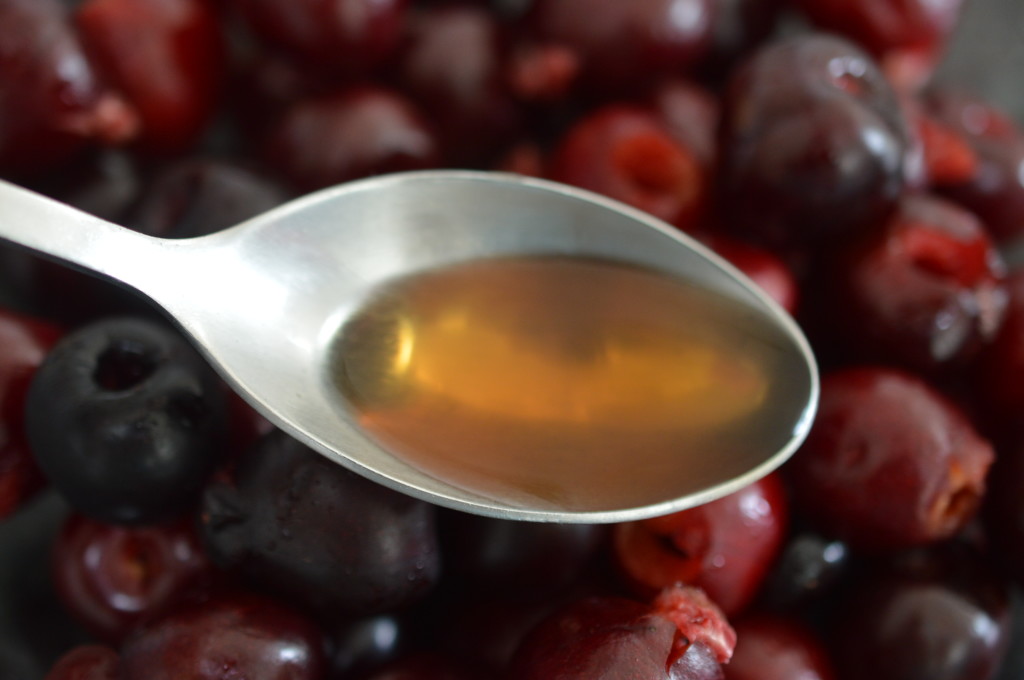
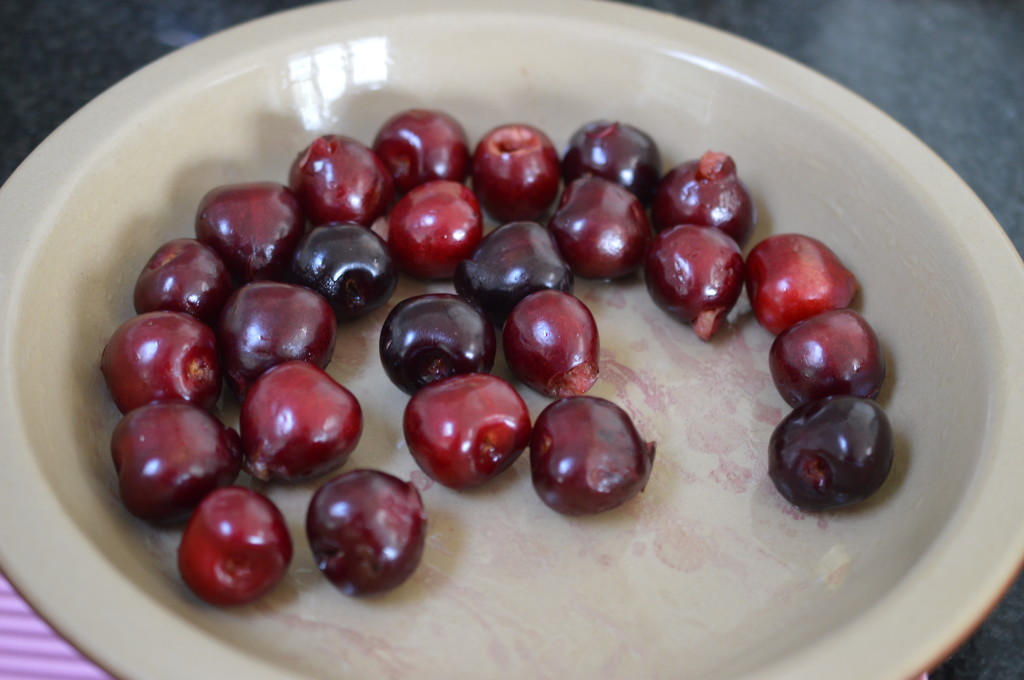
One the advantages of removing the cherry stones is that the cherry is now receptive to receiving a spike of something.  I steep my cherries in home-made cherry brandy.  Kirsch would be good.  Vanilla extract, I guess, would also be lovely.

Kentish Cherry Batter Pudding 3

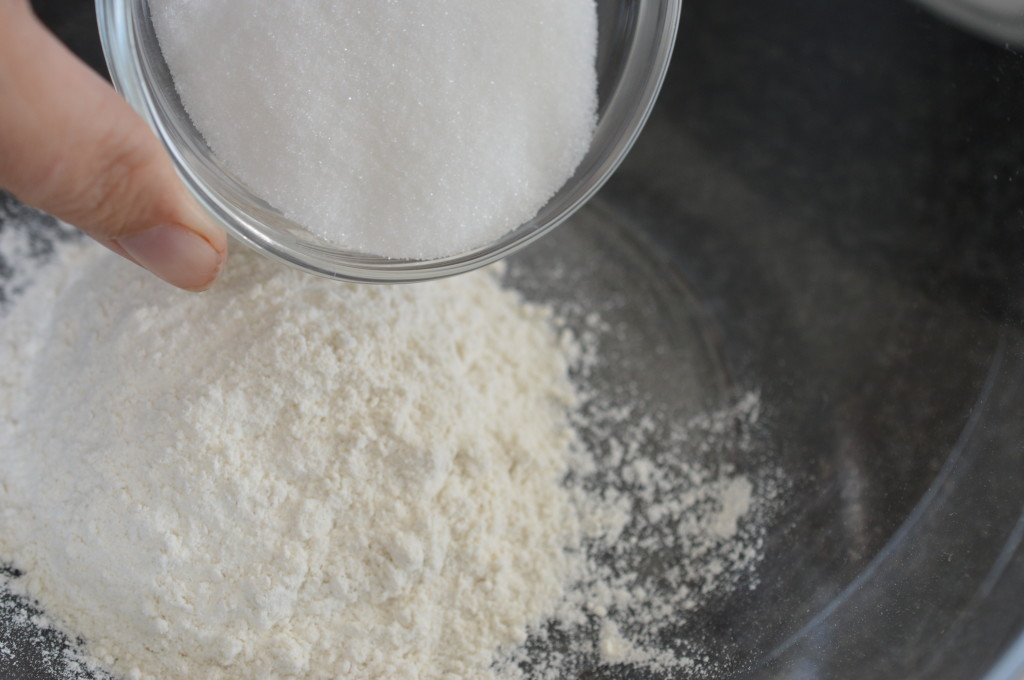
Put the flour in a bowl, add the sugar and a pinch of salt.

Kentish Cherry Batter Pudding 4

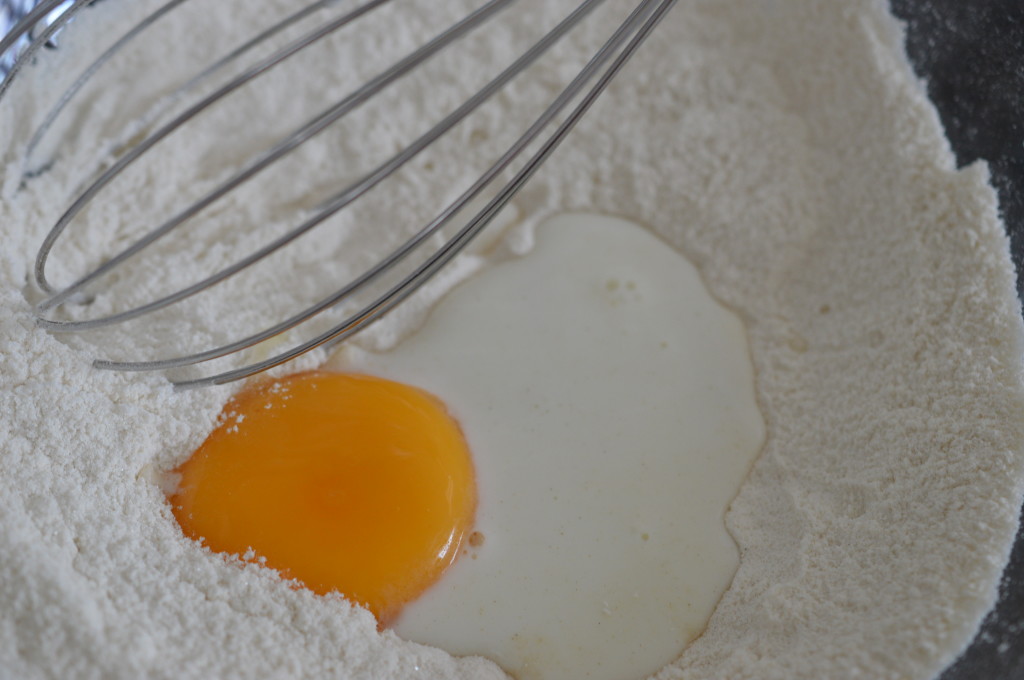
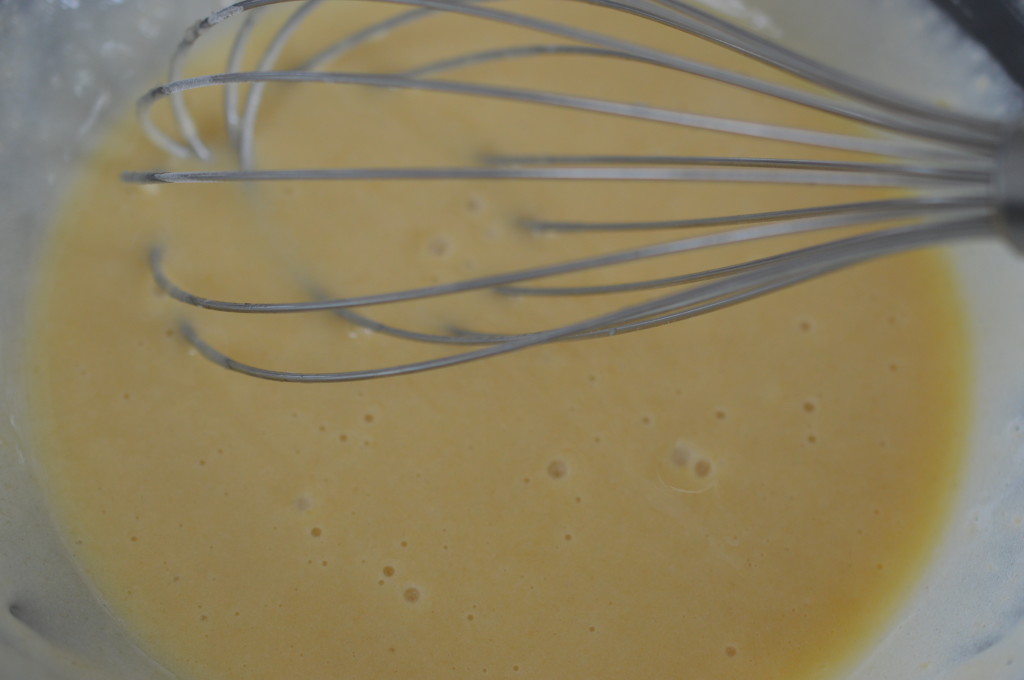
Whisk the dry ingredients together.  Add a splash of milk and one of the egg yolks.

Kentish Cherry Batter Pudding 5

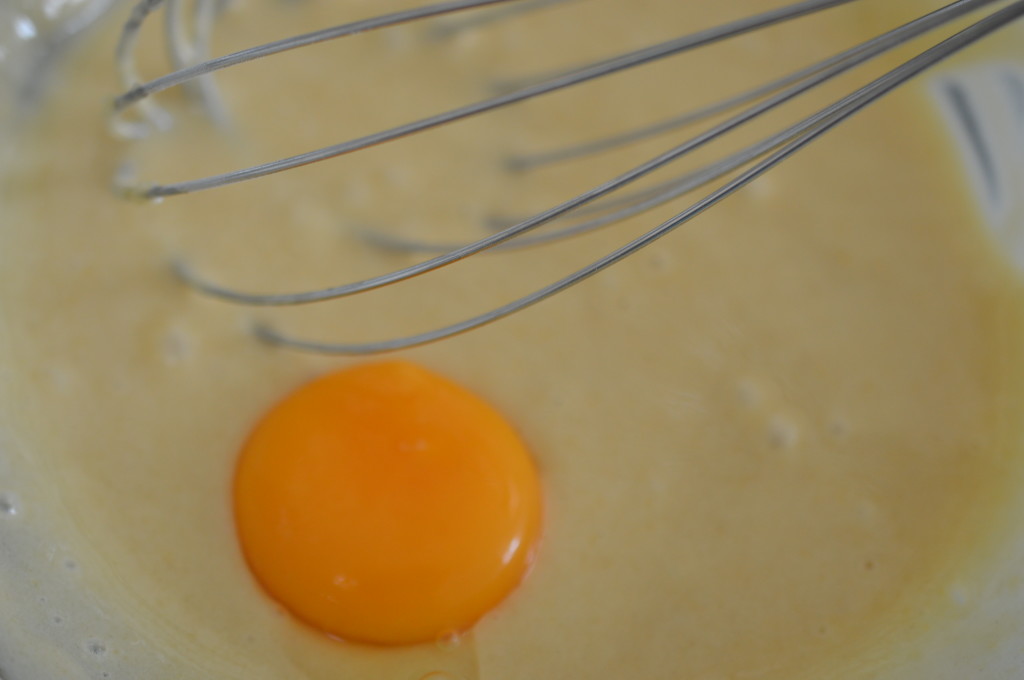
When that’s lump free, add the second egg yolk and another splash of the milk.  Whisk until there are no visible lumps.

Kentish Cherry Batter Pudding 7

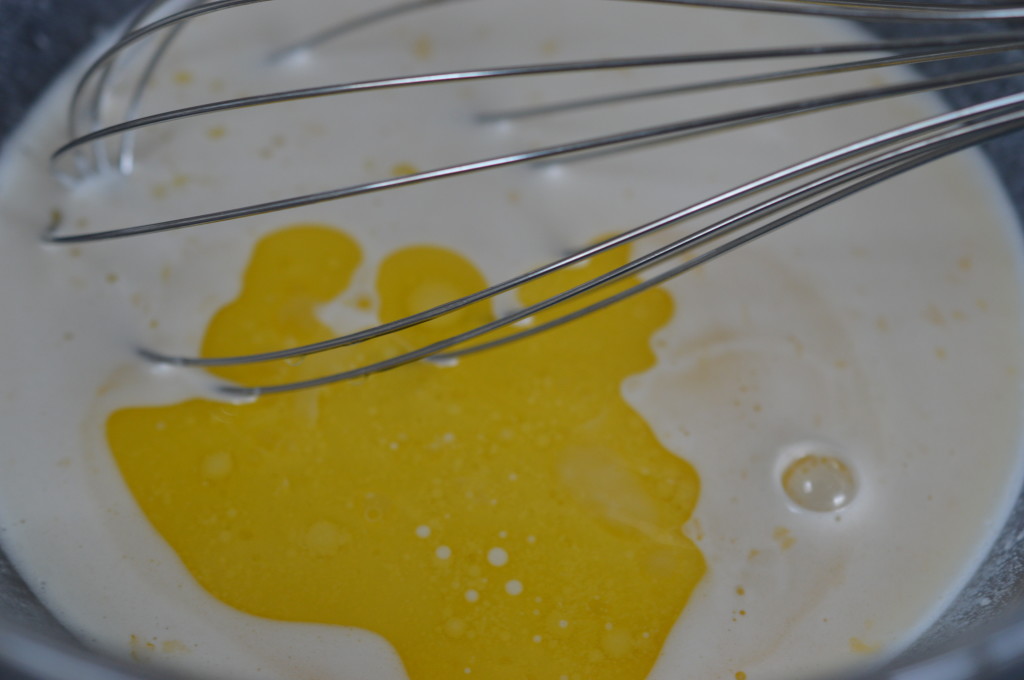
Into the smooth mixture, add the remaining milk and melted butter.  Drain the cherries and add any leftover brandy.

Kentish Cherry Batter Pudding 6

Batter done.

Kentish Cherry Batter Pudding 10

I use a 26cm pie dish (1.5 litres) to cook my batter pudding.  Into the greased pie dish I place half the steeped cherries and give them 5 minutes in a hot oven.

egg whites

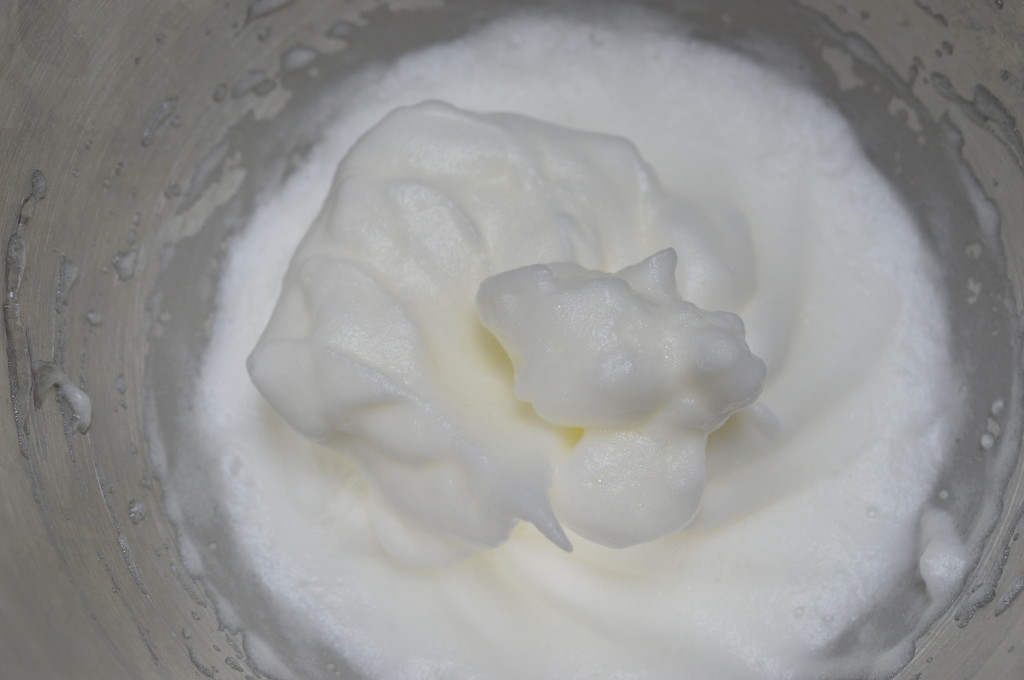
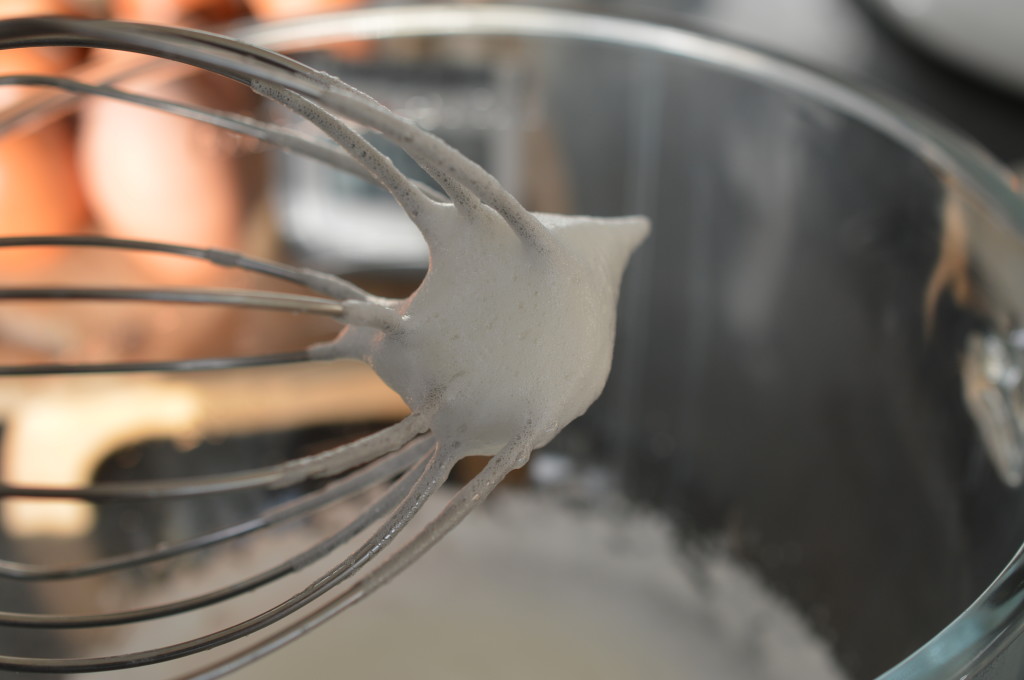
Whisk the reserved egg whites to stiff peaks.

fold in

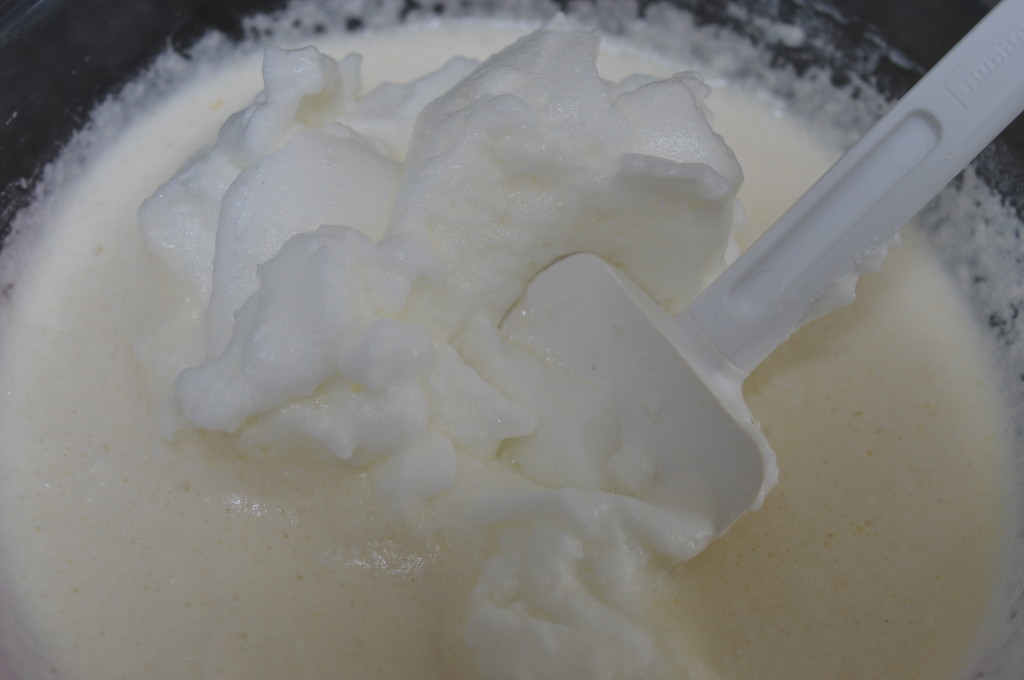
It’s easiest if you whisk in one third of the billowy egg whites before gently folding in the remainder.

Kentish Cherry Batter Pudding 11

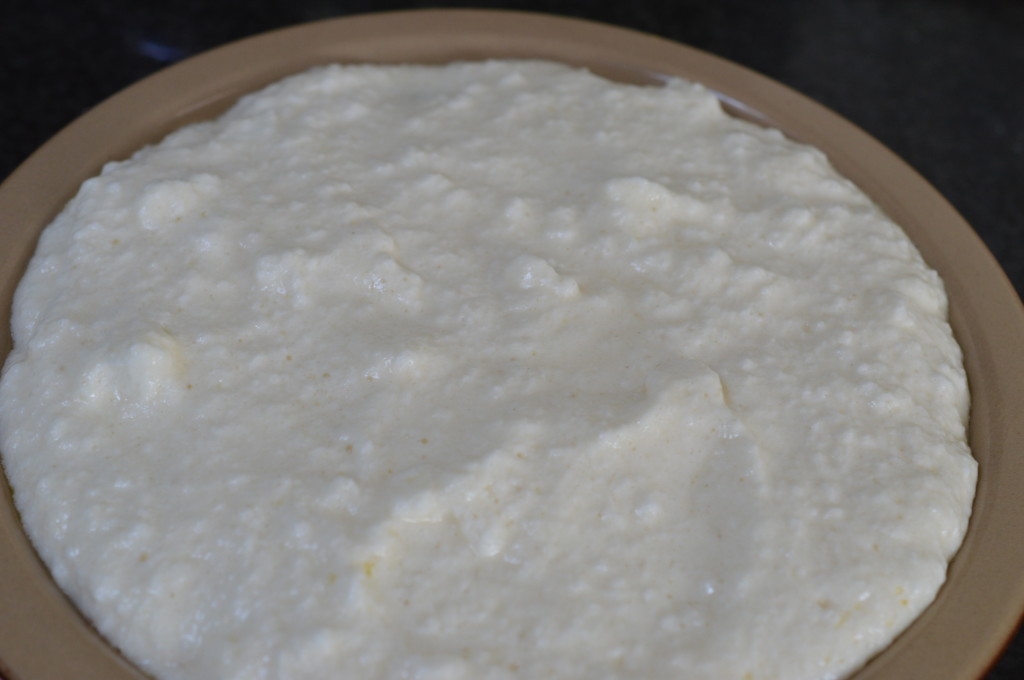
Remove the pie dish from the oven and pour the soufflé-like batter on top.

Kentish Cherry Batter Pudding 12

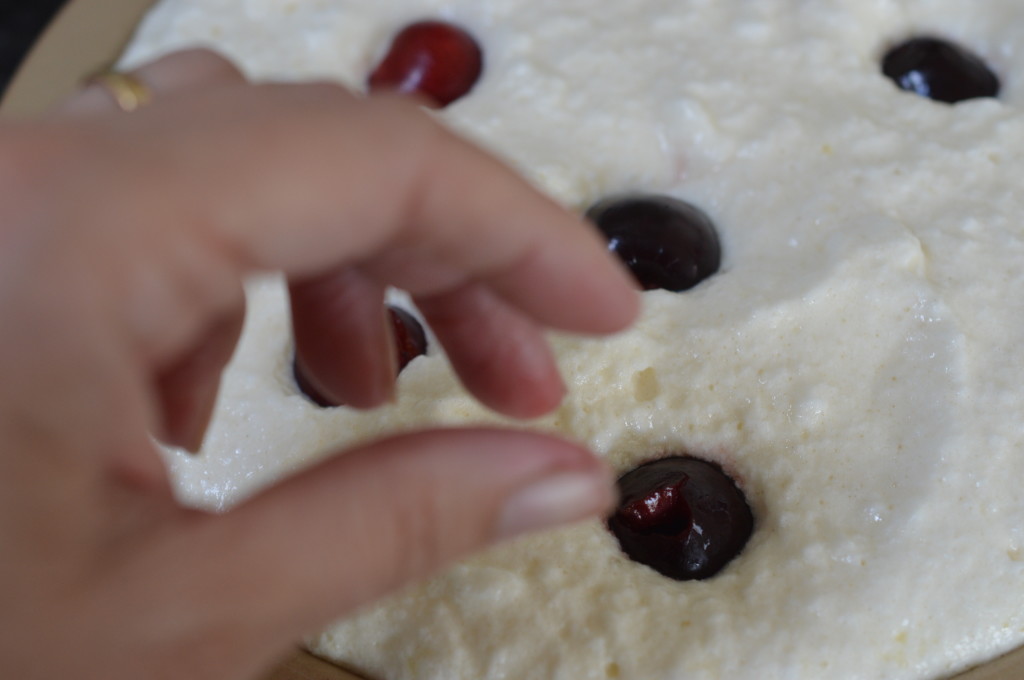
Then, plop in the remaining cherries.  Back into the oven.

Kentish Cherry Batter Pudding 13

Want a peak?

Kentish Cherry Batter Pudding 14

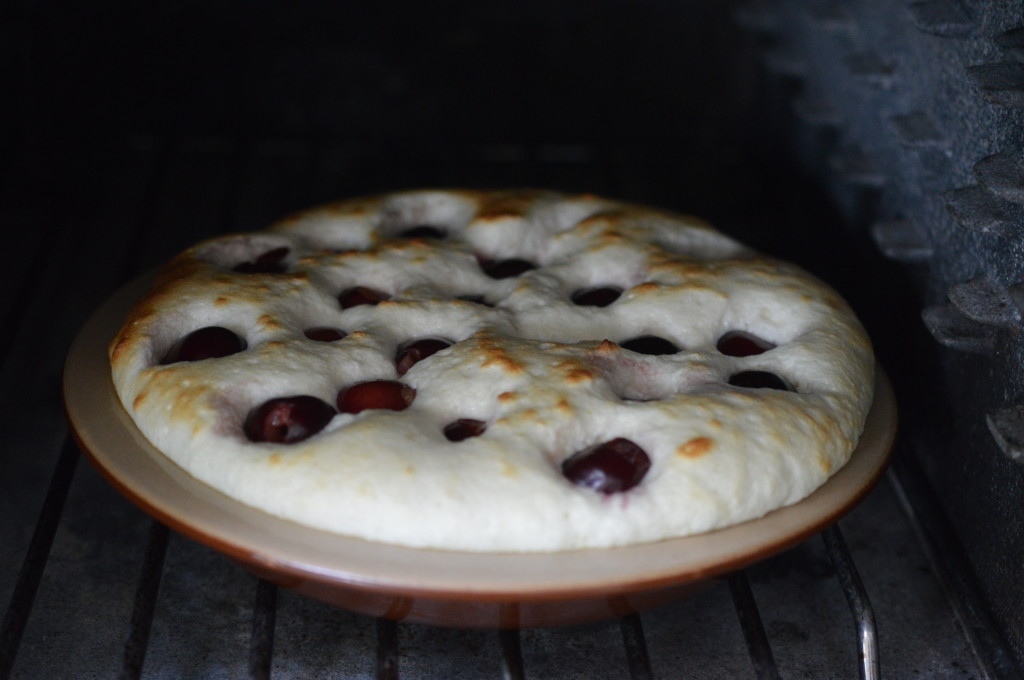
Exact cooking times will depend on your oven and you may have to fiddle a bit.  In my conventional oven I bake for 20 minutes at 200ºC, then I lower the temperature to 190ºC/375ºF/gas mark 5 and cook for a further 20 minutes.  (My oven is truly hopeless and I have to use an oven thermometer.)

In my Aga I cook for 10 minutes on the rack on the floor of the Roasting Oven and then place on the rack on the floor of the Baking Oven for 20 minutes.  The depth of your dish will make a difference.  You are looking for your batter pudding to be puffed up and golden with the custard just-set but still having a seductive wobble.

Kentish Cherry Batter Pudding 16

Dust with icing sugar.

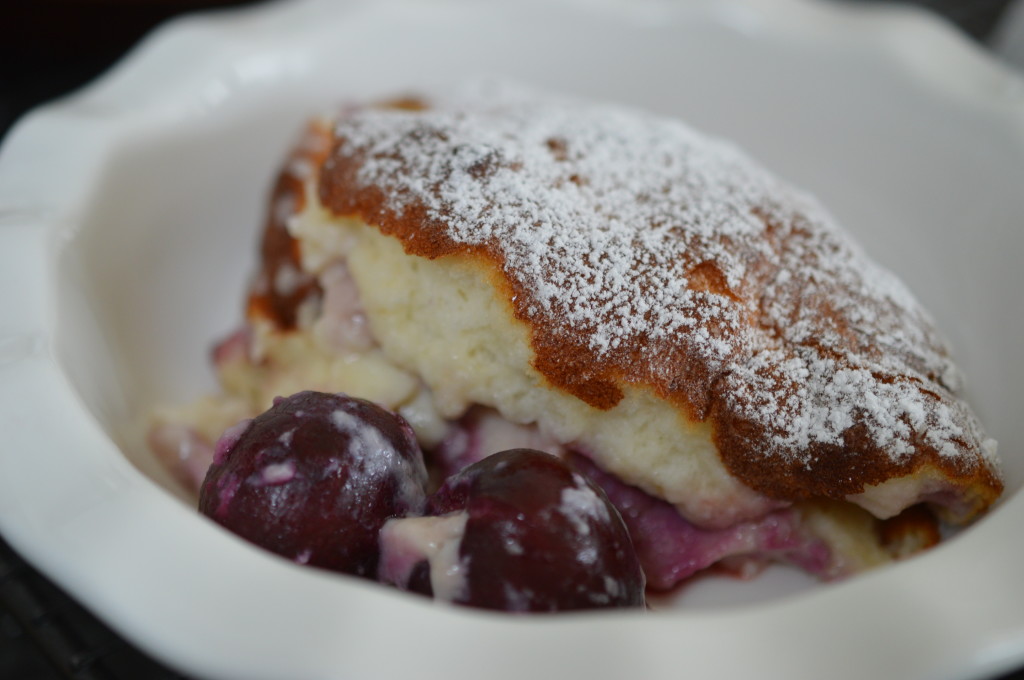
big bowl batter pudding

Serve warm or room temperature.  I like it warm best.  With a vanilla custard or with cold pouring cream.

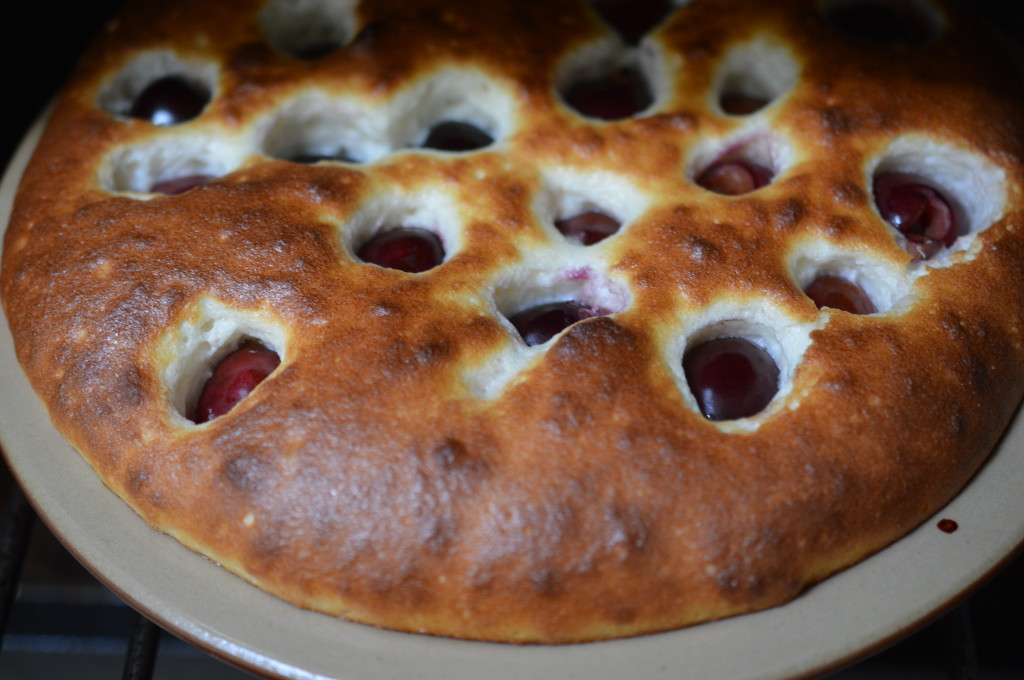
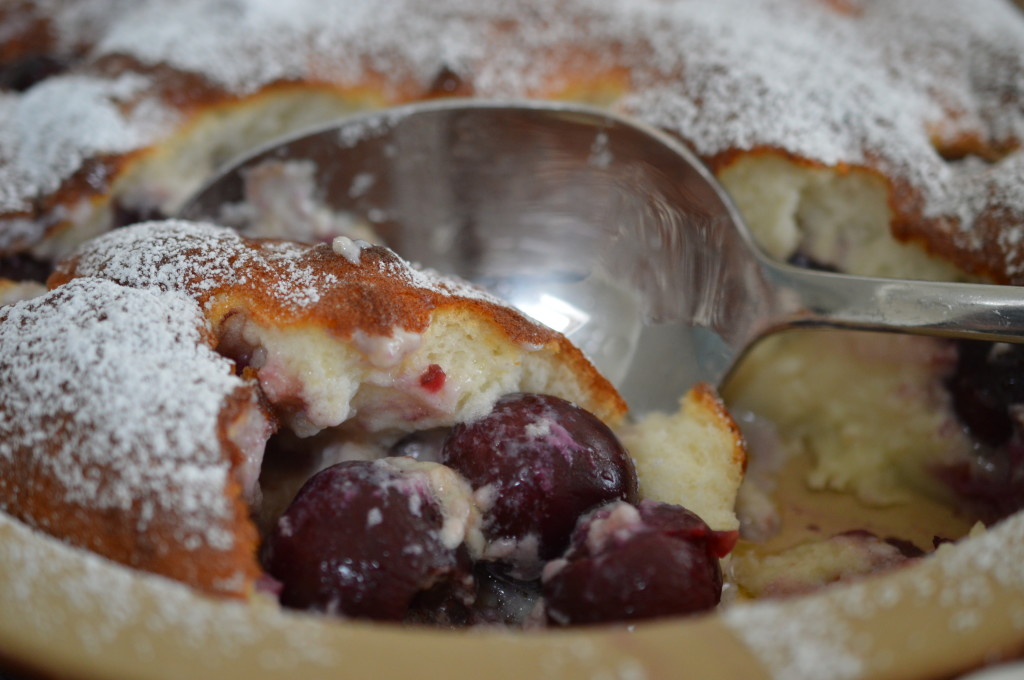
close up batter pudding

Eat.

Kentish Cherry Batter Pudding 17Kentish Cherry Batter Pudding

Serves 6

  • 500g/1lb ripe dessert cherries
  • 1 tablespoon cherry brandy (or kirsch/almond extract)
  • 50g/1½oz plain flour
  • pinch of salt
  • 50g/1½oz caster sugar
  • 25g/1oz unsalted butter, melted
  • 300ml/½pint full-fat milk or single cream
  • 2 eggs, separated

Stone the cherries.  Spoon over 1 tablespoon of cherry brandy and give the cherries a stir.  Set aside to allow the cherries time to absorb the alcohol.  (This can even be done the night before.)

Place the flour, salt and caster sugar in a bowl and whisk together with a balloon whisk.

Make a well in the centre and add one of the egg yolks, together with a splash of the milk/cream.  Using the balloon whisk, start to incorporate the flour and whisk until there are no lumps.  Add the second egg yolk and another splash of milk and continue whisking until you have a smooth thick batter.

Add the remaining milk, the melted butter and whisk together.  (If you wish to get-ahead with the batter, it will sit in the fridge perfectly happily.)

Grease a 1.5 litre pie dish and drop half the soaked cherries in the bottom.  Cook for 5 minutes in a 200ºC/400ºF/Gas Mark 6.  (Aga:  On a rack on the floor of the Roasting Oven.)  Drain the remaining cherries and add the brandy to the batter.

Whisk the egg whites until the stiff peak stage.  Whisk in one third into the batter and then, gently fold in the remaining two-thirds.

Take the hot dish from the oven and pour over the batter.  Drop the second half of cherries over the top.

Back into the oven for a initial 20 minutes.  (Aga:  I find 10 minutes is enough for the batter pudding to be golden and puffed up.)  Reduce the temperature to 190ºC/375ºF/Gas Mark 5 for a further 20 minutes.  (Aga:  Baking Oven for a further 20 minutes.)

Dust with icing sugar.

Eat.

Print.


Fraisier Cake

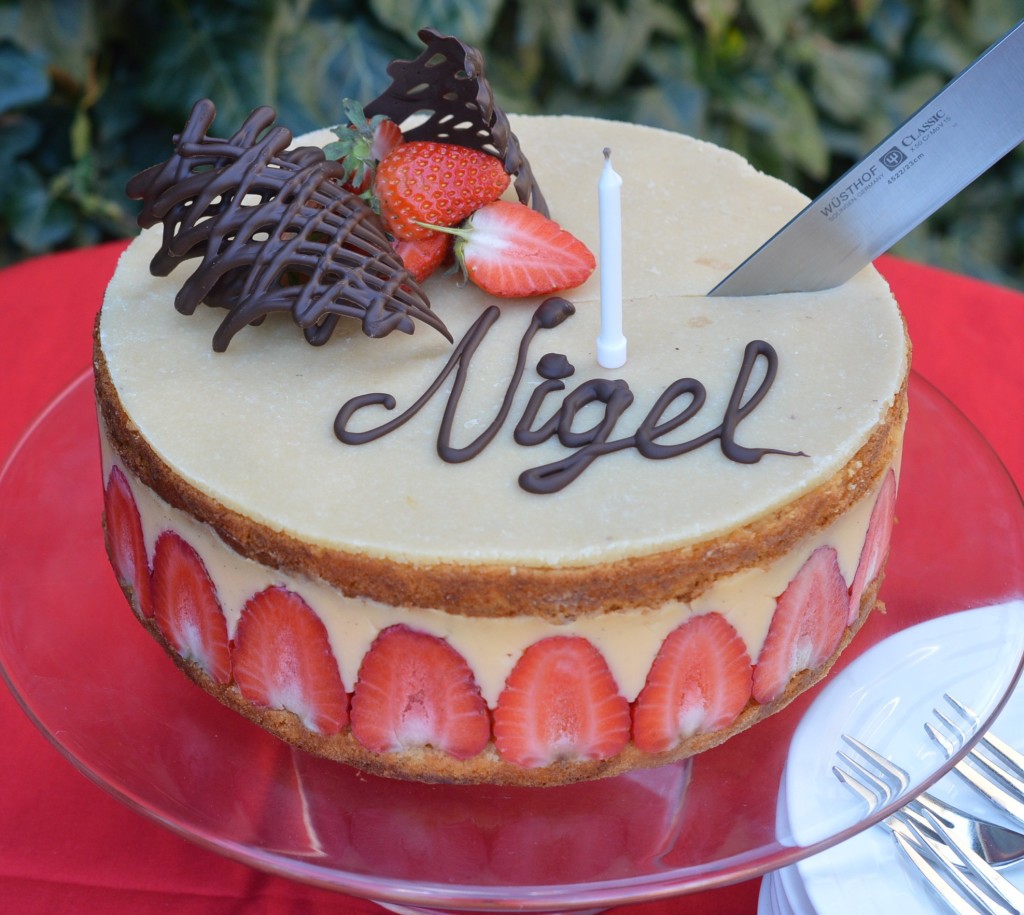
It was Nigel’s birthday earlier this month – and that always involves strawberries.  Despite the fact we’d been picking them from the garden for most of June, when Nigel was a child his birthday always signalled the first strawberries of the summer and some things should be respected.
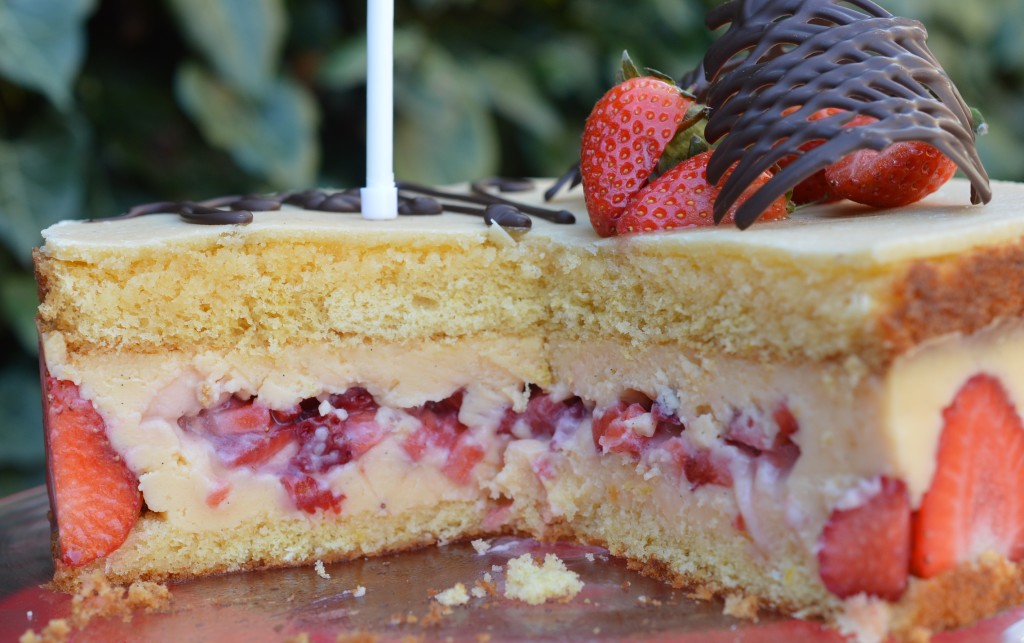
Fraisier Cake Cutting

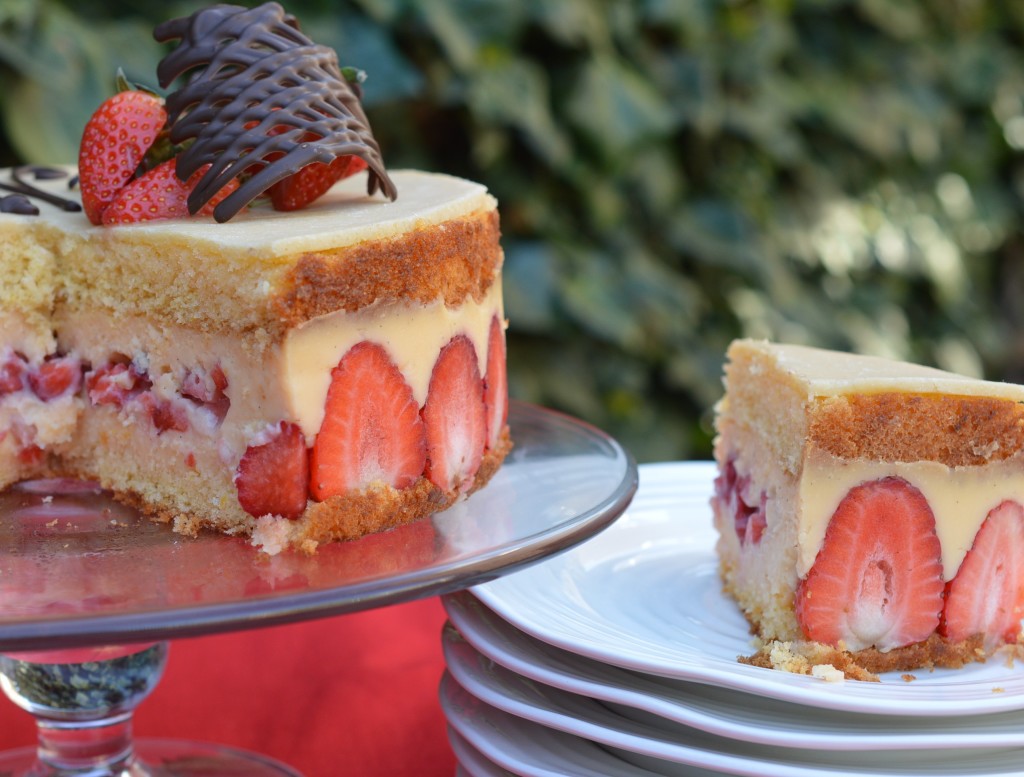
Le Fraisier is a french strawberry gateaux, fraise being the french word for strawberry.  I don’t think it can be a creation of too much antiquity because strawberries in this plump form, as opposed to the wild variety, are a fairly recent arrival.  Amédée-François Frézier (1682-1773) gets the credit for introducing them to Europe, having brought some specimens back from Chile.

Whoever the culinary genius was who created this celebration of the strawberry I can’t say.  I do know where I came across it.  Baking a Frasier Cake was a Mary Berry technical challenge on series 3 of ‘The Great British Bake Off’.
Fraisier Cake 54

I’m fairly confident my children, with the exception of Liddy who can be trusted not to tell her brothers, will not be reading this .. so I will make a confession.  All those technical challenges … well, they’re a whole lot easier if you are not cooking in a tent, have a complete set of instructions, no interruptions, no tv camera pointed at you watching for mistakes and as much time as you like to cook.

This is fun to make.  Okay, so it’s not something I’d whip up on an average week night, but no stage is complicated – and then it’s an assembly job.  It tastes amazing.
Fraisier cake 1

Making a Genoise Sponge is so much easier with a stand mixer.  If that’s not what you have, you need to do it the classic way which is in a bowl set over a pan of simmering water.

Melt 50g/1¾oz of unsalted butter, and allow it to cool slightly.  Heat your oven – 180ºC/Gas Mark 4/350ºF.  Prepare a round 23cm/9″ cake tin – I melt more butter to grease my tin really thoroughly and line the base with bake o’glide.
Fraisier Cake 2

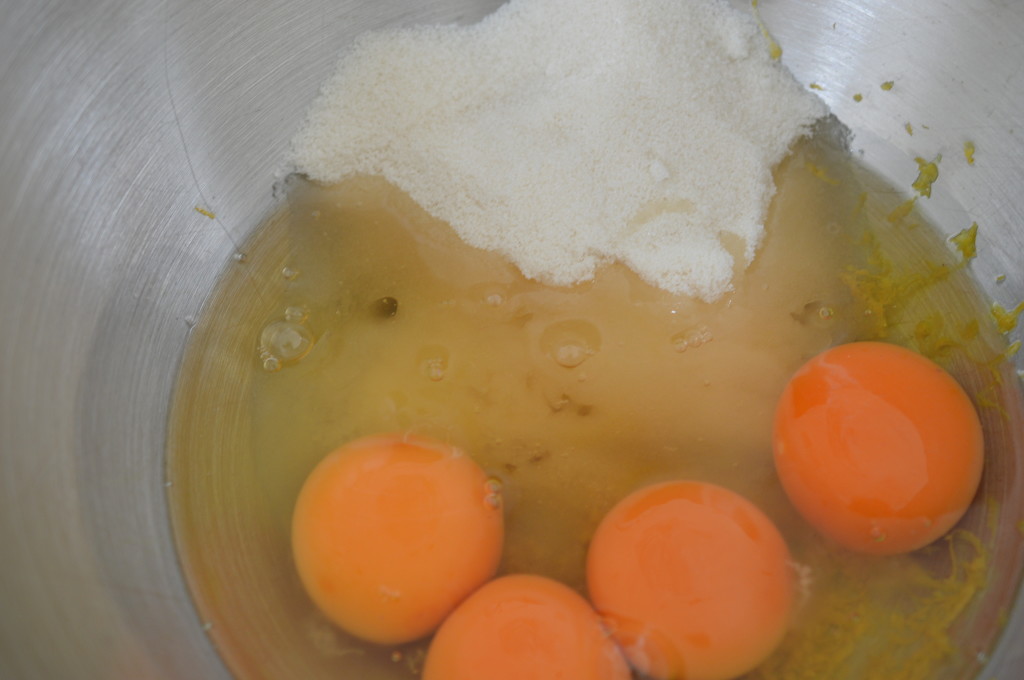
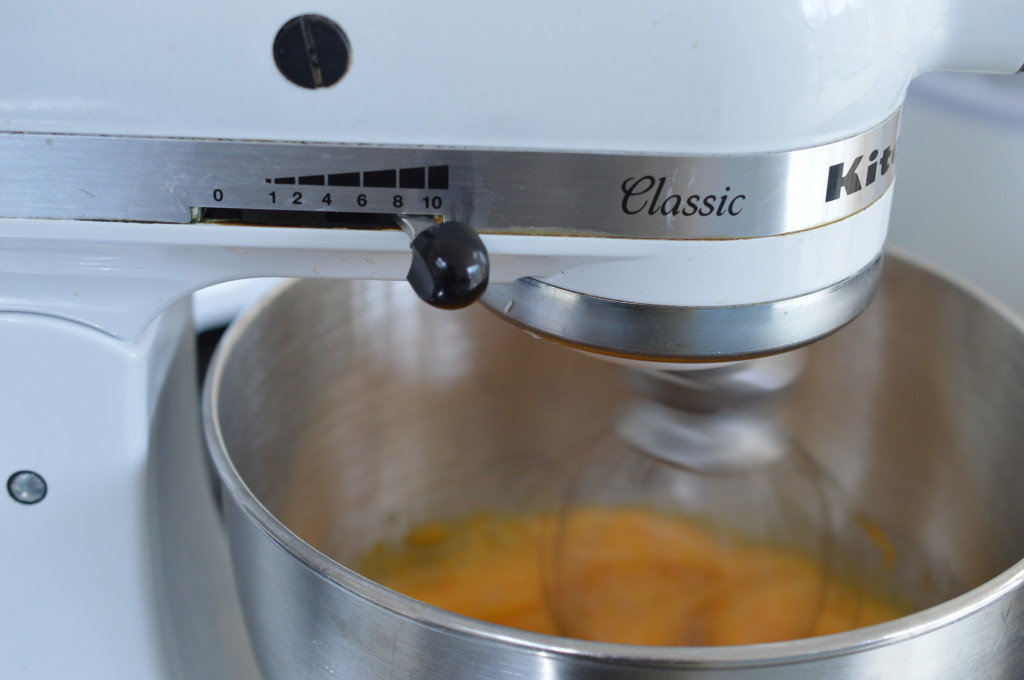
Then, with the four eggs, finely grated zest of two lemons and 125g/4½oz caster sugar in the bowl – whisk.  I use my kitchen aid  with the  whisk attachment on maximum.
Fraisier Cake 3

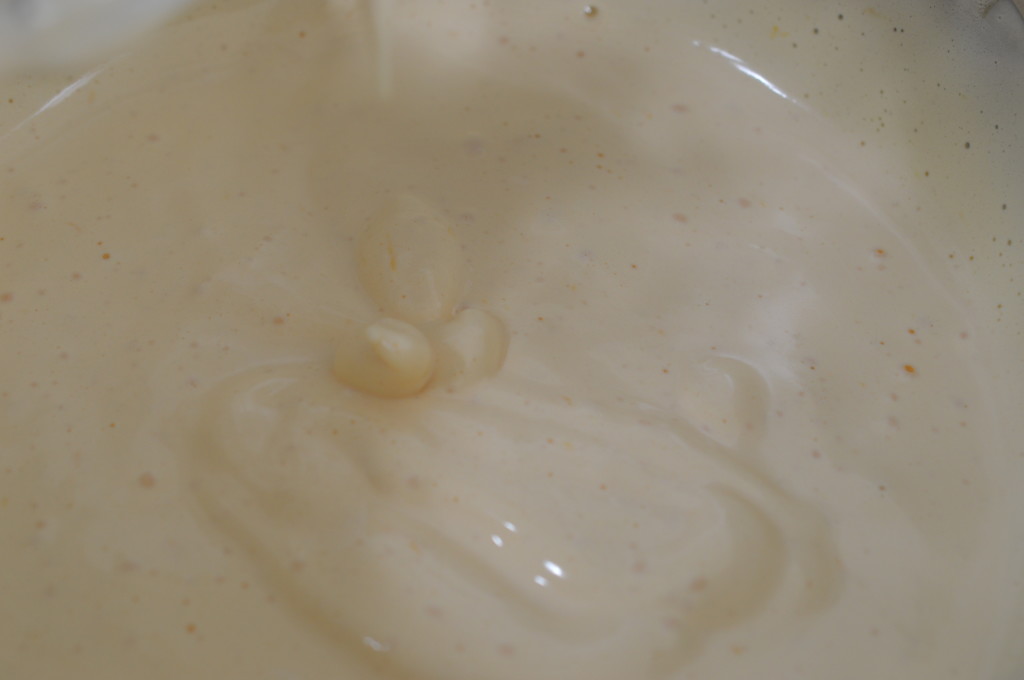
It’s done when you can lift the whisk out and draw a figure of eight with the mixture.  It’ll rest on the surface for a few moments.
Fraisier Cake 4

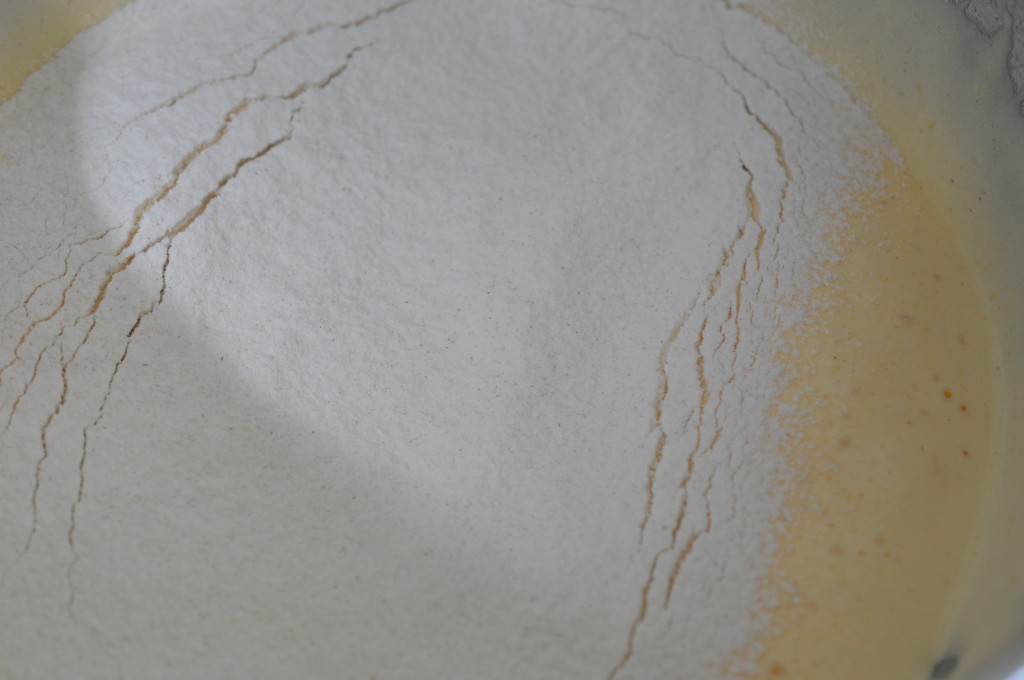
If you’ve been whisking over a bowl of simmering water, now is the time to remove from the heat.  Whichever method, sift over half the flour.
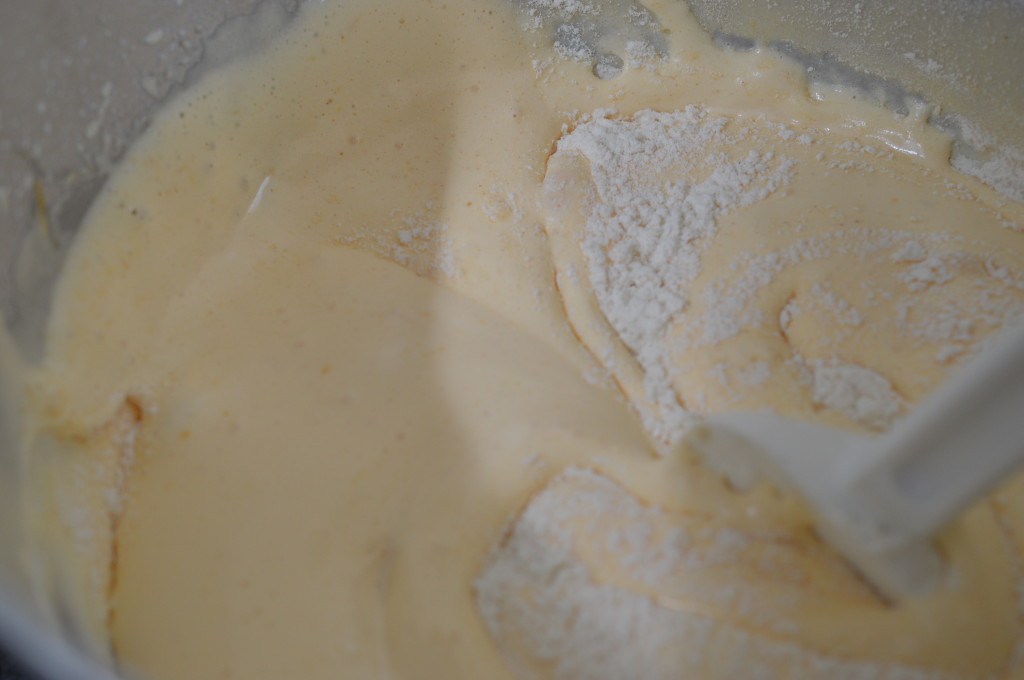
Fraisier Cake 5

Gently – fold in.  The aim is to keep as much air in the mixture as possible.  Use the edge of the spatula (or metal spoon) and use a cutting motion.  Once you’ve incorporated the first half, sift over the remaining flour and fold that in as well.  Then, add the melted butter.  Gently – fold that in, too.
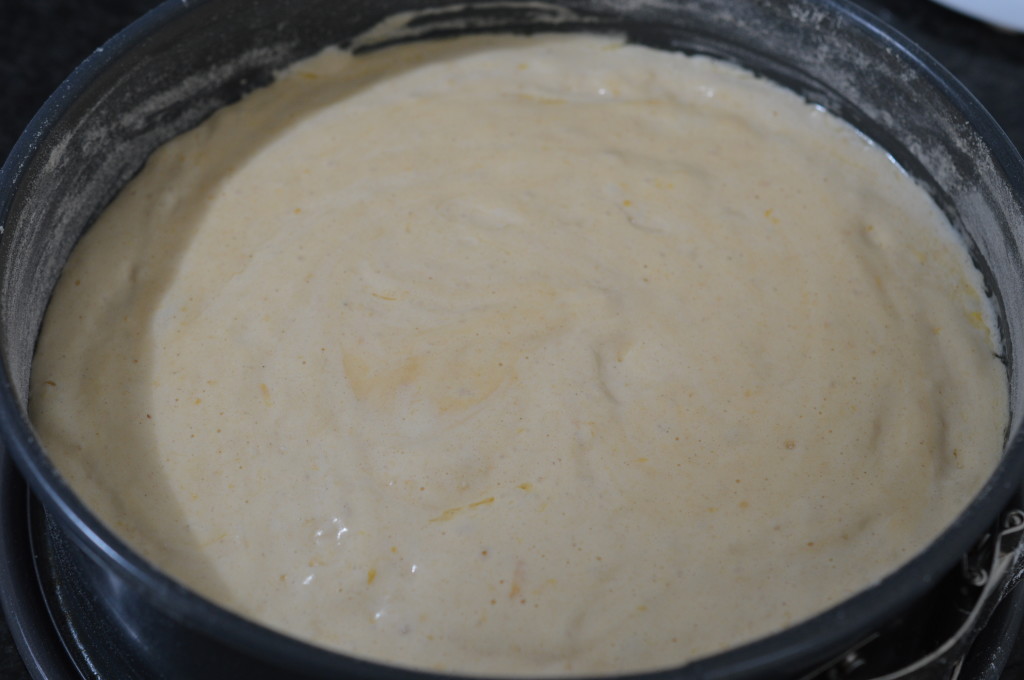
Fraisier Cake 6

Pour into the prepared cake tin and bake for 25-30 minutes.  In my 4-oven aga, I use the Baking Oven and bake for 20-25 minutes on the rack placed on the floor.
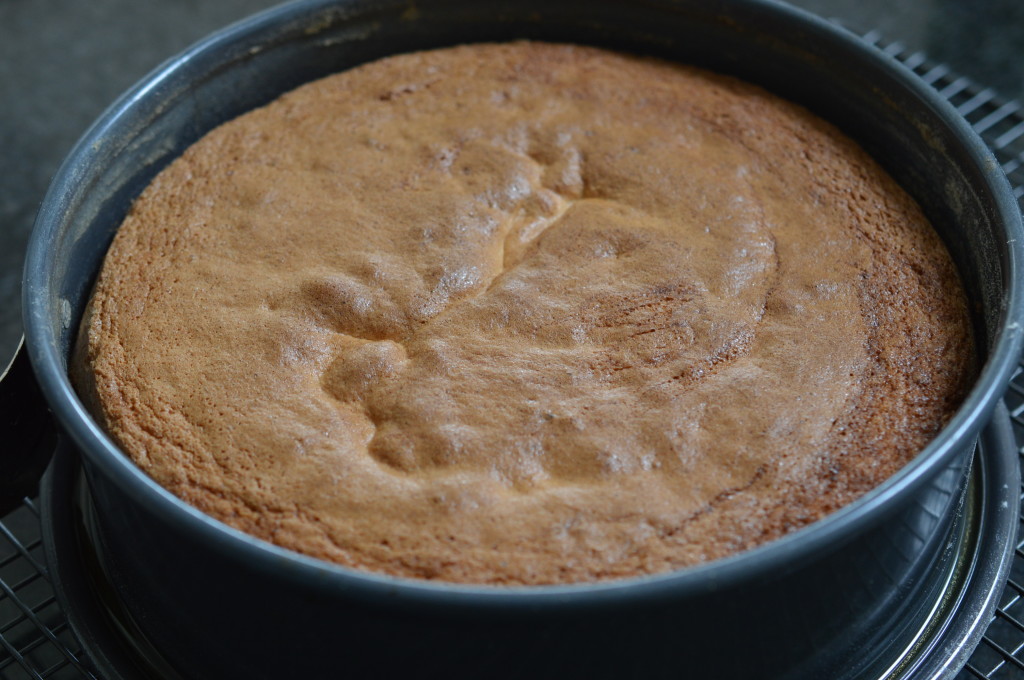
Fraisier Cake 14

It’s done when the sides of the cake shrink away from the sides of the tin.  Leave it to cool for five minutes, then loosen the side clip and transfer the cake to a cooling rack.
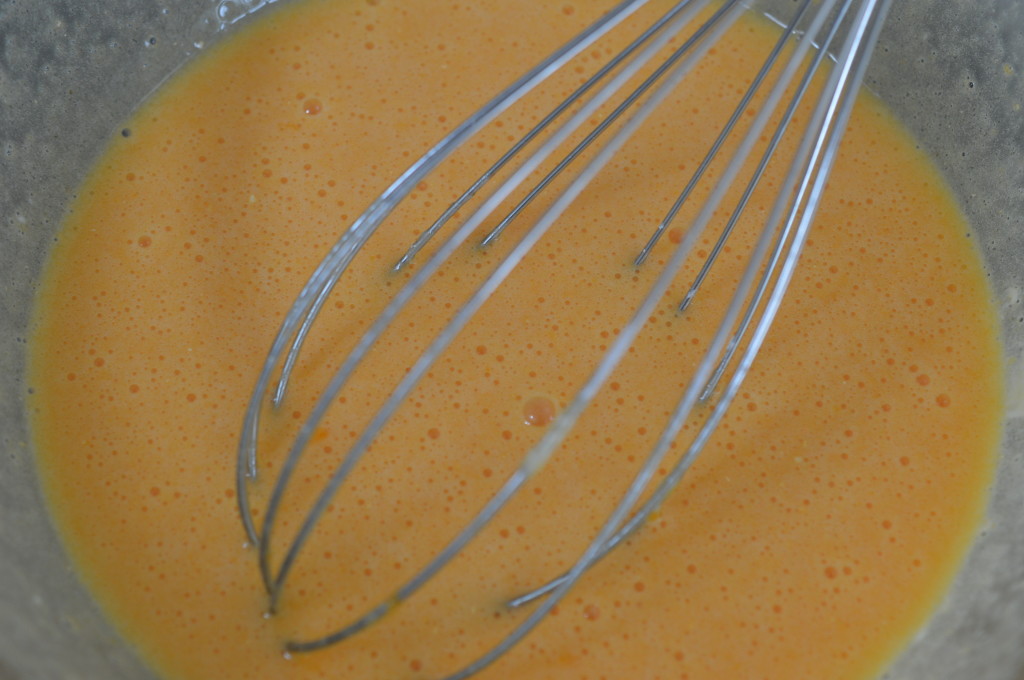
Fraisier Cake 9

Crème pâtissière is a fancy custard.  In a clean bowl, whisk together 4 eggs, 2 extra egg yolks, the sugar, cornflour and kirsch.
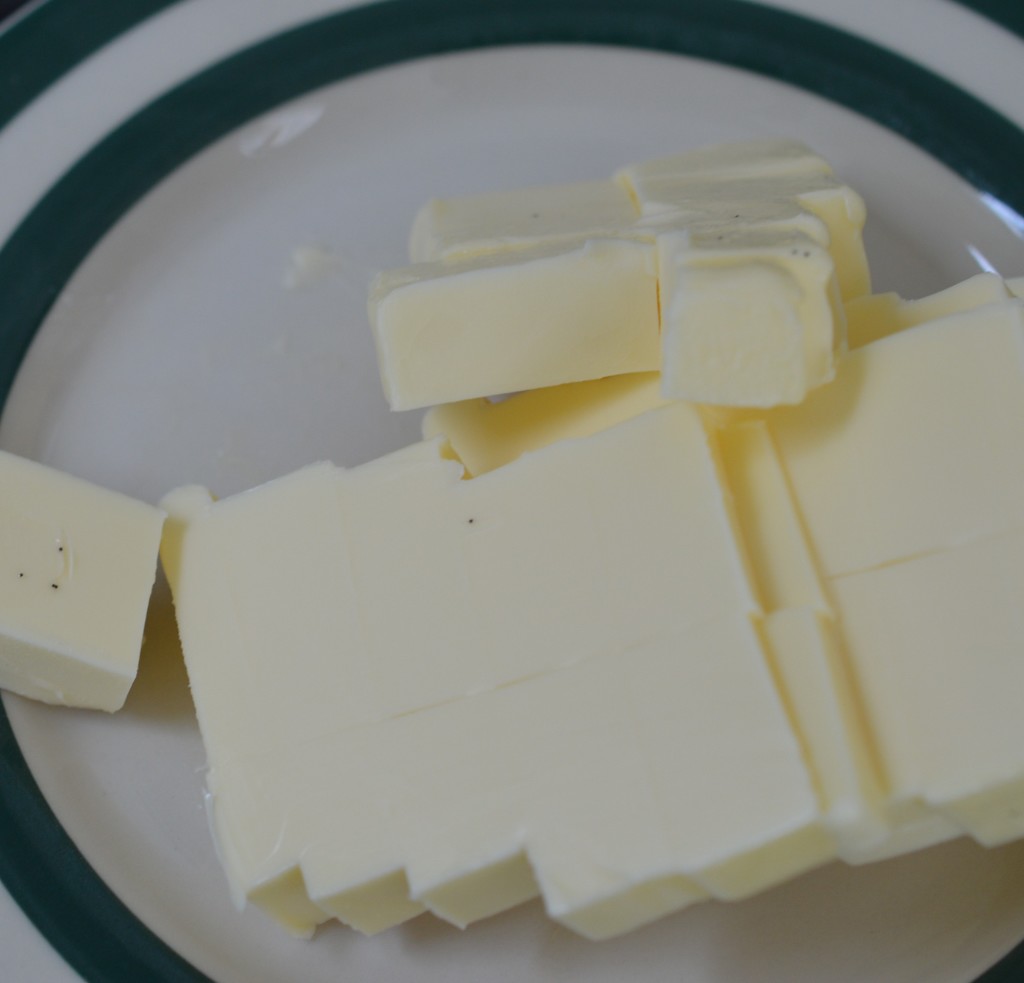
Fraisier Cake 13

Cut 150g/5½oz butter into cubes.

Vanilla ice cream pod

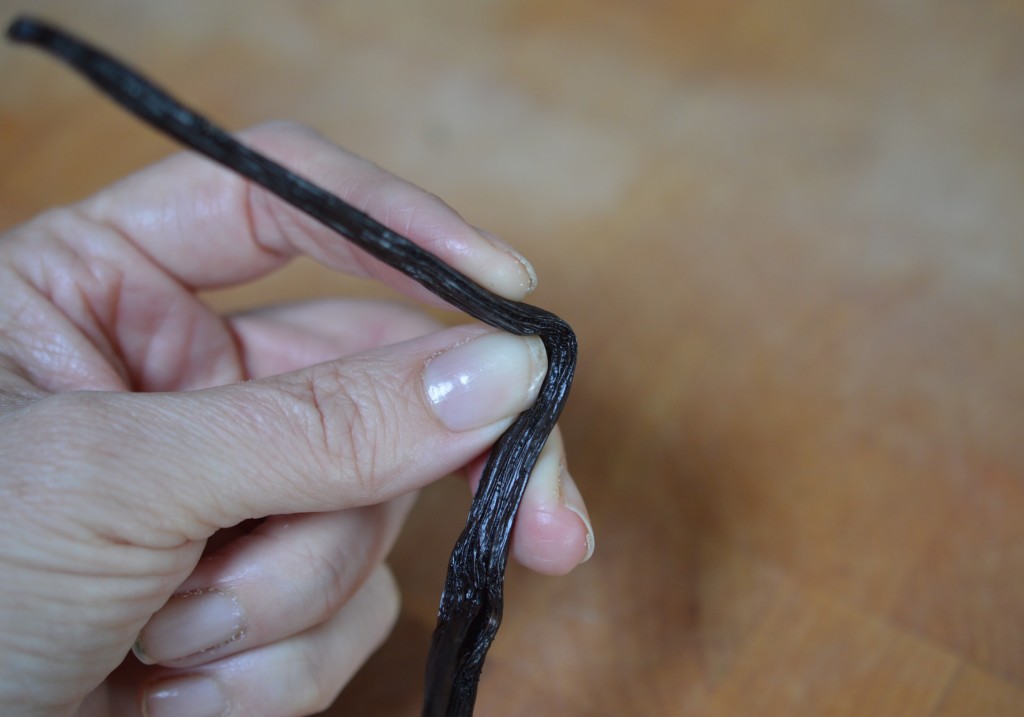
The best vanilla pods are the nice, fat, bendy ones.
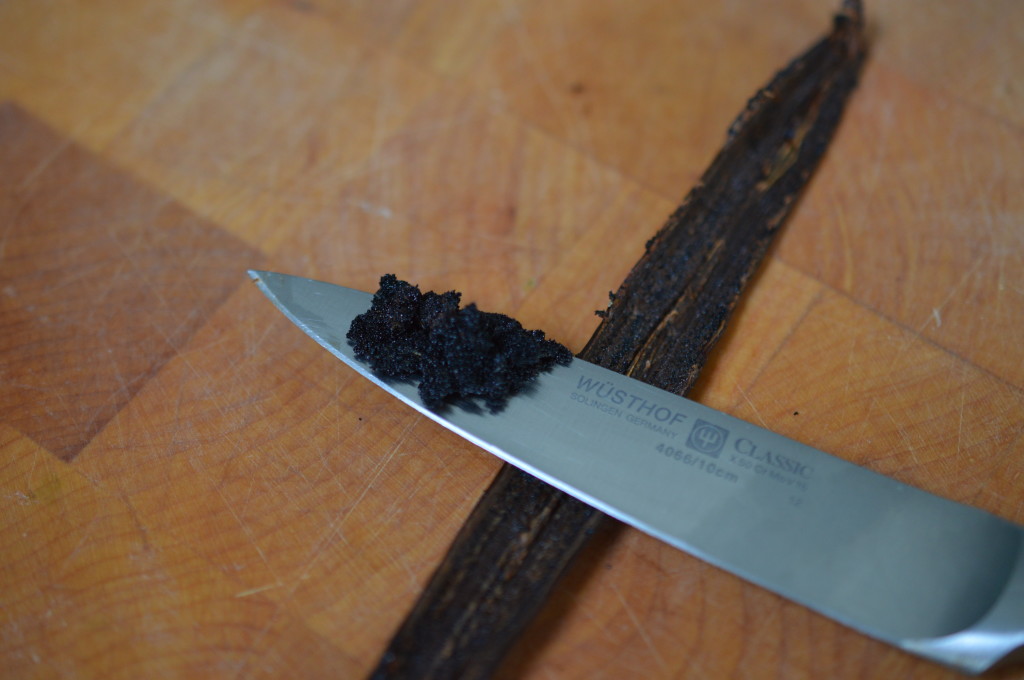
Vanilla ice cream seeds

Scrape out the seeds with the back of a knife.
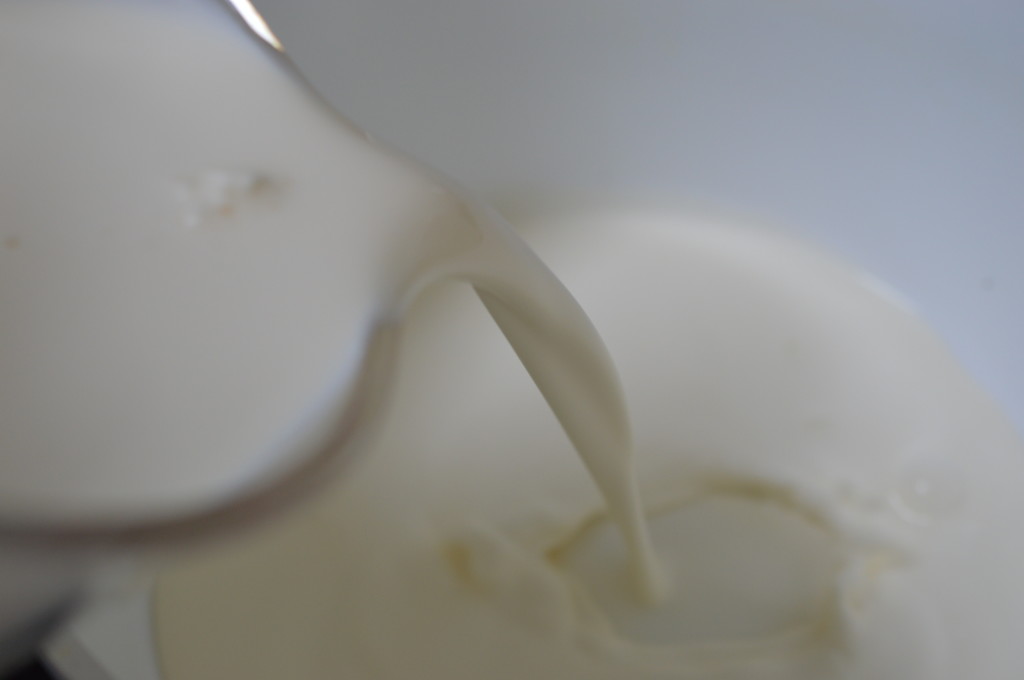
Vanilla ice cream scalded

Pour the milk into a saucepan and add the vanilla seeds and pod.  I chopped mine to get maximum flavour into the milk.  Bring to a boil and take it off the heat.
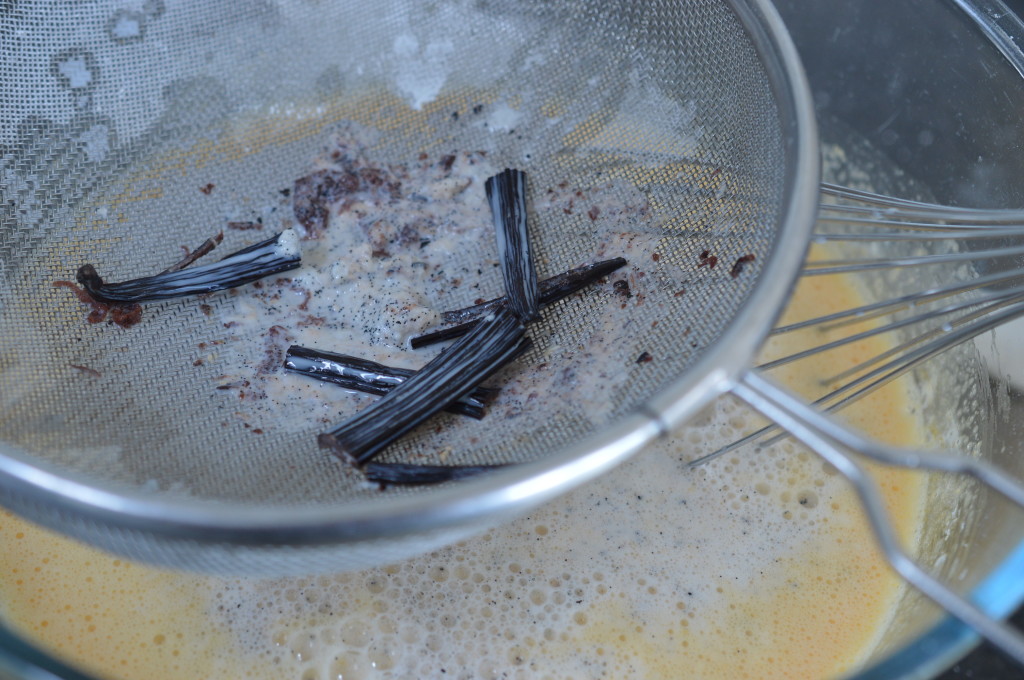
Fraisier Cake 10

Place a sieve over the bowl holding the eggs and sugar and pour the hot milk on top.  Whisk everything together.
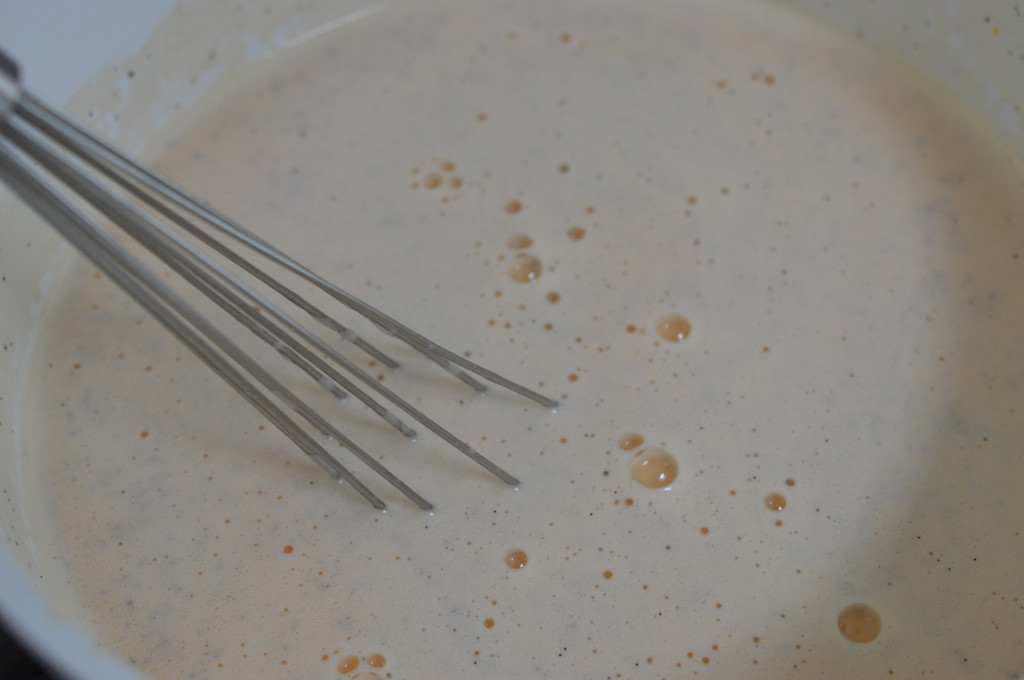
Fraisier Cake 11

Pour the whole lot back into a clean saucepan.  Over a medium heat, stir until it thickens.
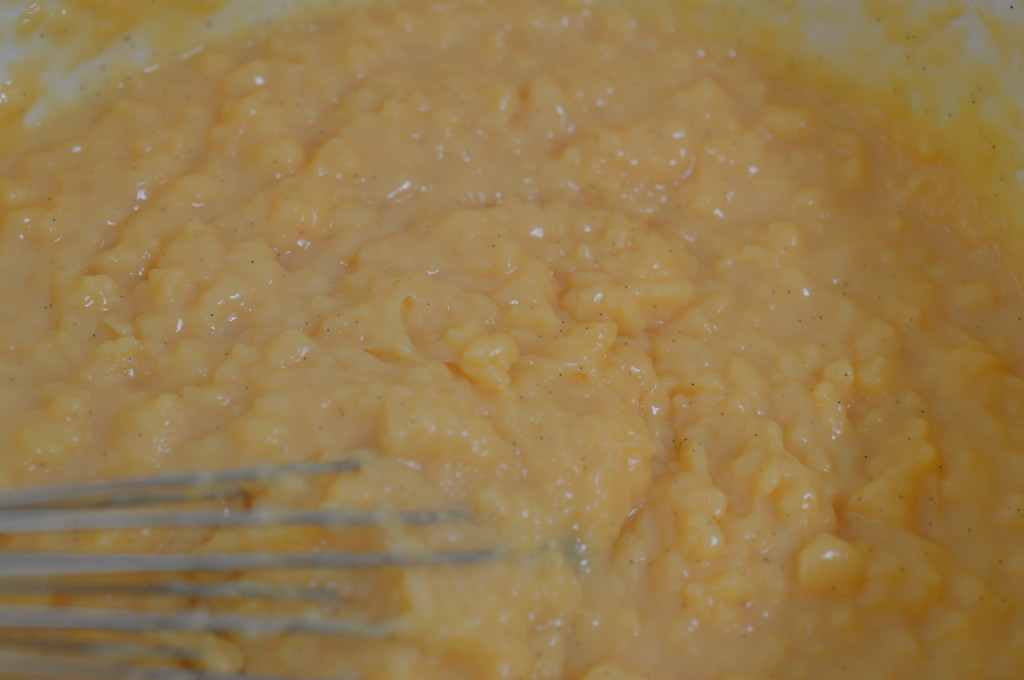
Fraisier Cake 12

It happens suddenly.  It’ll look like it’s got cellulite.  Whisk out the lumps.  You’re looking for a thick, smooth custard which will pipe.
Fraisier Cake 15

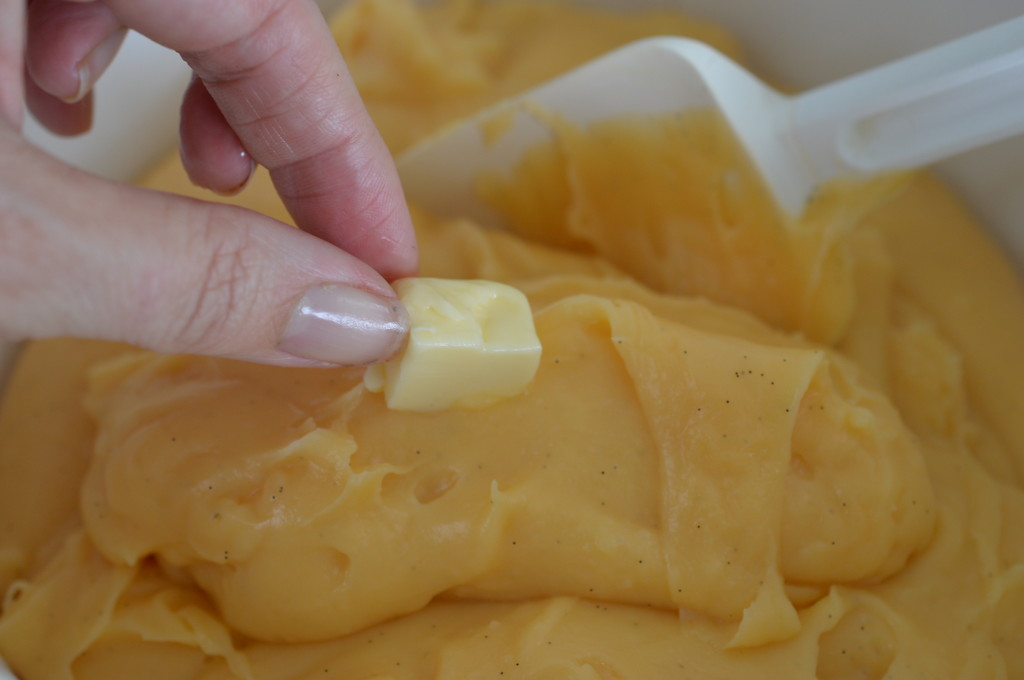
It’s about to get richer.  You’re allowed to eat this guilt-free because you’ve made it and not bought it.

Cube by cube, drop in the butter.  Stir and let the butter melt.
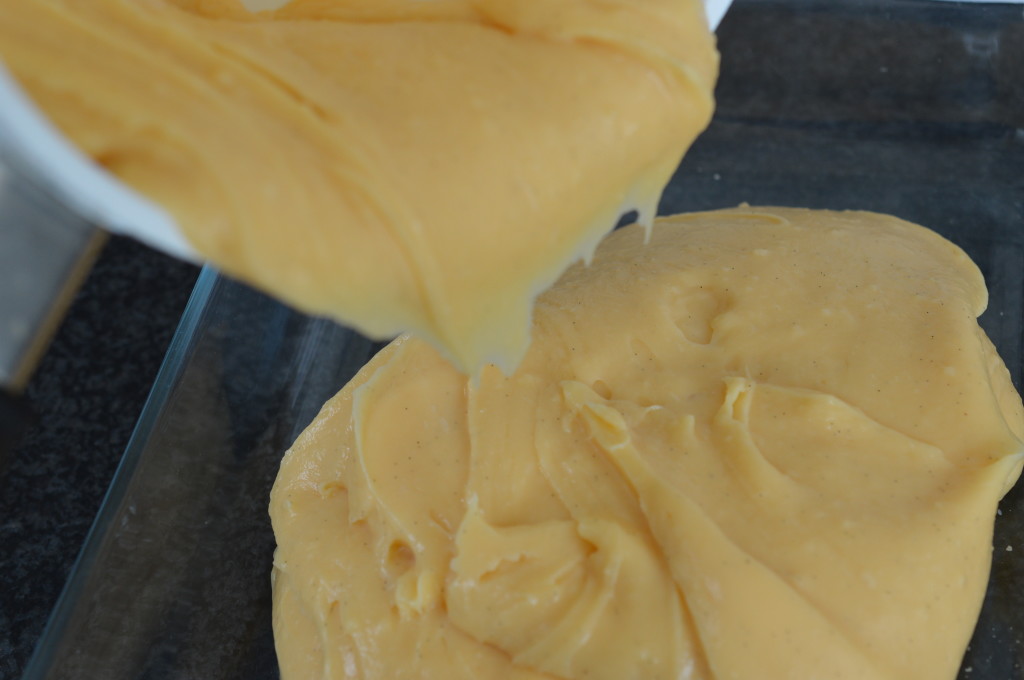
Fraisier Cake 16

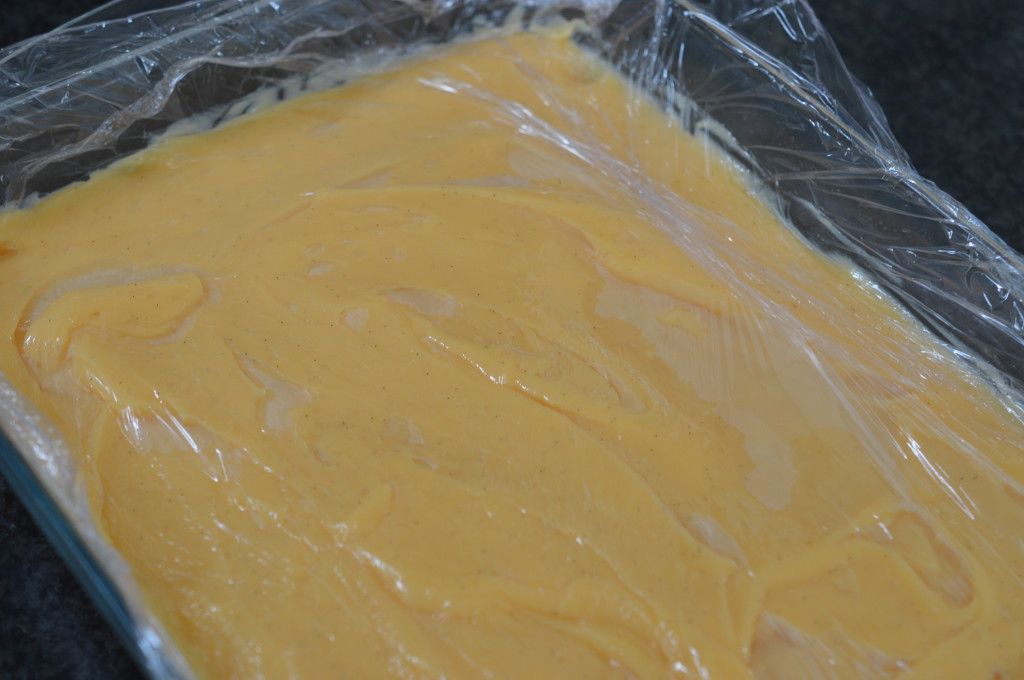
Once all the butter has been incorporated, it needs to cool.  Pour it into a shallow dish so there’s a big surface area to speed up the time it takes to cool.
Fraisier Cake 17

Cover with cling wrap to stop a skin forming.  Put into the fridge.  It’ll take about an hour.
Fraisier Cake 18

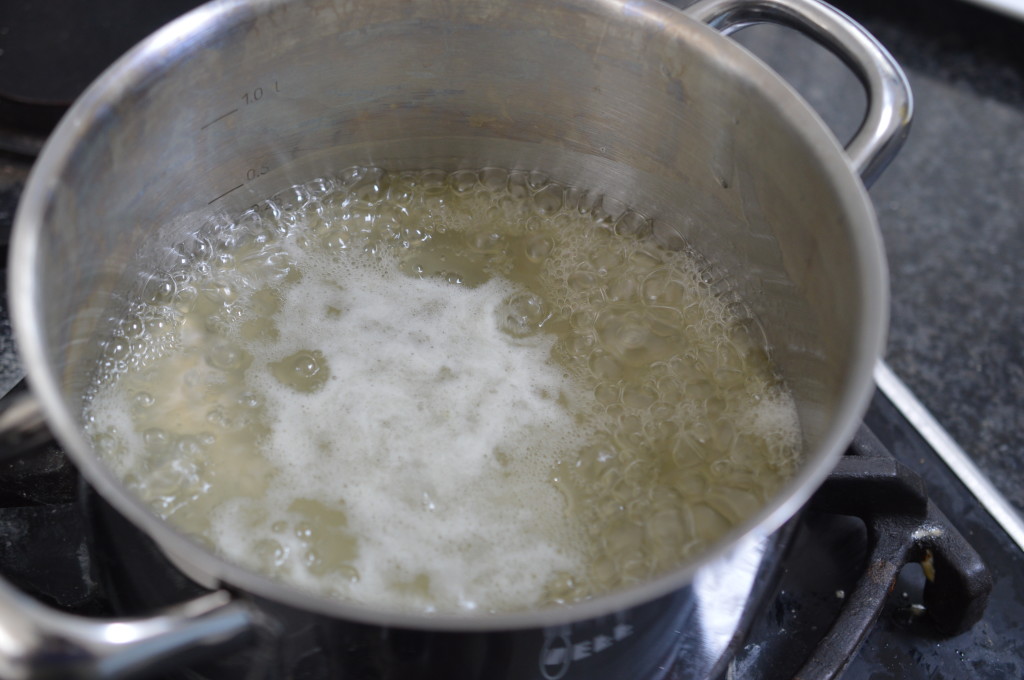
This is a lemon sugar syrup.  A warm lemon yields more juice so I pop mine in the Simmering Oven for a couple of minutes, but even rolling a lemon on the work surface does the trick.  Place the lemon juice in a saucepan, holding back a dessertspoon’s worth if you are making home-made marzipan.

Add the caster sugar and a splash of water.  Stir over a low to medium heat until the sugar has dissolved.  Then bring to the boil and let it boil for 2 minutes.  Pour it into a heatproof jug or jar and leave to cool.
Fraisier Cake 19

The marzipan.  There is no such thing as bad marzipan and you can, of course, buy it.  Home-made is a different texture than the standard commercial product because I don’t have big rollers to pass everything through.  I make it when the marzipan is a ‘feature’.  So, not when I’m covering a cake before I ice it but .. yes, when I’m making Simnel Cake at Easter, or covering marzipan balls in chocolate.

And, this.

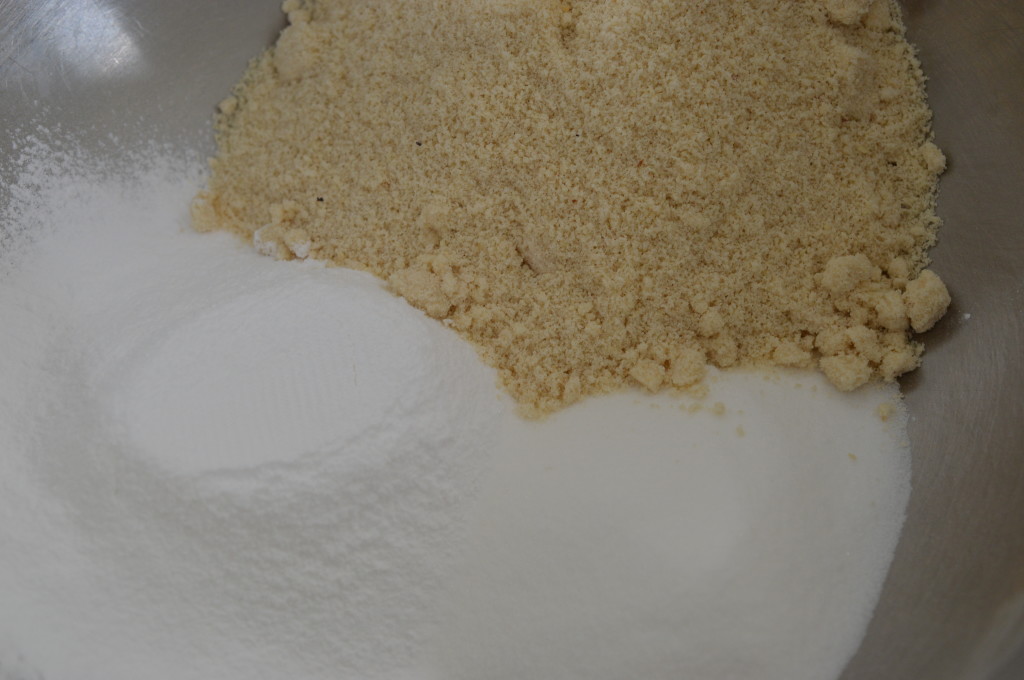
So, so easy.  It’s ground almonds.  If you’re really in the zone you can grind your own.  I wasn’t.  I didn’t.  Icing sugar.  Caster sugar.
Fraisier Cake 20

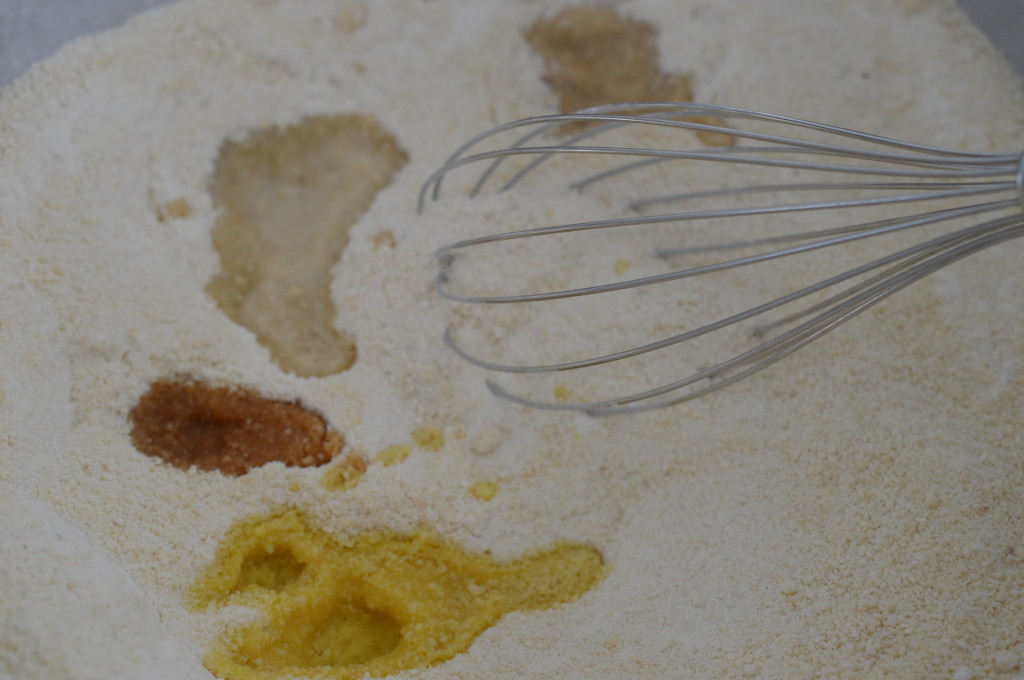
A dash of vanilla extract.  Another of orange flower water.  Another of sherry or rum.  A splash of lemon juice.
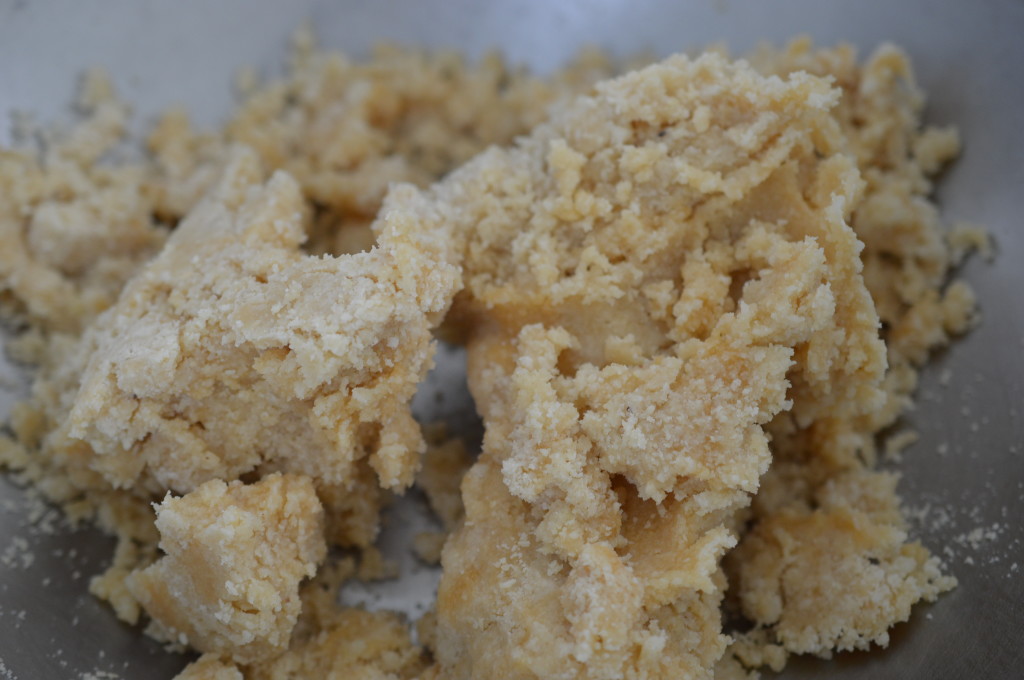
Fraisier Cake 21

Lightly beat one egg.  You may not need all of it.  You want to end up with a stiff paste.  Lightly dust your work surface with icing sugar, rather than flour (!).
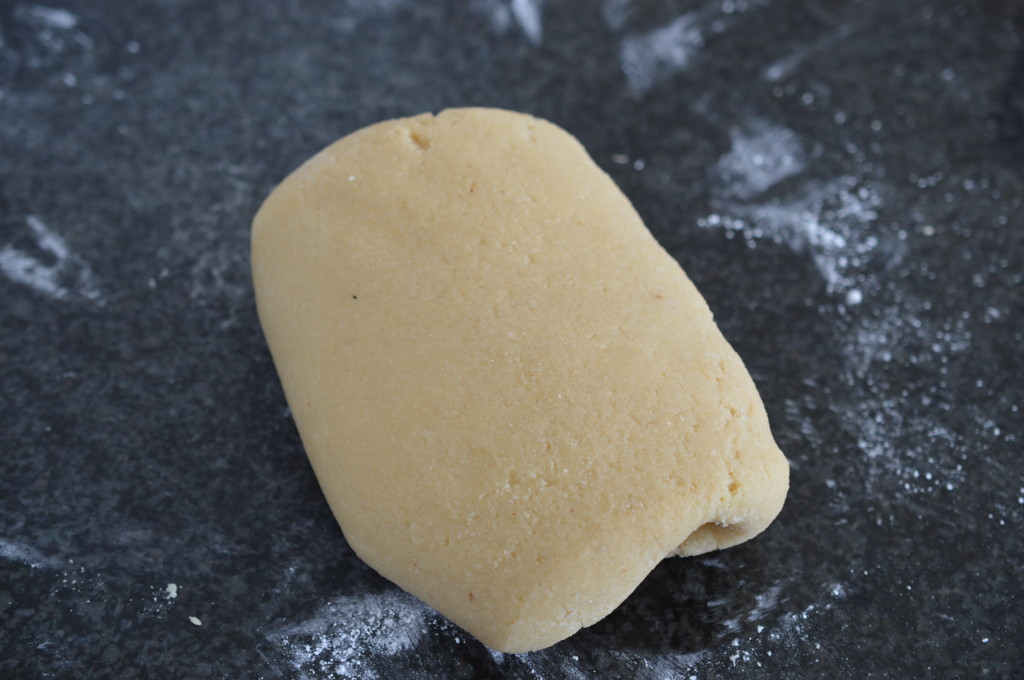
Fraisier Cake 22

And, knead until it’s all smooth.  This is more than you’ll need but it’ll keep in the fridge for a couple of weeks.  Wrap in cling wrap and then foil.
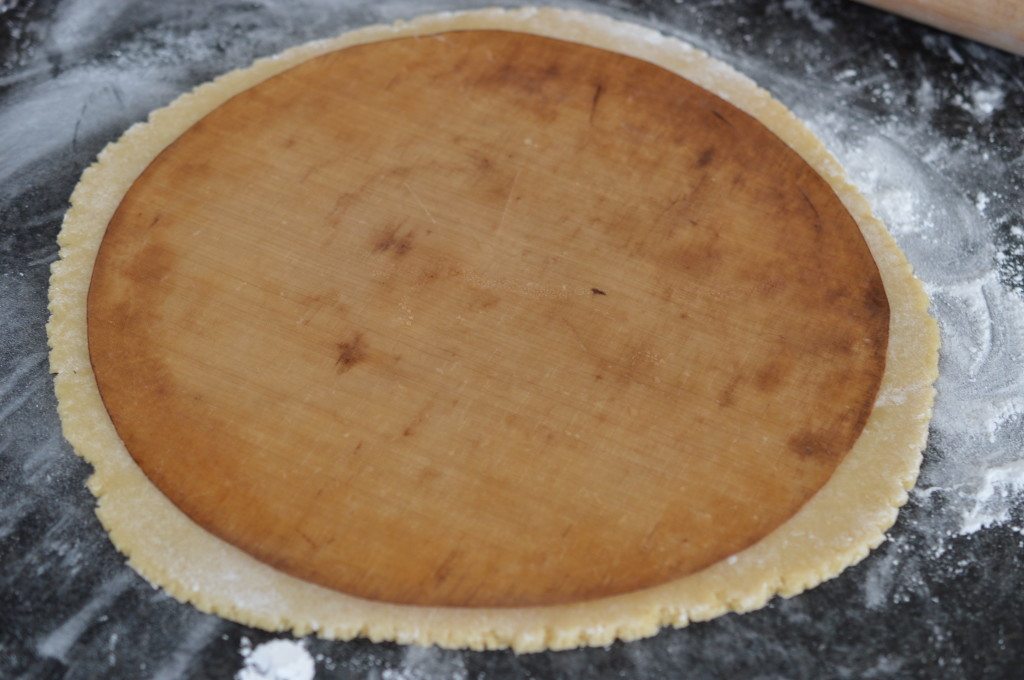
 

Fraisier Cake 23

Roll out 200g/7oz of marzipan.  It needs to fit the baking tin – I cut around the bake o’glide I use to line it with.
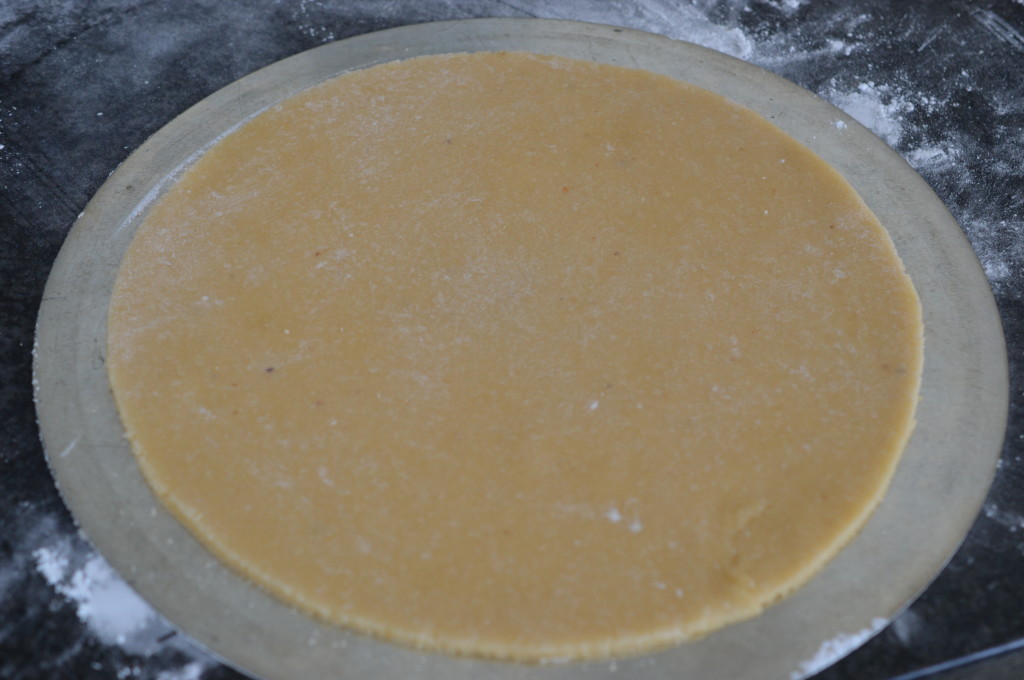
Fraisier Cake 25

Slide it on to the base of a big quiche tin and put in the fridge to chill.
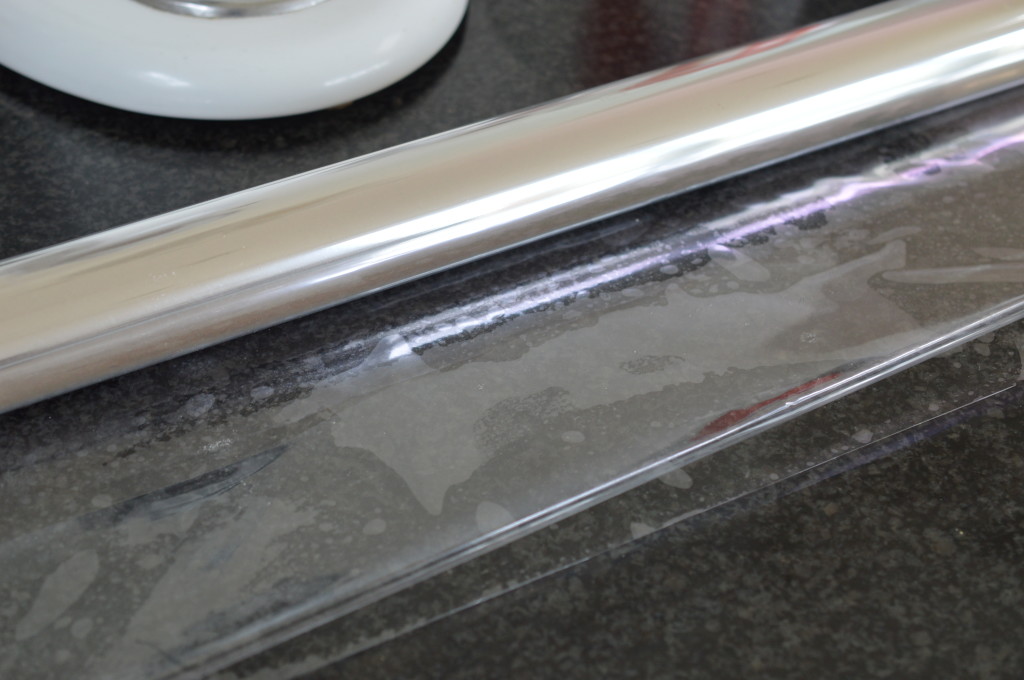
Fraisier Cake 26

Back to the baking tin.  You’re on the final stretch.  Stay with me.  I bought a roll of acetate plastic in John Lewis in the wrapping paper/birthday card department.  It’s great for wrapping plants and bottles of wine (when combined with tissue paper) .. and this.

Cut a strip which is the height of your tin and a bit more.
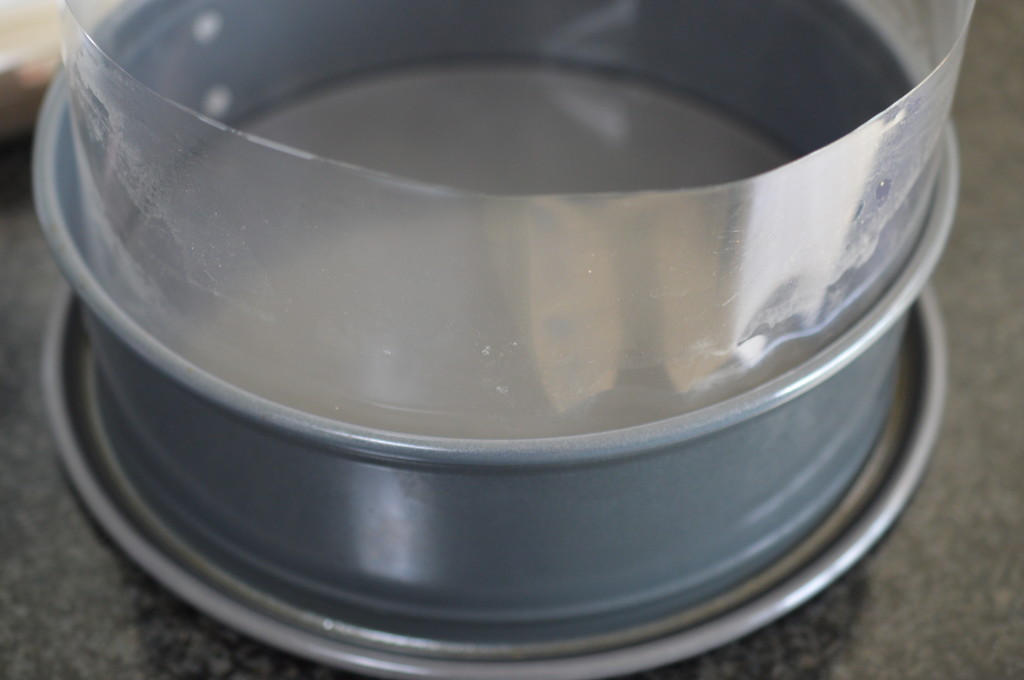
Fraisier Cake 27

A clean tin!  Line the sides with the acetate.
Fraisier Cake 28

The Genoise sponge should now be cold.  You could even bake this the day before, if you’re really organised, and it will slice more easily.

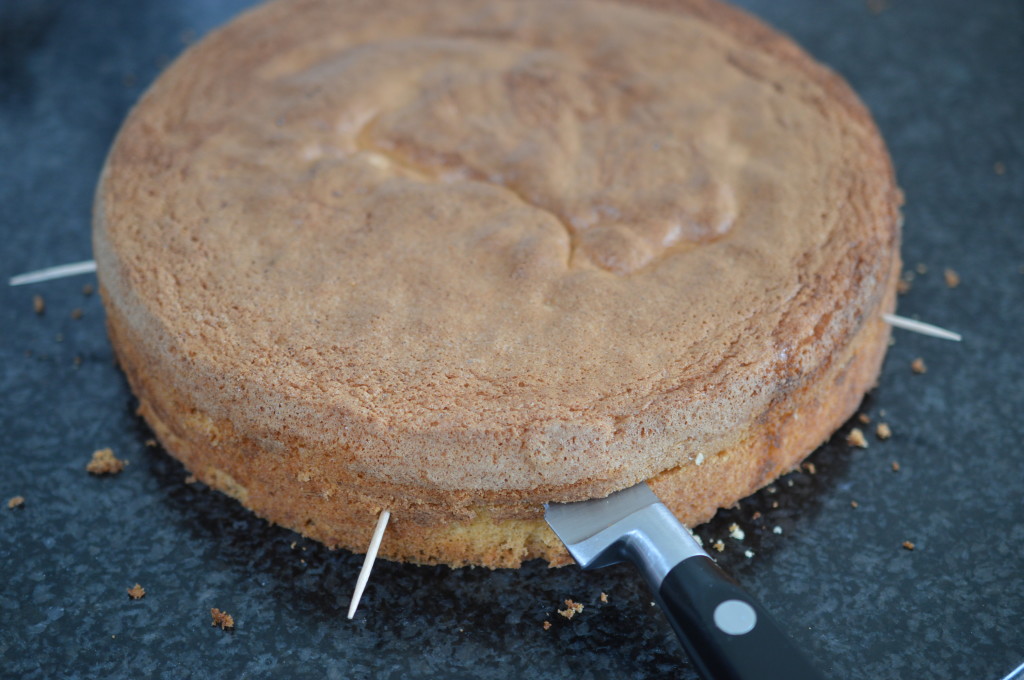
If you slice the cake unevenly it will show so this is my preferred method for getting it even.  My cake measured 5cm/2″- ish.  Four cocktail sticks mark the half way point and I use them as a guide, slicing with a bread knife.
Fraisier Cake 29

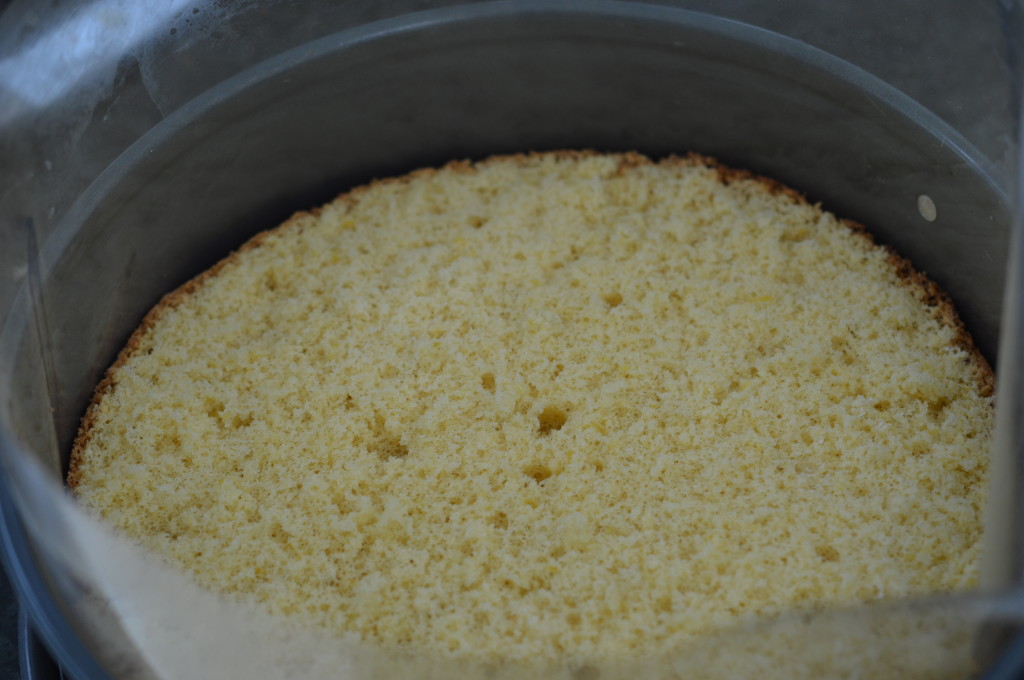
Place one half in the bottom of the cake tin, top side bottomwards.
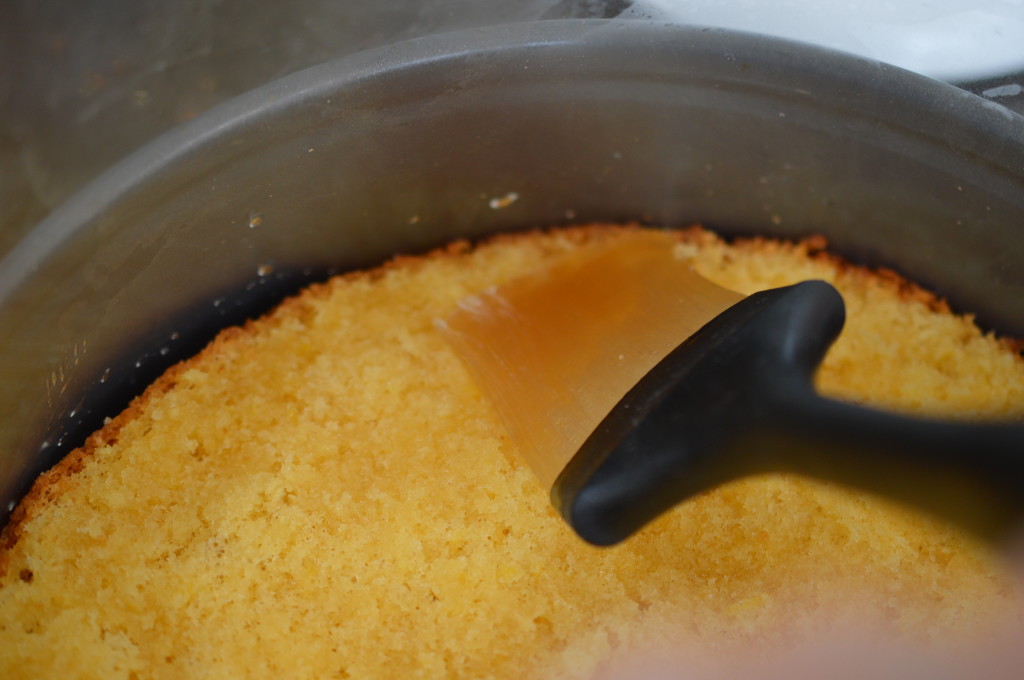
Fraisier Cake 30

Now for the lemon sugar syrup.  Brush on half the syrup.
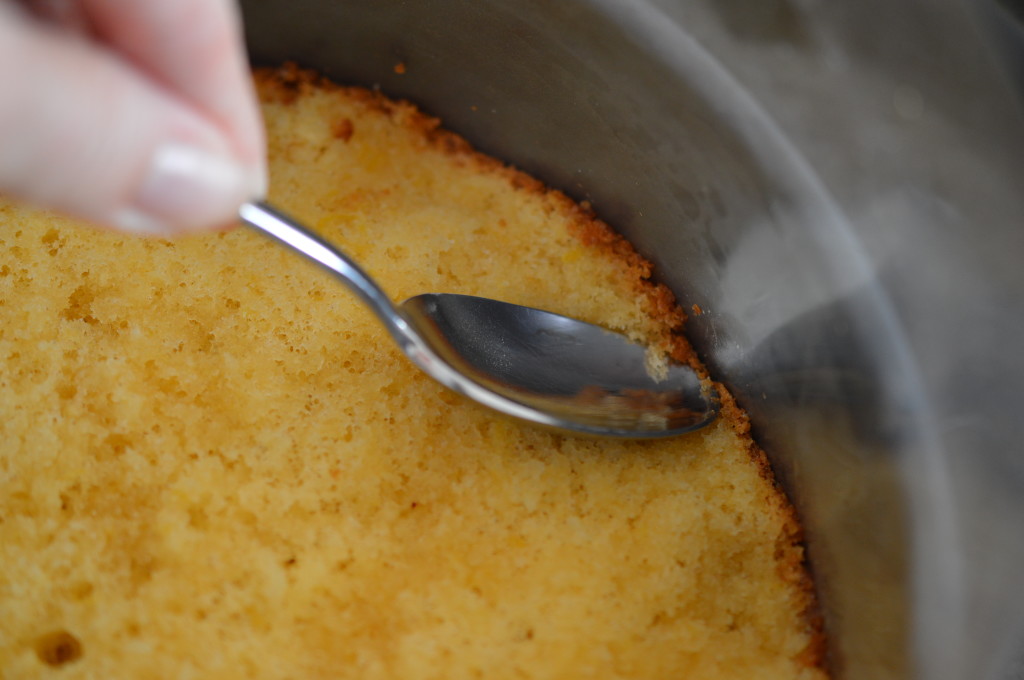
Fraisier Cake 31

With the back of a spoon press the edges down really firmly.  Coax the sponge up tight to acetate.  It gives a much sharper finish.
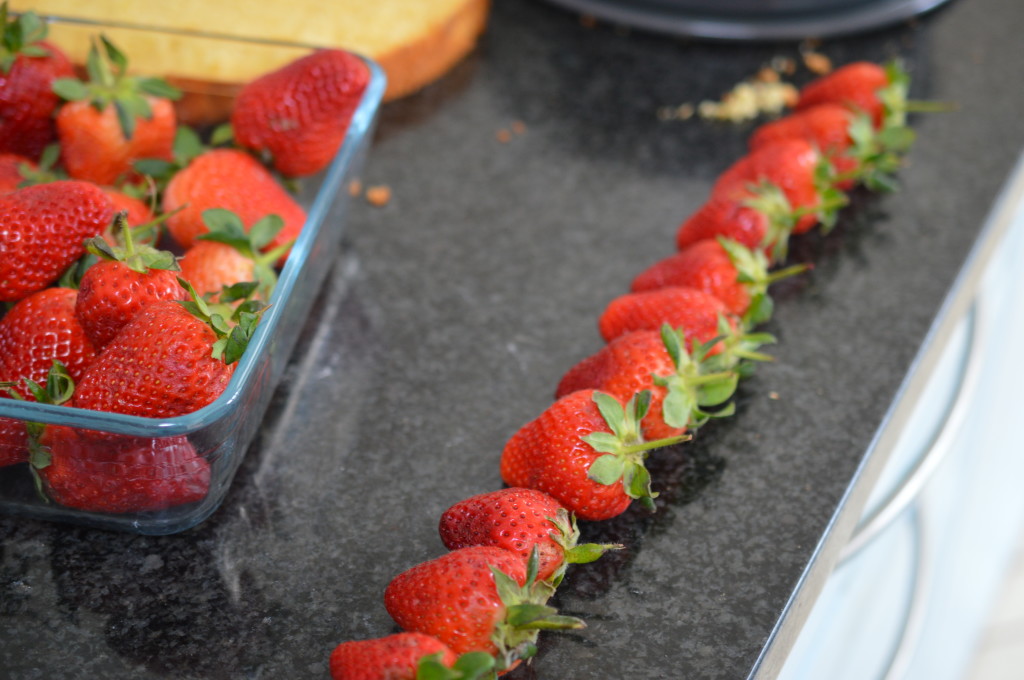
Fraisier Cake 32

The strawberries.  For a ‘wow’ finish you need to have strawberries with a similar height.  How many .. will depend on their overall size.
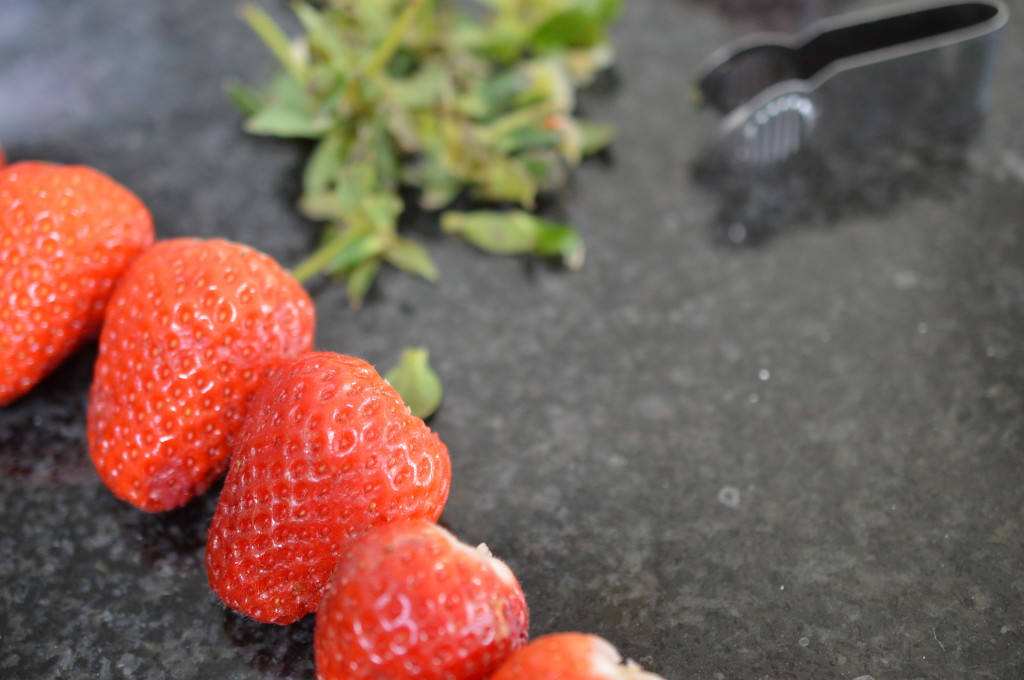
Fraisier Cake 33

Hull and slice in half.

Fraisier Cake 34

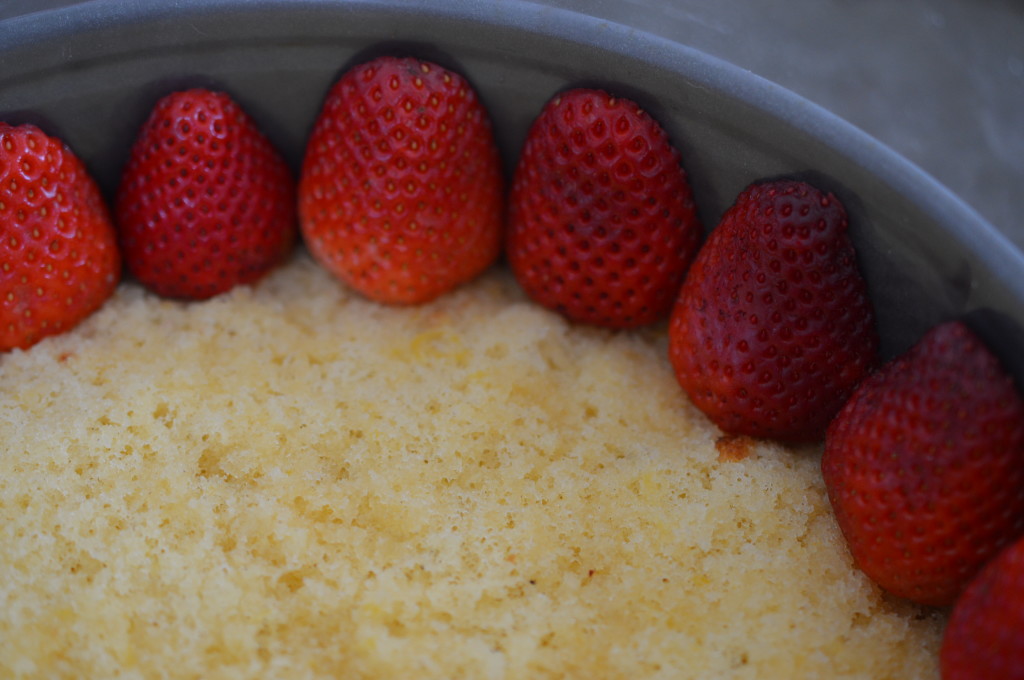
The cut side needs to face the acetate.  Push them in really snuggly.  It would be a tight fit.
Fraisier Cake 35

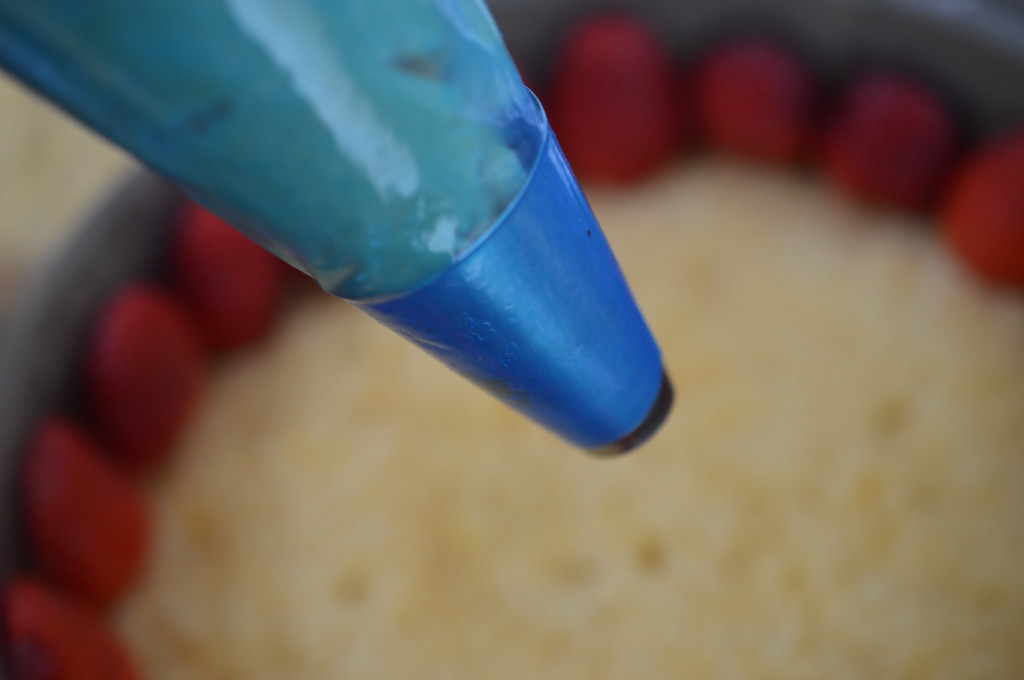
I use an easy-grip piping bag from Lakeland and a 1cm/½” nozzle.  Fill the bag with two thirds of the cold crème pâtissière into the bag.
Fraisier Cake 36

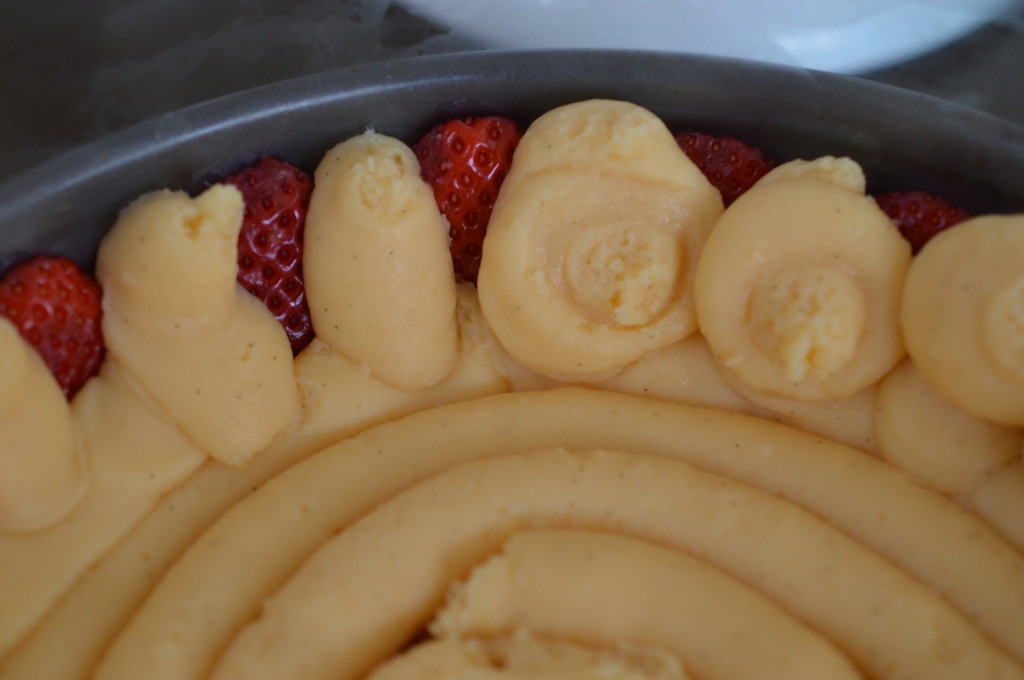
Pipe over the base and up between the gaps between the strawberries.  Make sure the crème pâtissière reaches the top of the strawberries.
Fraisier Cake 37

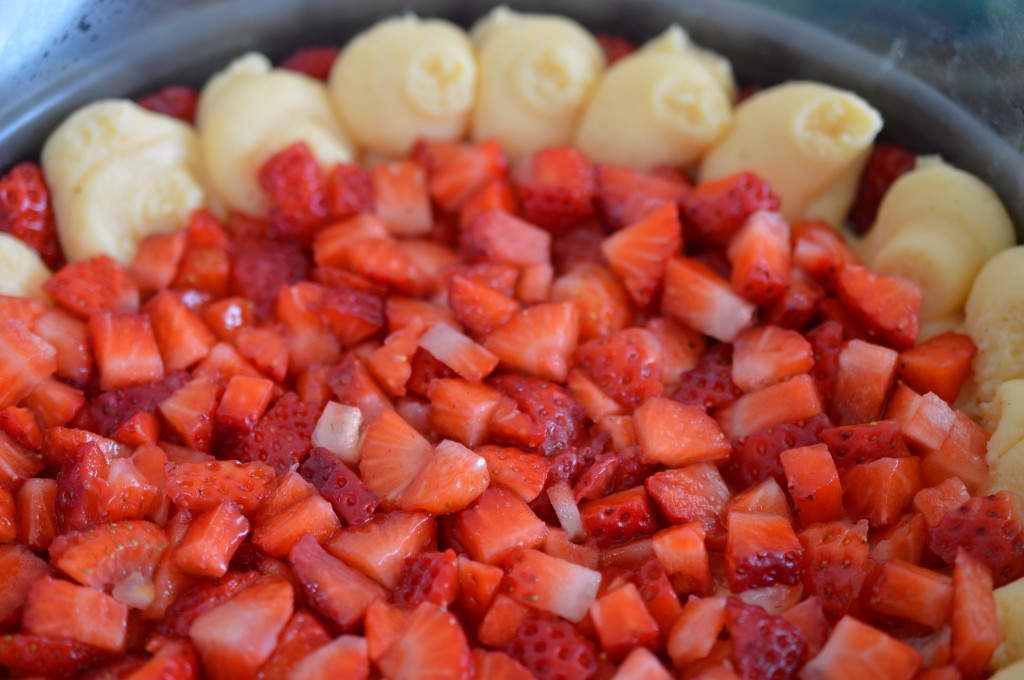
Aesthetically, I think this would probably look better if you filled the centre with whole strawberries but in the real world of a home kitchen that would be very wasteful.  Save 3 strawberries for decoration and cut the rest into pieces.  Pile them in the centre.
Fraisier Cake 38

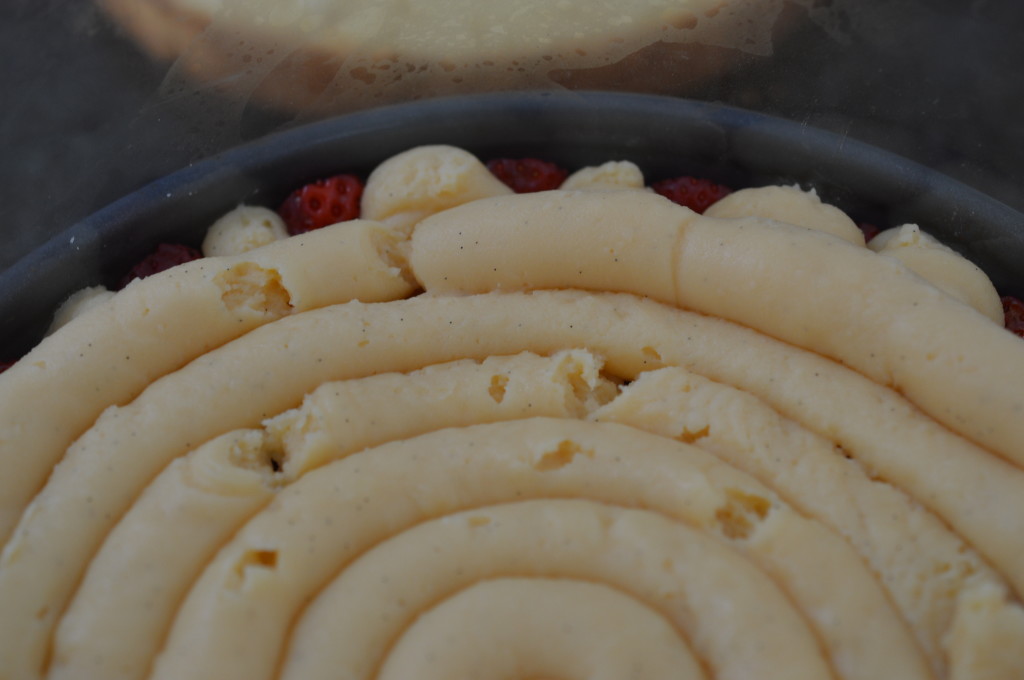
Pop the final third of the crème pâtissière into the piping bag and pipe over the top of the strawberries.
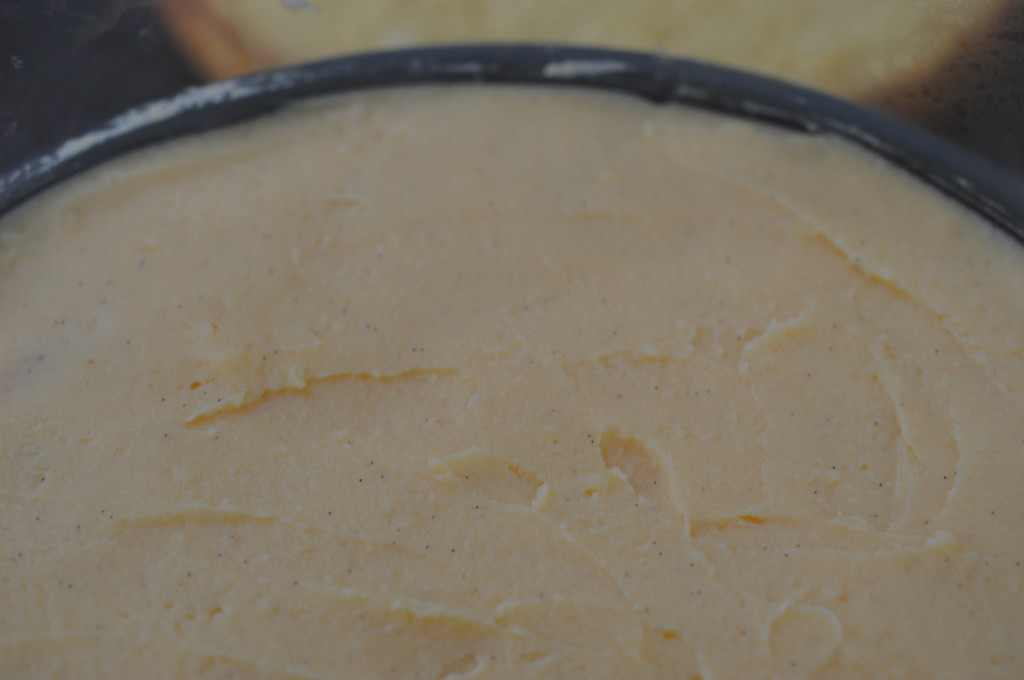
Fraisier Cake 39

Smooth out the crème pâtissière with an offset spatula.
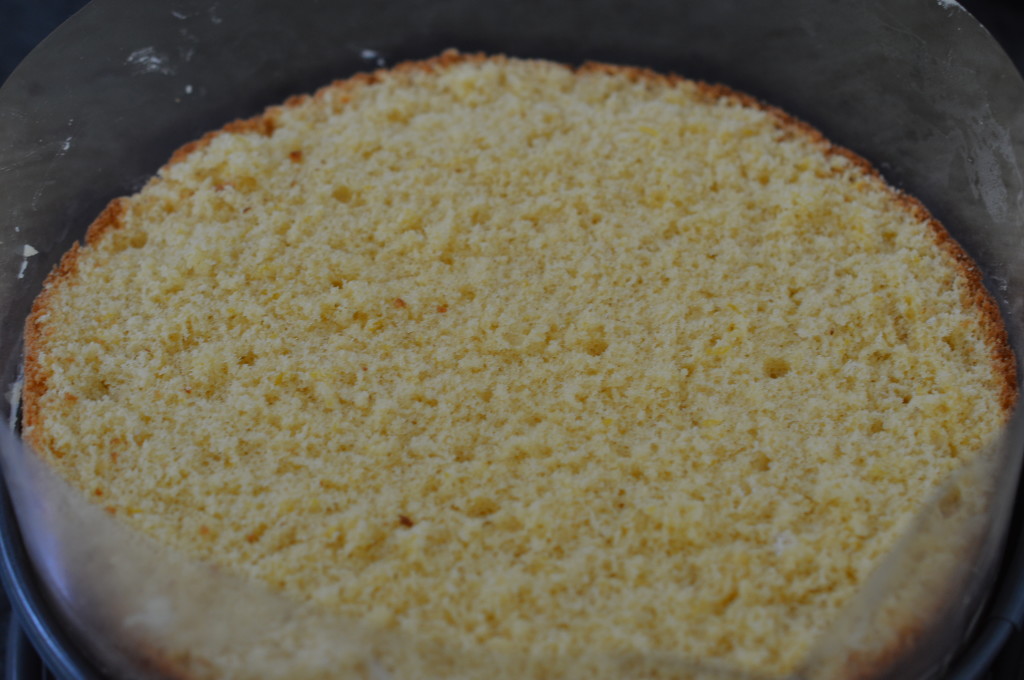
Fraisier Cake 40

Top with the second half of sponge.  Cut side uppermost.
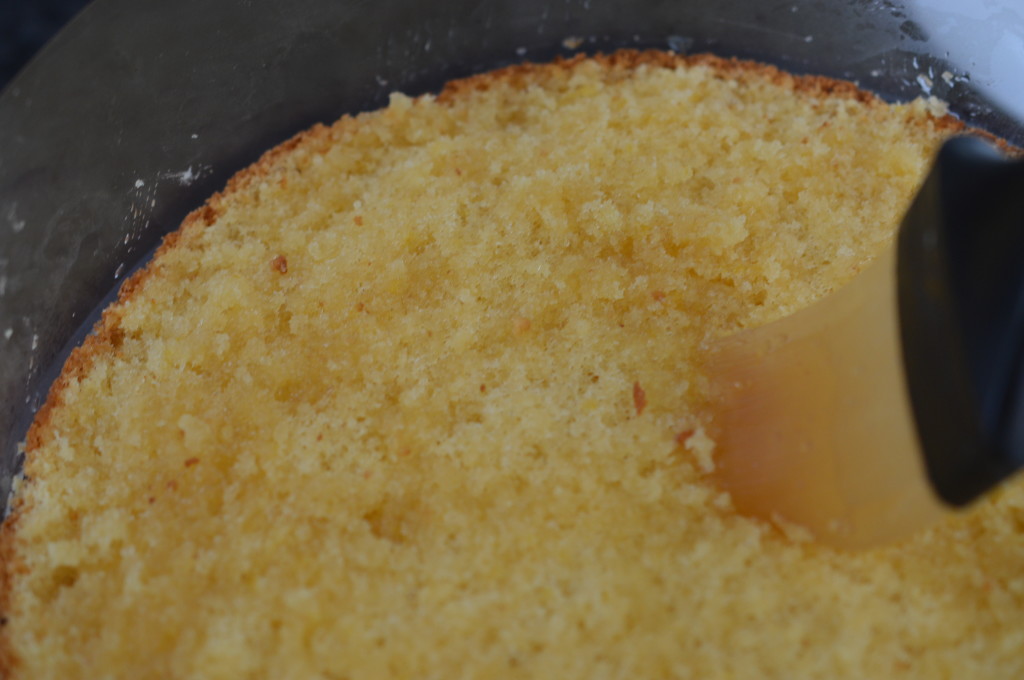
Fraisier Cake 41

Brush over the rest of the lemon sugar syrup.
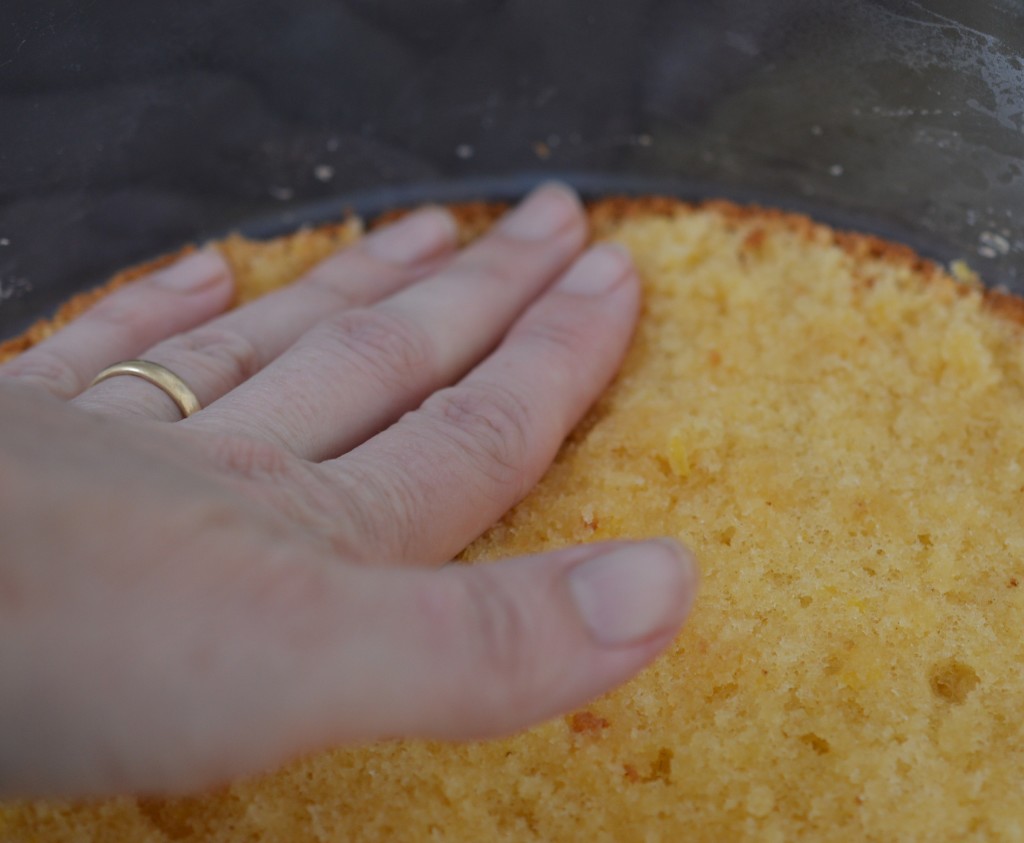
Fraisier Cake 42

Push down.  Get the edge of the sponge pushed up snuggly against the acetate.
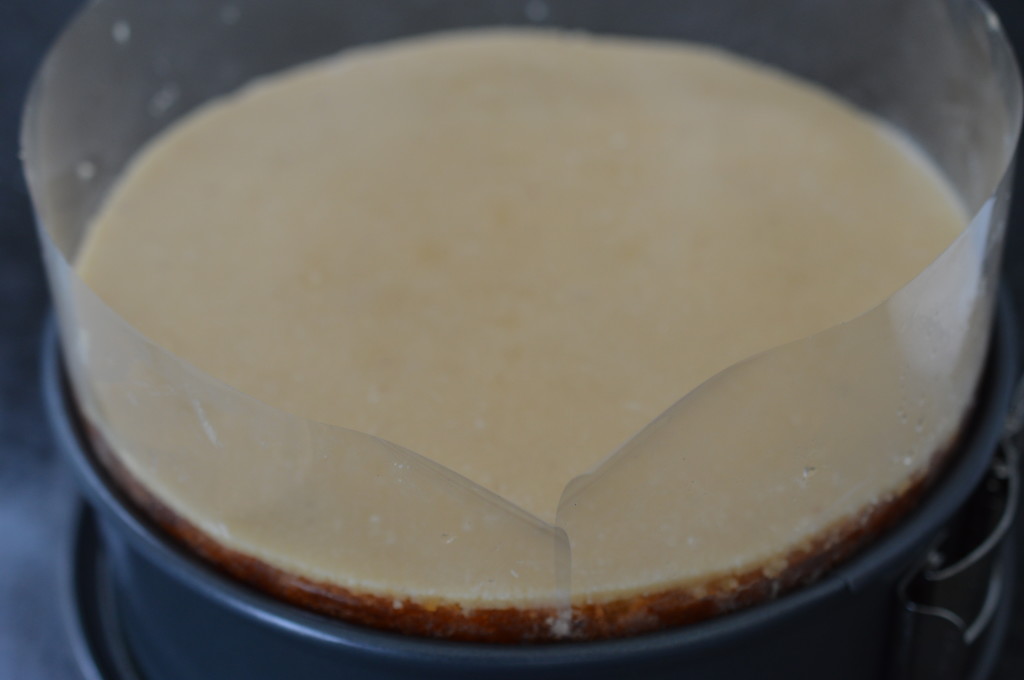
Fraisier Cake 43

Slide the chilled marzipan disc on the top and put the cake into the fridge to chill.

Now’s the time to make any chocolate decorations …  but a dusting of icing sugar and the reserved strawberries would be pretty, too.
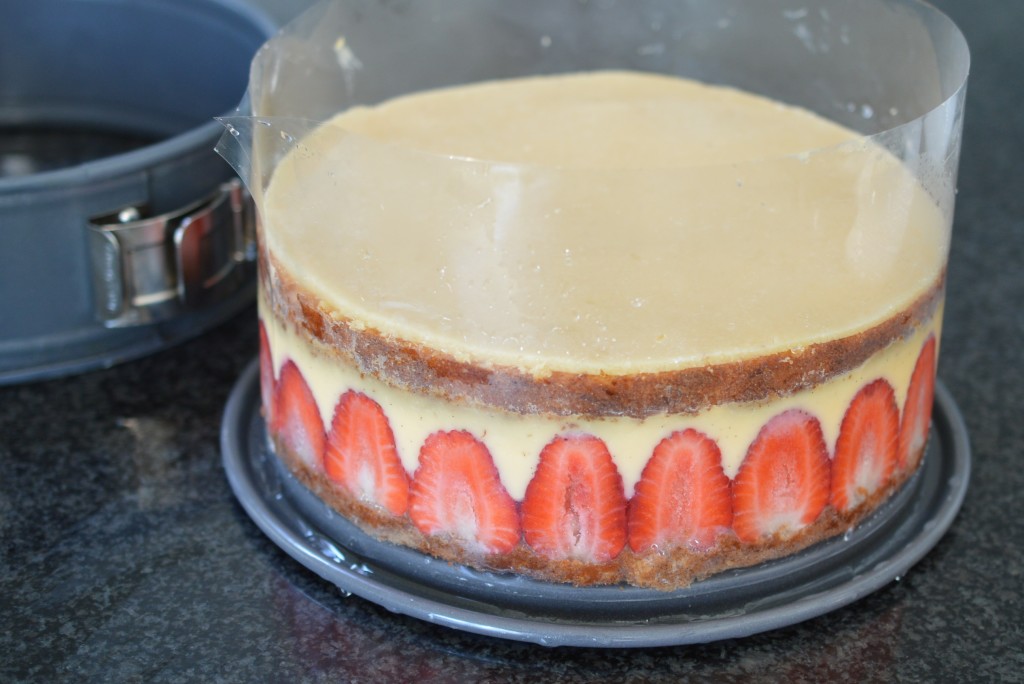
Fraisier Cake 44

When you’re ready to serve.  Unclip the baking tin.
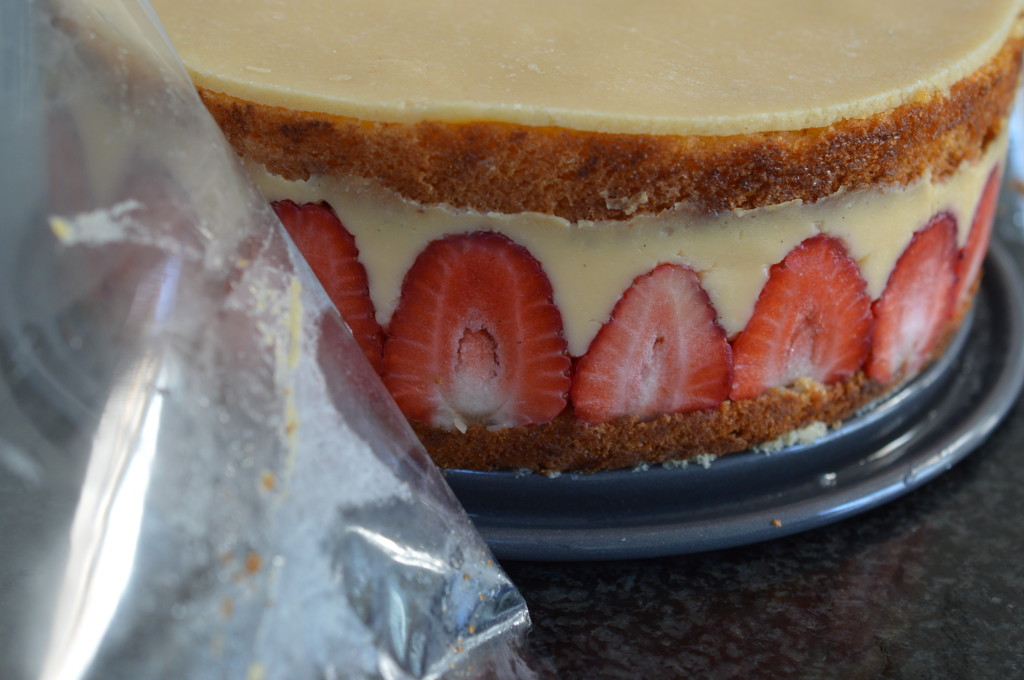
Fraisier Cake 45

Peel away the acetate.

Fraisier Cake 47

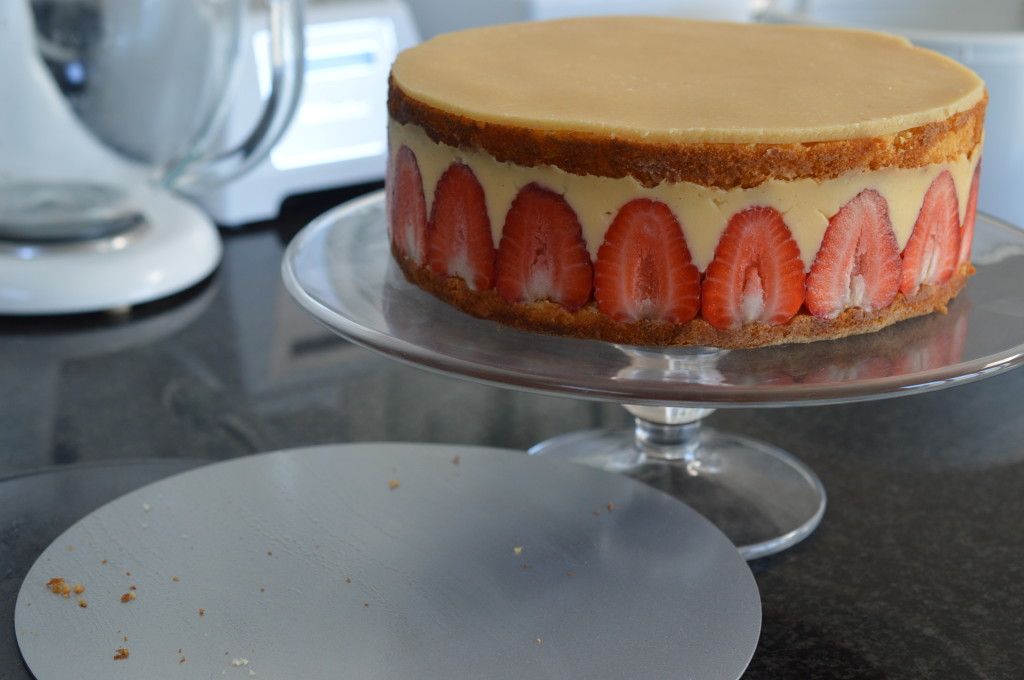
Transfer to a serving plate – the quiche tin base I used to chill the marzipan disc makes it easier than you would think.
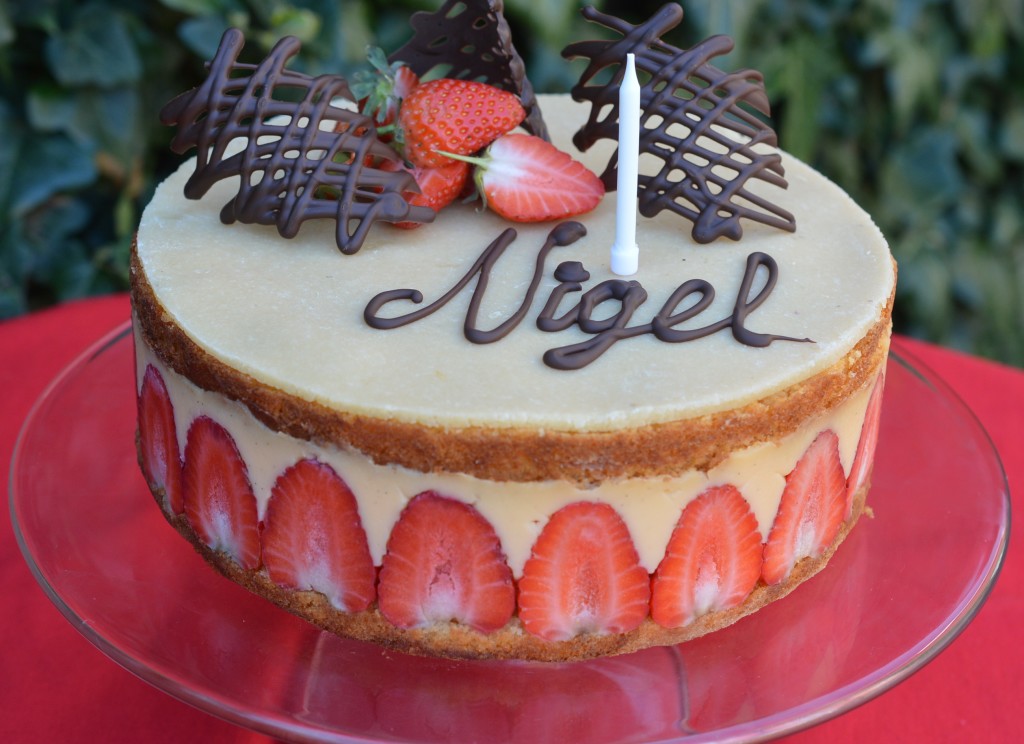
Fraisier Cake 53

Decorate.  Don’t place any cut strawberries on the marzipan too far ahead as they will eventually bleed.
Fraisier Cake 56

Eat.

Fraisier Cake CuttingFraisier Cake

Makes one 23cm/9″ cake.

For the cake:

  • 4 free-range eggs
  • 125g/4½oz caster sugar
  • zest of 2 lemons, microplaned or very finely grated
  • 125g/4½oz self-raising flour
  • 50g/1¾oz unsalted butter, melted and cooled

For the crème pâtissière:

  • 4 free-range eggs
  • 2 free-range egg yolks
  • 500ml/20fl oz full-fat milk
  • vanilla pod
  • 180g/6¼oz caster sugar
  • 1 tablespoon kirsch
  • 100g/3½oz cornflour
  • 150g/5½oz butter, cut into cubes

For the lemon syrup:

  • 75g/2¾oz caster sugar
  • juice of 2 lemons
  • 70ml/4½ tablespoons cold water

For the marzipan (makes 500g/1lb 2oz):

  • 125g/4½oz icing sugar
  • 125g/4½oz caster sugar
  • 250g/ ground almonds
  • 1 dessertspoon of sherry (or rum)
  • 1 dessertspoon of orange flower water (brands vary – check the strength)
  • 1 dessertspoon of lemon juice
  • a couple of drops of vanilla extract
  • 1 free-range egg

To assemble:

  • 200g/7oz of marzipan, bought or home-made
  • 600g/1lb 5oz strawberries

Preheat the oven to 180ºC/350ºF/Gas Mark 4.

Grease and line the base of a 23cm/9″ loose-bottom cake tin.  It really does make life easier if you use a spring-form tin.

Place the eggs, sugar and lemon zest in the bowl of a powerful stand mixer or in a bowl placed over simmering water.  In a stand mixer, whisk on full speed until you reach ‘ribbon’ stage’.  With an electric hand whisk, whisk over simmering water on medium speed until you reach the same stage.  Remove from the heat, if applicable.  The egg mixture will be pale, have doubled in volume and leave a trail when you draw a figure of eight over the top.

Sift over half the flour and gently fold in.  Add the remaining flour and fold again.  Finally, the melted, but cooled, butter.  Fold in.

Pour the mixture into the prepared cake tin and bake for 25-30 minutes or until the edges are pulling away from the sides.  Aga:  grid on the floor of the Baking Oven for 20-25 minutes.

Leave to cool for 5 minutes, before removing to a cooling rack until cold.

To make the crème pâtissière, place the eggs, sugar, kirsch and cornflour in a bowl and blend everything together.

Remove the seeds from a vanilla pod and place them and the pod into a saucepan.  Add the milk.  Bring to a boil, remove from the heat.

Place a sieve over the bowl holding the eggs, sugar and cornflour and pour the hot milk on top.  Whisk together.  Pour everything back into a clean saucepan and stir over a medium heat.  It will thicken suddenly.  Stir until thick enough to pipe easily.  Remove from the heat.  Stir in the cubed butter.

Pour into a shallow dish, cover with cling wrap and chill for an hour until firm and cold.

Make the lemon sugar syrup by placing the water, lemon juice and sugar in a small saucepan.  Heat over a gentle heat until the sugar has dissolved.  Bring to a boil and boil rapidly for 2 minutes.  Transfer to a jug or jam jar and cool.

Make the marzipan by mixing the dry ingredients in a bowl.  Add the sherry, orange flower water, lemon juice and vanilla extract.  Gradually add enough beaten egg to form a stiff paste.  Lightly dust the work surface with icing sugar and knead until smooth.

Roll 200g/7oz of there marzipan into a circle and cut a circle which will fit the cake tin.  Place on a flat surface to chill.

Place a strip of acetate around the inside of your clean cake tin.  There is no need to grease it.

Slice the sponge in half horizontally.

Place one layer of sponge in the bottom of the tin with the cut surface facing upwards.  Brush with half the cold lemon sugar syrup.  Press the edges against the acetate with the back of a spoon.

Select 12-14 strawberries of a similar height.  Hull and cut in half.  Press the strawberries, cut surface against the acetate, around the edge.

Place the two-thirds of the chilled crème pâtissière in a large piping bag fitted with a 1cm/½” piping nozzle.  Pipe over the sponge and between the strawberries.  Make sure you pipe the full height of the strawberries and fill in all the gaps.

Reserve a few strawberries for decoration.  Hull and chop up the remaining strawberries and place them on top of the crème pâtissière.

Pipe the remaining crème pâtissière over the chopped strawberries.  Smooth out with an offset spatula.

Lay over the second sponge half.  Brush over the remaining lemon sugar syrup and press down firmly against the acetate.

Place the marzipan disc on the top and put the tin back into the fridge to set.

When you want to serve, remove the cake from the tin.  Peel back the acetate and transfer to a serving plate.  Dust with icing sugar and cut strawberries.  Serve chilled.

Eat.

Print.


Pain Perdu

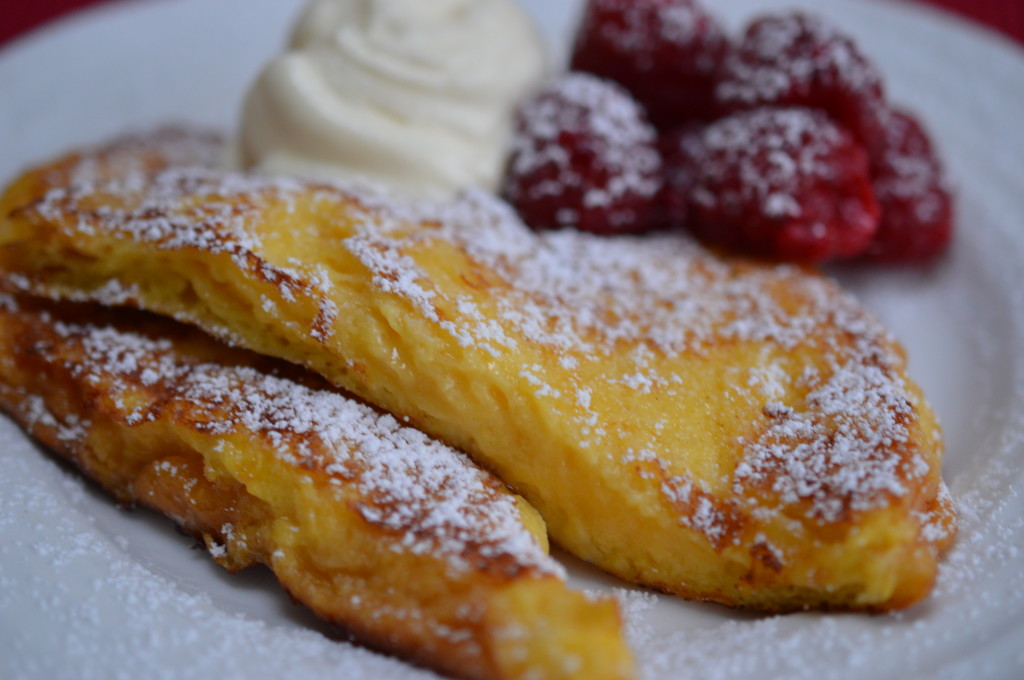
Or ‘Eggy Bread’, Gypsy Toast, French Toast .. take your pick.  There are so many names for eggy soaked bread which is then fried in butter.  The French ‘Pain Perdu’ literally translates as ‘Lost Bread’ which has exactly the right feel for Brioche that’s been drowned in a milk/egg mix.

Pain Perdu 7

There are English recipes for this going back to the fifteenth century.  It may have been conceived as a way of using up stale bread, but this isn’t what’s happening here.  This was last night’s ‘sinful-and-entirely-unnecessary supper’ and I bought a Brioche Vendéenne deliberately.  That’s the Brioche which has the protected geographical European status.

Pain Perdu 17

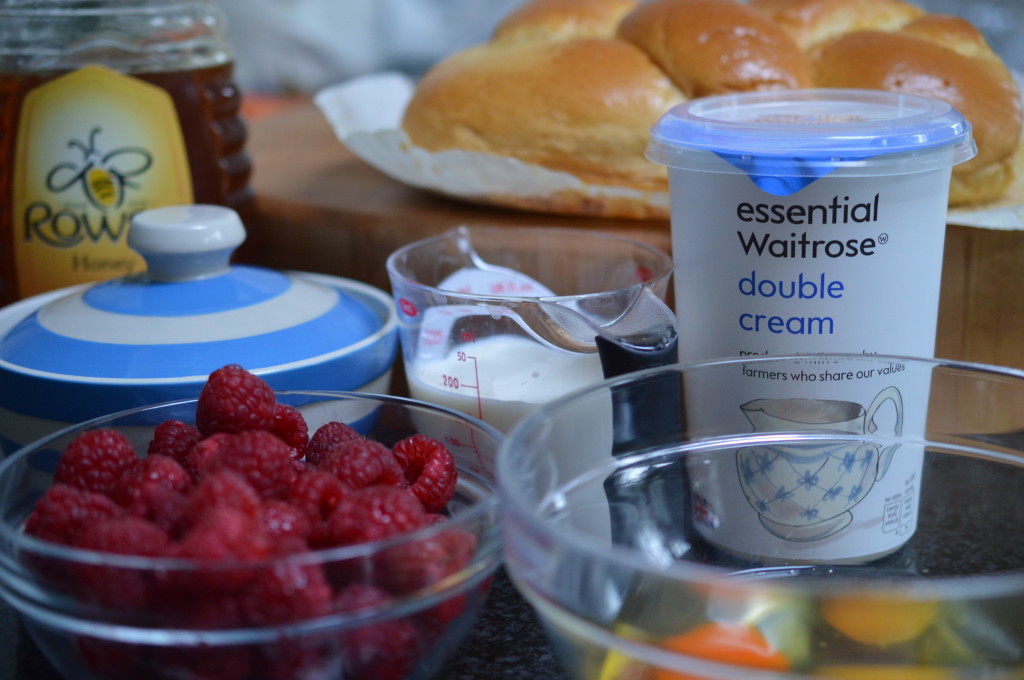
It began with a good deed.  I decided to pick Liddy up from work and there they were …

Raspberries.

Reduced.  Give-away reduced.  It would have been criminal not to have picked them up.  Then, I spent the money I’d saved on the raspberries I hadn’t intended to buy on the Brioche I wouldn’t have needed if I hadn’t bought the raspberries.  There’s logic there somewhere.

Everything else I had.

Pain Perdu 16

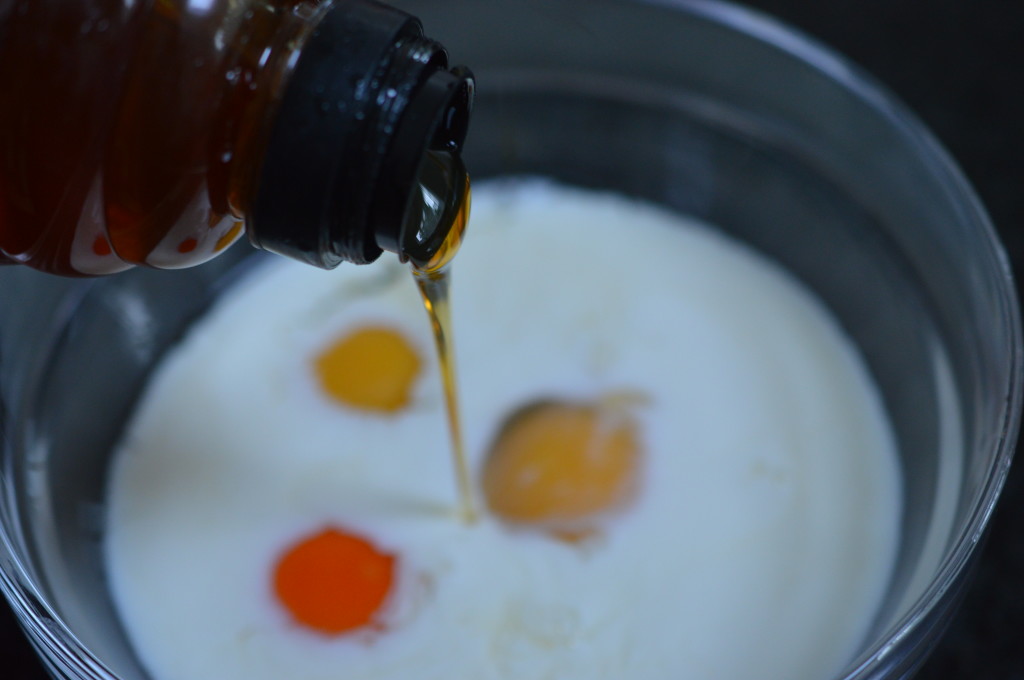
There were five of us eating this, so I used 3 eggs and a 150ml/5fl oz of full-fat milk.  Then a squirt of runny honey.

Pain Perdu 15

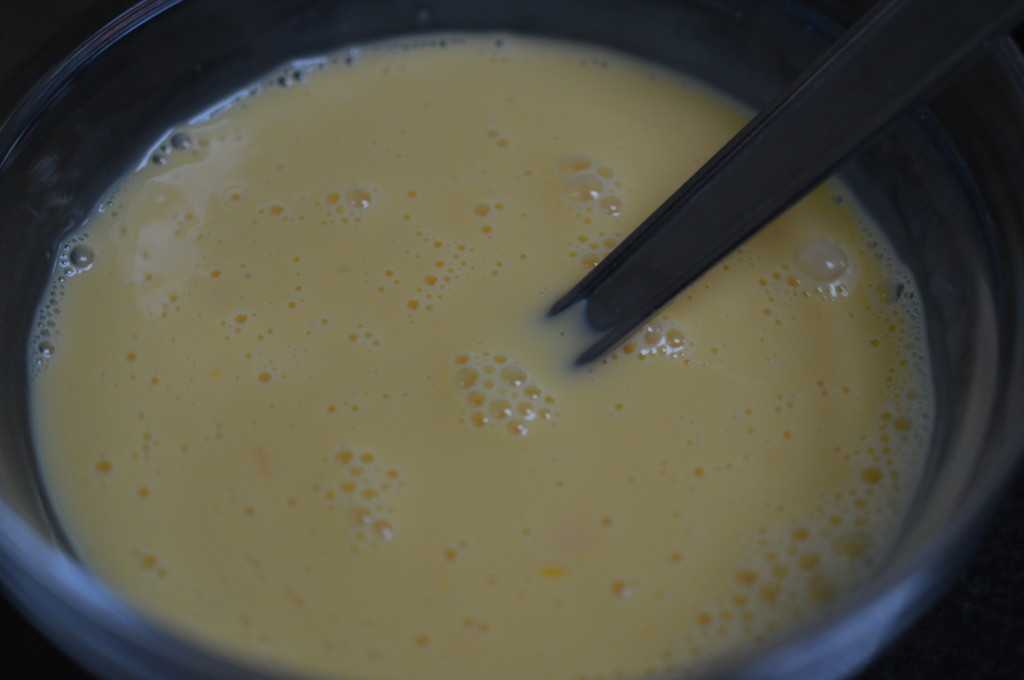
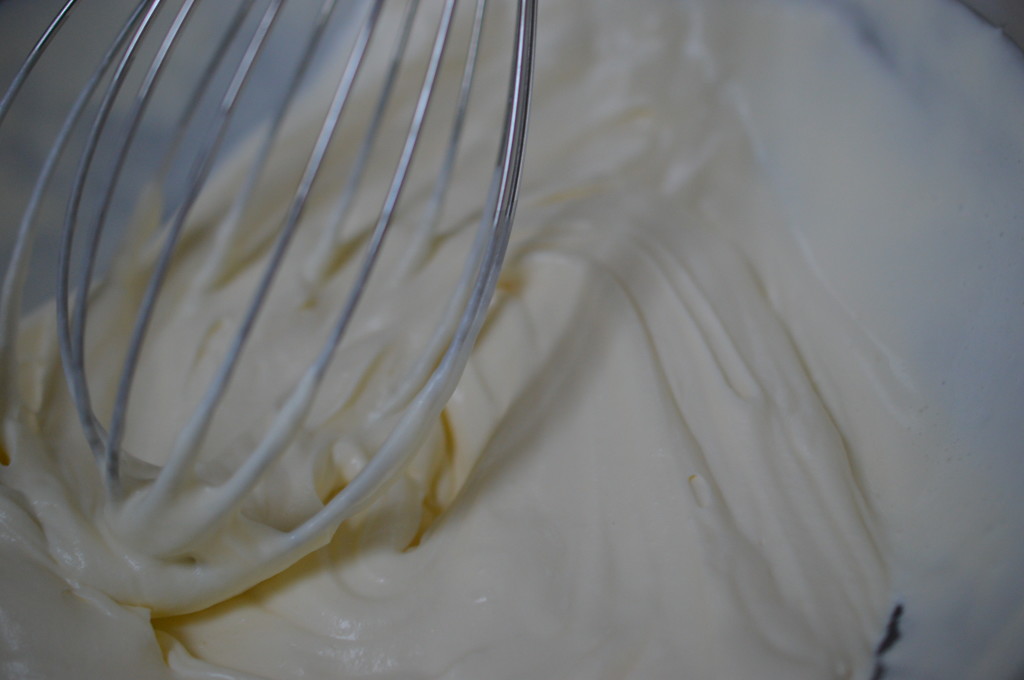
Whisk everything together.

Pain Perdu 14

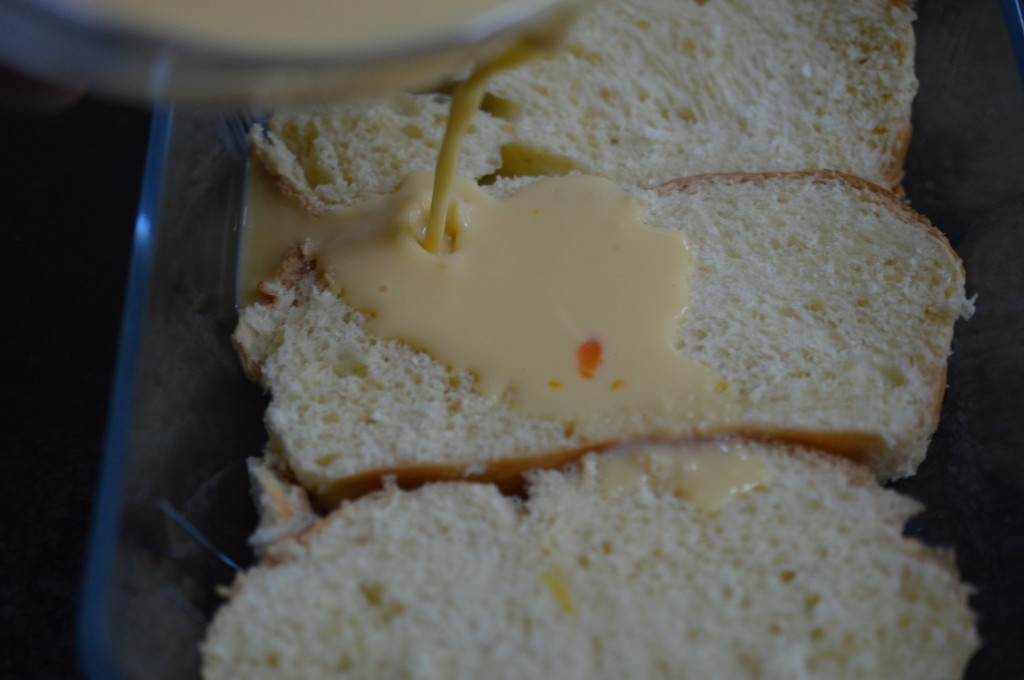
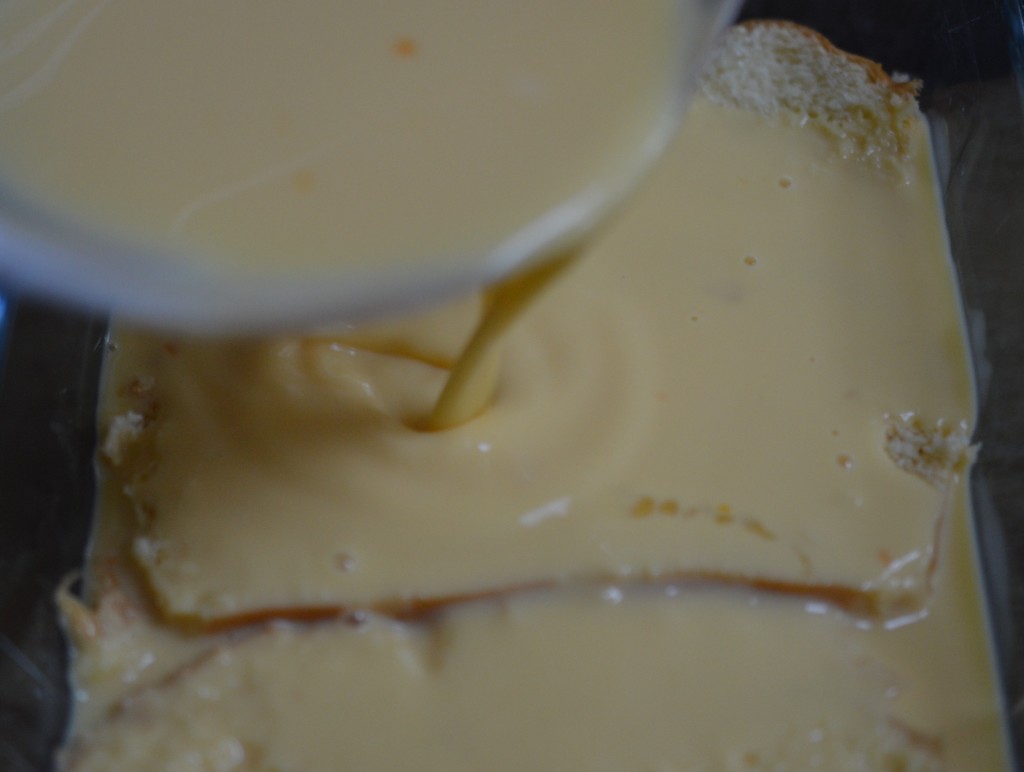
Lay out slices of brioche in a dish.  Fit them in snuggly.  Then pour the eggy mix over the top.

Pain Perdu 13

Think ‘lost’.  The brioche needs to be absolutely sodden.  Slightly stale bread holds together better than fresh, but I persevered.  Give everything a good prod.  Let is soak up all that lovely eggy goodness.

Pain Perdu 12

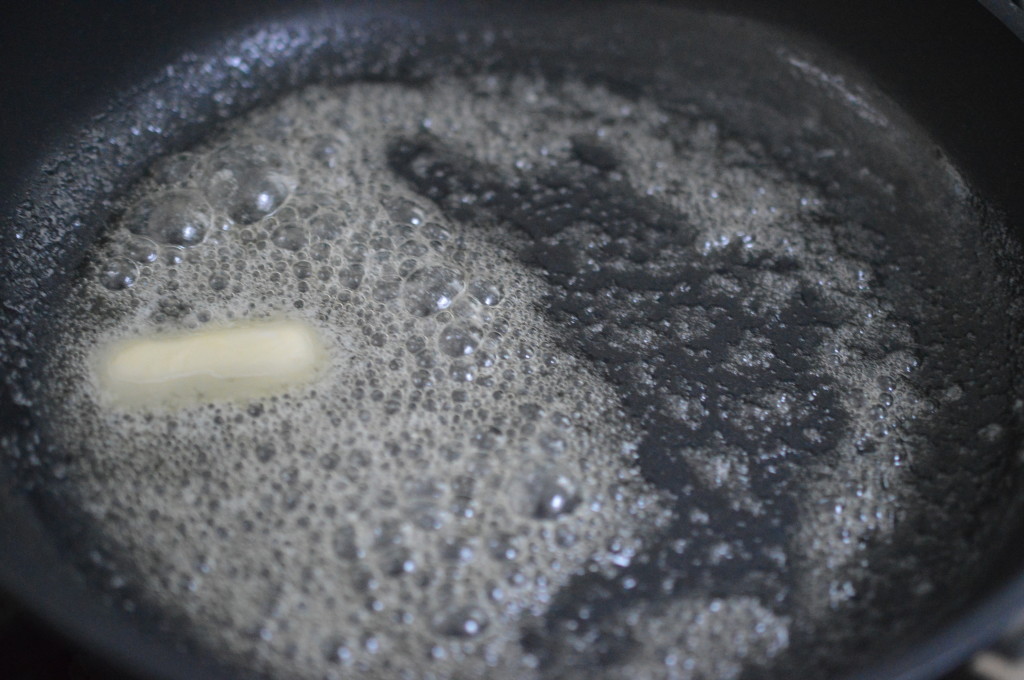
Then it’s a knob of salted butter in a non-stick frying pan.

Pain Perdu 11

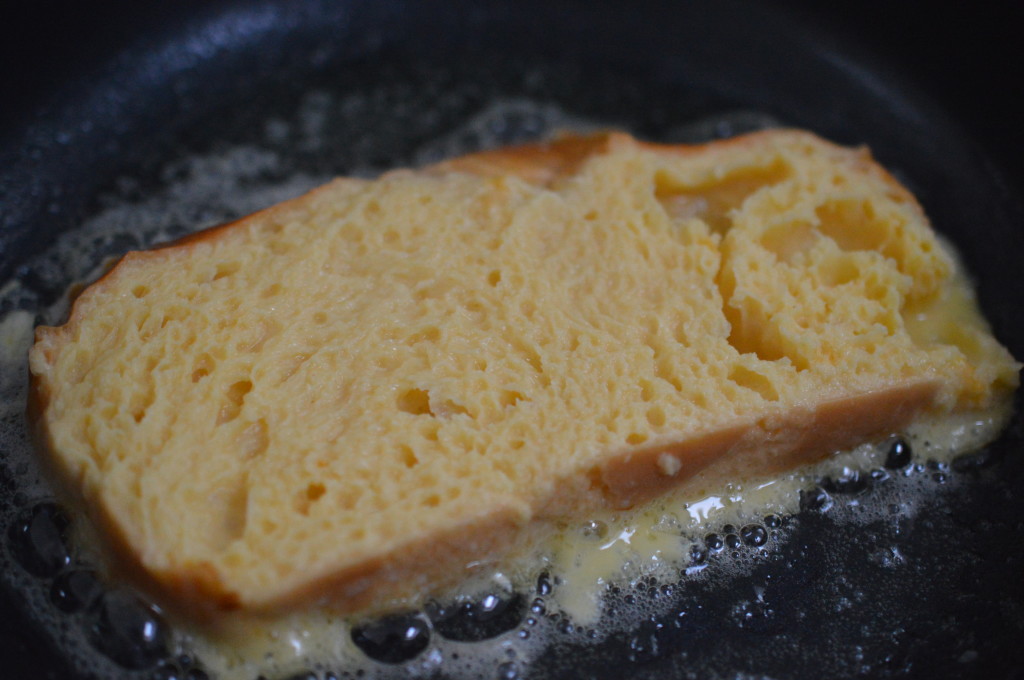
And fry over a medium heat.  This is best straight from the frying pan ..

Pain Perdu 10

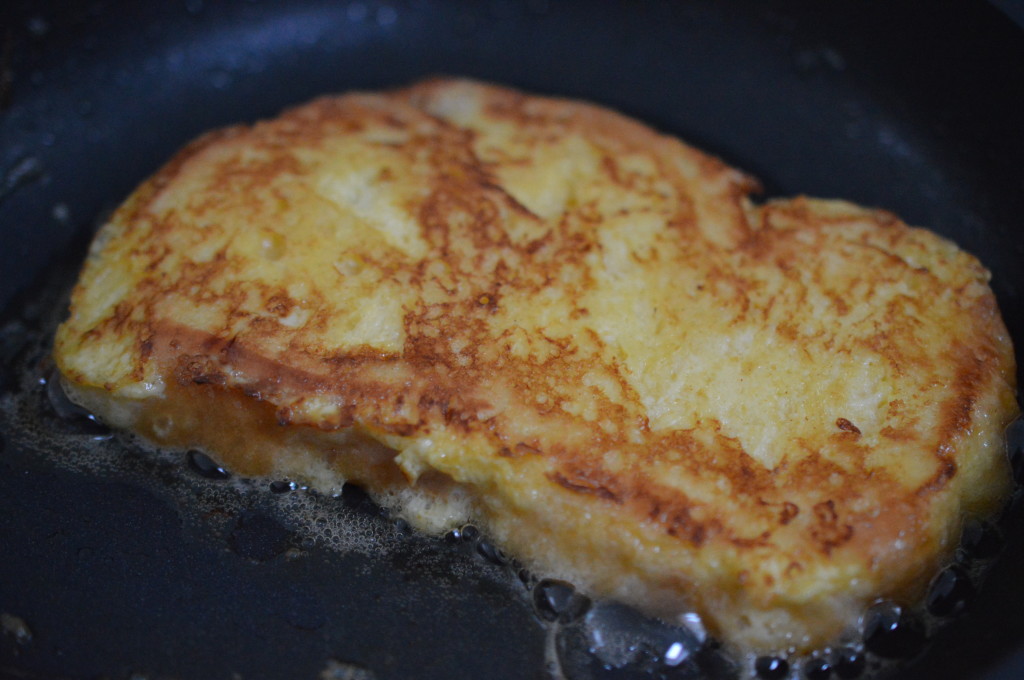
It’s less than 2 minutes a side.  Have a peak.  When the underside is golden brown flip it over with a spatula.

Pain Perdu 8

Meanwhile, lightly whisk some double cream.  There’s no point holding back now.

Pain Perdu 9

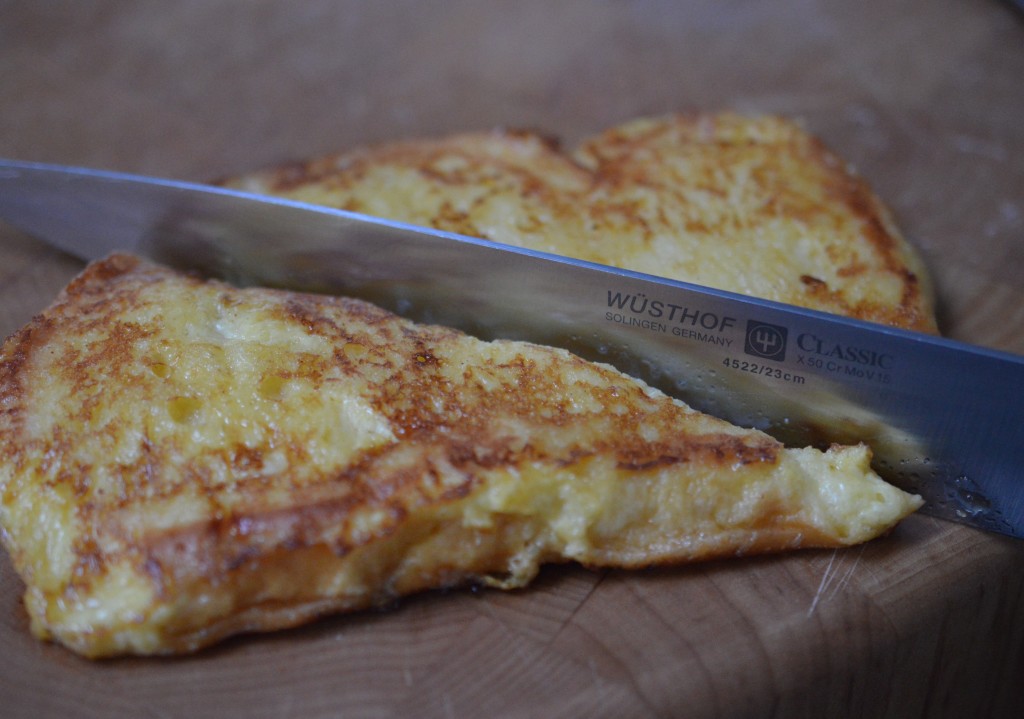
It’s traditional to cut across the bias.  If you want to eat together, this will keep warm in a low oven.

Pain Perdu 2

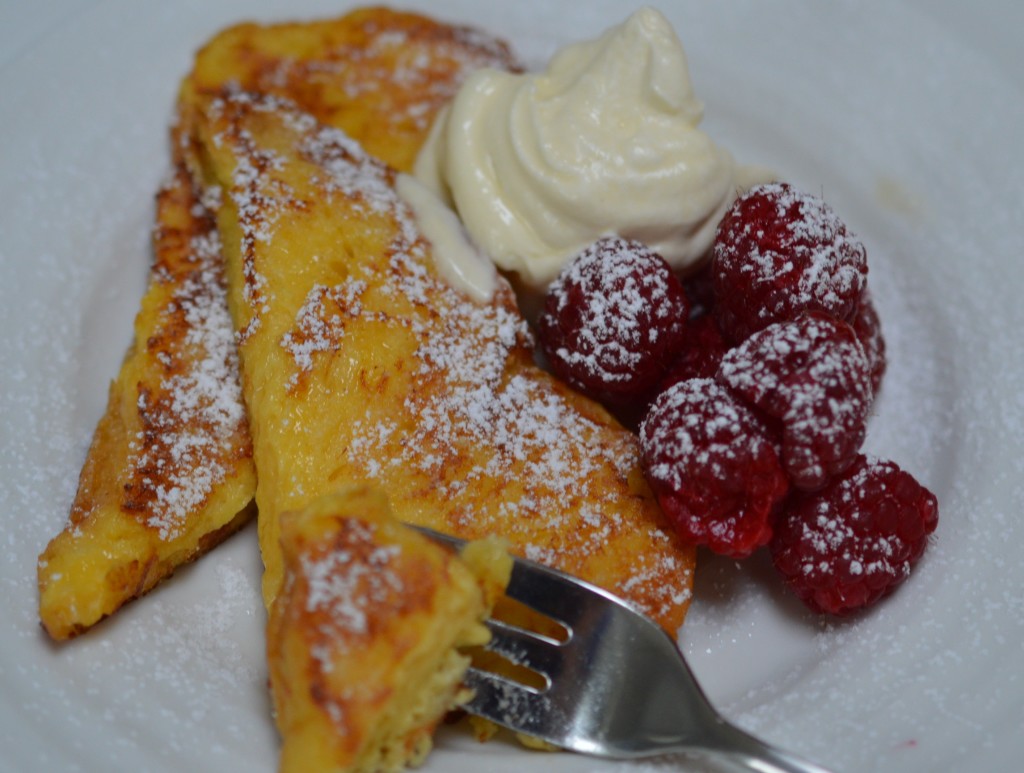
Then it’s onto a plate.

Pain Perdu 3

A few of those raspberries, a dollop of double cream and a dusting of icing sugar.

Eat.

Pain Perdu 5Pain Perdu

Serves 5

  • 3 eggs
  • 150ml/5 fl oz full-fat milk
  • 1 tablespoon of runny honey
  • 5 x 1.5cm/½” slices of brioche
  • 5 tablespoons of butter
  • To Serve: Double Cream, Fresh Raspberries and Icing Sugar

Break 3 eggs into a bowl and add 150ml/5 fl oz full-fat milk.  Then a squeeze of runny honey to sweeten.  Whisk together.

Lay your brioche slices in a dish, fitting them together snugly.  Pour over the eggy/milk mix.  Flip and prod to ensure the brioche has sucked up every last drop and is entirely sodden.

Add a tablespoon of butter to a small non-stick frying pan.  Once the butter is bubbling, add one of the soaked brioche slices.  Fry until the underside is golden brown.  This will take less than 2 minutes.  Flip and repeat.

Serve that slice immediately – with fresh raspberries and a dollop of lightly whipped double cream.  Or keep the Pain Perdu warm in a low oven until you have finished frying all the slices.  A dusting of icing sugar makes everything perfect.

Eat.

Print.


Seville Orange Tart

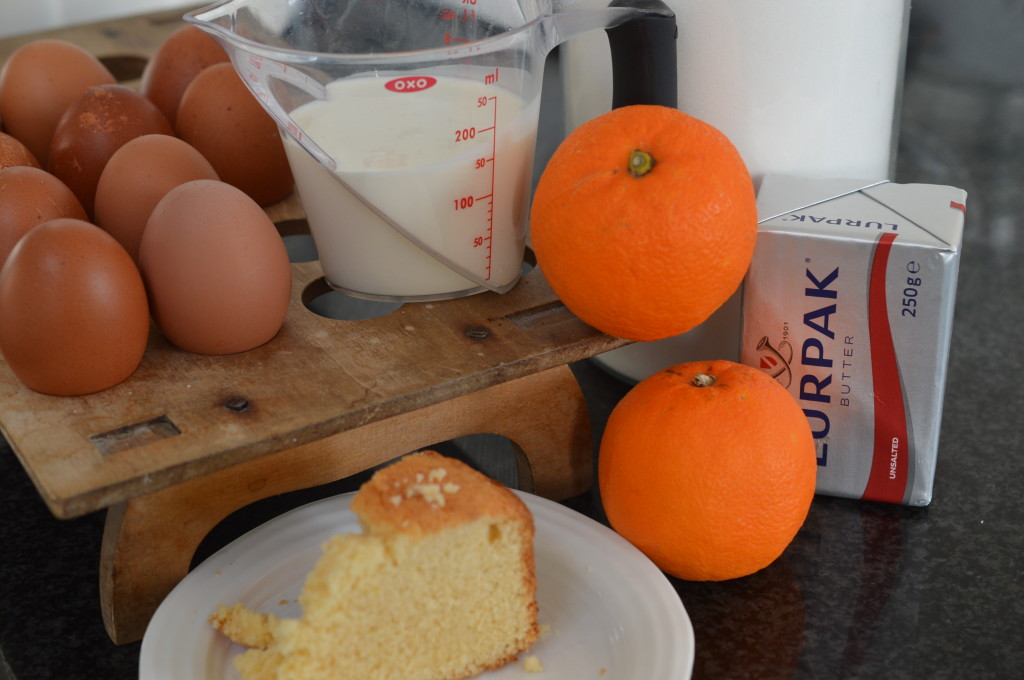
The Indian name for a Seville orange is, apparently, ‘narayam’ which means ‘perfume within’.  You’ve got to love that.  Arab traders are thought to have brought them to Europe and groves were established around Seville in Andalusia, which is how they come by their name.

They arrived in Britain centuries before their sweeter cousins and there are any number of fun things you can do with them apart from making marmalade.

DSC_0255 2

I found this recipe in Sara Paston-Williams’s book on ‘Puddings’ for the National Trust.  I don’t make it often, but that’s one of the things I particularly like about it.  There’s something appealing about a truly seasonal fruit.

DSC_0166 1

It starts with a sweet pastry case.  ‘Sweet’ is a good idea here because the Seville orange is a bitter fruit.  It’s a little tricky to handle, but worth the effort.

DSC_0168 1

Sieve the flour, salt and icing sugar together.  At this point, you have a choice.  You could place the bowl in a chest freezer with a view to blitzing the lot together in the food processor.  This will be a more attractive option if your freezer isn’t housed in an outbuilding at the end of the garden.  In my case, I don’t have that excuse but I do have an almost pathelogical dislike of cleaning the blasted food processor …

So, assuming you are going to do as I do.

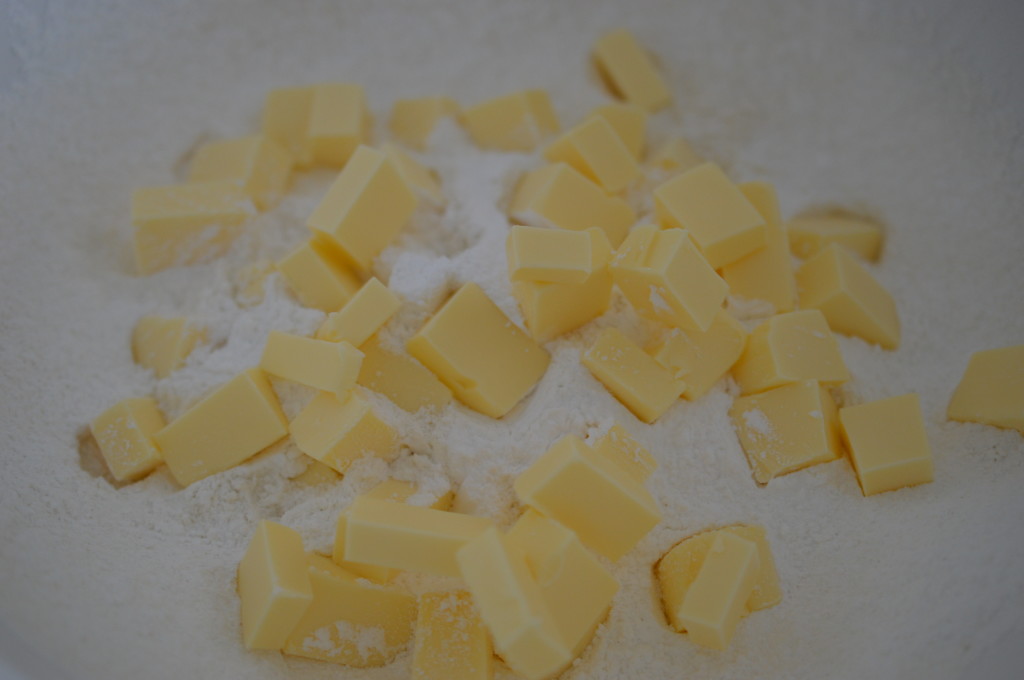
Rub the butter into the flour and icing sugar.

LM - separate yolk

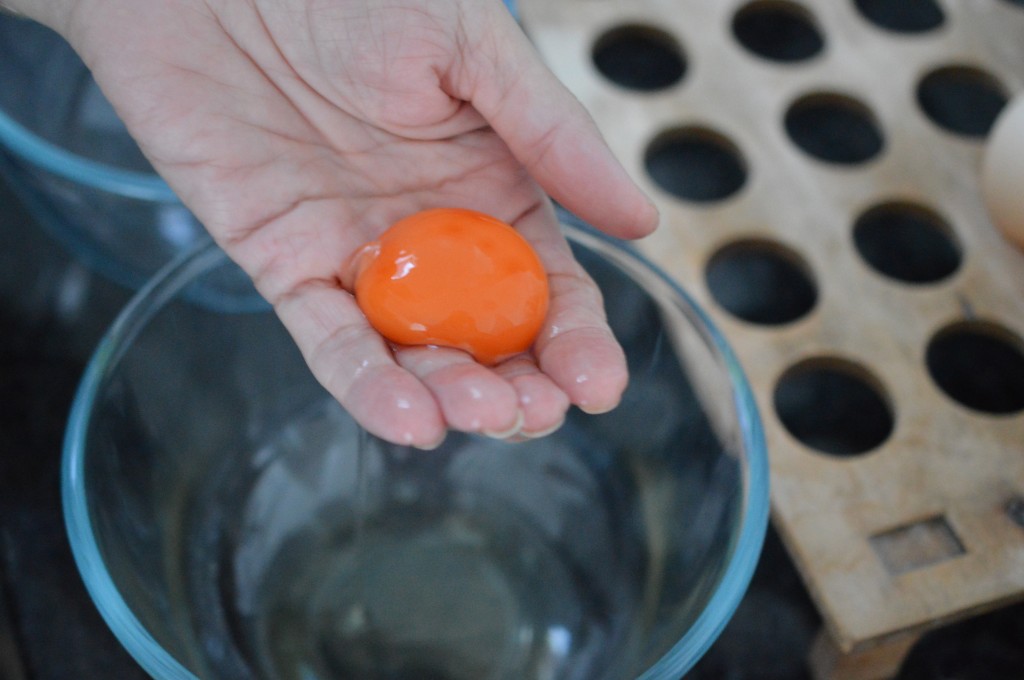
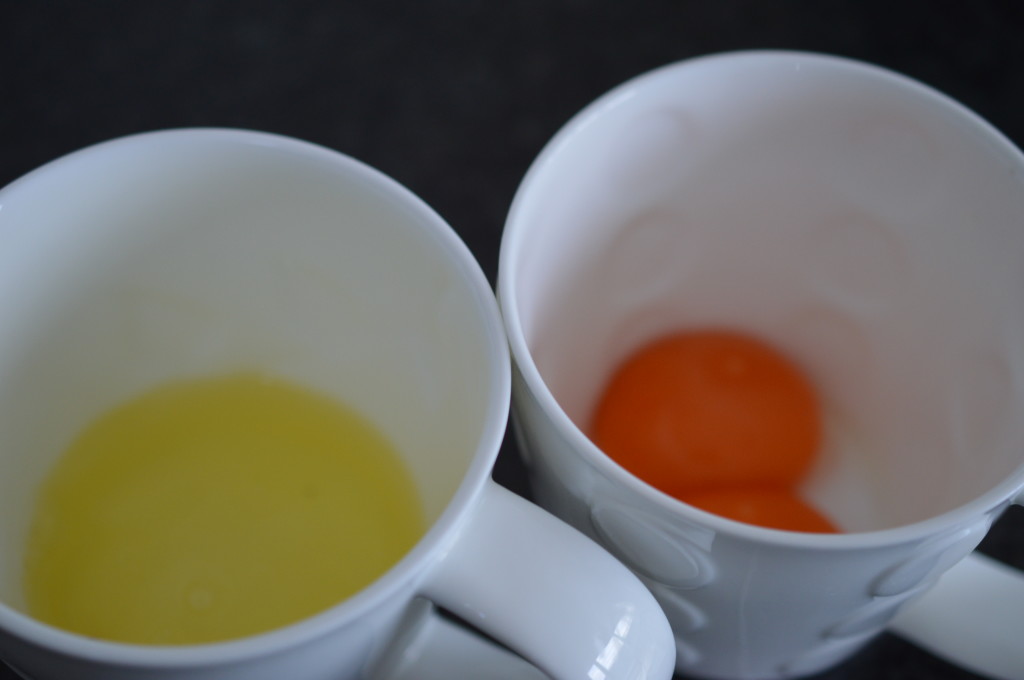
Whichever method you’ve opted for you need to separate two eggs.

DSC_0171

Save the egg whites for the filling and use the yolks for the pastry.

DSC_0175

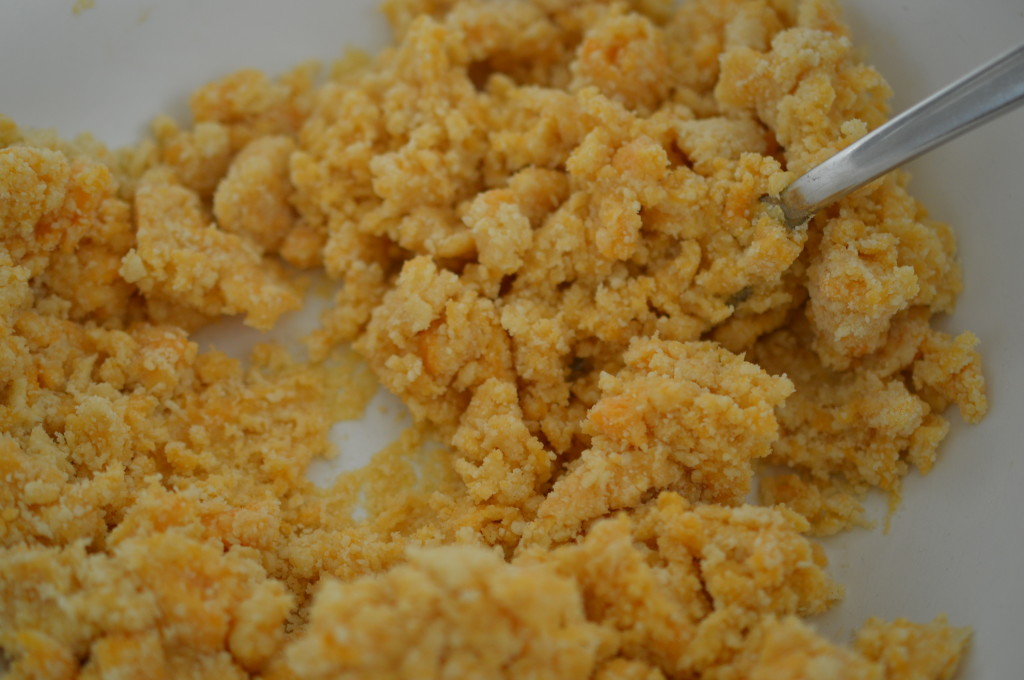
I lightly beat the egg yolks and, using a blunt knife to mix, add them to the butter/flour/icing sugar.

The food processor method is to place the now super-cold contents of your bowl into the mixer.  Pulse.  Then add the egg yolks.  Pulse again.

DSC_0176

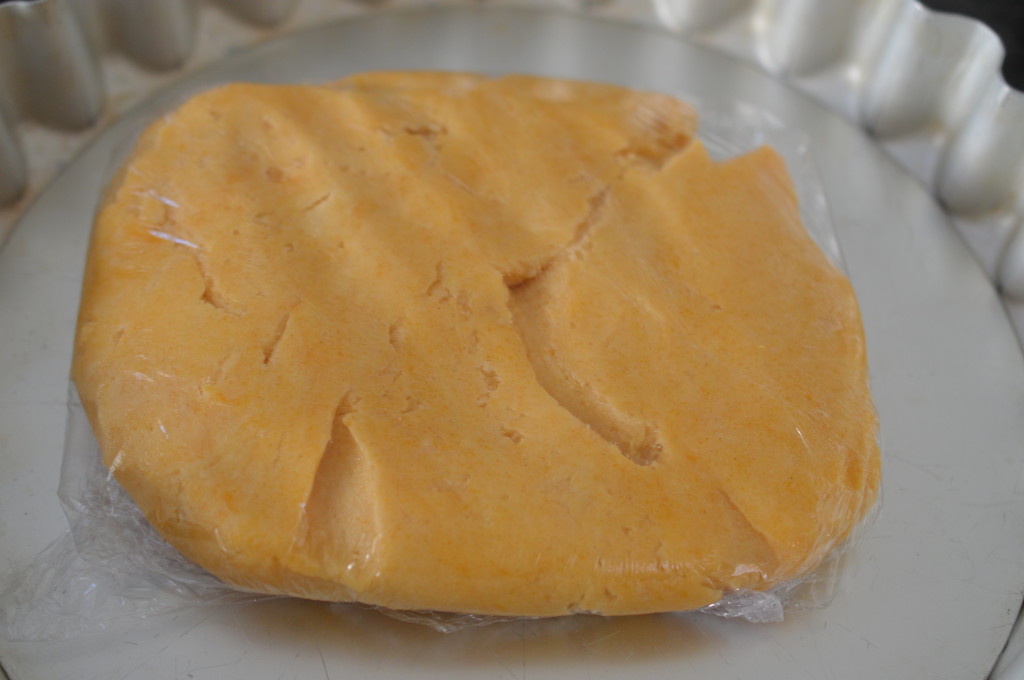
Whatever route you’ve taken you will end up with a soft dough.  Knead briefly and wrap in cling film.  Pop it into the fridge.  There really is no skipping this stage.  Give it time.  30 minutes minimum.  Overnight is fine.

I like to melt butter to grease my 23cm/9″ flan tin and let that chill in the fridge too.

Before you take the pastry dough out of the fridge, get your oven up to temperature.  200ºF/400ºC/Gas Mark 6.

DSC_0185

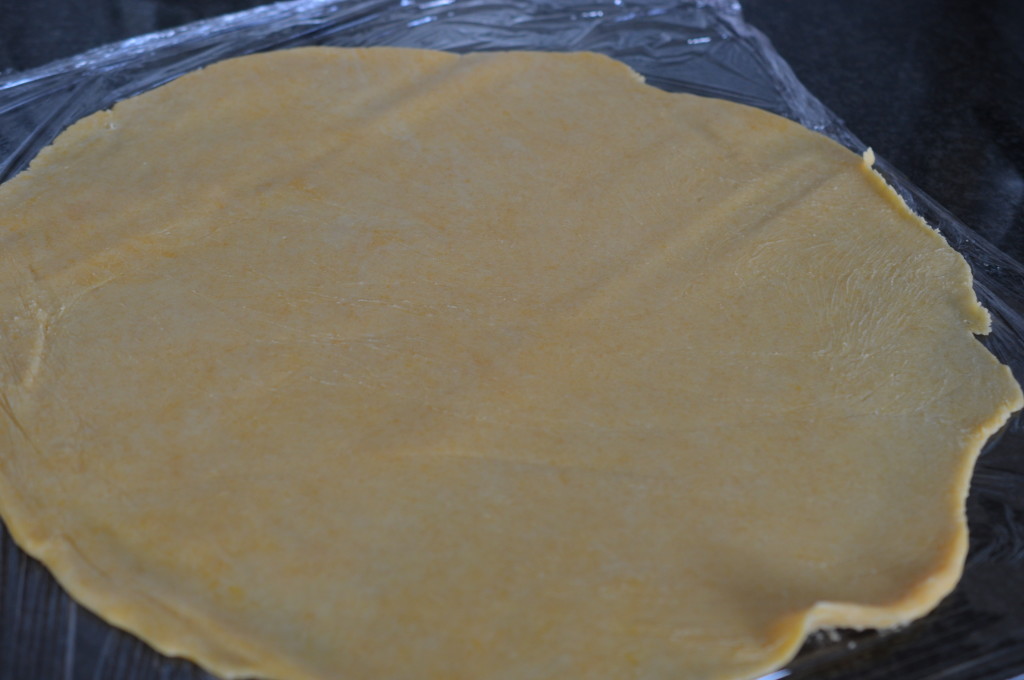
It really is worth rolling out between two sheets of cling wrap as it makes it so much easier to handle.

DSC_0219 3

Remove the top sheet of cling film and transfer the pastry to the greased flan tin.

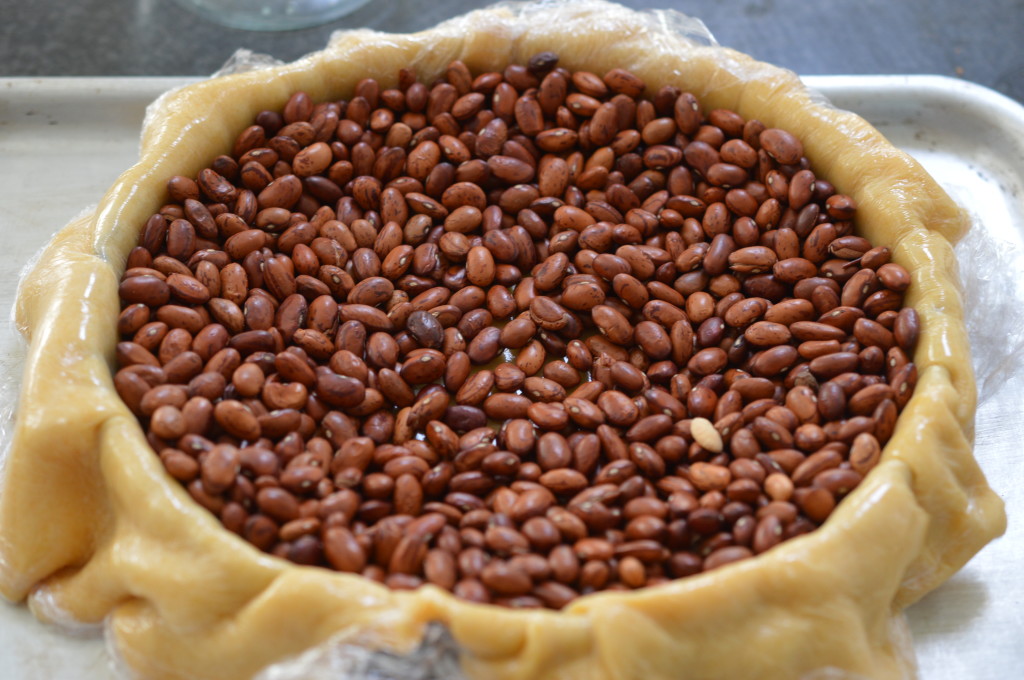
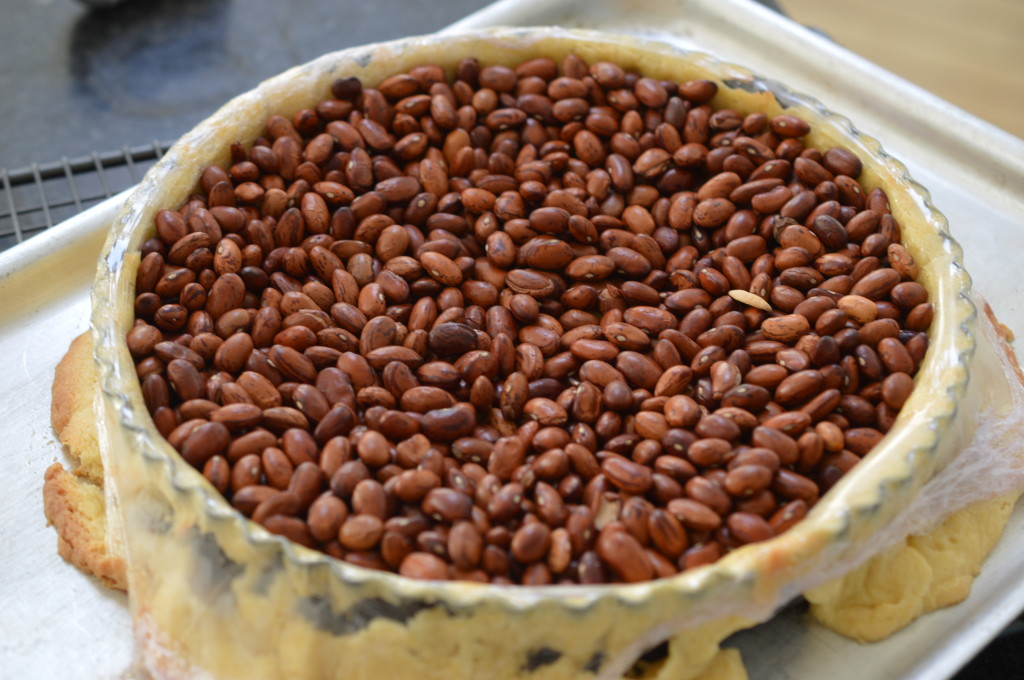
This feels counter intuitive to me but, as long as you are using cling film and not food wrap, there’s no need to peel the final sheet of cling film off the pastry.  You’ll be glad of that!  The pastry softens really quickly.  Pour in your baking beans.  Take care to bank them up against the sides of the tin.

There’s an alternative here, too.  The pastry is so soft the baking beans will leave indentations.  If that’s a problem to you, use flour instead of the beans.

DSC_0220 2

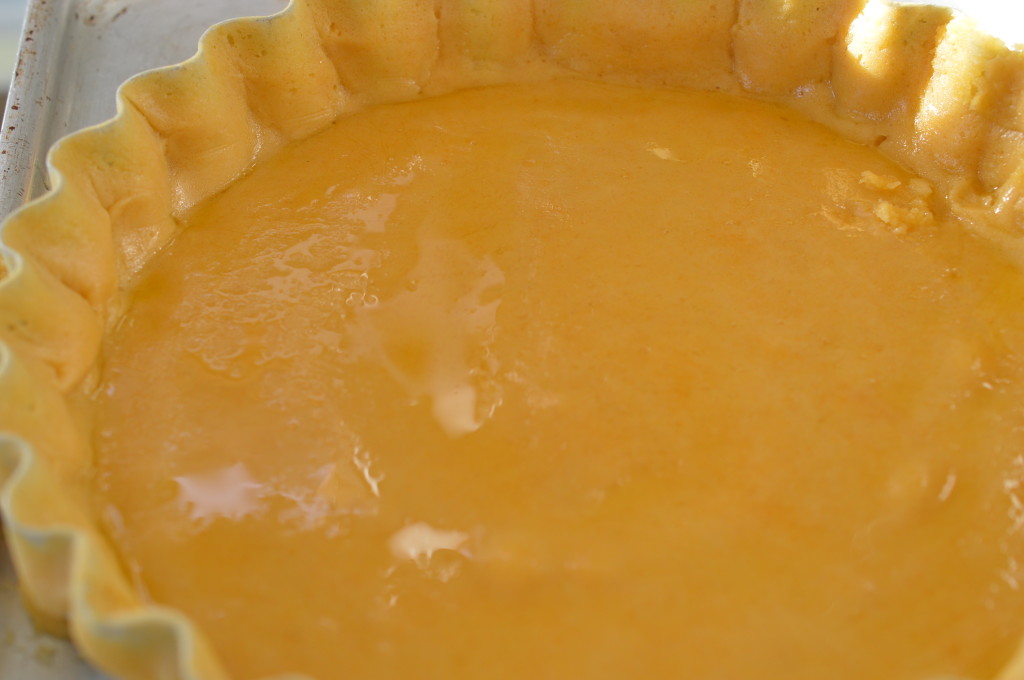
Ten minutes later, it looks like this.

DSC_0188 1

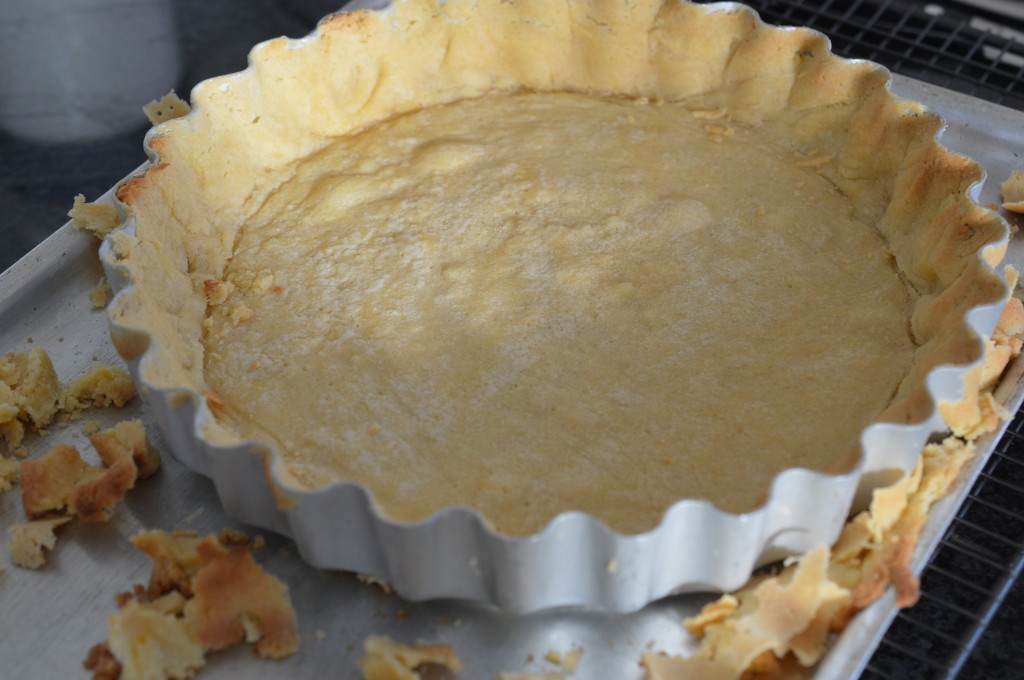
Remove the cling film and the beans, control your panic over how greasy it looks.  This is because this pastry has a seriously high butter content.  Return it to the oven to cook for a further ten minutes.

DSC_0190 1

You’re not looking for the pastry case to have any colour.  Cut away the excess pastry to give a neat finish.

DSC_0178 1

Now it’s on to the filling.  Spot the madeira cake!  Whiz the cake slice into crumbs.  Reduce the oven temperature to 180ºC/350ºF/Gas Mark 4.

DSC_0180 1

If you’re unsure whether your Seville Oranges are waxed, you’ll need to run under boiling water and give them a scrub.  (I wish they’d stop doing that.)  Weigh out 55g/2oz caster sugar and add the zest of both your oranges.

DSC_0182 1

Mix together.

DSC_0192 1

Warm the single cream (or full-fat milk if you’re feeling sanctimonious) and add that together with the cake crumbs and cubed butter.    Stir until the butter has melted in the warmed cream.

DSC_0194 1

Add the egg yolks and the juice of both the Seville Oranges.

DSC_0195 1

Whisk the egg whites until it stands in soft peaks.

DSC_0197 1

Fold the egg whites into the orange mixture.  Think soufflé and be gentle.

DSC_0198 1

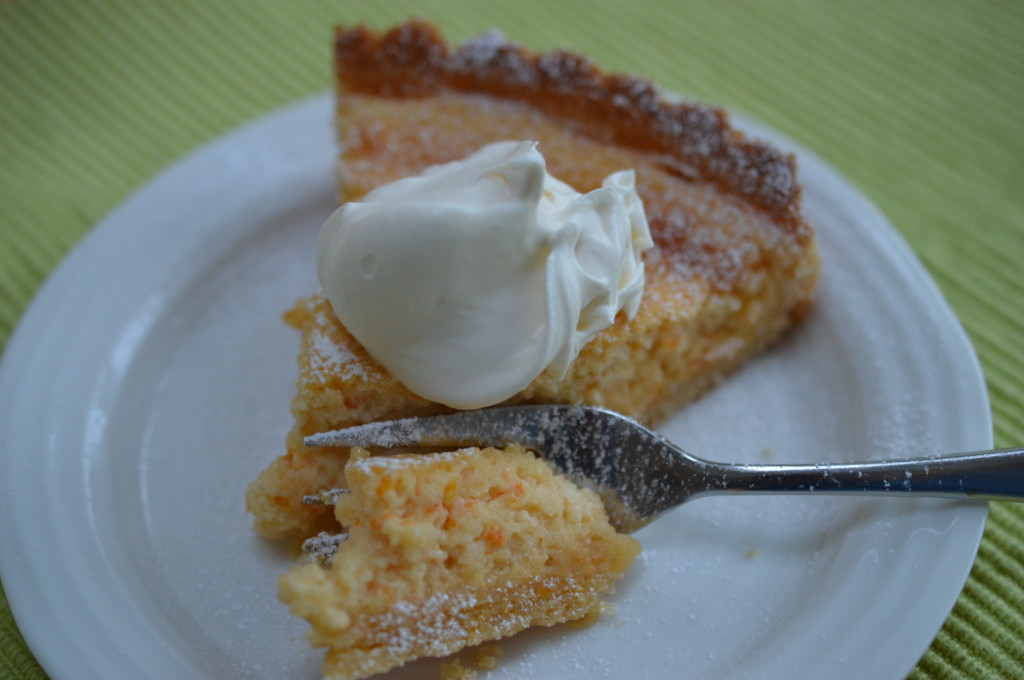
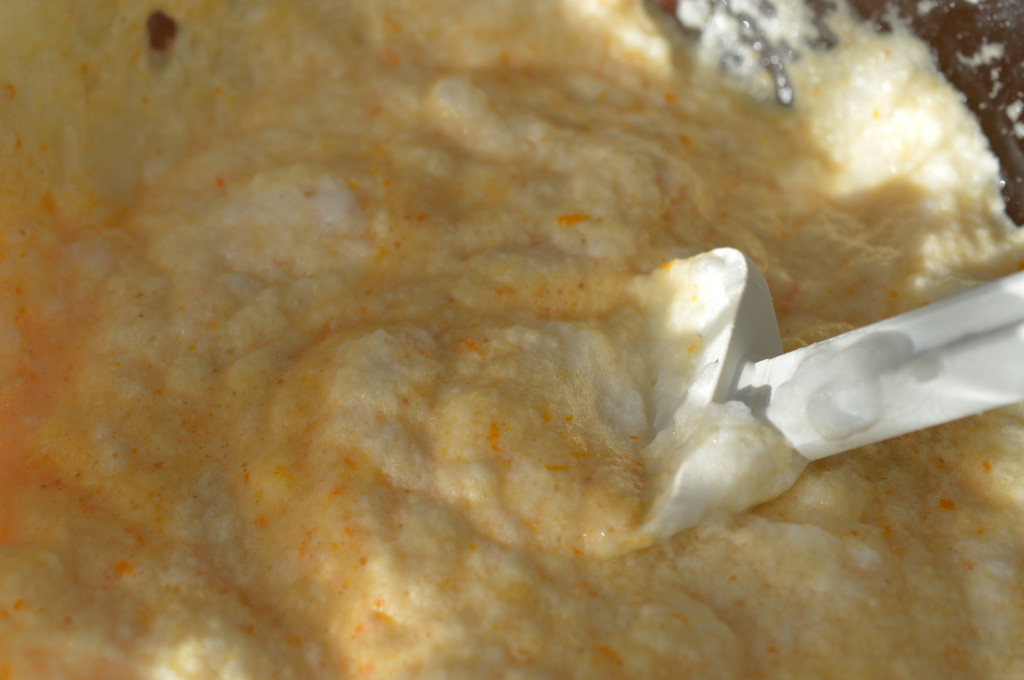
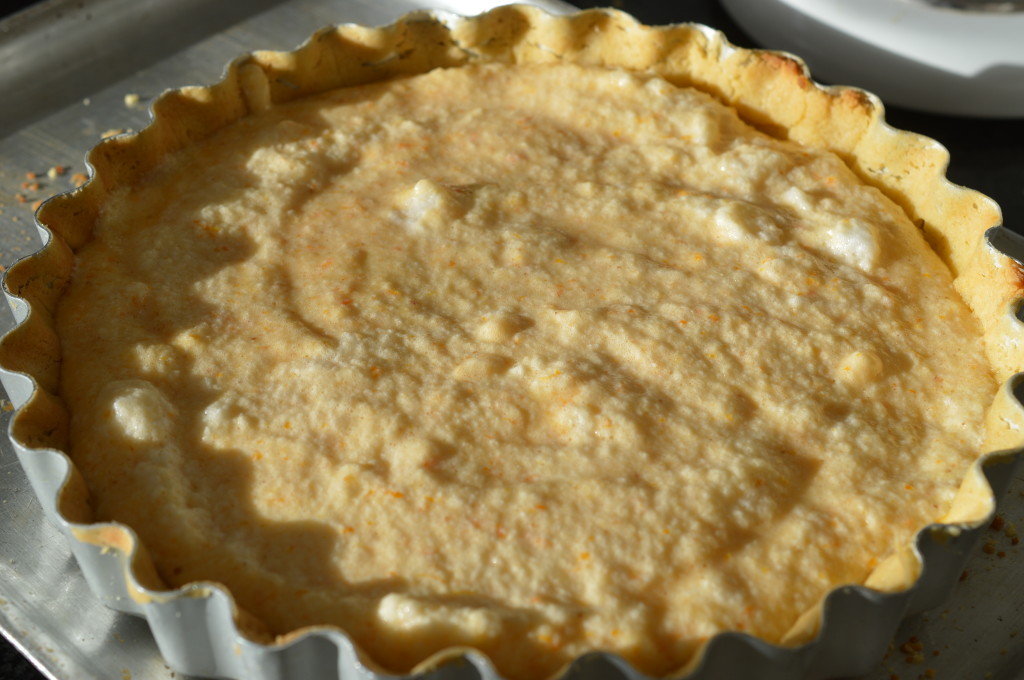
Scoop the filling into the pastry case and bake for 30 minutes until the top is golden brown.

DSC_0237 1

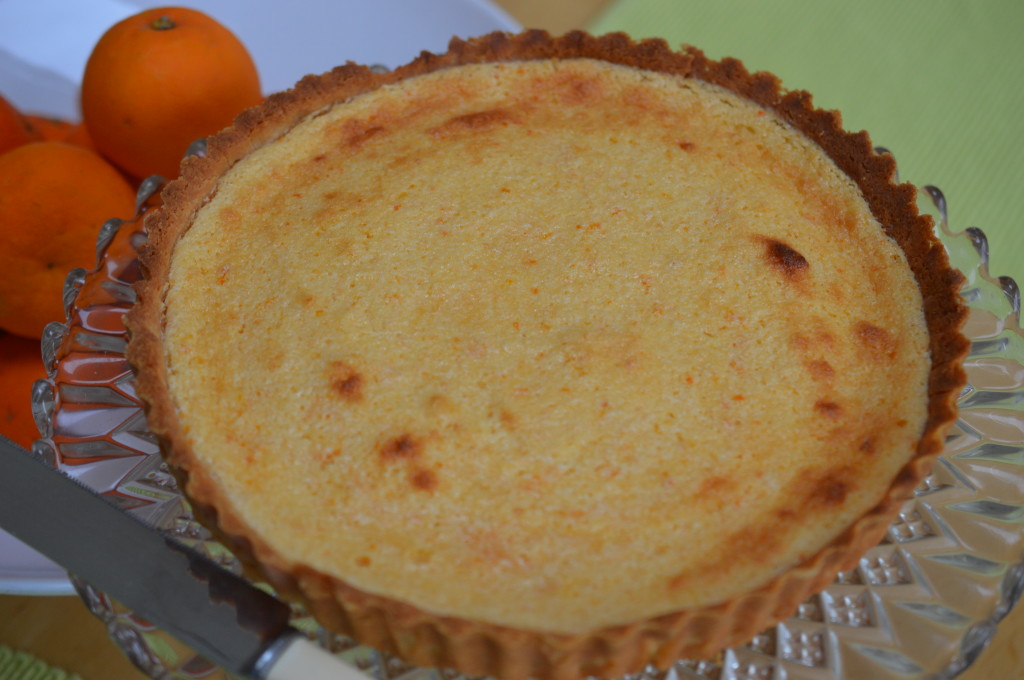
Warm or cold.

DSC_0254 1

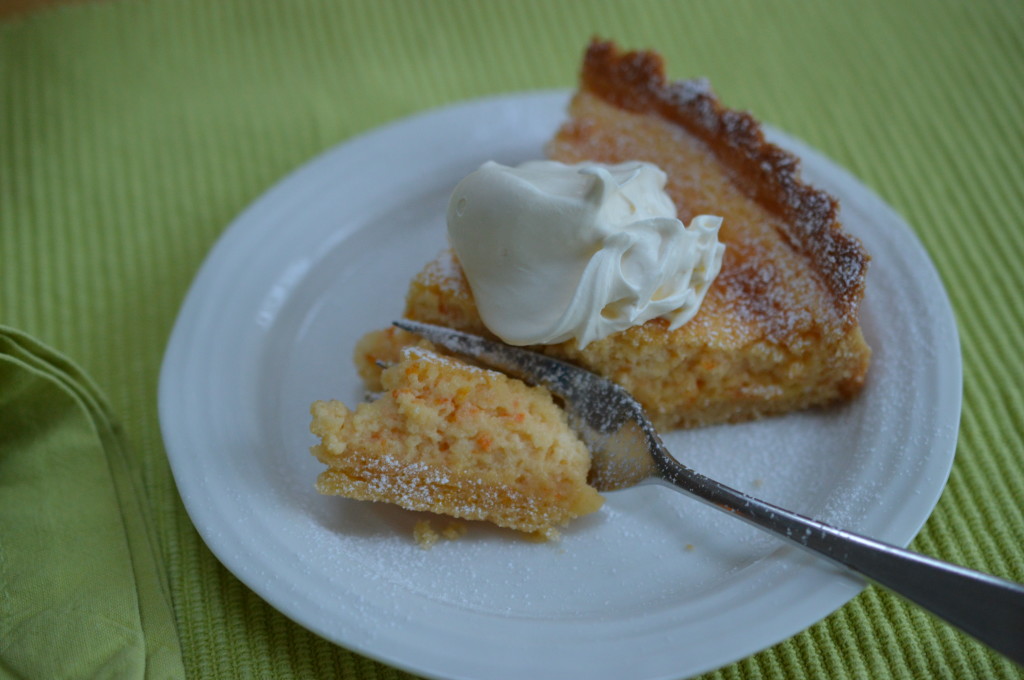
Serve with cold cream.

Eat.


DSC_0249 2Seville Orange Tart

(discovered in Sara Paston-Williams ‘Good Old-Fashioned Puddings’ for the National Trust.

23cm/9″ flan tin.

For the Pastry:

  • 175g/6oz plain flour
  • pinch of salt
  • 85g/3oz icing sugar
  • 150g/5½oz unsalted butter, cubed
  • 2 egg yolks, beaten

Sieve the flour, salt and icing sugar into a bowl and rub in the butter.

Mix in the egg yolks to form a soft dough.  Wrap in cling film and chill for a minimum of 30 minutes.

Preheat the oven.  Grease the flan tin with butter.

Roll out the pastry between two sheets of cling film.  Remove the top sheet and flip the pastry into the flan tin.  Leaving the remaining cling film sheet in place, lightly press the pastry against the sides and leave the overhanging pastry.  Fill with baking beans.

Bake ‘blind’ for 10 minutes.

Remove the beans and cling film and return to the oven for a further 10 minutes.  Reduce the oven temperature to 180ºC/350ºF/Gas Mark 4.

For the Filling:

  • Zest and juice of 2 Seville Oranges
  • 55g/2oz caster sugar
  • 55g/2oz Madeira Cake Crumbs
  • 25g/1oz butter, cut into small pieces
  • 150ml/¼ pint single cream or full-fat milk
  • 2 egg, separated

Mix the caster sugar with the orange zest, then add the butter and cake crumbs.

Warm the cream and pour over the mixture.  Stir until the butter has melted.  Add the egg yolks and the orange juice.

Whisk the egg whites until they reach the ‘soft peak’ stage, then fold into the orange mixture.

Transfer to the pastry case and cook for 30 minutes, or until the filling is golden brown.

Serve warm or cold.

Eat.

Print.


Baked Vanilla Cheesecake with fresh raspberries

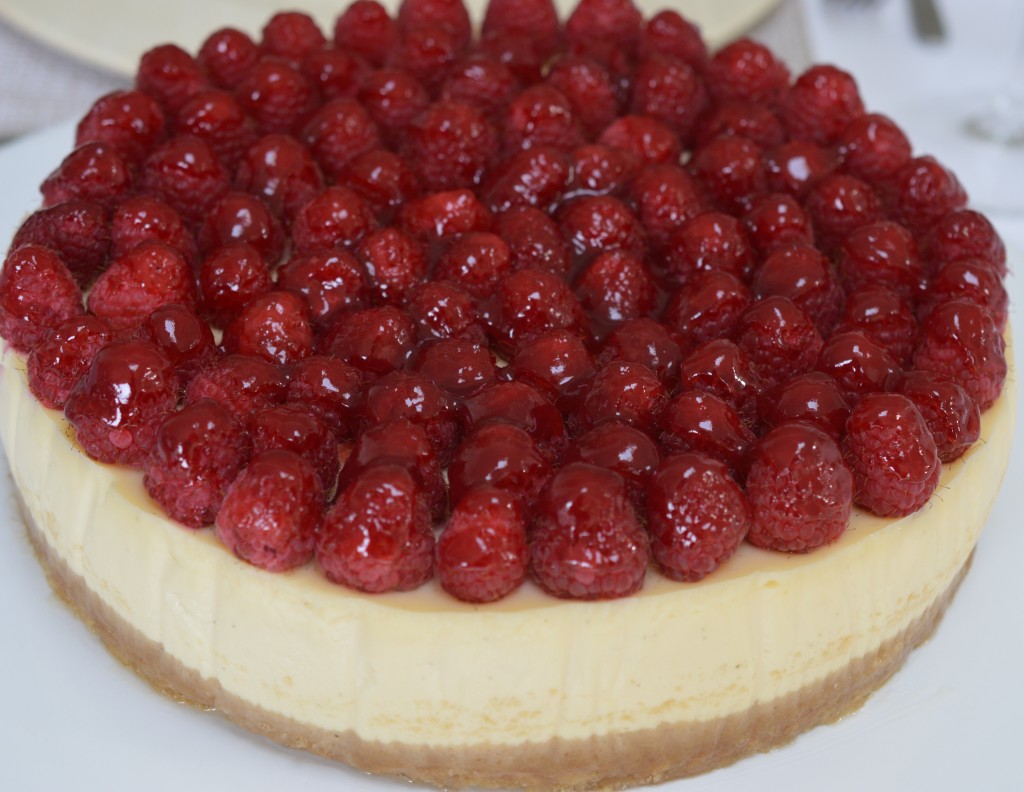
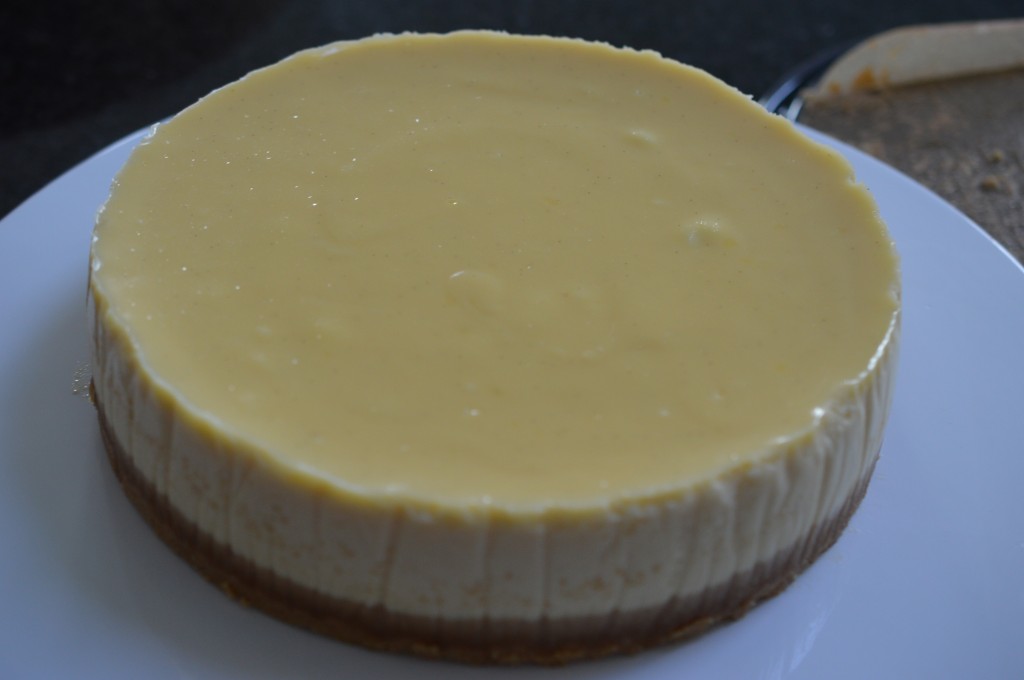
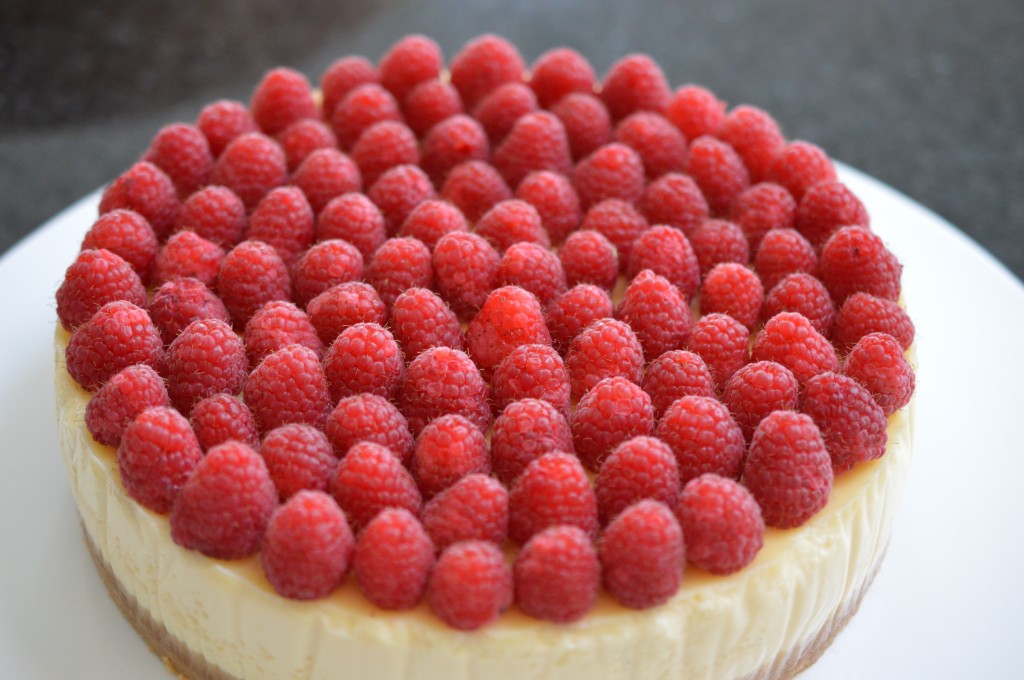
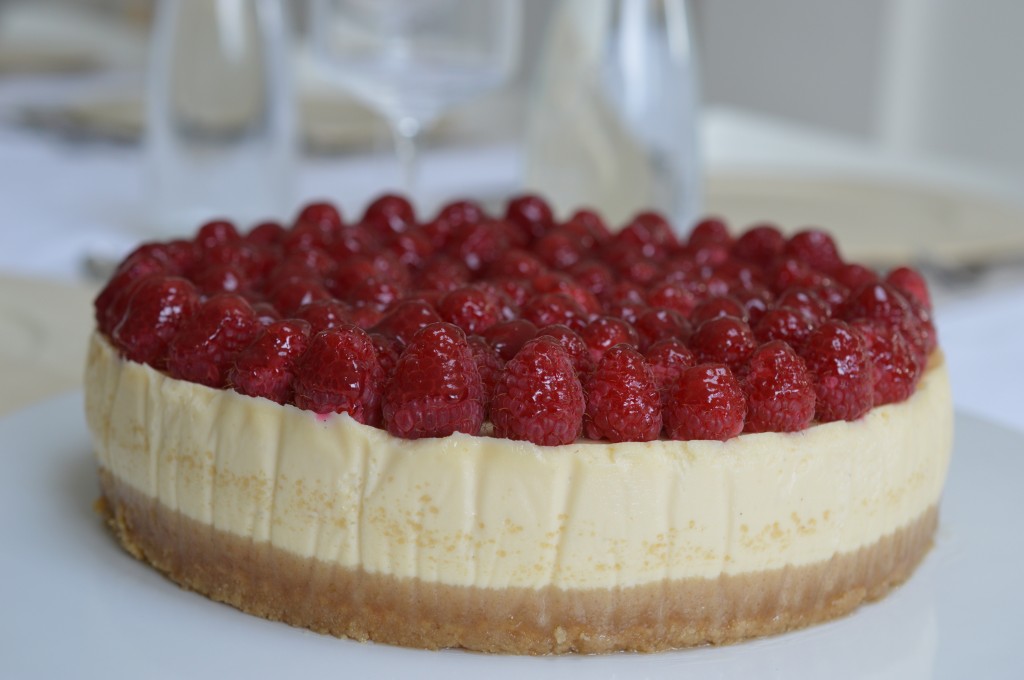
This is my baked vanilla cheesecake topped with fresh raspberries – a) because I particularly like fresh raspberries with vanilla cheesecake and b) because it’s a ‘birthday’ cheesecake and I felt I needed to make an effort.  

Cheesecake - glazed

In actual fact, it wasn’t anyone’s birthday.  Monday I drove Seb and assorted plastic storage boxes to uni and since he’ll be away on the ‘real’ day, we decided to celebrate early.  (He demonstrated a sad lack of any ‘separation issues’, btw, and it reminded me of his ‘first day at school’ when I stood forlornly waving goodbye to my four year old who scarcely looked back.  Who’d be a mum?) 

Cheesecake - eaten

Now to concentrate on vanilla cheesecake.

Cheesecake - 11

It is really important your cream cheese and eggs are at room temperature.  So get them out at the very beginning.  If you to try use fridge cold cream cheese you’ll never get a smooth mixture.  The eggs are the ’emulsifier’ and if they’re cold they encourage your mixture to curdle.

Now the base.  Until very recently I’d have been whizzing up oaty hobnobs or digestive biscuits in my food processor, but now … now I make my own.  (I can hear you groan, but trust me …!)  I promise it’s so easy and definitely worth it.

This epiphany came about when I happened across a recipe book called ‘The Pocket Bakery’ by Rose Prince.  In there, page 204, there’s a recipe for ‘Ricotta Cheesecake with Roasted Peaches and Toasted Pinenuts’.  She says, “Just to show you what a real cheesecake is, setting aside all those industrial versions, we want to encourage you to make your own biscuit base.”  Where it not for the fact Rose Prince uses Stoates flour, as I do and which led me to think she might know a thing or two, I might never have taken the idea out of the steamy bathroom where I do my reading.  (Bubblebath, glass of wine, candles .. no-one can get me …)

Cheesecake - 17

I’m totally converted.  Firstly, it tastes better.  Secondly, it feels emotionally ‘right’ not to be pouring butter into something I otherwise avoid eating.  And, thirdly, there’s no temptation to finish the packet which, I admit, is something I’ve been known to do in times of stress.

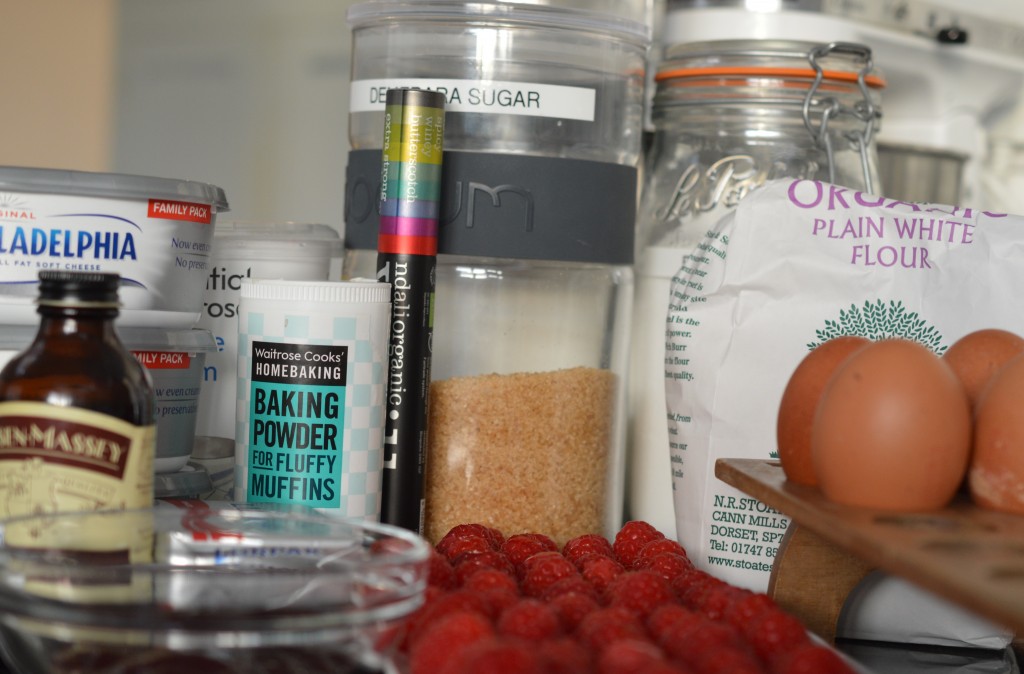
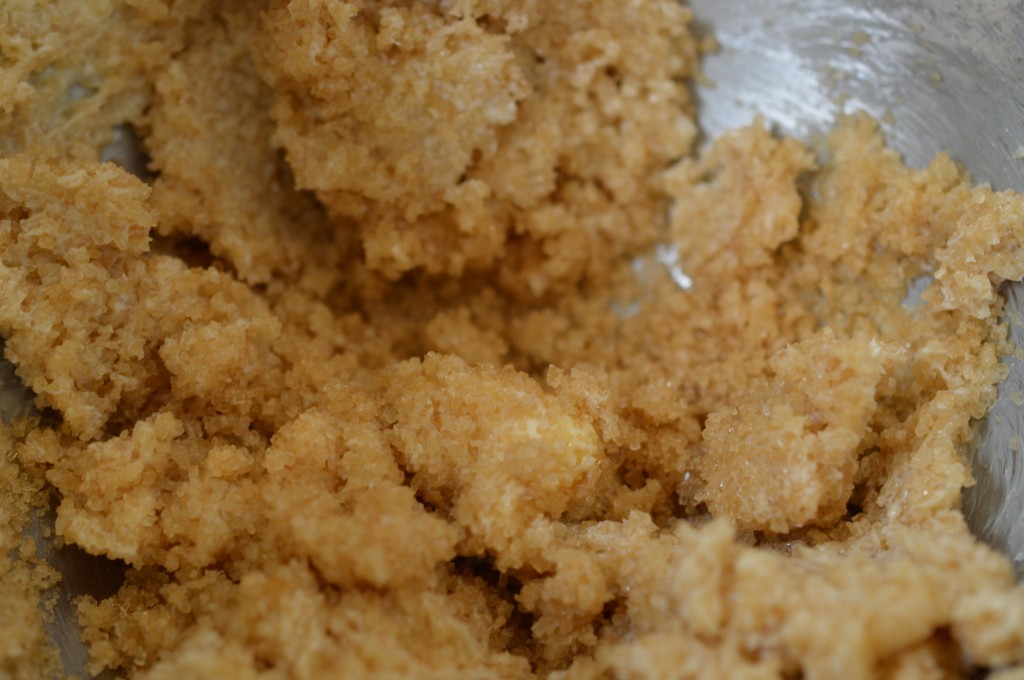
So, put 80g/2¾ of softened butter and 165g/6oz Demerara sugar in a bowl and mix.  Rose Prince states mix until it is ‘pale and light textured’.  I find this butter/sugar mix needs frequent scraping down of the bowl sides and I never reach anything which I’d describe as ‘light textured’.

Cheesecake - 18

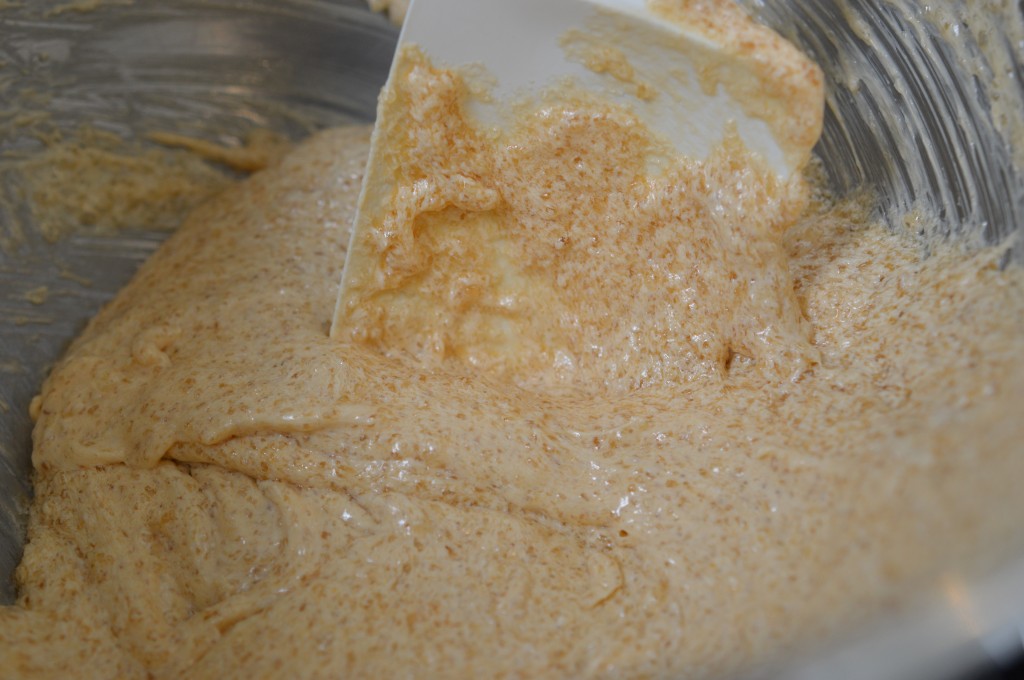
Add the egg, vanilla extract and stir.  Then the flour, baking powder and salt.  Gather everything into a soft dough, wrap in cling film and pop into the fridge for 30 minutes or so.  Pre-heat the oven to 180ºC/Gas mark 4, 350ºF (or do nothing, while feeling smug you cook on an aga) and have a cup of tea.

Cheesecake 19

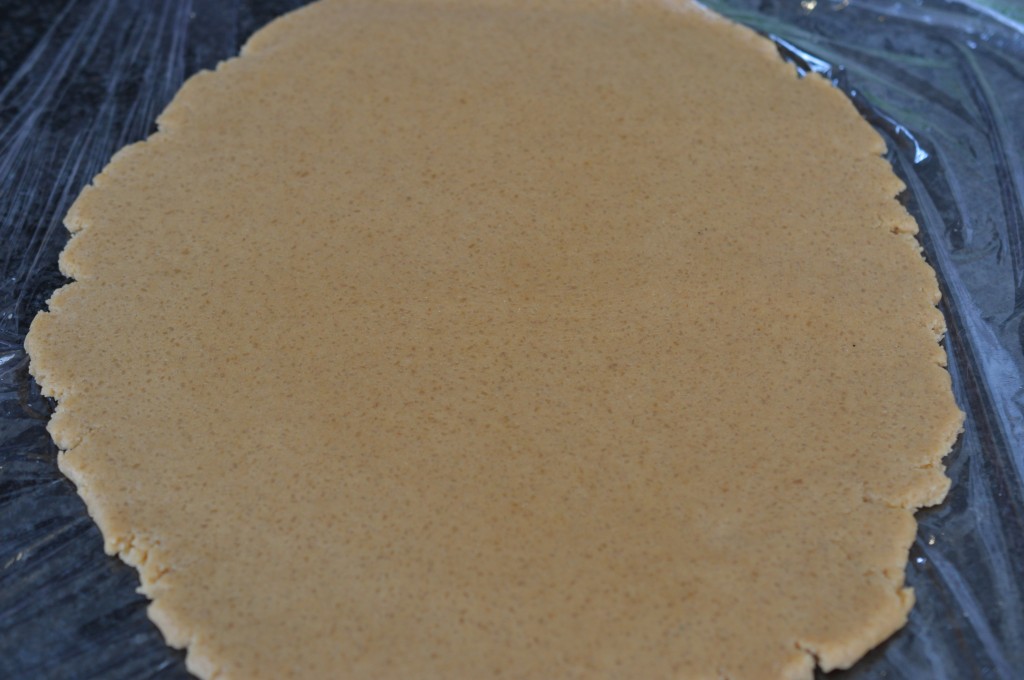
Time in the fridge makes the dough ‘roll-able’, but it’s a tricky thing to transfer to the baking sheet.  I roll between sheets of cling film which helps.  Roll to about ½cm/¼” thick, and place on a baking sheet lined with bake-o-glide or baking parchment.

cheesecake - 20

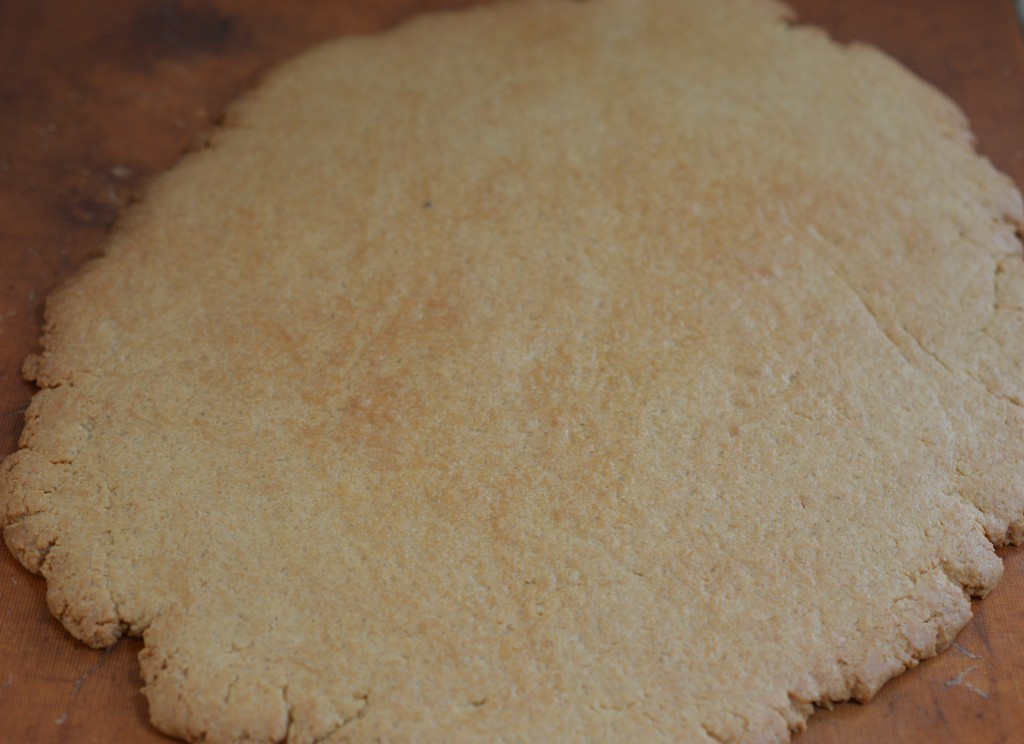
Bake for 15 minutes.  (Aga:  I cook on the top set of runners in the Baking Oven for the same time.)  Then, leave to cool.

Cheesecake - lining strips

While that’s happening, prepare the tin.  Ideally, you need a springform tin which measures 23cm/9″ across the bottom …  You will immediately notice there’s a problem with that – as 23cm isn’t the same as 9″.  Anyone else frustrated by inconsistent tin sizes???

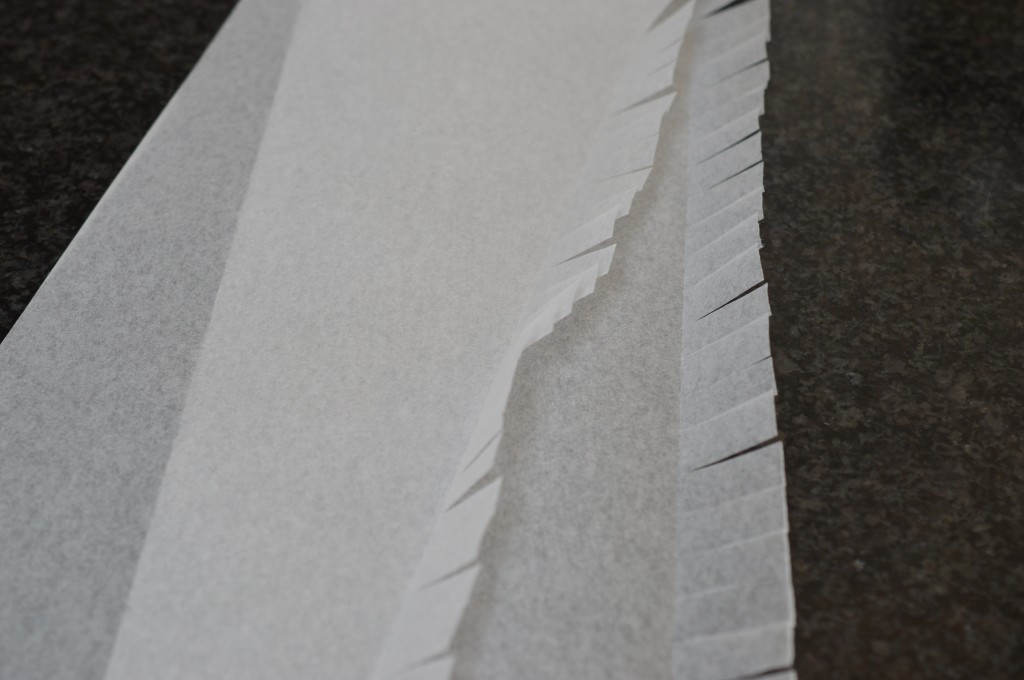
Springform is the best choice because you can unclip the sides to release the cheesecake without risking too much damage.  (My tin actually measures 22.5cm, btw, and is a Kaiser La Forme plus.)  Cut strips of baking parchment a good 6cm/2″ deeper than the height of the tin and fold up a narrow strip and cut up to the line.  This is so it will lay smoothly round a curve.

Cheesecake 22

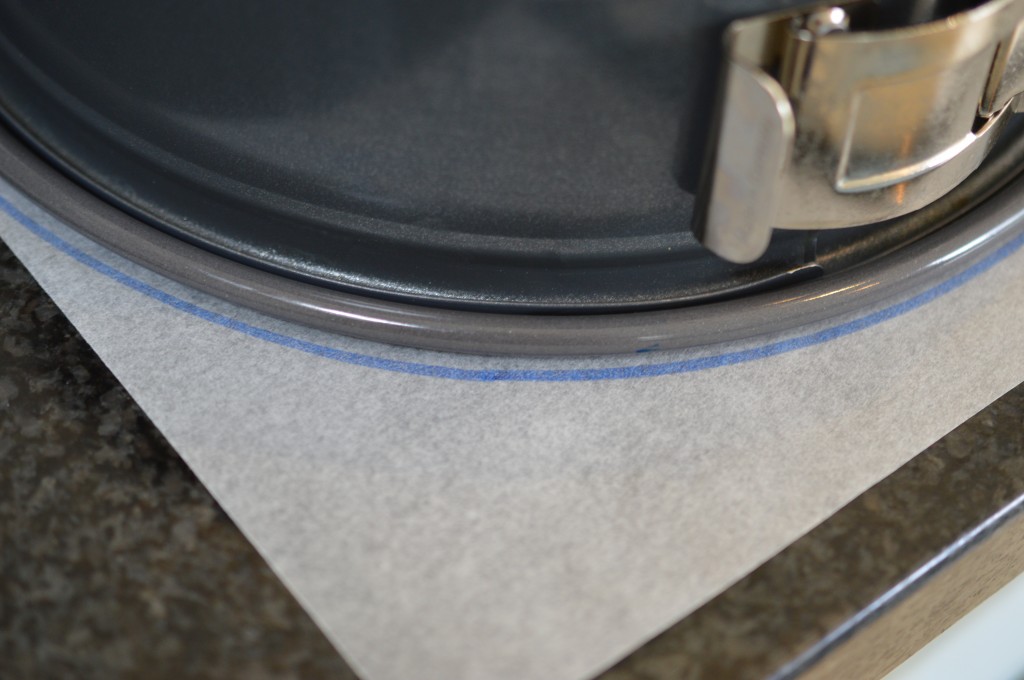
Draw around the base of the tin.  Twice.  Cut out the circles.

The downside to many springform cake pans is that they have an internal lip which makes getting anything off the base difficult.  My Kaiser springform doesn’t have that lip which is a plus, but the trade-off for the completely flat base is the lip is outside the side.  So I now have two circles of baking parchment larger than I need.  I place them into the tin and mark a score line with my nail around the base, then cut around that line which leaves me with two accurate paper circles.

Cheesecake - lining

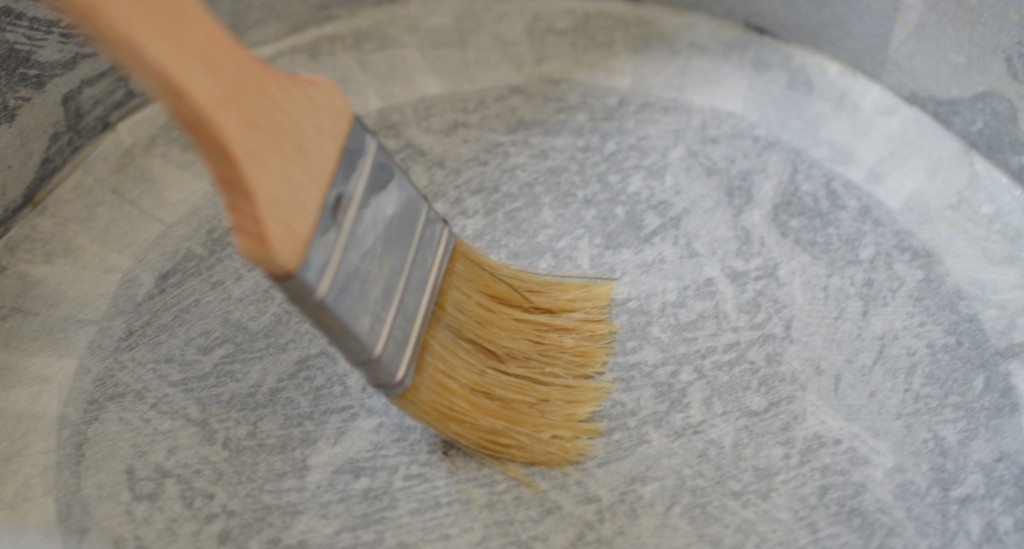
Grease thoroughly.  I brush on melted butter.  Thoroughly buttering the tin isn’t just about getting the cheesecake out at the end, it’s also about avoiding cracks across the top.  You want your mixture to rise evenly and gently pull away from the sides without pressure put on that top surface.

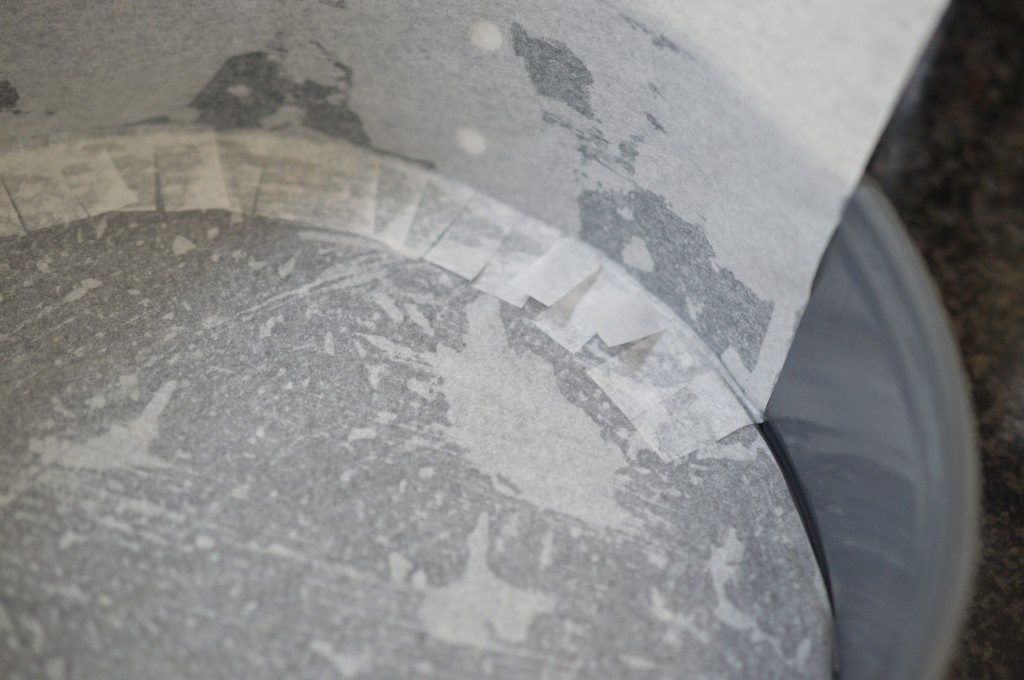
Place one of the parchment circles in the base and then line the sides with the scissored strips.  Brush with butter.  It’s the glue that keeps the paper in place.

Cheesecake 23

Finally, top with the second circle.  Brush with butter.  That’s the tin ready.

Cheesecake - 1

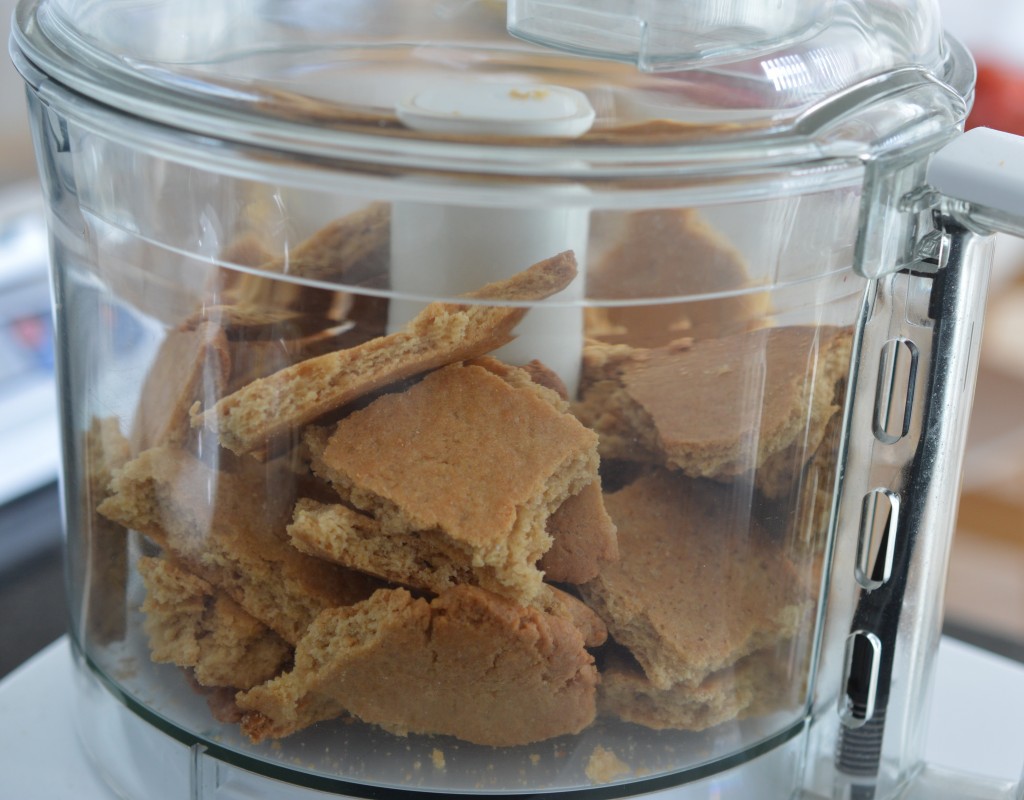
Break the now-cooled ‘biscuit’ base into generous shards and place in a food processor (or plastic bag).  Whizz (or bash).  Until you have fine breadcrumbs.

Cheesecake - 2

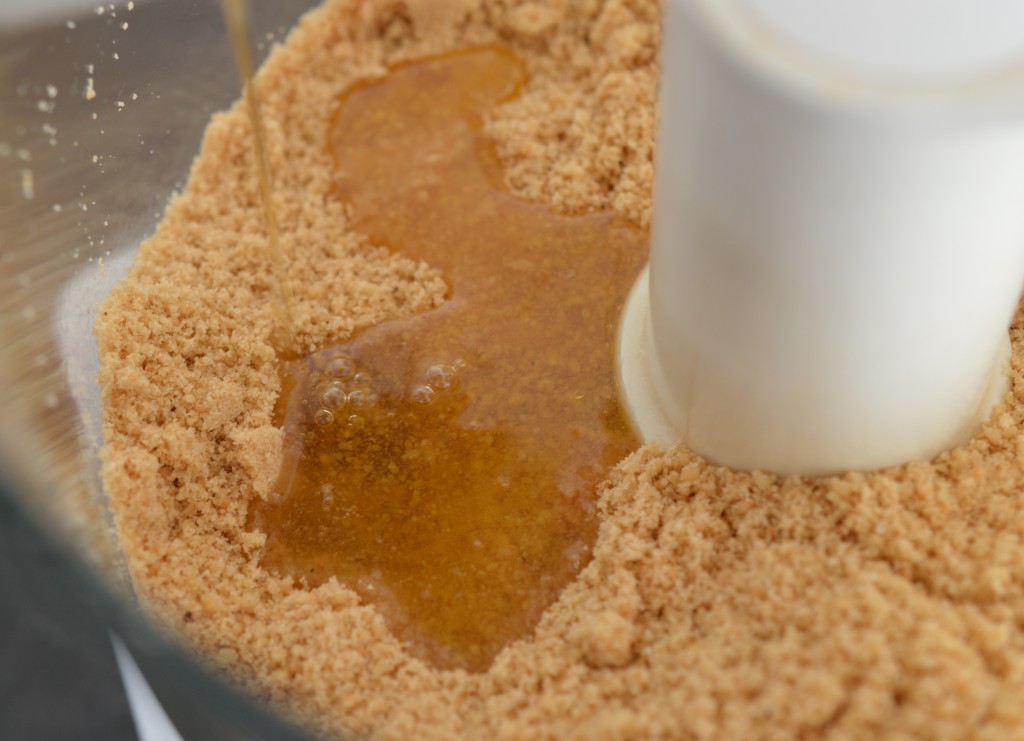
Add 40g melted butter and whiz again.

Cheesecake - 3

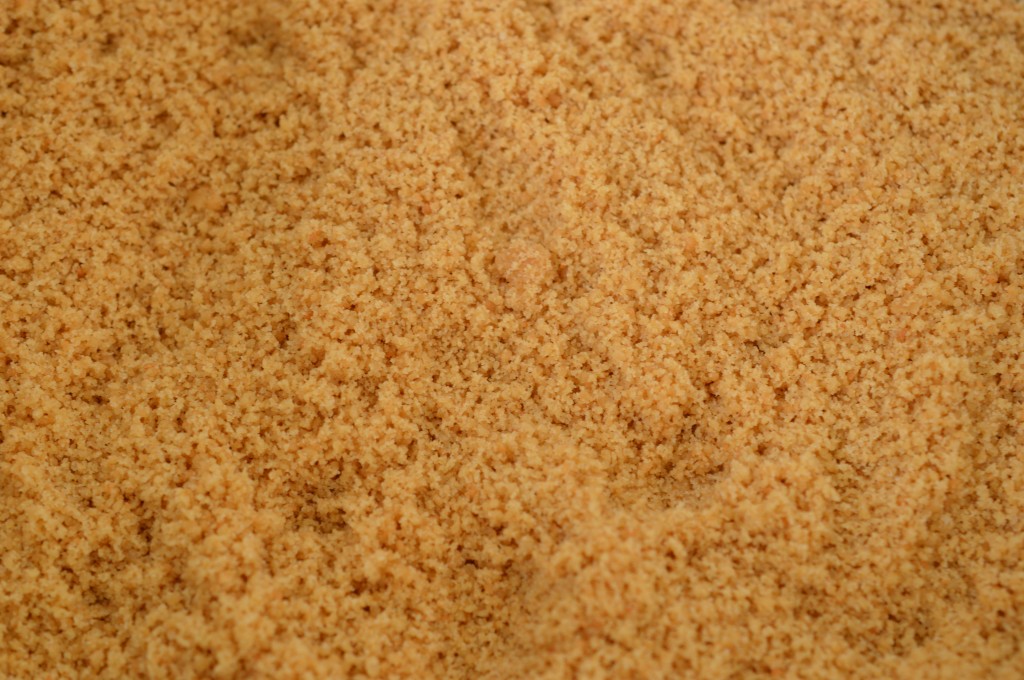
You are left with fine, sandy breadcrumbs. Press into the base of your prepared tin, using the back of a dessertspoon.  At this point, using ready-made biscuits you would usually put it in the oven for a 10-15 minute bake.  Don’t do that.  Rose Prince’s recipe moves seamlessly on to adding the ricotta cheesecake topping and then baking.

The first time I tried this recipe I baked my biscuity base before adding the cheesecake mixture.  What I ended up with was a damp ‘seepage’ line.  So, no baking.  Simply whizz and press.

Now would be the time to reduce your oven temperature.  160ºC/320ºF/Gas Mark 3.

Cheesecake - 4

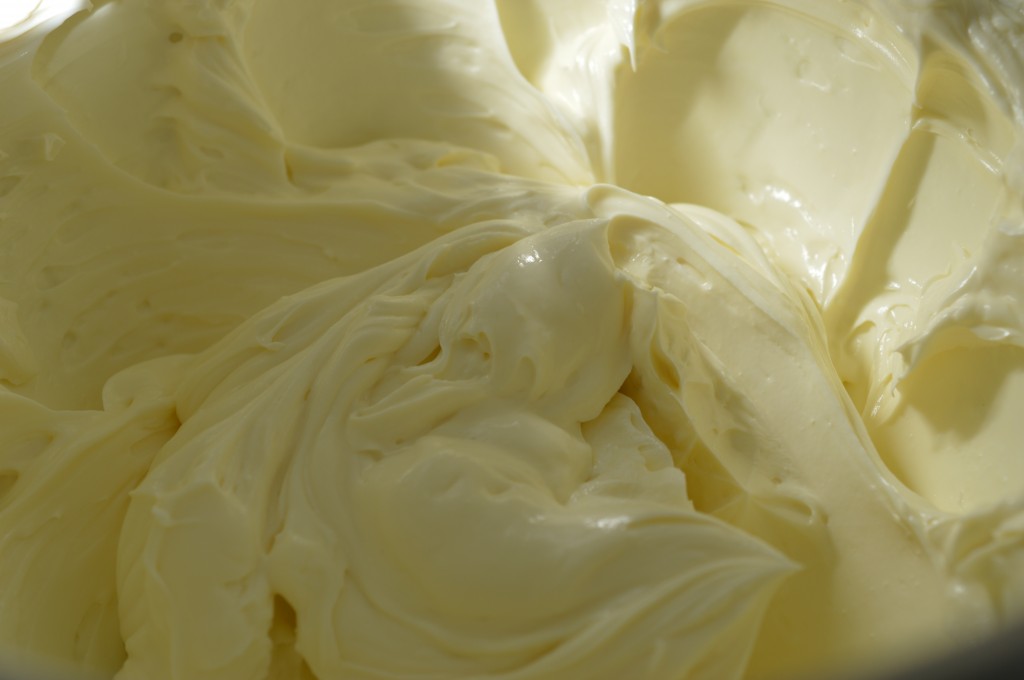
I put my room temperature cream cheese into the mixer bowl and beat until smooth.  Then I add a small carton of sour cream and the same amount of double cream (for me that’s cream with a 48% butterfat content).  I add that to the cream cheese to give me a lighter end result.

Cheesecake - 6

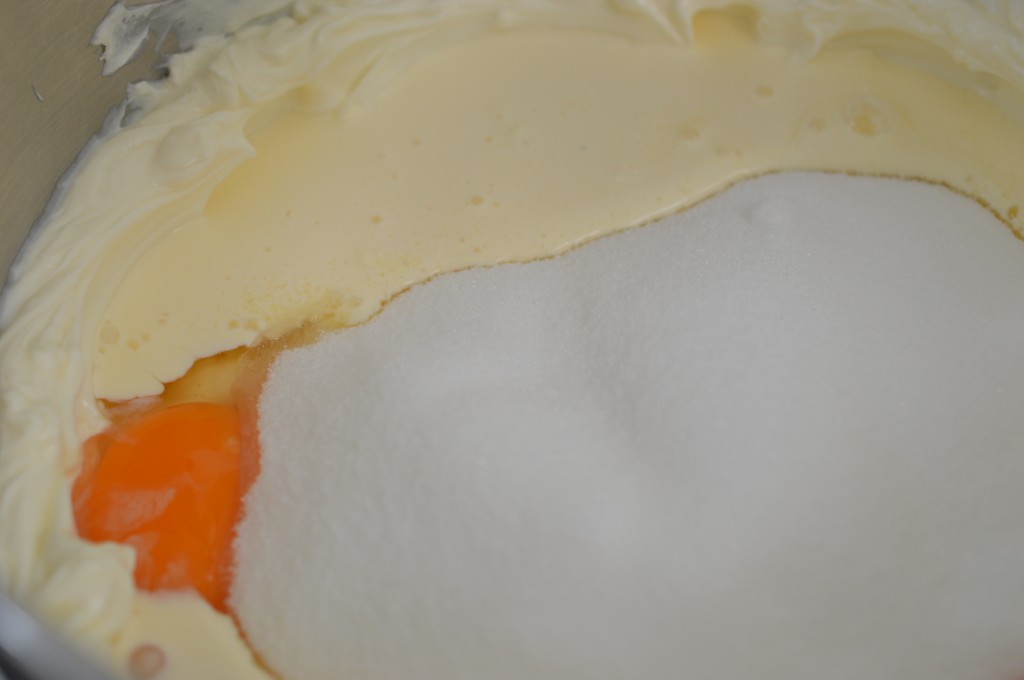
Then it’s the sugar and the room temperature eggs.  You are not trying to add air, but ensure a beautifully smooth mixture.  Beat, using a flat beater on a medium speed, for 5 minutes.  It should be smooth and very creamy.  Scrape down sides of the bowl to catch anything missed on the bottom and add the flavouring.

custard - vanilla pod

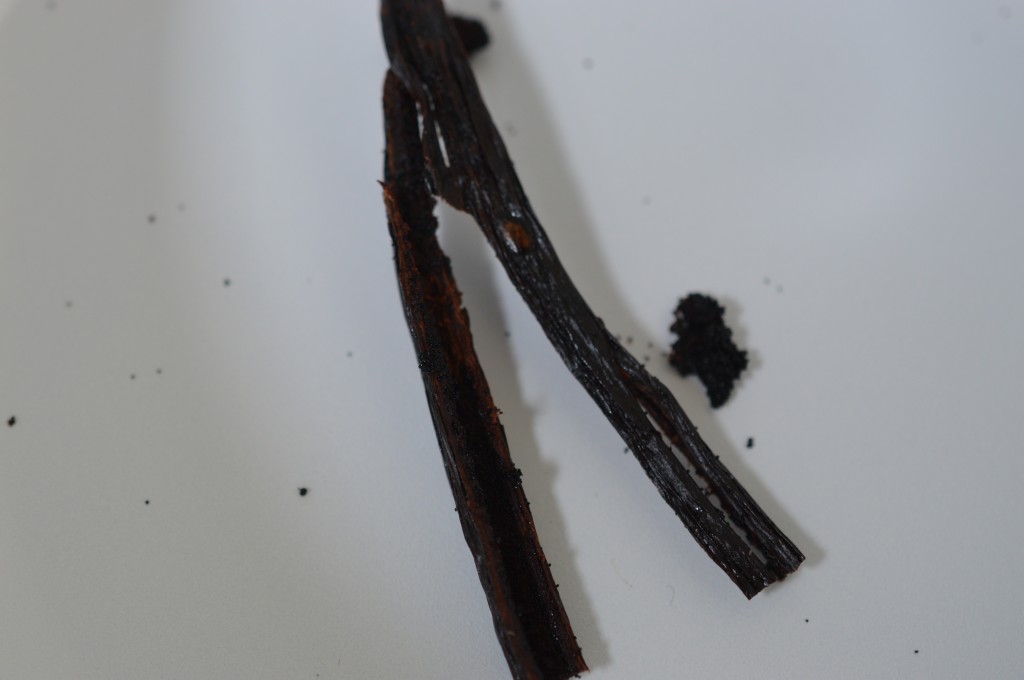
Vanilla here.  With vanilla, I’m afraid you get what you pay for.  You want a soft, fat, bendable pod.  Split the pod with the point of a sharp knife and scrape out the gooey seeds with a teaspoon.  (Pop the pod casing into a jar of caster sugar – eventually you end up with ‘vanilla sugar’ which is lovely to bake with.)  The seeds go into the cheesecake mixture.  Mix again.

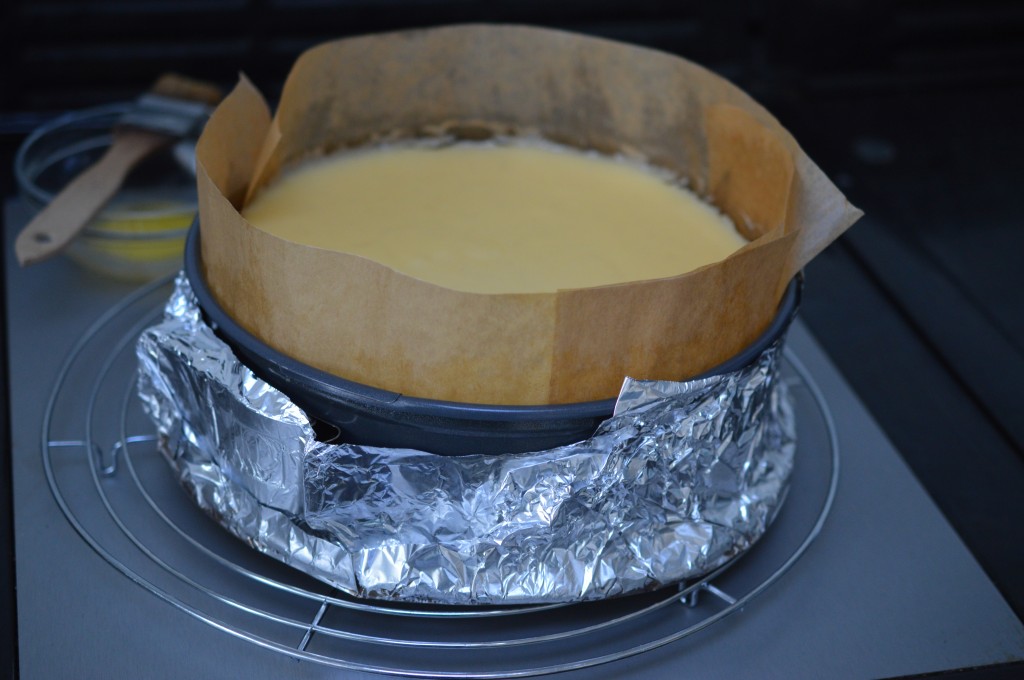
Cheesecakes need a gentle bake and the best way to do that is to use a water bath.  Wrap the base of your prepared cake tin in foil.  Make a good job of this.  Two sheets are better than one.  There must be no gaps or water will seep into your cheesecake and it will be fit for nothing but the bin.

Once all is watertight, place into a roasting tray.  Put on the kettle.  This time, it’s not for you.

Cheesecake - 7

Pour the silky smooth cheesecake mix on top of your biscuity base.   Once the kettle is boiling, pour hot water into the roasting tin so your cheesecake is sitting in a gentle water bath which reaches halfway up the sides of the tin.  Then into the oven.  Bottom shelf.  1½ hours.

(Aga:  I cook in a water bath because I find it still gives better results.  It’s 20 mins on the grid shelf on the floor of the Roasting Oven and then transfer to the simmering oven for a further 2 hours.)

Cheesecake 30

It’s cooked when the sides are gently pulling away from the paper and the centre is set but still a little wobbly.  The cheesecake will continue to cook as it cools.

Conventional ovens – turn off the oven and leave the door ajar for an hour or so and let the cheesecake cool very gently.  This is all about avoiding cracking.  Then you remove completely, cover the top with clean foil but making sure it’s not in contact with the surface, and put into the fridge.  Four hours or overnight.

(Aga – I have a four oven aga so after two hours in the simmering oven, I take my cheesecake out of the water bath and put on a cooling rack resting on the warming plate.)

Cheesecake 31

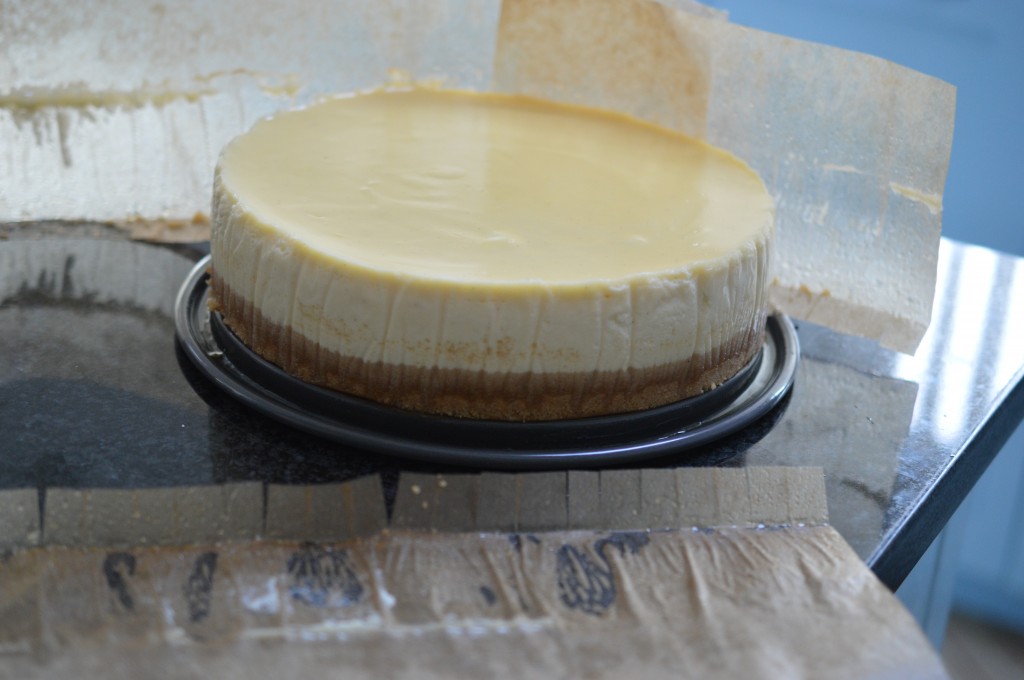
The now completely cooled cheesecake is ready to be unwrapped.  Go gently.  A cheesecake is a fragile beauty.  Release the clip and gently pull away the baking parchment.
Cheesecake 32

I like to remove the base.  The easiest way I’ve found is to use the flat base of a larger quiche/flan tin.  Slide it between the biscuit base and the tin.  It’s one of those nerves of steel situations …

Cheesecake 34

For my ‘birthday’ version.  I covered the top with fresh raspberries.

Cheesecake 15

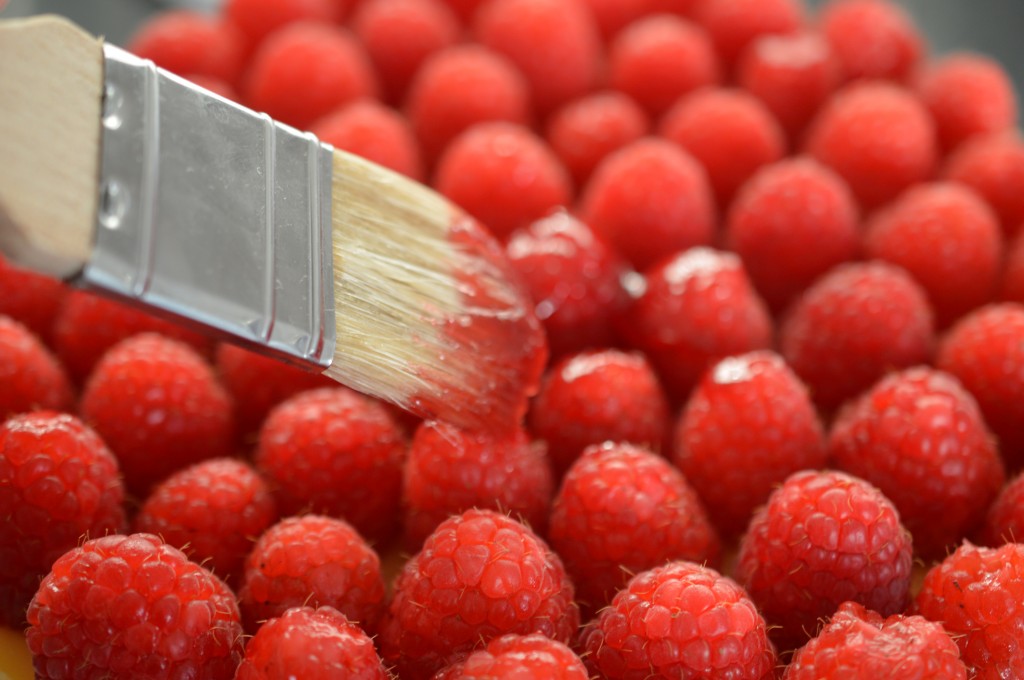
It may well have been easier to have brushed my raspberries with warmed, slightly thinned with water, sieved and cooled raspberry jam before placing on the cheesecake .. but, I didn’t …

Cheesecake - finished

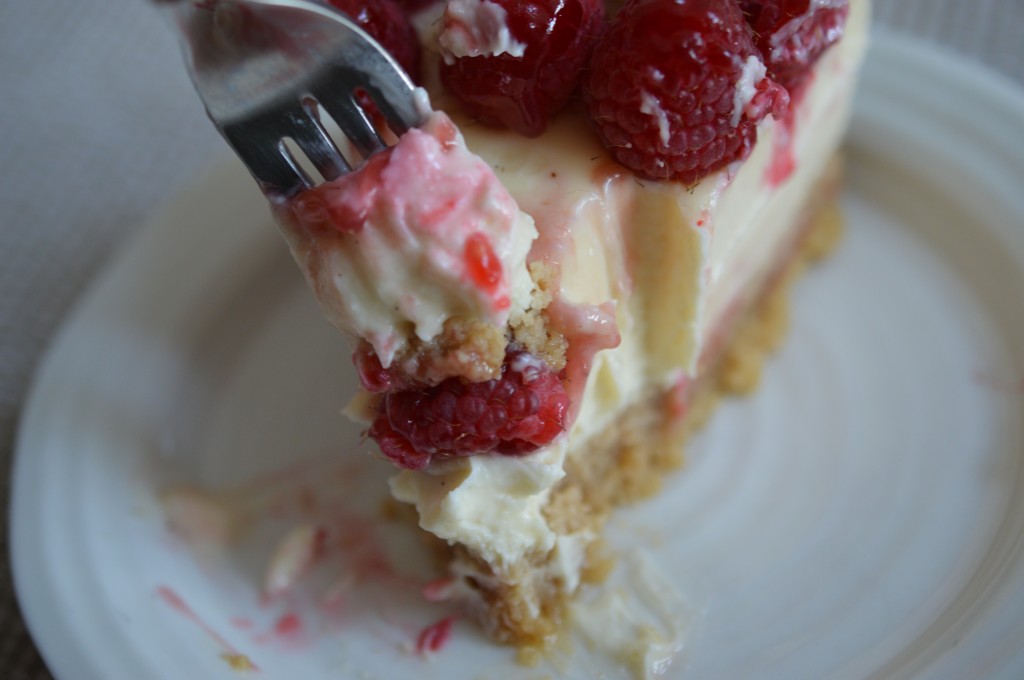
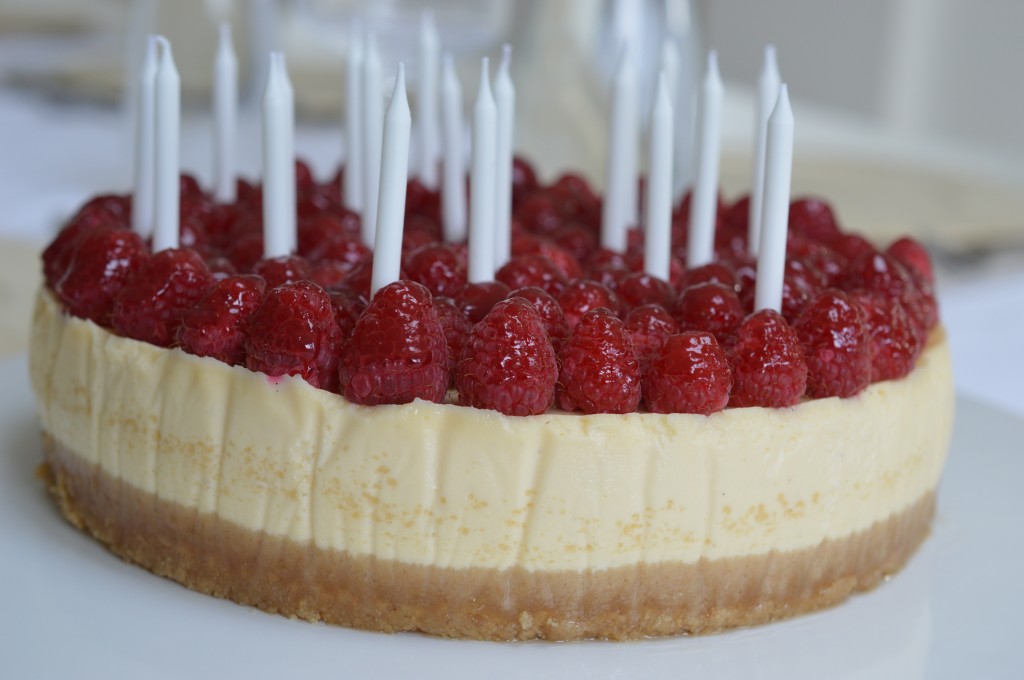
That’s it.  A calorific slice of Heaven.  And candles ..
Cheesecake - candles

Yes, of course, I did! Happy Birthday Seb!


Baked Vanilla Cheesecake with fresh raspberries – Serves an optimistic 12


The Base (discovered in ‘The Pocket Bakery’ by Rose Prince)

  • 120g/4½oz softened butter
  • 165g/6oz Demerara sugar
  • 1 large egg
  • ¼tsp vanilla extract
  • 225g/7½oz plain flour
  • ¾tsp baking powder
  • Pinch of salt

Cream 80g/2¾oz of the butter with the Demerara sugar until is is lighter in colour and very soft with a flat beater.  Add the egg, vanilla extract, flour, baking powder and fine salt.  Mix again.  Scrape the dough out onto your work-surface and form into a ball, then press into a disc, wrap in cling film and put into the fridge.

Pre-heat your oven to 180ºC/350ºF/Gas Mark 4 and prepare your 22cm/9″ springform cake tin.

After half an hour your dough should be roll-able.  Between two sheets of cling film, roll until it is approximately ½cm/¼” thick.  Then, transfer to a baking sheet lined with bake-o-glide or baking parchment.

Bake for 15 minutes until it is golden and ‘cooked’ through.  Set aside to cool. (Four Oven Aga:  I cook on the top set of runners in the Baking Oven for 15 minutes.)

Break into shards and put into the bowl of a food processor.  Blitz until it becomes sandy crumbs.  (Or place in a plastic bag and bash until you reach the same stage.)

Melt the remaining 40g butter and add that to the crumb mix.

Melt the remaining 40g of butter.  Add that to the biscuit crumbs.  Whiz again.  Then pour into the lined and greased springform tin and press in, evenly and firmly.

Wrap the base of the cake tin in strong foil to make a waterproof coat.  Place in a large roasting tin.


The Filling

  • 900g/2lb full-fat cream cheese, at room temperature
  • 170g carton of soured cream
  • 170g double cream, I measure using the soured cream pot
  • 270g/9½oz caster sugar
  • 4 large eggs, at room temperature
  • 1 vanilla pod, split with a knife lengthways and the sticky seeds scraped out with a teaspoon

Preheat the oven to 160ºC/320ºF/Gas Mark 3.

Place the cream cheese into a bowl and beat until smooth.

Add the double cream and soured cream and beat again.

Now the sugar and eggs.  Mix for 5 minutes on a medium speed until your cheesecake mix is silky smooth.

Add the vanilla seeds and mix to incorporate.

Pour into the prepared tin and smooth the top with an angled palette knife.

Put on the kettle.  Once boiling, pour the water into the roasting tin until the hot water reaches halfway up the sides of the springform cake tin.  Then transfer to the oven.  Bottom set of runner for 1½ hours. (Aga: cook for 20 mins on the grid shelf on the floor of the Roasting Oven and then transfer to the simmering oven for a further 2 hours.)

Once the sides are slightly pulling away from the baking parchment and the centre is set but still has a slight wobble, turn the oven off.  Leave the cheesecake in place and leave to cool very gently for an hour.  (Aga:  remove the cheesecake from the Simmering Oven and either place on a cooling rack on the warming plate or leave to cool in the water bath.)

Cover the top with foil, making sure it isn’t in contact with the delicate cheesecake top, and put in the fridge to chill for a further four hours or so.

Completely cold, remove the cheesecake from the wrappings.  Loosen the clip and peel away the baking parchment.  The flat base of a large quiche/flan tin makes it easier to transfer to a serving plate.

Decorate with fresh raspberries.  With warmed, thinned with water, sieved and cooled raspberry jam – glaze.  Serve at room temperature.  Eat.

Print UK – Metric and Imperial