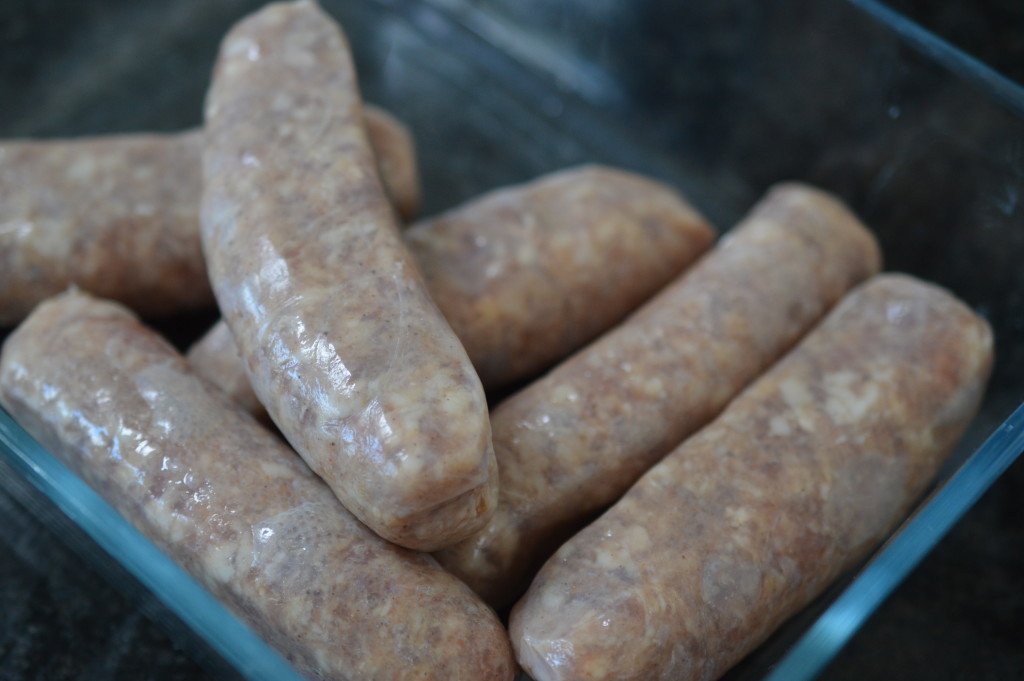
How to cook a sausage ..

I’m very bossy and opinionated on the subject of sausages.

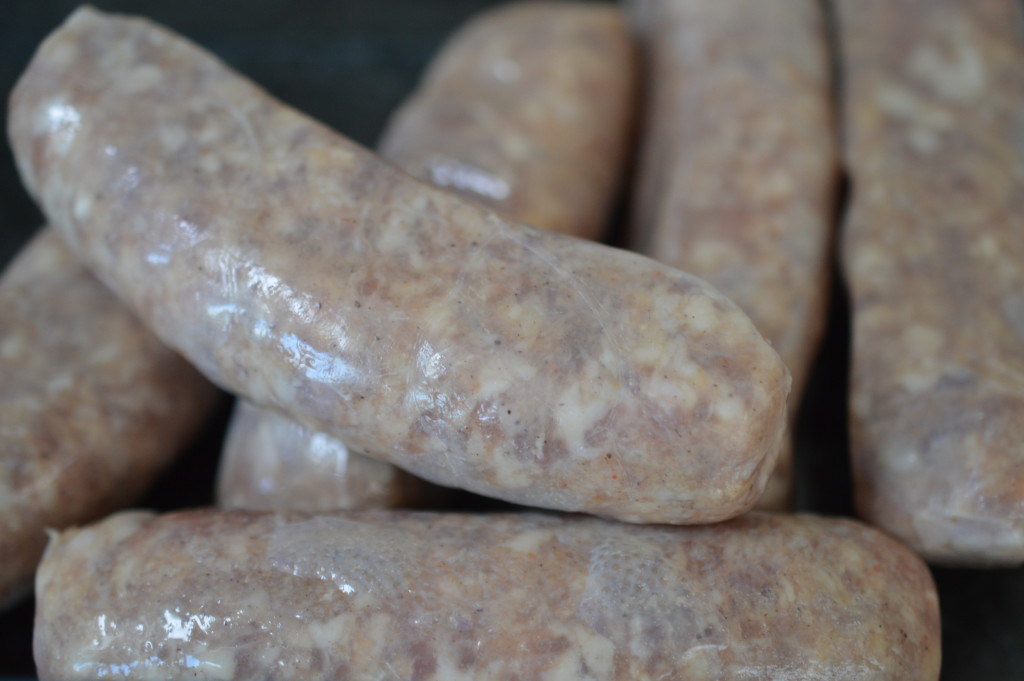
I buy mine in natural casings and from a butcher who loves making them – and that’s important.  Sausages have always been a ‘suspect’ product.  The Victorians called them ‘little bags of mystery’ because there was no way of knowing what might have been put inside.

Sausages 1

What there will be, in a great sausage, is fat.  Yes, I know.  Fat makes you fat, but you should know this isn’t a healthy eating option and there’s not a lot of point in pretending it is.  For me, that means I buy quality sausages and I eat them occasionally.  There really are few pleasures in life to compete with a sausage sandwich – cooked properly.  (Told you I am bossy on this subject.)  I don’t want to risk my arteries on a dried up/burnt/suspiciously undercooked/greasy sausage.

Sausages 2

If I’m going to eat it – and I am – it’s got to be good.  Having selected a good quality, well seasoned sausage with a nice balance of meat and fat .. don’t prick it.  There’s absolutely no need to do it and every reason not to.  If you pierce the skin all those wonderful juices will end up in your frying pan and you’ll be left with a dry sausage.

The whole ‘first prick your sausage’ came about after the outbreak of the first world war.  With meat in short supply sausages were stuffed with whatever scraps were available.  To that was added cereal and water to bulk them out.  When the soldiers cooked them on shovels set over open fires they spluttered and burst.  They no longer do that, but ‘banger’ is still slang for sausage.

Beans, bangers and mash

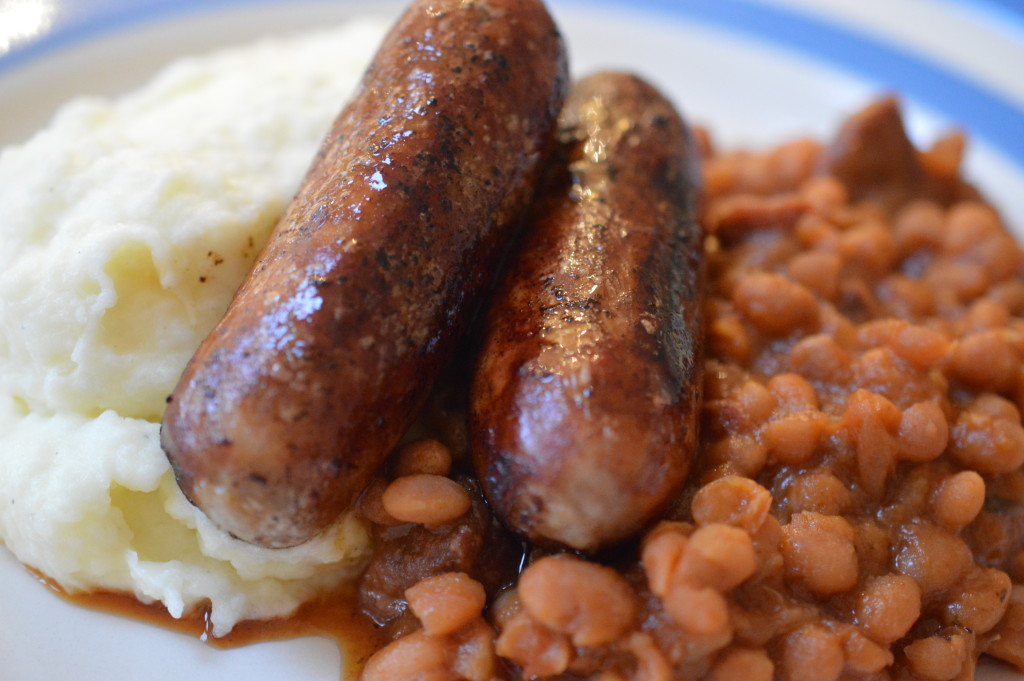
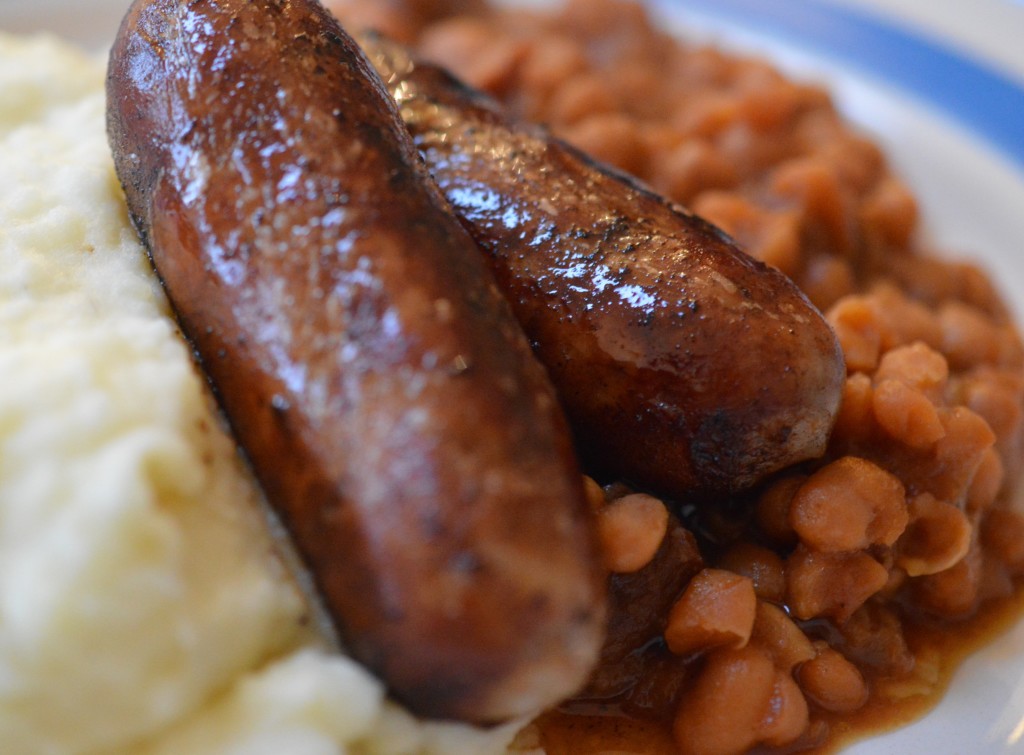
Beans, bangers and mash being a staple of British culinary life .. and where I was headed today.  ‘Beans’ being my homemade baked beans which I slow cooked overnight.  ‘Mash’ being the buttery mashed potatoes and the ‘bangers’ meaty pork sausages.  My youngest has a heavy cold and this is medicine on a plate.  Pure comfort food.

Sausages 3

In my very opinionated opinion, there are two ways to cook a sausage.  The first is s-l-o-w-l-y over the lowest of low heats.  Put some groundnut/sunflower oil in a frying pan and set it on a low heat.  You’ll need to watch it and constantly turn the sausage so it cooks evenly.  There’s no rushing this – a fat sausage will take between 25 and 30 minutes.

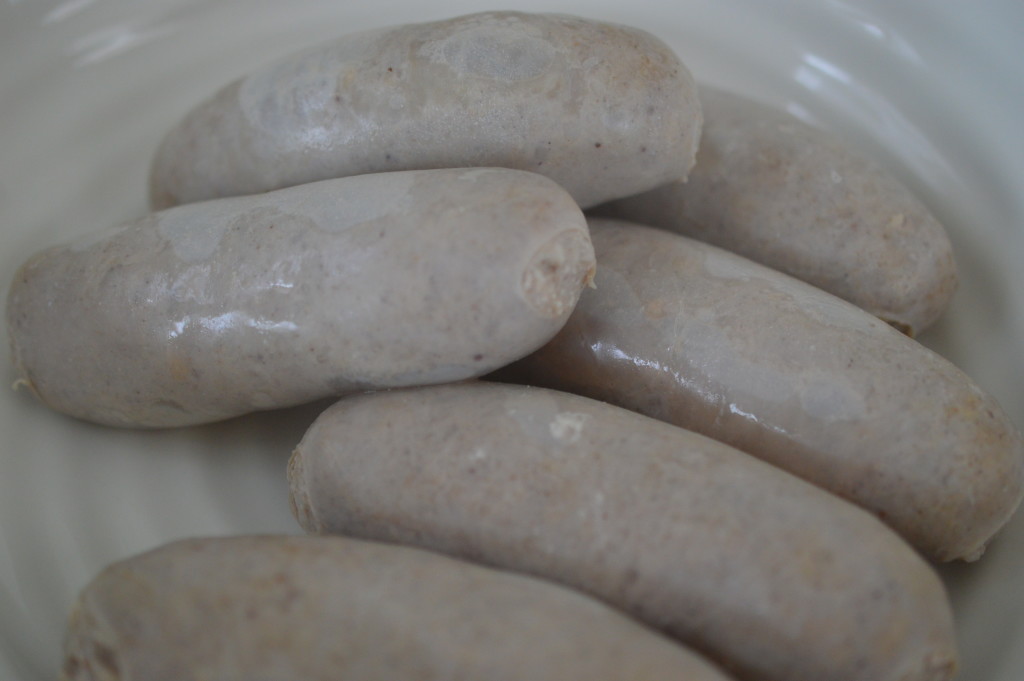
My preferred method is to first poach my sausage.  Set a pan of water over a high heat and bring it to a boil.

Sausages 4

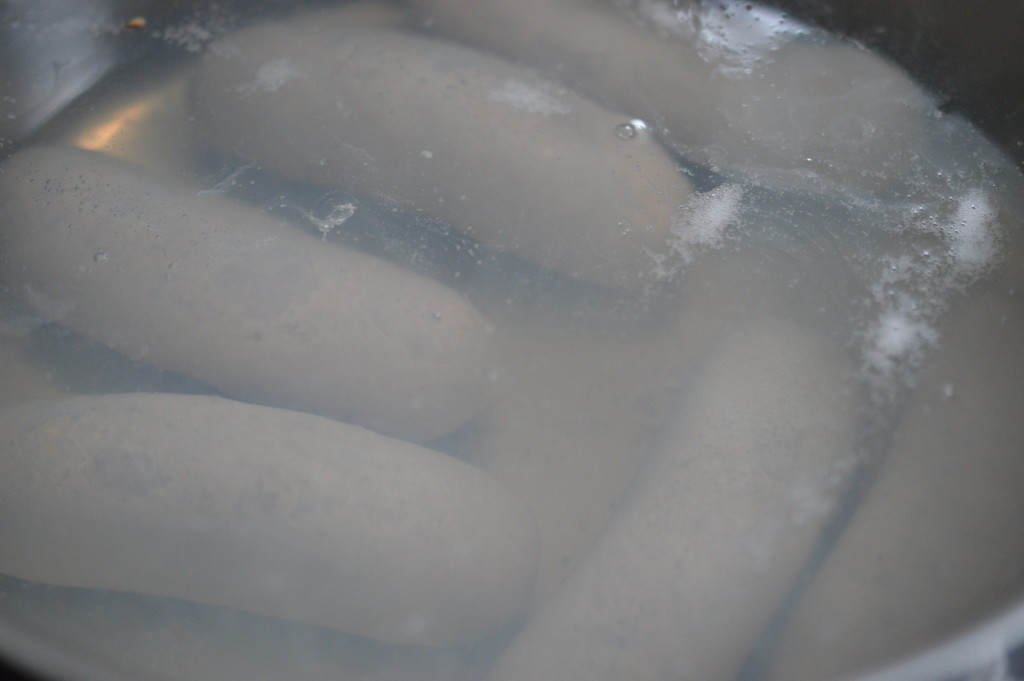
There is really no way of making this photogenic.  Put the uncooked, separated sausages in the water.  Reduce the heat and let them poach at a gentle plop for 10 minutes.

Sausages 7

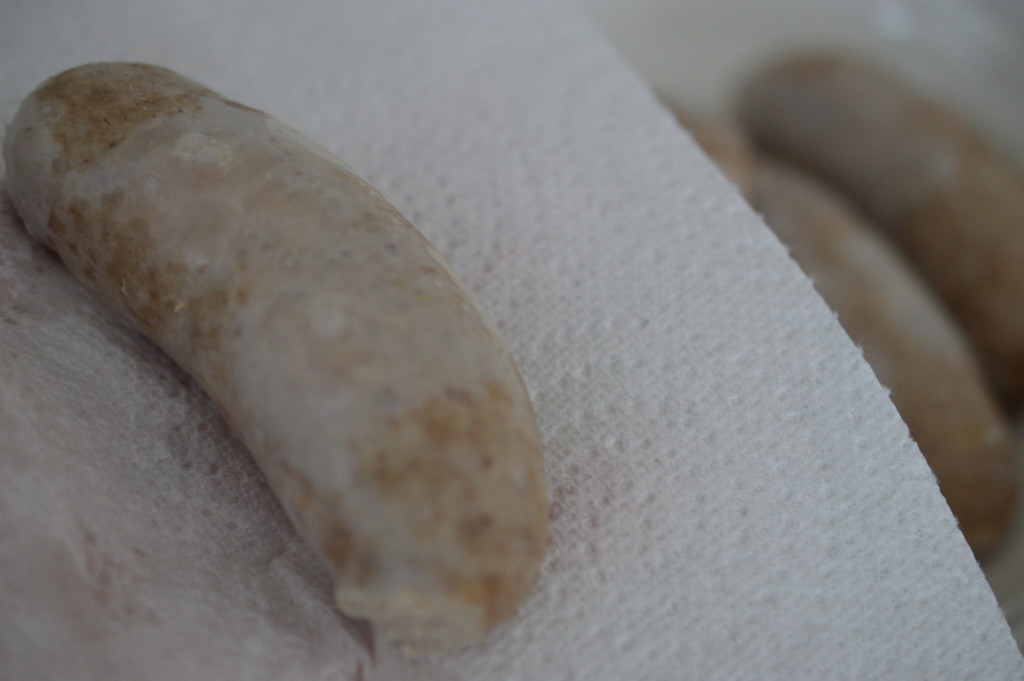
When their time is up, remove them to a plate.  What you have now is a cooked, but visually unappealing, sausage.

Sausages 8

Pat it dry as water will spit when it comes into contact with the oil in the frying pan.

Sausages 9

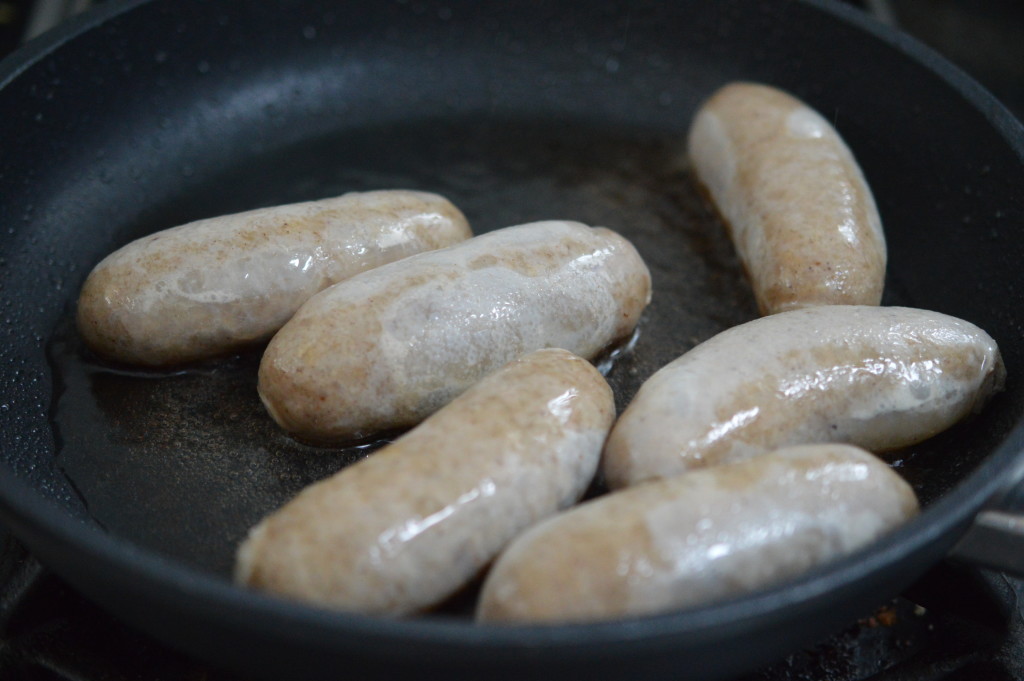
Put some flavourless oil in the bottom of the frying pan.  (No, you can’t grill them.)

What you are doing now is browning the outside.  There’s no risk of the outside being done before the inside is cooked so this method allows you to turn the heat up.  I fry mine over a medium to high heat.

Sausages 10

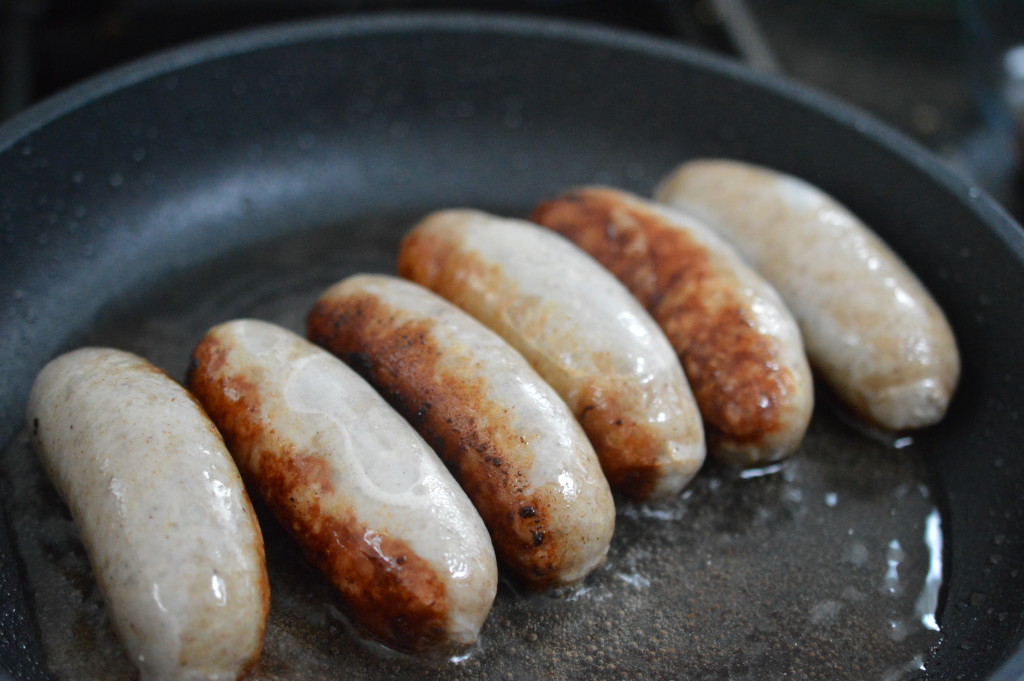
Turn in the oil so all sides colour evenly.

Sausages 11

Never again will you allow anyone to cremate a beautiful sausage on a barbecue.  When it’s coloured to your liking, lift out of the frying pan and drain on kitchen paper.

Sausages 12

And, that’s it.  How to cook a sausage.

Sausages 13

Eat.

Sausages 12How To Cook A Sausage

  • Sausages – the best you can find and from a supplier you trust.

Bring a saucepan of water to a boil.  Reduce the heat and add the raw sausages.  Poach at a gentle simmer for 10 minutes.  Remove the sausages from the water and allow them to cool slightly.

Put some flavourless oil in a frying pan and place over a medium-high heat.

Pat the sausages dry with kitchen paper.  Then, add them to the frying pan.  Fry until all sides of the sausage is coloured to your liking.

Remove from the frying pan and allow excess grease to drain away.

Eat.
Print.


Kedgeree

And .. this is why I’ve been posting about curry powder, crispy fried onions and hard boiled eggs.  I made Kedgeree for Sunday brunch.

Kedgeree served

I must apologise for the lack of mahogany buffet-serving dresser and Victorian silver chafing dish in my photographs …  Standards have slipped since the days of the Empire.  Not that my antecedents seem to have ventured much beyond 100 miles of London and, sadly, there is no family silver to inherit.

But .. Kedgeree.  In the normal run of things, this is more likely to be supper in my house.  I doubt even my grandparents would have whipped up a batch for breakfast … although, thinking about it, my Dad’s mum may well have done as she was in service.

This was a lazy day Sunday brunch.  One of those magical mornings.  The seven of us all together, home from church by 9am and no-one pushing to be anywhere but a friend’s barbecue in the afternoon.  That day.

DSC_0058

Truthfully, there is no definitive recipe for Kedgeree.  It’s generally accepted as being a fusion between khichdi and pilau brought back from India and given an anglicised spin.  The smoked fish and the hard boiled eggs being the British contribution.  I suppose that replaces the protein of khichdi’s lentils.  Some people add peas.  Others mushrooms.  You can make a looser, creamier version or something drier.  If you’re a follower of fashion you might want to top it with a softly poached egg and mix the smoked haddock with salmon et al.

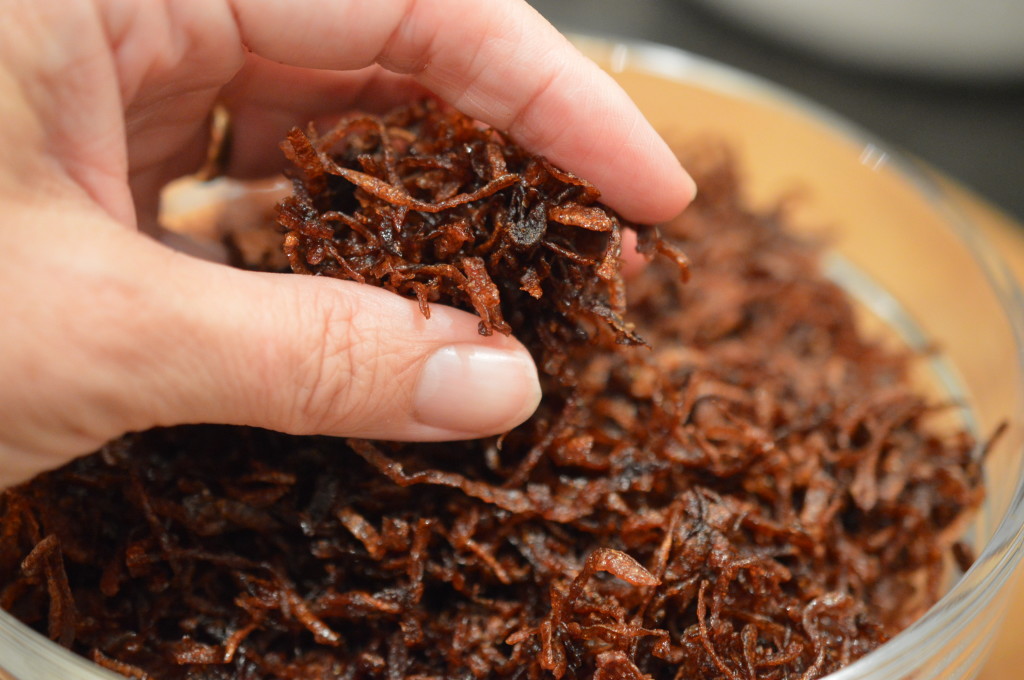
It’s all fine, particularly since ‘Khichdi’ literally means hodgepodge and has just about as many variations.  Khichdi is often served with crispy fried onions on top and that’s why I put some on top of my Kedgeree.

Fried onions 16

If you don’t have a stash of these sitting in your freezer they’re the first job.  What you don’t use with this will sit happily in the freezer.

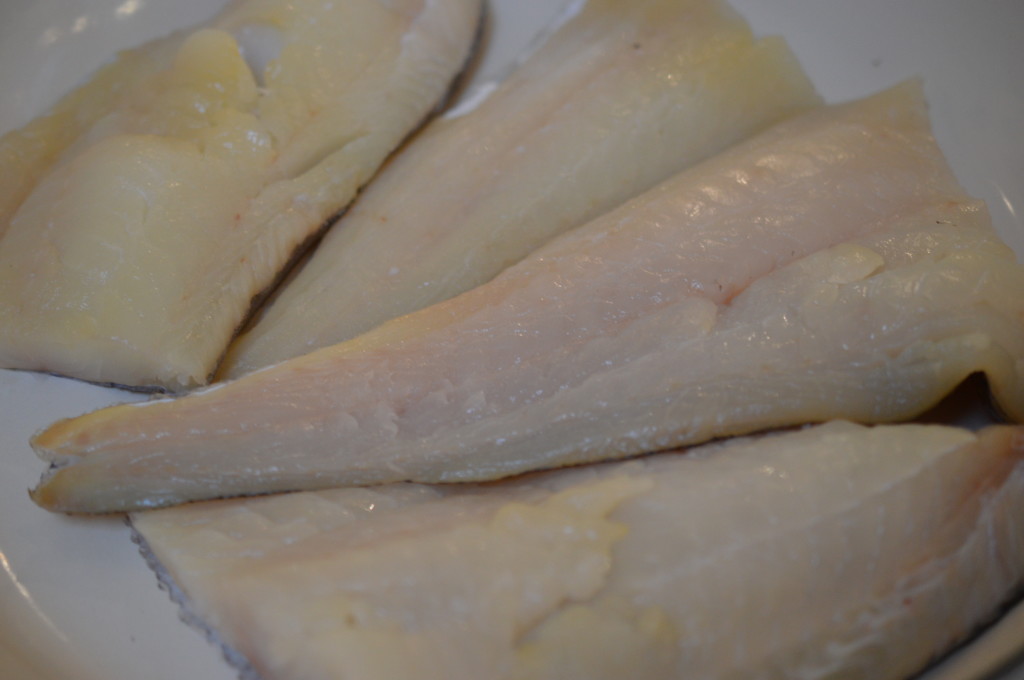
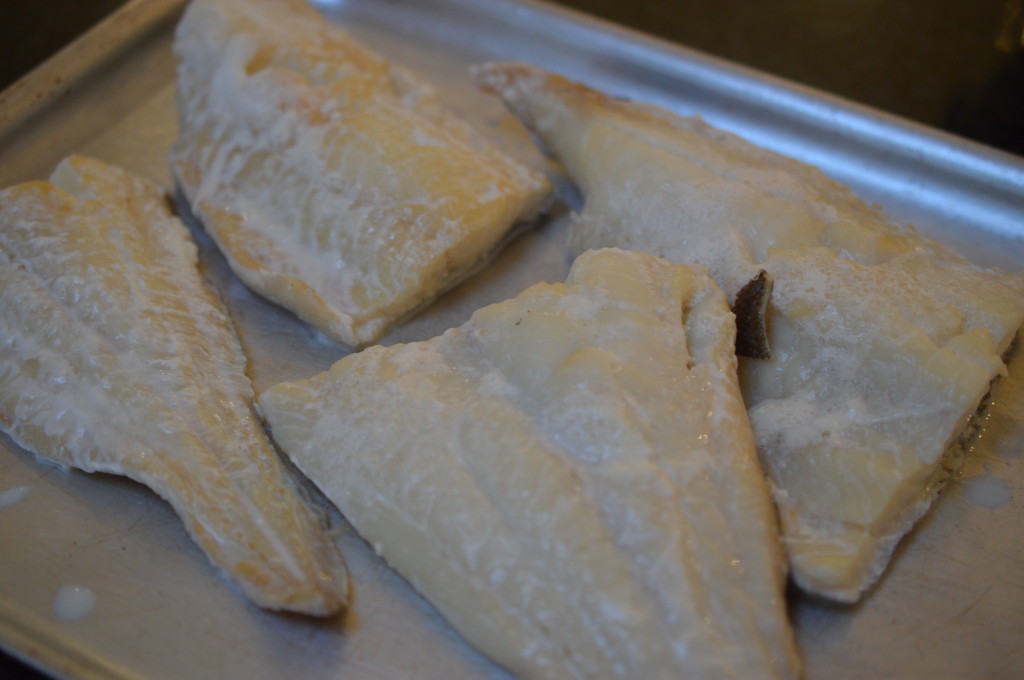
Kedgeree Haddock

For the Kedgeree itself.  The first step is to poach the haddock.  For the seven of us, I used 2 fillets of undyed smoked haddock which weighed 0.735g.  A little bit more, a little bit less, isn’t going to matter.

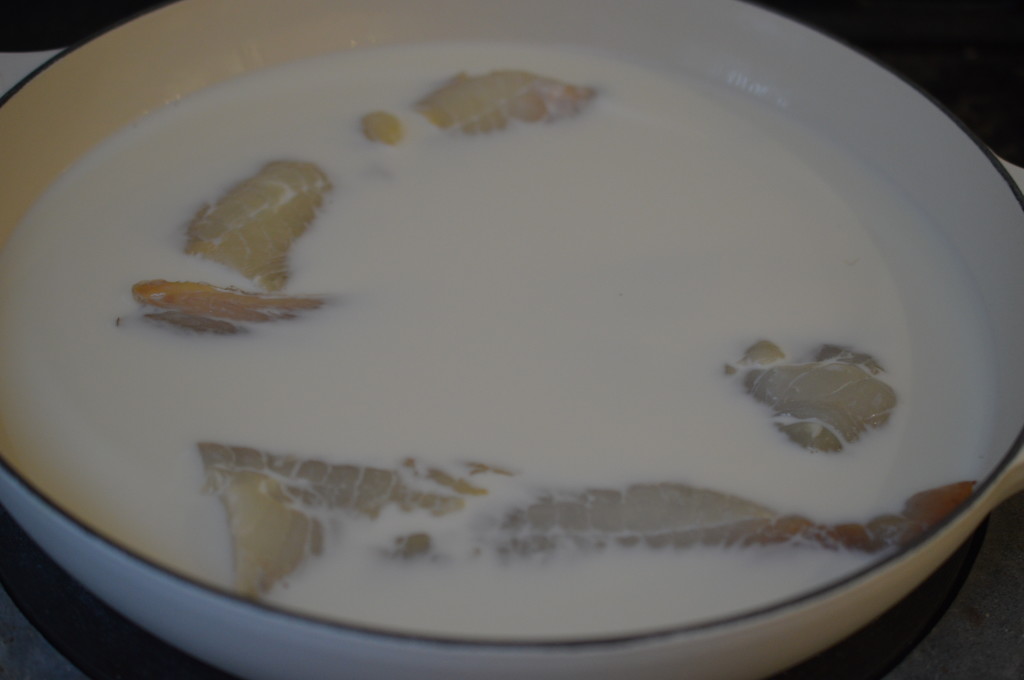
Kedgeree Haddock in milk

My Mum always poached in milk and so do I.  Pour over some full-fat milk, enough so it almost covers the smoked haddock.

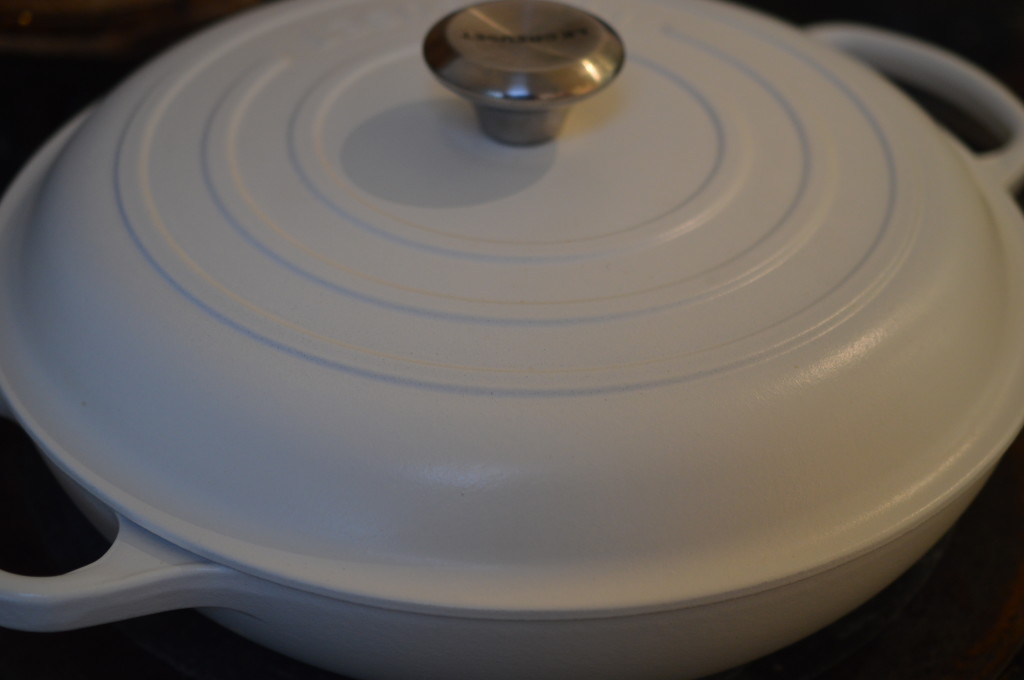
Bring to a gentle simmer, put the lid on and simmer for 4 minutes.

Kedgeree Pot

Take off the heat and leave to ‘steam’, lid on, for a further ten minutes.

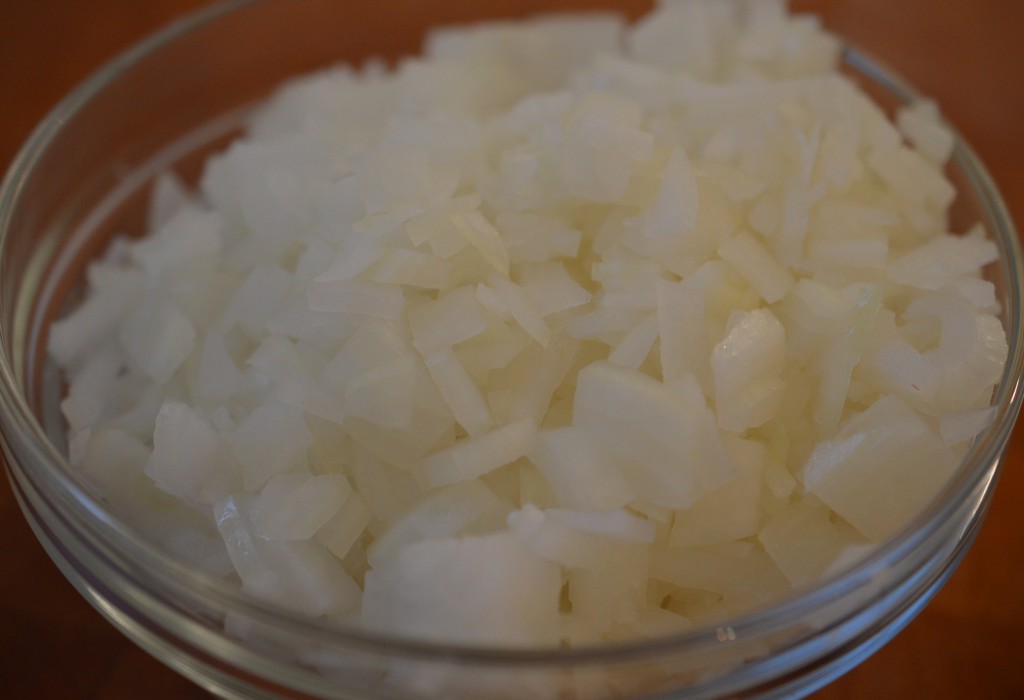
Kedgeree onions

Chop a couple of onions.

Kedgeree 2

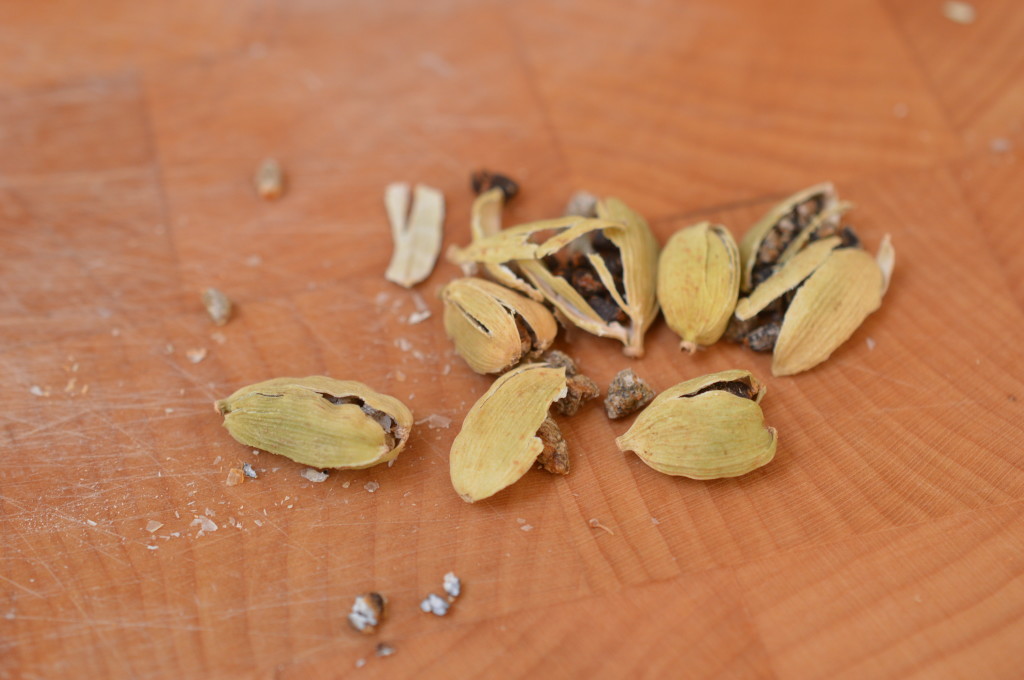
Bash 7 green cardamom pods.

Kedgeree 3

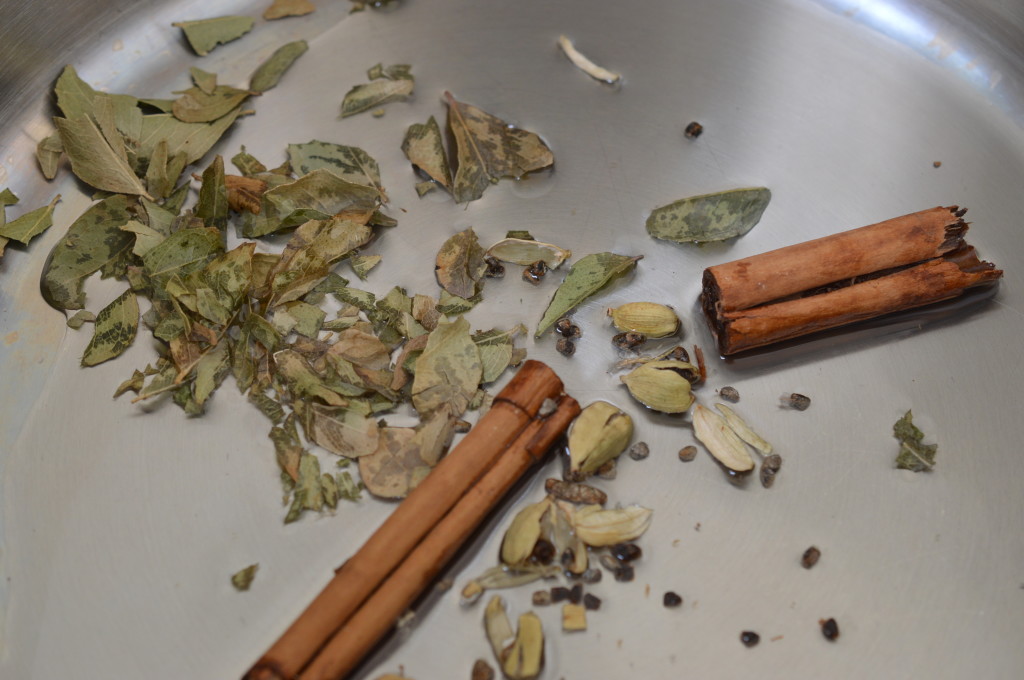
Crush about 20 fresh or freeze-dried curry leaves.  I can get fresh curry leaves at my weekly market.  I give them a wash and careful dry and store in my freezer.  My local Morrisons stocks Swartz freeze-dried curry leaves.  Break a long cinnamon stick.

Kedgeree soften onoins

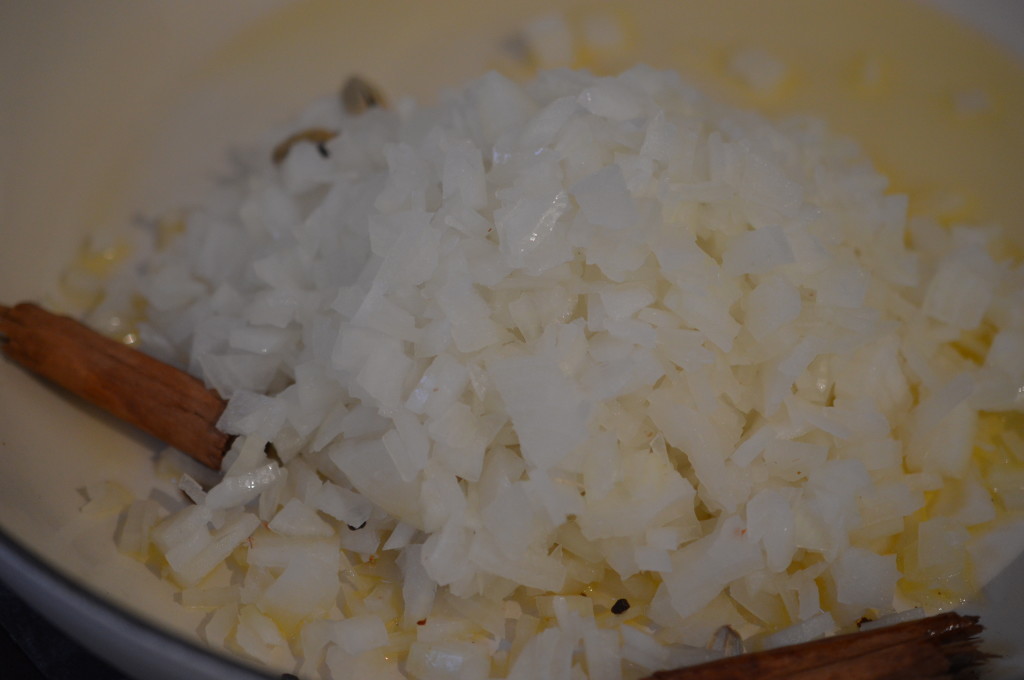
Heat 5 tablespoons of ghee, or sunflower oil, in a sauté pan and add the curry leaves, cardamom, cinnamon and onions.

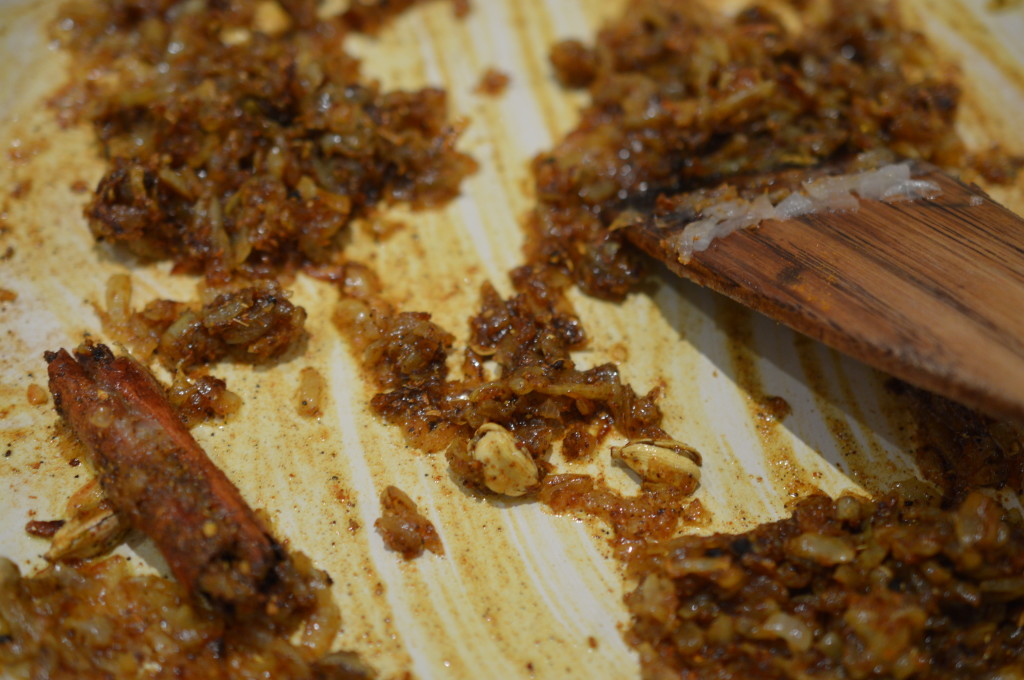
Kedgeree brown onions

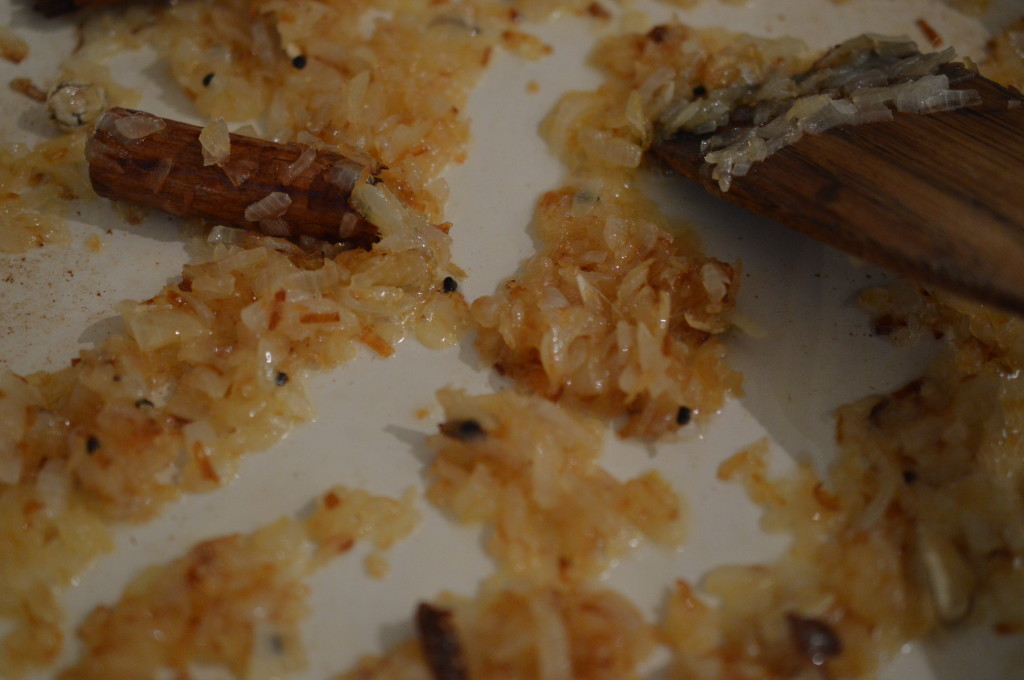
Unlike most European recipes, get some colour on your onions.  You are looking for soft and golden rather than the more usual ‘translucent’.  Stir often and take it as dark as you dare.  It all adds flavour.

Haddock keep warm

By now your fish will be cooked.  Lift out and keep warm.  (Place them on a plate and cover with foil.  Rest the plate on a saucepan of simmering water.)  Sieve the milk and add enough water to make up to 900ml/1½ UK pints.

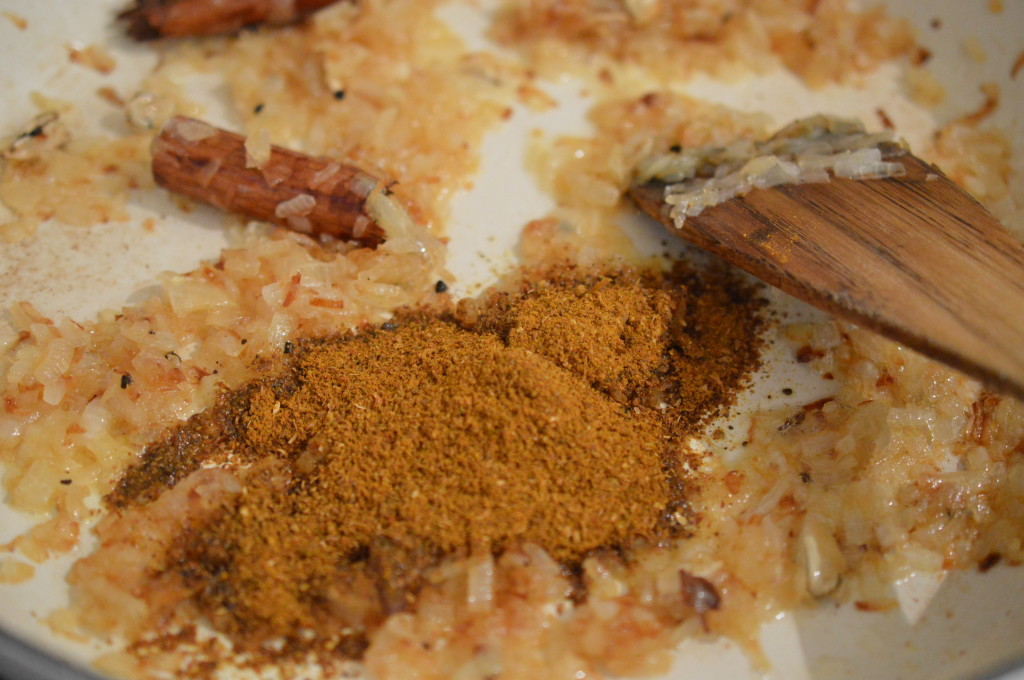
Kedgeree curry powder

Now the onions are golden, add the curry powder.

Kedgeree cook spices

Give everything a stir and cook for a couple of minutes.

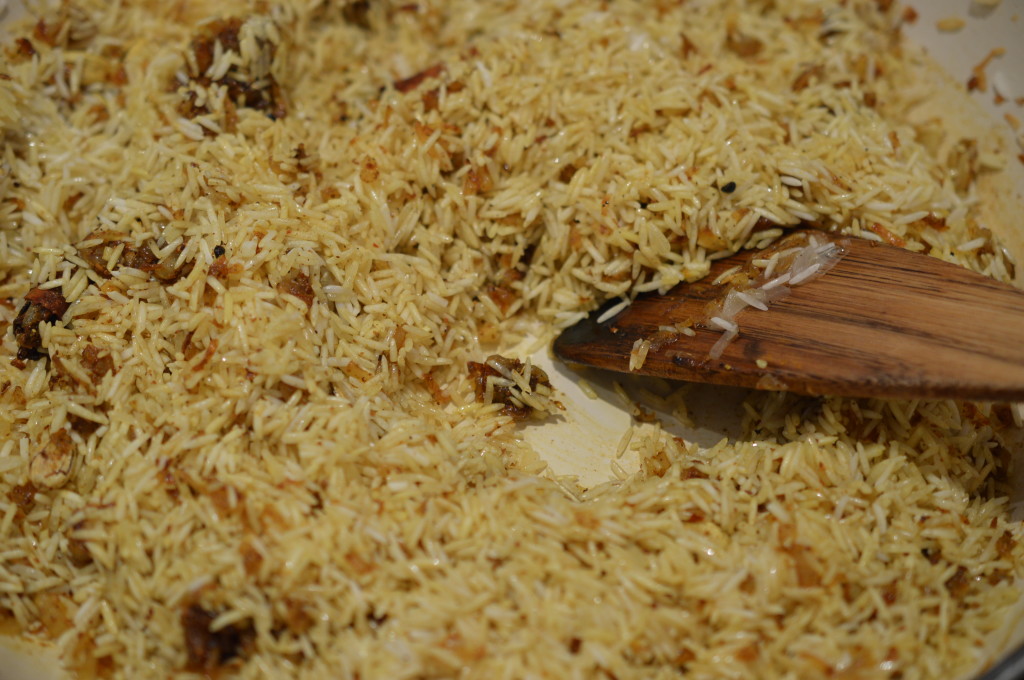
Kedgeree coat rice in spices

Add the rinsed basmati rice and give everything a stir.

Kedgeree cook rice

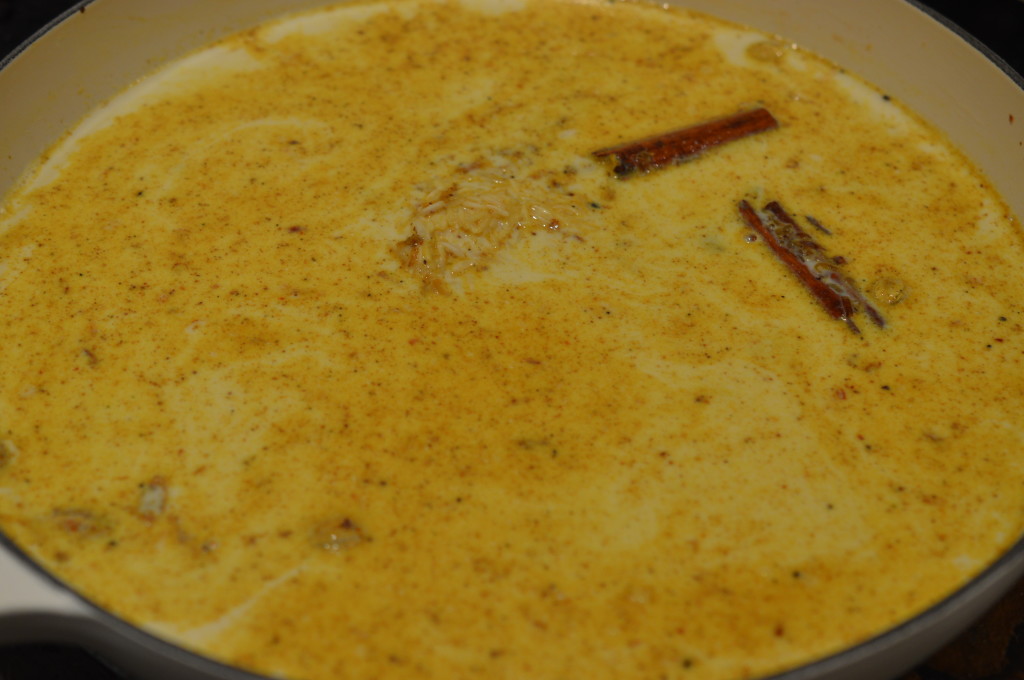
Add the milk/water mix and bring to a boil.  Let it simmer, covered, for ten minutes.

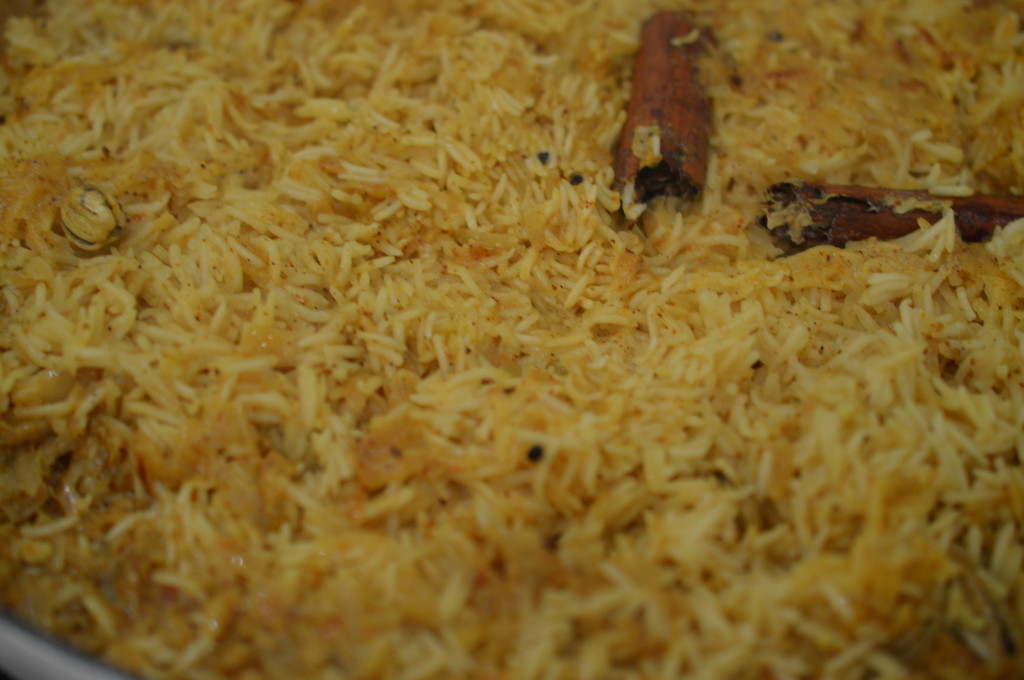
Kedgeree cooked rice

It’ll look like this.

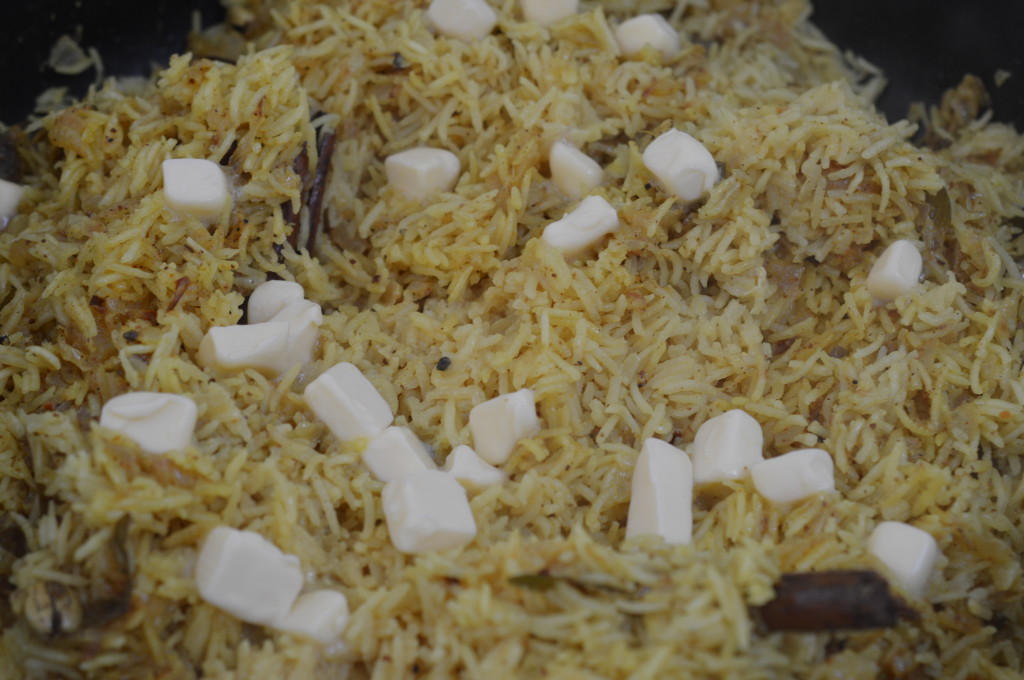
Kedgeree 17

Cream is an option, but I prefer butter.  Lay cubes of cold unsalted butter over the rice.

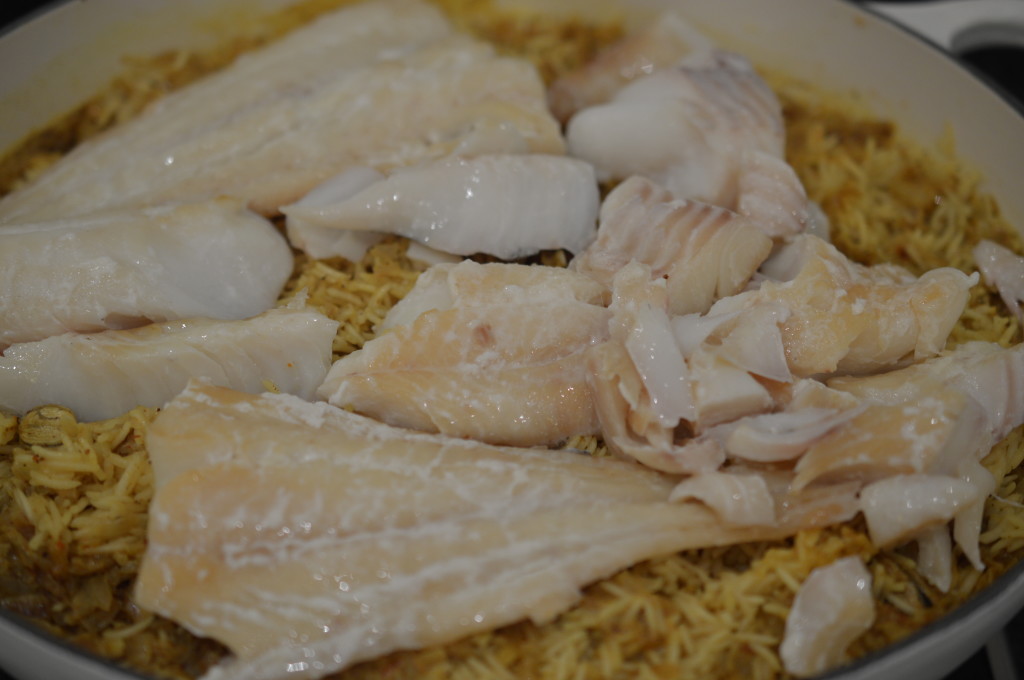
Kedgeree add fish

Place the cooked smoked haddock on top and cover with a lid.  Let it all sit and ‘steam’ for ten minutes or so.  While that’s happening, it’s time to boil the eggs.

Kedgeree lightly combine

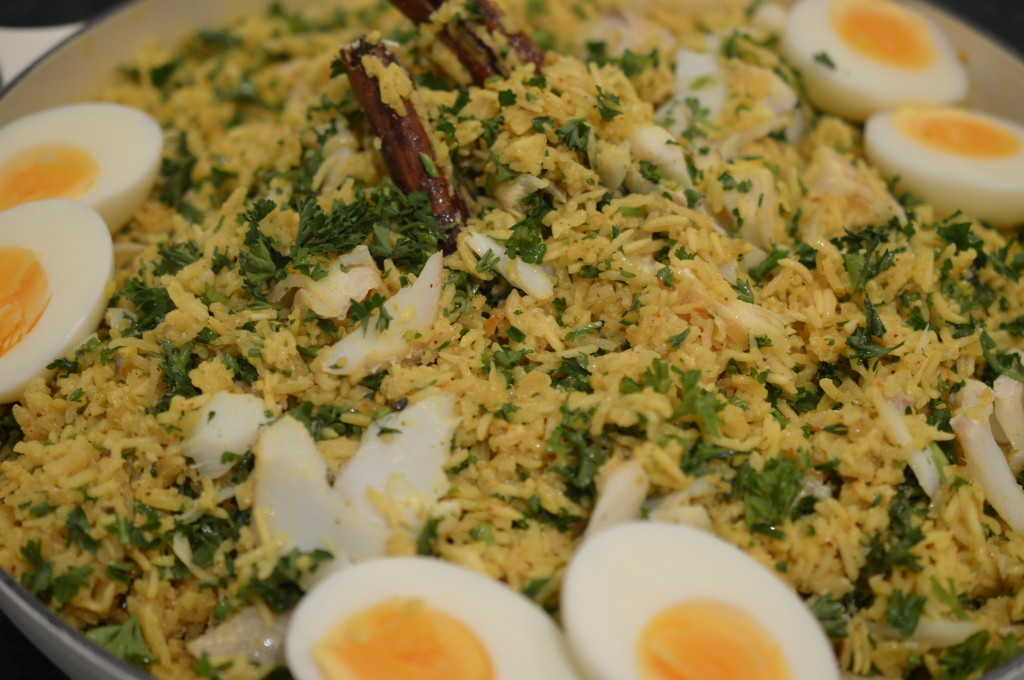
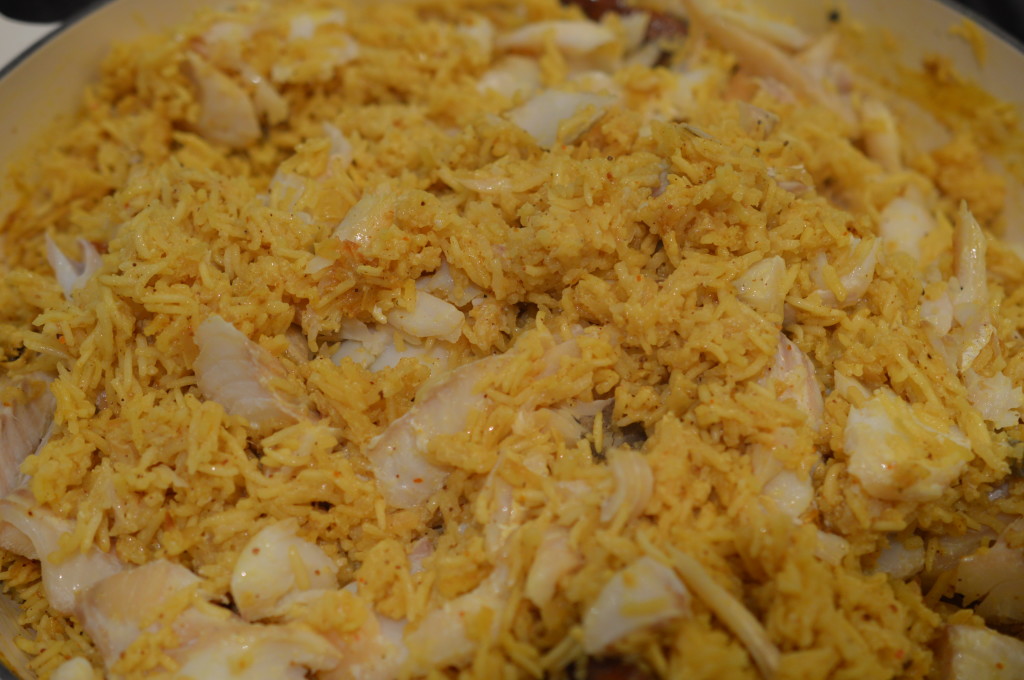
By now the rice will be fully cooked.  Lightly fork the fish into the rice, leaving nice big fishy pieces.

Kedgeree Garnish

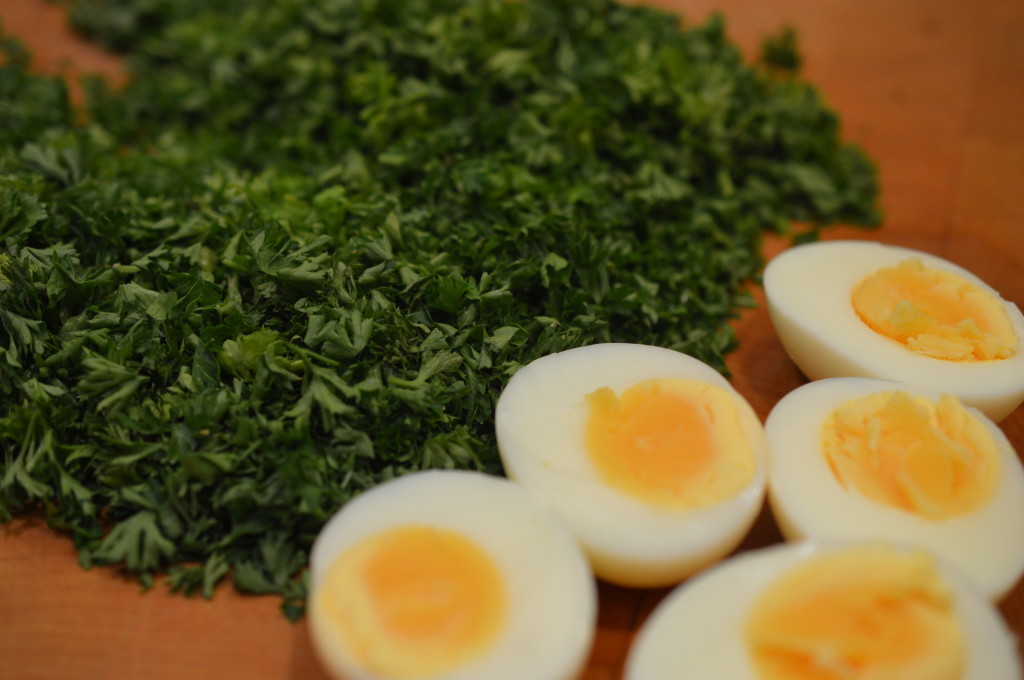
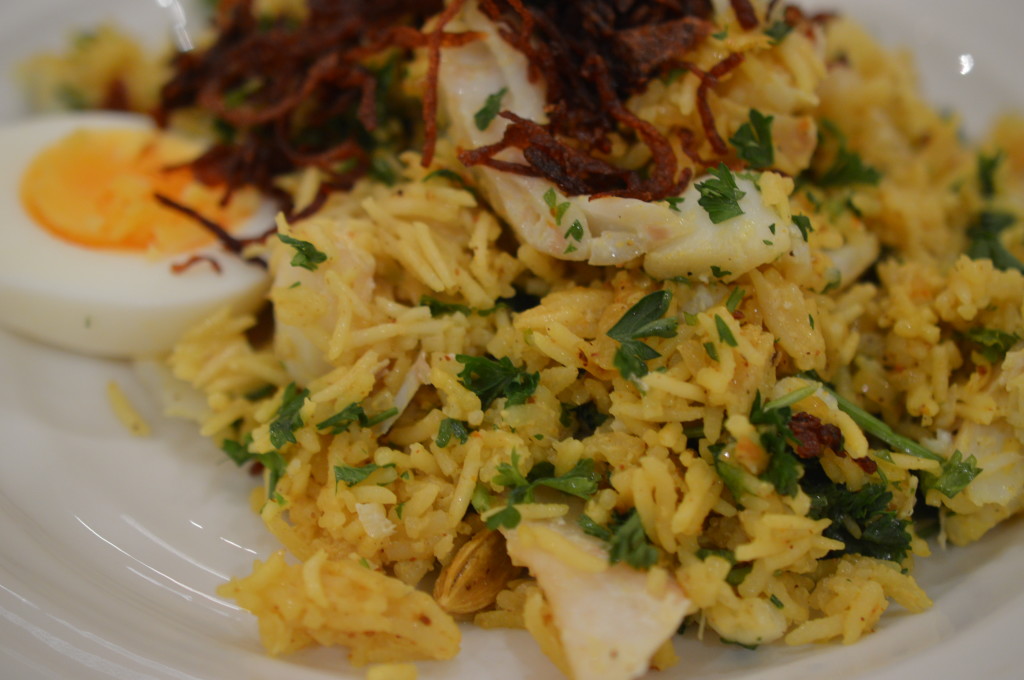
Stir through some chopped parsley and decorate with the hard boiled eggs.

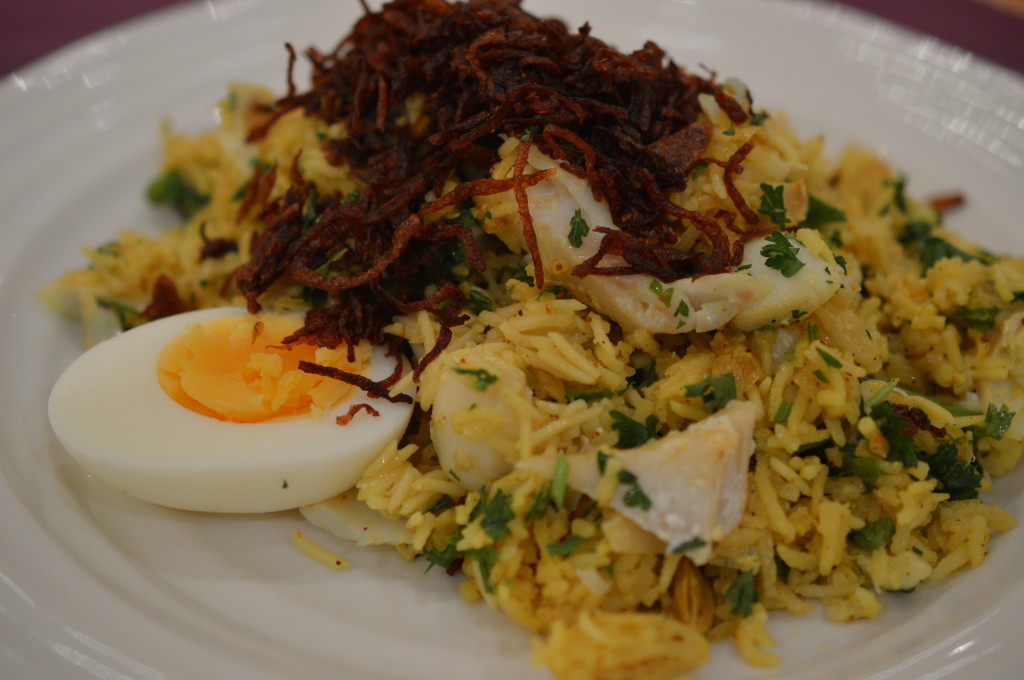
Kedgeree plated

Top with some crispy fried onions.  Hot or cold.  Eat.
Kedgeree finishedKedgeree

Serves 6-7

  • 750g/ undyed smoked haddock
  • ¾ UK pint full-fat milk
  • 5 tablespoons of sunflower oil or ghee
  • 1 large cinnamon stick
  • 20 fresh or freeze dried curry leaves, crushed
  • 7 green cardamom pods, crushed
  • 2 onions, finely chopped
  • 1½ tablespoons of curry powder
  • 450g basmati rice, rinsed under running water until the water runs clear
  • 75g unsalted butter
  • 3 hard boiled eggs, to serve
  • Handful of fresh parsley, to serve
  • Handful of crispy fried onions, to serve (optional)

Place the smoked haddock in a single layer in a sauté pan and cover with the cold milk.  Bring to a boil, cover, and let it simmer for 4 minutes.  Remove from the heat and let it sit and finish cooking for a further 10 minutes.

Heat the sunflower oil (or ghee) in a shallow casserole dish.  Add the curry leaves, cardamom, cinnamon and onions.  Let the onions become soft and golden.

Remove the fish fillets from the milk and keep warm.  Strain the milk and add enough water to make 900ml/1½ UK pints.

Add the curry powder to the onions and cook over a gentle heat, stirring, for a couple of minutes.

Add the rinsed basmati rice and stir to coat.

Add the milk and water mix.  Bring to a boil and then lower the heat to a simmer and cover.  Cook for 10 minutes.  The rice should have absorbed the milk and be al dente.

Dot over the cubes of cold butter and lay the warm fish fillets on top.  Cover with a lid and let everything sit for a further 10 minutes.

Lightly fork the the fish into the rice and serve with chopped parsley, hard boiled eggs and crispy fried onions.

Eat.
Print.


Mussels in Tomatoes and Cider

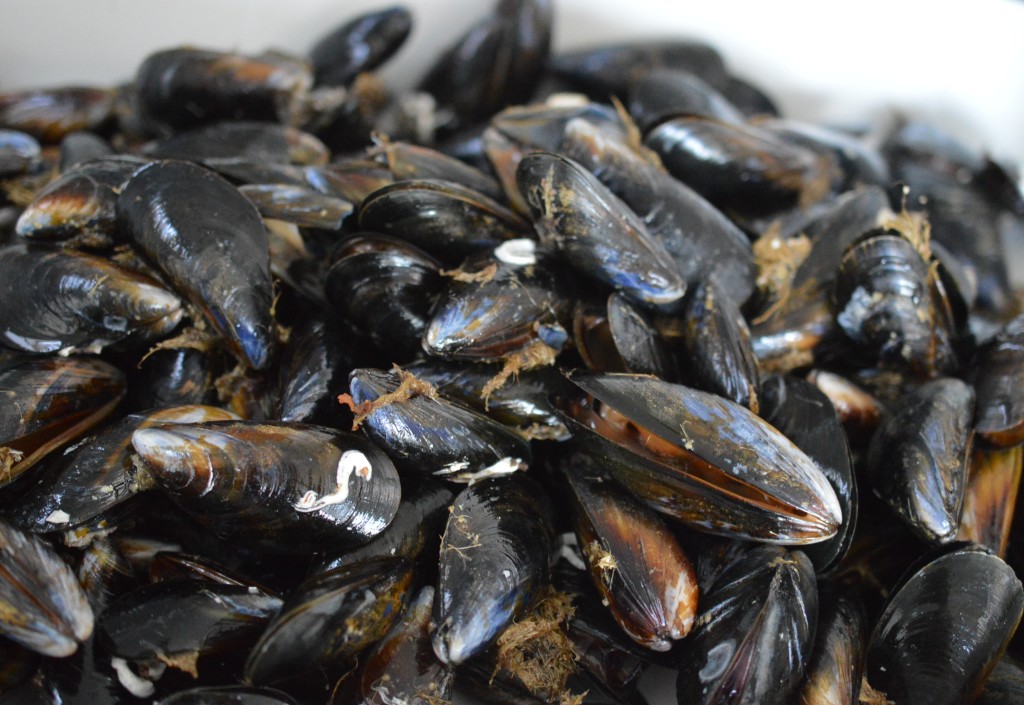
This academic year has been exam heavy and, in actual fact, by the official end of term the only person going to school was my husband.  Friday was the official finish – and this was supper.  I’d been to the supermarket to pick up milk (Seb drinks it by the pint – and I have no idea why we still buy milk in pints when we are supposed to be metric.  I’m disregarding the 2.272 litres labelling, as that’s just daft.) and they were reducing the seafood.

Mussels in tomato broth

50p for this lot.

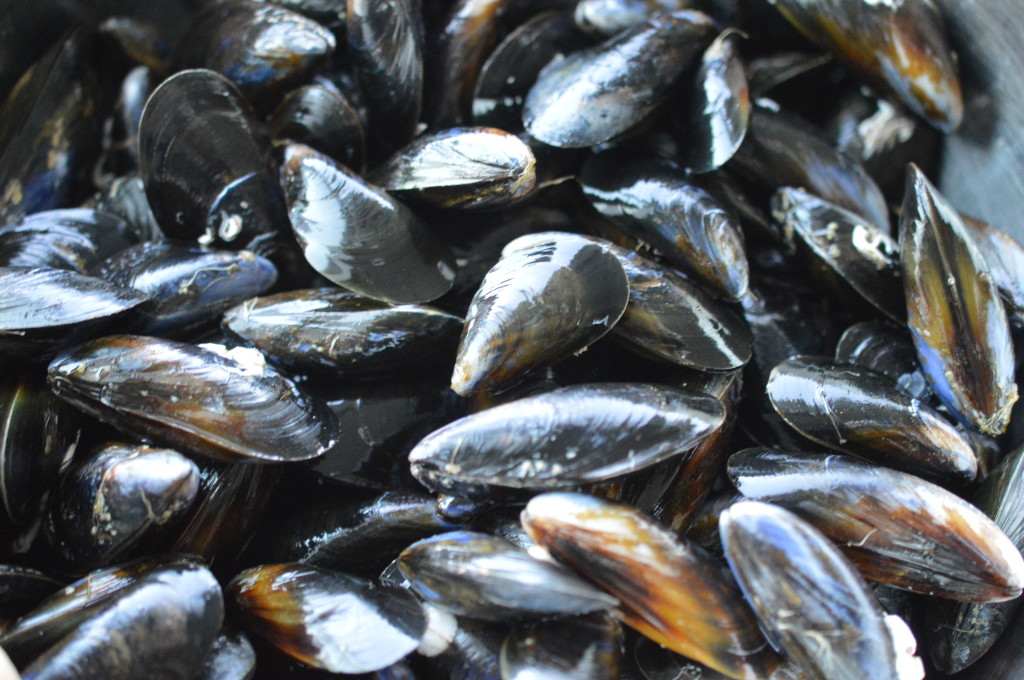
For all mussels are reckoned to be best eaten between November and April (aka when there’s an ‘r’ in the month), I can’t walk away from them at that price.  The only reason for the ‘season’ is that winter is when they are at their ‘meatiest’.  Personally, I tend to avoid mussels in the spring because that’s their traditional spawning time but I gather climate change is making it all more complicated.

Anyway, I swung my trolley round and picked up some cider and a crusty loaf.

Mussels ready to be prepared

Mine are rope grown in classified water – so I know they’ve not been affected by any toxic algae.  They come in net bags and should smell like the ‘seaside’.  Mine did.  When you get them home you need to cut open the bags and put them in a dish to collect any juices.  Don’t clean them until shortly before you plan on cooking them.  And, plan on cooking them quickly.  Mussels don’t have a long shelf life.  At 50p, my guess was mine needed using the day I bought them.

Don’t cover them with a lid – or put them in a bowl of water.  If you store them in freshwater they’ll die (being sea creatures) and if you use salted water they’ll use up all the oxygen .. and die.  I covered mine with a piece of damp kitchen towel and popped it all in the bottom of my fridge.

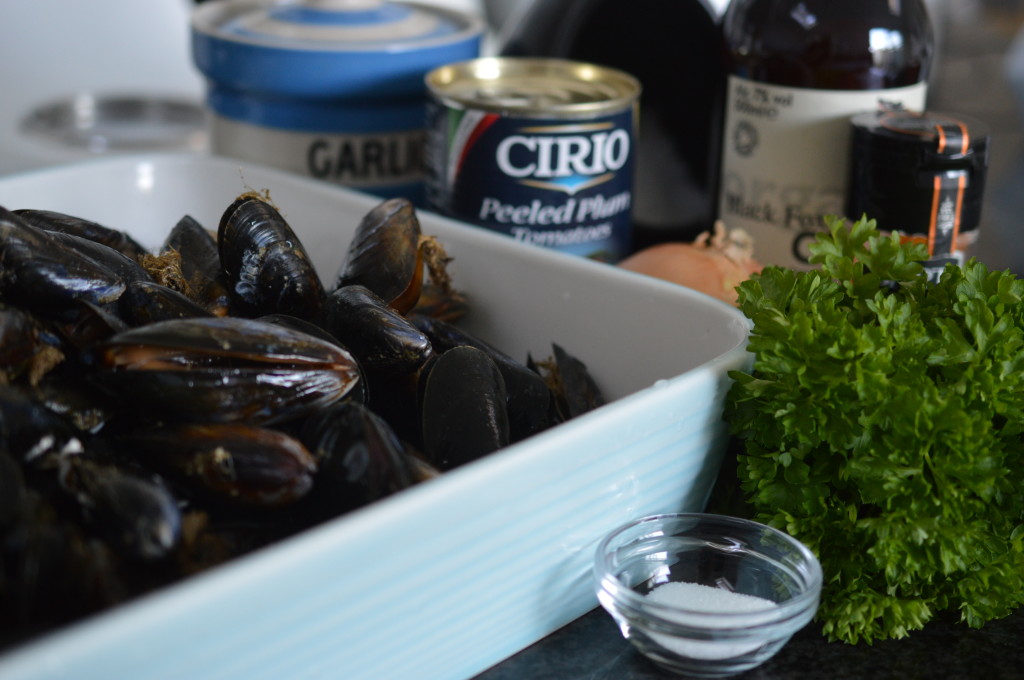
Mussels in cider ingredients

I have a number of issues with mussels.  The first being they are alive .. and I am of a squeamish disposition.  The second is the smelling ‘like the seaside’.  Intellectually, I know that’s a good thing but it’s not a smell I like when I open the fridge door.

My final issue is the cleaning of them.  I understand it’s better to buy them uncleaned because they have a longer shelf life if the ‘beard’ is still attached, but it’s a horrible job prepping mussels.  I do not consider them a ‘wonderfully quick and convenient thing to cook’.

Mussels broken

My grandparents used to briefly soak their mussels in water and flour/oatmeal to ‘purge’ them.  In the UK you don’t need to do that any more as all commercially sold mussels have to be purified before they are sold.  So, that’s something in their favour.

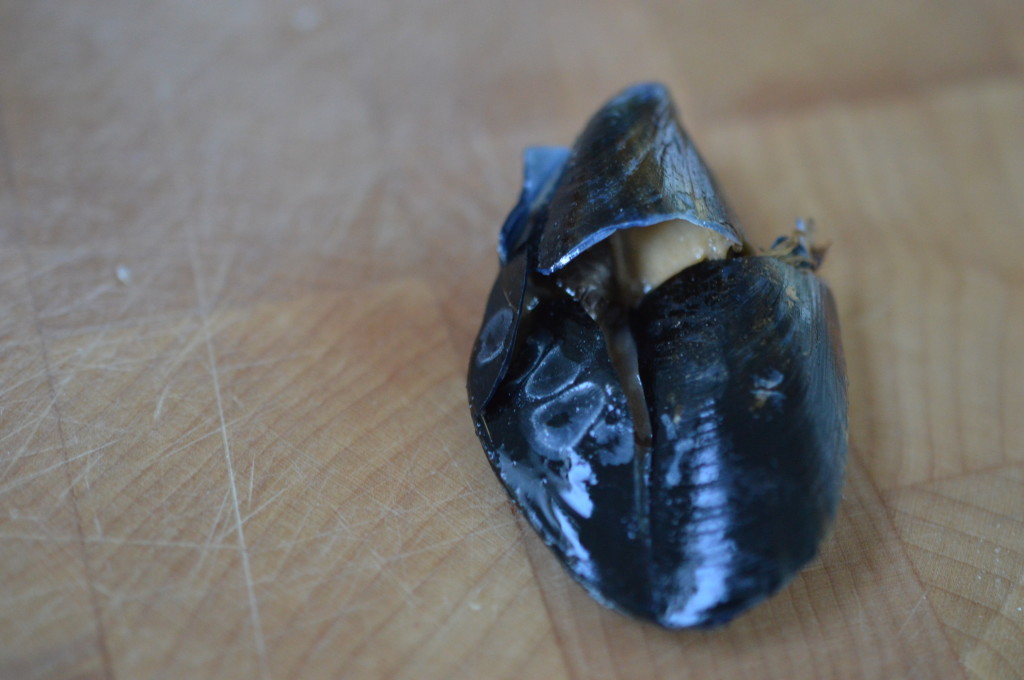
My first job was to discard any with broken shells.  Even the slightest crack and it’s not worth risking the mussel being dead inside.  Chuck it away.

Mussels - Nigel

Next – and this is my top tip – delegate.  Always.  These are not my hands.

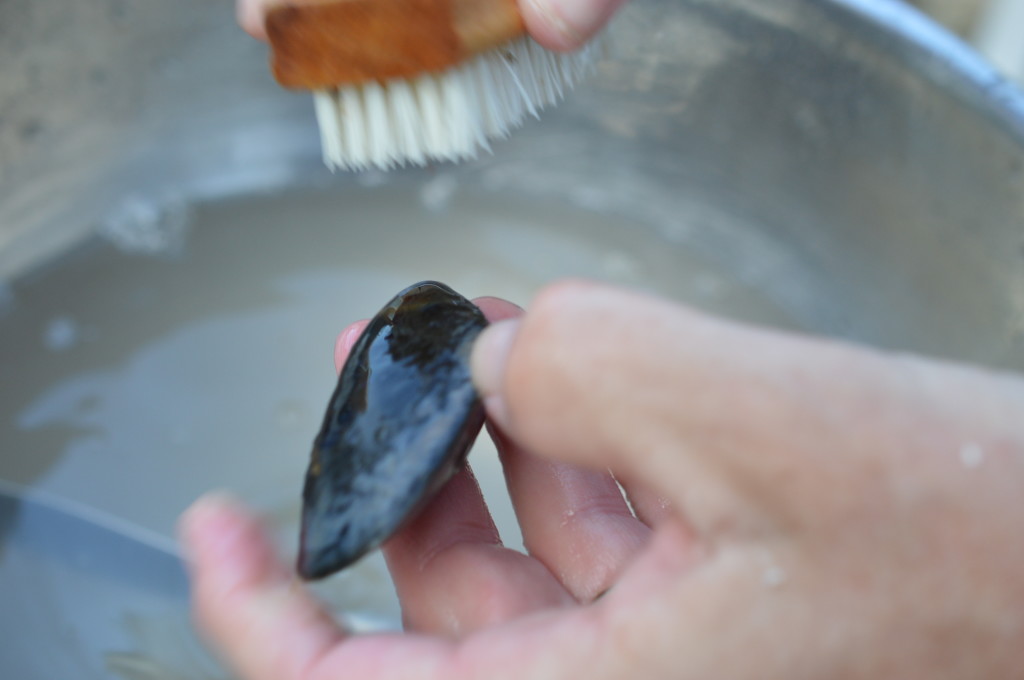
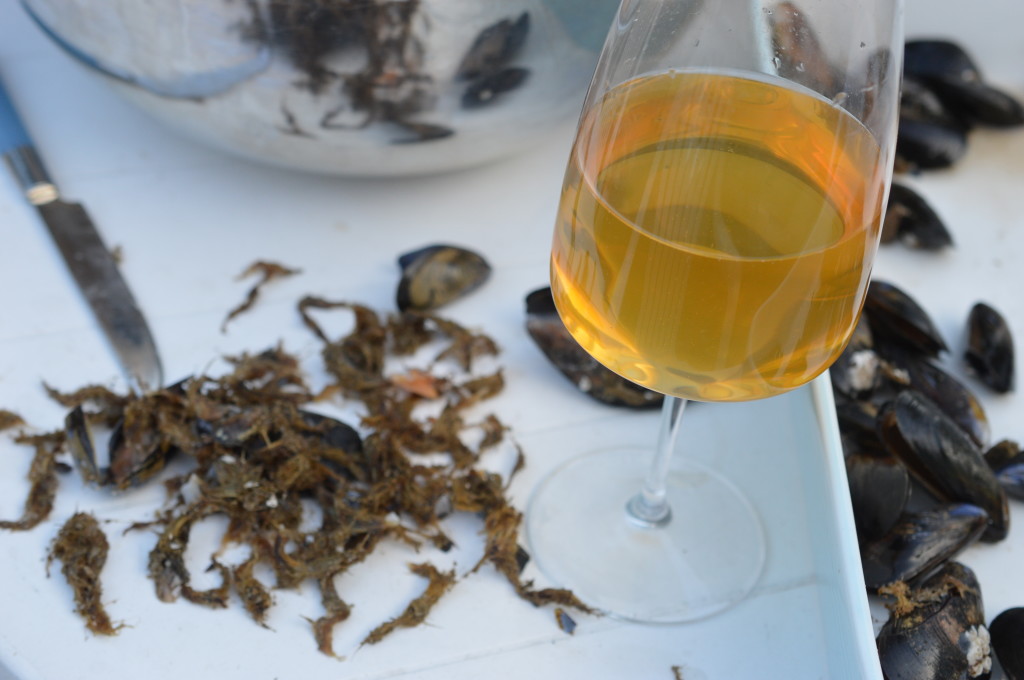
Scrape off any barnacles.  Give them a brush over.  Mussels grown on rope are not that bad.  If the shell is open, give it a sharp tap with your knife and it will slowly close shut.  If it doesn’t, chuck it away.

Mussels - beard

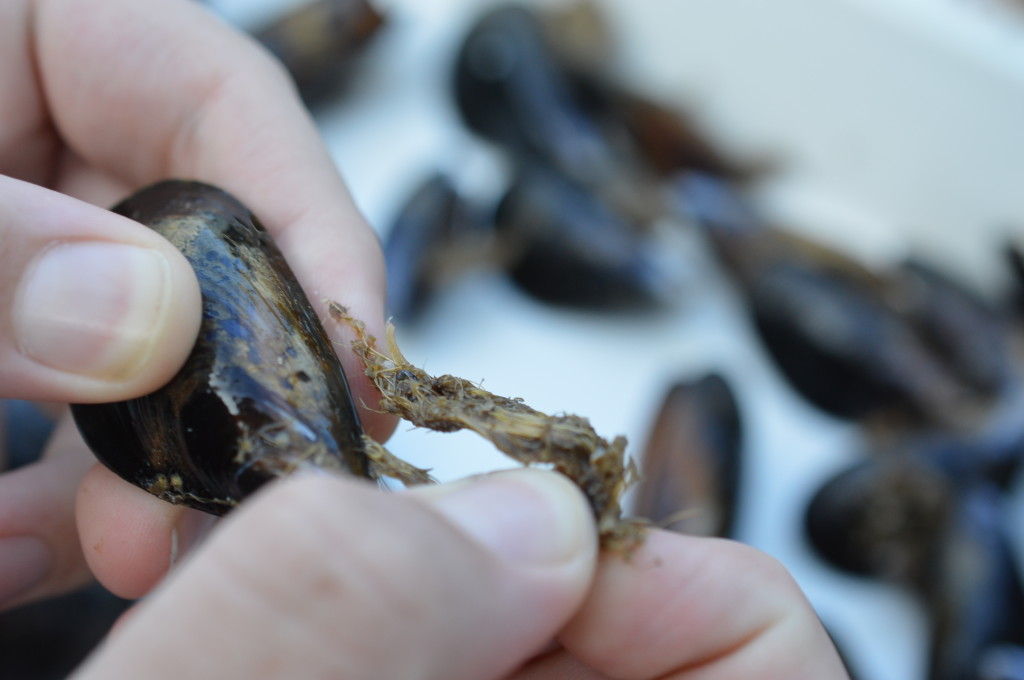
Now’s the time to pull off the ‘beard’ which are protein membranes the mussel uses to attach itself to a stable something rather than float off into the deep.  In my case, my mussels attached themselves to rope.  The other end is attached to them – which is why you pull this off shortly before cooking rather than prematurely traumatise it.  (Yes, I know I’m about to put it in a steaming pot, but this isn’t really for the benefit of the mussel.)

Mussels - chop onion

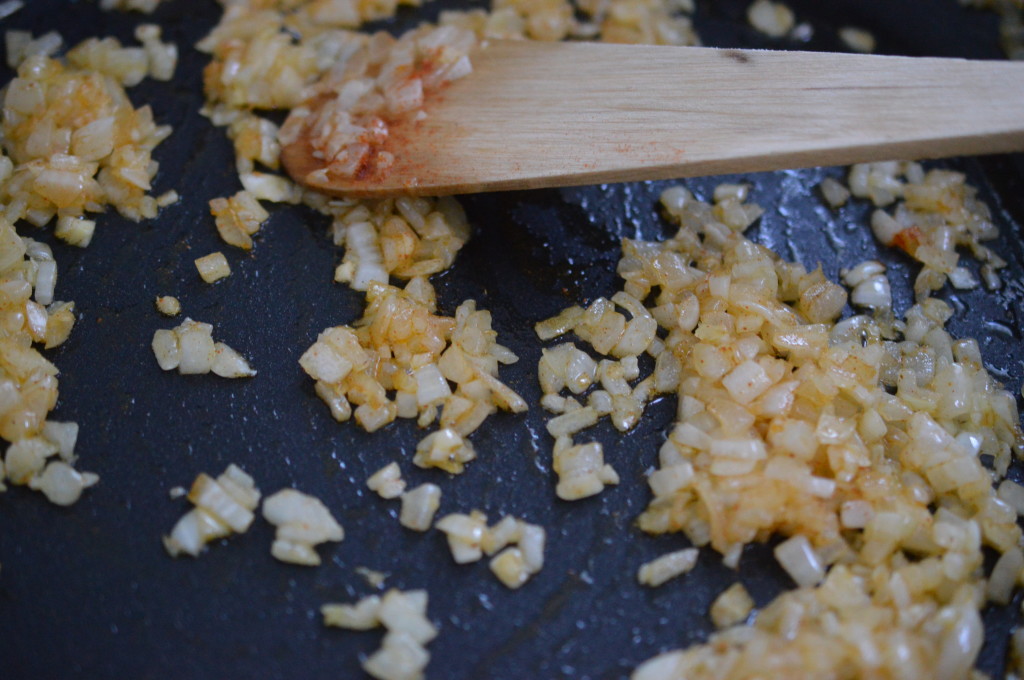
Meanwhile, I return to the clean end of the business.  Finely chop an onion.

Mussels - garlic

My Grandad would never have done such a thing – but I add a chopped clove of garlic.  A little sugar.

Mussels - soften onion

Soften in rapeseed oil.  He used butter.

Mussels - add cayenne

Again, I’m wilfully deviating.  A little kick of something is really tasty.  Cayenne pepper.

Mussels - stir in spice

Stir.

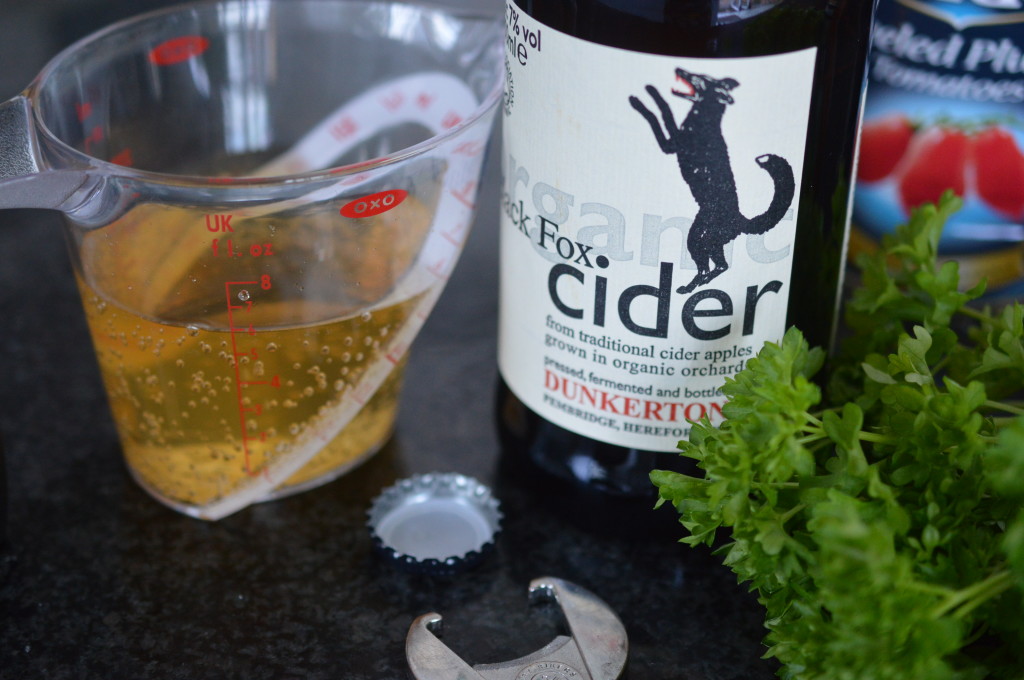
Mussels - cider

I’m using one of my favourite ciders.  Go for something dry.

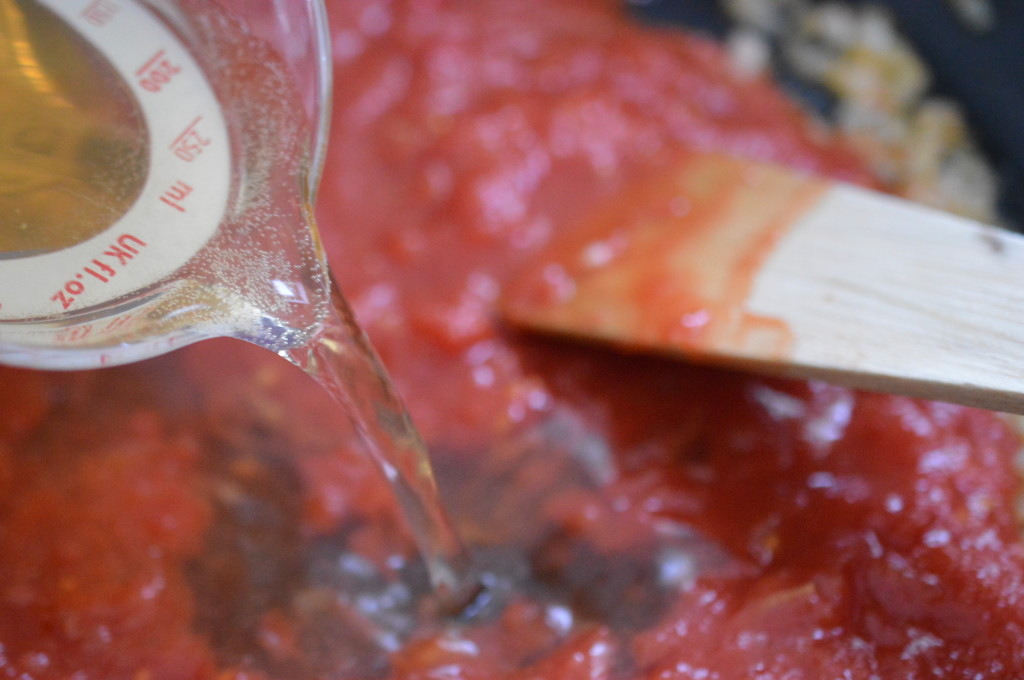
Mussels - add tomatoes and cider

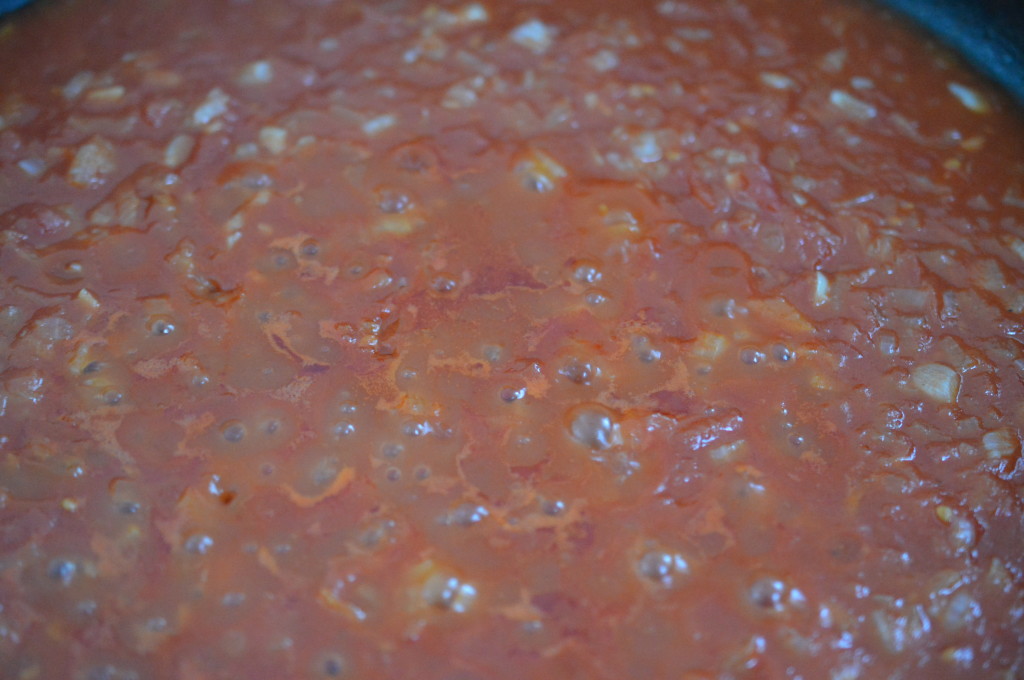
Add a tin of tomatoes and the cider.

Mussels - allow cider to preparation team

This is something of a moral dilemma.  The rest of the cider could be considered ‘cook’s perks’ .. or you could motivate the person/perspons cleaning the darn things.

Mussels - all clean

There they are – ready for the pot.  Give them a rinse under cold running water.

Mussels - cook sauce

Give the sauce a little taste to check for seasoning.  A little pepper, maybe.  Don’t add any salt now as the juices the mussels release are naturally salty.  Get everything boiling.

Mussels - steam

Tip the mussels in the pot and cover with a lid.  Give everything an occasional shake – but the steam will cook the mussels on the top without too much worry.  Through the misty haze of my see-through lid I watched the mussels open.

Mussels - cooked

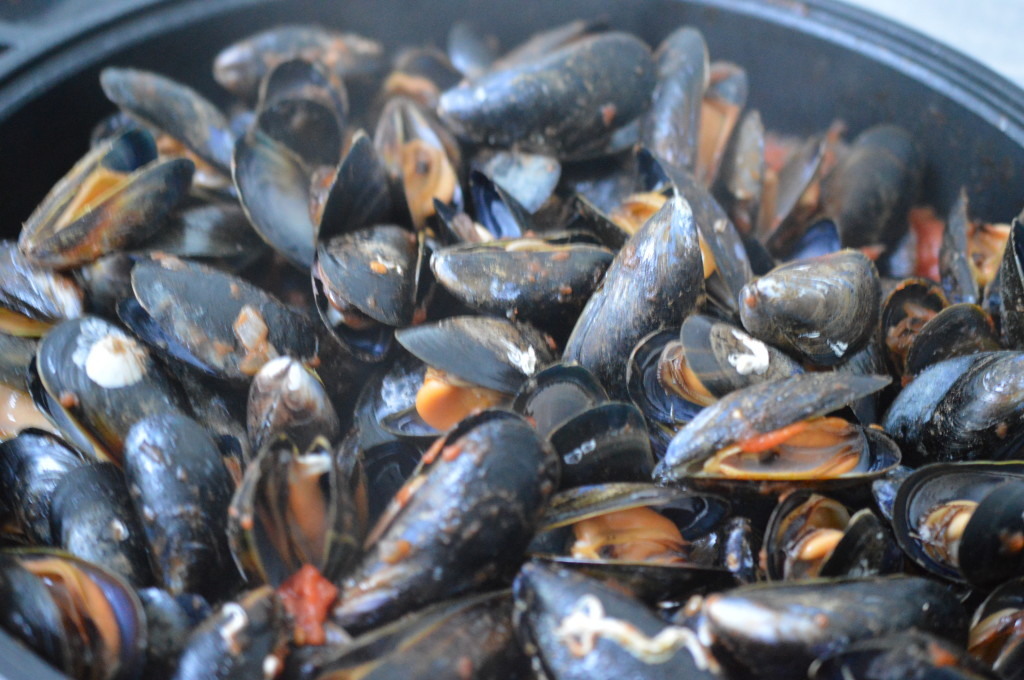
There they are.

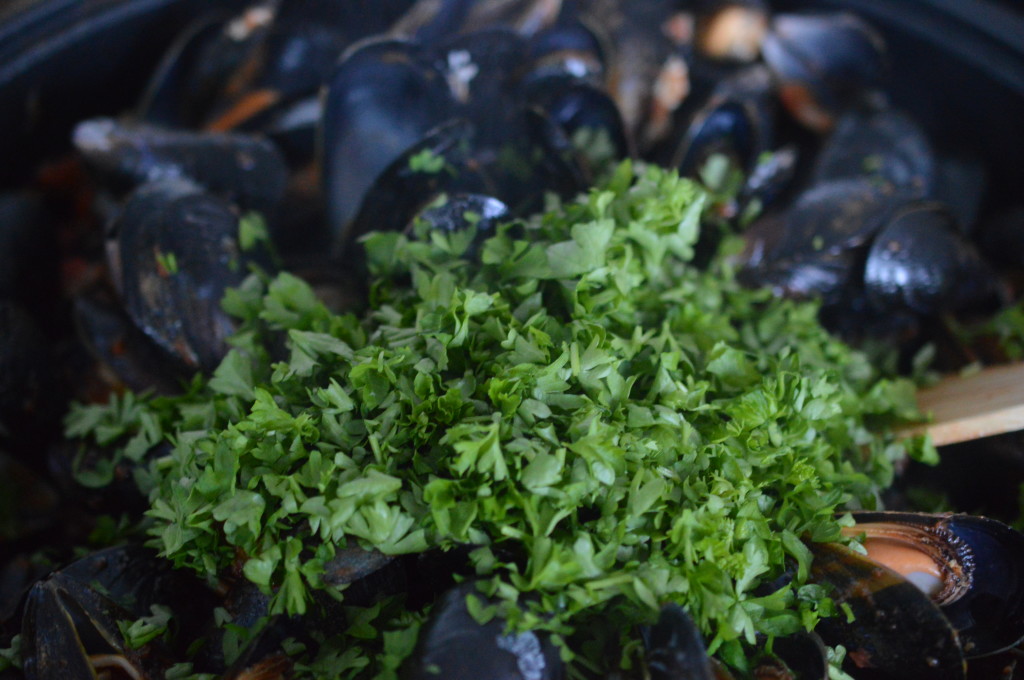
Mussels - add parsley

A little chopped parsley, as much for colour as anything else.  Curly was what my grandparents used and it makes me smile.

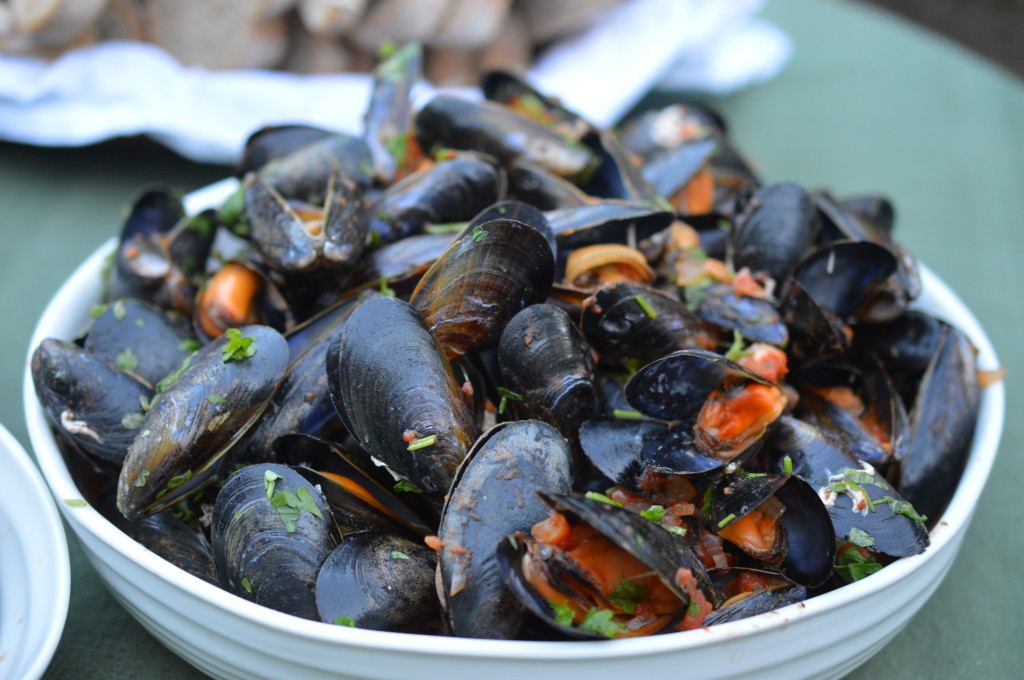
Mussels - served

Give everything a stir and transfer to a big, warm serving dish.  If you spot any mussels which stubbornly remain closed, discard.  Don’t try prizing them open, it’s not worth it.

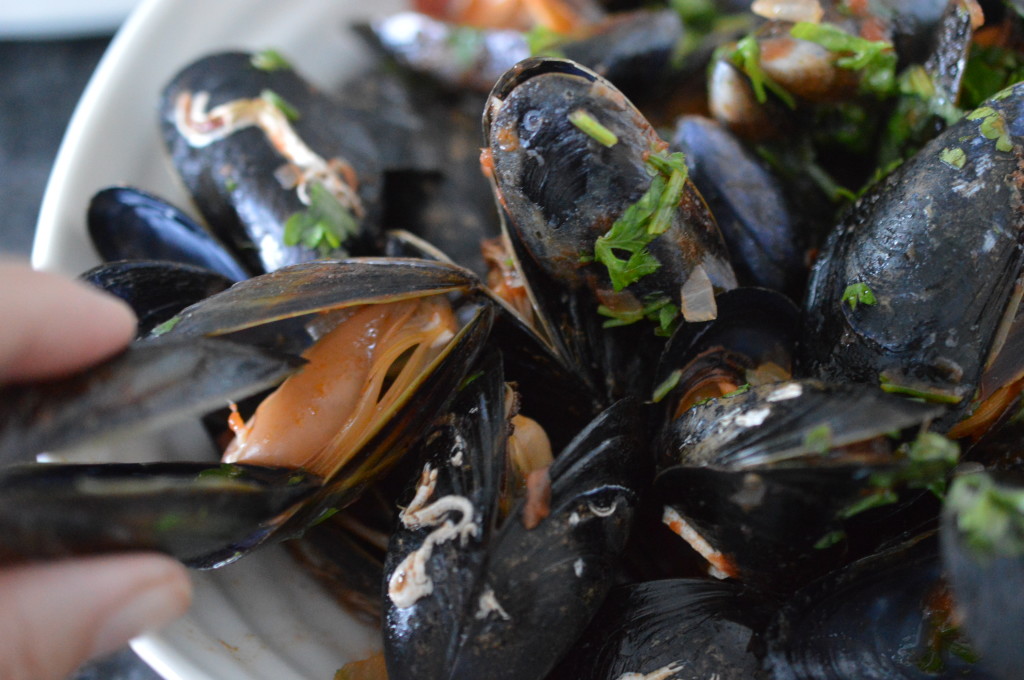
Mussels -eat

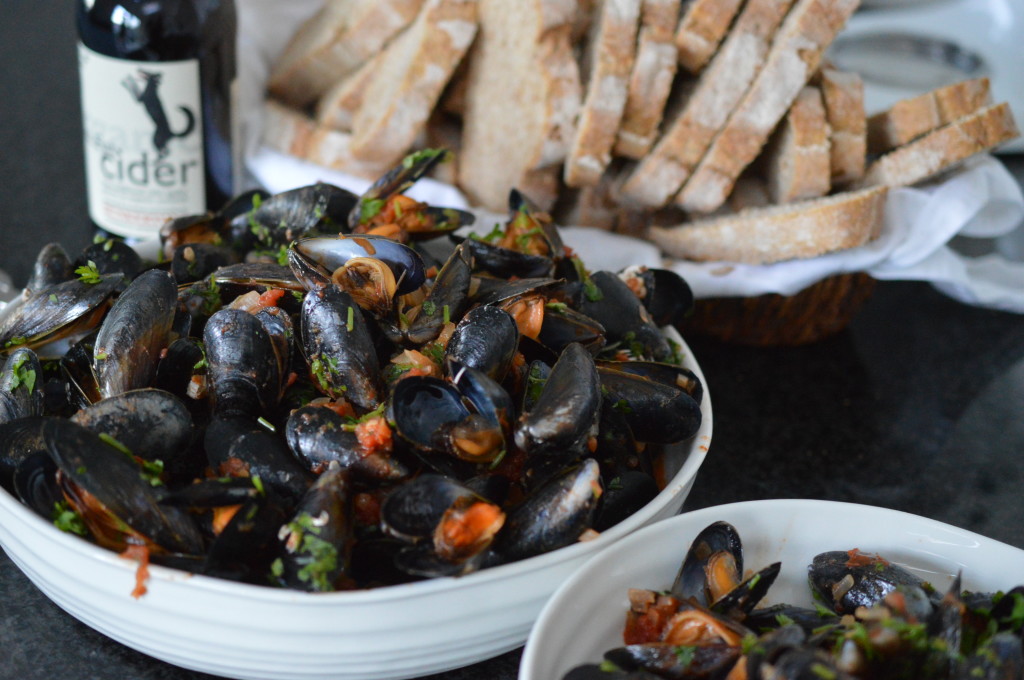
You’ll need some crusty bread to soak up all the juices and some bowls for the empty shells.  Use an empty shell as a pincer.  It’s all gloriously communal.  Eat.
Mussels - served 4Mussels in Tomatoes and Cider

Serves 4-7  (1lb of mussels is usually reckoned to be a portion, but I serve it with lots of crusty bread ..)

  • 4lb/1.8kg mussels
  • 1 onion, finely chopped
  • 1 clove of garlic, finely chopped
  • 1 teaspoon of sugar
  • 2 tablespoons of rapeseed oil
  • A shake of cayenne pepper
  • ¼ pint/150ml dry cider
  • 400g/14oz tin of tomatoes, chopped
  • Fresh parsley
  • Black pepper
  • Lots of crusty bread to serve

Prepare the fresh mussels.  Discard any with cracked shells or any which do not shut when tapped with the back of a knife.  Scrape off any barnacles and pull of the ‘beards’.  Rinse under cold water.

Heat the rapeseed oil in a large pan and soften the onion, garlic and sugar.   Cook until the onion is soft and beginning to take on a little colour.  Add the cayenne pepper and stir.

Add the tomatoes, cider and a little black pepper.  Bring to a boil.

Add the mussels.  Cover with a lid and cook, shaking the pan occasionally.  3-5 minutes later the mussel shells will have opened.

Sprinkle with parsley.  Stir.  Transfer to a large, warmed serving dish and discard any mussels which remain shut.

Eat.
Print.


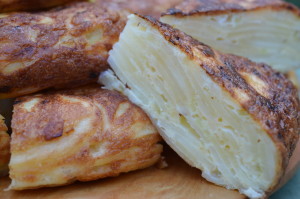
Tortilla Española

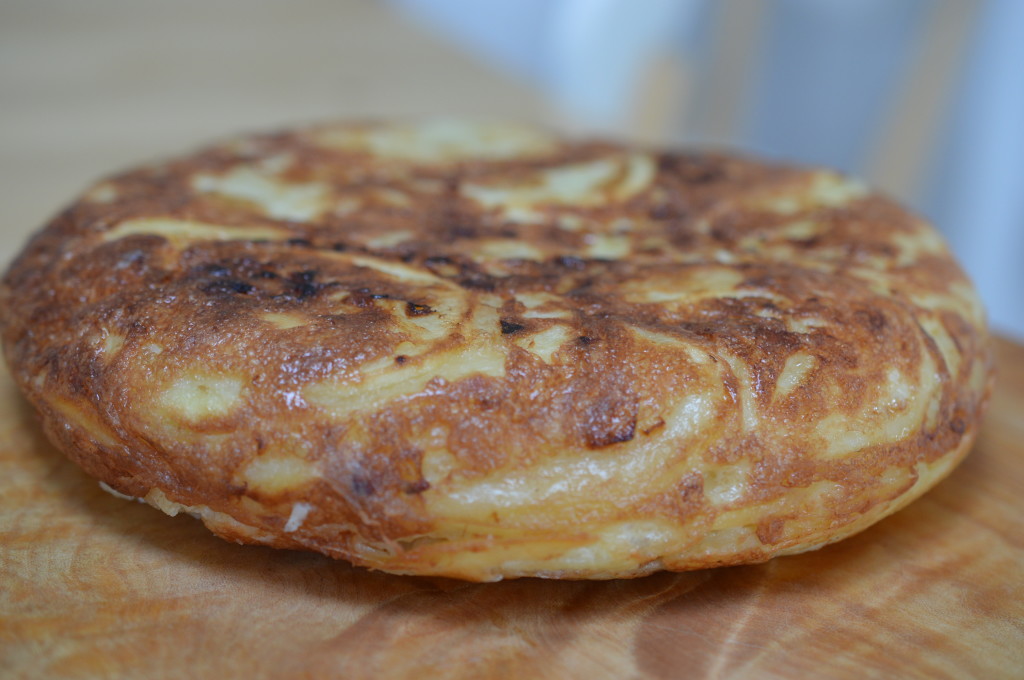
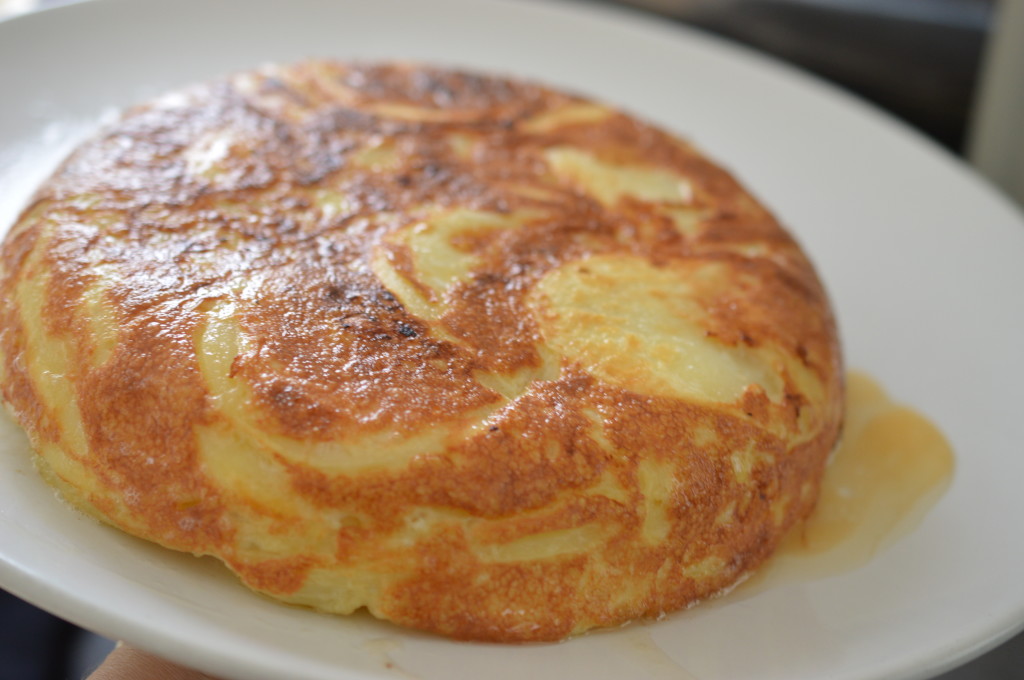
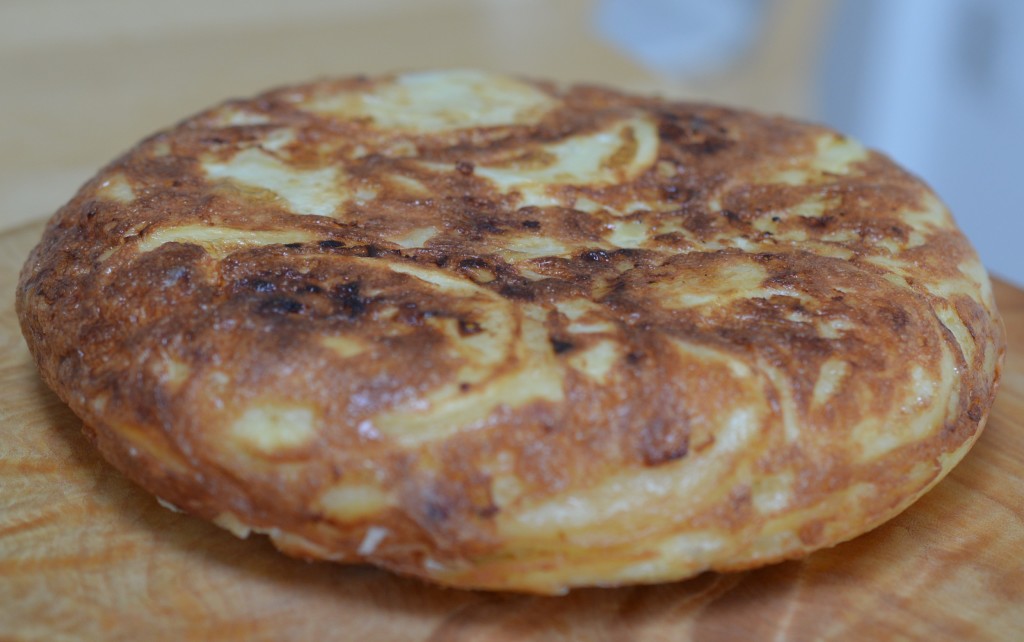
Or Tortilla de Patatas.  Or Spanish Omelette.  It’s the same thing.  With or without onion, warm or cold – it’s delicious.
In my house it’s less of a tapas event and more of a family supper when we’re all rushing in and out and unlikely to be in the kitchen at the same time.  It’s very well-behaved.  Packs up well for a picnic, too.

Tortilla Espanola 15


That’s what happened this Friday.  Not a picnic – but the kind of crazy evening where something left on the side was the only way to go.

Tortilla Espanola

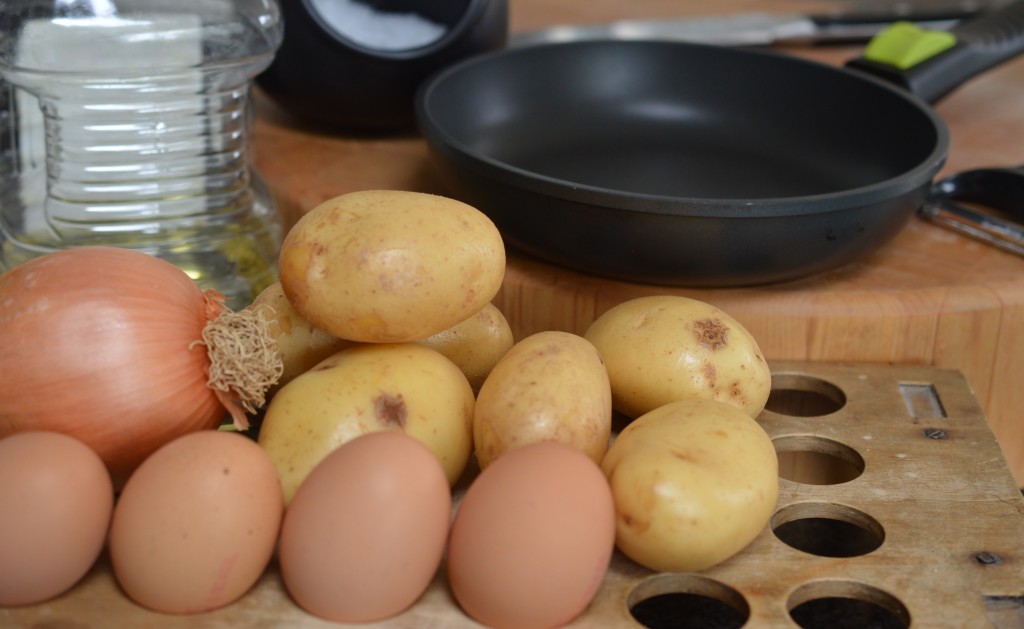
I’m going to stick my head above the parapet and say I like onion.  I don’t include parsley – but that’s because I think the green flecks spoil the paleness of it all.  I prefer a floury potato and I don’t soak away the starch.

Tortilla Espanola 1

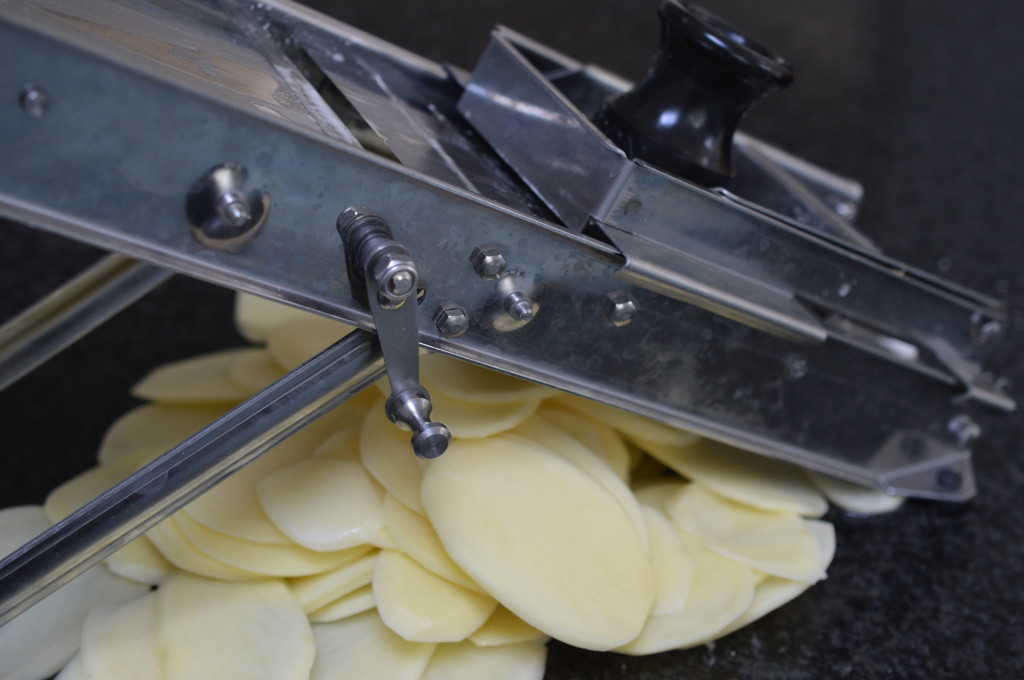
I peel my potatoes.  You can cube or slice them – I slice.  You wouldn’t believe how so few ingredients could divide so many people …

Tortilla Espanola 2

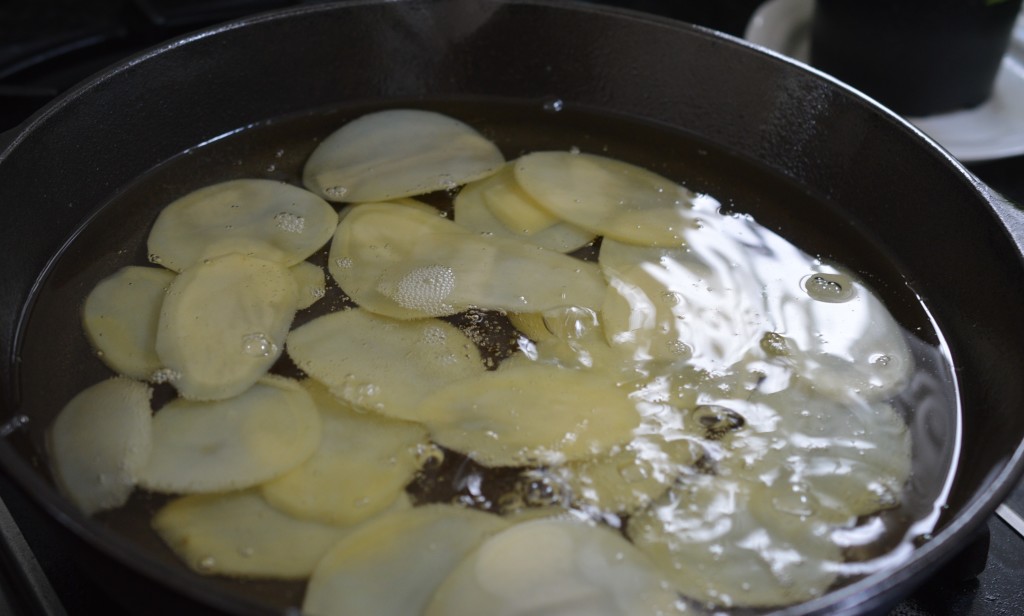
Even the choice of oil is contentious.  Mine is a really unpretentious sunflower oil, but I also use a good but not extra virgin olive oil.  I think olive oil has the edge, but you’d need to be eating examples side-by-side to tell.  I use a large frying pan/skillet (it really is a ‘skillet’ as I’ve embraced the cast iron Lodge import having discovered them in a brilliant shop near Seb’s university) and put in about 2cm/¾” (ish) of oil.  What you want is for the oil to just cover the potato, whether you’ve cubed or sliced it.  I fry in batches, so as not to reduce the temperature of the oil too dramatically.

It’s similar to how I cook my chips.  And, when you stop to think about it, this really isn’t a million miles away from ‘egg and chips’.  No wonder I like it.

Take your time.  Fry gently.  You want the potato to be completely cooked through but with no colour.  Don’t rush it.

Tortilla Espanola 3

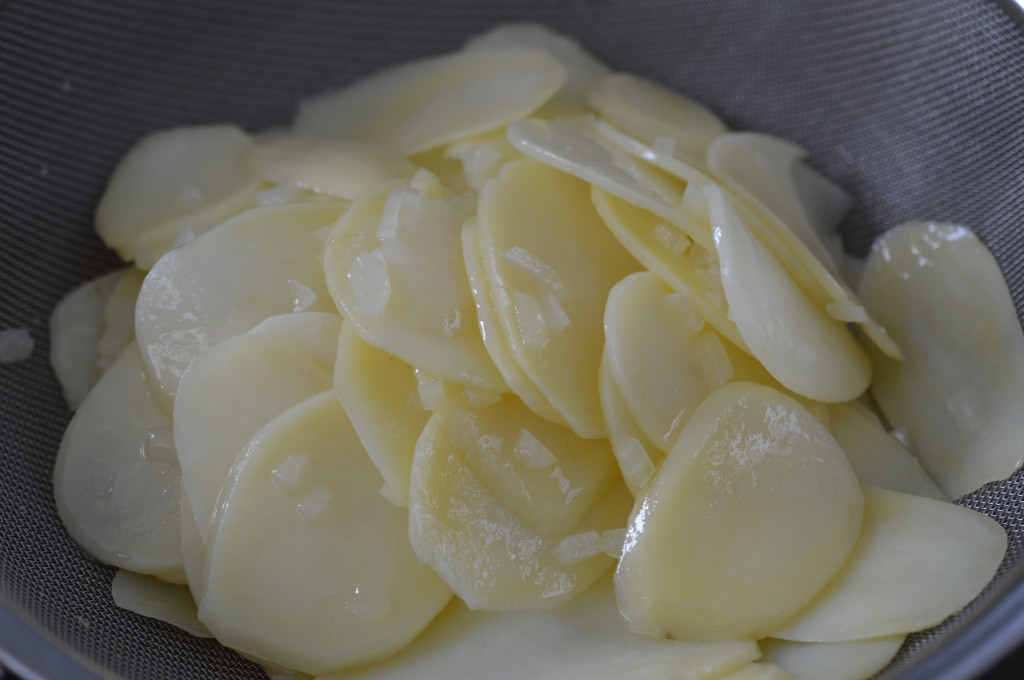
When the first batch is done, lift out with a slotted spoon and transfer to a sieve set over a bowl.  Then, on with the second.  I fry my potatoes in three batches.  When my third and final batch of potatoes is almost done, I add the finely chopped onion.  Like the potato, it needs to be soft but uncoloured.

Scooping out finely chopped onion is difficult-to-annoying so pour the final batch of potatoes, onion and the hot oil into the sieve.  Be careful!  Really.  Leave to cool in the sieve.  (The longer you leave the potatoes and onions to cool, the stronger the taste of onion you’ll end up with.)

Tortilla Espanola 4

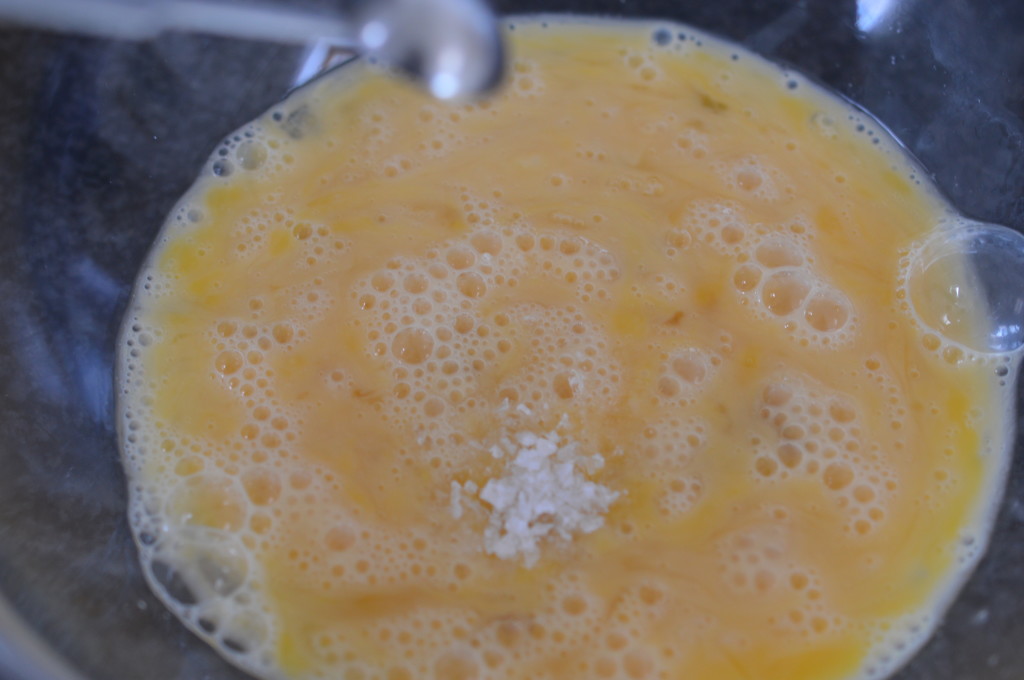
Break the eggs into a large bowl and add a little salt.  I like ½tsp of malden sea salt, but you’ll have to adjust to your salt (because they are not equally ‘salty’) and palate.

Tortilla Espanola 5

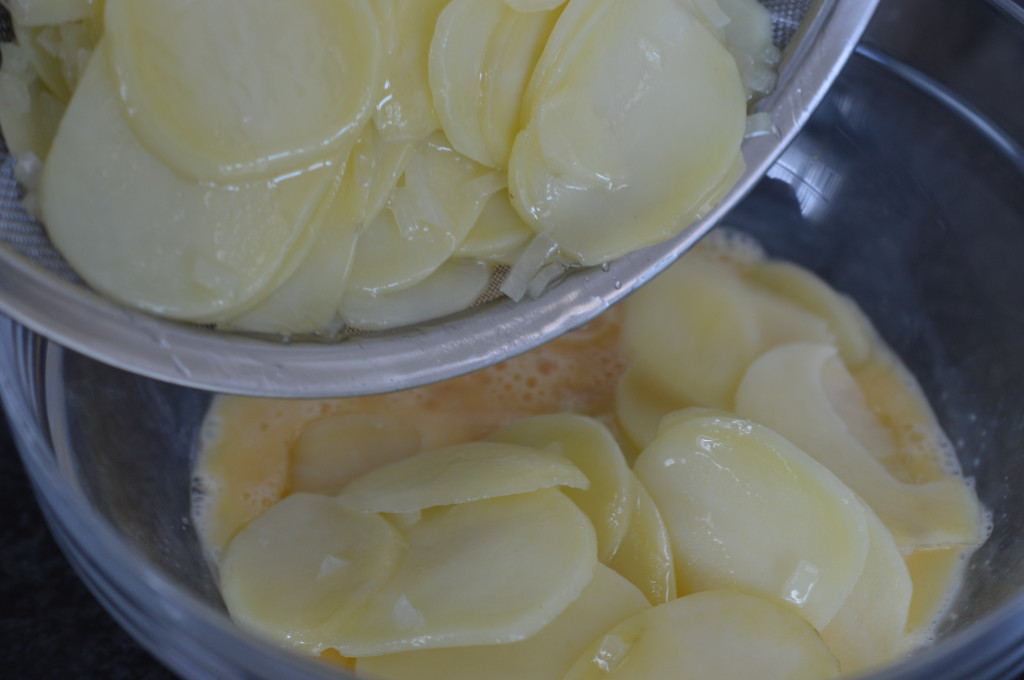
When the potatoes are cold enough to touch they can be added to the egg.  Empty the sieve contents into the large bowl of beaten eggs.

Tortilla Espanola 6

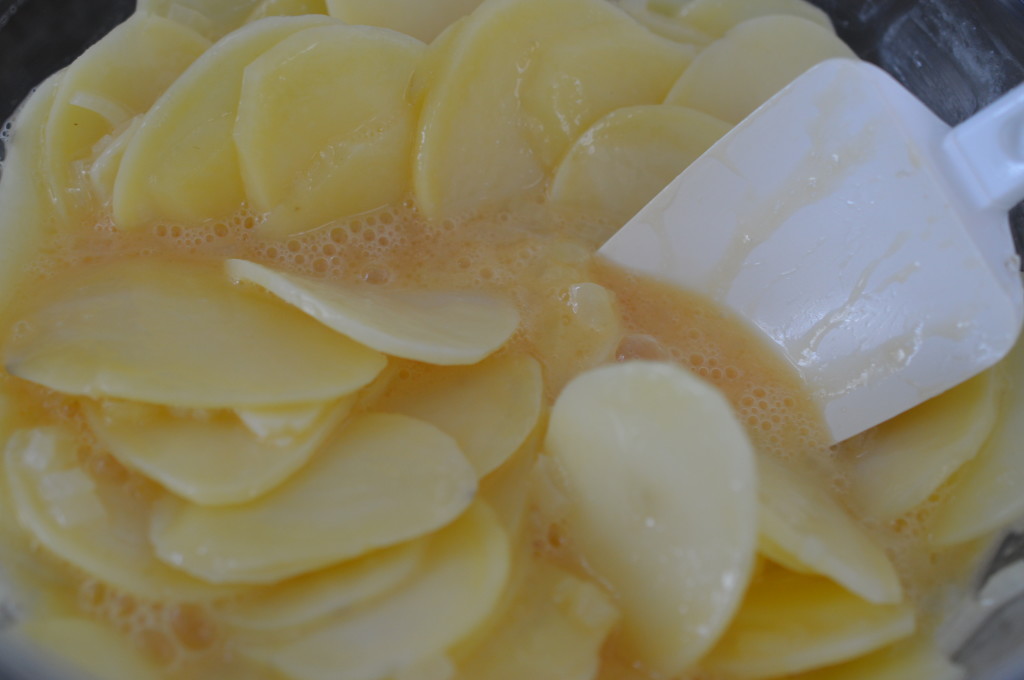
Stir together – gently.  The cooked potato slices are at risk of breaking up if you’re too heavy handed.

Tortilla Espanola 7

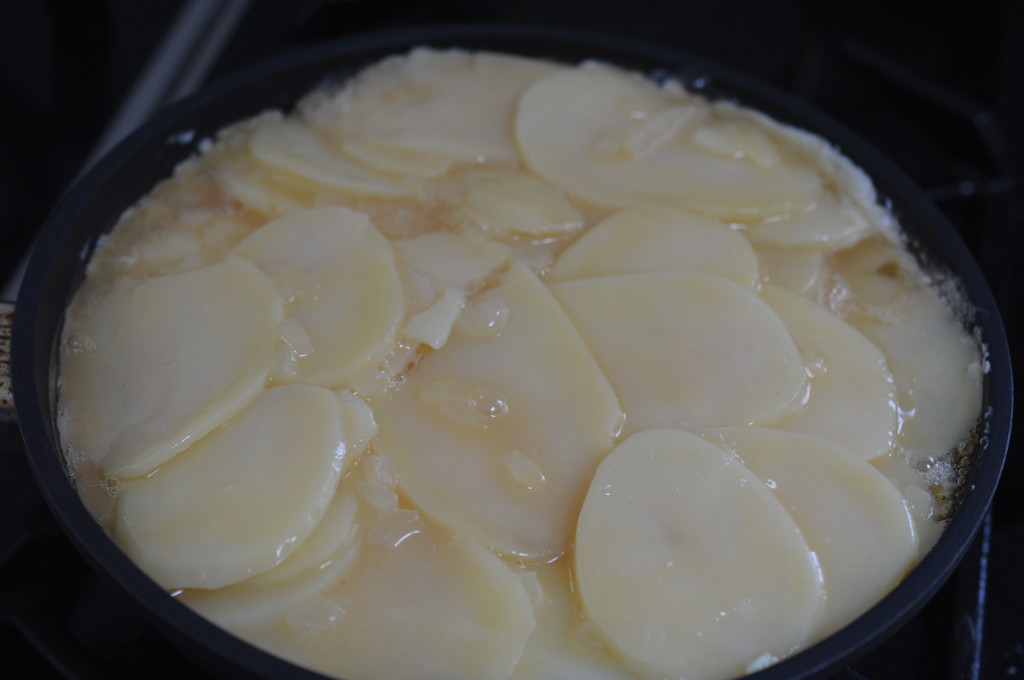
Use a small frying pan.  Mine is 20cm, which is a little under 8 inches.  Don’t go larger than 24cm or you’ll have trouble ‘flipping’ and a traditional Spanish Tortilla is deeper than an Italian frittata.  Aim for the potato/egg mix to reach the lip of the frying pan.  Press down.  The potato should be tucked beneath the egg.

Tortilla Esapnola 8

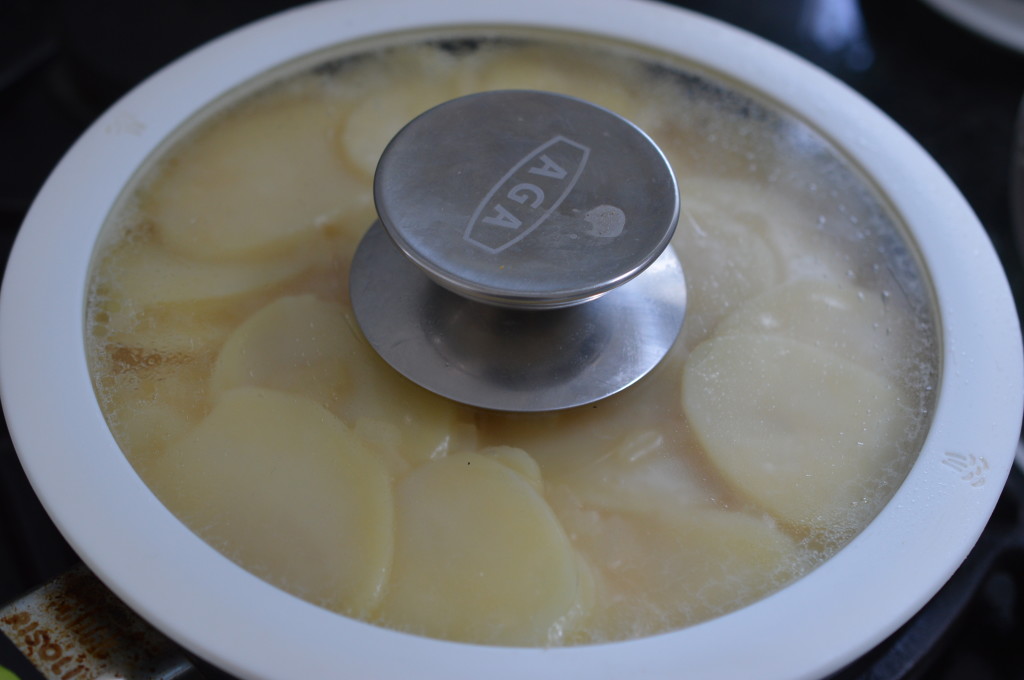
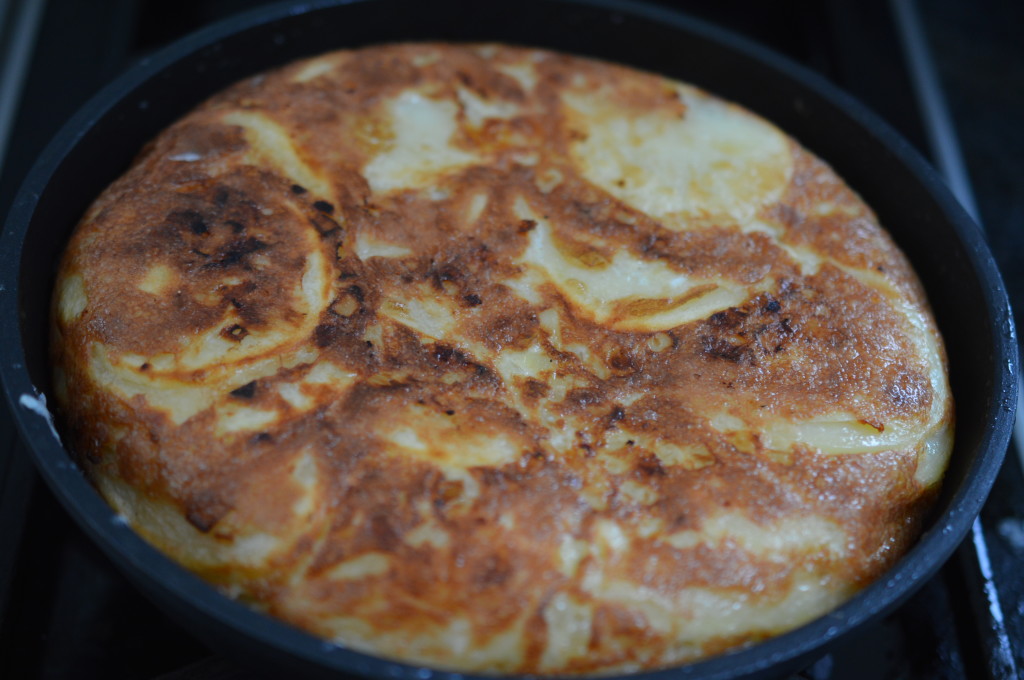
When the edges of the tortilla have started to ‘set’, cover loosely.  My milk saucepan has a lid which does the job nicely, plus it has a see-through lid.  That’s useful.  Cook over a gentle heat until the top of the tortilla has set.  As in, very little runny egg left.  How long is a bit difficult to say as it will depend on how high a heat you’re cooking over.  Don’t rush it.  Keep the heat low as that will stop the bottom catching before the top is set.

Tortilla Esapnola 9

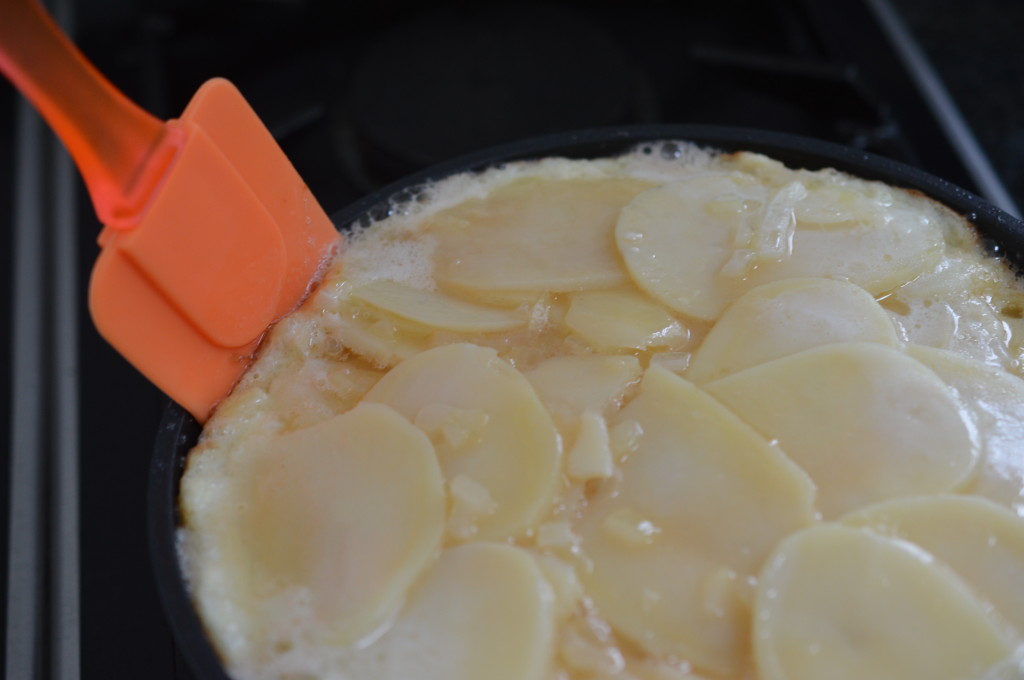
Getting ready to flip.  Just loosen the edges with a spatula.

Tortilla Espanola 10

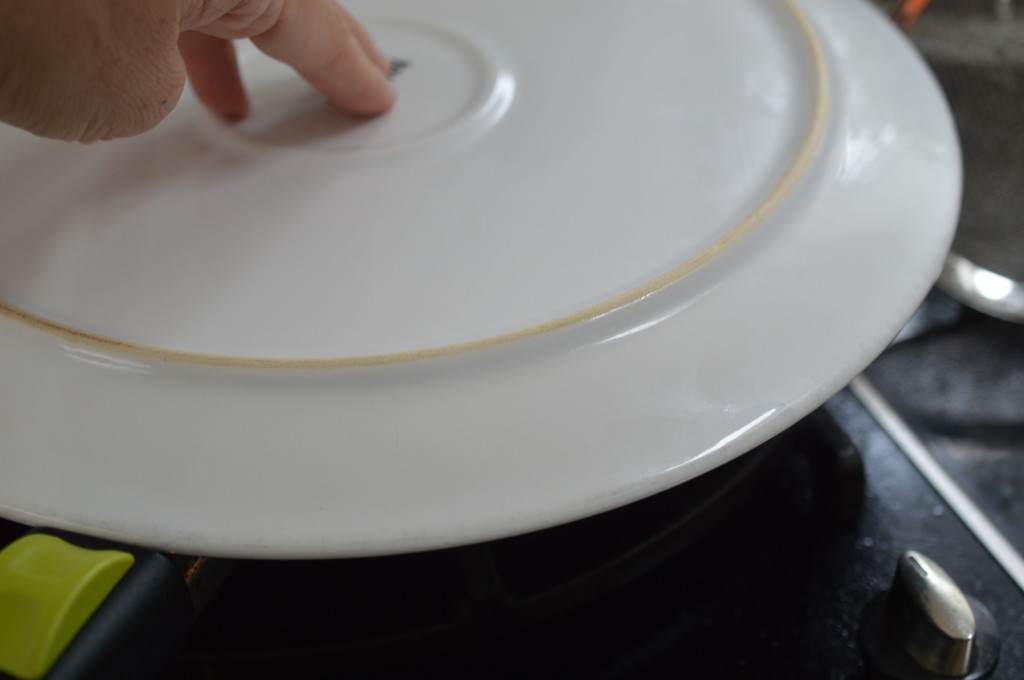
Then place a clean plate over the top.  It’s easier if it’s significantly larger than the frying pan.  Until you’re confident it might make sense if you do it over the sink, but it’s really not difficult.  Just do it.

Tortilla Espanola 11

The flipped tortilla has a little bit of juice.  Try and save that.  Put a little bit of the oil in the frying pan and tip in the juices.  Then ease the tortilla back into the frying pan.

Tortilla Espanola 12

Now what was the top is the bottom and the bottom is the top.  Again a low low heat.  Over cooked egg has the texture of leather.  Keep the whole thing moist.

Tortilla Espanola 14

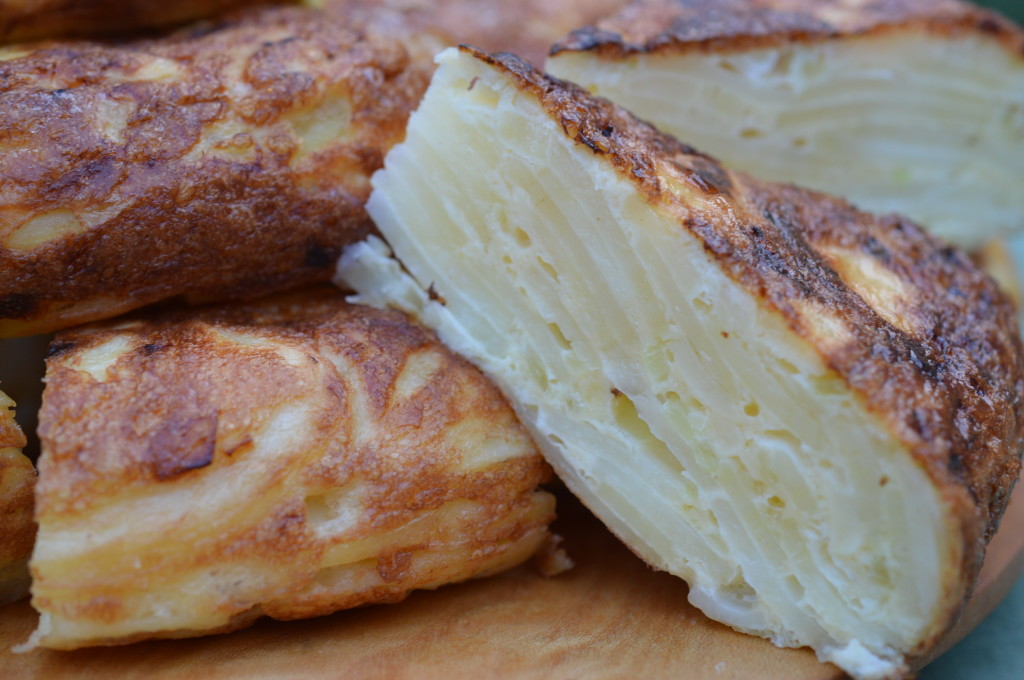
When the underside is set, it’s time to tip it back out.  Even if you’re serving your Tortilla Española warm, give it 10 minutes to settle before you cut it.

Tortilla Espanola 17

If you’re channelling a Spanish vibe you might want to cut into cubes, pierce each one with a cocktail stick and serve with chilled sherry.  But, for a busy Friday night supper, I made three tortillas, served them cold and cut into slices.  I love this with a simple Spanish tomato sauce (Sofrito) and a green salad.

Eat.
Tortilla Espanola 17Tortilla Española

Makes 20cm tortilla.

  • 4 medium potatoes (between 700g-750g), peeled.
  • olive oil for frying
  • 1 small spanish onion, finely chopped
  • 4 large eggs
  • ½ teaspoon of malden sea salt

Slice or cube the potatoes.  In a large frying pan, heat enough oil to fry the potatoes.  Fry in batches, over a low heat, until the potato is completely soft and showing no colour.  As each batch is cooked,  lift out the potatoes with a slotted spoon and transfer to a sieve placed over a bowl.  When the final batch of potatoes is almost soft, add the finely chopped onions.  When everything is soft, carefully tip the entire contents of the frying pan into the sieve.  (The oil can be re-used.)  Leave the potatoes to cool.

Break the eggs into a bowl and add the salt.  Lightly beat together.  Add the potatoes and onion and gently stir.

Heat 1 tablespoon of olive oil in a 20cm frying pan and tip in the potato and egg mixture.  Use the back of a spatula to make sure all the potato is covered with egg.  Fry over a low heat.  When the edges start to set, loosely cover with a a lid.   Fry until the top has almost set.

Cover with a large clean plate – and flip.

Add another tablespoon of oil to the frying pan.  Tip the ‘juices’ from the plate into frying pan and gently ease the tortilla back into the skillet.  Fry gently until the underside is coloured.  Keep everything moist.

Tip out onto a plate.  Leave to cool for 10 minutes before cutting.  Serve warm or cold.

Eat.
Print.


Breakfast Mushroom

I don’t think I’ve ever met a man who doesn’t love a ‘Full English’ and with Fathers’ Day looming you might be thinking of clogging up the arteries of the dad in your life.  Whilst it can be a wonderful thing to eat, it’s ‘proper’ cooking which feels bit gruelling when done horribly early in the morning, creates masses of washing up and isn’t child friendly.

So, now I’ve talked you out of it, here’s my solution.

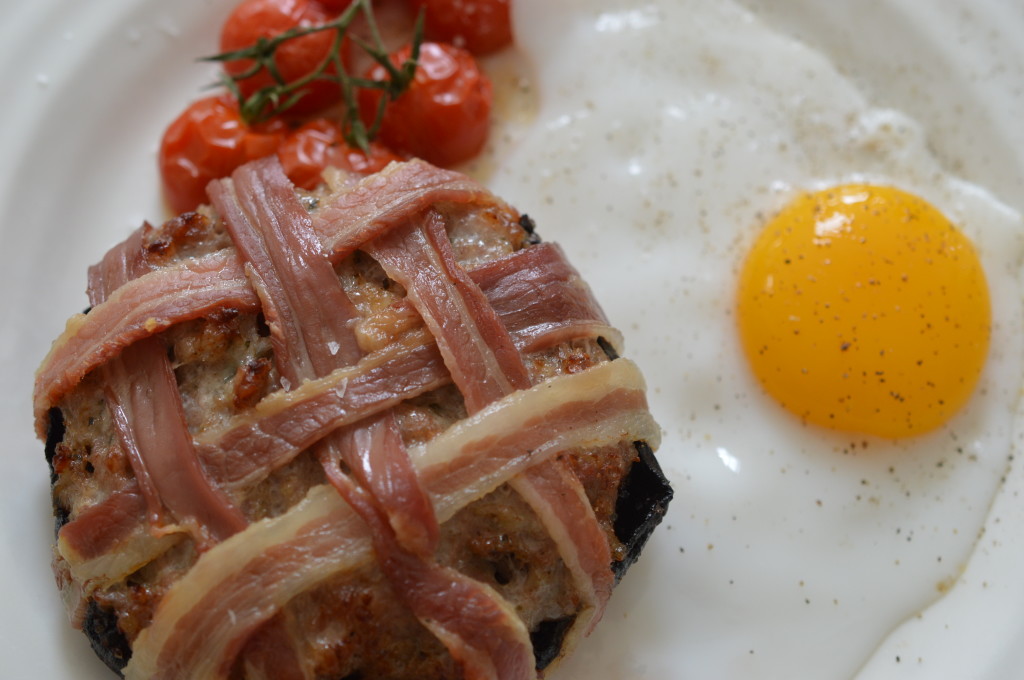
Breakfast Mushroom 18

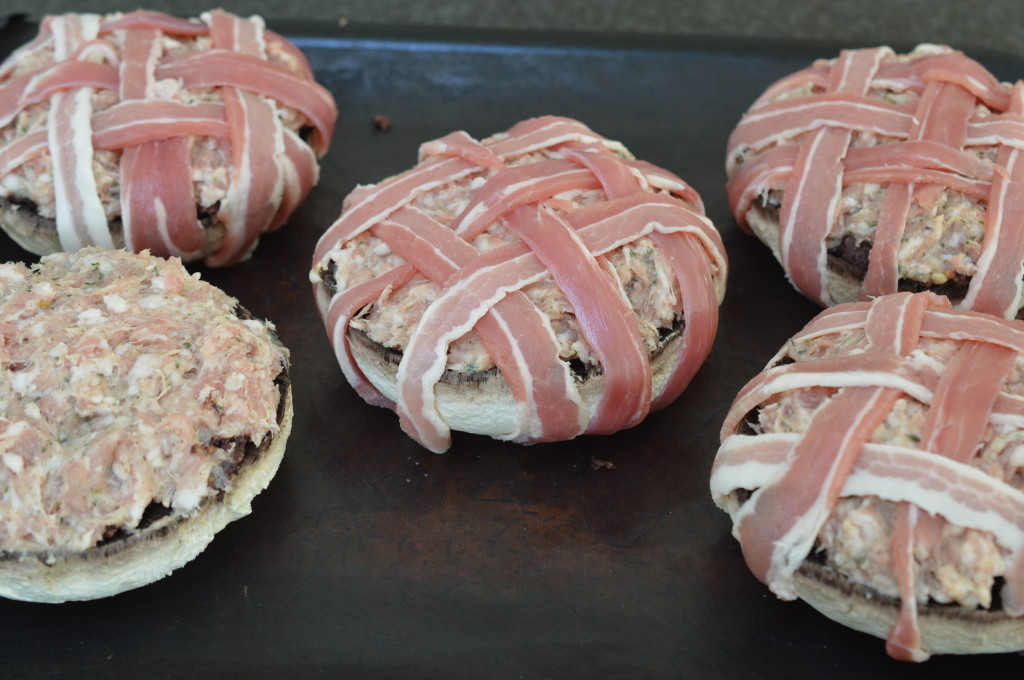
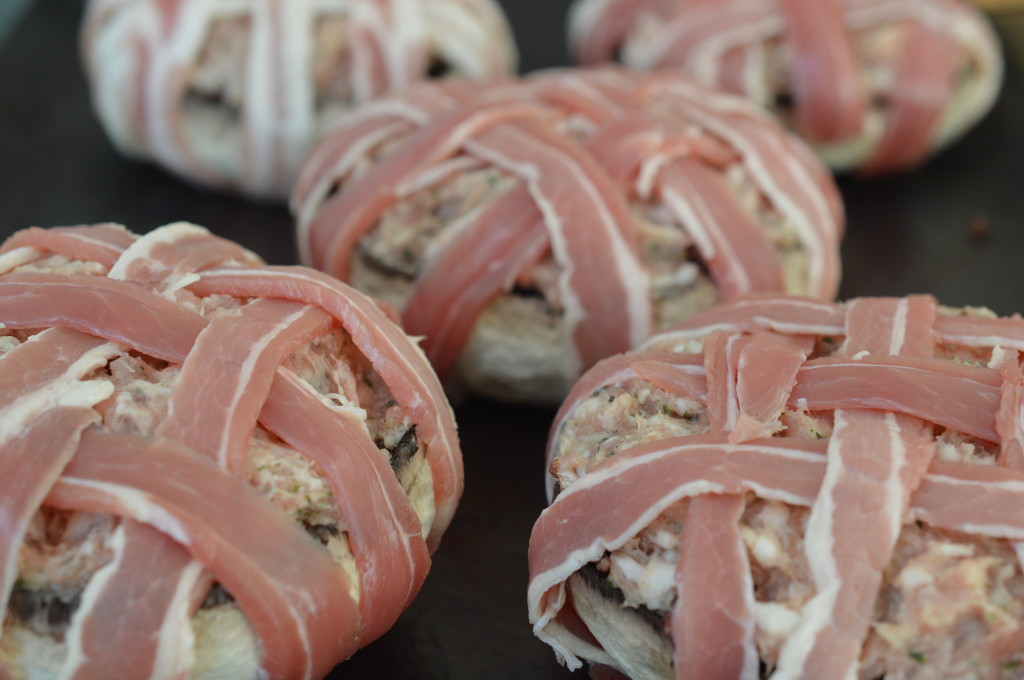
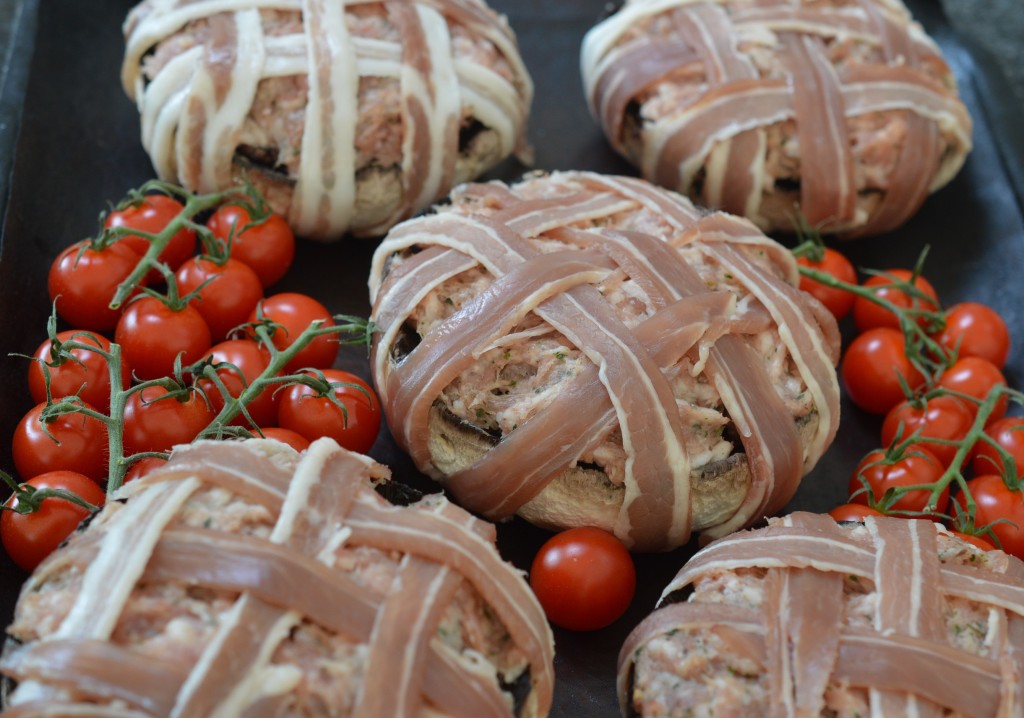
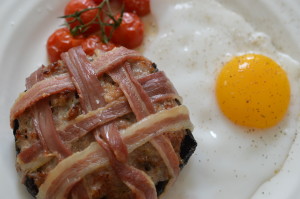
My ‘Breakfast Mushroom’ gives you most of the elements of a full English breakfast, but you can do all of the preparation the day before and get even young children helping.

Breakfast Mushroom 1

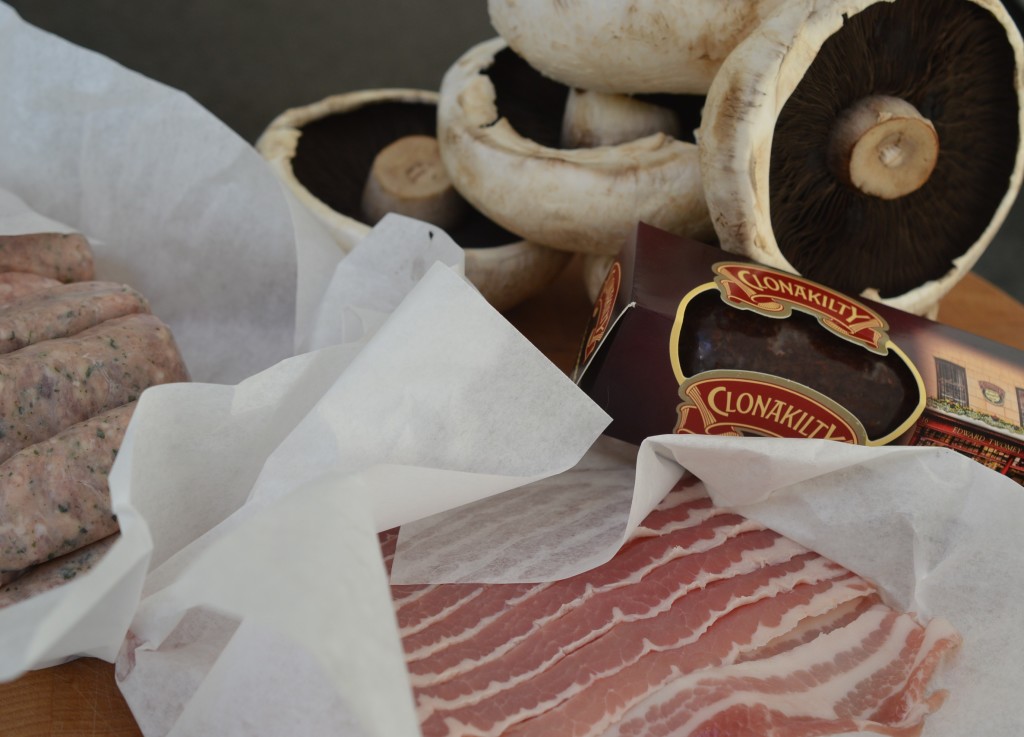
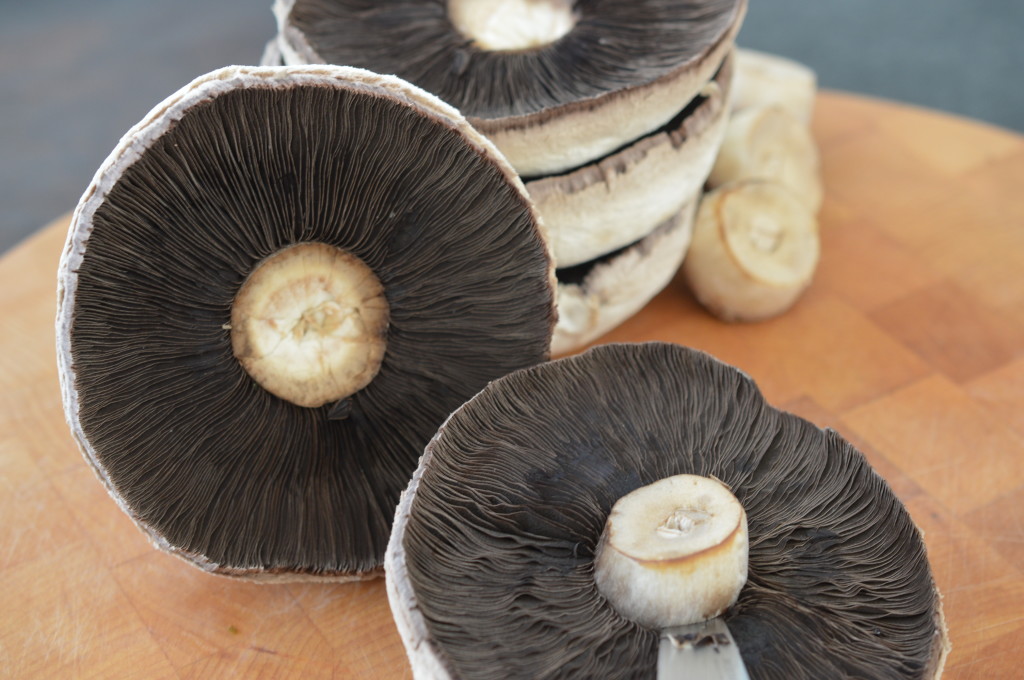
You need large flat mushrooms – the bigger the better.  Good quality streaky bacon – smoked or unsmoked.  Great breakfast sausages.  And, when cooking for my boys, black pudding.  They love it.

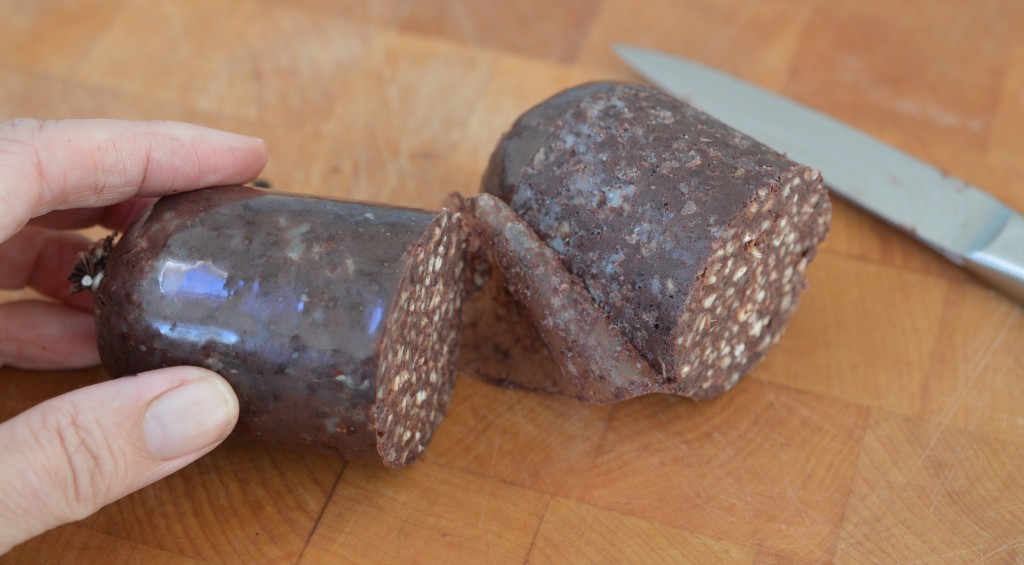
Black pudding has been made for centuries and is actually very good for you – protein, iron, potassium, calcium and magnesium.  By the time I got around to telling my boys it was a blood sausage they were already converts.  Liddy, however, doesn’t like it.  So, if it’s really not going to be your thing, crumbled blue cheese is also lovely.

Breakfast Mushroom 2

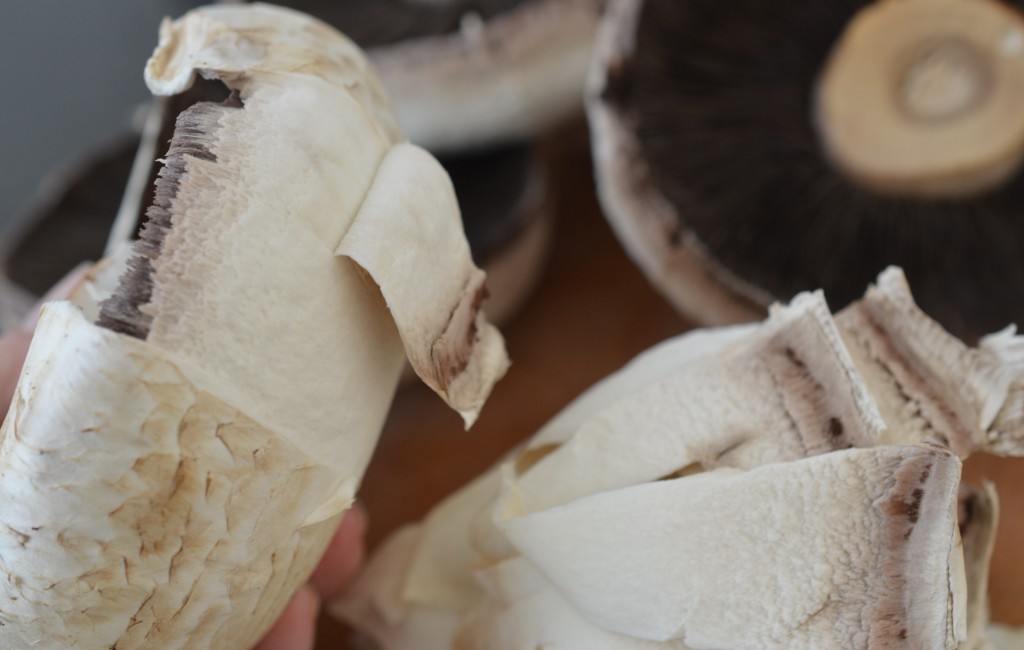
These are big saucer style mushrooms and benefit from being peeled.  Don’t wash them.  Simply brush off any dirt.

Breakfast Mushroom 3

Remove the stalk.  (Both the ‘peelings’ and the stalks can used for stock.)

Breakfast Mushroom 4

Black pudding freezes well.  Cut off what you’re going to use and remove the casing.  What’s left can be double wrapped and tucked away in the freezer for another day.

Breakfast Mushroom 5

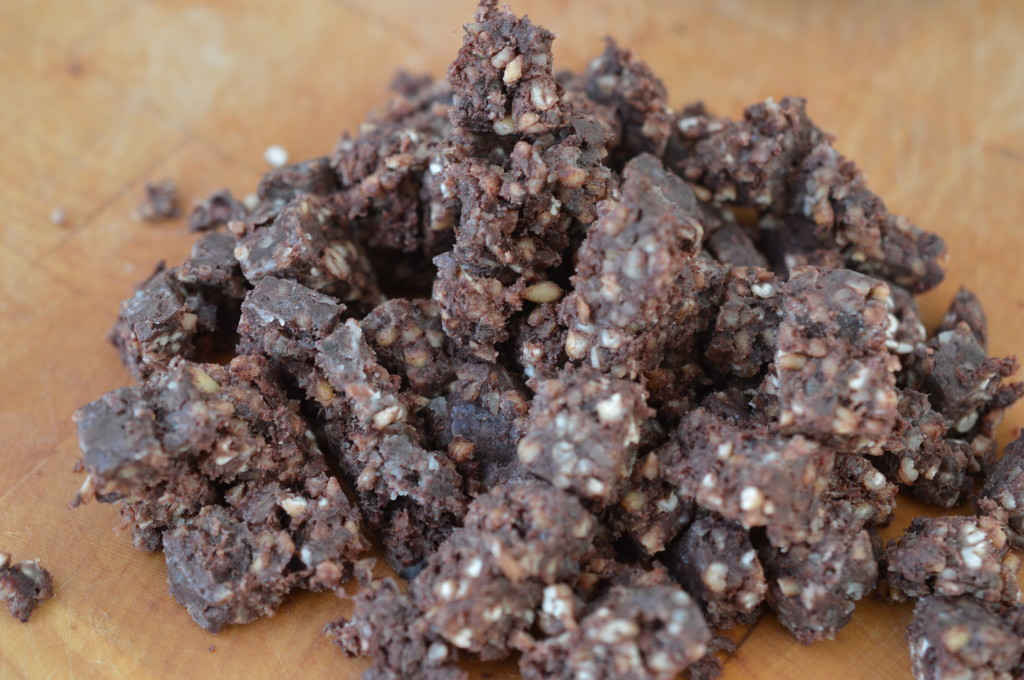
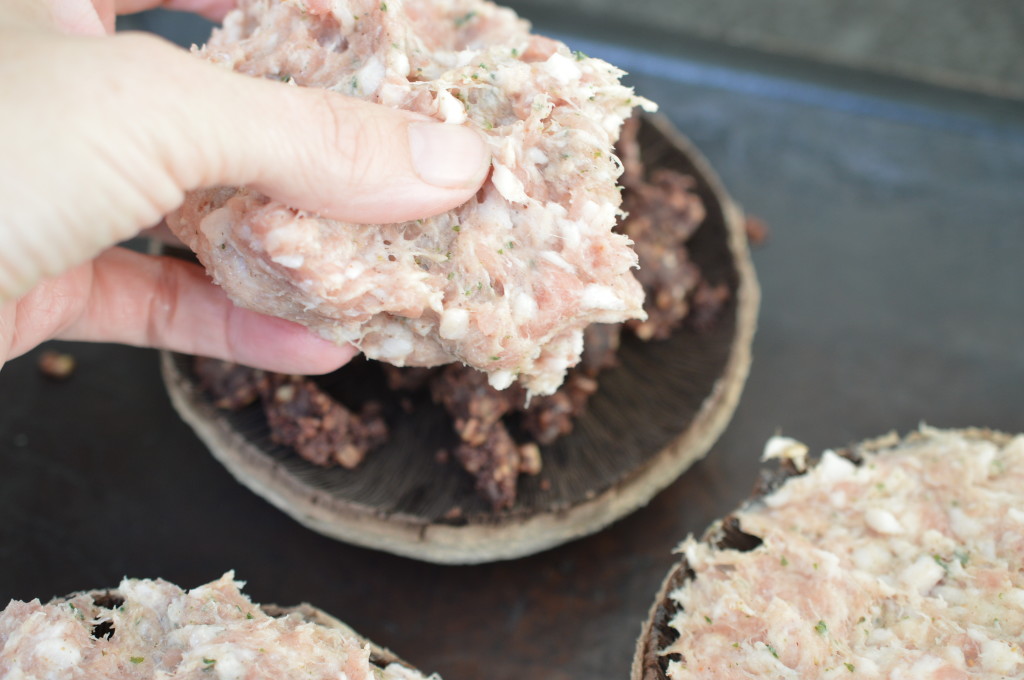
Cut into cubes and encourage into crumbs.  Divide the black pudding between the mushrooms.

DSC_0567

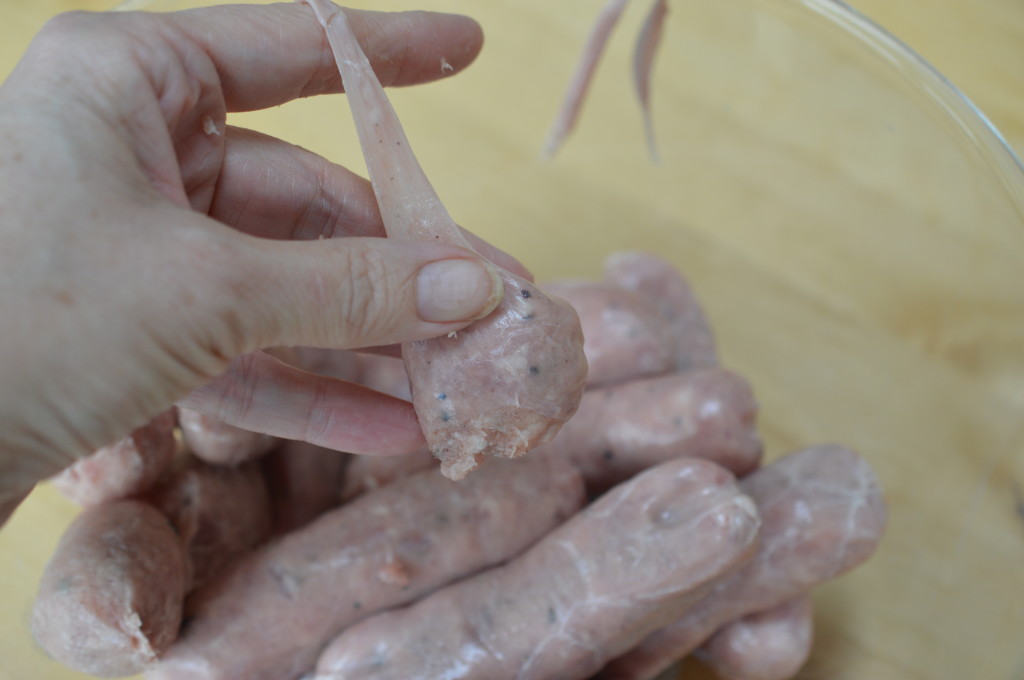
There really isn’t a way of making the next part photogenic.  Remove the sausage-meat from the casings.  Roughly one sausage per mushroom.  Mix together with a fork.  It’s a much nicer texture if you don’t compact it down into a heavy lump.

Breakfast Mushroom 6

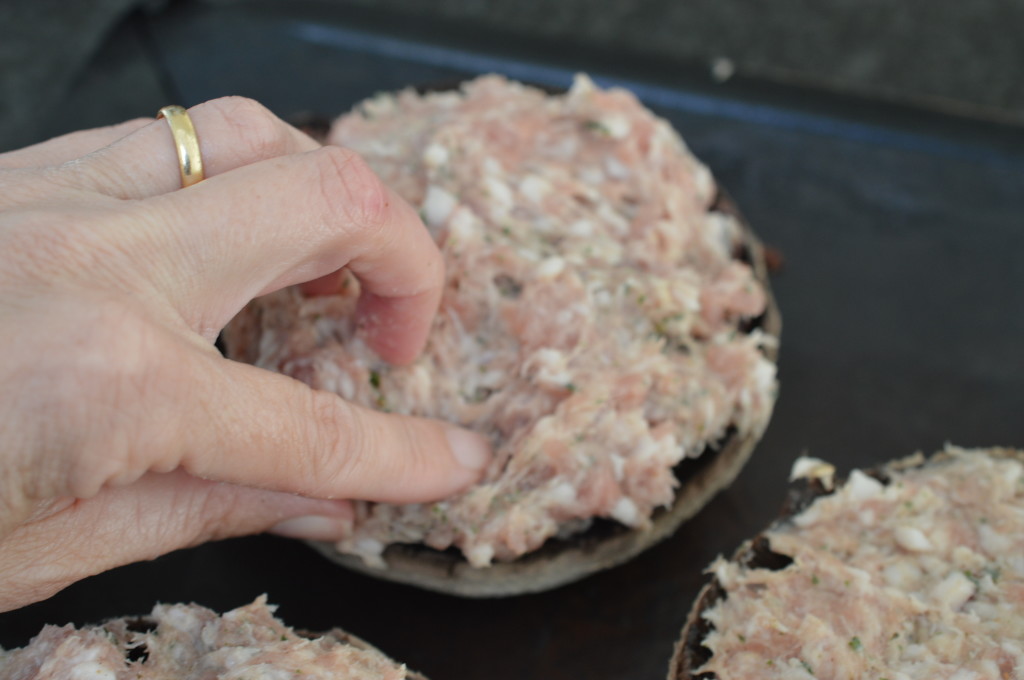
Form into patties and place on top of the black pudding (or cheese if that’s what you’ve decided).

Breakfast Mushroom 7

Ease the meat to the edges of the mushrooms.

DSC_0230

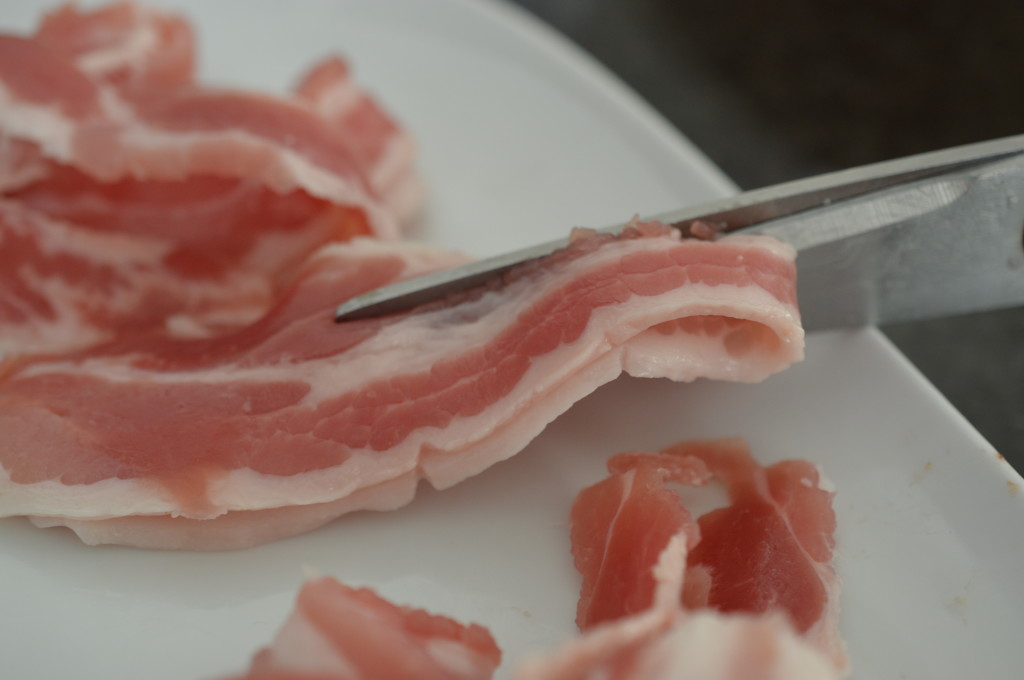
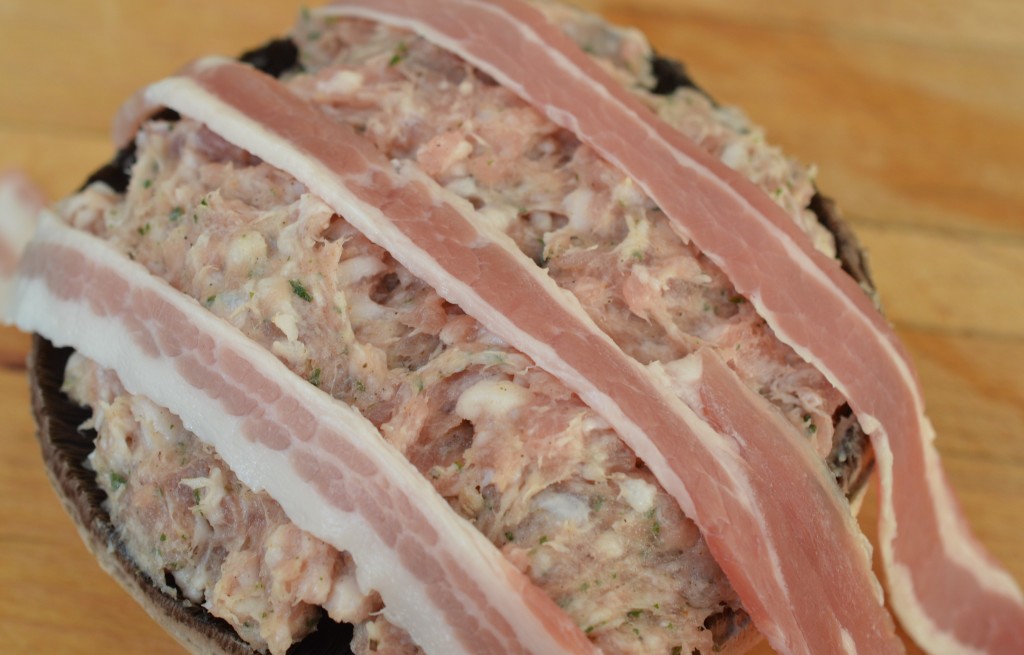
Now it’s the streaky bacon.  You could lay bacon very simply across the top, but making a lattice looks pretty.  Cut each strip in half.

Breakfast Mushroom 12

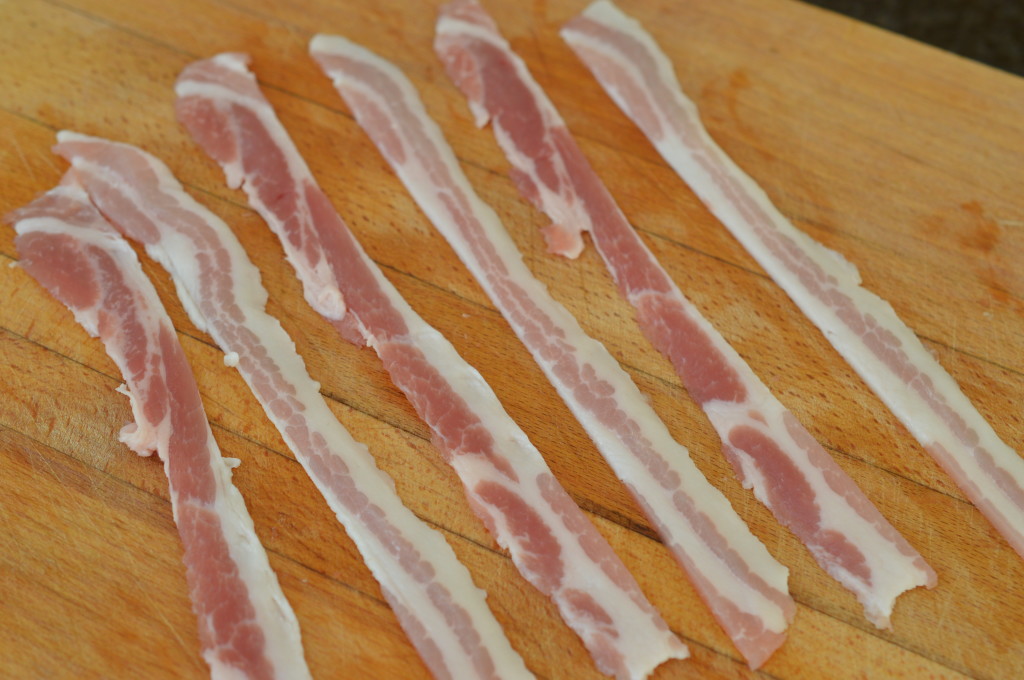
So, that’s three rashers of bacon, cut in half.

Breakfast Mushroom 8

Lay three on top of the sausage-meat.

Breakfast Mushroom 9

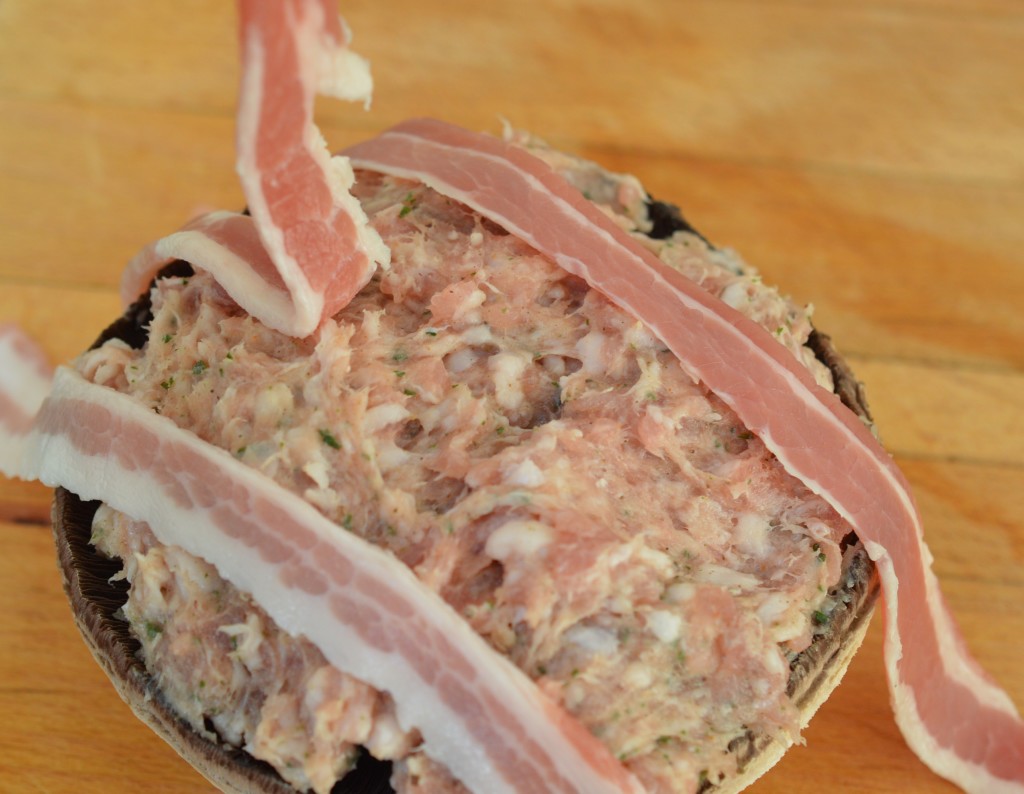
Lift up the central strip.

Breakfast Mushroom 10

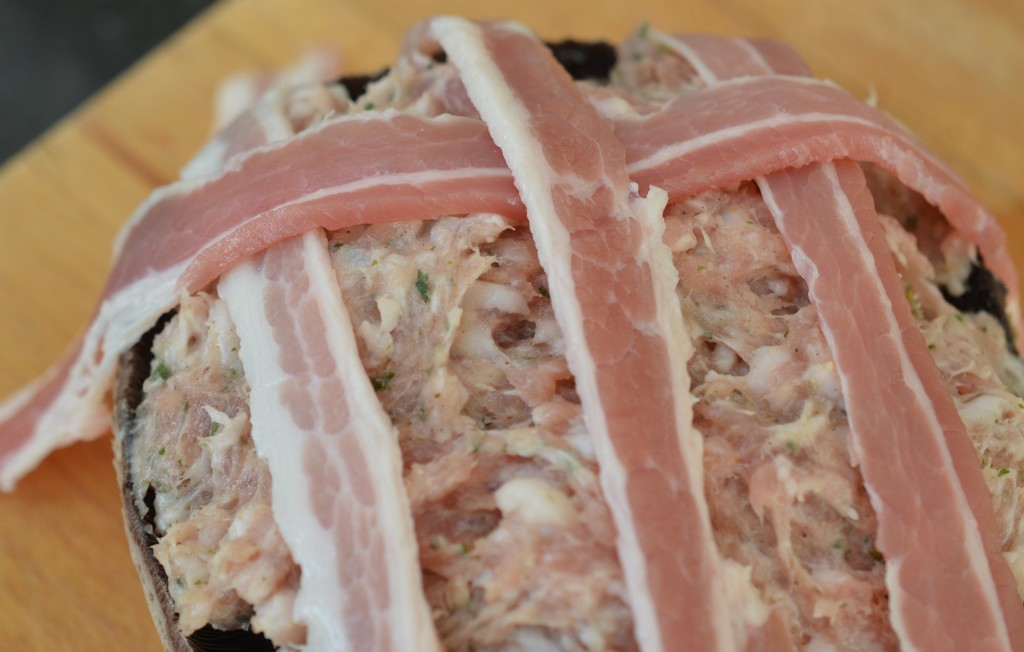
Place another bacon strip across horizontally and replace the central strip into position.  Then fold back the two outside strips and lay the fifth bacon strip across horizontally, returning the folded back strips back into place.

Breakfast Mushroom 11

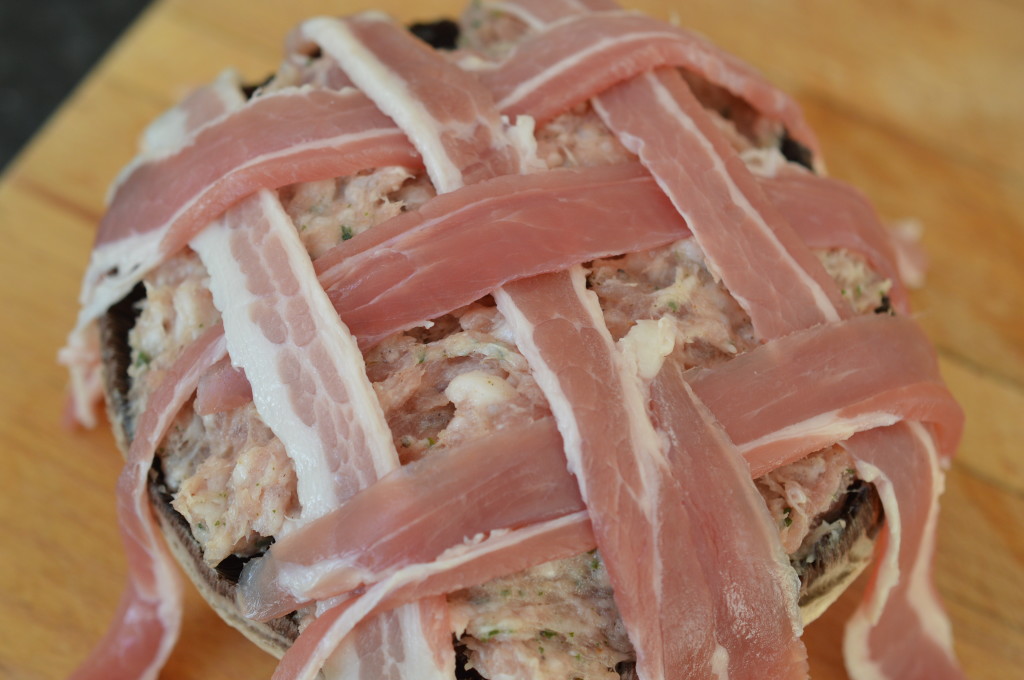
Finally, the central strip is folded back and the final piece of bacon placed horizontally.

Breakfast Mushroom 13

Tuck the ends underneath the mushroom and place on a baking sheet.

Breakfast Mushroom 14

And on to the next one …

Cover with cling film and pop into the fridge.  They’ll happily keep overnight.

Breakfast Mushroom 15

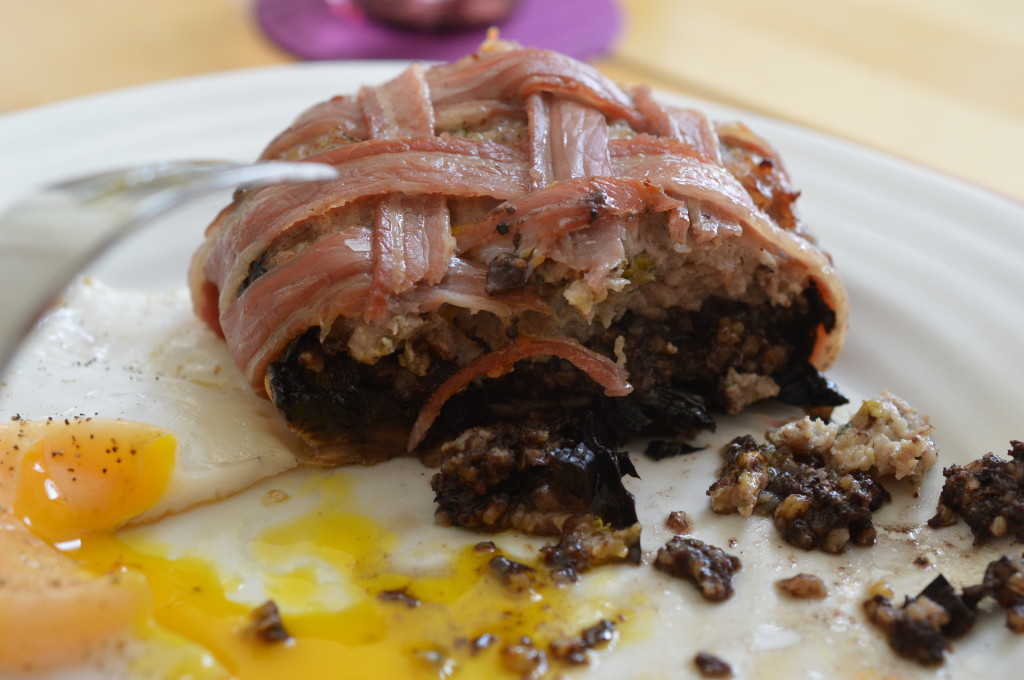
Even the earliest breakfast doesn’t feel much work now.  I like to have that first all-important cup of tea and, while that’s happening, I take my Breakfast Mushrooms out of the fridge and let everything return to room temperature.

Tomatoes can be cooked on the same tray.  Depending on their size you may have to remove them a little before the Breakfast Mushrooms.  Mine took 30 minutes in a hot oven (Aga Roasting Oven – 2nd set of runners).

Conventionally,  200ºC/Gas Mark 6/400ºF for 30 minutes.

Breakfast Mushroom 17

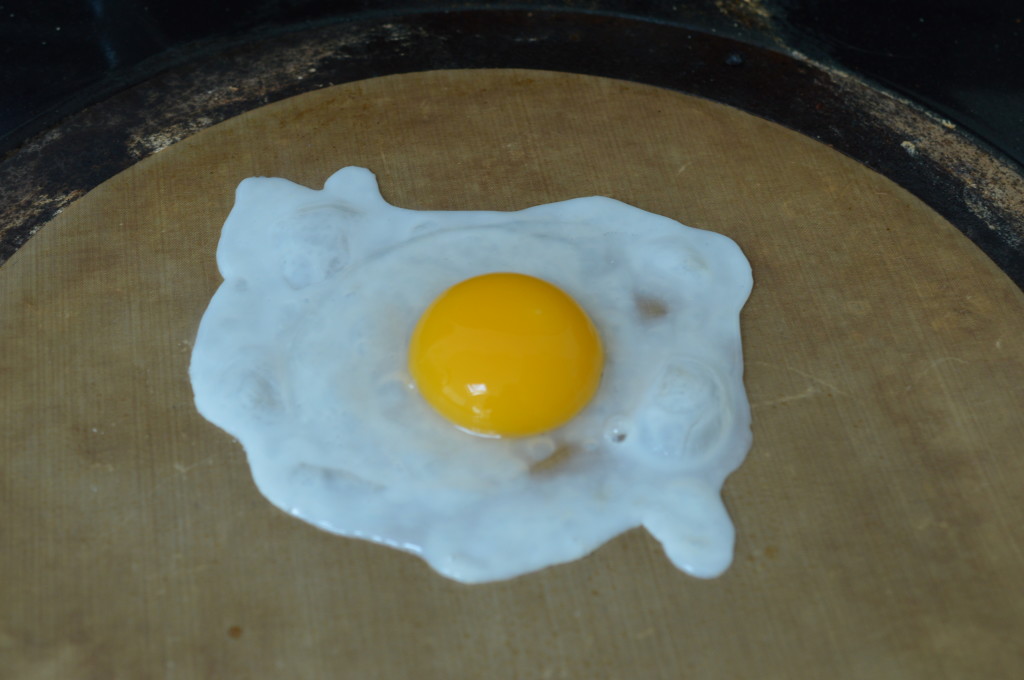
Coffee on!  I cook my eggs without oil on a piece of bake ‘o glide on the Simmering Plate.  (For a party trick, you can close the lid.  Always shocks everyone .. and you end up with a ‘sunny-side down’ effect.)

Breakfast Mushroom 21

Eat.
Breakfast Mushroom 18Breakfast Mushroom

Serves 1 – easily multiplied

  • 1 large flat mushroom
  • slice of black pudding
  • 1 breakfast sausage
  • 3 rashers of streaky bacon

Brush the mushroom free of any dirt, peel and de-stalk.  Crumble black pudding over the gills.

Remove the sausage-meat from its casing and break up with a fork.  Form into a loose patty and place on top of the black pudding.  Ease the meat across to the edge of the mushroom.

Cut each slice of streaky bacon in half and arrange all six strips in a lattice effect over the top of the sausage-meat.  Tuck the ends under and place on a baking sheet.

Cover with cling film and place in the fridge until needed.

To cook:  Allow everything to return to room temperature and pre-heat the oven to 200ºC/Gas Mark 6/400ºF.  Cook for 30 minutes.  Aga:  Roasting Oven on 2nd set of runners for 30 minutes.

Serve with fried egg and roasted tomatoes.  Eat.

Print.