Home-Made Mayonnaise

Home-made mayonnaise is another of those life enhancing things I prefer not to live without.  It tastes so much better than anything you can buy, but this recipe comes with a warning.  Much like Hollandaise Sauce, making it means you can no longer hide from yourself the amount of oil that goes into it.  That’s all to the good, really.  Just knowing it’s ‘naughty’ only adds to the deliciousness.

Mayonnaise in parfait jar

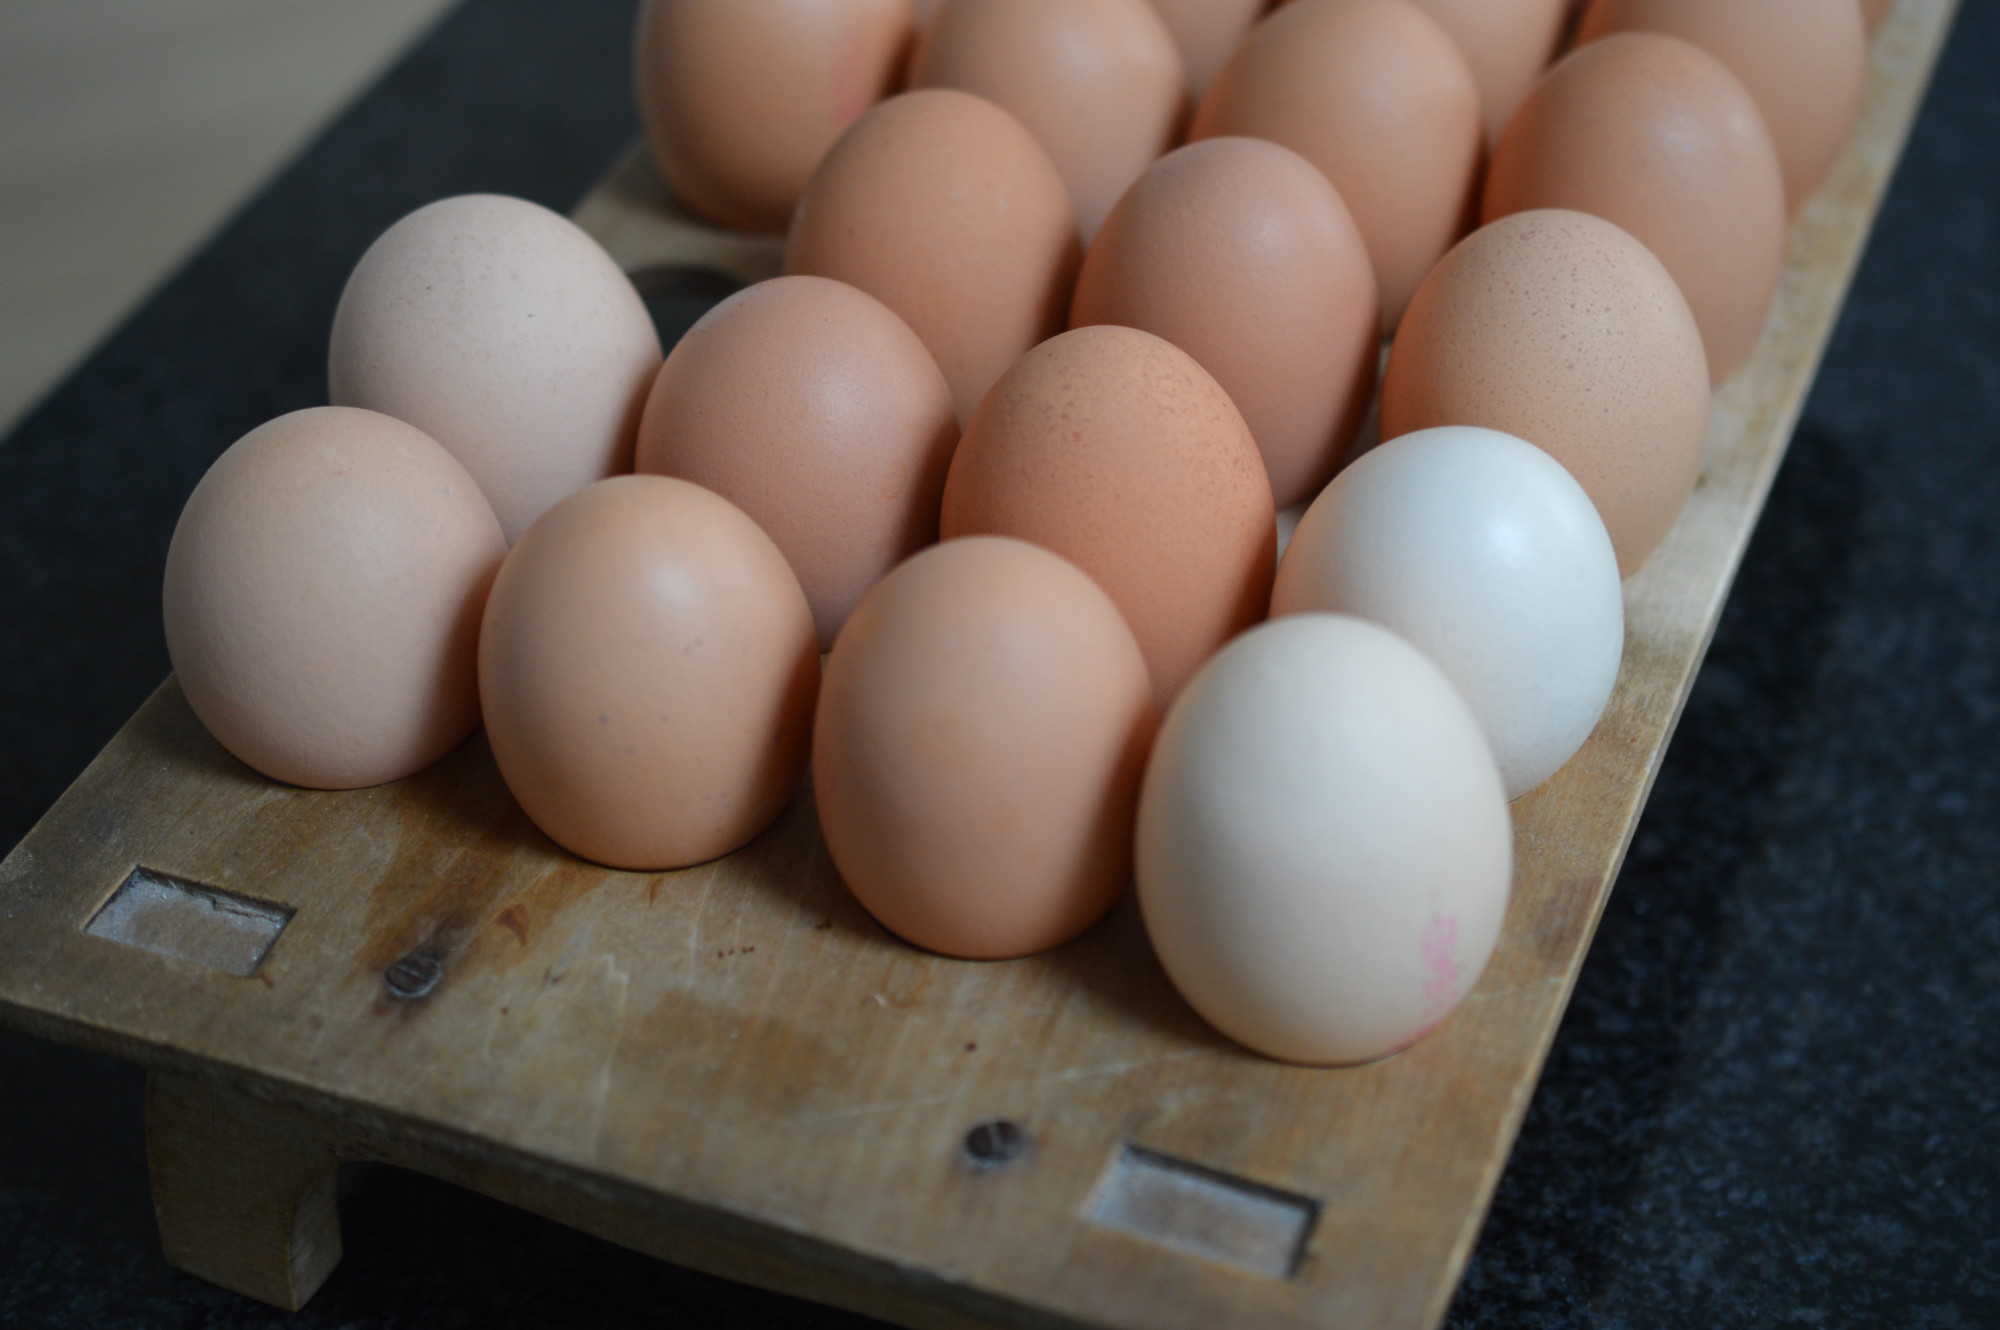
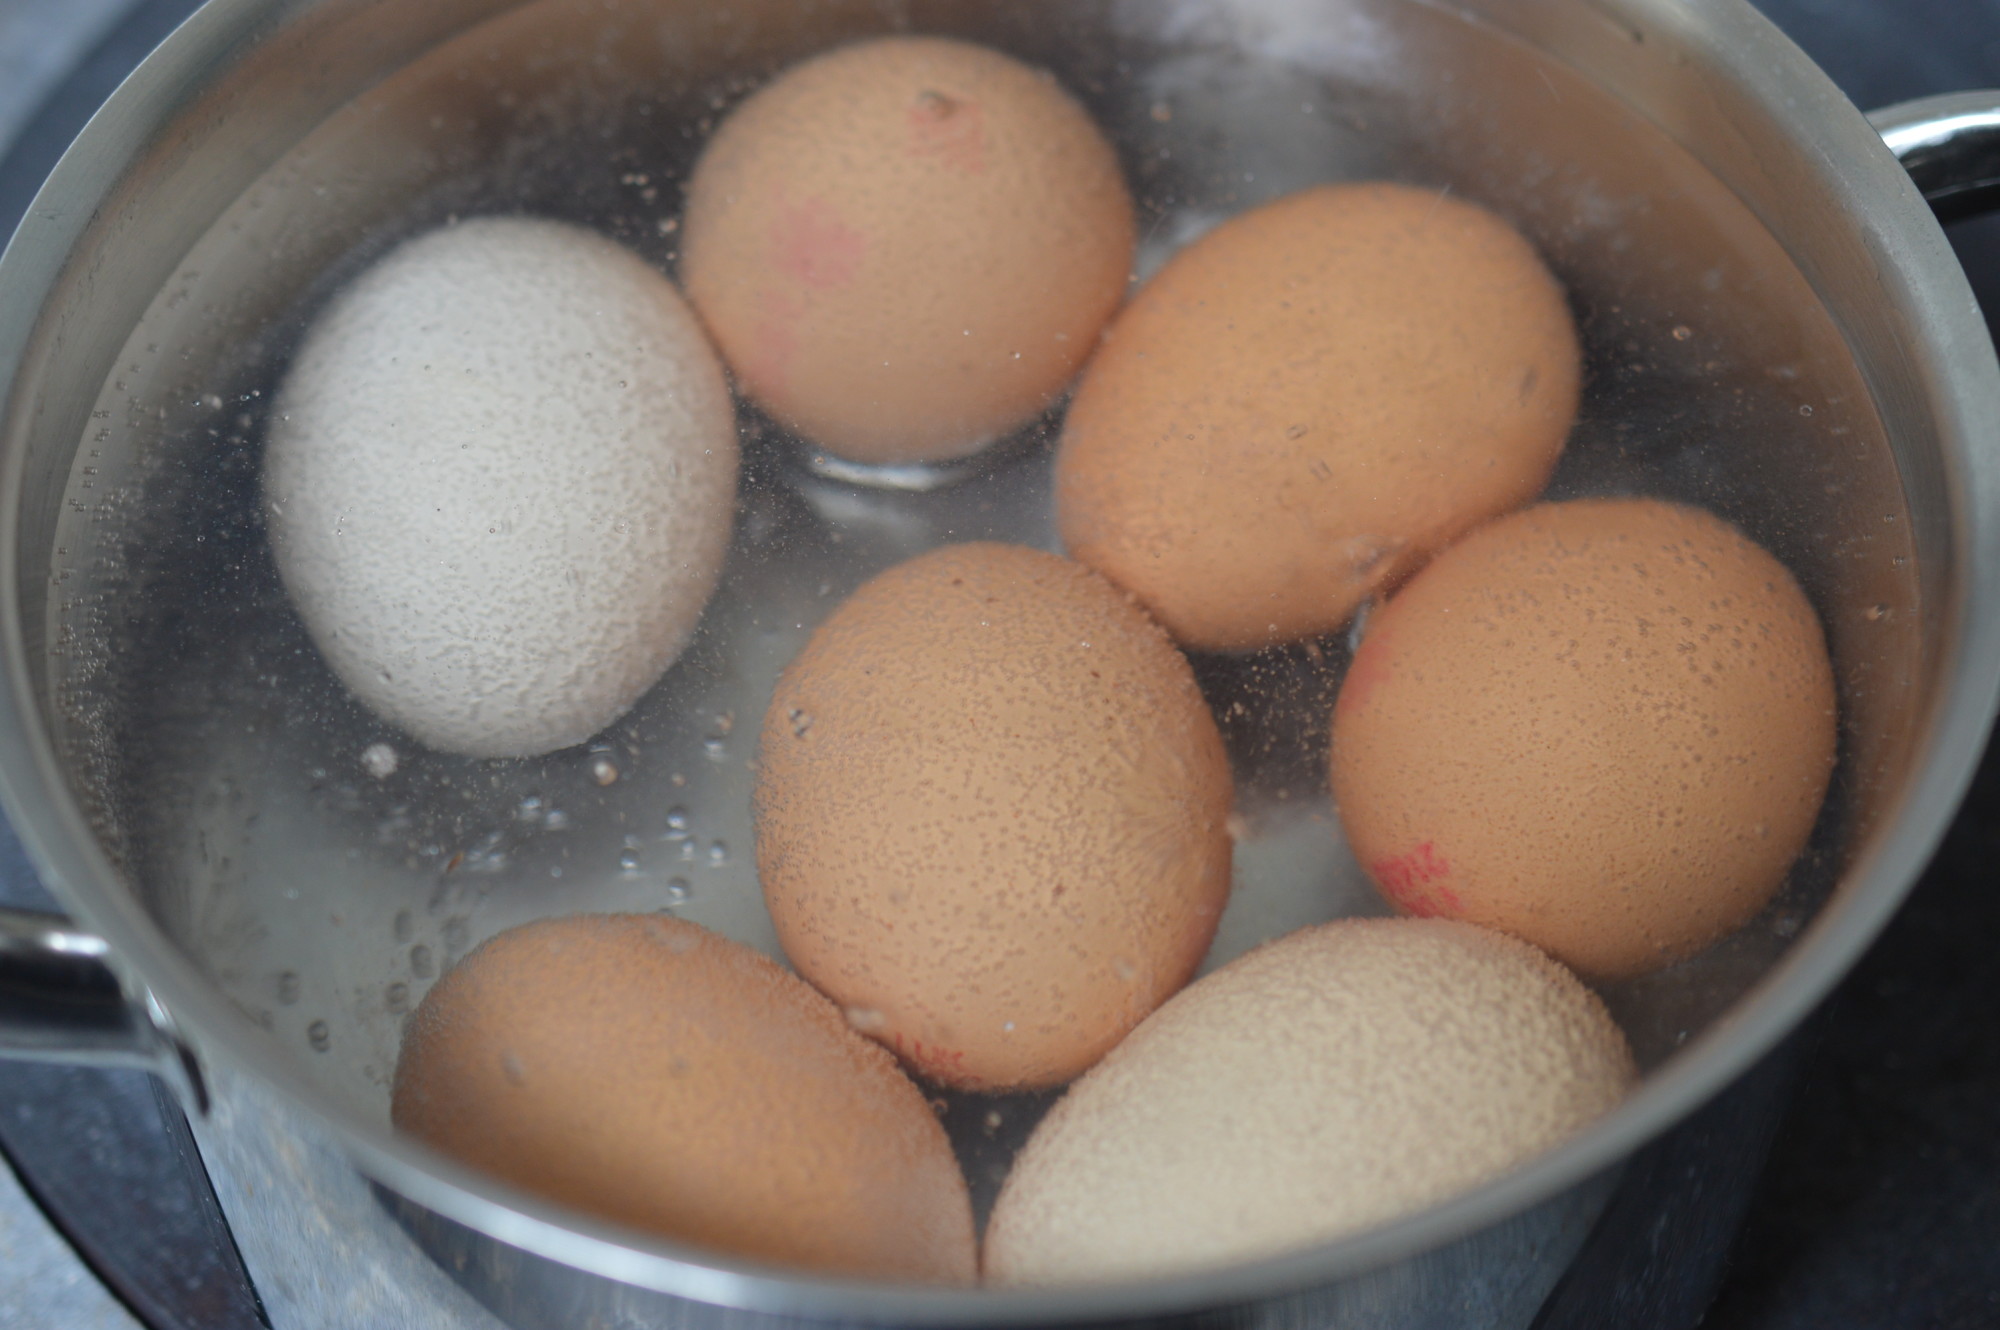
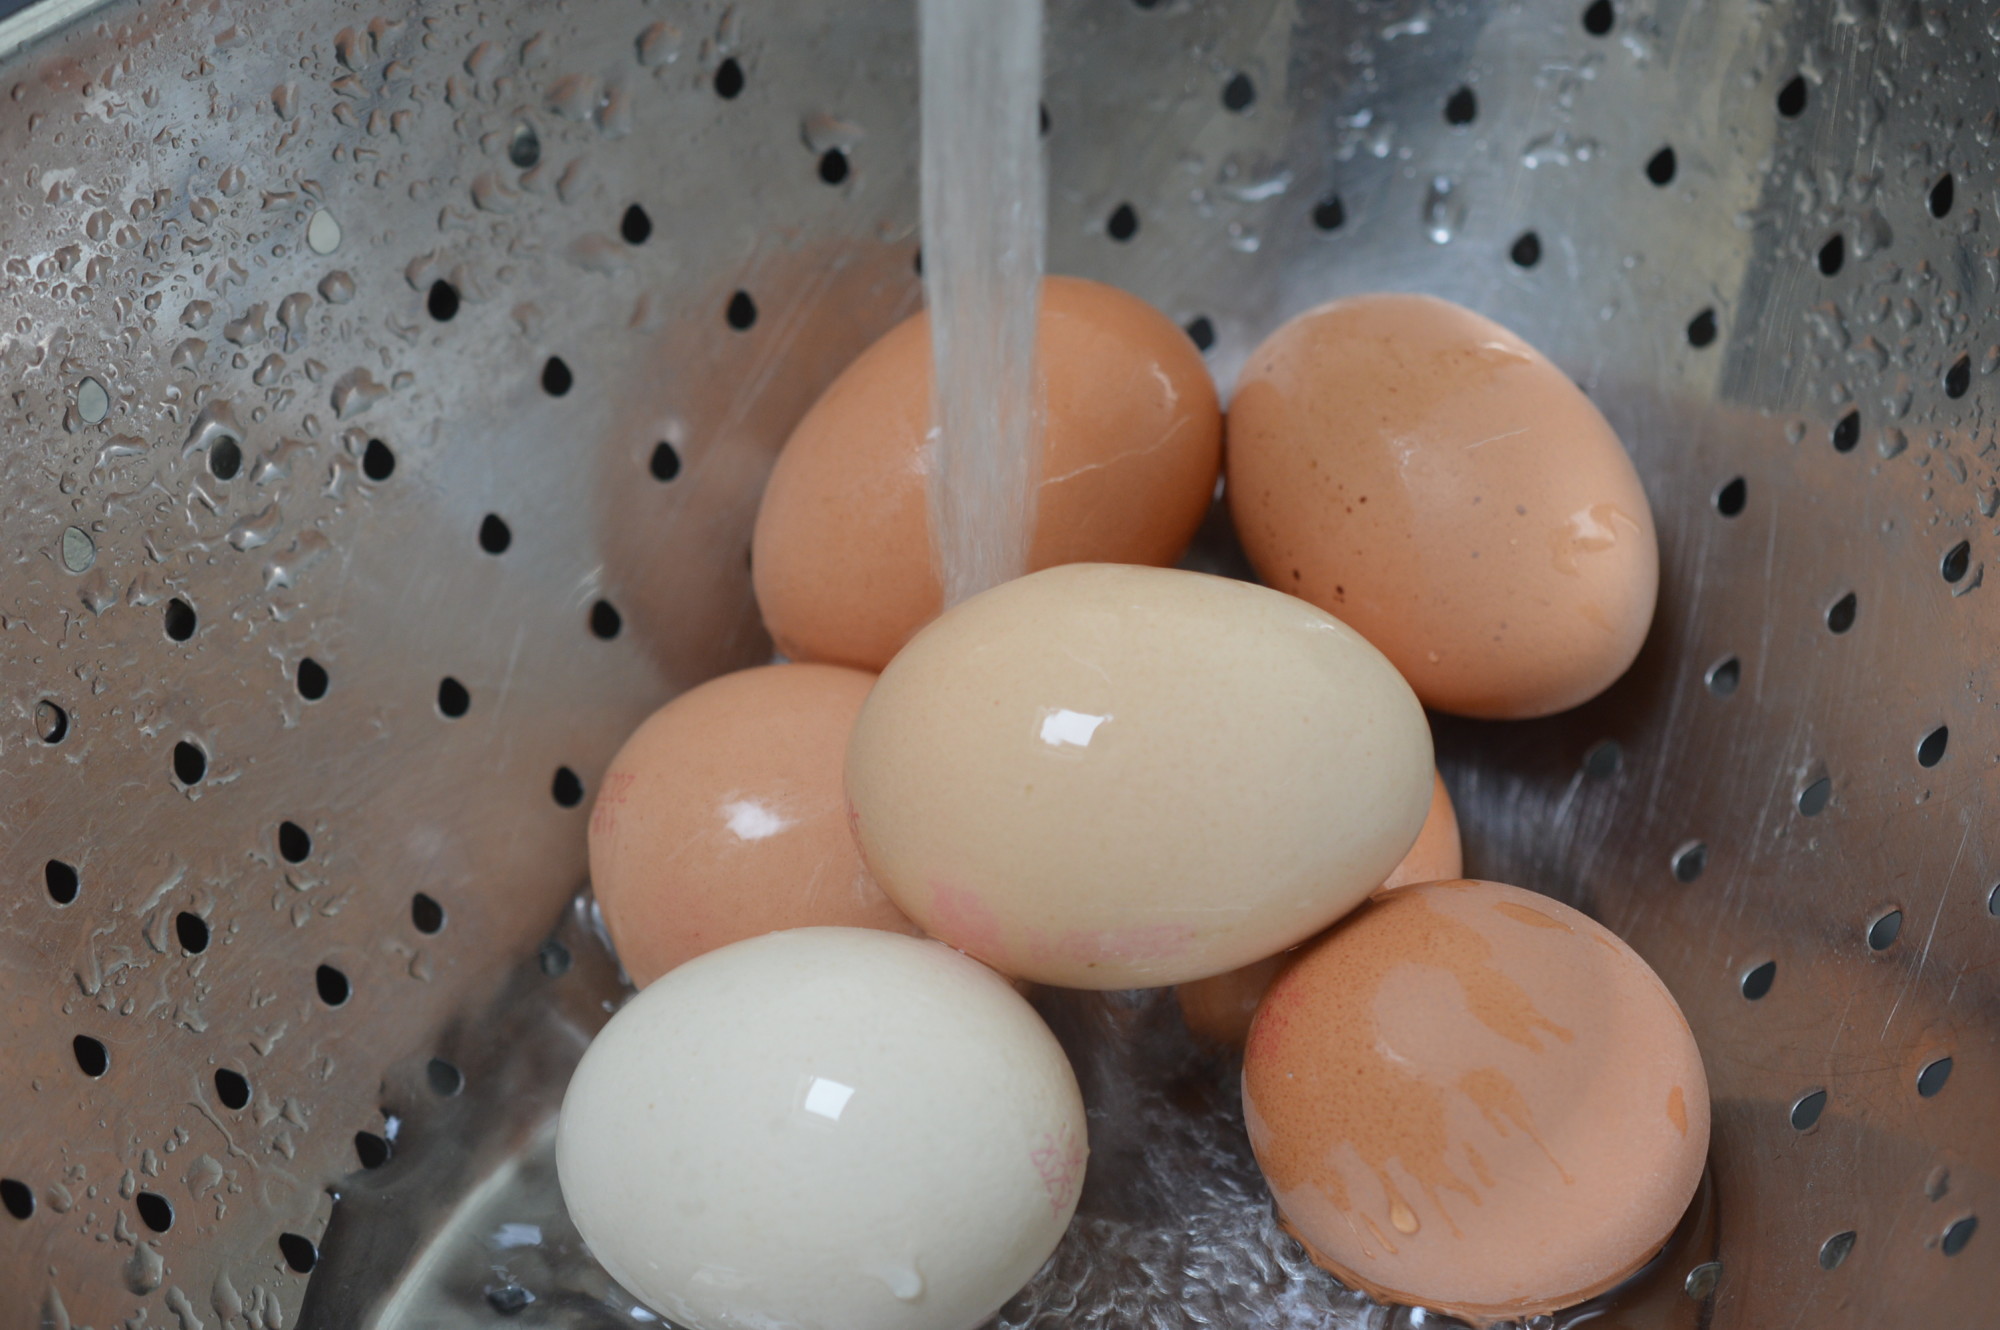
Since it contains raw egg, UK guidelines recommend ‘at risk’ people use pasteurised eggs to avoid the possibility of salmonella poisoning.  The at risk groups are the very young, the elderly, pregnant women and anyone who is already unwell.  If you decide to take the risk, you can minimise it by buying eggs from a reputable source, rinsing the shells before you crack them (UK eggs are sold unwashed by law) and washing your hands once you’ve finished handling them.

Considering we are a ‘living with cancer family’ it may surprise you to know we do take the risk.  Life is for living, after all.  Personally, I wouldn’t use it in a sandwich which was going to sit in a hot car for a few hours, but it keeps perfectly well in the fridge for 5 days or so and I’m very fussy about the eggs I use.

Mayonnaise Ingredients

The choice of oil makes a difference to the taste of your mayonnaise and you can play about with it.  A mix of extra virgin olive oil or cold-pressed rapeseed oil and a lighter sunflower or groundnut oil makes the mayonnaise I prefer.  All olive oil mayonnaise can taste bitter.  I tend to use a ratio of 2 parts rapeseed oil and 6 parts sunflower, but a 1:7 might be better with some olive oils.

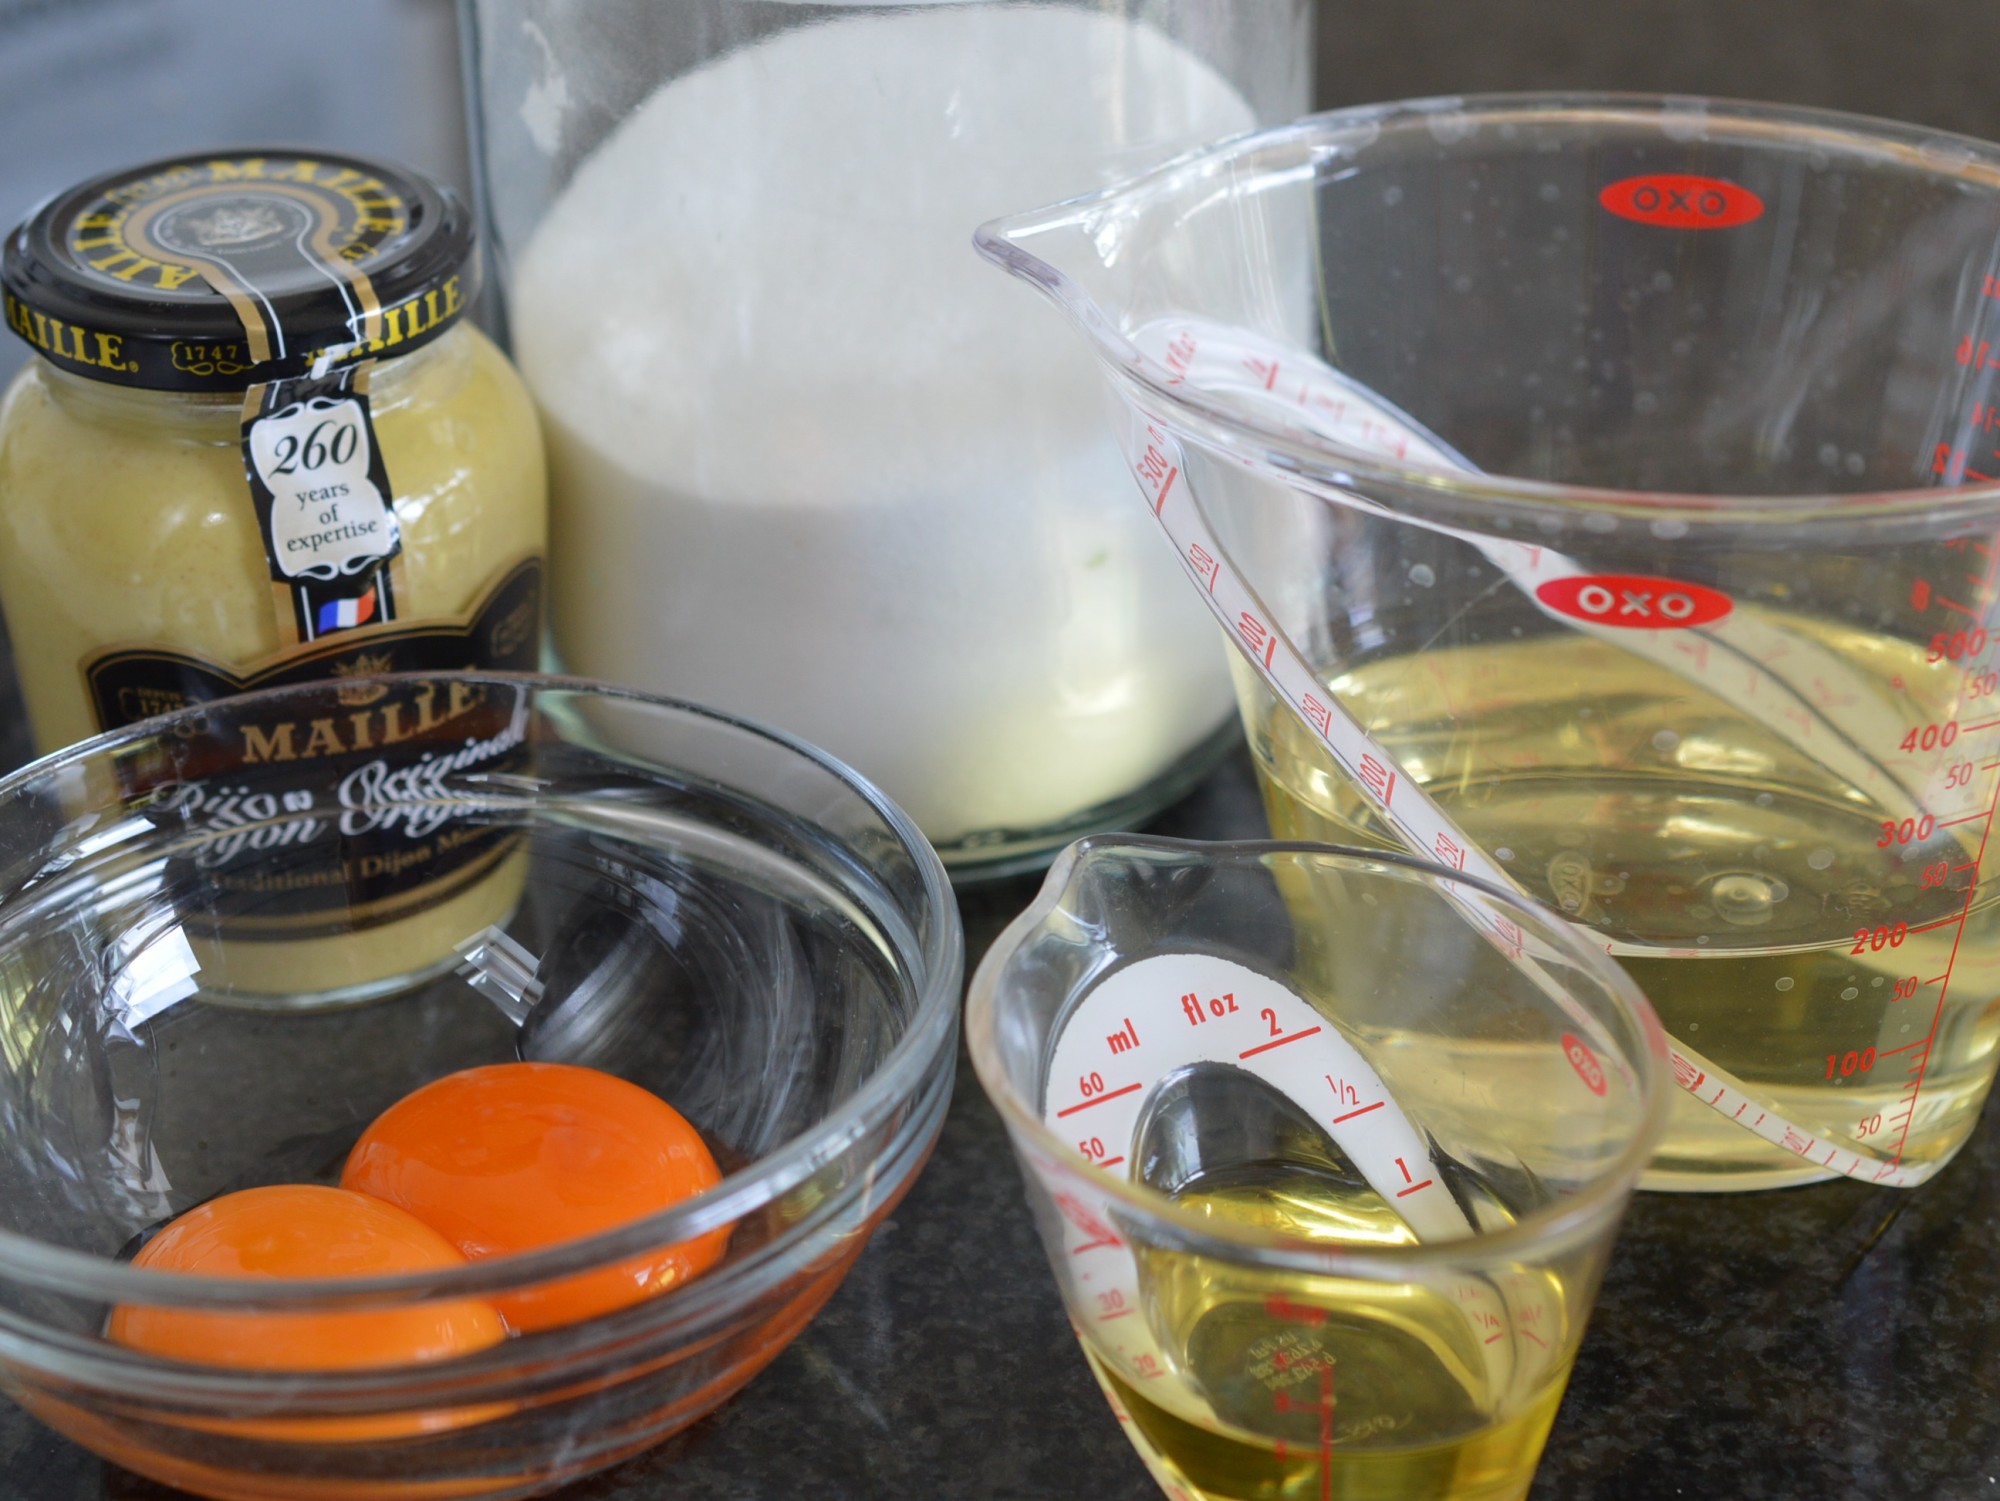
One glance at the side of a jar of commercially produced mayonnaise and you’ll wonder why they feel the need to add colouring and fructose syrup.  The ingredients list is short – and, if you’re comfortable using fluid ounces, it’s super easy to remember.  2 eggs for every 8 fl oz of oil.  In metric it’s a less memorable 225ml of oil.

Mayonnaise with mustard

A freestanding mixer takes the physical effort out of it and it’s how I make mine.  Making it by hand does push the boundaries of my foodie mantra ‘if I’m not prepared to make it, I’m not allowed to eat it’, but it’s entirely possible.  If you’re making this by hand, put a damp j-cloth or tea towel beneath your bowl to keep it steady.  You need one hand to whisk and the other to drip the oil.

Have everything at room temperature.  Mayonnaise is an emulsified sauce and fridge cold eggs increases the risk of everything curdling.

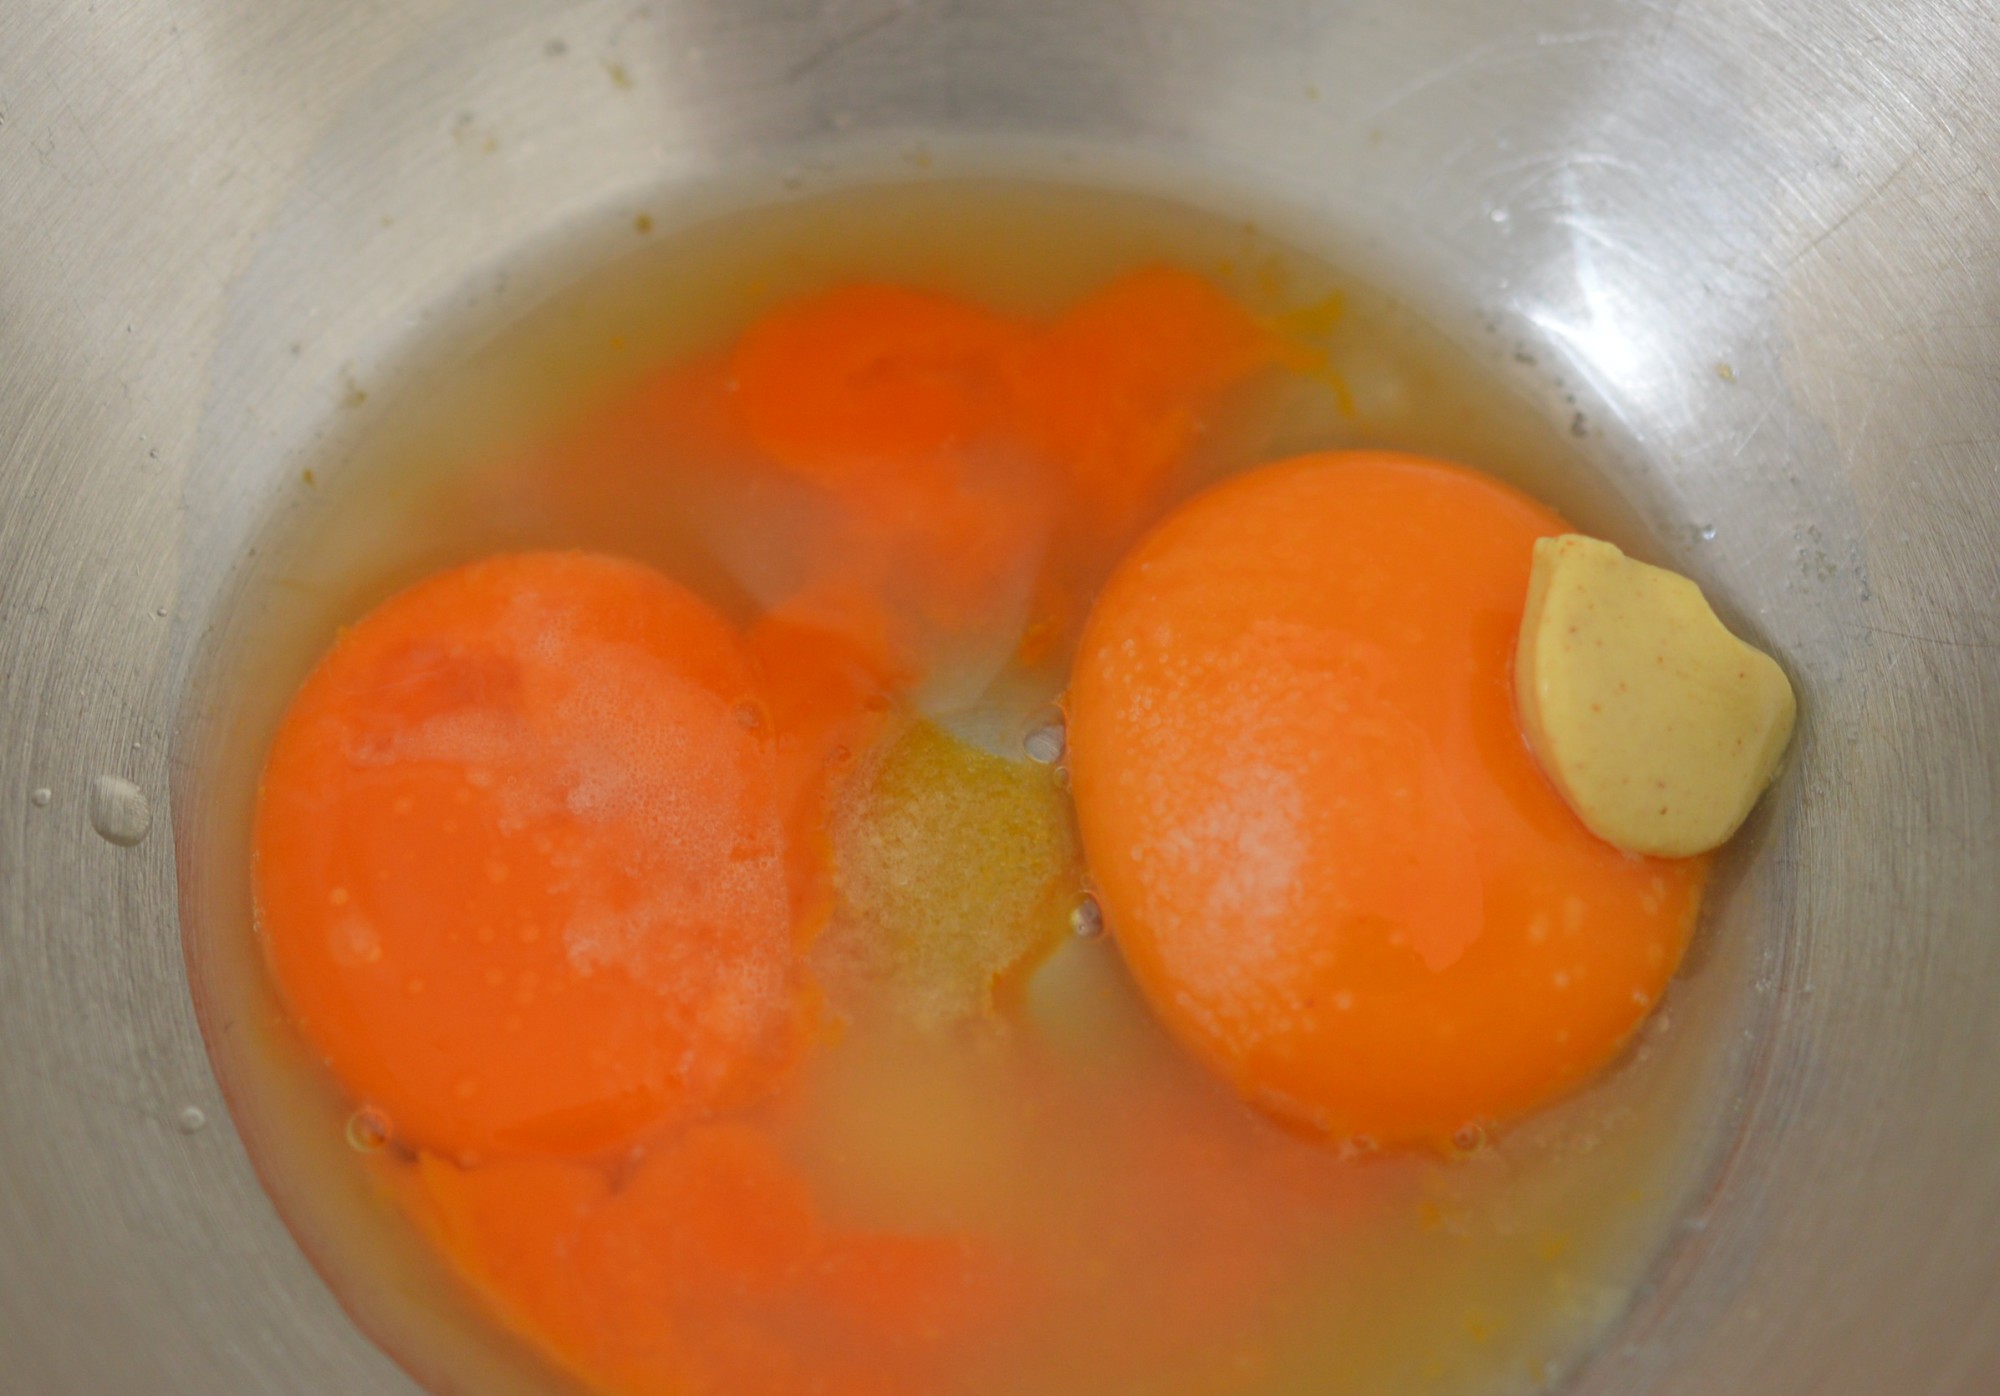
Place the egg yolks in a bowl, together with a dollop of Dijon mustard and a pinch of salt.  I add my ‘acid’ now and it usually takes the form of white wine vinegar.  Lemon juice is a nice alternative, particularly if you’re intending to serve your mayonnaise with fish.

Mayonnaise - stage 1

Give everything a mix together.

Mayonnaise - stage 2

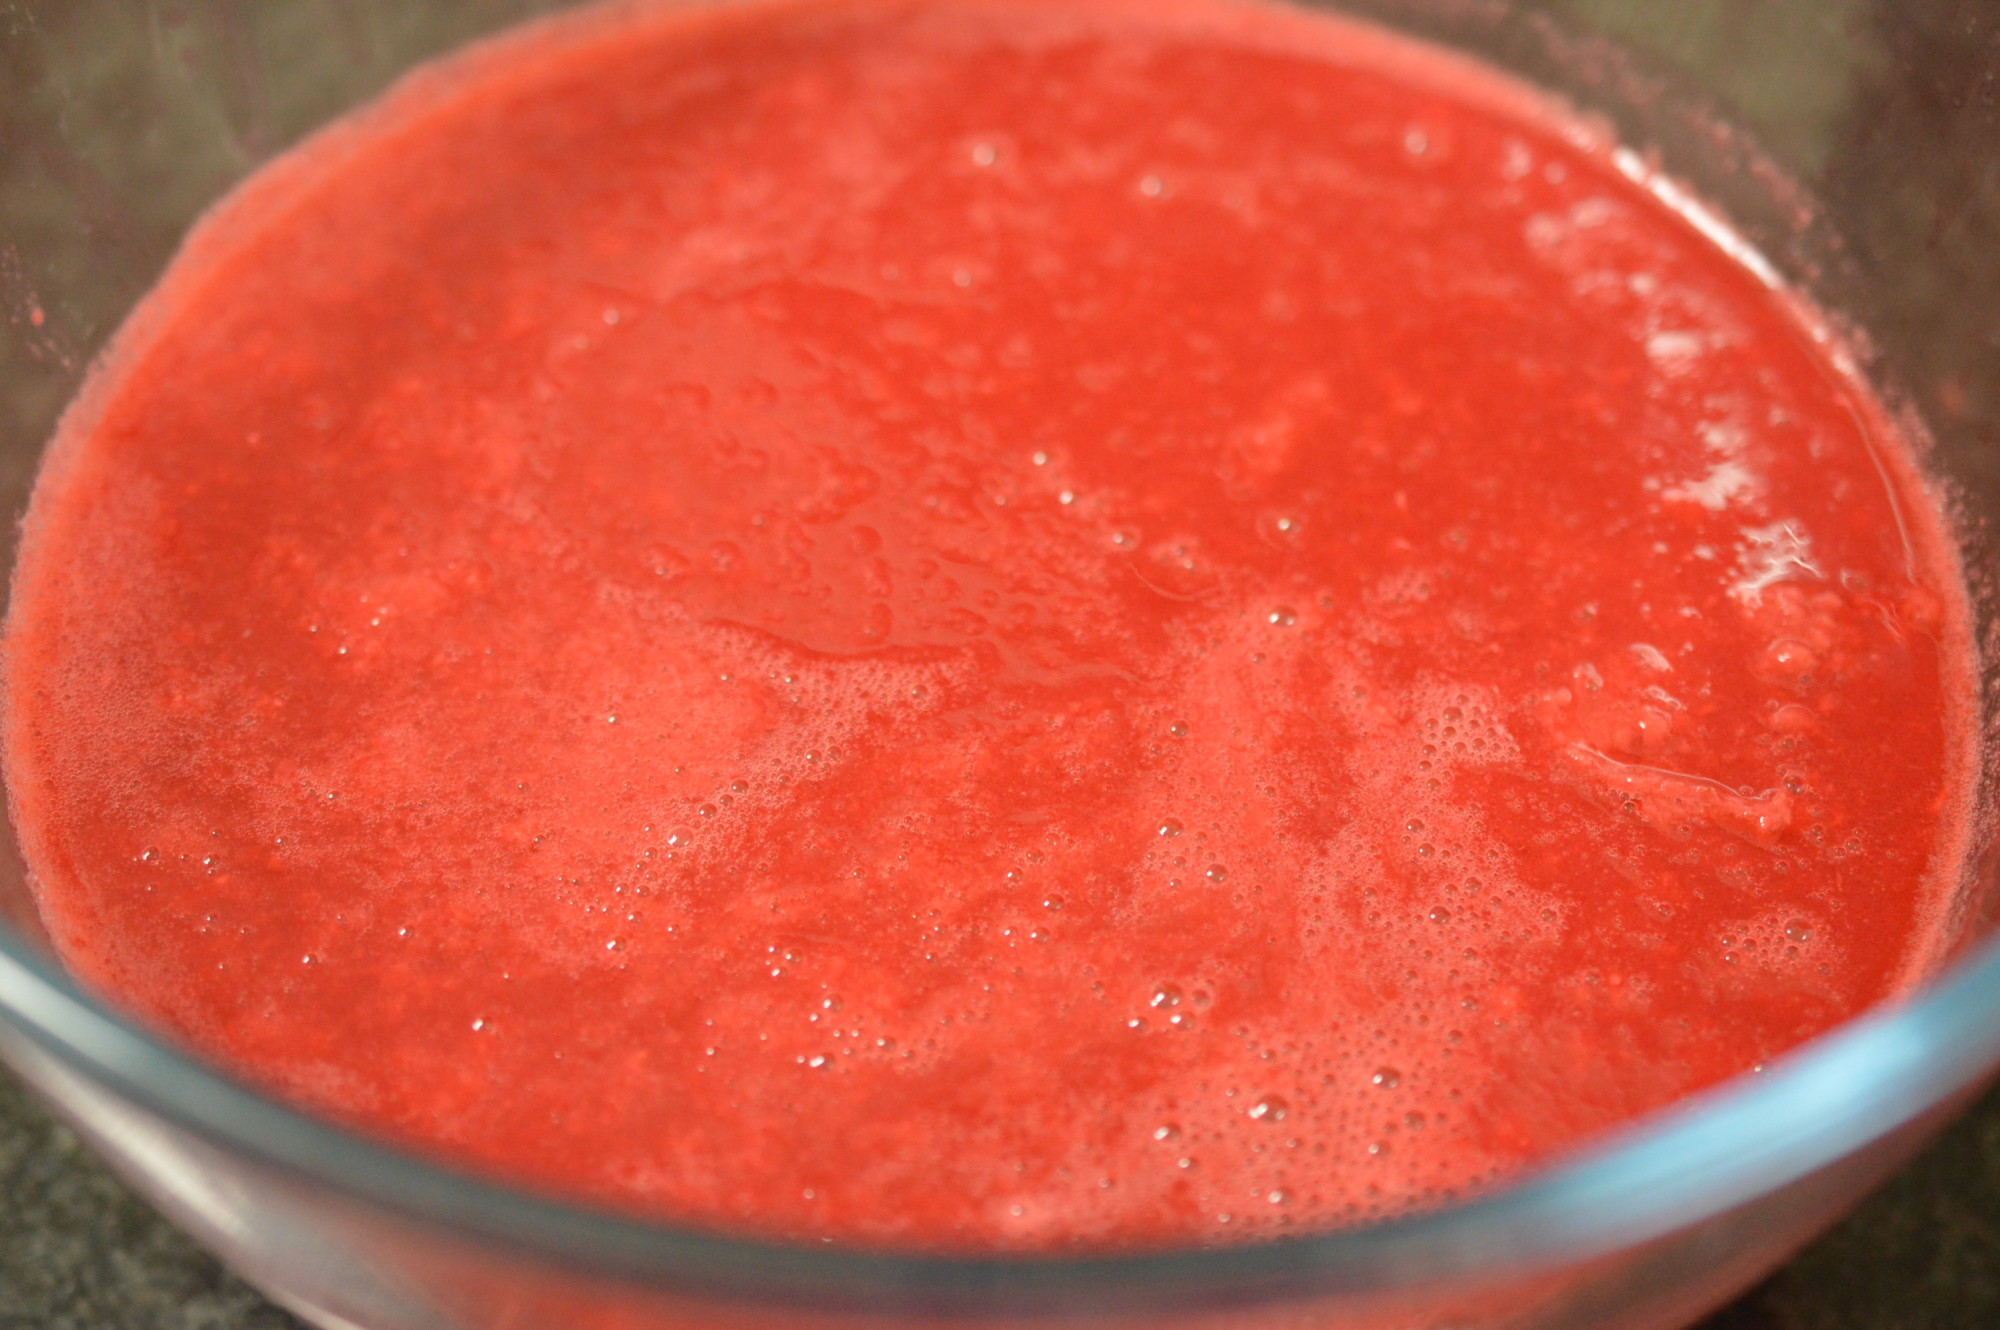
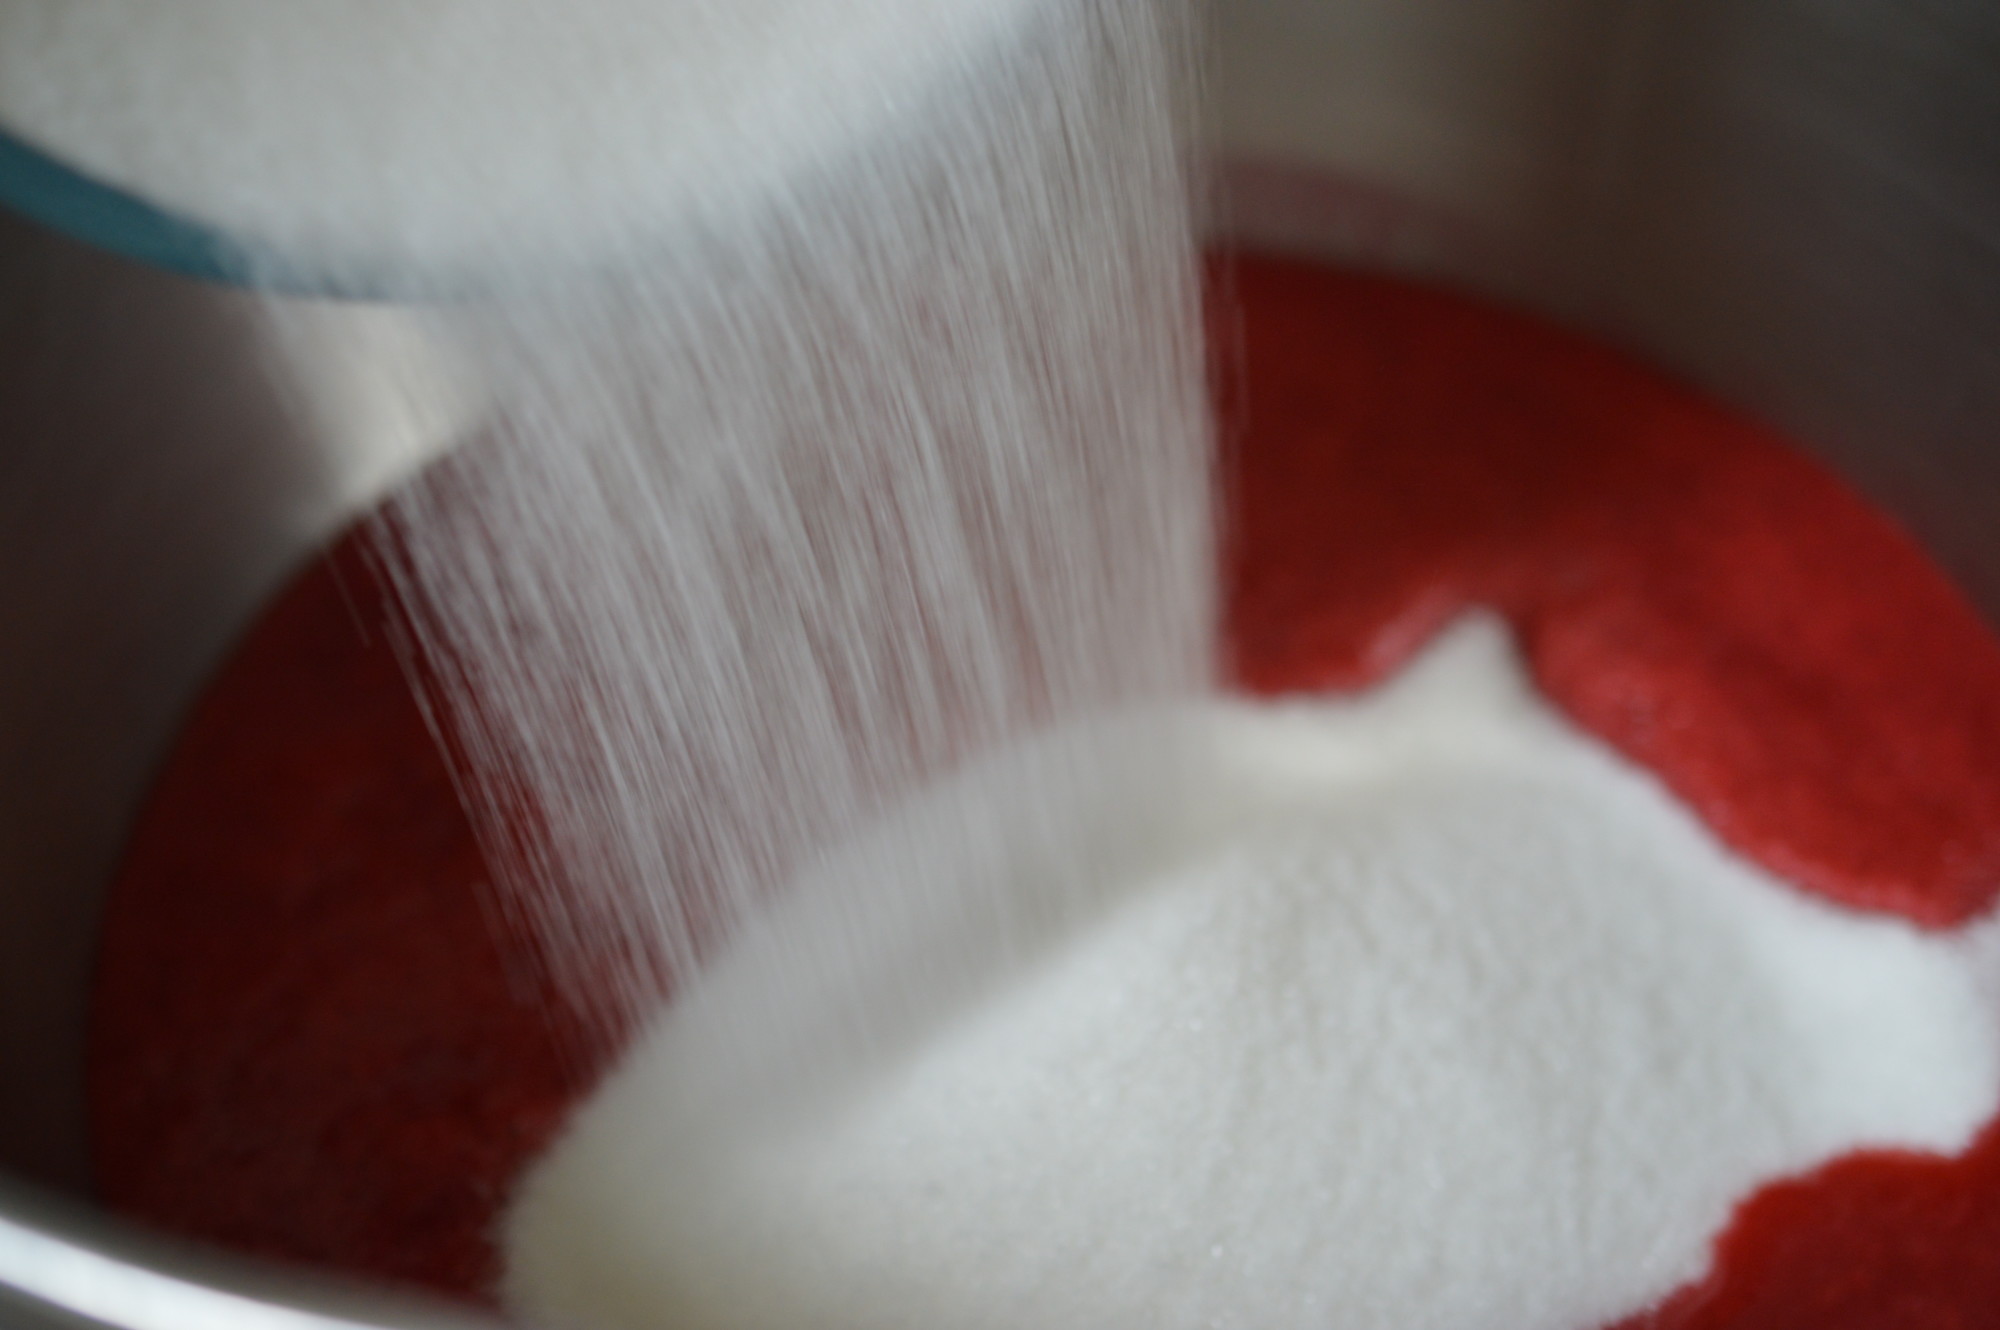
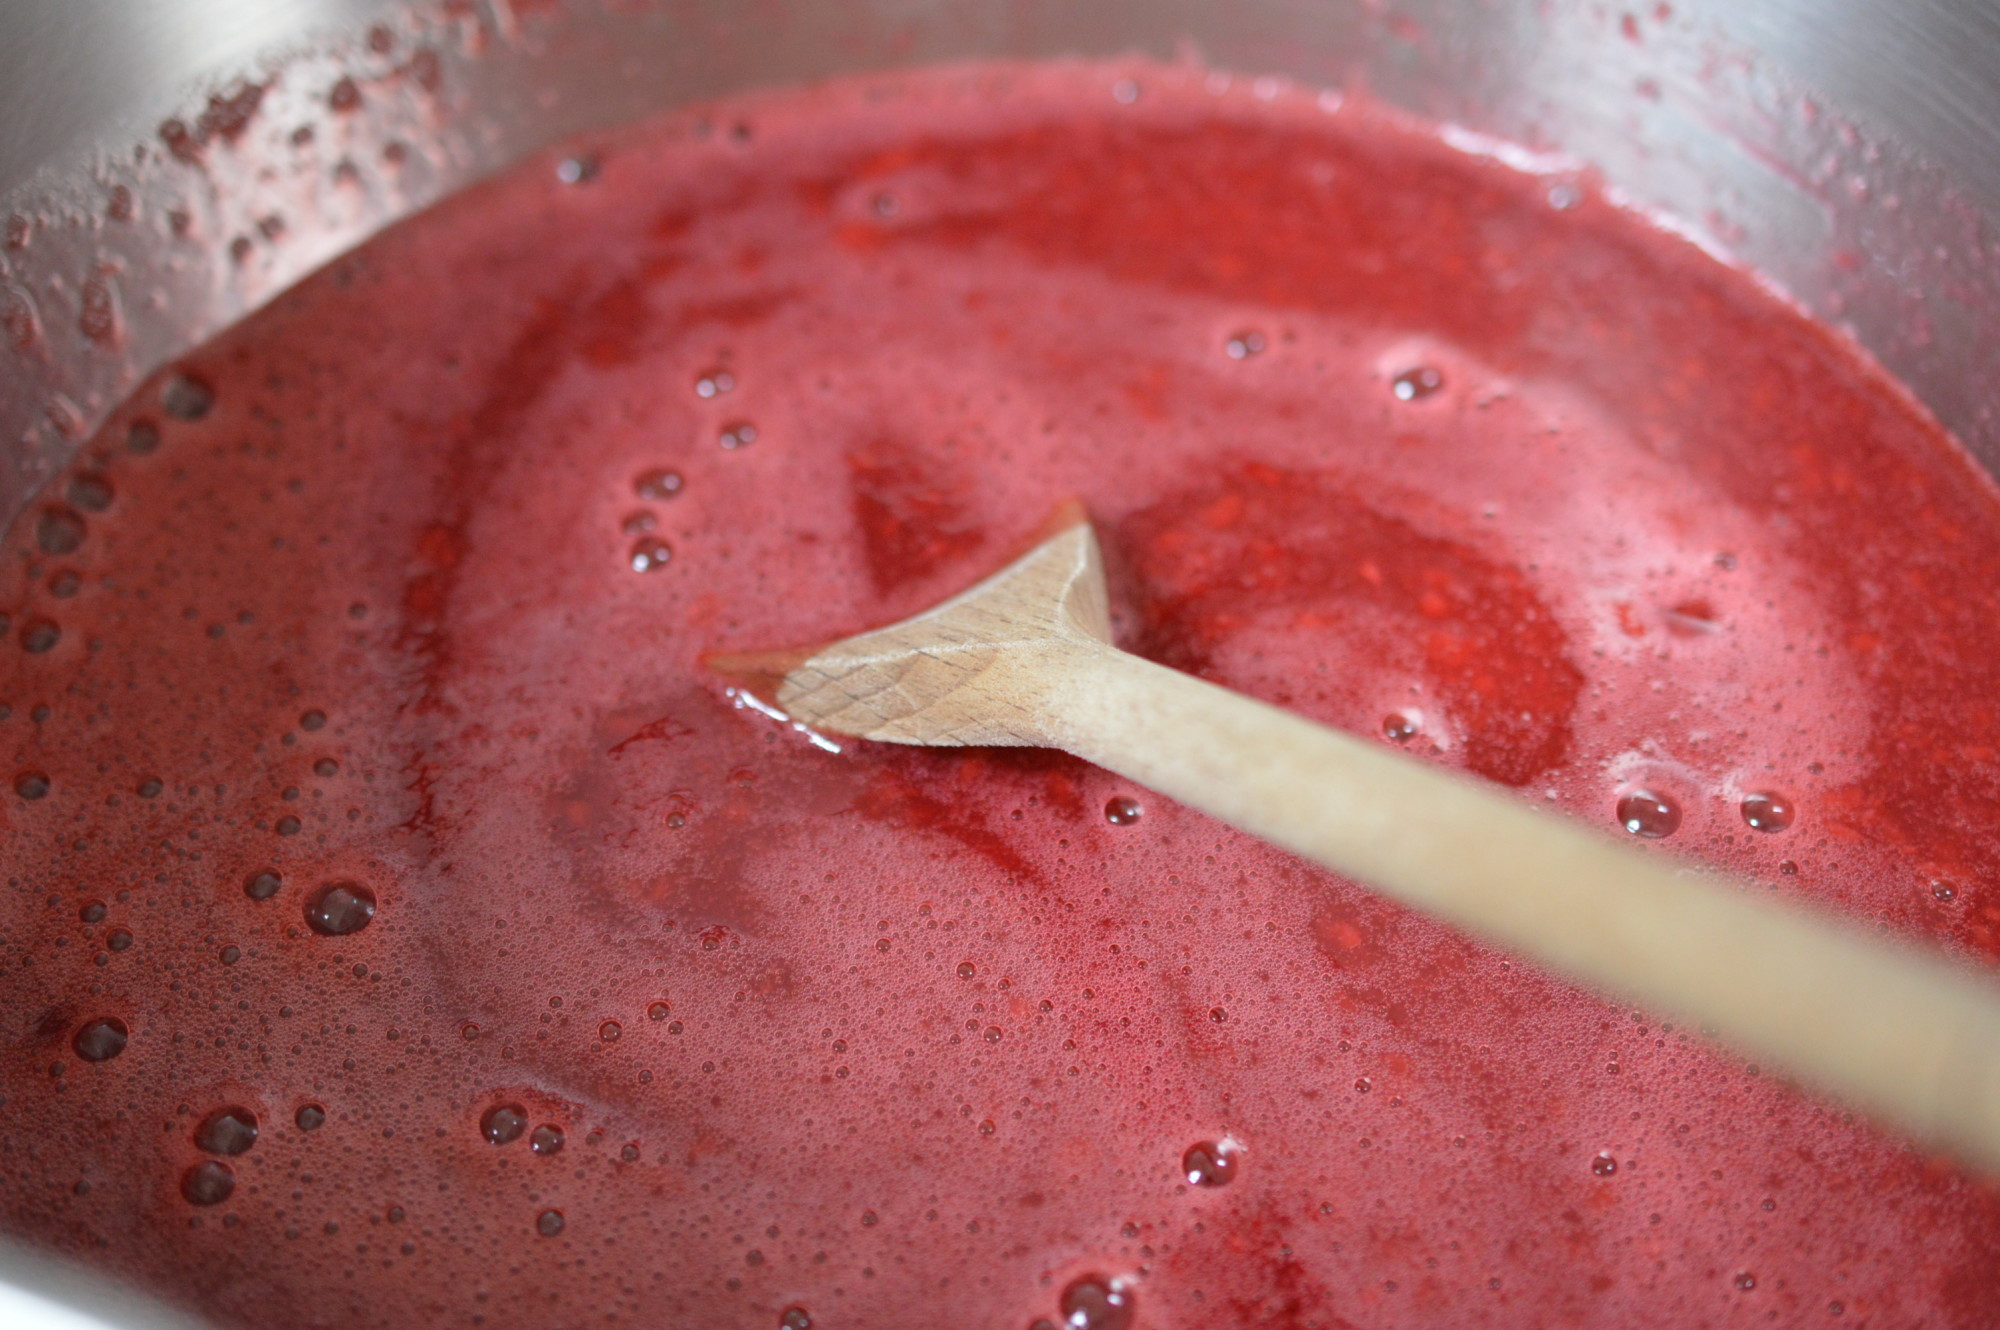
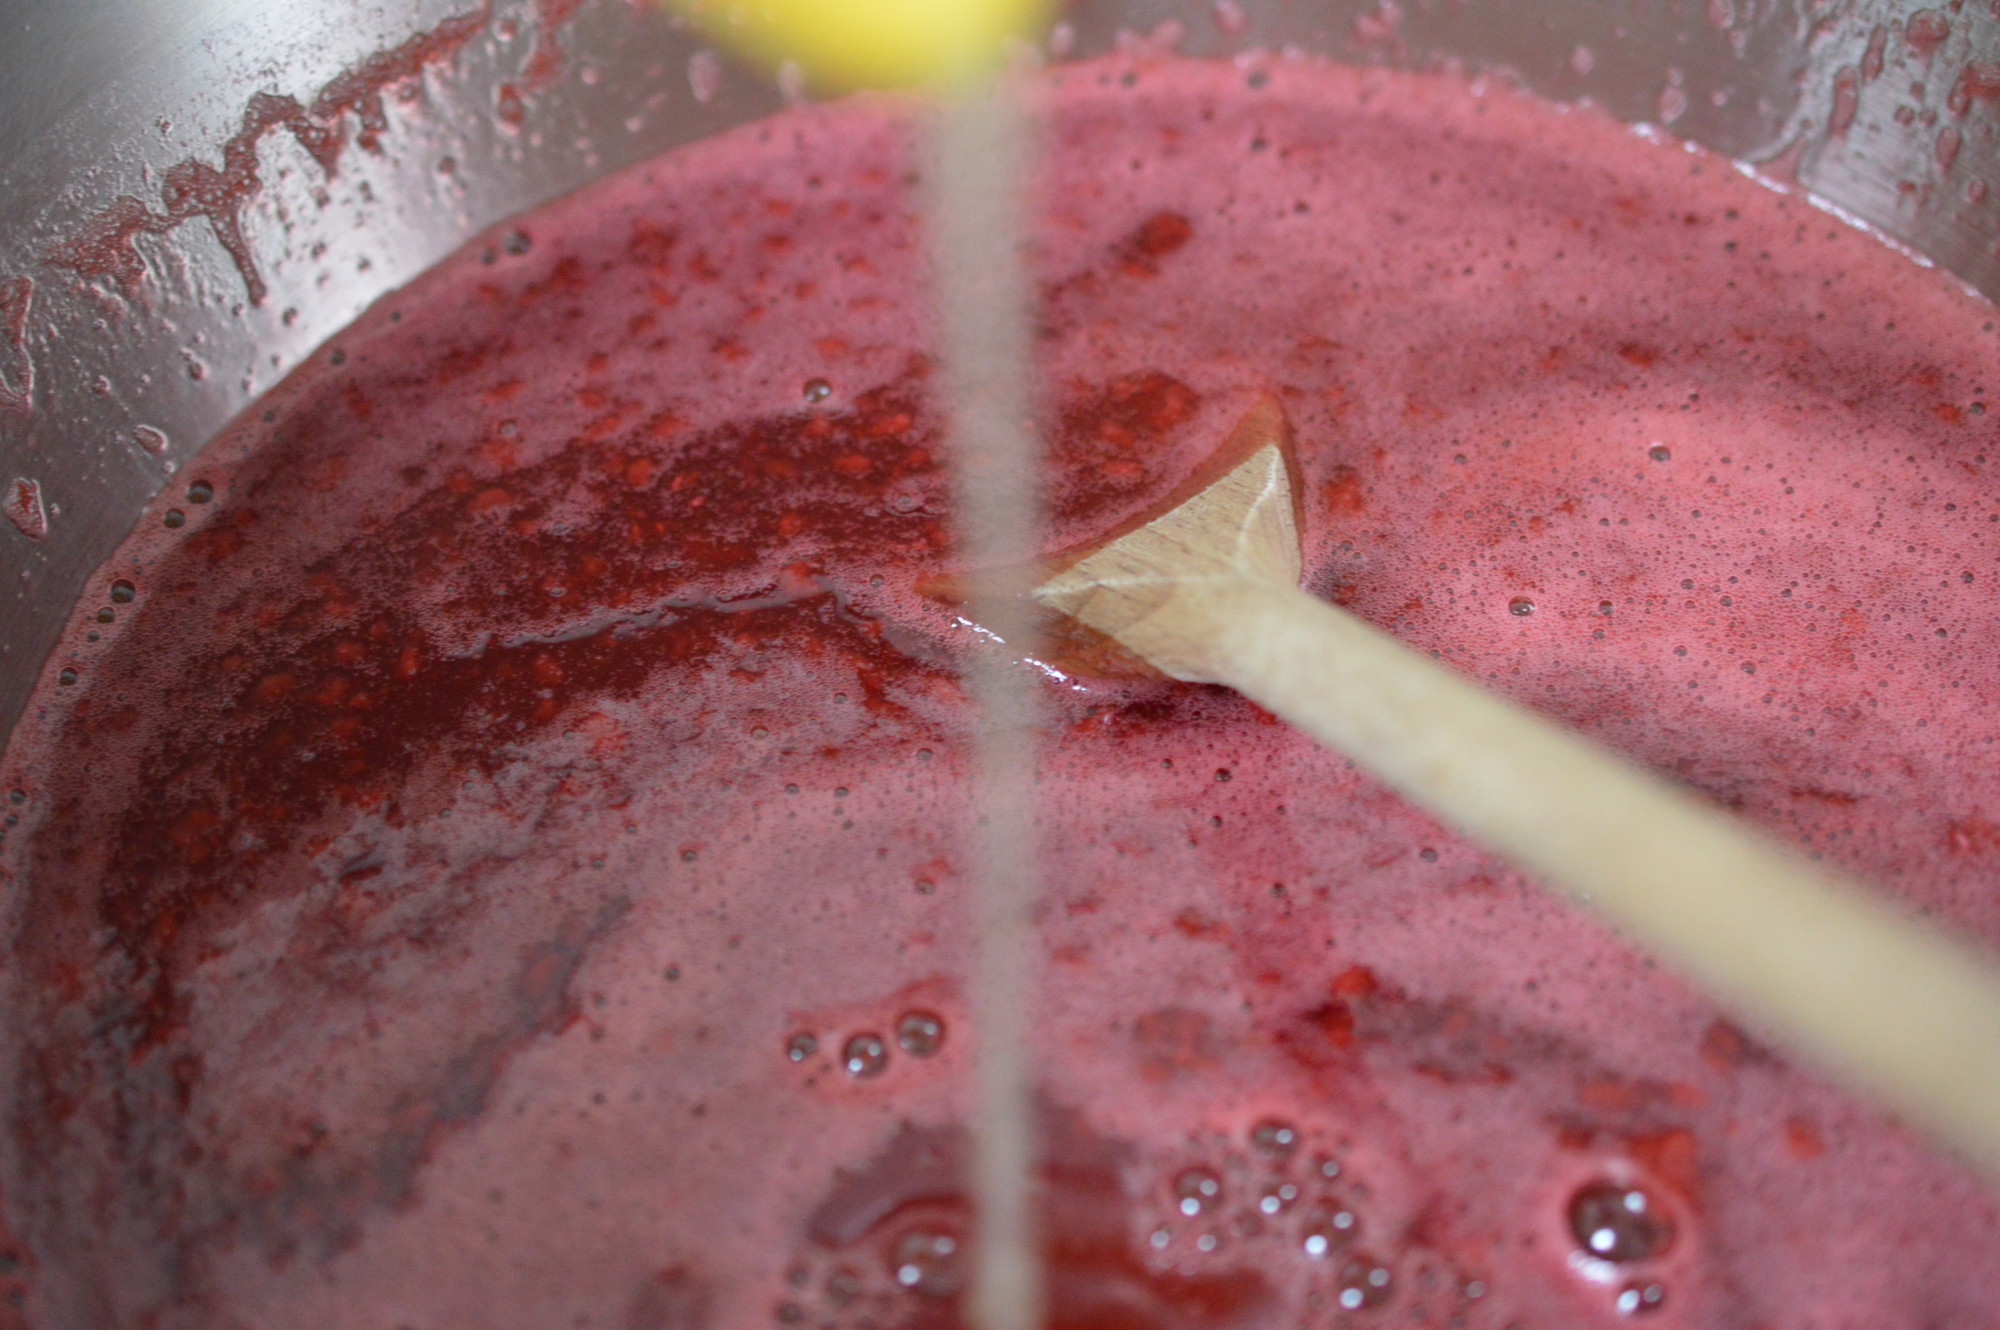
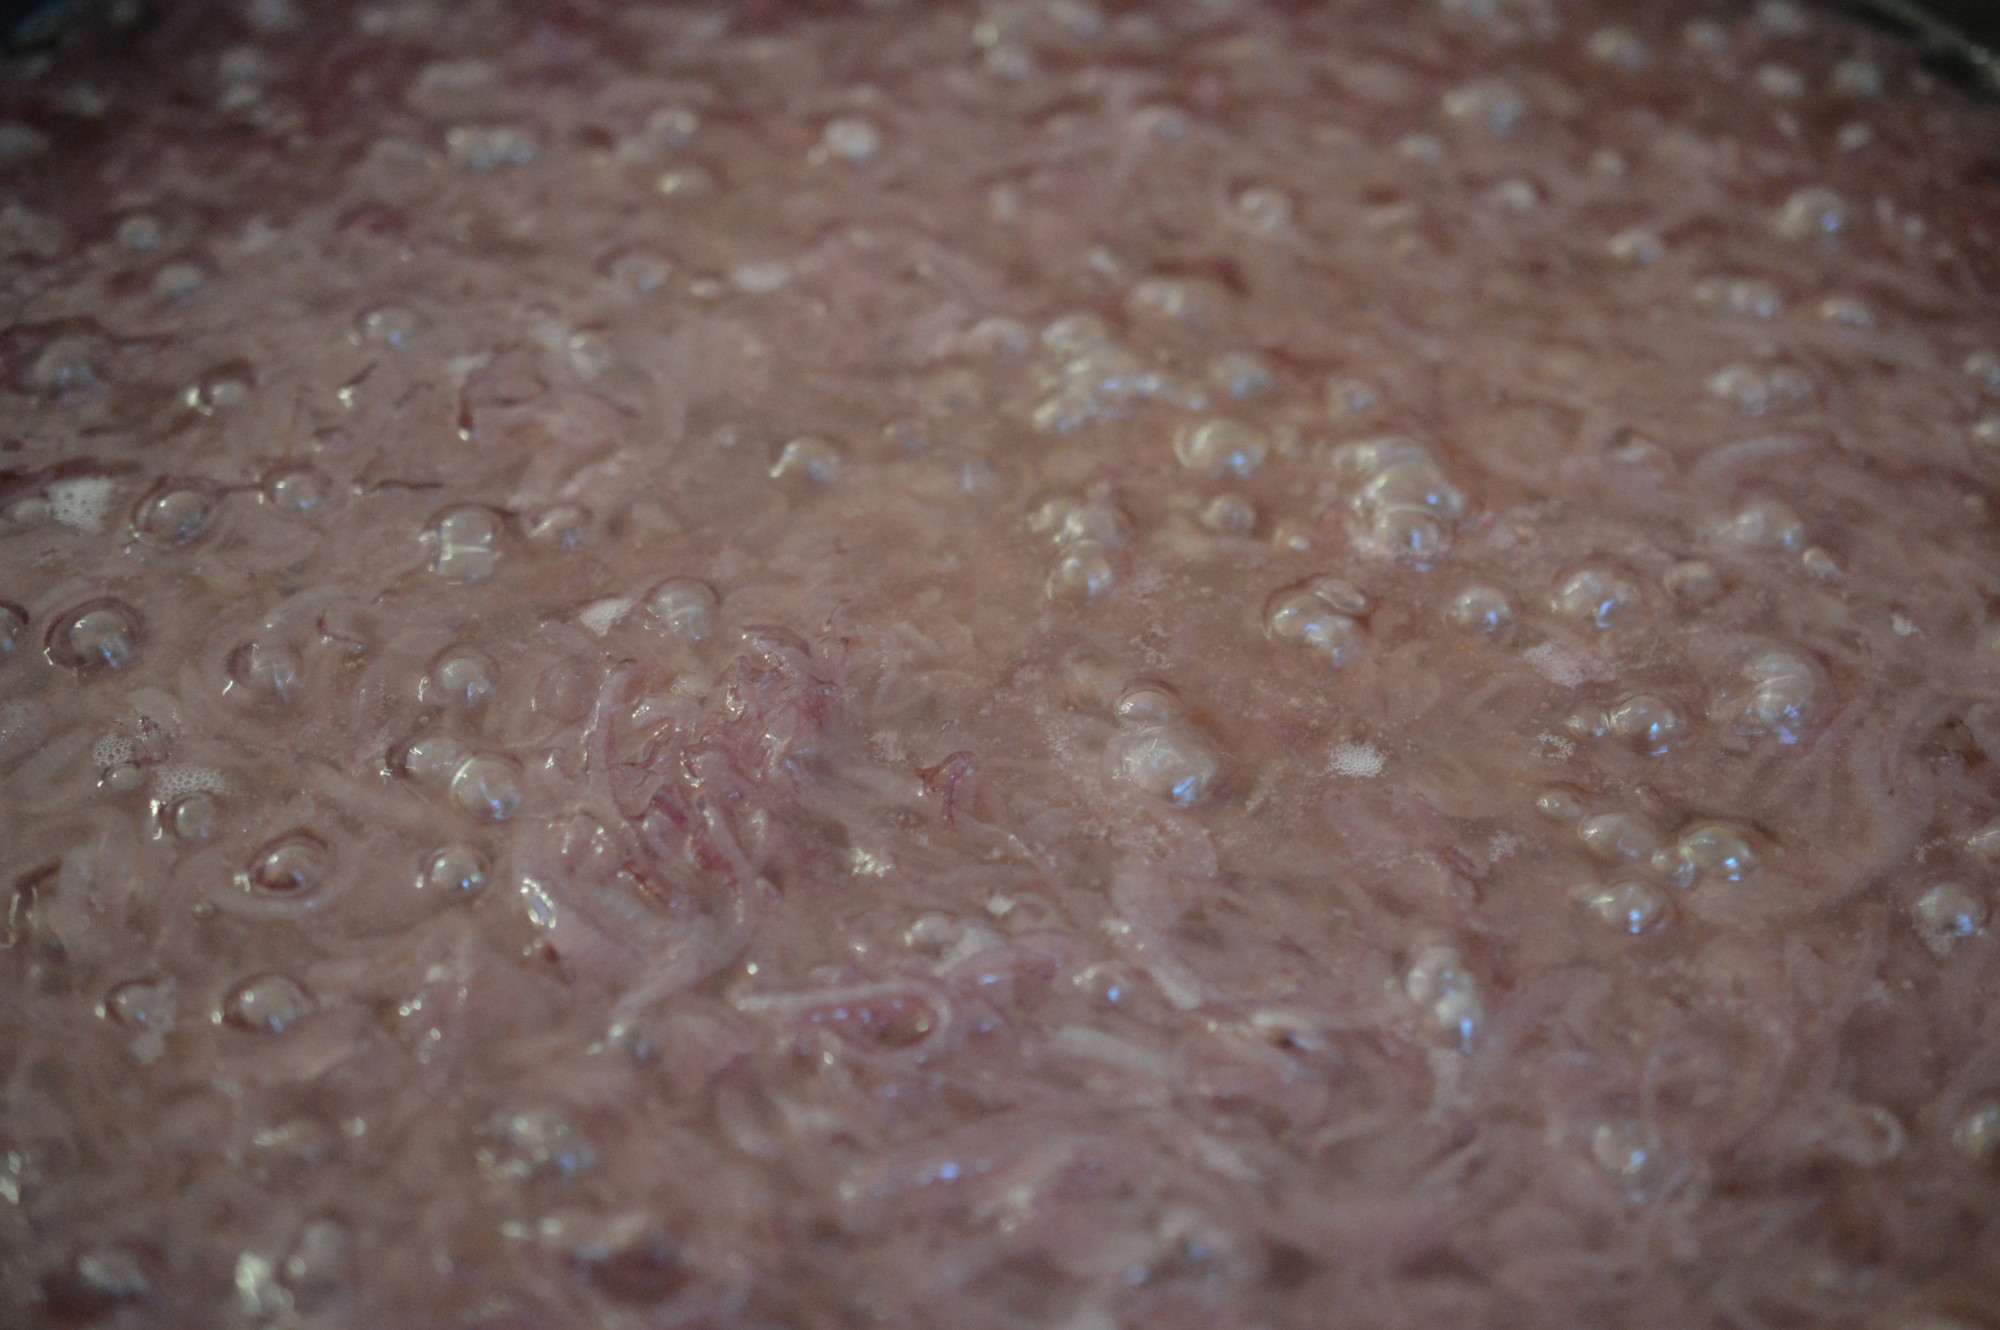
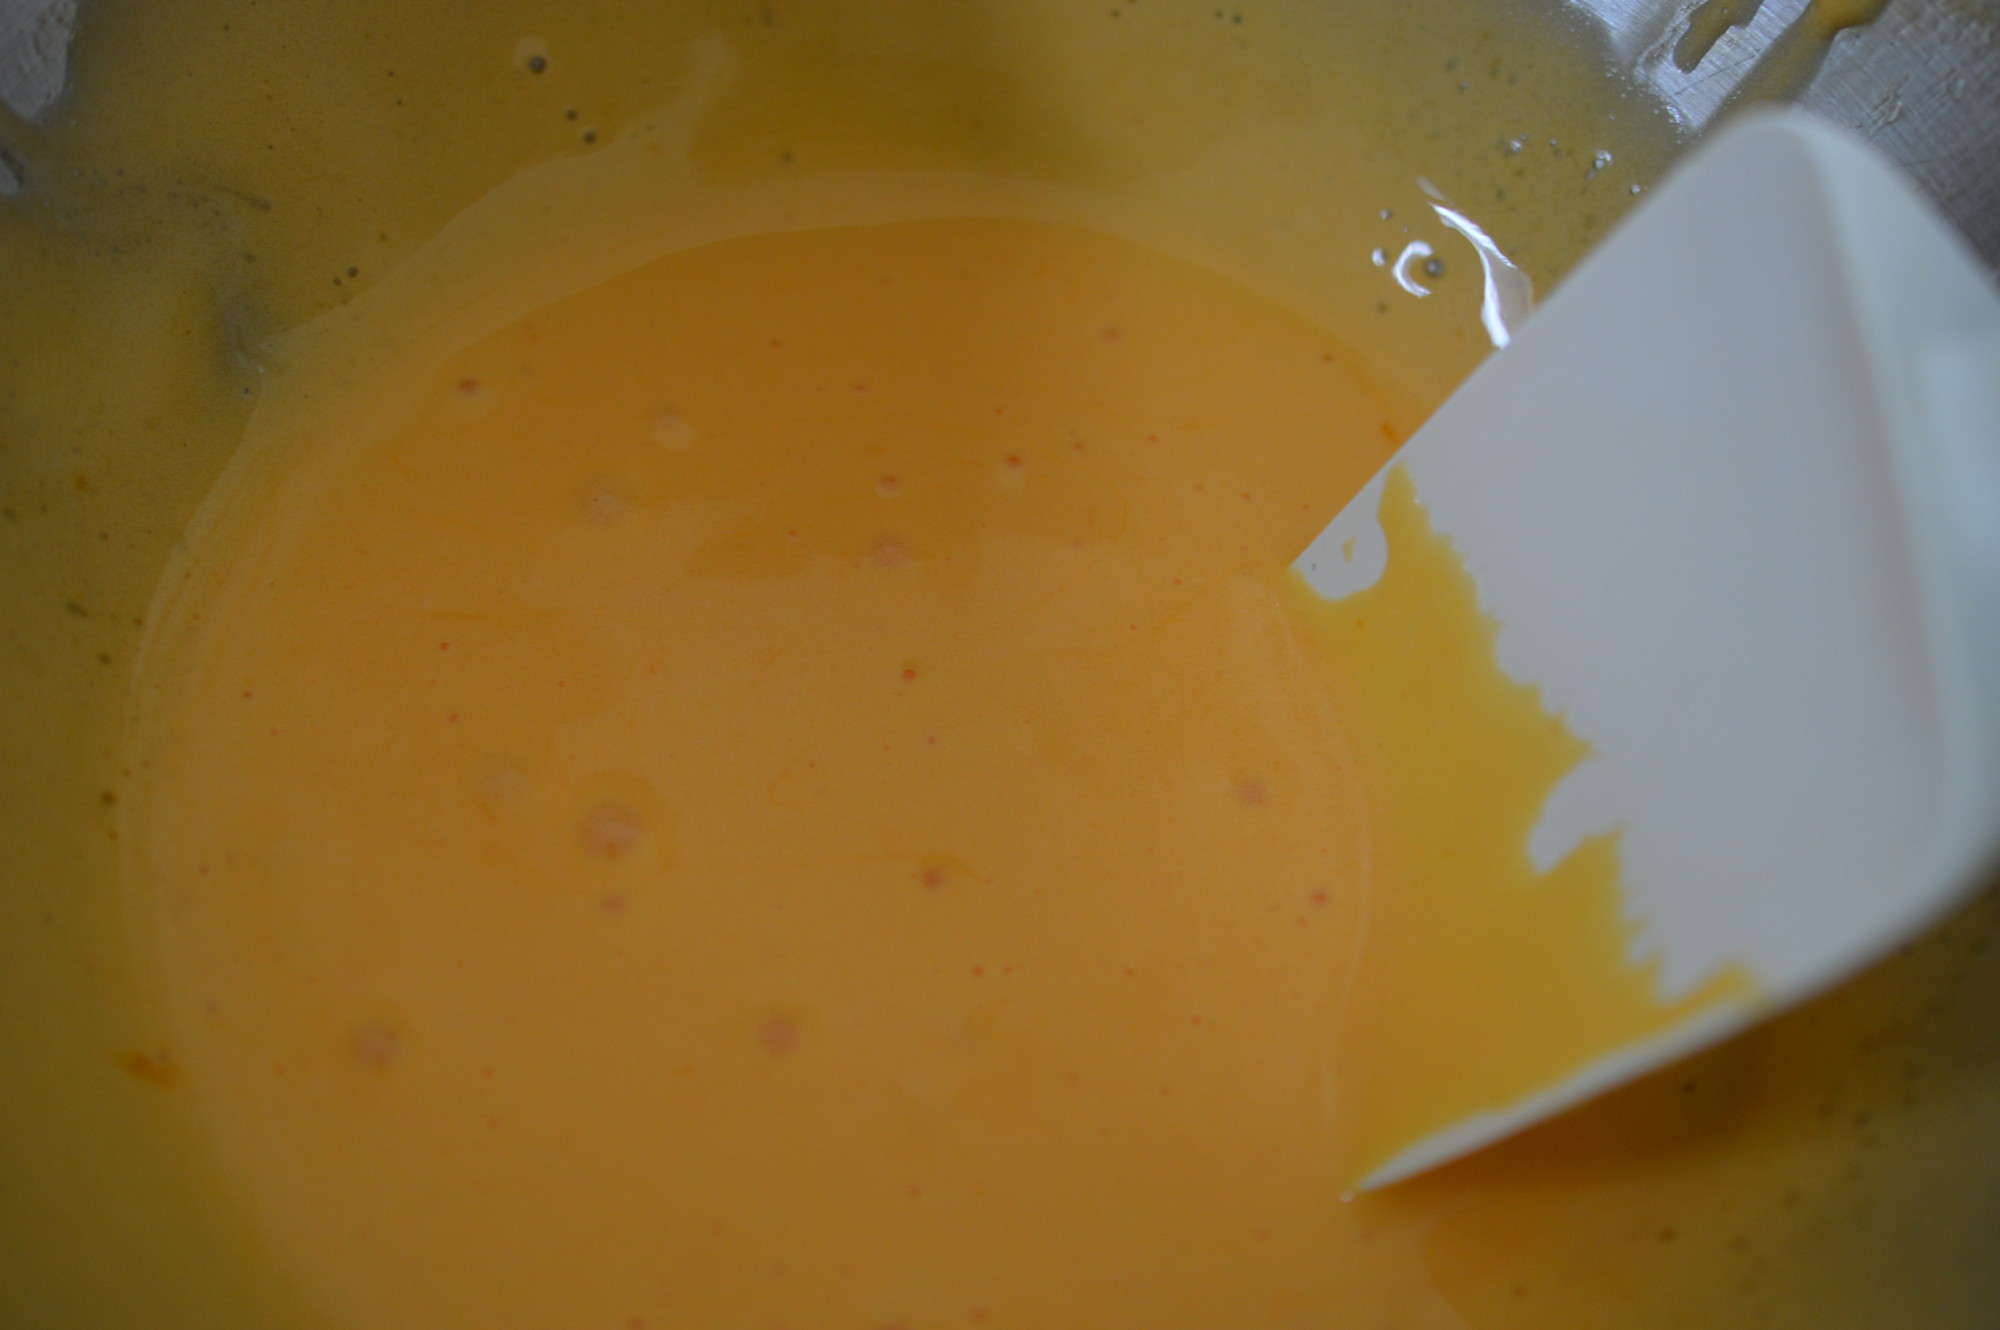
I’d no hands left for this bit – but’s it’s time to set the whisk going and gently drop in the oil.  Set the mixer going and start with the sunflower oil.  Start slowly and whisk well between each addition.  If the sauce is struggling to absorb the oil, slow down.  After the first 2 fl oz of oil, mine looked like this.
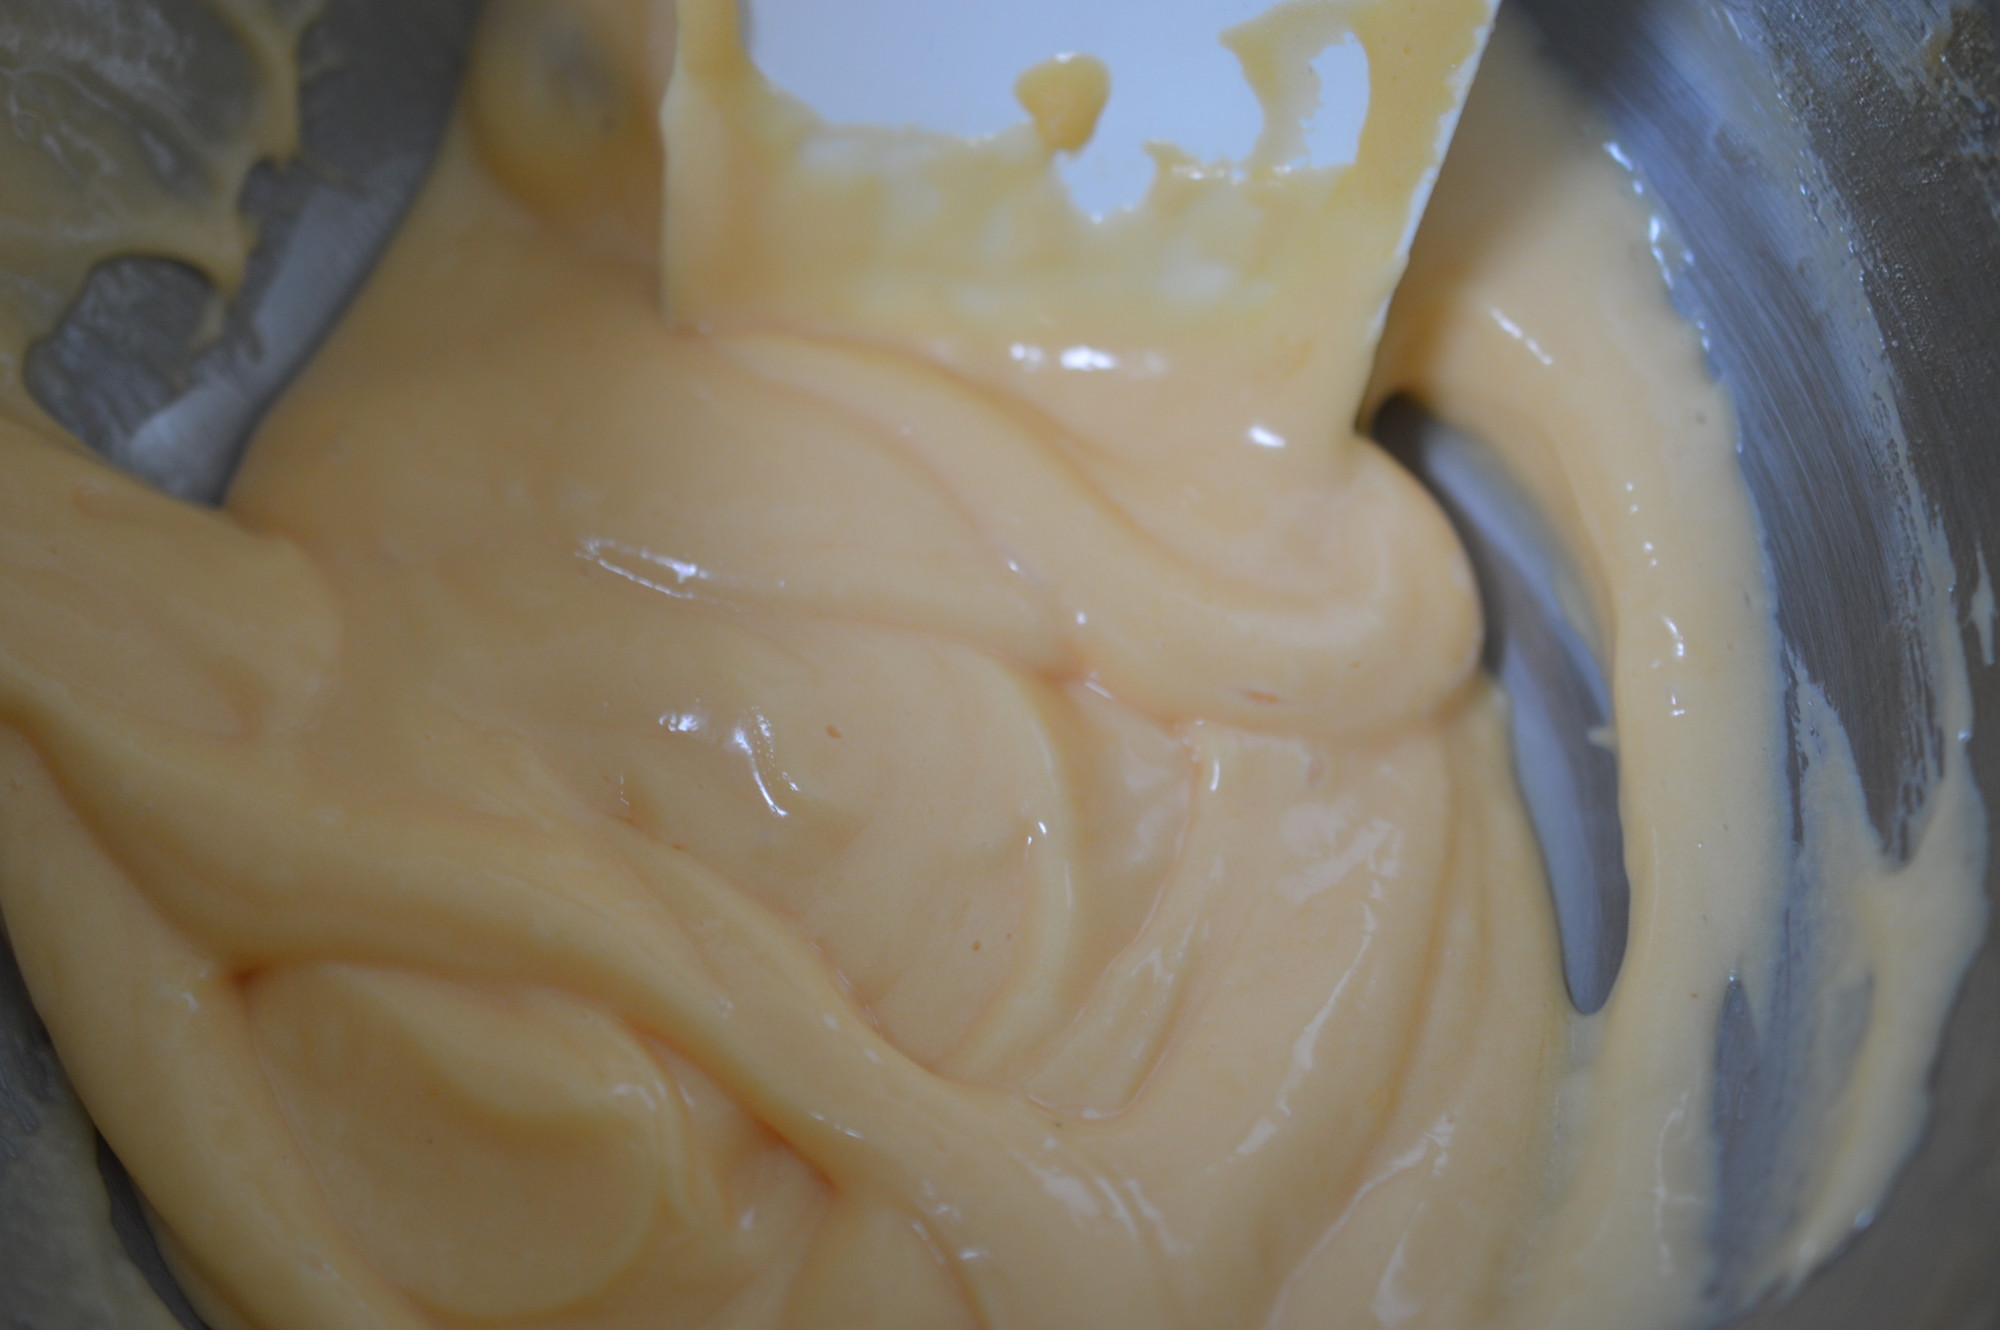
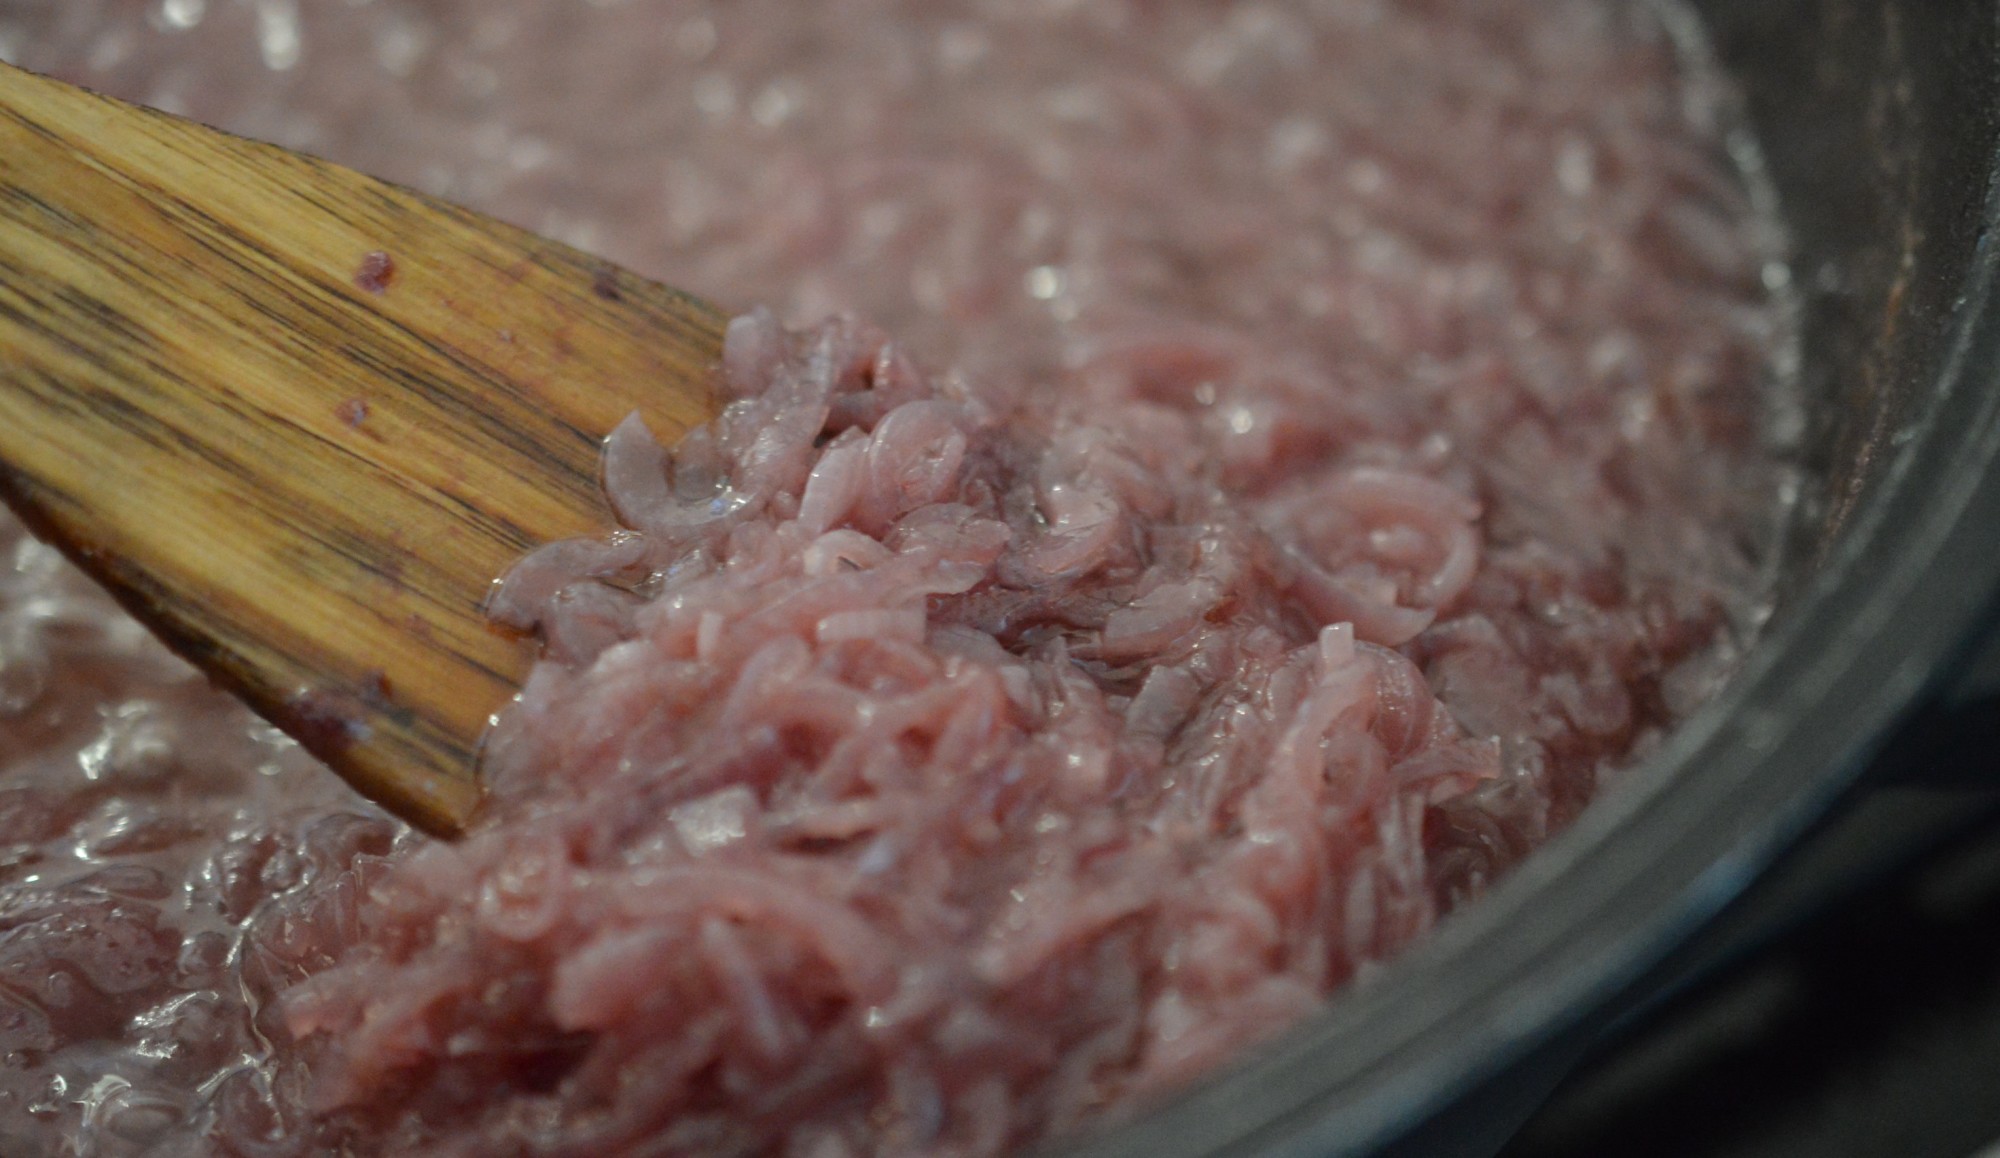
Mayonnaise - stage 3

And, after 4 fl oz.

Mayonnaise - stage 4

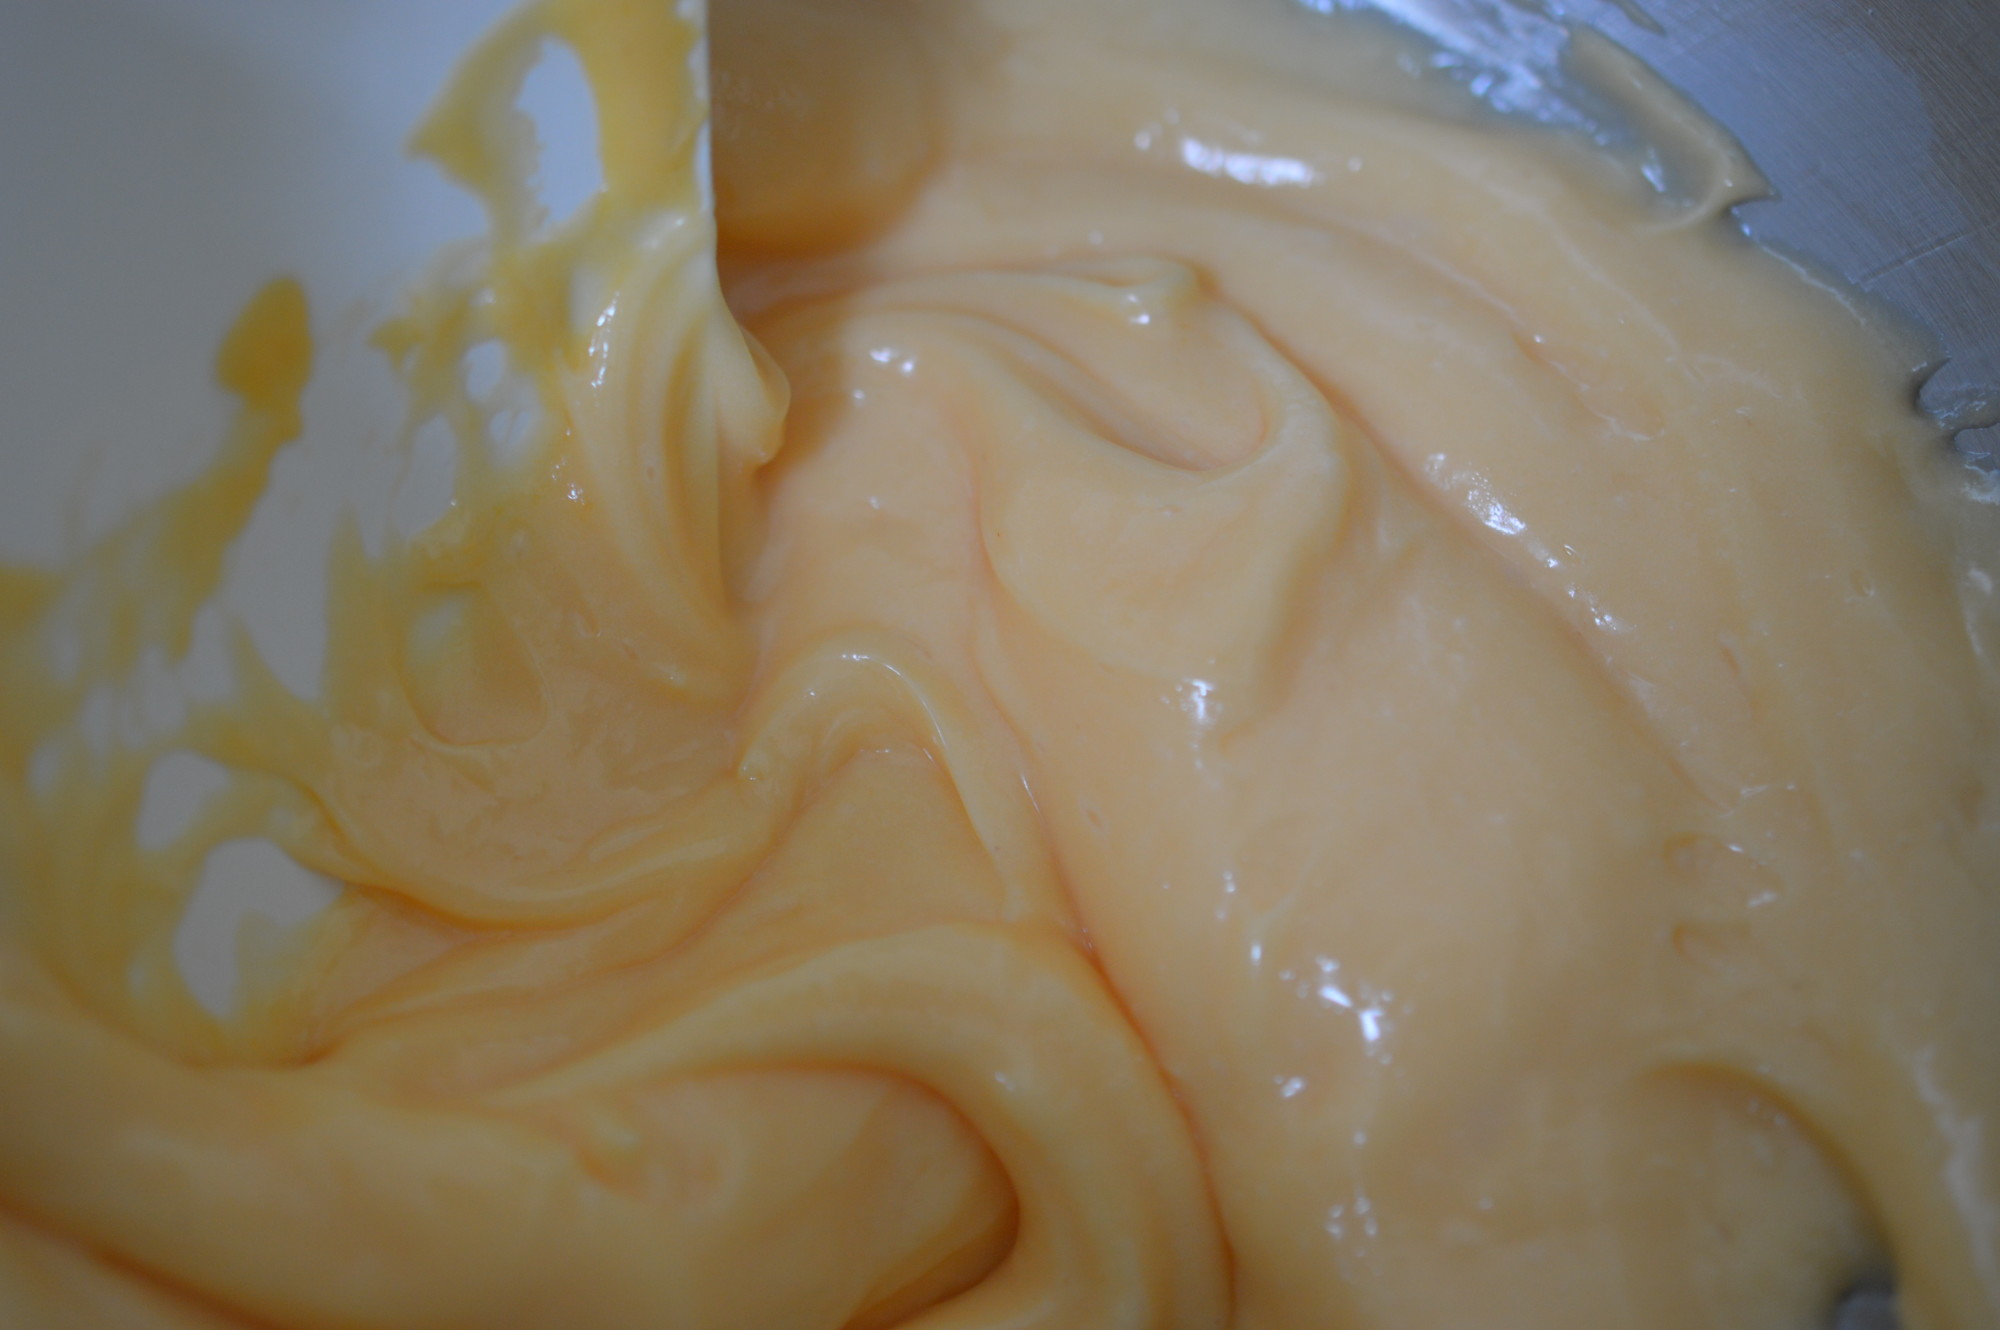
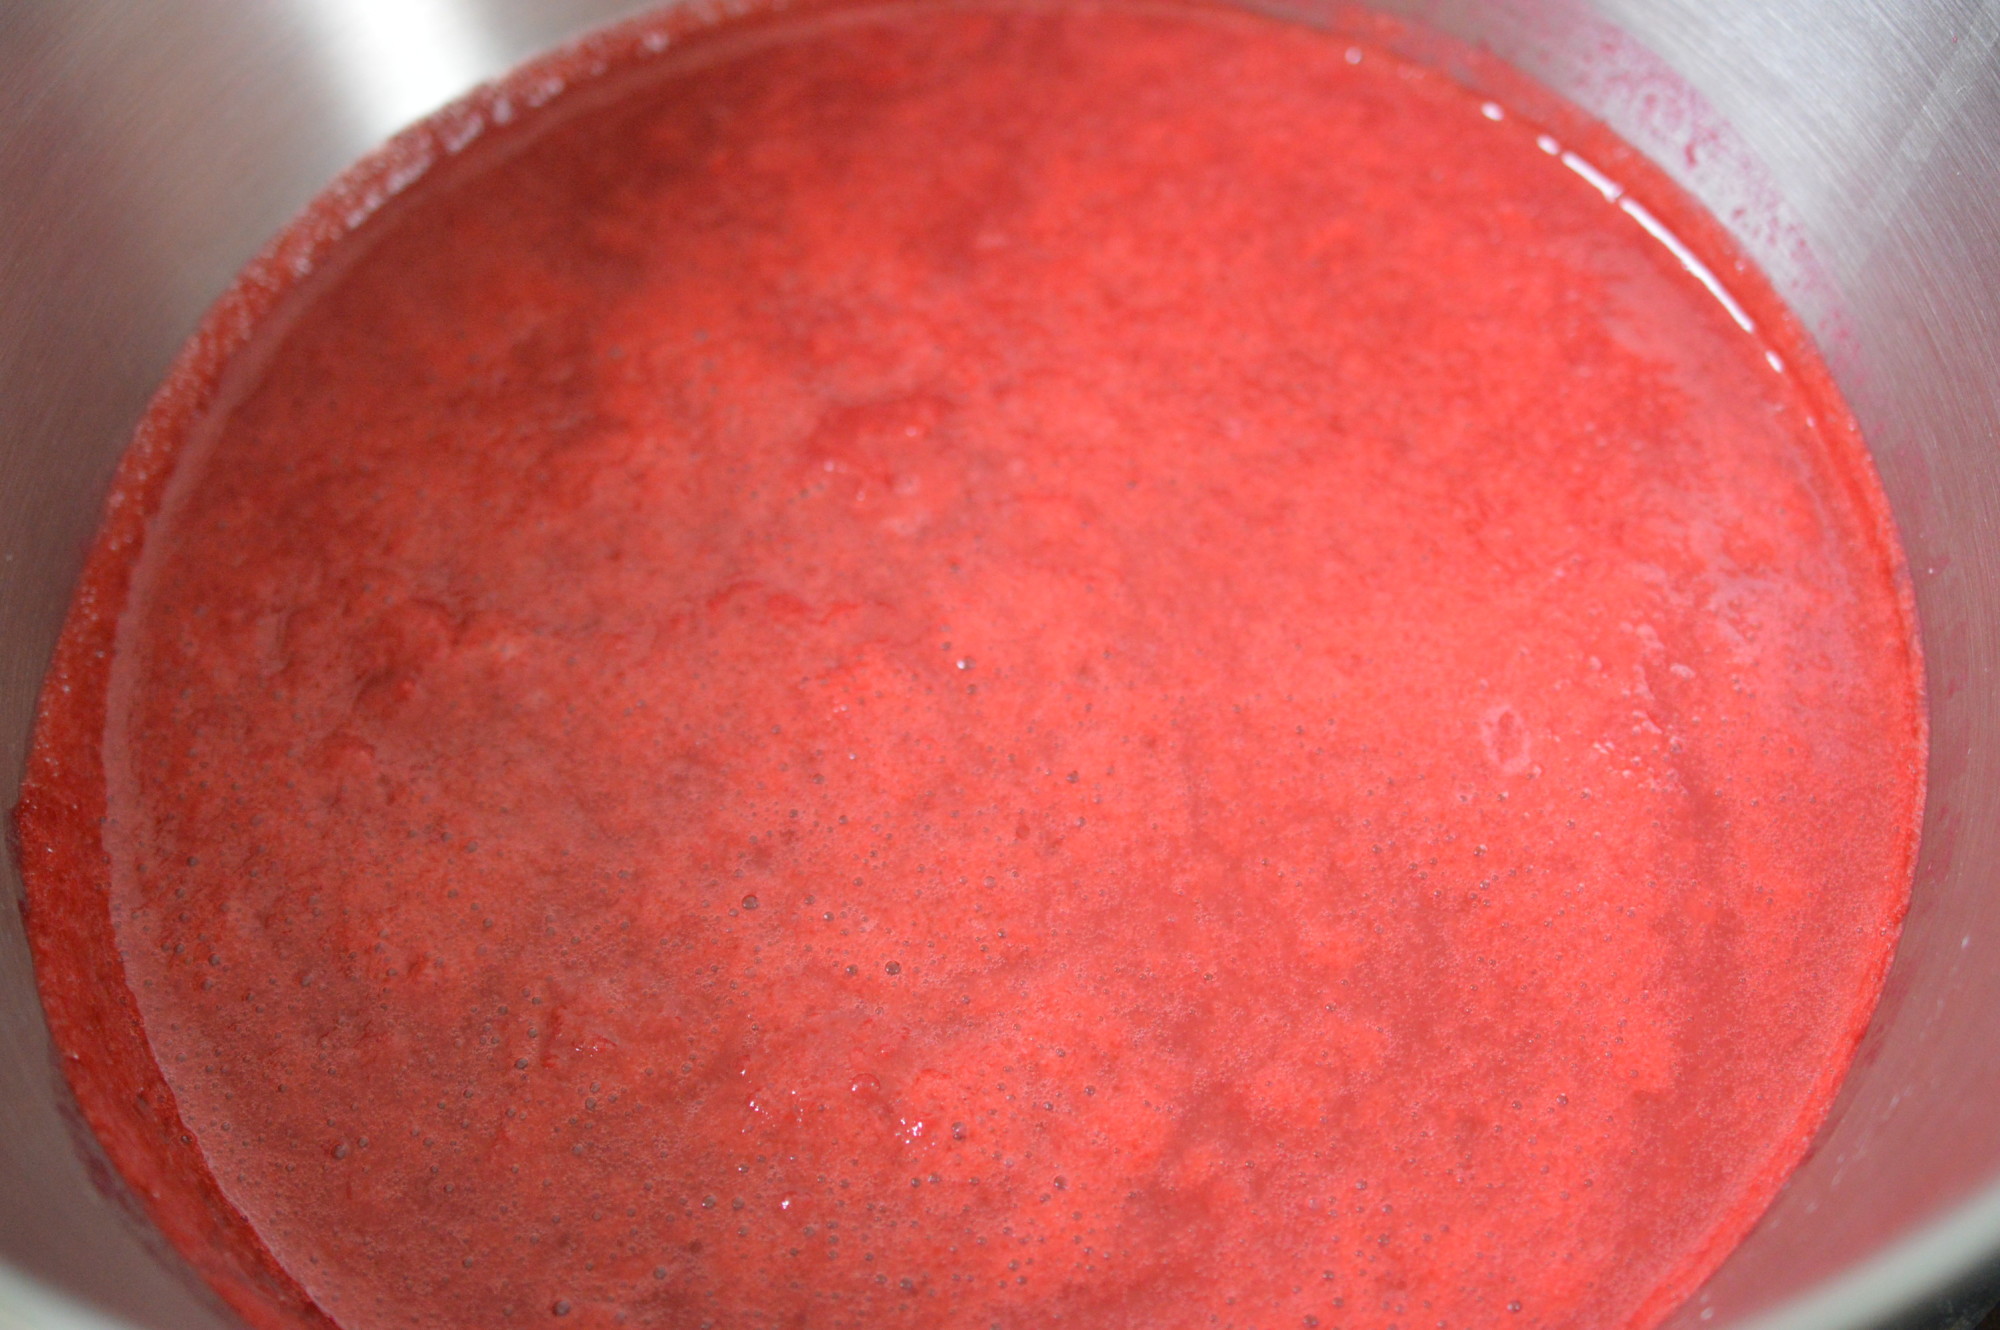
6 fl oz – it’s getting thicker and you can add the oil more quickly.

Mayonnaise - stage 5

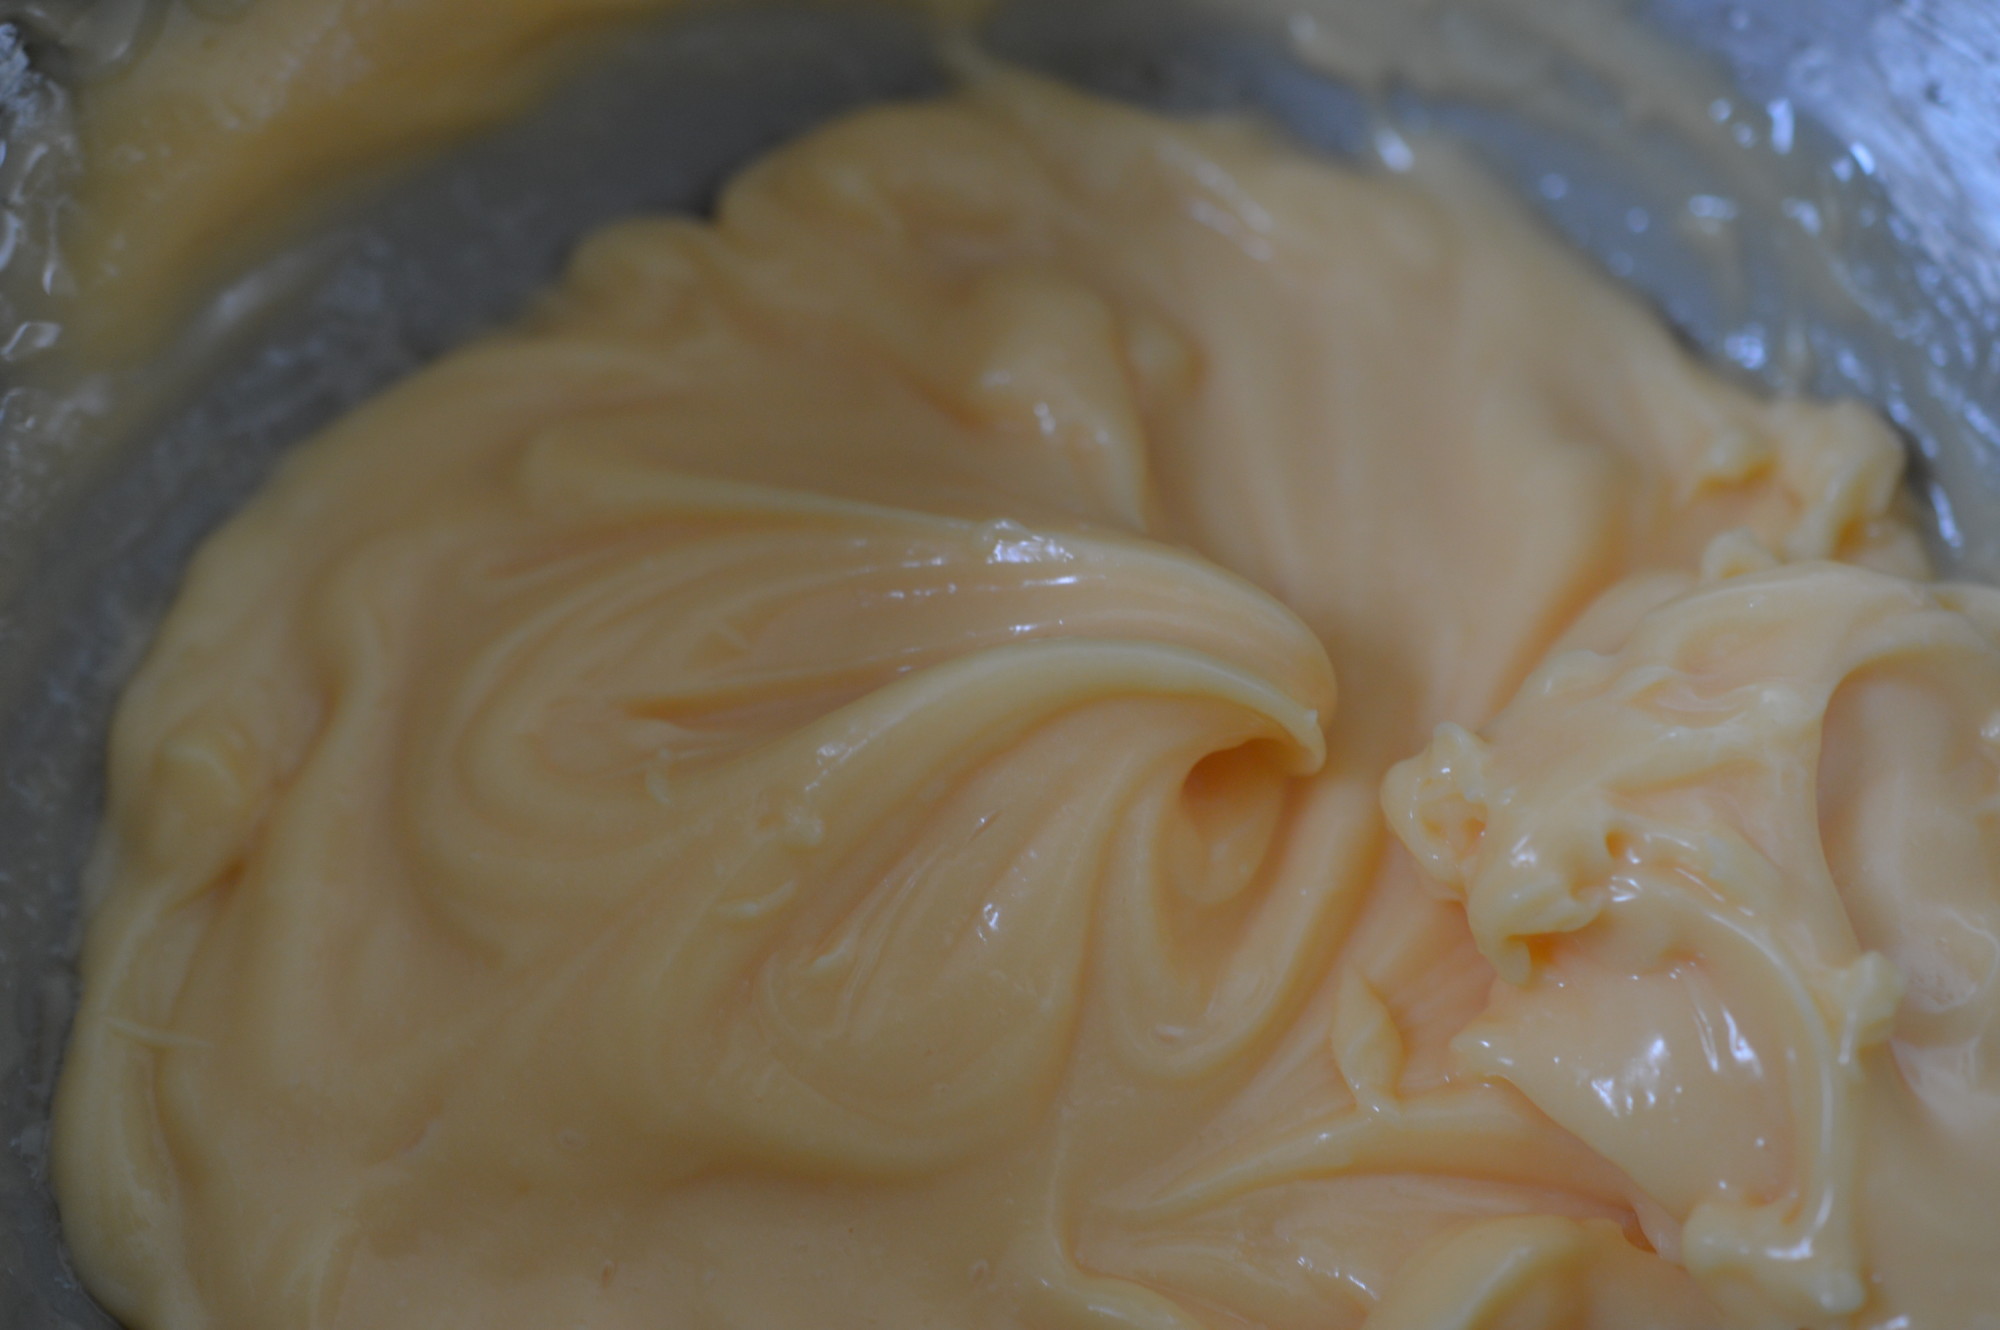
The final 2 fl oz.  In my case, the rapeseed oil.

Mayonnaise whisked

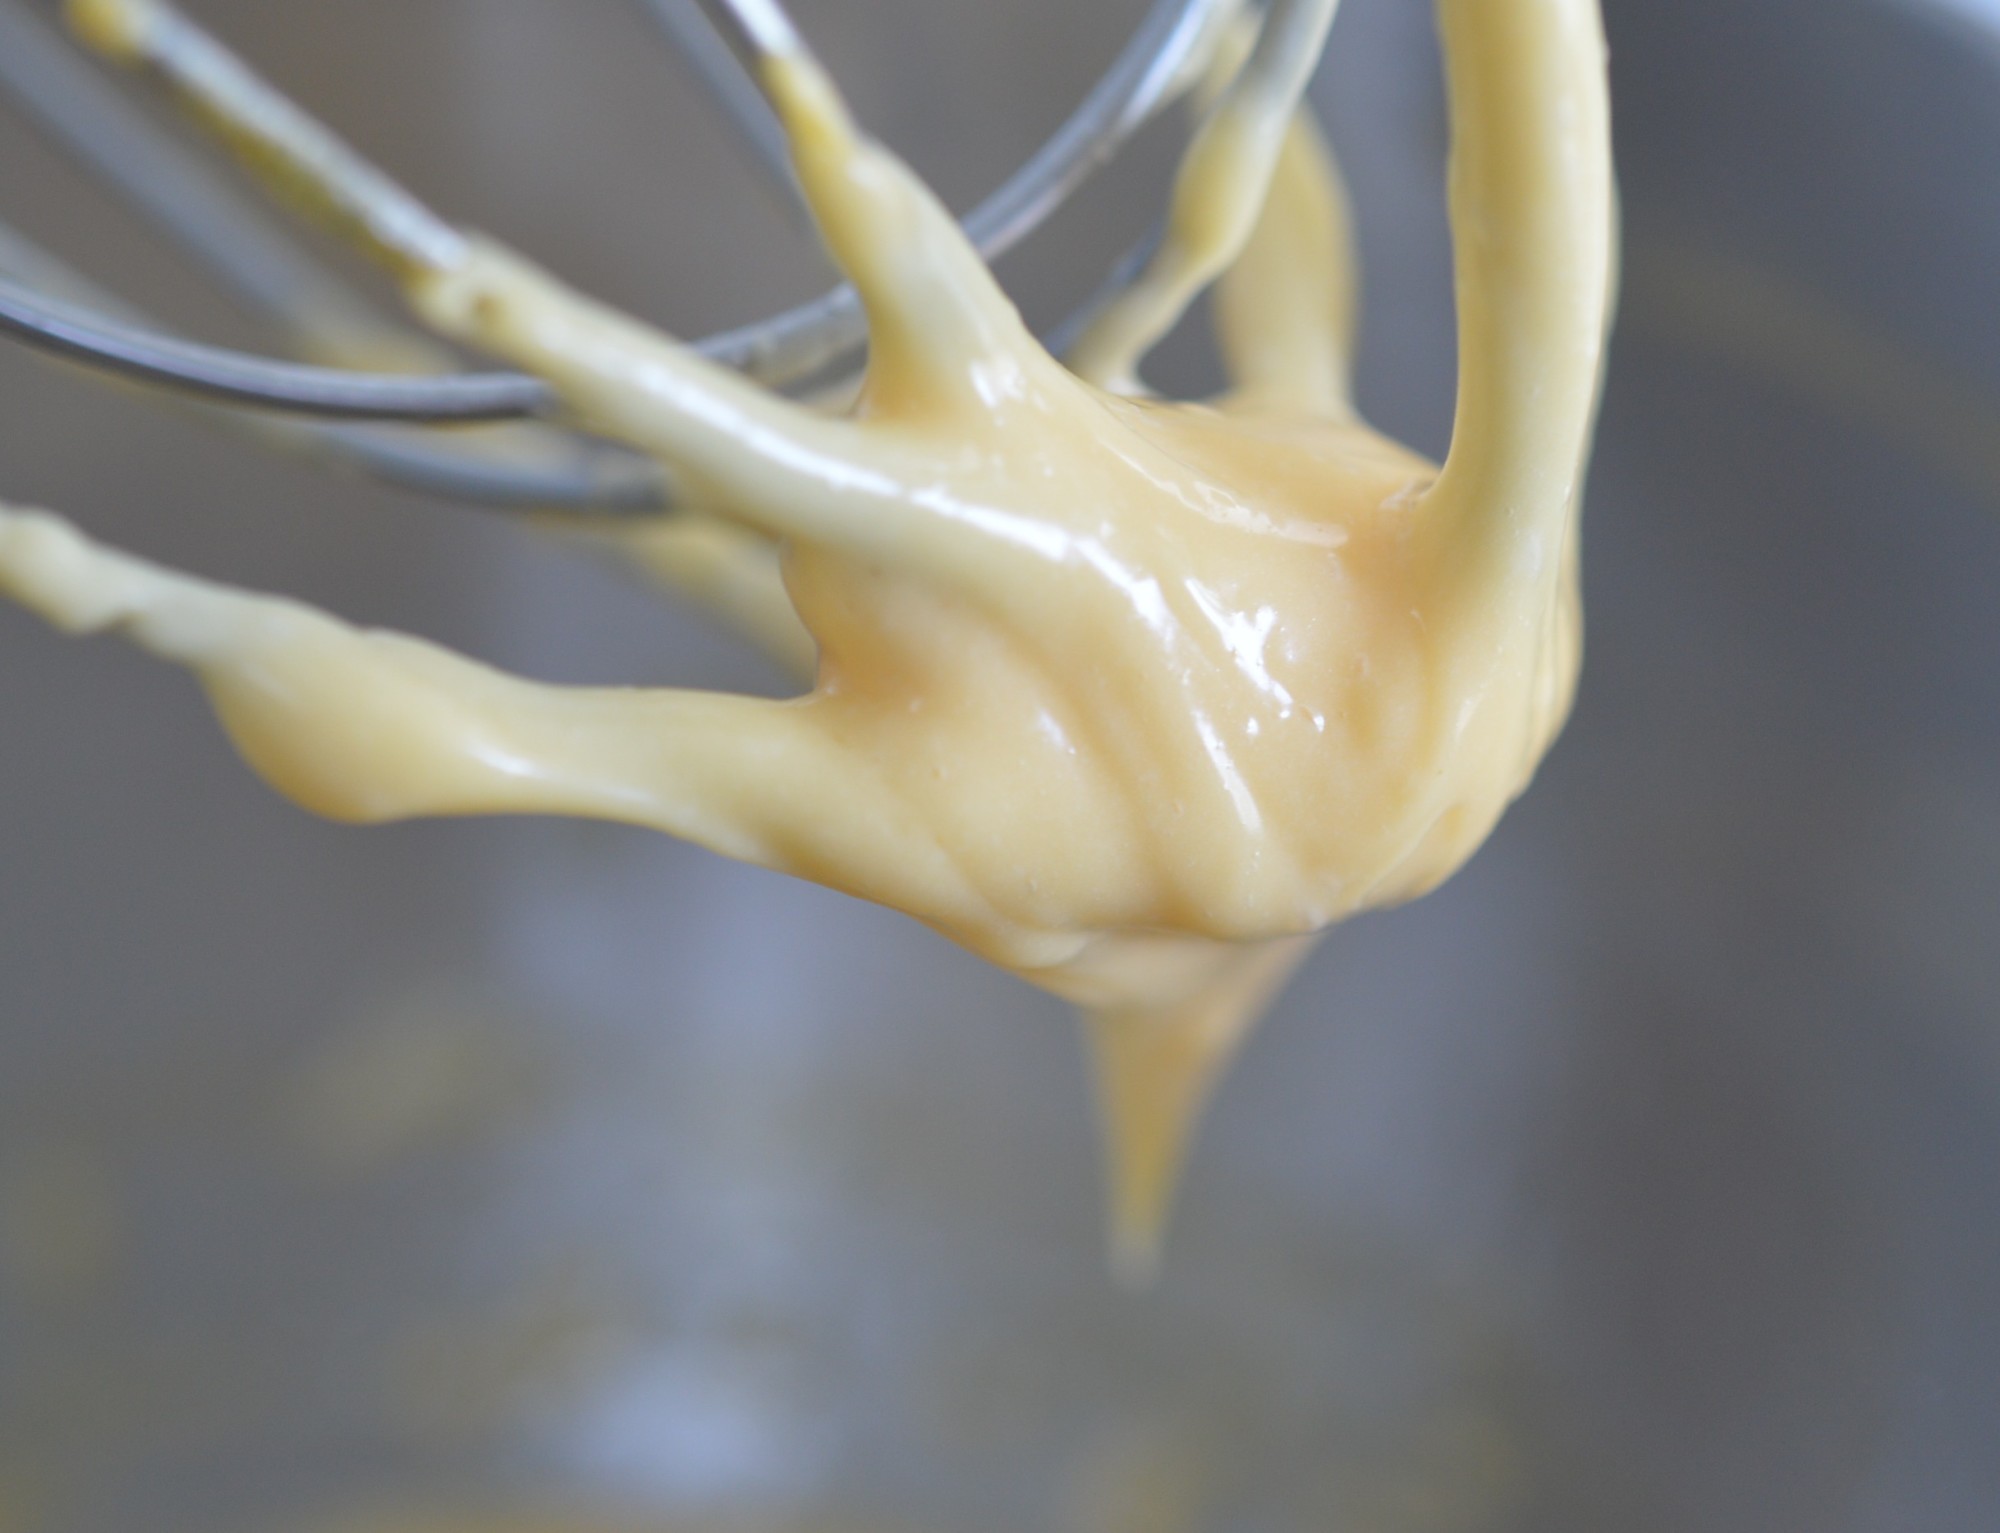
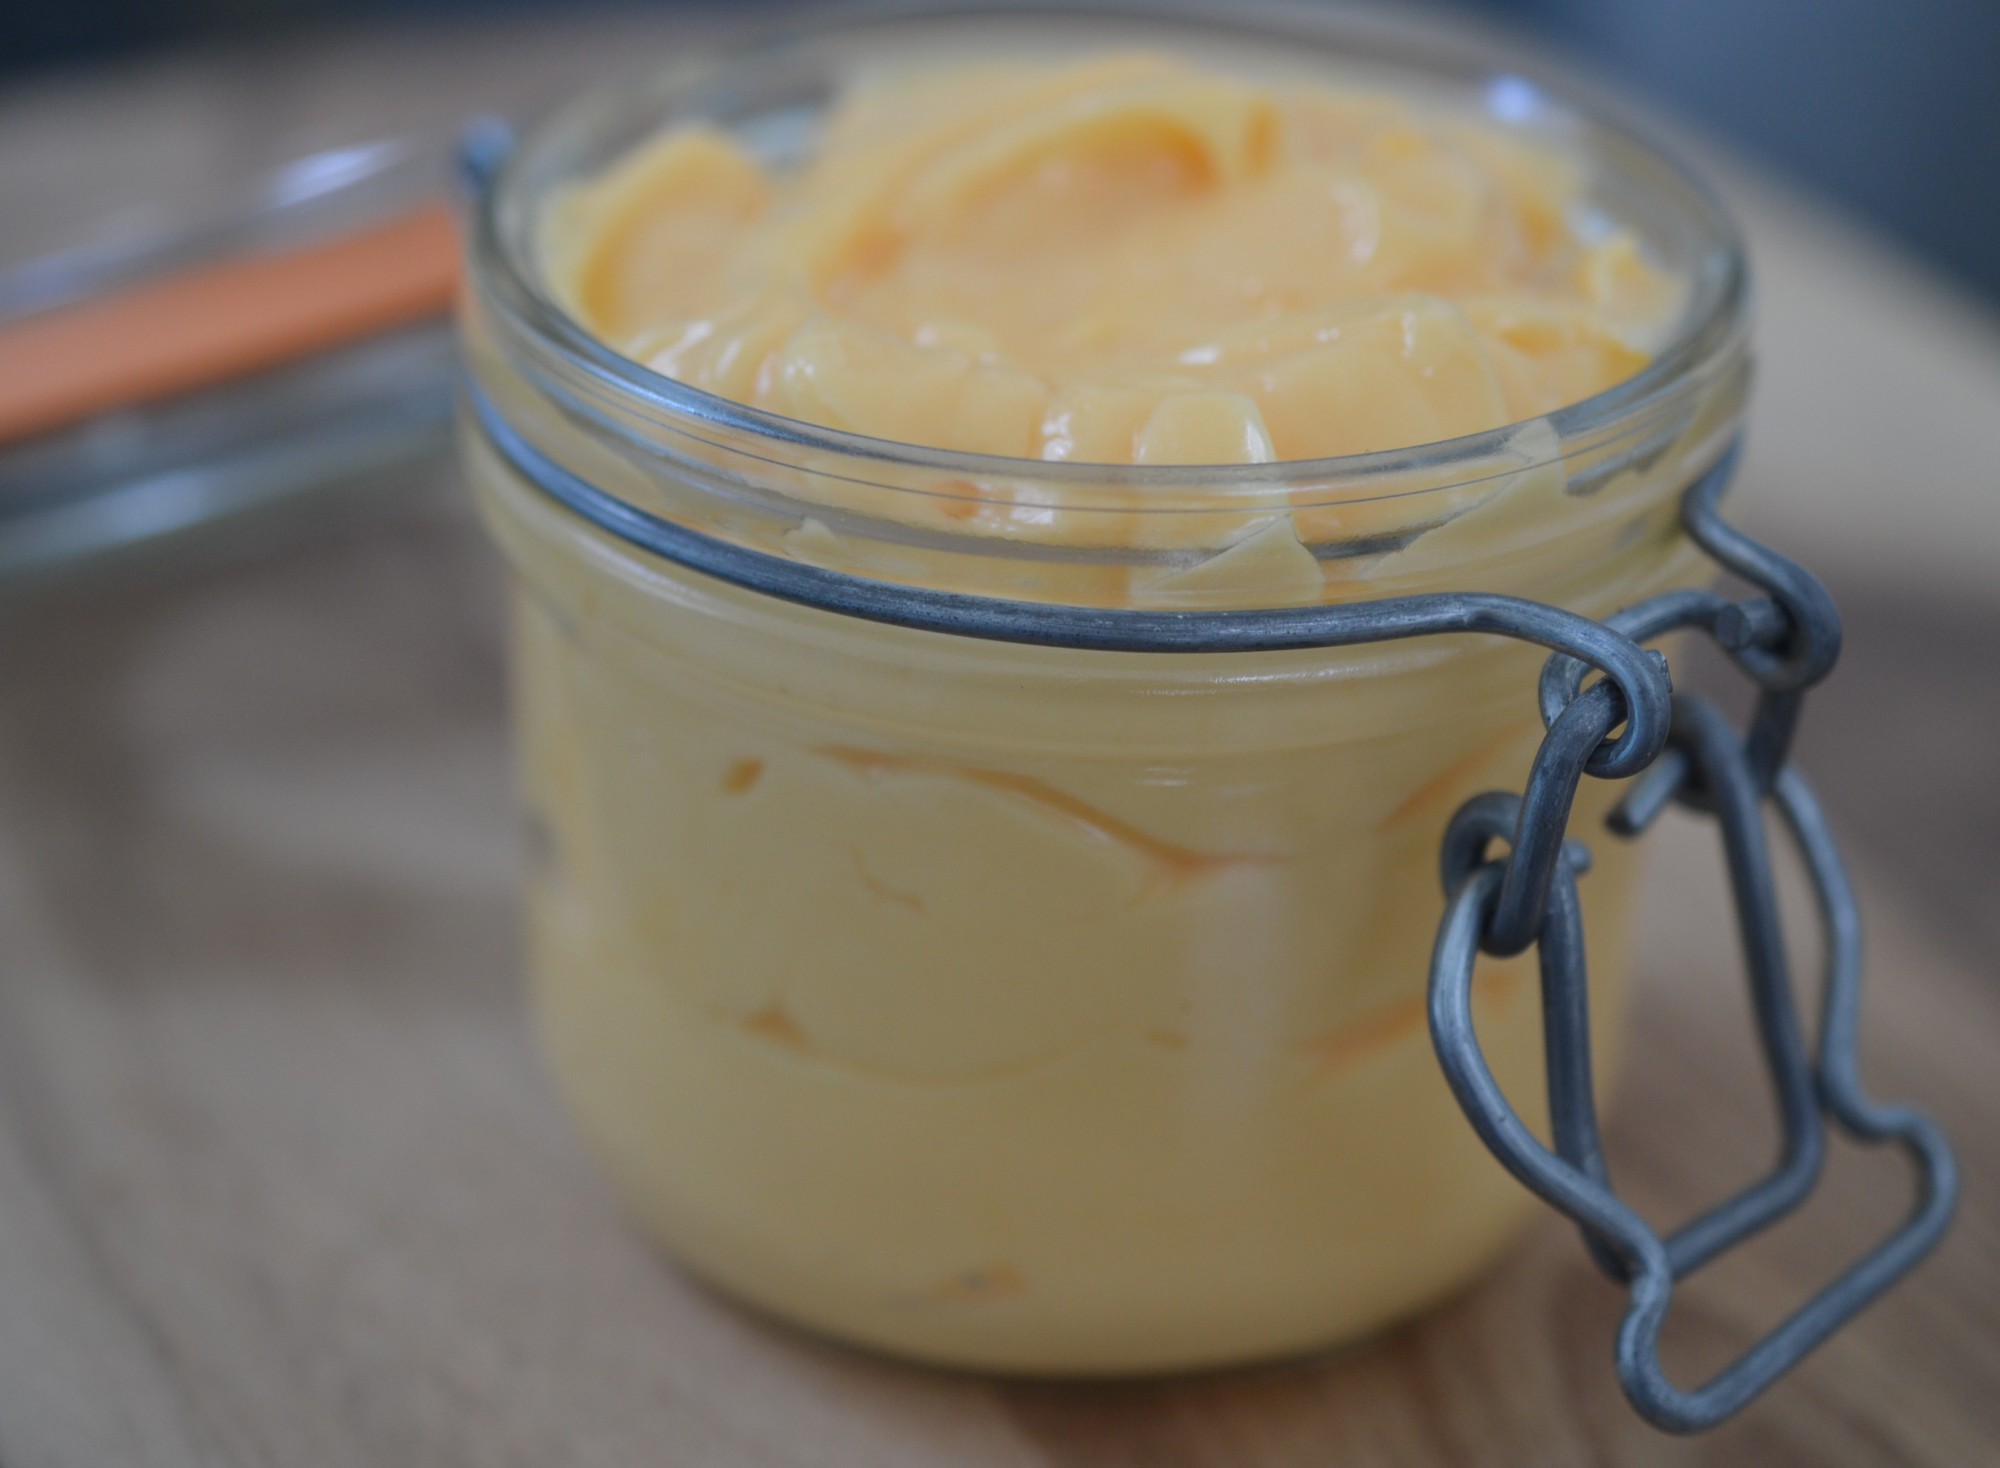
Beat until it’s smooth and shiny.  And, that’s it.  Check for seasoning, add a little pepper if you like.  A dessertspoon of boiling water stabilises the mayonnaise and thins it down slightly.  Some times I do, and some times I don’t.  If you fancy making a saffron infused mayonnaise that’s the way to do it.  Add the stamens to the boiling water and mix through your mayonnaise.  It has a fabulous colour.

It won’t split if you begin with room temperature ingredients and don’t rush adding the oil .. but …

If you run into difficulties there are things you can do.

Place an egg yolk in a clean bowl and gradually whisk in the split mayonnaise.  Or, add a dessertspoon of boiling water to a clean bowl and whisk in the split mayonnaise.  Both will work to stabilise your mayonnaise, although the extra egg yolk adds richness.

Dill Mayonnaise

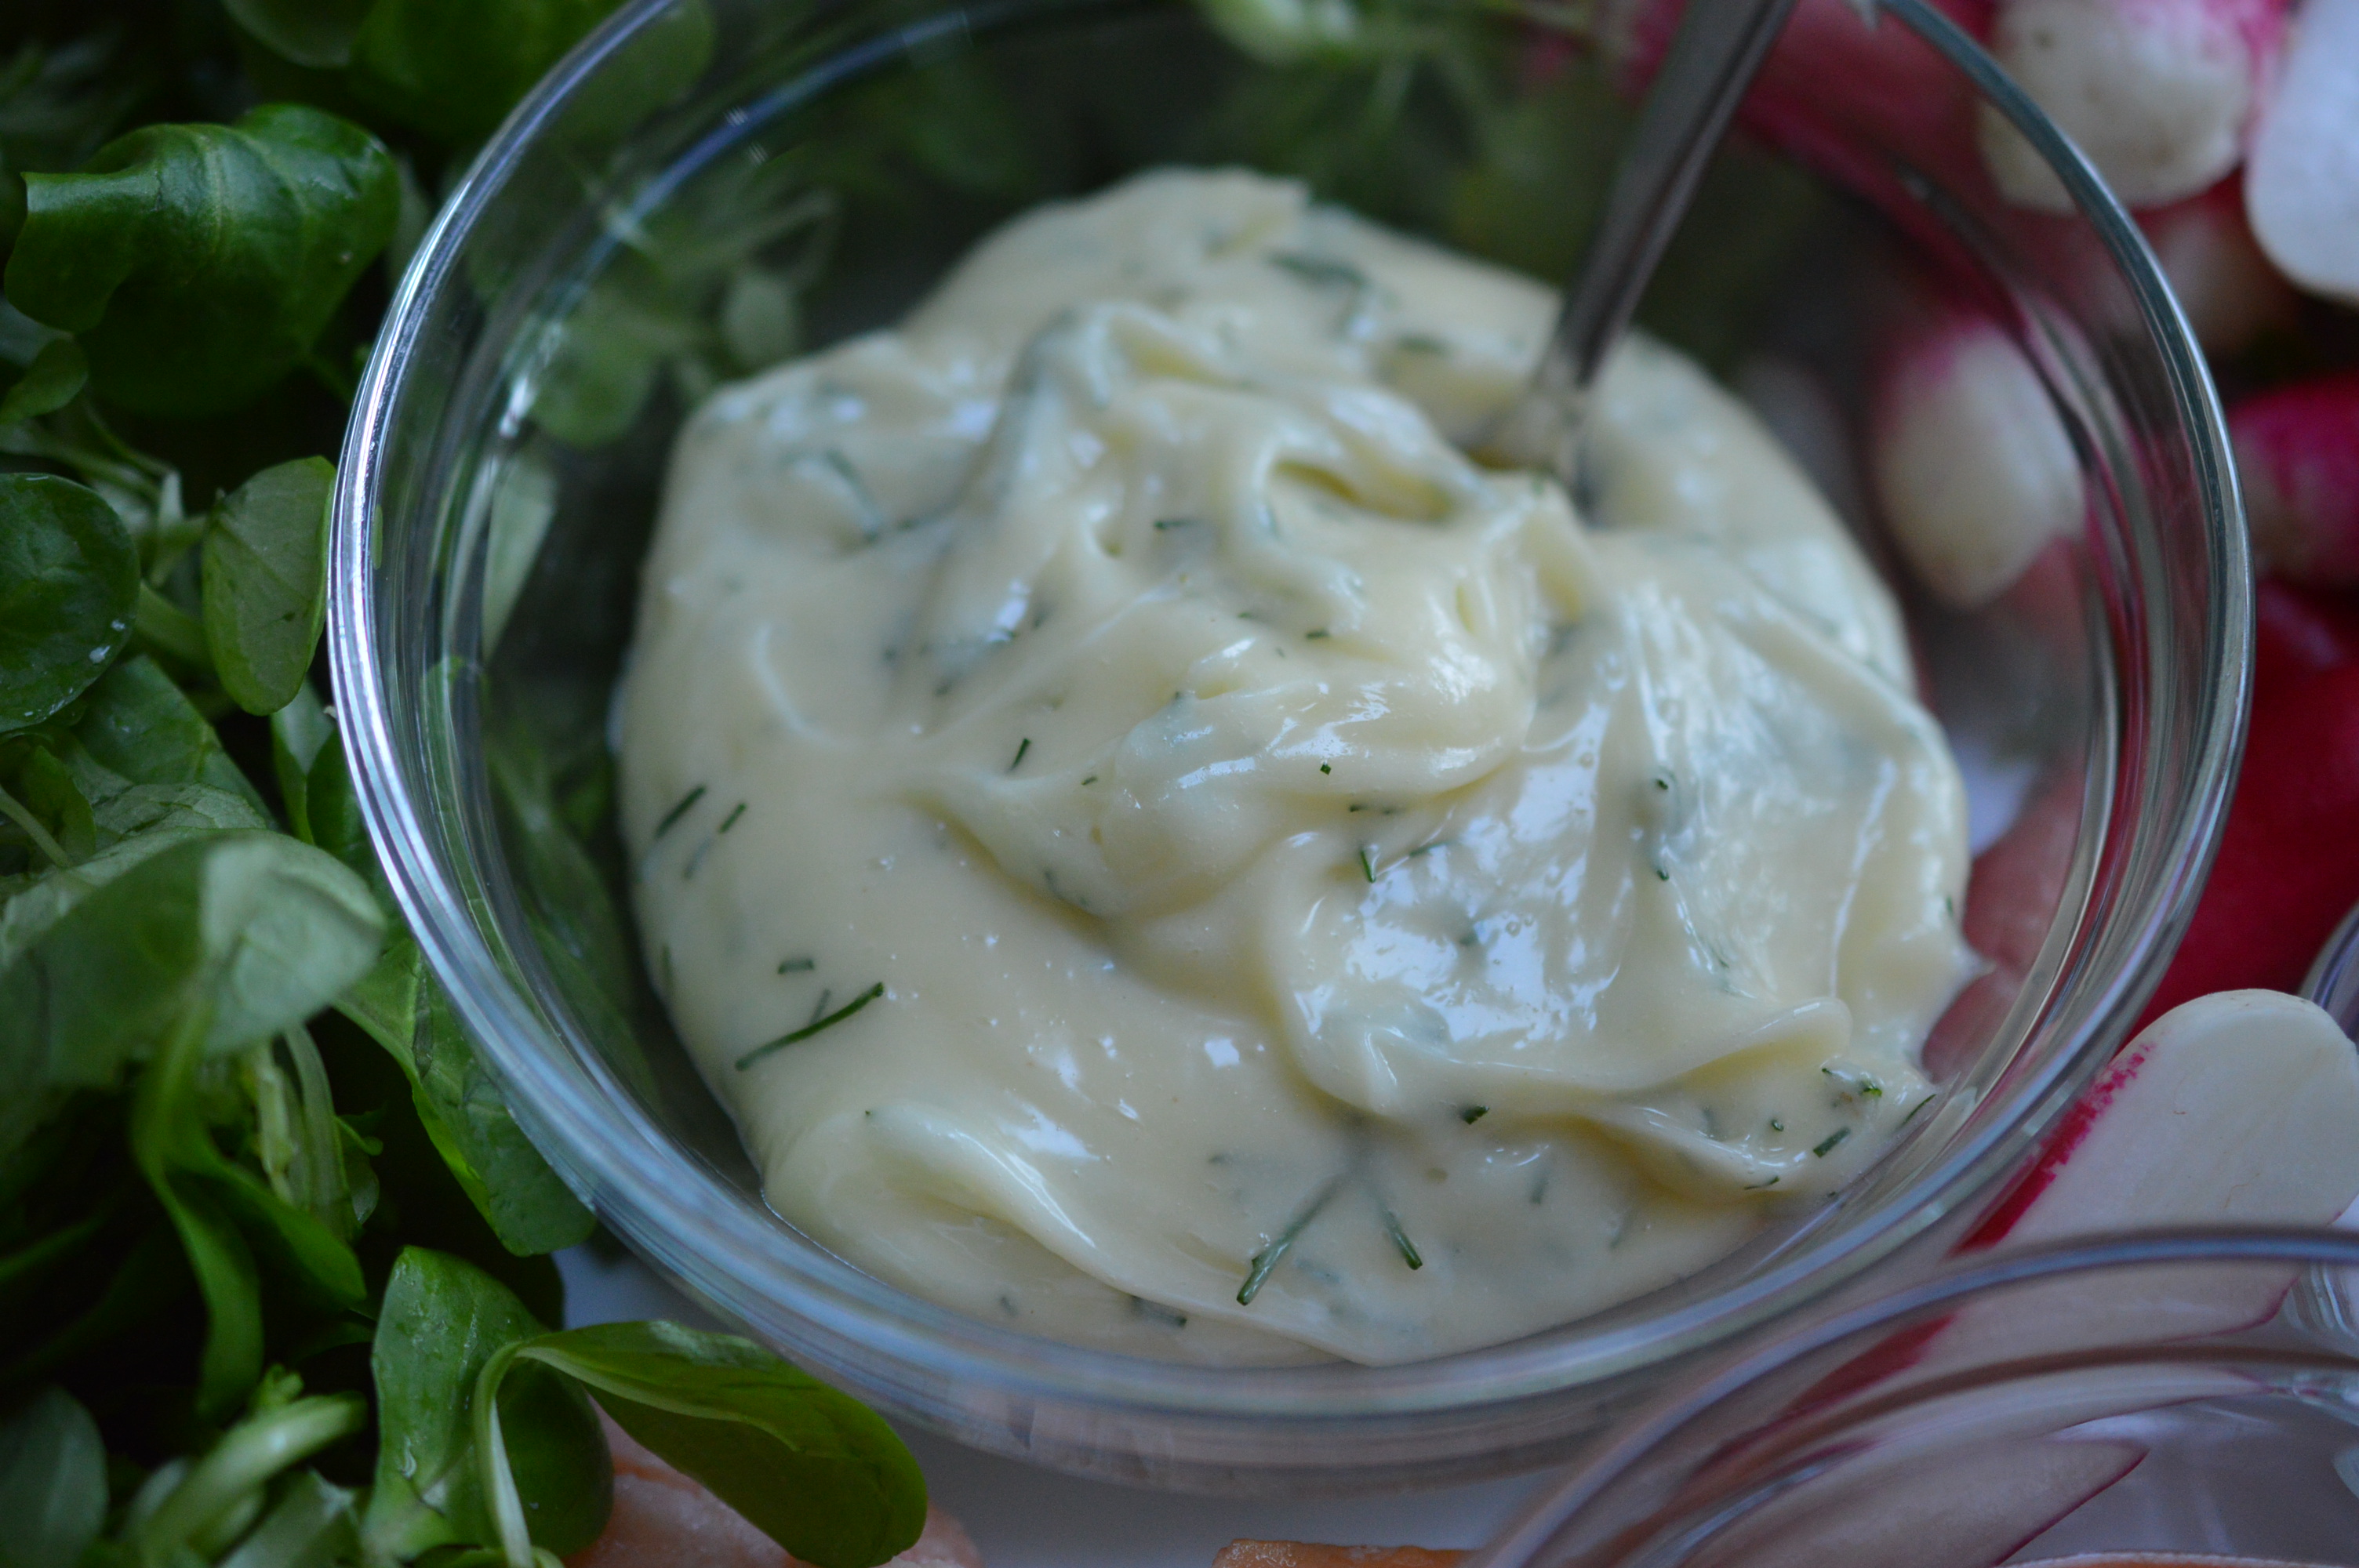
It can be a base for all kinds of wonderful things – here I chopped a couple of tablespoons of dill and stirred it through to serve alongside some smoked trout ..

Suppertime

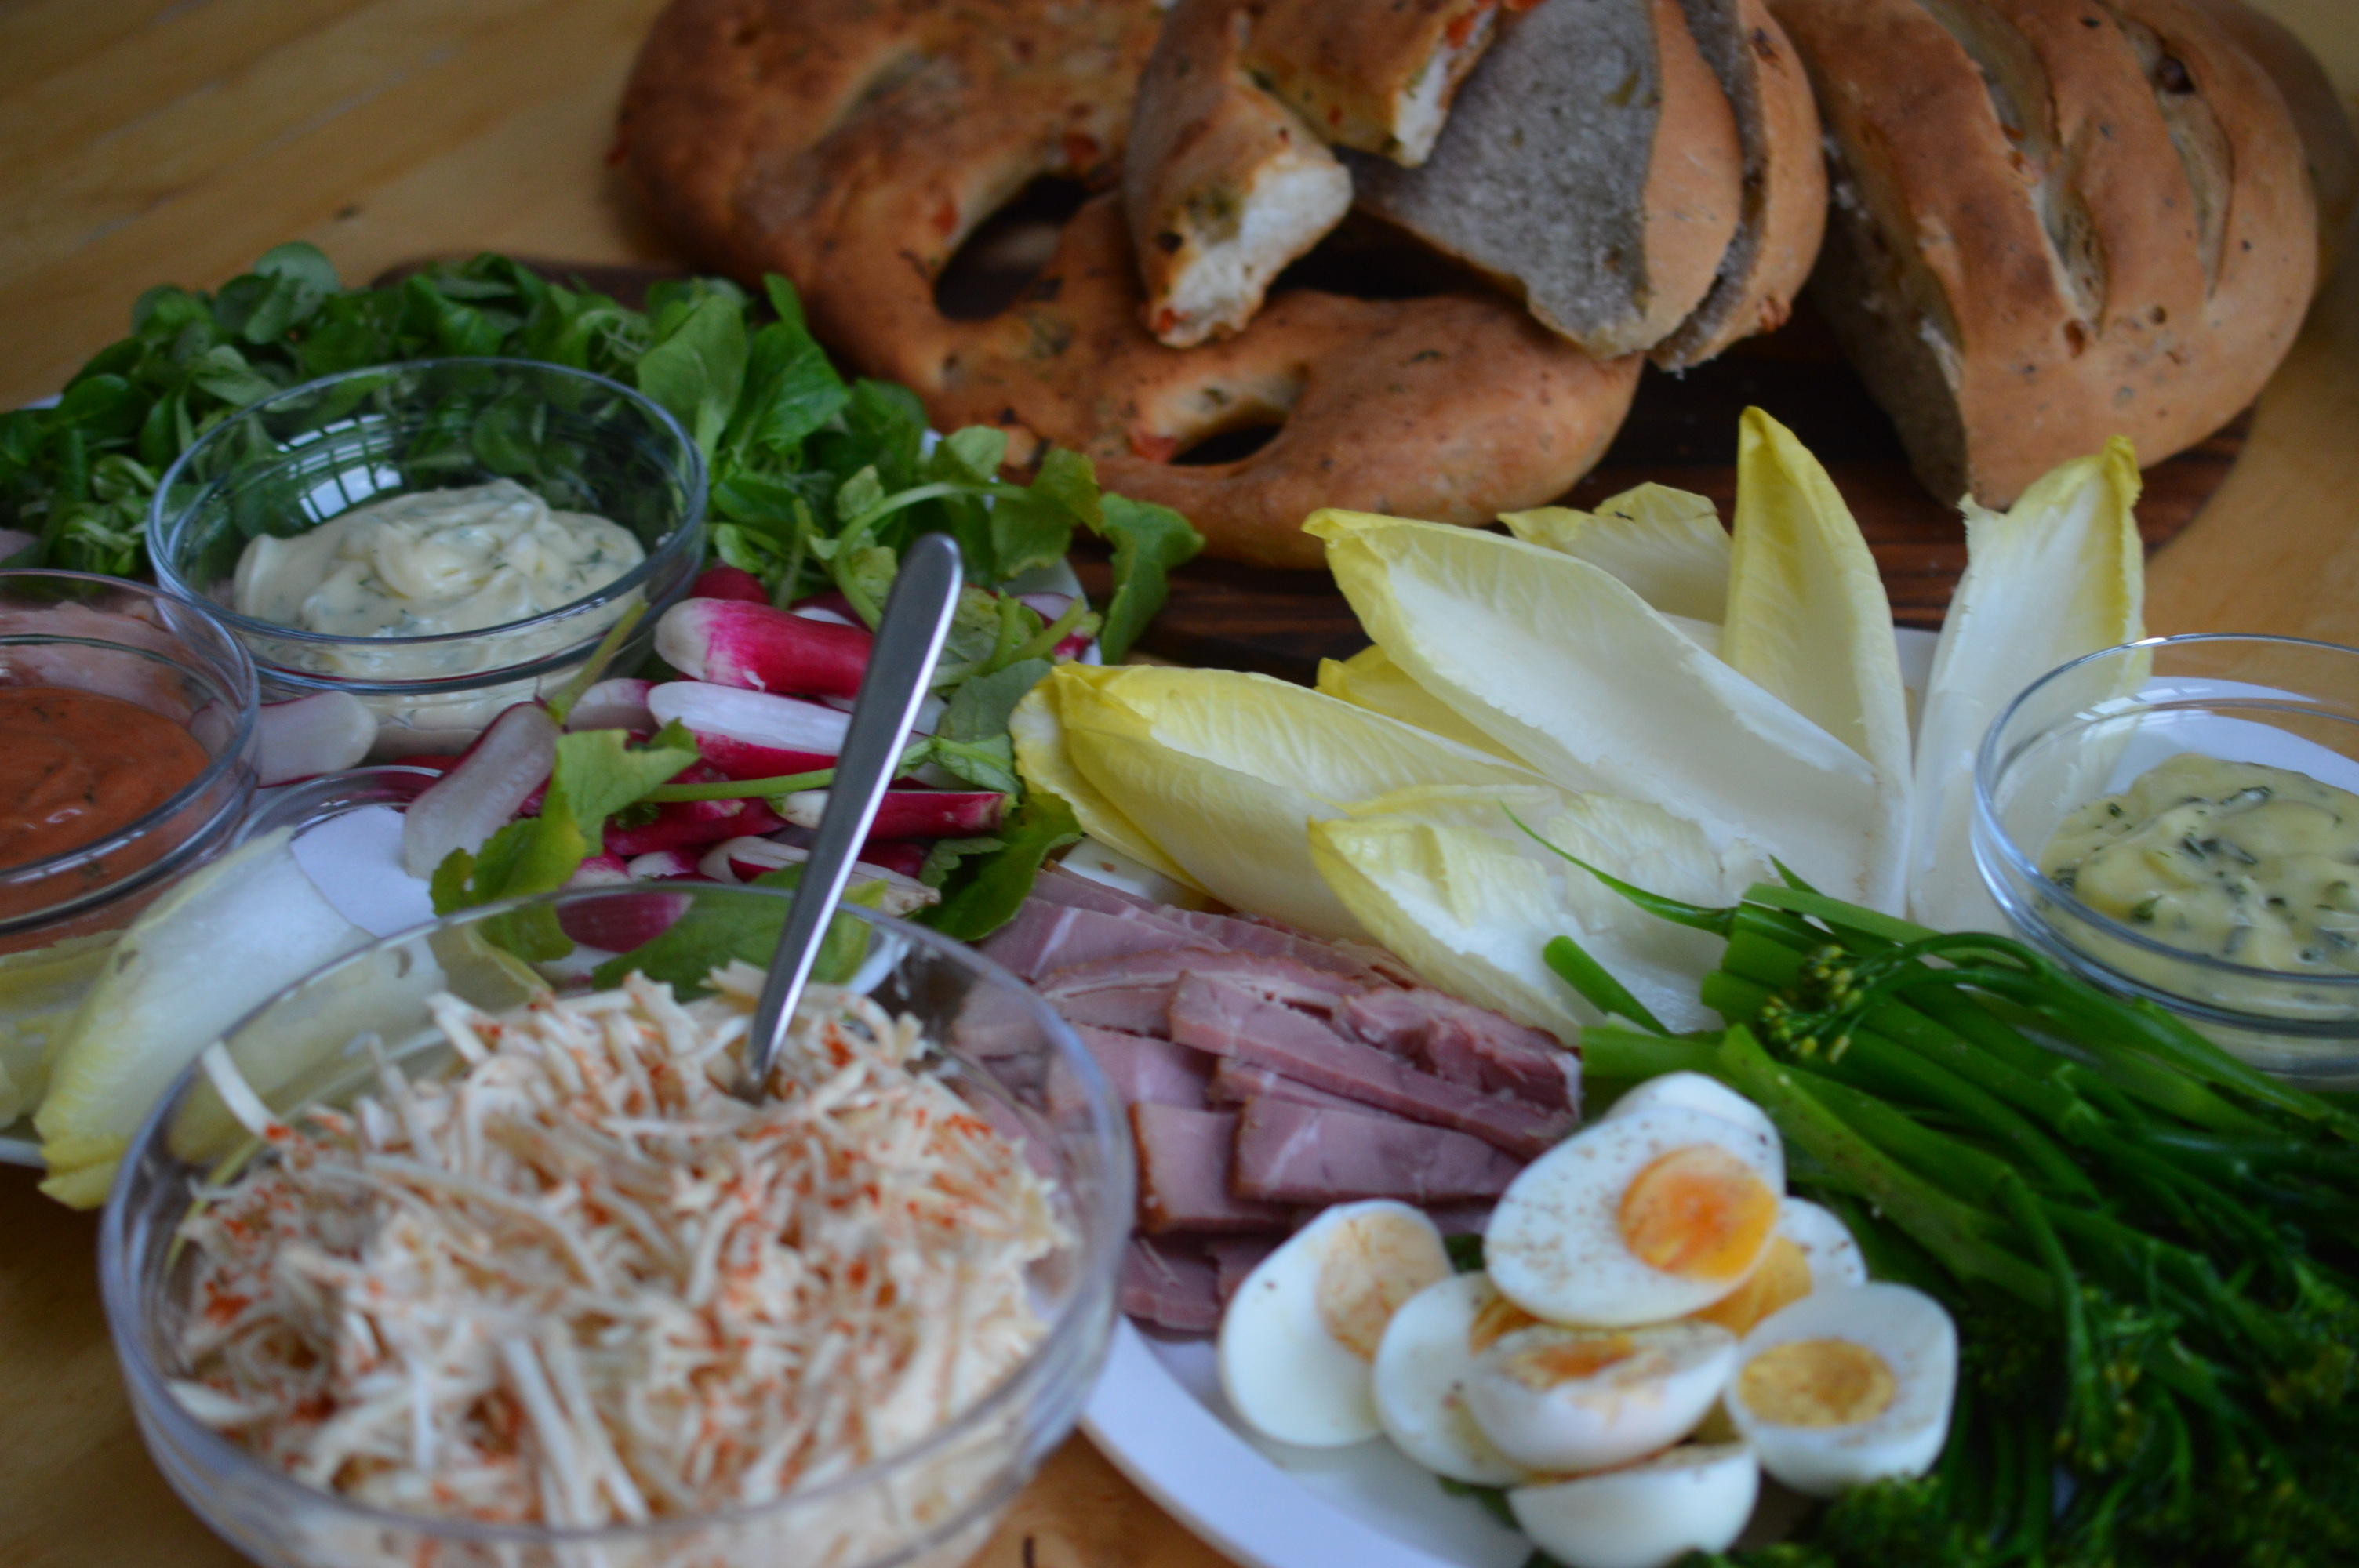
I also made a basil mayonnaise, another flavoured with tomato and basil.  A few tablespoons went to make a celeriac remoulade which I love with ham .. and prawns.  Pâte, too …

Mayonnaise in parfait jar

.. but it’s lovely as it is.

Eat.

Mayonnaise whiskedHome-Made Mayonnaise

Makes 350ml/12 fl oz

  • 2 organic, free range egg yolks
  • ¼ teaspoon of fine salt
  • ½ teaspoon of Dijon mustard
  • 1 dessertspoon of white wine vinegar (or lemon juice)
  • 225ml/8 fl oz oil (use a ratio of 6 parts light oil like groundnut or sunflower:2 parts rapeseed or olive oil)

Have everything at room temperature.

Place the egg yolks, the salt, Dijon mustard and white wine vinegar in a bowl.  Whisk together, then s-l-o-w-l-y add the oil, starting with the light oil and finishing with the heavier rapeseed/olive oil.  As you whisk you will see and feel the sauce thicken and the sauce will absorb the oil faster.

Keep refrigerated and use within a few days.  Add herbs .. or not.

Eat.

Print.


Seedless Raspberry Jam

Seedless is the key here.  This is my jam of choice for filling doughnuts and what would life be without the occasional doughnut?  I have a real weakness for doughnuts hot from the fryer.  Can you tell I’m eating super healthily at the moment?  

In actuality, I made this batch almost a month ago – before I was sucked into relocating three of my children to their university cities.

Seedless raspberry Jam on spoon

I know this is a post which is going to get ‘lost in translation’ between English English and American English – and goodness knows what’s happening elsewhere.  Anyone reading from Australia?  So … in this kitchen:

  • Jam = a cooked mix of sugar and fruit which has been mashed, chopped or squished.
  • Jelly = a cooked mix of sugar and fruit which is strained to give a clear liquid.
  • Preserves = jam which has big bits of fruit in it.
  • Conserve = jam with added extras, such as nuts or mixed fruit.

Then, there’s fruit curds, marmalade, fruit butters, chutneys, pickles – but I’m thinking they’re for another day.

Raspberry Jam without seeds 2

Here I’m squishing my fruit and not straining it which makes it ‘jam’.  This batch began with a large trolley of discounted raspberries.  15p for 170g.  Irresistible.  The truth is, it’s really better to make jam with fruit which is slightly under-ripe because the pectin levels (which is what gives you the ‘set’) are at their highest, but ‘beggars can’t be choosers’ ..

Raspberry Jam without seeds 3

Raspberry Jam rather divides people into those who claim it as the ‘jam of all jams’ and those who can’t get past the seeds.  Undeniably raspberries are a pippy fruit and I’m sandwiched between a parent who avoids seeds (it’s a teeth thing) and a couple of children who refuse any jam with ‘bits’.  This means I rarely make a ‘classic’ raspberry jam because I will eat it and I’m the one who probably shouldn’t.

I could have turned these berries into a raspberry jelly which removes the seeds, but we’re in ‘bramble’ season now and I’ve already got a shelf full of bramble and apple jelly.  Or raspberry curd, which I love but those doughnuts were seducing me …

Discard any fruit showing signs of spoilage and give them a light rinse.  Place the raspberries in a heatproof bowl and place in a low oven for 40 minutes to an hour.

Raspberry Jam without seeds 5

There’s not a lot to see – but warming the fruit makes the next bit  so much easier, particularly if you’re using a sieve as opposed to a mouli.

Raspberry Jam without seeds 6

My weapon of choice is a ‘Good Grips’ food mill.  Sieving is your other option.  I would suggest trying to utilise any available child labour if you’re going that route.

Raspberry Jam without seeds 7

After a period of energetic squashing …

Raspberry Jam without seeds 8

What you are left with is smoothish raspberry pulp.

Raspberry Jam without seeds 9

Preserving is a bit like bread making in that you can, if you wish, make it incredibly complicated and ‘scientific’.  I could, at this point, check the pectin levels in my fruit …

Or .. you can just make the jam.  You might miss a certain level of perfection, but ripe fruit waits for no cook and I’ve only got a small window of time to get this done.

I re-use glass jars without any qualms and I buy new lids.  Clean, rinsed jars and lids go into a low oven for 30 minutes.

Raspberry Jam without seeds 10

Traditional jam-making law adds the same weight of sugar as fruit, but you can tweak that depending on how sweet you like your jam and how naturally sweet your fruit is.  Sugar is the preservative so don’t go mad.  I weigh the fruit pulp and add three quarters of that weight in white granulated sugar.  It’s a trade-off between a softer set and a fresher taste.

I use a maslin pan because I own one, but it isn’t essential.  They’re the pan of choice because they give a large surface area which reduces the time you will need to boil the fruit/sugar to reach a set.  The quicker you reach a ‘set’ the cleaner tasting.

Warming the sugar merely speeds things up.  If you’ve planned ahead – great.  But it doesn’t actually matter.  Over a low heat, let the sugar dissolve.

Raspberry Jam without seeds 11

Keep stirring until you can feel no undissolved sugar on the bottom of the pan.

Raspberry Jam without seeds 12

I add lemon juice to raspberry jam.  It’s high in pectin and helps with the set.  Redcurrants would be an alternative.

Raspberry Jam without seeds 14

Bring everything up to a boil.  It’s reached a ‘set’ when a sugar thermometer reads 105ºC and it’ll take about 5 minutes.  Mine was a fraction under but I made the decision not to add any more lemon because I’m happy with a ‘soft set’.  If you boil for too long the jam will have a caramel tang.

Raspberry Jam without seeds 15

Turn off the heat.

Raspberry Jam without seeds 16

Now is the moment to remove the scum.  Just scoop it off.  You’re unlikely to get everything.

Raspberry Jam without seeds 18

A knob of unsalted butter deals with the little that is left.

Raspberry Jam without seeds 19

Stir, clockwise, until the butter has melted and the jam is crystal clear.

Raspberry Jam without seeds 20

Take the jam jars from the oven and pour the hot jam into them.  You need to take it to the top of the jar and immediately screw the lid on top.

Raspberry Jam without seeds 23

Leave to cool.  Then label.

Seedless Raspberry Jam

Eat.

Seedless raspberry Jam on spoonSeedless Raspberry Jam

  • 1.5kg fresh raspberries
  • 1kg granulated sugar (adjust when you weigh the fruit pulp)
  • 1 lemon

Check over the raspberries and discard any with signs of spoilage.  Give the fruit a rinse and place in a heatproof bowl.  Warm the fruit in a low oven for an hour.

Wash the recycled glass jam jars and new lids.  Let them dry in the low oven.

Meanwhile, sieve out the seeds.  A food mouli makes easy work of it.  Weigh the fruit pulp and adjust the amount of granulated sugar.

Place the fruit and sugar in a maslin pan and heat gently.  Stir until the sugar has dissolved.  Add the juice of a lemon and bring everything to a boil.

After about 5 minutes a sugar thermometer will read 105ºC (or thereabouts).

Skim off the scum.  A small knob of unsalted butter, stirred through in a clockwise direction will deal with any remaining.

Pour into the sterilised jars, taking the jam to within a few millimetres of the rim. Immediately cover with the sterilised lids and lightly screw on.  Tighten when cool.  Then label.

Eat.

Print.


Hard Boiled Eggs

Twice this week I’ve needed some hard boiled eggs.  Once for Kedgeree and once for sandwiches – so I’m taking that as a sign and here is how I do it.

Hard Boiled Egg 1

Not surprisingly, it begins with the egg.  I buy free-range – always.  It’s more expensive but if you’ve ever seen the conditions battery hens are kept in you’ll understand why.  Within the EU, an egg labelled ‘free-range’ guarantees the hens have had continuous day-time access to outdoor runs ‘mainly covered in vegetation’.  An egg labelled ‘organic’ is automatically ‘free-range’.  That’s not ‘worldwide’ so you’d need to check if you live outside the EU.

DSC_0086 1

Doing anything with an egg is much easier if you know how old your egg is.  If you buy eggs in a box which is stamped with the lion mark it will give you a best before date.  That date is 21 days after laying so you can do some calculations.

The other way to tell the age of an egg is to float it in cold water.  A newly laid egg will sink to the bottom of a glass and lay entirely horizontal.  This is because there’s no air pocket.  As the egg ages the porous shell will absorb air which will collect in the rounded end.  When you float an egg with an air pocket it will cause the egg to tilt upwards.  A egg which sits vertical is stale.

A newly laid egg will poach effortlessly and, really, anything else is best not poached.  It’s also better for fried eggs, scrambling, making omelettes and for any recipe which asks you to separate the yolk from the white.  When an egg is fresh the yolk is plumper and the white clings to it.

Not only does the porous shell absorb air it allows the natural moisture in the egg to evaporate.  As the egg ages everything becomes flatter and looser.  For peeled hard boiled eggs the optimum egg is one between 5-12 days old.  You can, of course, hard boil an egg of any age.  What you’ll struggle with is the peeling.  When the egg is fresh the inner membrane which surrounds the egg white adheres like glue.  As the egg ages that membrane becomes looser and the shell slips off effortlessly.

Hard Boiled Egg 4

Start with your egg at room temperature.  That air pocket which settles at the rounded end – prick it.  Being a woman of limited interests, a gadget to do just that is what Father Christmas put in my stocking a few years ago.

Pricking the egg before boiling lessens the chance of the shell cracking.  Sometimes that matters and sometimes it doesn’t.

Hard Boiled Egg 5

Use a saucepan which minimises the amount of space the eggs have to bounce about.  Again, that’s about not cracking the shell during cooking.

Place your eggs in the saucepan in a single layer and cover with cold water so it covers the eggs by 1cm/½”.

Hard Boiled Egg 6

Bring the water up to simmering point – and set the timer for 7 minutes.  This will give you a set yolk.  If your egg is fresh, less than 5 days old, cook for 7½ minutes.

Hard Boiled Egg 7

Overcooked eggs taste like rubber.  They are also the ones which tend towards having a dark line around the yolk.  The solution is to stop the egg cooking as quickly as is possible.  It no long matters if the shell cracks so tip it into a colander and run cold tap water over it.  Keep going until the egg is cool to hold.

Hard Boiled Egg 8

Finish cooling in a bowl of iced water.

Hard Boiled Egg 9

Tap the egg all over on your work surface and start to peel at the wider end (where the egg pocket is).  I always peel over the bowl and use the water to deal with any tough to peel bits.  If you’re really struggling to get the shell off cleanly then peel under a running tap.

Hard Boiled Egg 10

Back into the iced water until completely cold.

Hard Boiled Egg 11

A bowl of hard boiled eggs, kept in the fridge, is great for snacking on.

Kedgeree Garnish

Eat.

Hard Boiled Egg 11Hard Boiled Eggs

  • Eggs.  5-12 days old and at room temperature.

Prick the air pocket at the rounded end of the egg and place in a single layer in a saucepan.  Cover with cold water.  Bring to a simmer and then set the timer for 7 minutes (adding an additional 30 seconds if your egg is fresh).

Drain in a colander and rinse in cold water to stop the egg cooking.

Transfer to a bowl of iced water.  Once cool enough to handle, peel.  (If the shell is sticking, peel under cold running water.)  Return to the bowl of iced water until completely cold.

Eat.

Print.


Crispy Fried Onions – Indian Style

I don’t really know what to call this as I’ve heard it being given all kinds of names.  Presumably it’s something which varies between dialects.  In English I reckon ‘Crispy Fried Onions’ is as descriptive as I can get it.

Fried onions 16

Nor is it accurate to describe it as a garnish because it adds so much more than that implies.  I serve it when I make Khichdi, Biryani and the Anglo-Indian Kedgeree.  If you happen to have a stash in your freezer, it’s lovely on any kind of topped spicy flatbread.

I will confess it’s a bit of a labour of love.  That’s the bad news.  The good news is you can do it when you have the time and the inclination since it freezes perfectly.  Since the cooking of it does take a while it’s worth making in bulk.

Fried onions - Birista 1

First, peel and slice the red onions.  Thinly.  That’s important.  As thin as you can get it.  Take your time (use a sharp knife) and comfort yourself with the thought other people pay to go on courses to work on their knife skills.

Fried onions 2

By the time I’d prepared my onions I was left with a little under 1.5 kg.  (1.429kg if you want it exact ..!  I don’t normally weigh it.  Just a big pyrex bowl full.)

Fried onions 3

The secret to good fried onions, I think, is to use enough oil.  For my quantity of onions I used 750ml (roughly 3 cups) and I use the same sauté pan I use for risotto.  Heat the oil until it’s hot enough to fizz when you lower an onion crescent in.

Fried onions 4

Then, in with the rest of the onions.  Keep the heat on high and stir constantly.  This stage takes about ten minutes.  (I don’t add any salt, now or at any stage.  Although salt does encourage the onions to crisp up, I find it doesn’t store as well as if I don’t use it.)

Fried onions 5

Separate out all the onion crescents and keep stirring.

Fried onions 6

After ten minutes, turn the heat down to somewhere between medium to low.  From now on it needs a little less babysitting.  You do need to keep an eye on it and give it all an occasional stir.

Fried onions 8

After twenty minutes cooking time my onions look like this.

Fried onions 9

A further ten.  Give it another stir to make sure nothing is catching on the bottom of your pan.

Fried onions 10

Another ten minutes.

Fried onions 11

50 minutes.  Keep an eye on it now as it goes suddenly.

Fried onions 12

This was just over the hour.  It’s now ready to drain.

Fried onions 13

Place a large bowl on a heatproof mat and drain the onions in a sieve over it.

Fried onions 14

The fried onions now need to crisp up.  Lay them out on absorbent kitchen towel placed over large baking sheets.  I separate out the strands with a couple of forks.  Leave to dry for 10 minutes.

Fried onions 15

It’s now ready to use.  When the 10 minutes are up pop them in a sealed container.  Store in the freezer.  There’s no need to portion as you can use it straight from the box.

Fried onions 18

It’s lovely.  Eat.

Fried onions 16Crispy Fried Onions – Indian Style

  • Red onions, peeled and thinly sliced (1.5kg once prepared)
  • 750ml sunflower oil (approximately 3 cups)

Heat the oil in a wide and deep sauté pan until it fizzes when a sliced crescent of onion is lowered in.  Add the rest of the onions.

Stir constantly over a high heat for ten minutes.

Lower the temperature to medium-low and continue to cook, stirring occasionally.  It takes between 50 minutes to an hour until the onions are cooked to a deep golden colour.

Set a large sieve over a bowl and drain the onions.

Line two large baking trays with paper kitchen towel and spread out the onions using two forks.  Leave to cool for 10 minutes.

Transfer to a sealed container and store in the freezer.

Eat.

Print.


Home-Made Curry Powder

Curry Powder isn’t ‘one’ thing.  It’s a house mix and would seem to be a Western invention, but it’s a ready-mix which has been around for a long time.  It  was certainly available in London in the mid 1780s as there’s an advert for it in ‘The Morning Post’.  That  must have been powerful stuff because it promises “it contributes most of any food to an increase of the human race”.  I don’t make any such claims for mine … although I do have five children …

You can buy Hot, Medium or Mild, but your own will always be better.  Whole ground spices are more flavourful and zingy than anything you buy ready ground.  Plus, you can customise your mix to your own taste.

Curry Powder 9

This is mine.  (If you happen to be one of my children – this is the curry powder I send you to university with to put on your spicy popcorn ..)

Curry Powder 1

I’ve made choices.  If you buy it, depending on the brand you buy, you may find coriander, turmeric, curry leaves, cumin, fenugreek, chilli, ginger, garlic, asafoetida, fennel seeds, caraway seeds, cinnamon, cloves, mustard seeds, green cardamom, black cardamom, nutmeg or black pepper.  I think I spotted celery salt in one the other day.

This is my go-to mix.  Since the shelf life of ground spices is no more than 3 months at most I like to grind mine in small quantities.

Curry Powder 2

Lightly toasting the spices does make the kitchen smell wonderful, but the real reason to do it is because it alters the flavour of the spice.  It’s not better, just different.  I like it for this.

For my curry powder I place coriander seeds, cumin, black mustard seeds, fenugreek, fennel seeds, black peppercorns and cloves  in a small cast iron frying pan.

Curry Powder 3

Over a low heat, warm through until the spices release their aroma and they appear slightly darker.  Transfer to a bowl.  If they stay in the pan they might burn in the residual heat.  Leave to cool.

Curry Powder 4

I’m sure a purist would opt for a pestle and mortar, but I keep a bamix dry blender for the purpose.  (Don’t even think of grinding coffee beans in what has become a ‘spice mill’ or they’ll taste peculiar!)

I add a few freeze-dried curry leaves and a couple of dried chillies.

Curry Powder 5And whiz.

Curry Powder 6

A little turmeric.  Then, mix.

Curry Powder 7

That’s it.  A fresh and zingy curry powder.  Eat.

Curry Powder 9Home-Made Curry Powder

  • 1 tablespoon coriander seeds
  • 1 tablespoon cumin seeds
  • 1 tablespoon turmeric
  • 1½ teaspoons black mustard seeds
  • 1½ teaspoons fenugreek
  • 6 freeze dried curry leaves, crushed
  • 2 dried chillies, seeds included
  • ½ teaspoon fennel seeds
  • ½ teaspoon whole cloves
  • ½ teaspoon of black peppercorns

Set the curry leaves, the chillies and the turmeric to one side.

Place the coriander seeds, cumin seeds, black mustard seeds, fenugreek, cloves and peppercorns in a small cast iron frying pan and place over a low heat.  (Don’t use a non-stick pan for this as the coating may smoke.)  Keep watching and shaking the pan as spices burn quickly.  You want everything to roast evenly.  Warm through until the whole spices have darkened slightly and an aromatic scent has filled your kitchen.  Immediately transfer them to a bowl to cool.

Once cool, add the crushed curry leaves and roughly chopped dried chillies.  Grind in a pestle and mortar or whiz in a spice grinder.

Add the turmeric and stir.  Store in a sealed container and use within weeks.

Eat.

Print.