Blackberry and Apple Steamed Pudding

As opposed to a ‘suet’ pudding.  This is a three egg ‘sponge’ mix, steamed.  It’s perfectly possible to bake it, but you do end up with more ‘cake’ than ‘pudding’.

blackberry and apple sponge pudding and custard

Yes, I would prefer not to have to bother with pleated foil and I have never quite mastered the art of tying a neat knot round my pudding basin – but not cutting corners when it comes to making ‘sweet things’ is my foodie philosophy.  You don’t need to eat this.  It’s a treat – and I want my pudding light and fluffy.  I wouldn’t want you to imagine I don’t greatly wish this counted as one of my five a day, but it doesn’t and I’m at that age when middle-age-spread is a fearful reality.  So fluffy …!  And so worth the calories.

Blackberry and apple fruit measure

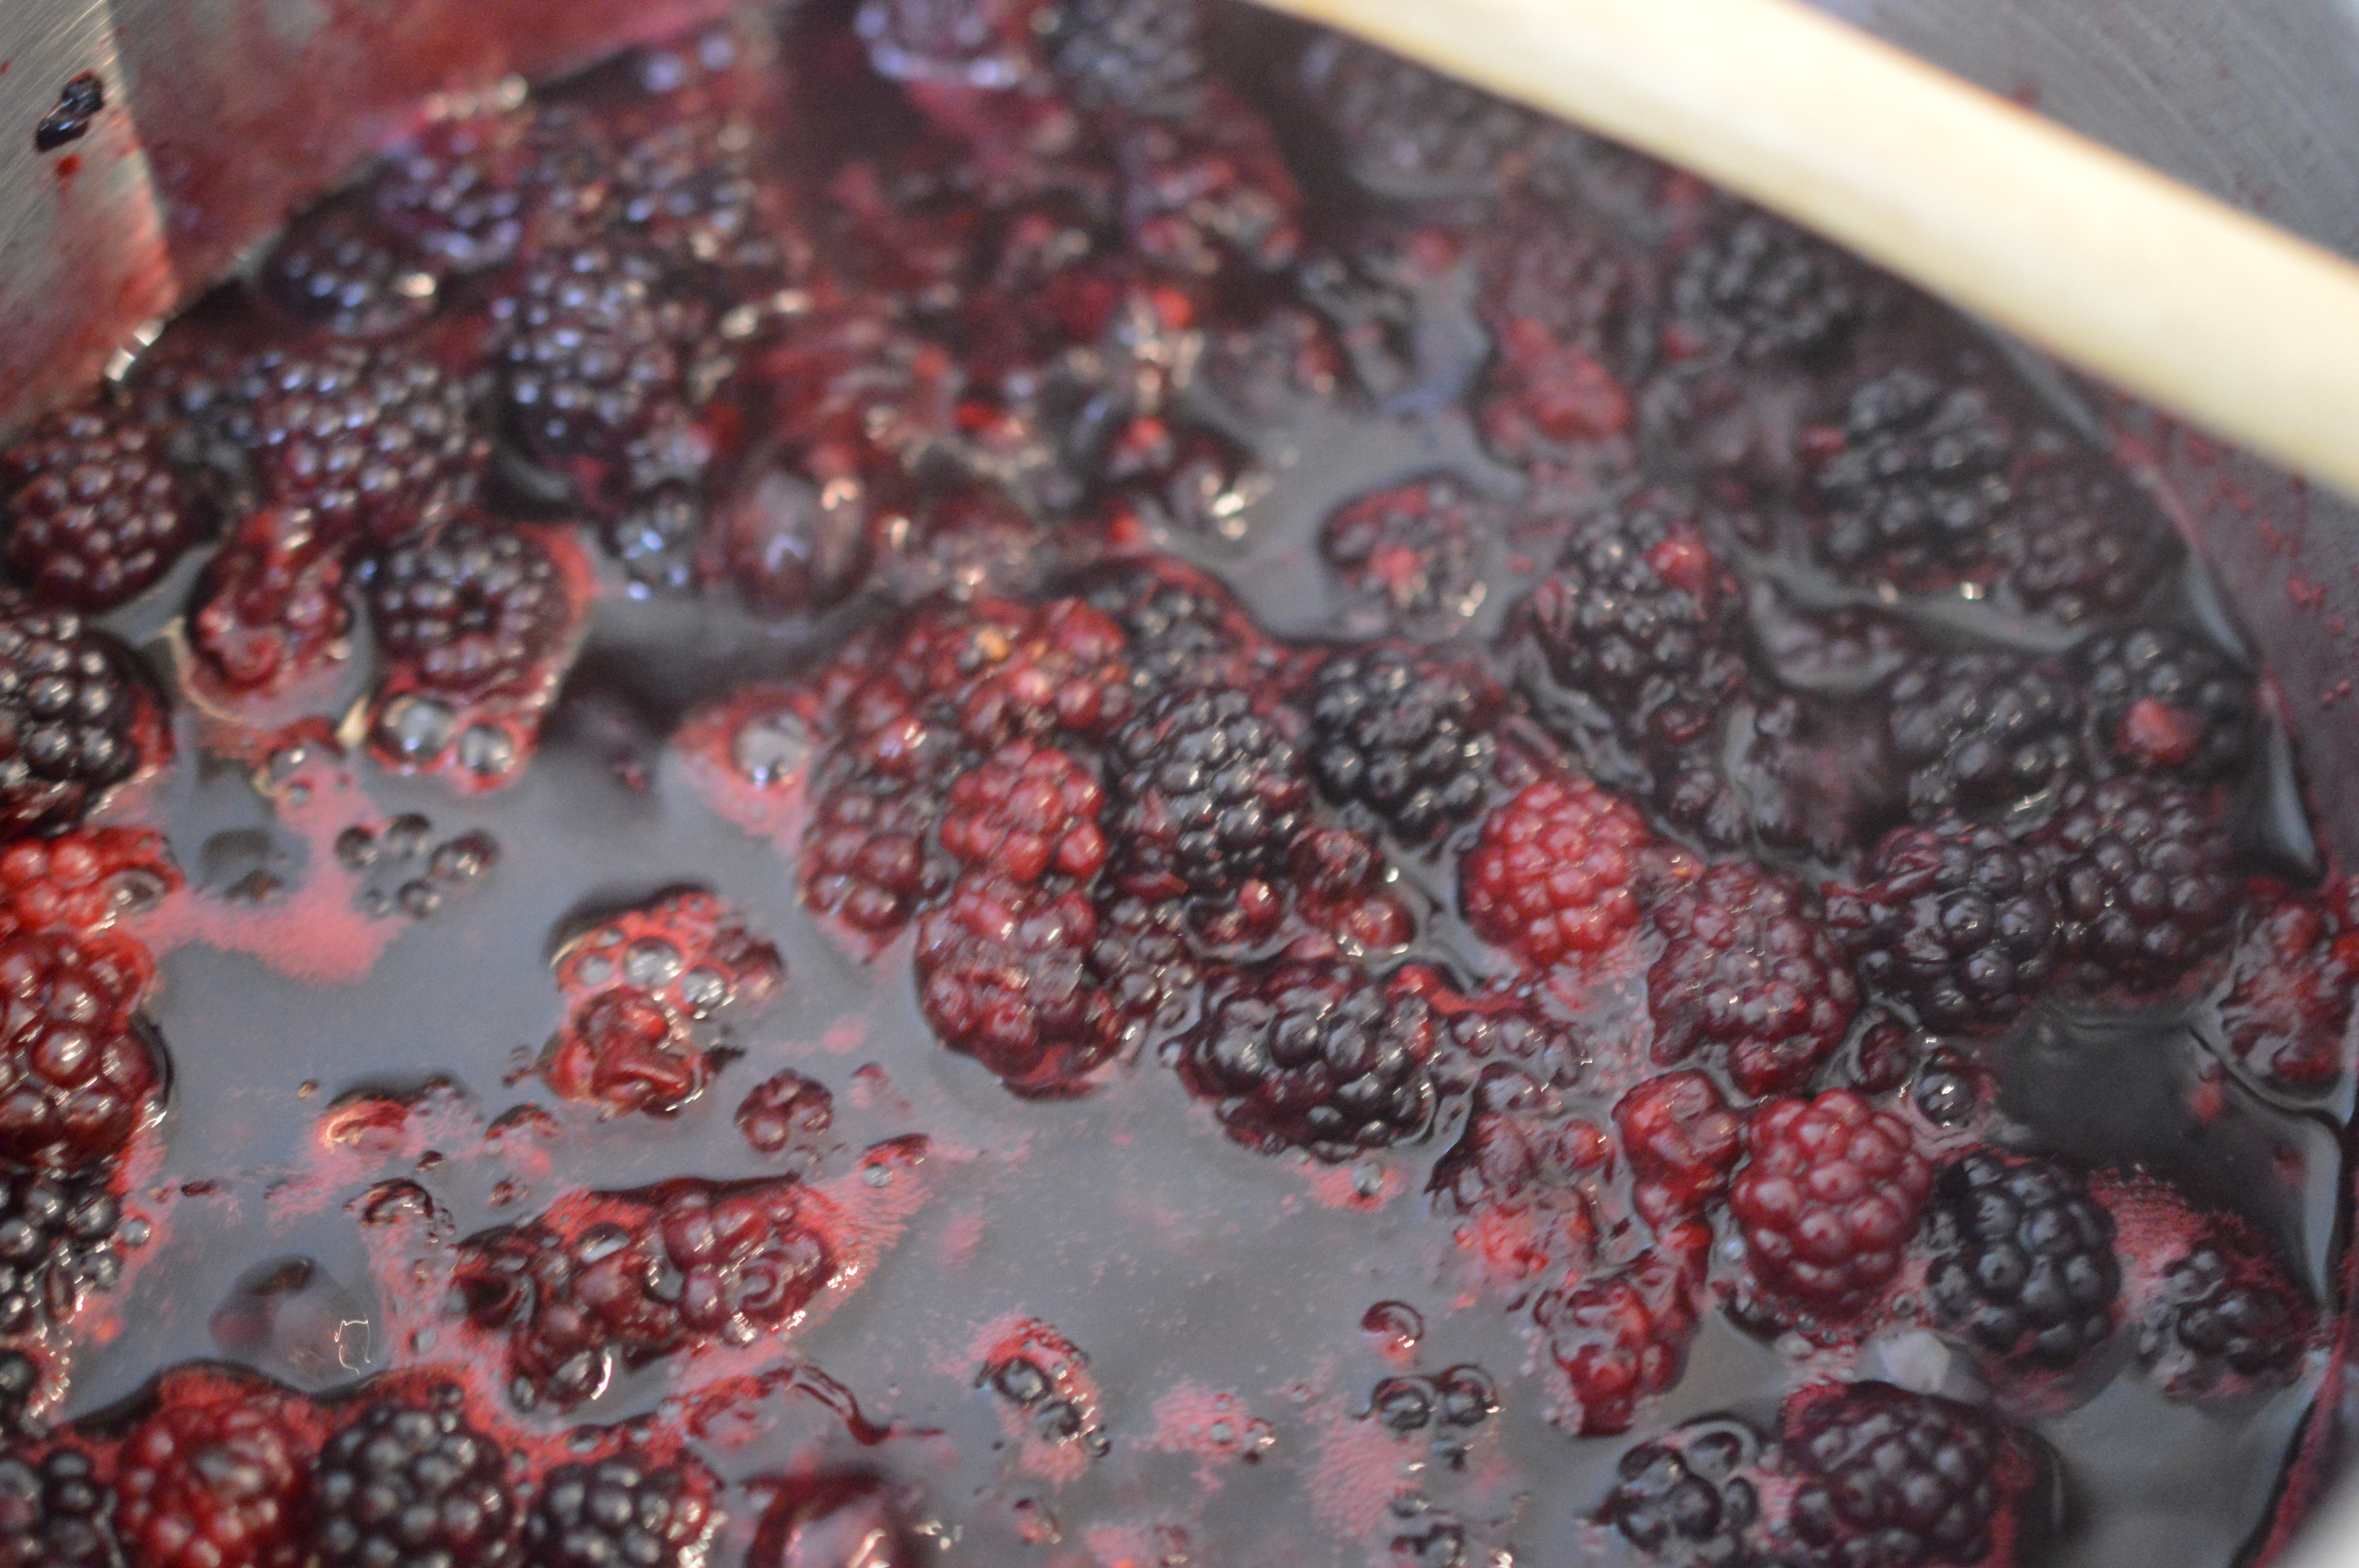
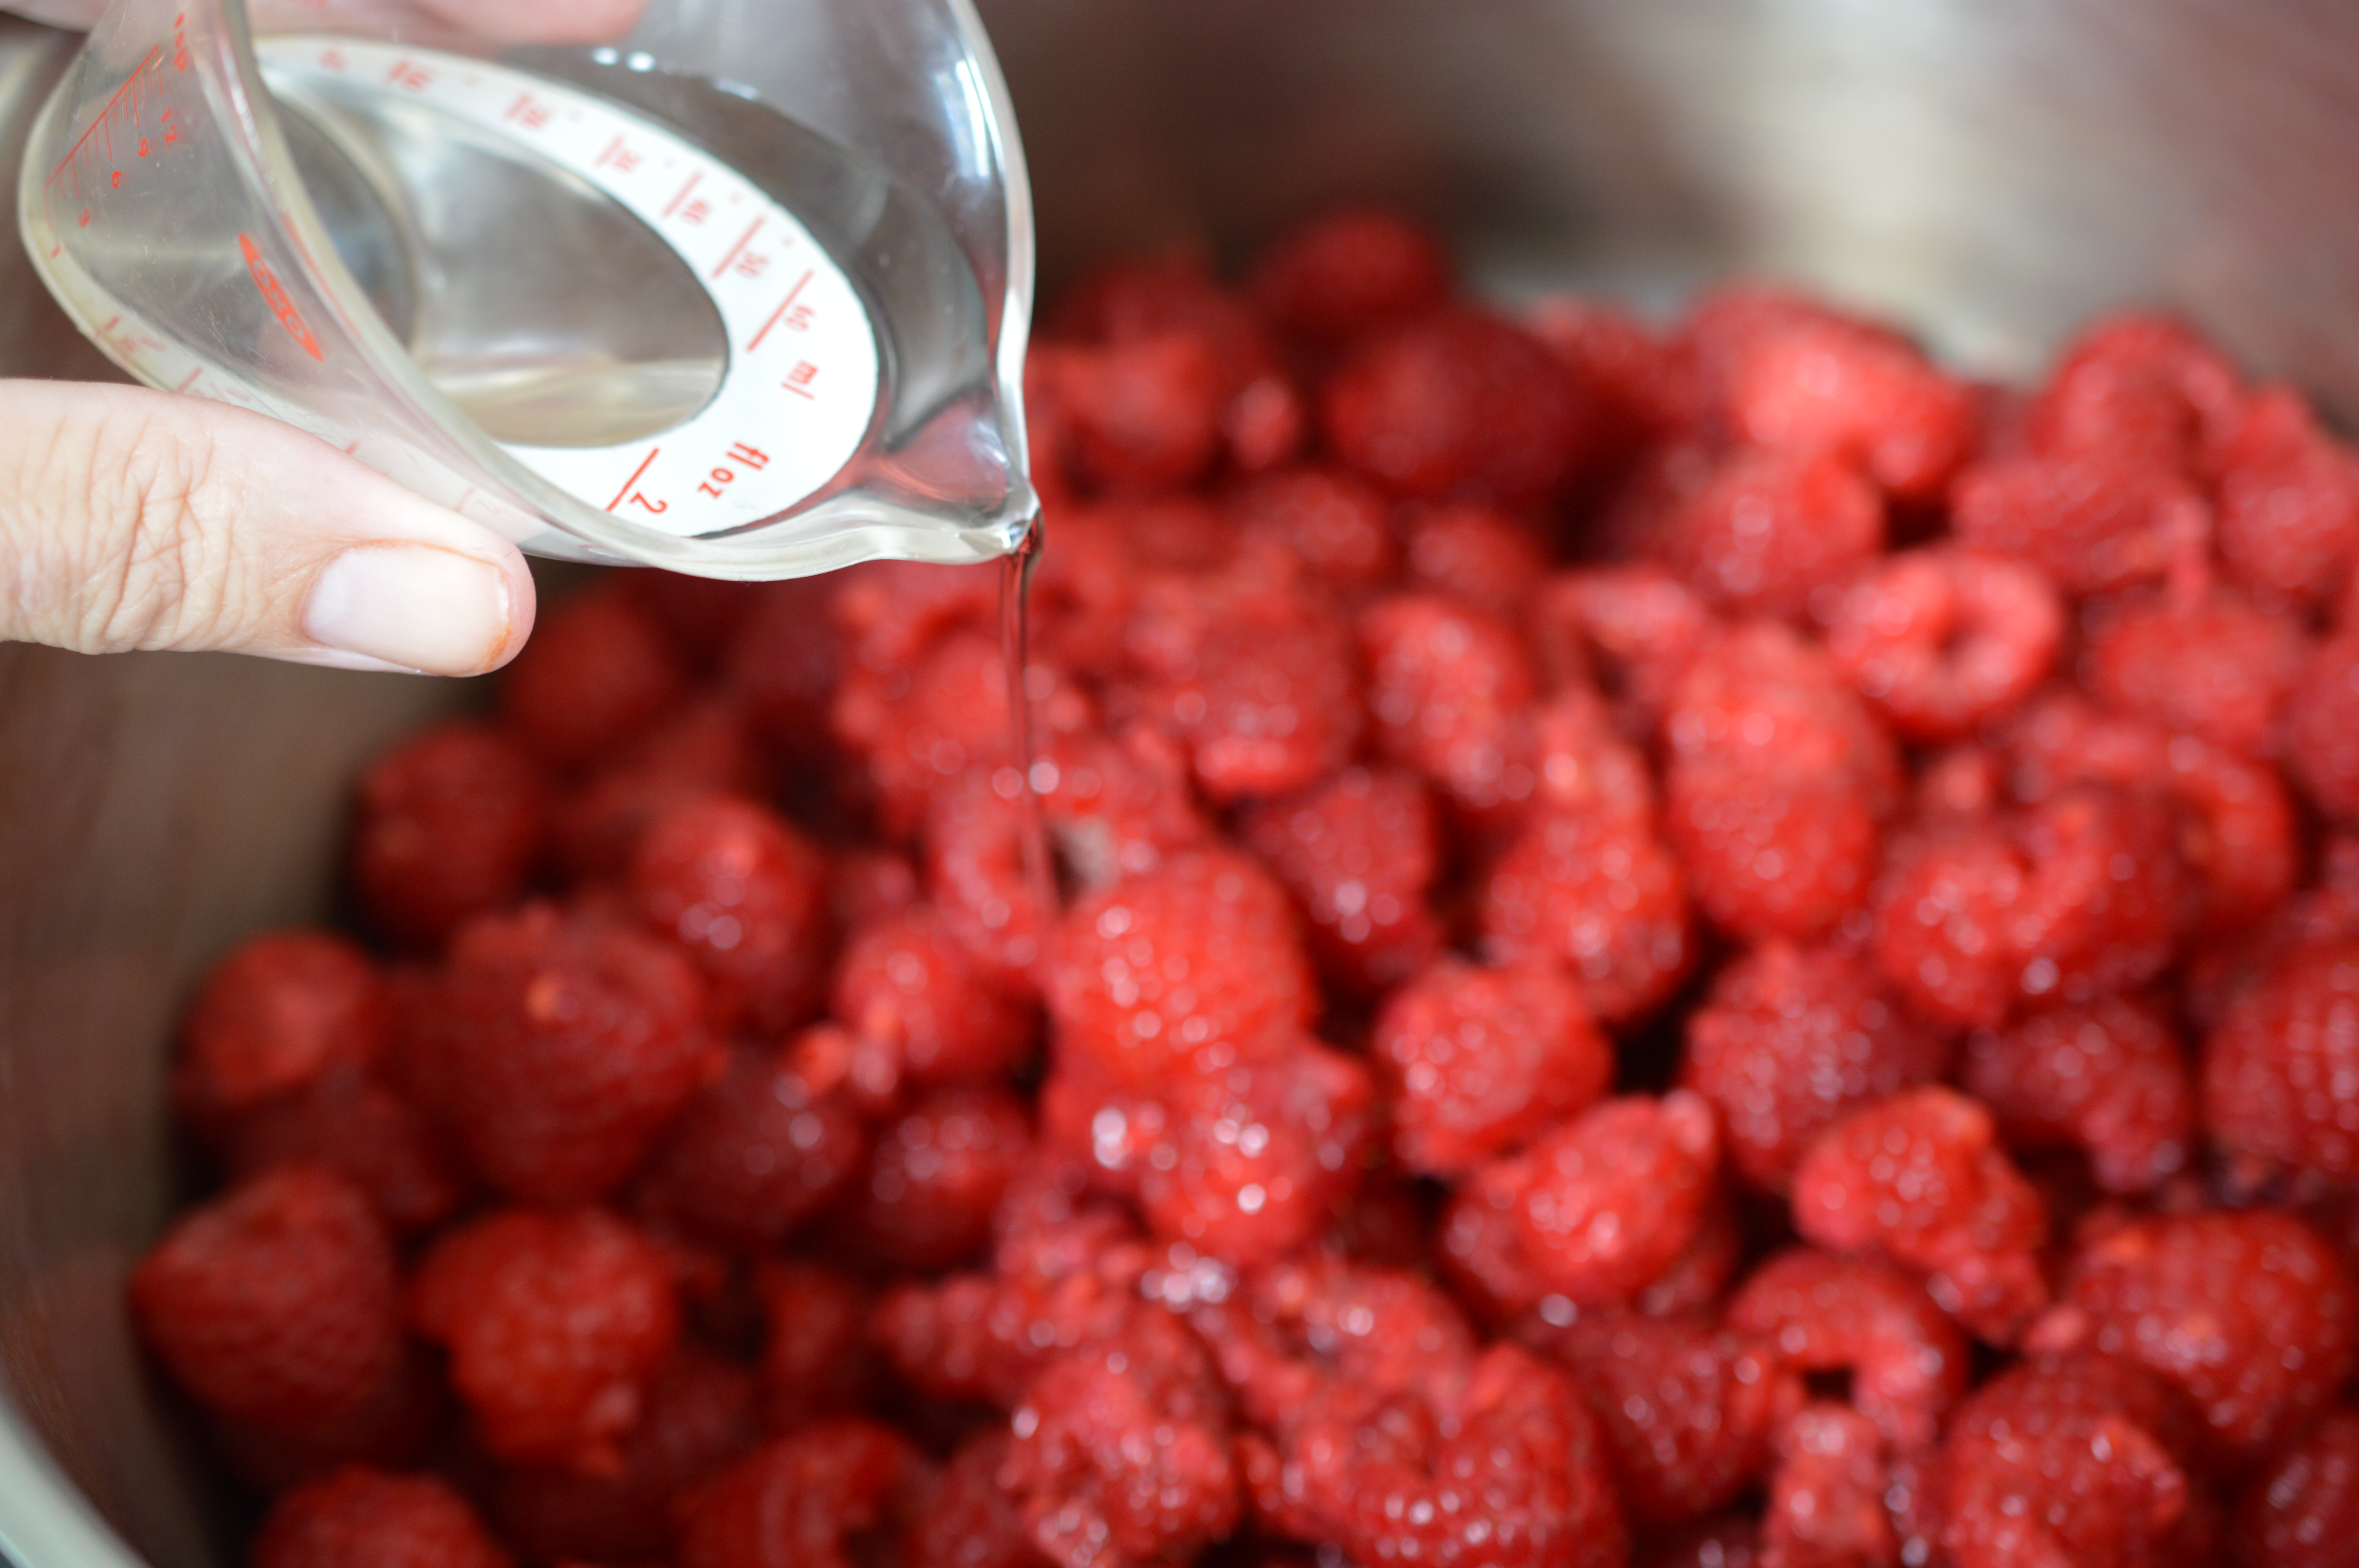
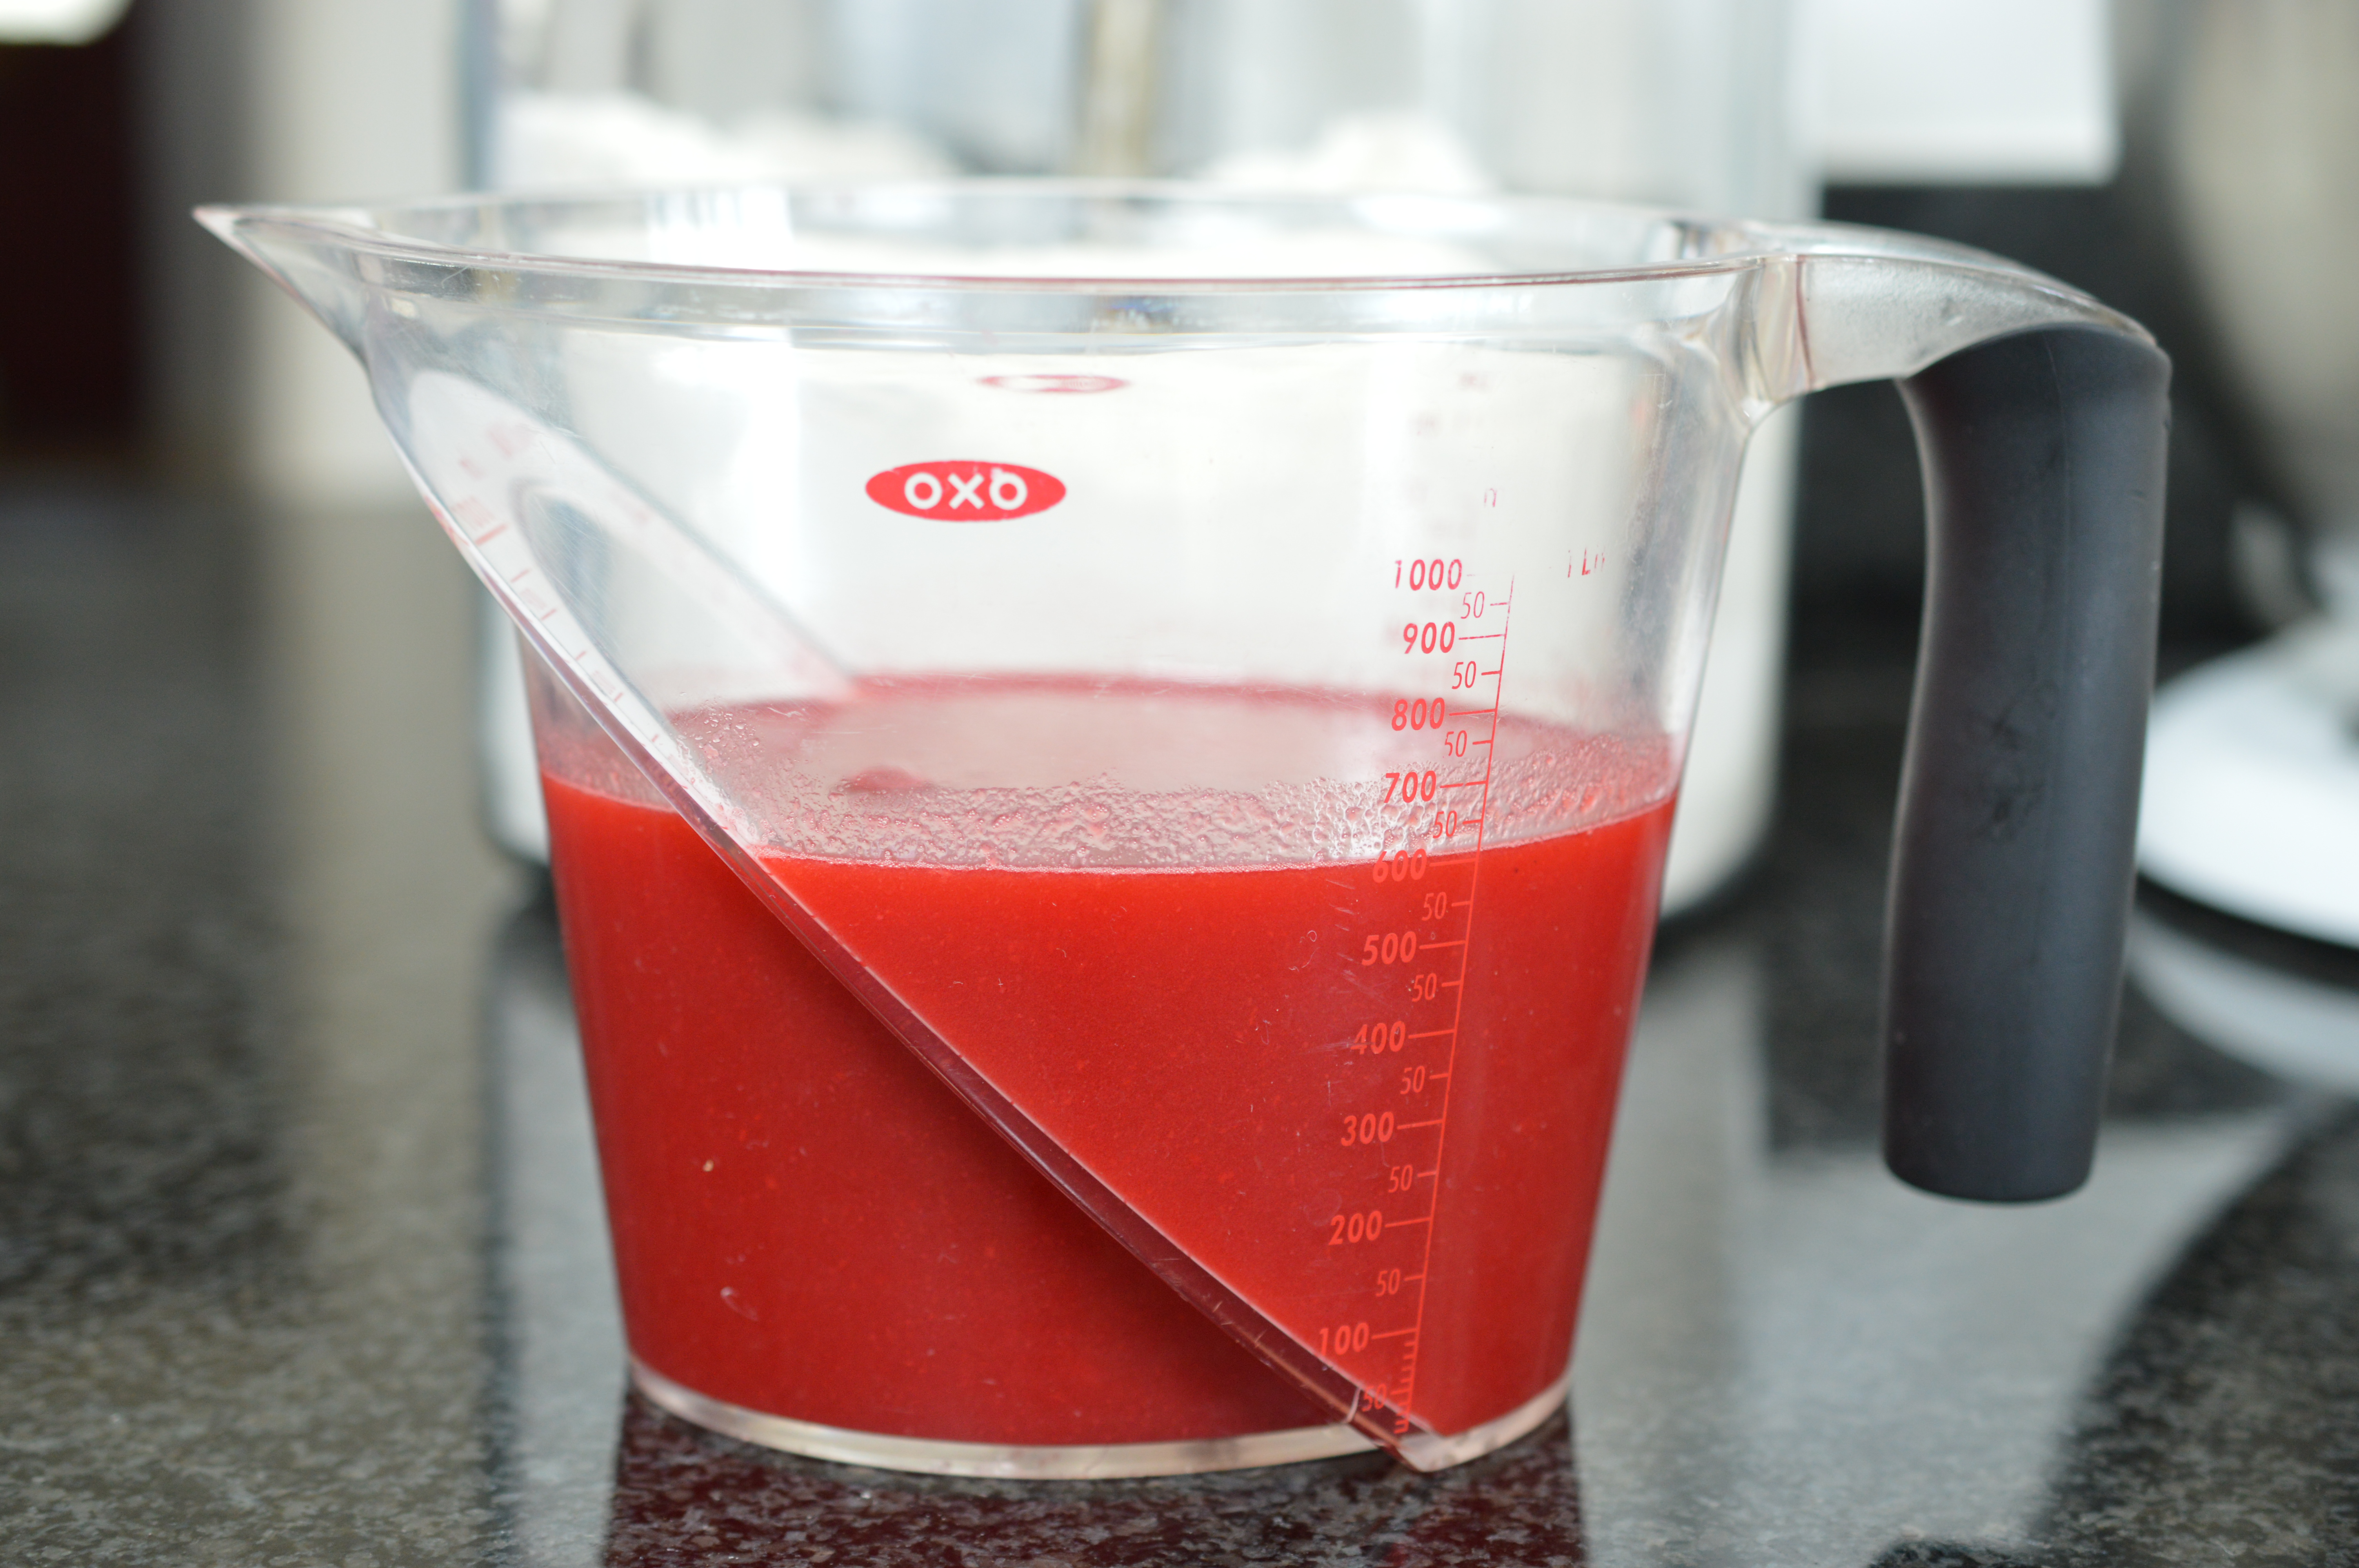
It all begins with the last of my foraged blackberries, perfectly timed to be picked before the devil starts spitting on them.  (I’m trying to be ‘cup’ friendly, but it’s not easy.  80g of blackberries is a straightforward two-third’s cup, but just wait until I get to the apple …!)

blackberry - grubs

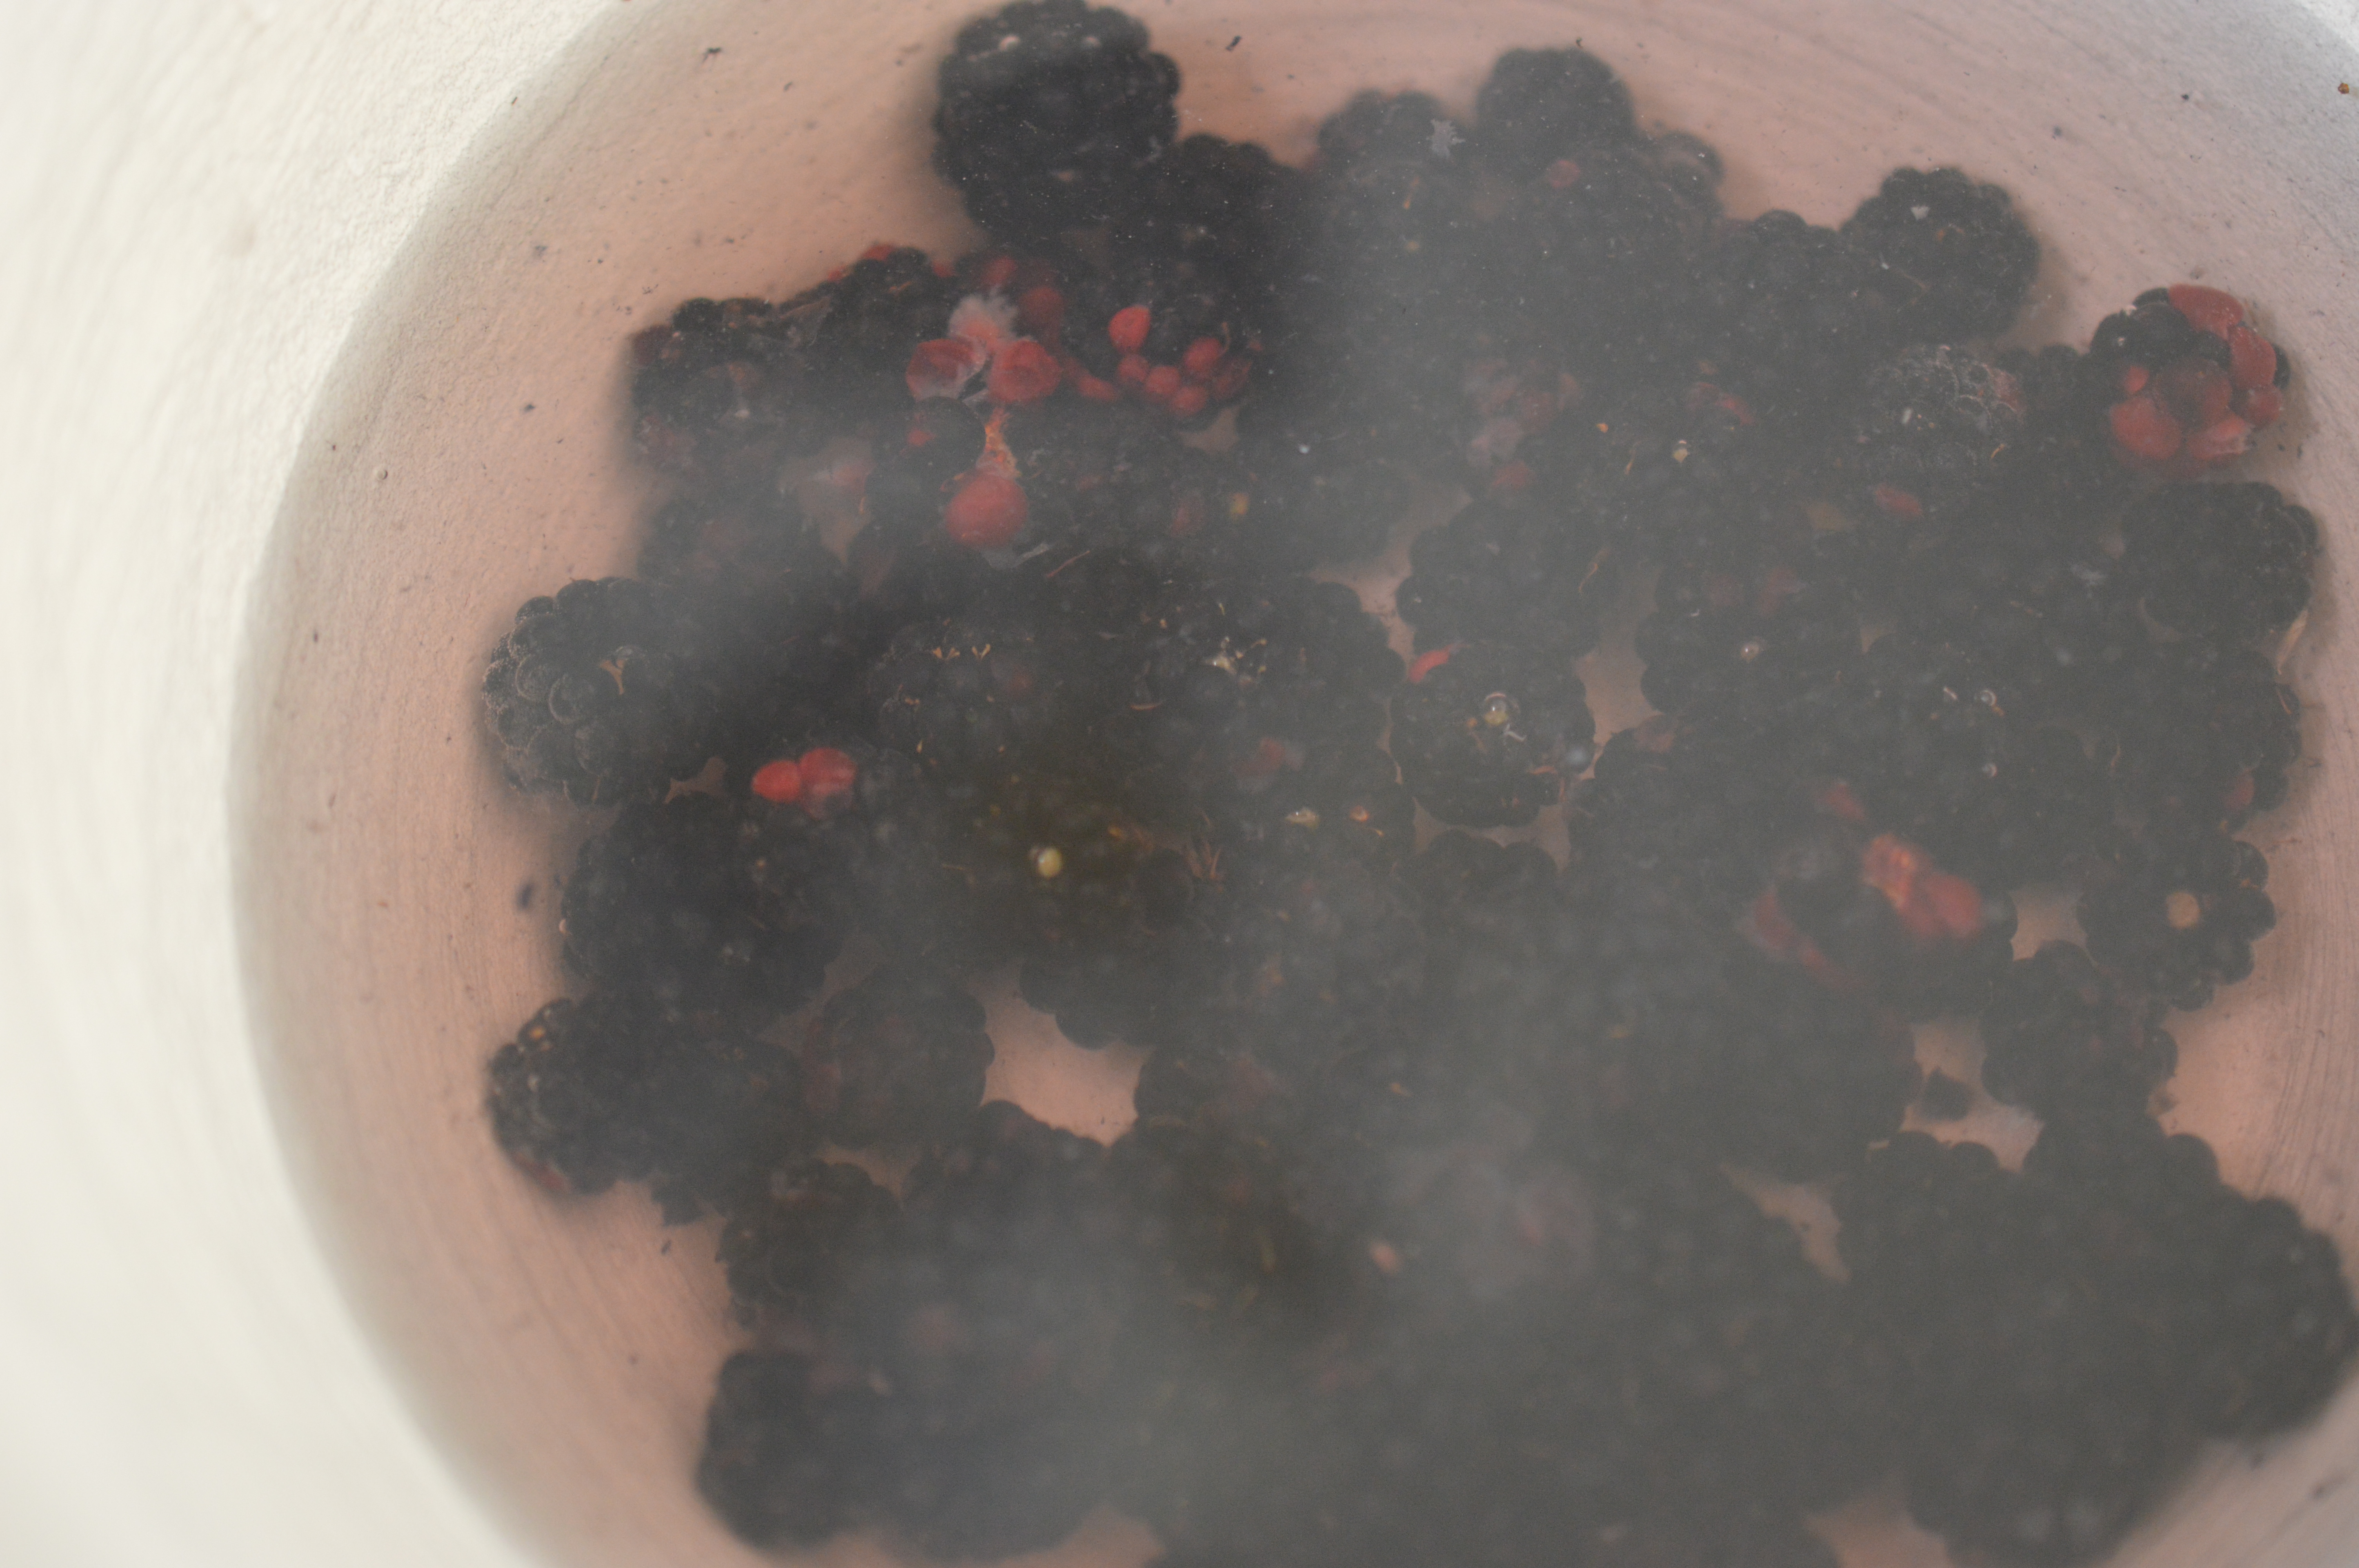
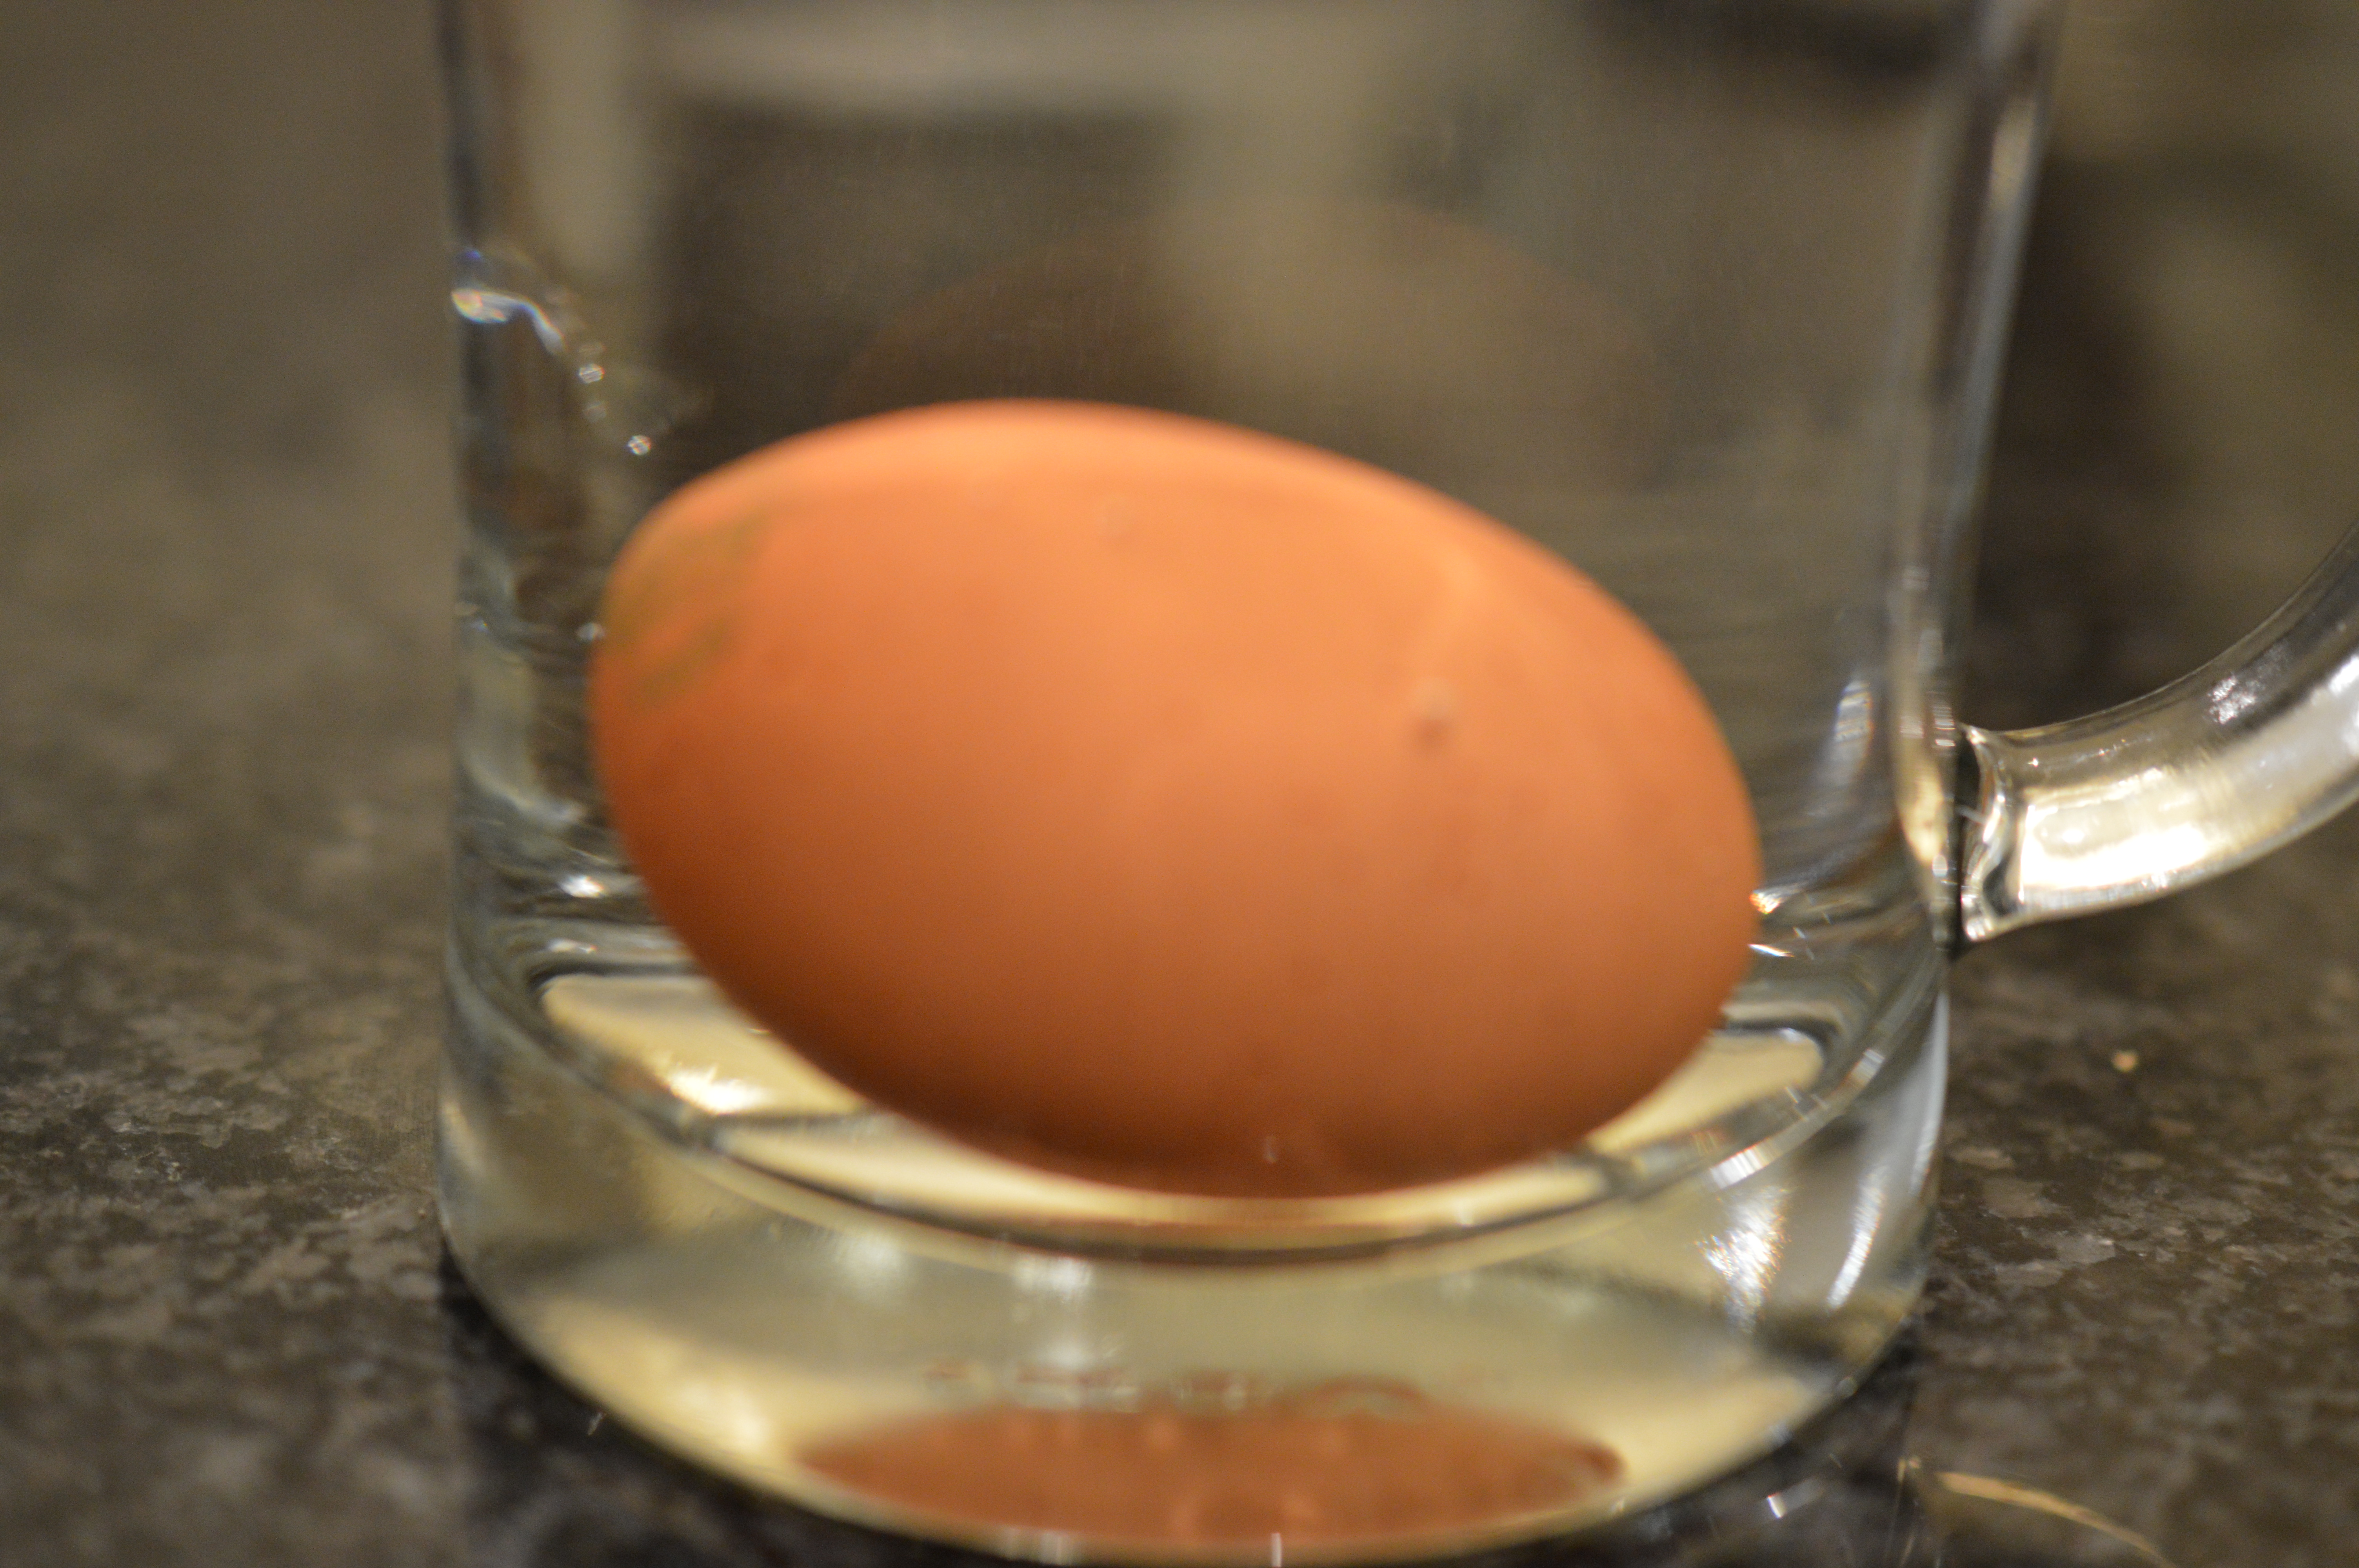
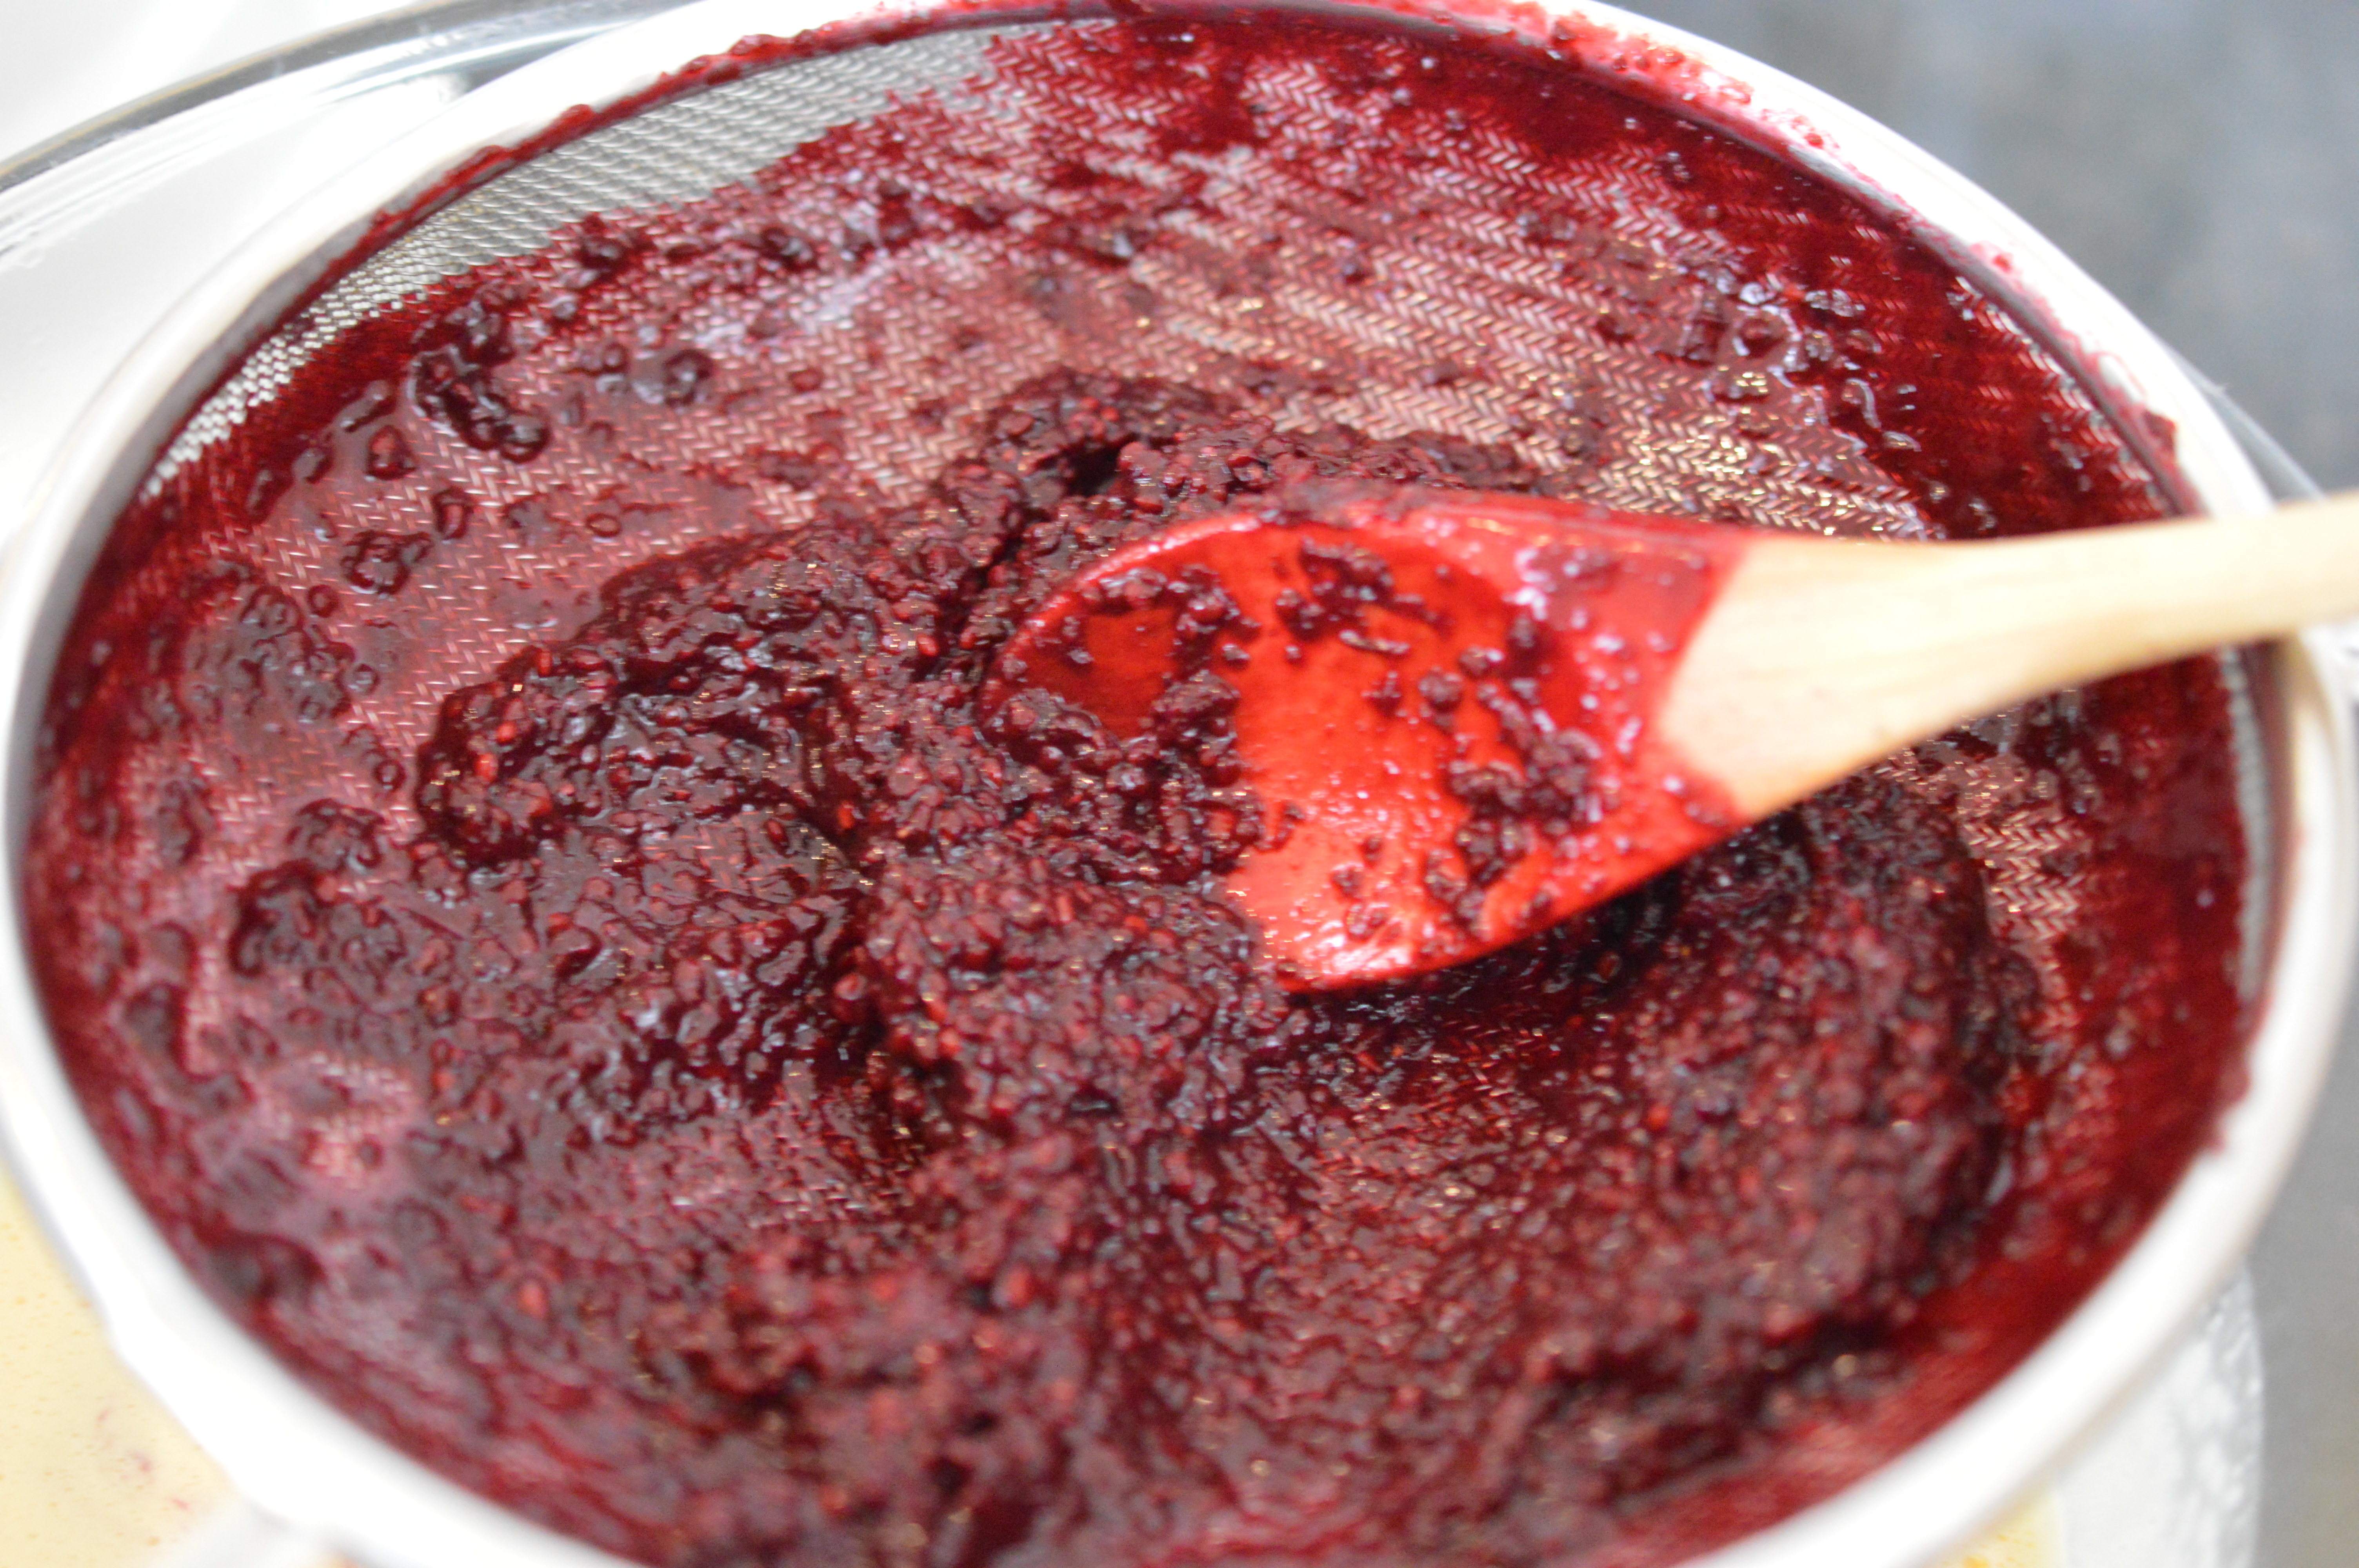
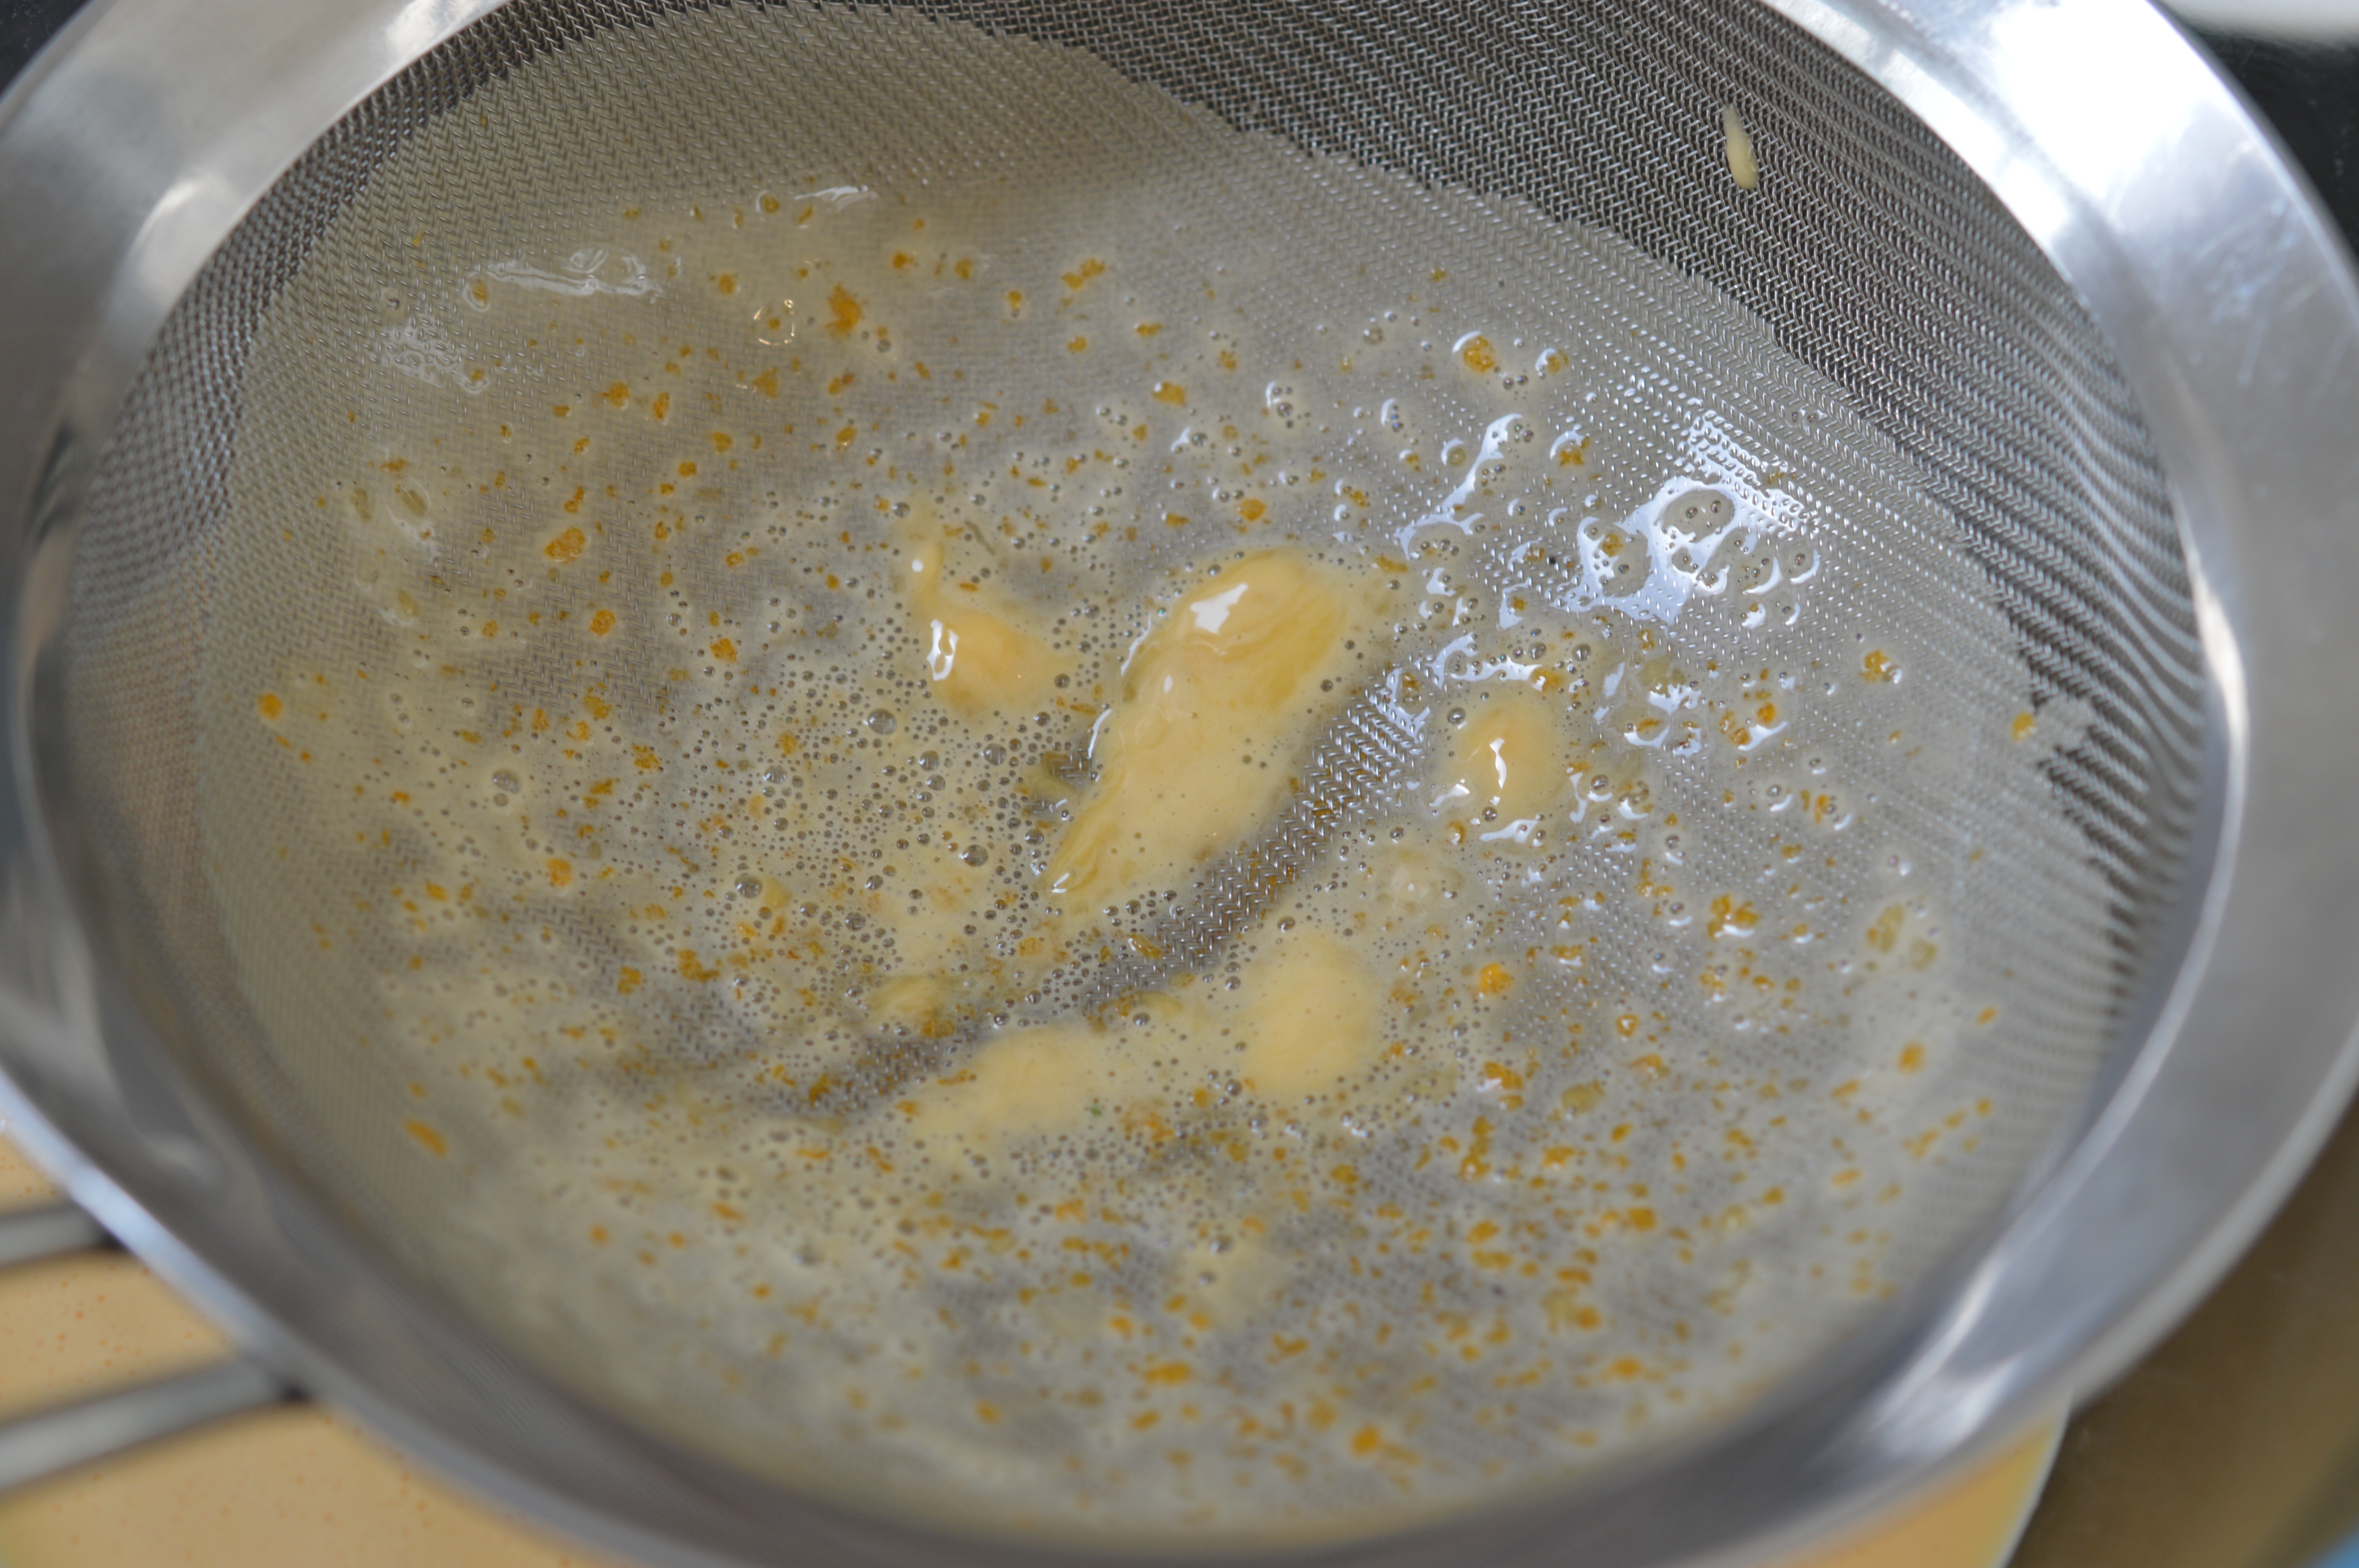
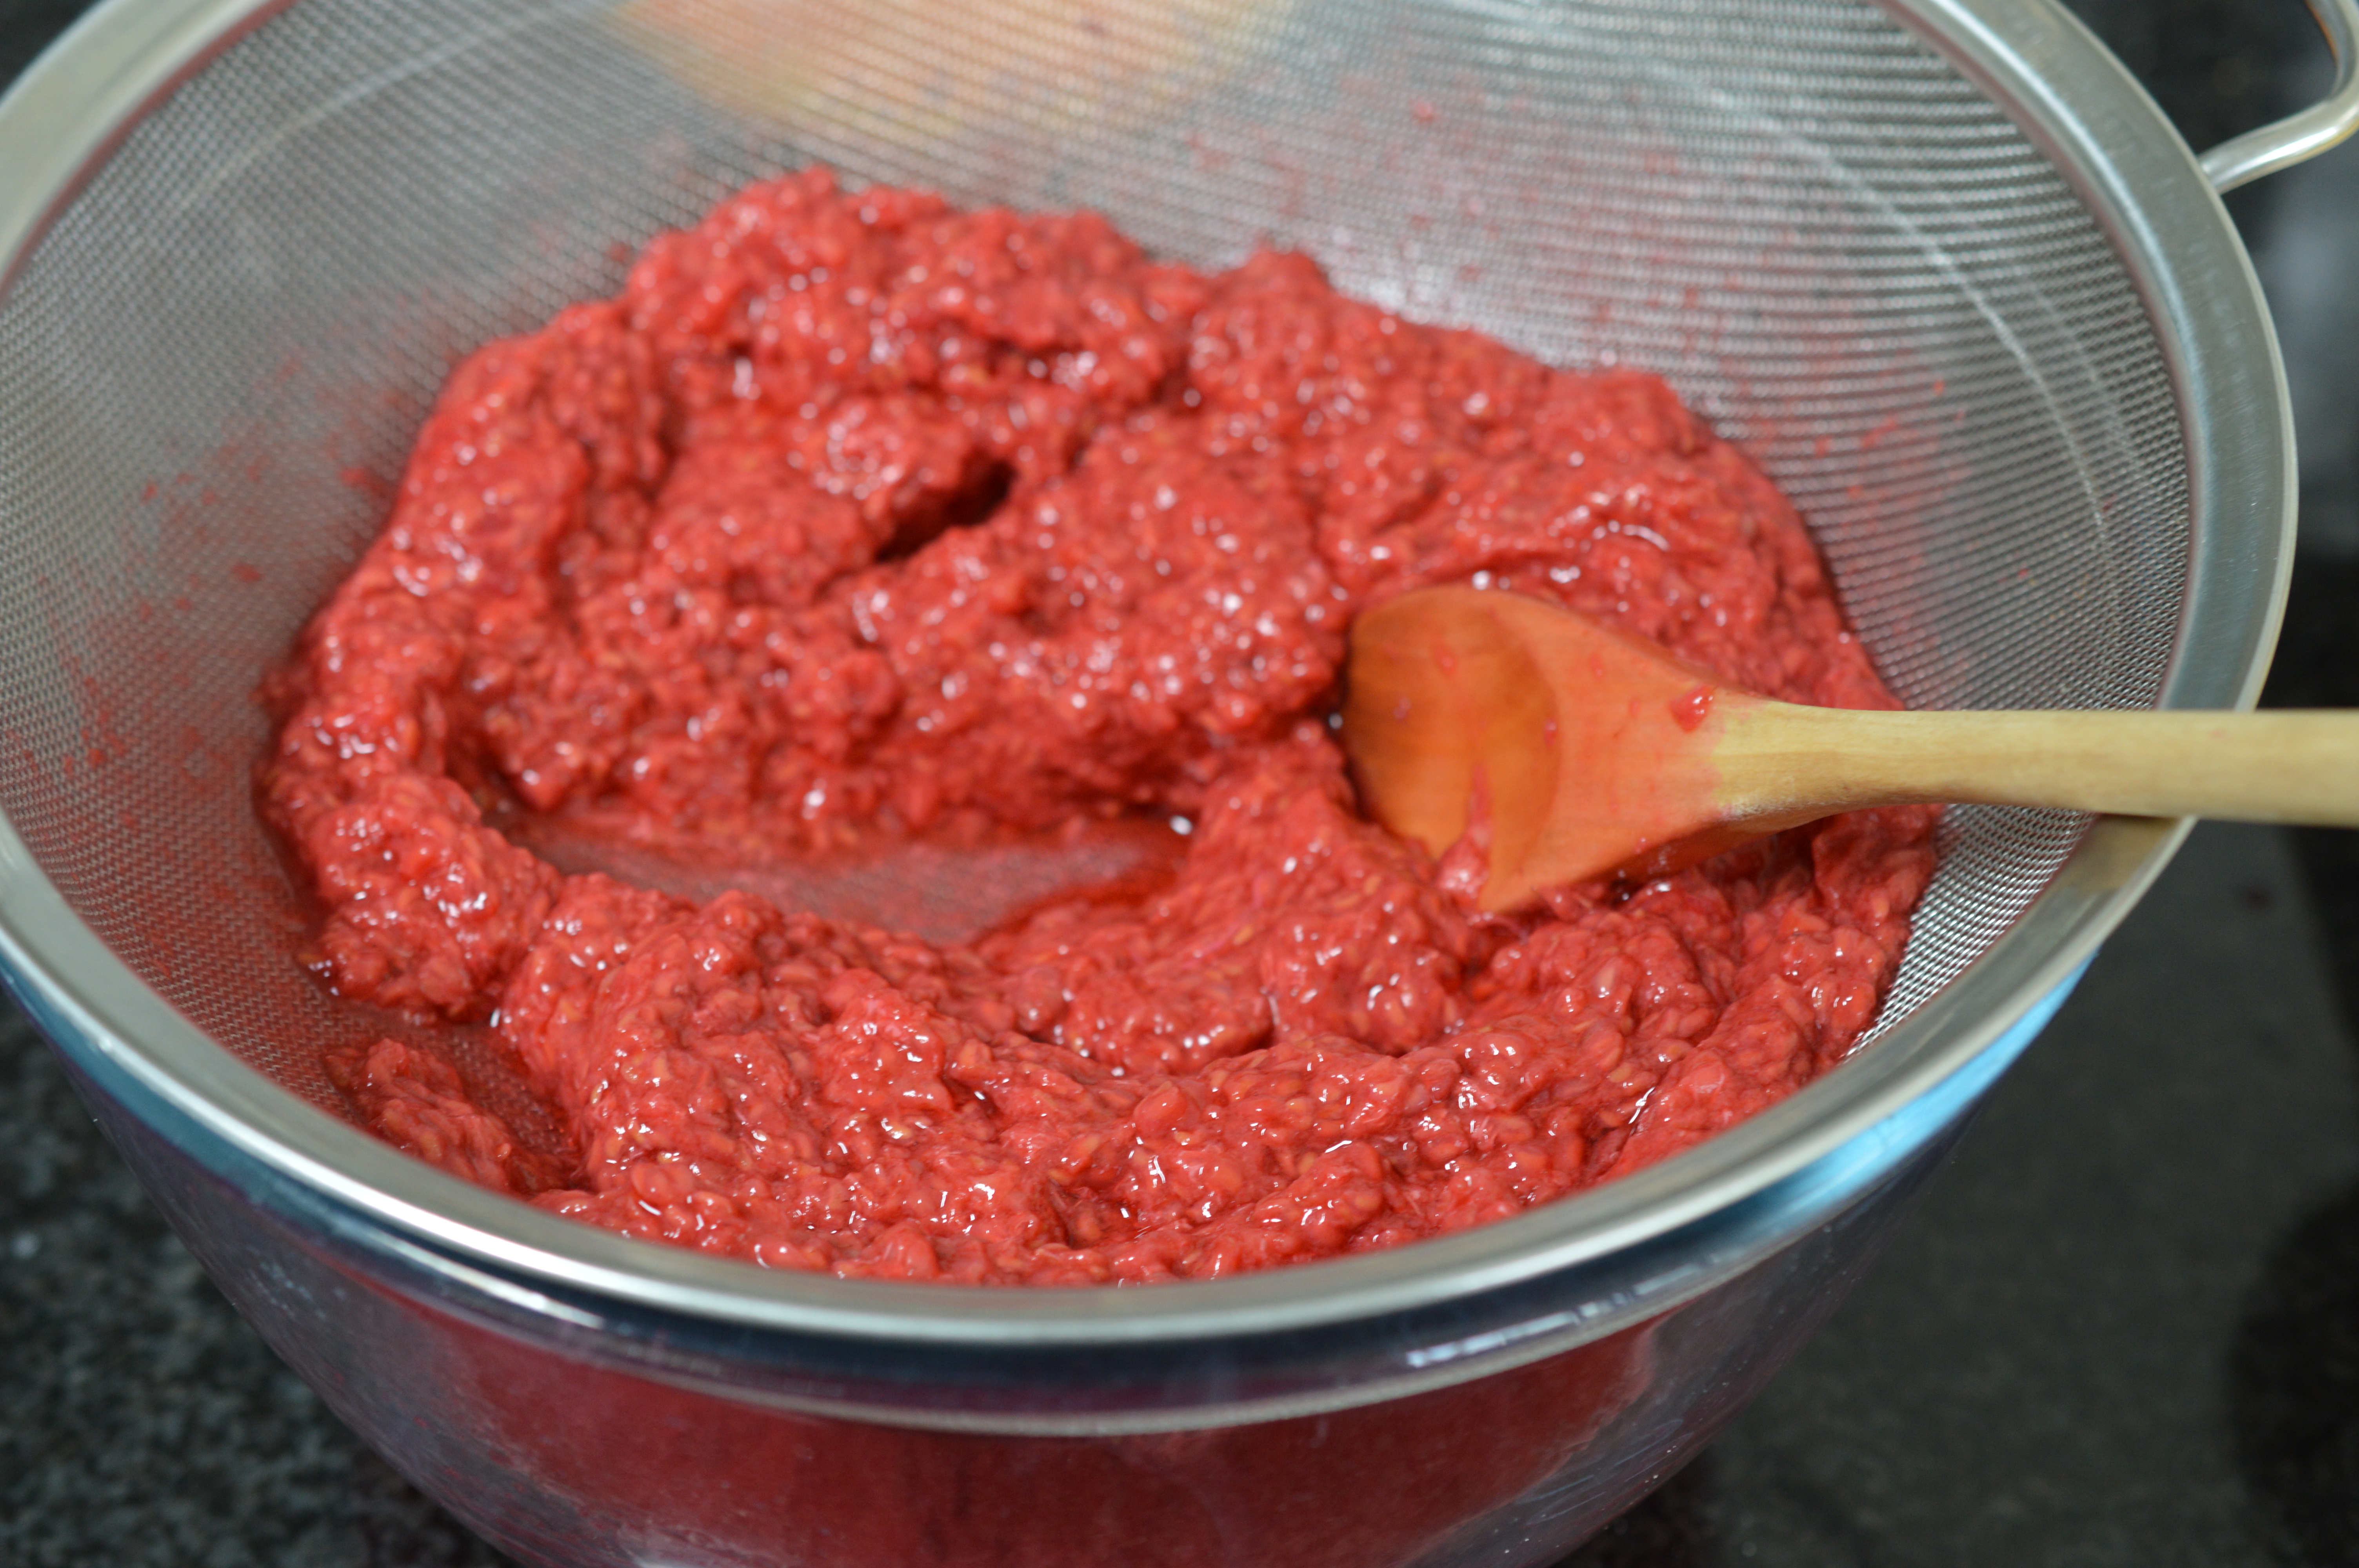
If I’m making ‘bramble jelly’ I don’t bother with this bit as all the nasties will be caught by the jelly bag, but when I’m going to use the whole berry I pop them straight into salted water. They are not a fruit which will wait around for you.  A little soak in brine brings all the grubs to the top, if there are any.  Just rinse a couple of times in clean water, then set on kitchen towel to drain thoroughly.

Blackberry and apple fruit

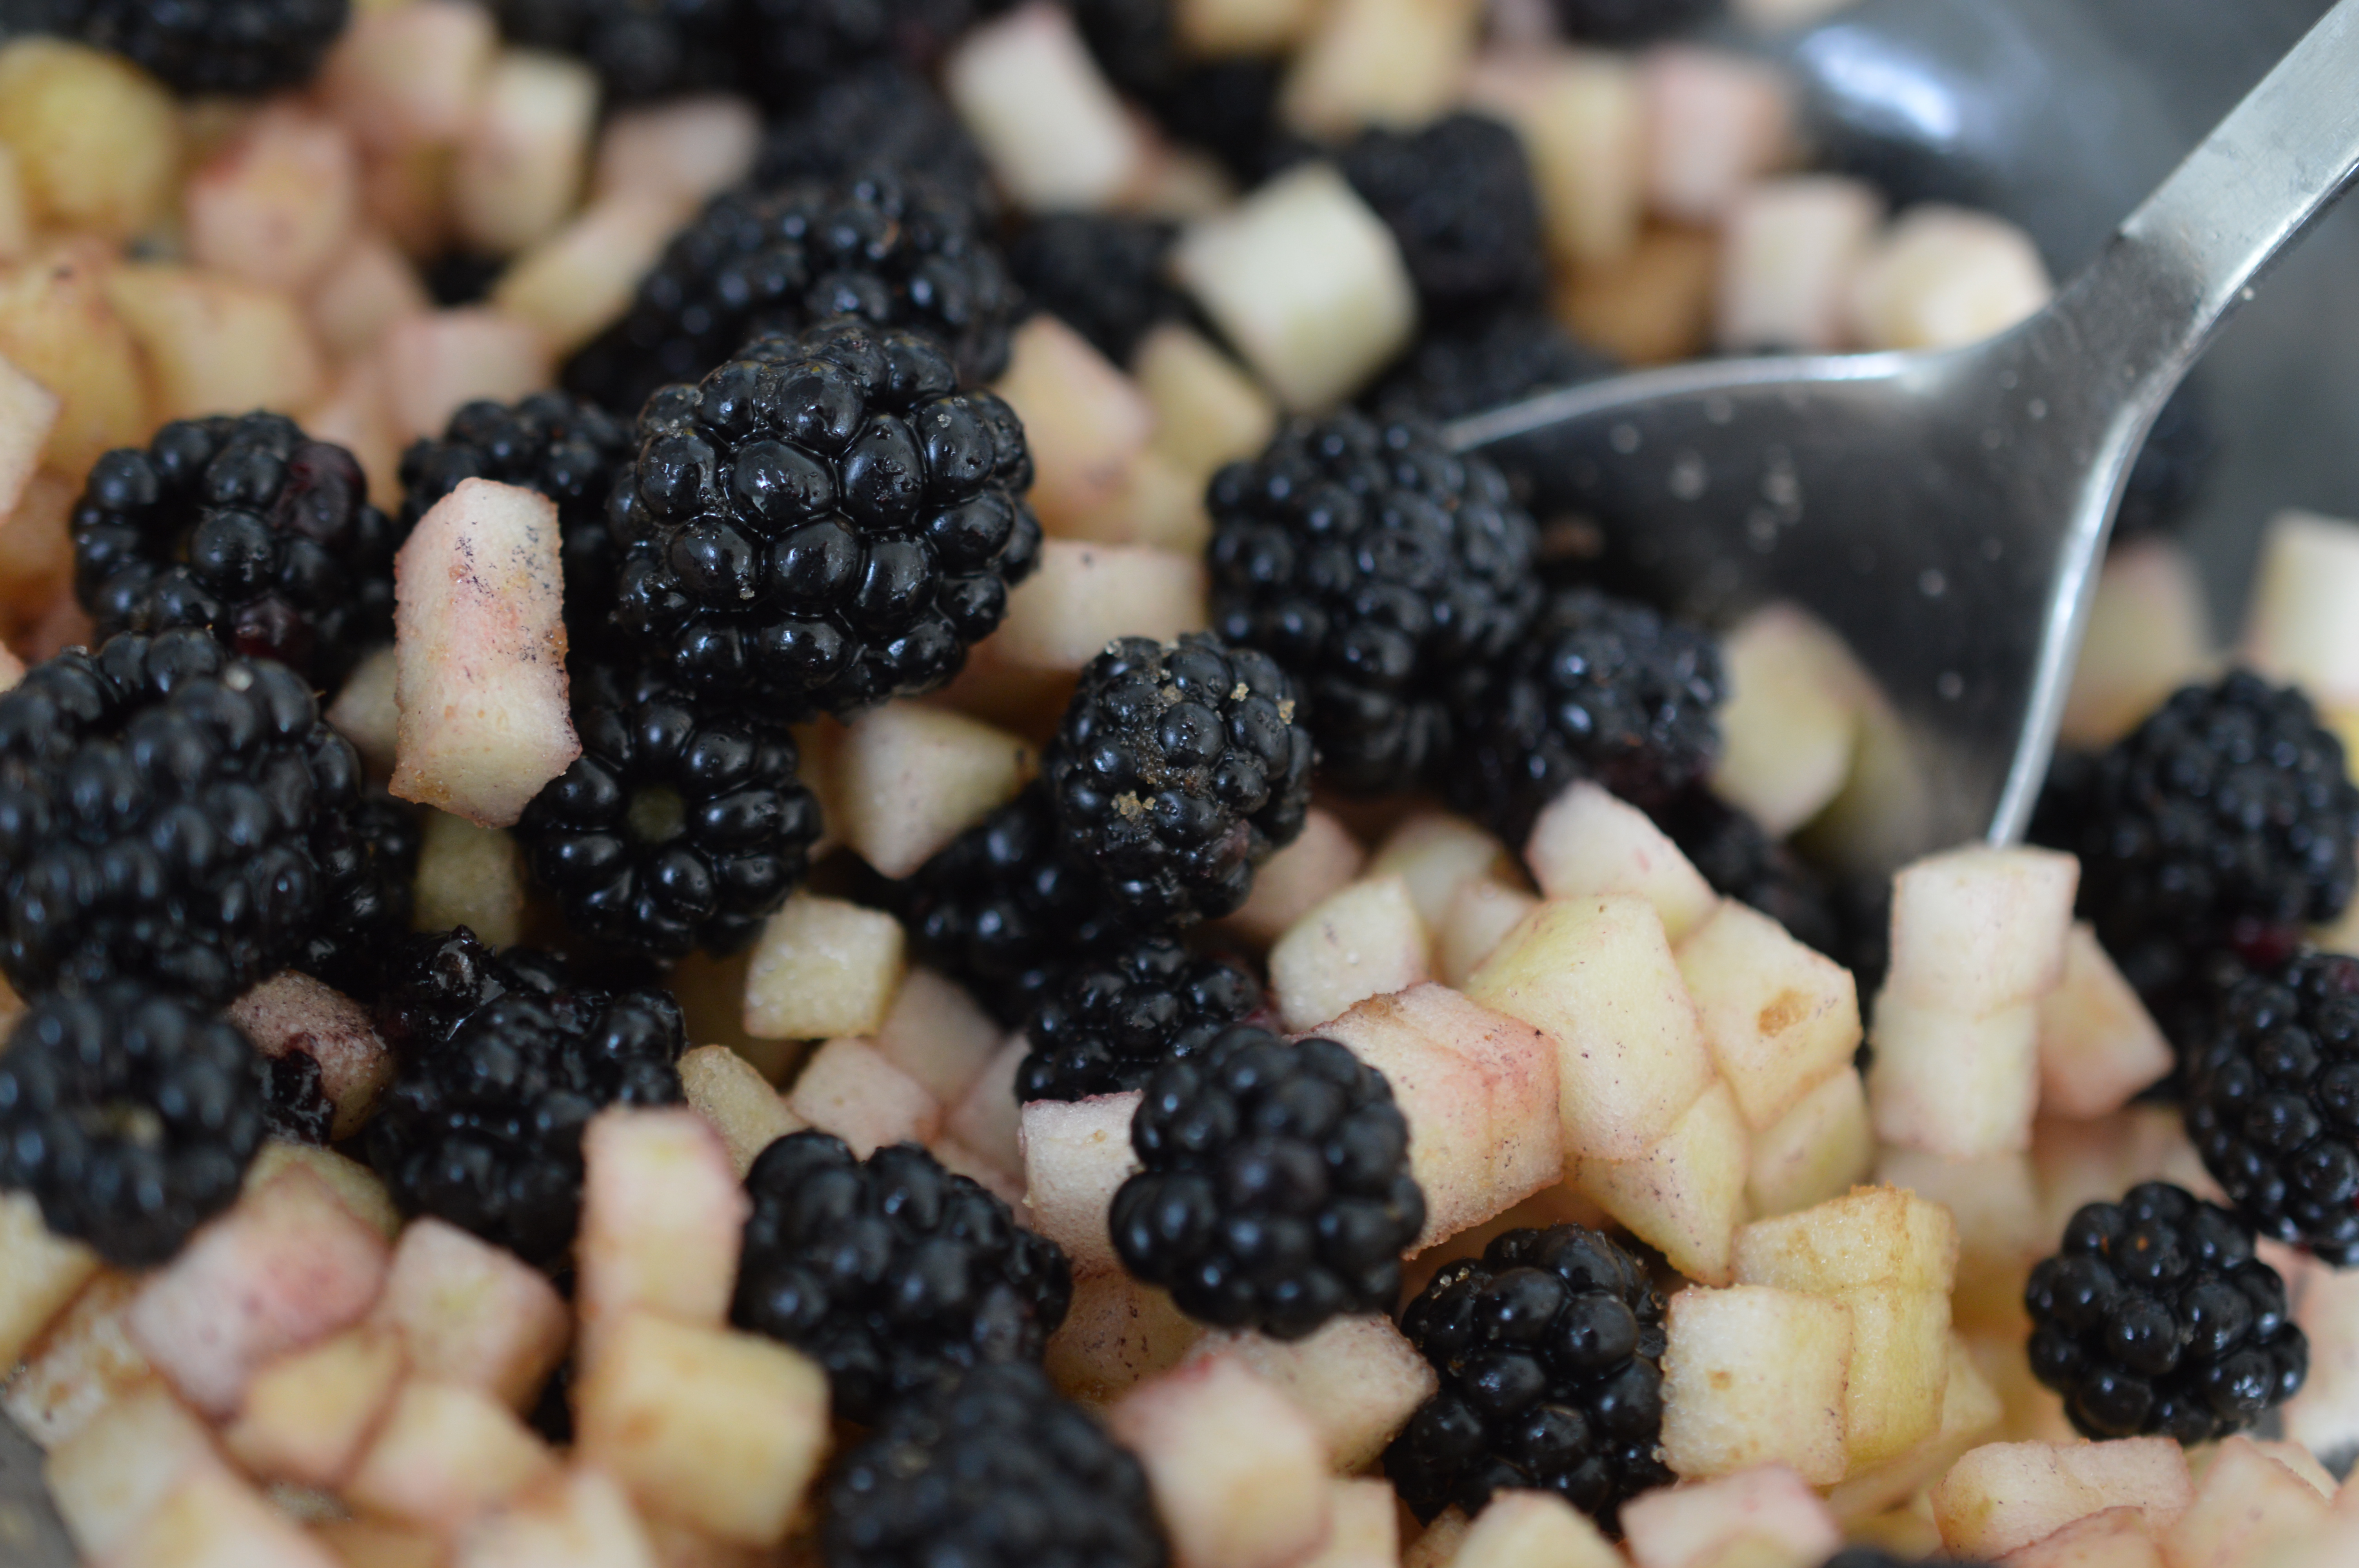
I use the same weight of apple (80g) as I do of the blackberries, but apples seem to take up more room.  Plus it will be depend on how small you cut them.  I like my apple to disintegrate to a sweet mush on the top of my pudding so I cut small and my apple was a ‘cheek’ of a large Bramley and was a heaped ¾ cup.  Then stir in 2 tablespoons of light brown muscovado sugar.

Blackberry and apple pudding bowl

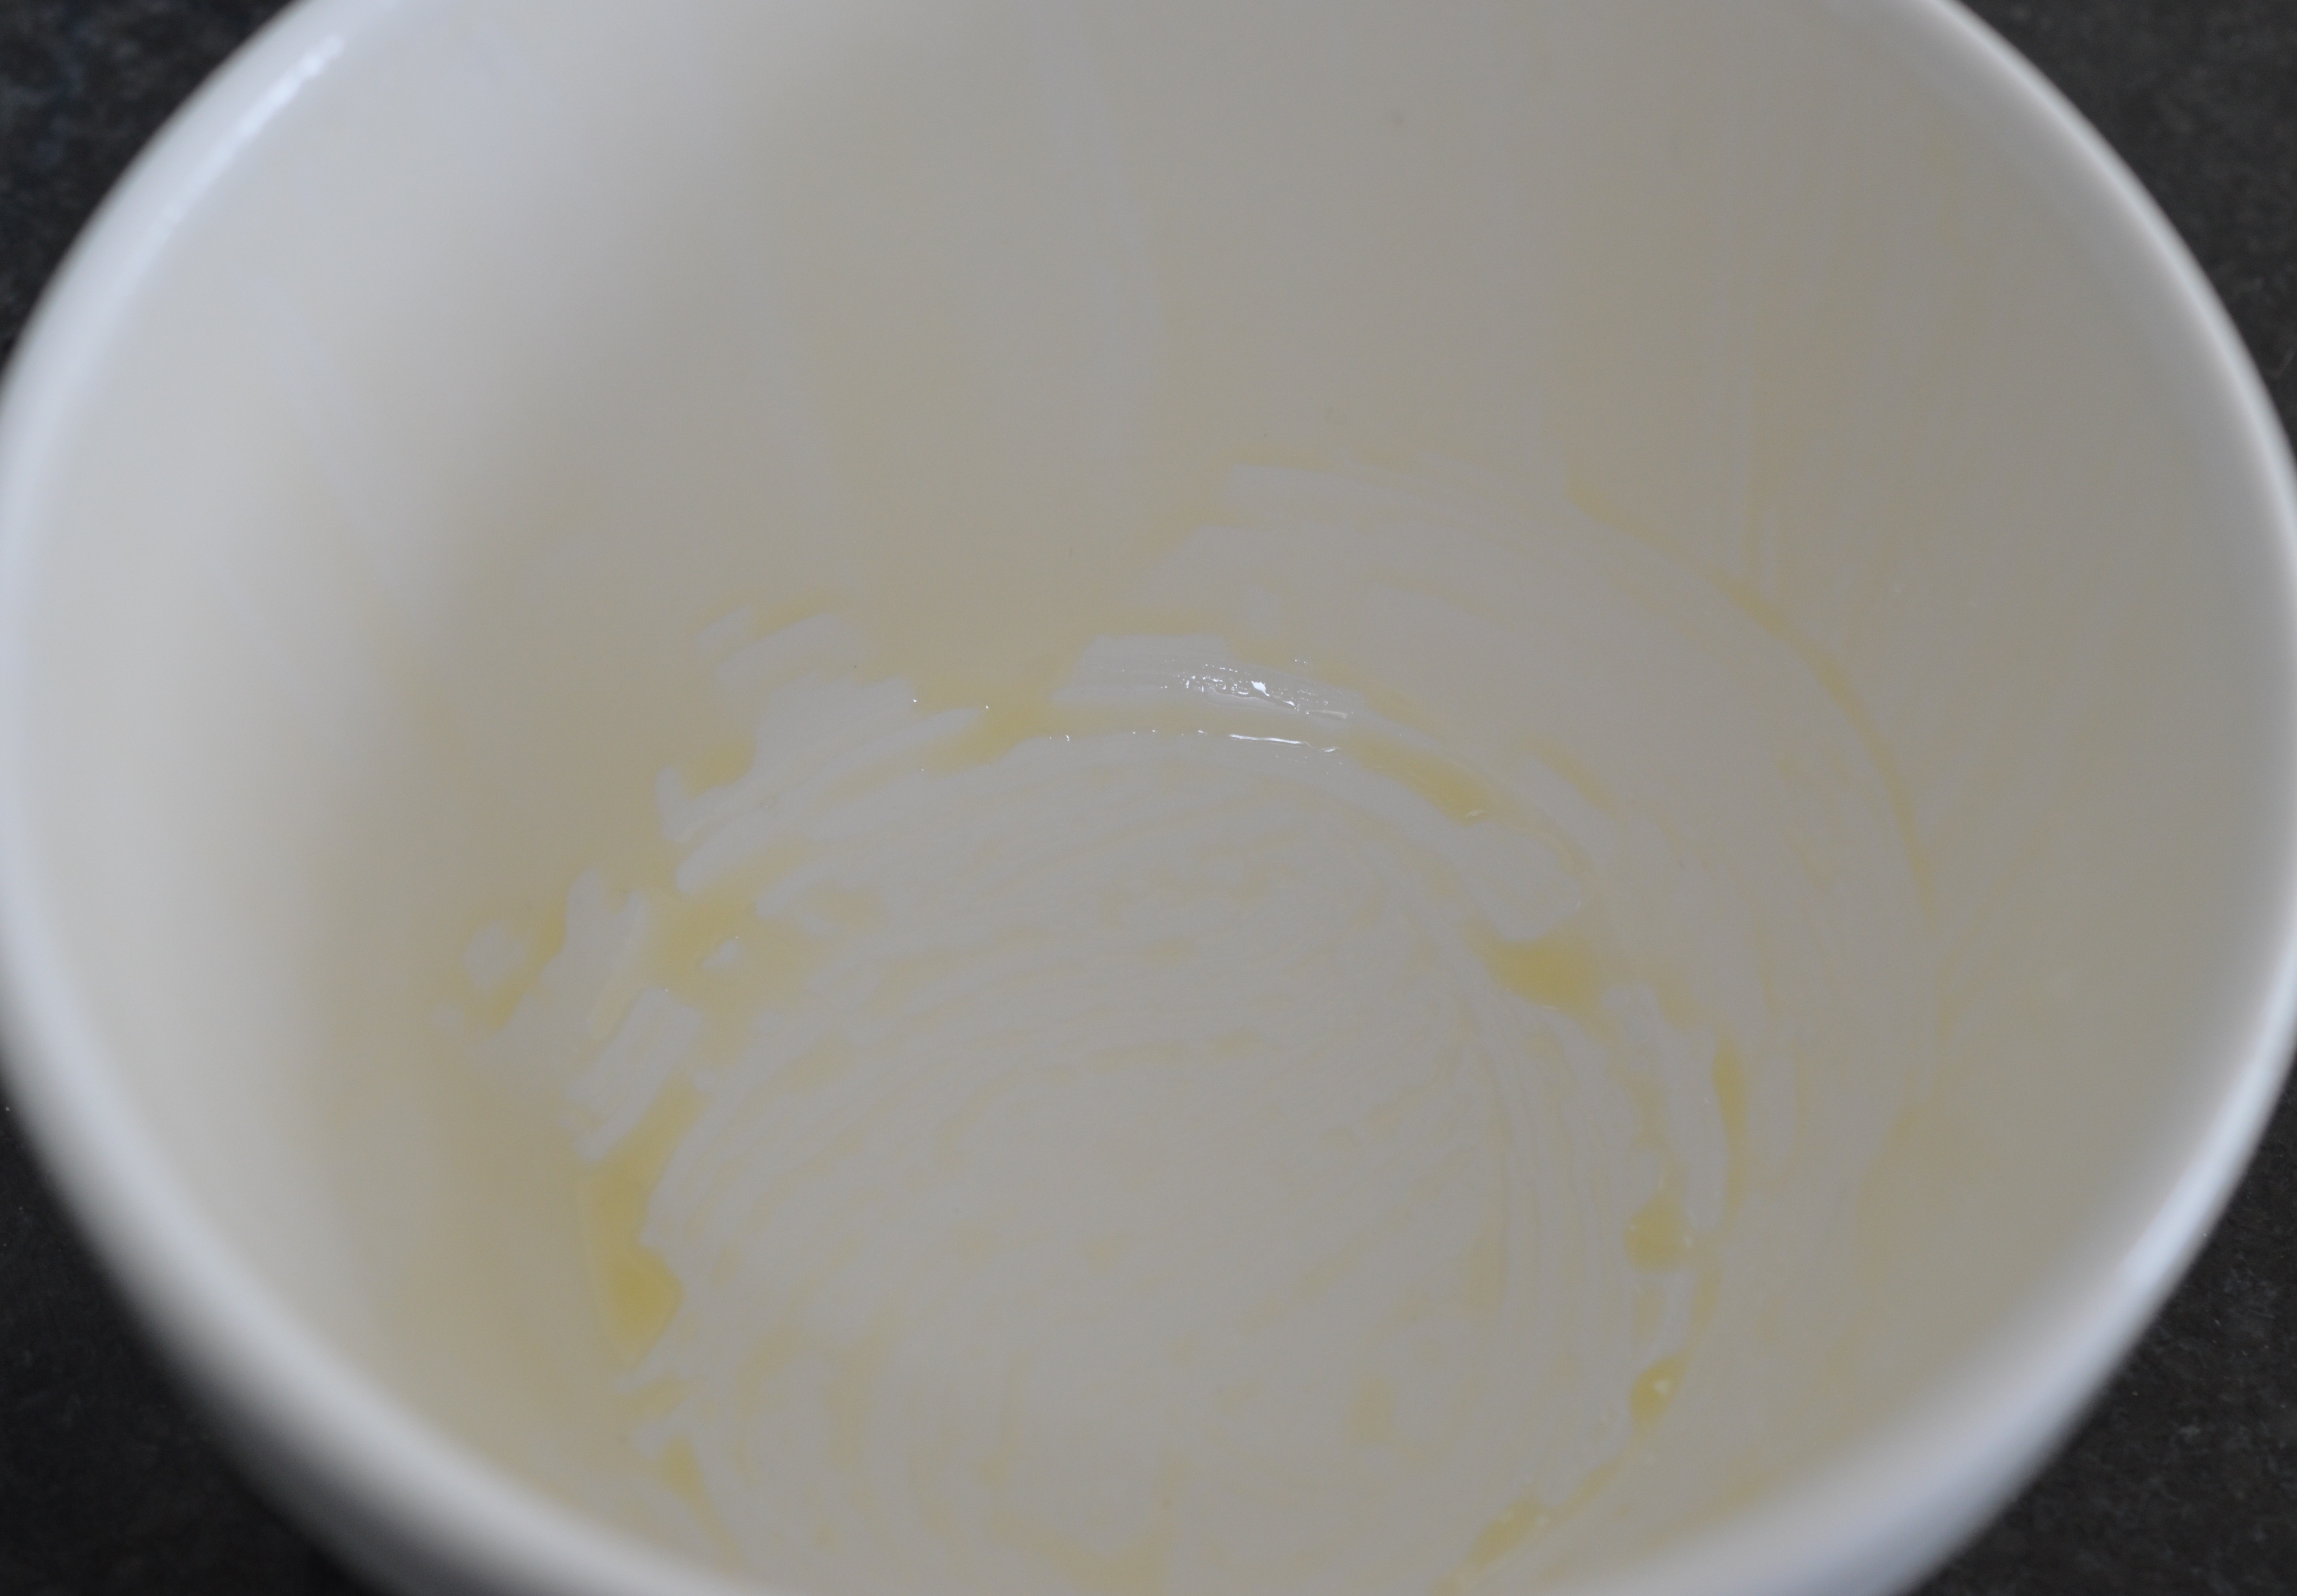
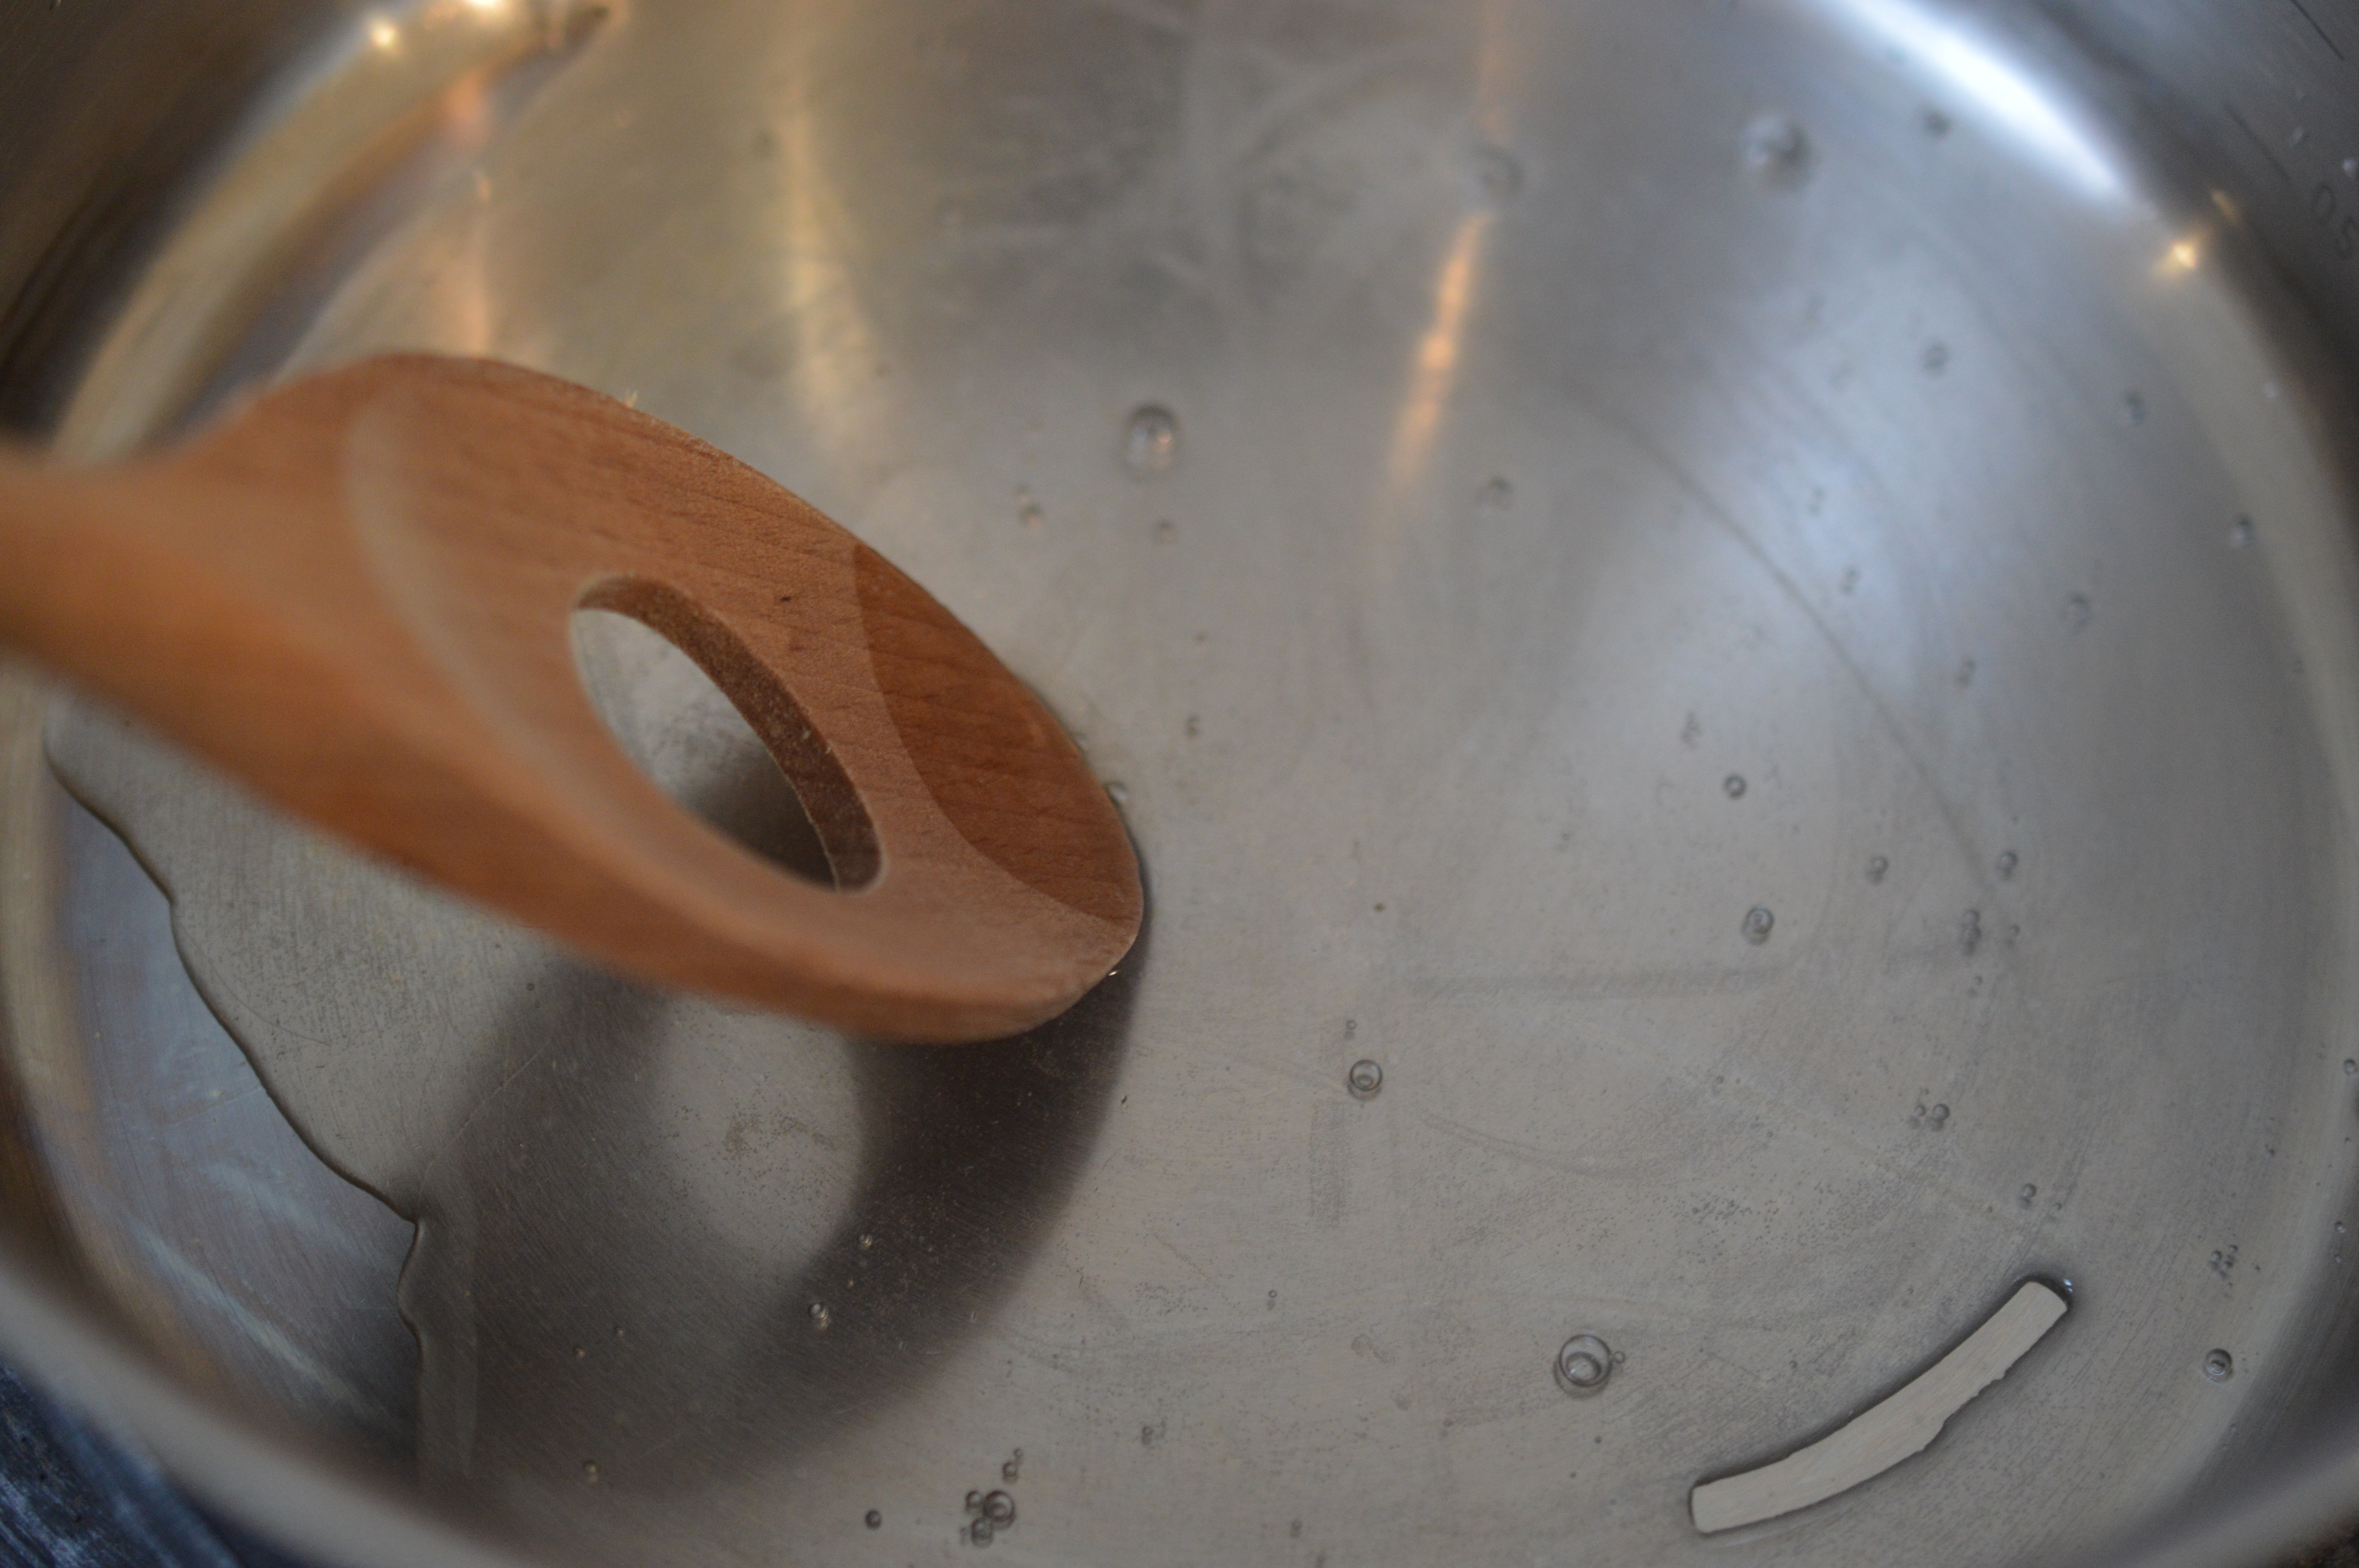
Preparing a pudding basin is all about the butter.  In order for your pudding to slide out you need to be thorough.  Lots of melted butter all over your basin.  I melt and brush it on.  Fingers would be fine.  If you’re worried a small circle of greaseproof paper in the base will keep you calm.

Blackberry and apple jelly

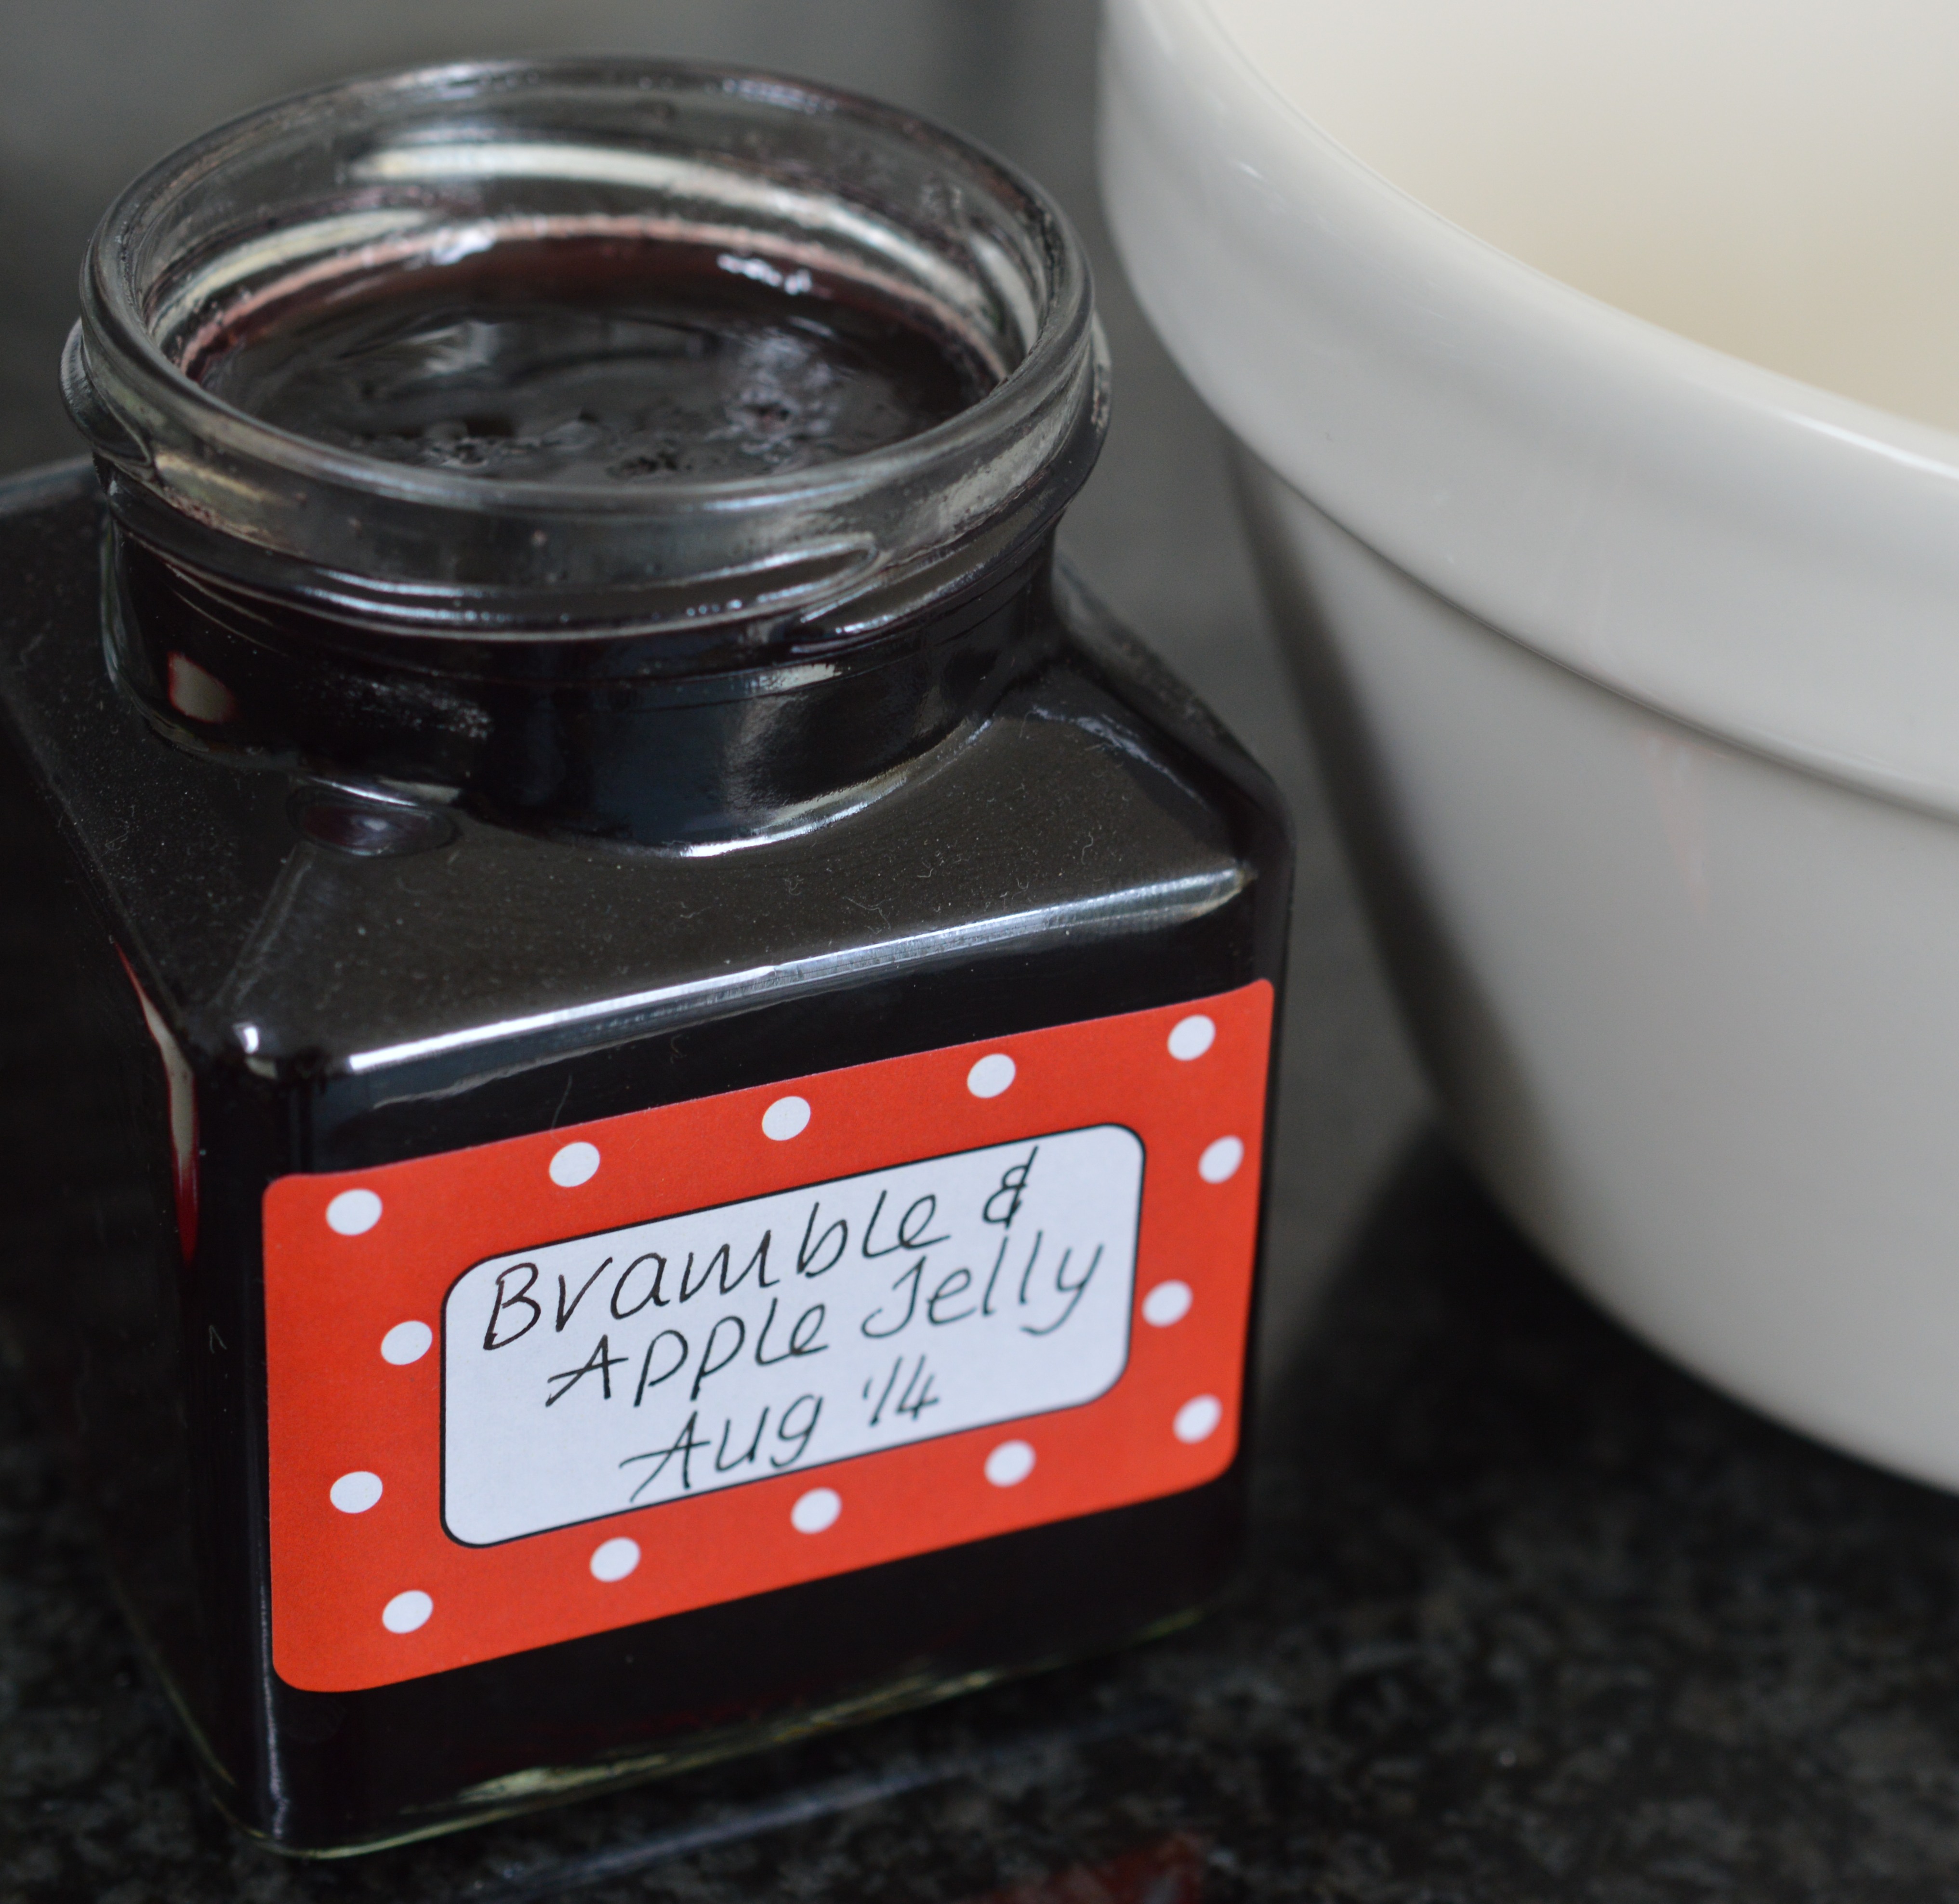
And into the pudding basin you put 3 generous tablespoons of Bramble and Apple Jelly (Blackberry Jam is also lovely.)  The fruit goes on top of that.

blackberry and apple - butter and sugar

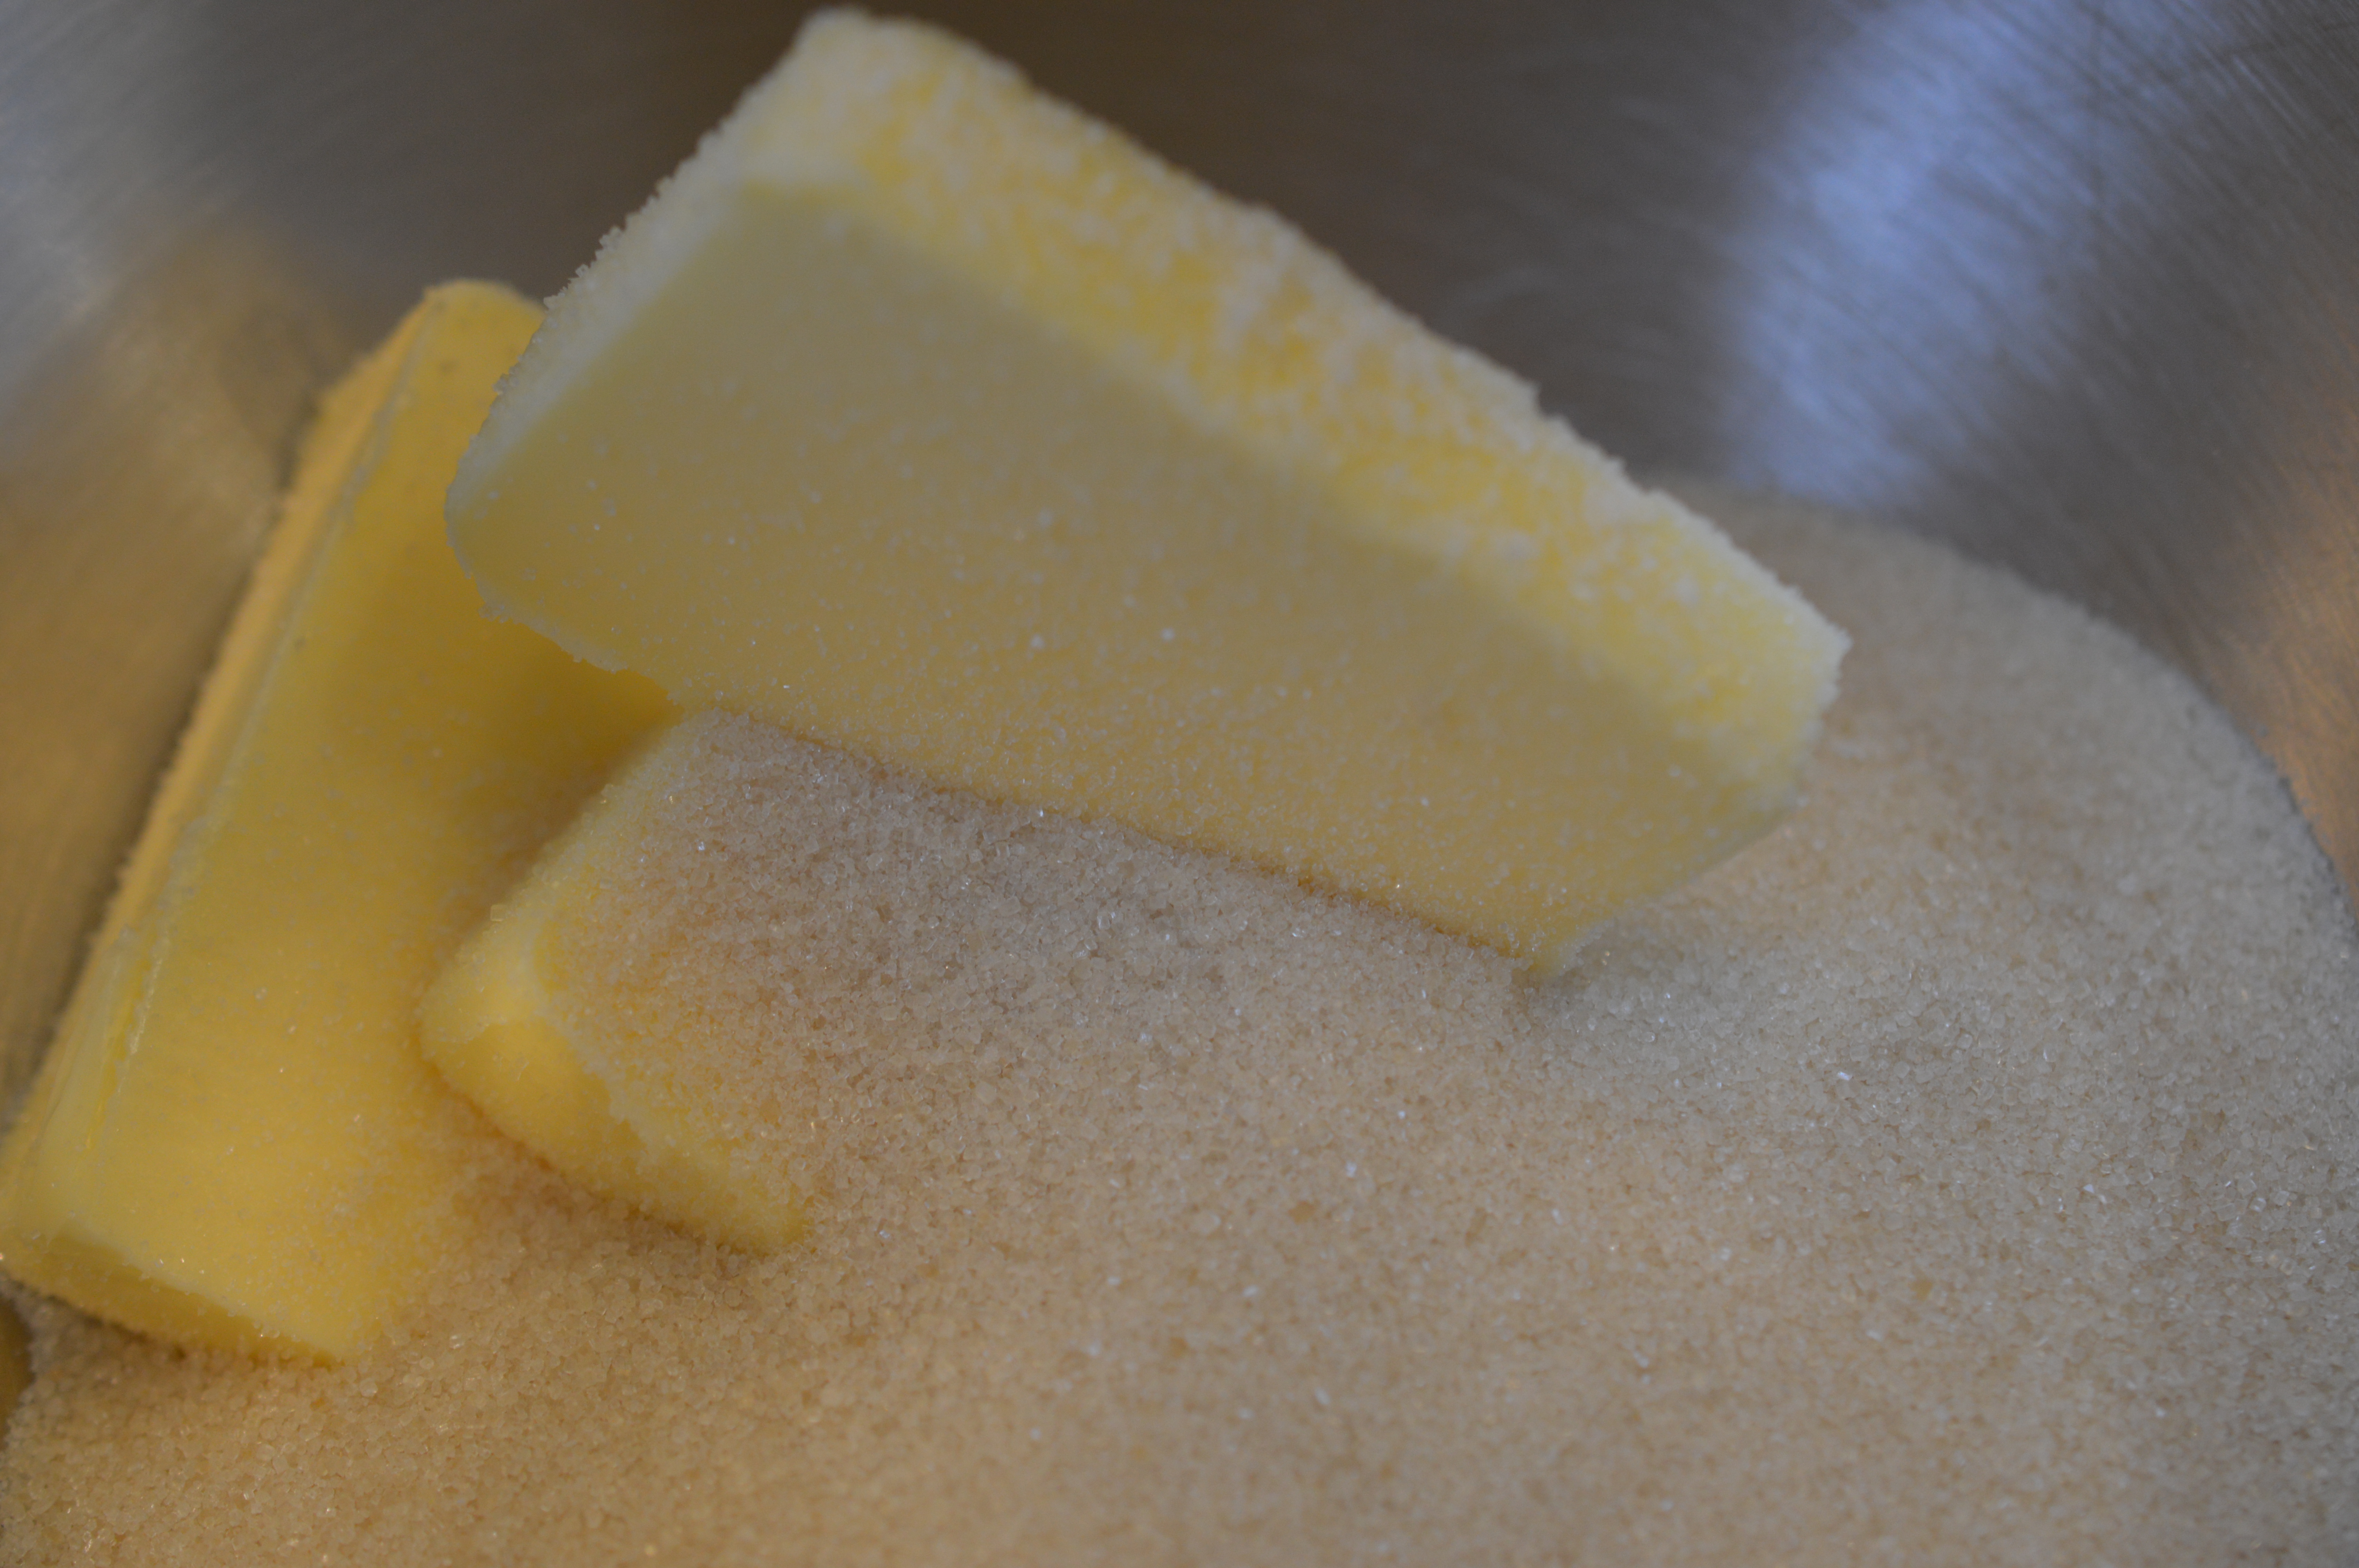
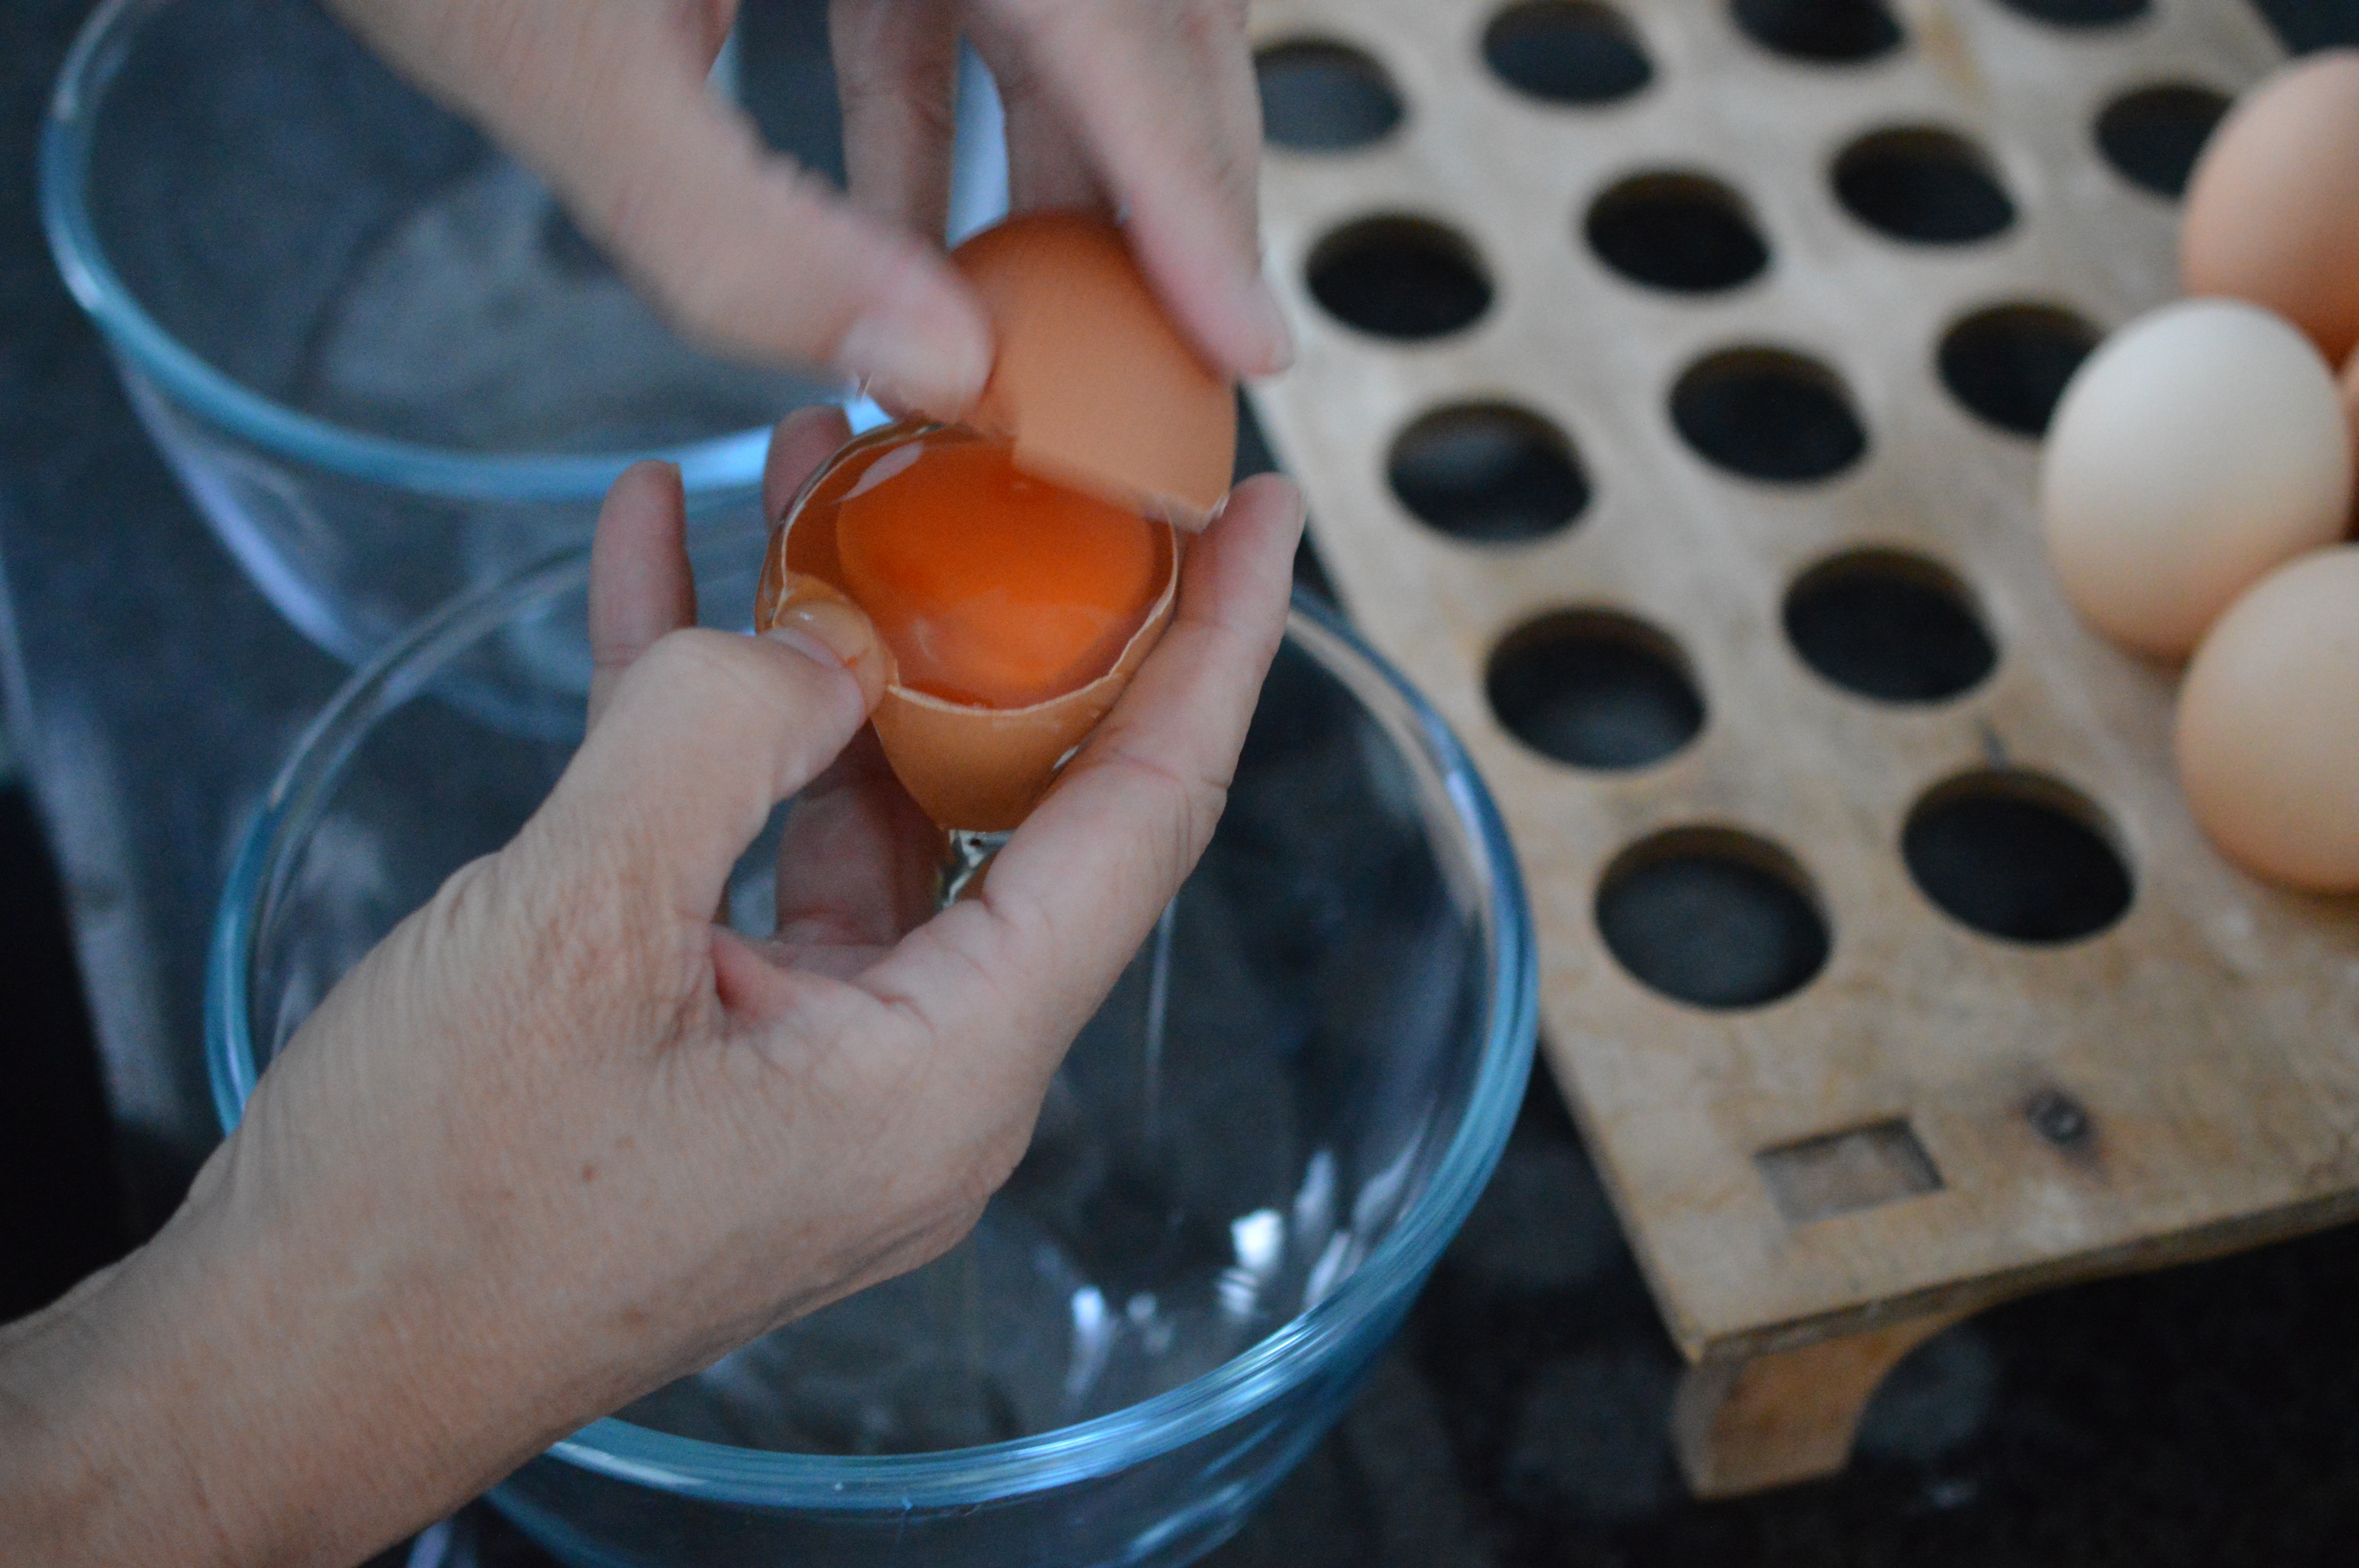
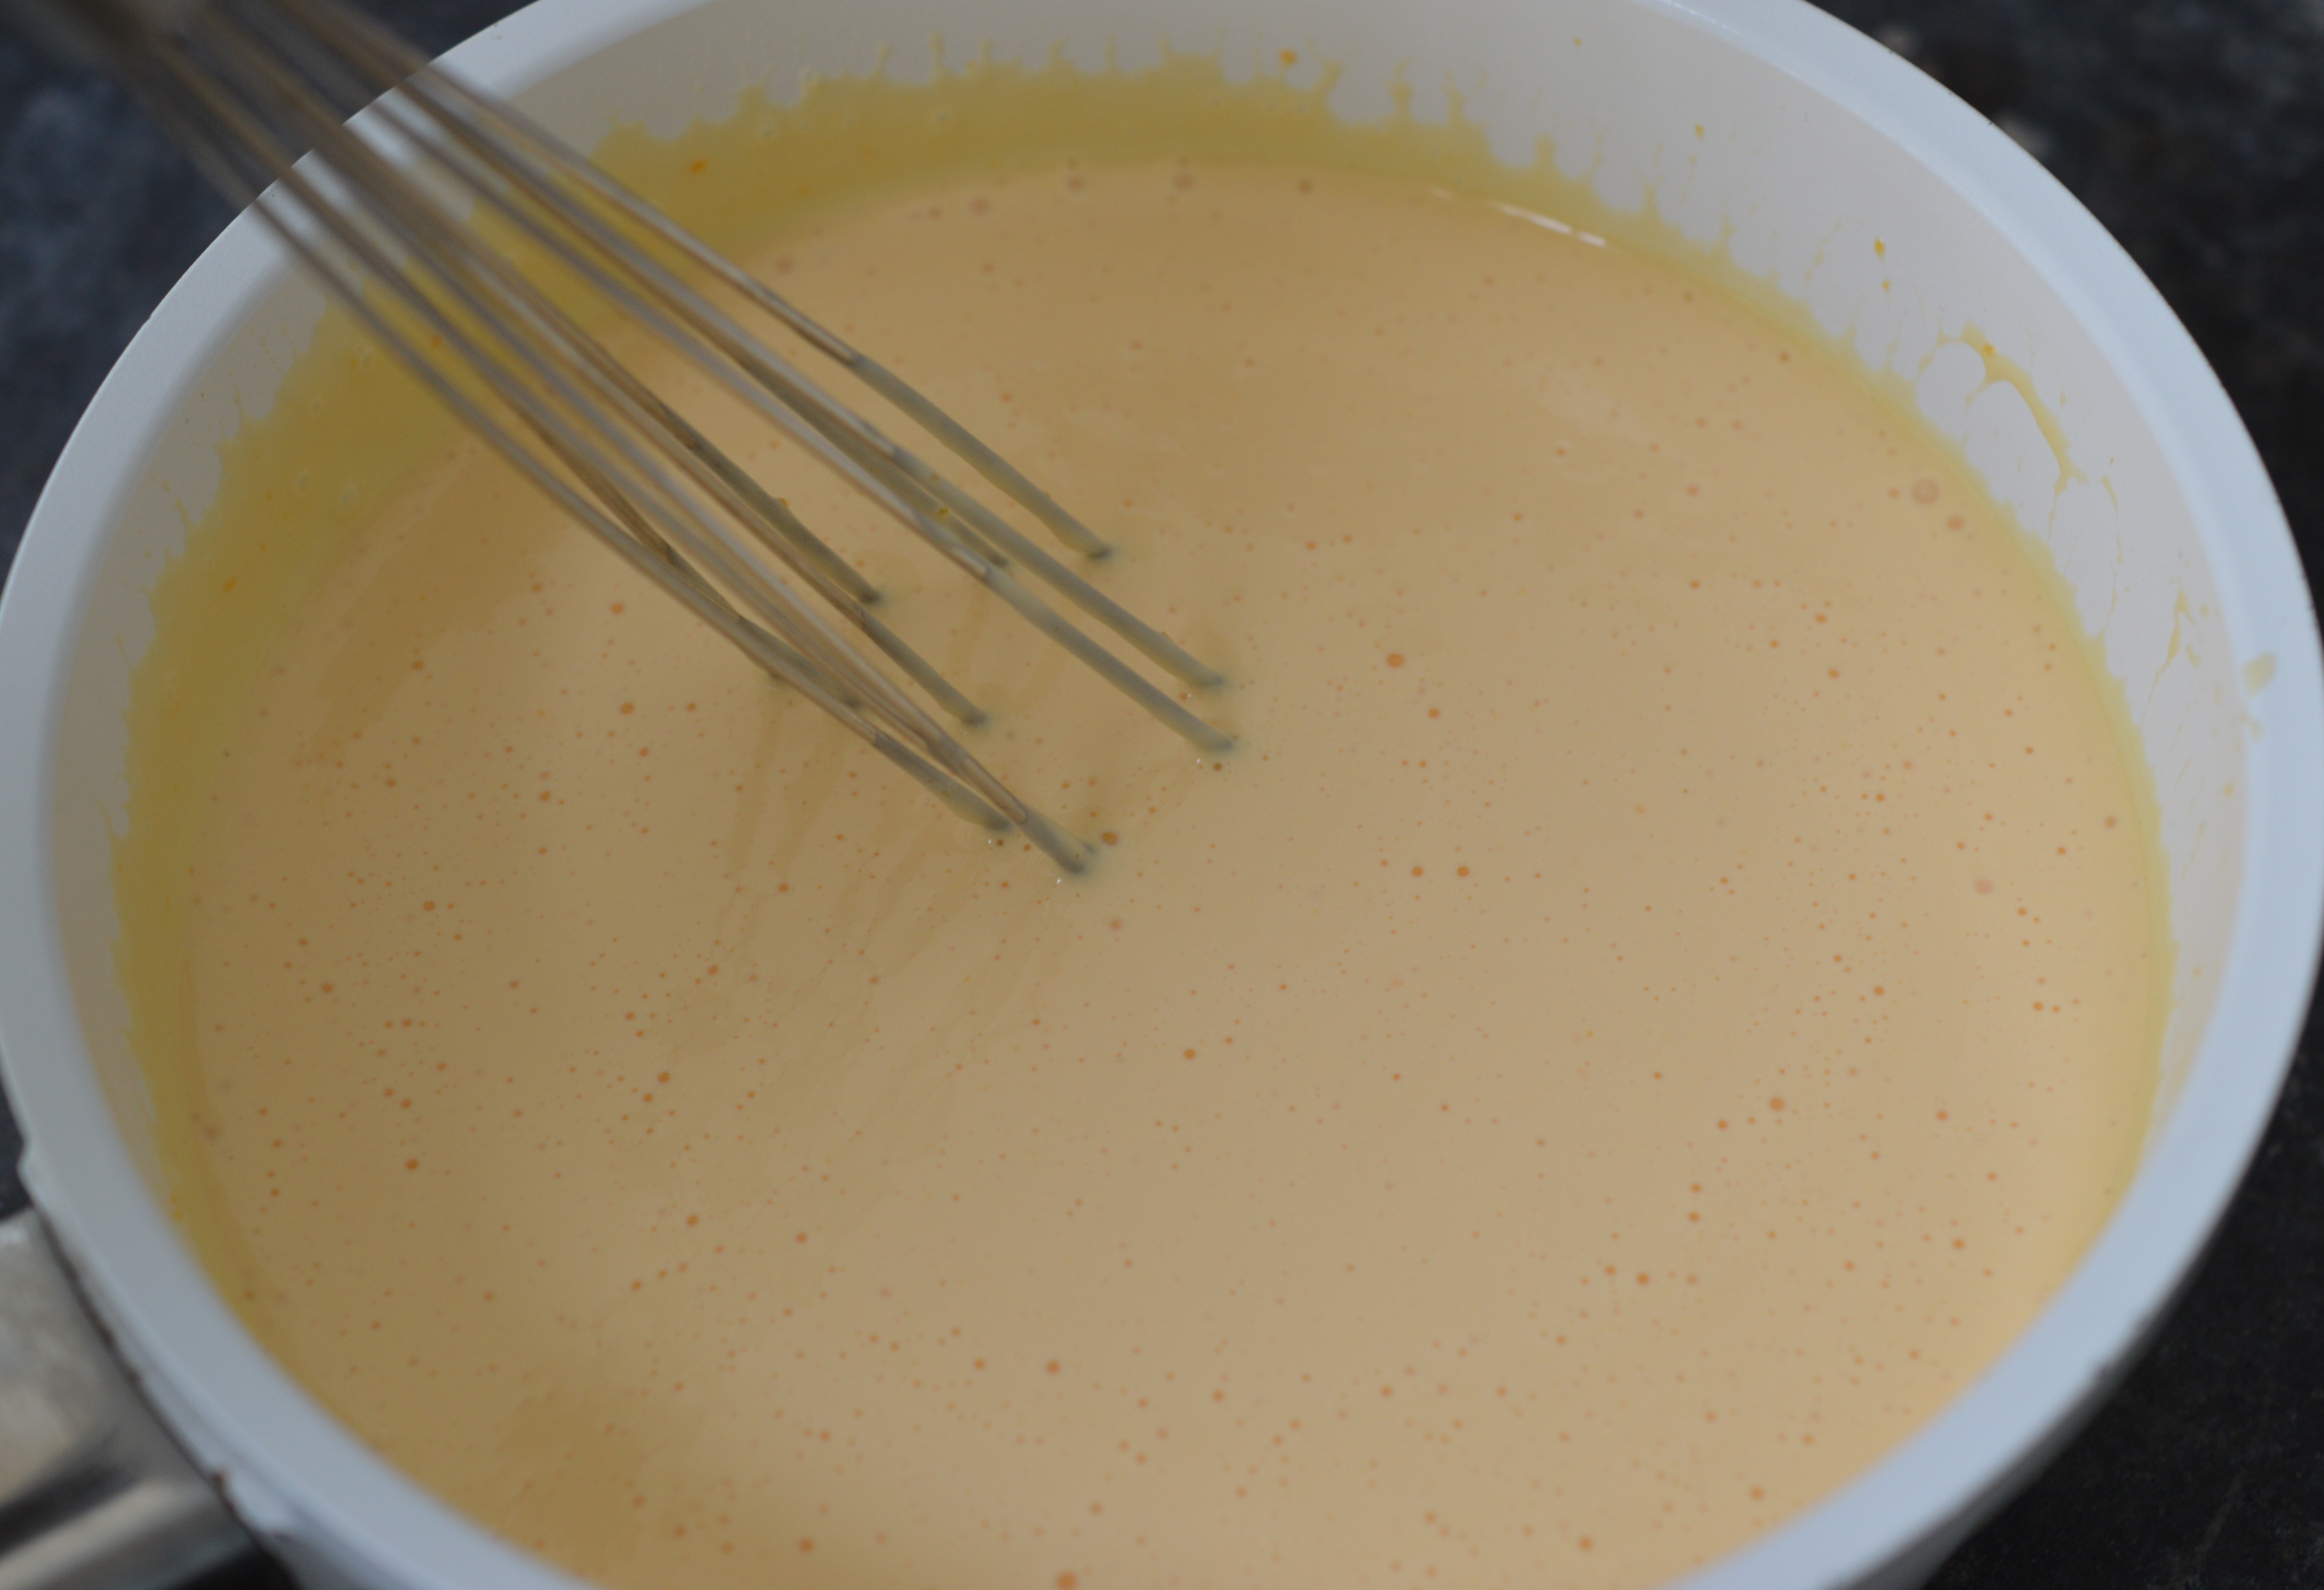
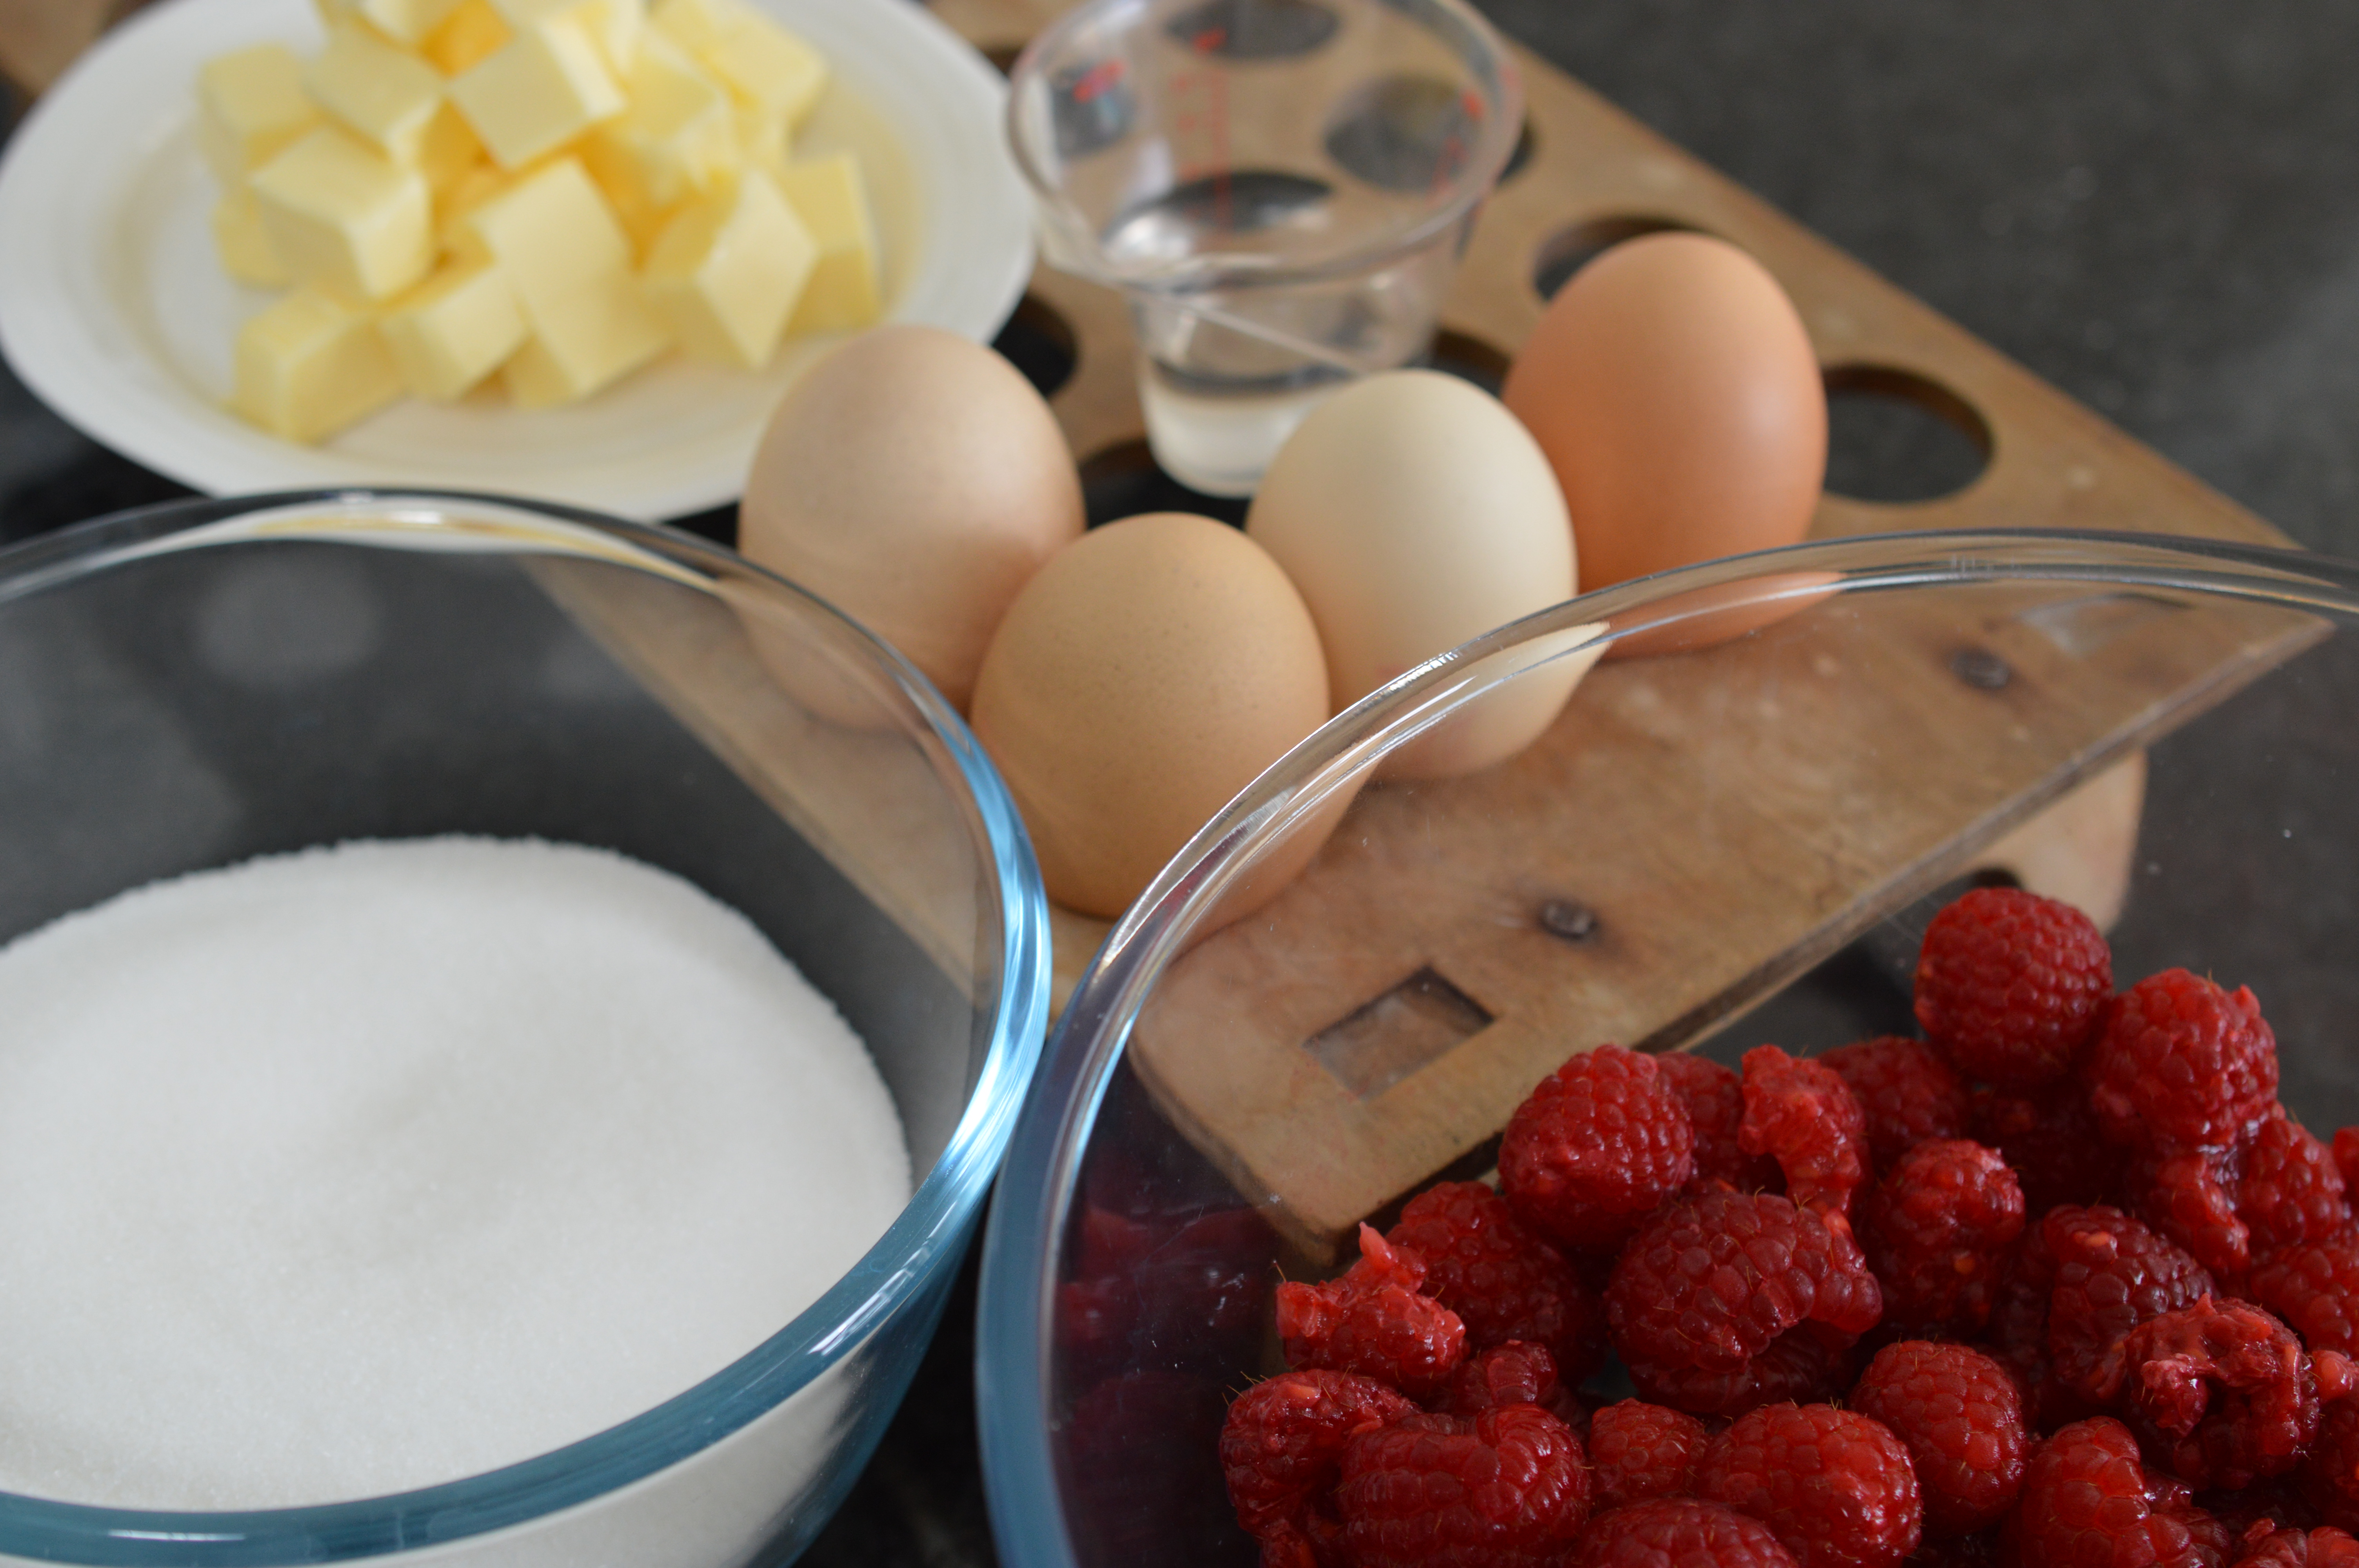
To make the sponge mix, weigh the eggs in their shells and it’s the same weight in butter, caster sugar and self-raising flour – as per The Women’s Institute instructions.  I’d enjoy rebelling, but it’s a good idea as eggs do vary in size.  The butter needs to be at room temperature – not hard, not melted.

Blackberry and apple - cream

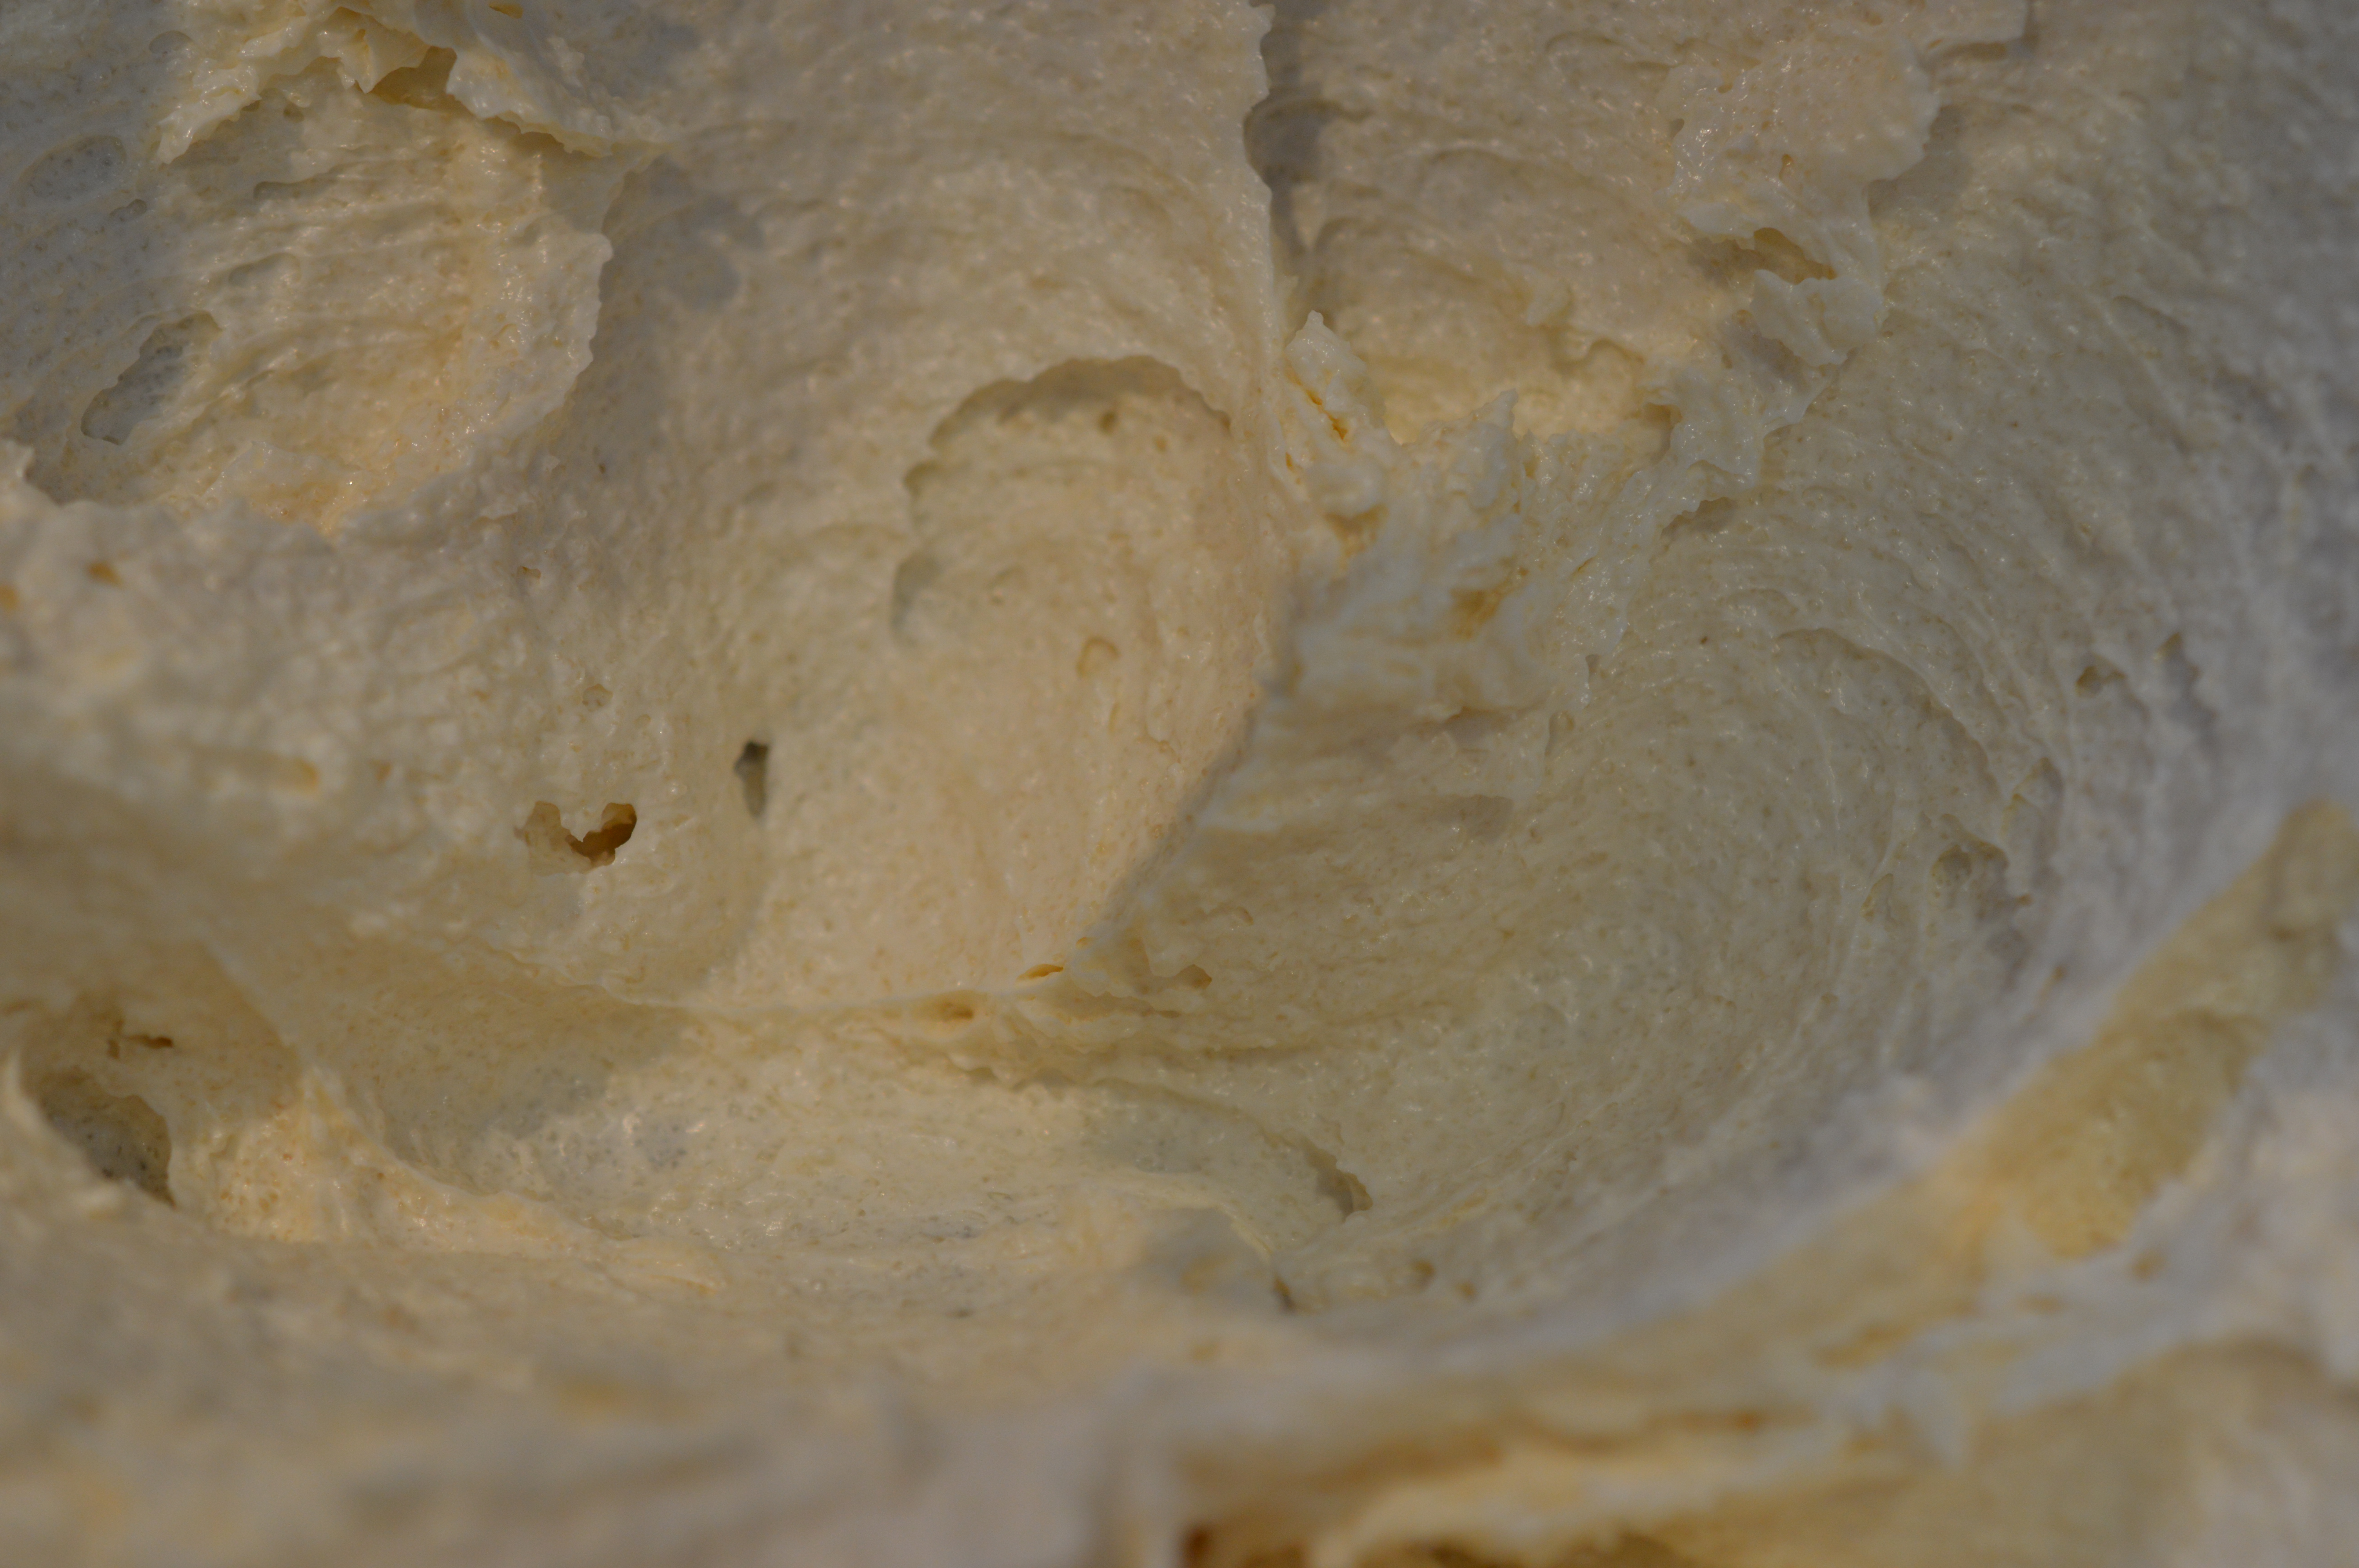
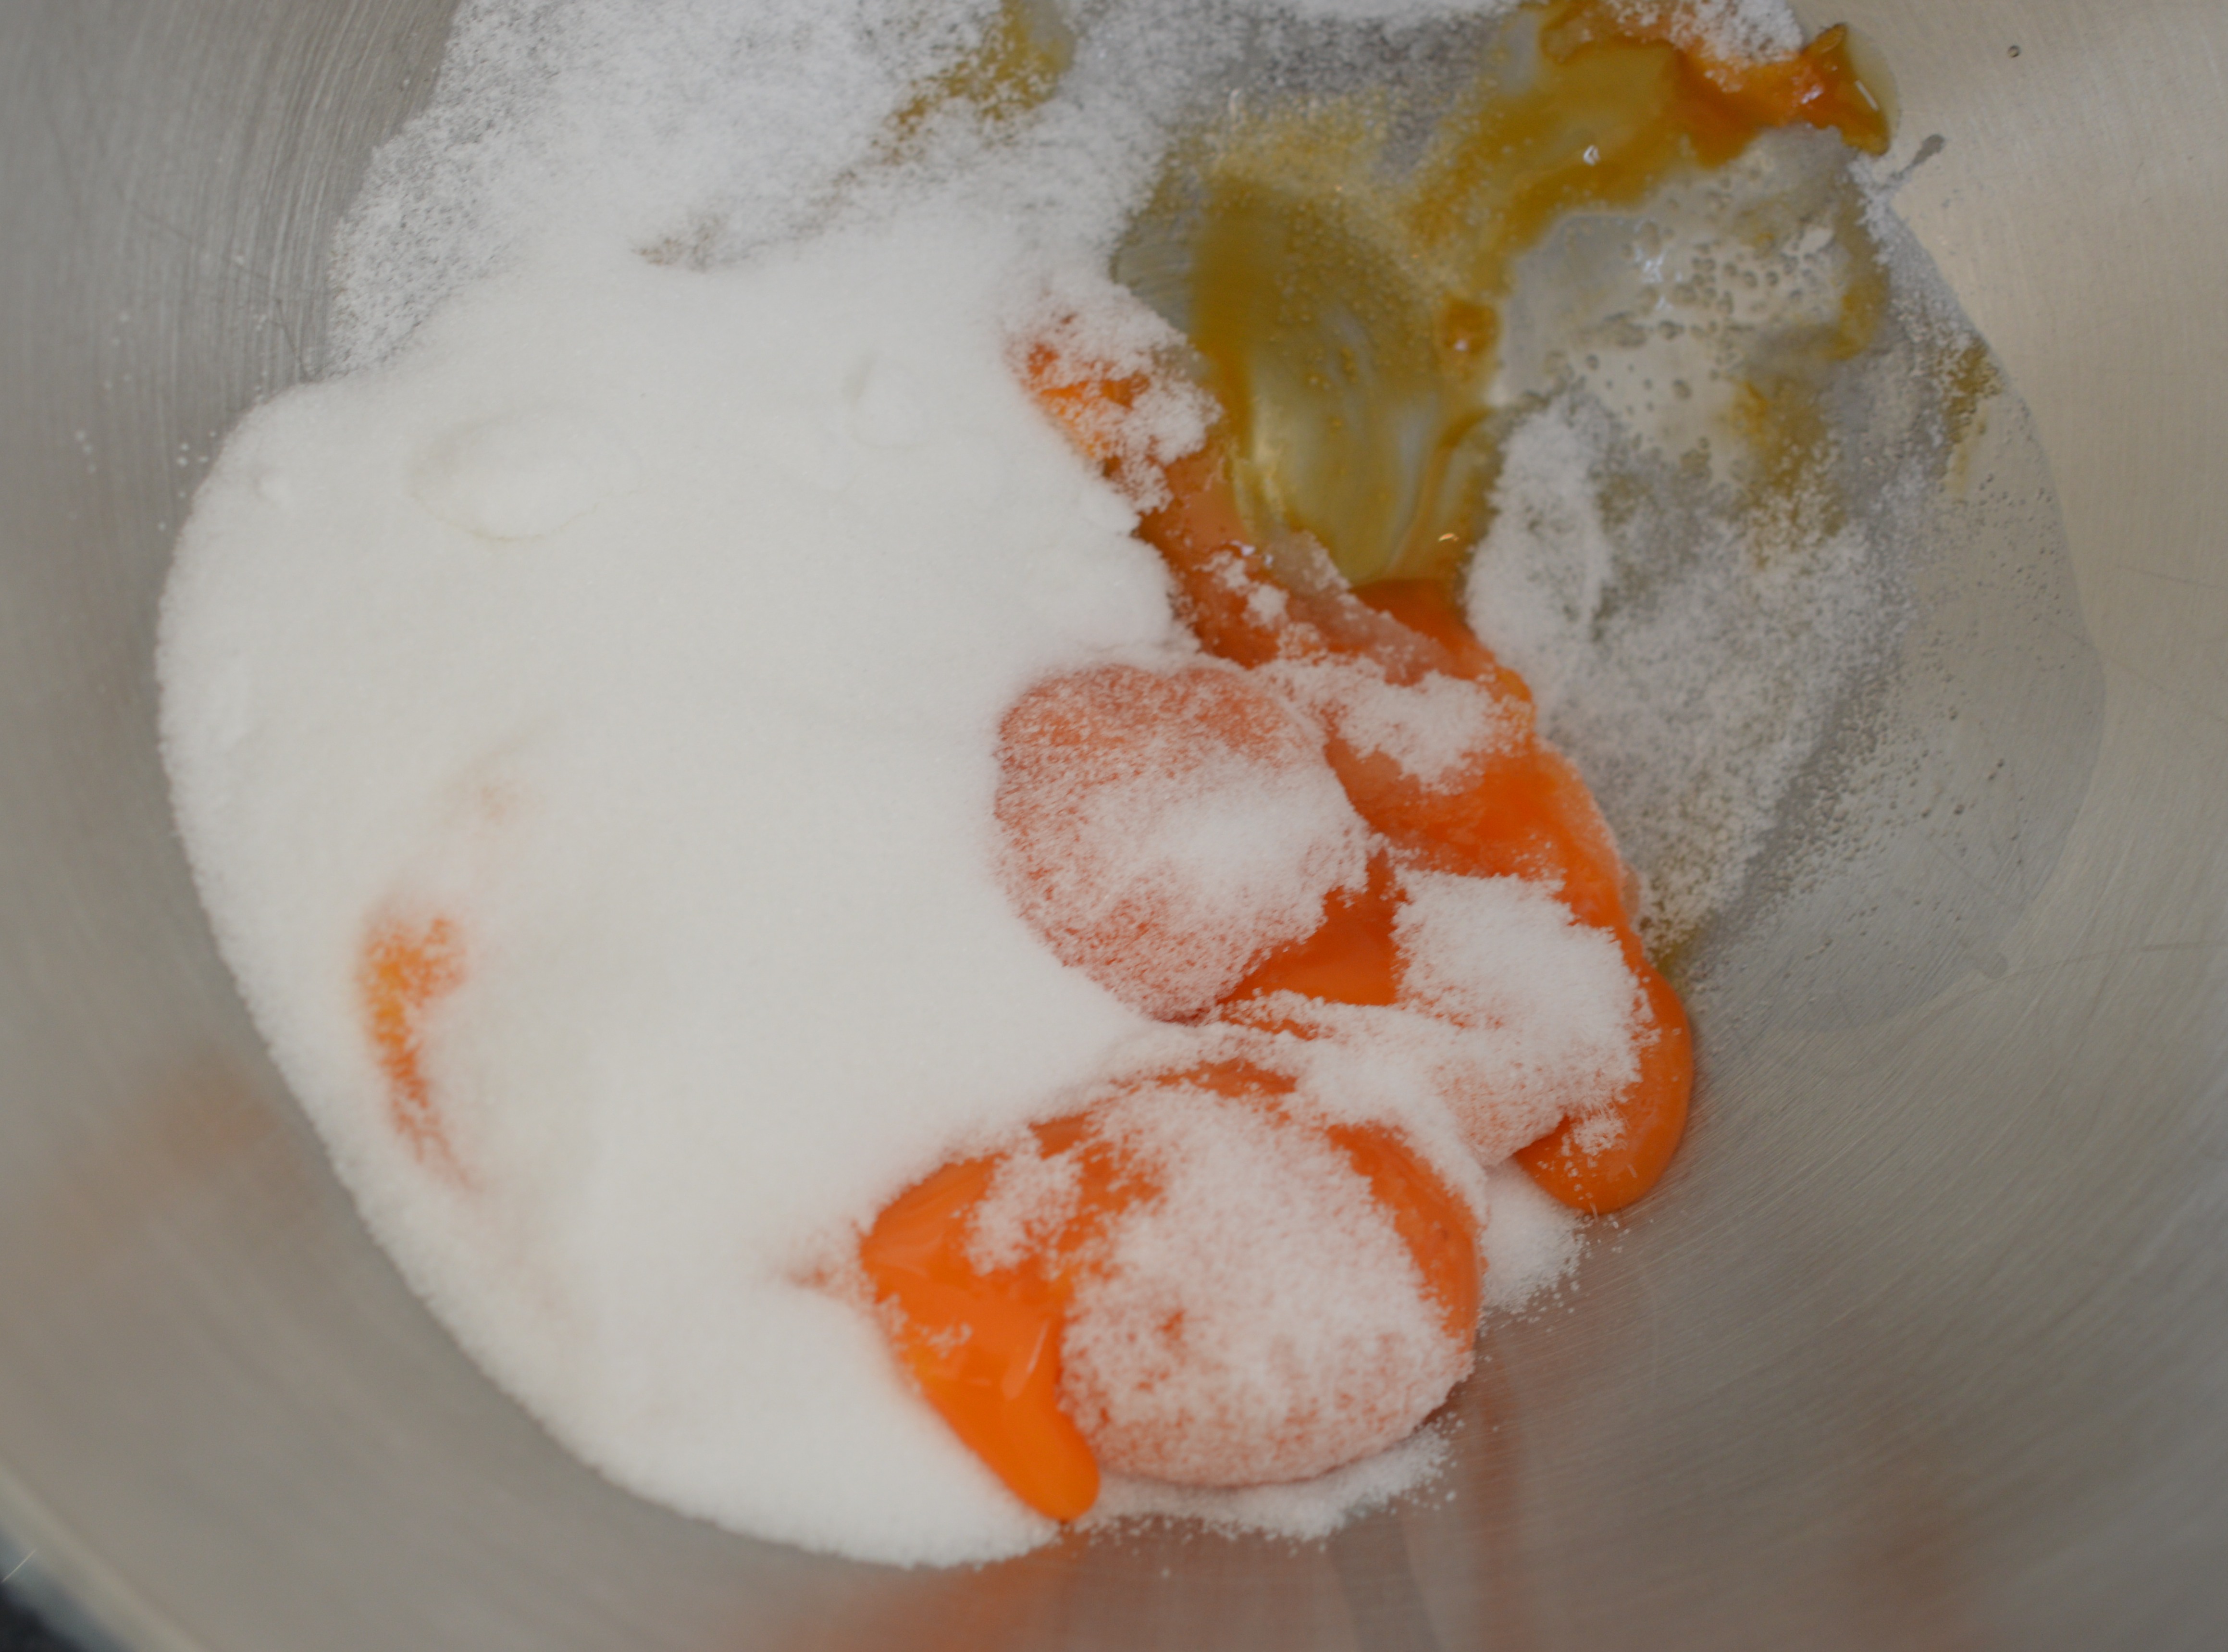
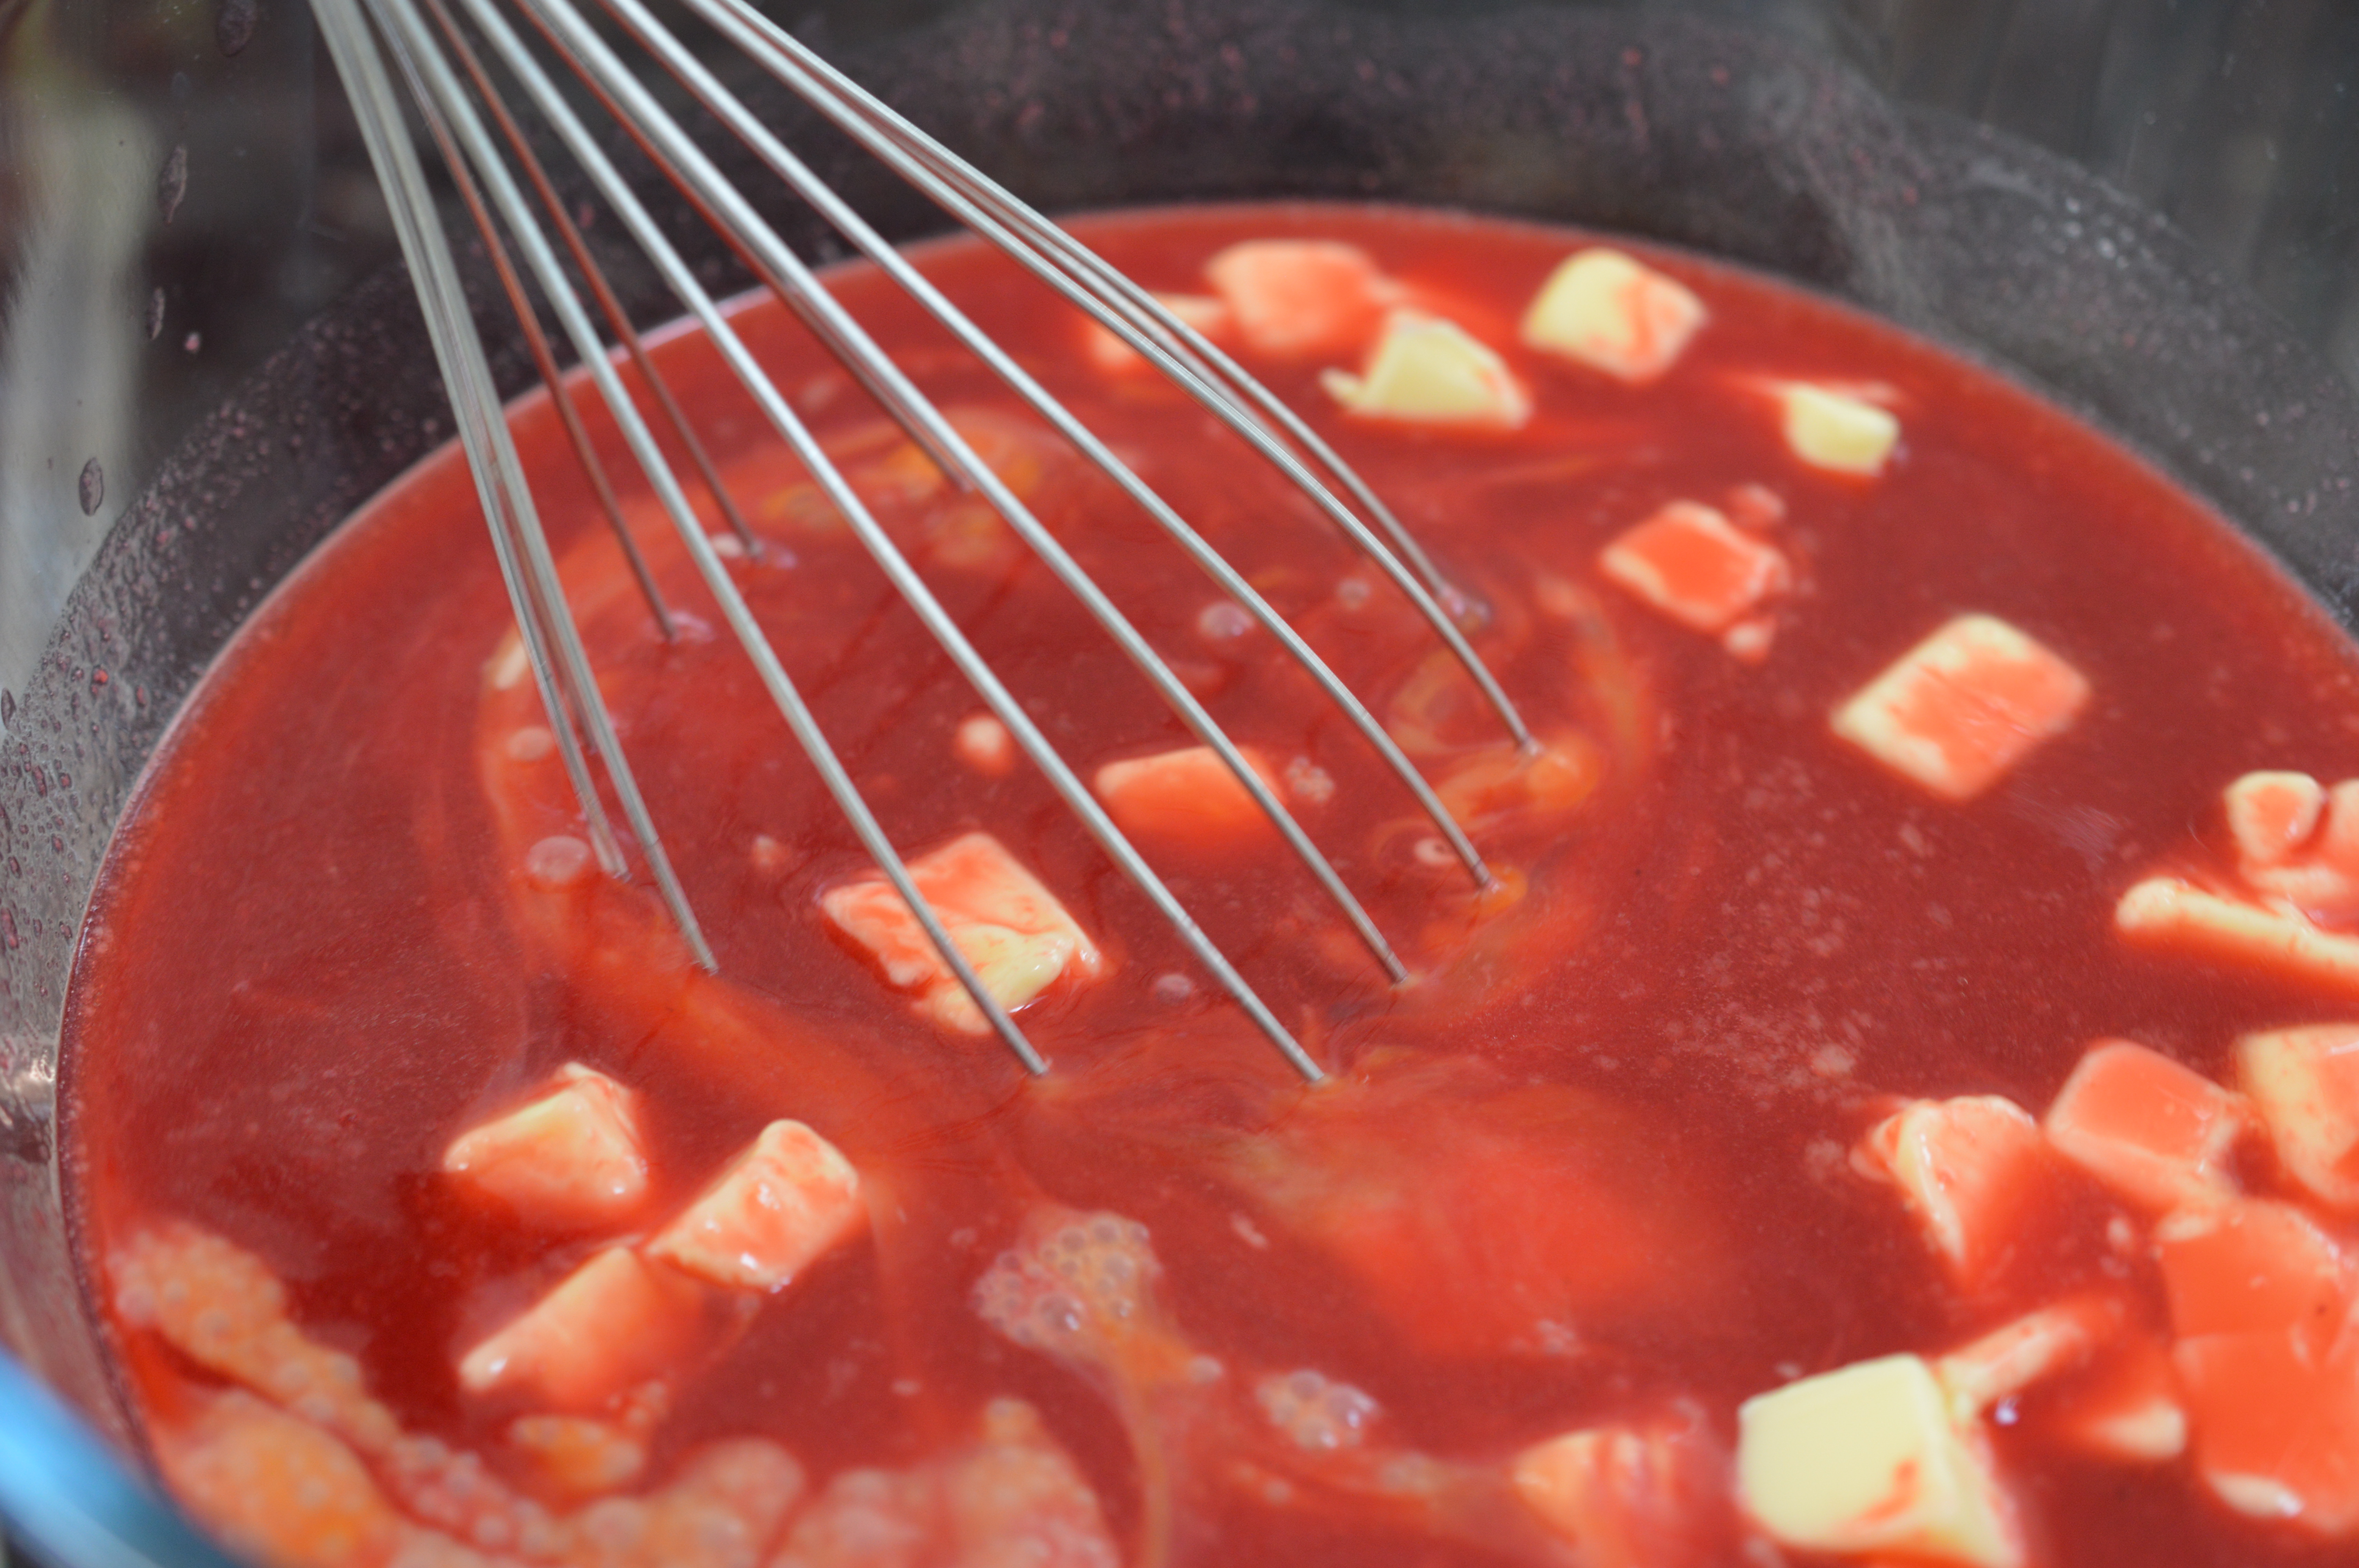
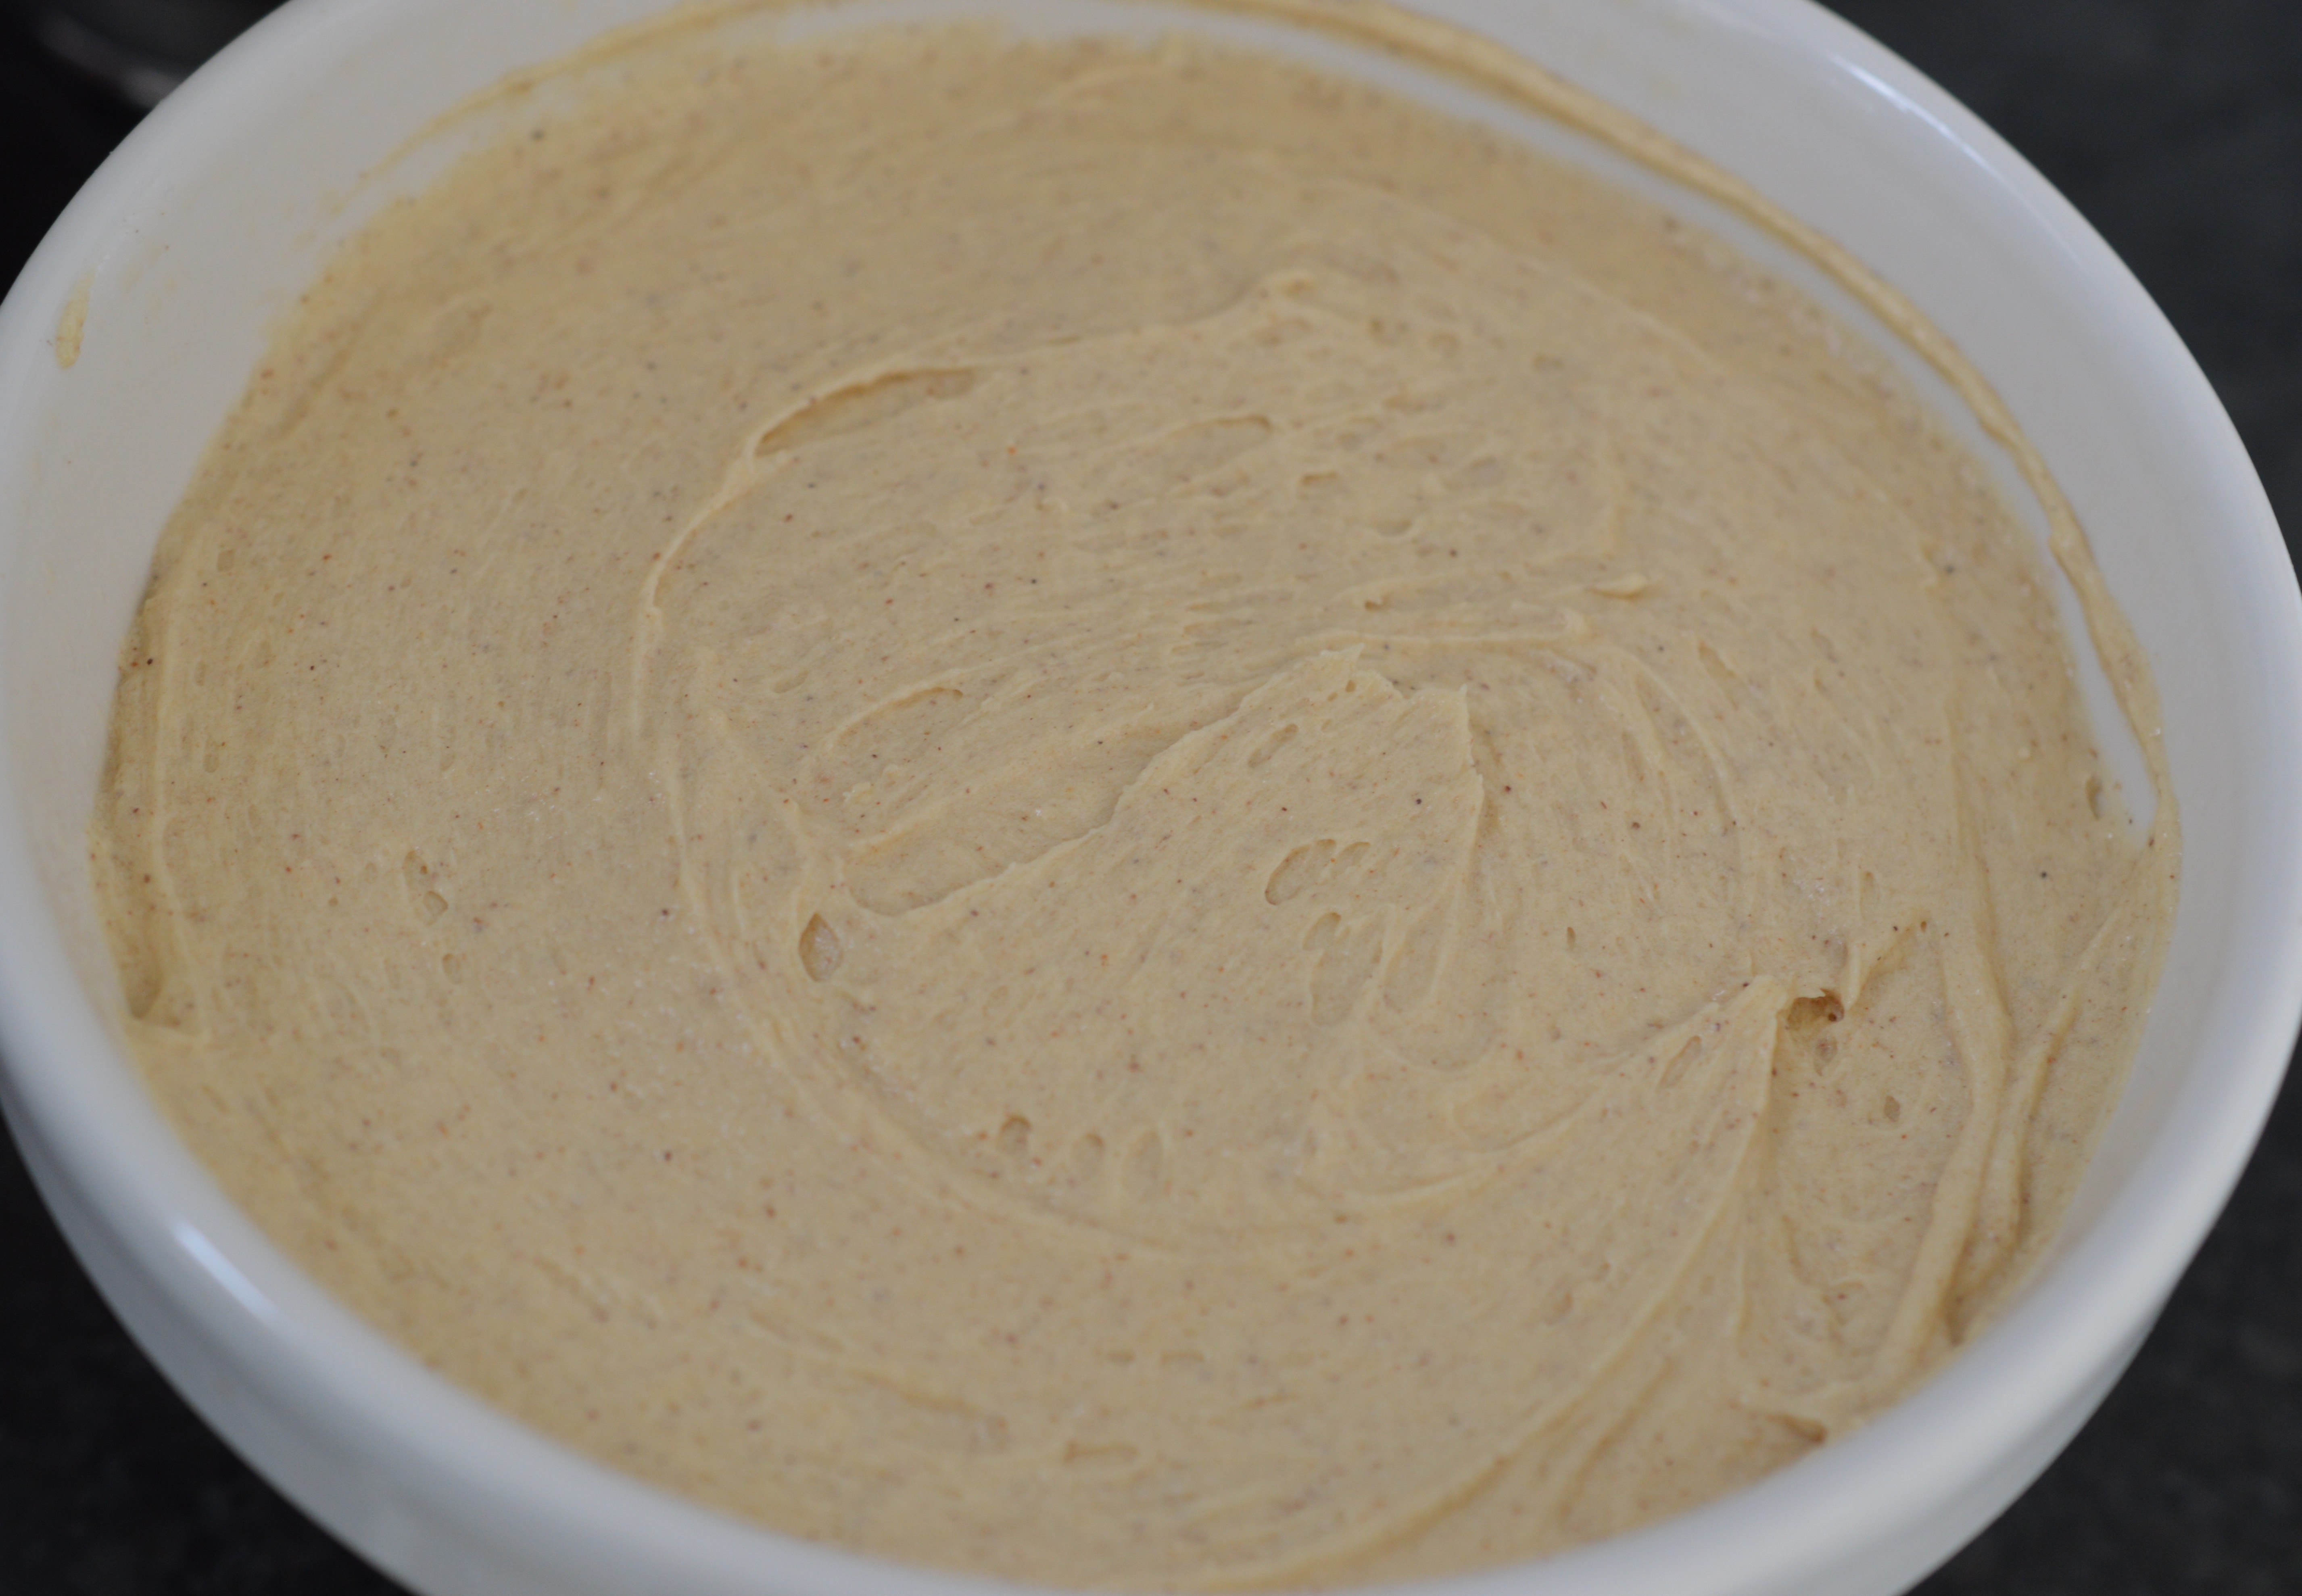
Cream the sugar and butter together.  That’s either a nice big bowl and a wooden spoon or the paddle attachment on your mixer.  You want pale and fluffy – and this takes longer than you think it will.  Actually, you can’t really overdo this part.

blackberry and apple add egg

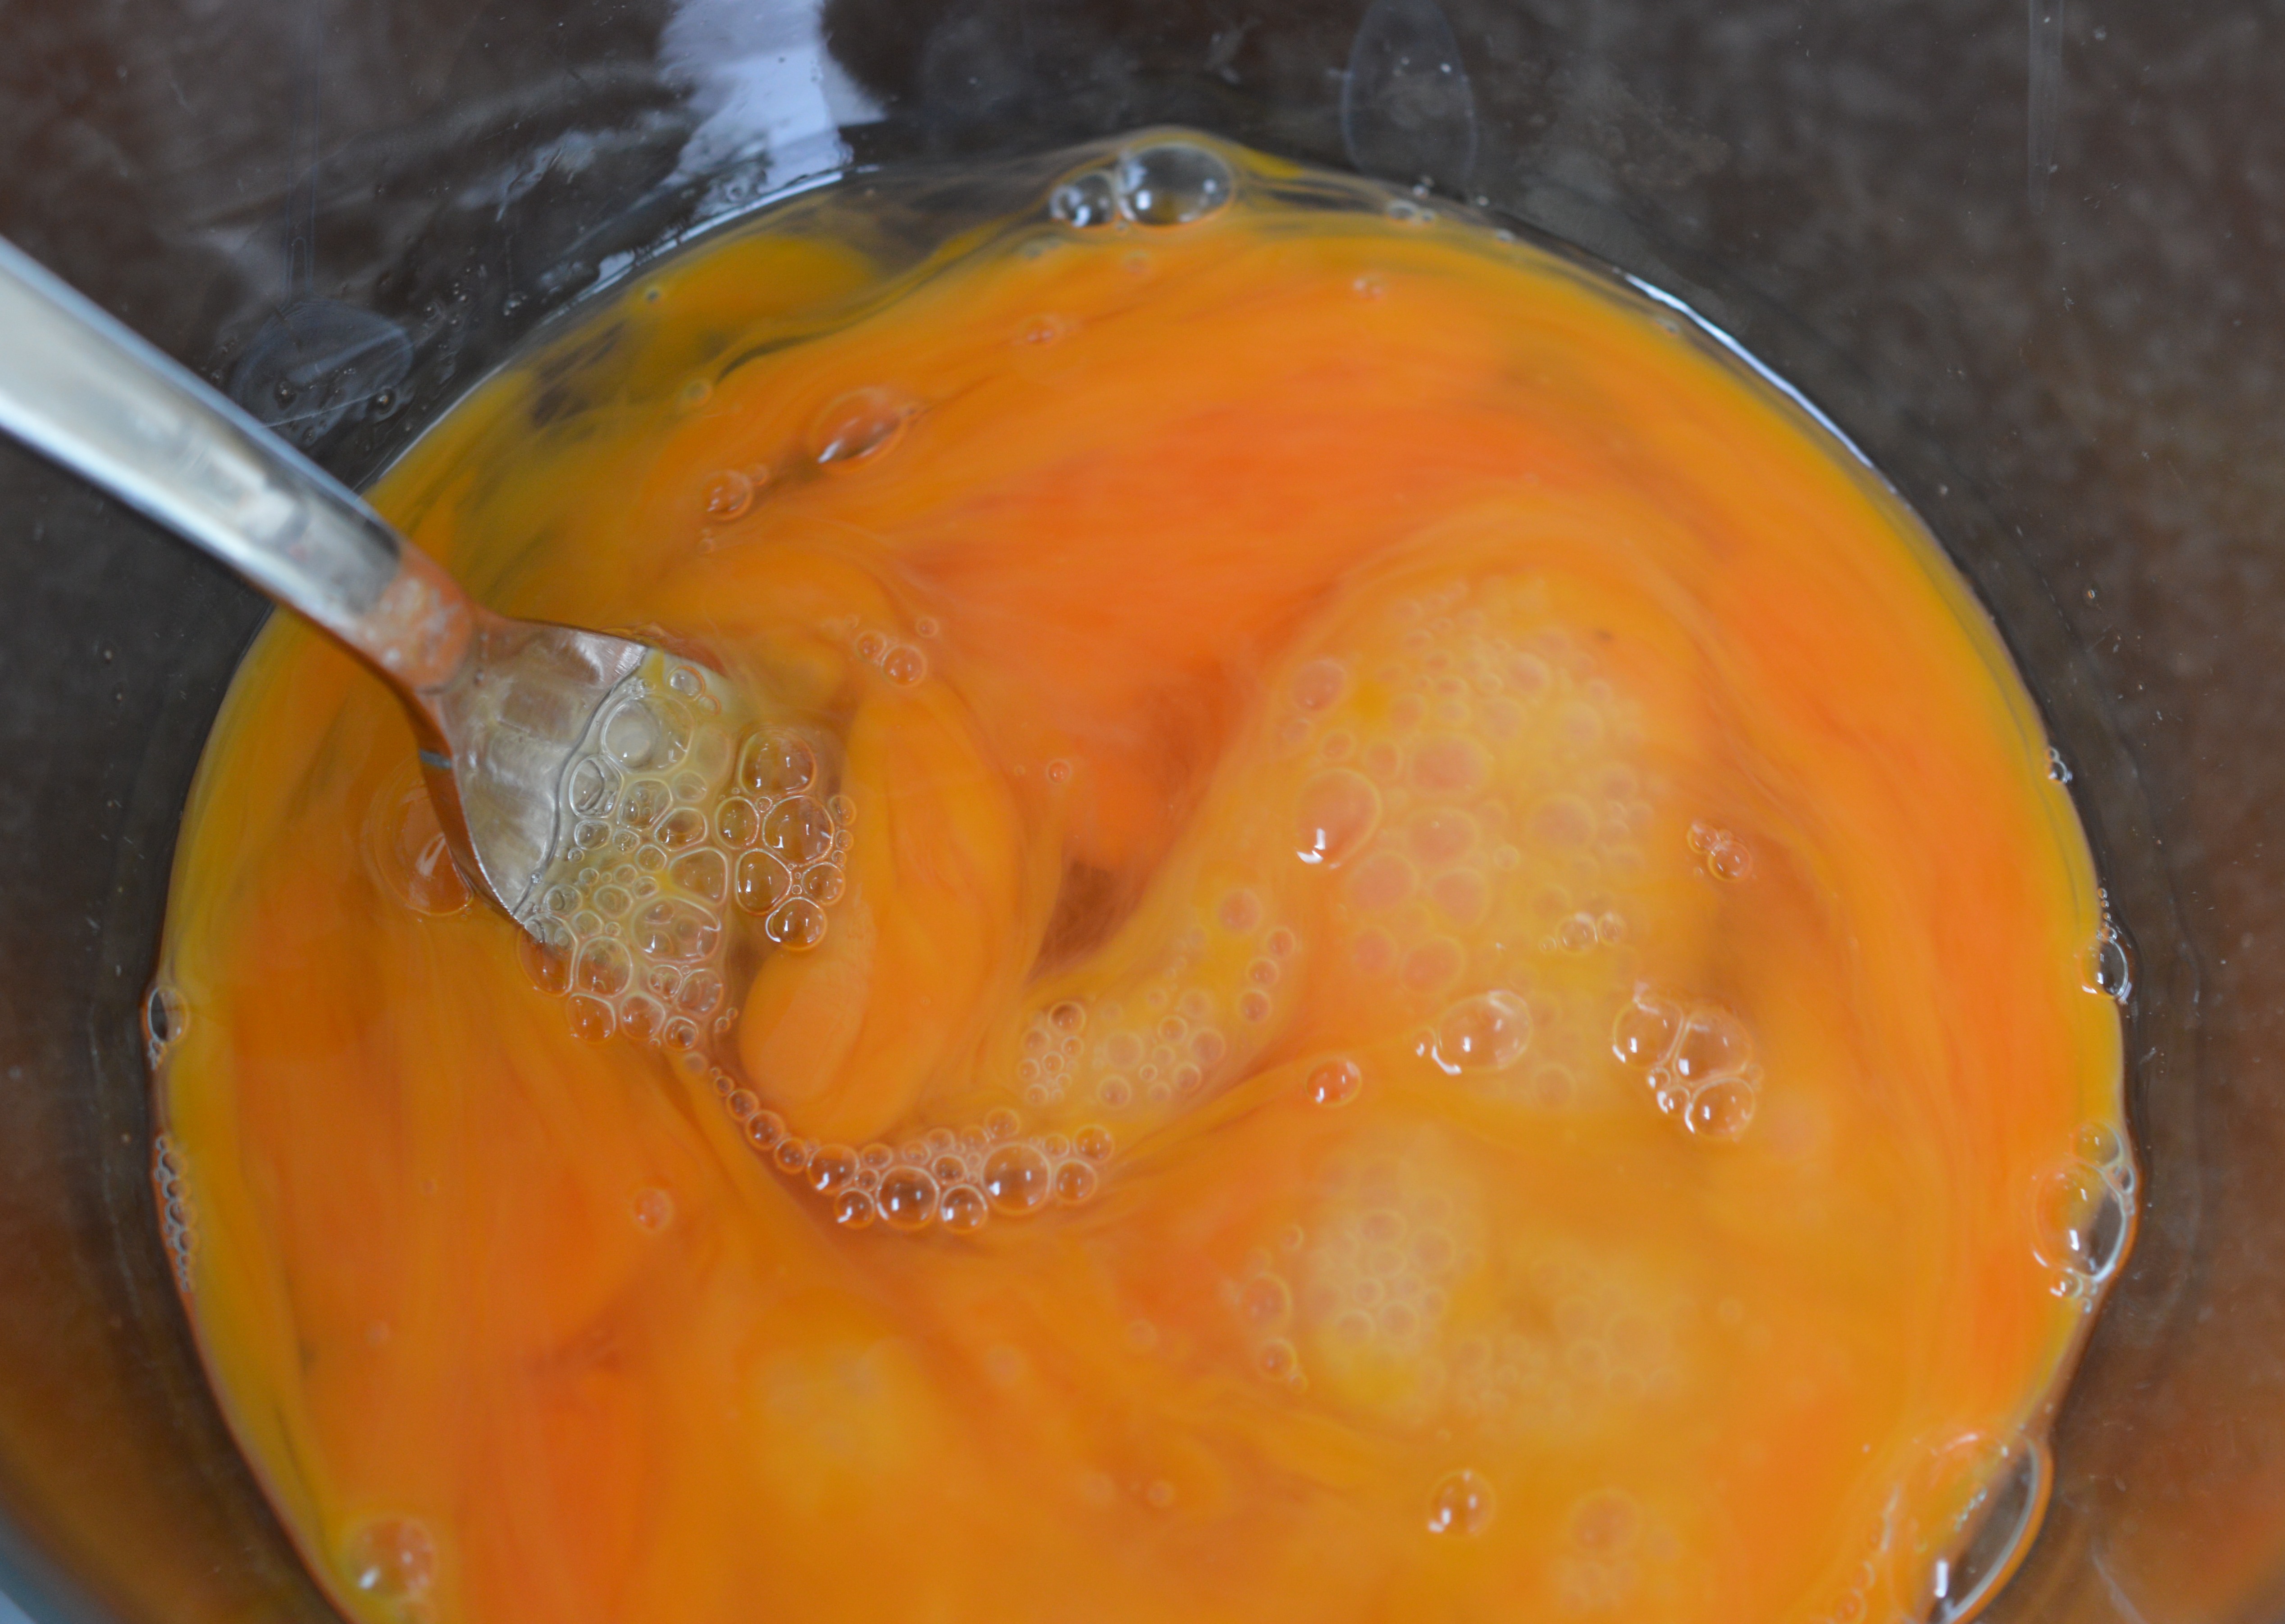
Now add the eggs, one at a time, beating really well after each addition.  Scrape down the sides of the bowl and make absolutely sure it’s all mixed in.  Don’t worry too much if it looks a little ‘curdled’.  If you spot it happening, sprinkle a tablespoon of the measured flour over the top and your mixture will start to behave once more.  It’s caused by one/or all of several things – adding the egg too fast, eggs not being at room temperature or not having creamed the butter and sugar sufficiently.  A curdled mixture isn’t the end of the world, but your pudding will be slightly ‘heavier’.

Blackberry and apple mixture

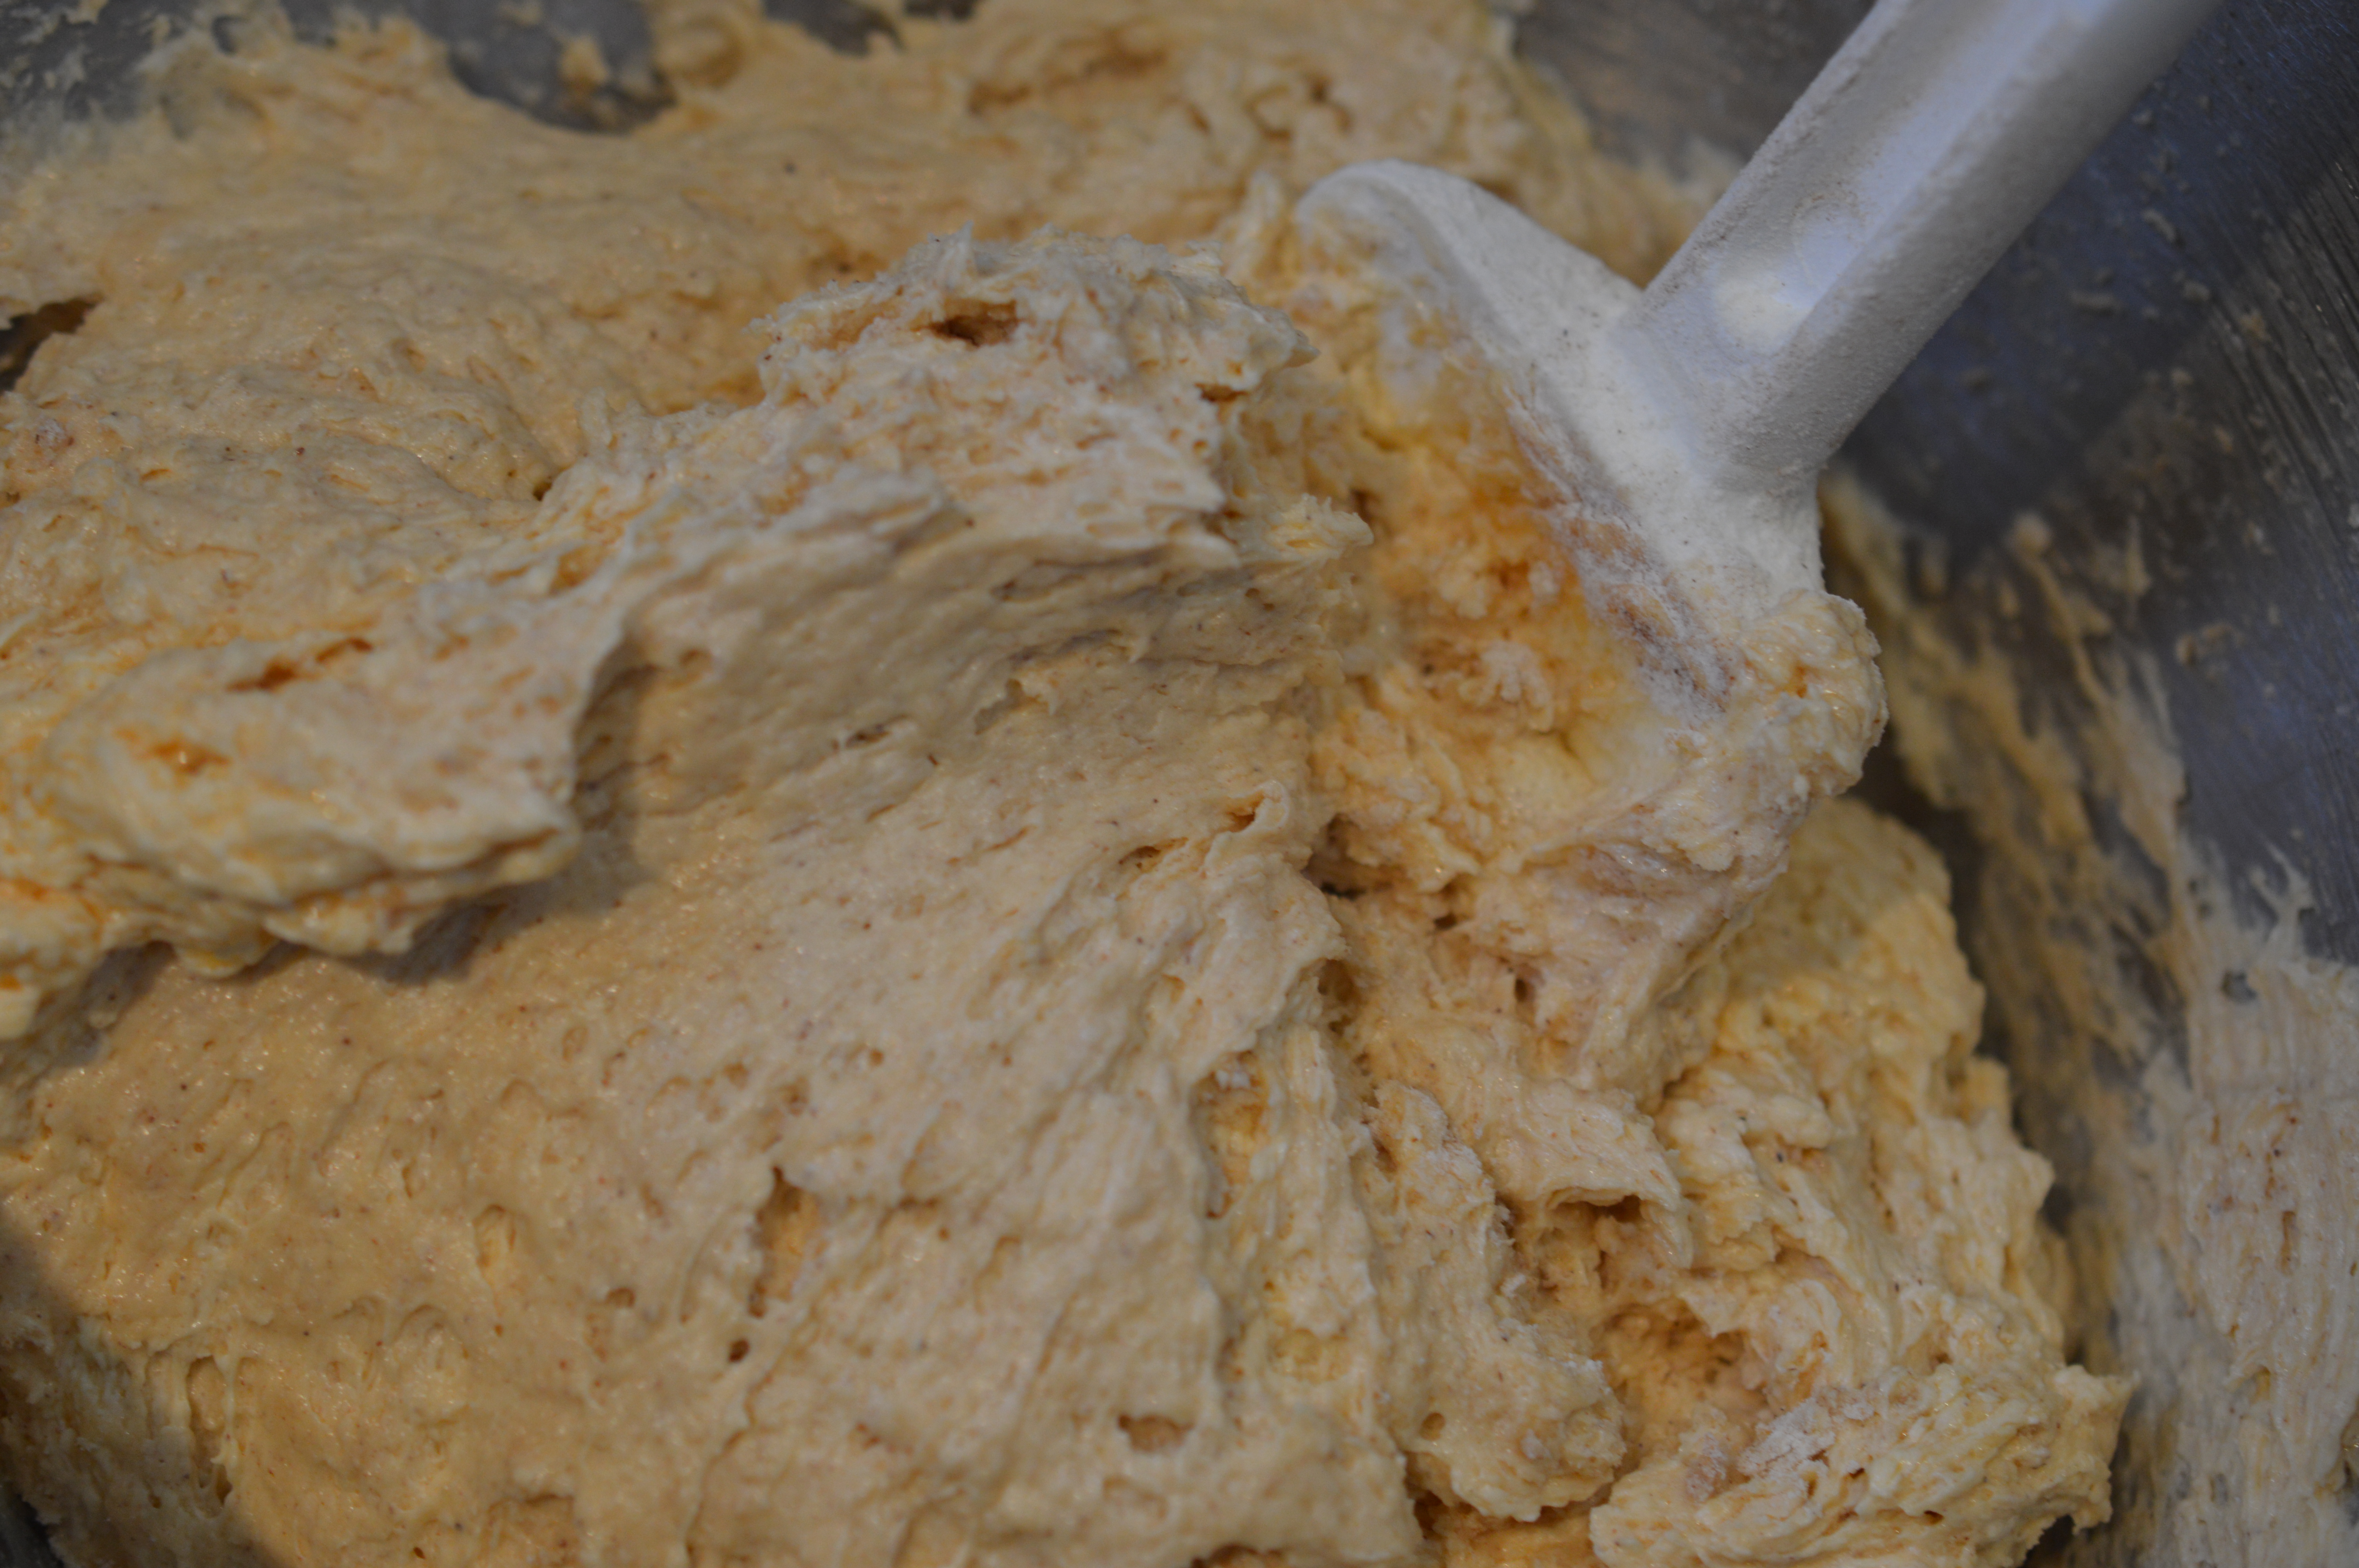
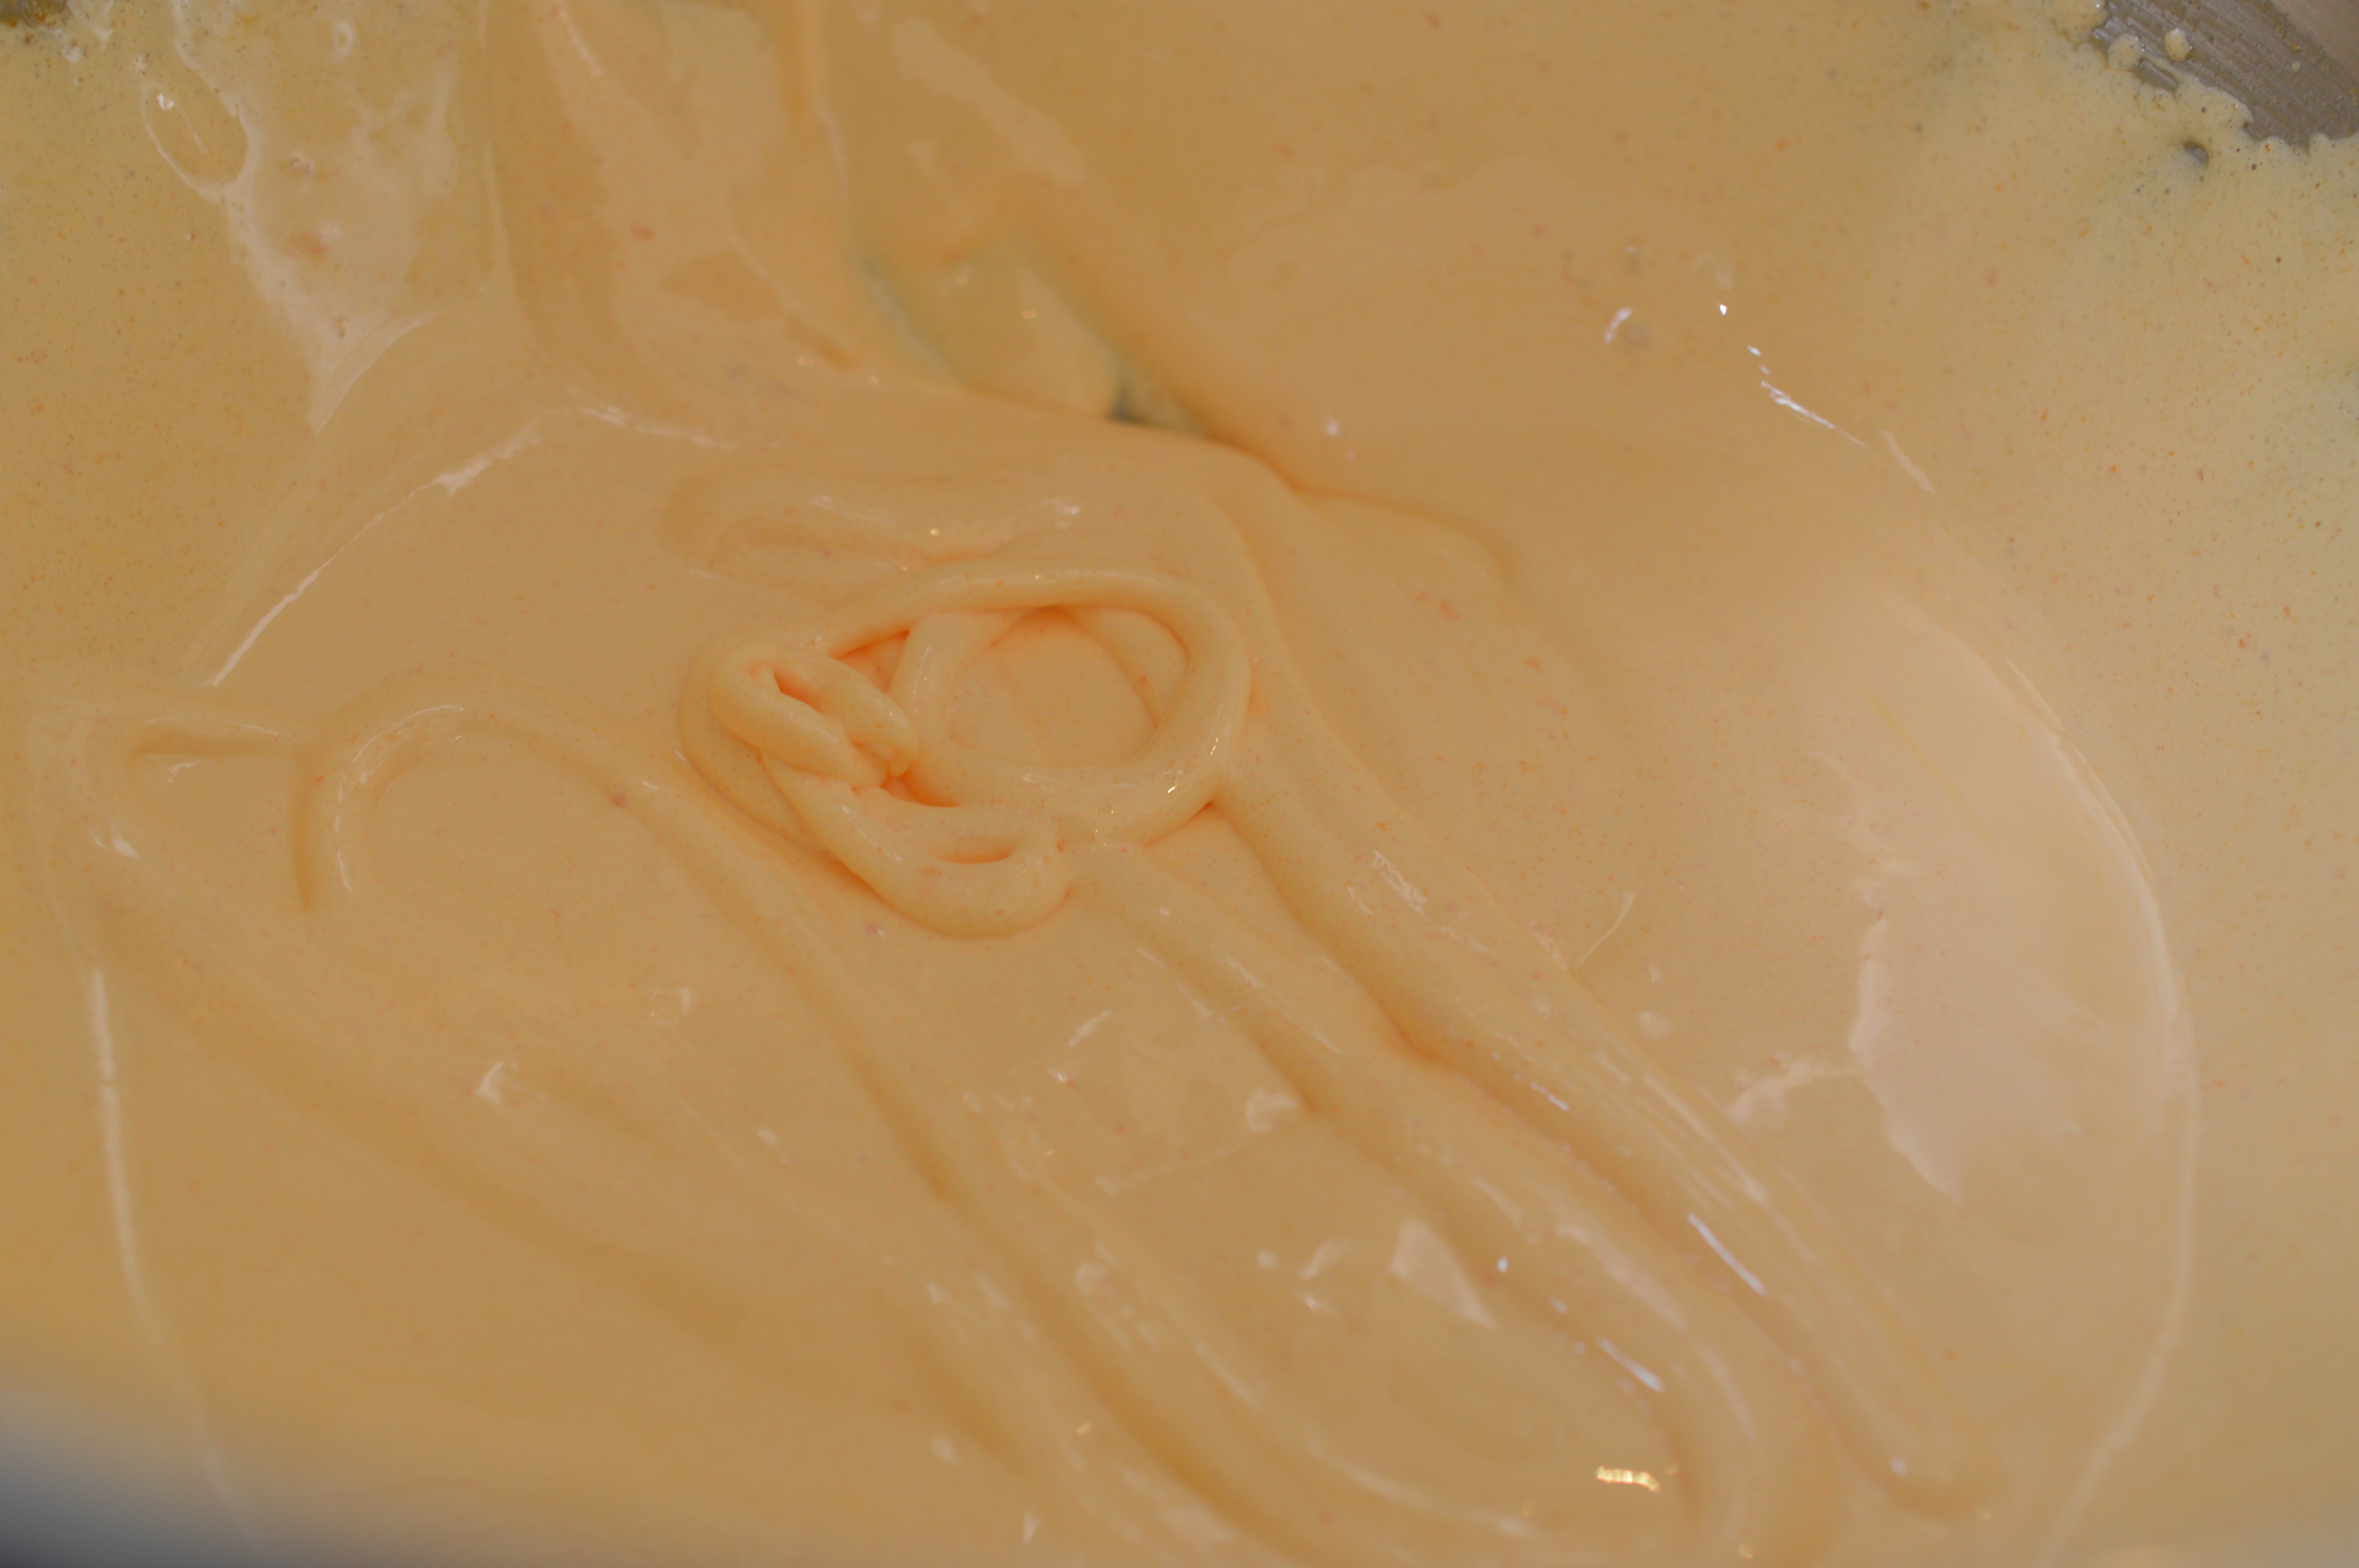
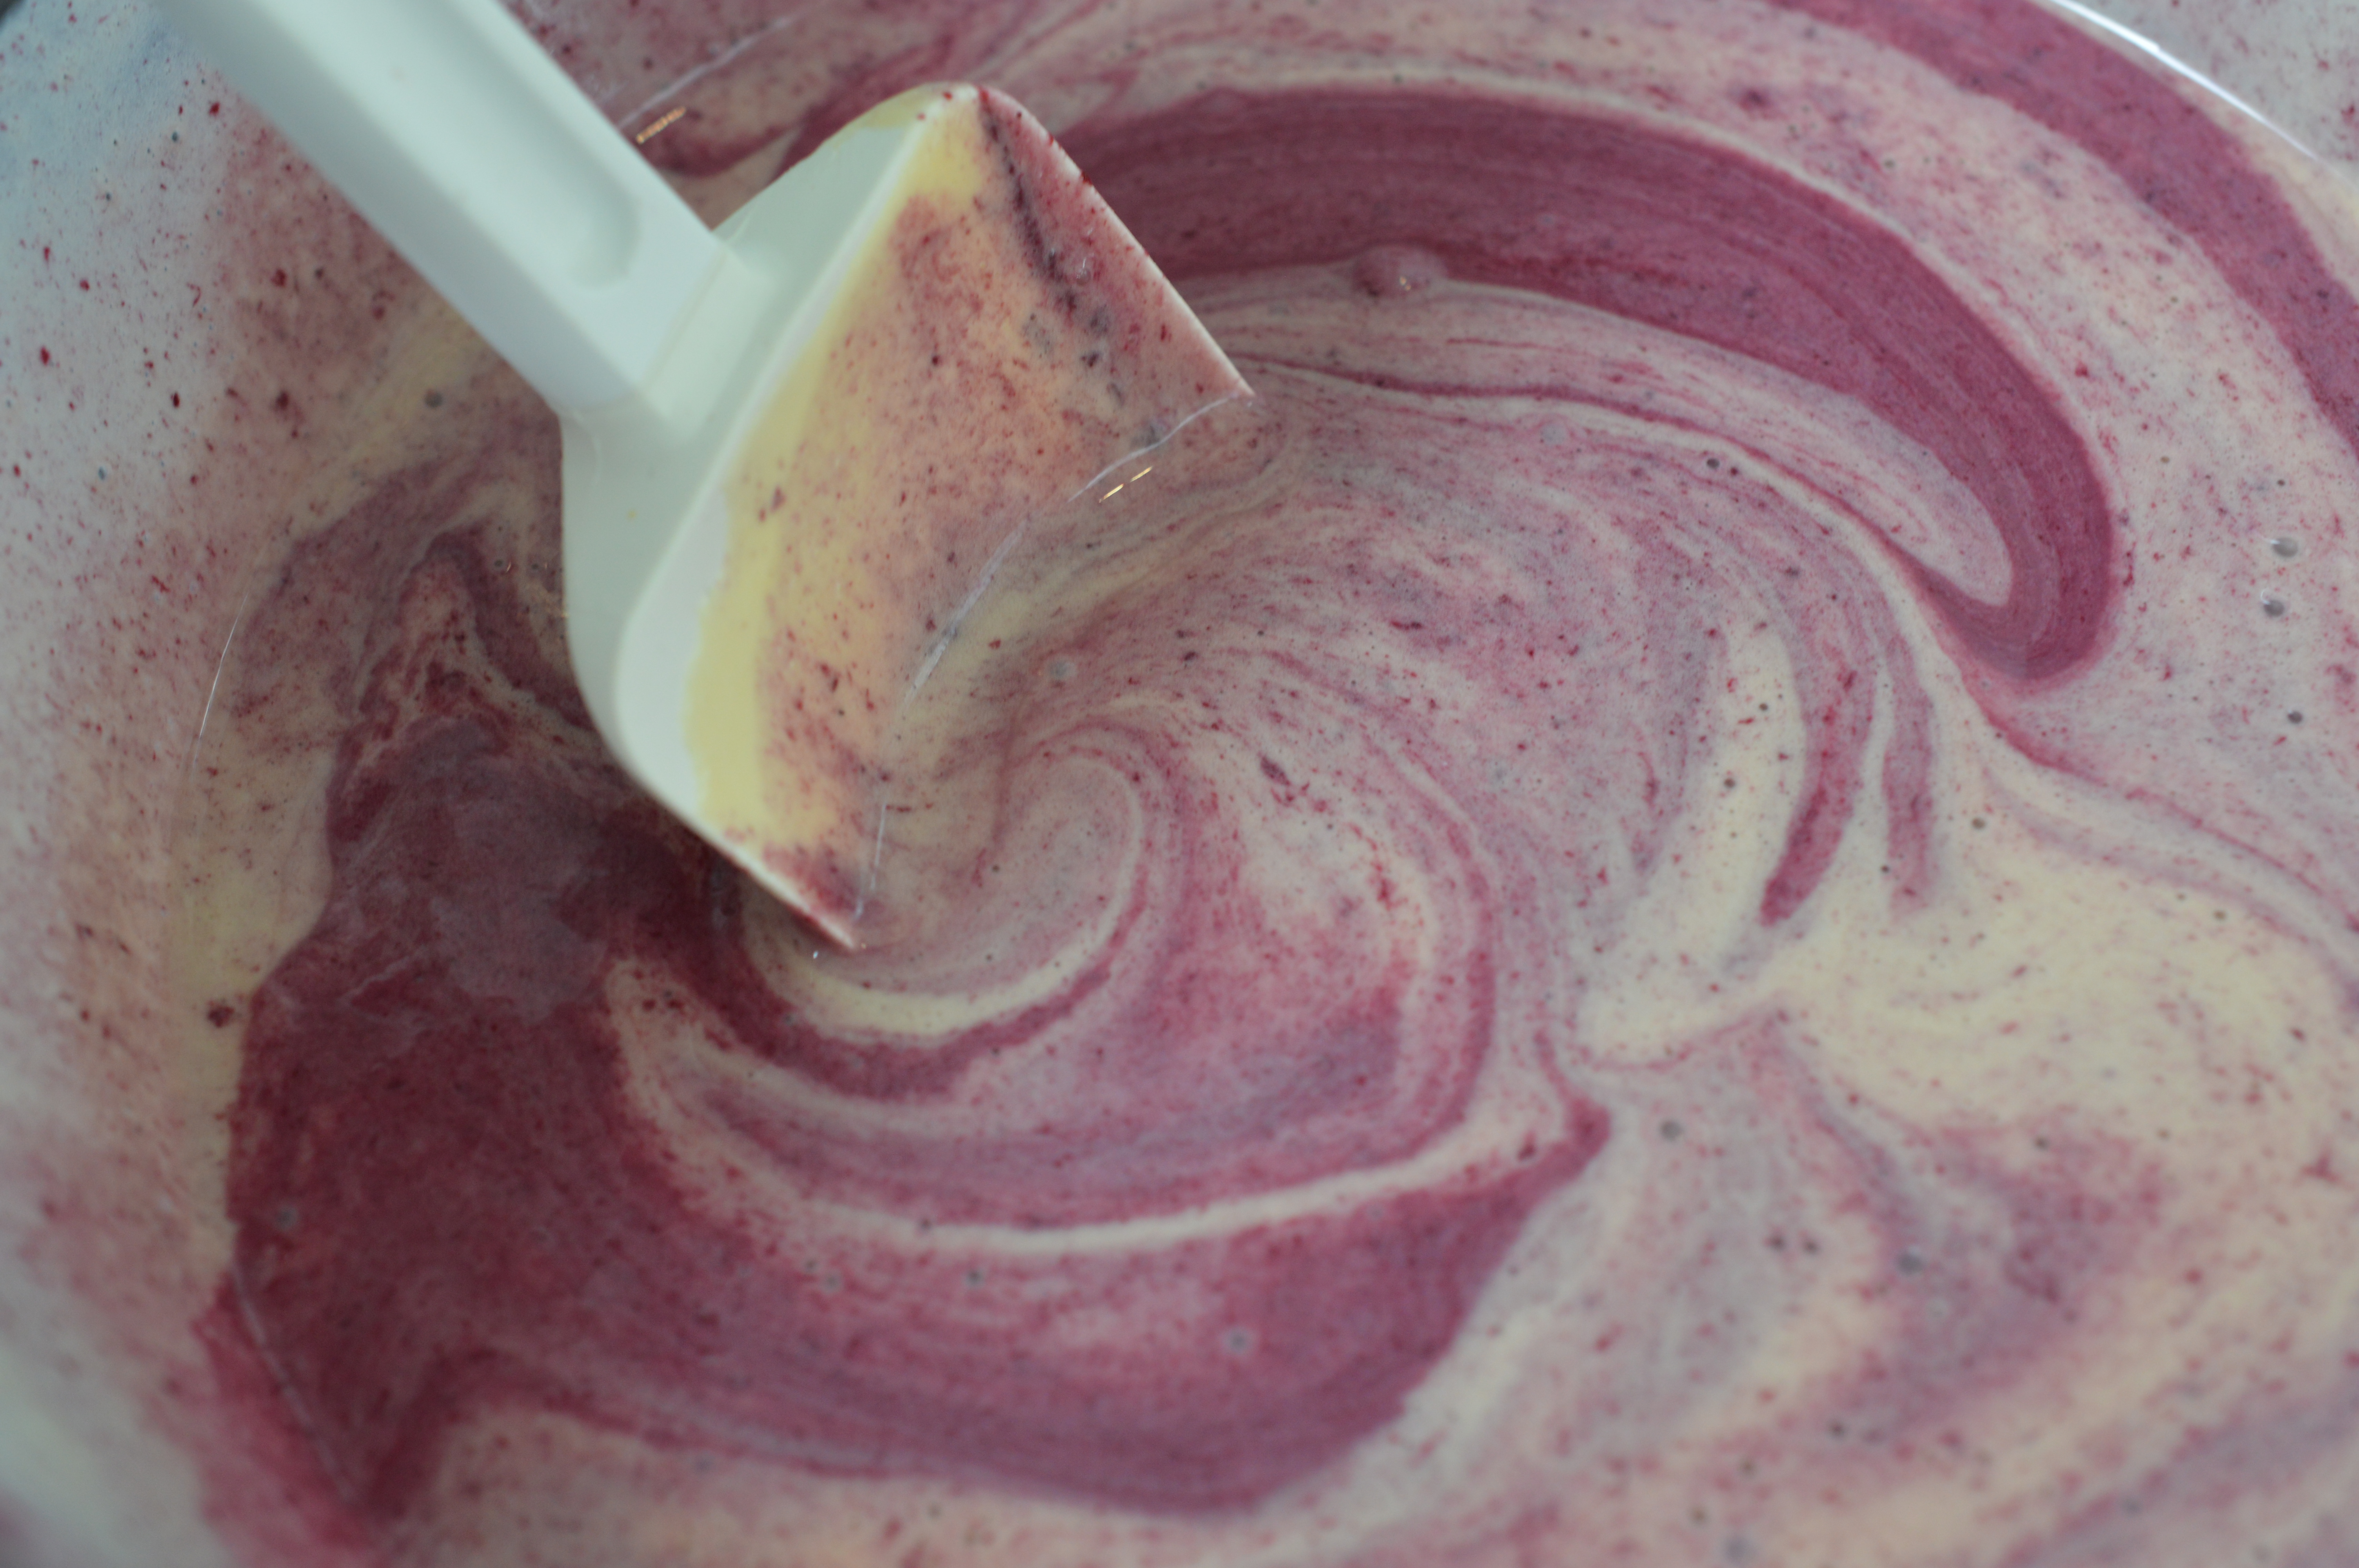
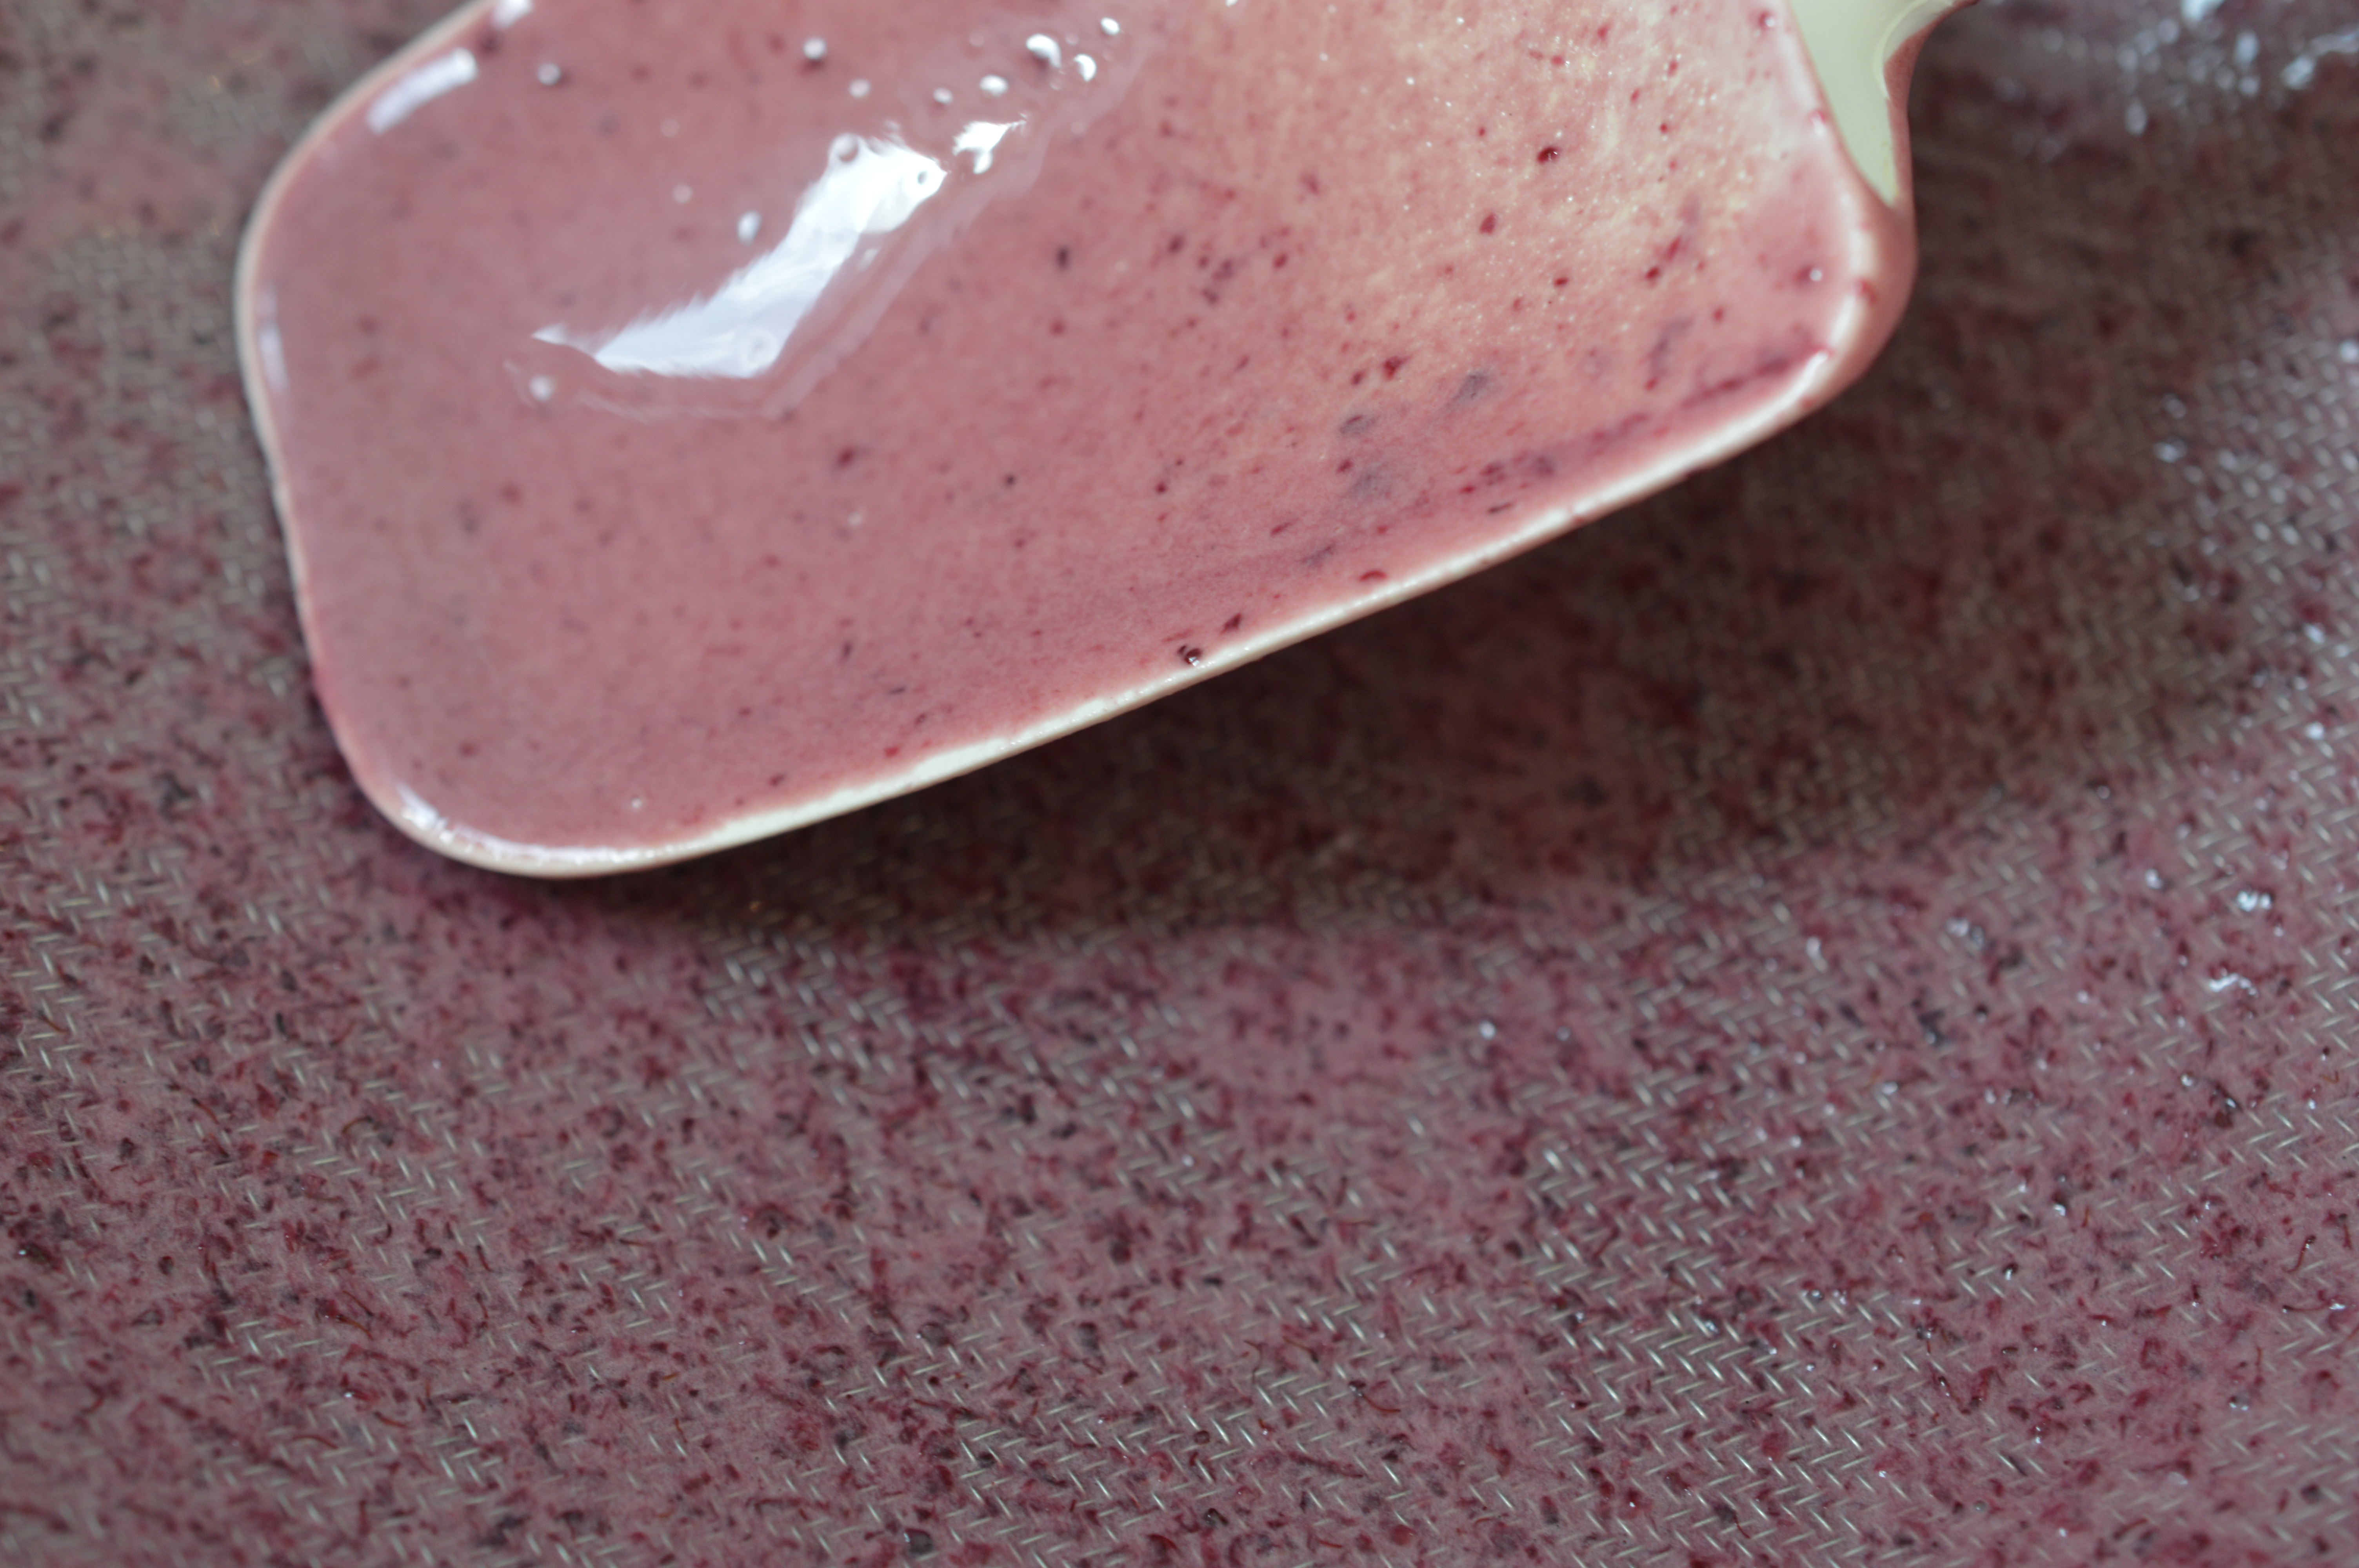
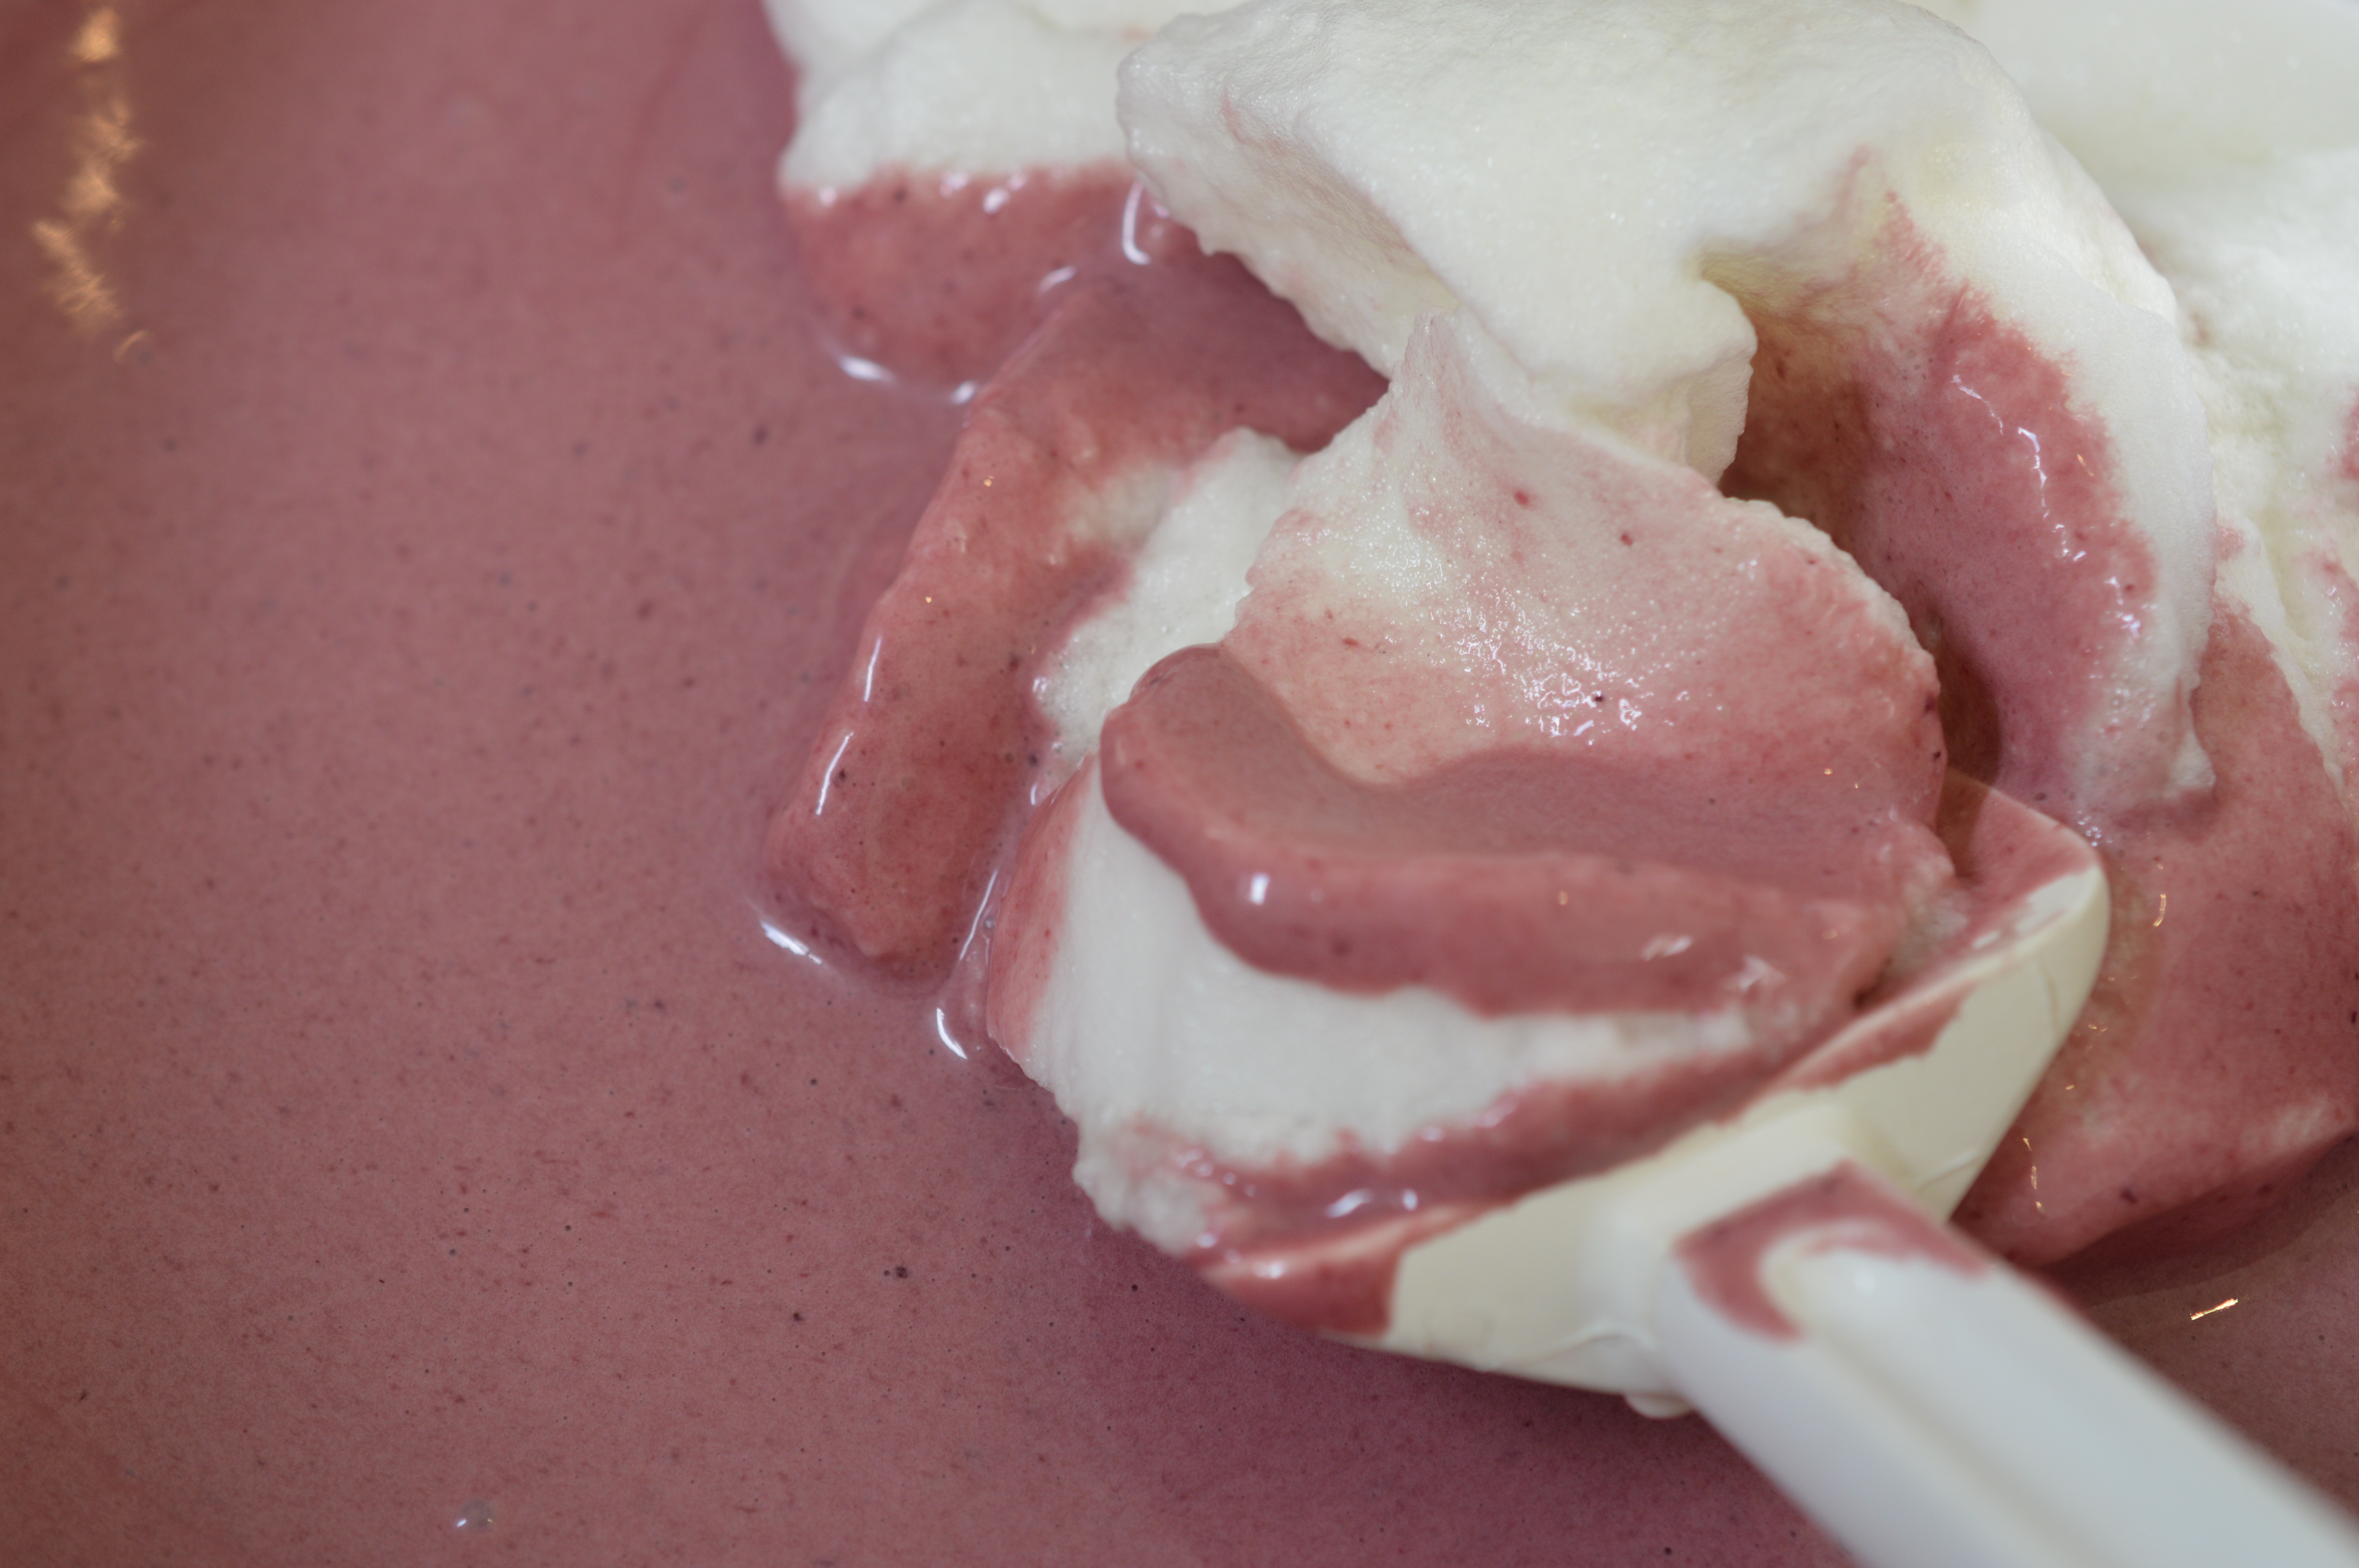
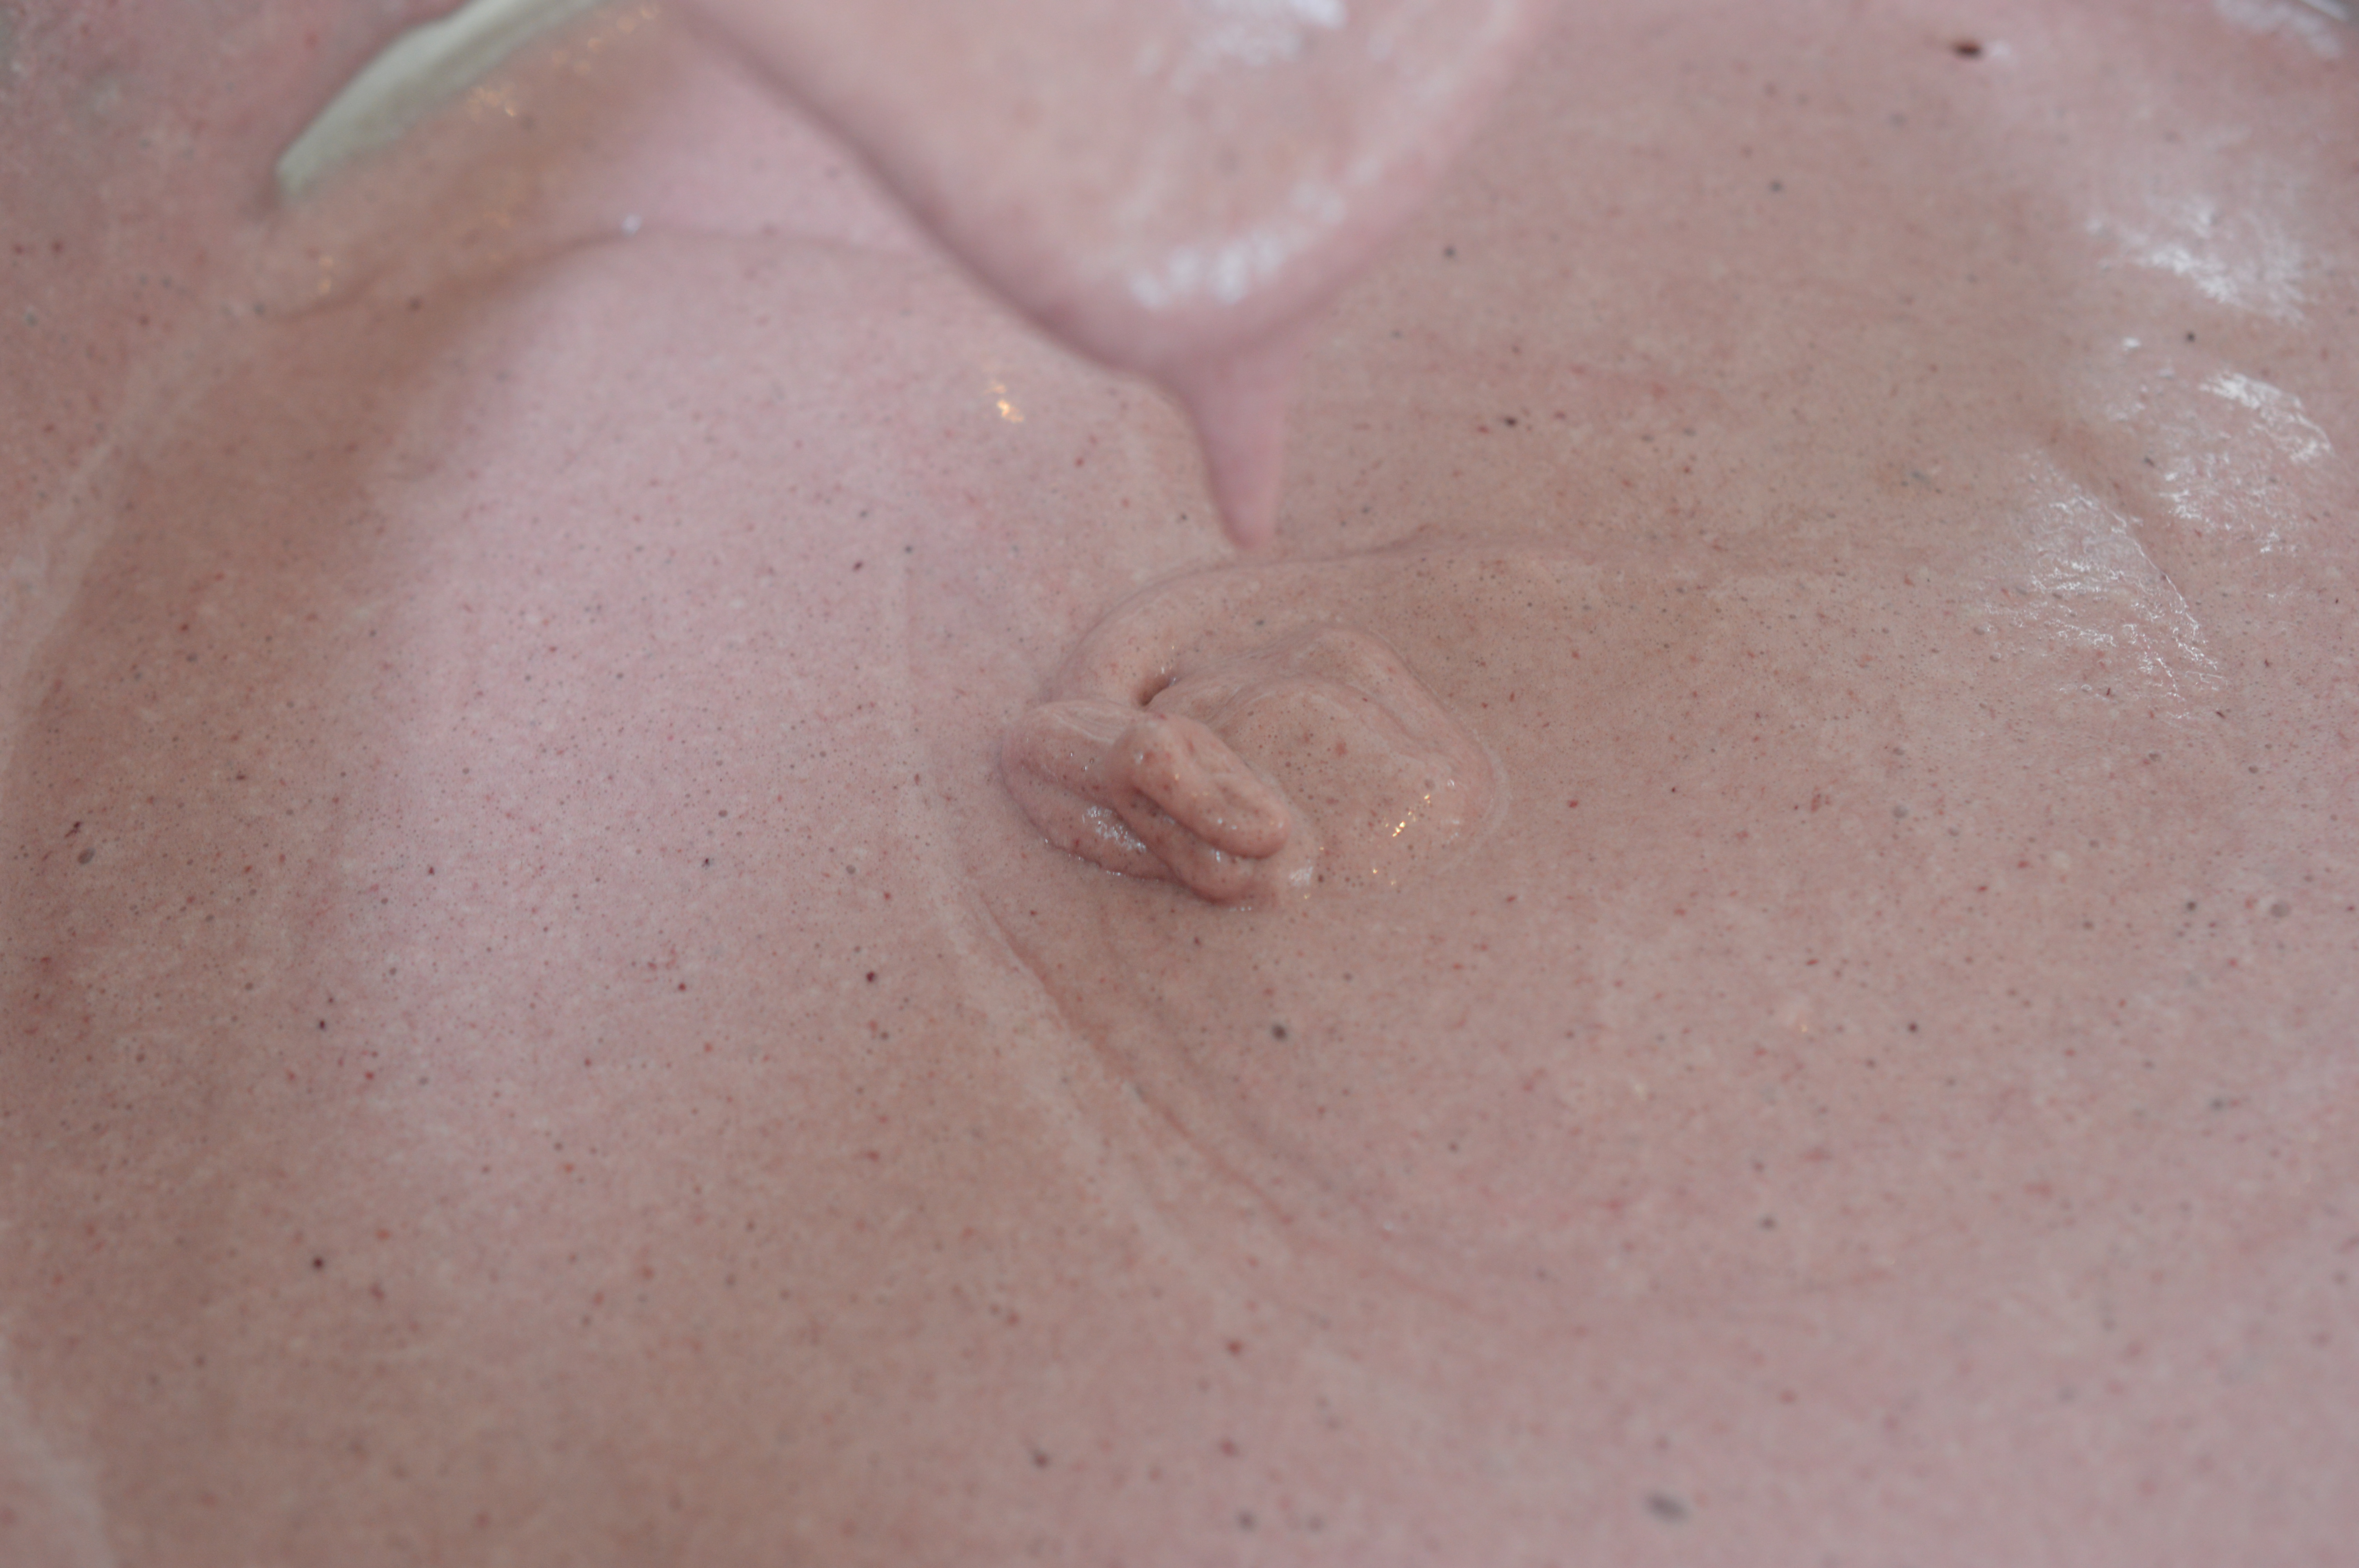
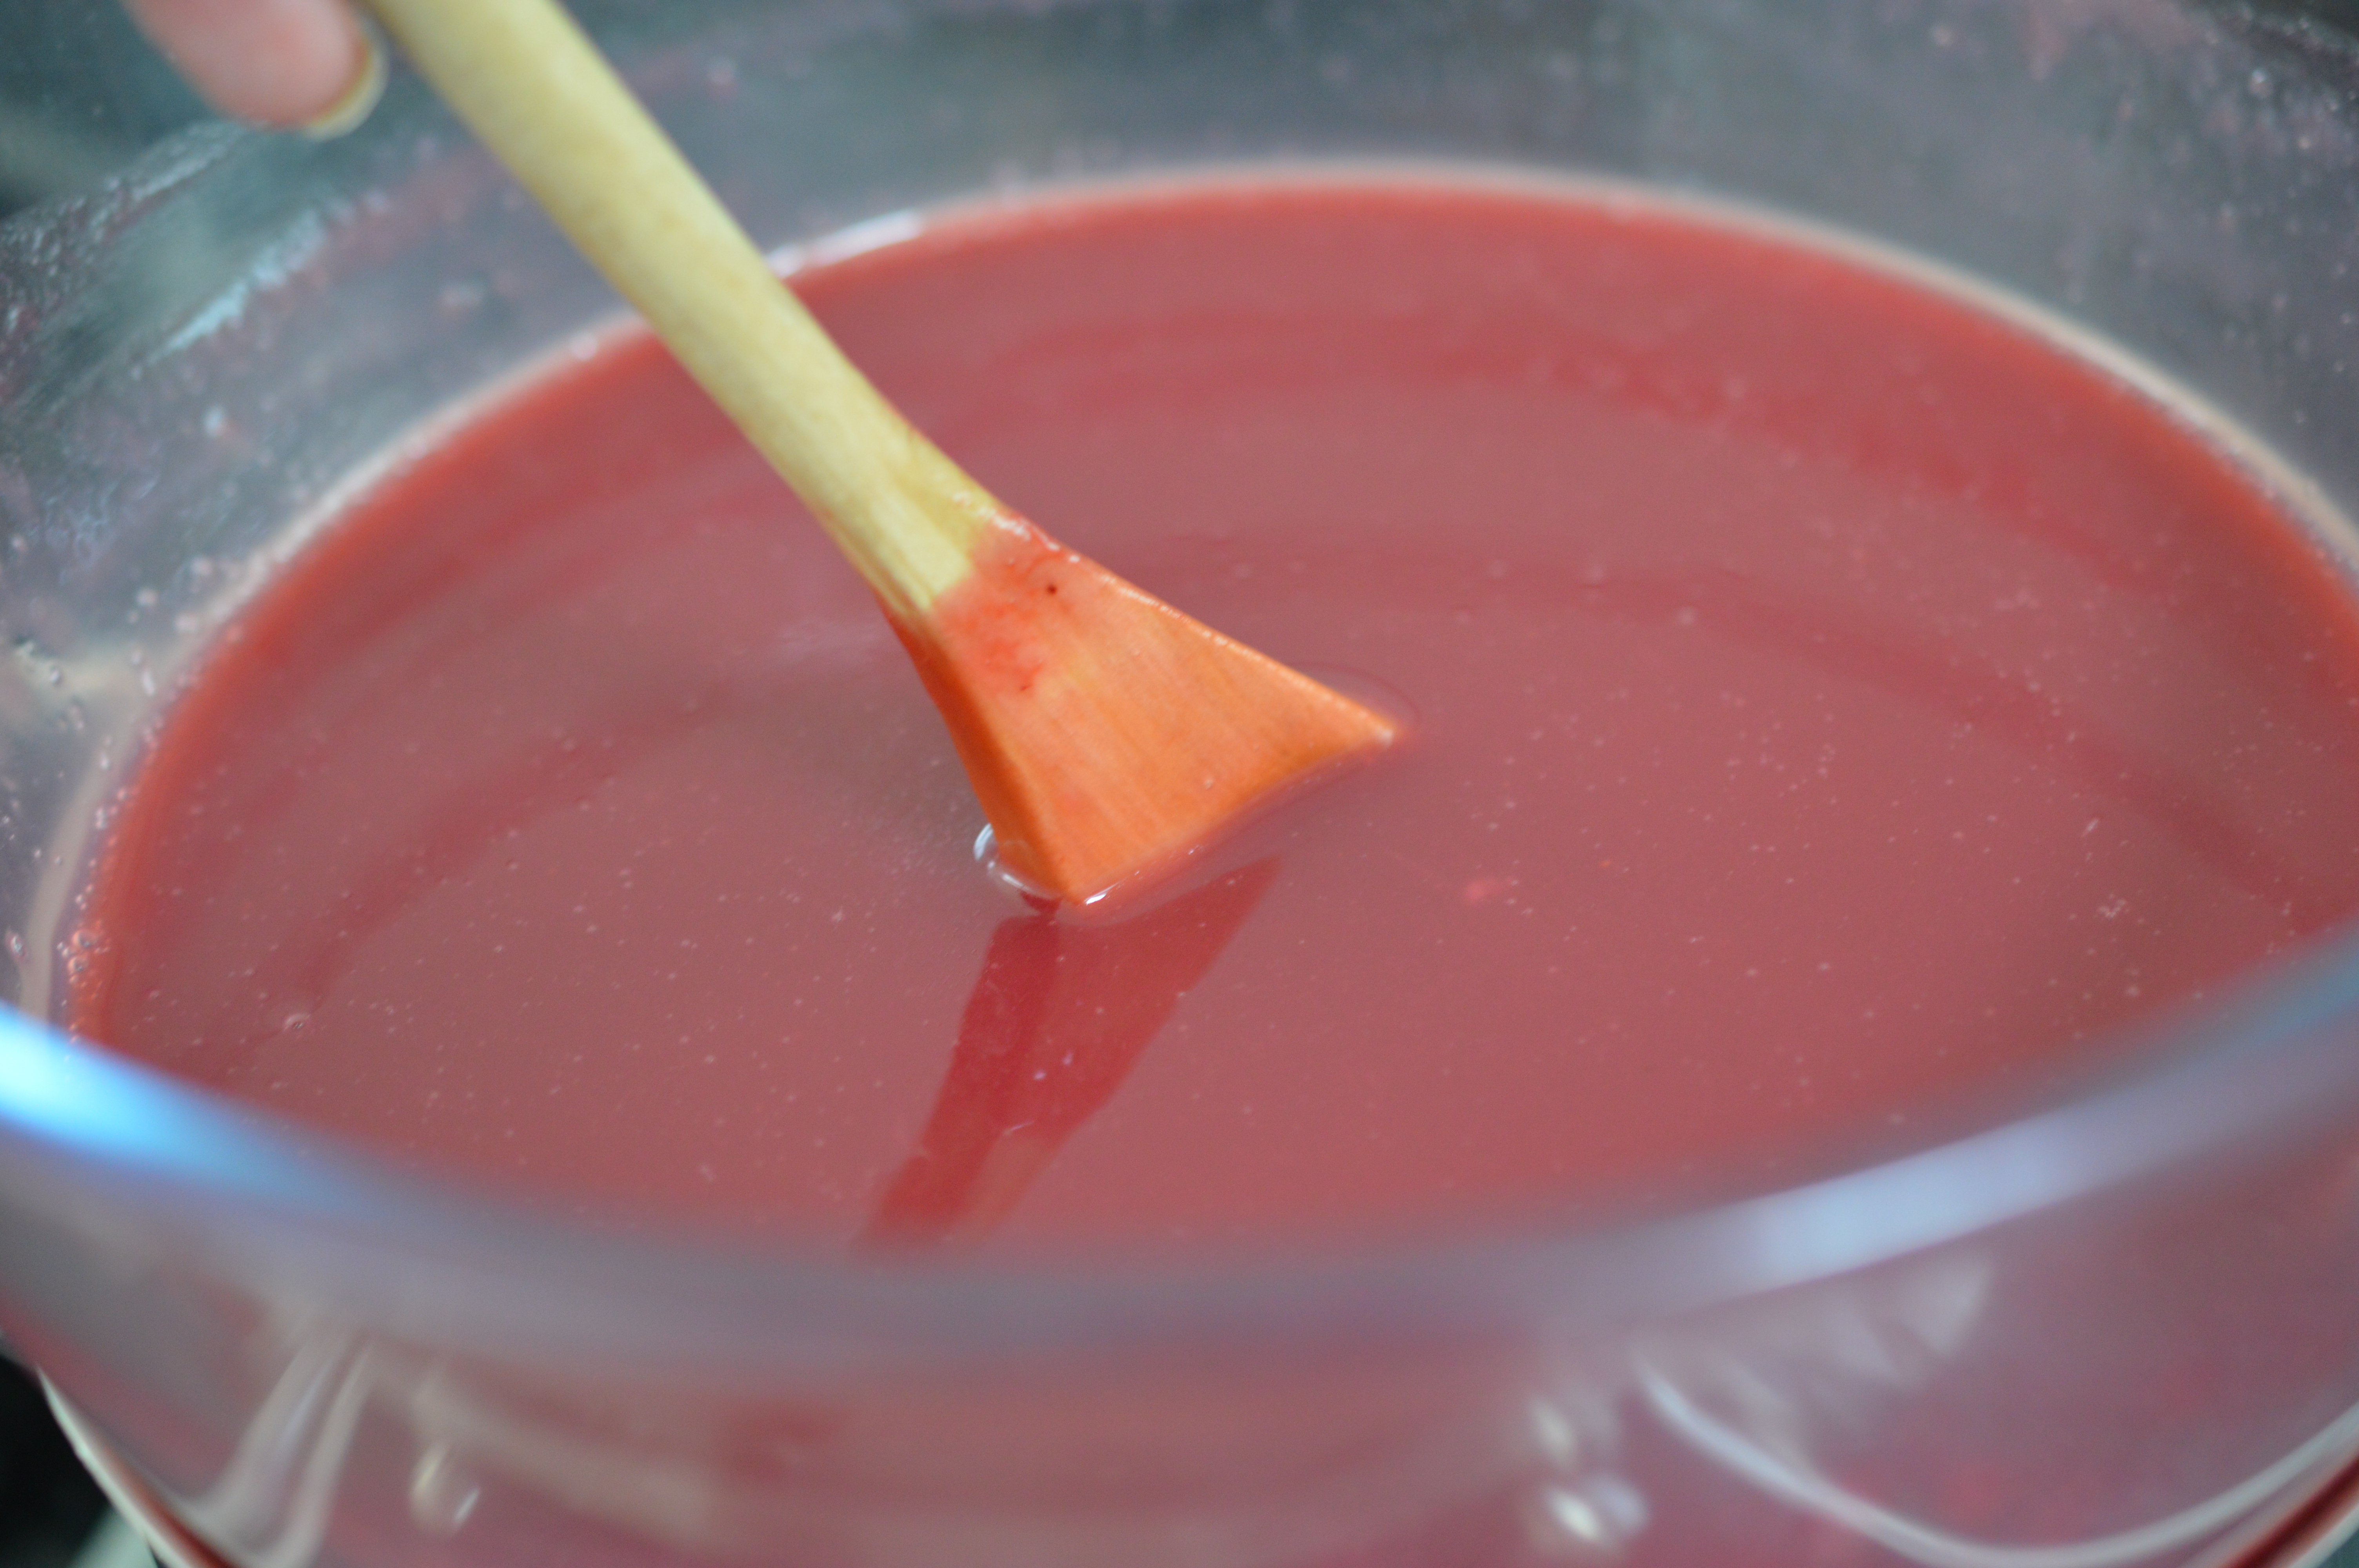
‘Gently fold’ in the sieved flour and cinnamon until there are no floury seams running through your cake mix.  Try and keep as much air in as possible.  Most recipes will tell you to use a large metal spoon, but I love my flexible white spatula.  You want to end up with a ‘dropping consistency’.  When you lift the mixture up and tap your spoon/spatula on the side of the bowl it should drop off.

Apply and blackberry sponge

Then pop that on top of the blackberry and apple mix.  You will probably need to waste some.

Steamed puddings are very traditional and most recipes were written for a 2 pint pudding basin.  If you have one, this will work perfectly.  (If anyone knows where you can get a 1.2 litre basin, do let me know!)  I have to use a 1 litre one, as the UK is ‘almost’ metric and that’s all I can buy.  If you’re doing the same, you do need to leave a ‘rising’ margin at the top of the basin.  There’s enough mixture to fill to the brim – don’t do it.

DSC_0245

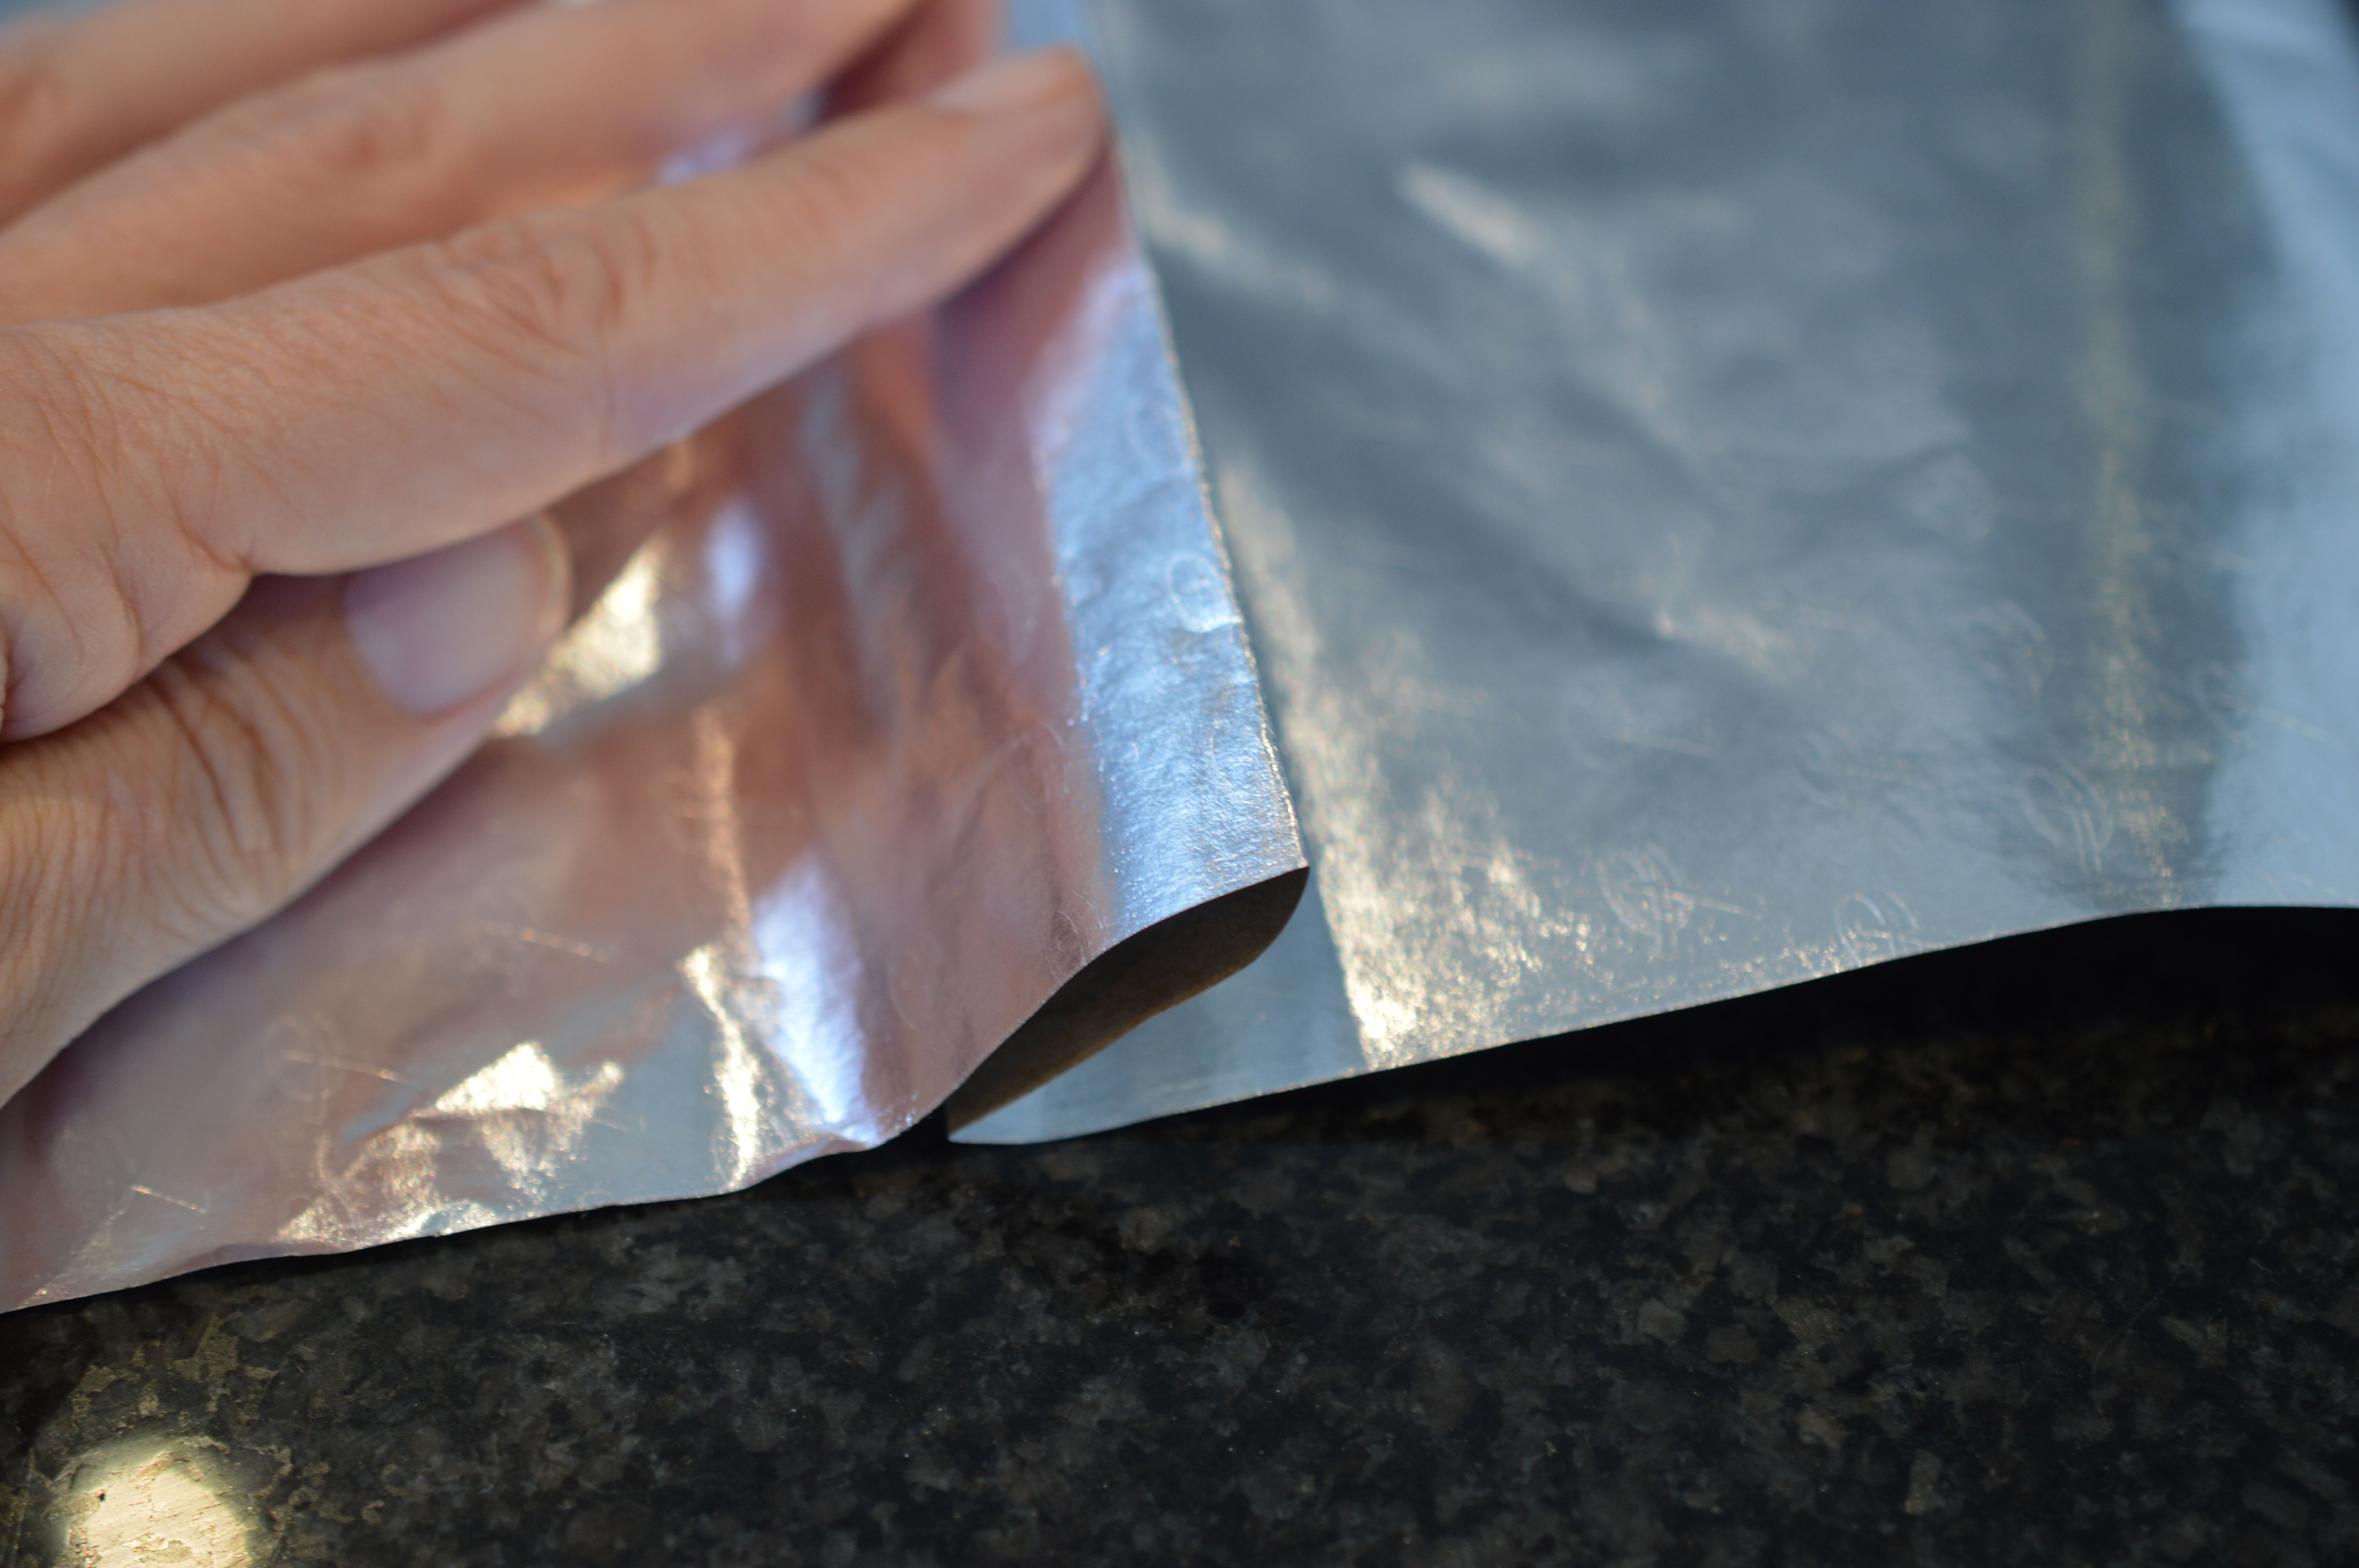
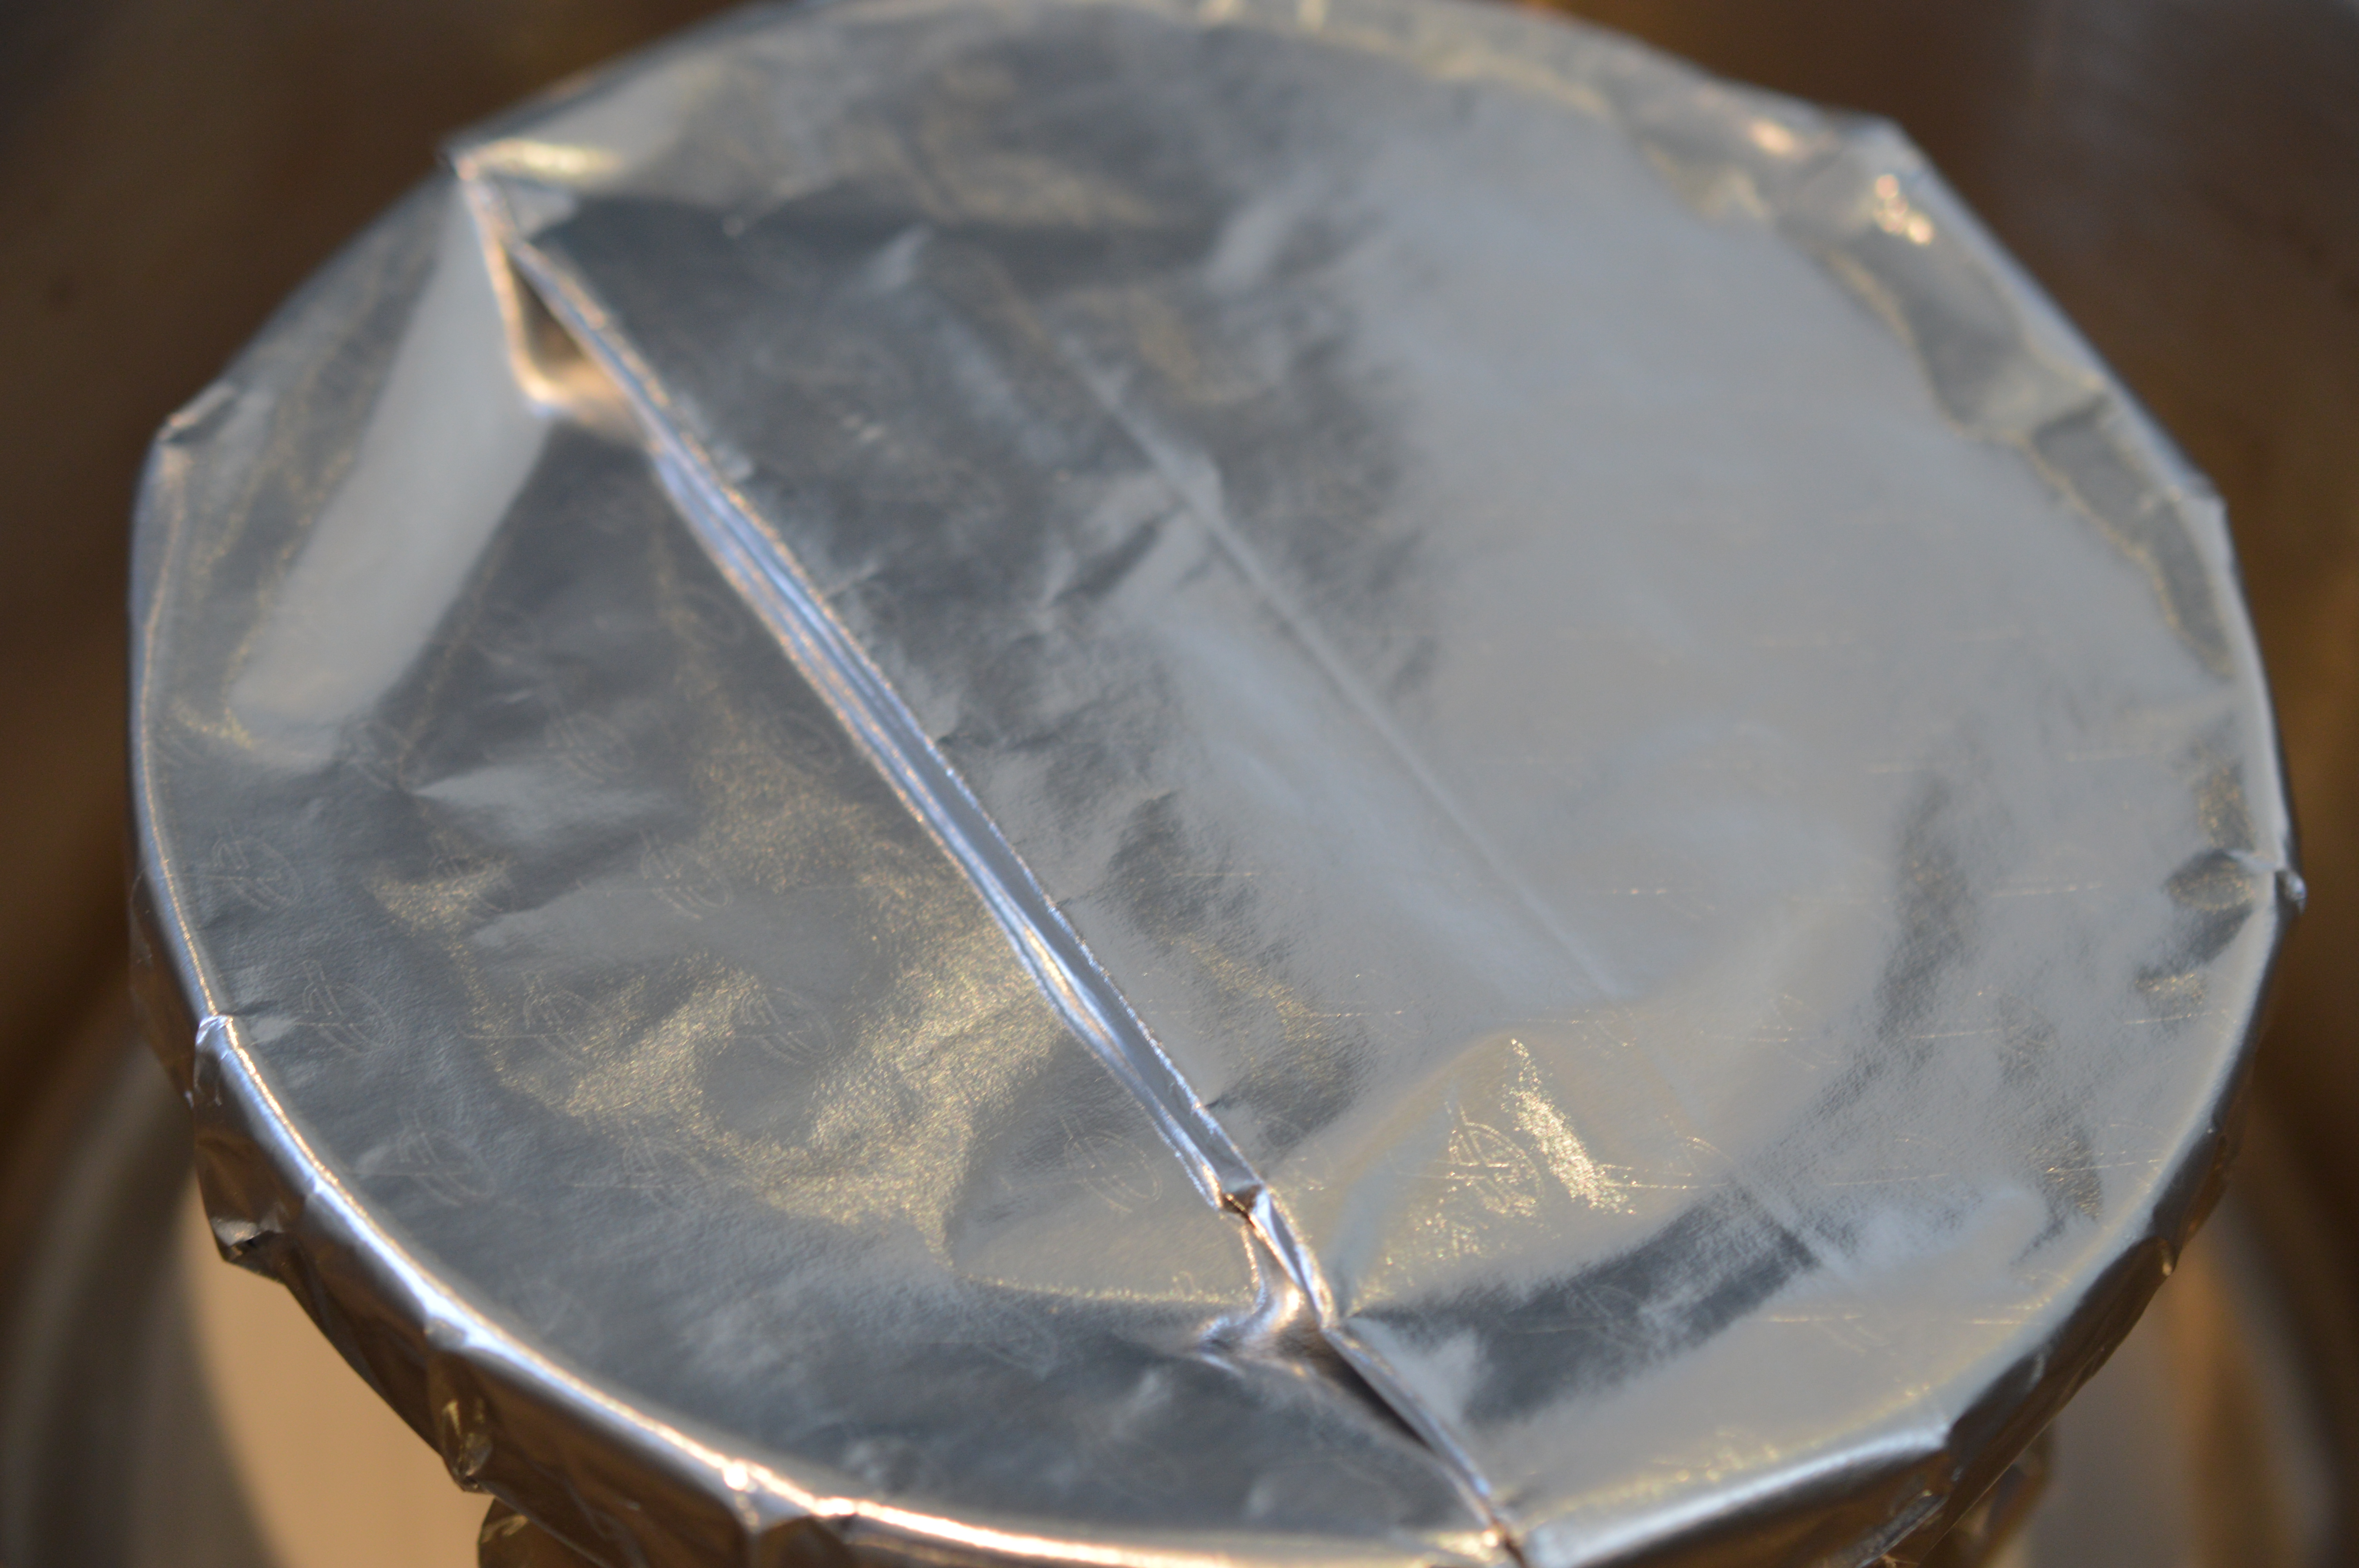
This is the only tricky bit, made easier by  the new-ish parchment lined foil.  Either take a square of that – or a square of baking parchment and another of foil placed on top of each other.  Make a pleat across the centre to give space for the pudding to rise.  Butter the baking parchment and place it butter-side down on the pudding.

DSC_0248

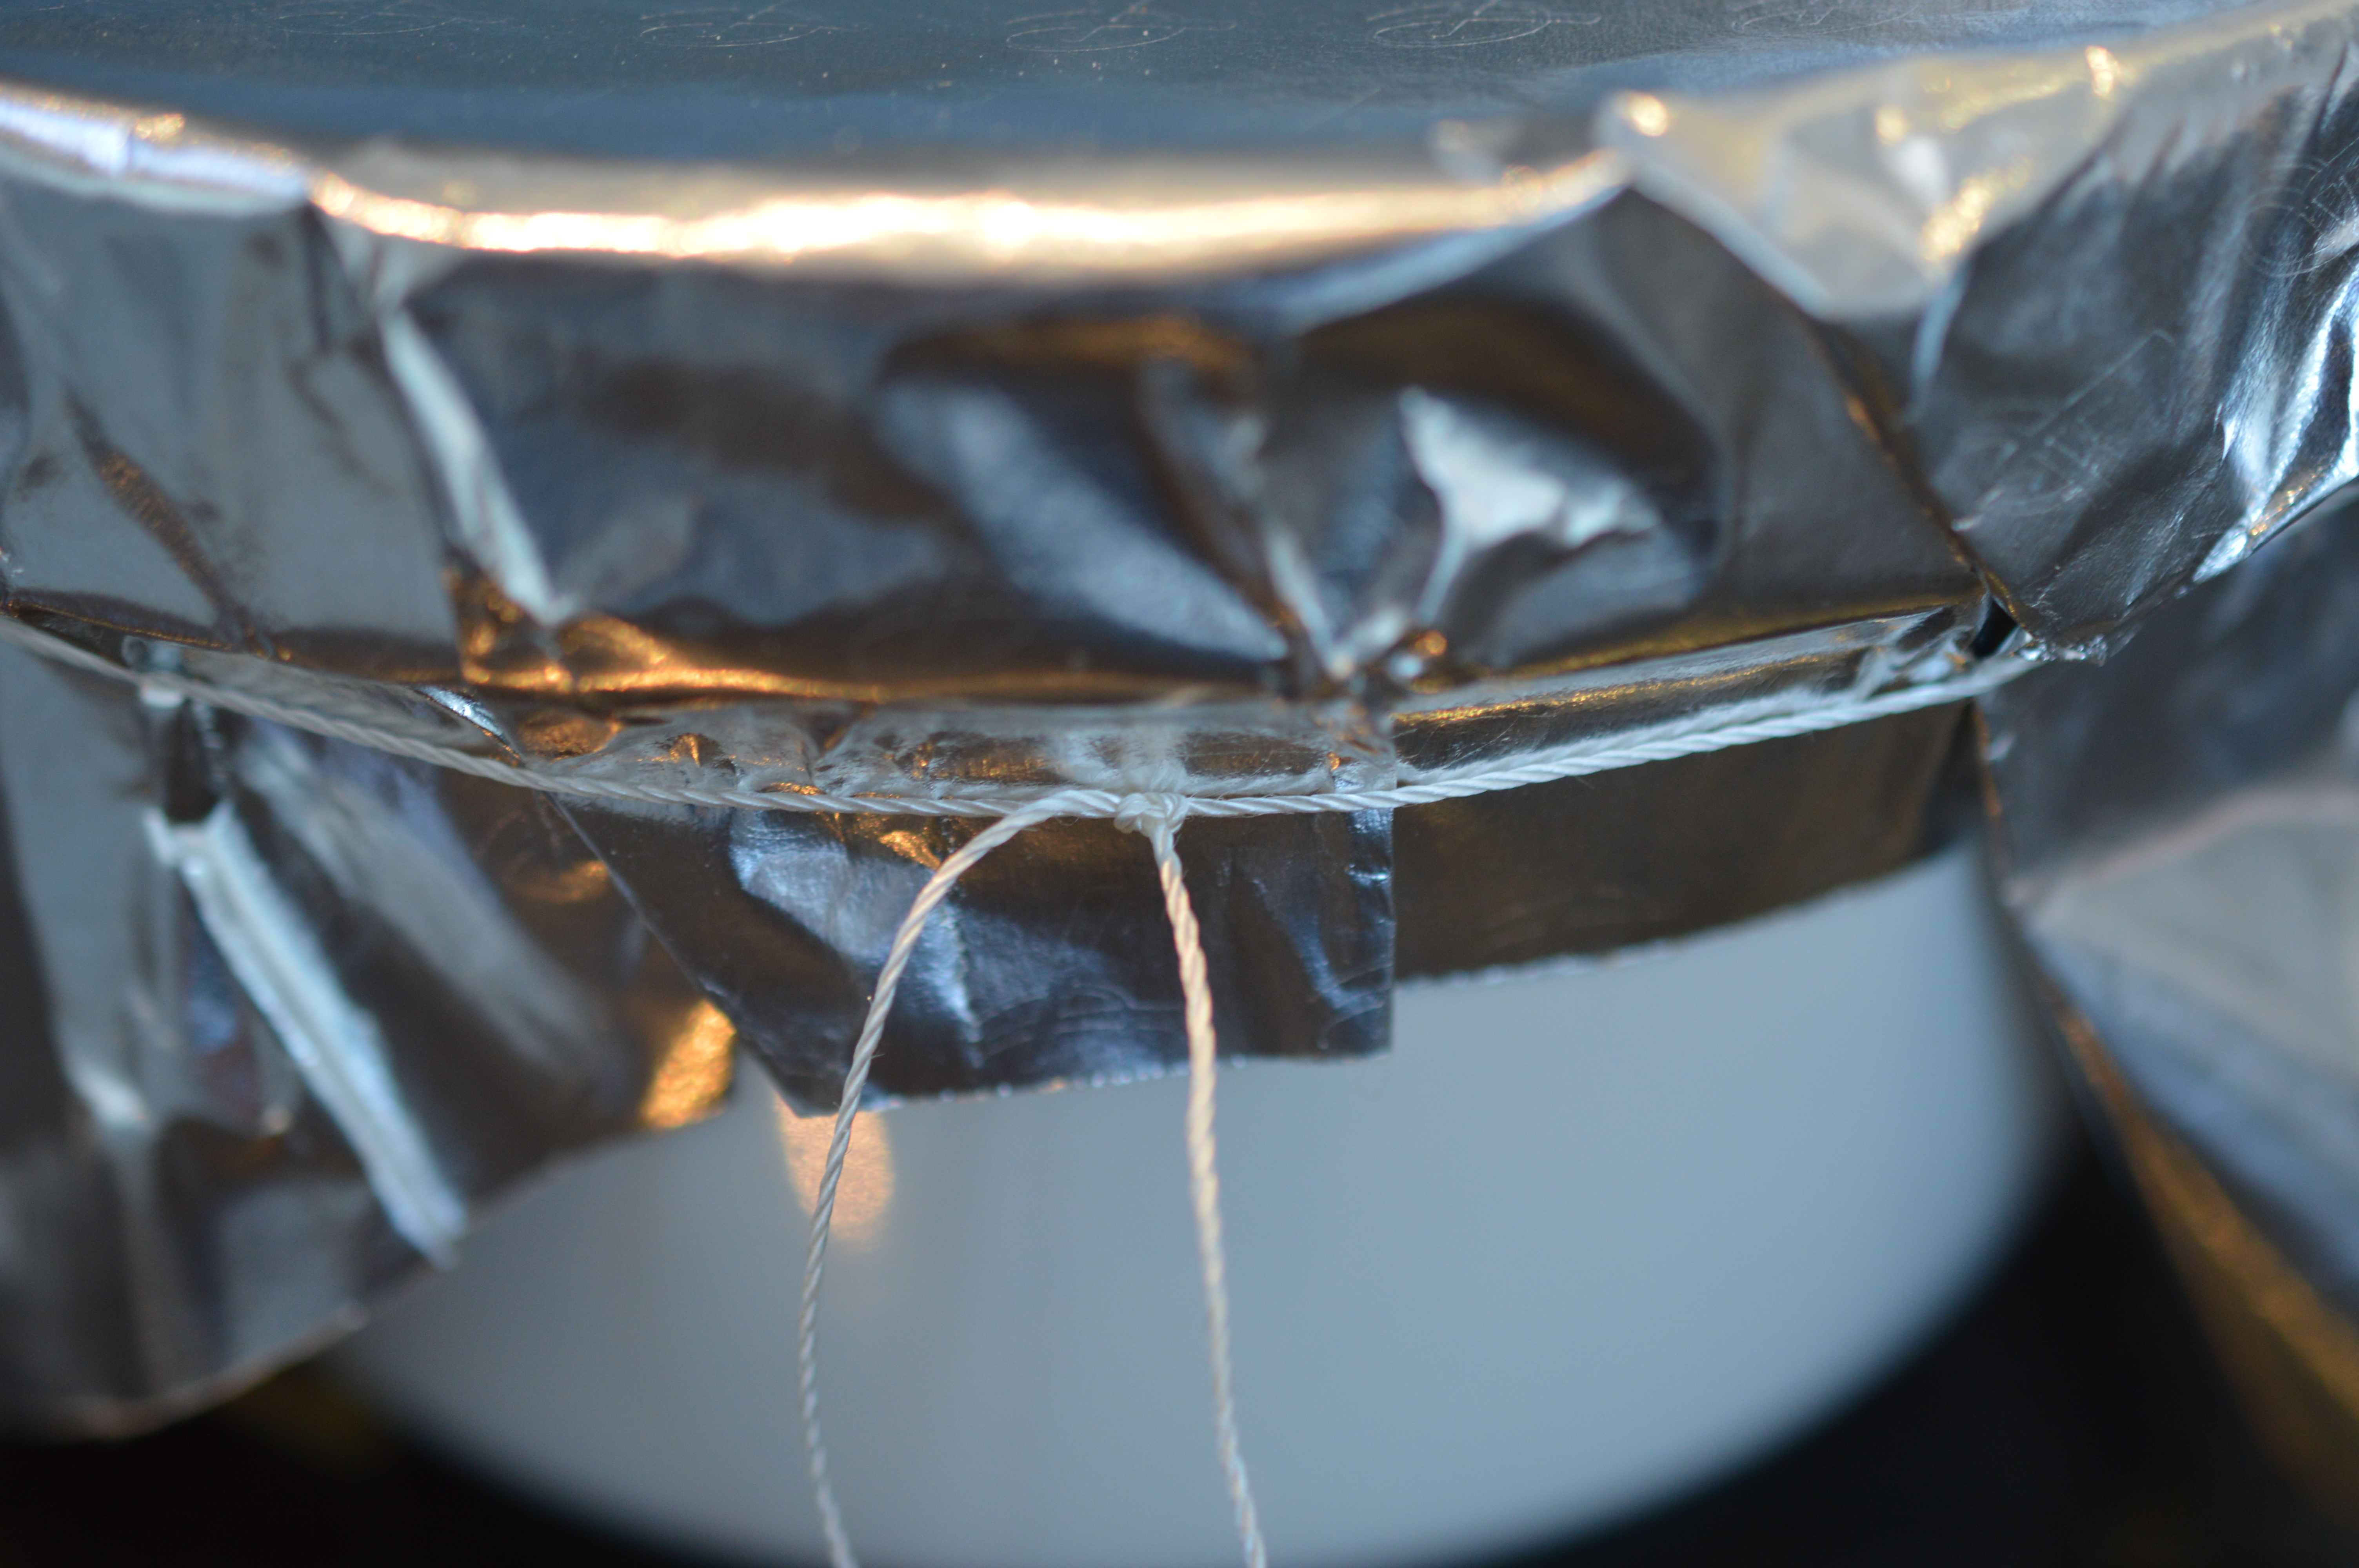
Now it’s the knotting ‘thing’.  It helps if there’s someone around with a spare finger.  This needs to be secure.  Trim off the excess – you don’t want any of the paper to be sitting in the water when you steam the pudding as this will encourage water up and into your pudding.  A ‘soggy pudding’ is as much a sin as a ‘soggy bottom’ .. (You might need to have watched The Great British Bake-Off for that.)  Water – and, in fact, steam, getting into your pudding will spoil it.

Blackberry and apple - saucer

If you have a steamer large enough to hold your pudding, use that.  Otherwise, it’s a saucepan and an upturned saucer placed in the bottom will stop your pudding sitting on the base of the pan.  Scrunched up foil does the same job.

Blackberry and apple pudding - pleat

Place the pudding into the saucepan – and fill up with water (I use boiling water from a kettle) until it reaches a little over half-way up the side of the basin.  Put it on the heat and once the water is boiling, reduce the heat and gently simmer the pudding – lid on – for 1½ hours.  Keep an eye on the water levels.  You may need to top up.

Aga cooks – you won’t have to top up the water, but you will need to steam longer.  What I do is, bring the water to a boil again on the Boiling Plate, transfer to the Simmering Plate for 5 minutes and then move it into the Simmering Oven, lid on, for 3 hours.  It’s perfect, every time.

Blackberry and apple - done

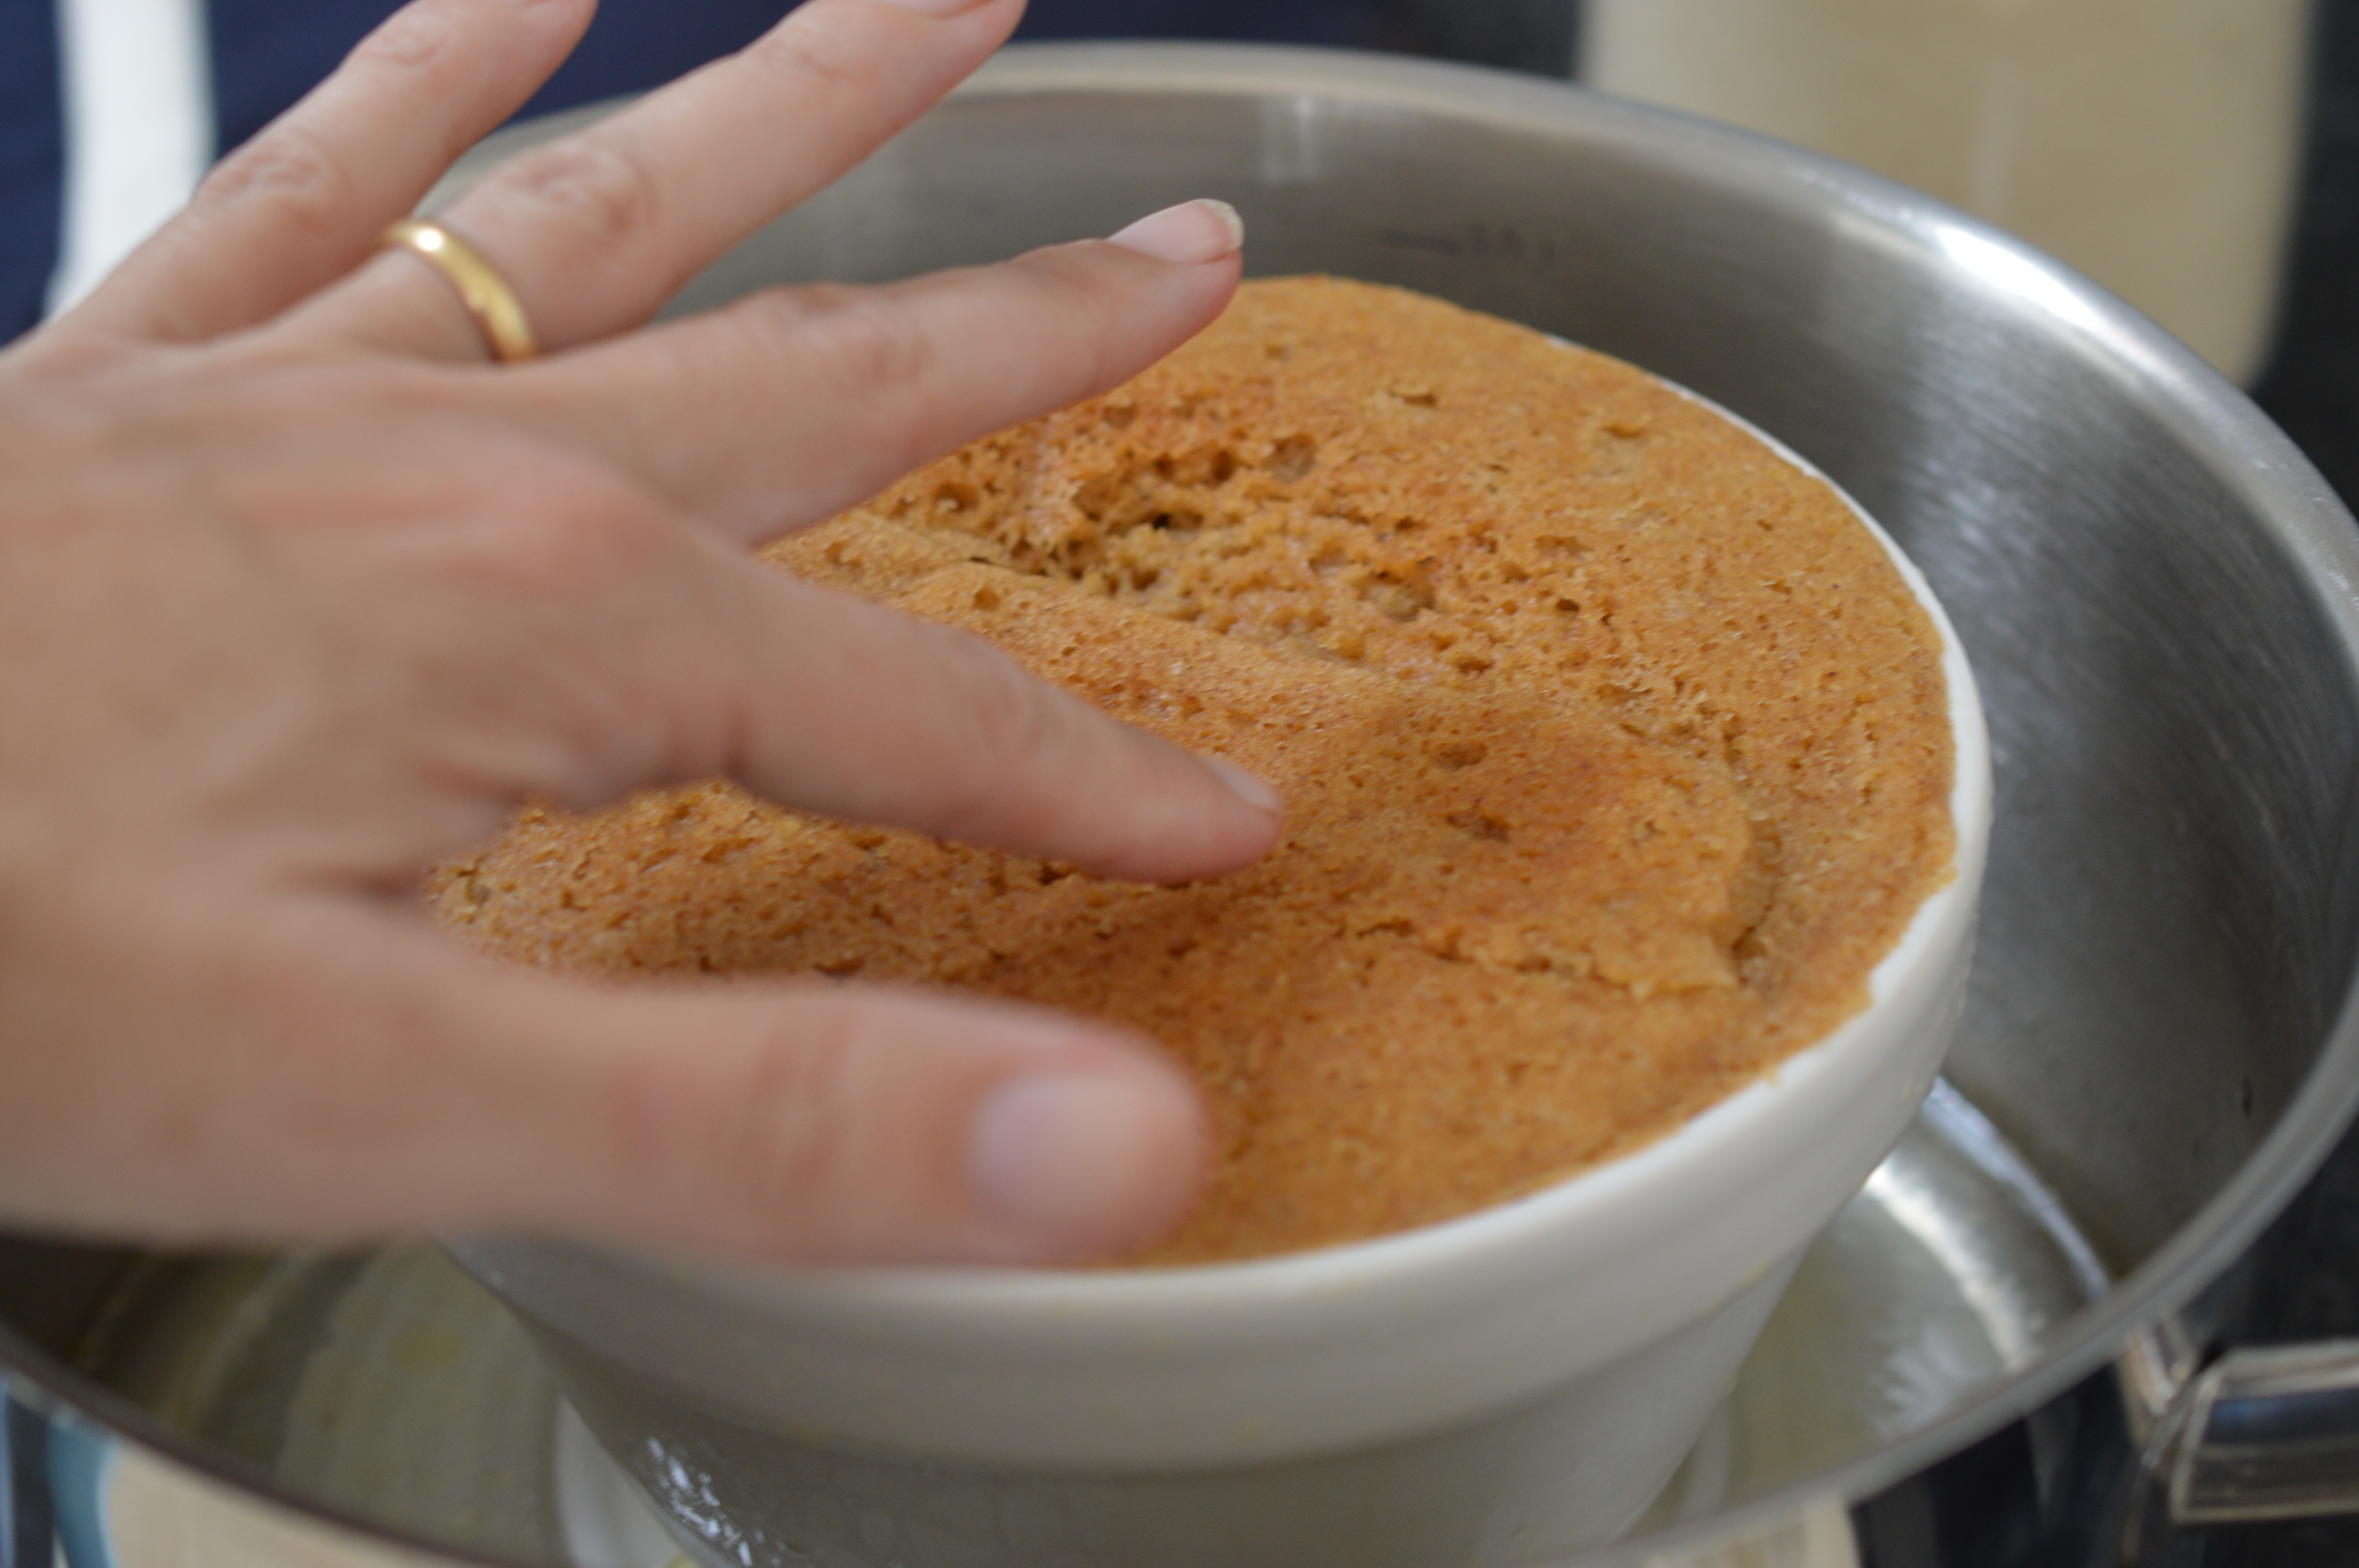
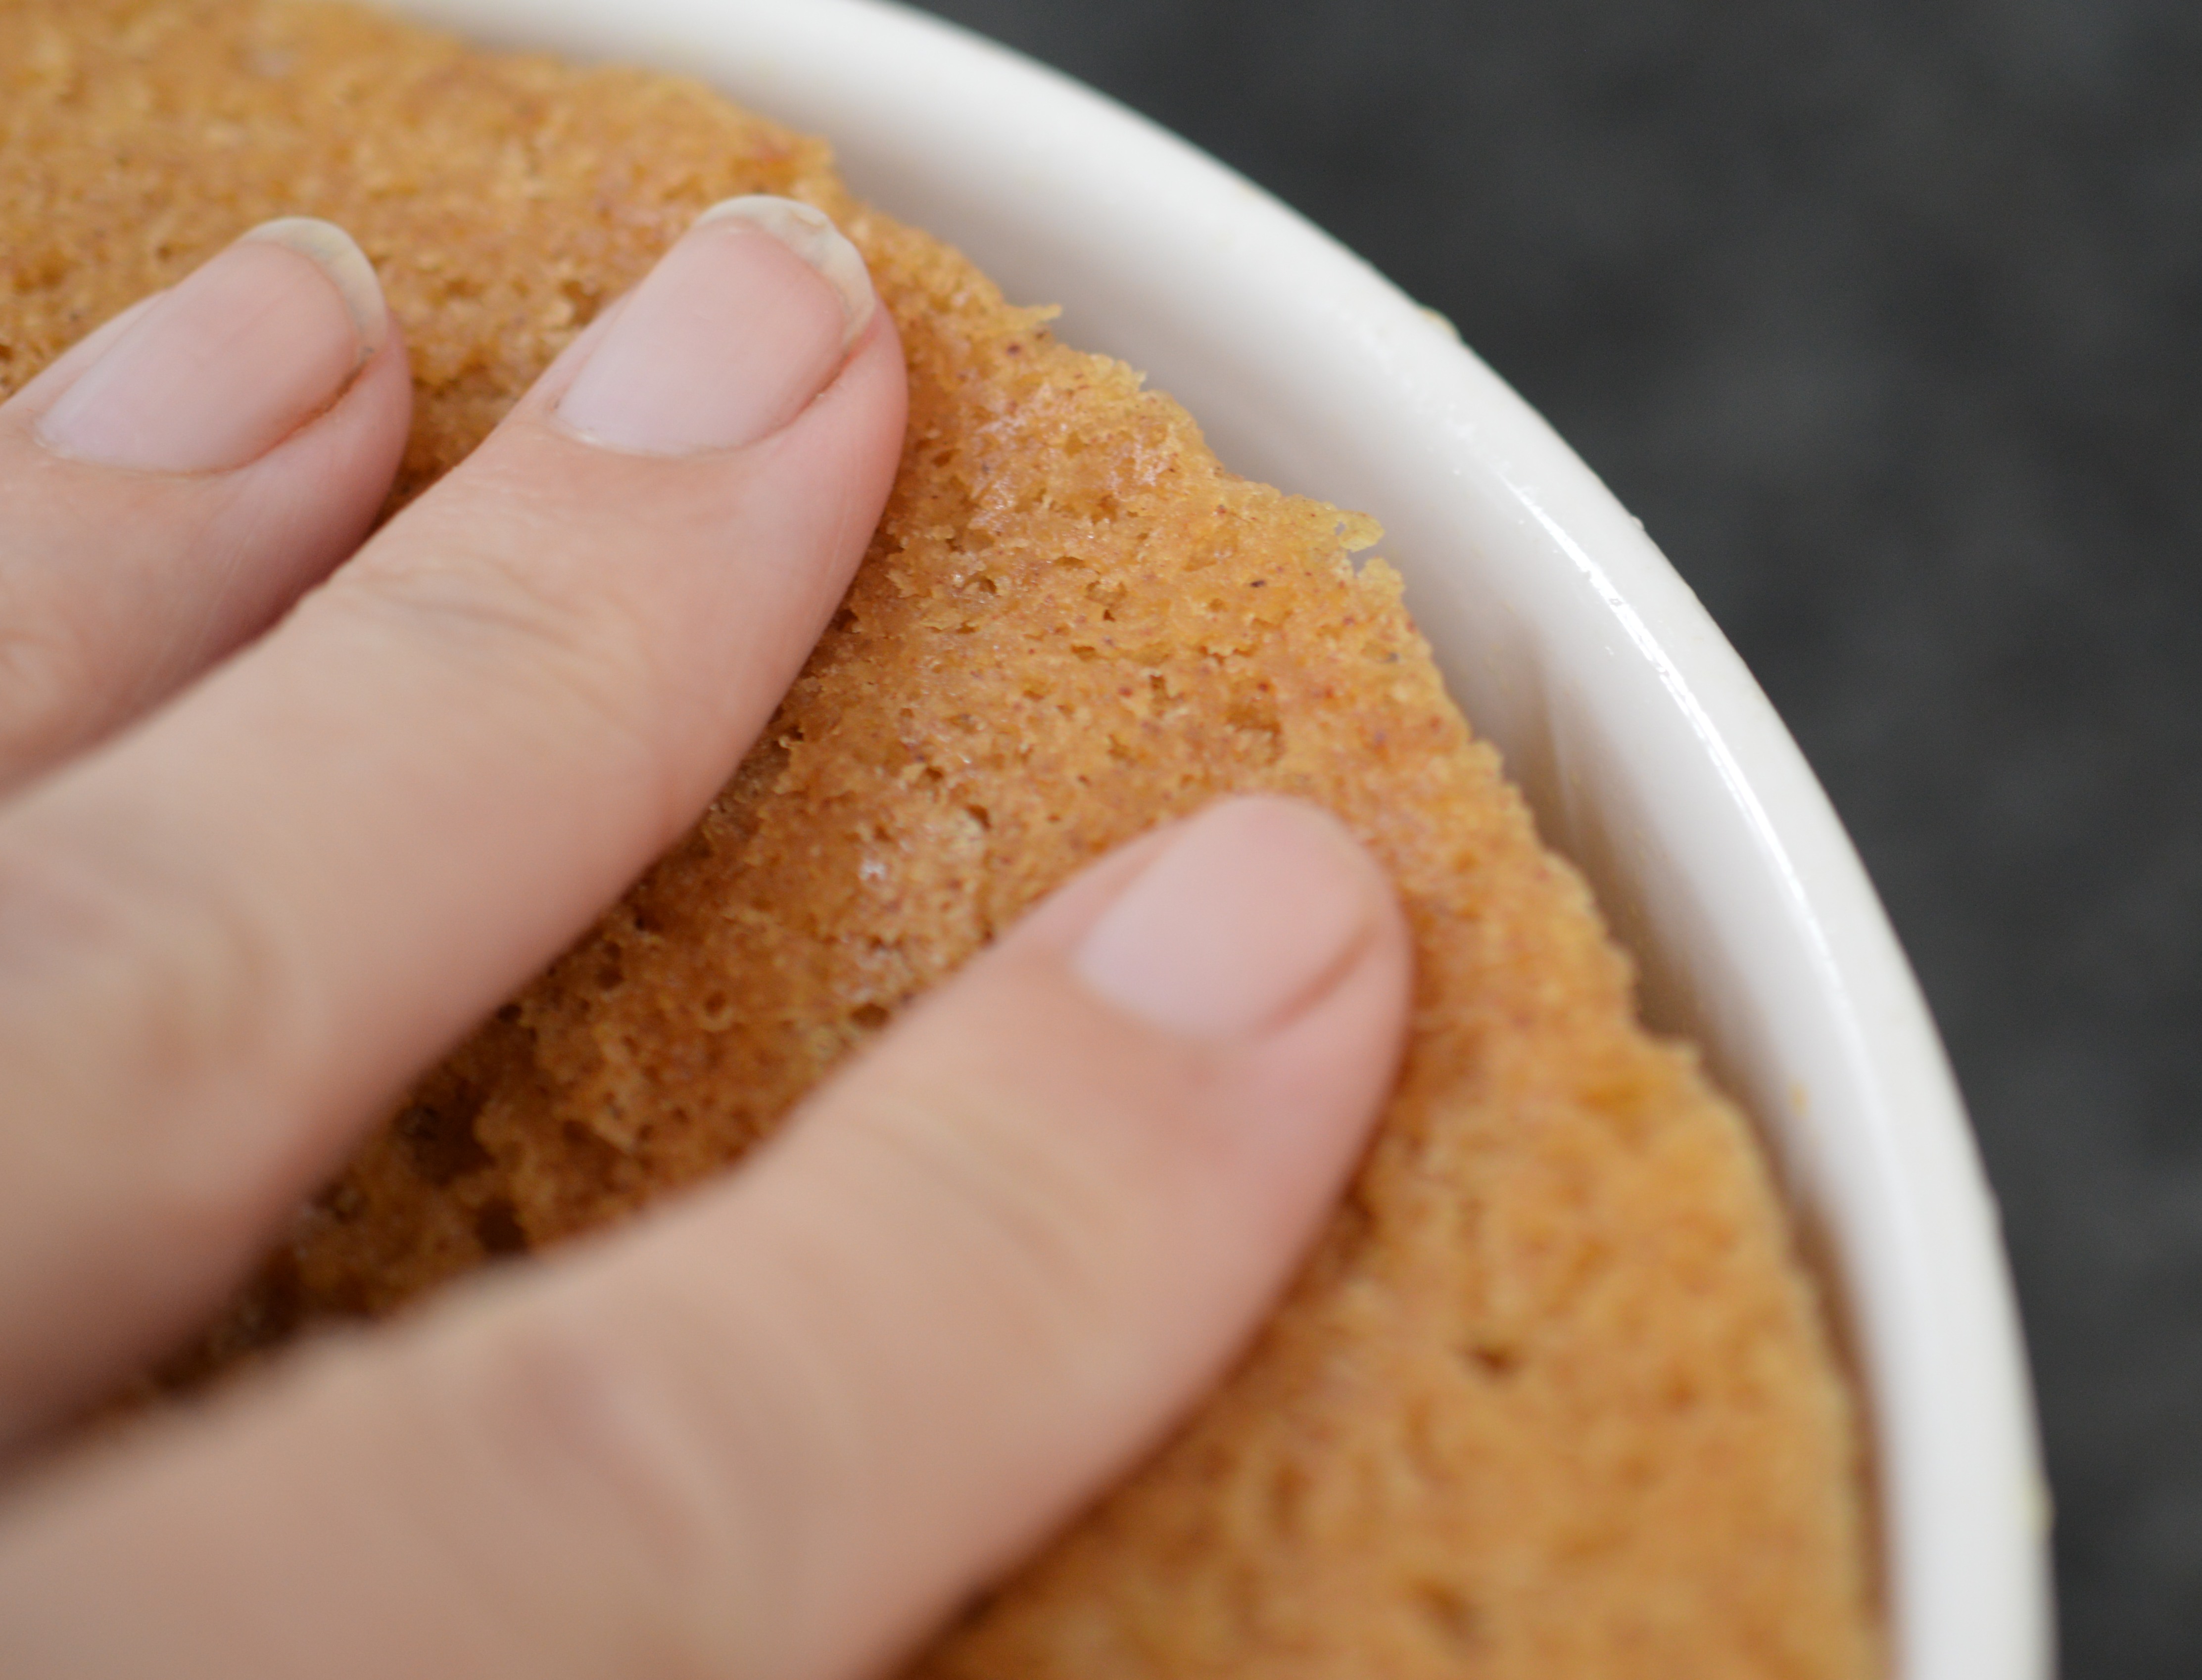
At the end of the ‘steaming’ you need to unwrap and check all is well.  If your pudding doesn’t feel ‘springy’, re-tie (you may swear if you feel it will help and there are no small children in the vicinity) and continue steaming for another fifteen minutes before checking again.

Blackberry and apple - sides

This pudding doesn’t need to cool.  In fact, it shouldn’t.  Run a knife around the edge and just check there are no sticking points.  Place the plate you want to serve the pudding on, preferably with a slight lip, on top of the basin.  Deep breath.  With one oven-gloved hand on the hot bowl and the other on the plate, confidently turn it over.

Blackberry and apple pudding - fork

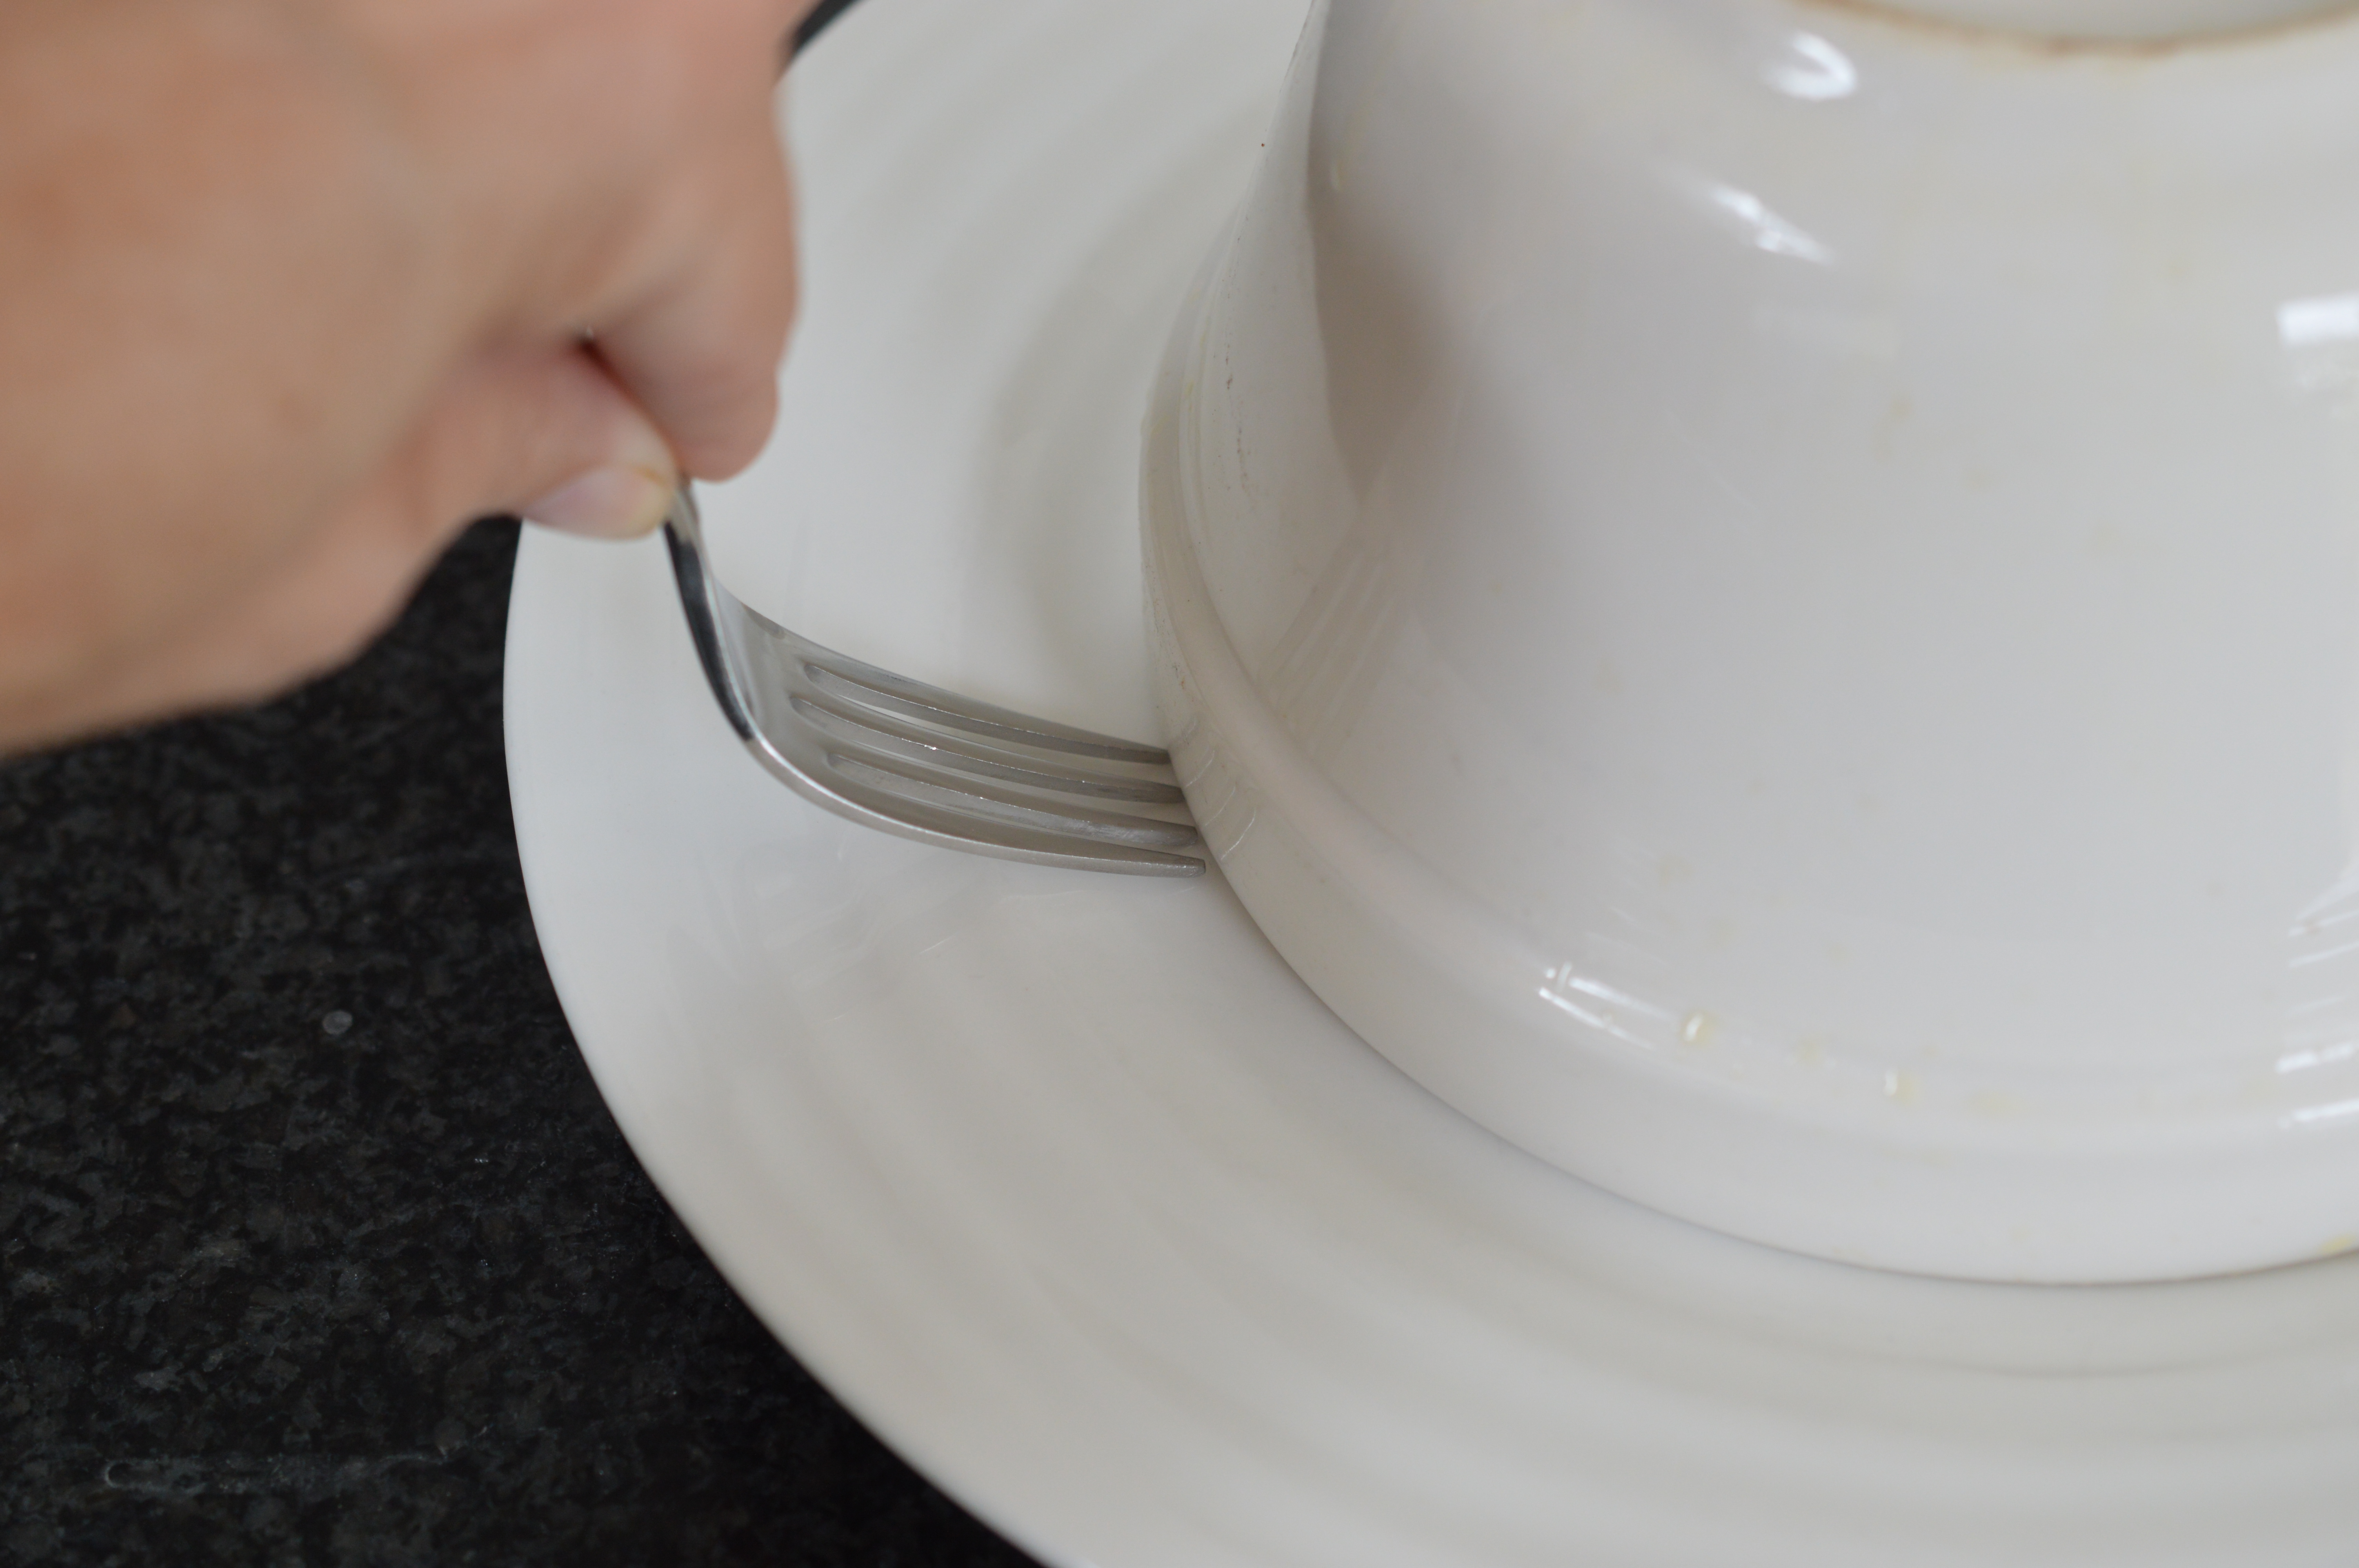
The basin is hot.  A fork will give you a little leverage.  Lift the basin off.

Blackberry and Apple pudding - whole

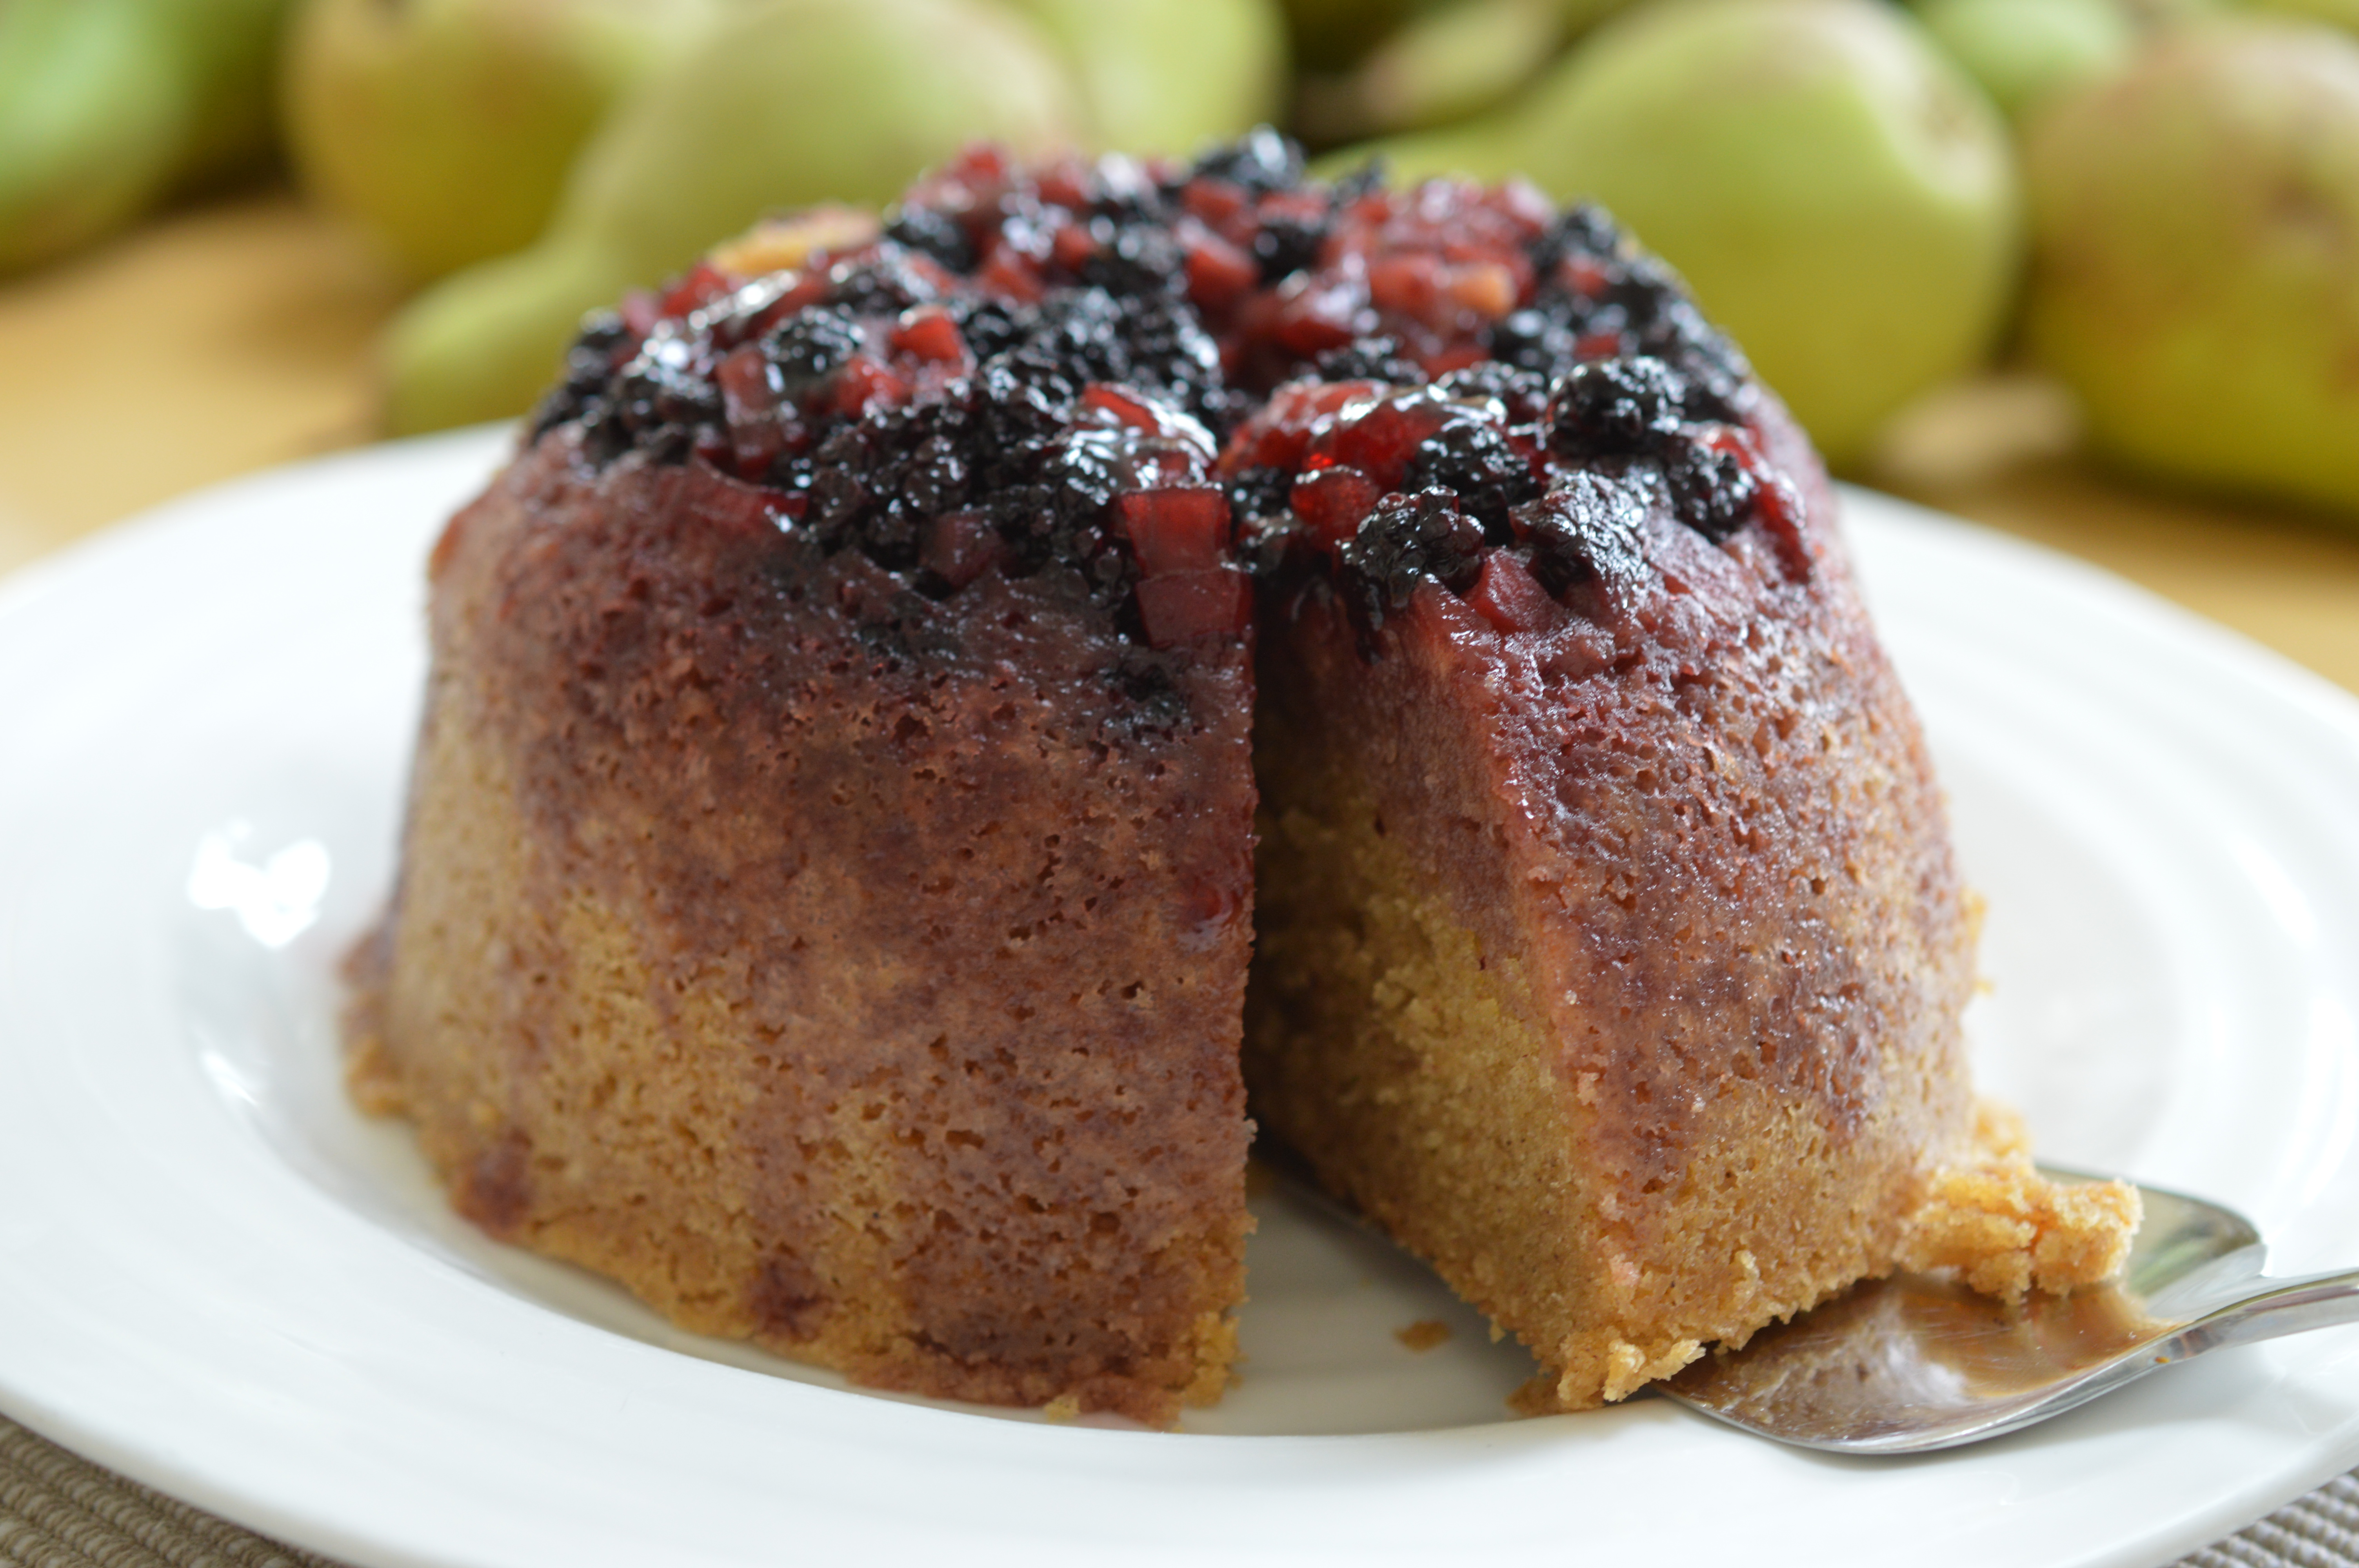
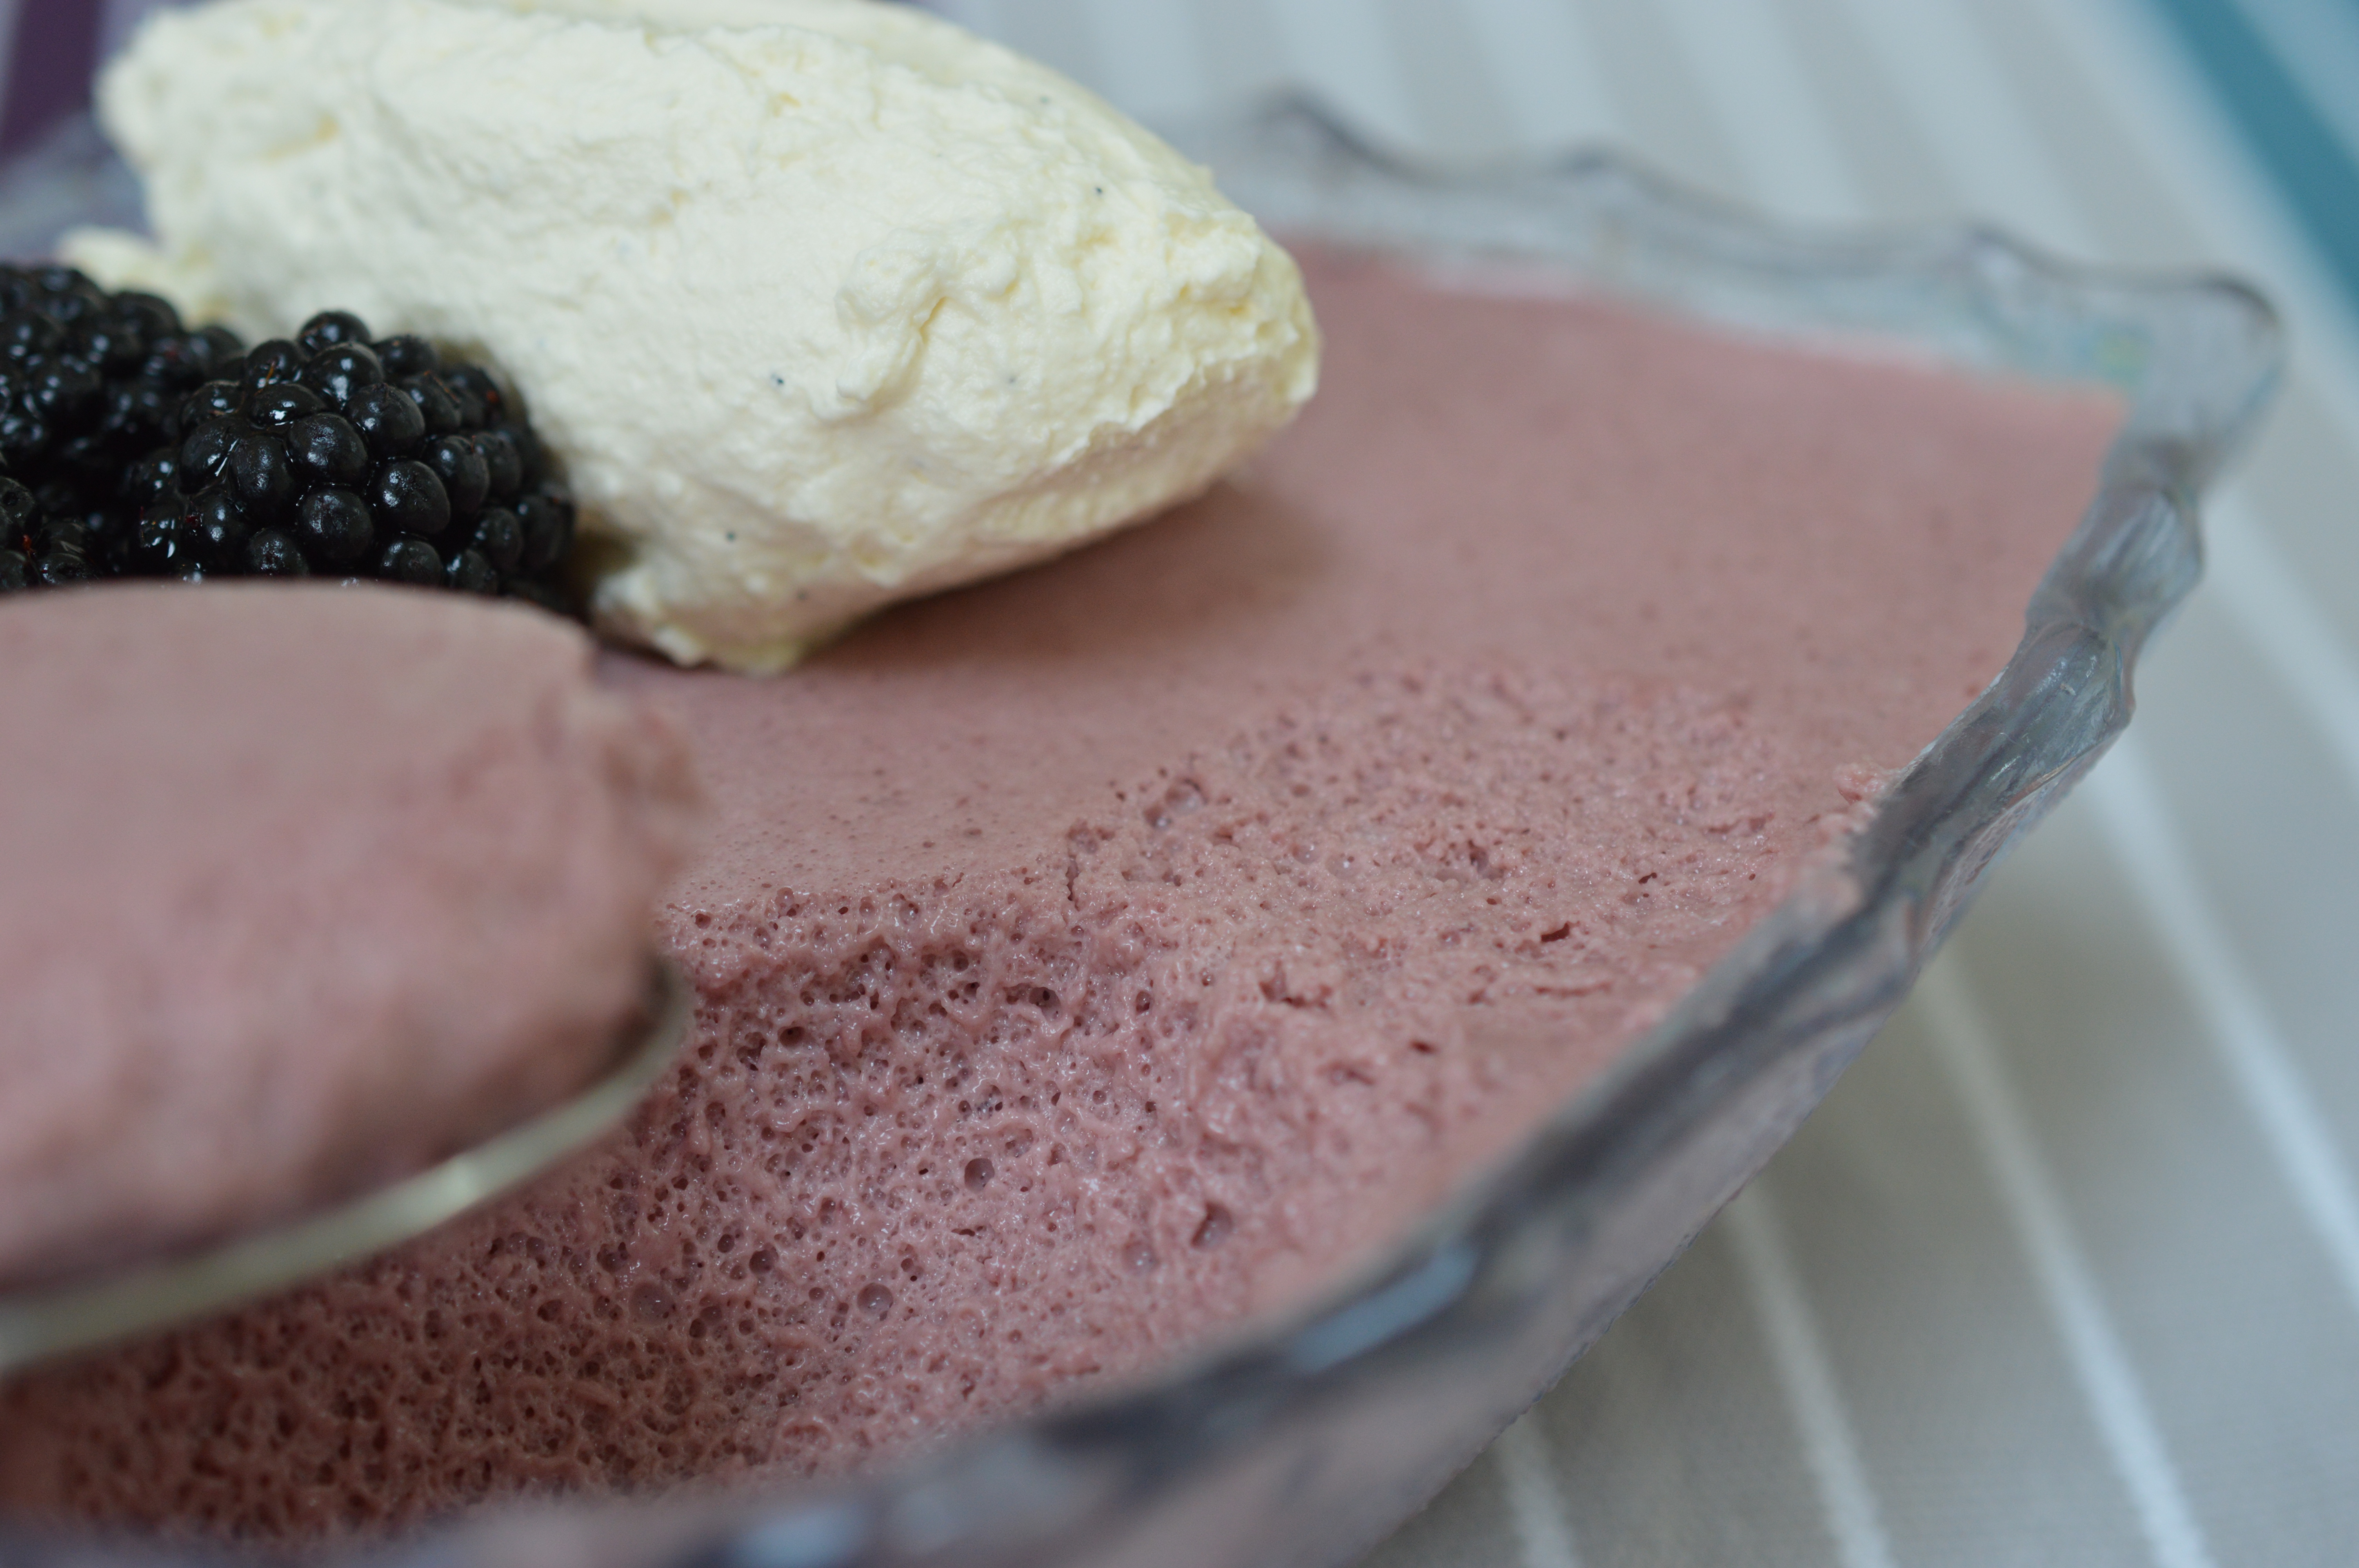
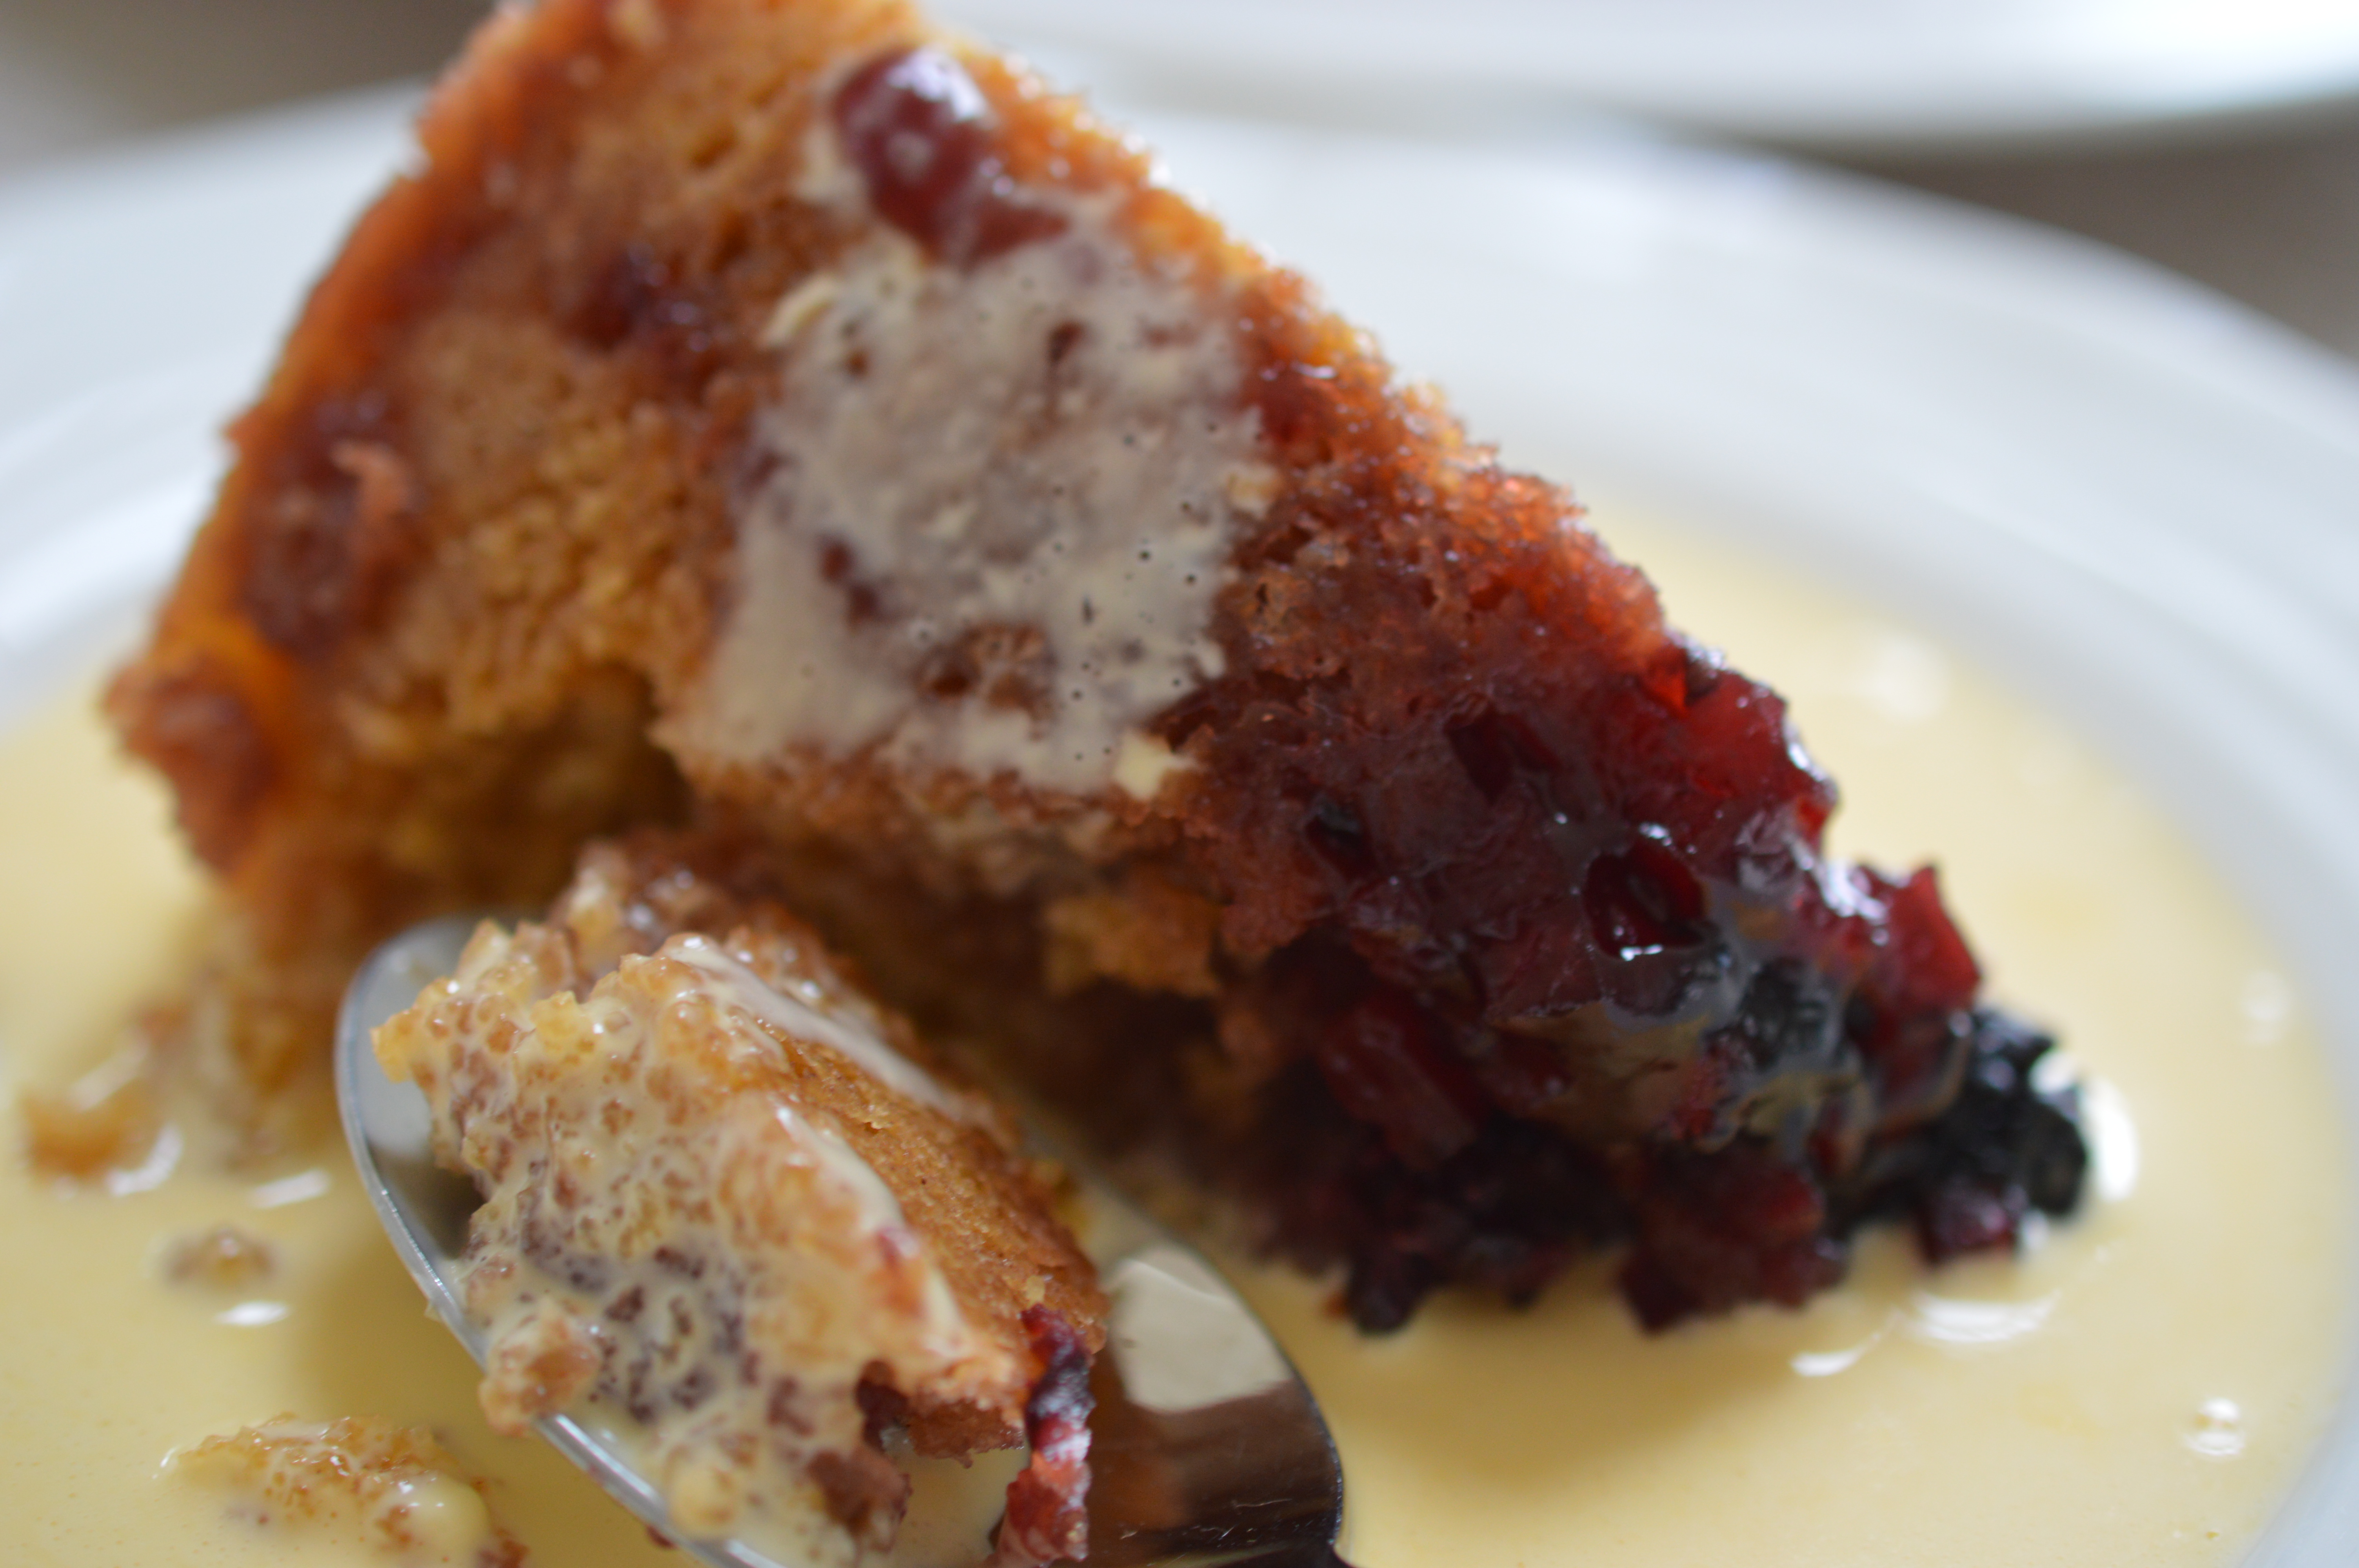
One Blackberry and Apple Steamed Pudding.  I don’t know what it is about a ‘steamed pudding’ but they do seem to have more ‘pulling’ power than the most impressive cleavage.  Men melt.

Blackberry and apple custard

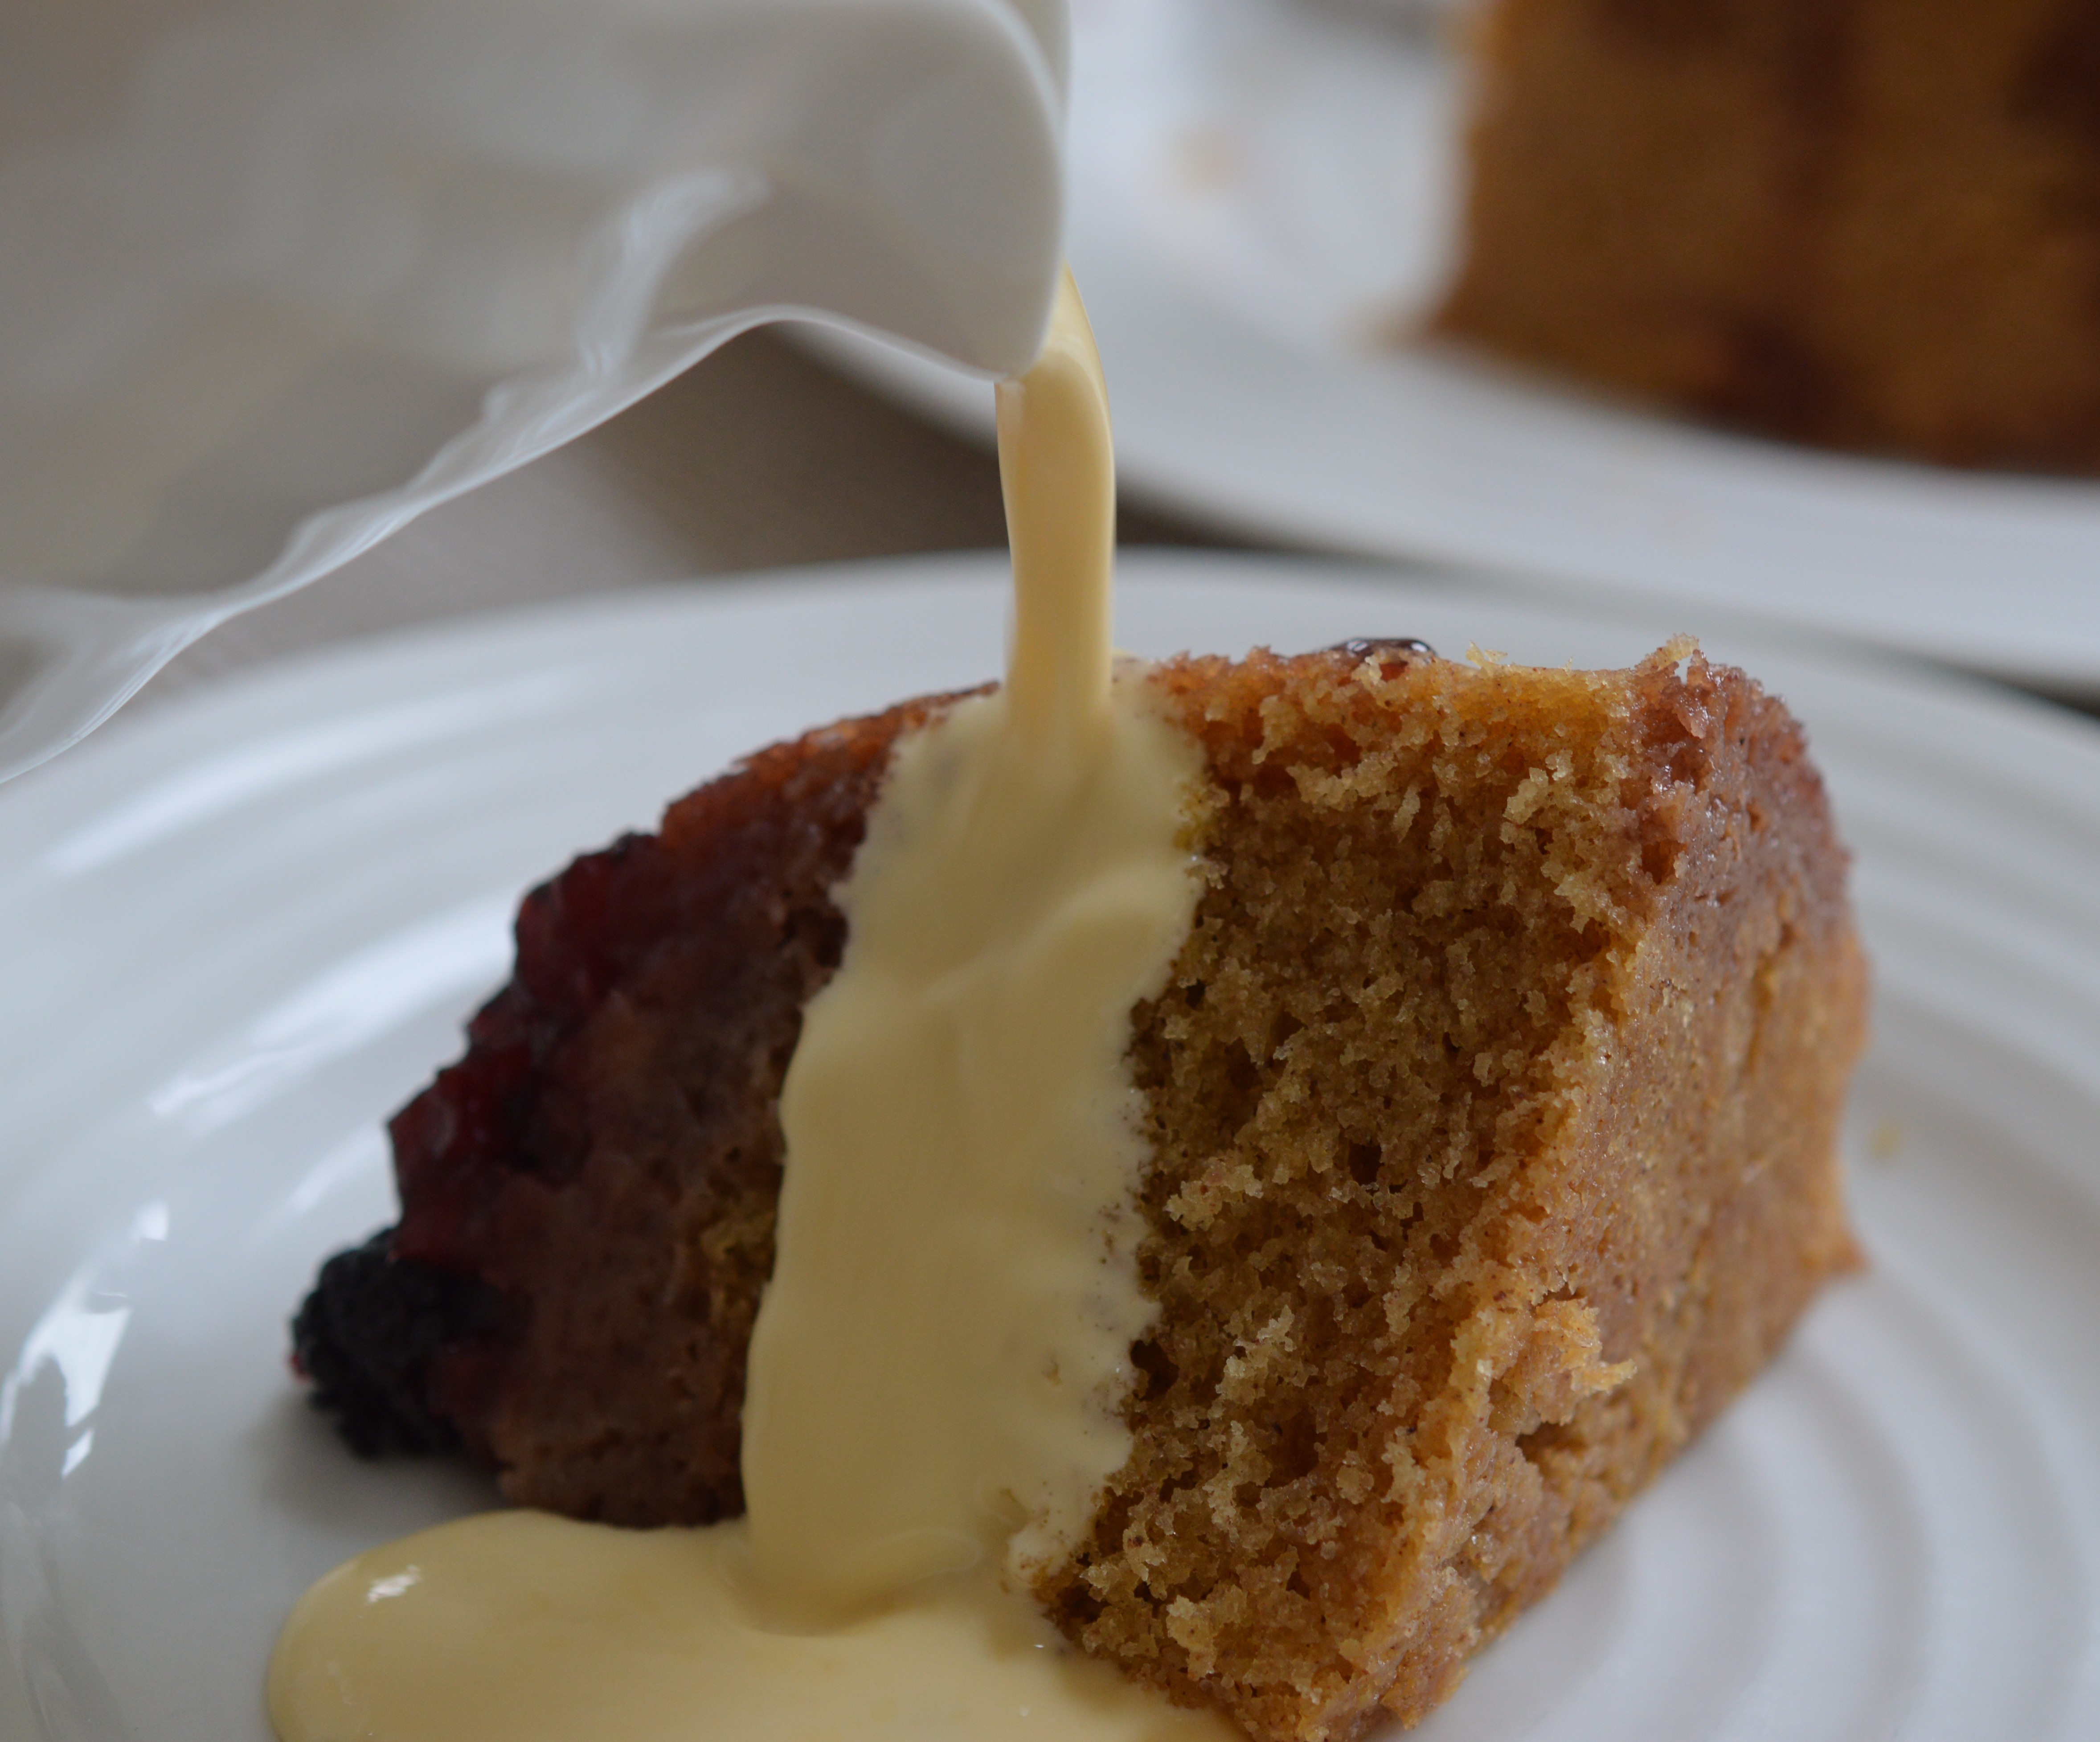
Particularly if you serve it with some proper custard …?  Eat.
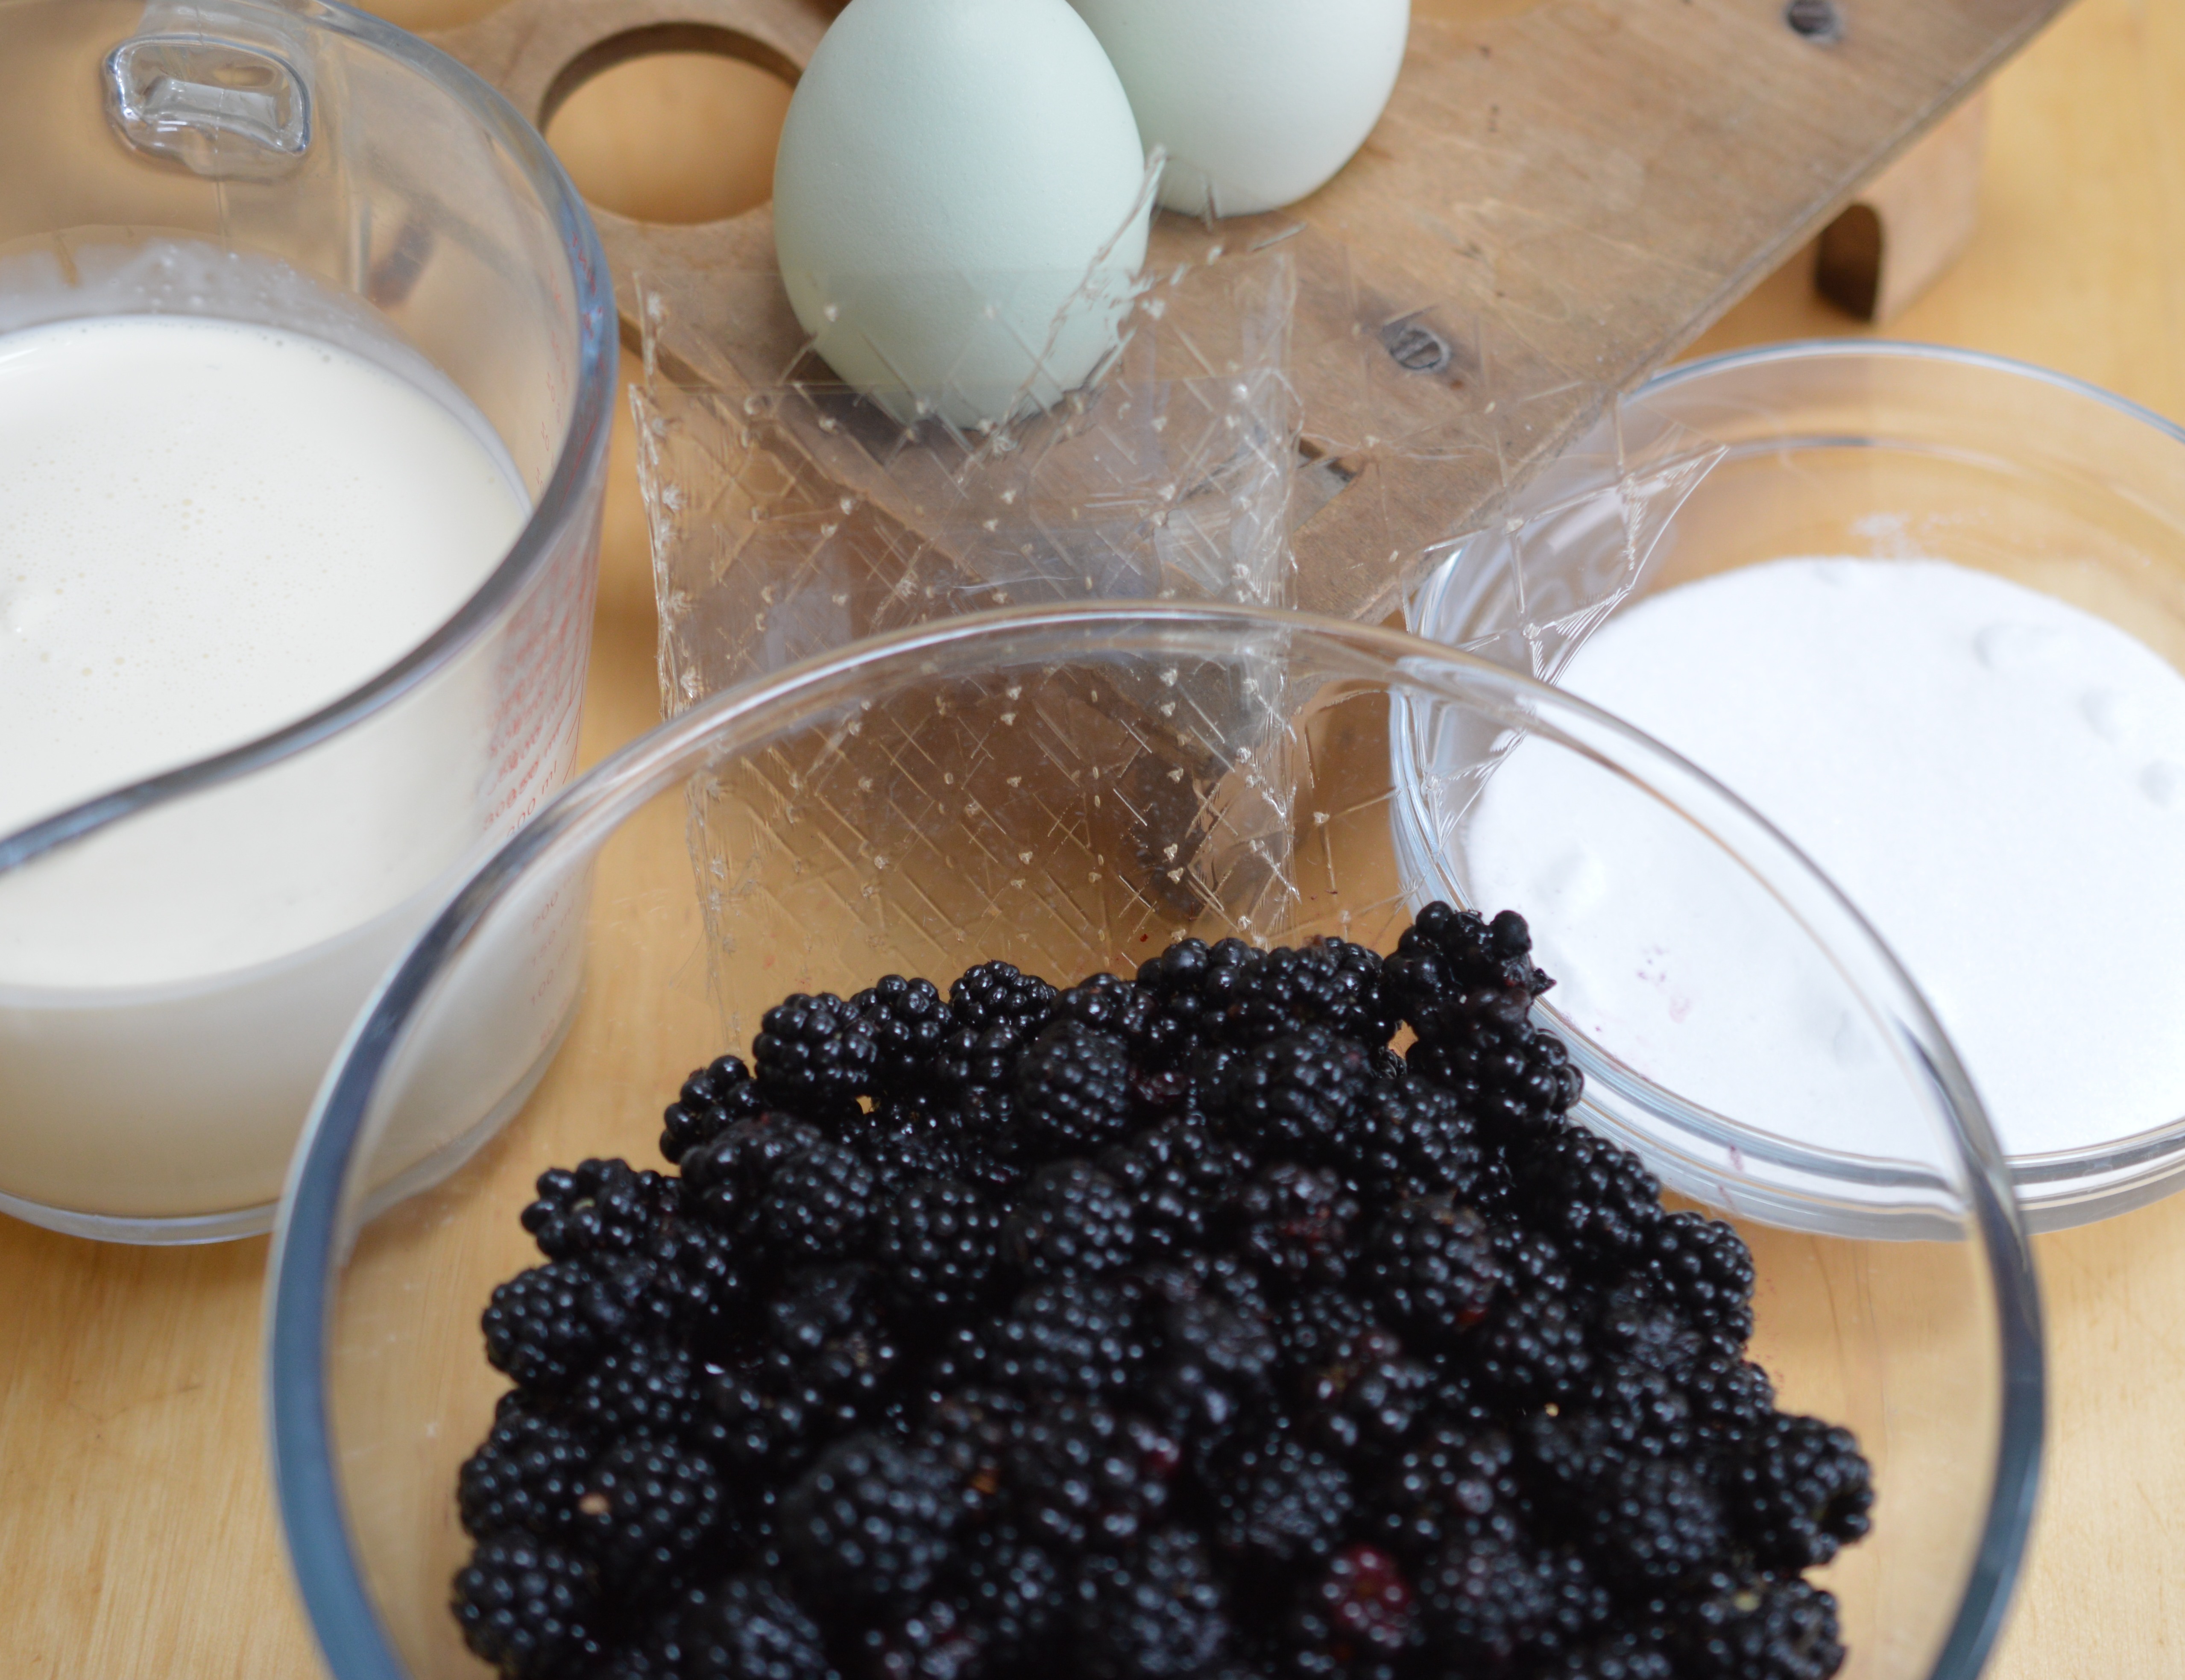
 

Blackberry and Apple Steamed PuddingMakes a 2 pint pudding

  • 3 tablespoons of bramble and apple jelly (or blackberry jam)
  • 80g/²⁄³ cup of blackberries
  • 80g/heaped ¾ cup cooking apple, peeled and diced small
  • 2 tablespoons of light muscovado sugar
  • 3 eggs, weighed in their shells
  • unsalted butter, the same weight as the eggs
  • caster/superfine sugar, the same weight as the eggs
  • 1 tsp ground cinnamon
  • 1-2 tablespoons of milk, as necessary

Prepare the fruit.  Place the diced apple and blackberries in a small bowl and combine with the light muscovado sugar.

Butter a 2 pint/1.2 litre pudding basin, and place 3 tablespoons of bramble and apple jelly in the base.

Sift the flour and cinnamon together.

Place the room temperature butter and sugar in the bowl of your mixer.  With the flat beater, cream the two together until it is light and fluffy.  Gradually add the beaten eggs, beating well after each addition.

Taking care not to loose all the air you’ve worked so hard to incorporate, ‘fold’ in the flour/cinnamon mix.  If the mixture is a little stiff, add a little milk.  You are wanting a ‘dropping consistency’.

Lay a sheet of foil on top of a sheet of baking parchment and make a pleat in both, to allow for expansion.  Butter the baking parchment.  Place it butter-side down on the pudding.  Top with the foil.  Align both pleats on top of each other.  Tie a piece of string firmly around the ‘lip’ of the basin.  Trim the edges so it won’t rest in the water.

Place an upturned saucer in the base of a saucepan and lower the pudding on top.  Fill the saucepan with boiling water so that it reaches halfway up the bowl.  Bring the water back to a boil, then reduce the heat to a simmer.  Cover.  Keeping an eye on the water level – it may need topping up – steam for 1½ hours.

Carefully lift the pudding from the water and remove the coverings.  If it’s cooked the centre will feel springy and a light finger will pull the edges from the side of the bowl.  If it needs a little longer, re-tie the coverings and continue steaming for another fifteen minutes.  Check again.

When it’s cooked, place your serving plate on the top of the pudding and smoothly turn it over.  Lift the pudding basin off, being aware that warm jam will ooze down onto the plate.  Don’t allow the pudding to cool in the basin as it will stick.

Serve warm with a traditional English custard or cold cream.

Aga cooks – Bring the water surrounding your pudding to the boil on the Boiling Plate, transfer to the Simmering Plate for 5 minutes and then move it into the Simmering Oven, lid on, for 3 hours.

Print Metric and US


Scotch Egg

Scotch Egg - close-up

The holy grail of the Scotch Egg is a runny yolk when you cut it open.  How proud am I!!!!

As with all dishes of antiquity there’s controversy as to who first created it.  Fortnum and Mason’s in London claim they did – in 1738 – as a portable snack for wealthy travellers starting their journey from one of the Piccadilly coaching inns.  (Fortnum’s was founded in 1707 and holds countless royal warrants.  I’d kind of like it to be their creation.  It’s still a very nice, if aspirational, foodie shop…)  There are those who believe it’s a British Raj adaptation of ‘nargisi kofta’.  (Possible – we are a nation of culinary magpies.)  The ‘scotch’ part is generally thought to be an abbreviation of ‘scotched egg’ which is an egg that has had something done to it in ye olde speake, as opposed to anything geographic.

Regardless of its origins the scotch egg is currently experiencing a resurgence in popularity, having weathered the travesty which is the rubber bouncing ball type you can buy in the chilled cabinets of motorway service stations.  If you happen upon any there, walk away.  It’s an eating experience it takes years to recover from.  Like stewed cabbage.

Home-made scotch egg is the way to go.

Chips - lard

Remember all that beef dripping from the chunky chips …..

(In fact, if you’re having chunky chips for supper and want to pack up something delicious for lunch the following day you can combine the ‘fry’.They make great picnic food…)  Melt the solid beef dripping in a saucepan until liquid and transfer, if using, to a deep fat fryer.

Scotch Egg - ingredients

The rest of the ingredients are more appealing to look at.

You can, of course, make your own sausage-meat – and since Liddy, my one and only daughter, bought a mincer attachment as a fathers’ day gift, we’ve started to.  (We’ve yet to produce a sausage I’d show you, though.  It’s tricky!!)  Assuming you’re not going to do that, simply choose a sausage you like and remove the meat from the casings. Today I’ve gone for a very traditional plain pork, well seasoned with black pepper. You need 100g/3½oz per egg.

Scotch Egg - herbs chopped

To that I add lots of fresh herbs – chives, parsley, thyme and sage.  Roughly a tablespoon of mixed herbs per scotch egg.

Scotch Egg - herbs in sausage

Then 1 teaspoon of Dry English mustard powder per egg.

Scotch Egg - mix together

Mix.  Clean hands are the best tool!

Scotch Egg - 100g balls

Divide your sausage-meat into portions.  (And, yes, since  you’re asking, I do weigh it. 100g/3½oz.)

At the centre of a scotch egg is … a soft boiled egg.

DSC_0086 1

It helps to know how old your eggs are.  Assuming you don’t have chickens, the best way to gauge how fresh your eggs are is to float them in a glass of water.  If it lays horizontally at the bottom of the glass, it’s fresh and you’ll need to give your eggs an extra 30 seconds on the timings below.  If it’s tipping off that horizontal but isn’t vertical, then it’s a little older.  Vertical and your egg is stale.

Mine are pretty fresh, certainly less than four days old, (though you can see it beginning to tip).  I’ll give it the extra time.  They need to be at room temperature.

Scotch Egg - prick

Eggs have an air pocket, so a pinprick made in the rounded end of your egg allows the steam to escape which will stop the shell cracking.  (Father Christmas gave me this handy gadget.)

Scotch Egg - soft yolk cook

This is how I do it. Into a small saucepan (a large one would give them too much space to bounce about and make it much more likely they bash into each other and crack) place enough water to cover the eggs by 1cm/½ inch.  Bring that to a gentle simmer (small bubbles on the bottom of the pan, but no movement on the surface of the water), then carefully lower the eggs in.

Set the timer for 1 minute.  At the end of that – remove the pan from the heat, cover and leave for 6 minutes (that will give you a runny yolk and a just set white).  I’m adding 30 seconds.  Set a timer.

Scotch Egg - cool in iced water

When the buzzer goes, transfer them to a bowl of iced water.  If you don’t, they’ll carry on cooking …  When they’re cold, peel.

Then get organised.  You need three bowls.  One with the seasoned flour.  One with eggs, beaten and loosened with a splodge of milk.  And a third with breadcrumbs (I keep a stash of these in the freezer and there’s no need to thaw.)

Scotch Egg - flatten ball

If you dampen your hands you’ll find this next bit a little easier.  Flatten your sausage-meat balls to a size that looks like it will wrap around an egg.

Scotch Egg - floured egg in meat

Put your peeled egg in the seasoned flour.  It’ll help the sausage-meat to adhere to the egg.  Then gently bring the meat up to wrap around the egg.  Pinch the meat together so there’s no gaps and – gently – roll between your hands to make a neat ball.

Scotch Egg - conveyor belt

Then it’s a production line.  Flour, egg wash, breadcrumbs.  I love the crunchy outside, so do a second dip in the egg wash and breadcrumbs.  Felicity Cloake uses panko breadcrumbs and I’ve taken to using them on the second dip.

Scotch Egg - in fryer

Then it’s time for the fryer.  I fry at 160ºC.

Scotch Egg - fry 1

For exactly 10 minutes.  And I do one egg at a time.  As you can see, my fryer isn’t quite deep enough – so annoying – so I gently turn it in the oil to make sure it browns evenly.

Scotch Egg - finished

And, then, because I like to be safe – I pop them into the Roasting Oven of my Aga for 5 minutes.  200ºC/ 400ºC.  Drain on kitchen paper.

Scotch Egg - plated 3

I love them fresh from the fryer, with brown sauce and a salad.  My salad here is baby salad leaves, a little celery and the celery leaves – plus warm Kentish cobnuts (hazelnuts is a good substitute) which I’ve toasted in the oven with olive oil and salt.

Cold, scotch eggs make great picnic food.  Blowy autumn day with a scotch egg and a flask of roasted tomato soup – yum.


Scotch Eggs – as many as you want and have eggs for, but I’m making 7

  • 11 eggs (that’s 1 egg per scotch egg – plus 2 eggs for every four)
  • 700g of sausage-meat (that’s 100g/3½oz per egg)
  • 7 tablespoons of mixed herbs (1 tablespoon per scotch egg) – chives, sage, parsley and thyme are favourite English herbs.  More if you wish.
  • 7 teaspoons of English mustard powder (1 per scotch egg)
  • Plain flour/all purpose flour, seasoned with salt and pepper
  • Breadcrumbs – 100g/3½oz
  • Panko breadcrumbs – 100g/3½ oz
  • A splash of milk to loosen the egg wash
  • Beef dripping to fry

Mix the sausage-meat with the fresh herbs and English mustard powder.  Shape into 100g/3½oz balls.

Place your pricked eggs into a saucepan of simmering water for 1 minute, remove from the heat and allow to sit in the warm water, lid on, for 6 minutes.  Plunge into iced water and leave until completely cold.  Peel.

Set up your conveyor belt.  One bowl of seasoned flour.  One of lightly beaten eggs, loosened with milk.  A third of breadcrumbs.  An optional fourth of spiky panko breadcrumbs for added crunch.

Flatten your sausage-meat balls and place a floured egg in the centre.  Bring the sausage-meat up and around.  Gently roll between your hands to make a neat ball.

Coat with flour, then the egg wash, and then the breadcrumbs.  Back into the egg wash and a final coating of breadcrumbs/panko breadcrumbs.

Fry at 160ºC for 10 minutes.

Place the cooked scotch eggs on a baking tray and bake for 5 minutes. (2ooºC/400ºF)

Drain on paper towel.

Eat.

Print US and Metric


Blackberry Mousse

Blackberry/Bramble Mousse is a bit of an early autumn ritual for me.

Blackberry Mousse - light

It comes at a point where I have a satisfyingly full pantry of blackberry-related preserves and I’m aware time is running out to gather in the ‘harvest’.

Tradition has it that the devil was kicked out of Heaven at Michaelmas – and landing on a bramble bush he cursed it.  Time has not healed his ire and he repeats the curse annually.  My mum had it that the devil spat on them, but there are those who state he urinates …  Either way, the fruit is spoiled.  I’ll leave it to you as to whether you’re going to observe Michaelmas as it is now (29th September) or ‘old’ Michaelmas (10/11 October).  I think the truth is, the best fruit comes picked at the end of a warm day and once there’s been a frost you needn’t bother.

Blackberry Mousse - soften berries

I have my favourite places to go urban-foraging – because all brambles are not the same.  Truly.  Apparently there are two hundred and fifty odd distinct species and the fruit of some bushes will be sour and some sweet.  The fact that they’re all jumbled up in hedgerows makes it not dissimilar to a ‘Harry Potter’s Bertie Bott’s every flavour jelly bean’.

And on the question of whether ‘bramble’ is the shrub and blackberry the fruit, or whether wild ‘brambles’ grow on brambles and blackberries on cultivated plants …  Do we care???

For the record, I go ‘brambling’ for ‘blackberries’ which, for me, grow on ‘brambles’.  The ones I turn into ‘jelly’ are labelled ‘Bramble and Apple Jelly’ and the ones that go into a fruit laden ‘jam’ are labelled ‘Blackberry Jam’.  There seems to be no rhyme or reason for that.  I believe I could be swayed either way when it comes to a mousse.

Whatever you call them, a bounteous picking of free fruit is fun.  I also like the warm fuzzy feeling I might have stepped into a Jill Barklem ‘Brambly Hedge’ book, the place I know I truly belong.

Blackberry Mousse - ingredients

So, the mousse.

My recipe does contain raw egg, so official UK advice is ‘not for the very young, the elderly, when pregnant or for people with suppressed immunity’.  I think the risk is now considerably reduced – and I’m very particular about where I buy my eggs – but Nigel (my living with cancer spouse) is not allowed to eat this when he’s on ‘chemo’.

Blackberry Mousse - heated berries

Give your blackberries a rinse.  If you’re worried about any hidden grubs rinse them in salted water and watch the little blighters come to the top.  Some years are worse the others I find.  Rinse in clear water.  Then place the berries in a saucepan, cover, and cook over a low heat for about 5 minutes.

Blackberry Mousse - sieve blackberries

Pass the softened fruit through a sieve.  Discard the pips and put the puree on one side to cool.  It is entirely possible to freeze the puree at this point and give yourself a winter stash.

LM - in the shell

Separate the egg into yolks and whites.  Put the whites to one side.

Blackberry Mousse - egg yolk and sugar

Put the four egg yolks into the bowl of your mixer together with the caster sugar.  This is the part where you are grateful for electricity.  Start whisking.  If you don’t have a strong motor mixer, then you’ll need to do it the ‘old fashioned’ way.  Lots of elbow grease in a bowl placed over barely simmering water.

Blackberry Mousse - ribboning

Keep going until it’s pale and thick.  This is what some recipes call ‘ribboning’.  Don’t skimp on this bit.  Then add the cream.  Lots of recipes suggest you ‘scald’ the cream before adding it to the thickened yolks and sugar, but I think this is a throw-back to when cream wasn’t pasteurised.

Blackberry Mousse - custard

Transfer the mixture into a saucepan and stir over a medium heat until the ‘custard’ has thickened slightly.

Blackberry Mousse - sieve custard

Strain.  It’s worth catching any stray bits of egg.

Blackberry Mousse - stir into custard

Stir the blackberry puree into the ‘custard’.

Blackberry Mousse - sieve again

Sieve again.  Yes, I know!  You can use the same sieve, if it helps.  The thing is, you shouldn’t be eating this.  It’s sugar and it’s cream, so no hiding the fact this really isn’t good for you.  The only reason to be eating Blackberry Mousse is because it gives pleasure – and pleasure is life enhancing.

Blackberry Mousse - smooth perfection

And the perfect mousse is smooth.  Leave to cool.

Blackberry Mousse - gelatine

Place the gelatine sheets into a shallow bowl of cold water.  Make sure each leaf is in contact with the water.  Swish it about with your hands.  They’ll take about 5 minutes to swell – longer is fine but don’t leave them for an indefinite period as they’ll eventually disintegrate to a state that will make them unusable.

Blackberry Mousse - gelantine

Squeeze – and then place in a saucepan.

Blackberry Mousse - gelatine in saucepan

Over a low heat – melt.

Blackberry Mousse - heat

It takes seconds.

Add the blackberry mix to the warm gelatine pan and stir.  Transfer to a bowl.  Now it’s the egg whites.  A pinch of cream of tartar will help stabilise the whites, but this really isn’t essential in this mousse recipe.  Salt.  Lemon Juice.  All do the same job and, for this, you can forget about the whole thing if your cupboard is bare.

Blackberry Mousse - add egg whites

You’ll find it easier to incorporate the whisked whites if you add a third first and give it a good beating.

Blackberry Mouse - finished

Gently ‘fold’ in the rest – but don’t be fearful, you want to end up with all the egg-whites incorporated.  And, that’s it.

Blackberry Mousse - put into dishes

Pour into the dishes of your choice.  I’ve a childhood attachment to these – which I’ve always thought of as ‘heart’ bowls, but my children tell me are clearly leaves.

Blackberry Mousse

Cold cream poured on top is pure heaven.  A blackberry puree is lovely.  Or you could go for a chantilly cream (that’s sweetened cream with vanilla) quenelle (that’s the spoon thing) which is why you pay more if you order out.  Or just a big ‘family’ bowl and dig in.


Blackberry Moussemakes 1.5 litres

  • 450g-ish blackberries, some to decorate is nice
  • 100g caster/superfine sugar
  • 300ml double cream/heavy cream
  • 4 sheets of leaf gelatine
  • a pinch of cream of tartar

Rinse the blackberries and put into a saucepan.. Over a low heat, soften.  This will take about 5 minutes.  Crush the cooked blackberries with the back of a fork and pass through a sieve into a bowl.  Use a the back of a wooden spoon to get as much pulp as possible.

Separate the eggs.  Put the four egg yolks and the sugar into the bowl of a strong motor mixer and whisk until it is thick and creamy.  Add the cream.

Transfer to a saucepan and heat until just below boiling point.  Pass through a sieve.

Add to the blackberry pulp and stir.  Leave to cool.

Soak the gelatine leaves in cold water for about 5 minutes.  Squeeze out all the excess water and place in a clean saucepan.  Melt over a low heat and then add the cooled blackberry/custard mix.  Stir thoroughly.  Place in a bowl.

In a spotlessly clean mixer bowl, whisk the egg whites (with a pinch of cream of tartar) to soft-peak stage.  Beat one third into the blackberry mixture to loosen and then gently fold in the remaining two thirds..

Pour into serving dishes – and refrigerate for a few hours until set.  Eat.

Print US and metric


Chunky Chips

Chunky chips, exactly as God intended – par-boiled and twice fried.  These are a world away from limp, greasy chips that sometimes appear under the same name.

Chips - featured

These aren’t skinny French fries, known as ‘frites’ in my house.  (Does it help that the fat chip is a healthier choice than a thin one?)  Nor, are they ‘potato chips’, which I would call ‘crisps’.) Or even potato wedges.  They are chips ‘proper’ and the traditional accompaniment to the British institution that is ‘fish and chips’ from a time when cod was not endangered and oysters were a cheap pie filler.  For all they are a part of my culinary heritage, chips apparently originate in either Belgium or France (and I’m not joining that debate) in the seventeenth century as a substitute for fish.  Fried fish arrived in London about the same time, brought by Jewish refugees, but that’s a post for a different day.  It’s enough that I’m truly grateful!

Chips - peeling

Making them begins with the potato.  Non-negotiable, in my opinion, is that it’s a ‘fluffy’ one.  From choice I like my potatoes covered in dirt – which naturally protects them from sunlight which is what turns them green – but these are a sanitised supermarket ‘Maris Piper’ buy. There’s a school of thought which suggests you need to soak them to rid them of starch, but I consciously don’t do that.  Potatoes absorb water and I don’t like a soggy tasting chip.  When I’m actually peeling I place the potatoes I’ve done in a bowl of water, but that’s it.  Just while I’m working.  You’re still left with some pretty murky water.

Chips - chopping

And then it’s on to the cutting.  Hand-cut isn’t just a gastro-pub gimmick.  The slightly mis-shapen end bits are deliciously crunchy and an absolute positive.  My mum cut hers crinkly.  I cut mine straight.  Either way, you are looking for something about a finger-width.

Chips - part boil

Now put the cut chips into a saucepan of fresh, salted water and bring to the boil.  Turn the heat down and gently simmer until the sharp point of a knife goes in easily.  It’s impossible to be specific because how long depends on the thickness you’ve cut and your choice of potato.  (On the Aga – bring to the boil, then drain entirely and pop the potato into the Simmering Oven.)

Chips - drain

Drain.  There’s no need to be particularly gentle because where the edges break up you’ll get the loveliest crispy bits, exactly the same as when you par-boil for roast potatoes.

Chips - dry

As soon as they are cool enough to handle, lay them out cooling racks.  Heston Blumenthal, who popularised the triple-cooked chip here in the UK, says to let them steam-dry, then lay them on a rack and put them in the freezer for an hour.  The object of that is get rid of as much moisture as is possible.  Since I’m cooking ‘chips for seven’ I rarely have the freezer space available to do that, but leaving them to go cold at room temperature is effective – and paces the work in a way I like!  So, coffee break ….!

Chips - lard

Fortified by caffeine, it’s time to set up the deep fat fryer.  Here’s another non-negotiable.  Beef dripping is my fat of choice because the flavour it adds is wonderful.  It’s a bit gruesome to see quite how much you need – but then you never have harboured the illusion chips are a healthy option, have you?  For my deep fat fryer I need twice the amount I’ve photographed here.  In weight terms, it’s a 3kg block.  Put your cold beef dripping into a large saucepan and, over a gentle heat, melt it.

Chips - first fry

Then pour the melted fat into the fryer.  Bring the fat up to a temperature of 130ºC-ish (I say ‘ish’ because that’s too low for my fryer to register on the dial.  Fry in small batches.  ‘Small’ because you want to avoid causing the oil to drop in temperature.

Chips - first fry drain

You are looking for them to look like this.  No colour to speak of, but a slight ‘skin’.  Drain onto kitchen paper.  It should gladden your heart to see there is really very little fat on the paper towel.  As before, Heston would have you put it the freezer.  If I had the space I’d think about the fridge.  As it is, I lay them back out on cooling racks as soon as I can handle them. Or – and this is one of the reasons I’m reluctant to try Nigella Lawson’s ‘cold oil’ method – it’s now perfectly possible to put the whole lot in a plastic box and pop them in the fridge for a couple of days.  Or, of course, you could freeze them.

Chips - hot fry

When you are ready, heat the beef dripping to 190ºC.  In small batches once again, fry to a finish.

Chips - to finish

These took 8 minutes.  Drain.

Chips - with bottles


And serve – with home-made tomato ketchup.  Or tartare sauce.  Or choron sauce .  But definitely malt vinegar and malden salt.

Chunky ChipsServes as many as you have to feed!

  • Maris Piper potatoes – more than you think you’ll need is my experience
  • Beef dripping – my fryer takes 3kg of beef dripping in solid form.

Peel the Maris Piper potatoes and cut into finger width chips.  Put into a bowl of cold water while you finish the job.

Put the cut ‘chips’ into a pan of ‘fresh’ cold, salted water and bring up to boiling point.  Turn the heat down to a gentle simmer and cook until the potato is tender. Drain and place on cooling trays.  Leave for an hour or so.

Place the liquid beef dripping into a deep fat fryer and heat to a temperature of 130ºC-ish.  Fry the chips in small batches.  Fry until cooked, not coloured and with a slight ‘skin’. Drain.  Leave to cool.  Either store in the fridge for a couple of days/freeze/or leave for an hour.

Finally, with cold (thawed) chips, it’s time for the final fry.  Heat the beef dripping to 190ºC and fry in small portions.  Cook until crisp and delightfully perfect.  Eat.  Preferably with home-made tomato ketchup/tartare sauce/choron sauce.

When cool enough for safety – pour the sieved tepid beef dripping into a disposable foil tray.  I’m prepared to re-use my fat twice.

Print – Metric and US


Raspberry Curd

Fresh raspberries don’t travel well – which makes them an expensive fruit.  I look at those plastic boxes of single layer fruit in the supermarket and wince.  Rarely buy.  They do, however, freeze fantastically and the bags of frozen berries are so much cheaper.  When I’m making jam I go in that direction, but there are times when a fresh berry is needful.

I suppose the optimum situation would be if I grew them myself, but having watching Monty Don (presenter on BBCs ‘Gardeners’ World’) performing advanced knotting on his raspberry canes I do wonder whether a girl whose wellington boots have a wedge heel would be up to the job.

Raspberries - Market Day

All of which made market day this week so much more exciting.  Yes, they are a little on the ripe side and for the benefit of my photo I sacrificed a few!  Raspberries really don’t like to be artistically stacked, do they?  Immediately after this photo was taken I carefully laid them out on several plates and tucked them away in the fridge – because that’s the other annoying thing about them, they don’t keep well ‘in the raw’ either.

Almost immediately on getting home with my hoard, my mind turned to vodka.  I have a few steeping now and you can follow their progress here.  It’s a bit of an annual event.  Eventually the sozzled berries will find their way into a Christmas trifle and the raspberry vodka will become a summer indulgence.

Rasberries - Ingredients for curd

One cup of strong coffee later and I began on raspberry curd.  I won’t lie.  There’ll be a moment during this process when you’ll lose the will to live.  Making it requires constant attention and, much like risotto, I find I have to be in the right mood to make it.  The reward is a reasonably small quantity of a quite extraordinary tasting preserve.  If I tell you it tastes of ‘raspberries’ I’ll sound daft, but that’s exactly it.  It tastes of raspberry more than a raspberry …

Raspberries - curd - in pan

You begin by putting your raspberries in a saucepan and adding a little bit of water.  I’m using 1kg (that’s 2¼lb) of raspberries and I add just a couple of tablespoons of water.

Rasberries - curd - boil

Bring the whole thing to boiling point and then turn down the heat and simmer for about 5 minutes.  You want the fruit to be entirely soft and mushy, so keep going if yours are not ready.

Raspberries - curd - sieve

Tip it into a fine sieve and with the back of a wooden spoon push as much of the pulp through as possible.  You’ll never get it all through.  When you’ve done your reasonable best, discard what’s left in the sieve.

Raspberries - curd - jug

And here’s a first, I’ve never measured what ends up in my bowl.  It’s 600ml.

Rasberries - curd - eggs beaten

Have everything ready. Pop your clean glass jars into a low oven to sterilise. Have the white granulated sugar measured. Salted butter, diced small. 4 eggs, beaten.

That’s the ‘thing’ about making raspberry curd – it doesn’t like to be left.  Since you are going to be here for a while you might like to put on the radio ..?  I’m addicted to ‘audible.co.uk’ and have story tapes at the press of a button.  Currently listening to Georgette Heyer’s ‘The Quiet Gentlemen’.

Raspberry - curd - egg

Put the raspberry juice into a large bowl and suspend that over a saucepan with a few centimetres of barely simmering water, unless you are one of the lucky few who own a double boiler.  If so, use that.  Then you add the sugar, diced salted butter and the beaten eggs.

Raspberries Curd - whisk

Get your whisk in and gently stir.  You are looking for the butter to melt and for there to be no gritty, undissolved sugar.  Once all is smooth, swap your whisk for a wooden spoon.

Raspberry Curd - smooth - spoon

And continue to stir. Keep the liquid moving.  That’s really all there is to it.  Eventually the egg yolks will thicken the mixture and you will have raspberry curd.

Only there are a few things that can go wrong:-

  • The mixture may curdle.  At the first sign of it, whip the bowl off the heat, cool everything down rapidly (sit the bowl in some cold cold water) and stir the life out of it.  Berate yourself for your lack of vigilance while stirring.  I think you’re allowed to swear quietly – but just the once.  As soon as all is calm again you can look to the causes.  It may be you’ve had the bowl touching the water.  Well, don’t do that again!  Or you may need to lower the temperature beneath your saucepan as the heat is too fierce.
  • The mixture may not thicken.  If you’ve been going for half an hour you probably should increase the heat below your pan.  Just don’t be tempted to add any cornflour as that diminishes the raspberry hit in the finished curd.  If you’ve really got a problem, then add a single egg yolk and keep stirring.

Raspberry Curd - wooden spoon

Eventually you reach the point where the curd will coat the back of a spoon.  If this is your first time making raspberry curd you should know that it will thicken as it cools, so this isn’t the consistency you’ll end up with.  I give the mixture a quick sieve at this point to remove the white stringy bit that holds the egg yolk to the white.

Raspberry Curd - in jars

Then it’s straight into warm, sterilised jars.  Smaller is better than large jars because a fruit curd doesn’t keep for long.  Unopened you’ve probably got about 3 months.  Once you’ve started a jar you really ought to eat it within the week.  Opened or unopened, store in the fridge.  I’ve never had a problem getting through it – but if you think you might, it freezes brilliantly.

DSC_0133

Like raspberry anything, this curd has a natural affinity with cream and dark chocolate.  It’s good stirred through Greek yoghurt and frozen as iced treats.  Lovely in a roulade.  Layered with buttercream in a Victoria sandwich.

DSC_0113

But, me, I’m heading in this direction …


Raspberry Curd – Makes five 4oz jars.

  • 1kg/2¼lb raspberries
  • 450g/1lb white granulated sugar
  • 115g/4oz salted butter,  diced small
  • 4 large eggs, beaten

Place the raspberries in a saucepan with 2 tablespoons of water and bring to the boil.  Reduce the heat to a simmer for about 5 minutes until your fruit is extremely soft and sieve-able.

Using the back of a wooden spoon push as much of the fruity mixture through a fine sieve as you can.  Discard the pips.  Place the smooth fruit in a bowl on top of a saucepan of simmering water.

Add the sugar, butter cubes and beaten eggs.  Over a low heat, whisk until all the butter has melted and the sugar dissolved.  Swap to a wooden spoon and keep stirring – about 20 minutes – until the mixture has thickened enough to coat the back of the spoon.

Sieve to remove any stray bits of egg, then transfer to sterilised jam jars.  The curd will thicken as it cools.

Store in the fridge.  Eat within three months.  Or freeze for up to a year.

Print – Metric and US