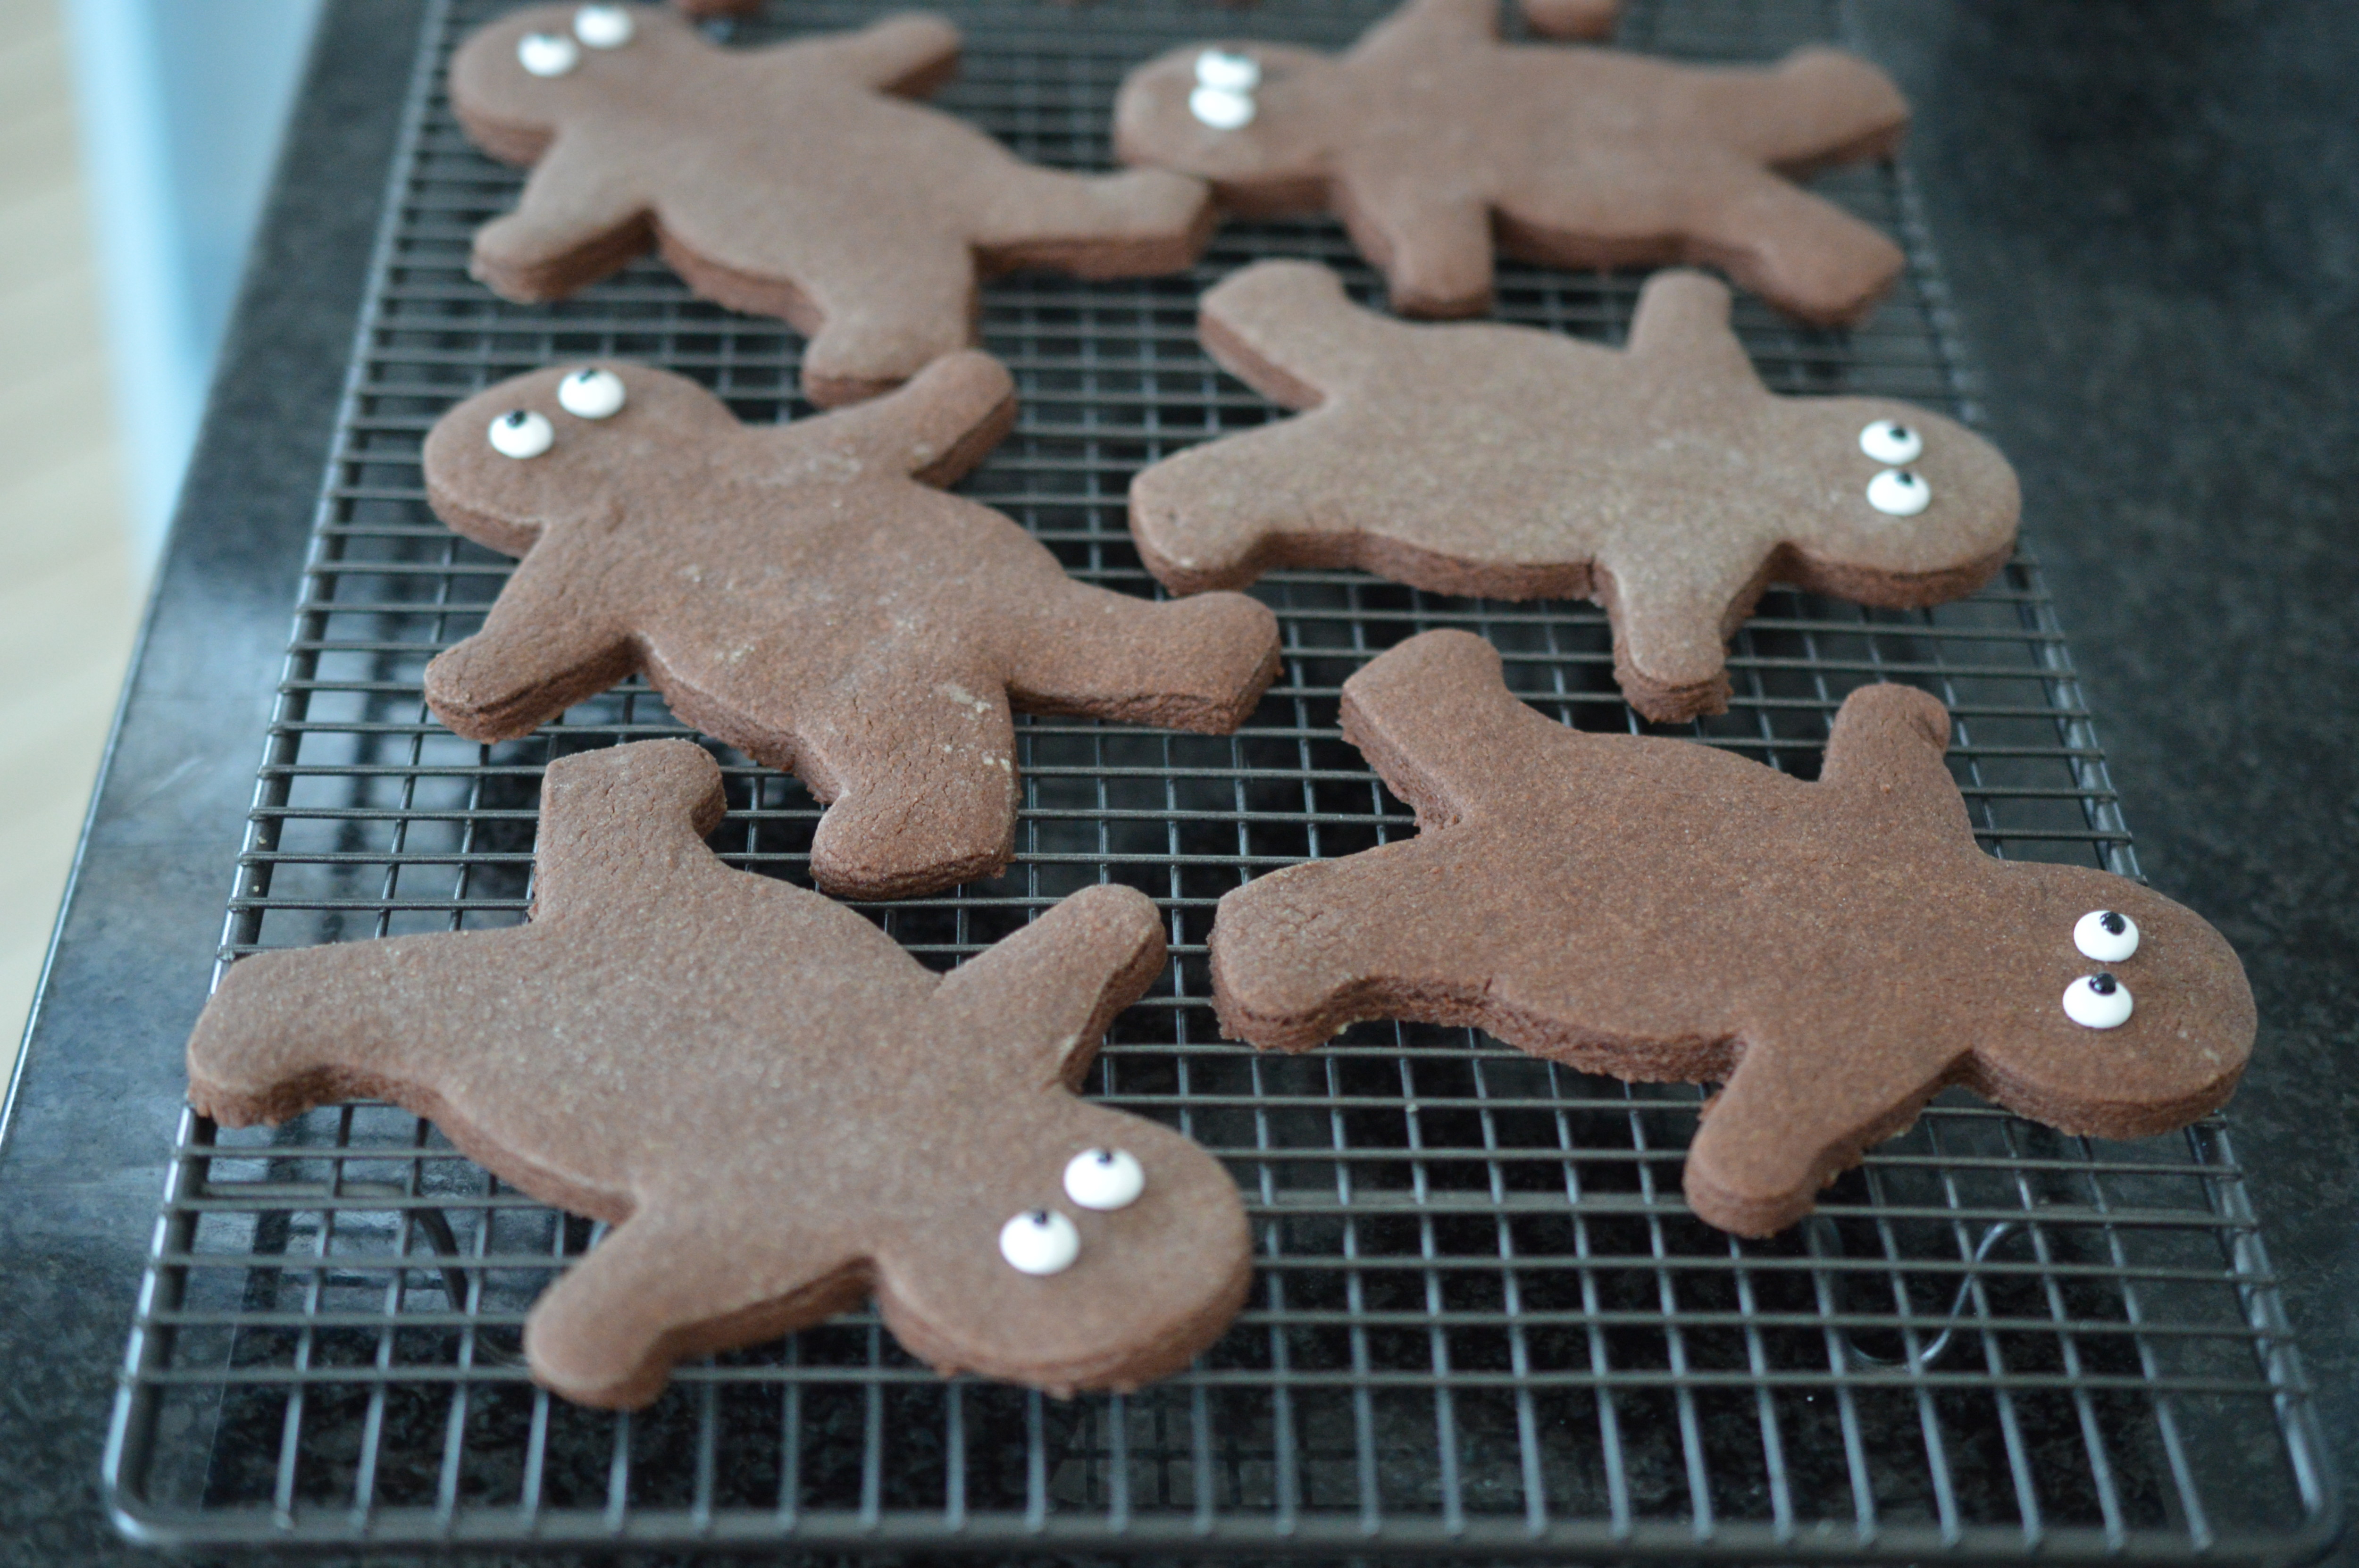
‘Mummy’ Biscuits for Halloween
Was there ever a post with so many possible ‘titles’ – chocolate biscuit/cookie, Halloween biscuit/cookie, Gingerbread Man Chocolate Biscuit …?
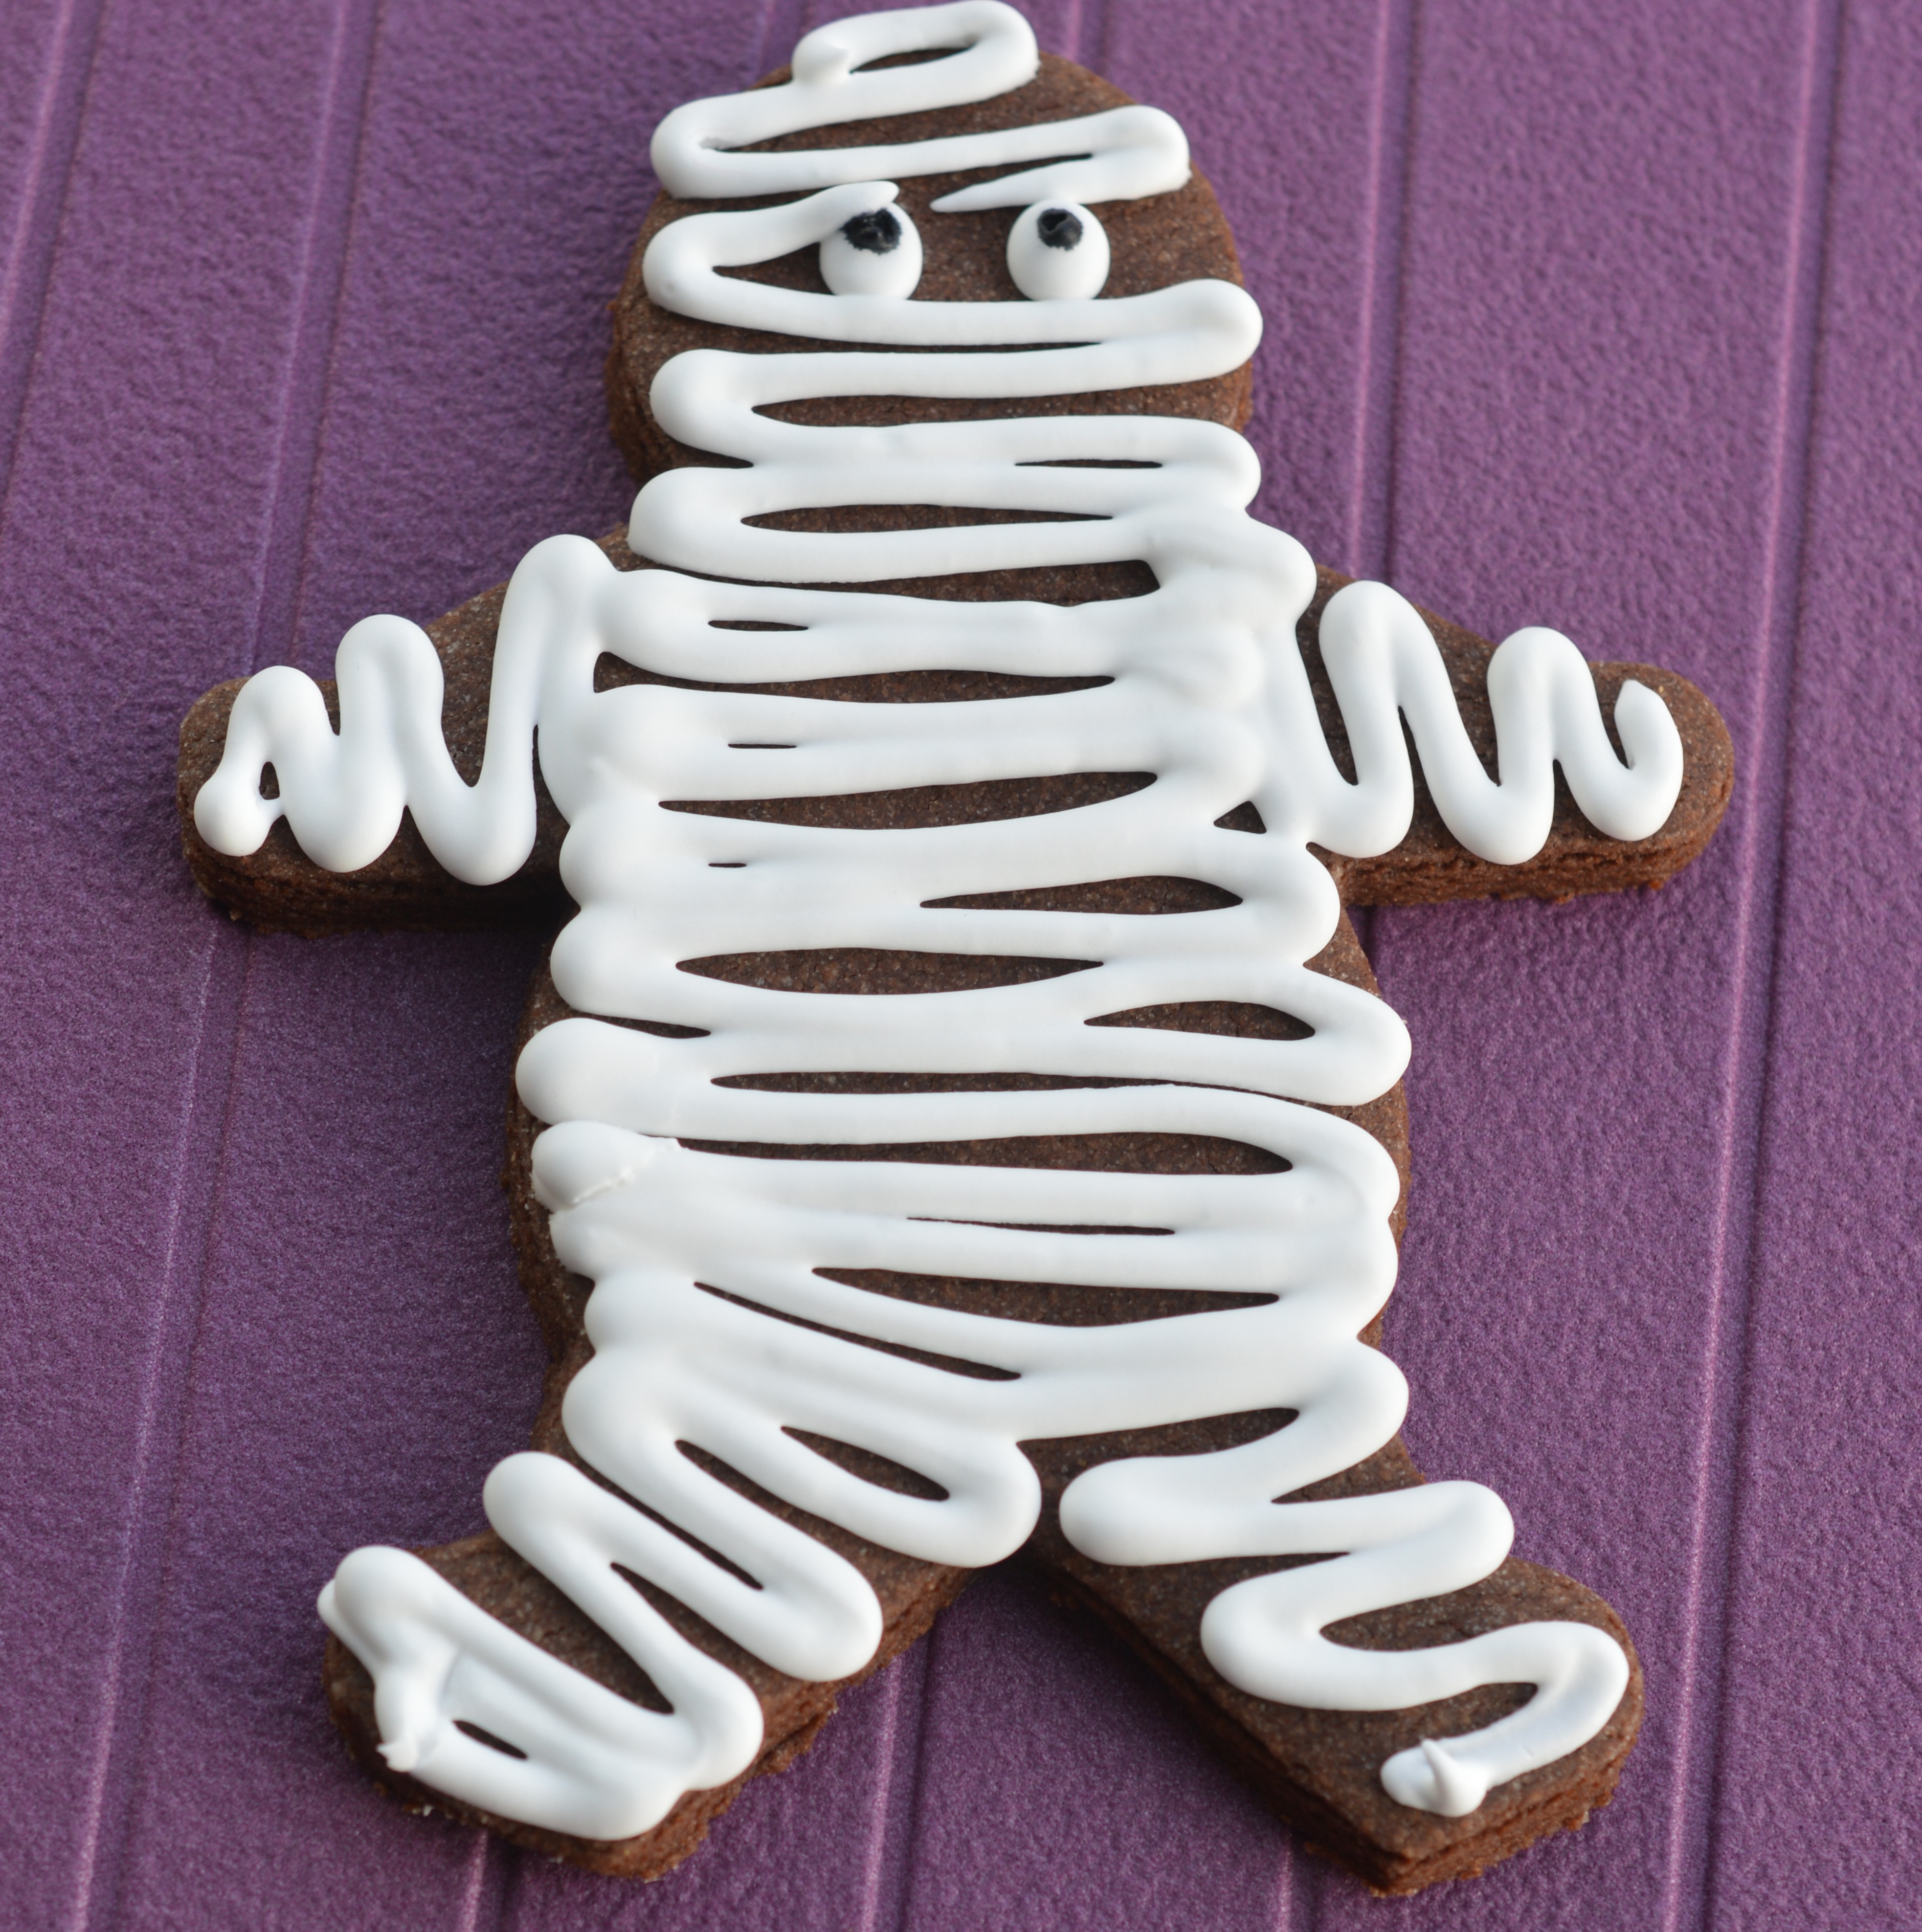 To me, this is a biscuit as opposed to a cookie – because in its ‘basic’ form it is dunk-able. I’ve used a Gingerbread Man Cutter but a chocolate biscuit dough – because it’s not Christmas and chocolate biscuits taste lovely. It’s in the form of a Halloween ‘Mummy’ because …. well, other people do that.
I have to say, Halloween has always passed me by – as my family has its focus firmly on Bonfire Night. Fireworks. Bonfires. Sausages. Doughnuts on strings. Apple bobbing. Toffee Apples … As a child I coloured chalk pictures on black paper of spectacular eruptions and as an adult I’ve made vats of baked beans and overseen bonfire singed baked potatoes with gusto. There’s no time for Halloween.
It is also true I’m a wimp. There’s a reason I chose to write ‘romance’ where happy endings are guaranteed and I need to be coaxed to watch anything beyond a ‘parental guidance’ film. I don’t really ‘get’ Halloween – but when my neighbours’ children stand at my door with their faces daubed in violet and green I have to have something. Once a mum, always a mum …
This, then, is my ‘trick or treat’ option this year.
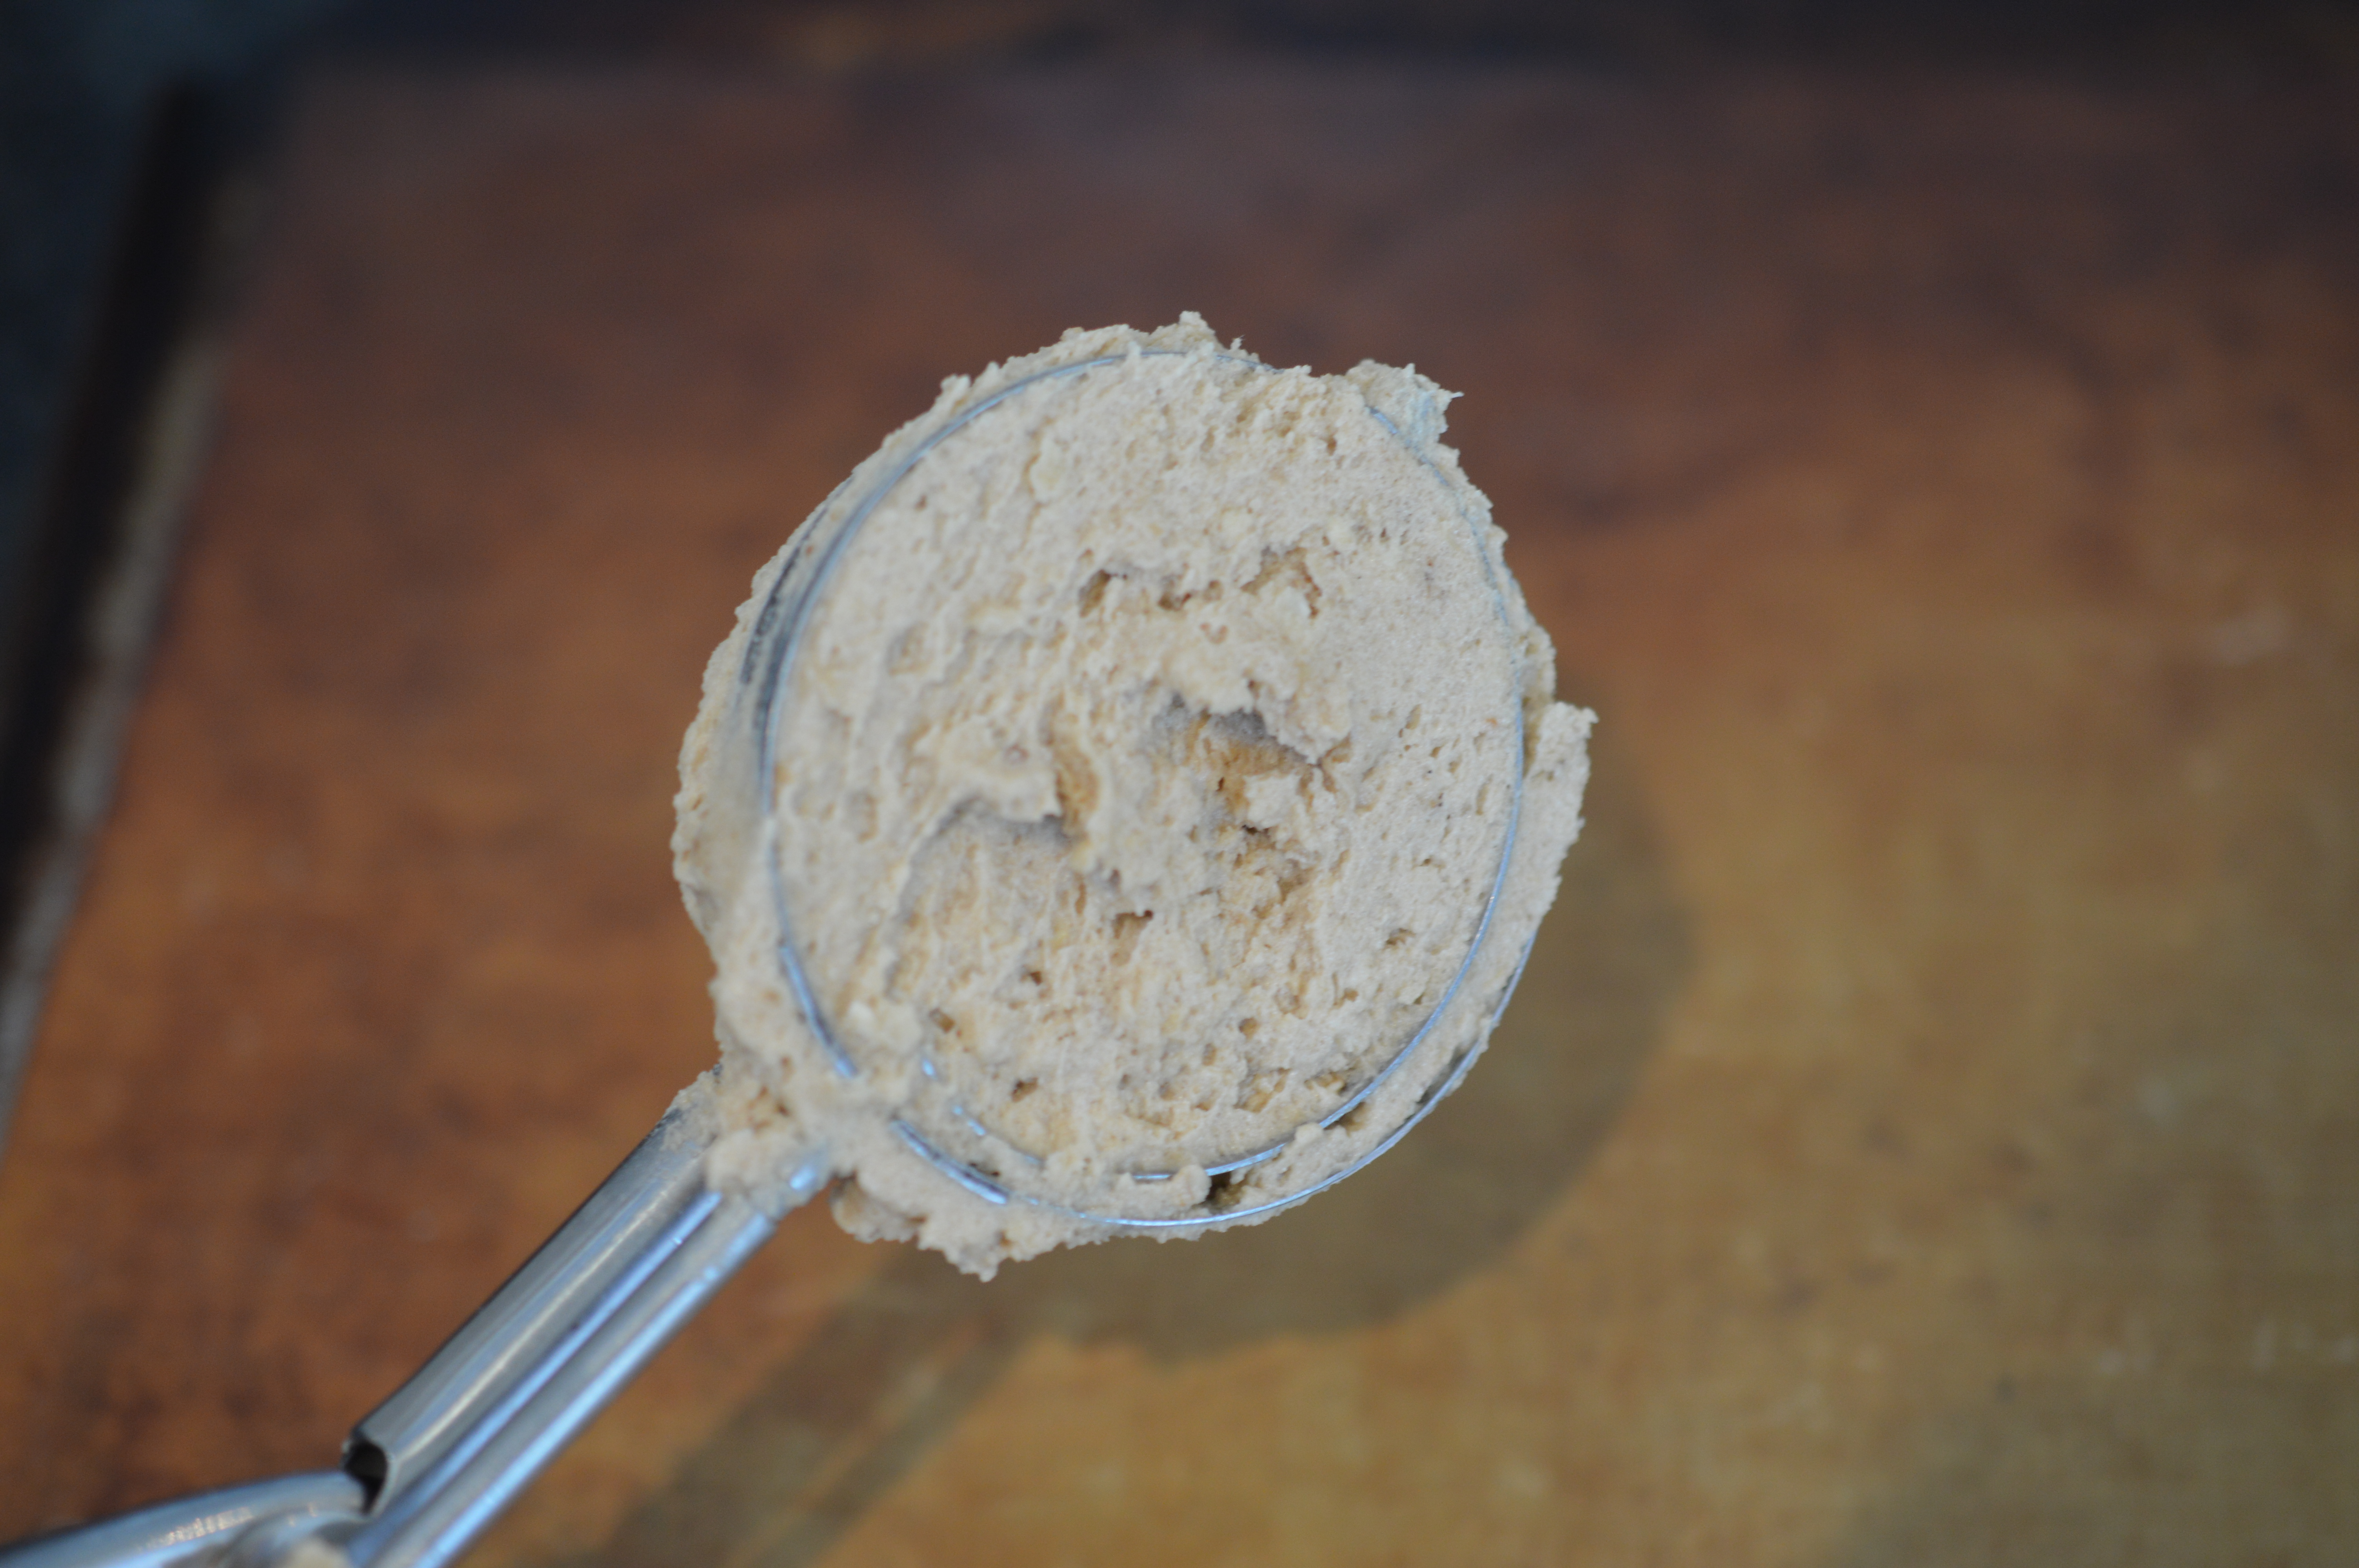
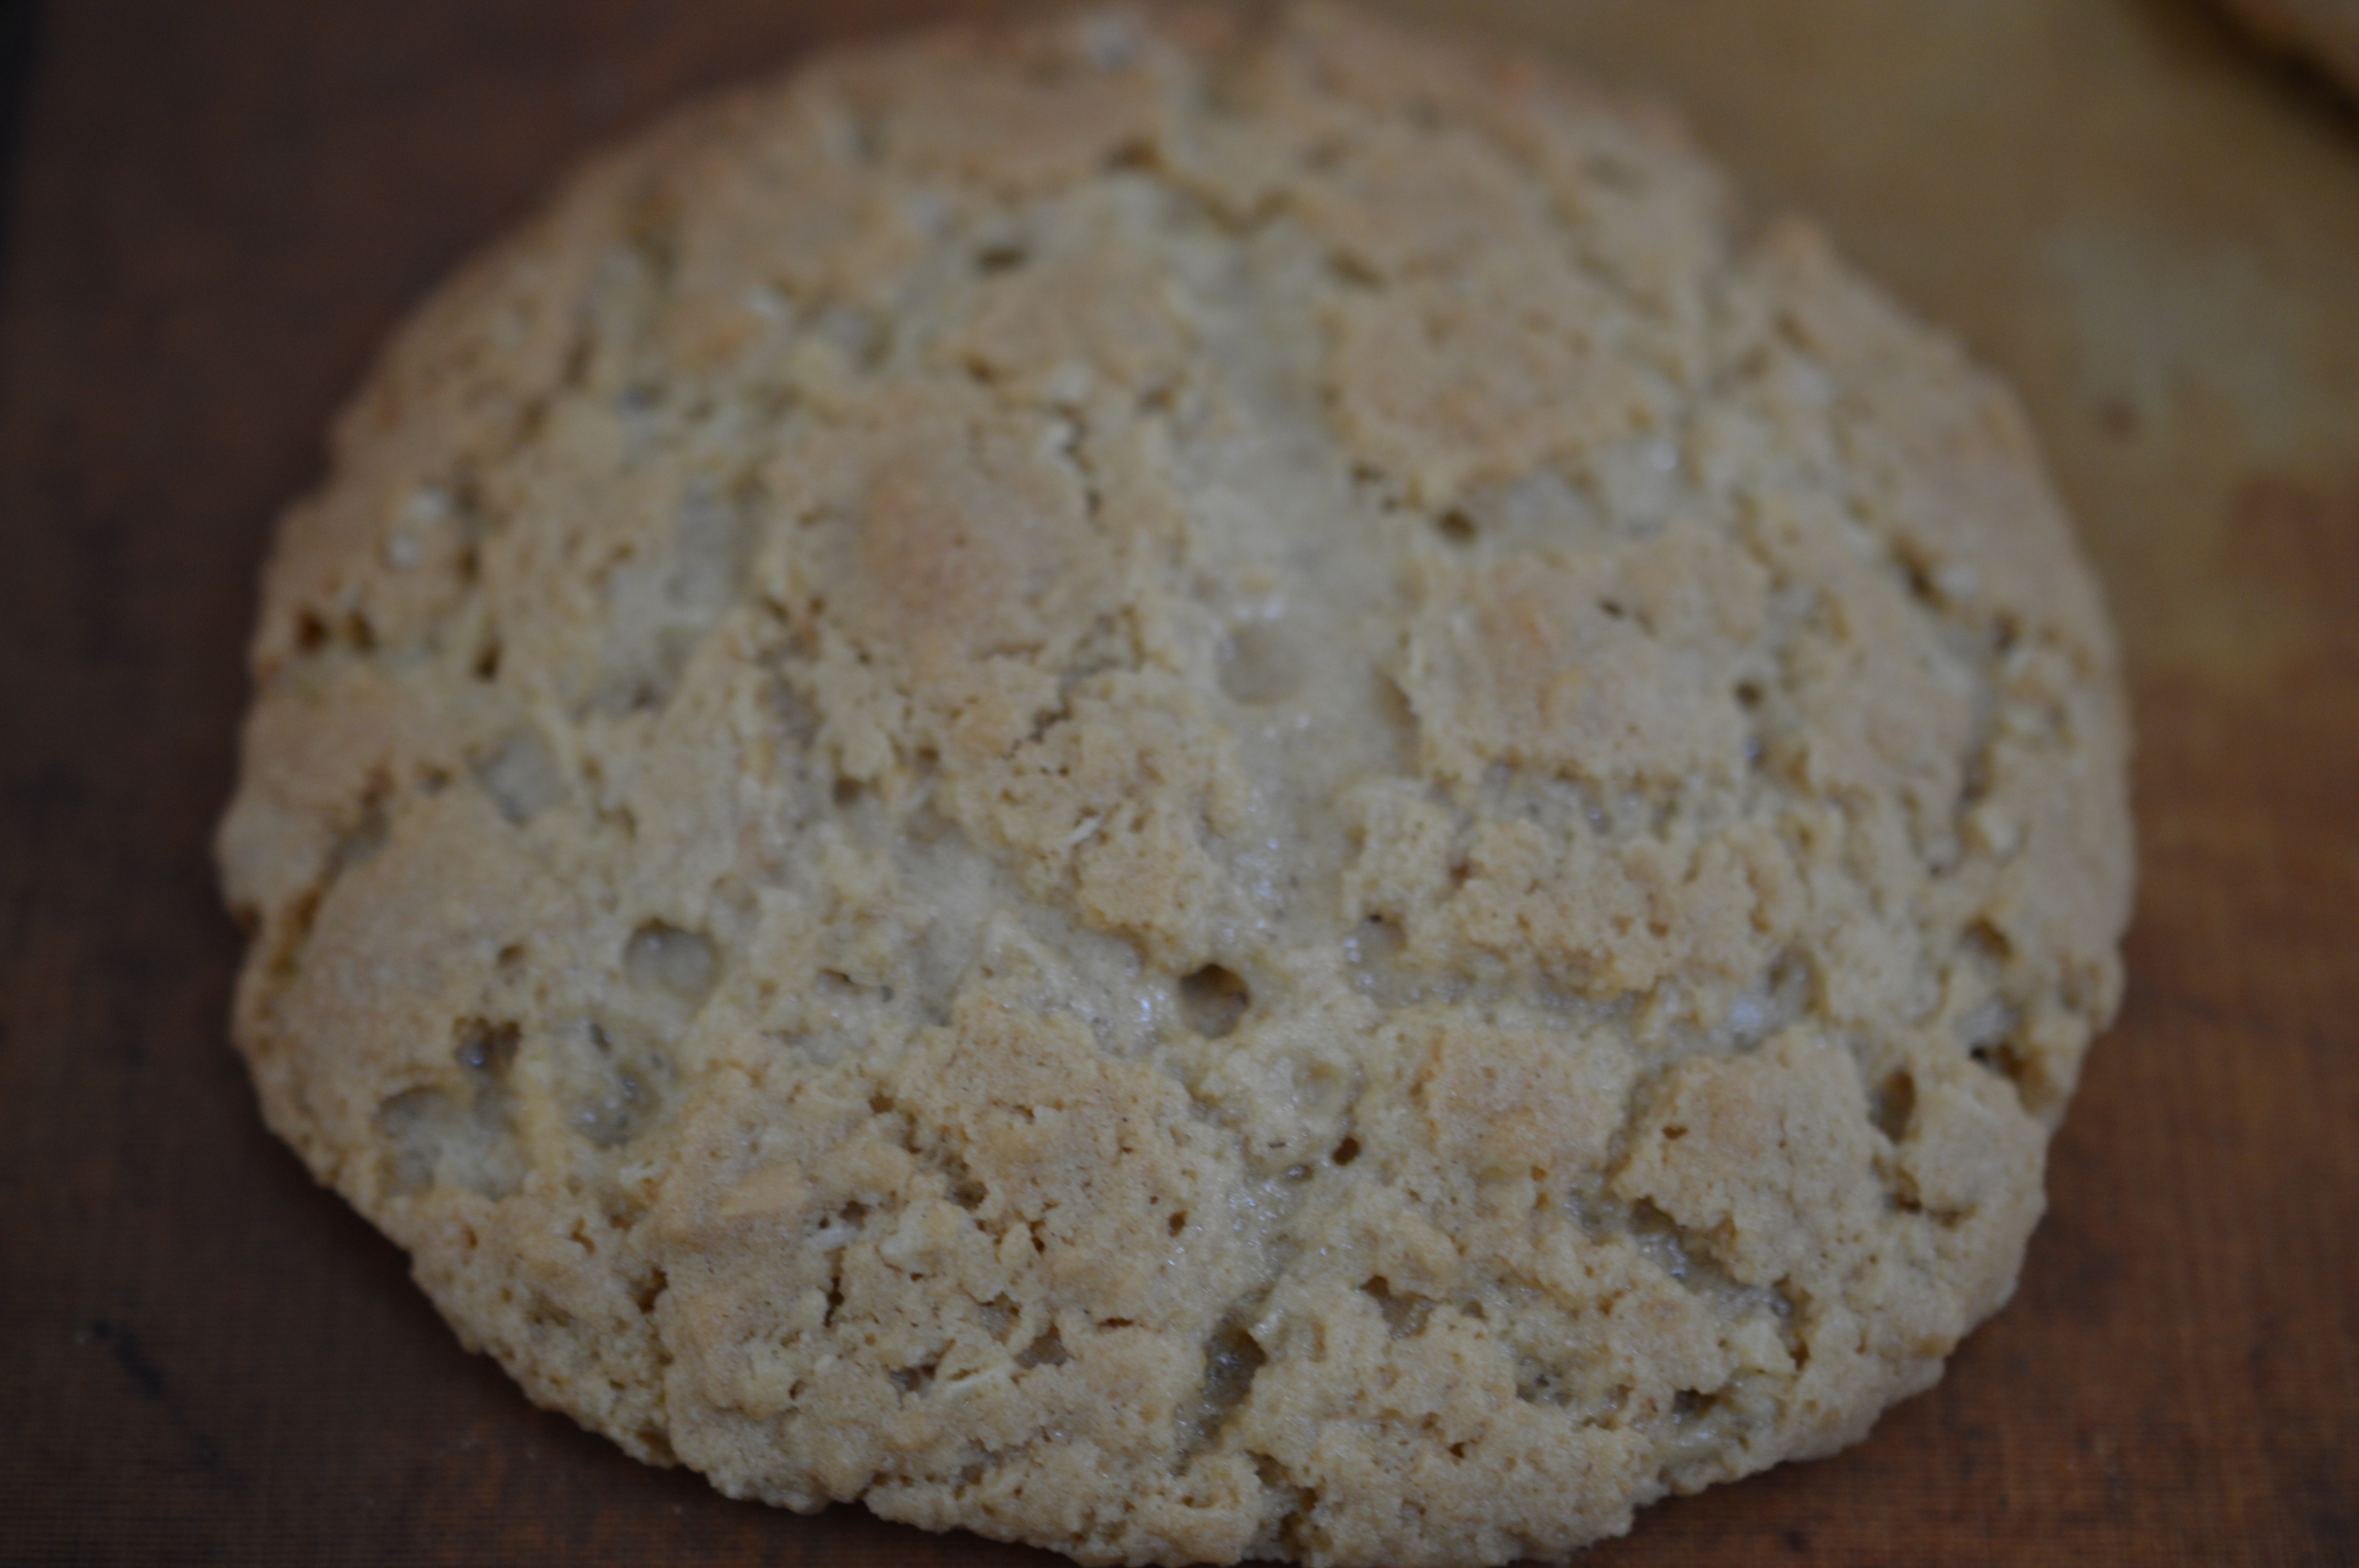
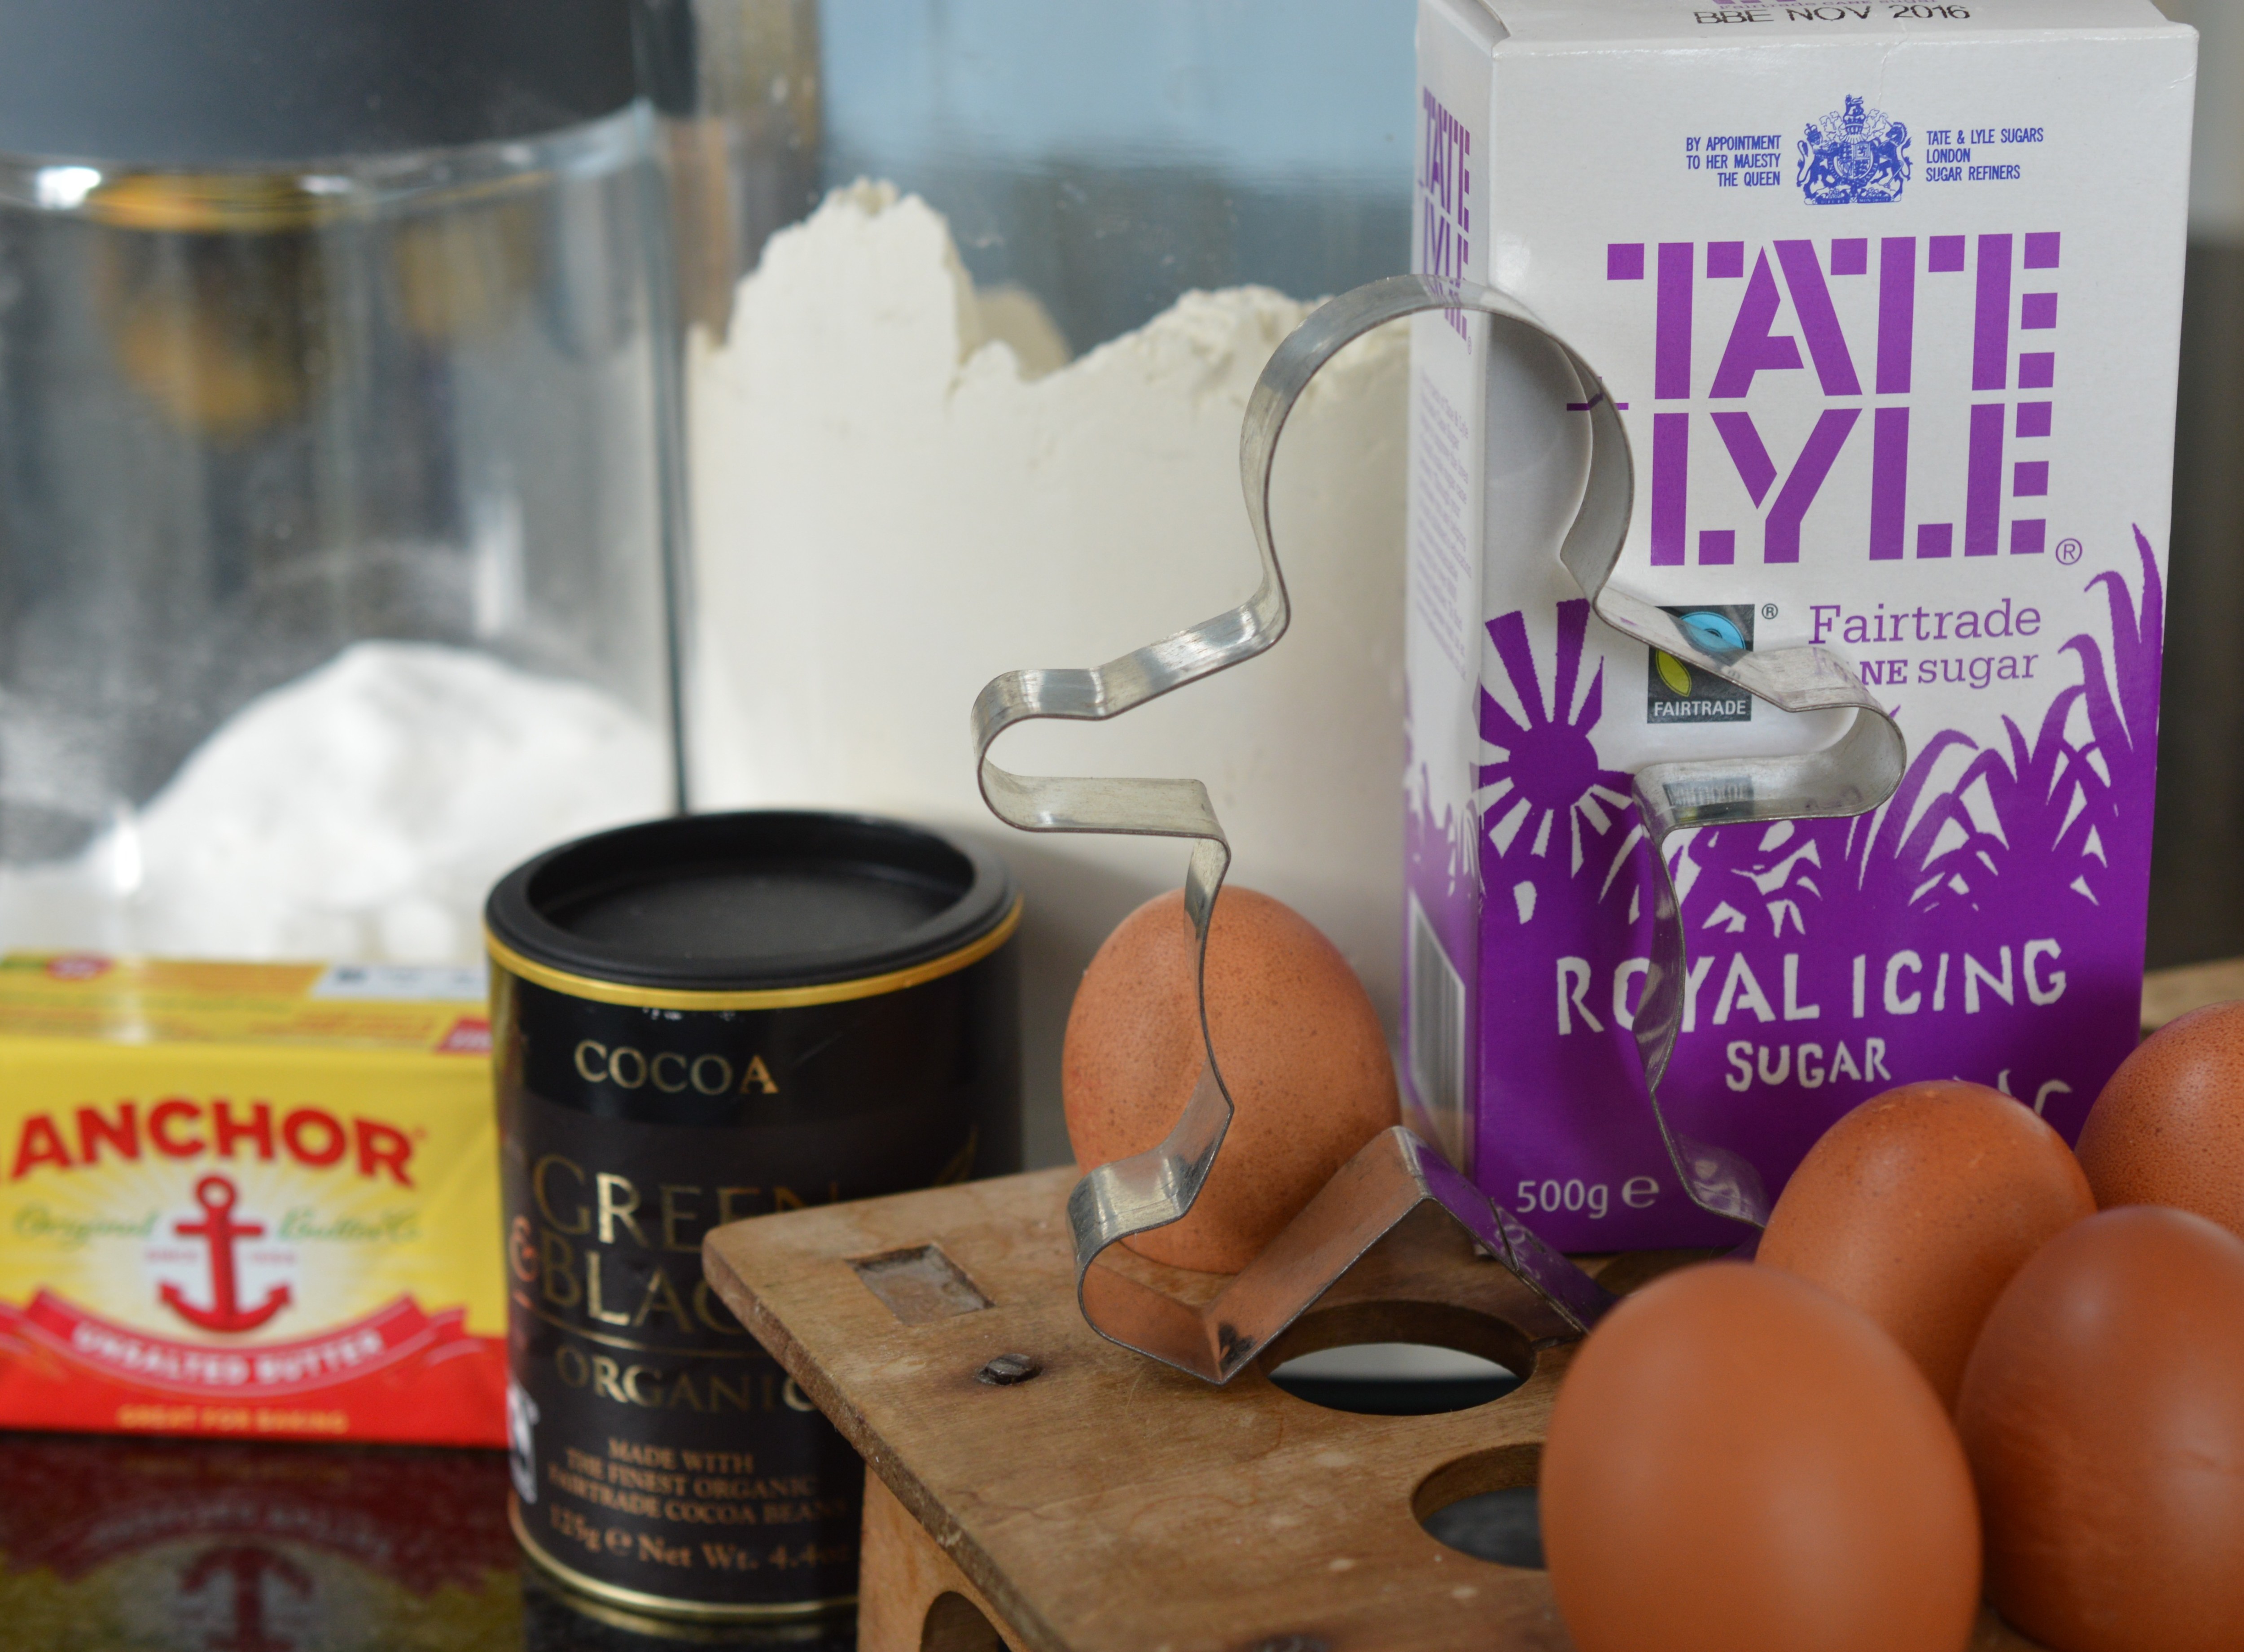 This is my ‘go-to’ chocolate biscuit/cookie dough. It’s very stable, takes minutes to whizz up and is easy to remember – 200g butter, 200g caster sugar, 400g dry ingredients and one egg.
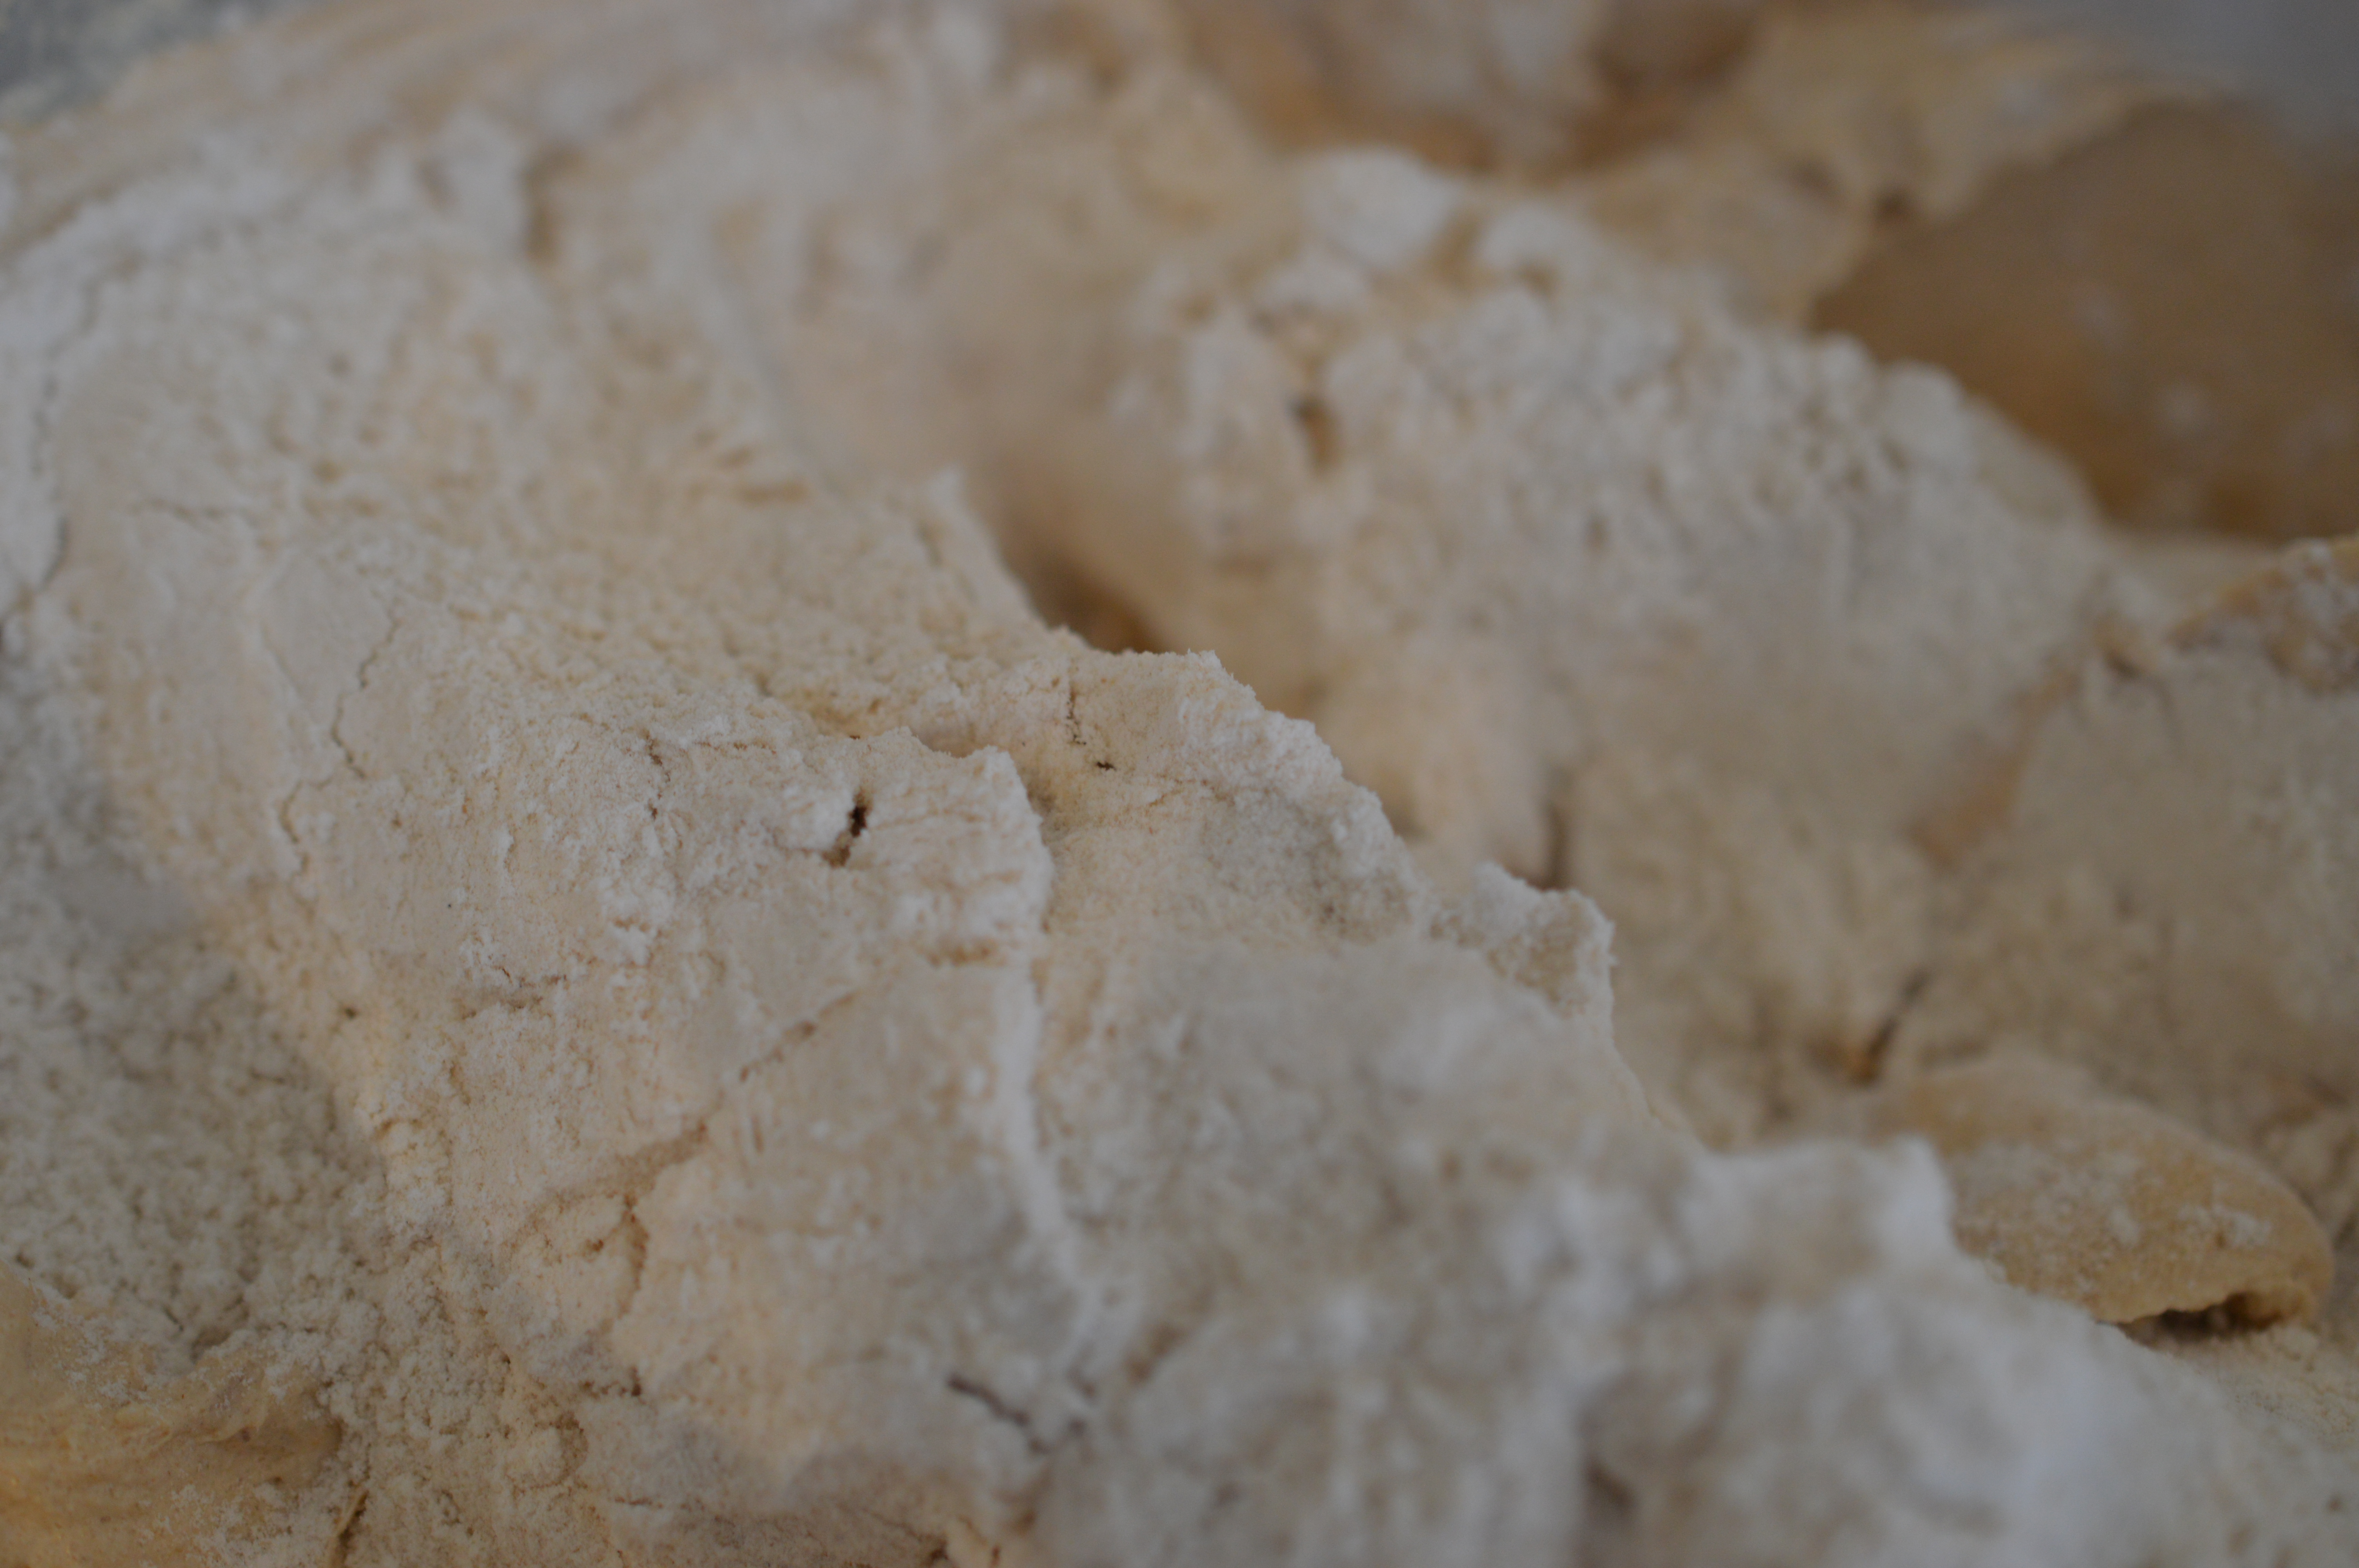
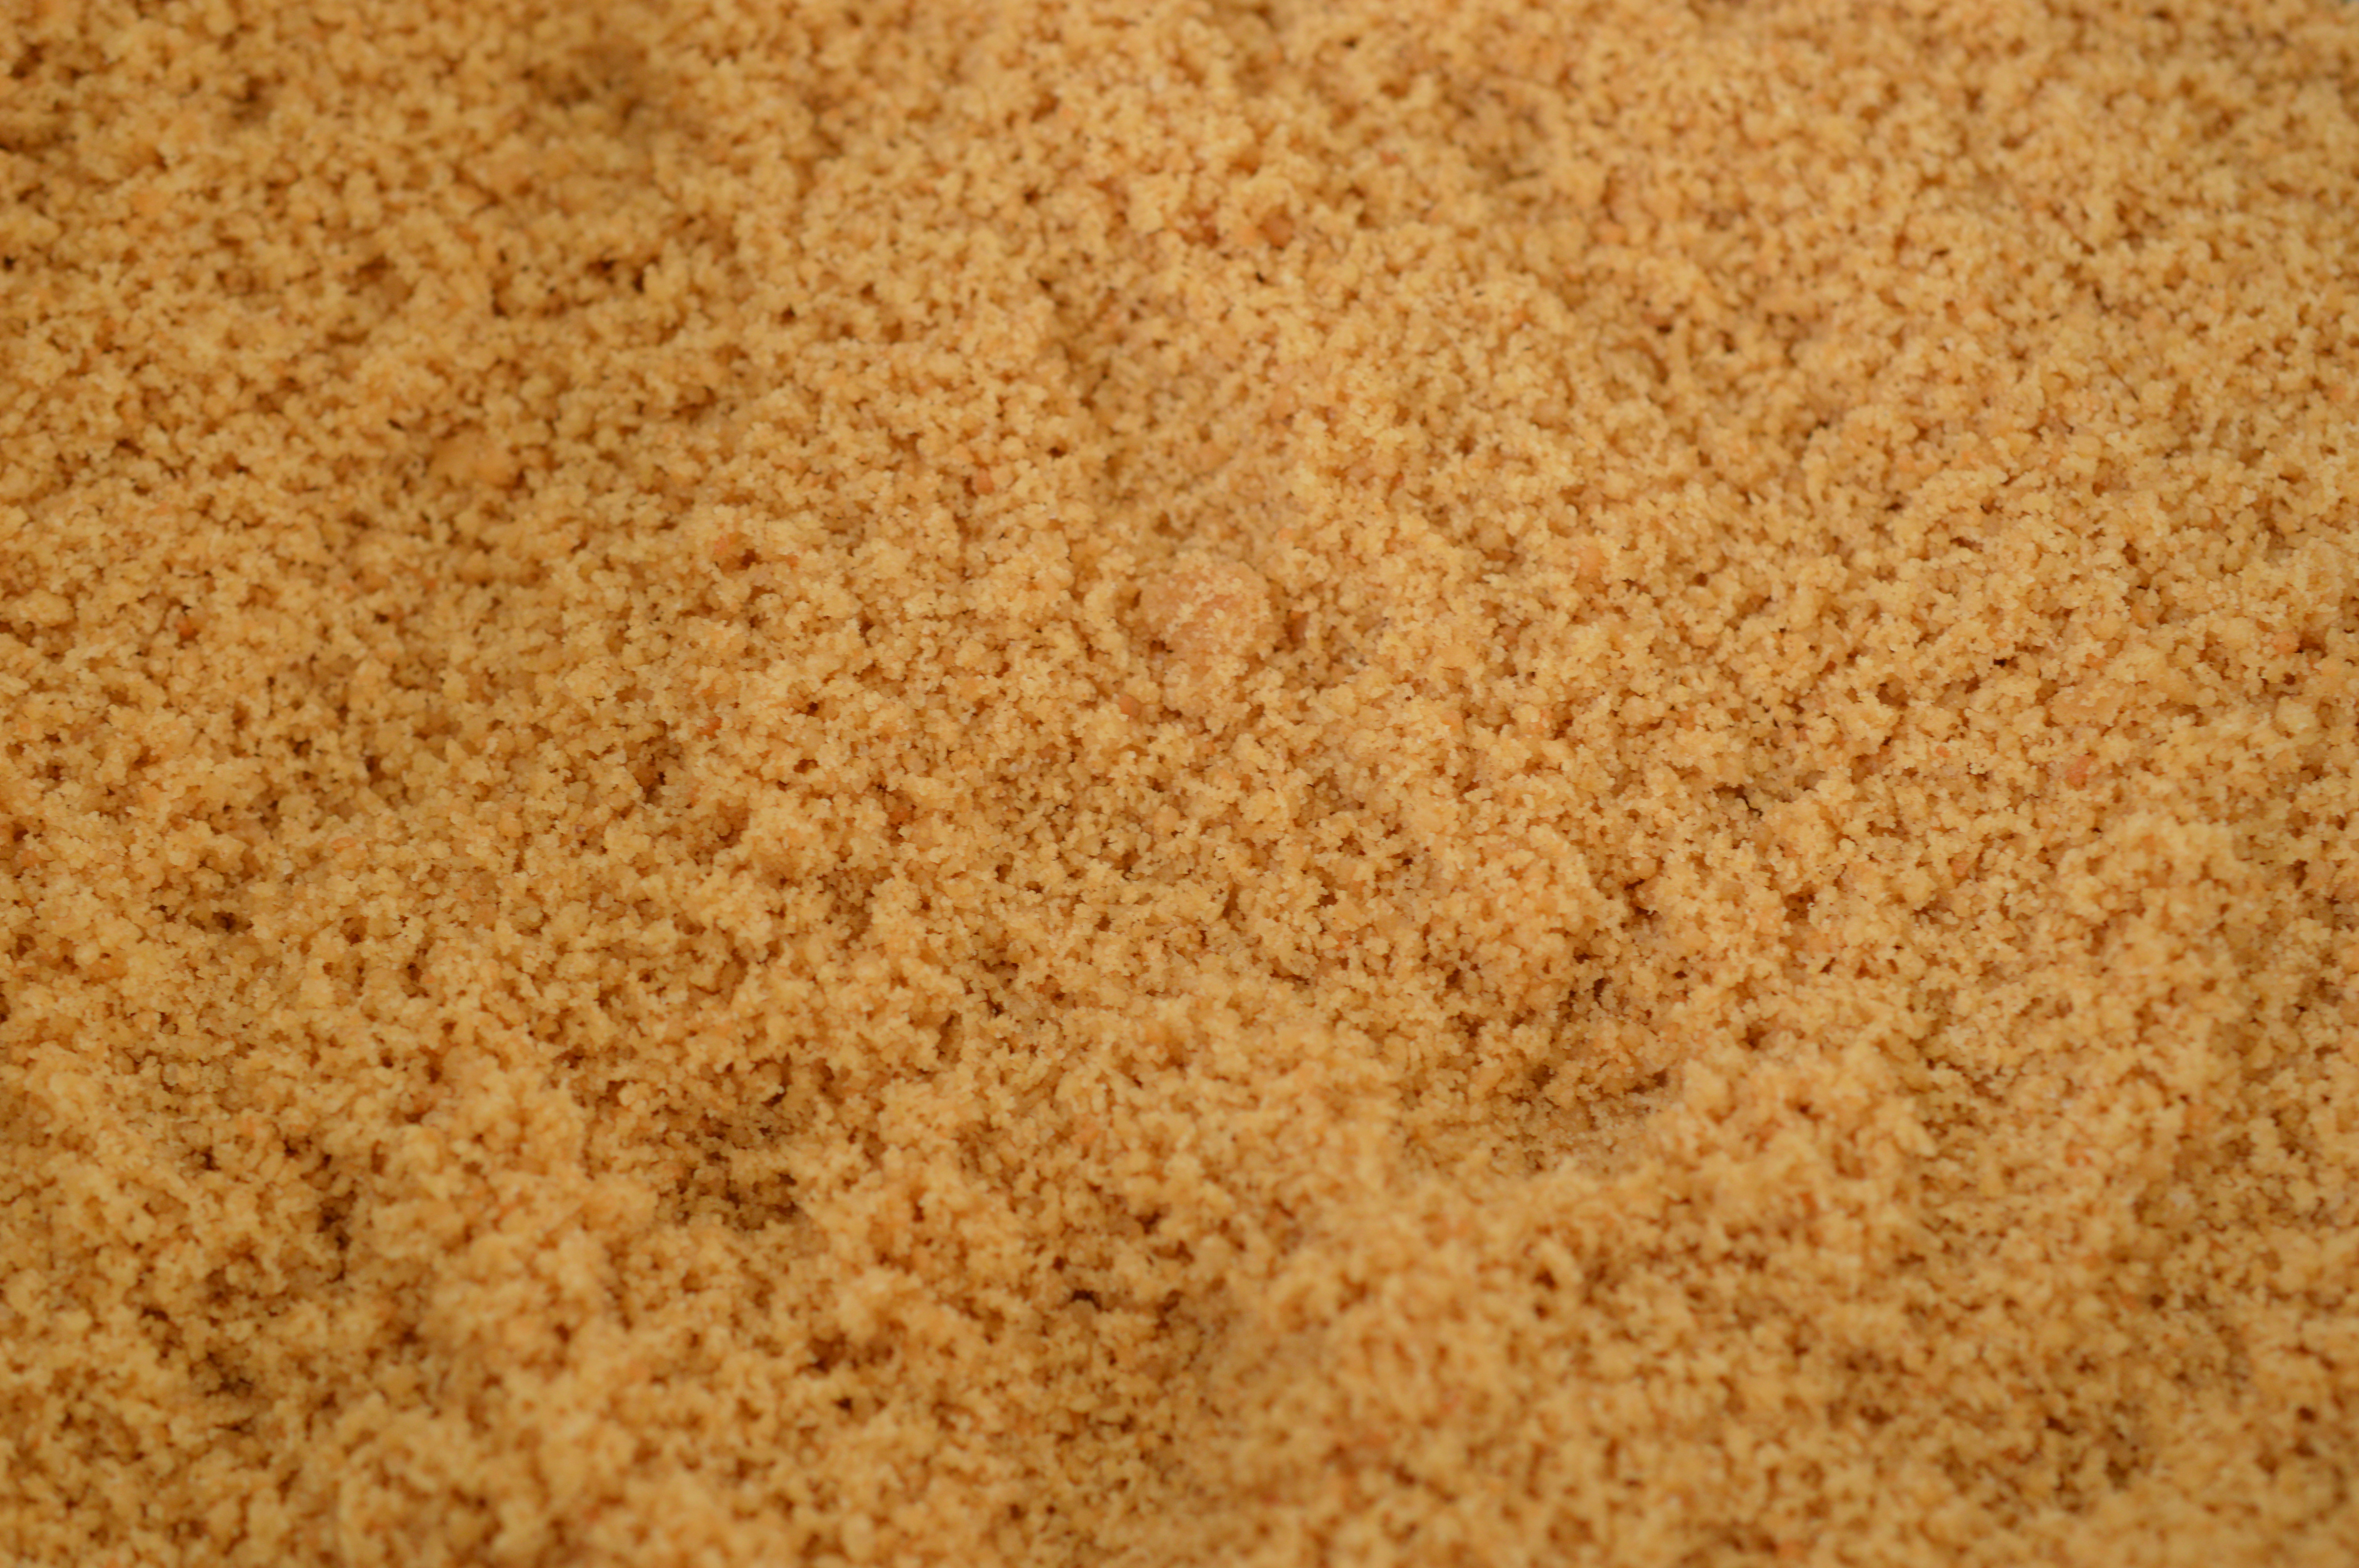
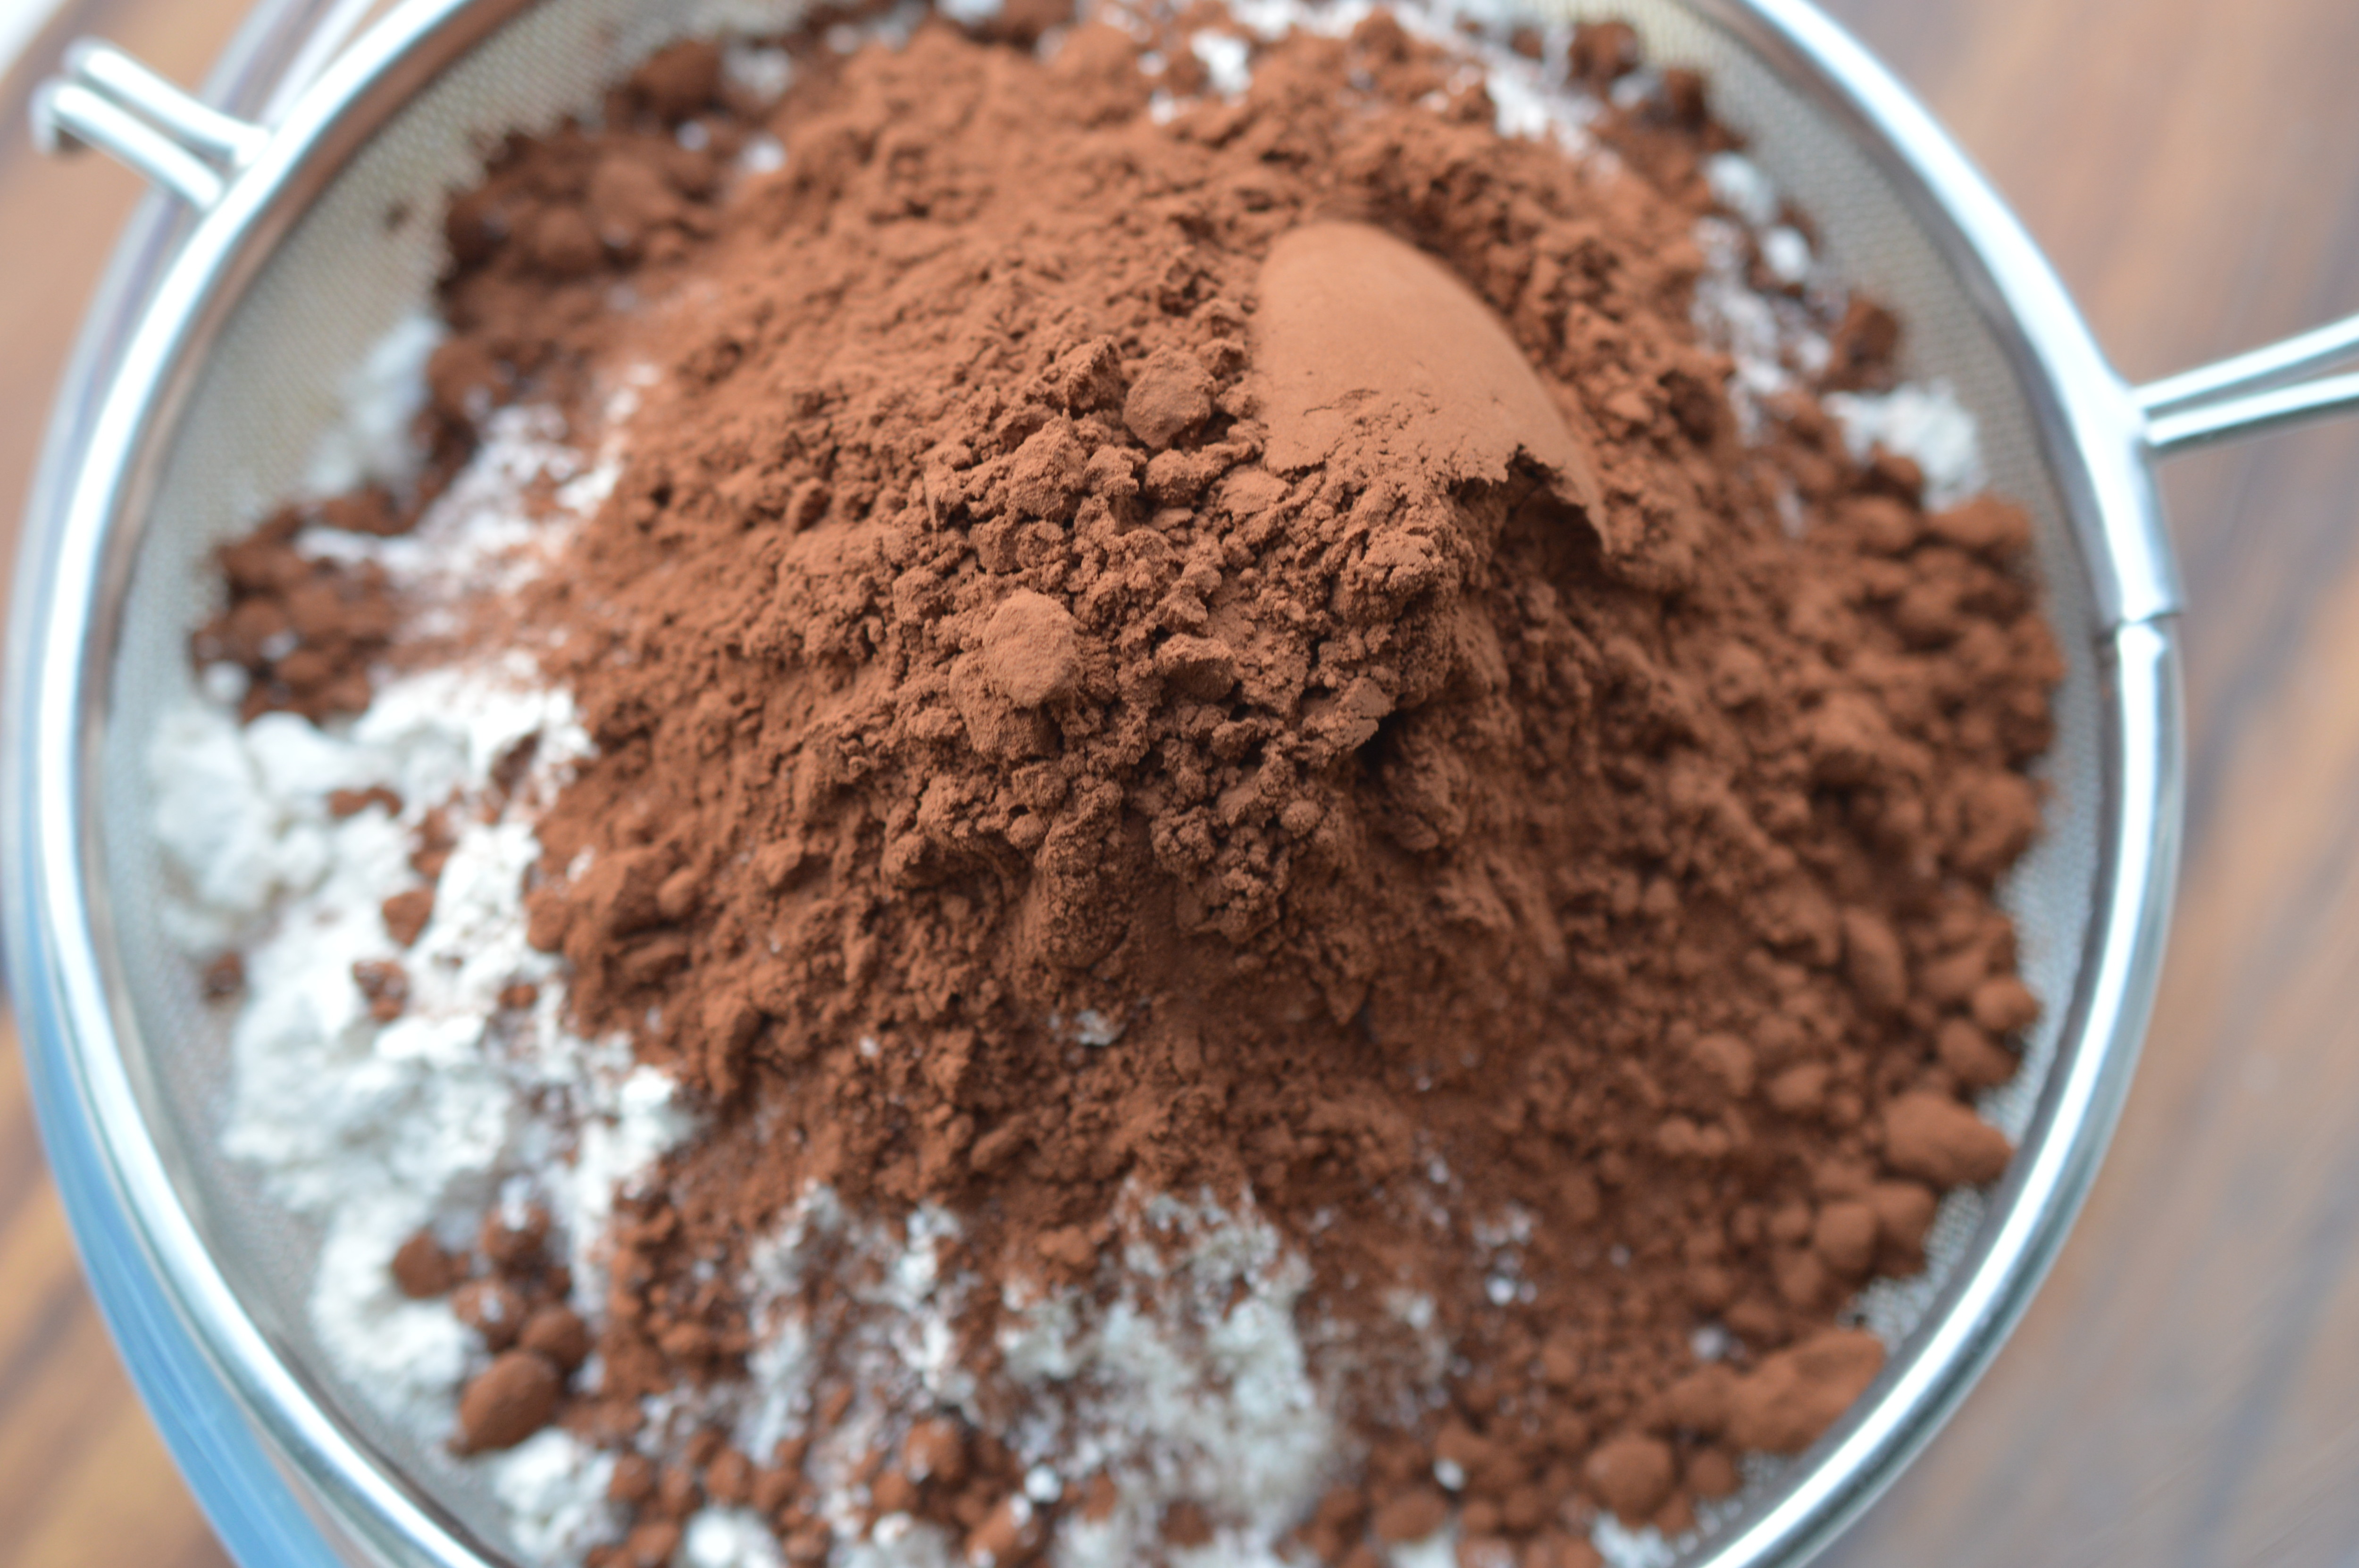 The flour and cocoa powder need to be sieved together. Cocoa powder is prone to lumpiness and you may as well get the two combined at the start.
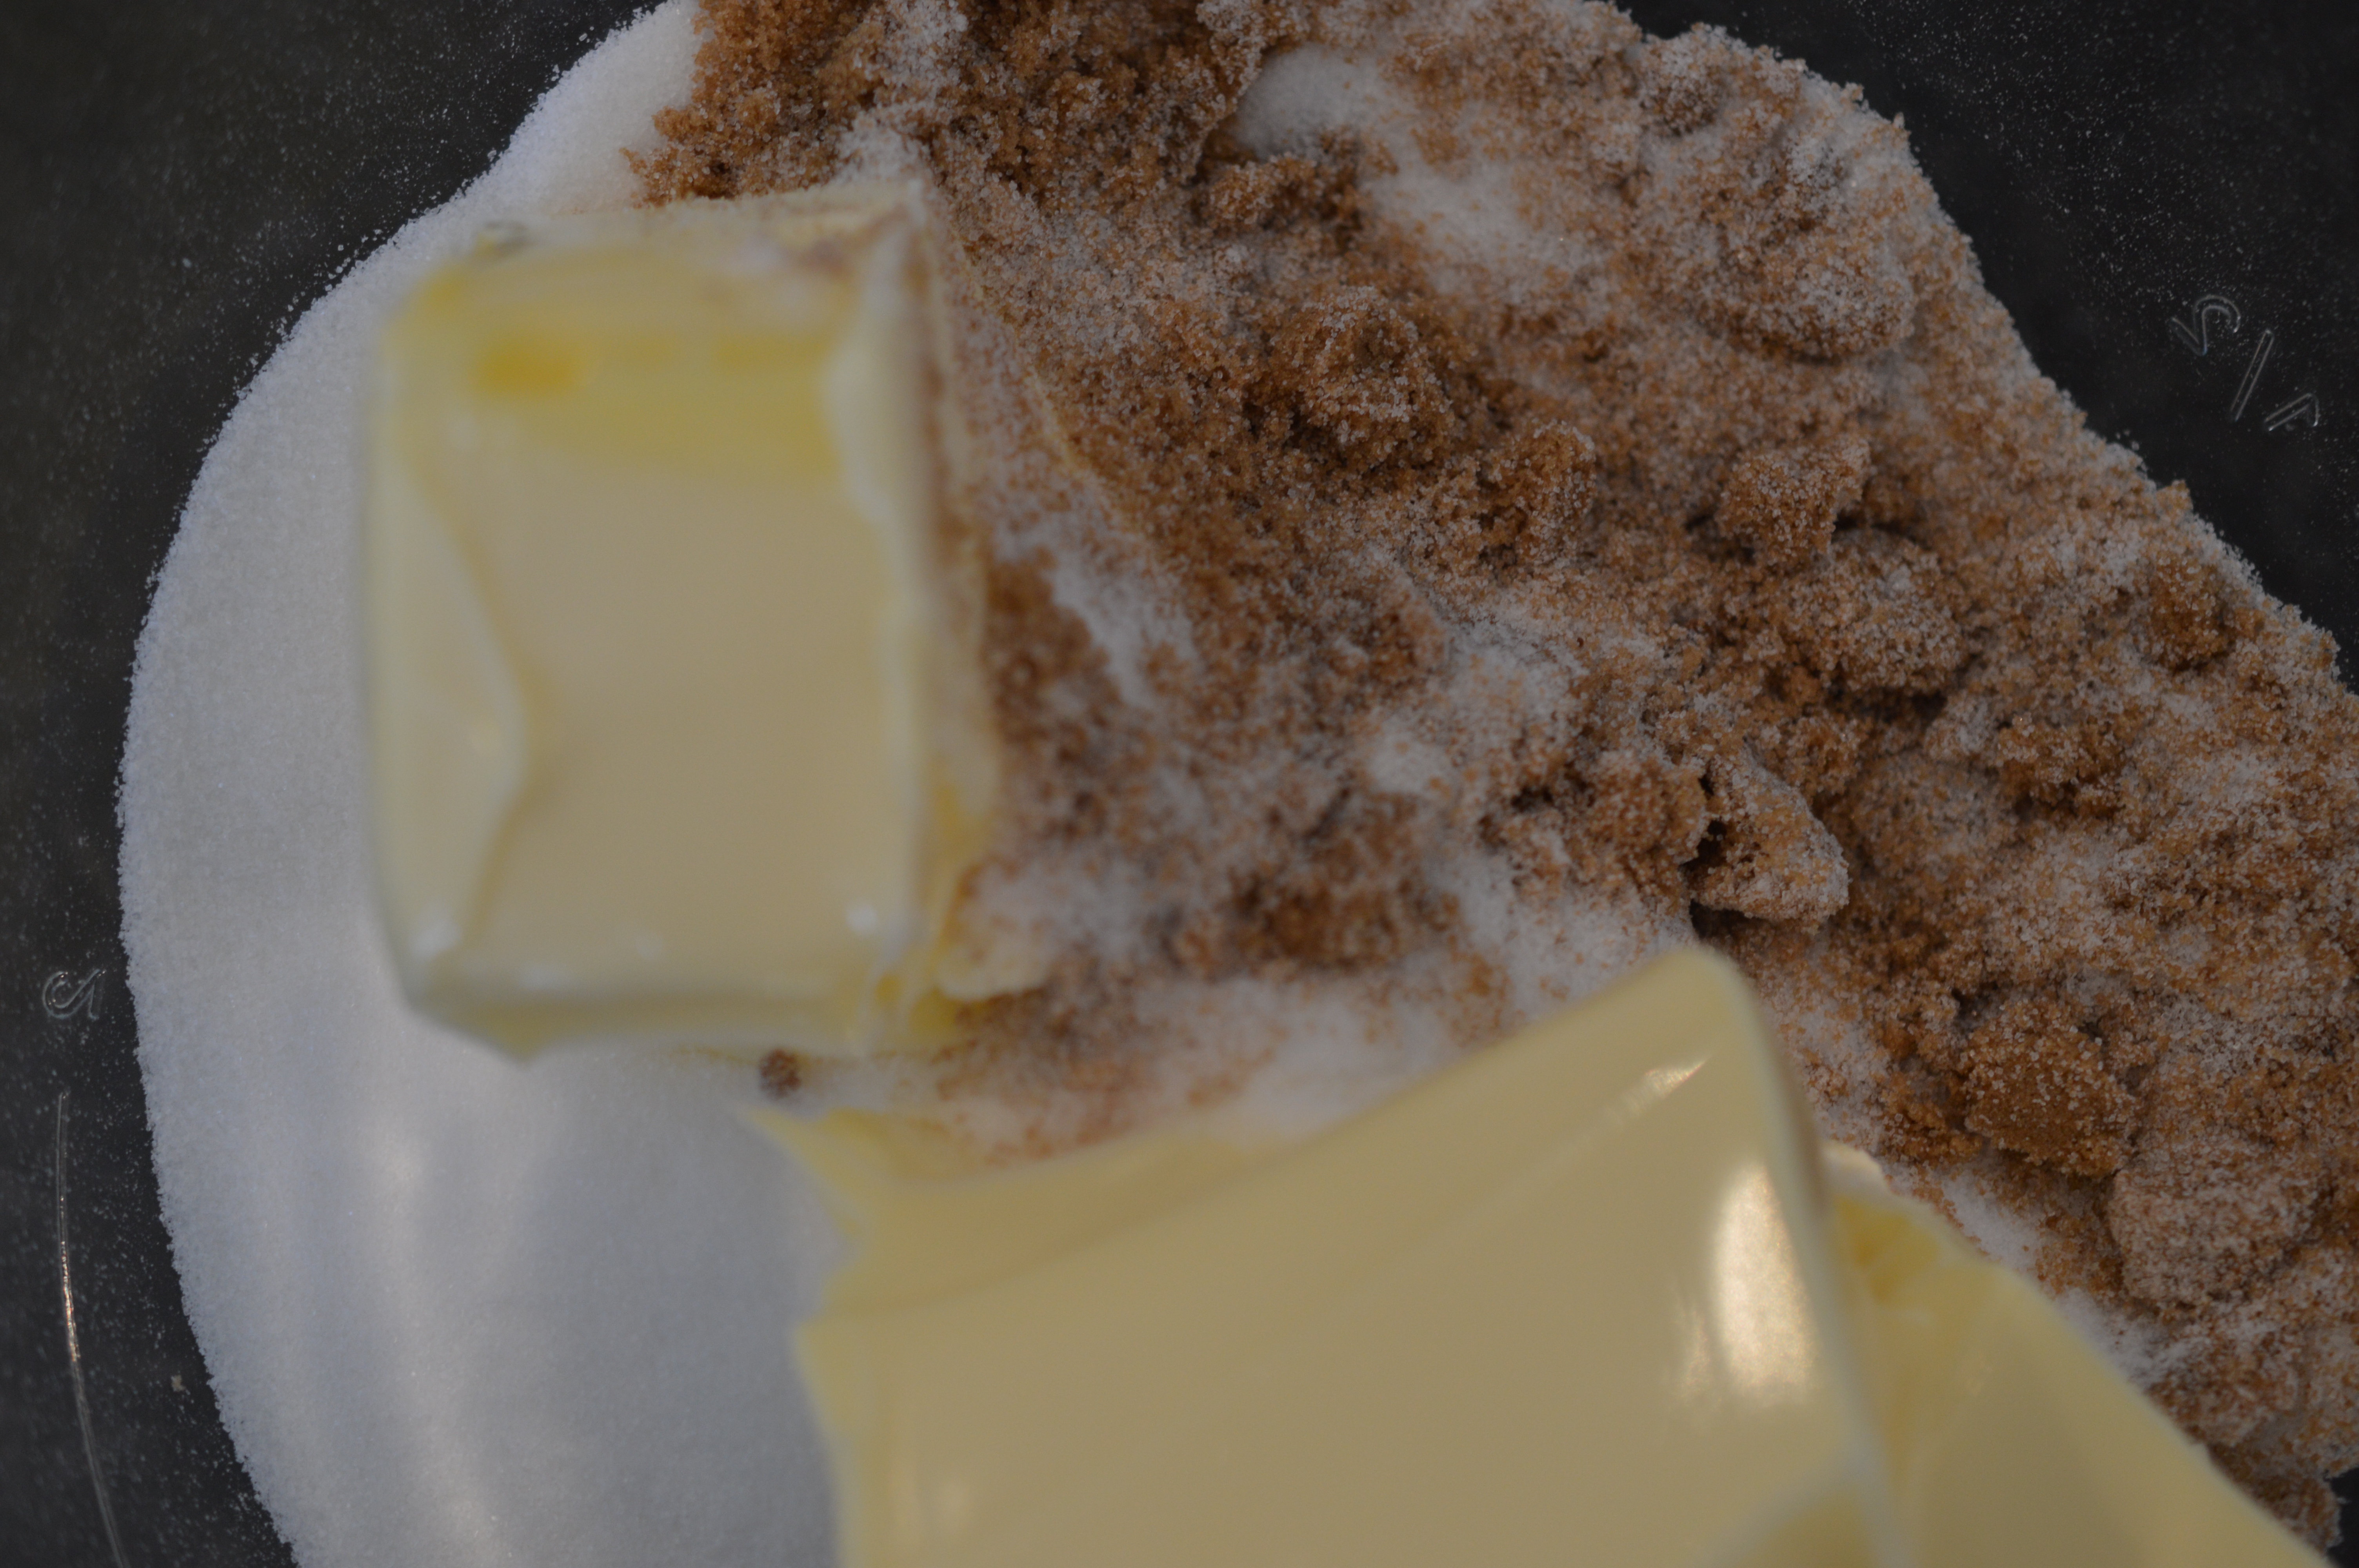
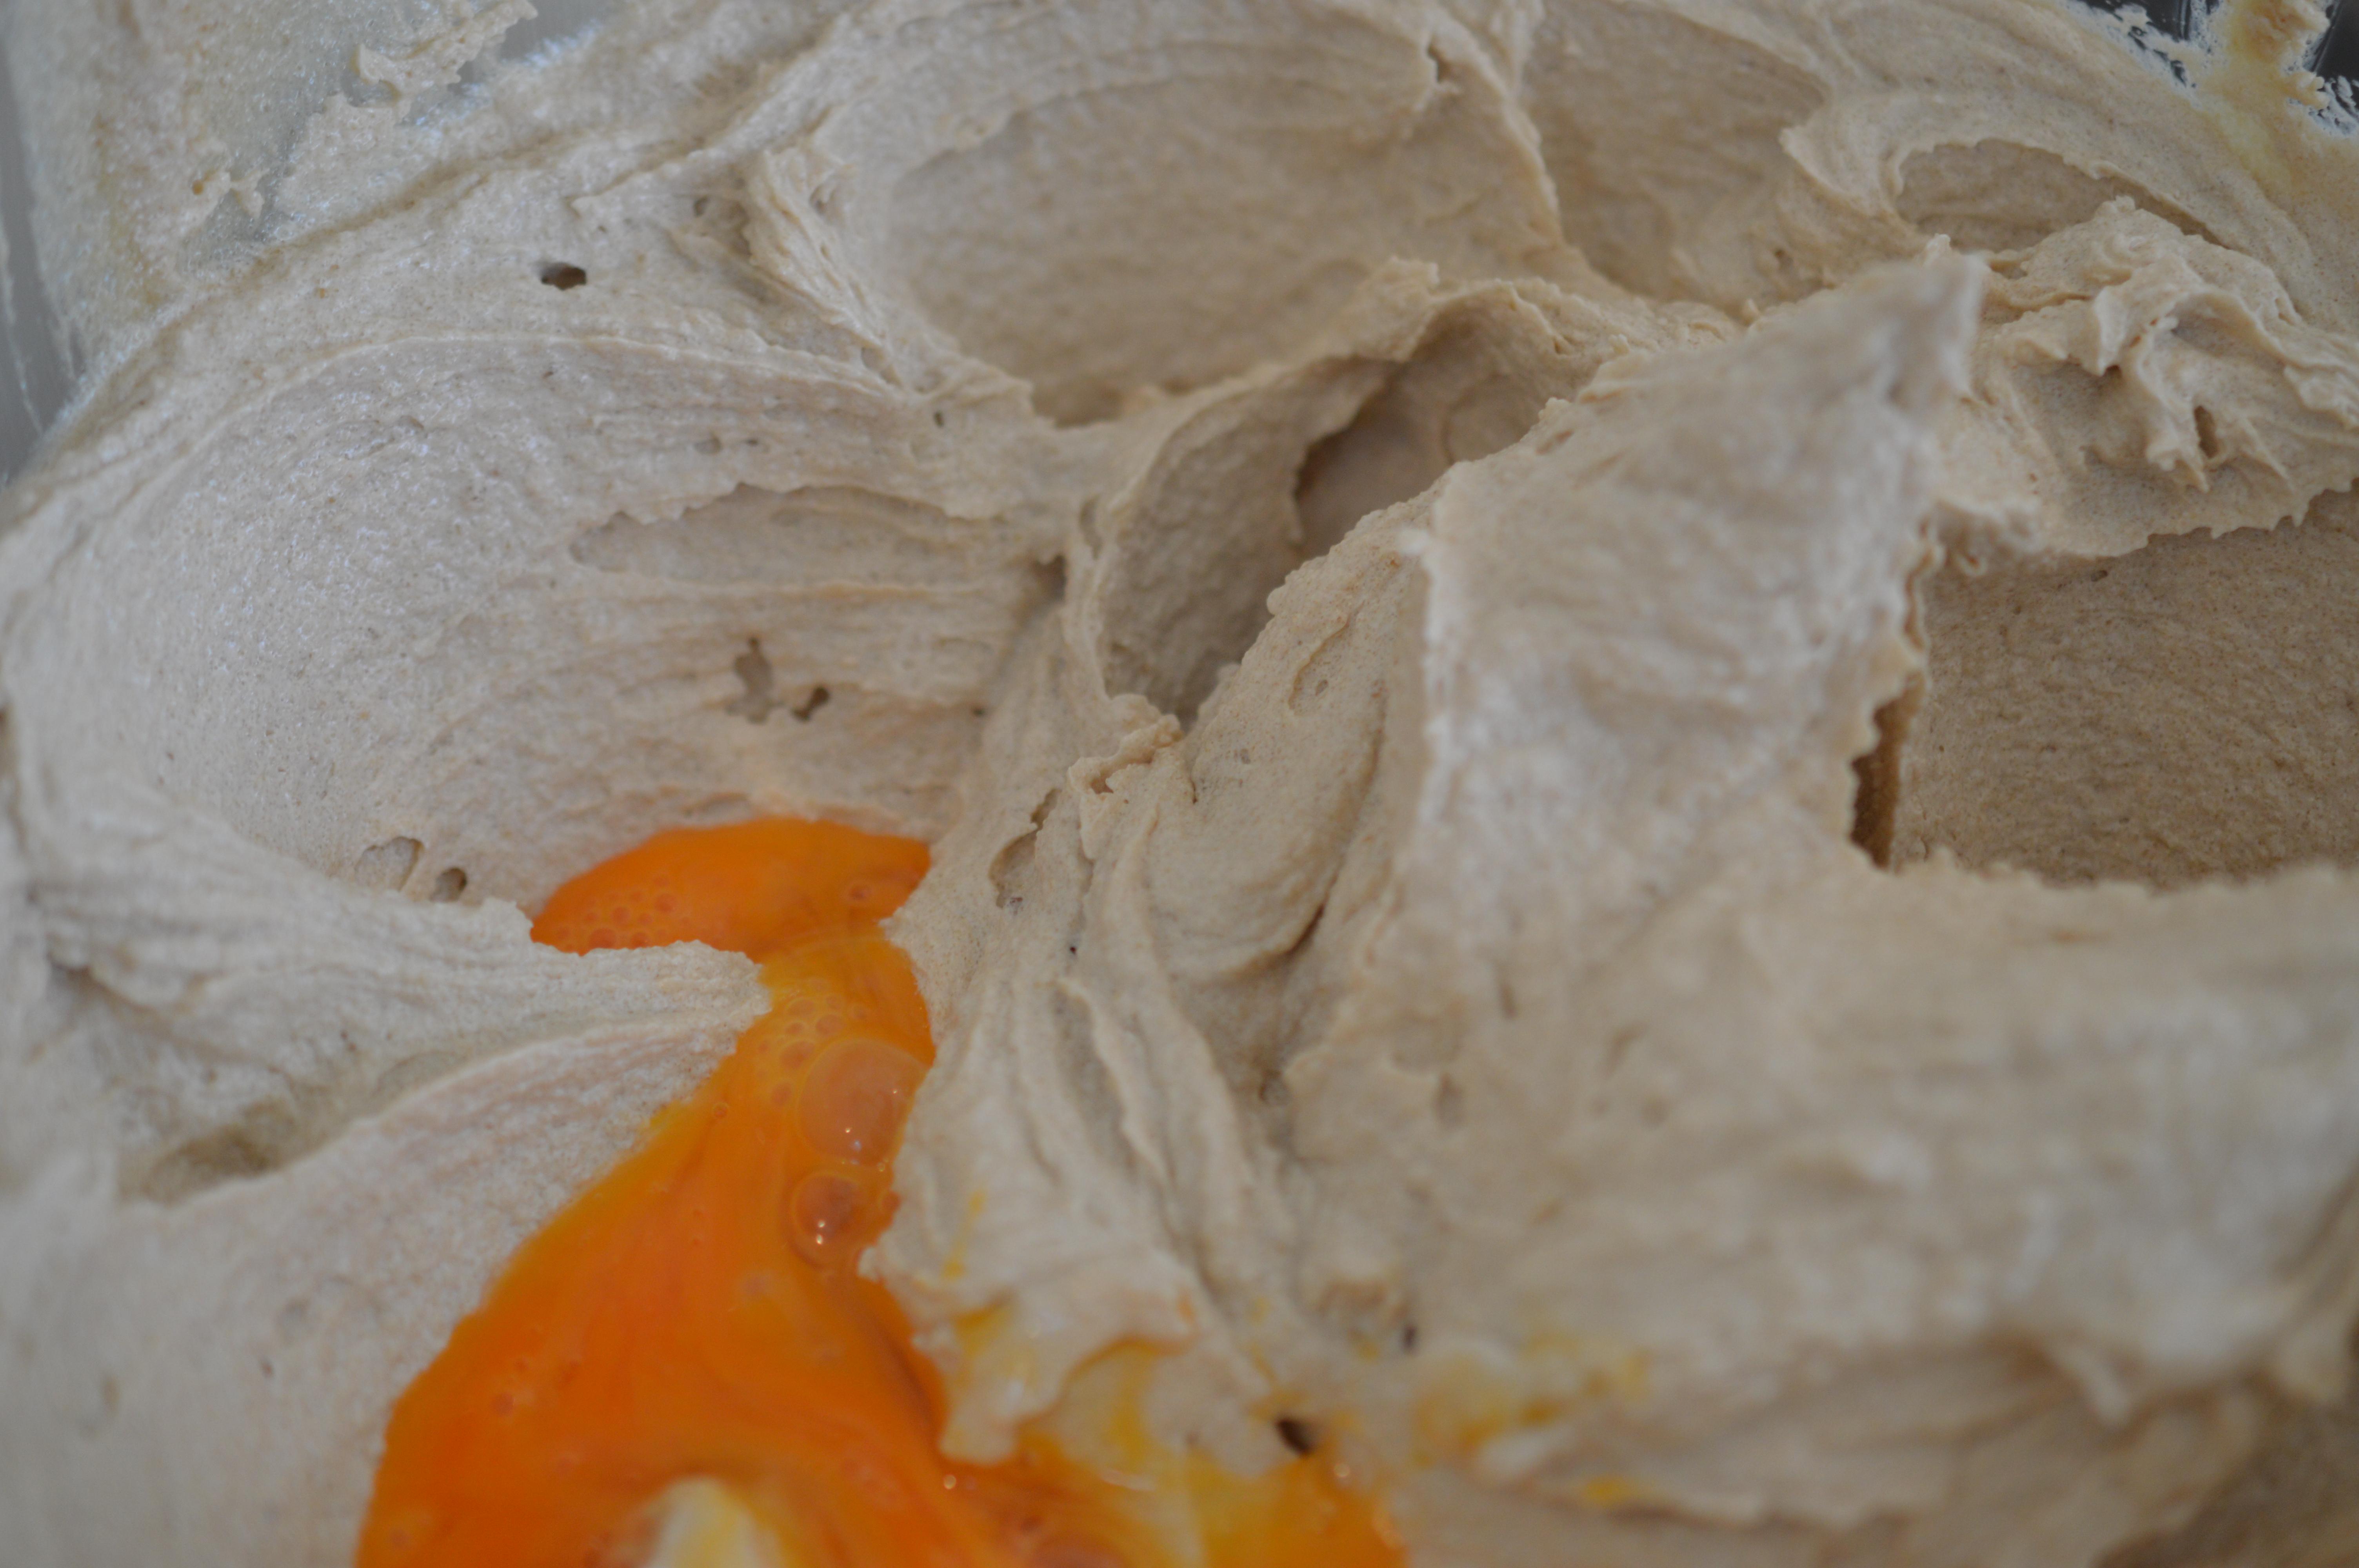
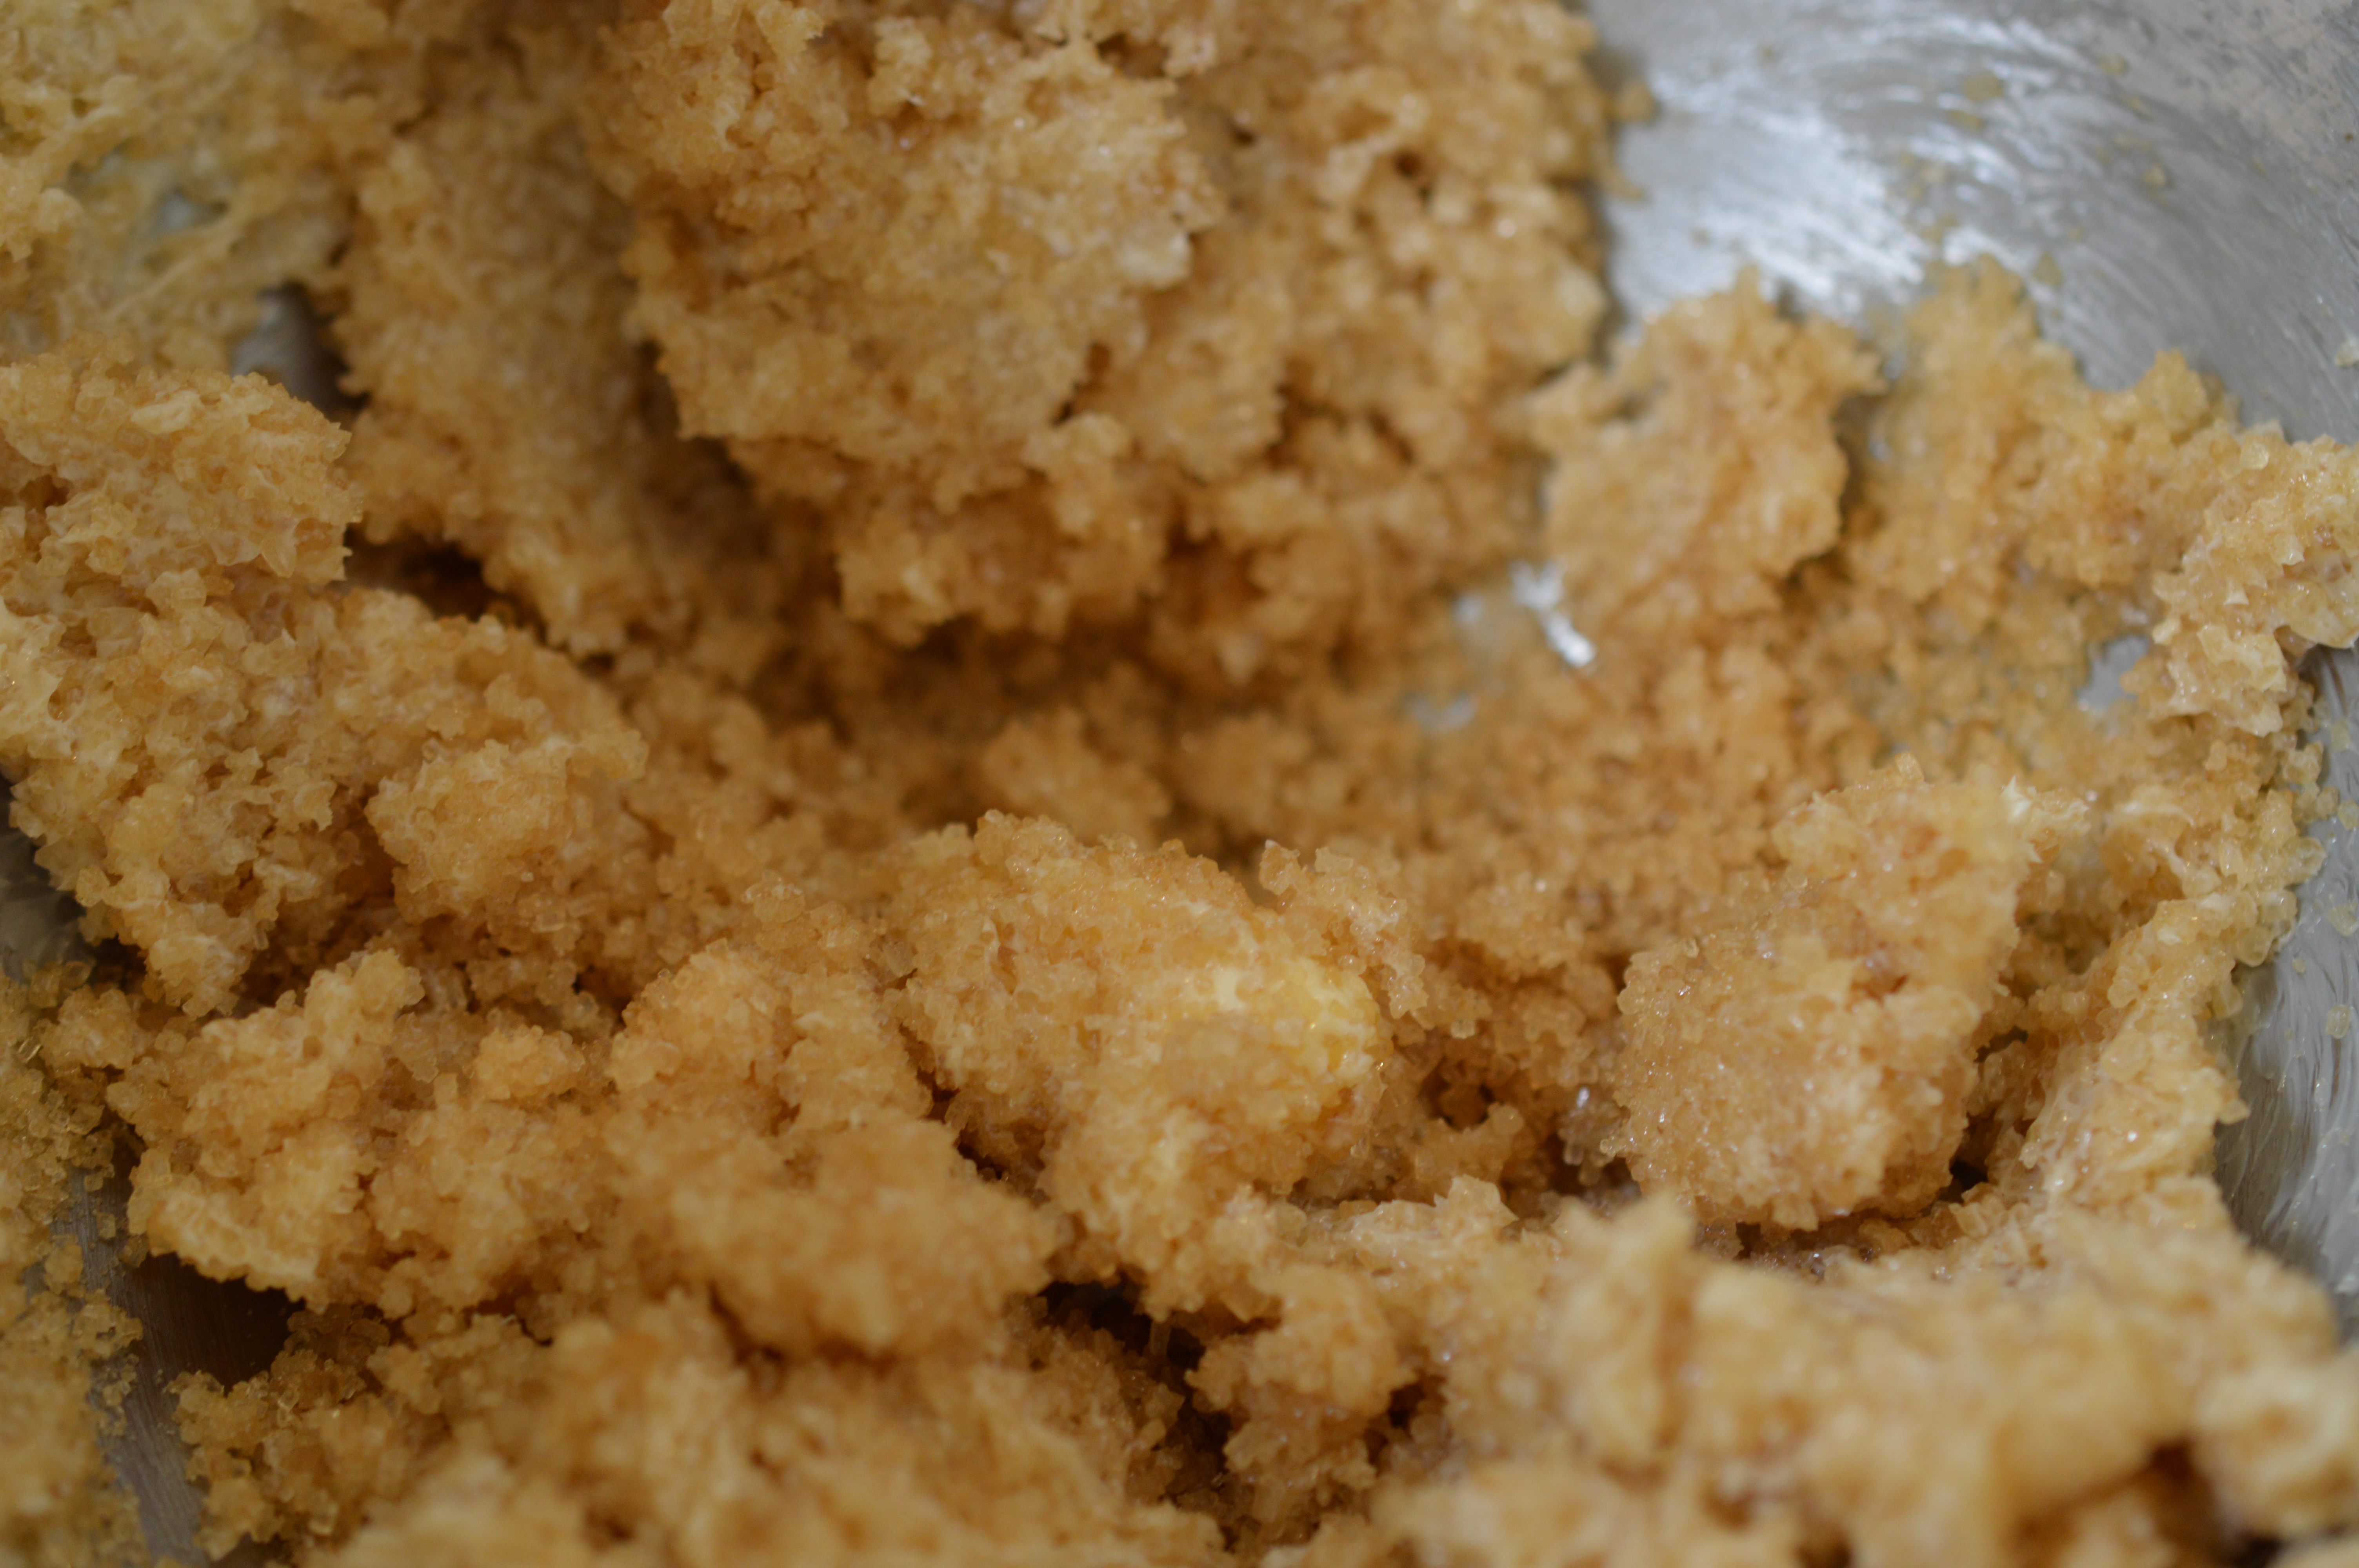
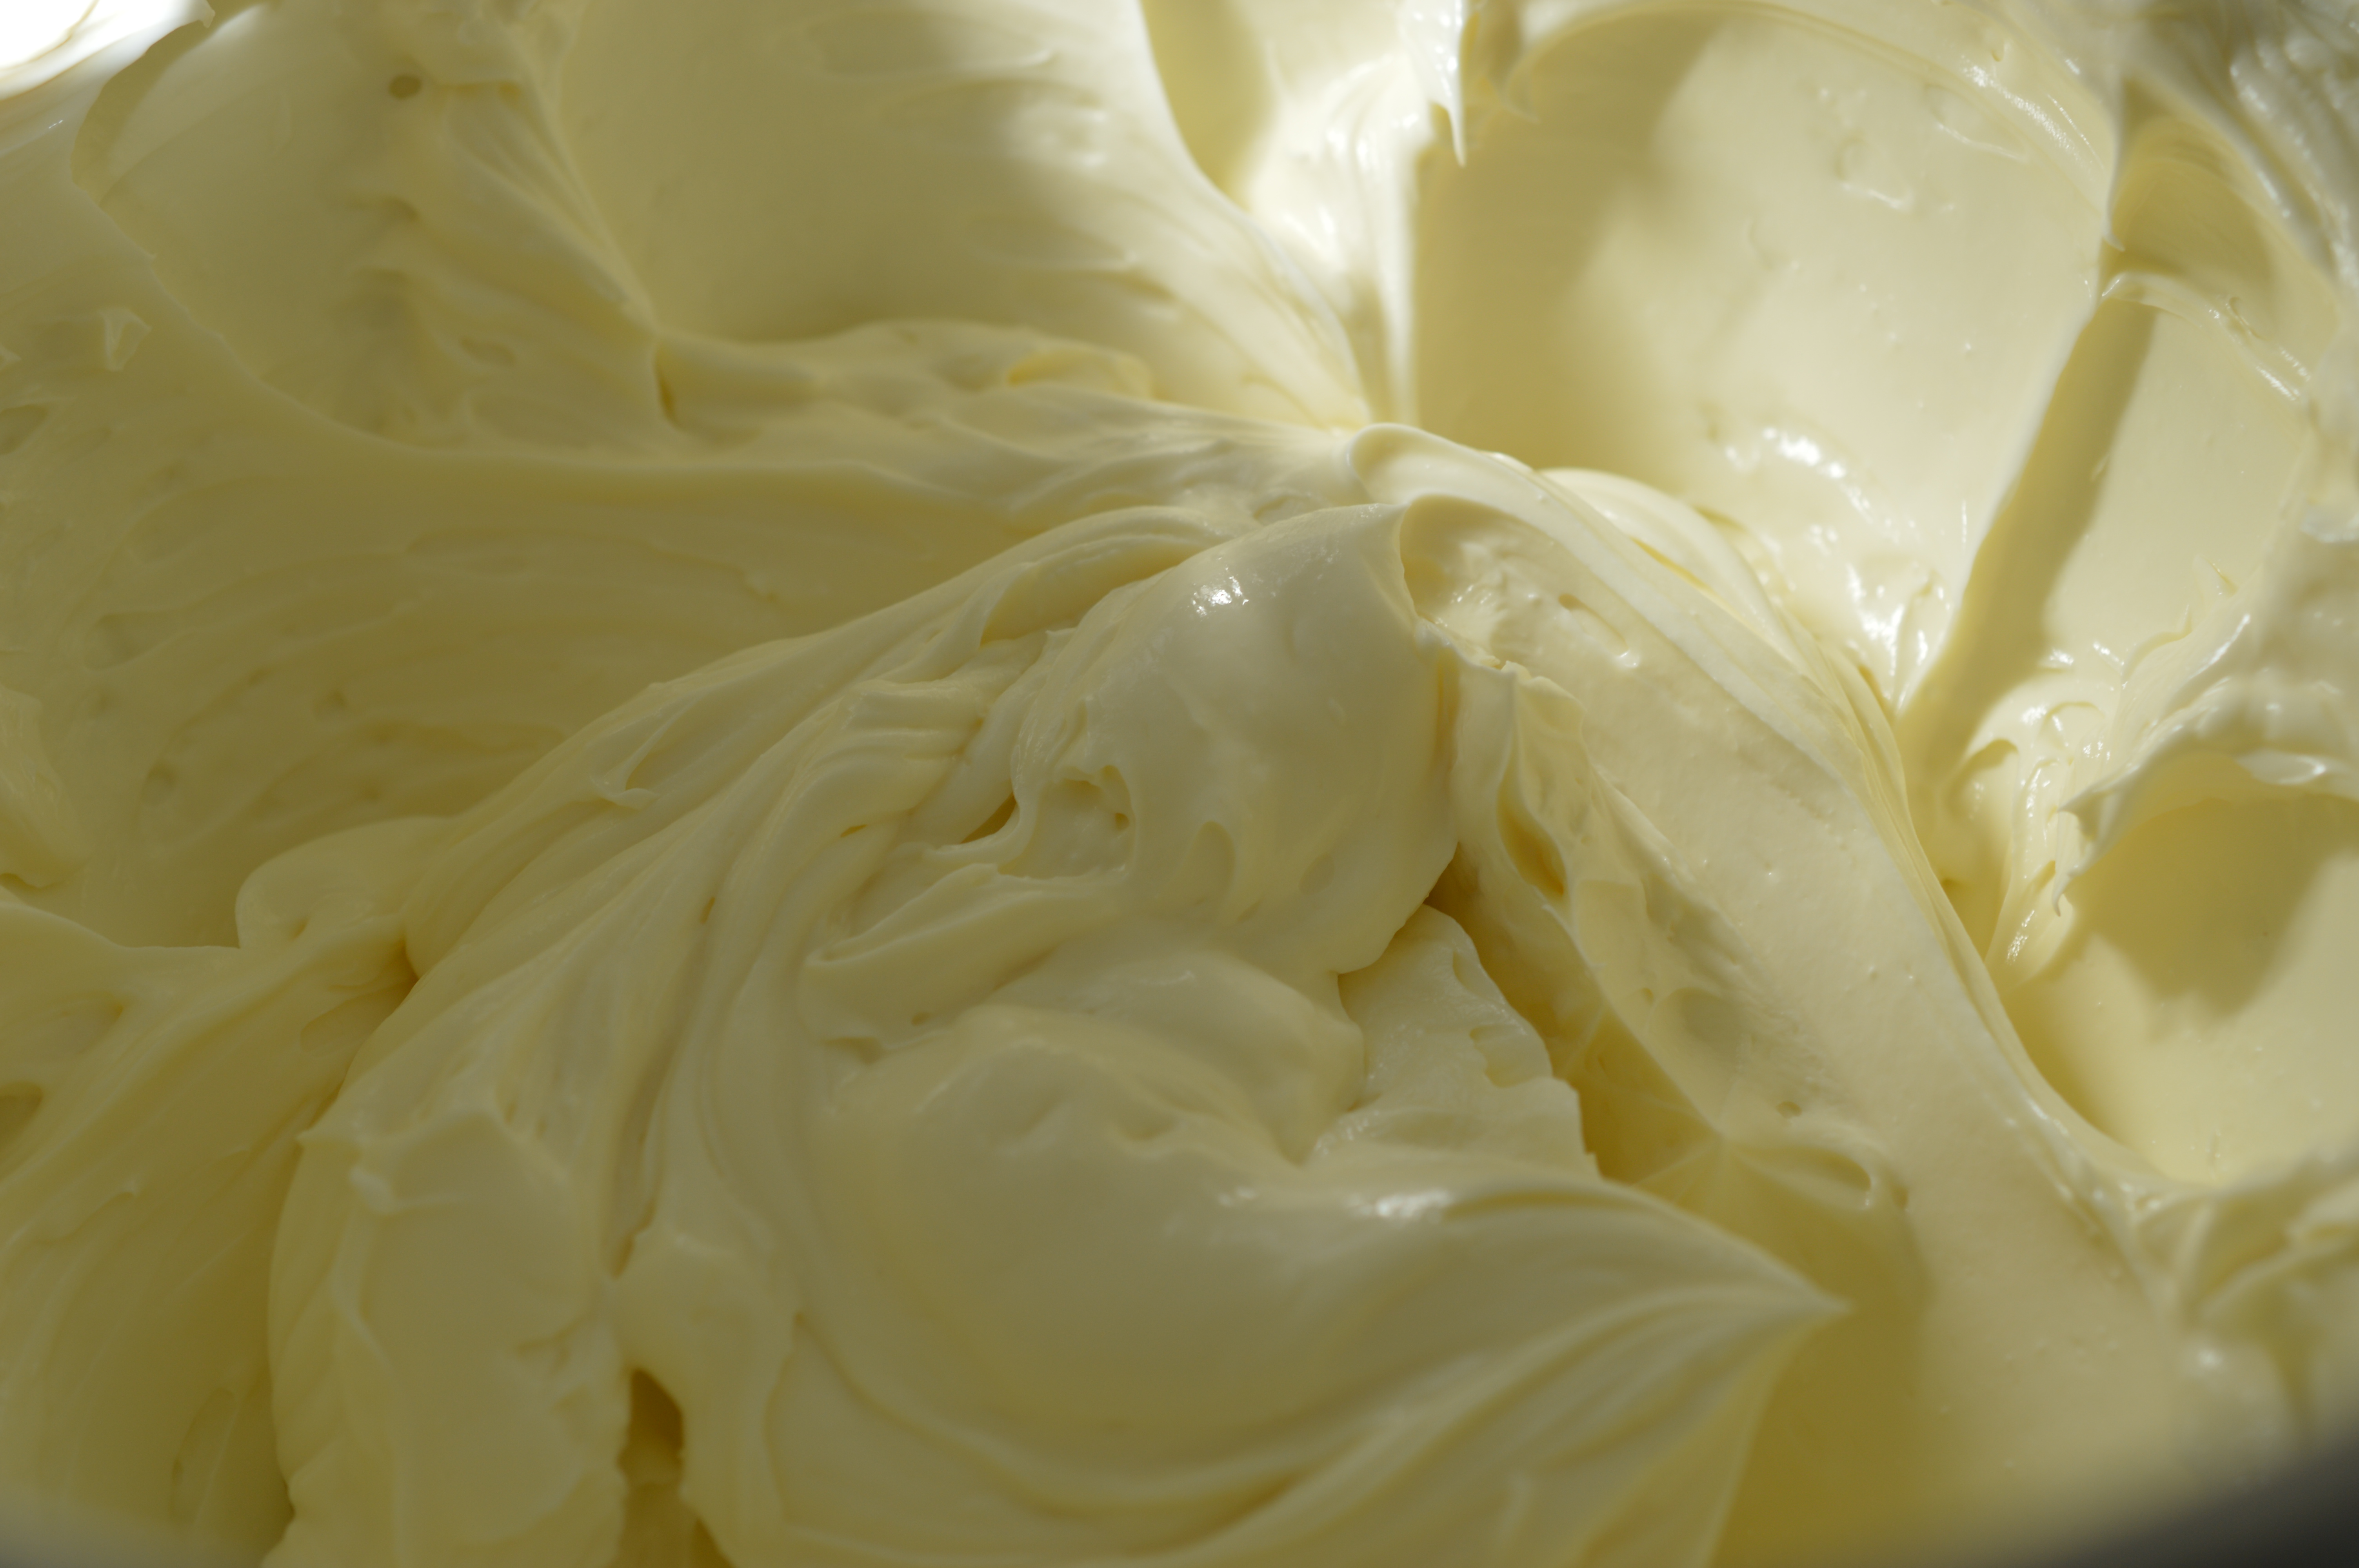
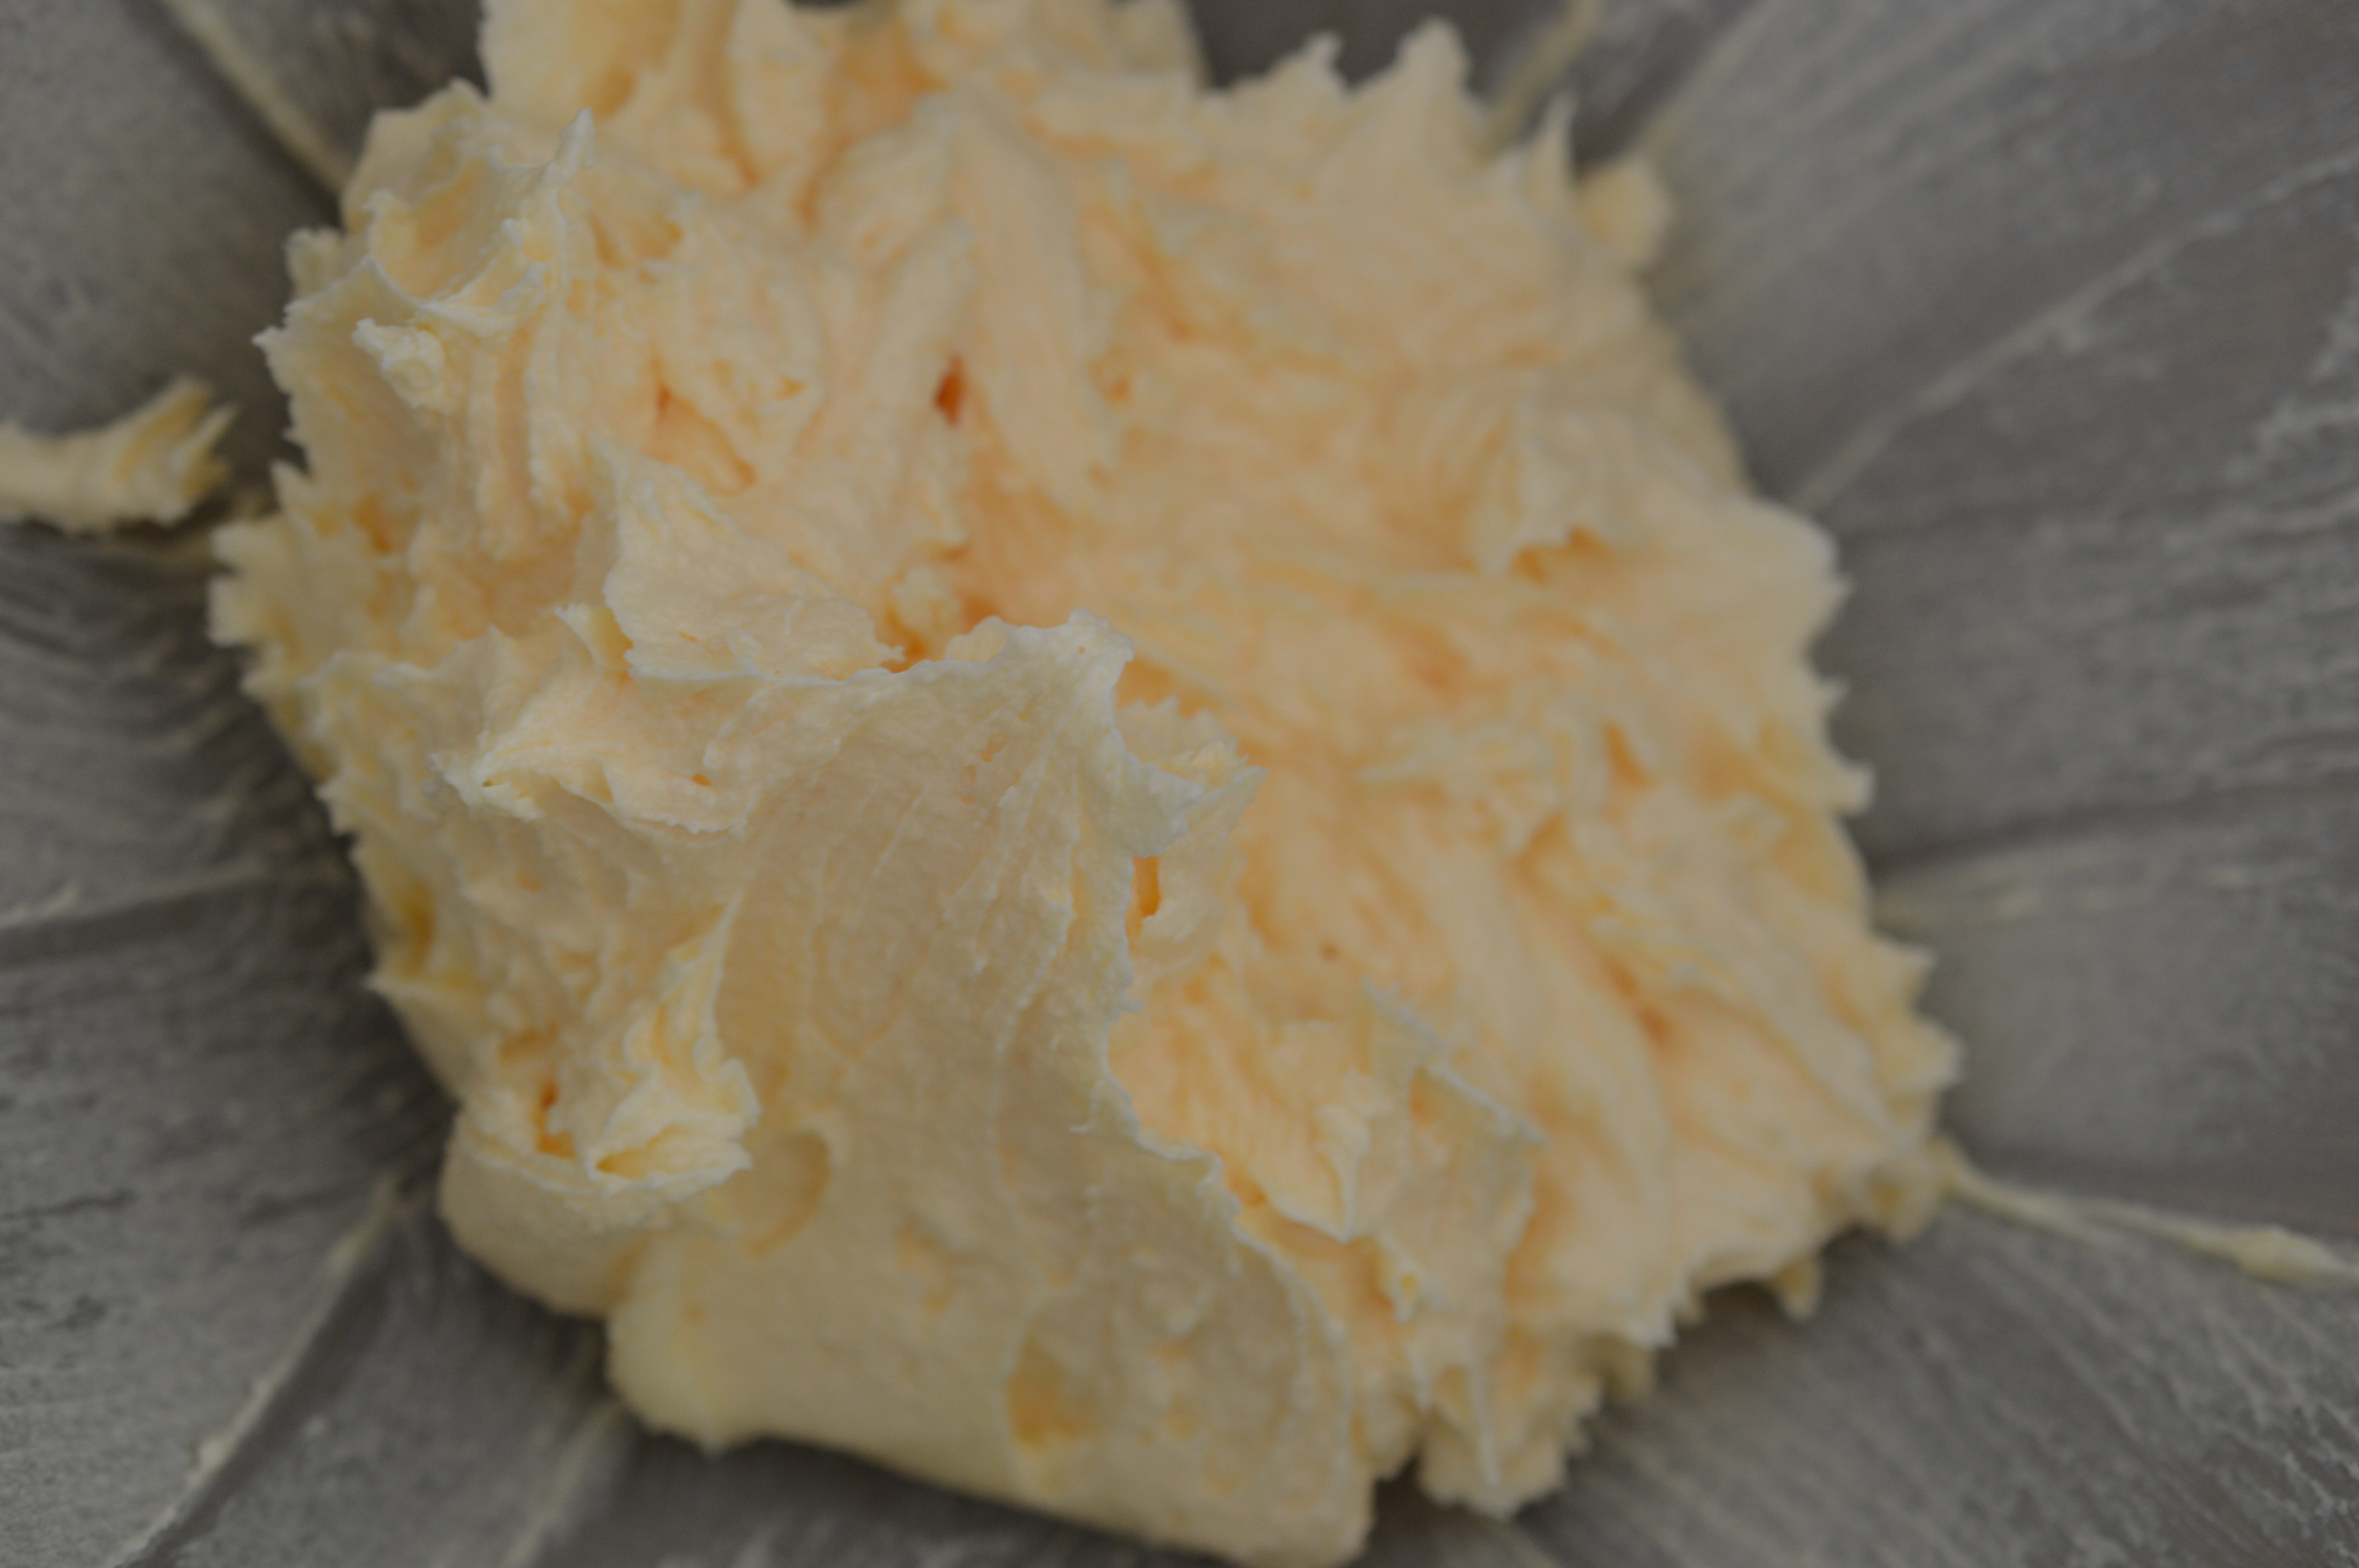 Beat the softened butter together with the caster sugar. You are looking for ‘light’.
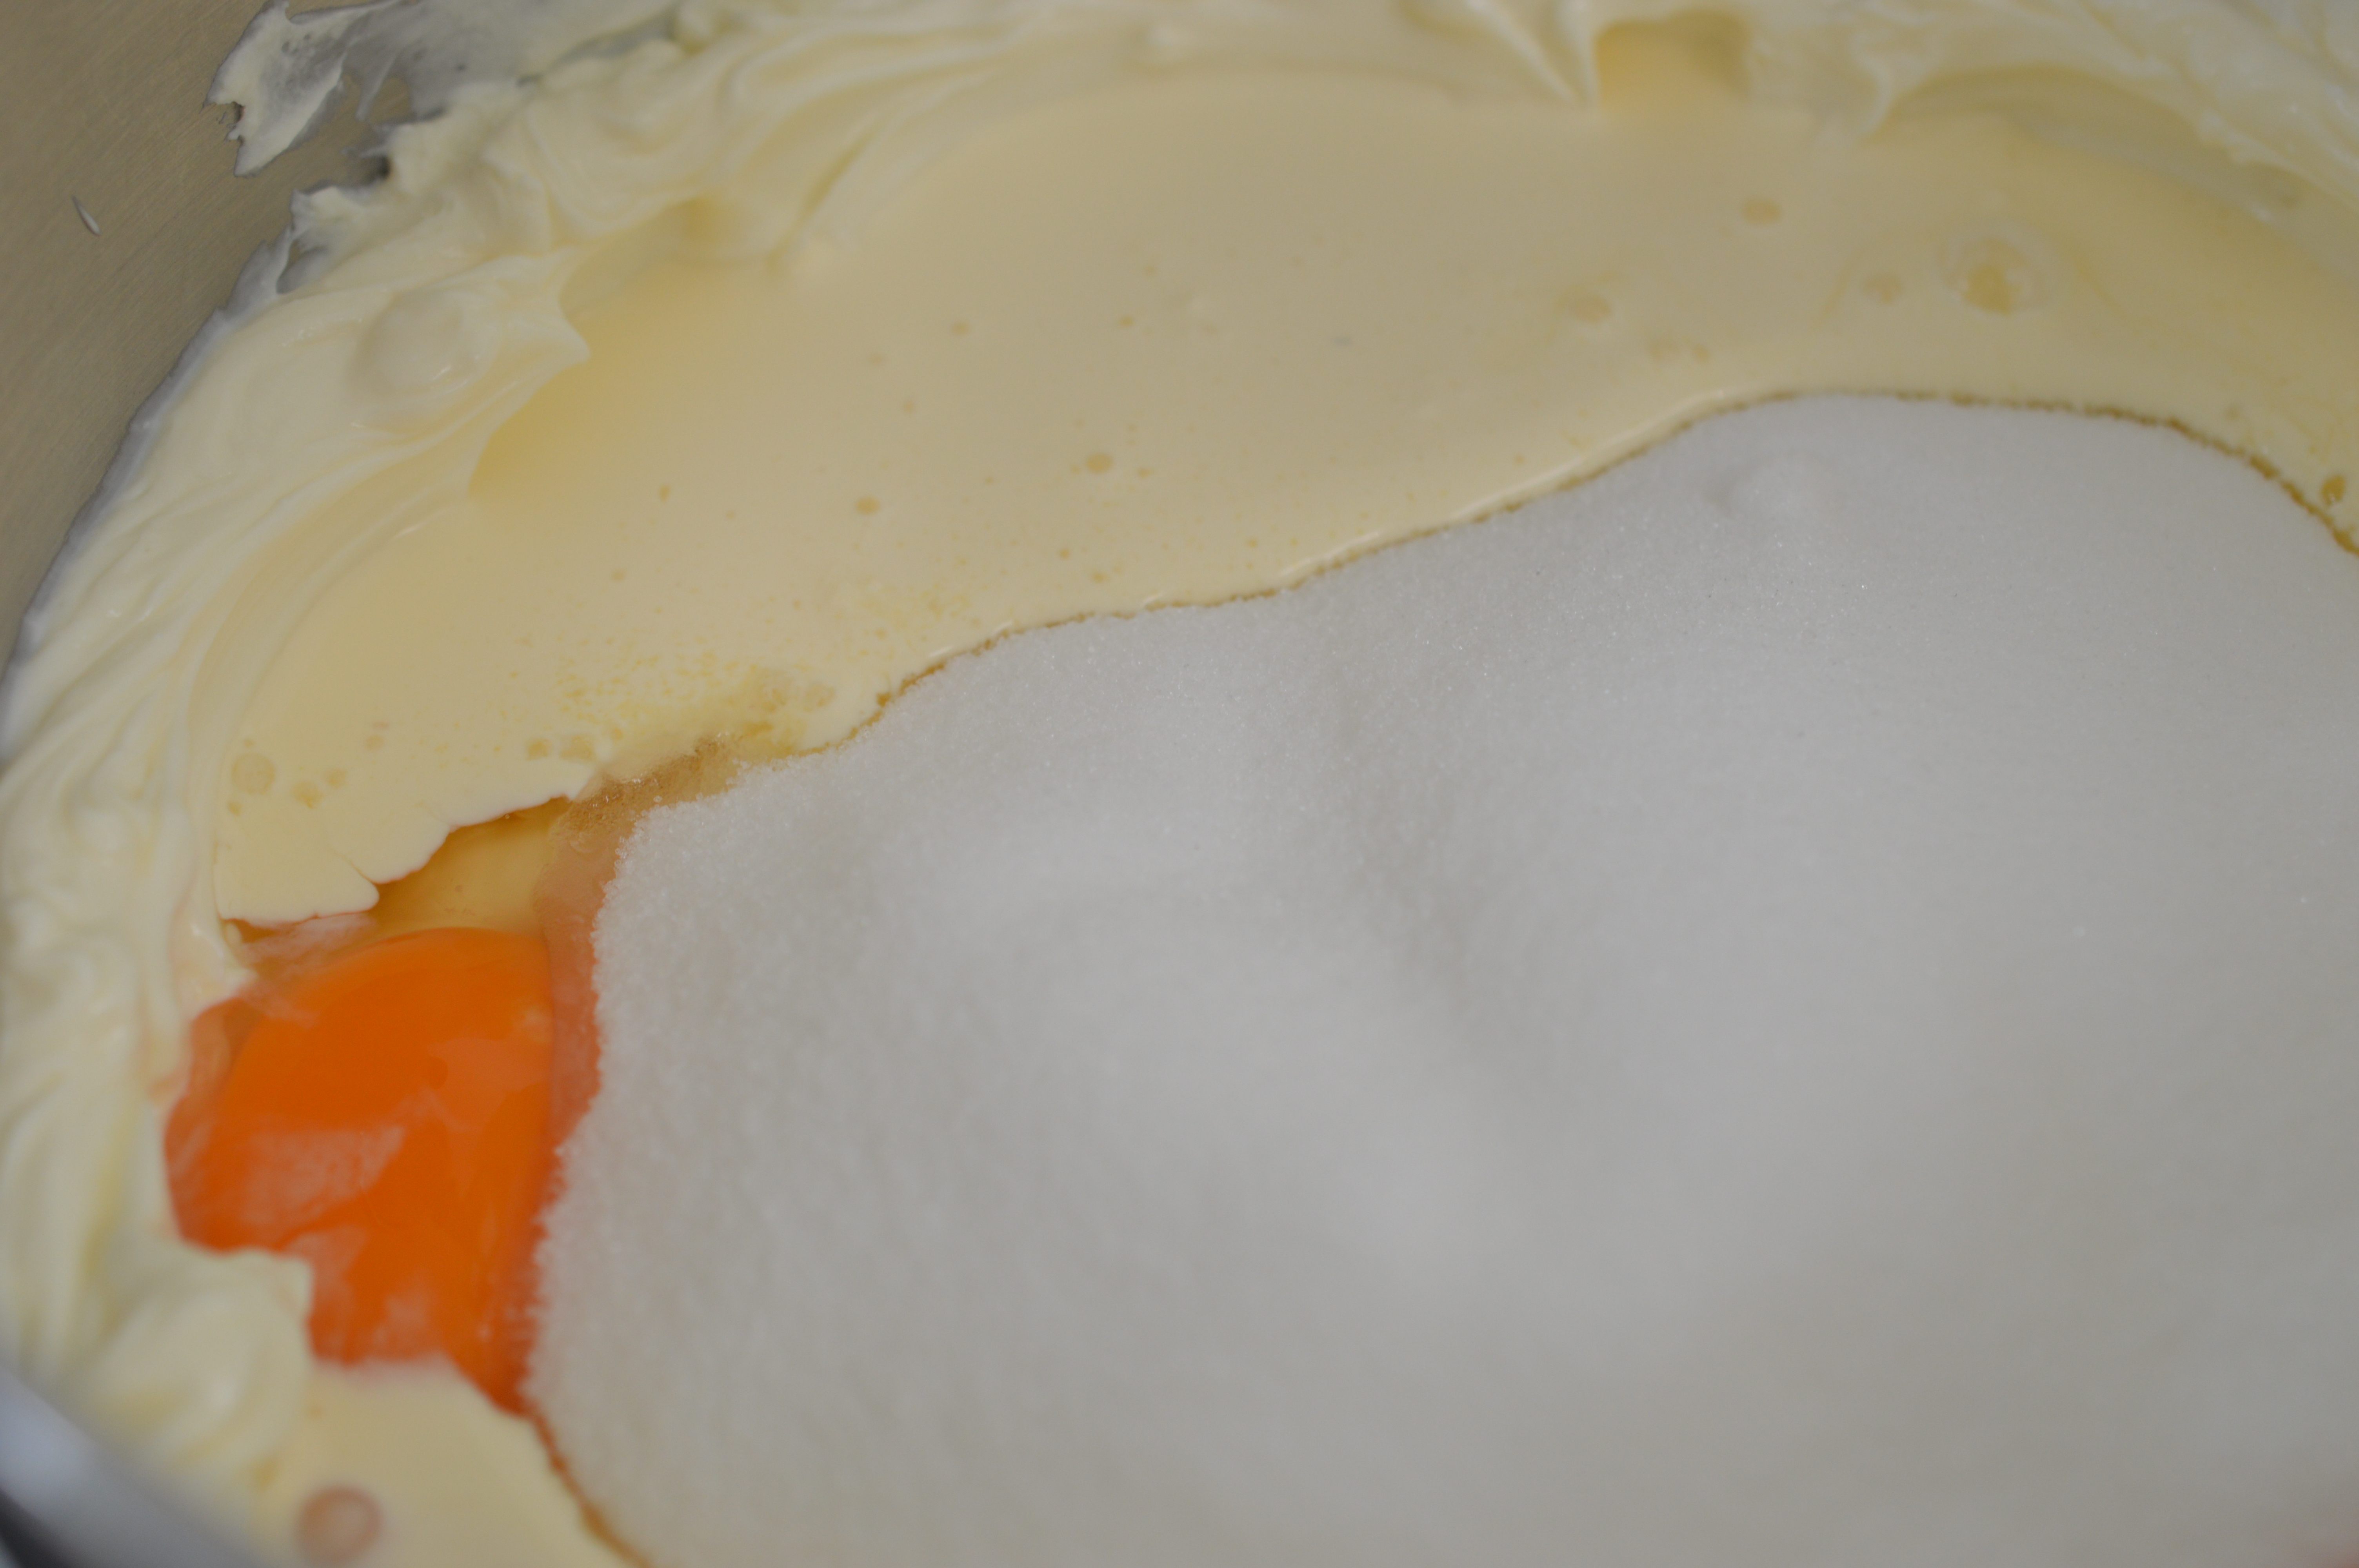
 Slowly add the beaten egg.
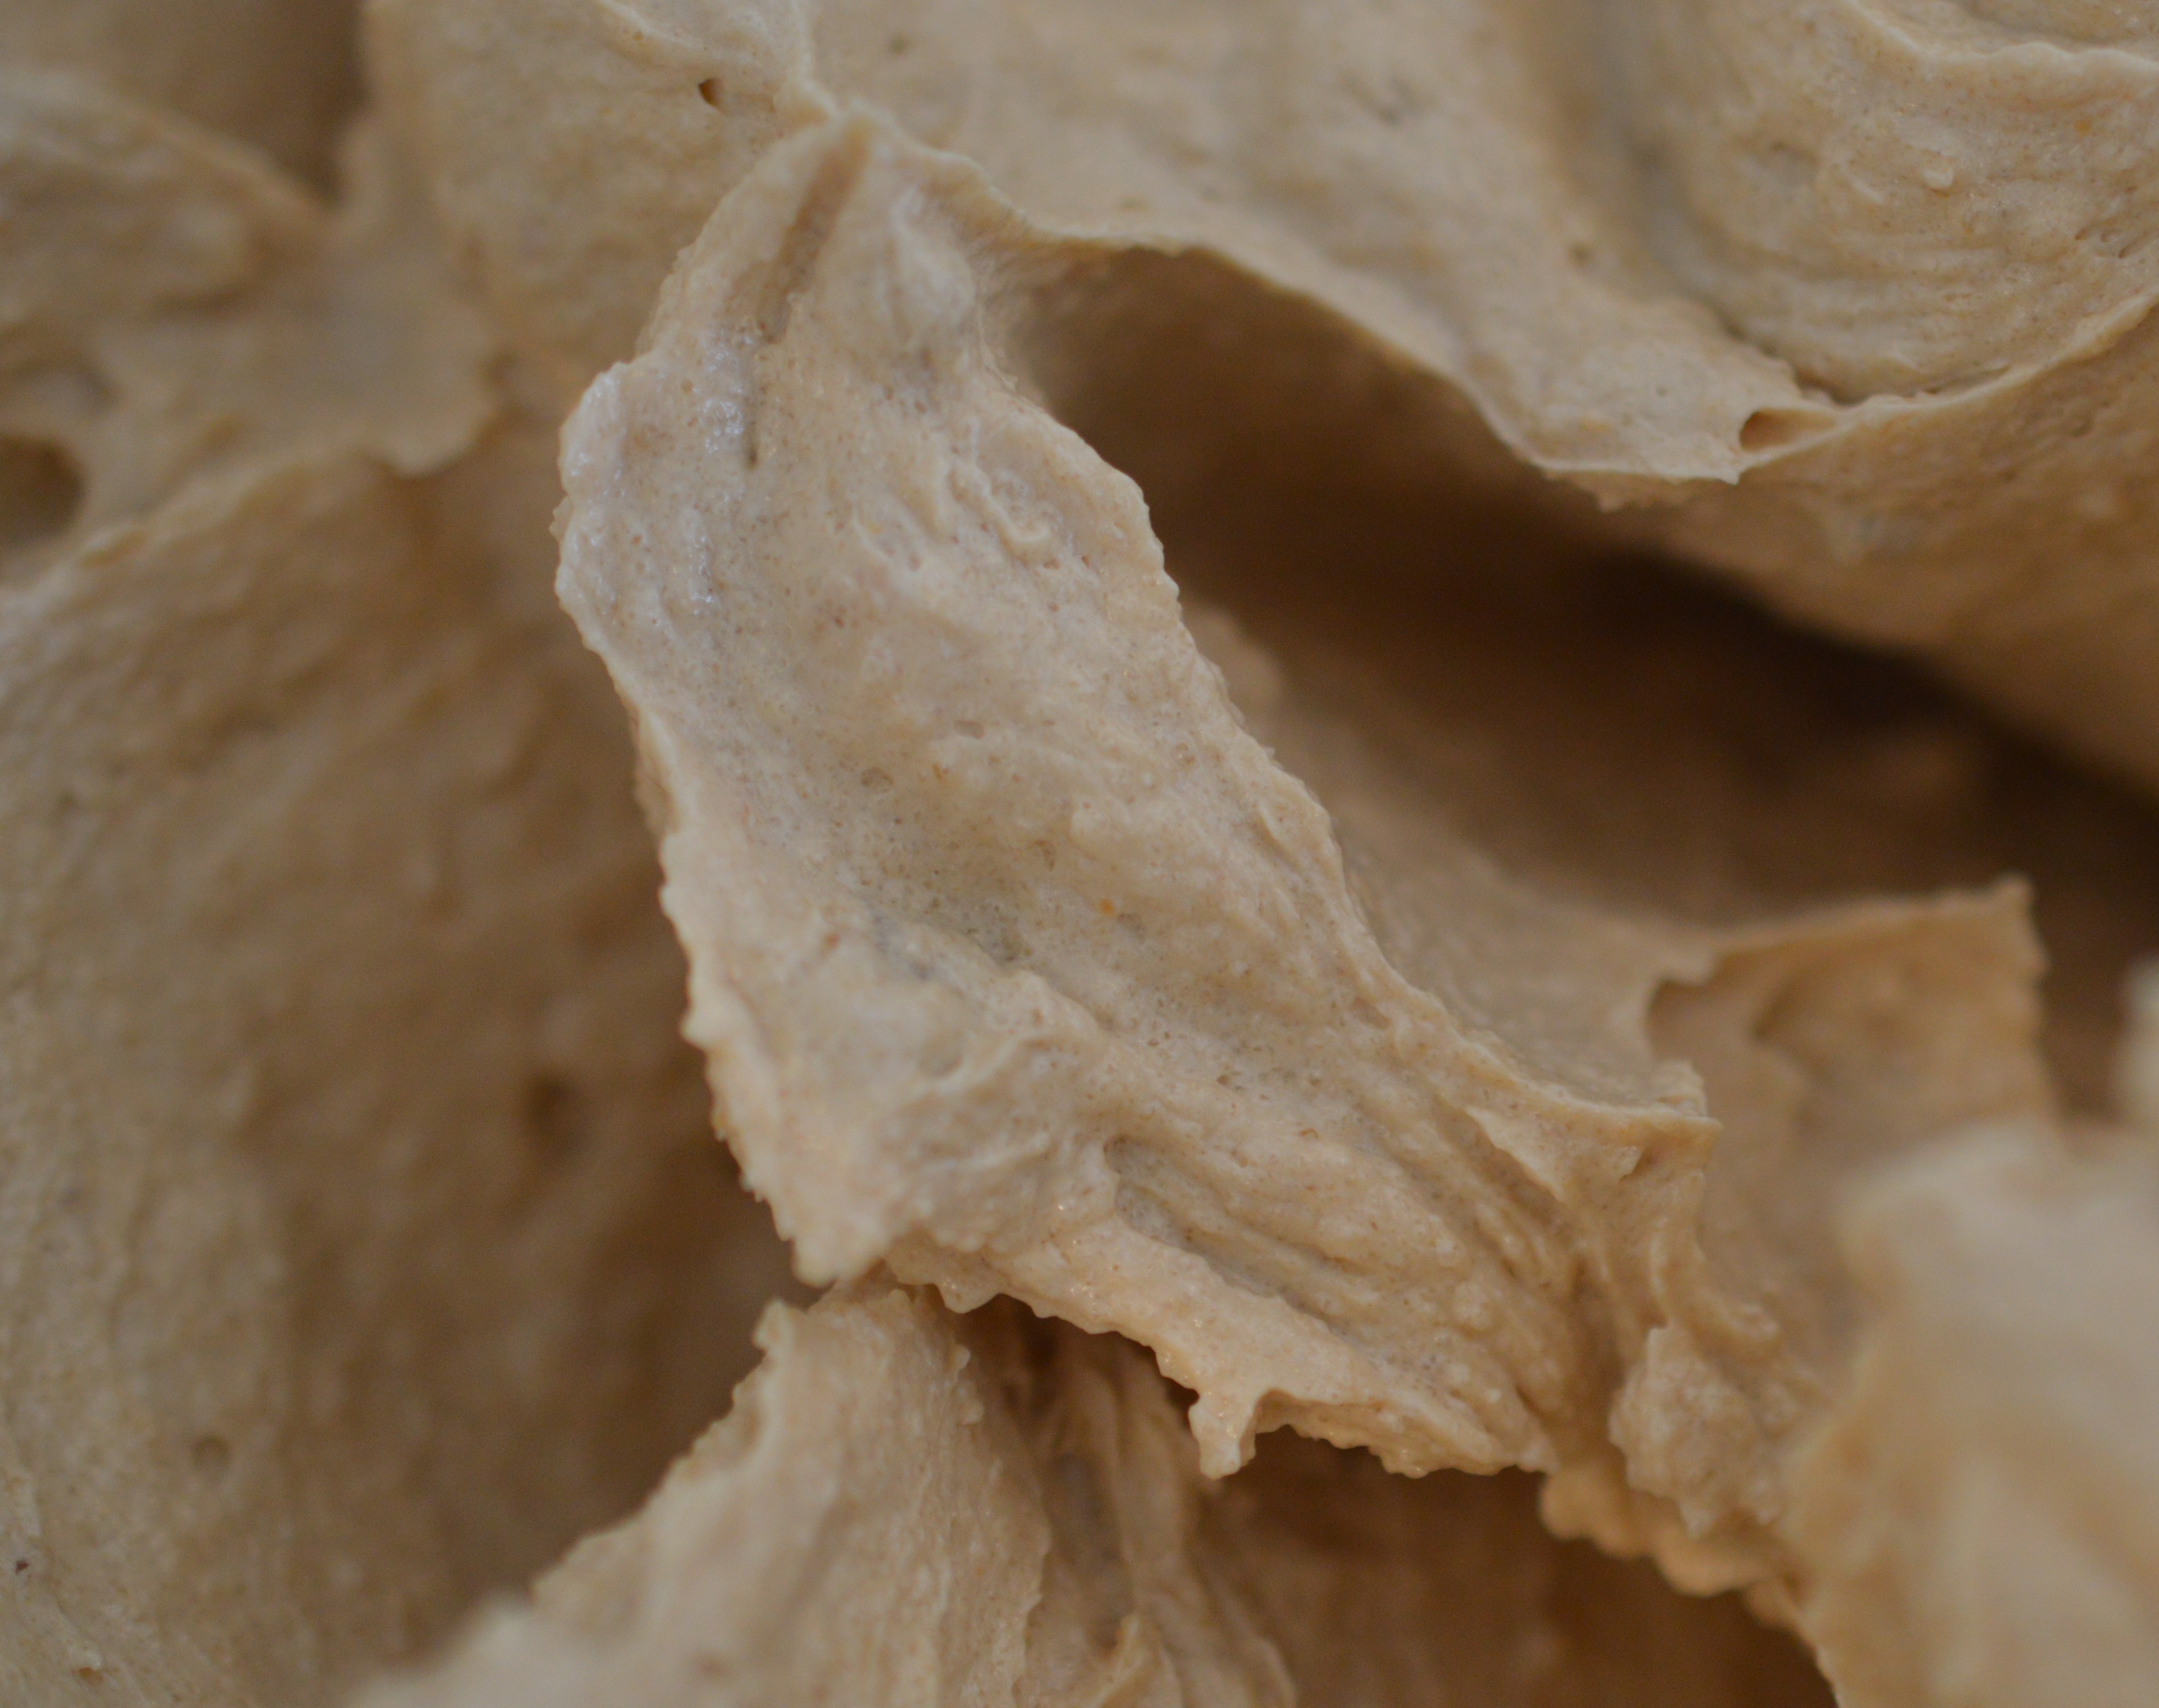
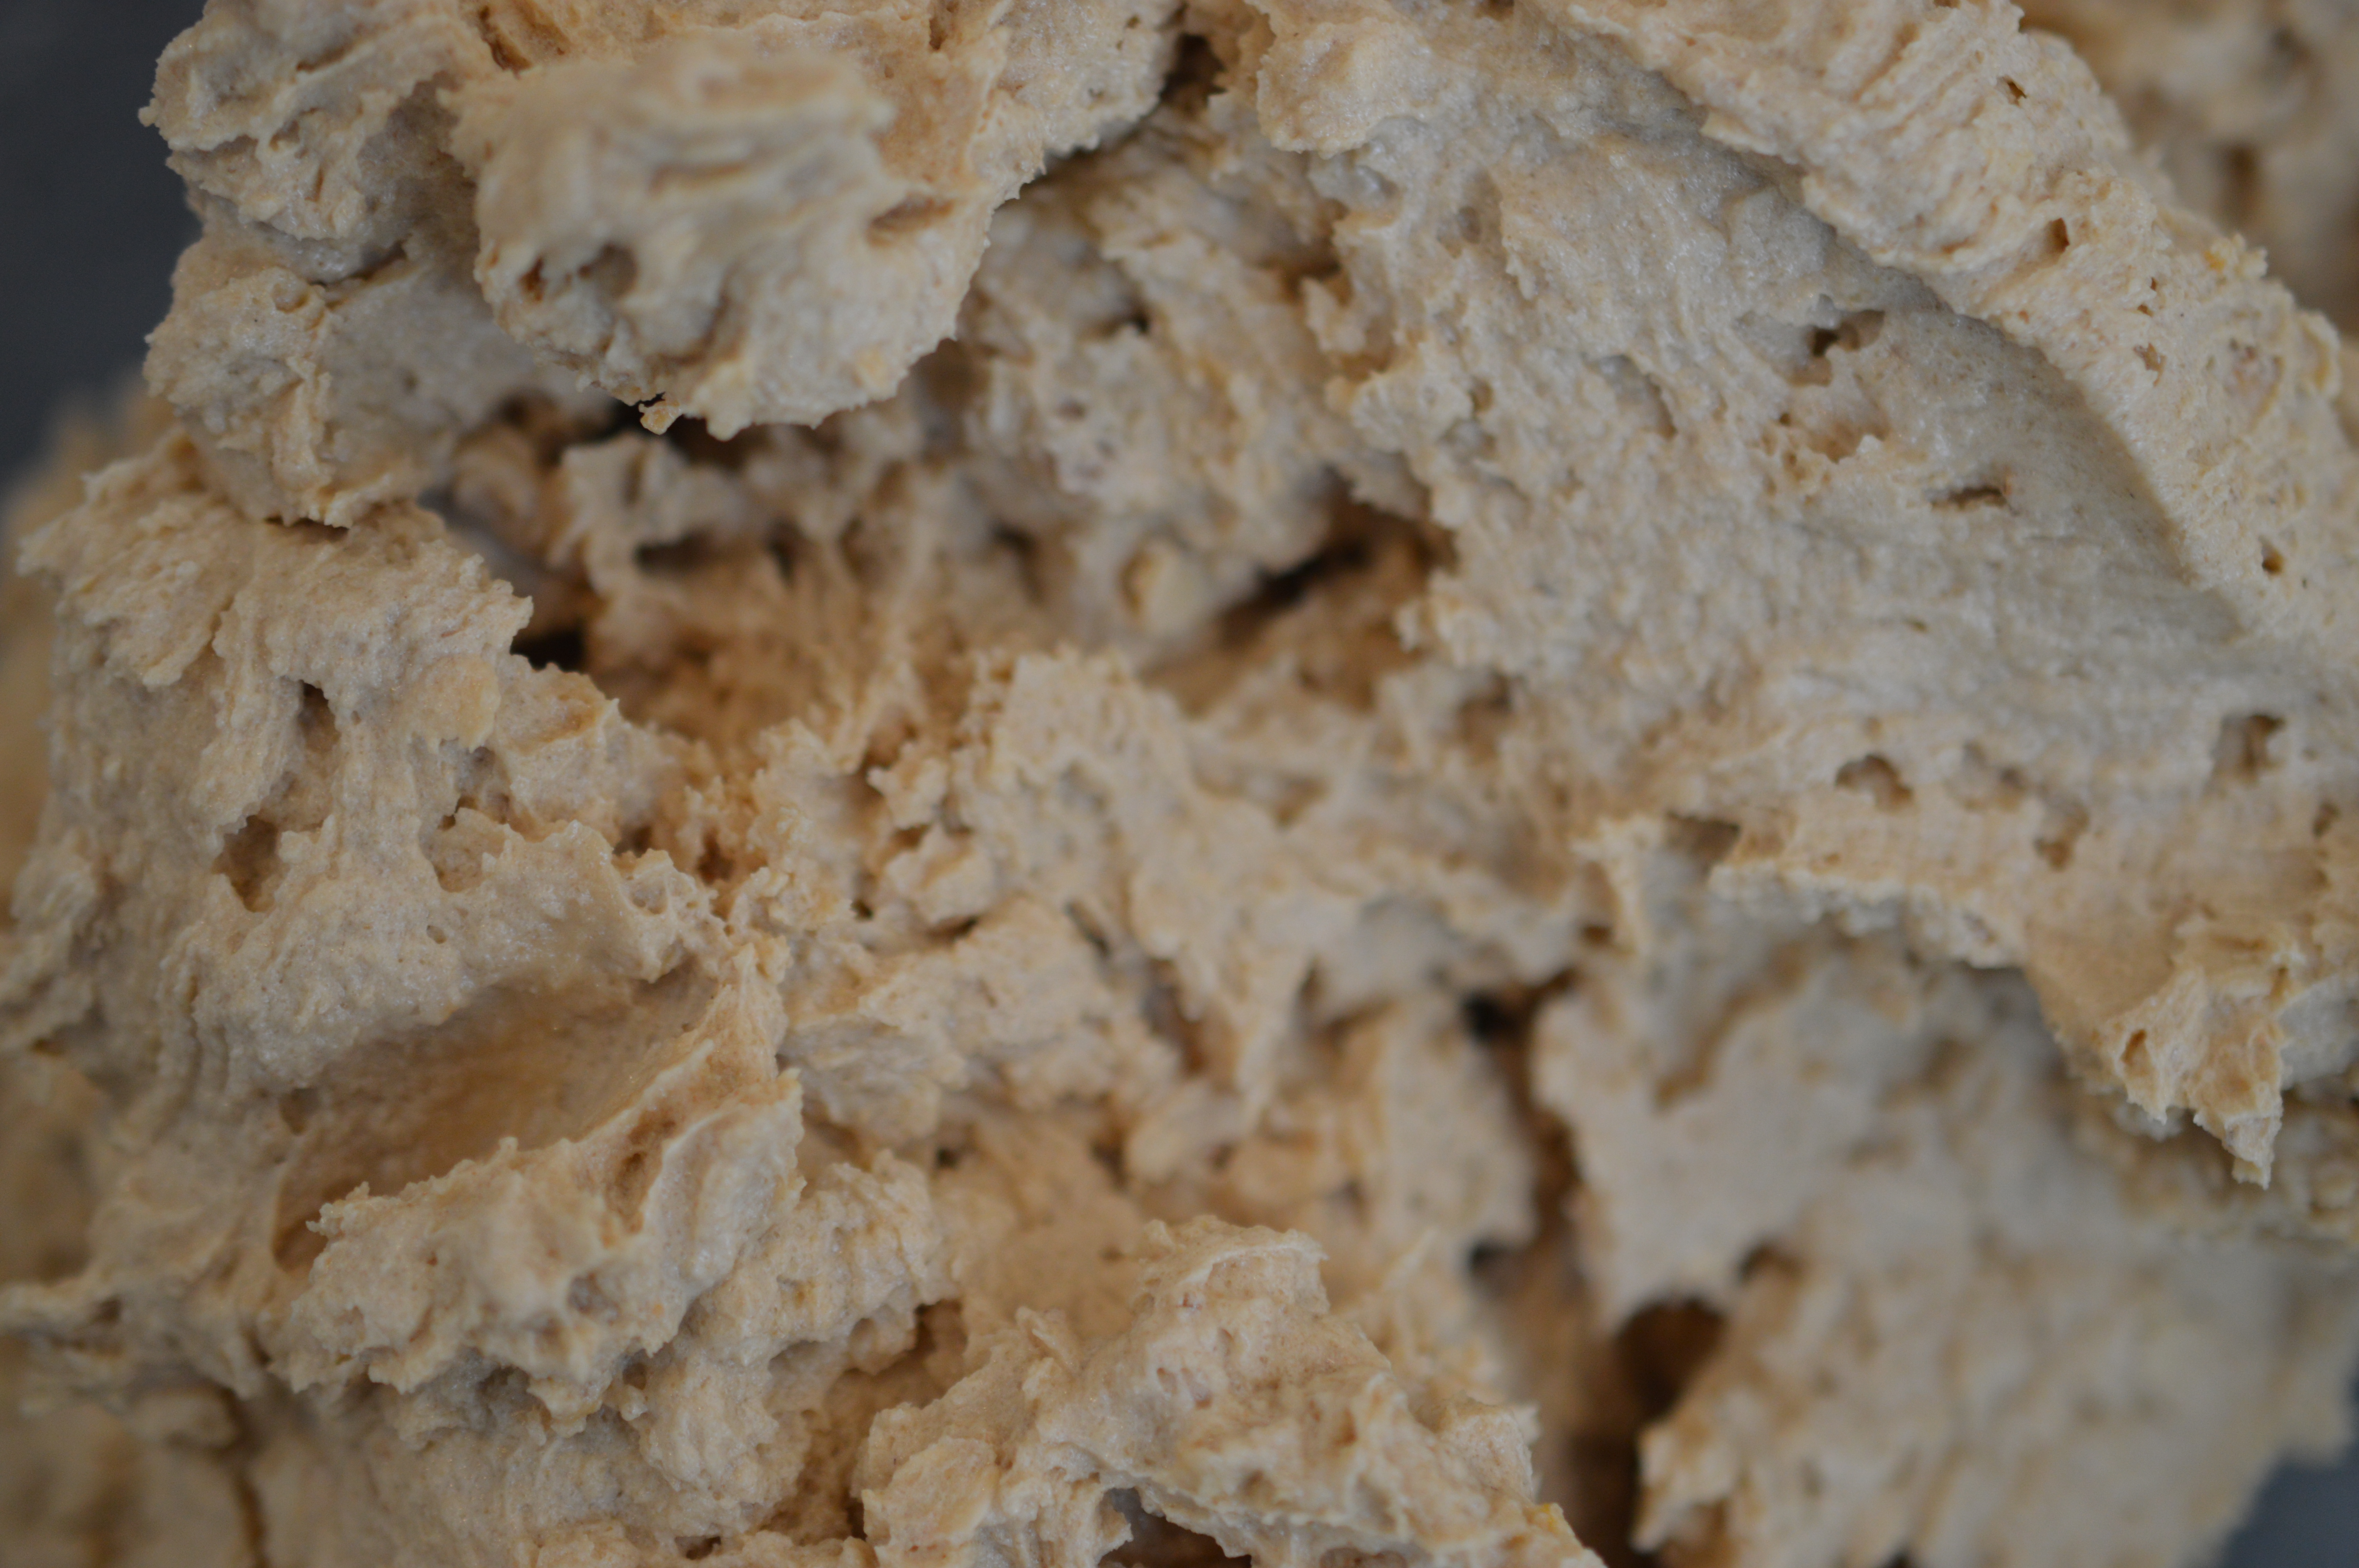
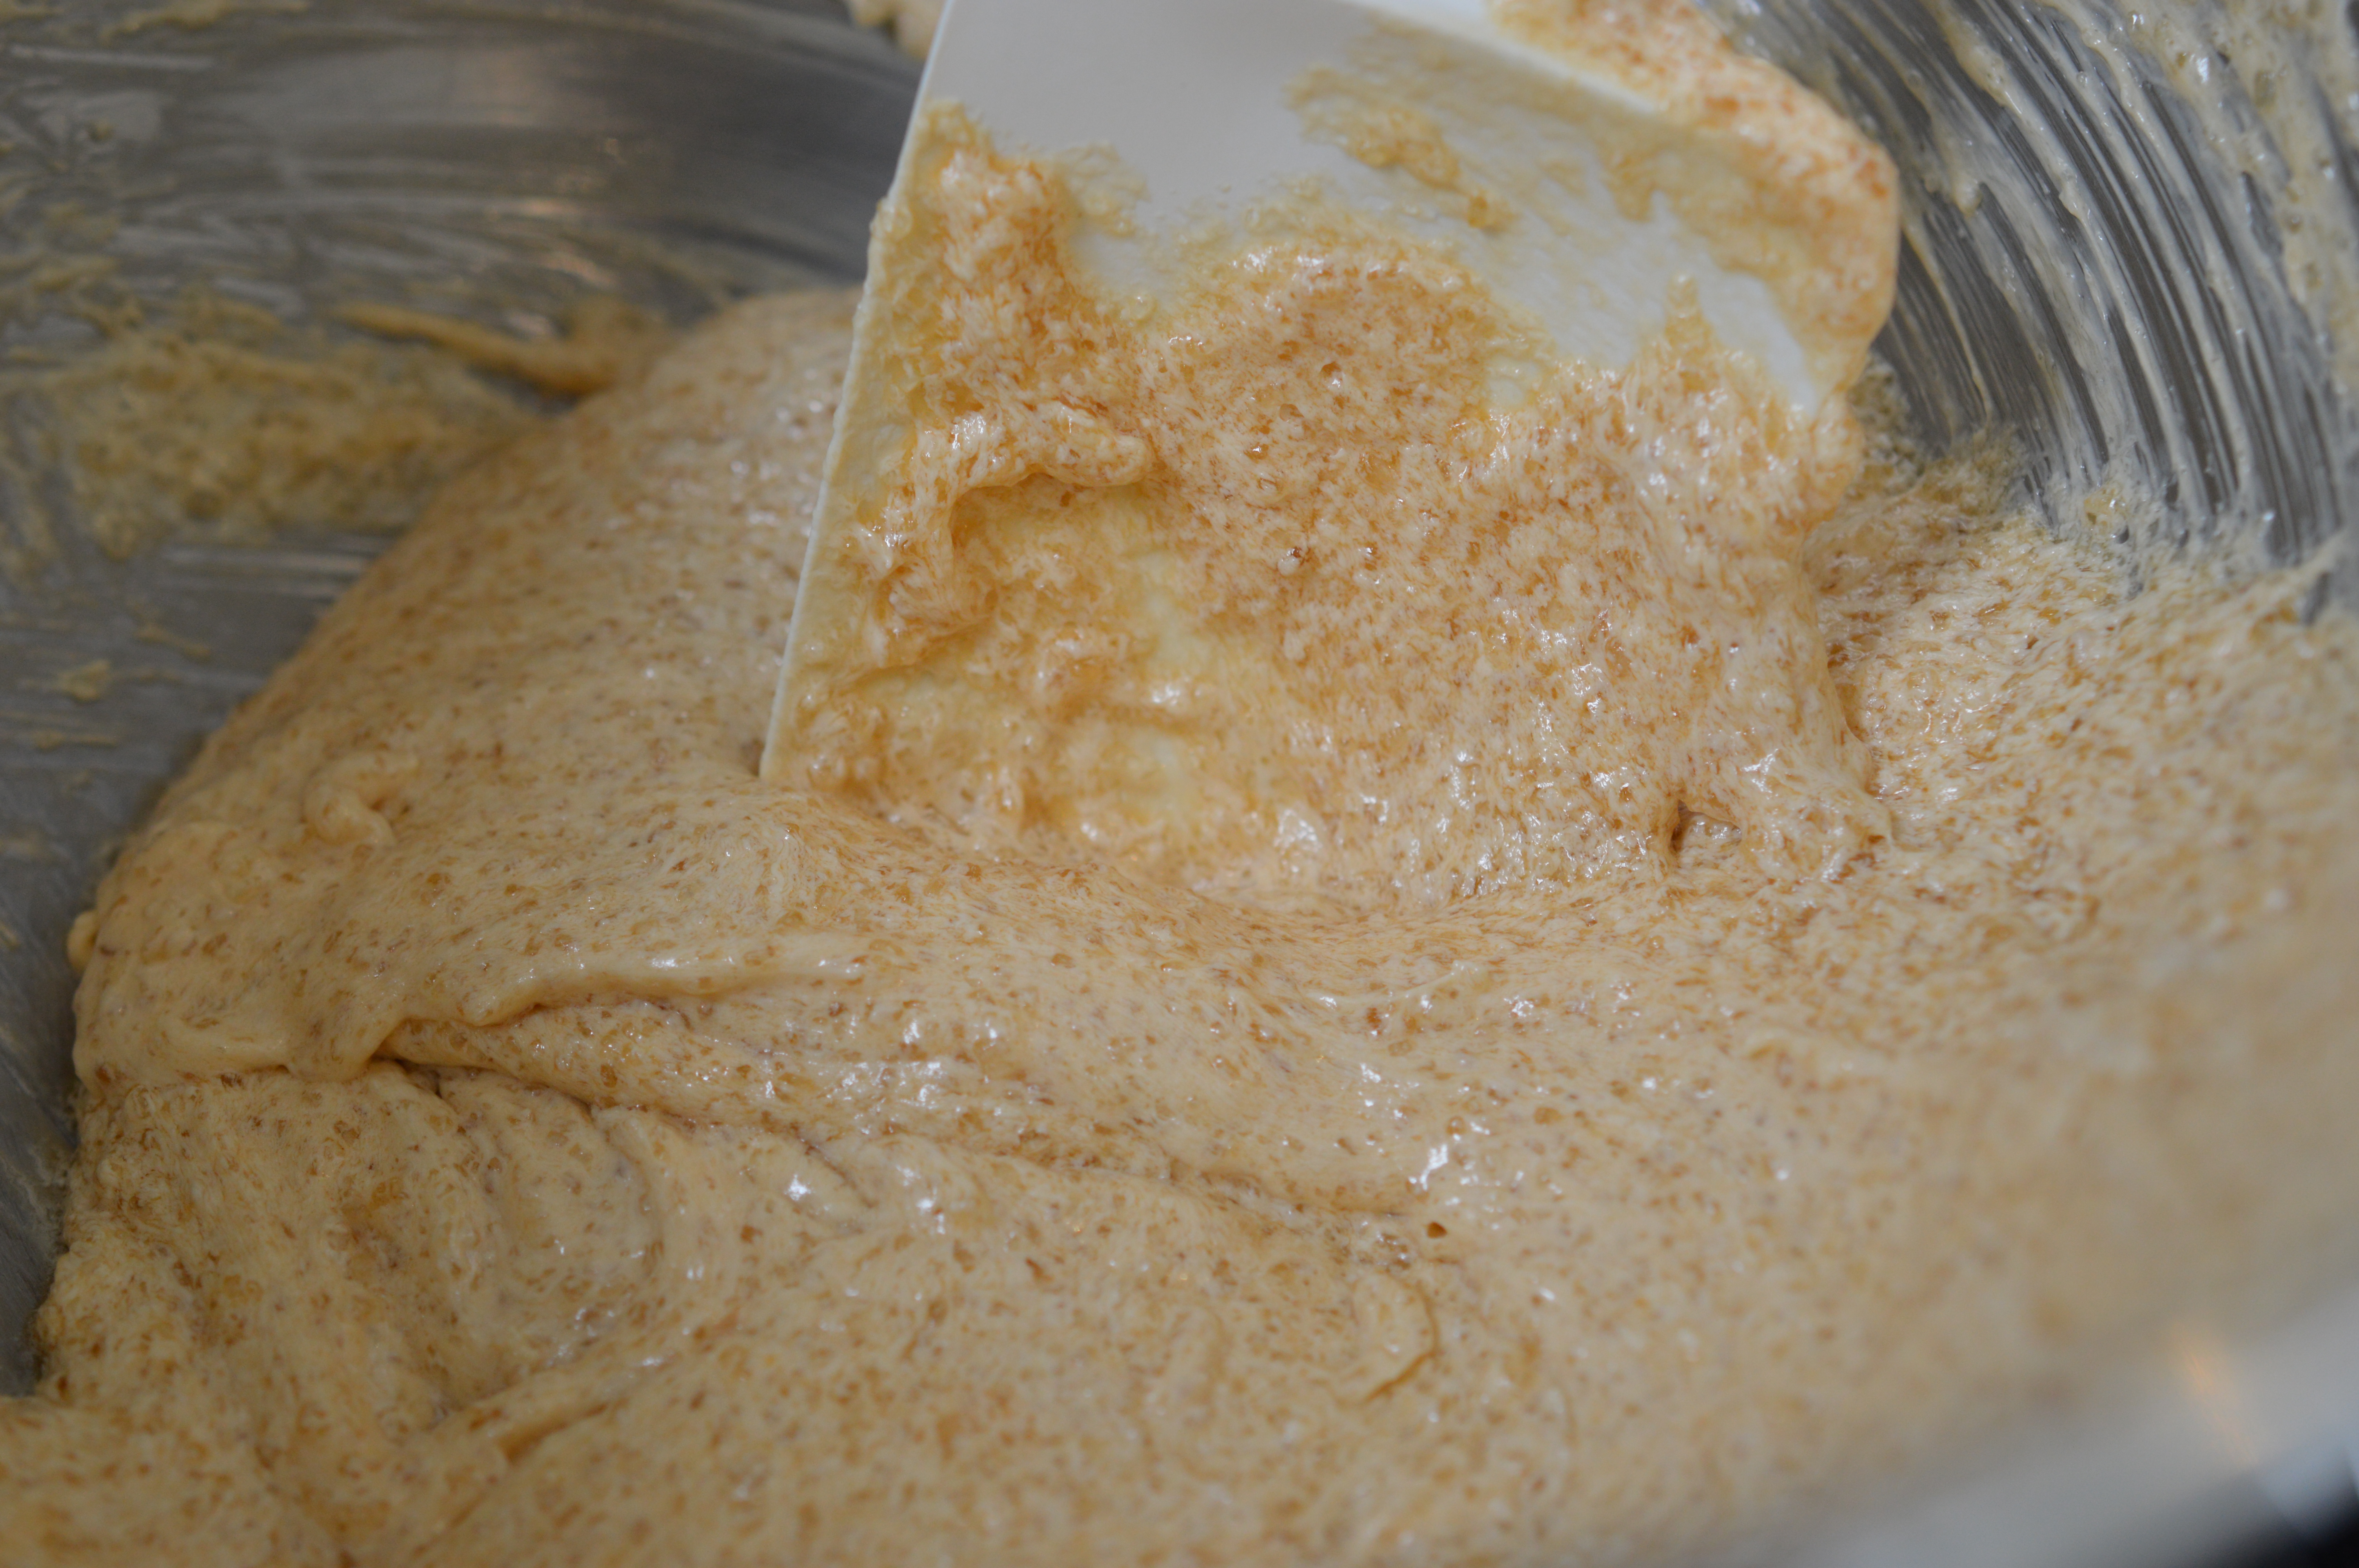
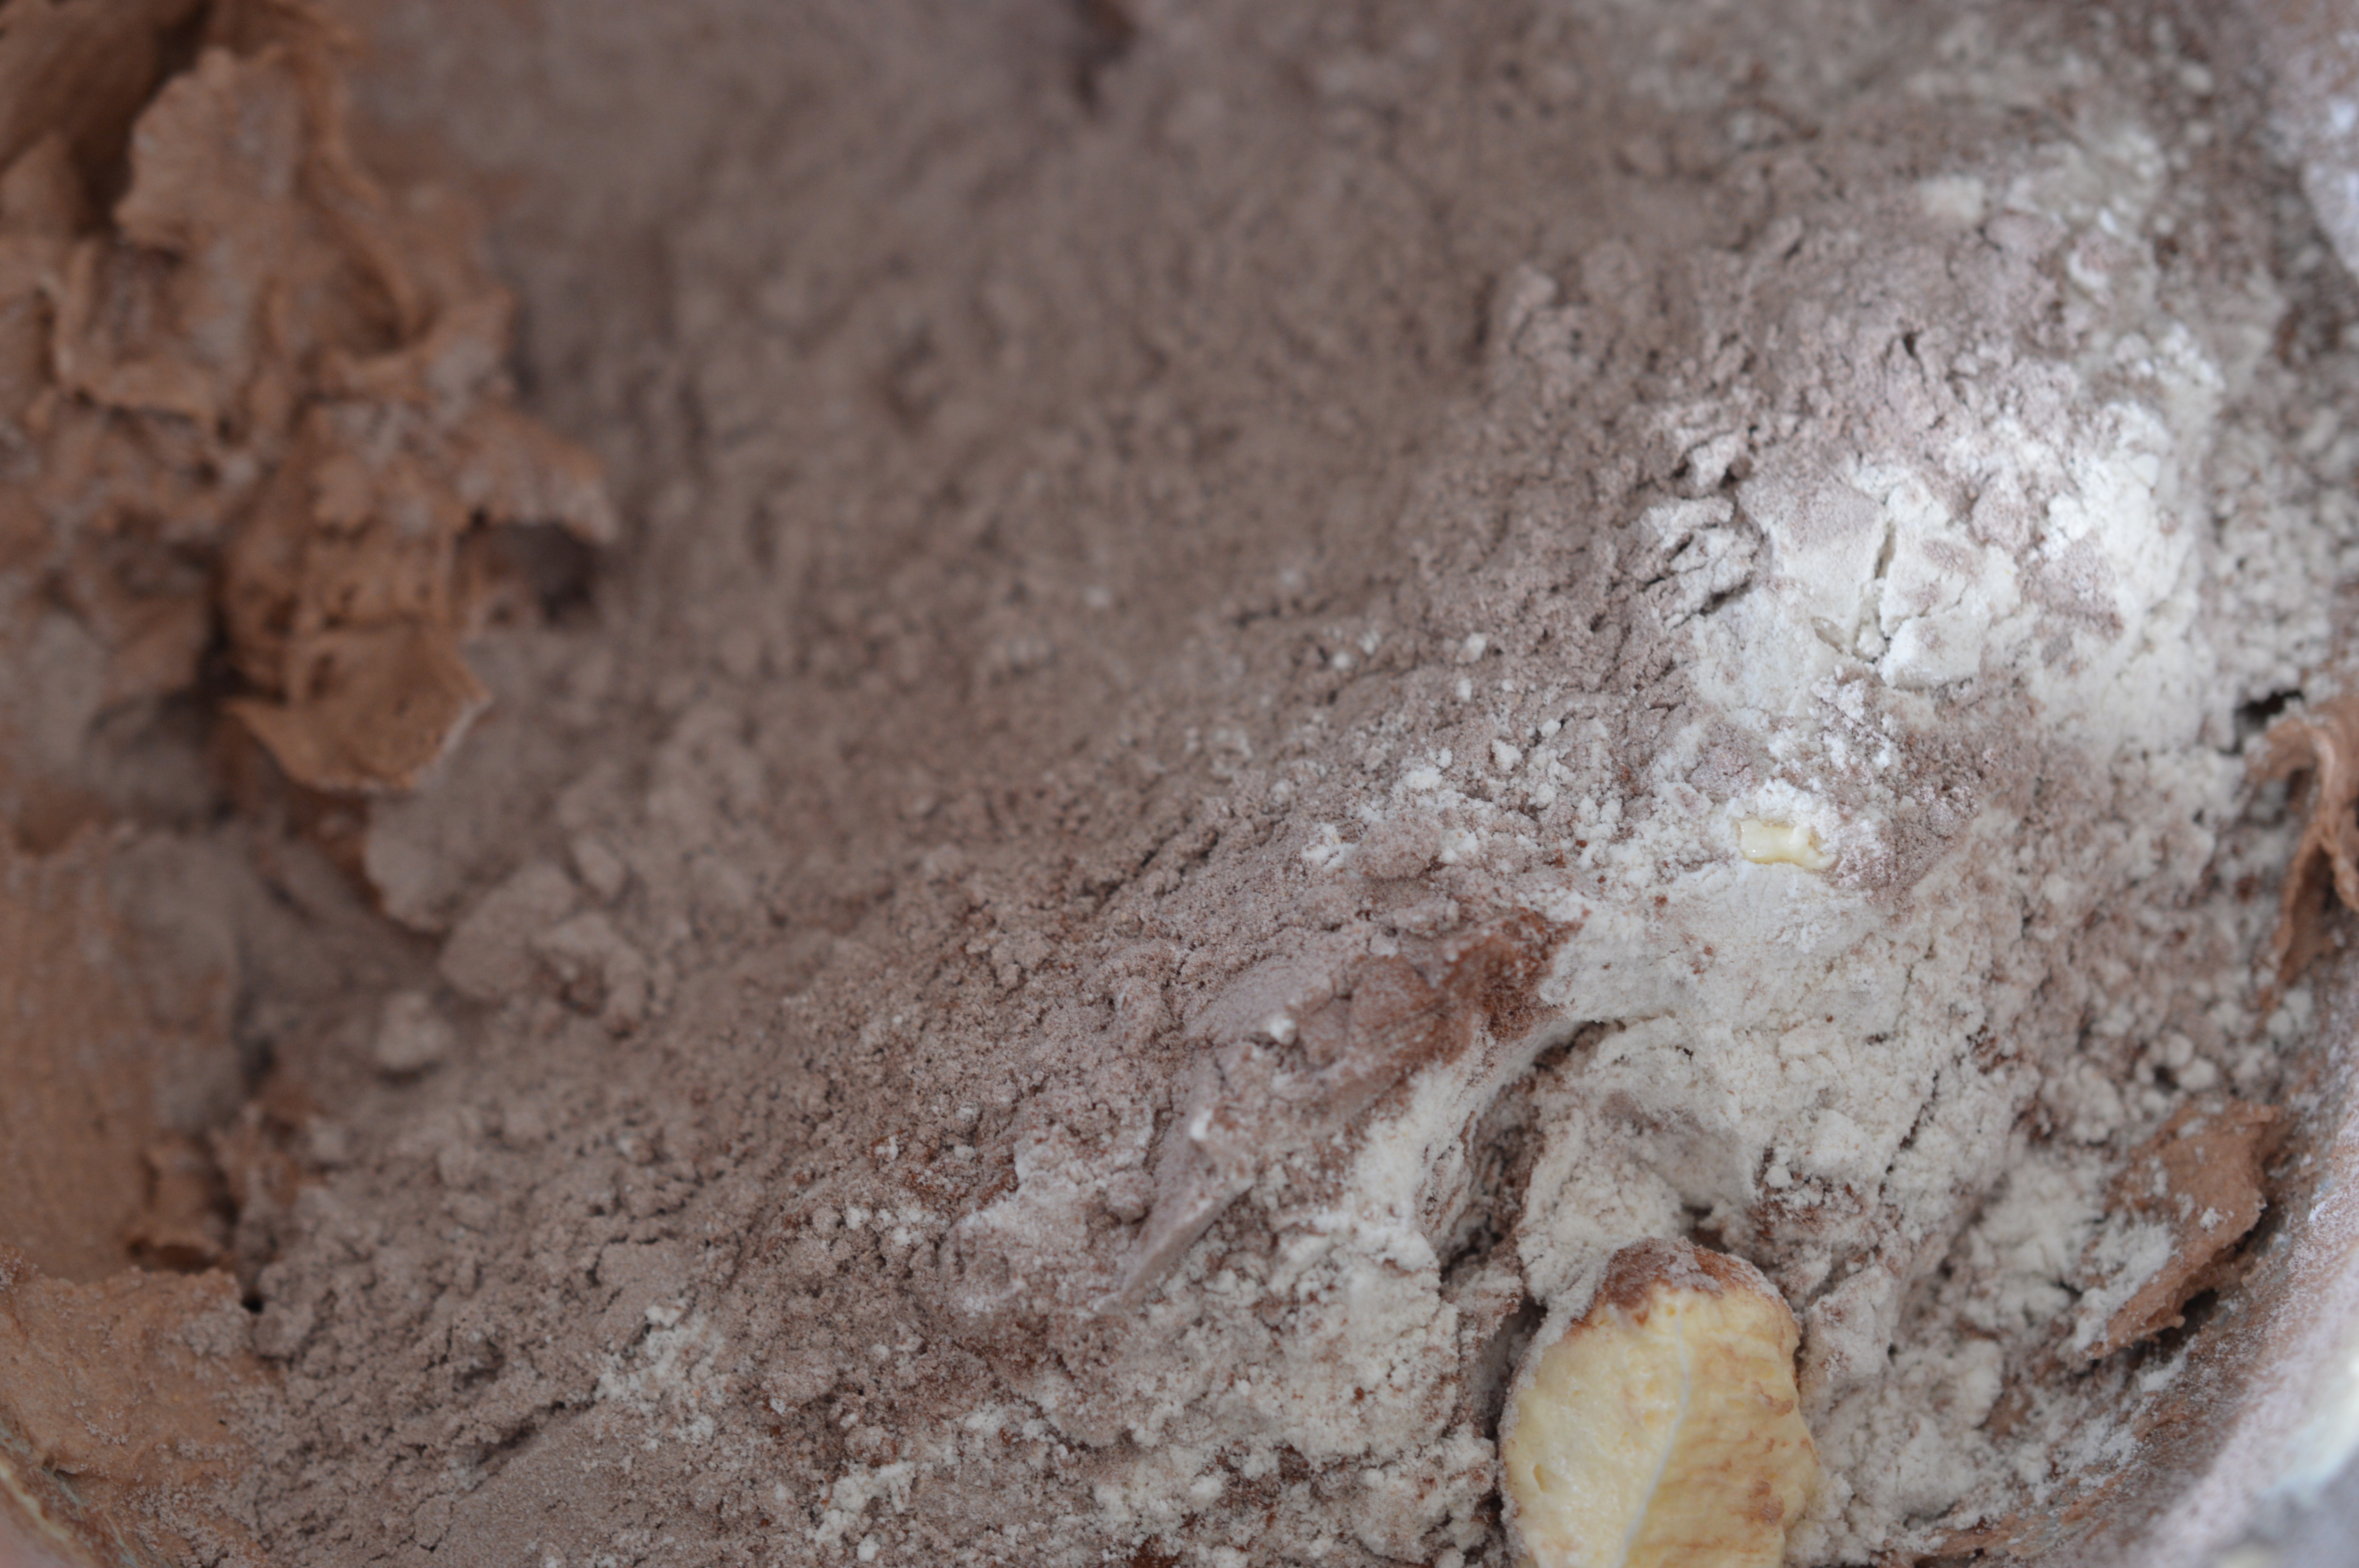 And then the flour, salt and cocoa powder. Mix until just combined and gather into a ball.
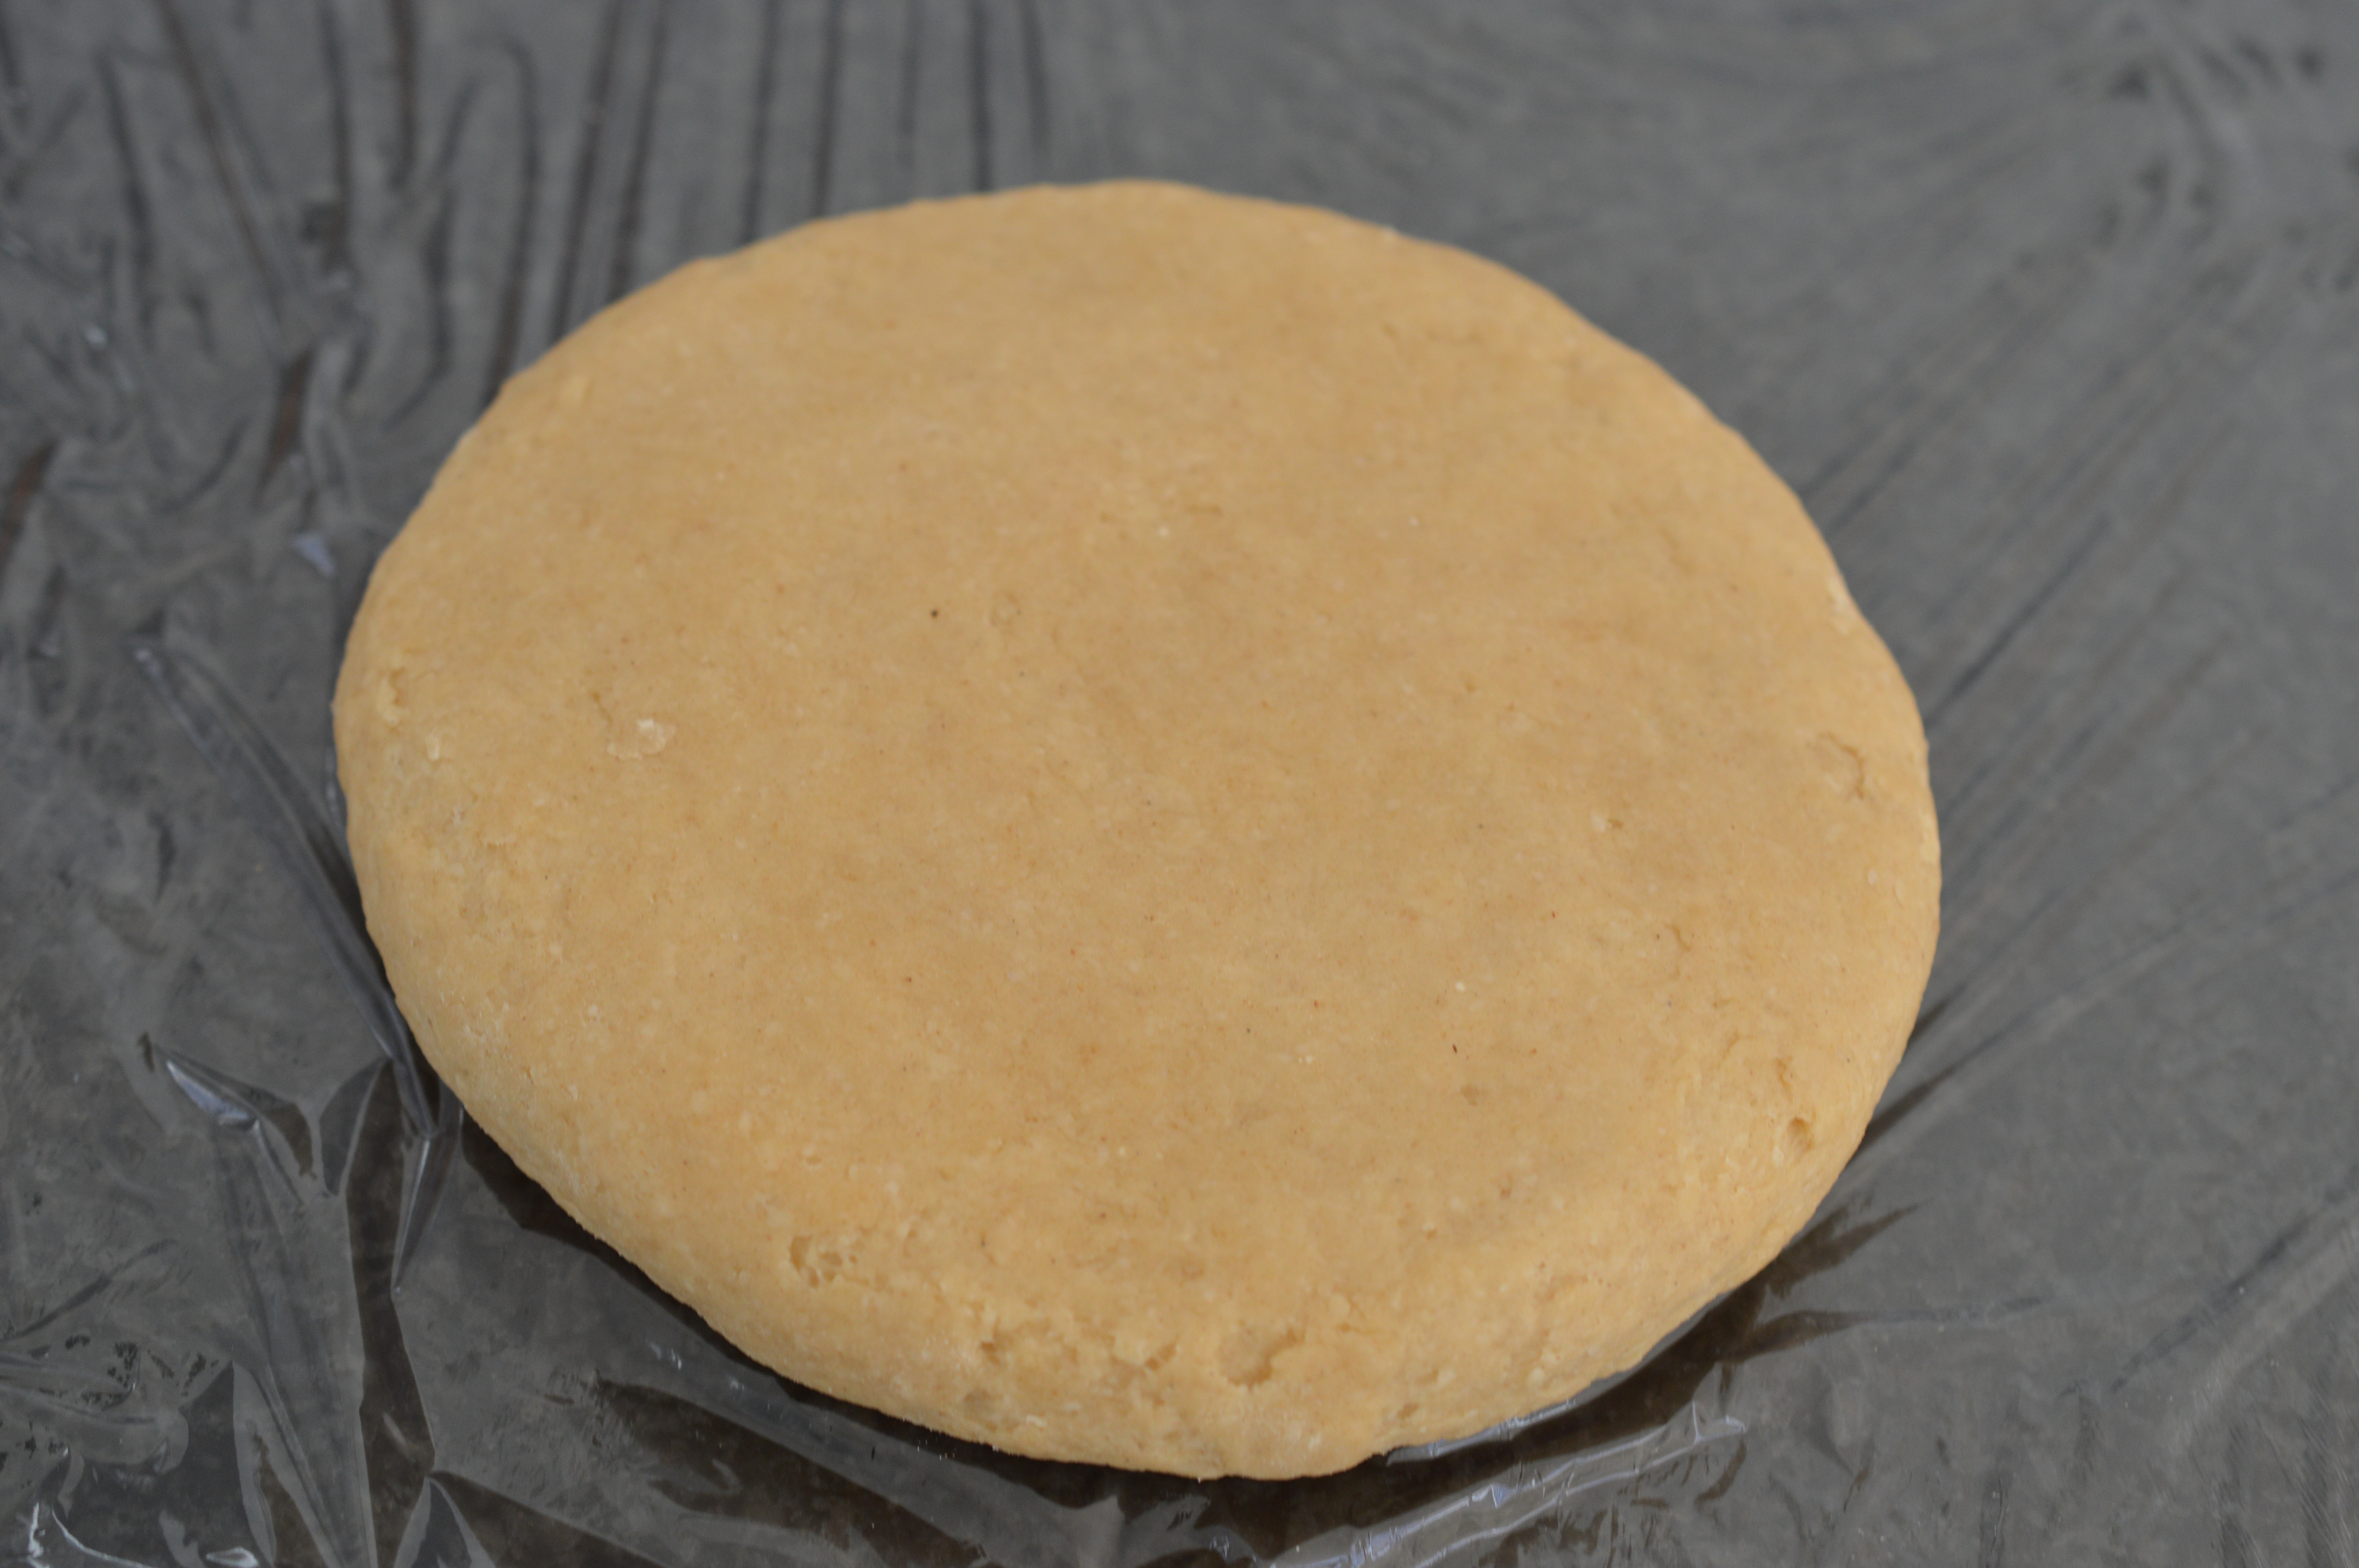
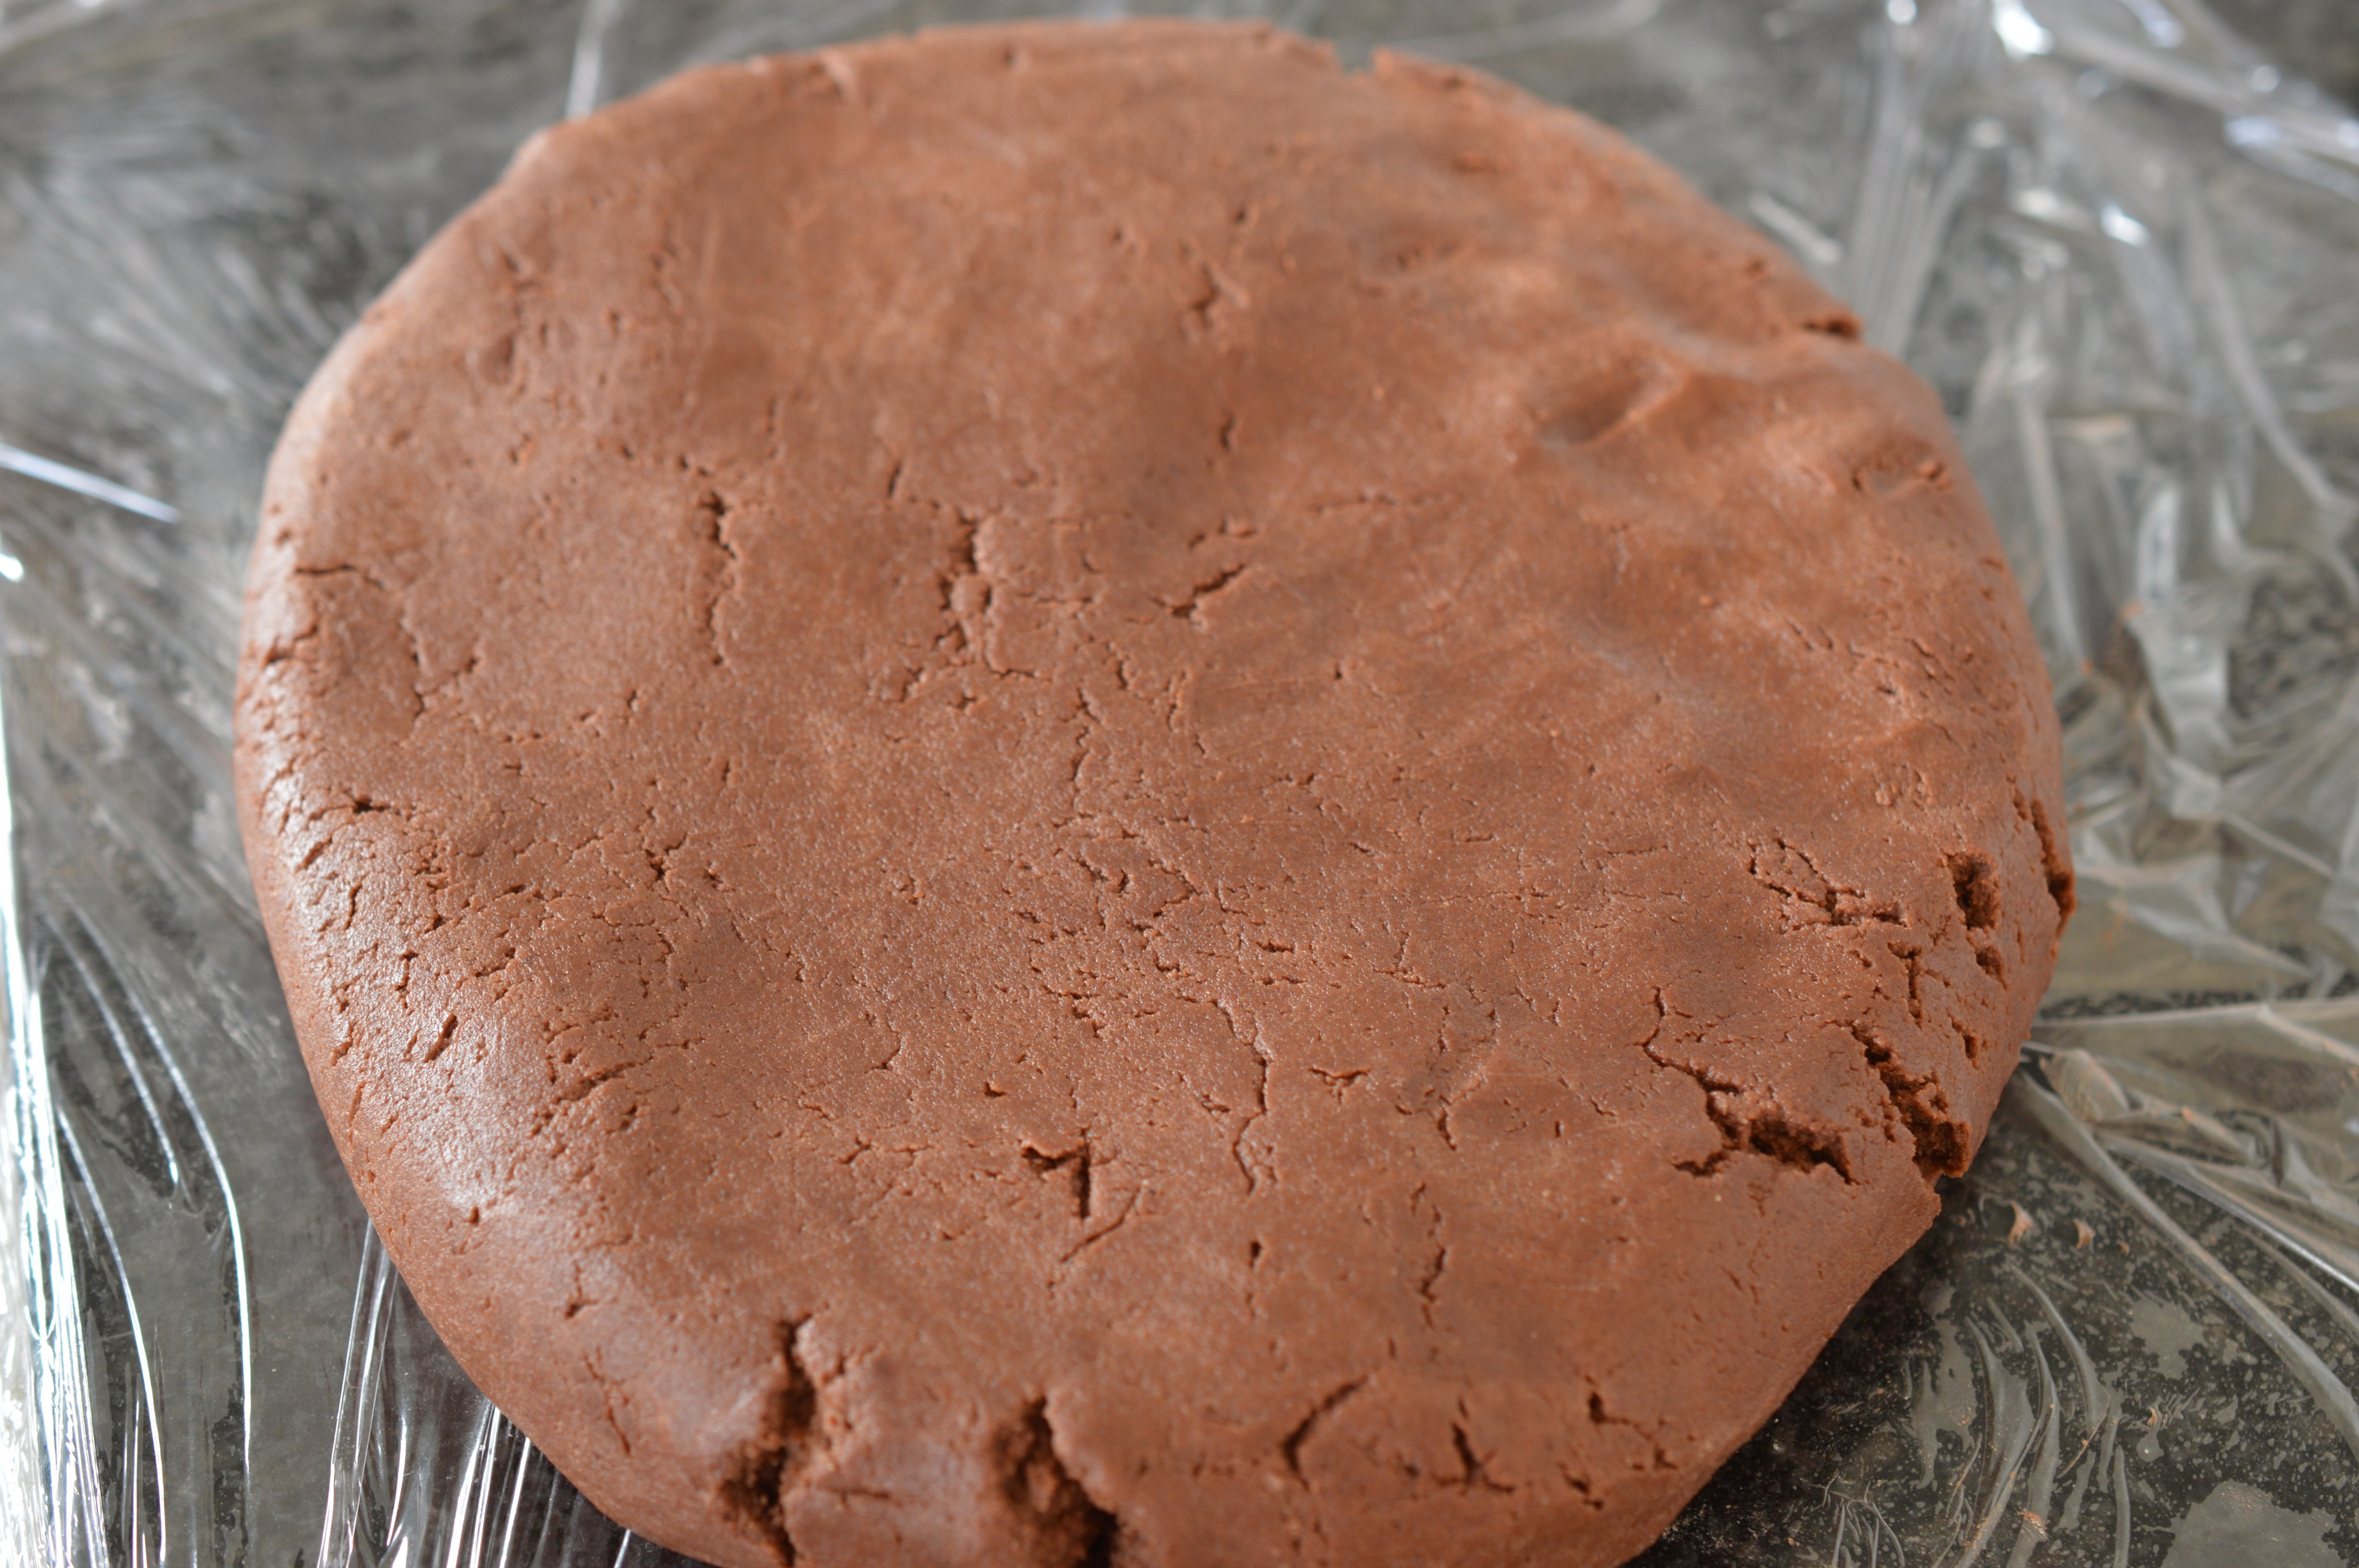 Flatten and chill for 30 minutes.
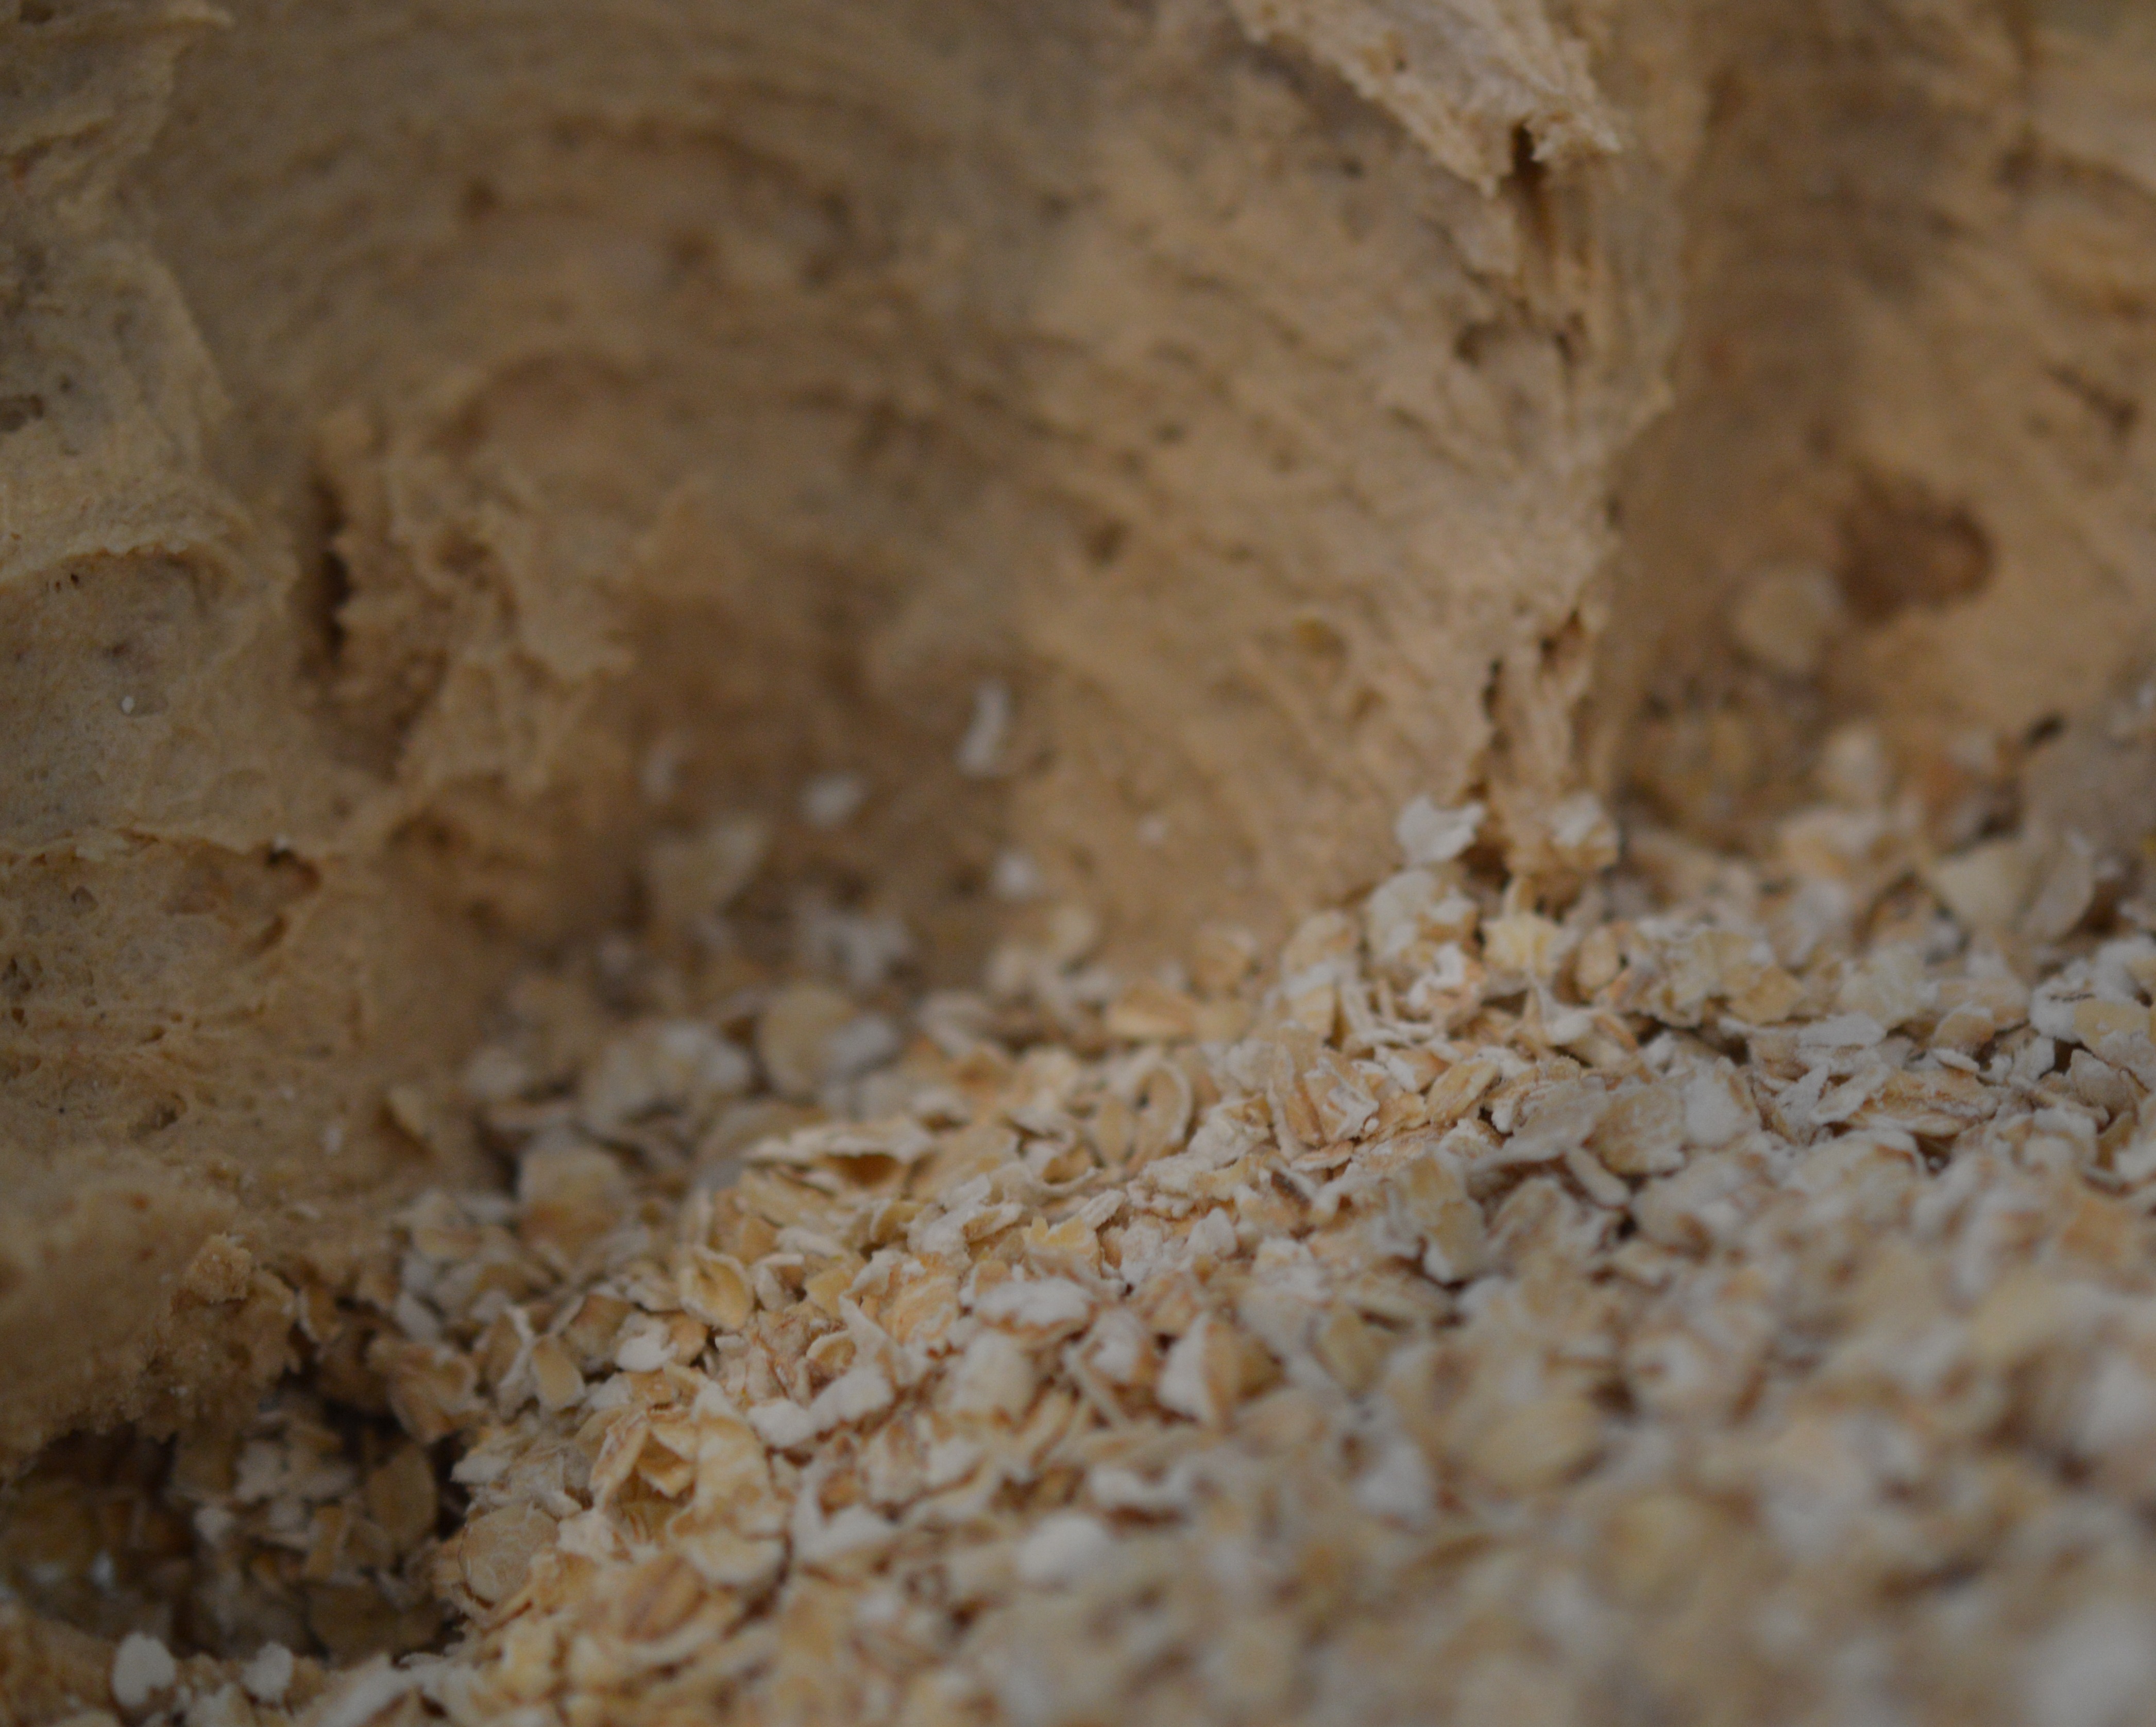
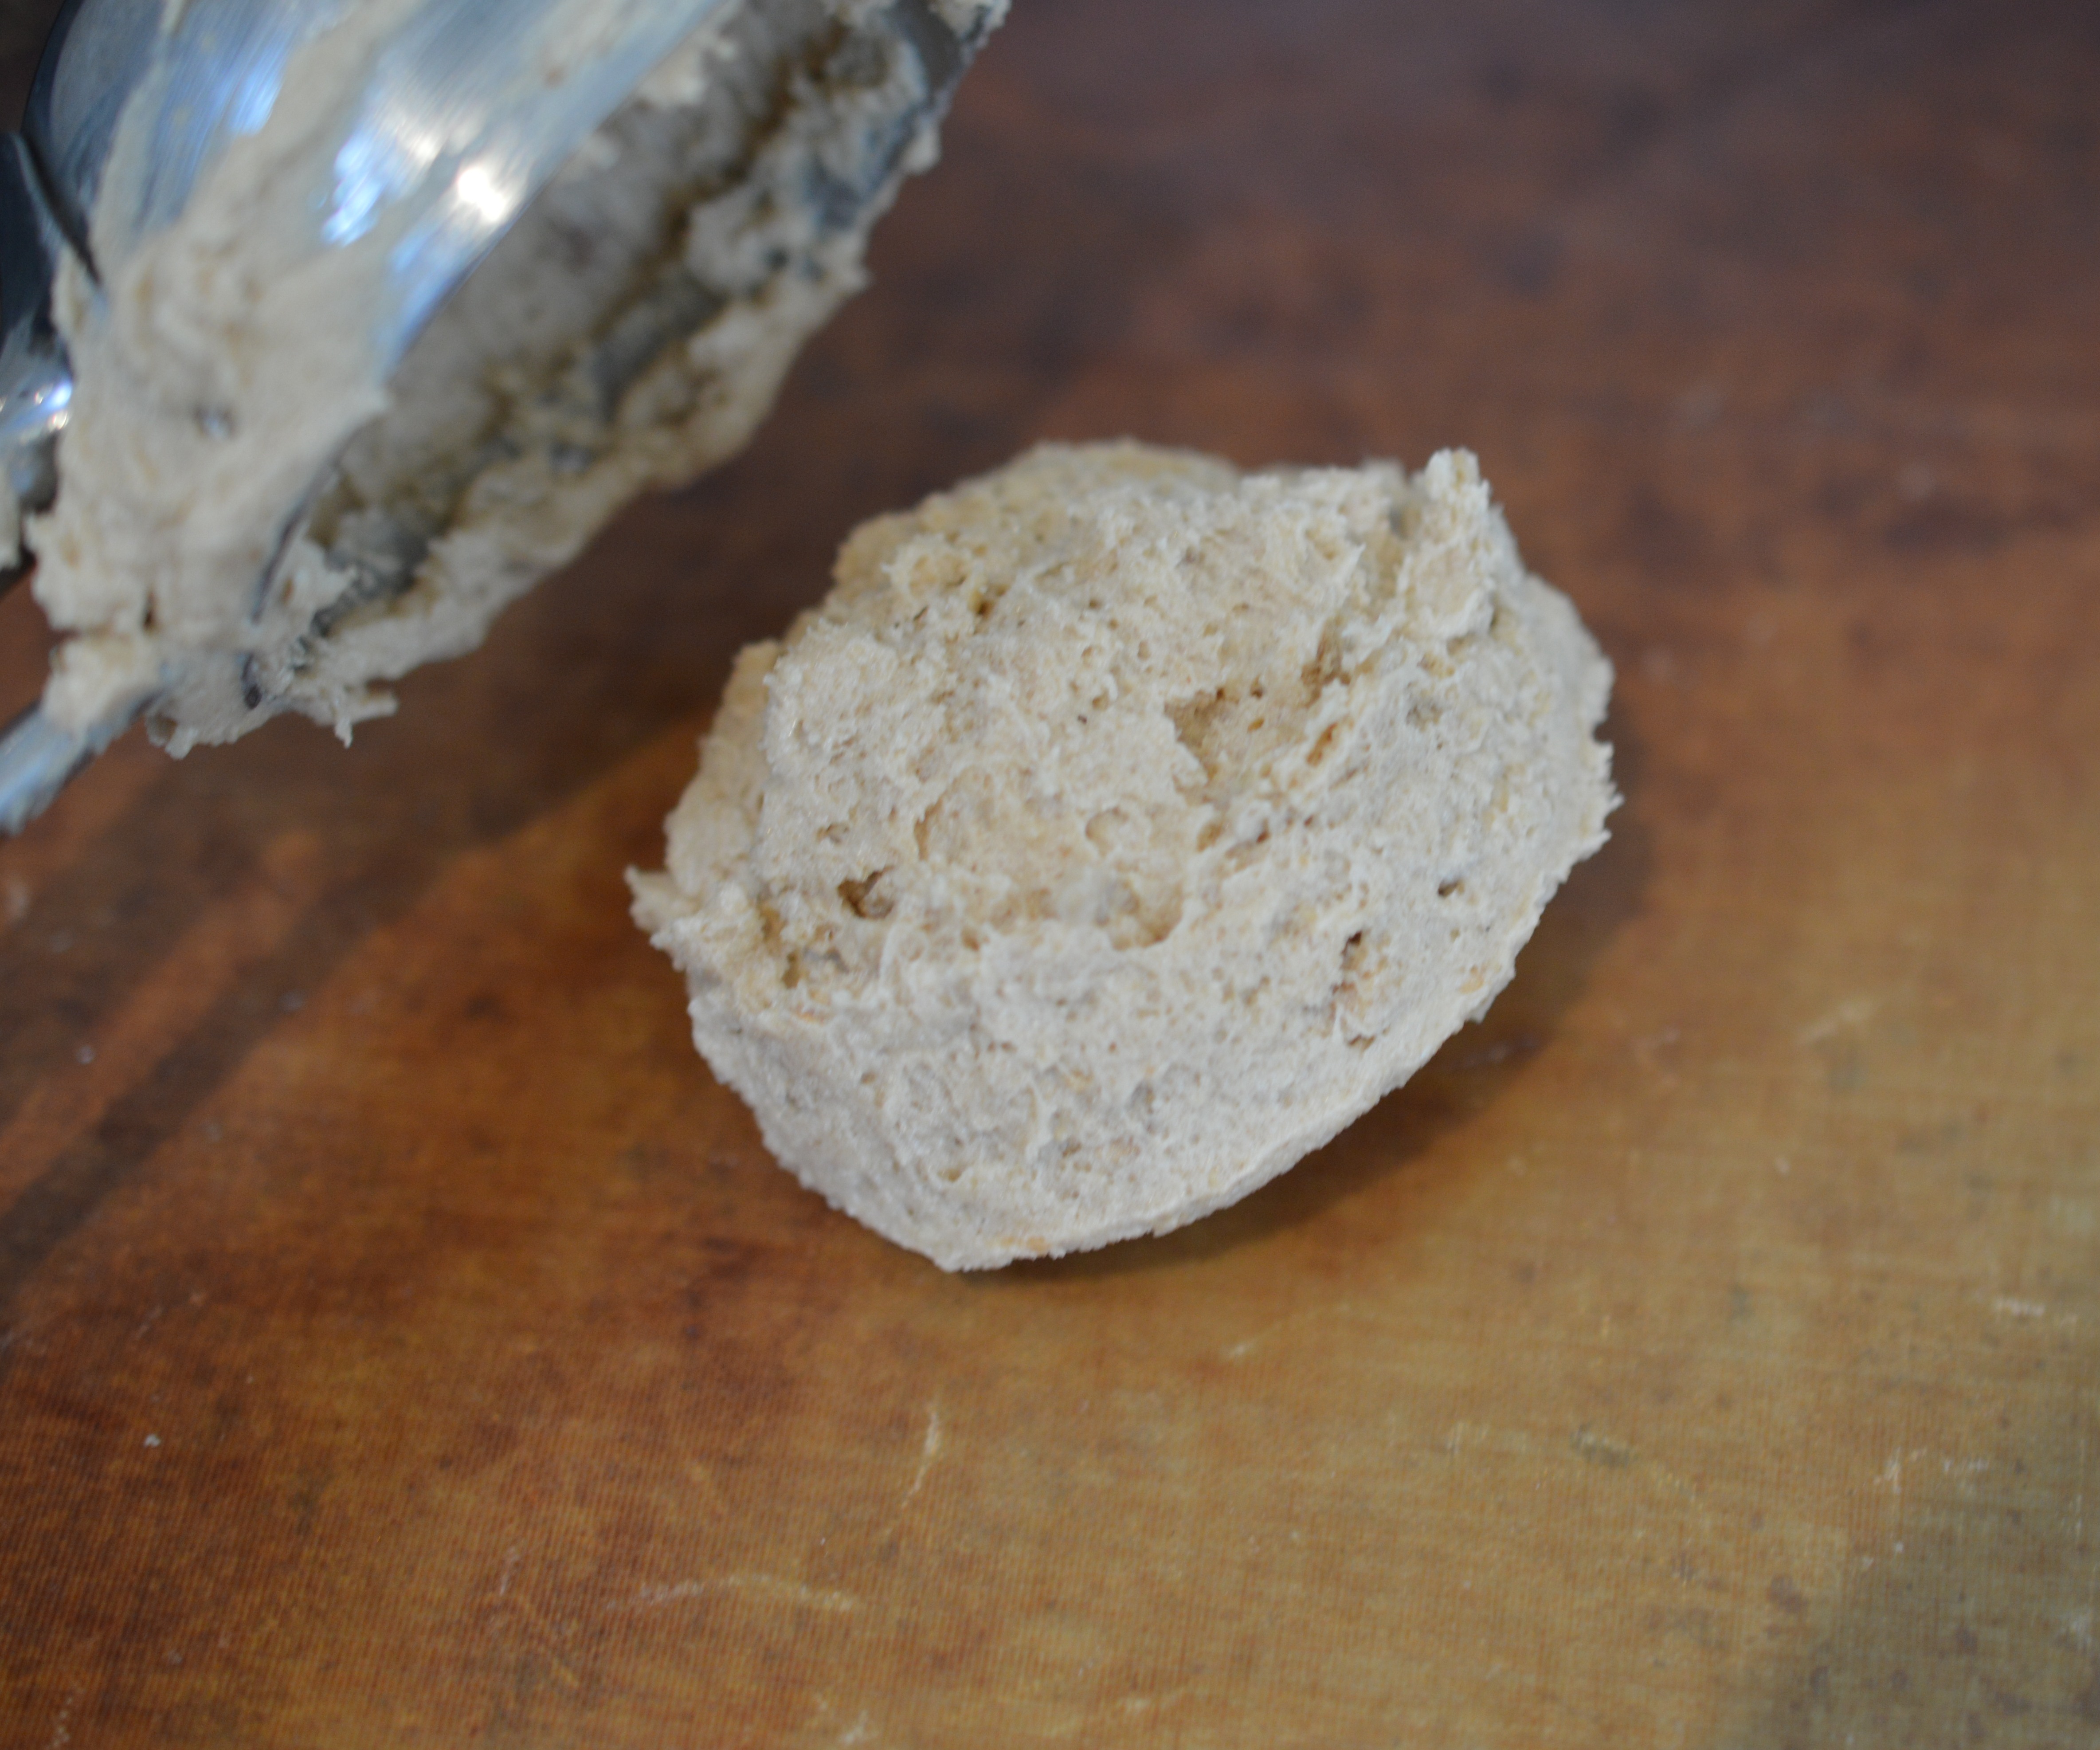
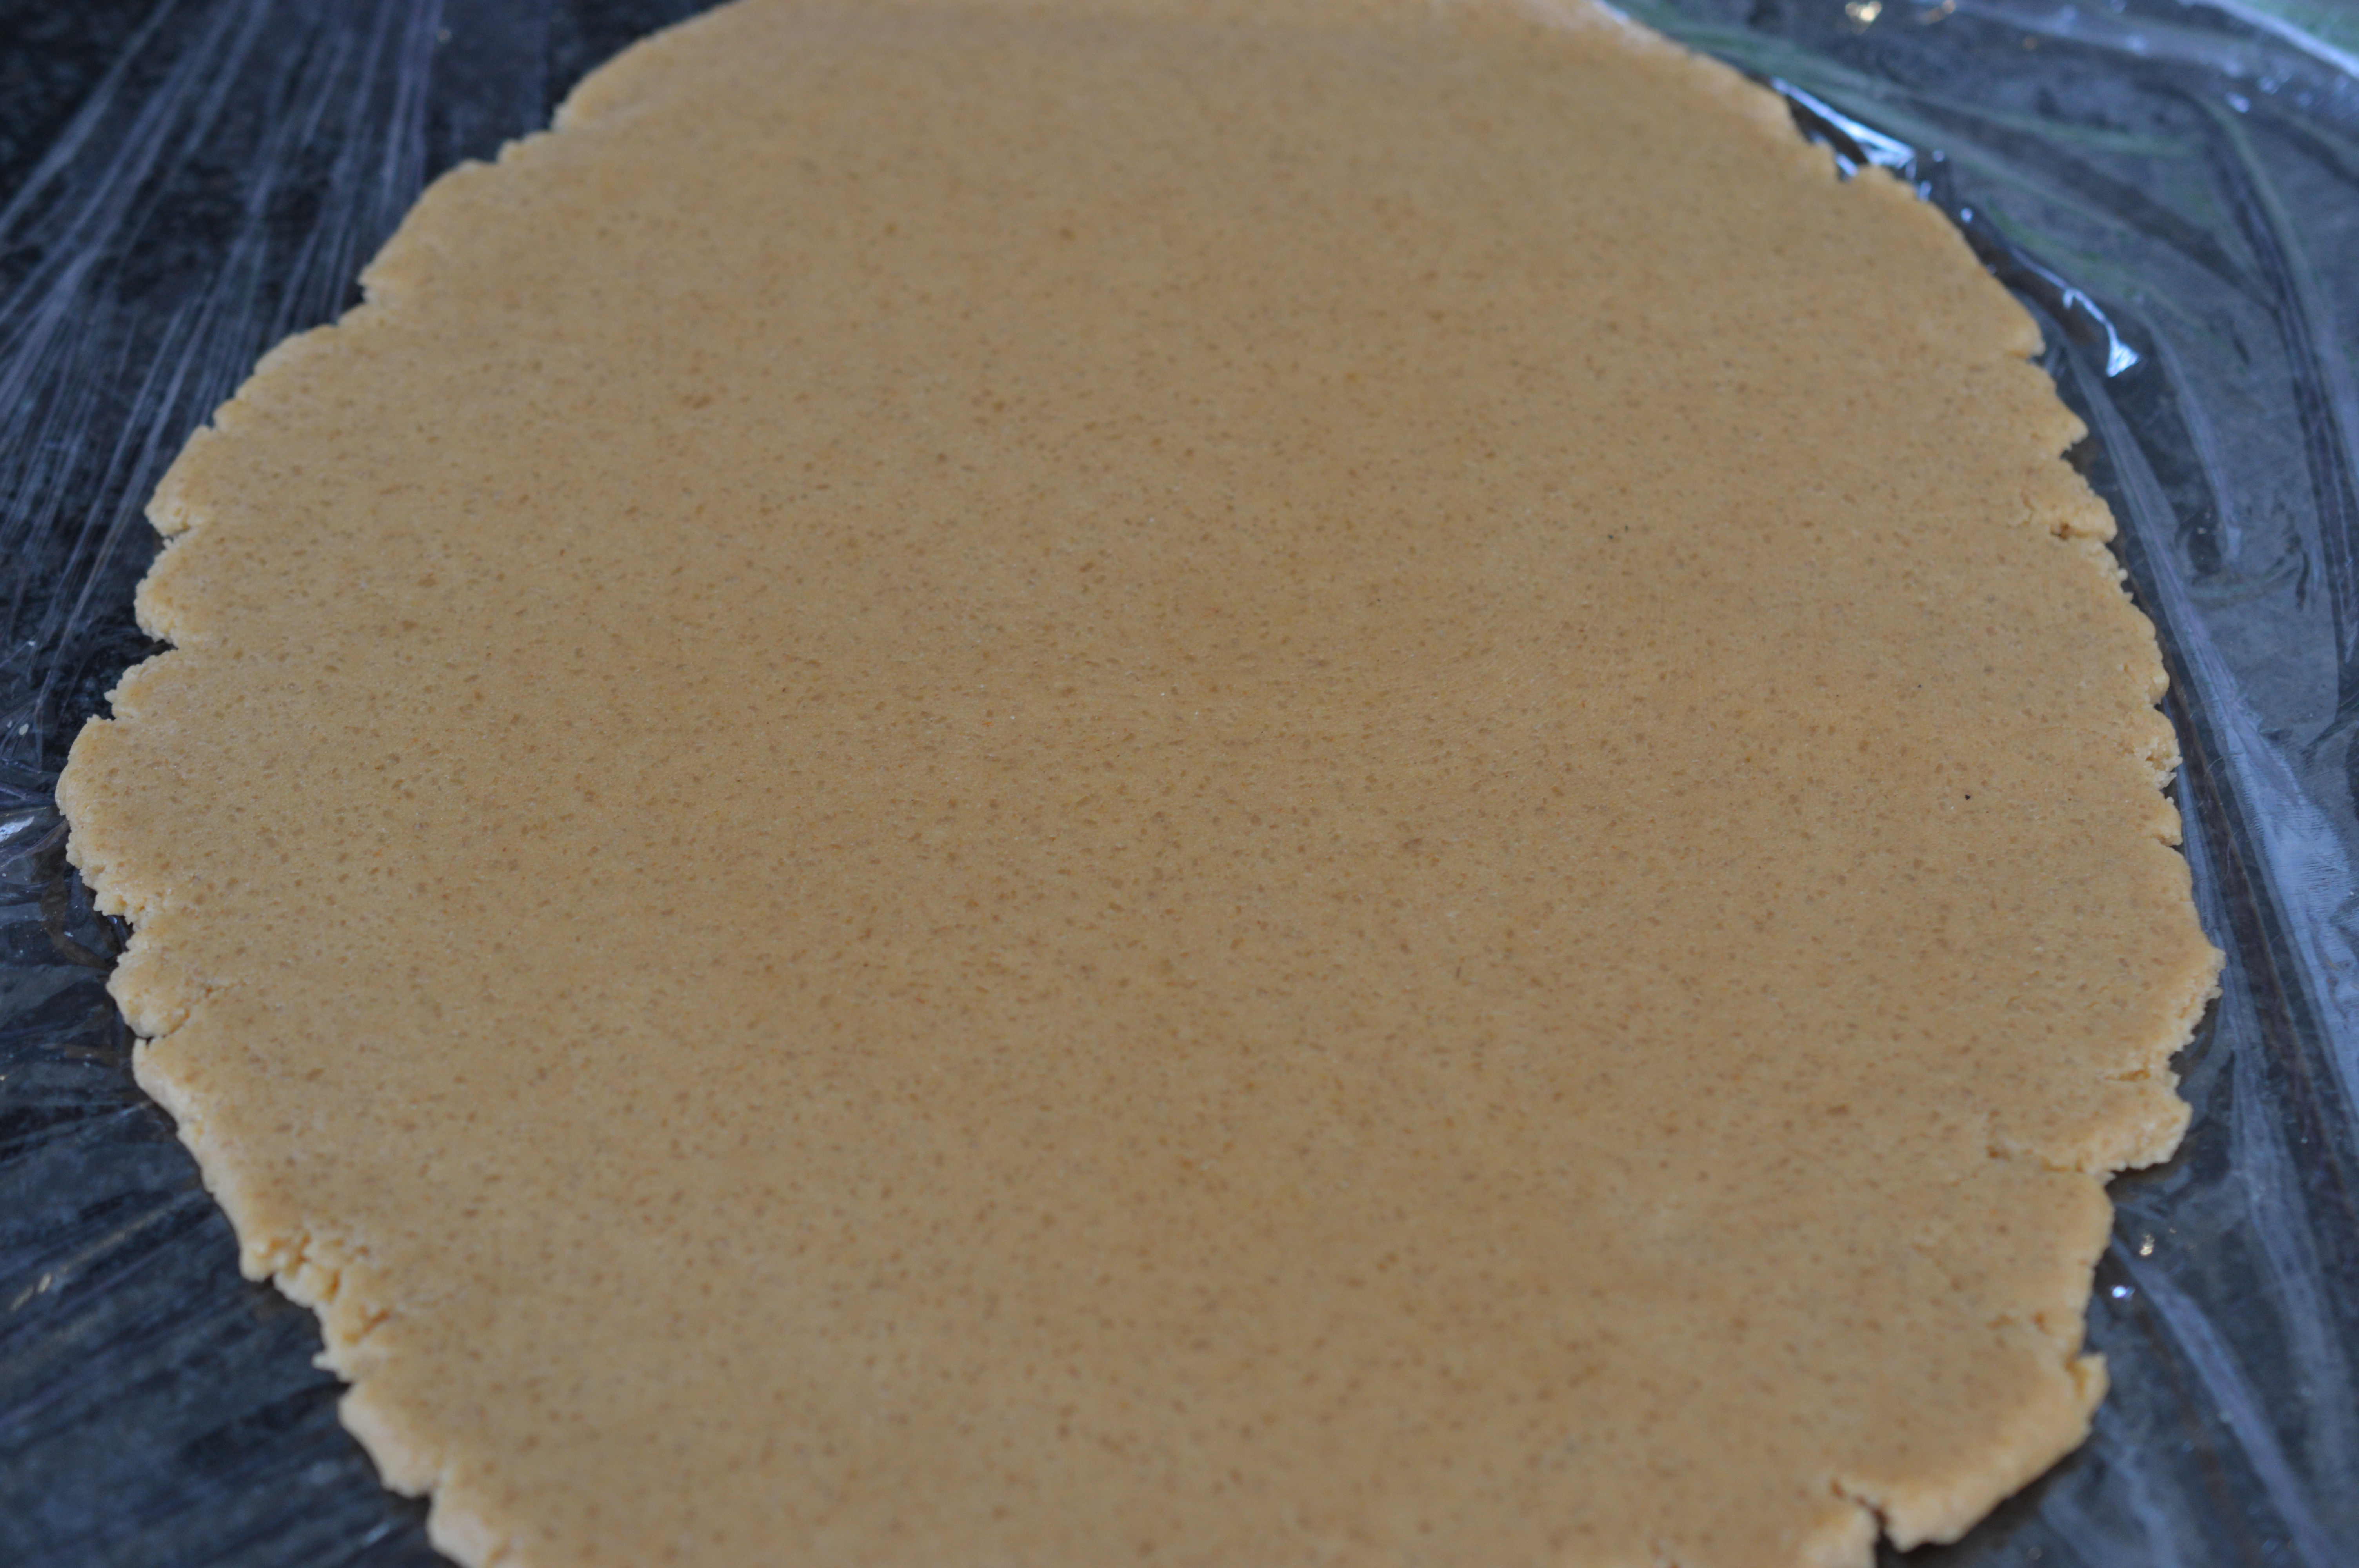
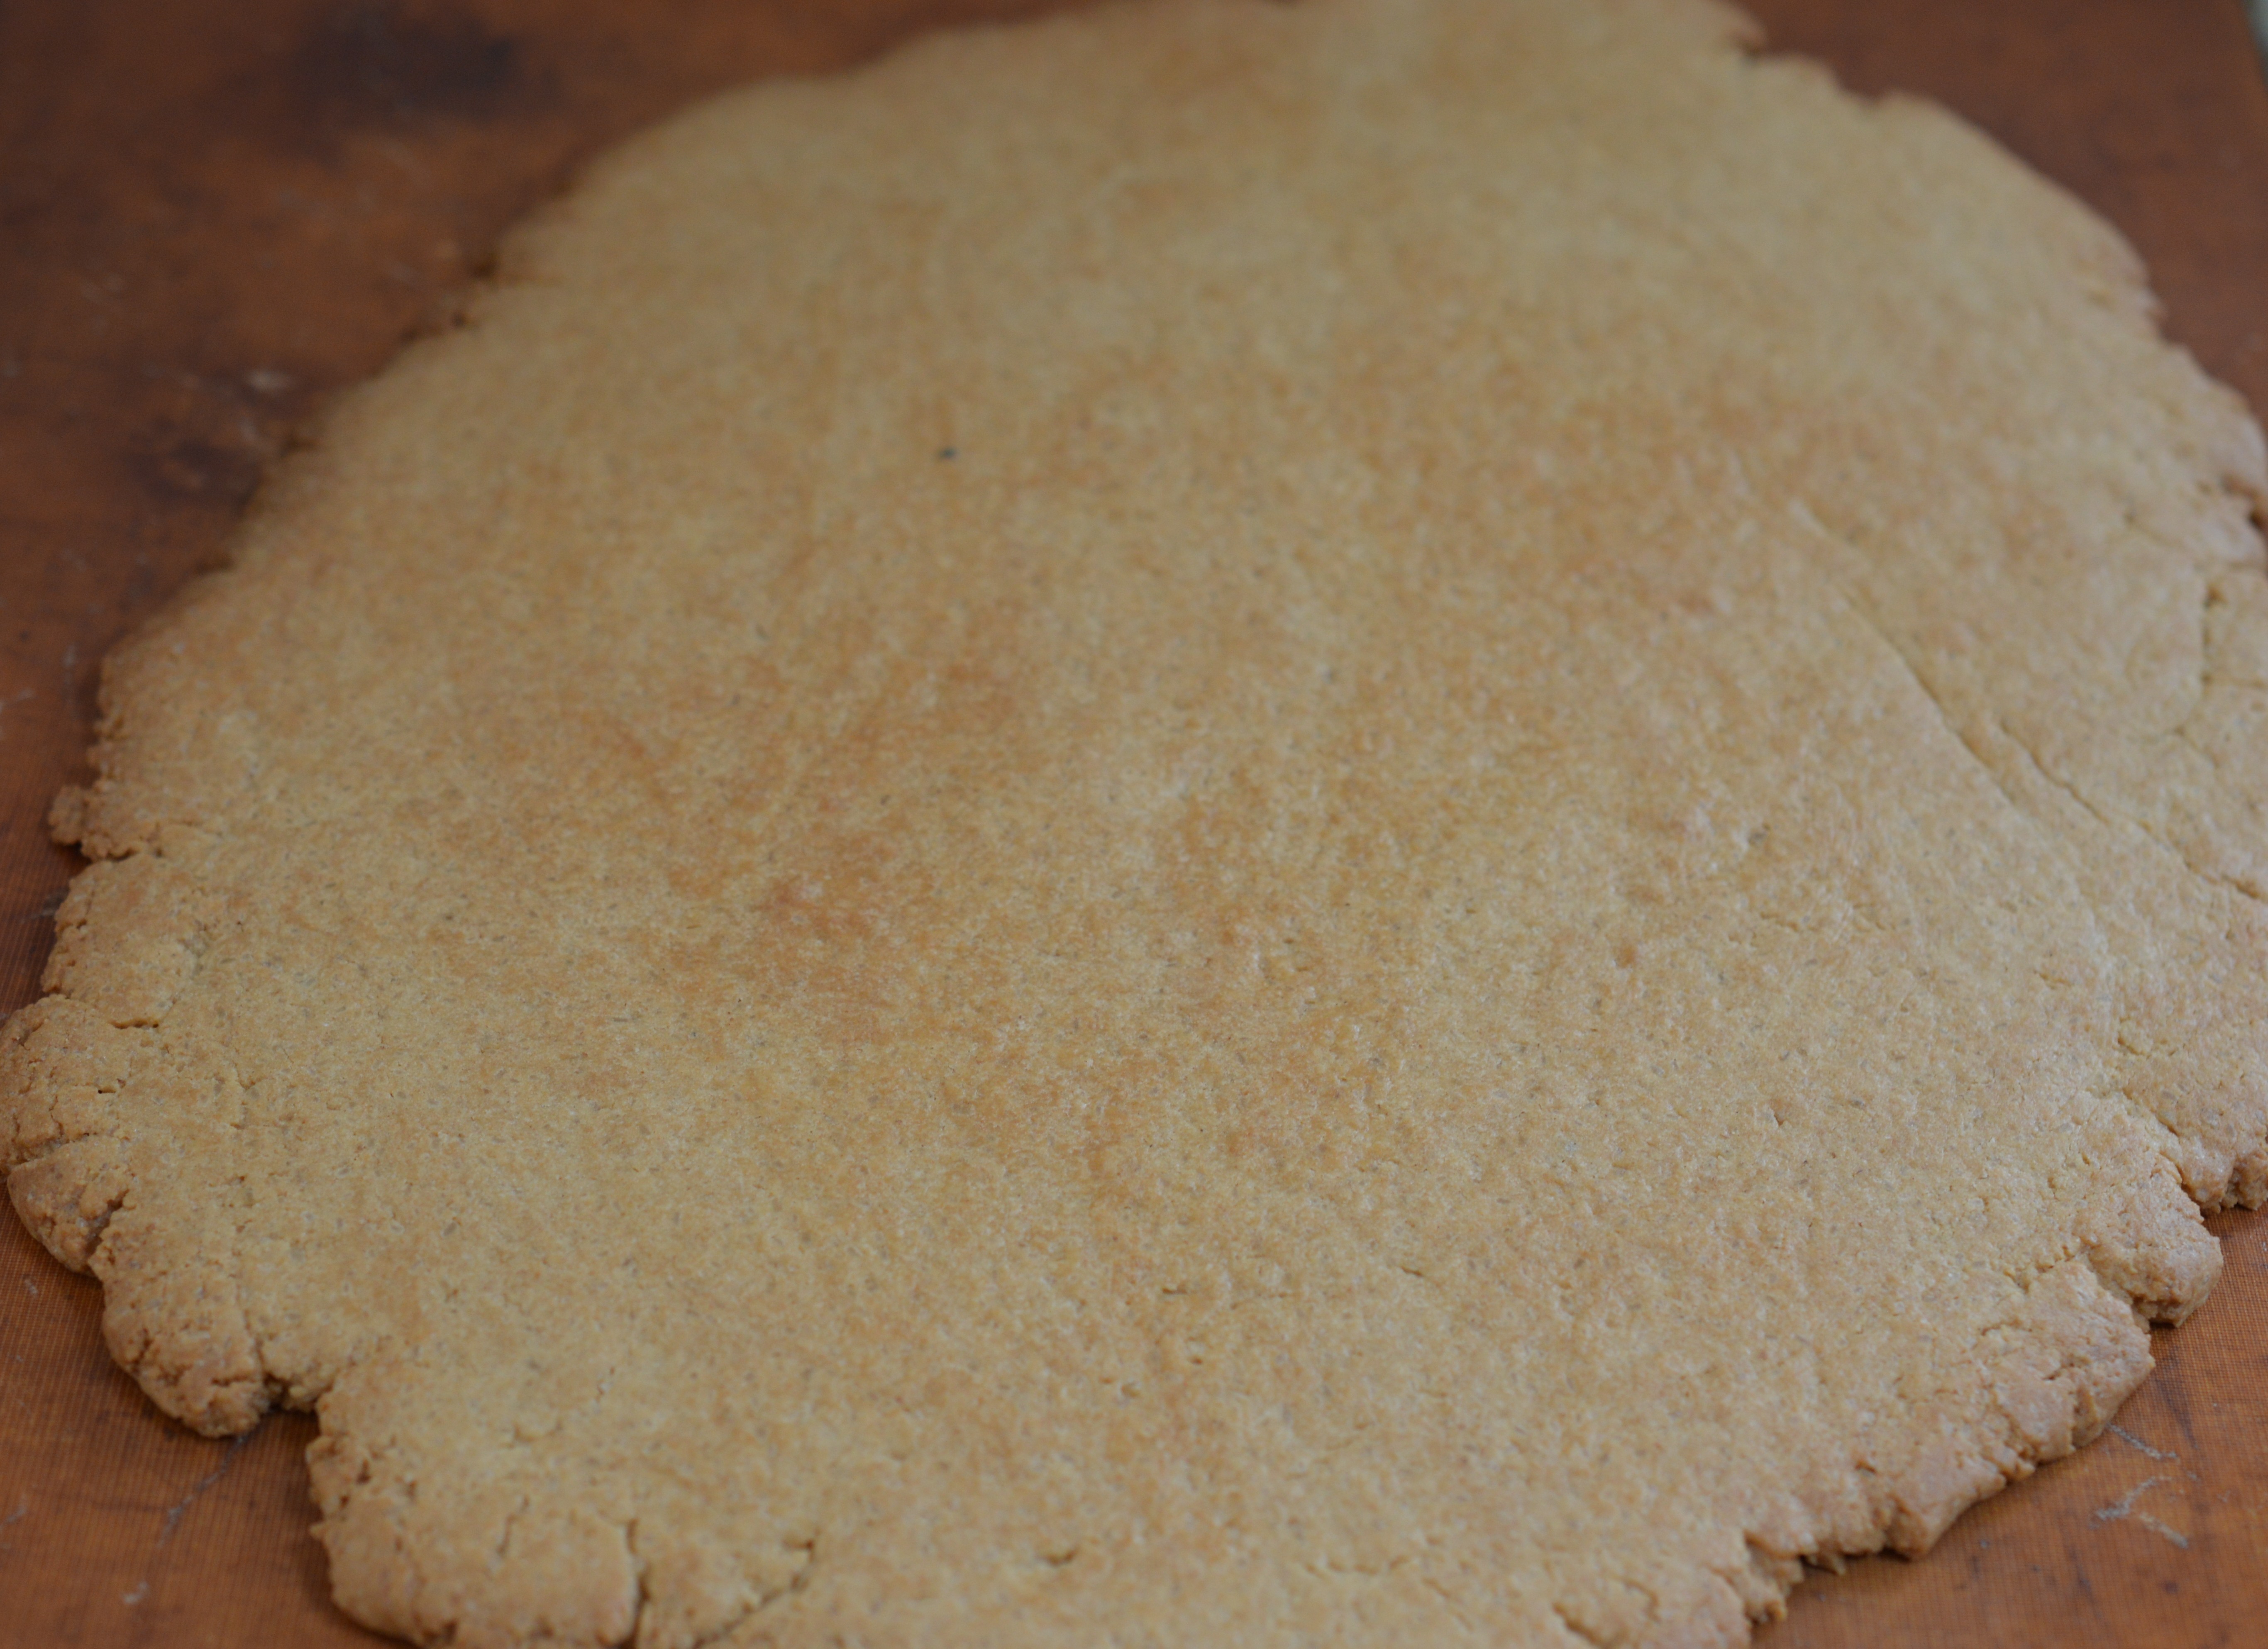
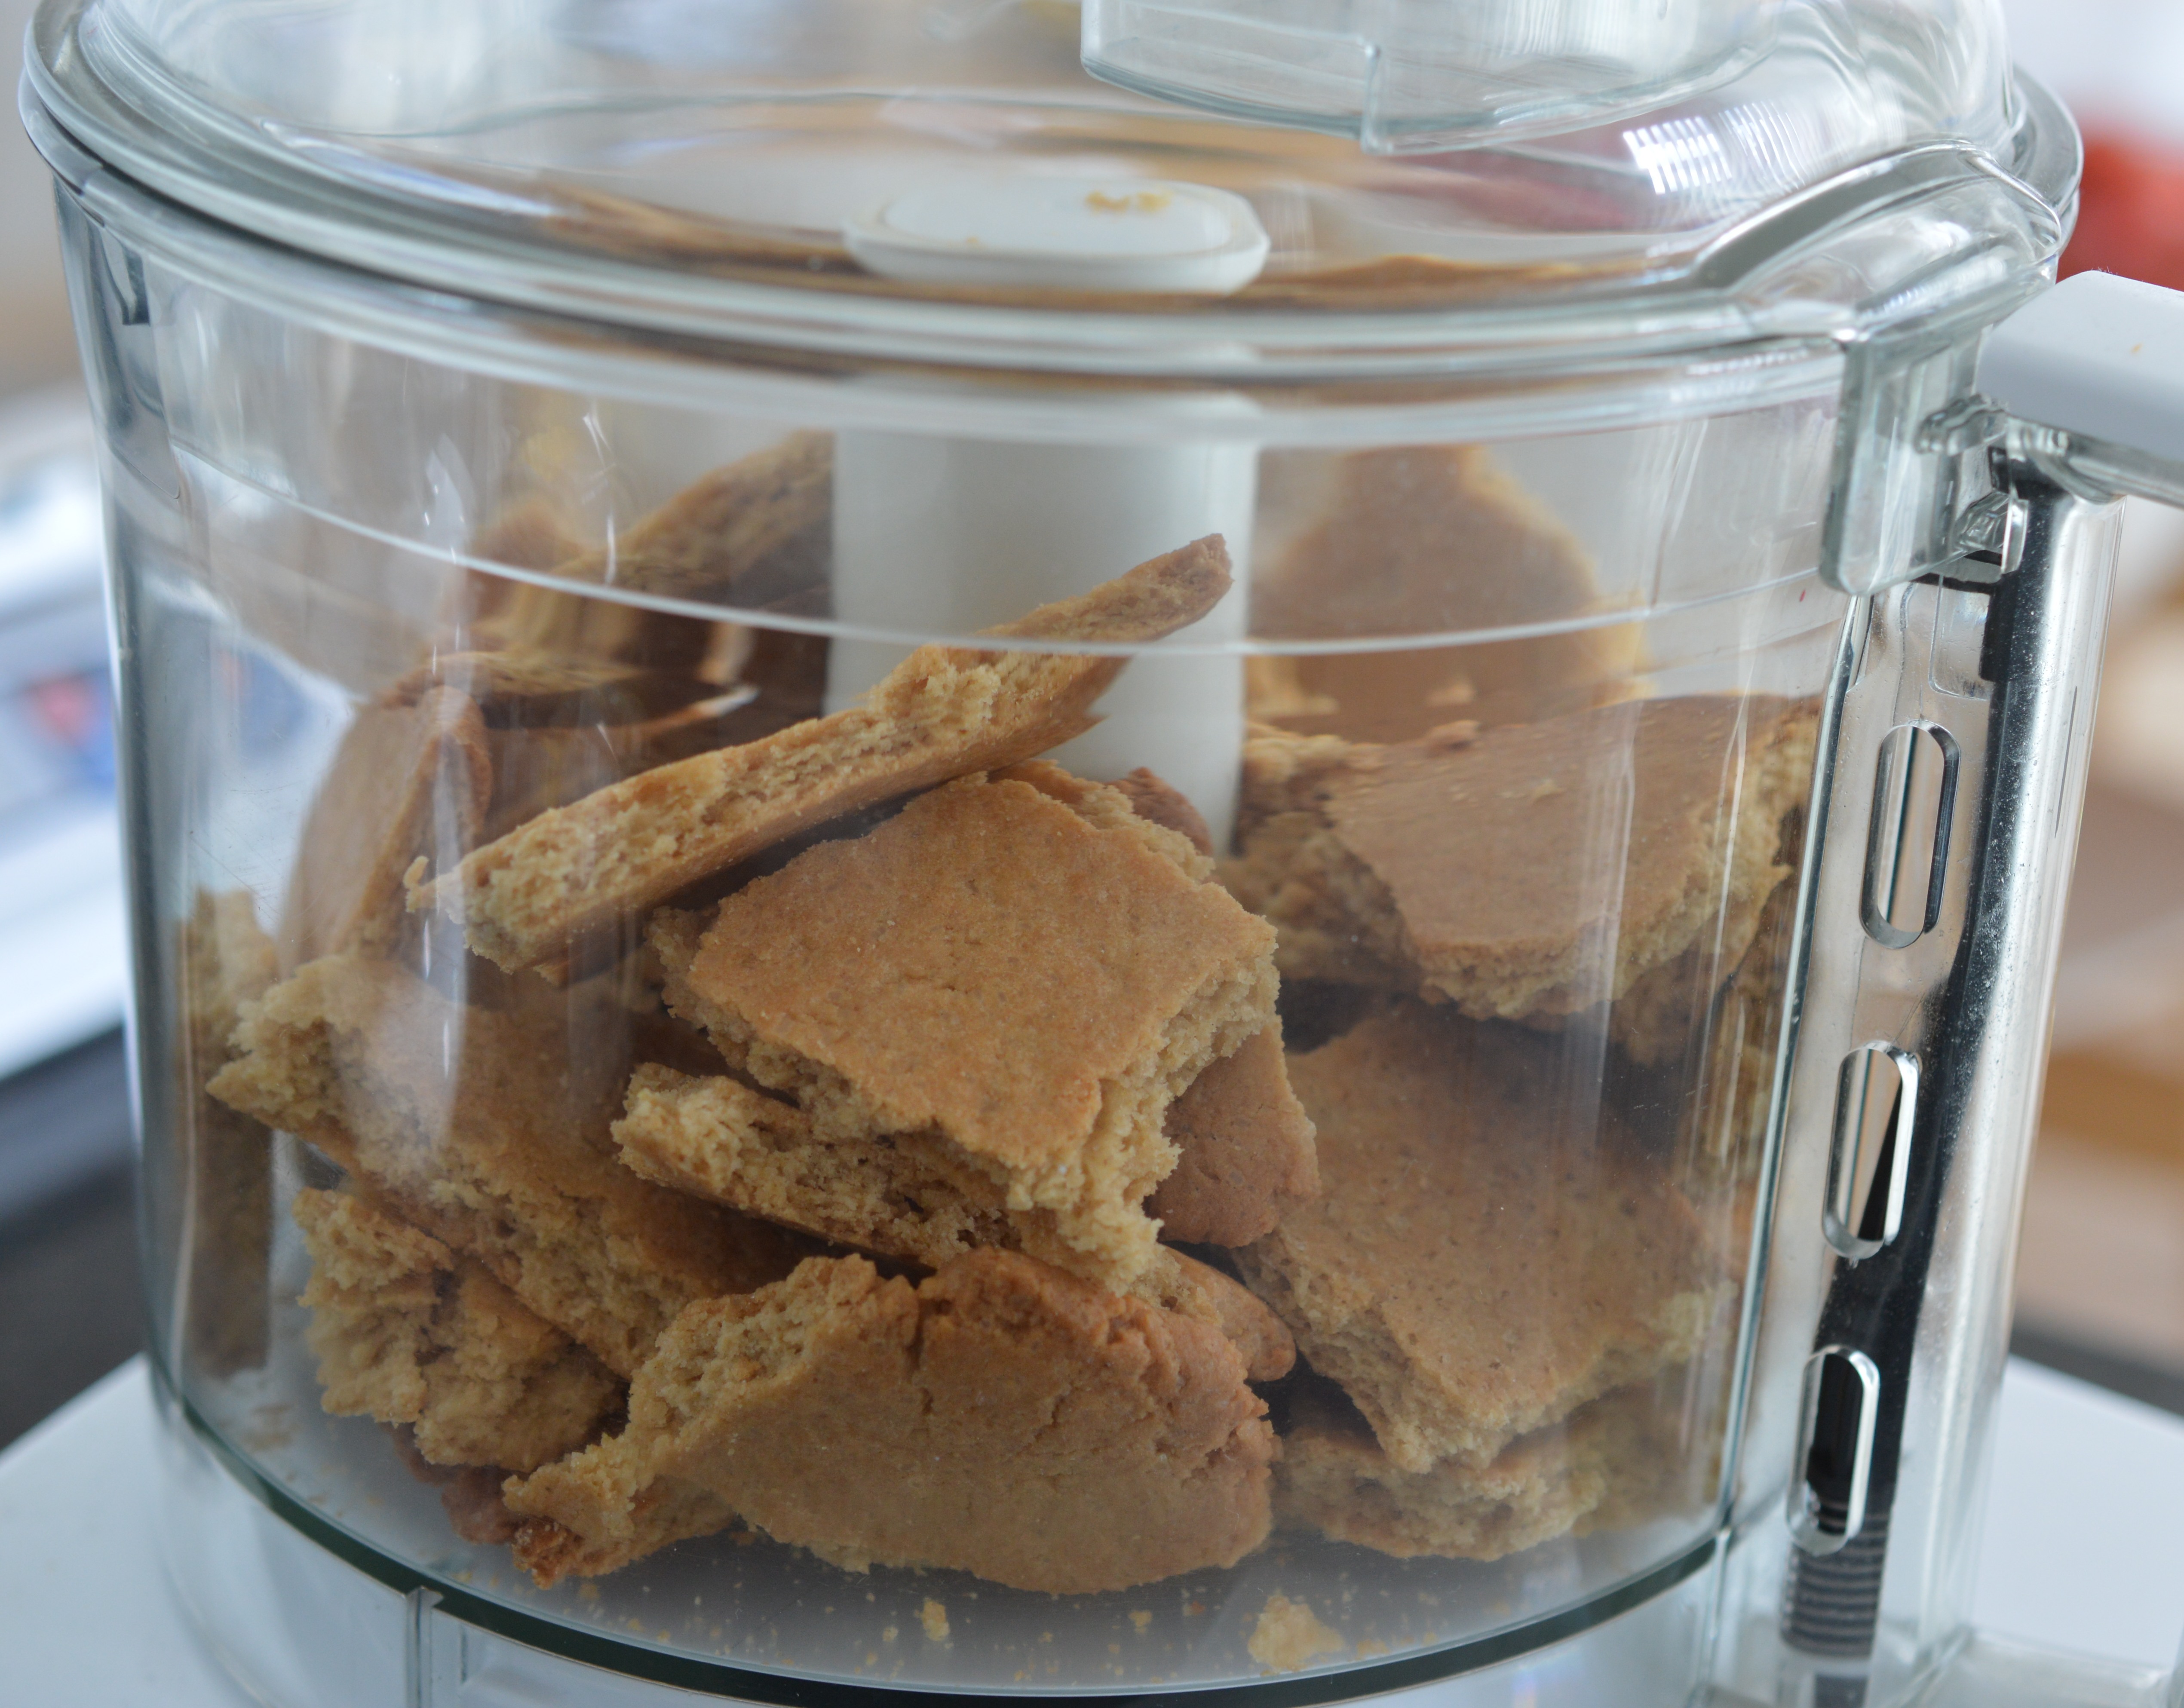
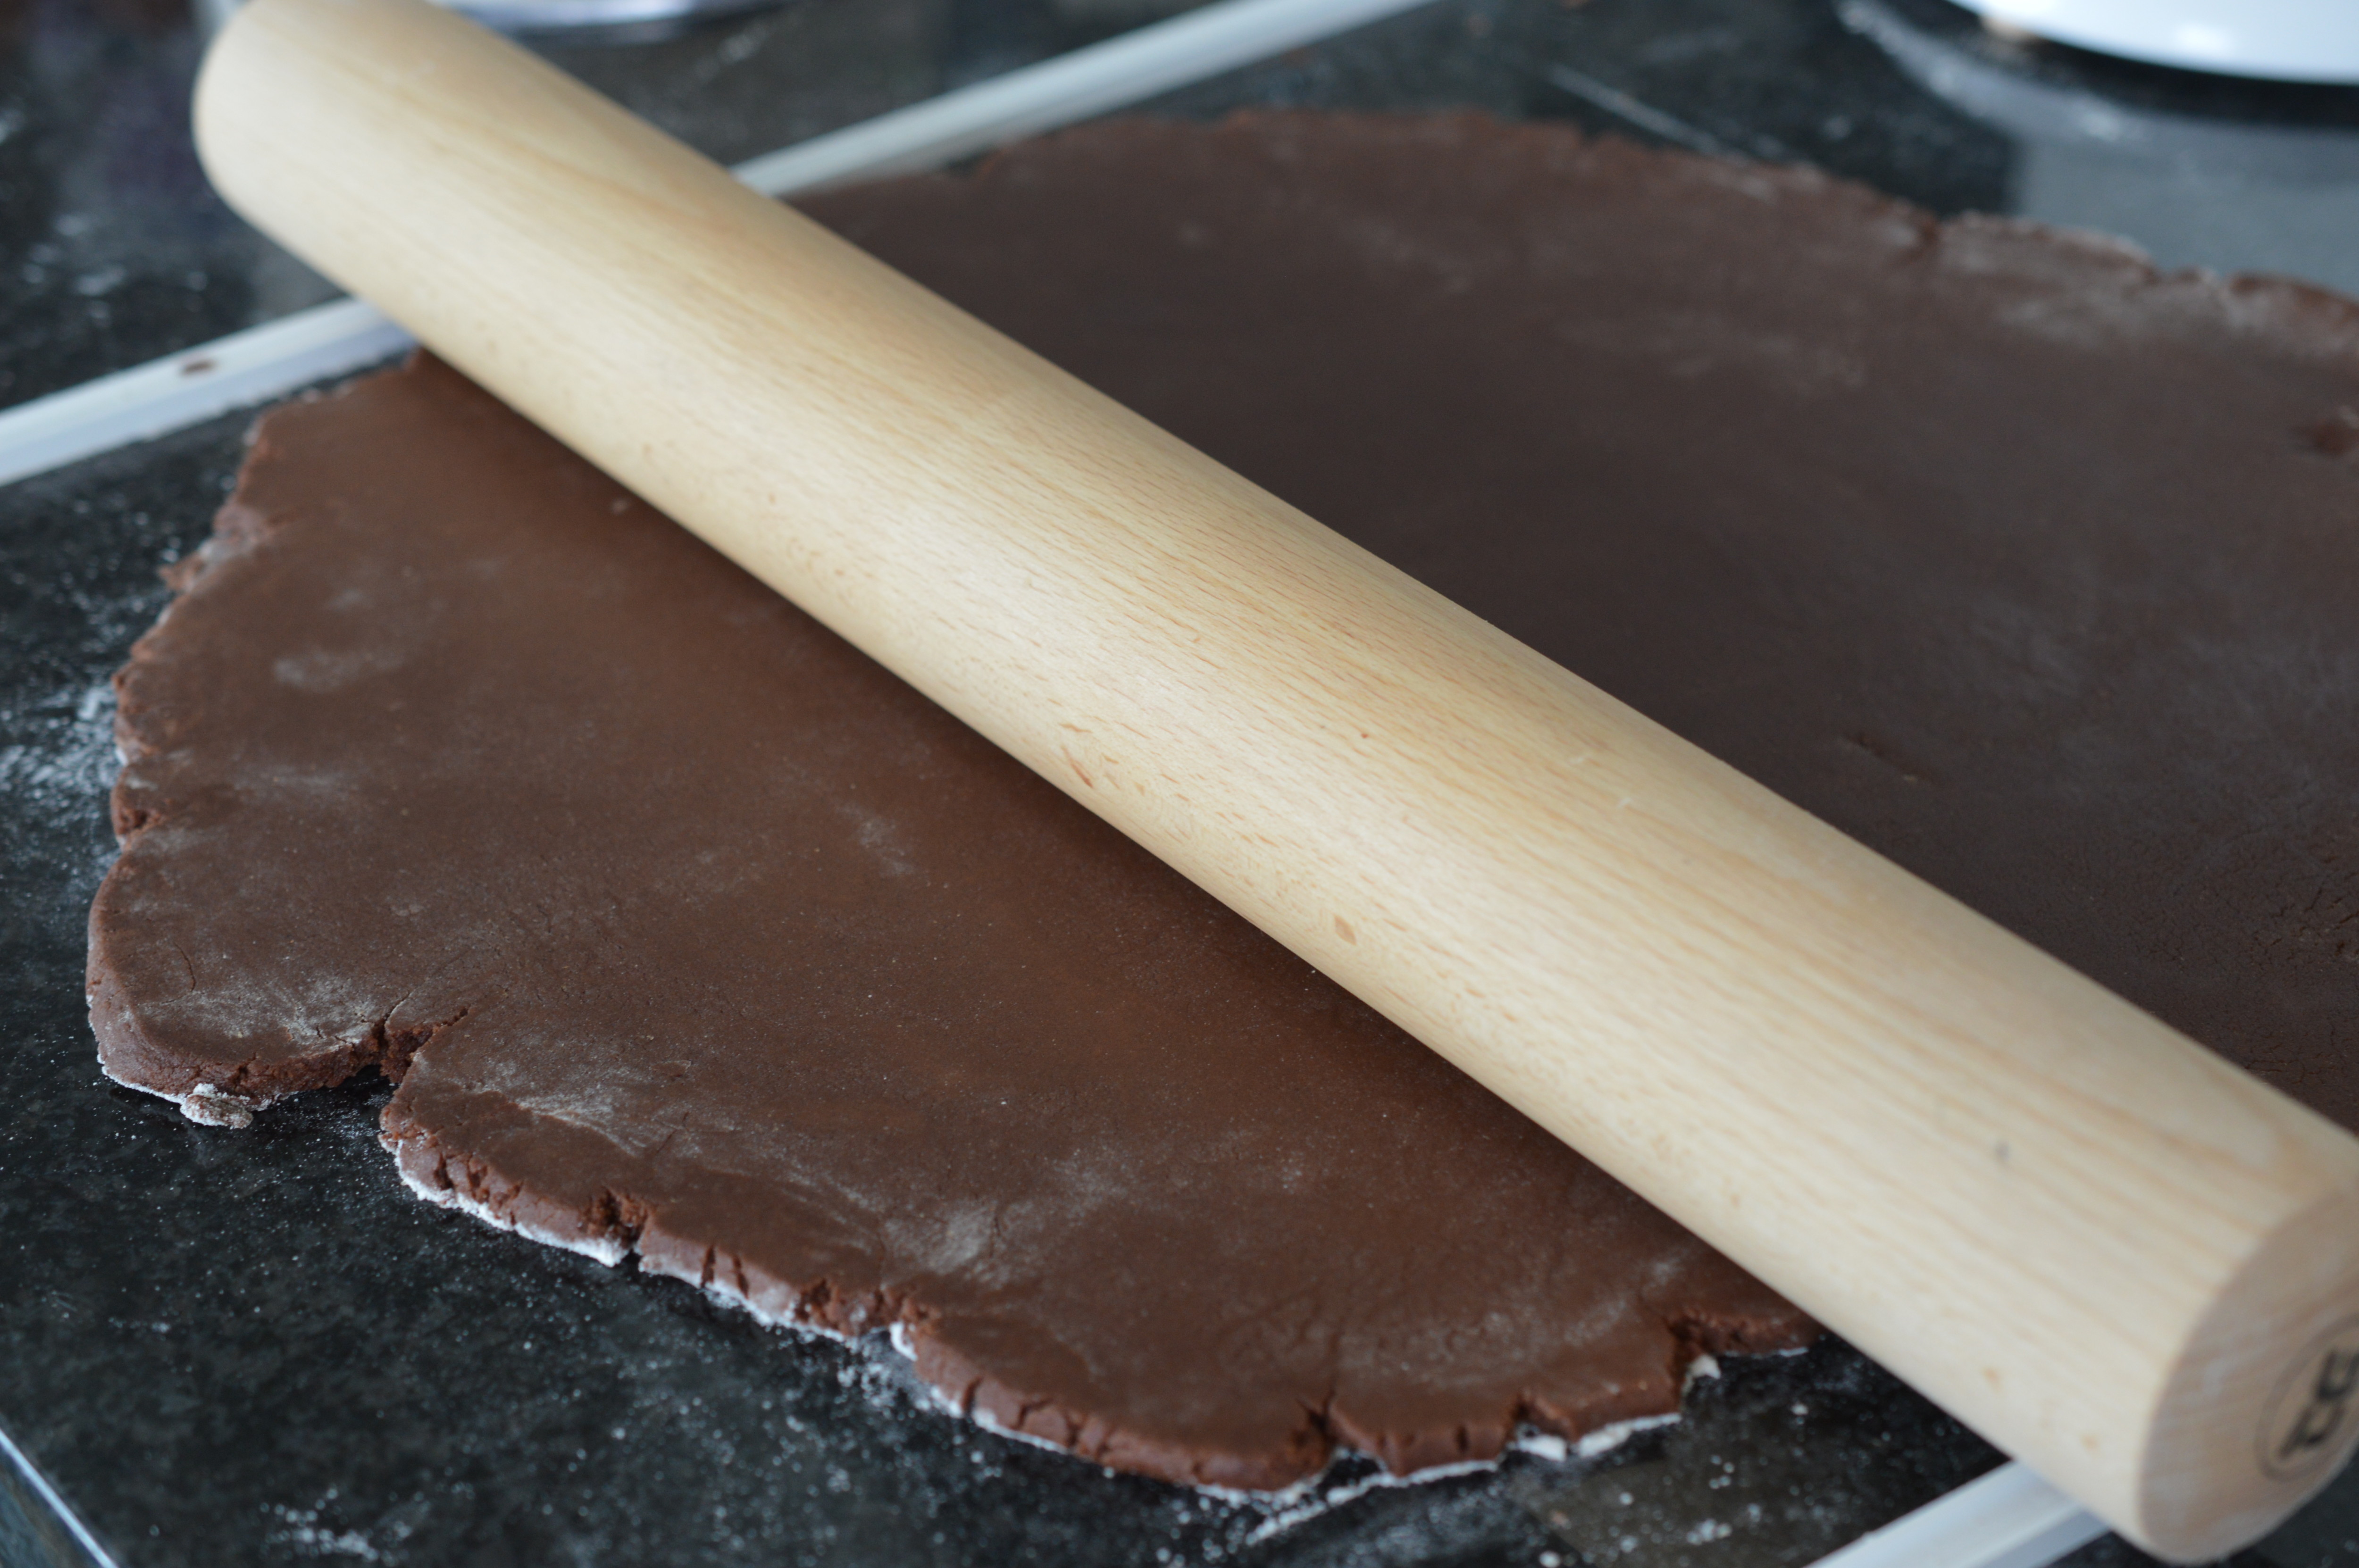 Remove from the fridge and briefly knead until there are no cracks. Roll out the dough to a thickness of about 4mm. I use marzipan guides. If you are finding your dough sticky to work with you may find it easier to roll between sheets of cling film or baking paper.
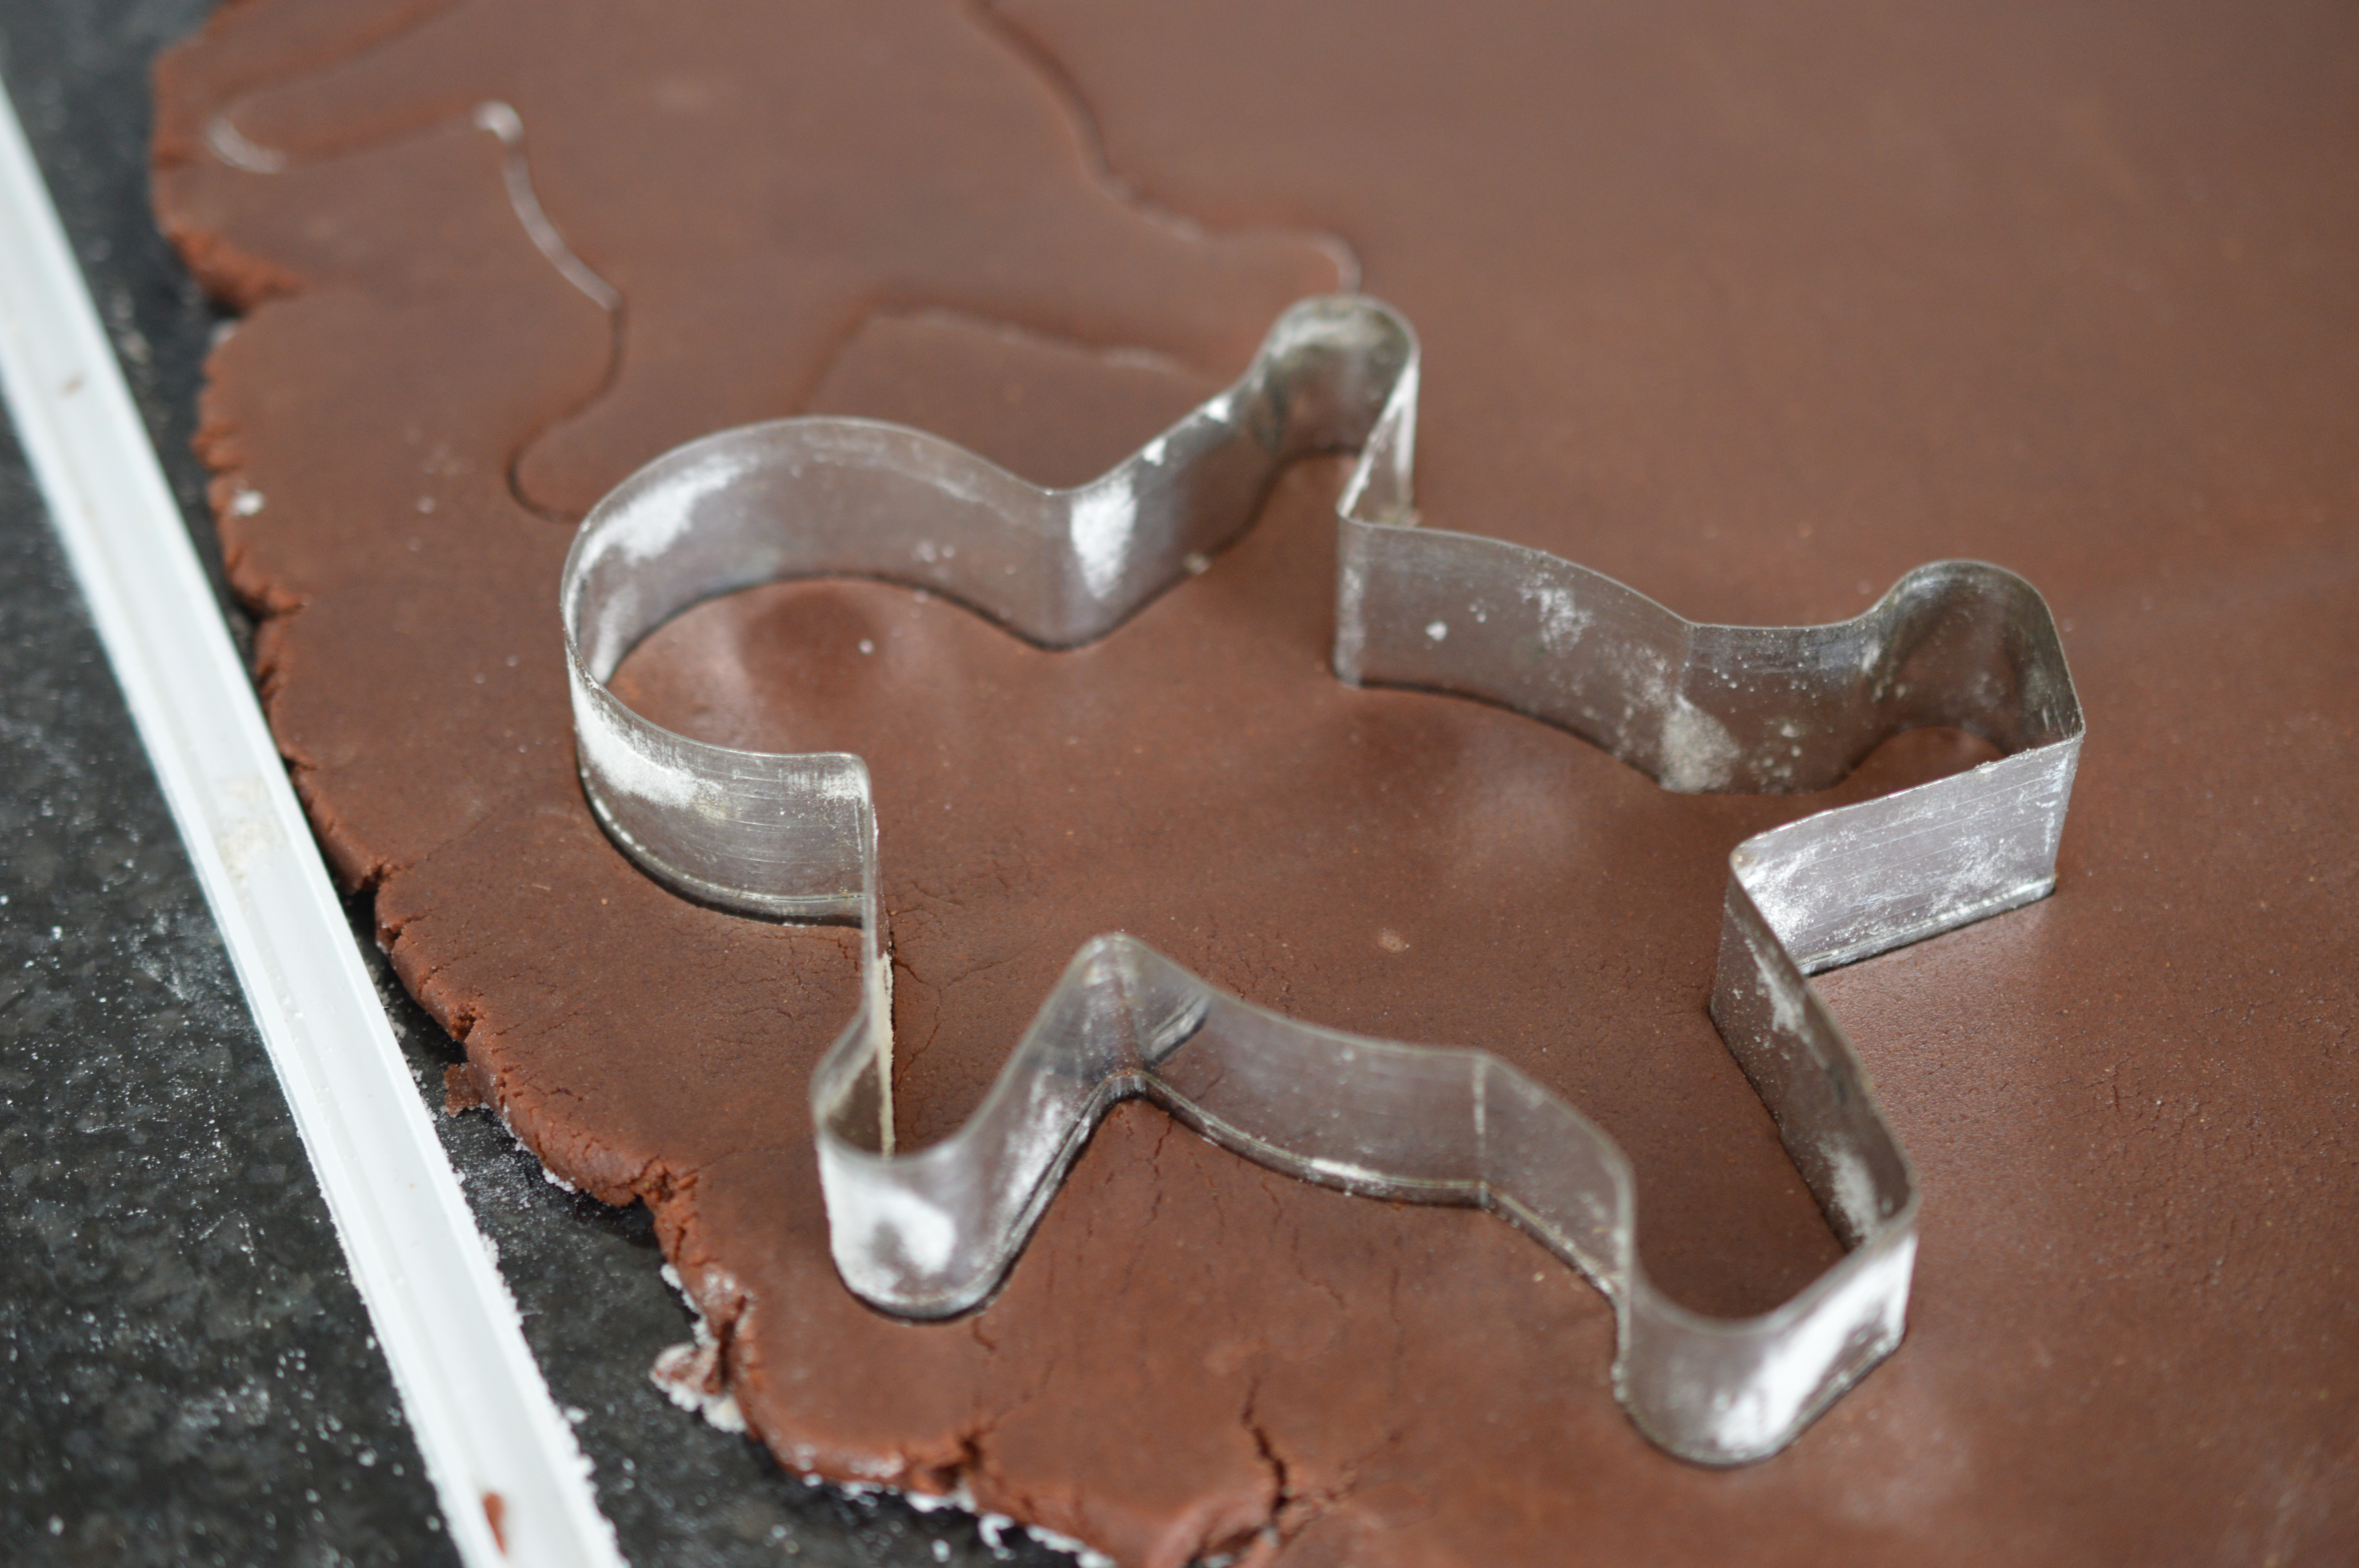 Use a floured cookie cutter to cut out the ‘gingerbread’ men. If you give the cutter a little wiggle it helps when you lift your cut-outs to your baking tray.
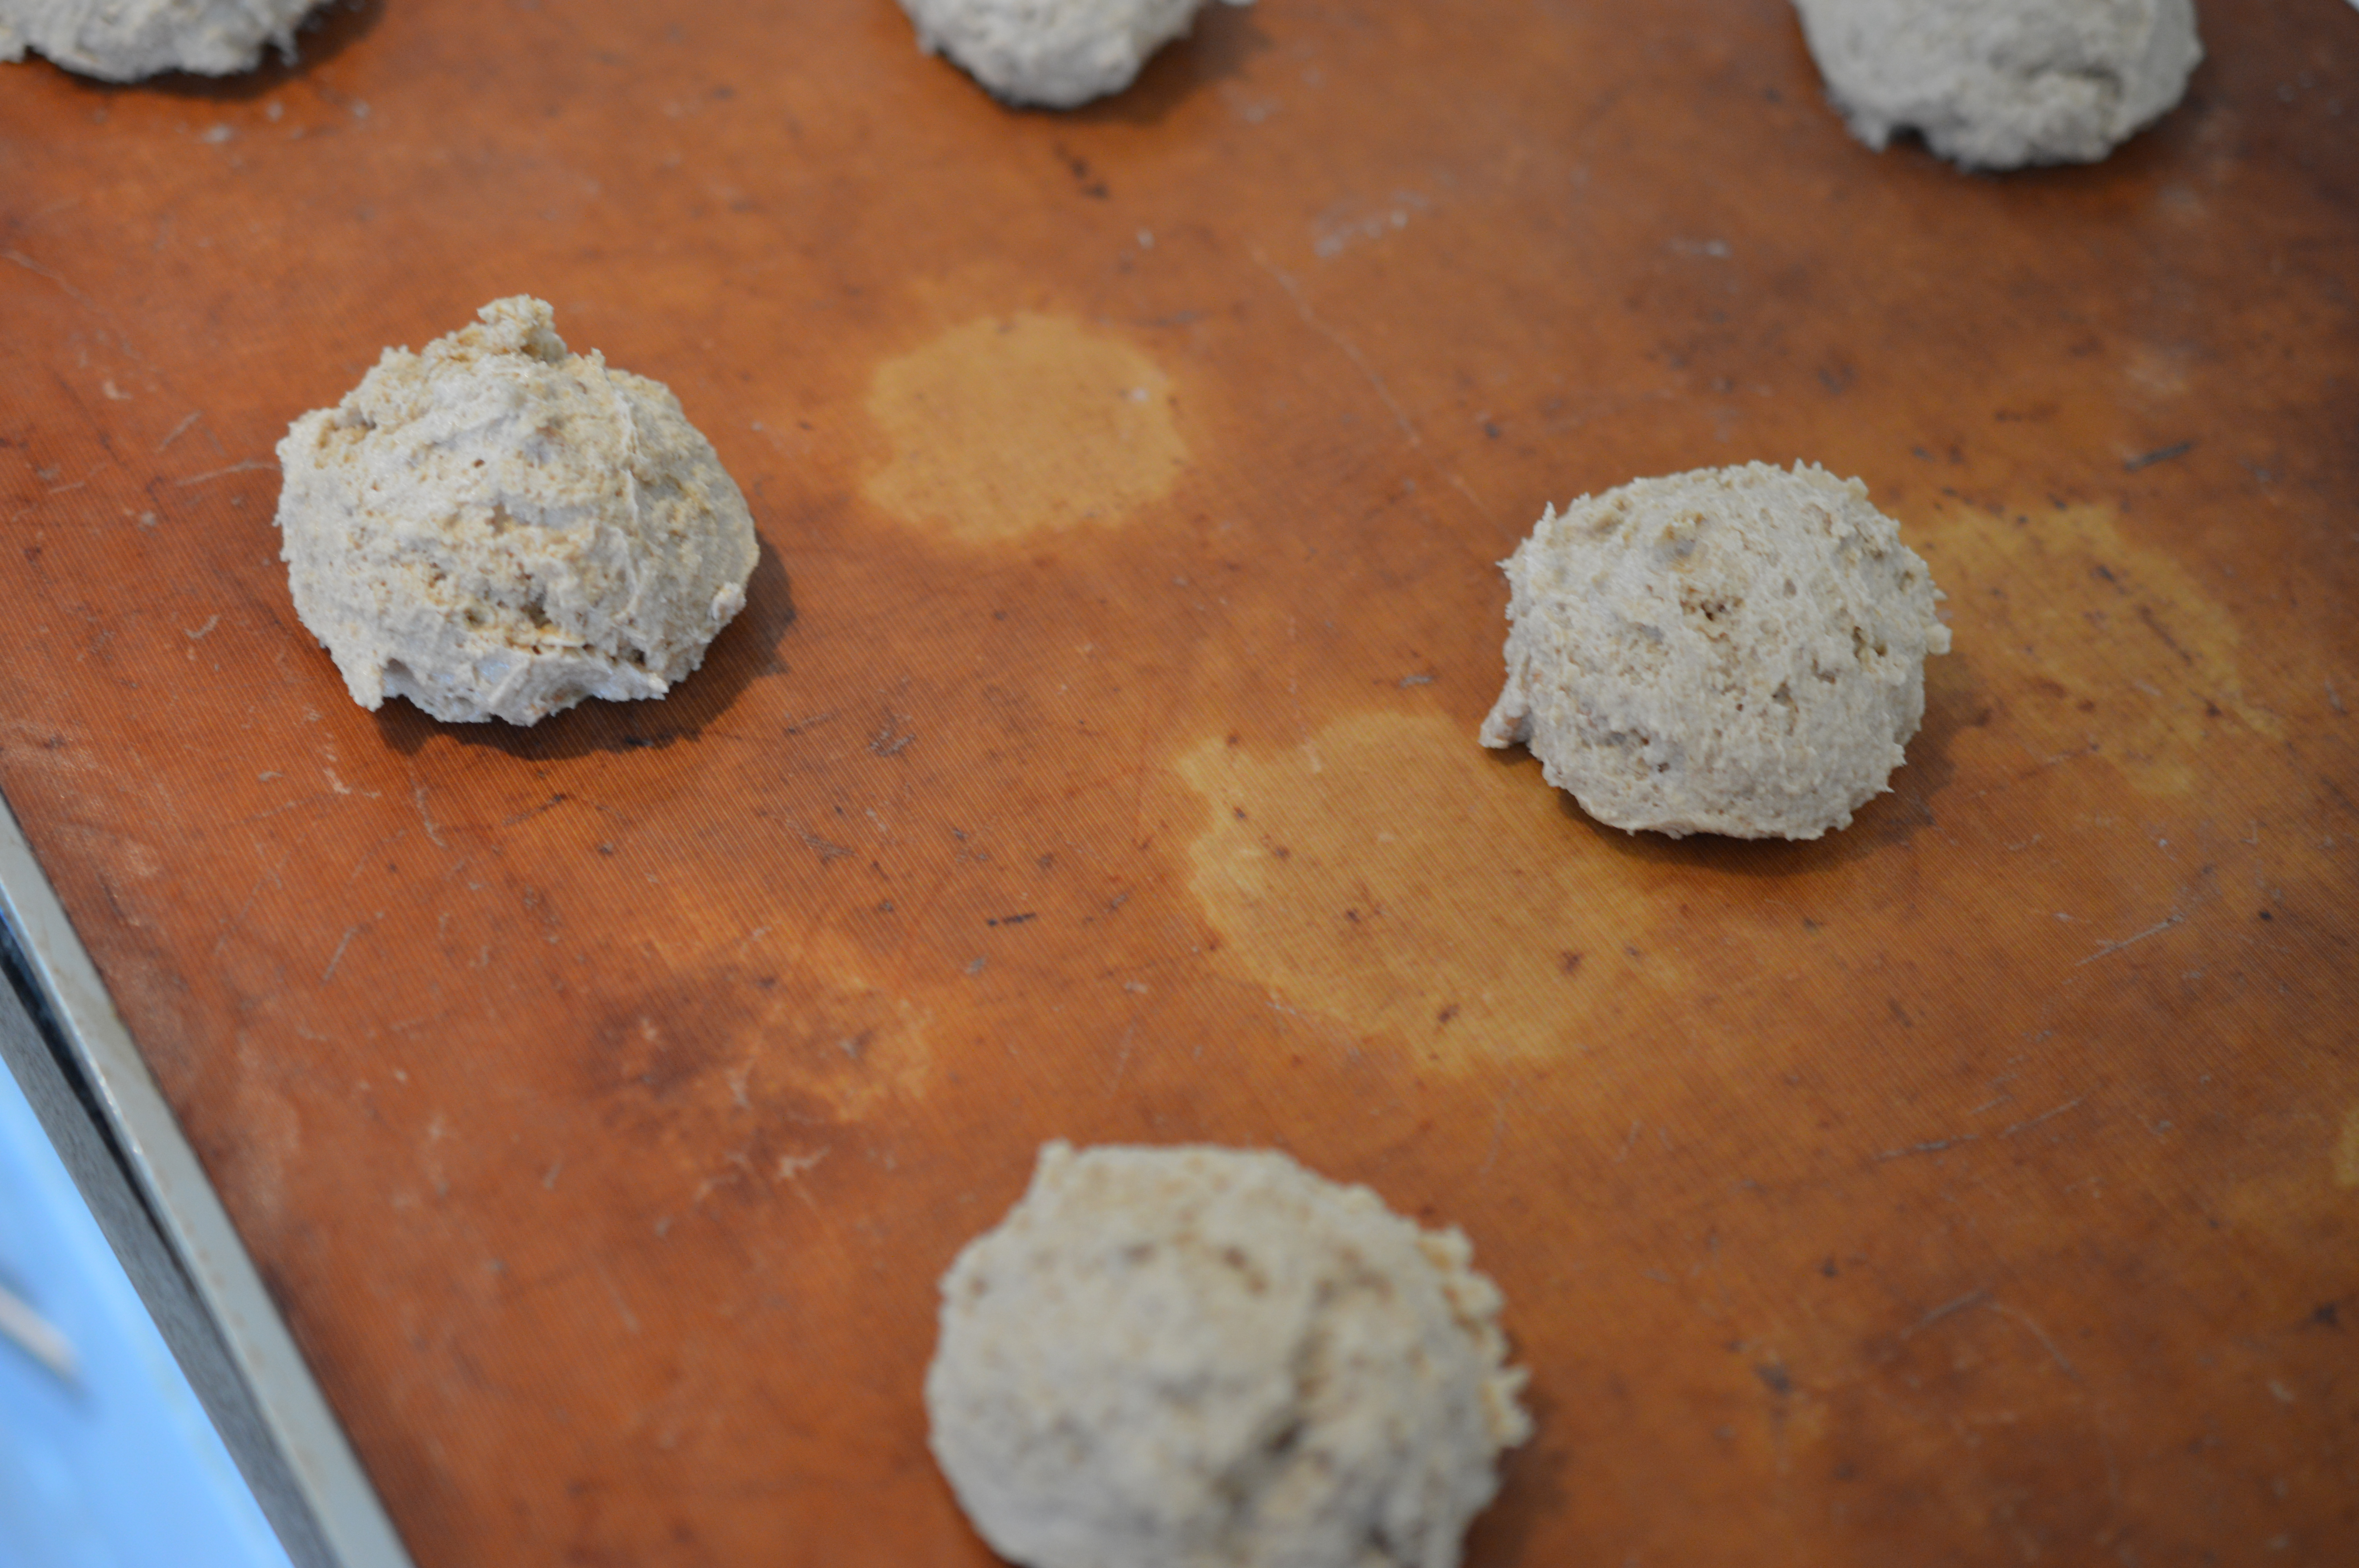
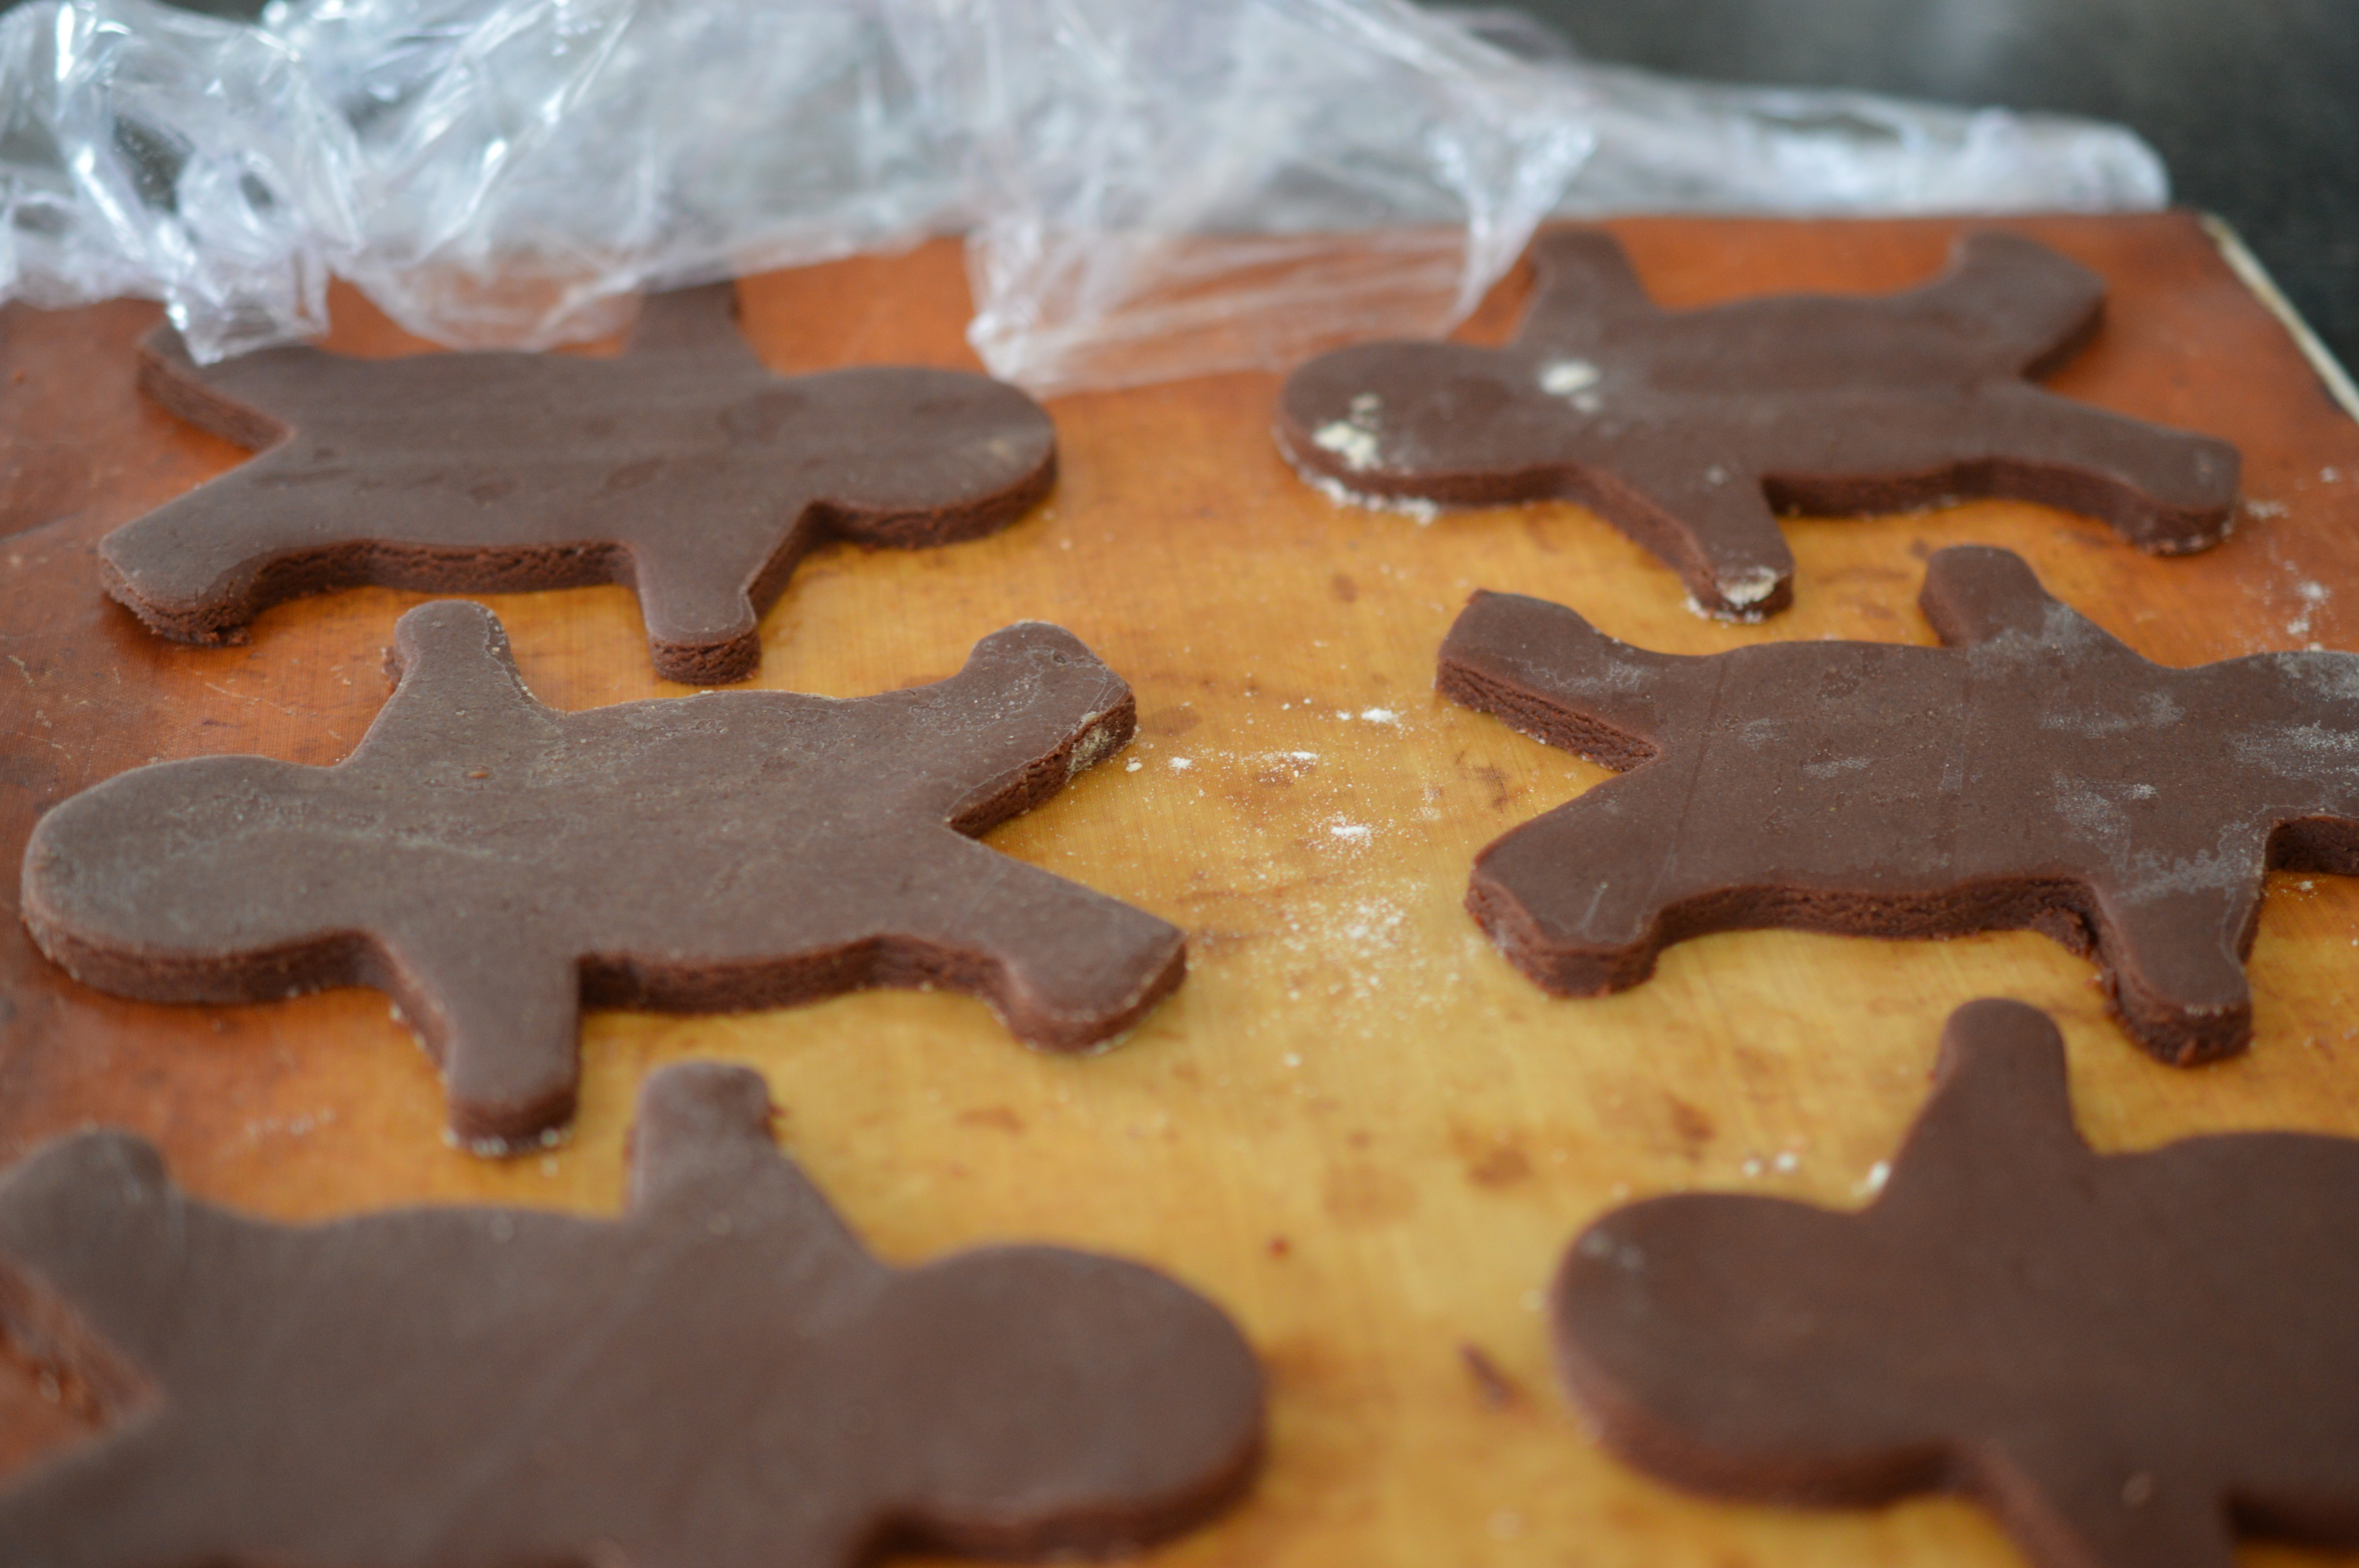 Cover with cling film and chill for a second time. This is to minimise shrinkage which isn’t hugely important here. (I freeze mine – and that’s as much to do with the fact I never have any room in my fridge. When it’s time to bake there’s no need to thaw first.)
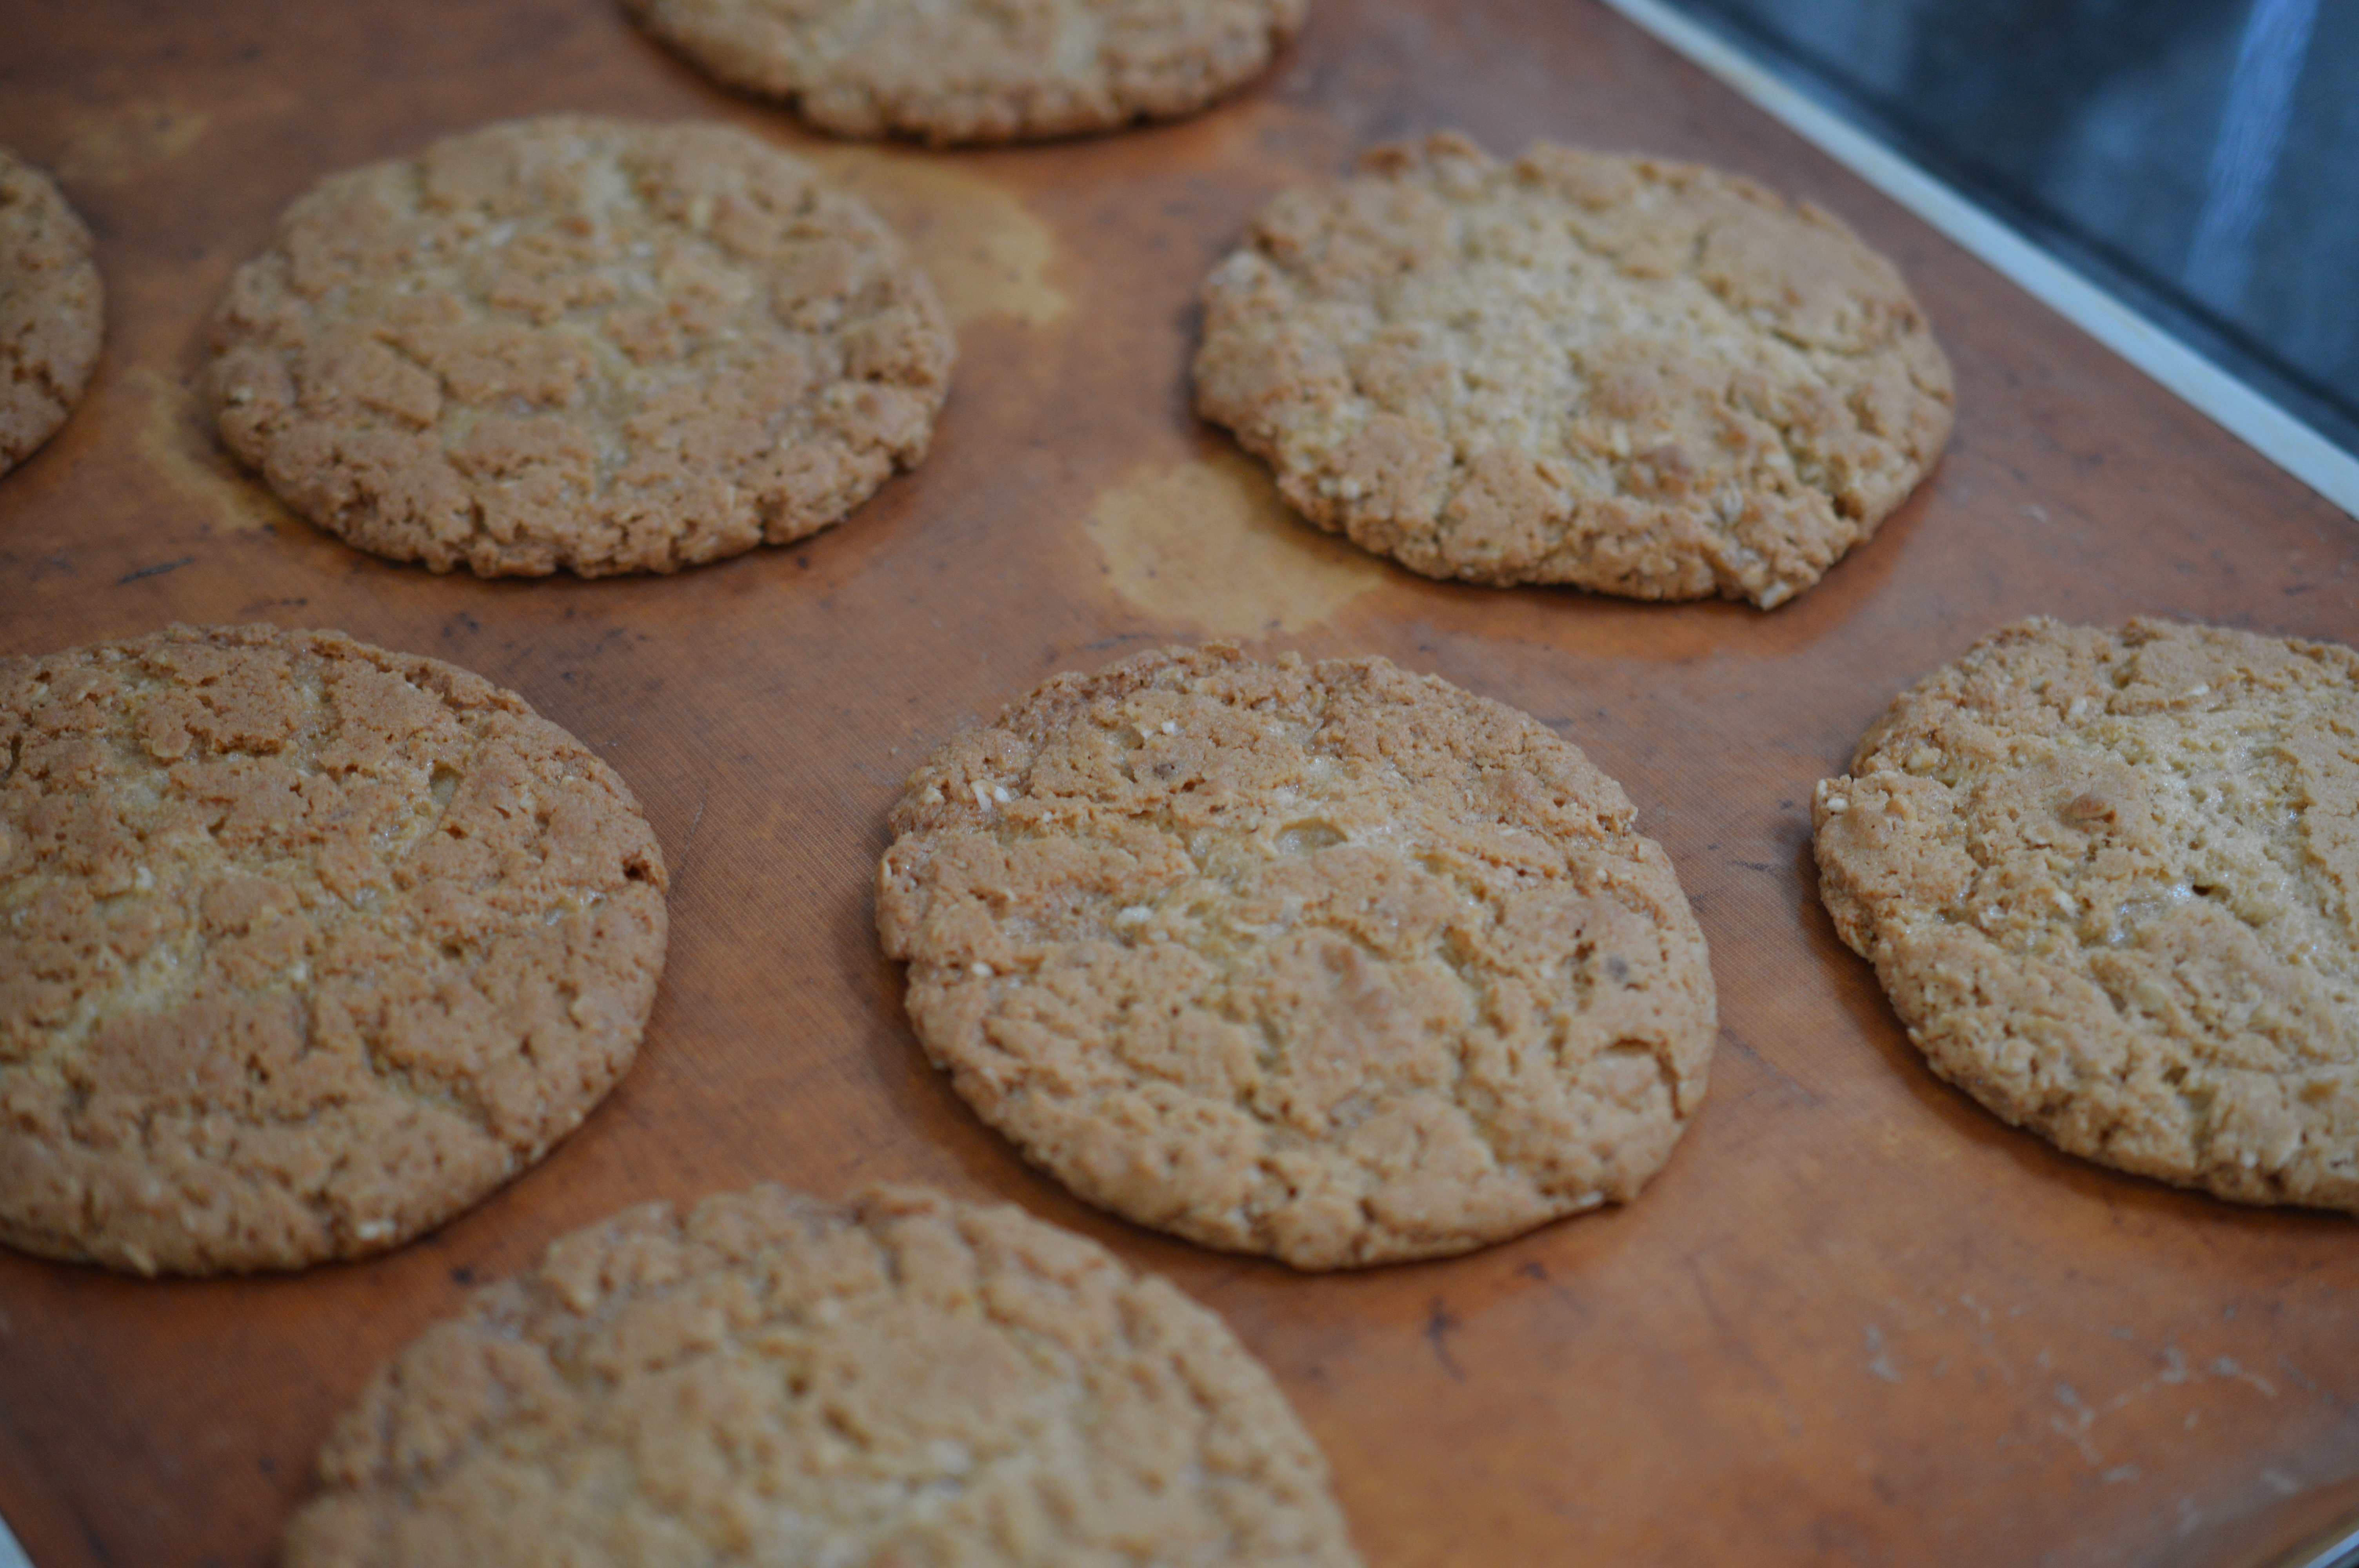
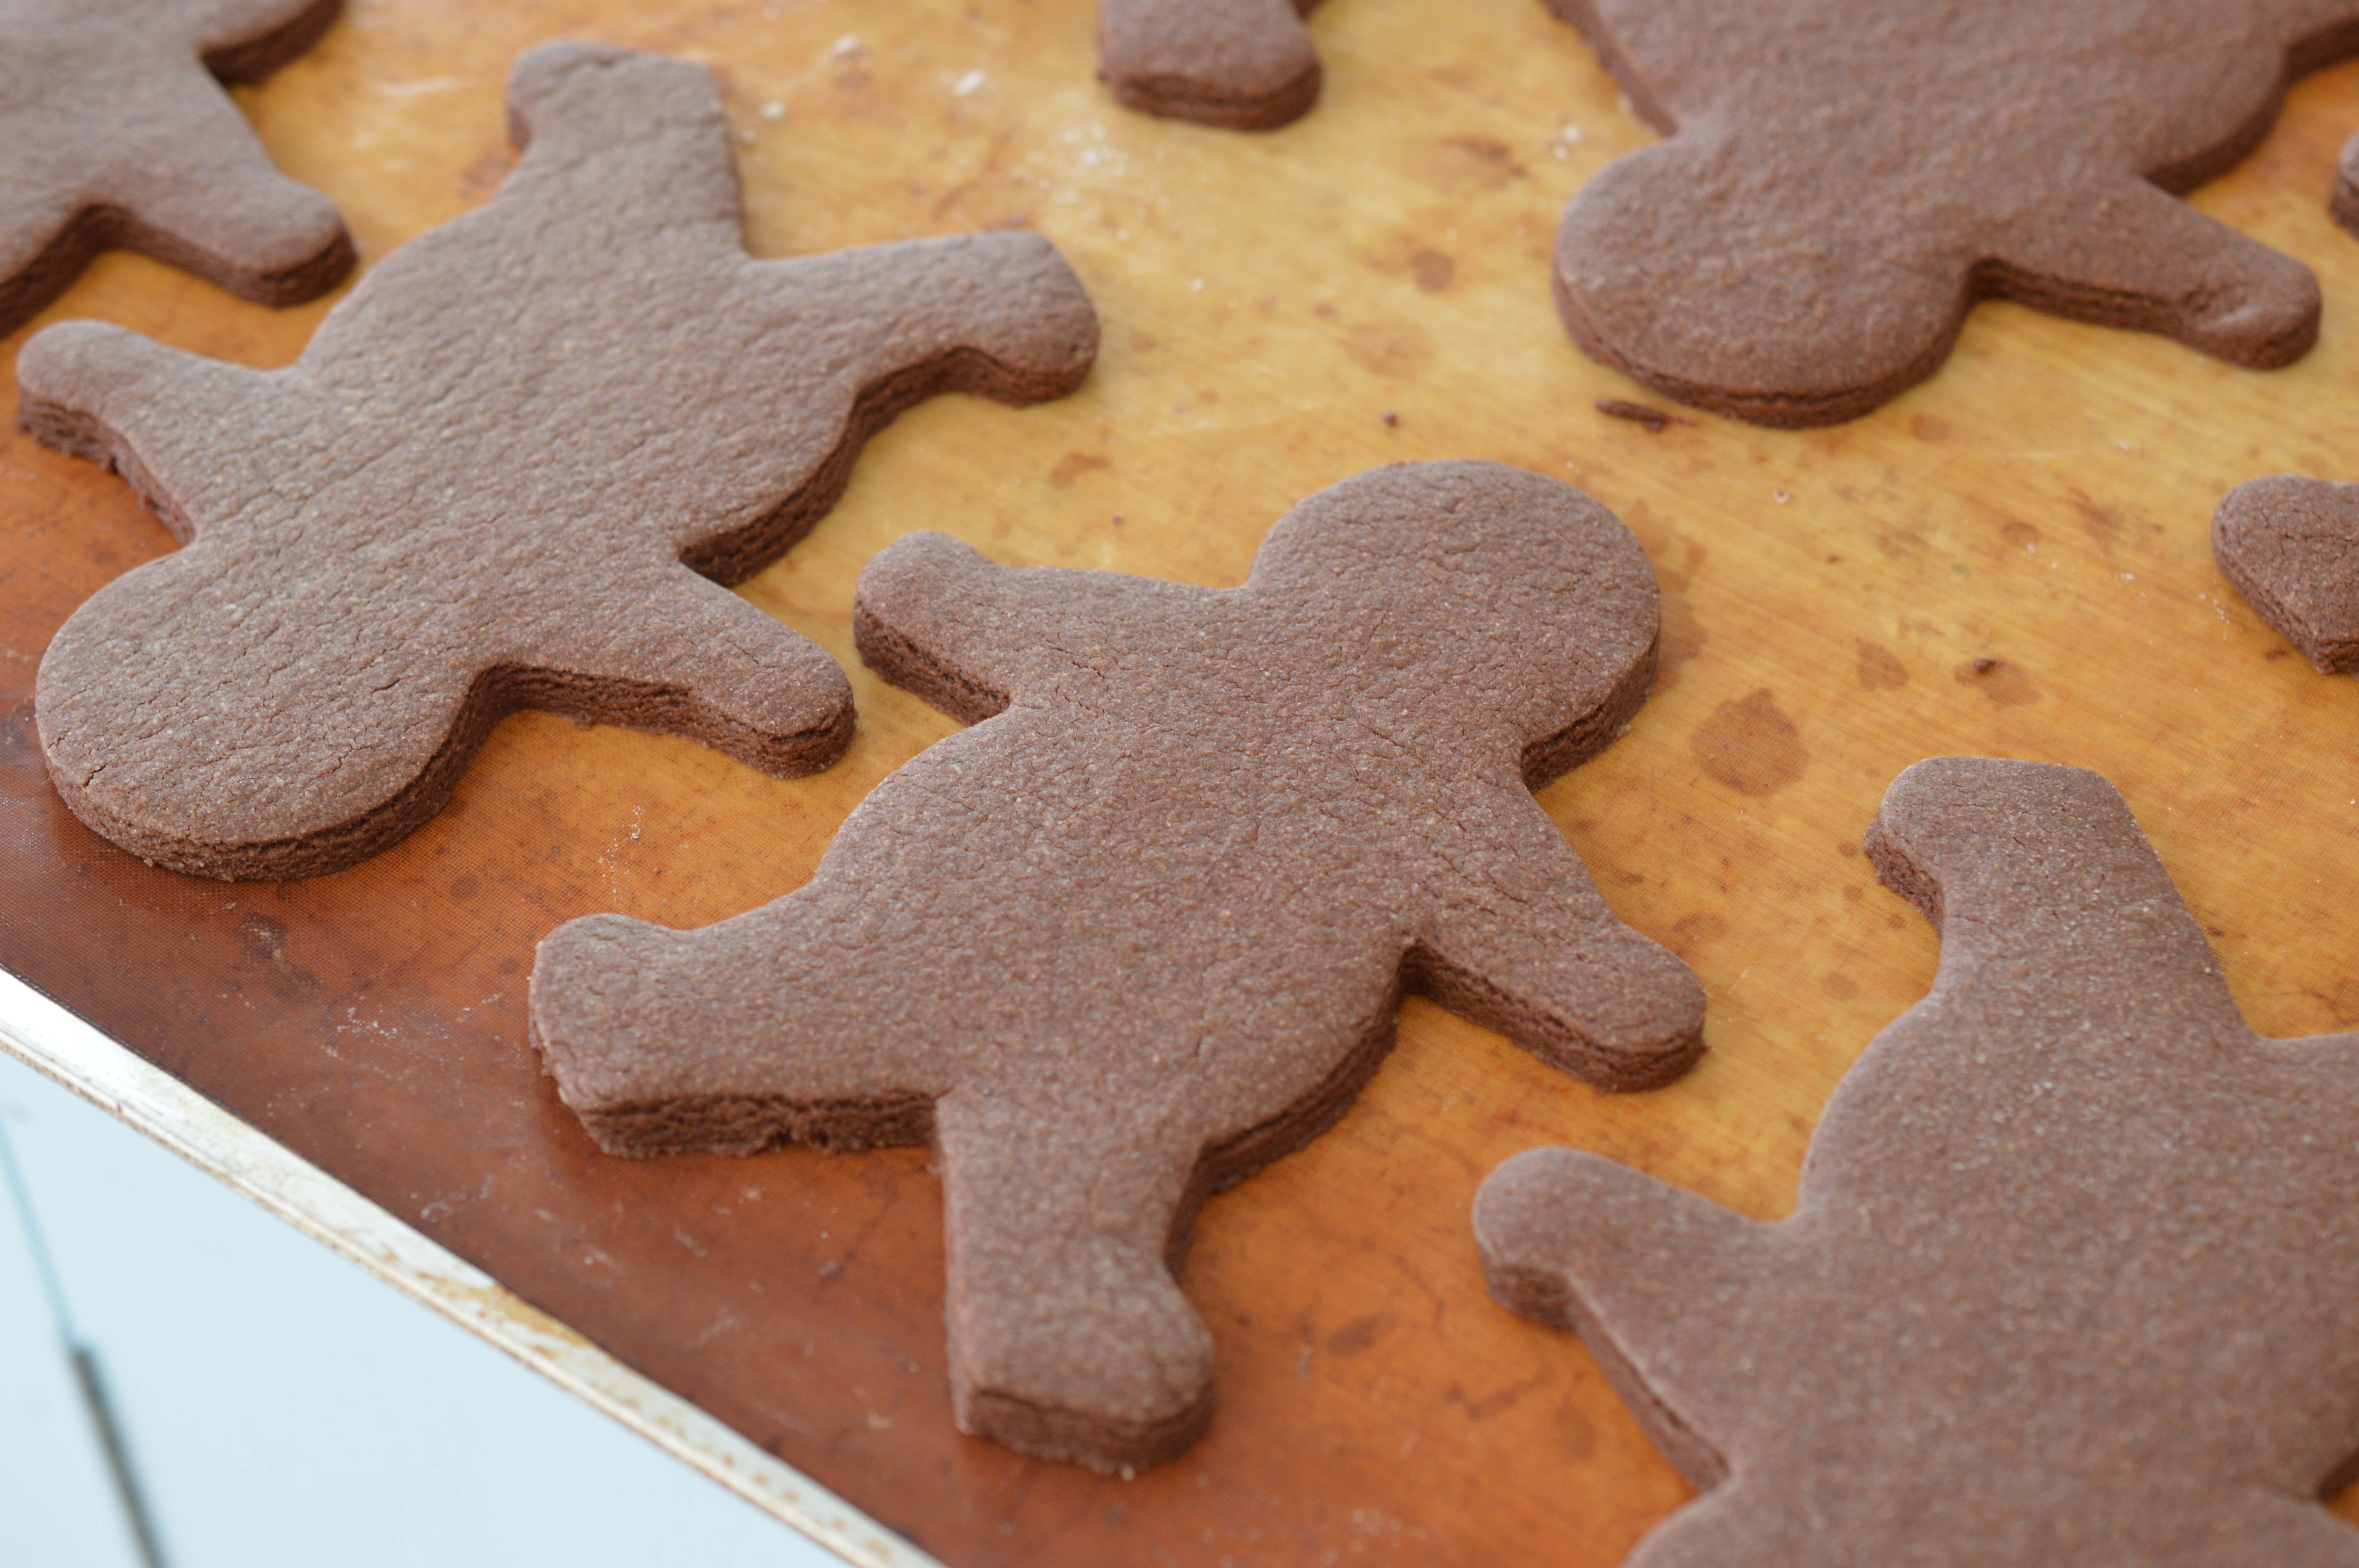 Bake at 175ºC/Gas Mark 3/325ºF for 12 minutes, or until the biscuits spring back to the touch of a finger. (Have you noticed how on TV cooking programmes they always have new baking sheets? Wouldn’t that be nice! Please excuse my much used bake-o-glide.) Allow the biscuits to cool on the baking sheet for 30 minutes or so.
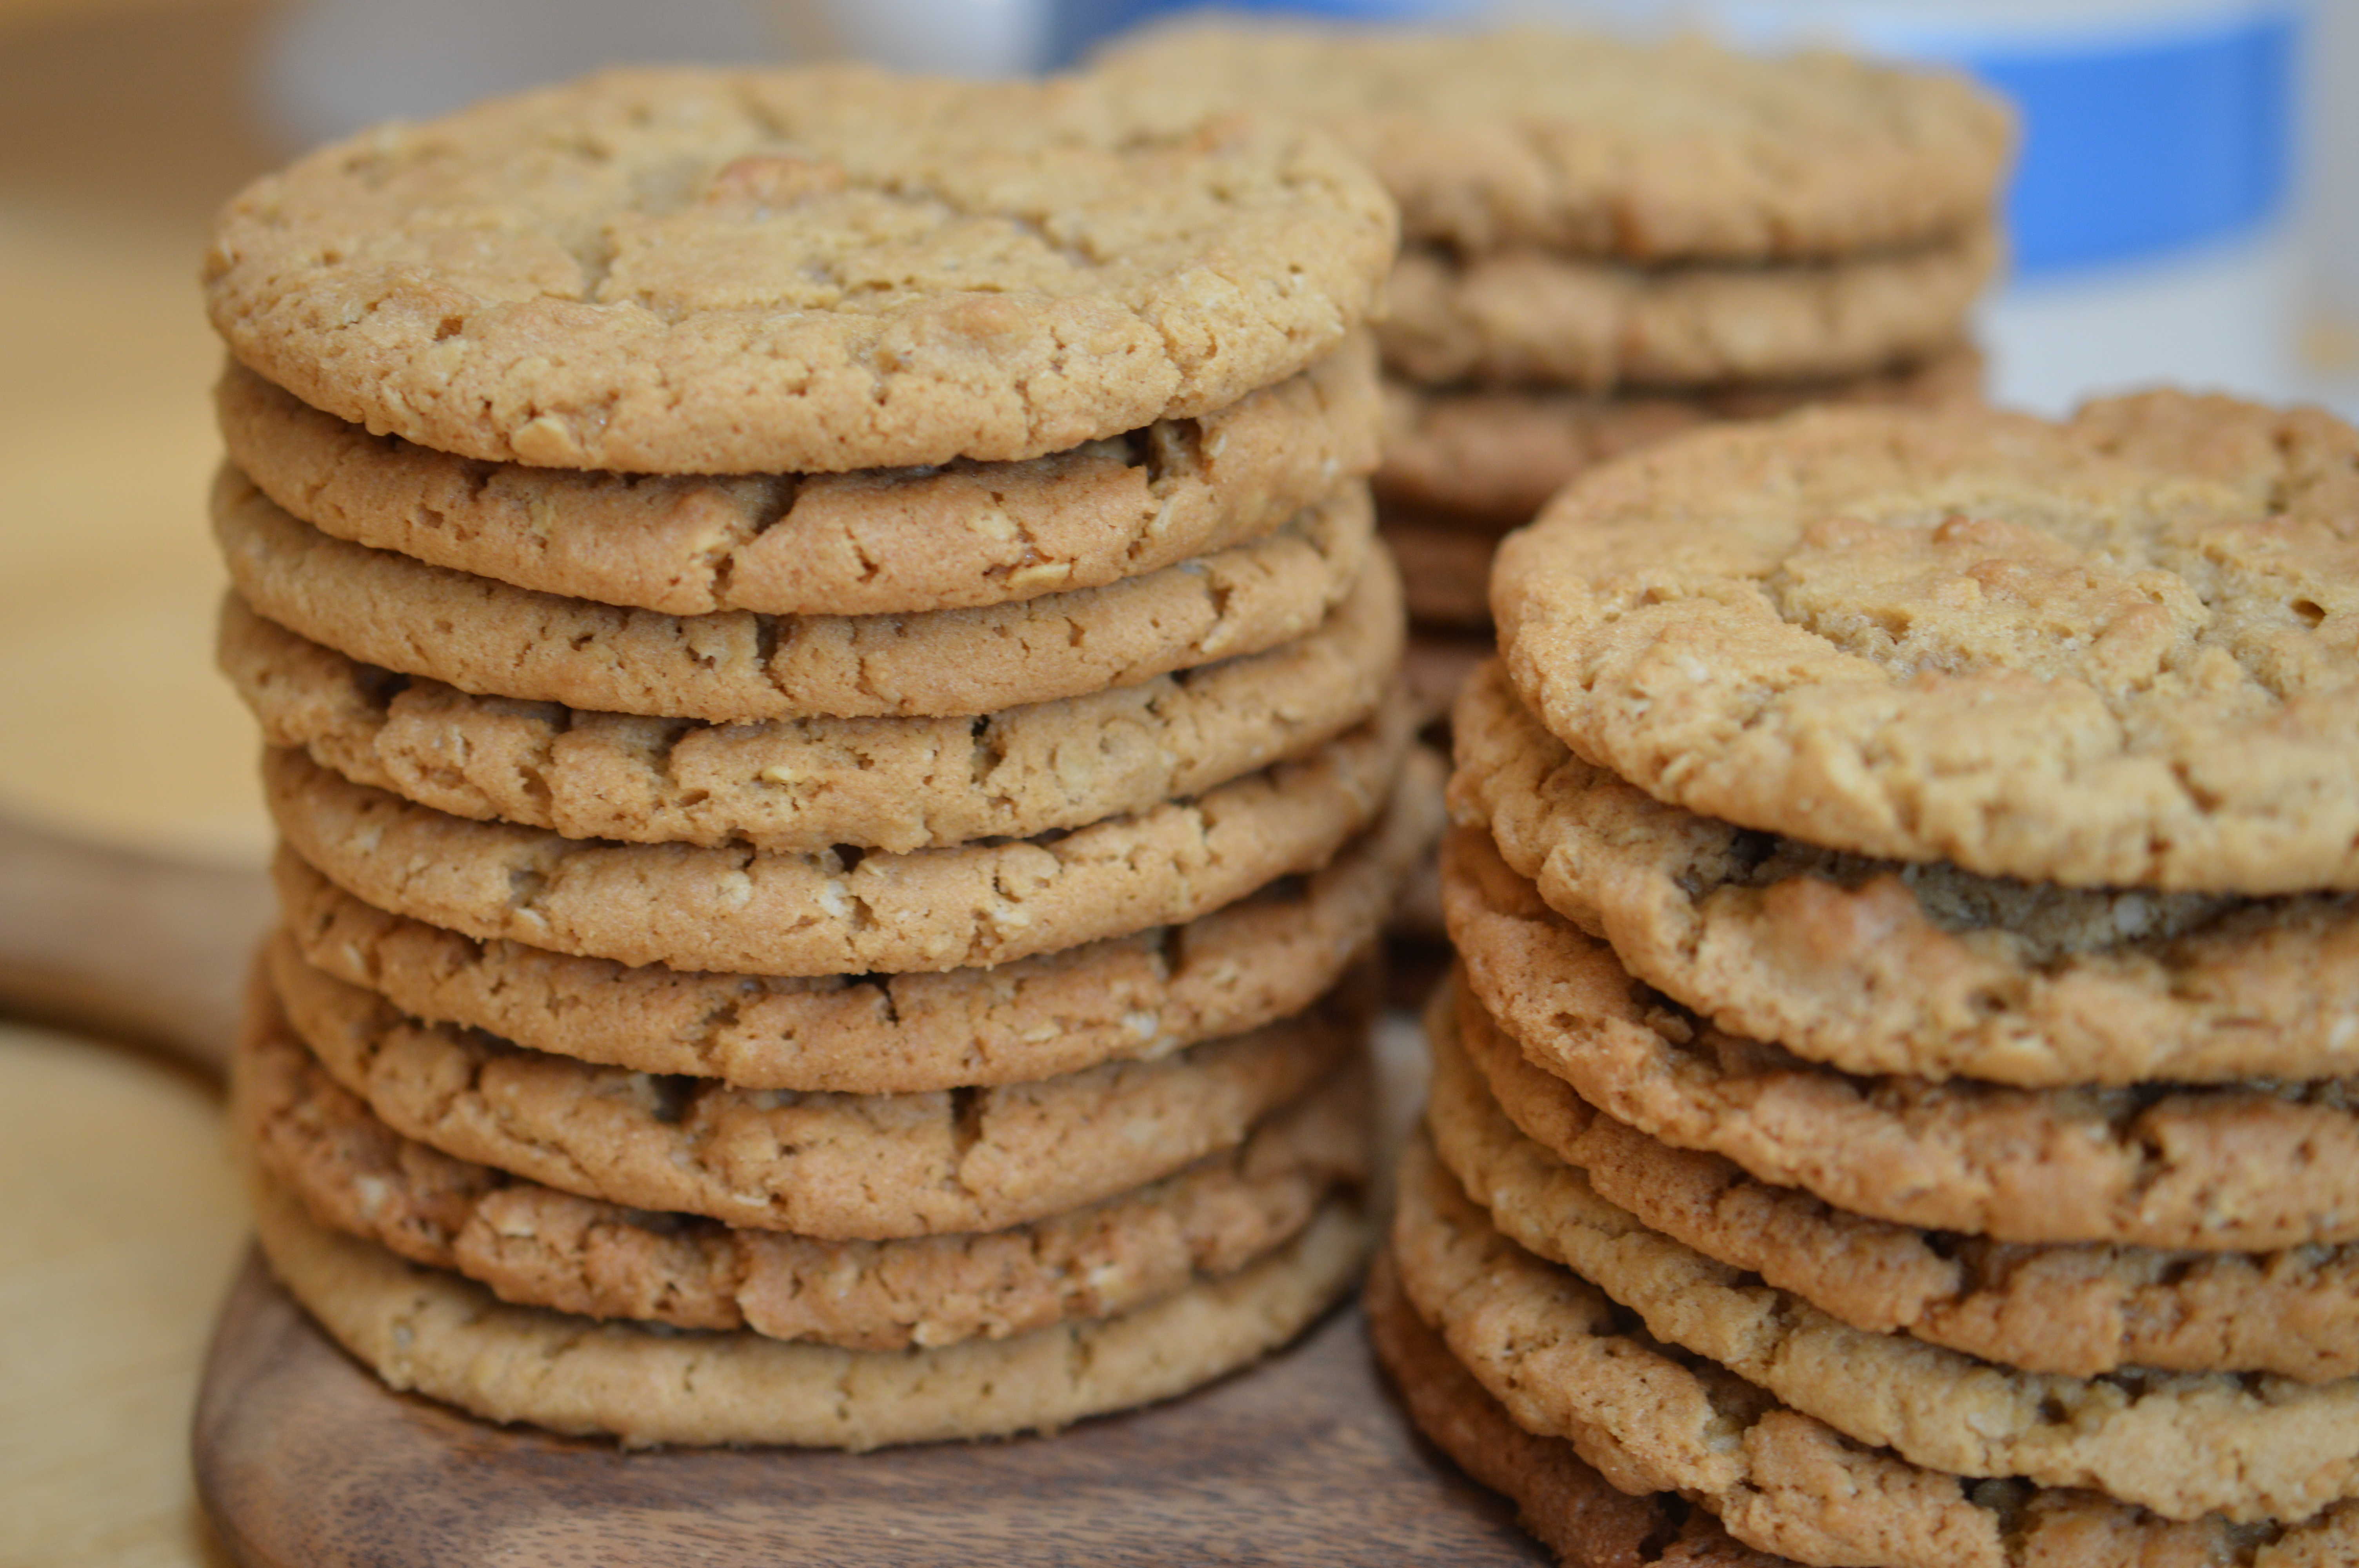
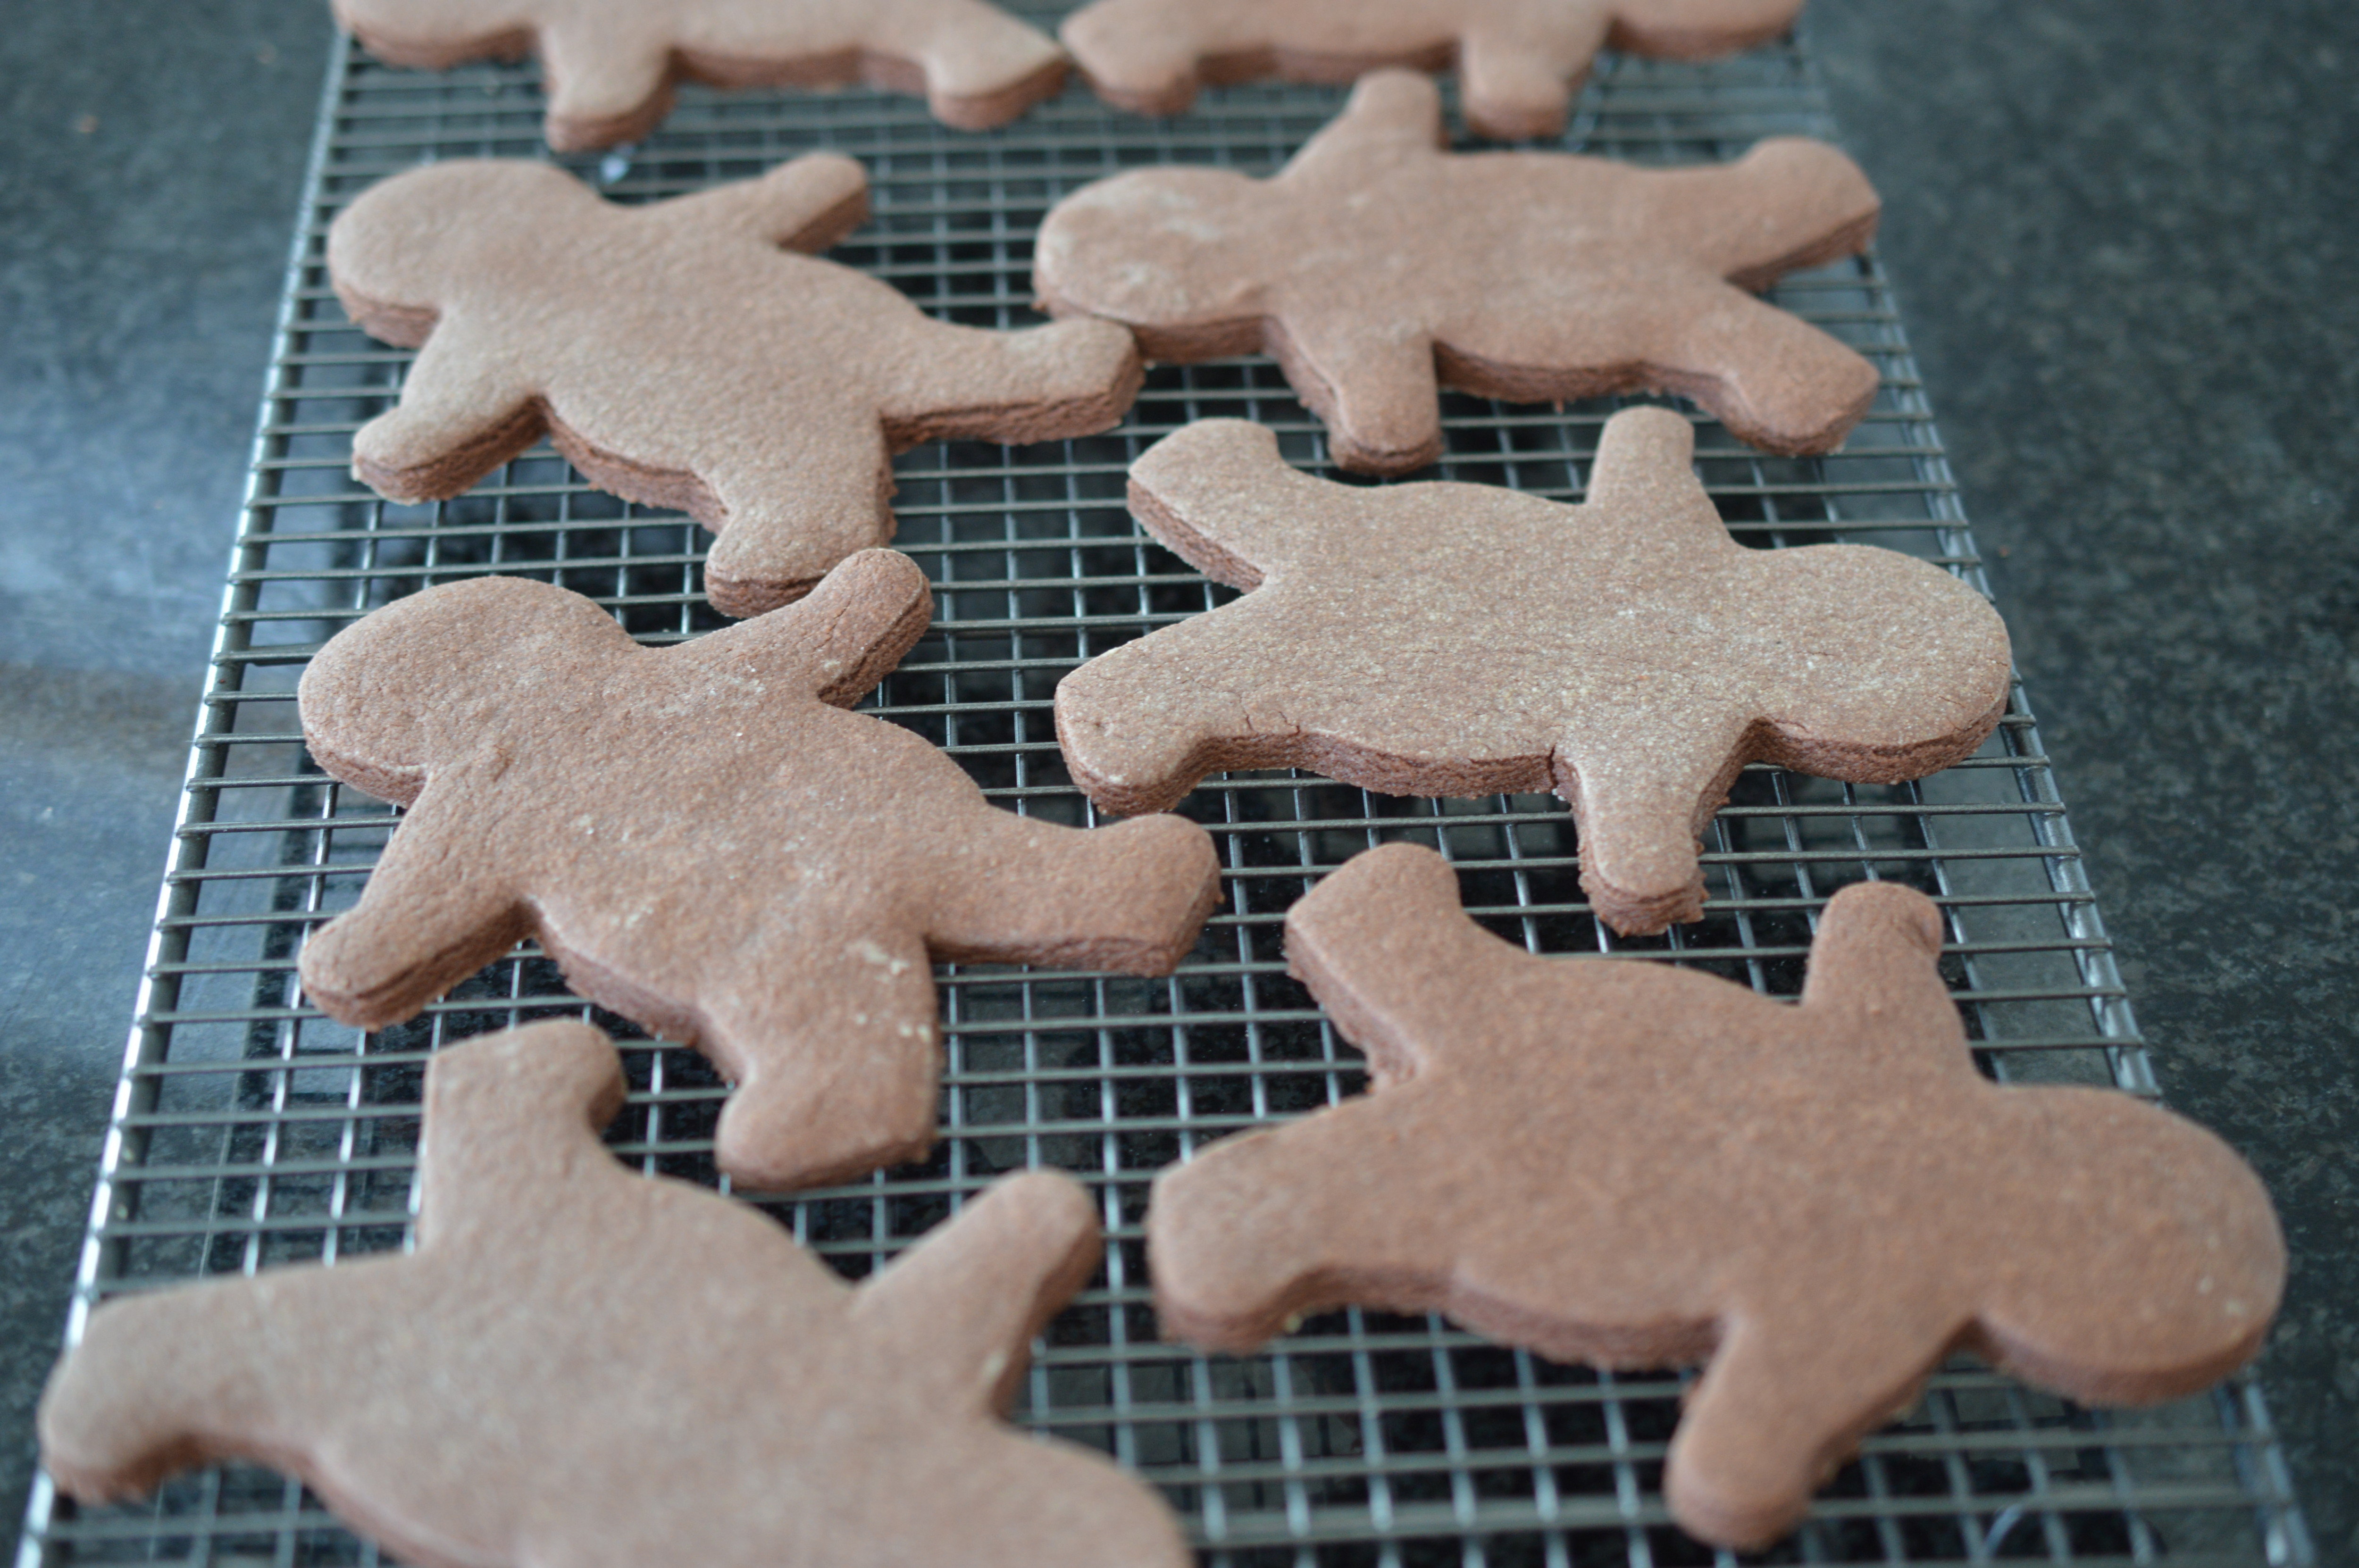 Then transfer to a cooling rack to cool completely. Meanwhile, make up some royal icing – about 250g. I was short on time so used a commercial mix, so followed the instructions on the packet.
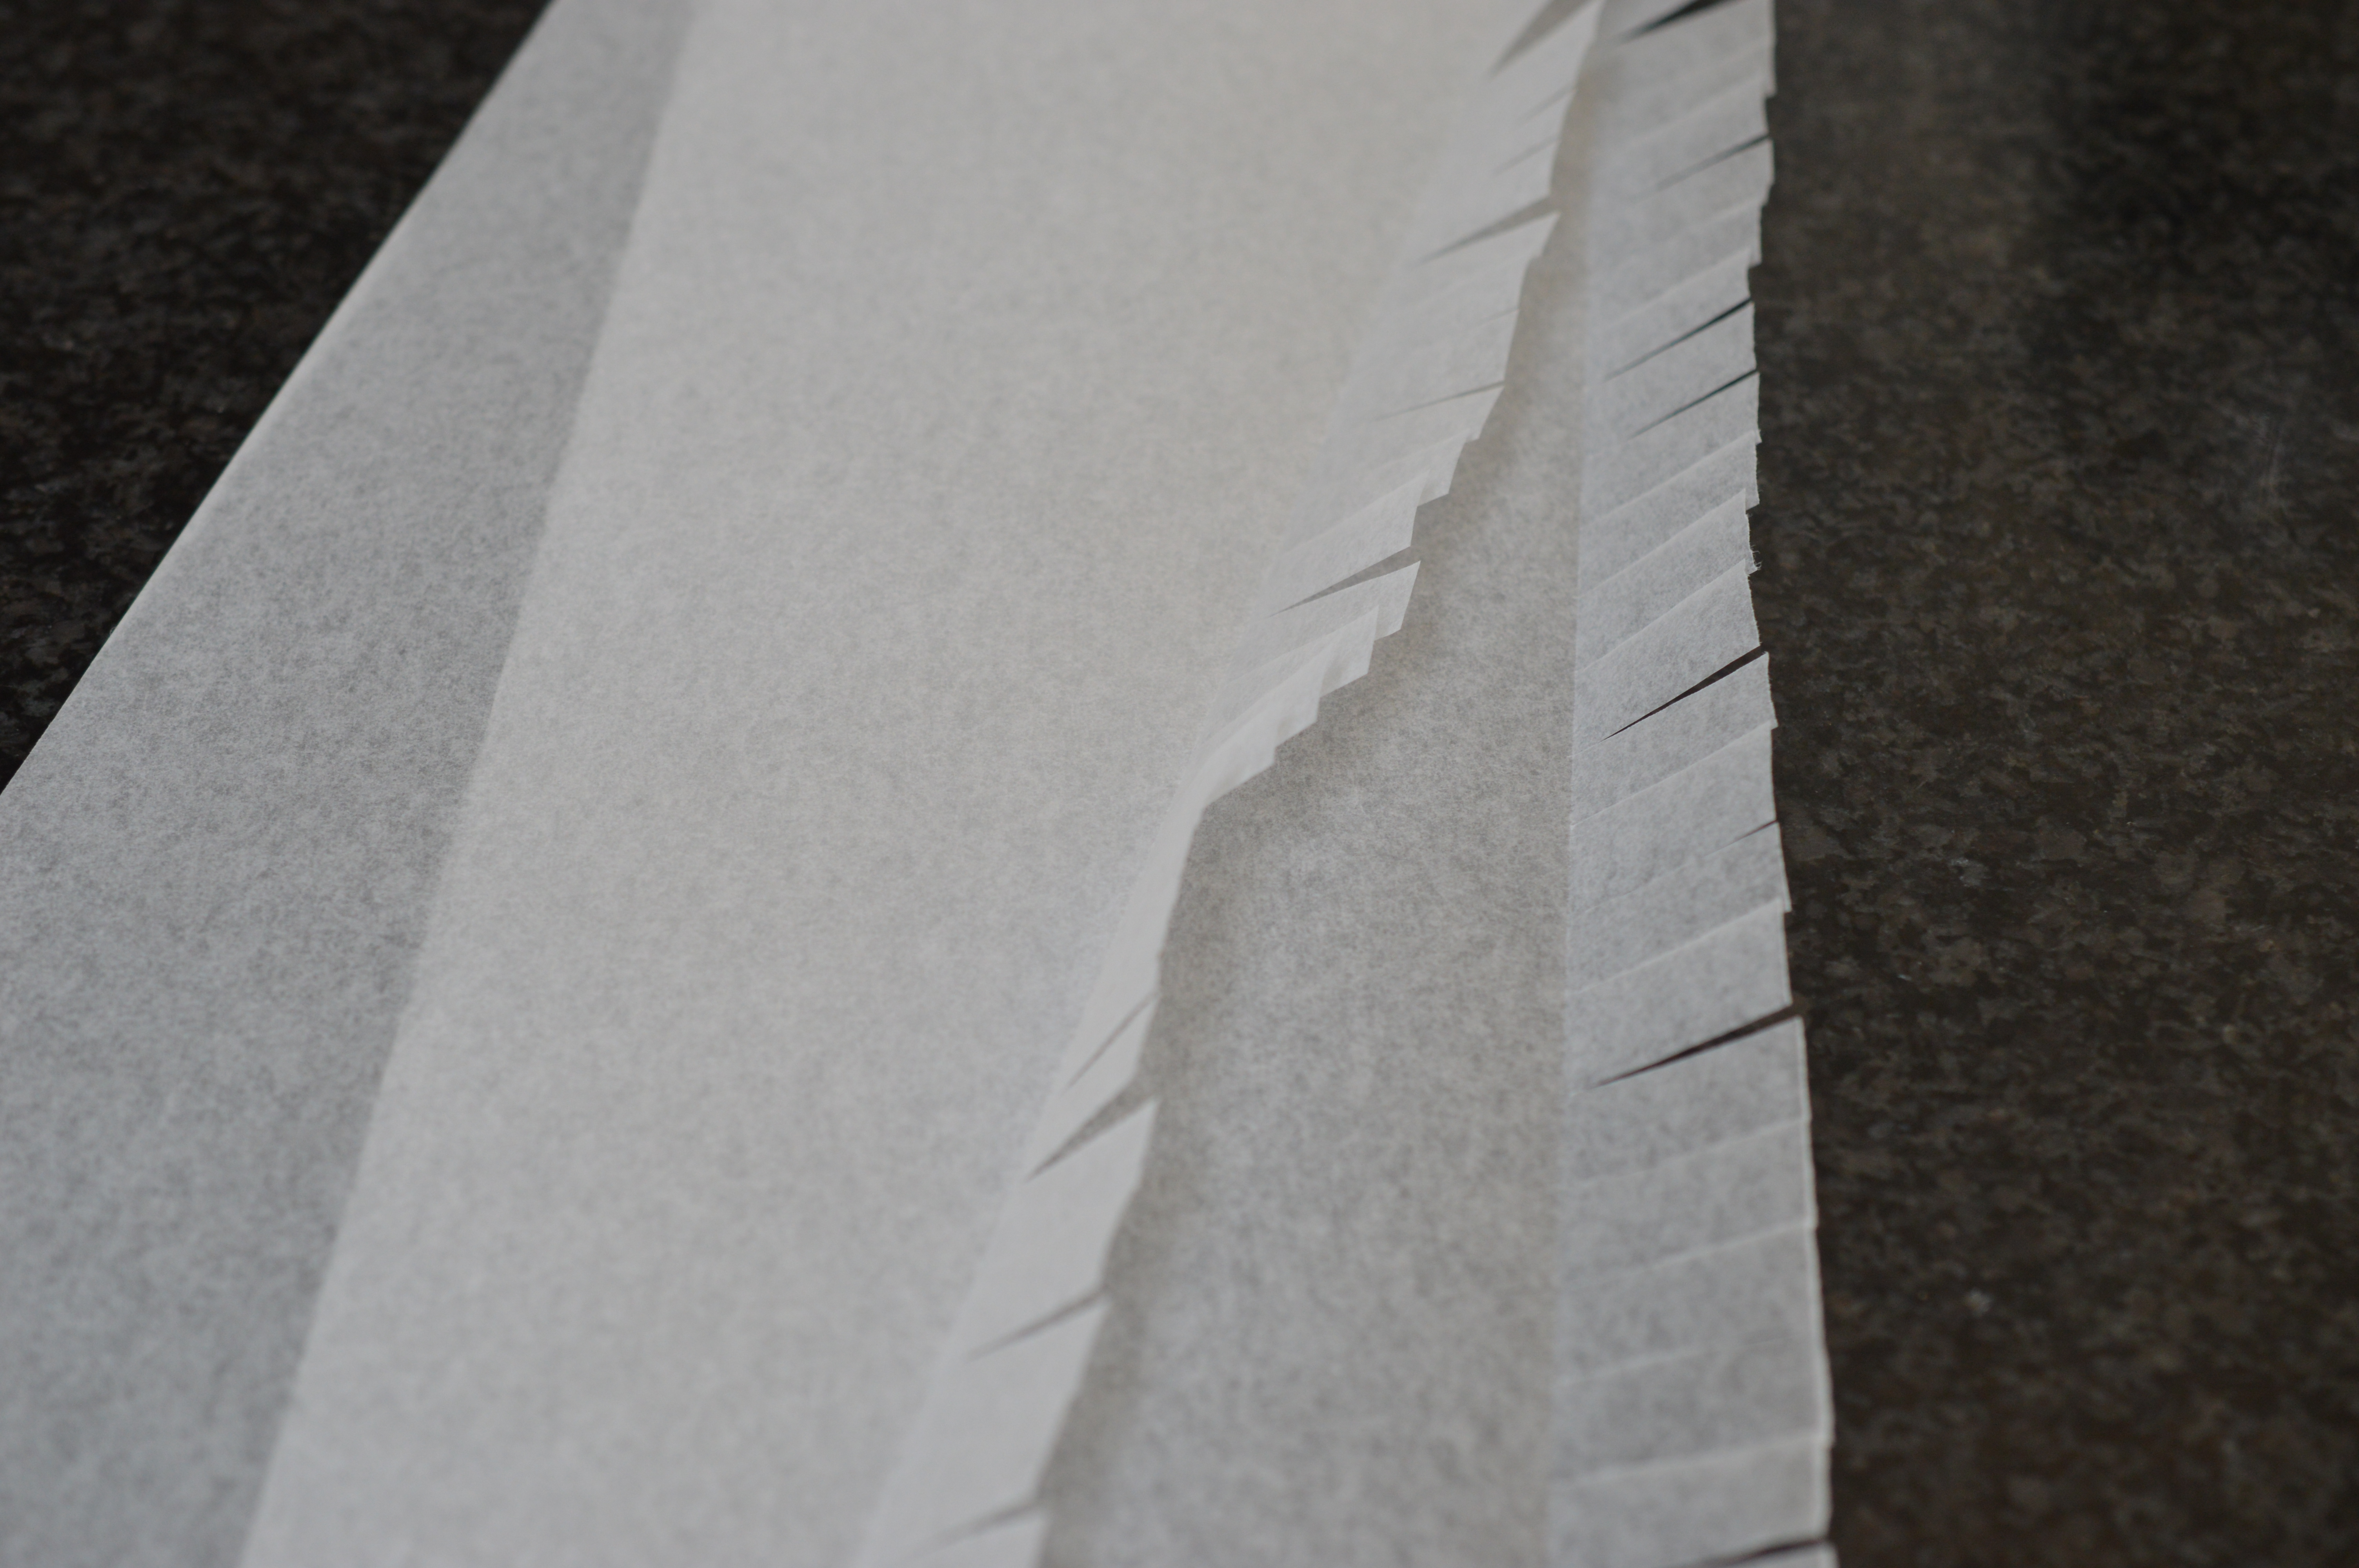
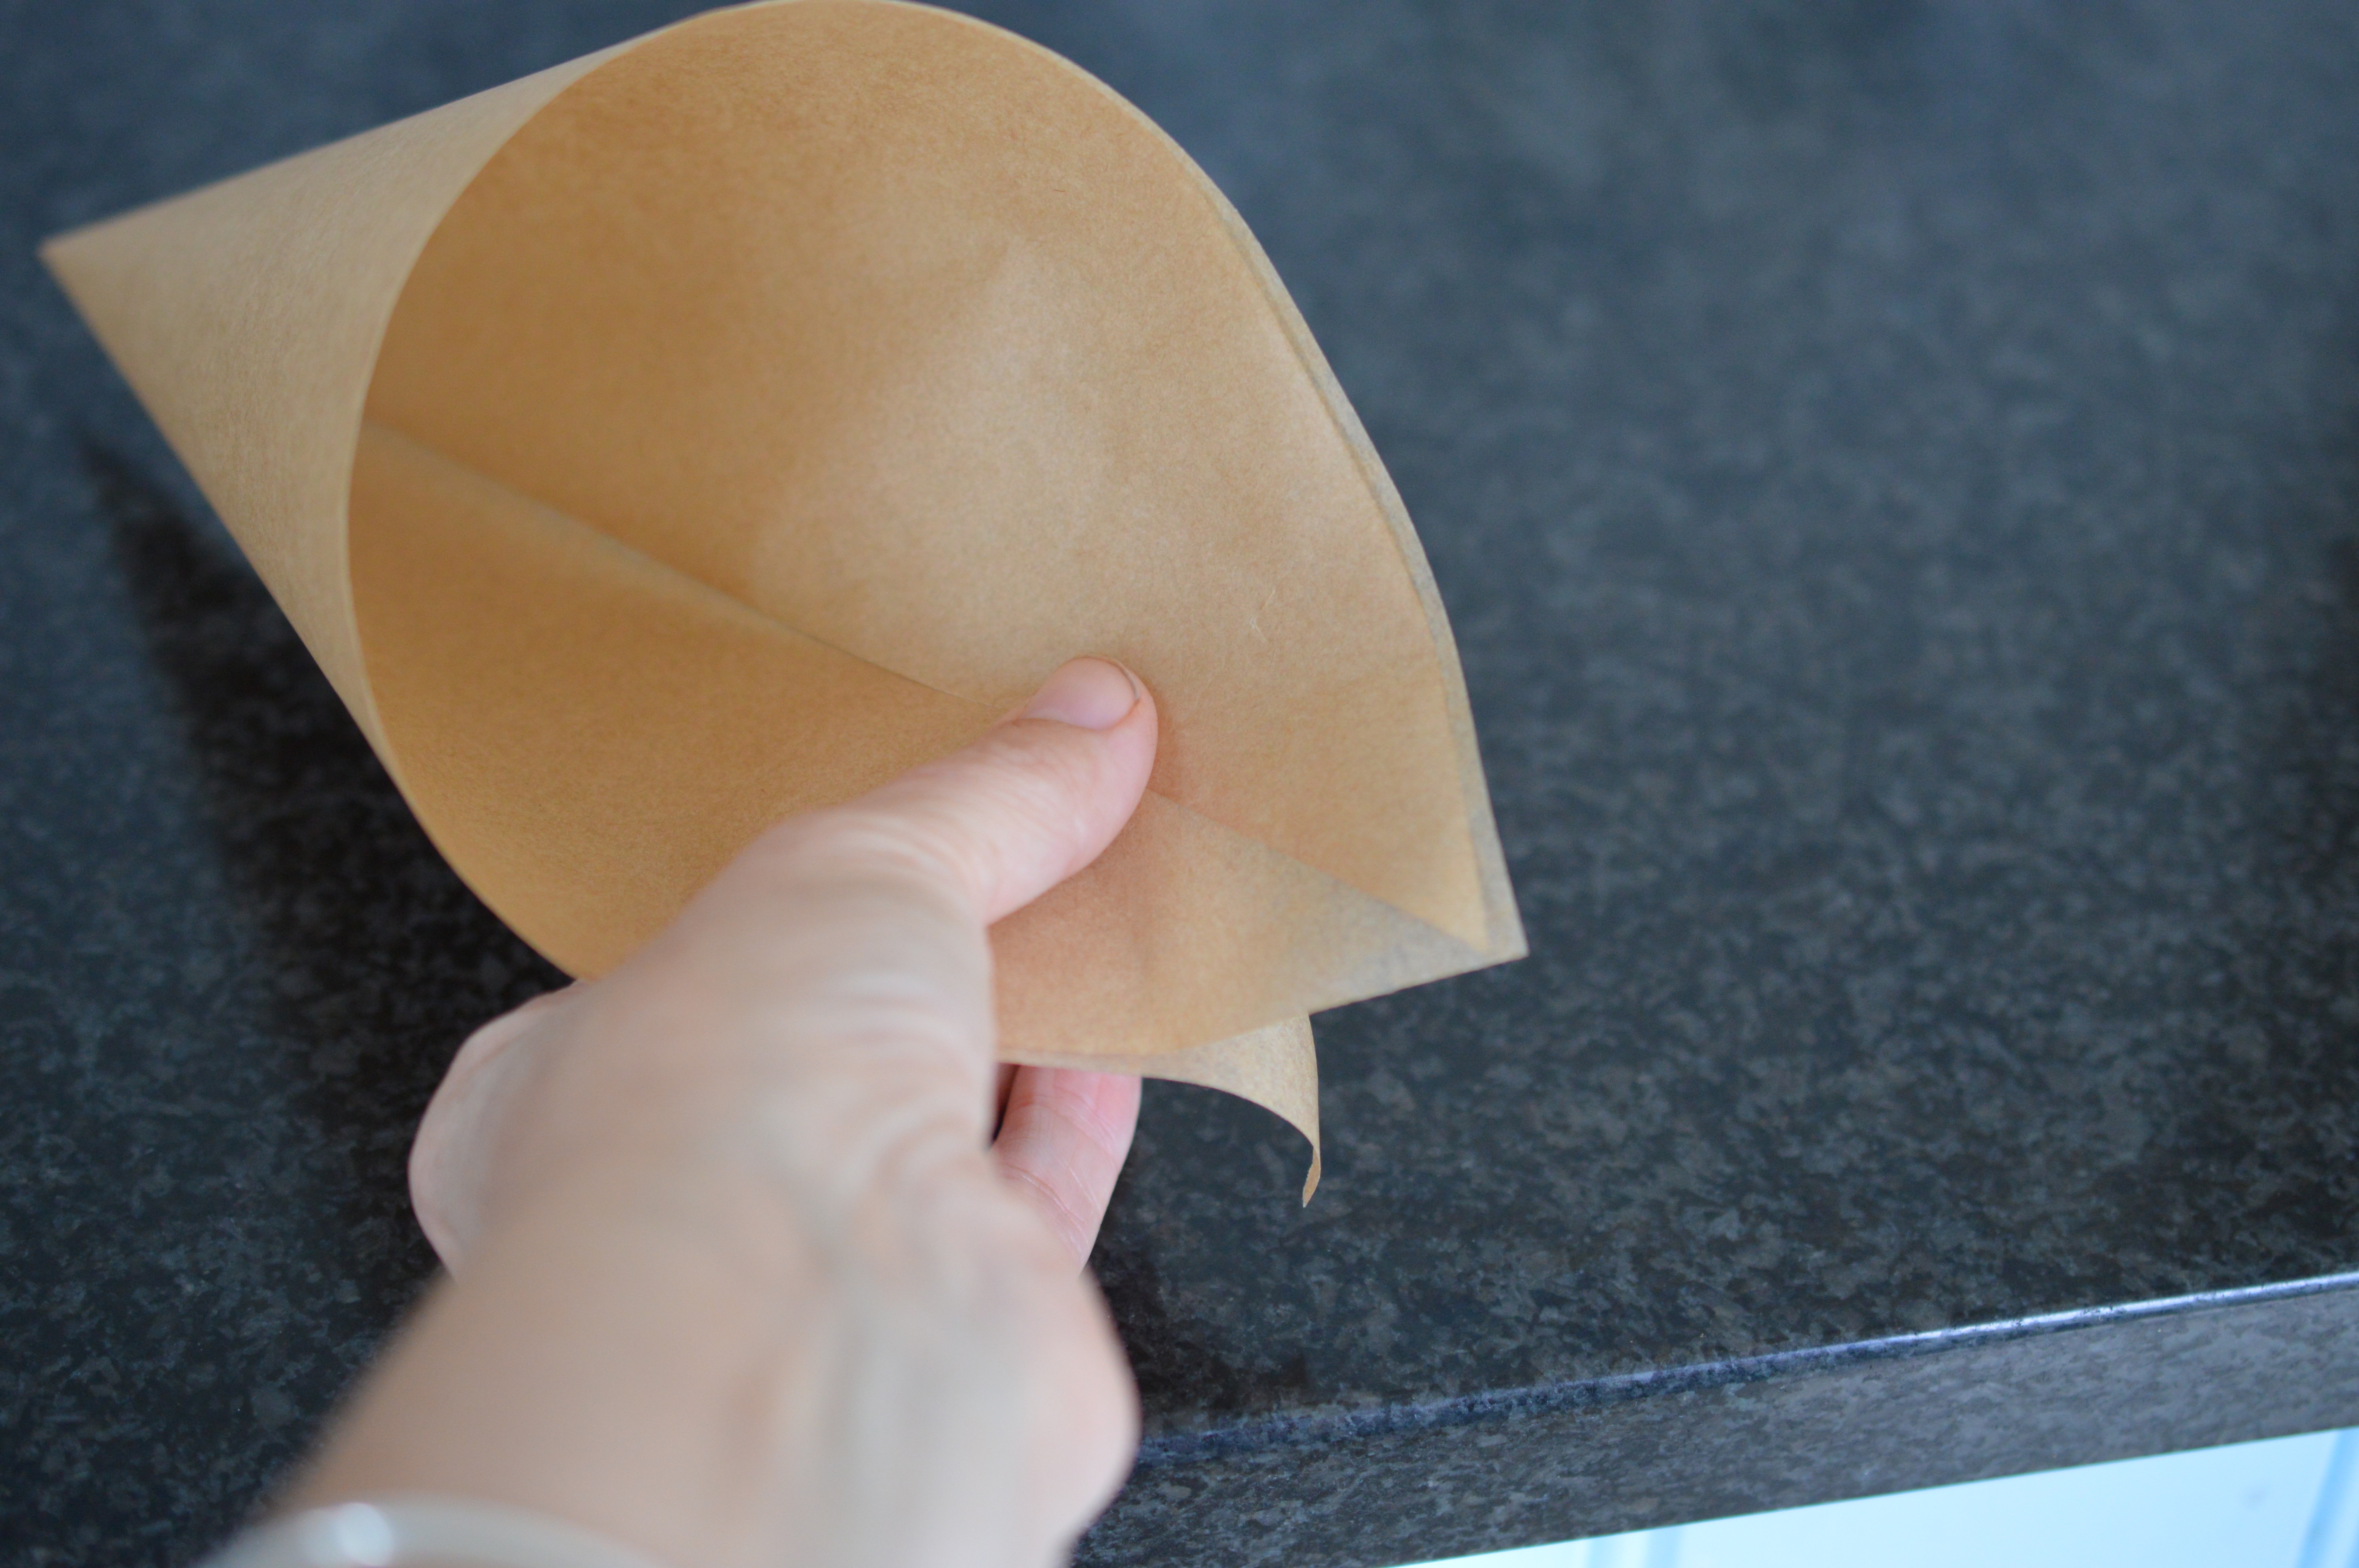
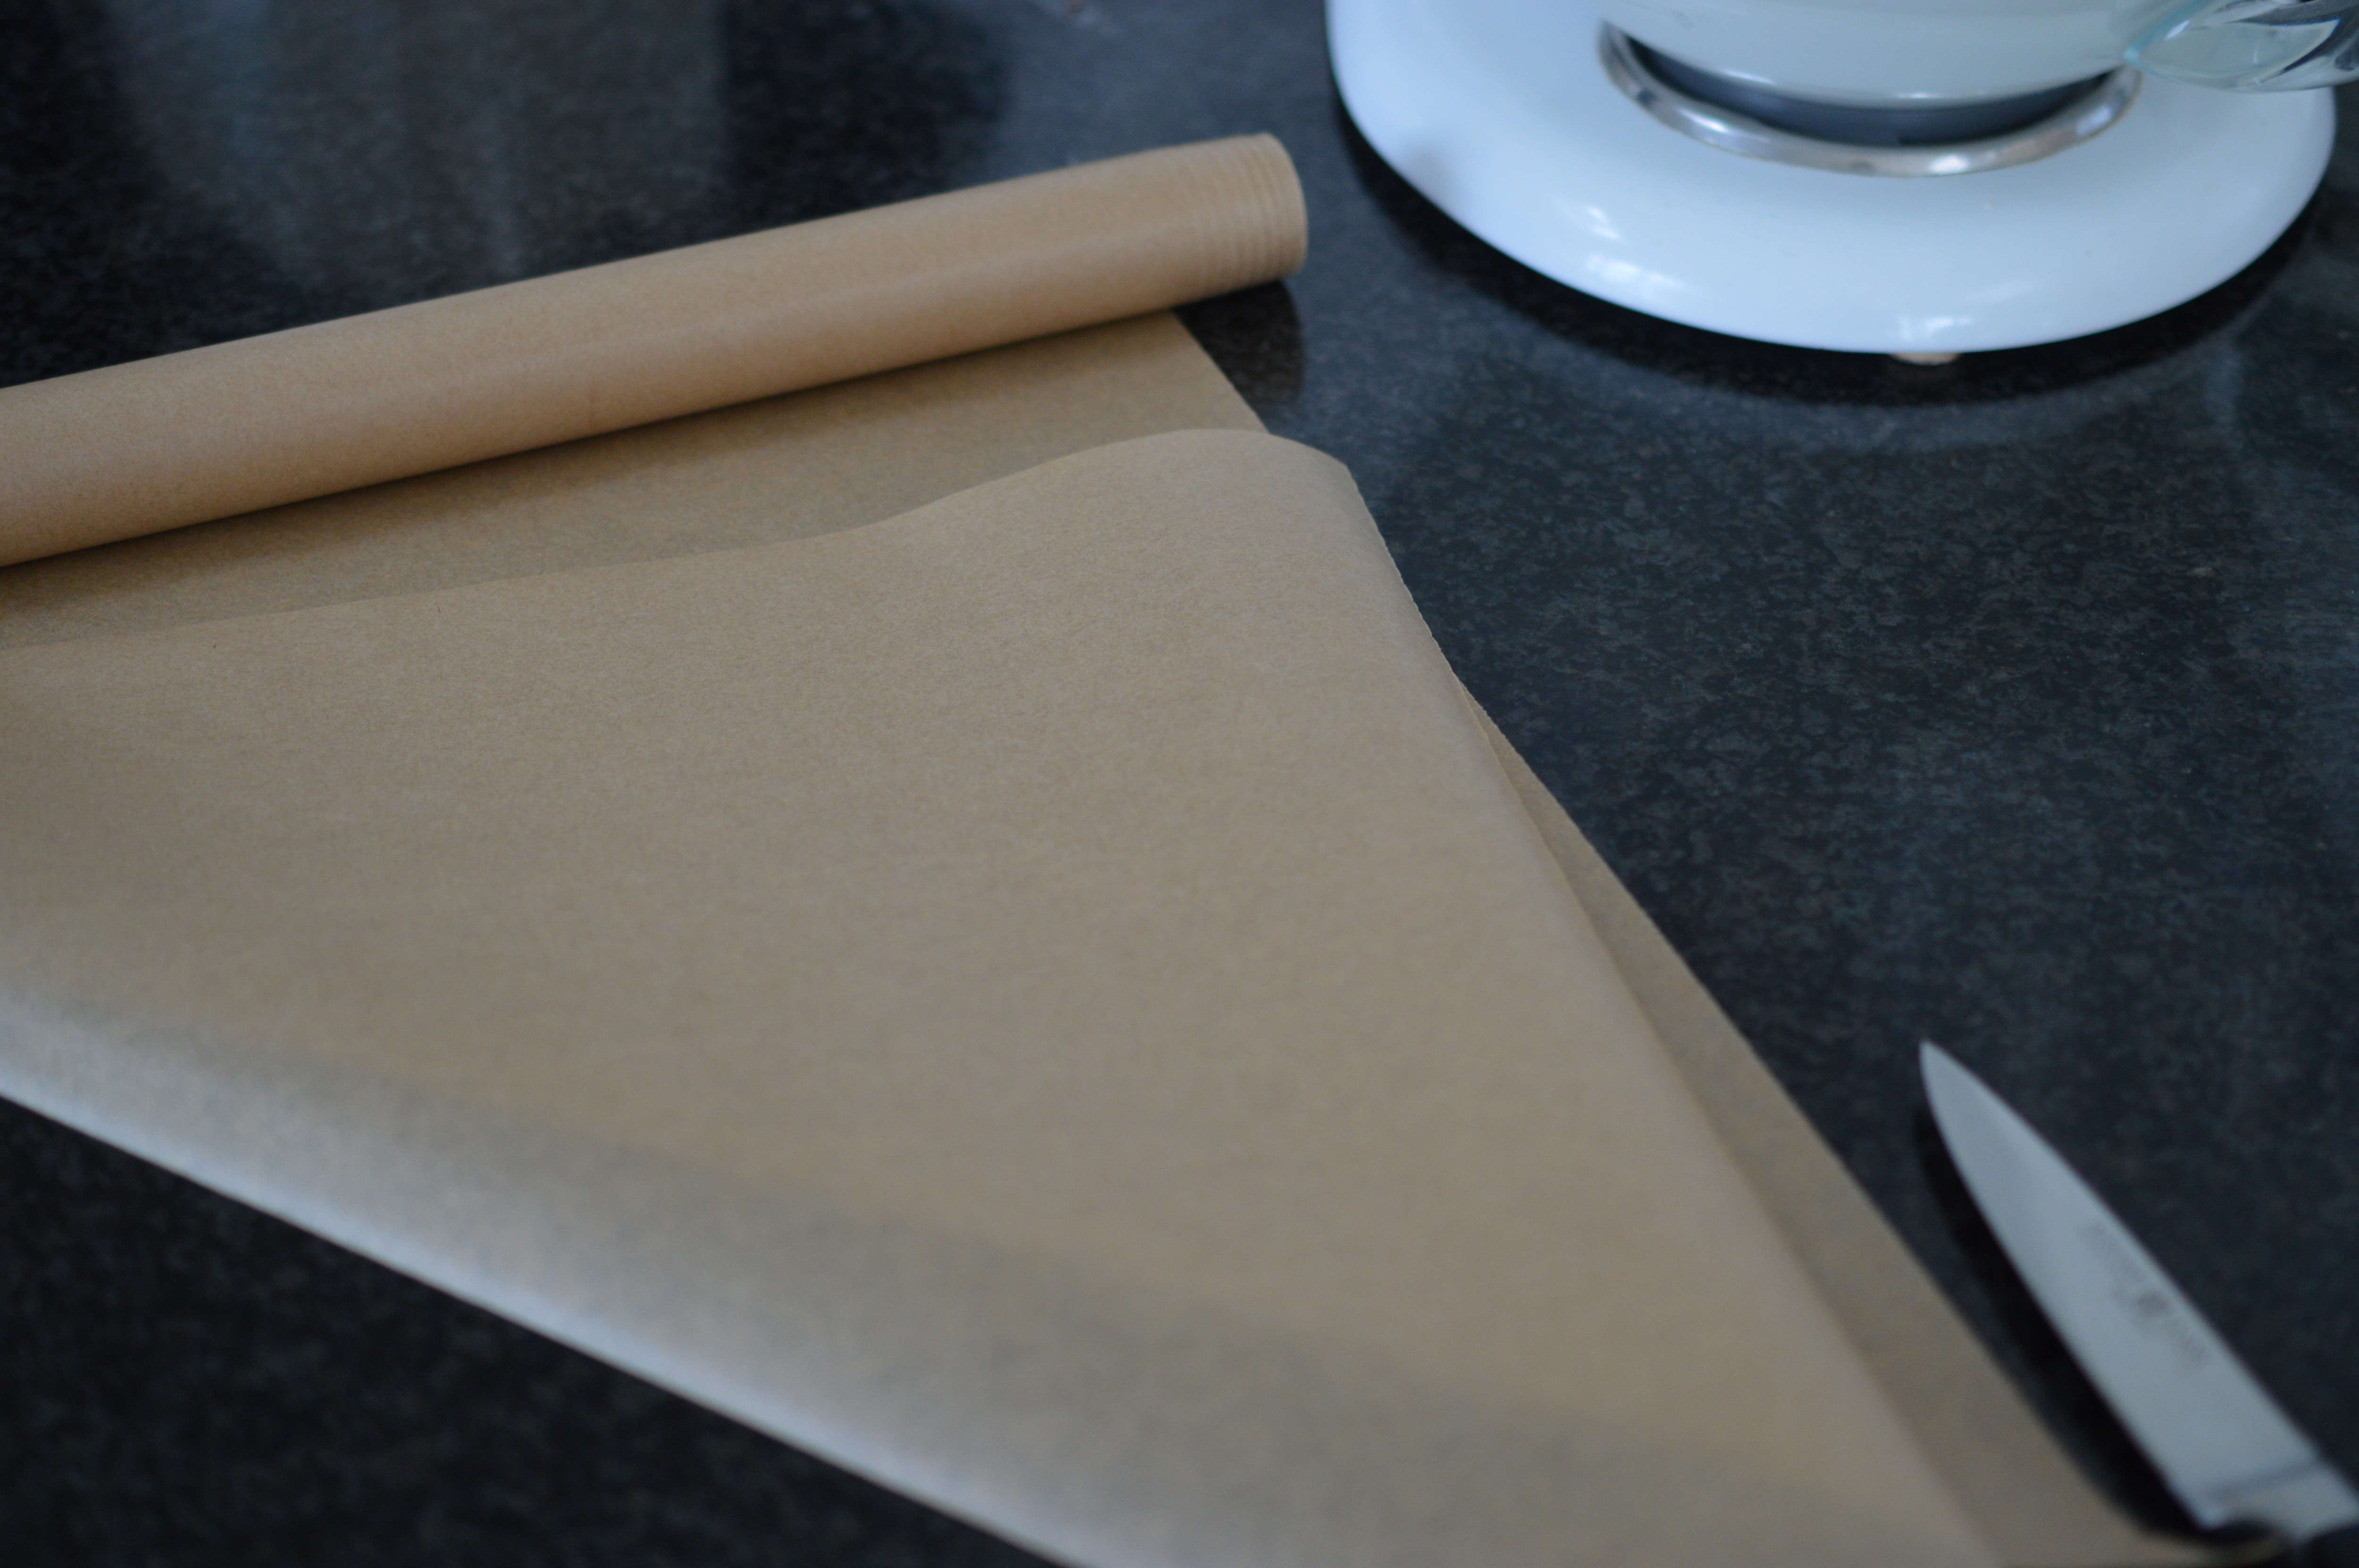 Making your own paper piping bag saves lots of money. Fold one corner up diagonally and cut in half. I use a knife, sliding it along the sharp crease so I have a clean cut.
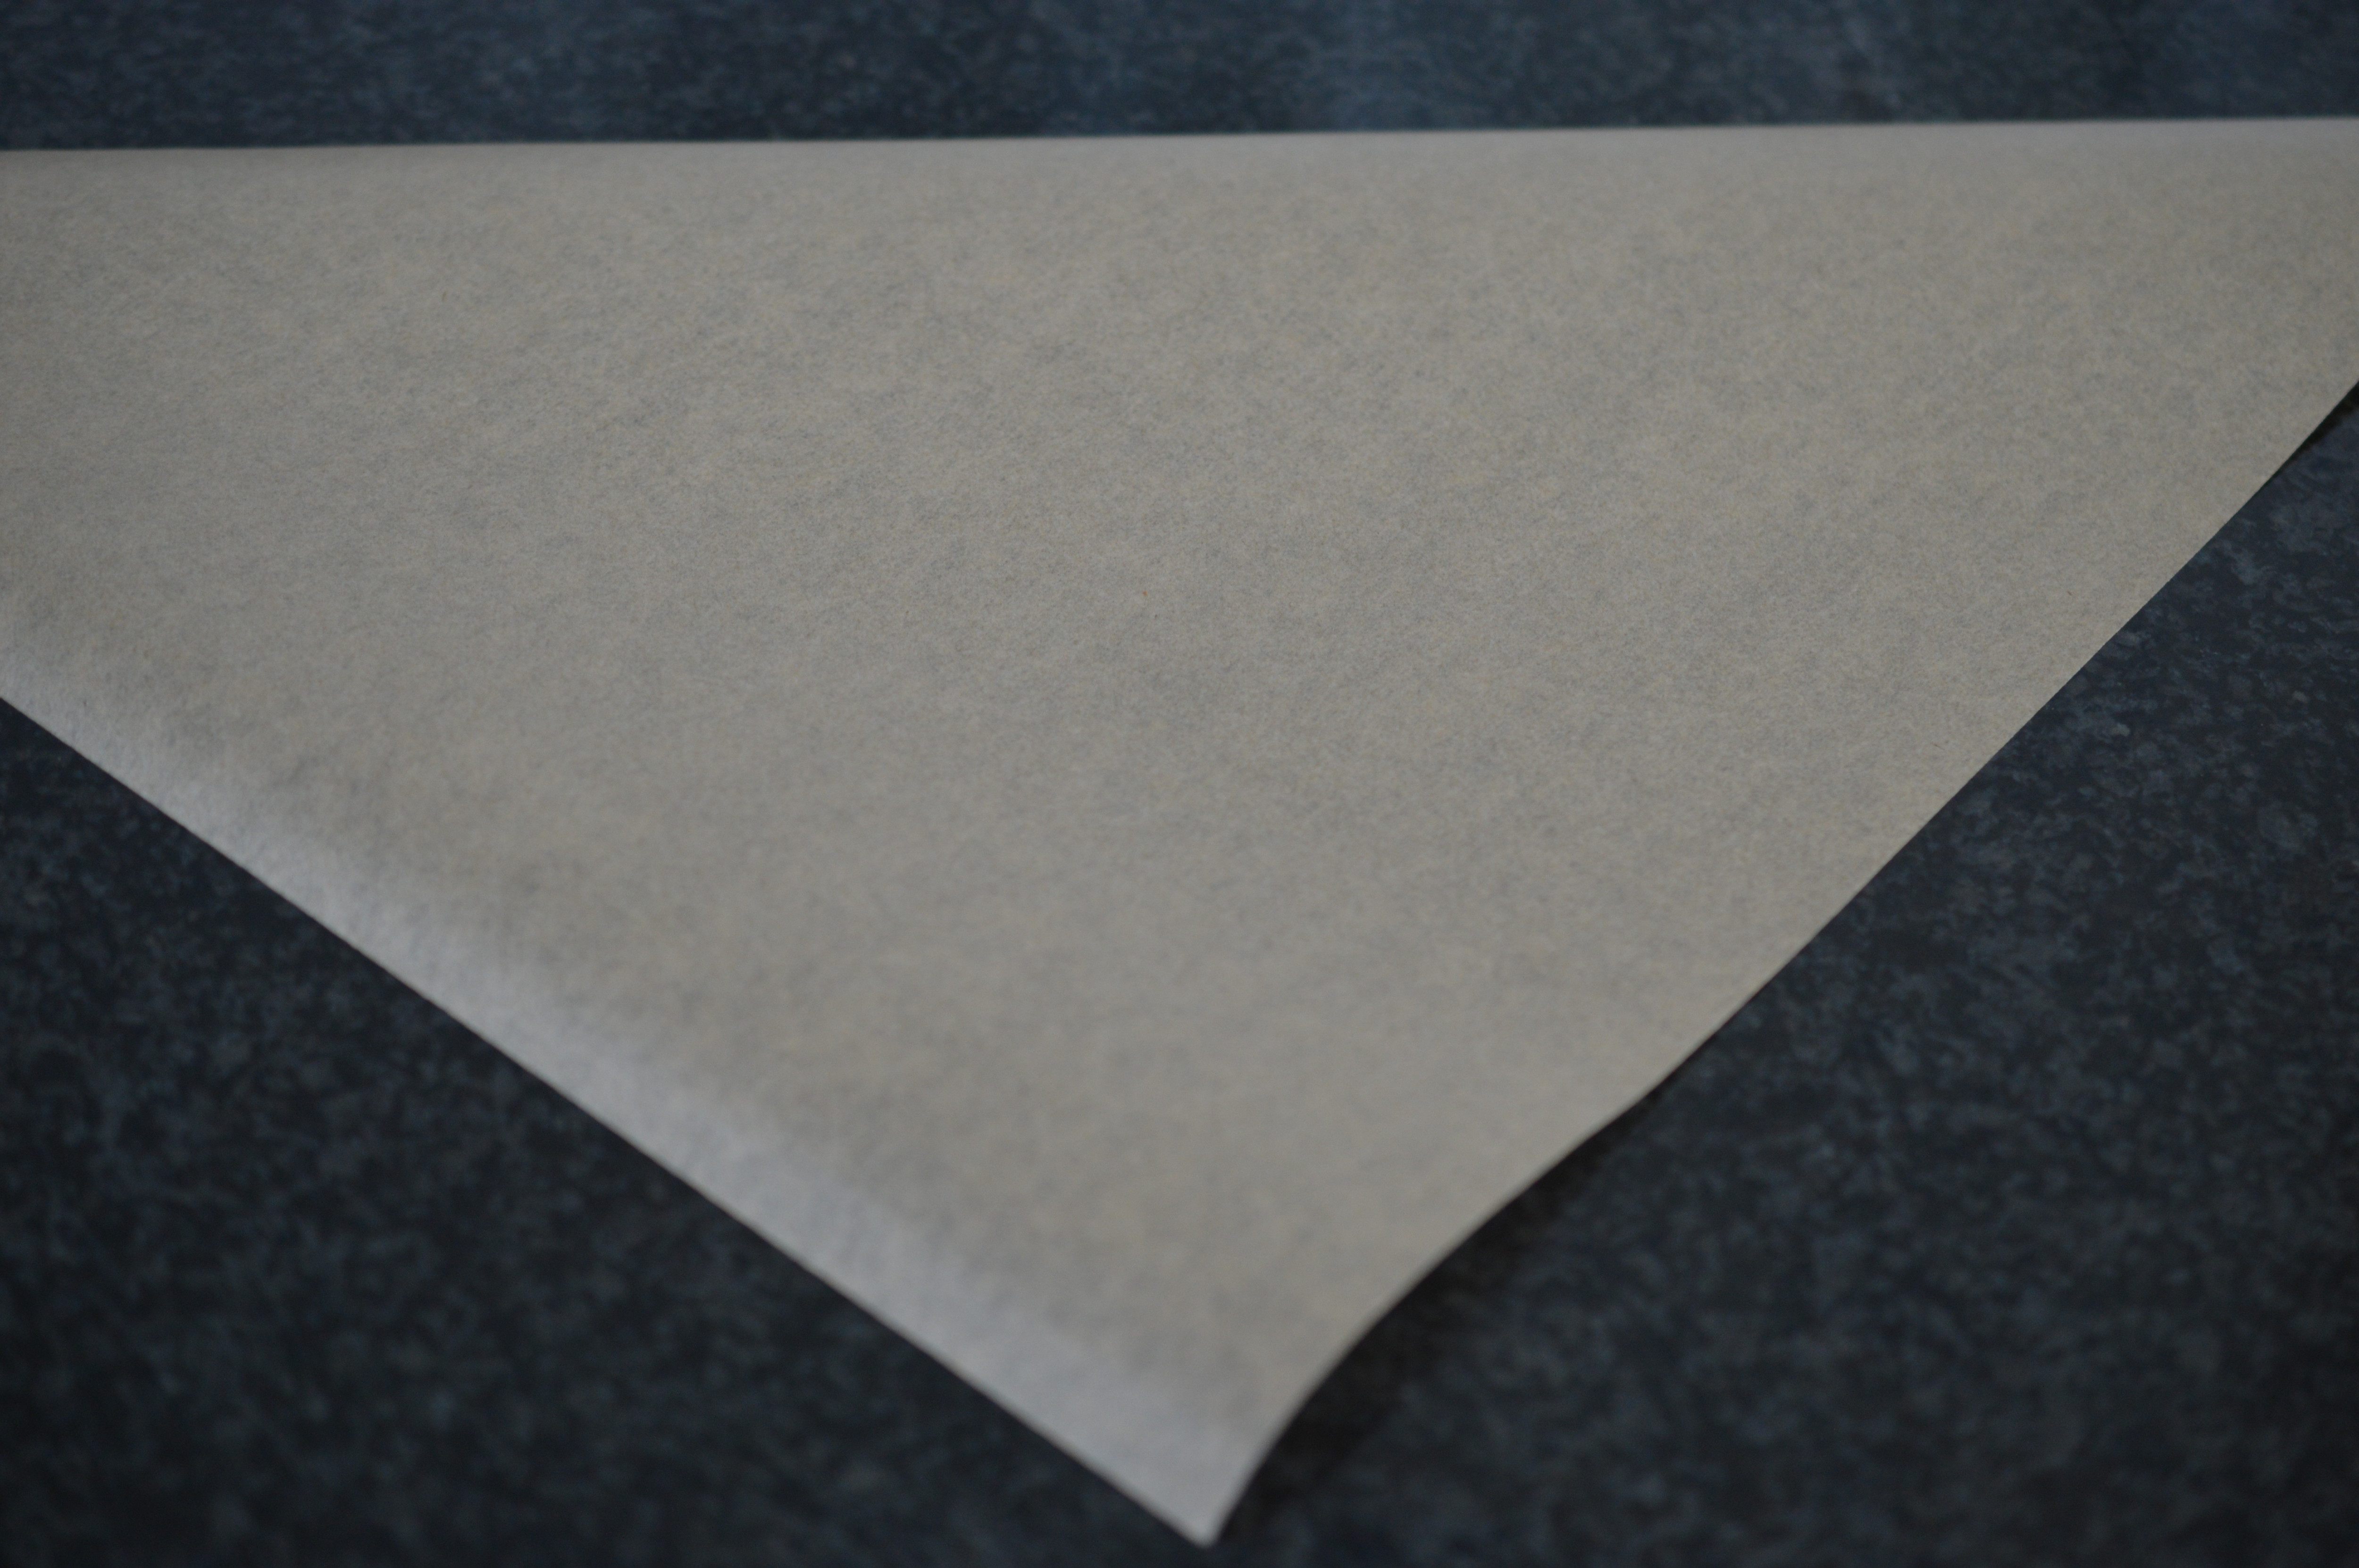 You are left with a triangle. Place it on the worktop with the 90º angle pointing towards you.
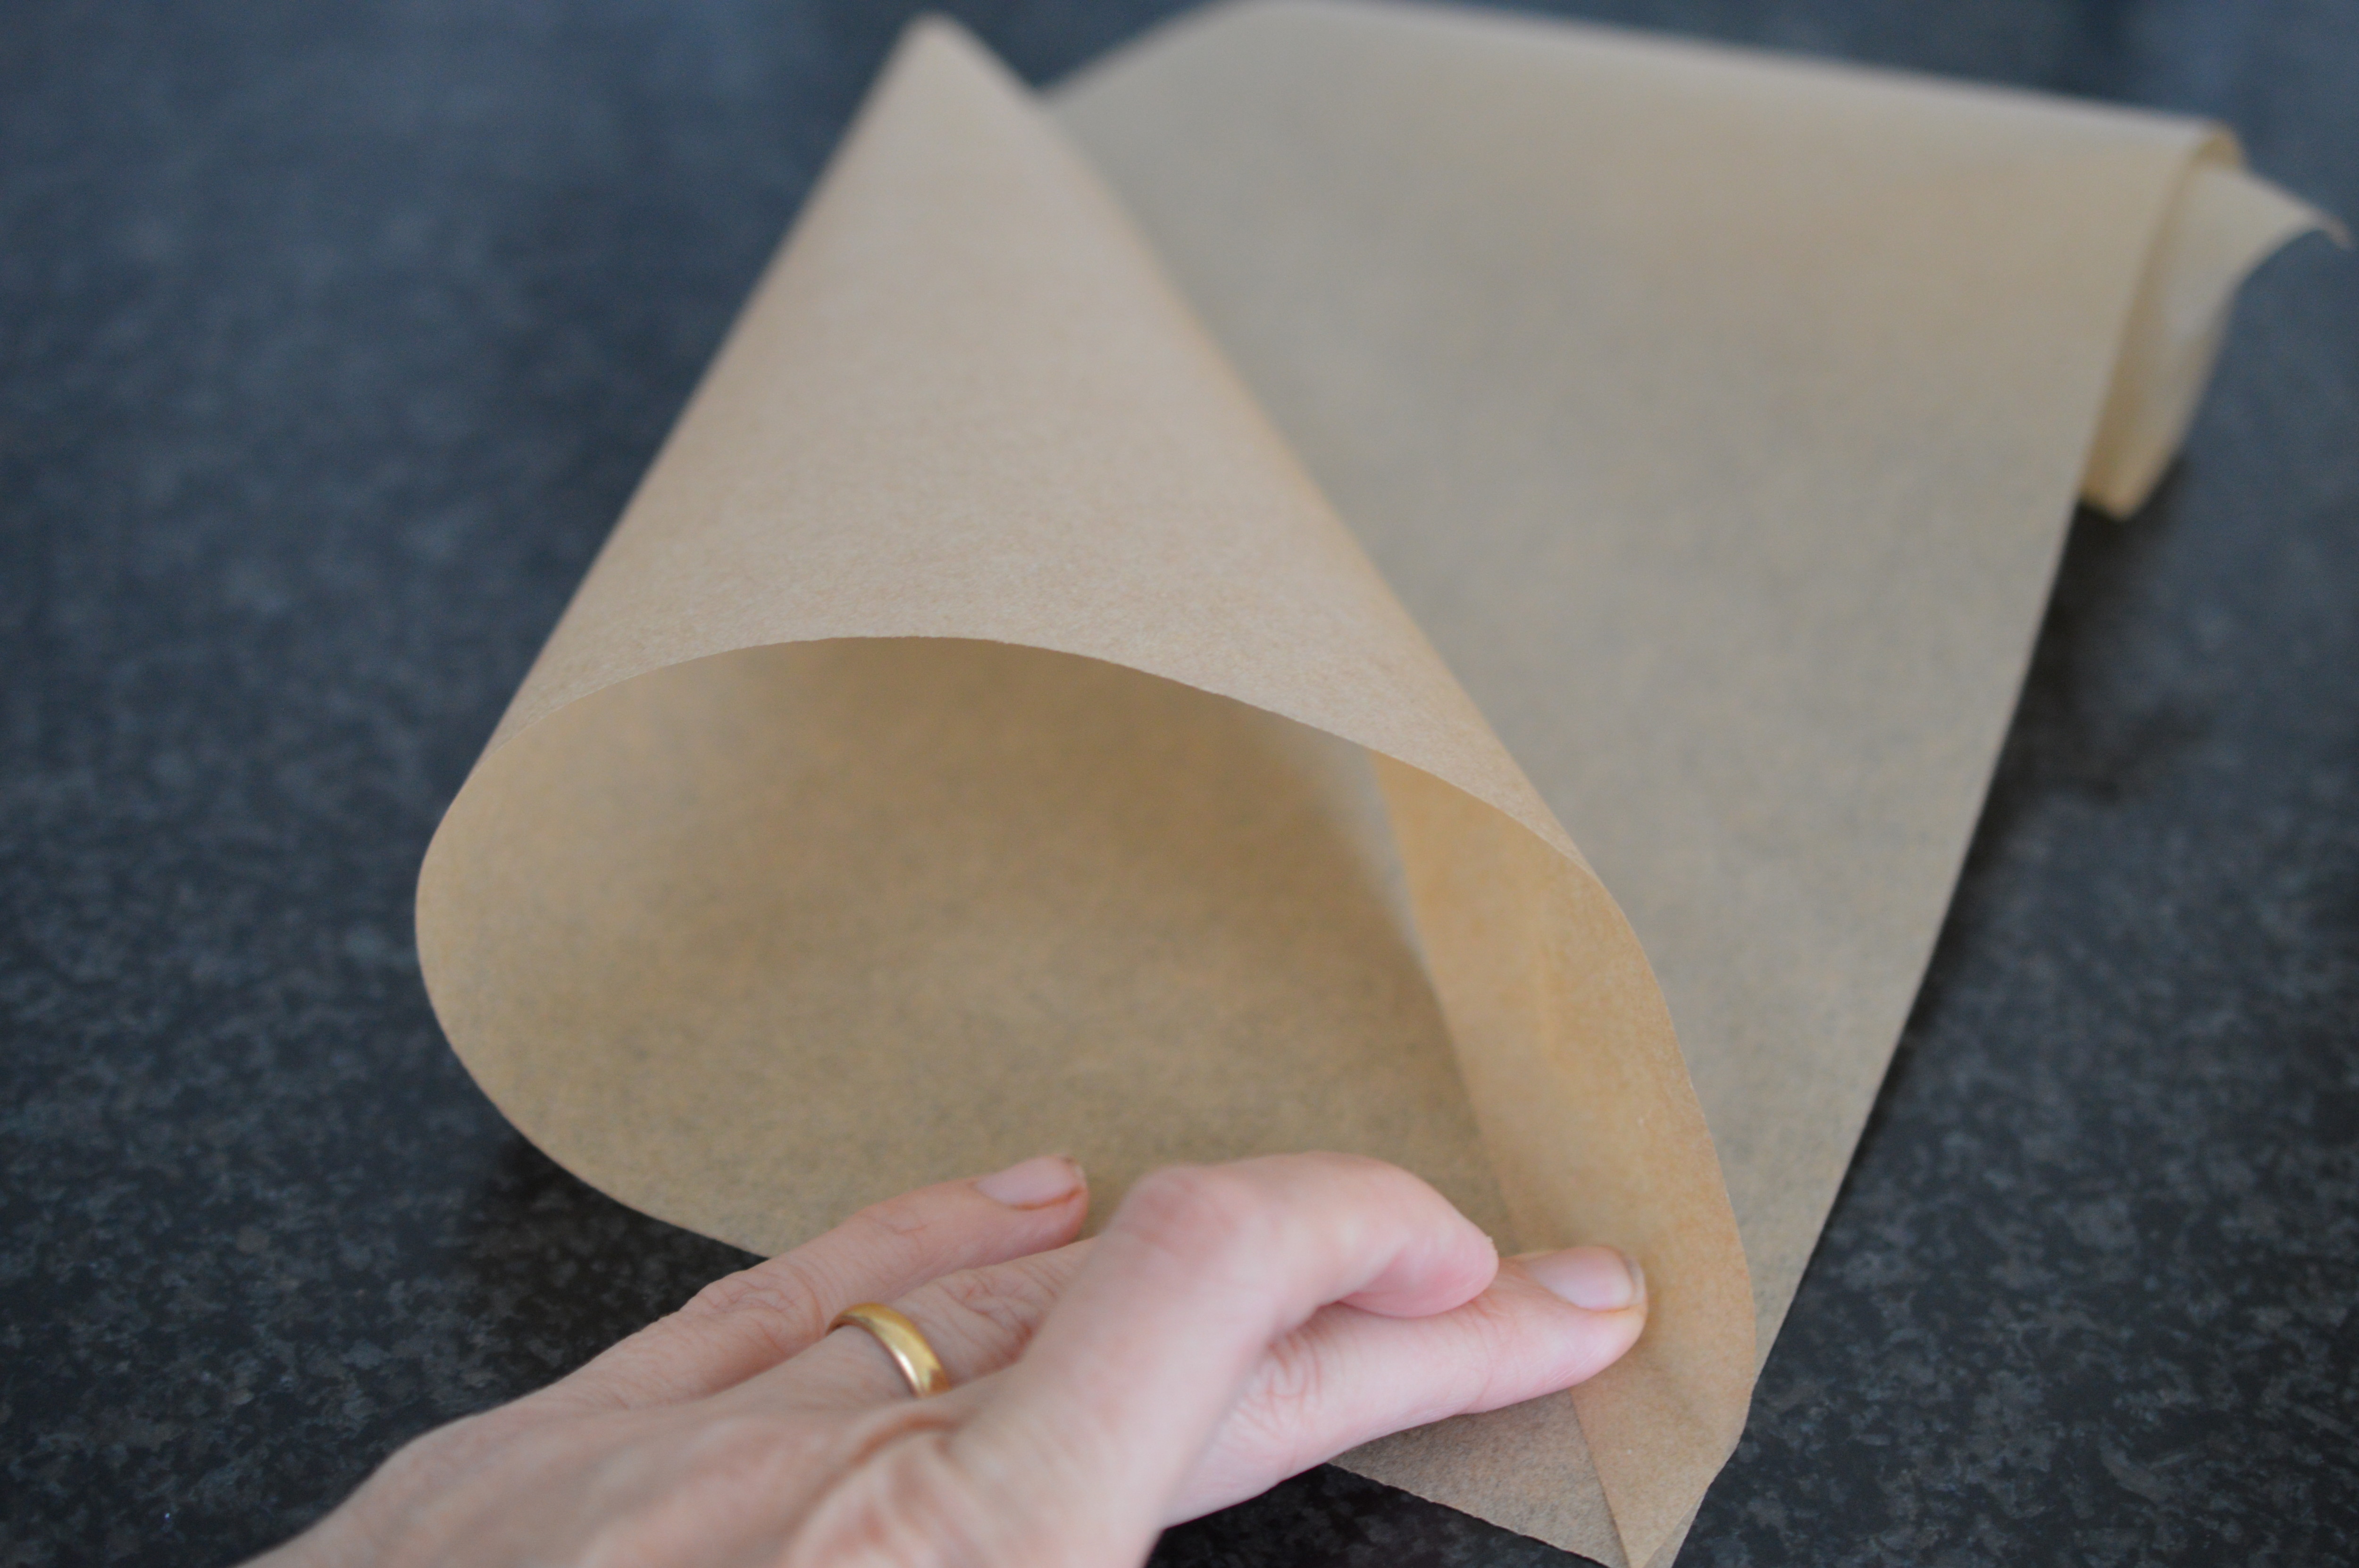 Curl one side over to that 90º angle.
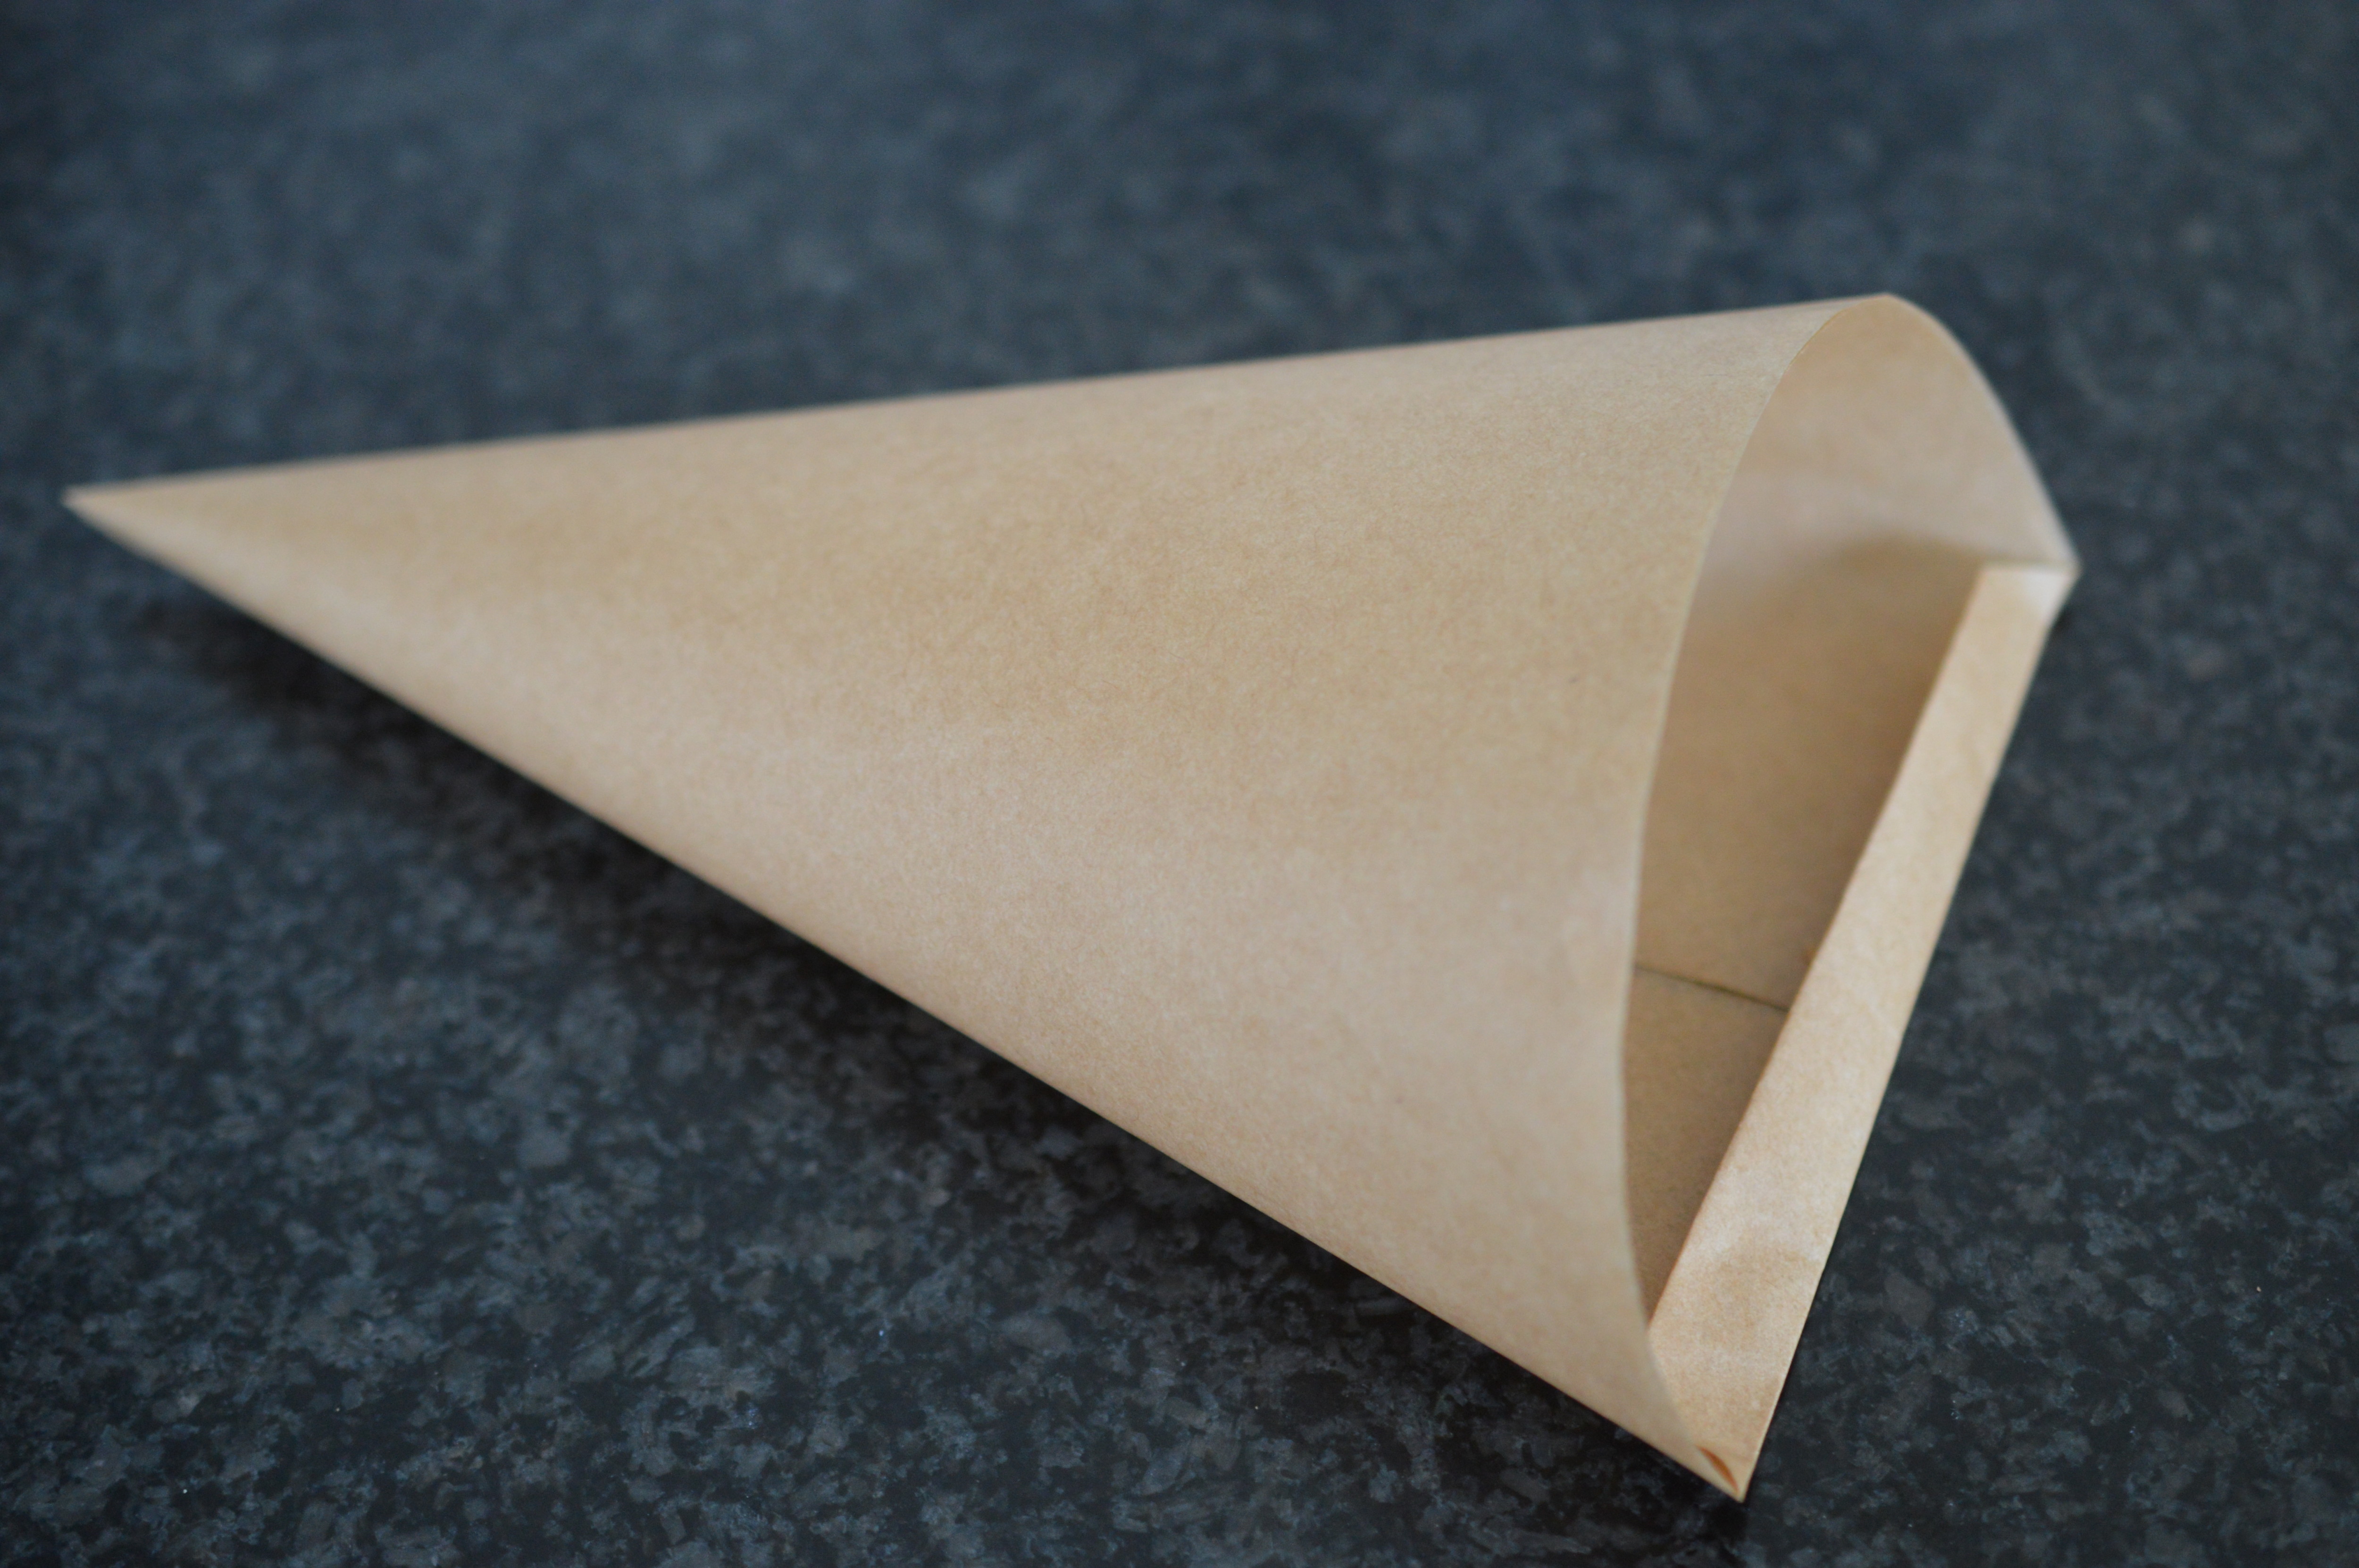
 Wrap the other side round. (It’s easier when you’re not holding a camera.)
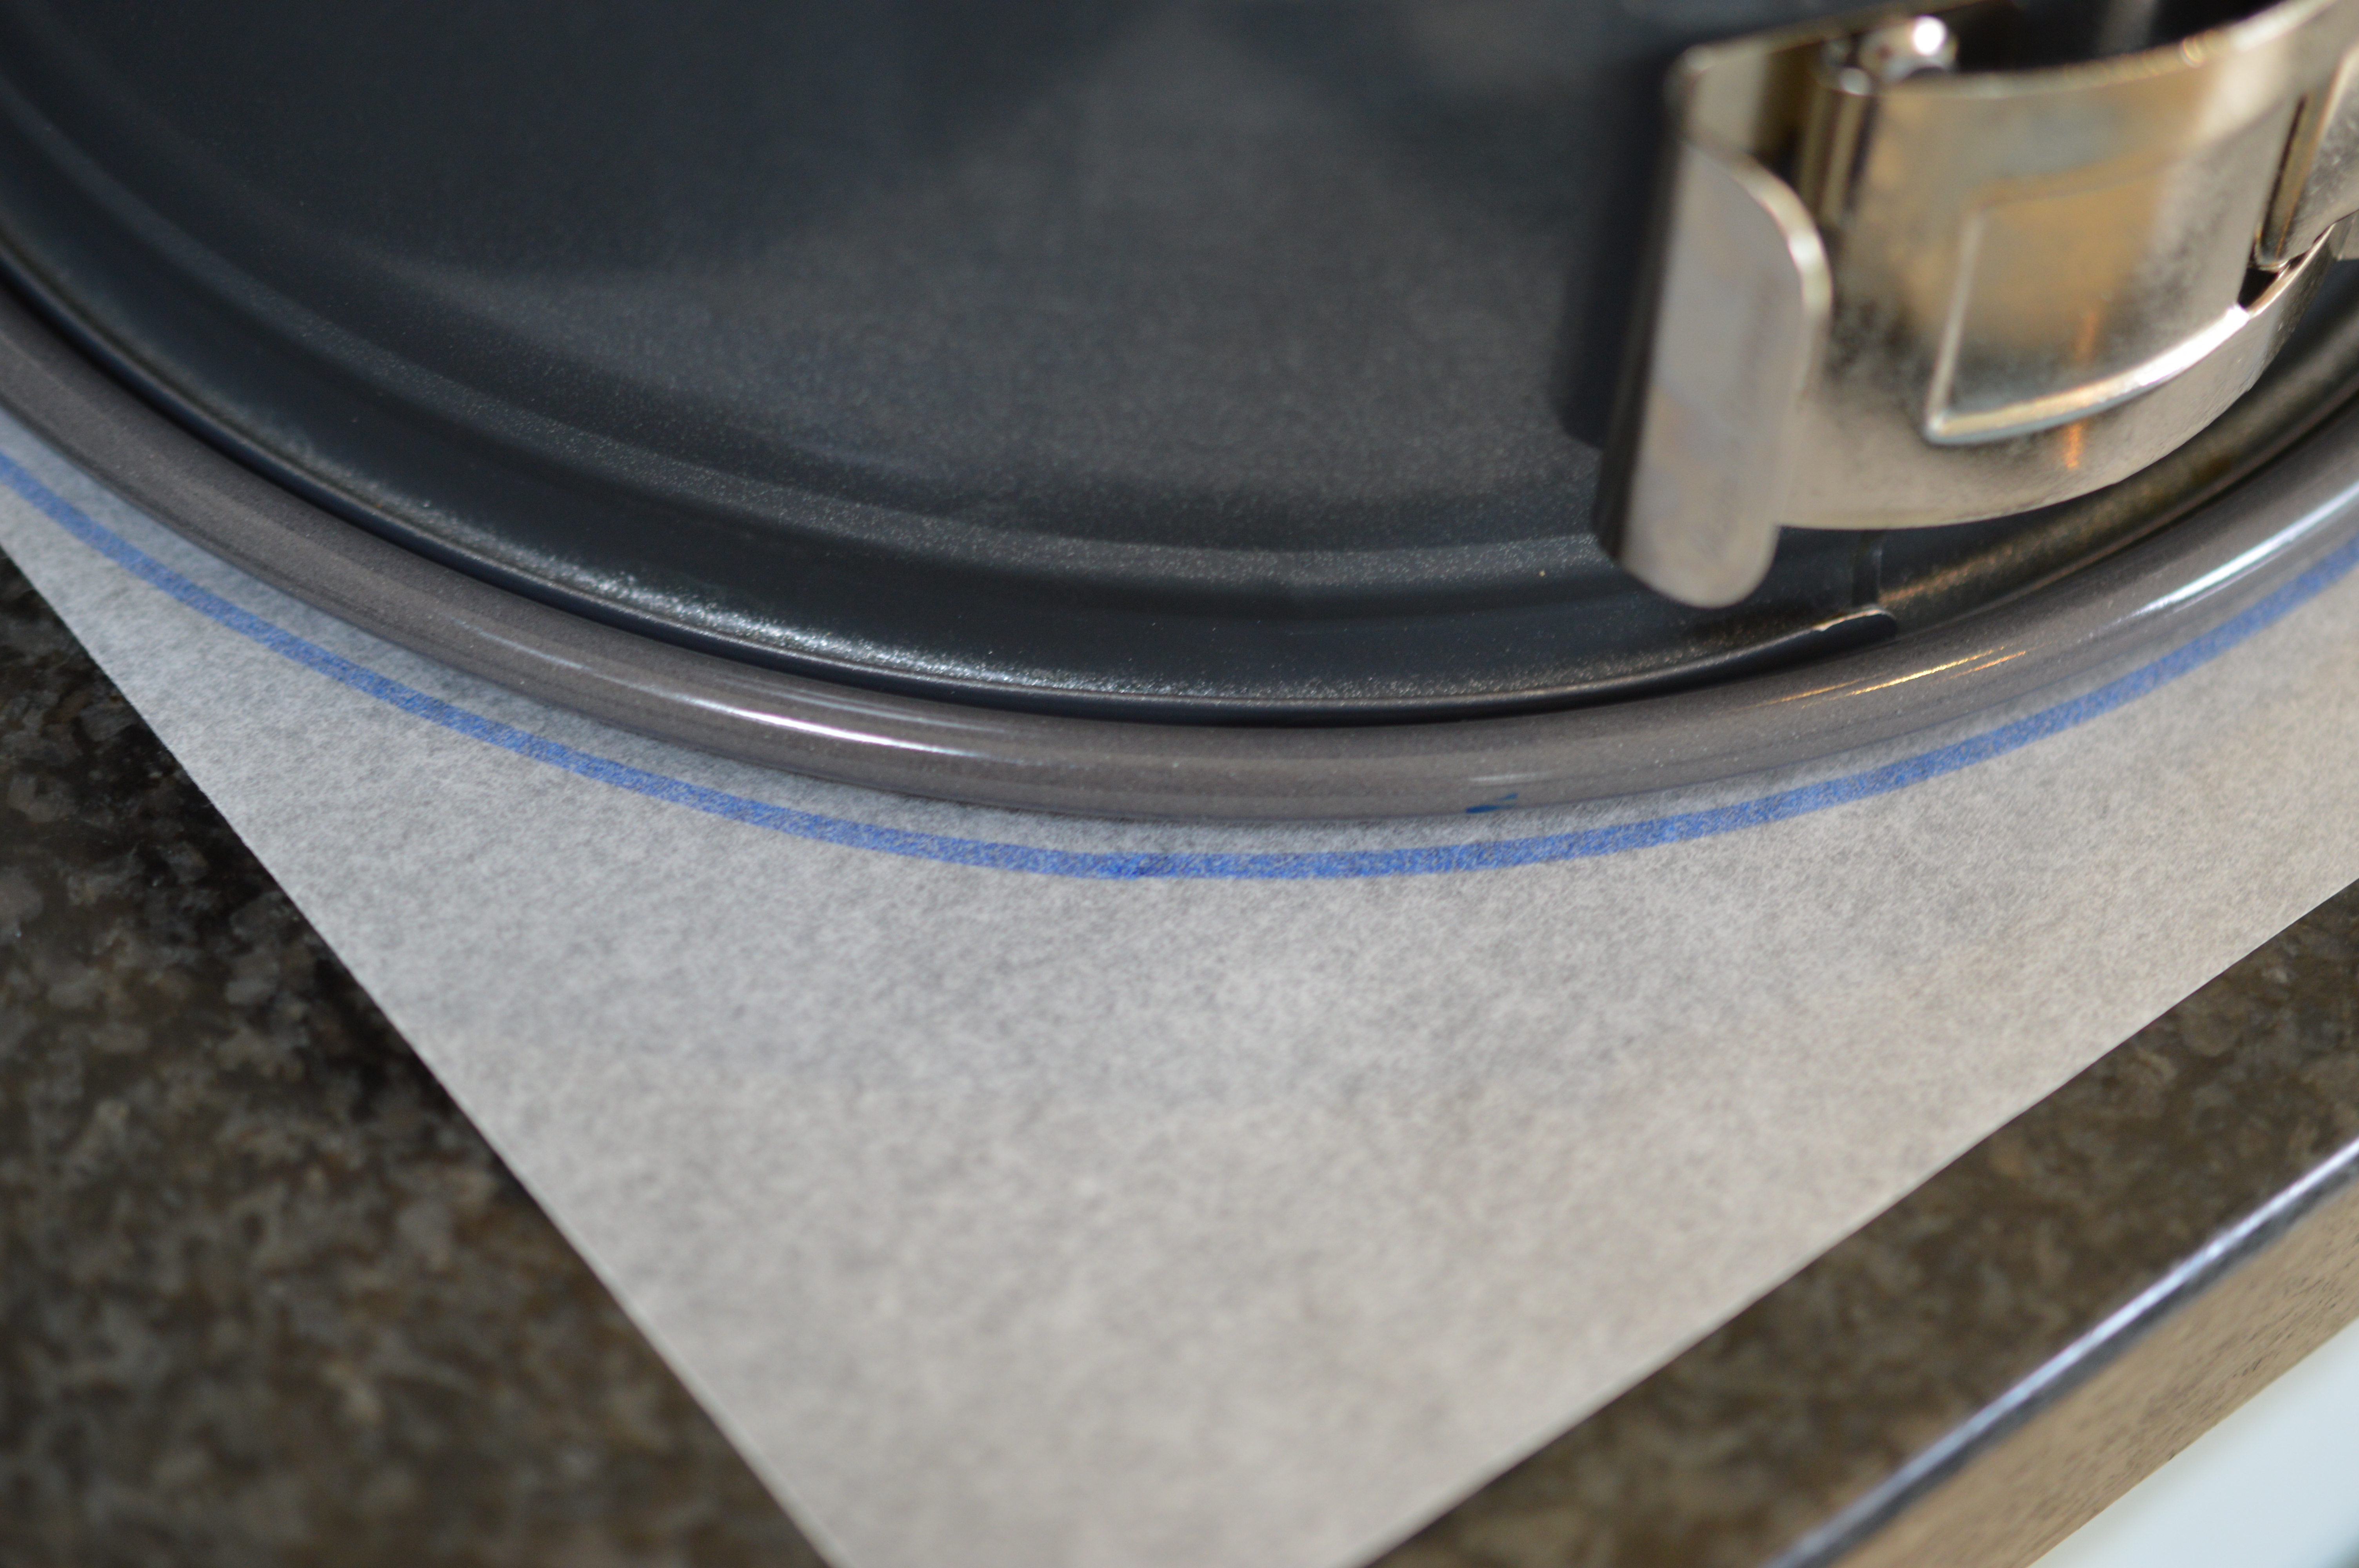
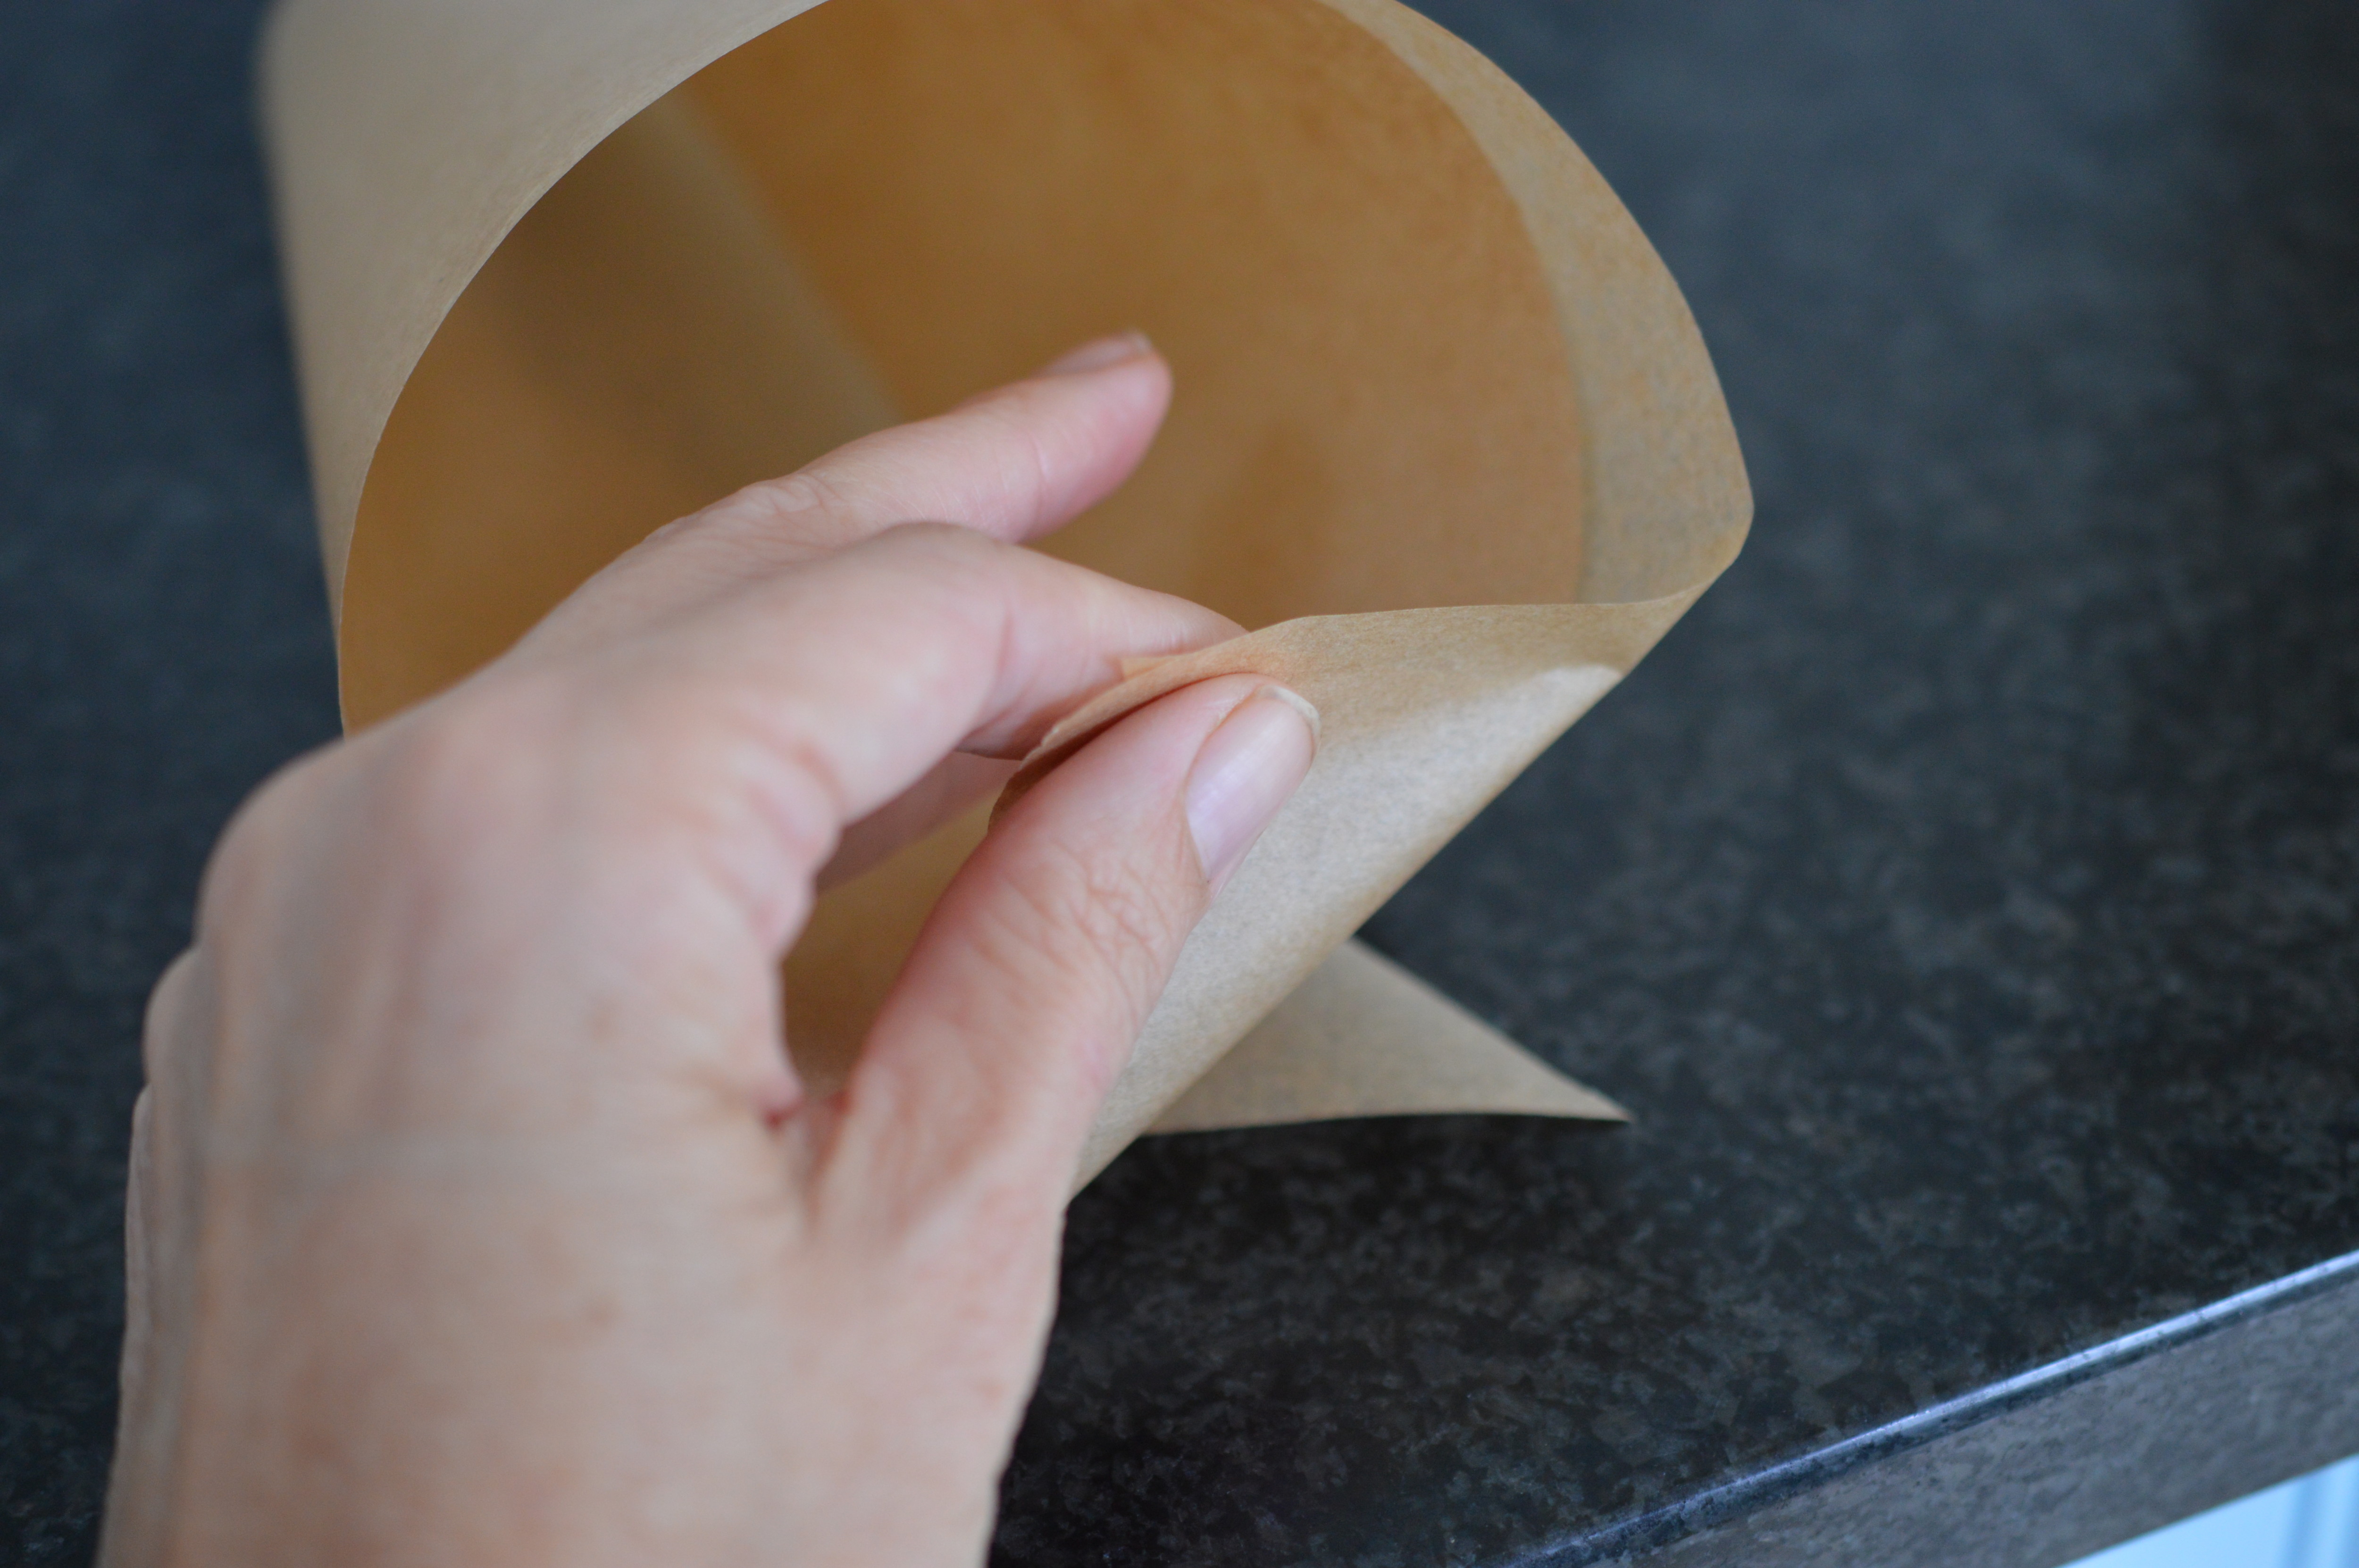
 You should now have a cone. If your point isn’t sharp, bring it into line by adjusting the layers.
 Fold over to secure.
 And then again, to keep it all from unravelling. Make a couple. It gets easier with practise. Also make a half-sized one.
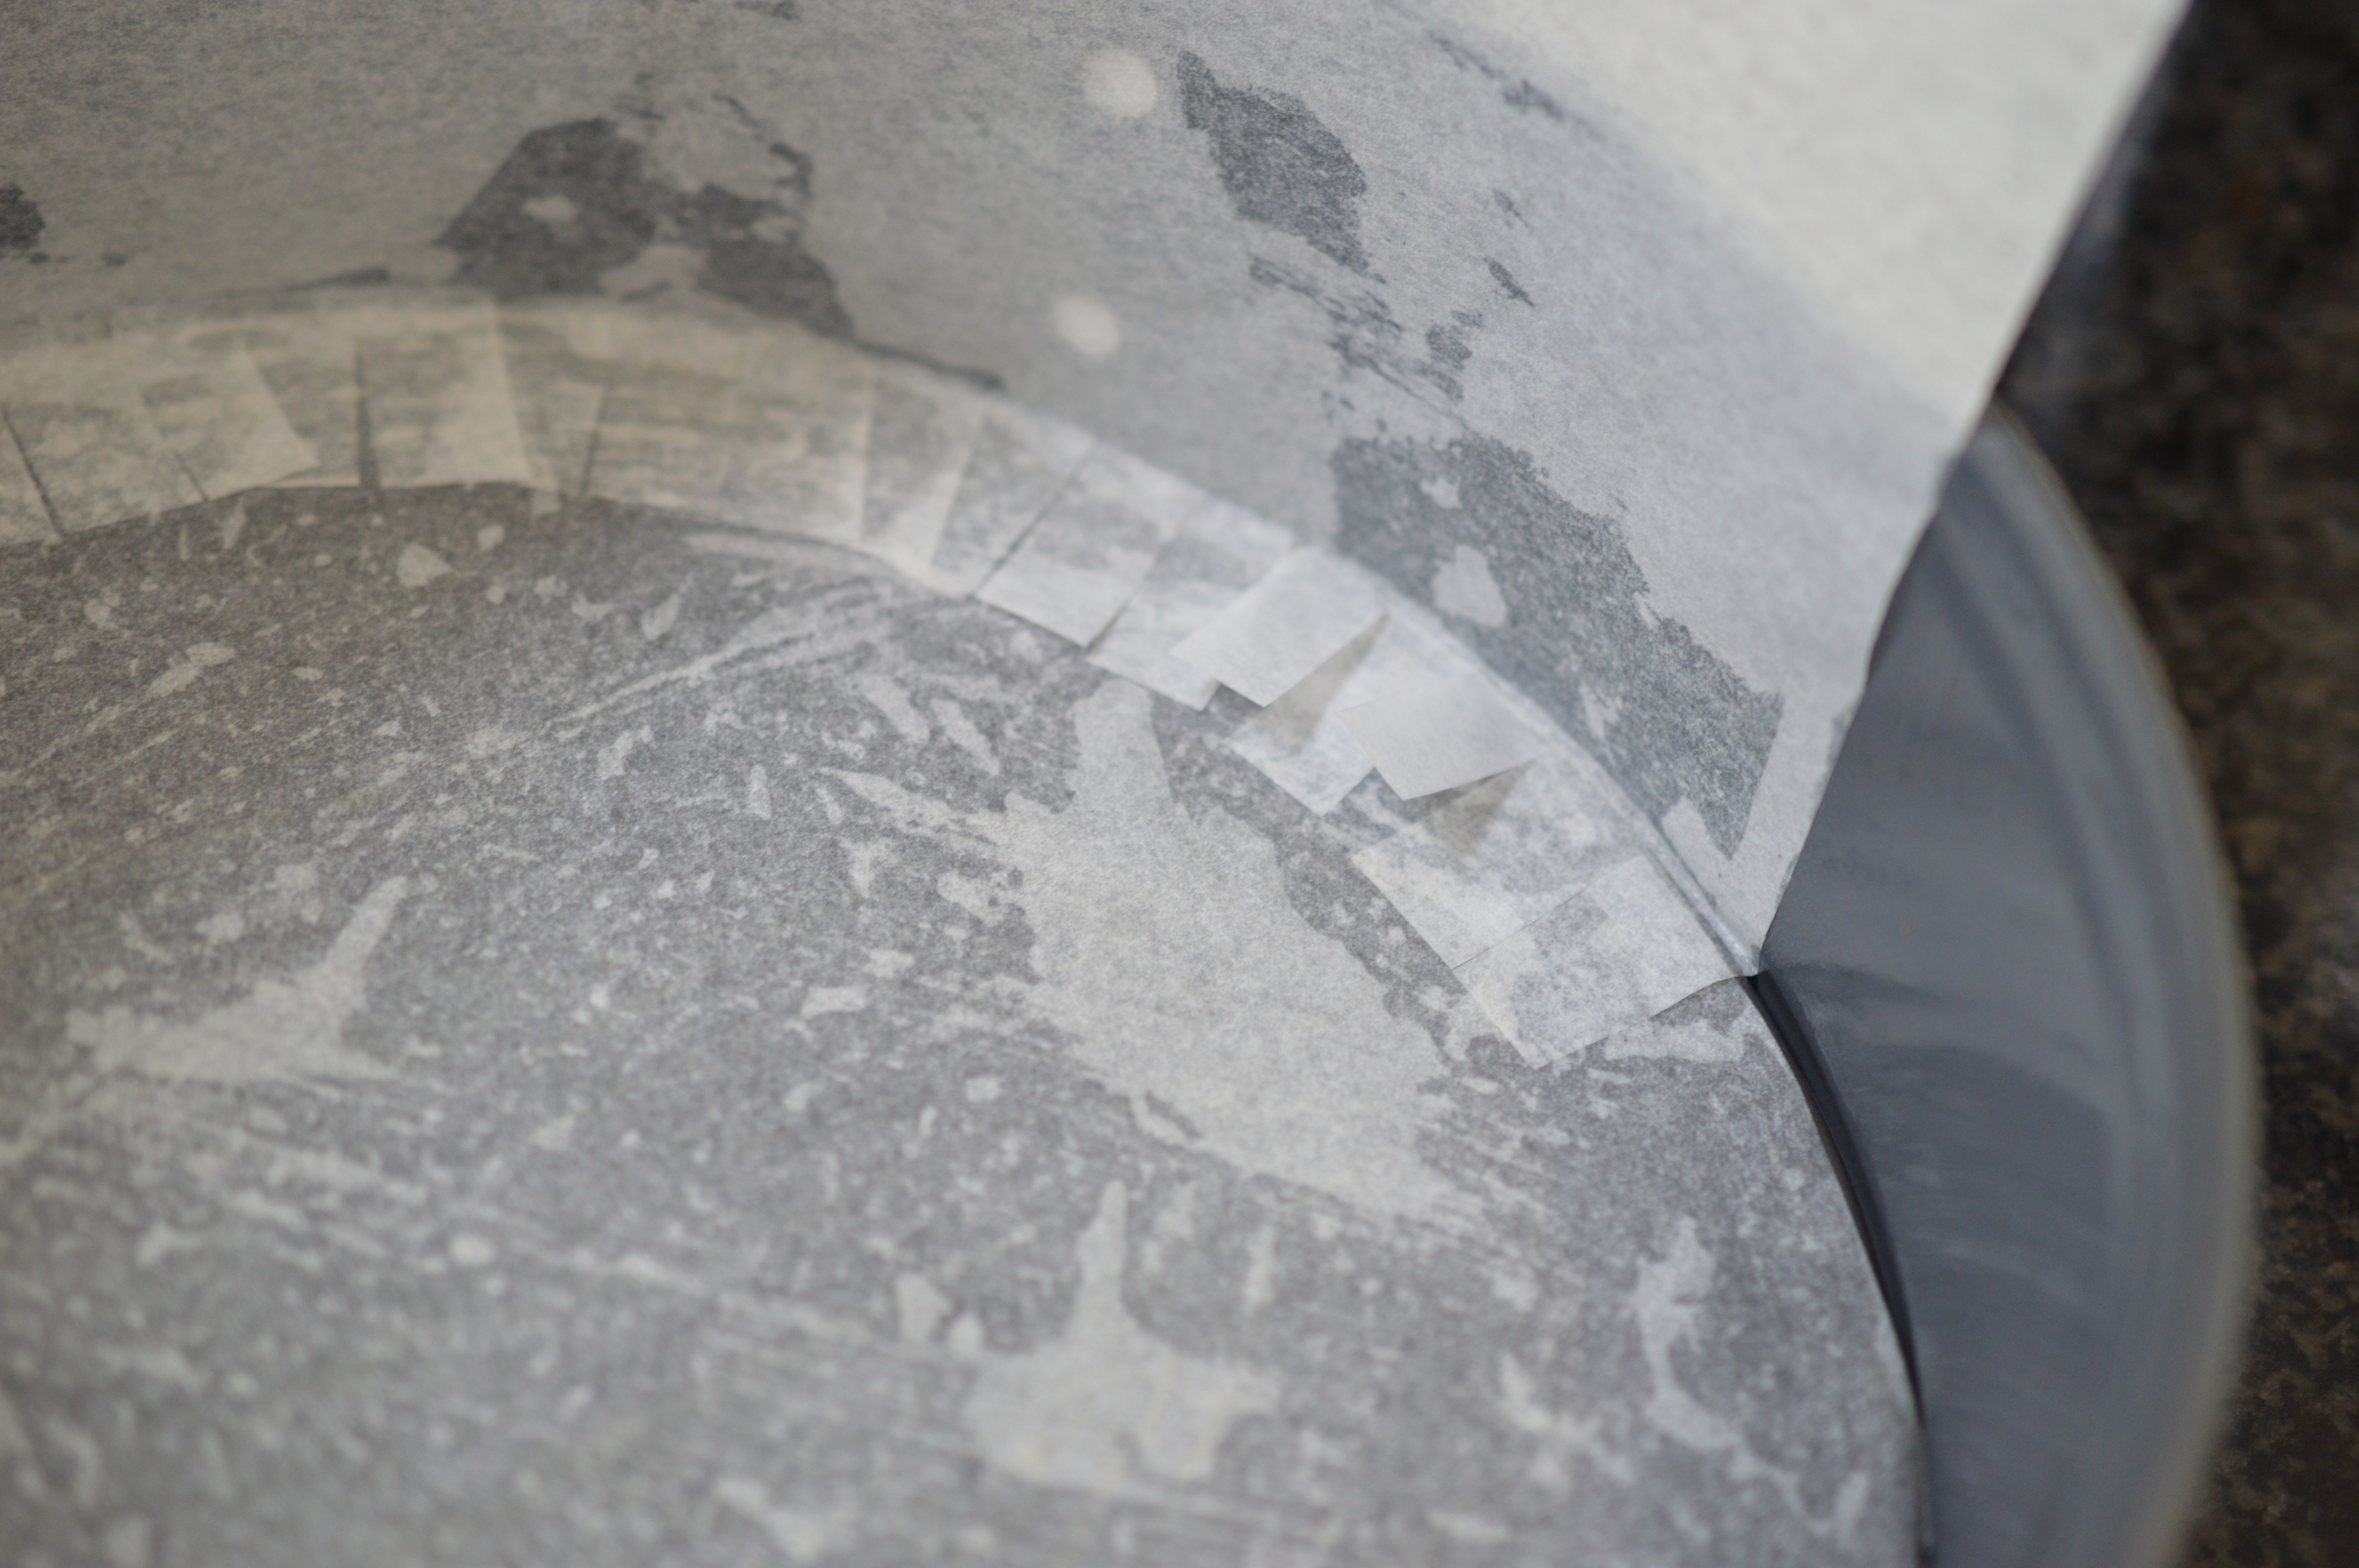
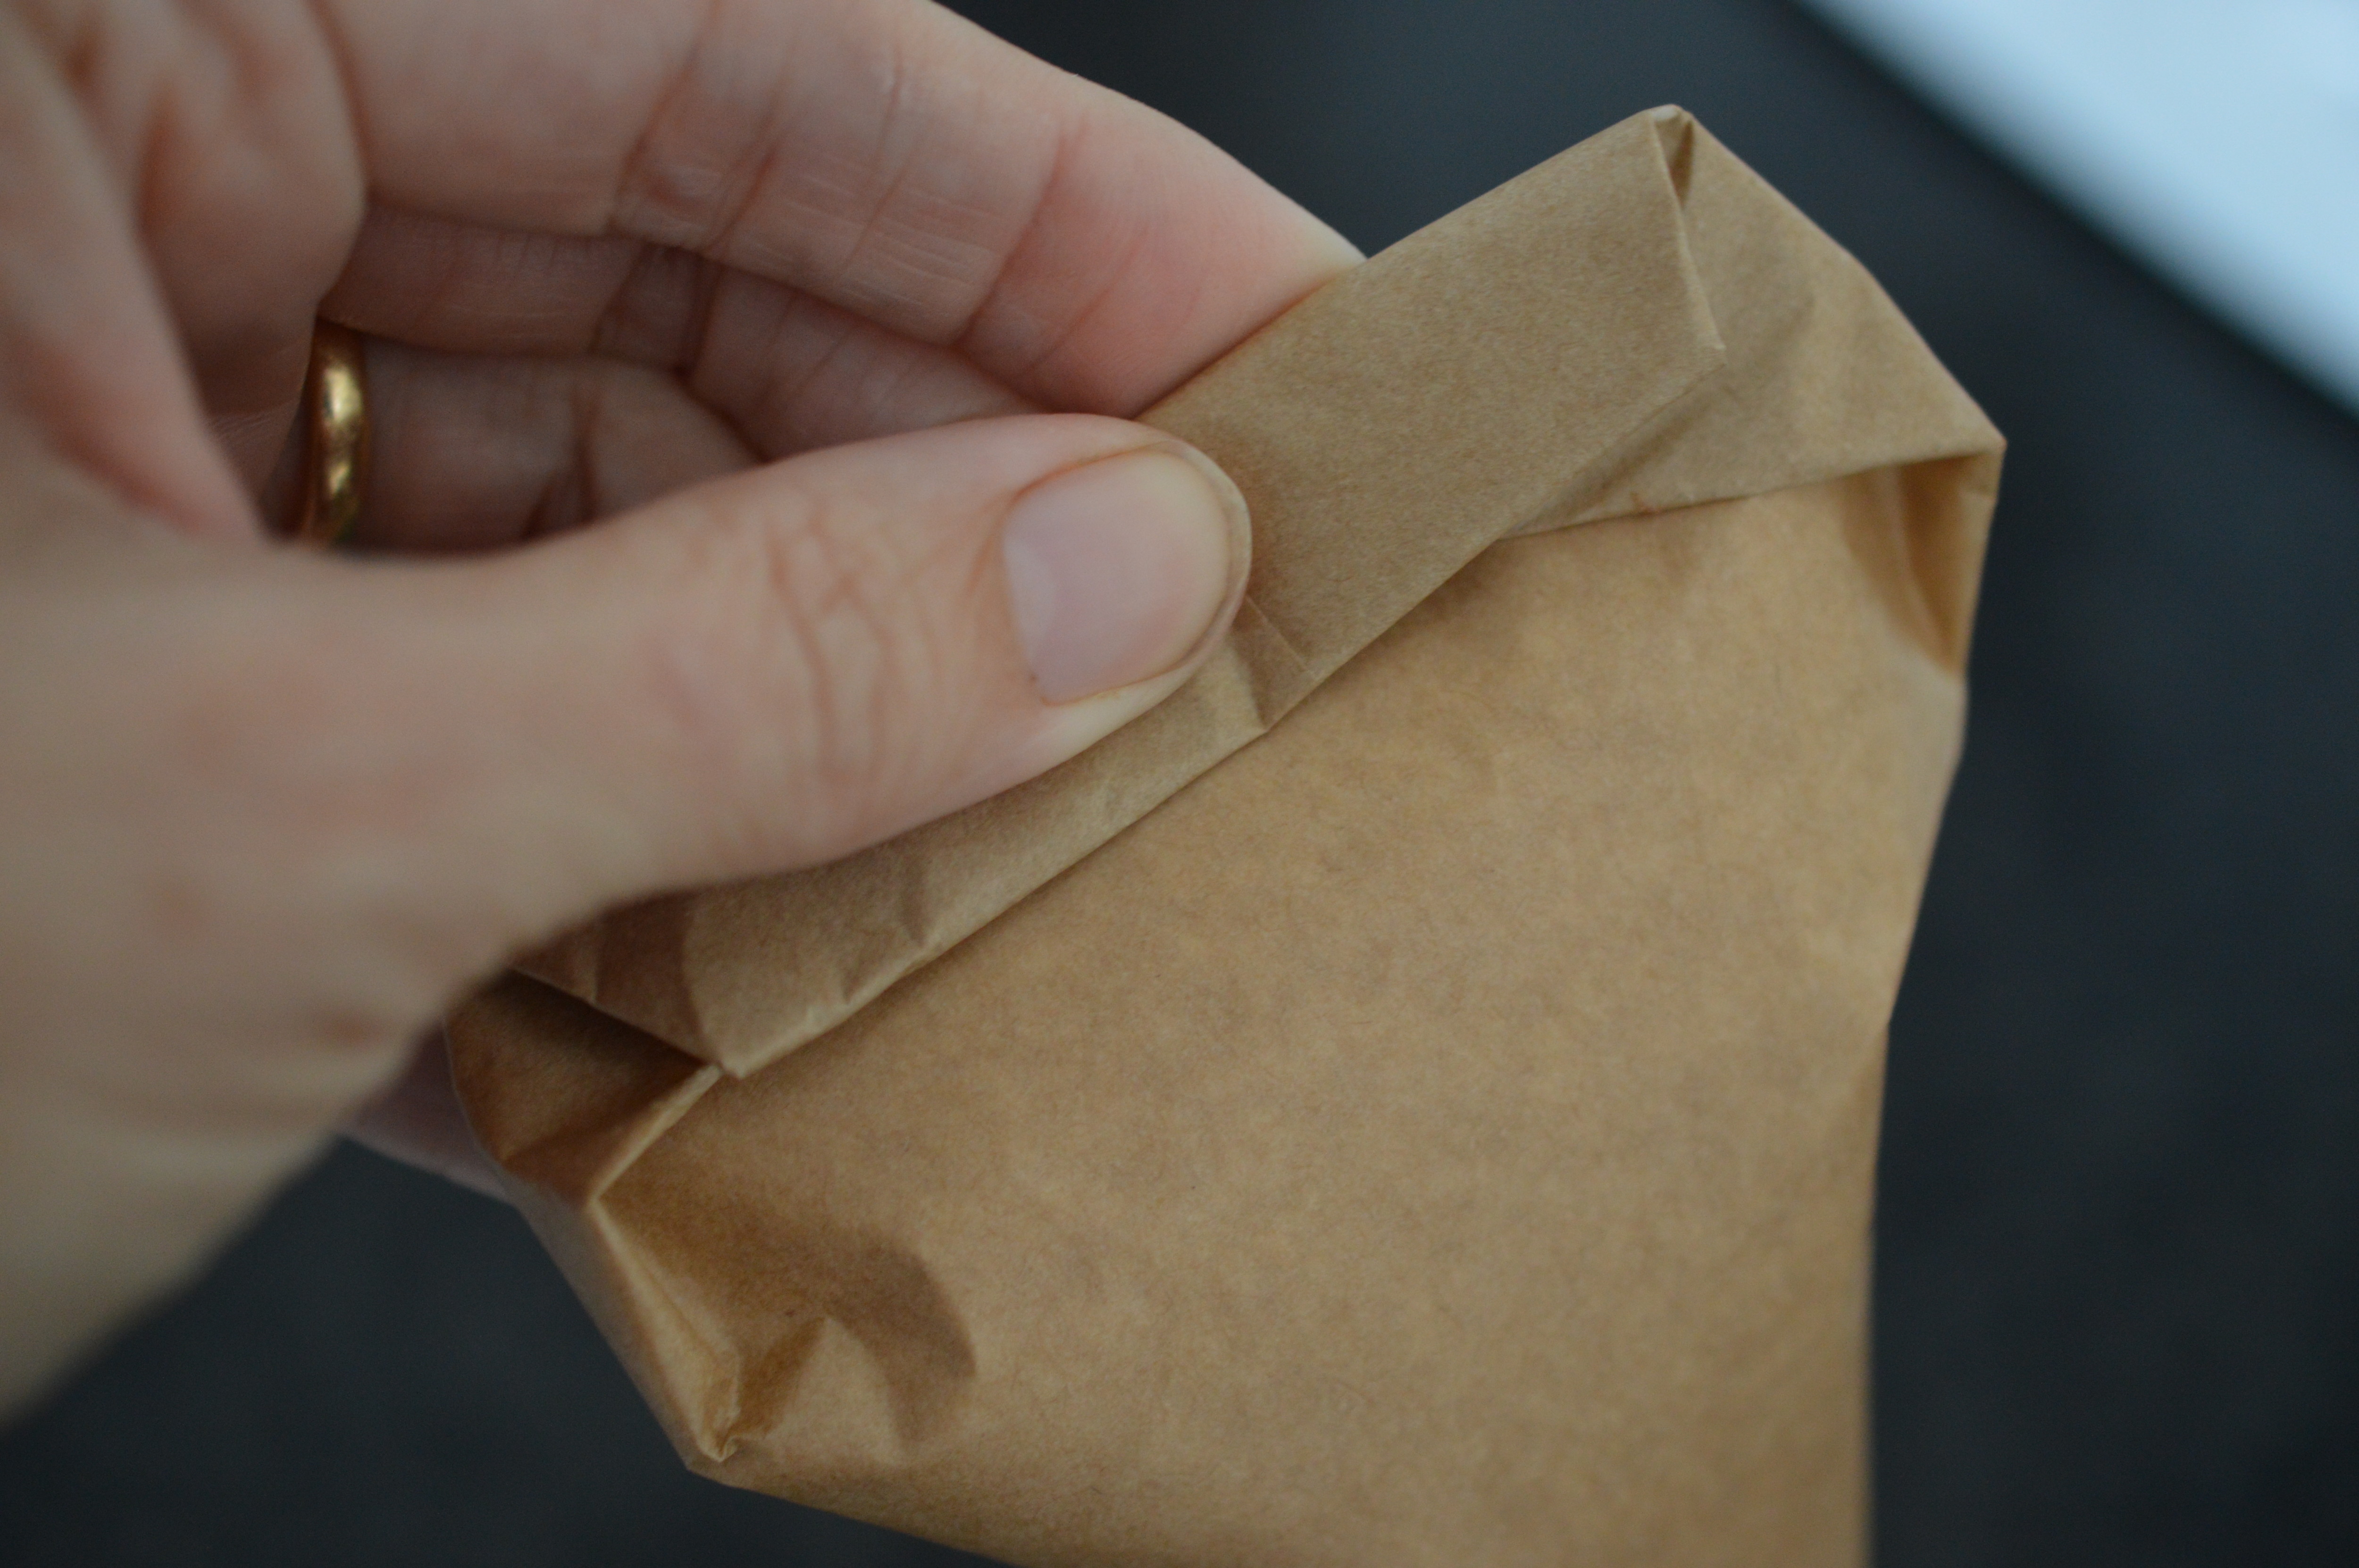 Fill with a little of the royal icing – don’t go more than halfway up the bag or you’ll end up in a horrible mess. Close the bag by folding over the top a couple of times.
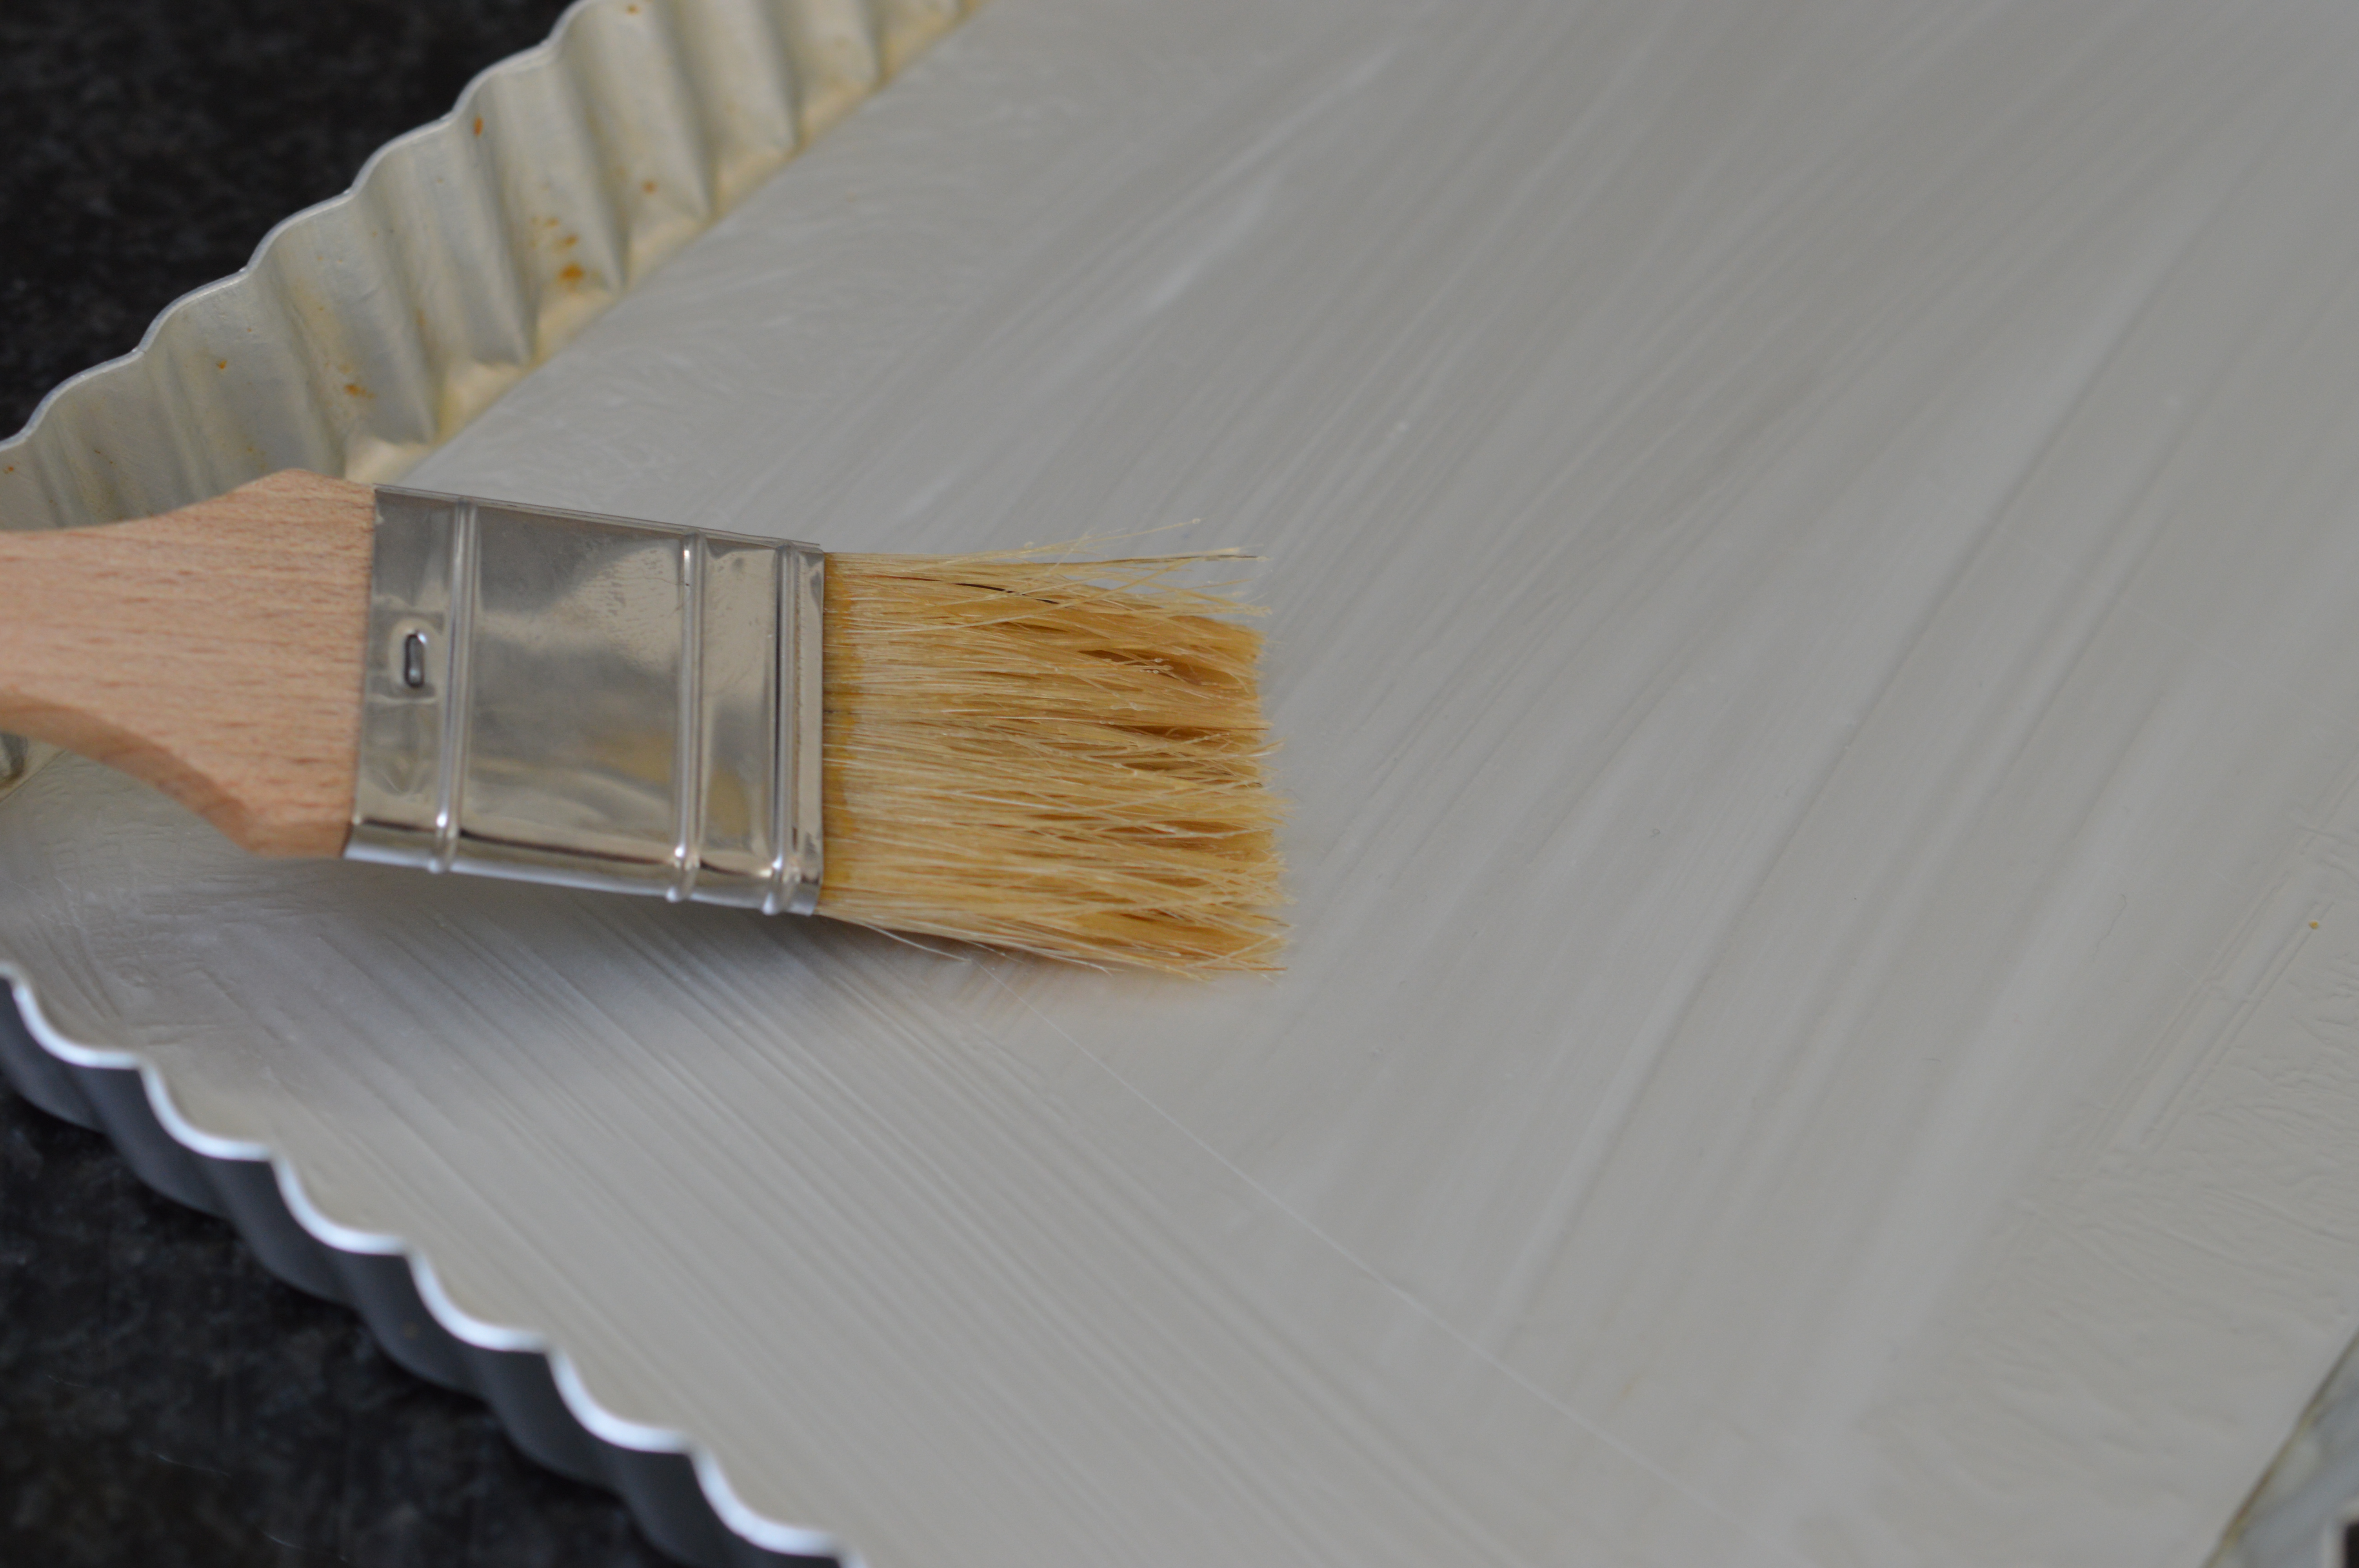
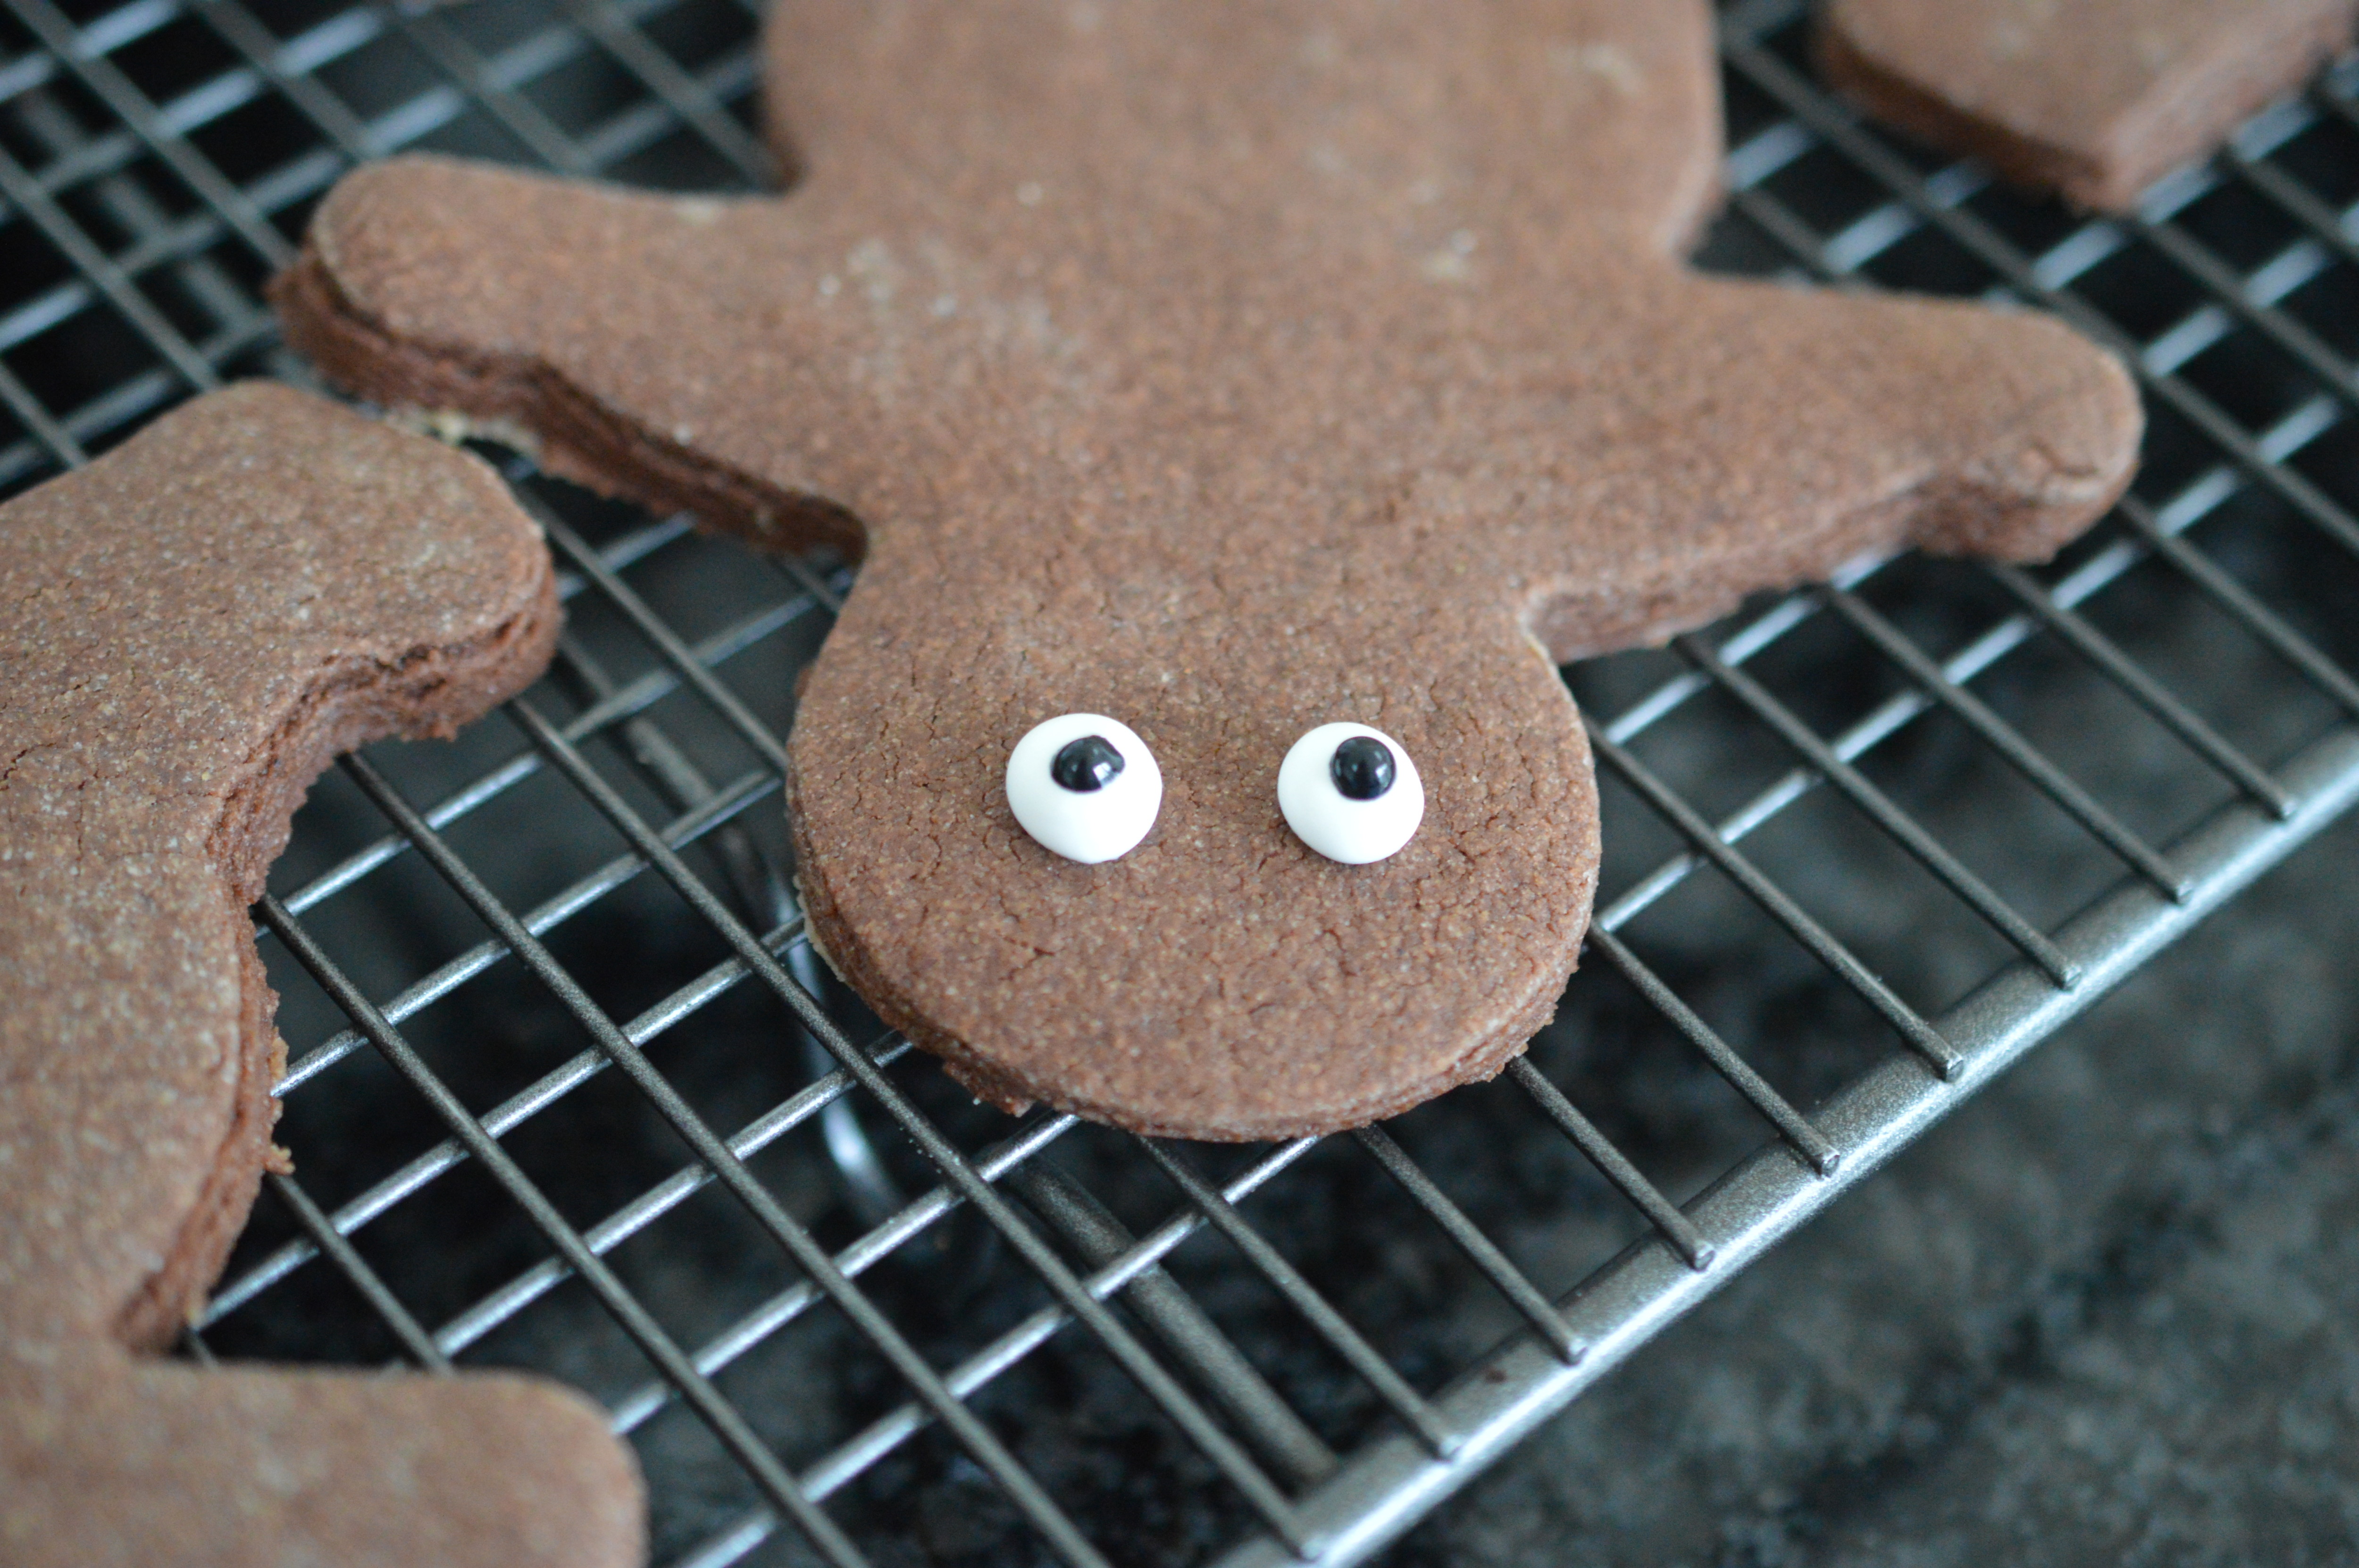 First the eyes. Snip the end off your piping bag. Keep one hand on the folded over top and the index finger of the other along the piping bag seam and use it to guide the bag. To pipe a circle you need to hold the bag vertically. Place the tip on the biscuit, raise 1mm and start to squeeze. Allow the icing to spread out in a circle. Once you have an eyeball the size you want, stop squeezing. Lift off with a circular motion.
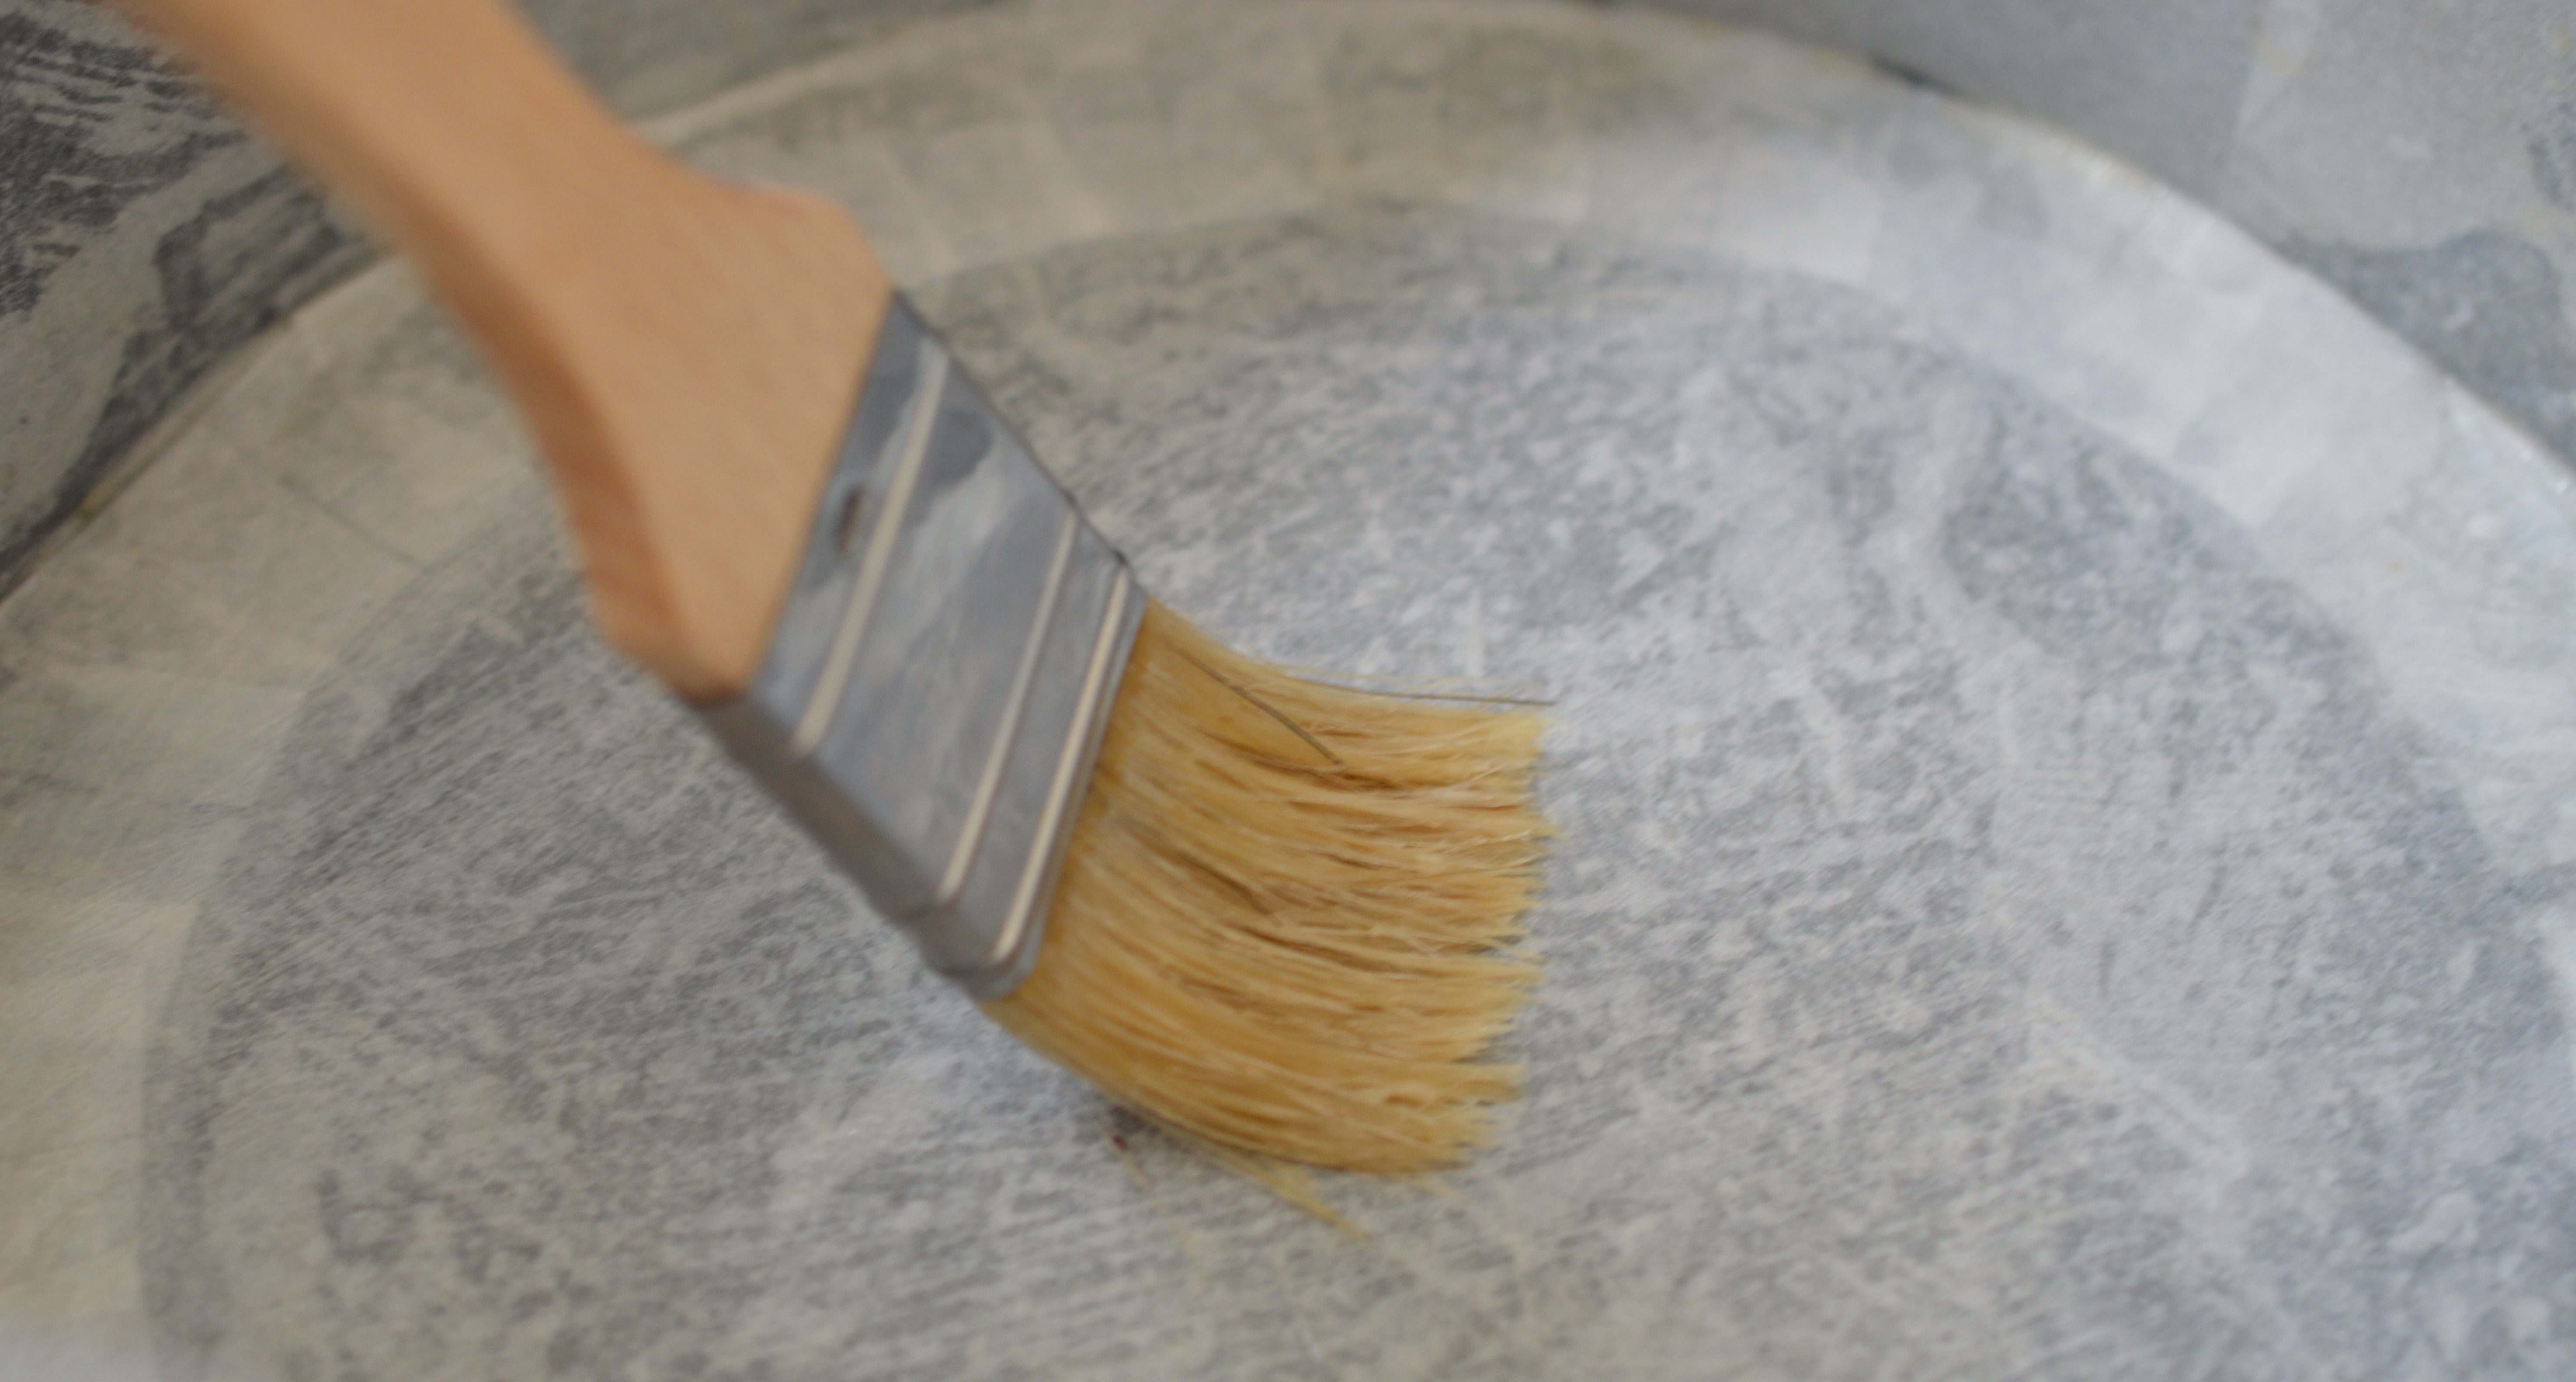
If you’re left with a ‘nipple’ (and, yes, I believe that *is* the technical term) you can flatten it with a dampened cooking-only paint brush. It doesn’t matter here as you need to pipe the pupil. In a small bowl, mix a bit of royal icing with black food paste. Using your ‘baby’ piping bag, pipe small black dots in the centre of the white dots. Leave to dry. Not long.
 By the time you’ve got to the end of 16-or so cookies, the first ones will be dry enough.
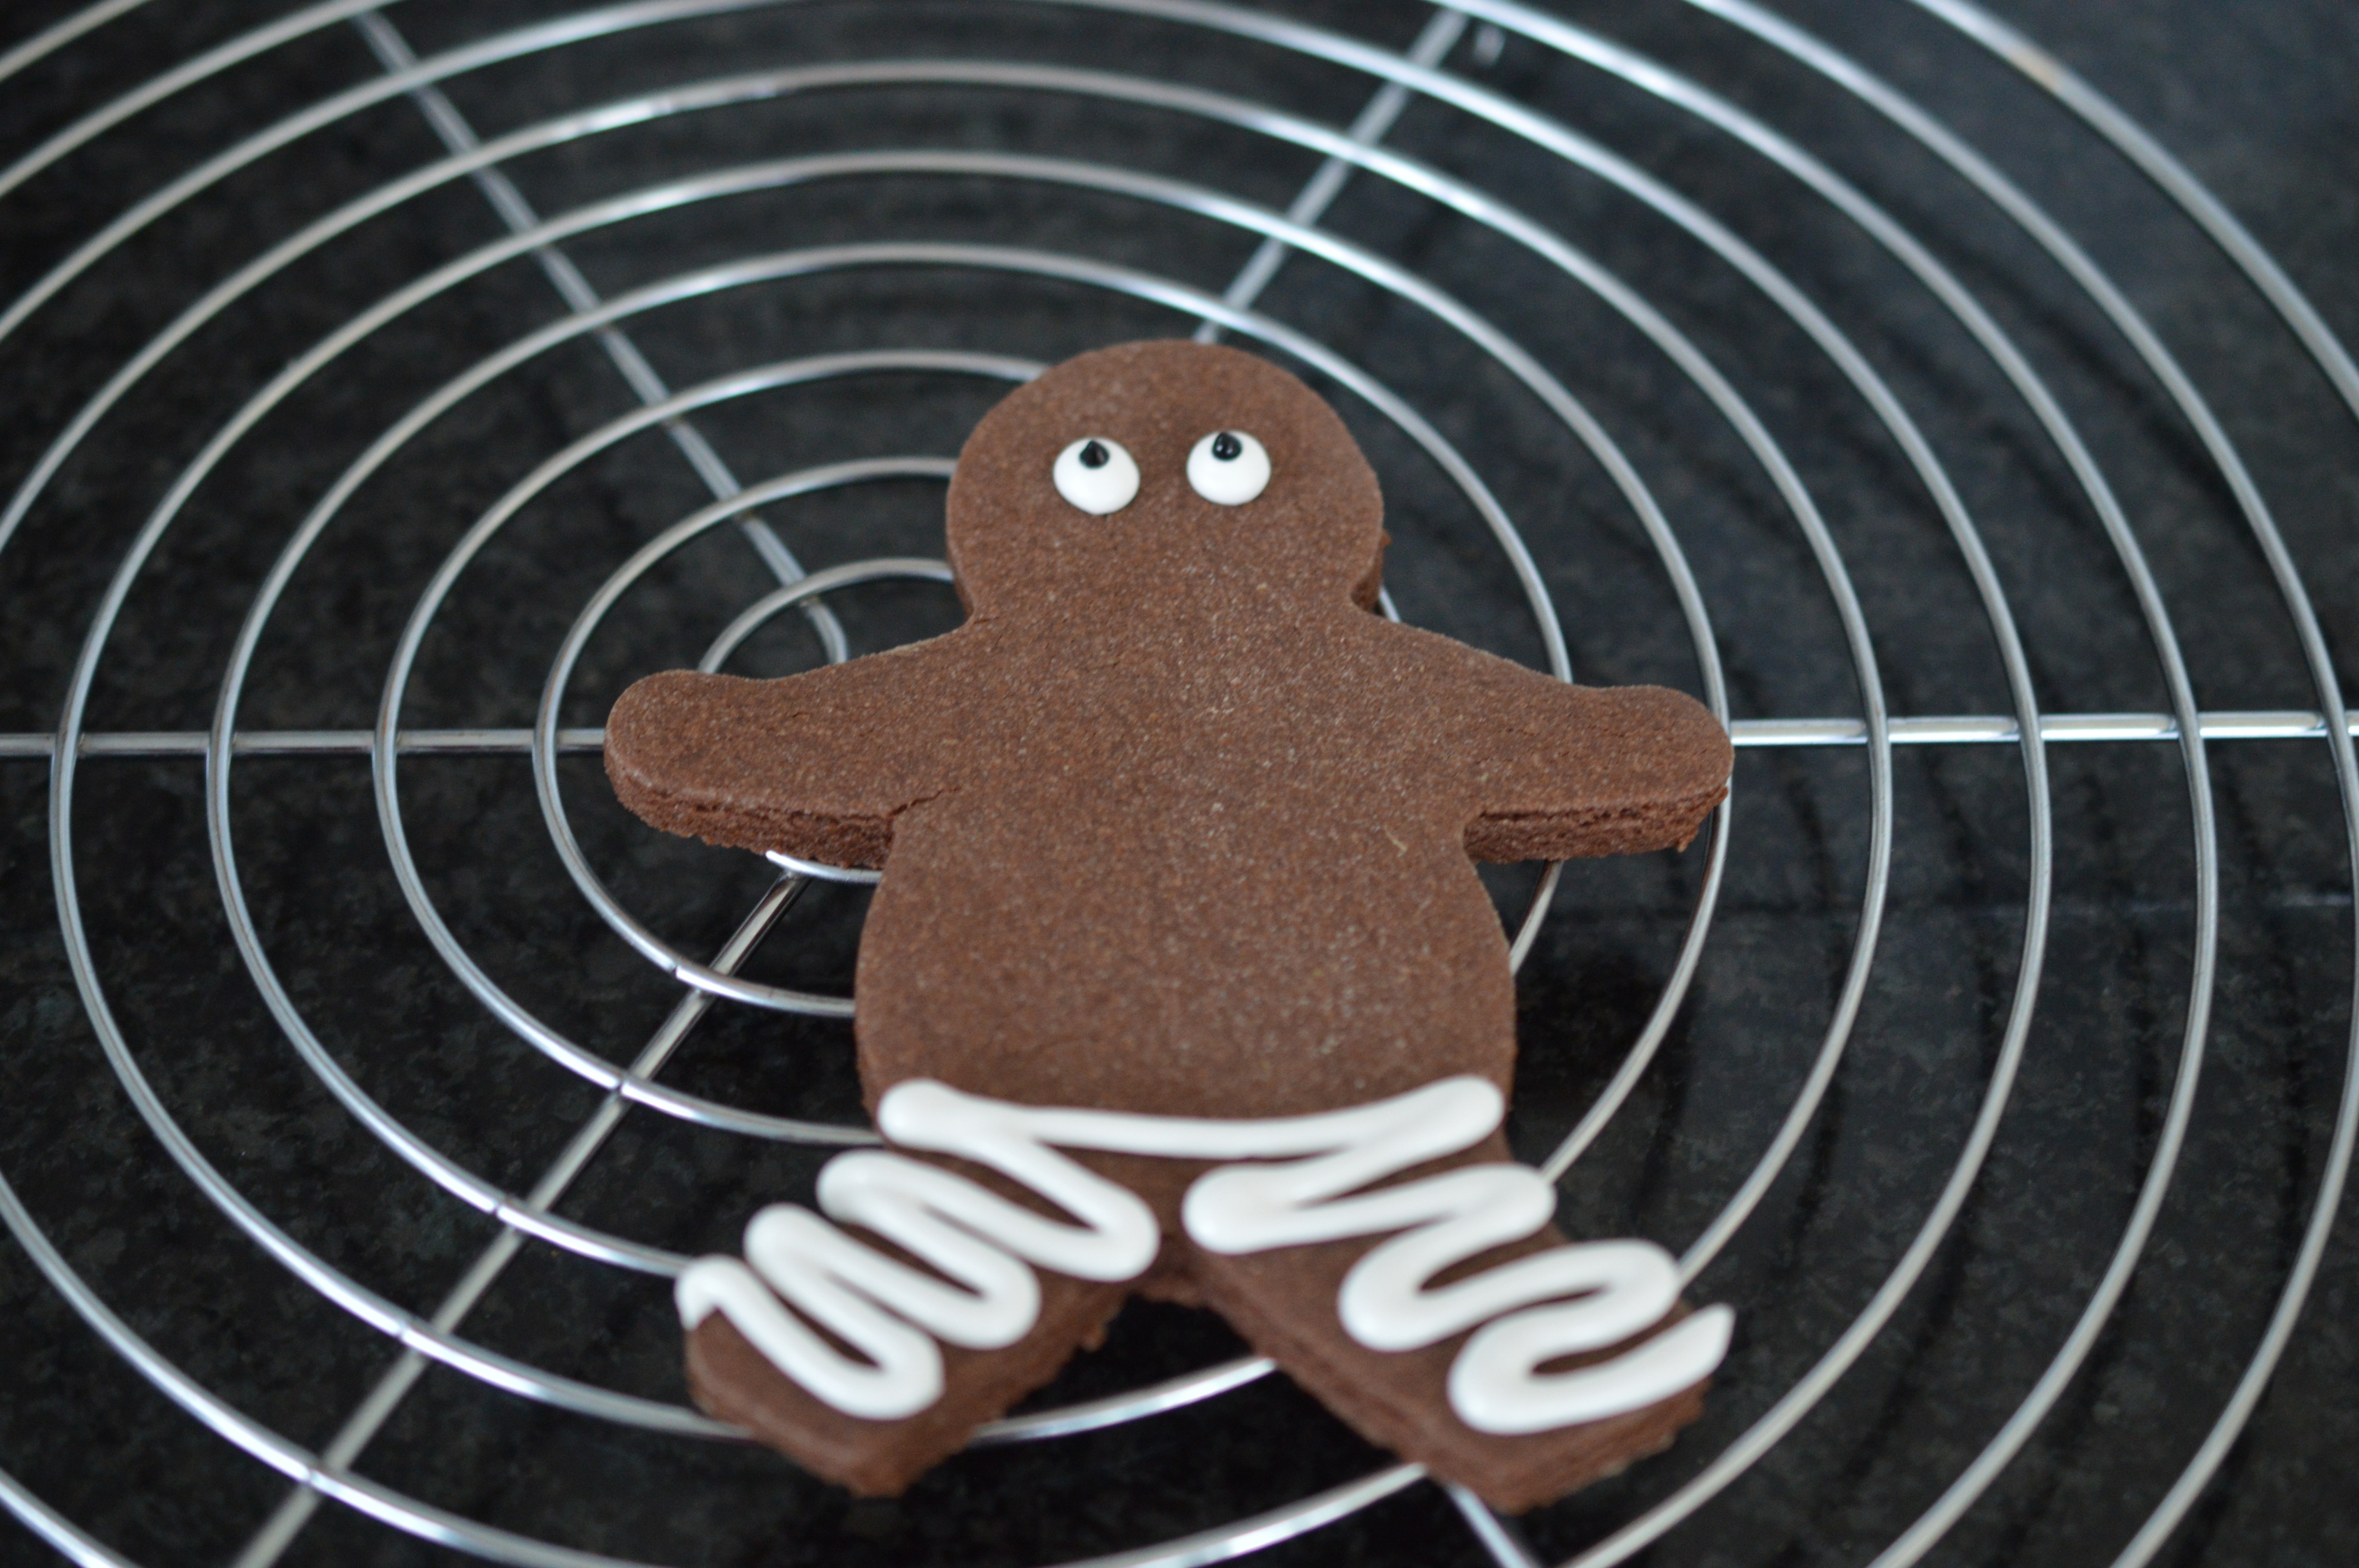 I start with the legs. This time you’ll find it easier if you hold your piping bag at a 45º angle and allow the icing to flow.
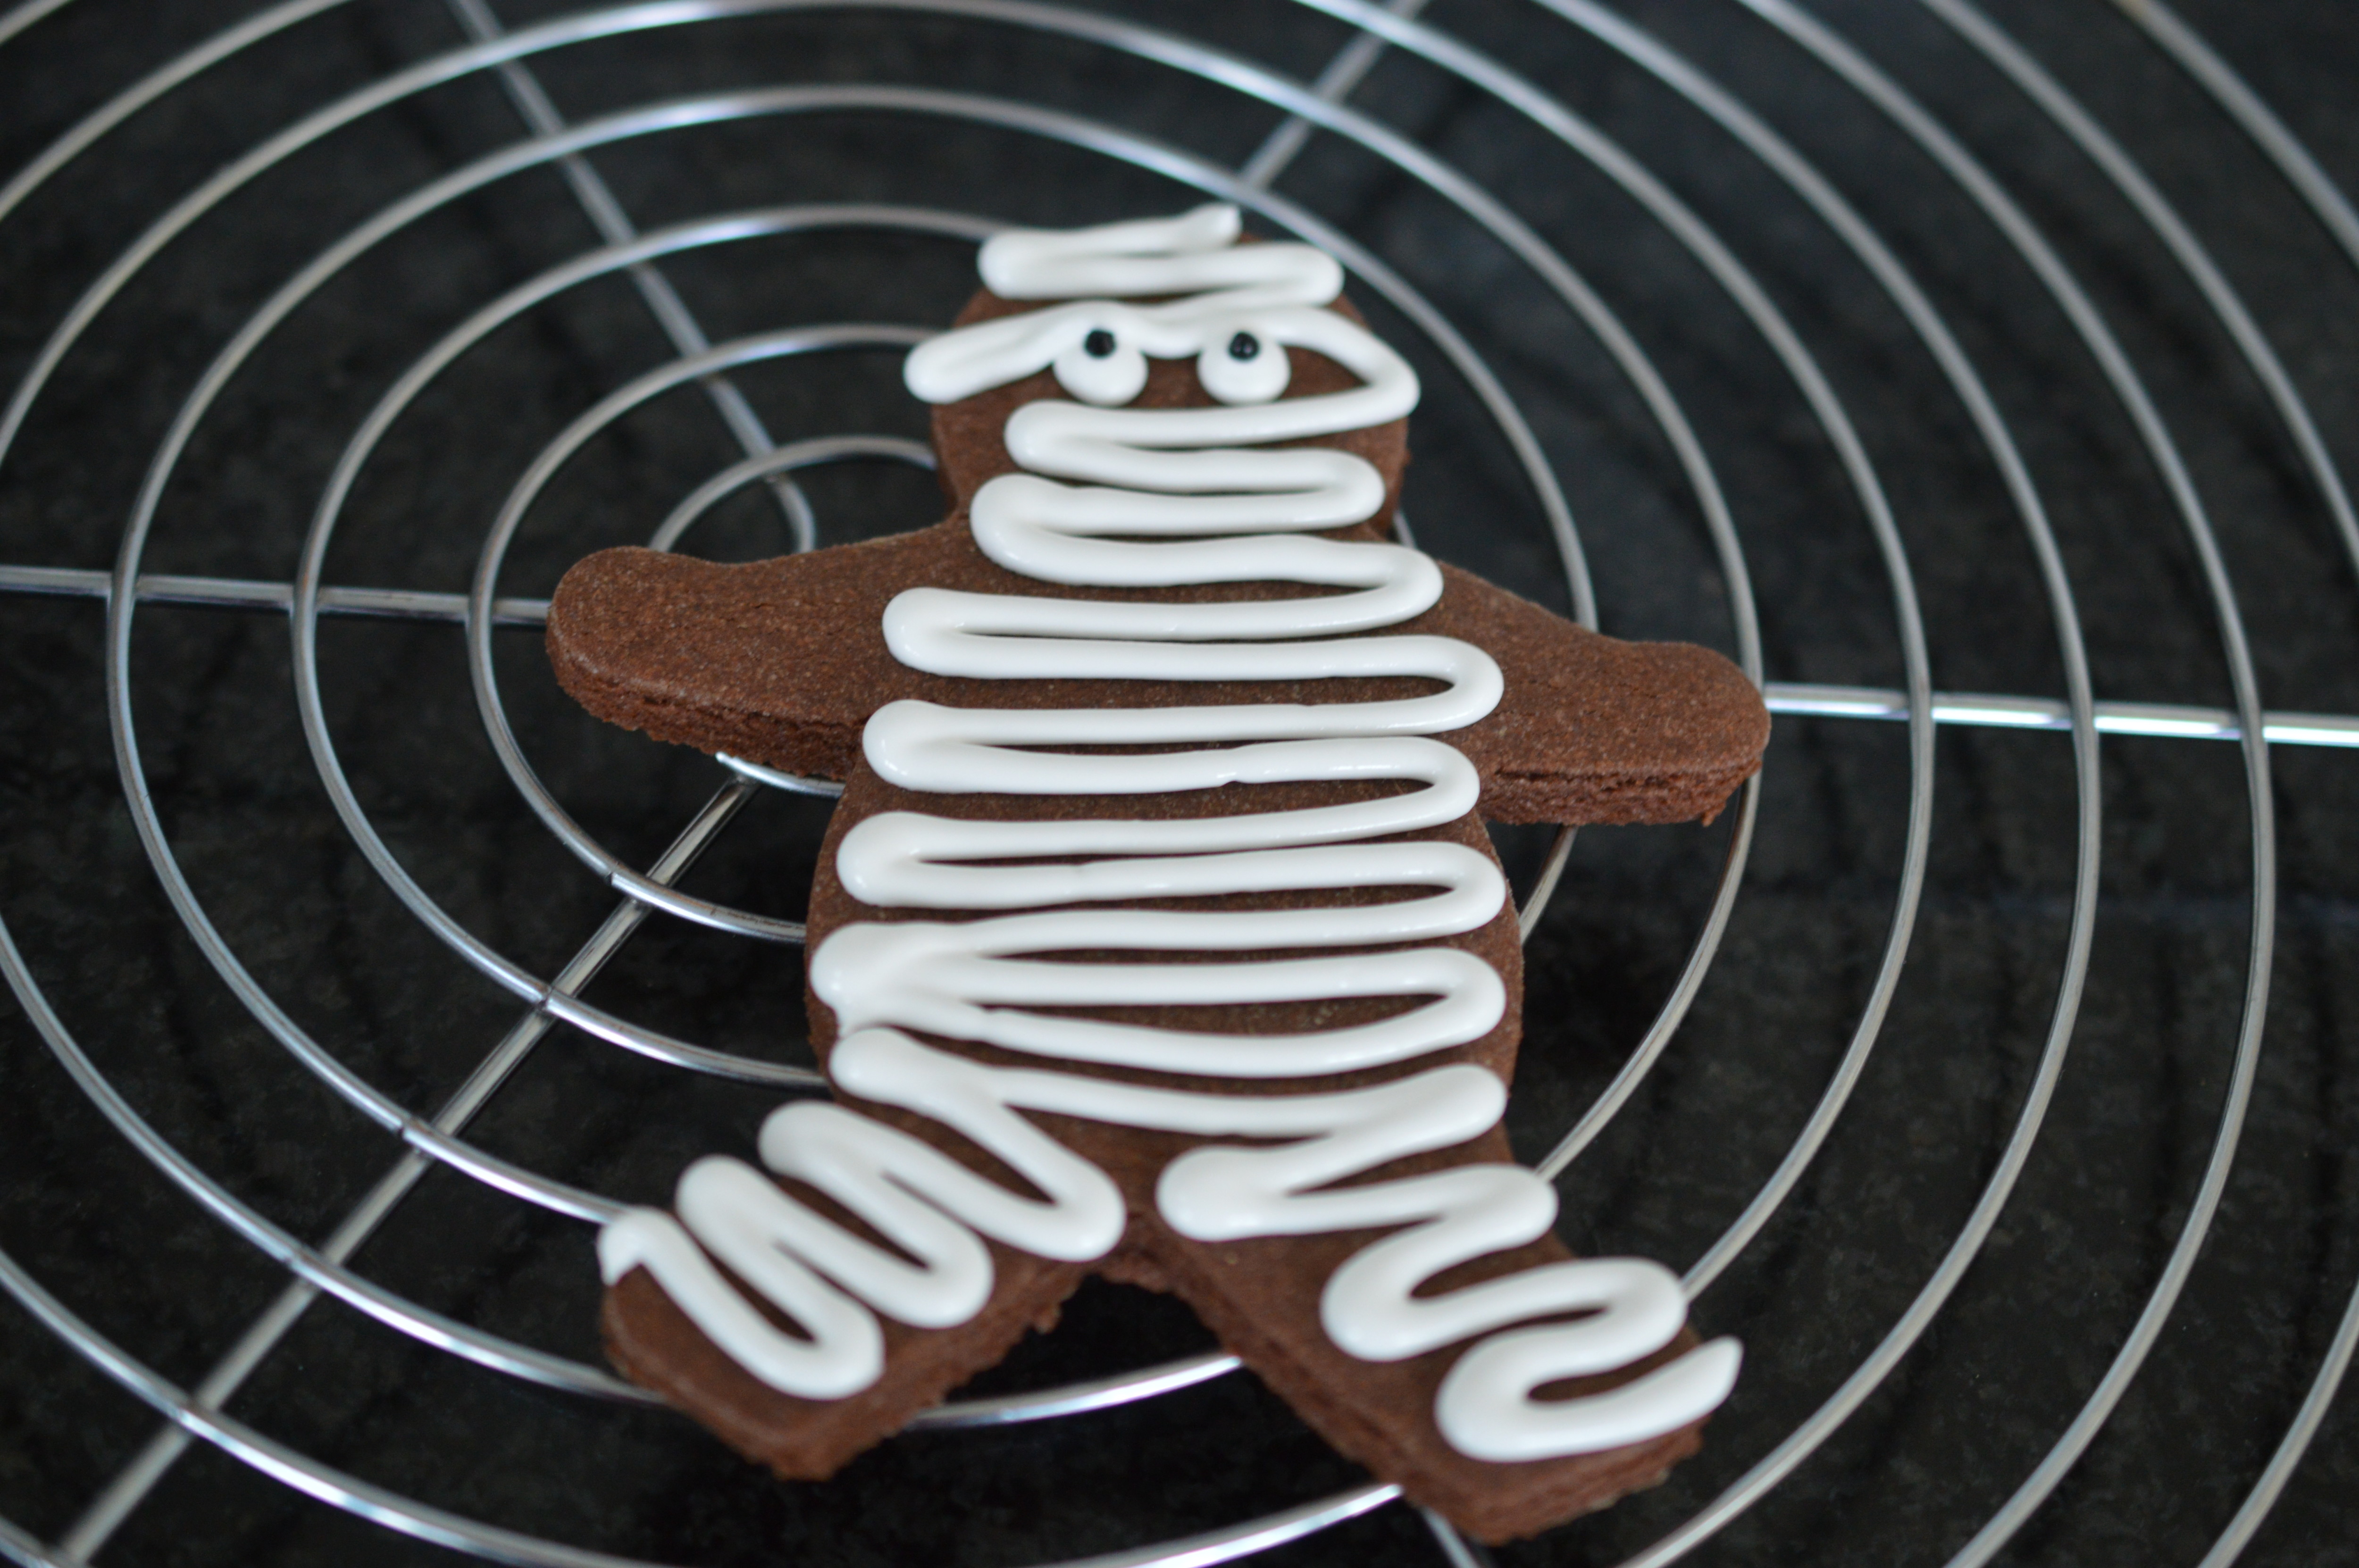 I love the way his little eyes peek out. Just the arms to go.
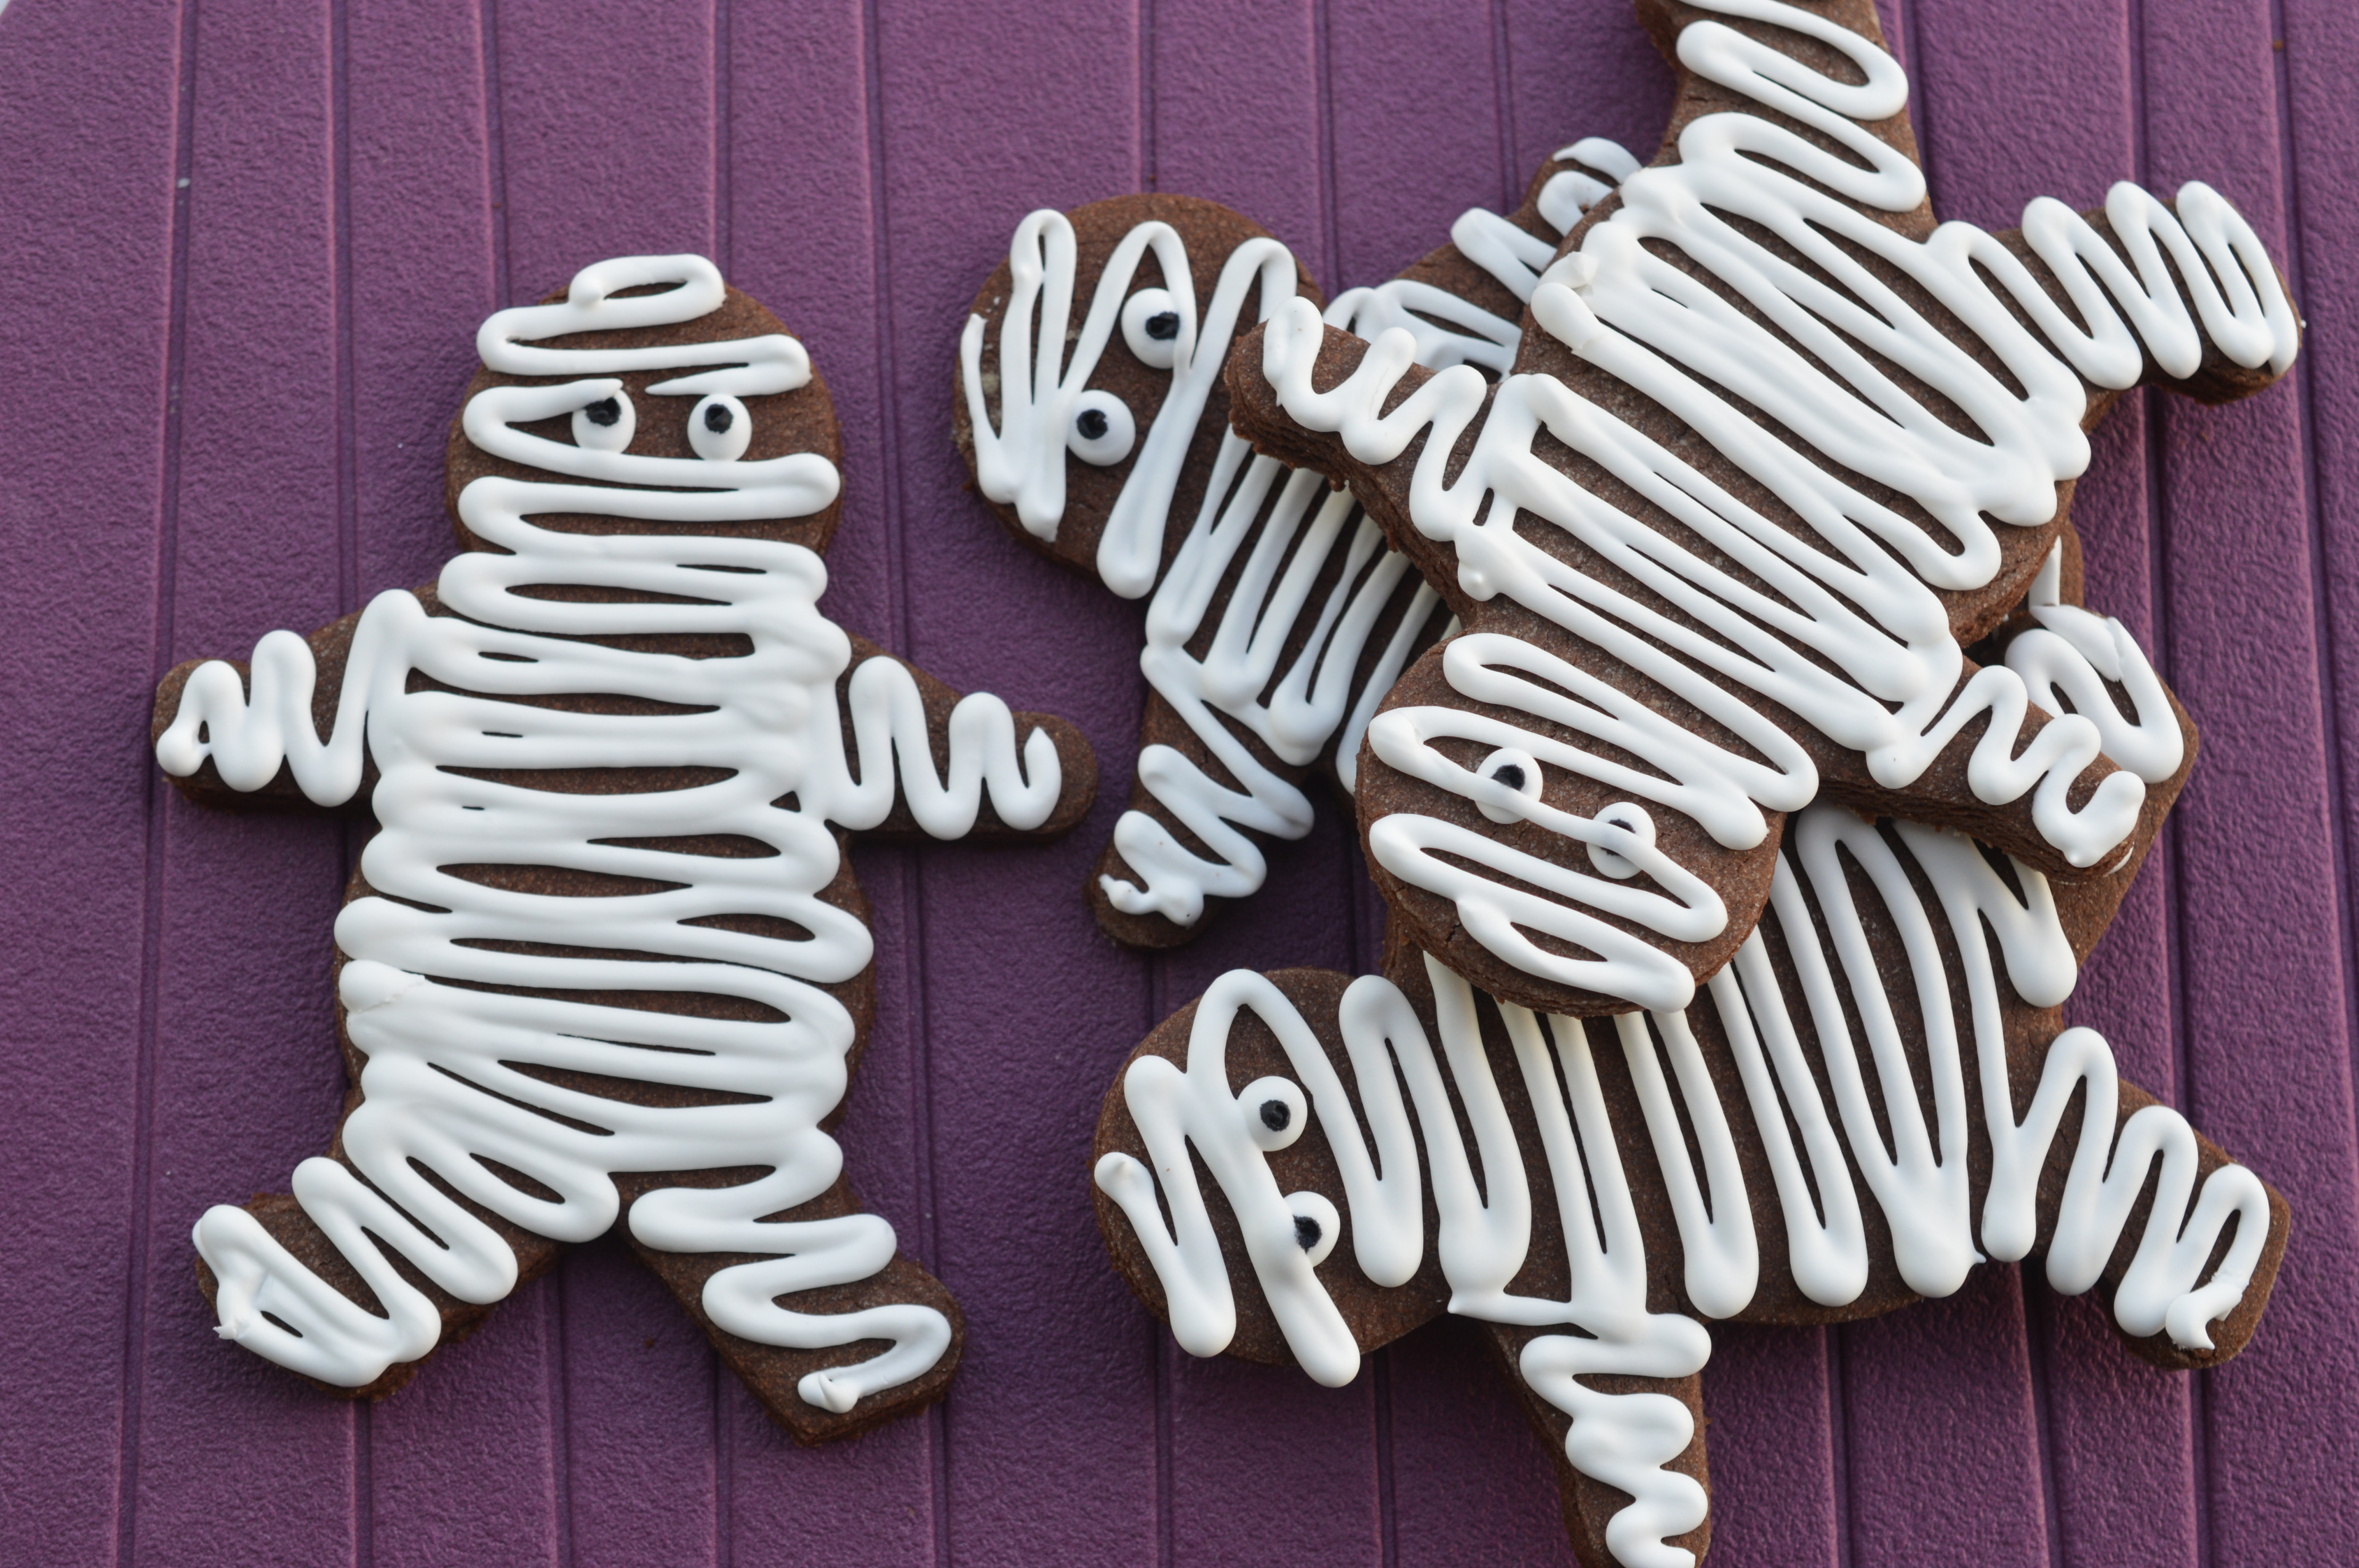
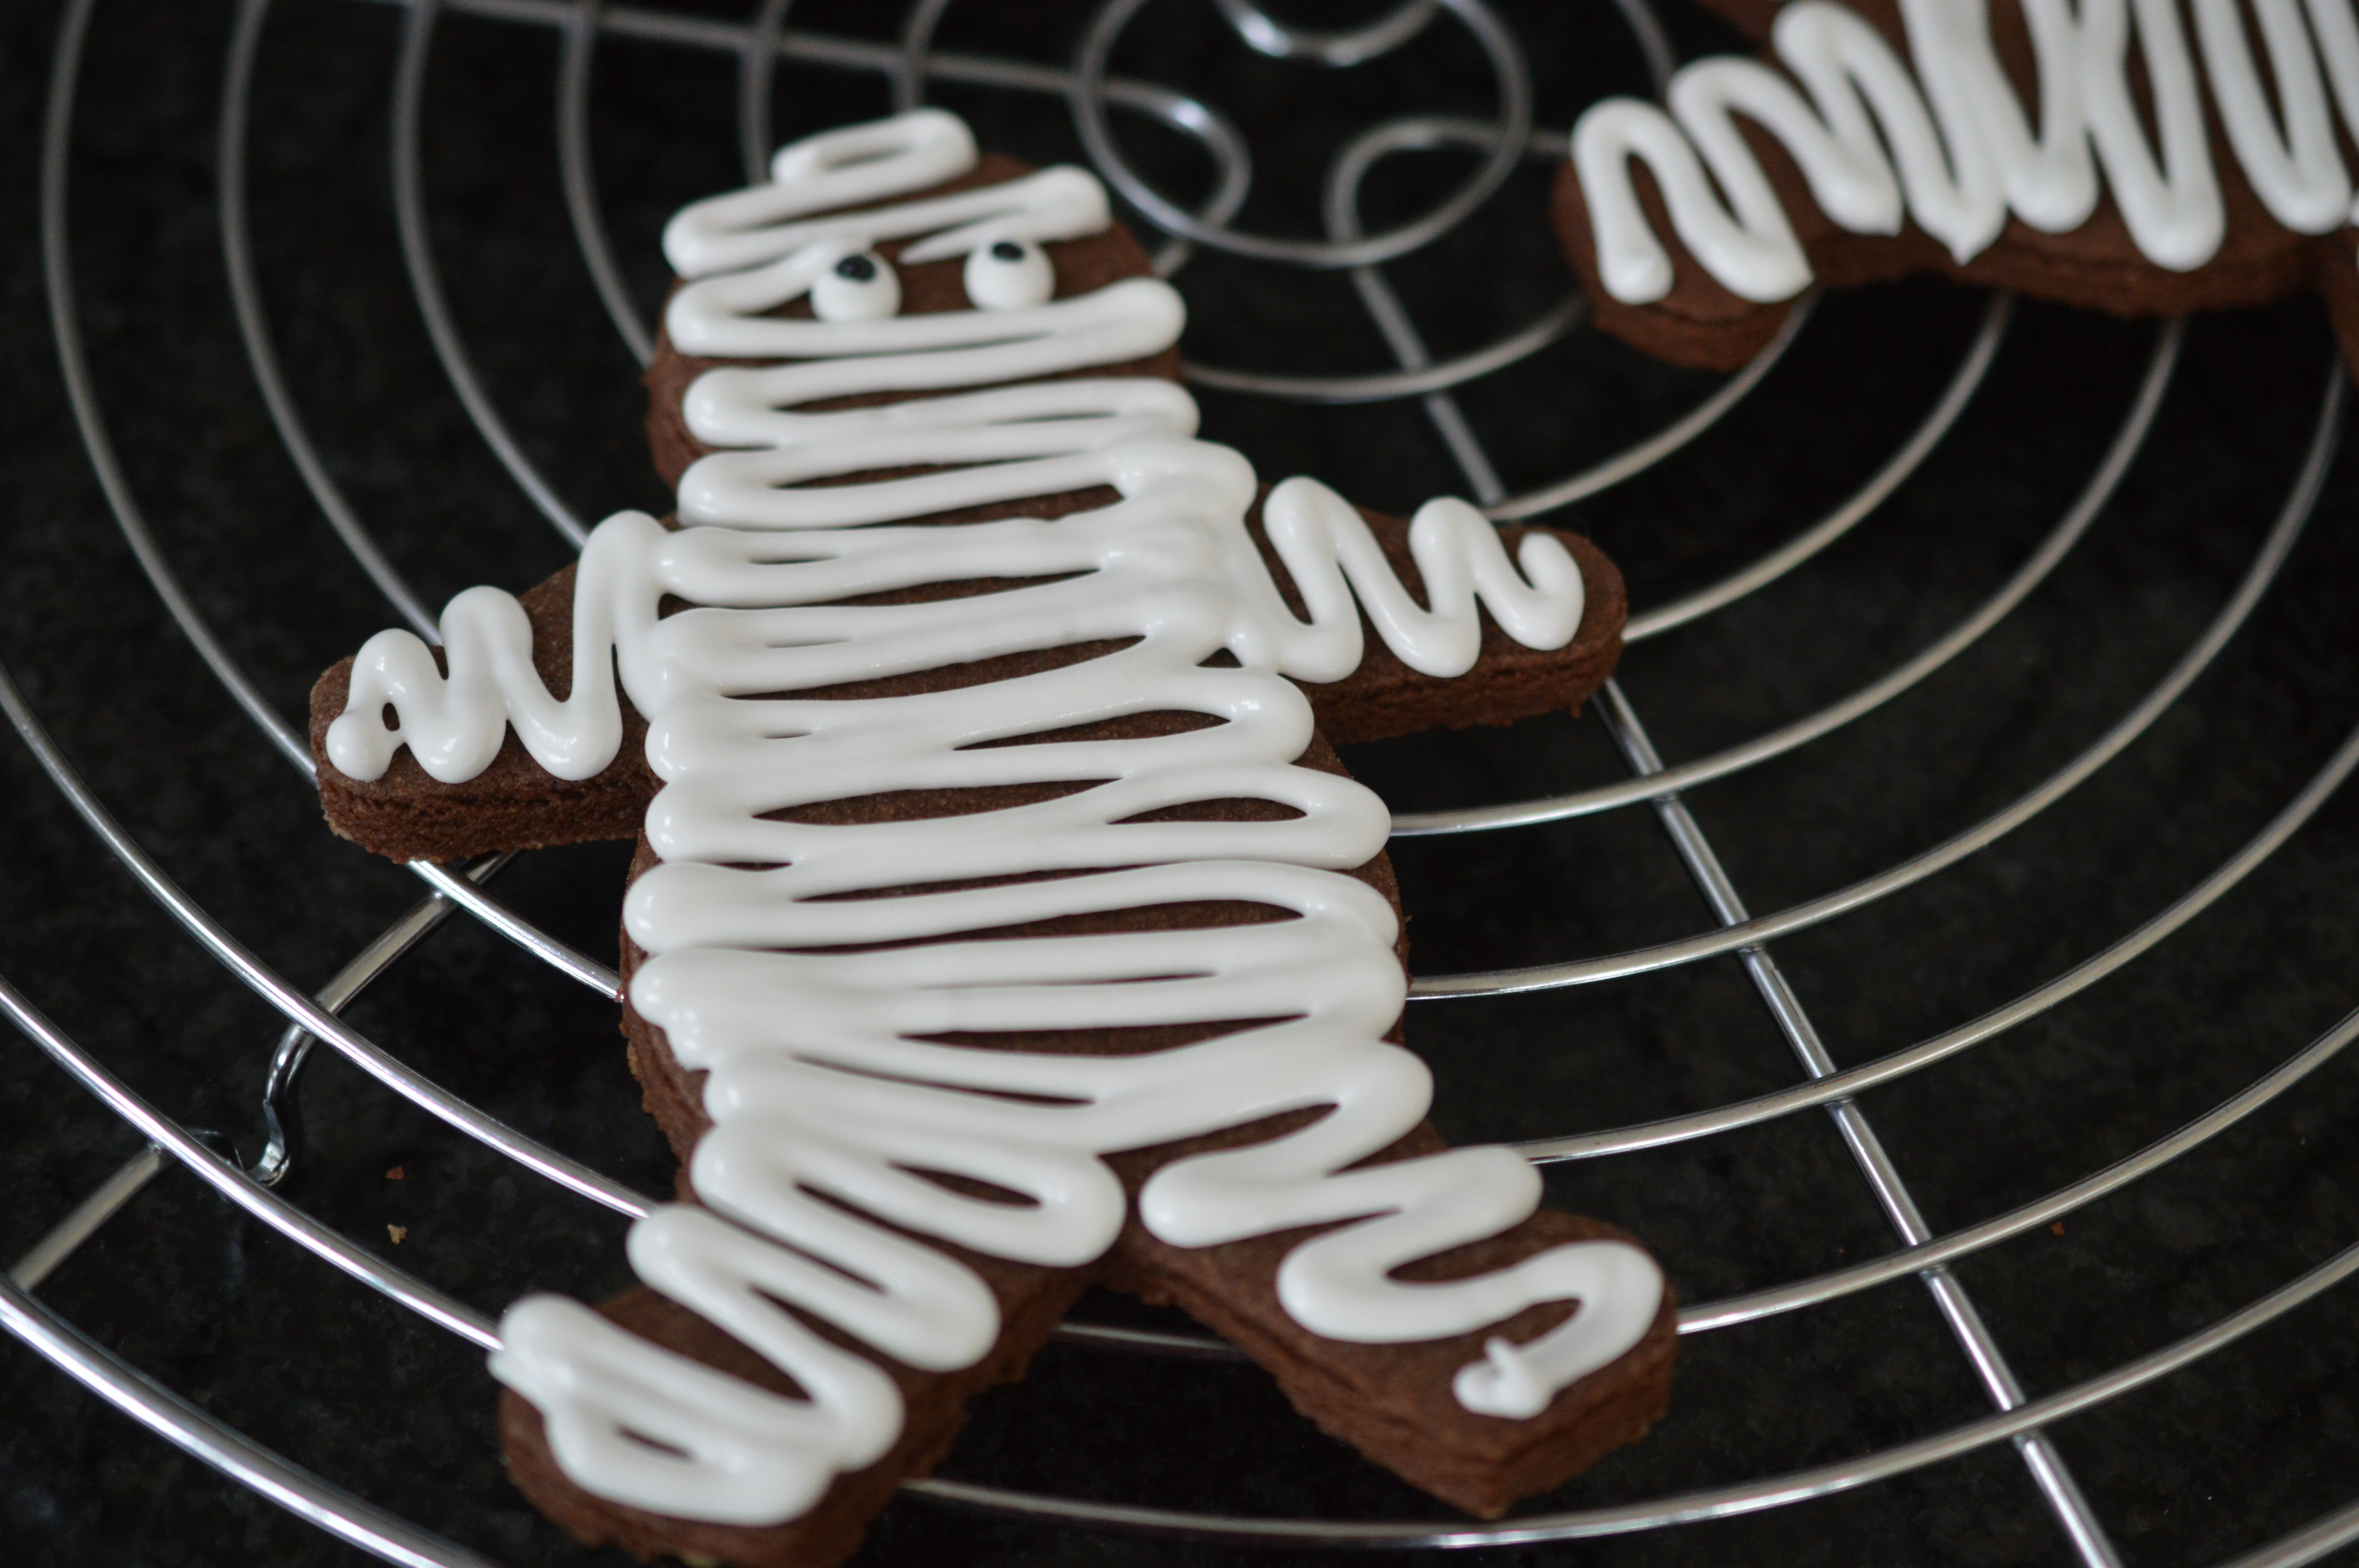 One mummy. Keep going.
 Eat.
Eat.
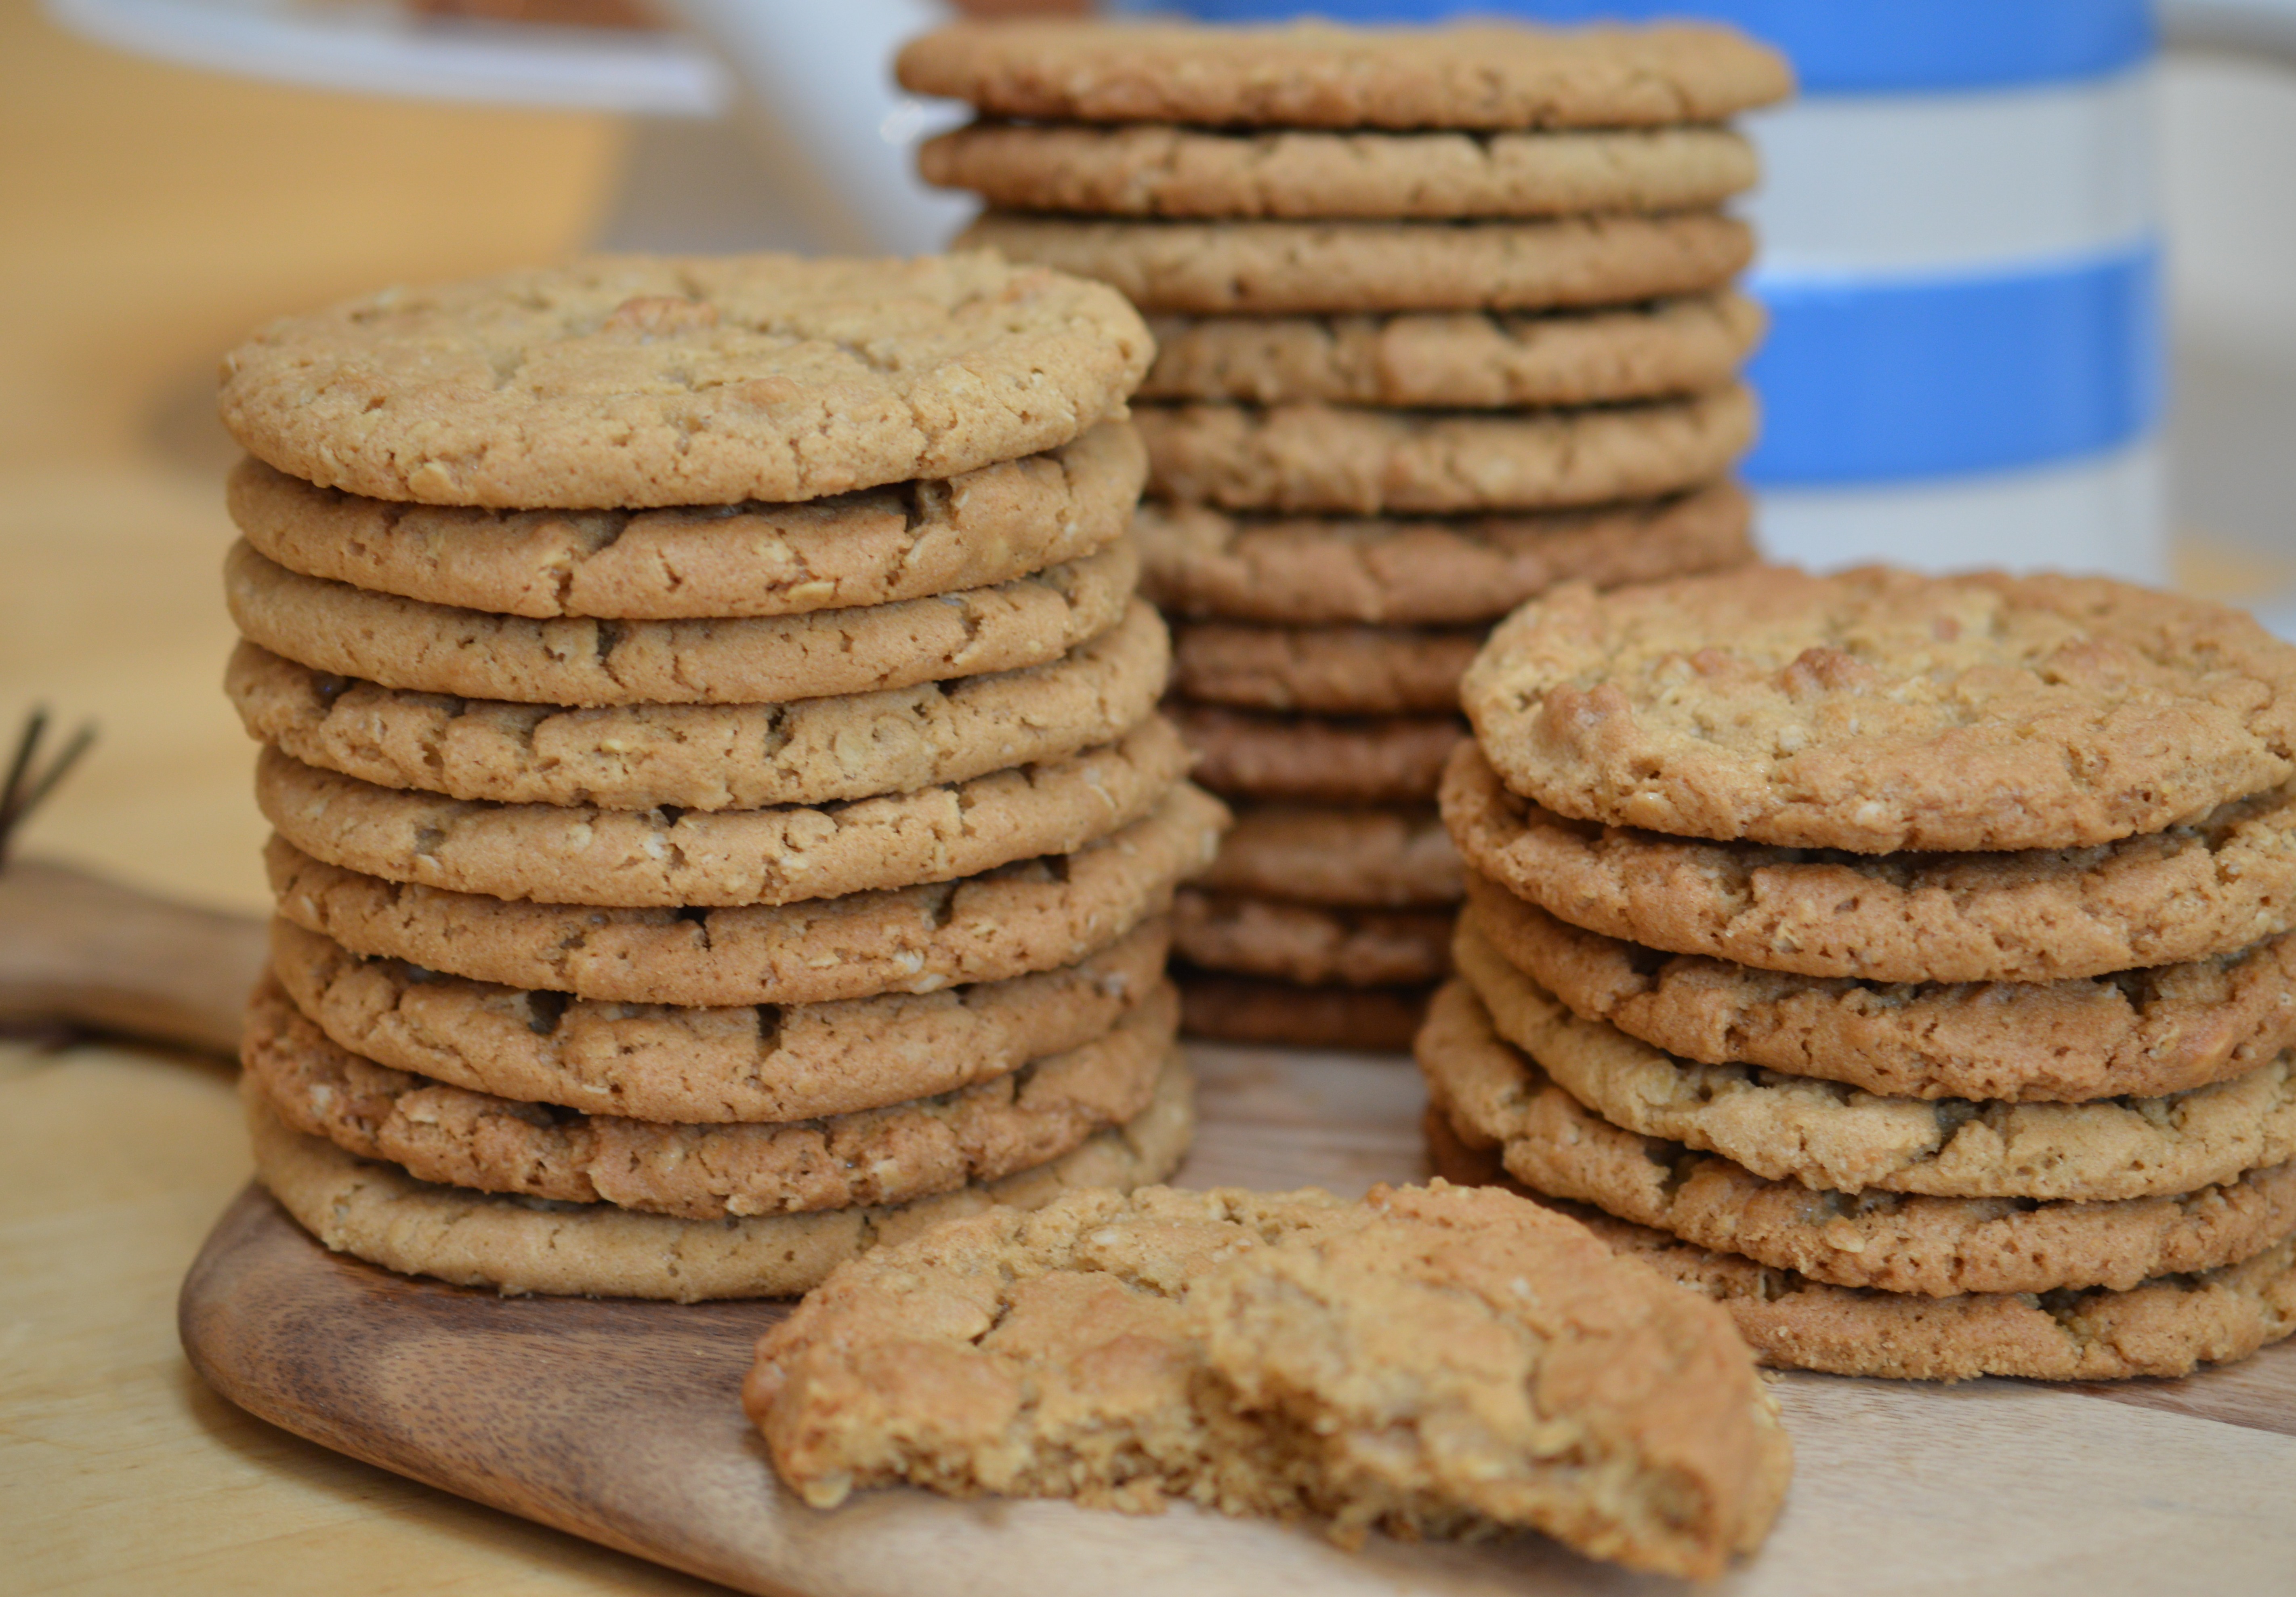
‘Mummy’ Halloween Biscuits – about 16
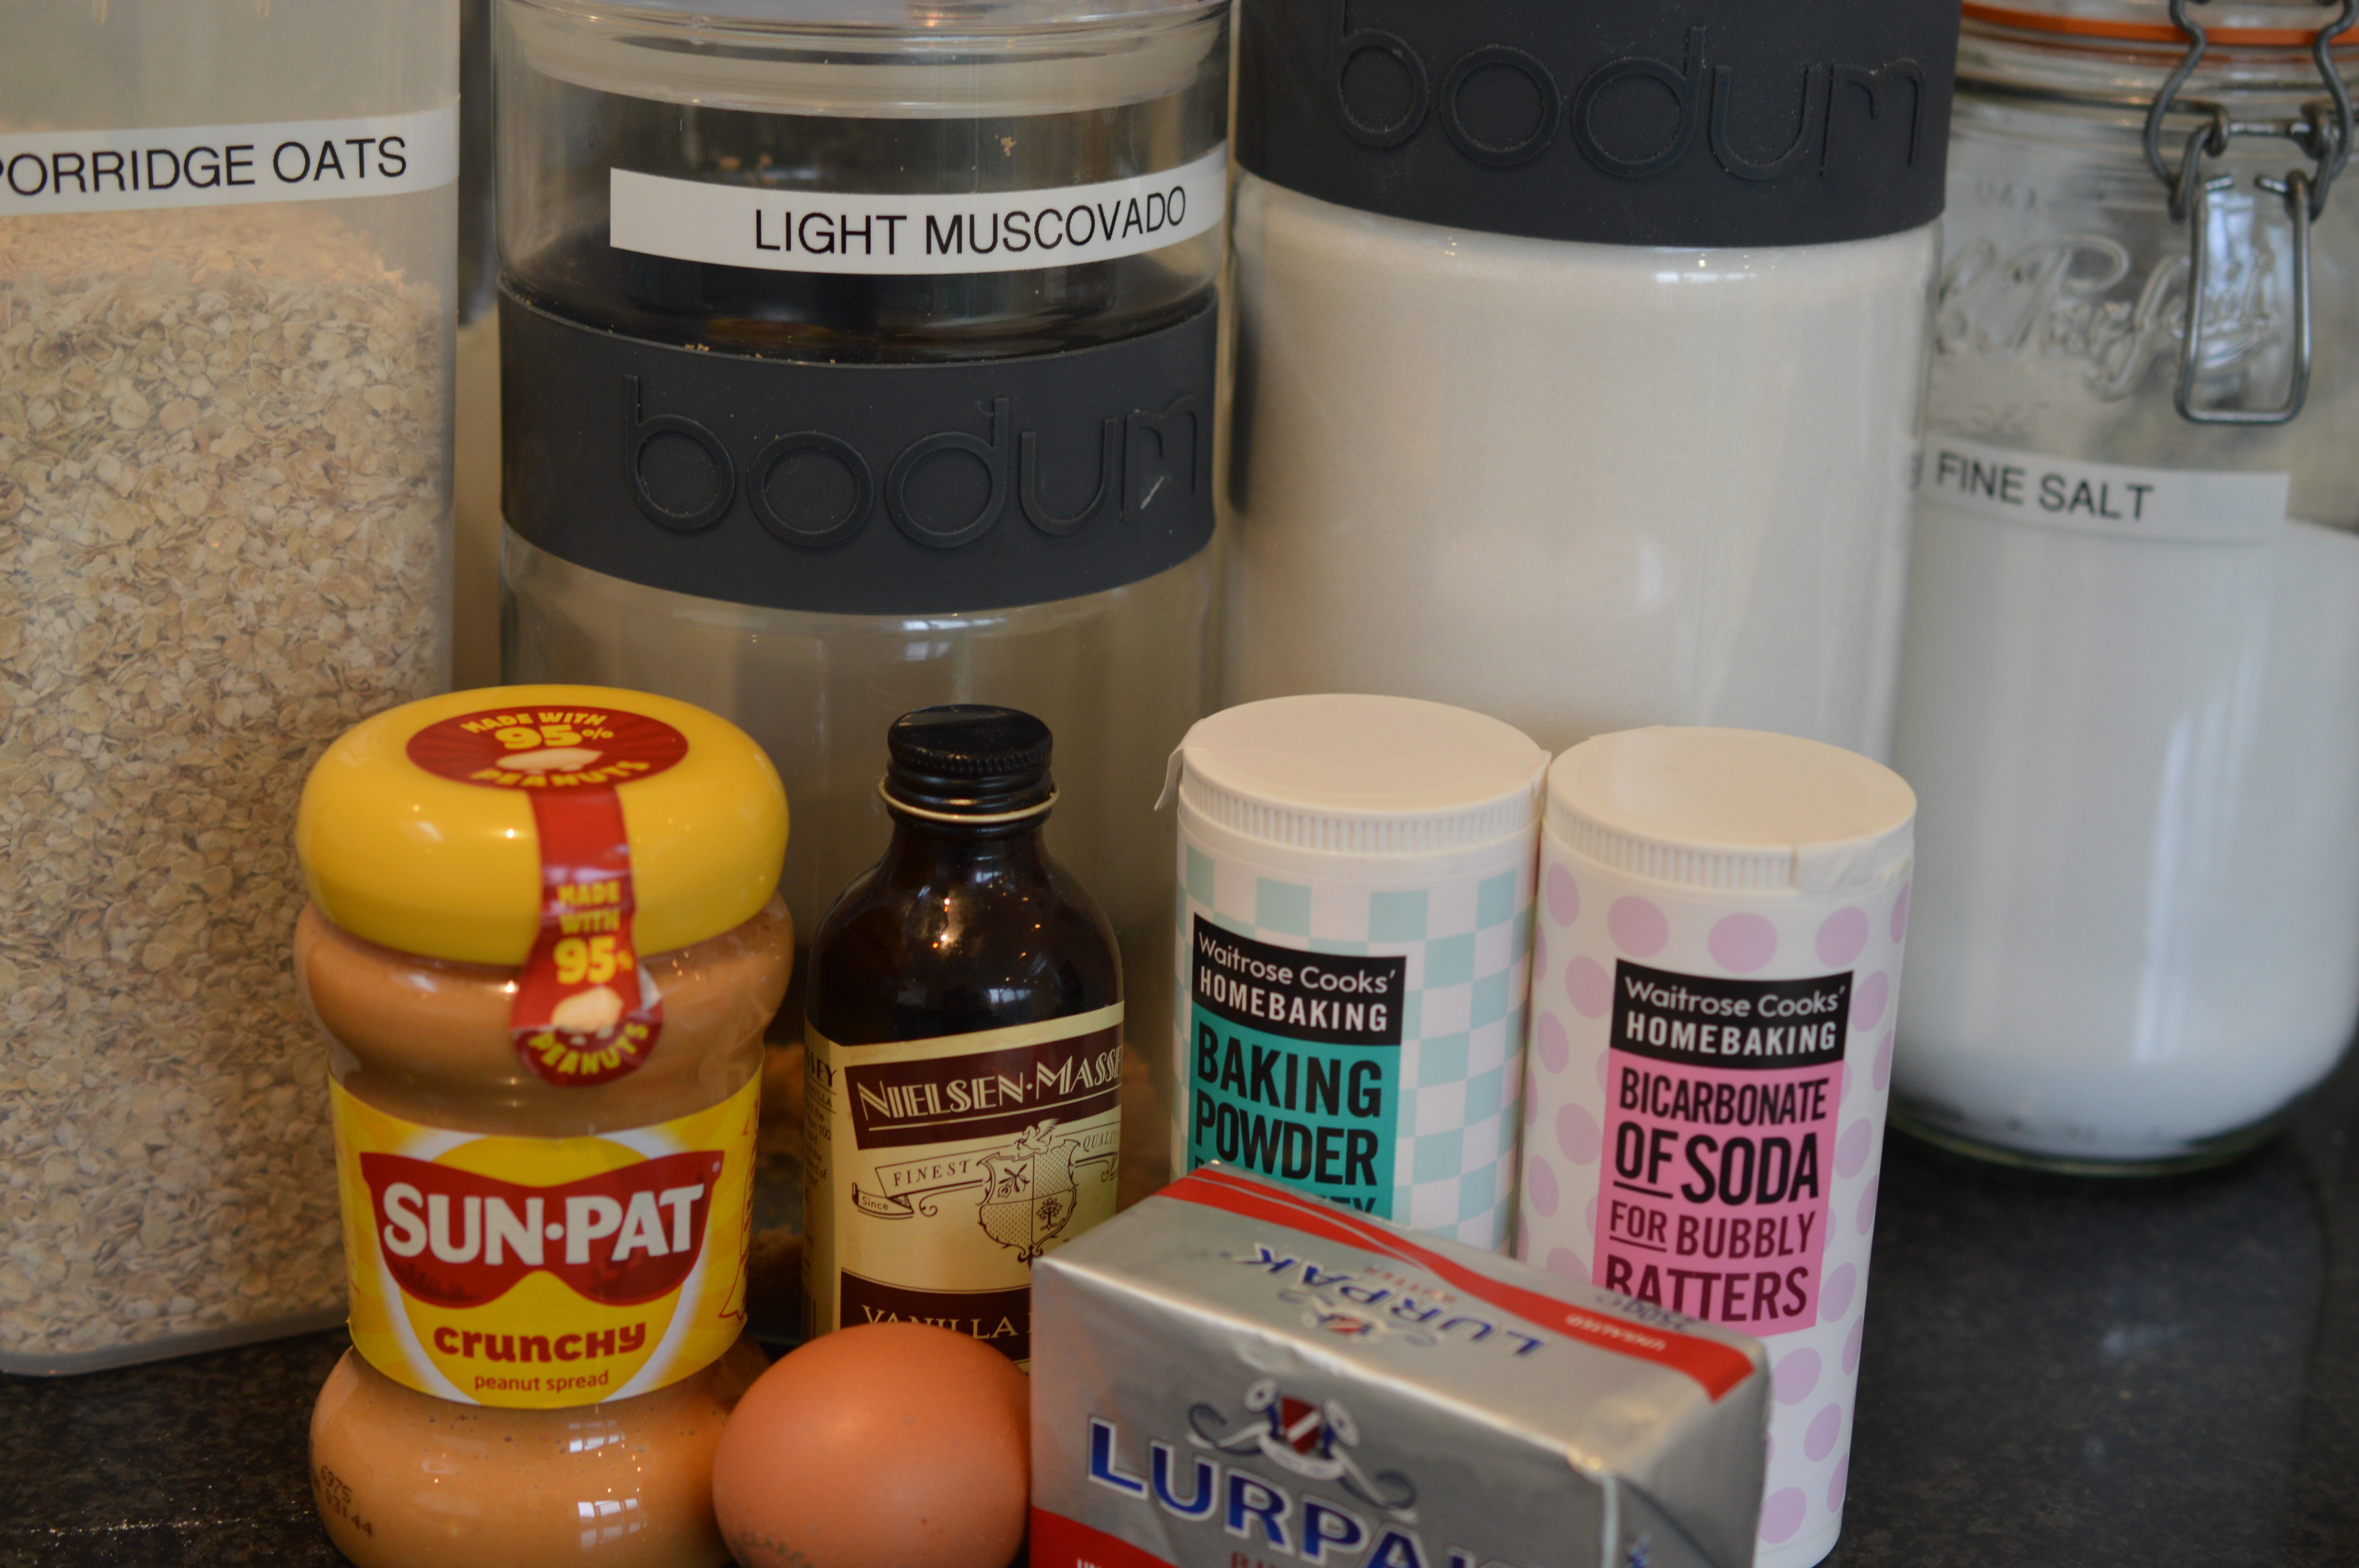
- 200g unsalted butter, softened
- 200g caster sugar
- Pinch of salt
- 1 egg, beaten
- 350g plain flour
- 50g cocoa powder
Beat the softened butter and caster sugar together until light in colour and fluffy. Then slowly add the beaten egg, beating together until extremely well combined. Add the pinch of salt.
Sift the plain flour and cocoa powder together. Add to the butter and sugar and mix until combined. Gather the dough into a ball, wrap in cling film and chill for 30 minutes.
Once it has chilled, knead on a lightly flour-dusted surface until it is smooth and free from cracks. Roll out to a thickness of 4mm. Using a ‘Gingerbread’ Man cutter, cut out your biscuits and transfer to a baking sheet. Chill again.
Preheat the oven to 175ºC/Gas Mark 3/325ºF.
Bake for 12 minutes. (Aga: top set of runners in the Baking Oven, reversing the tray halfway through.) Leave to cool on the tray for 30 minutes before transferring to a cooling rack.
When completely cold, you can decorate.
Make up 250g of royal icing sugar as per packet instructions. First pipe the eyes. Then pipe small black dots. Starting with the left leg pipe loose bandages, moving up, across and down the right leg. Pipe up the body and finish with the arms.
Eat.