Roast Potatoes
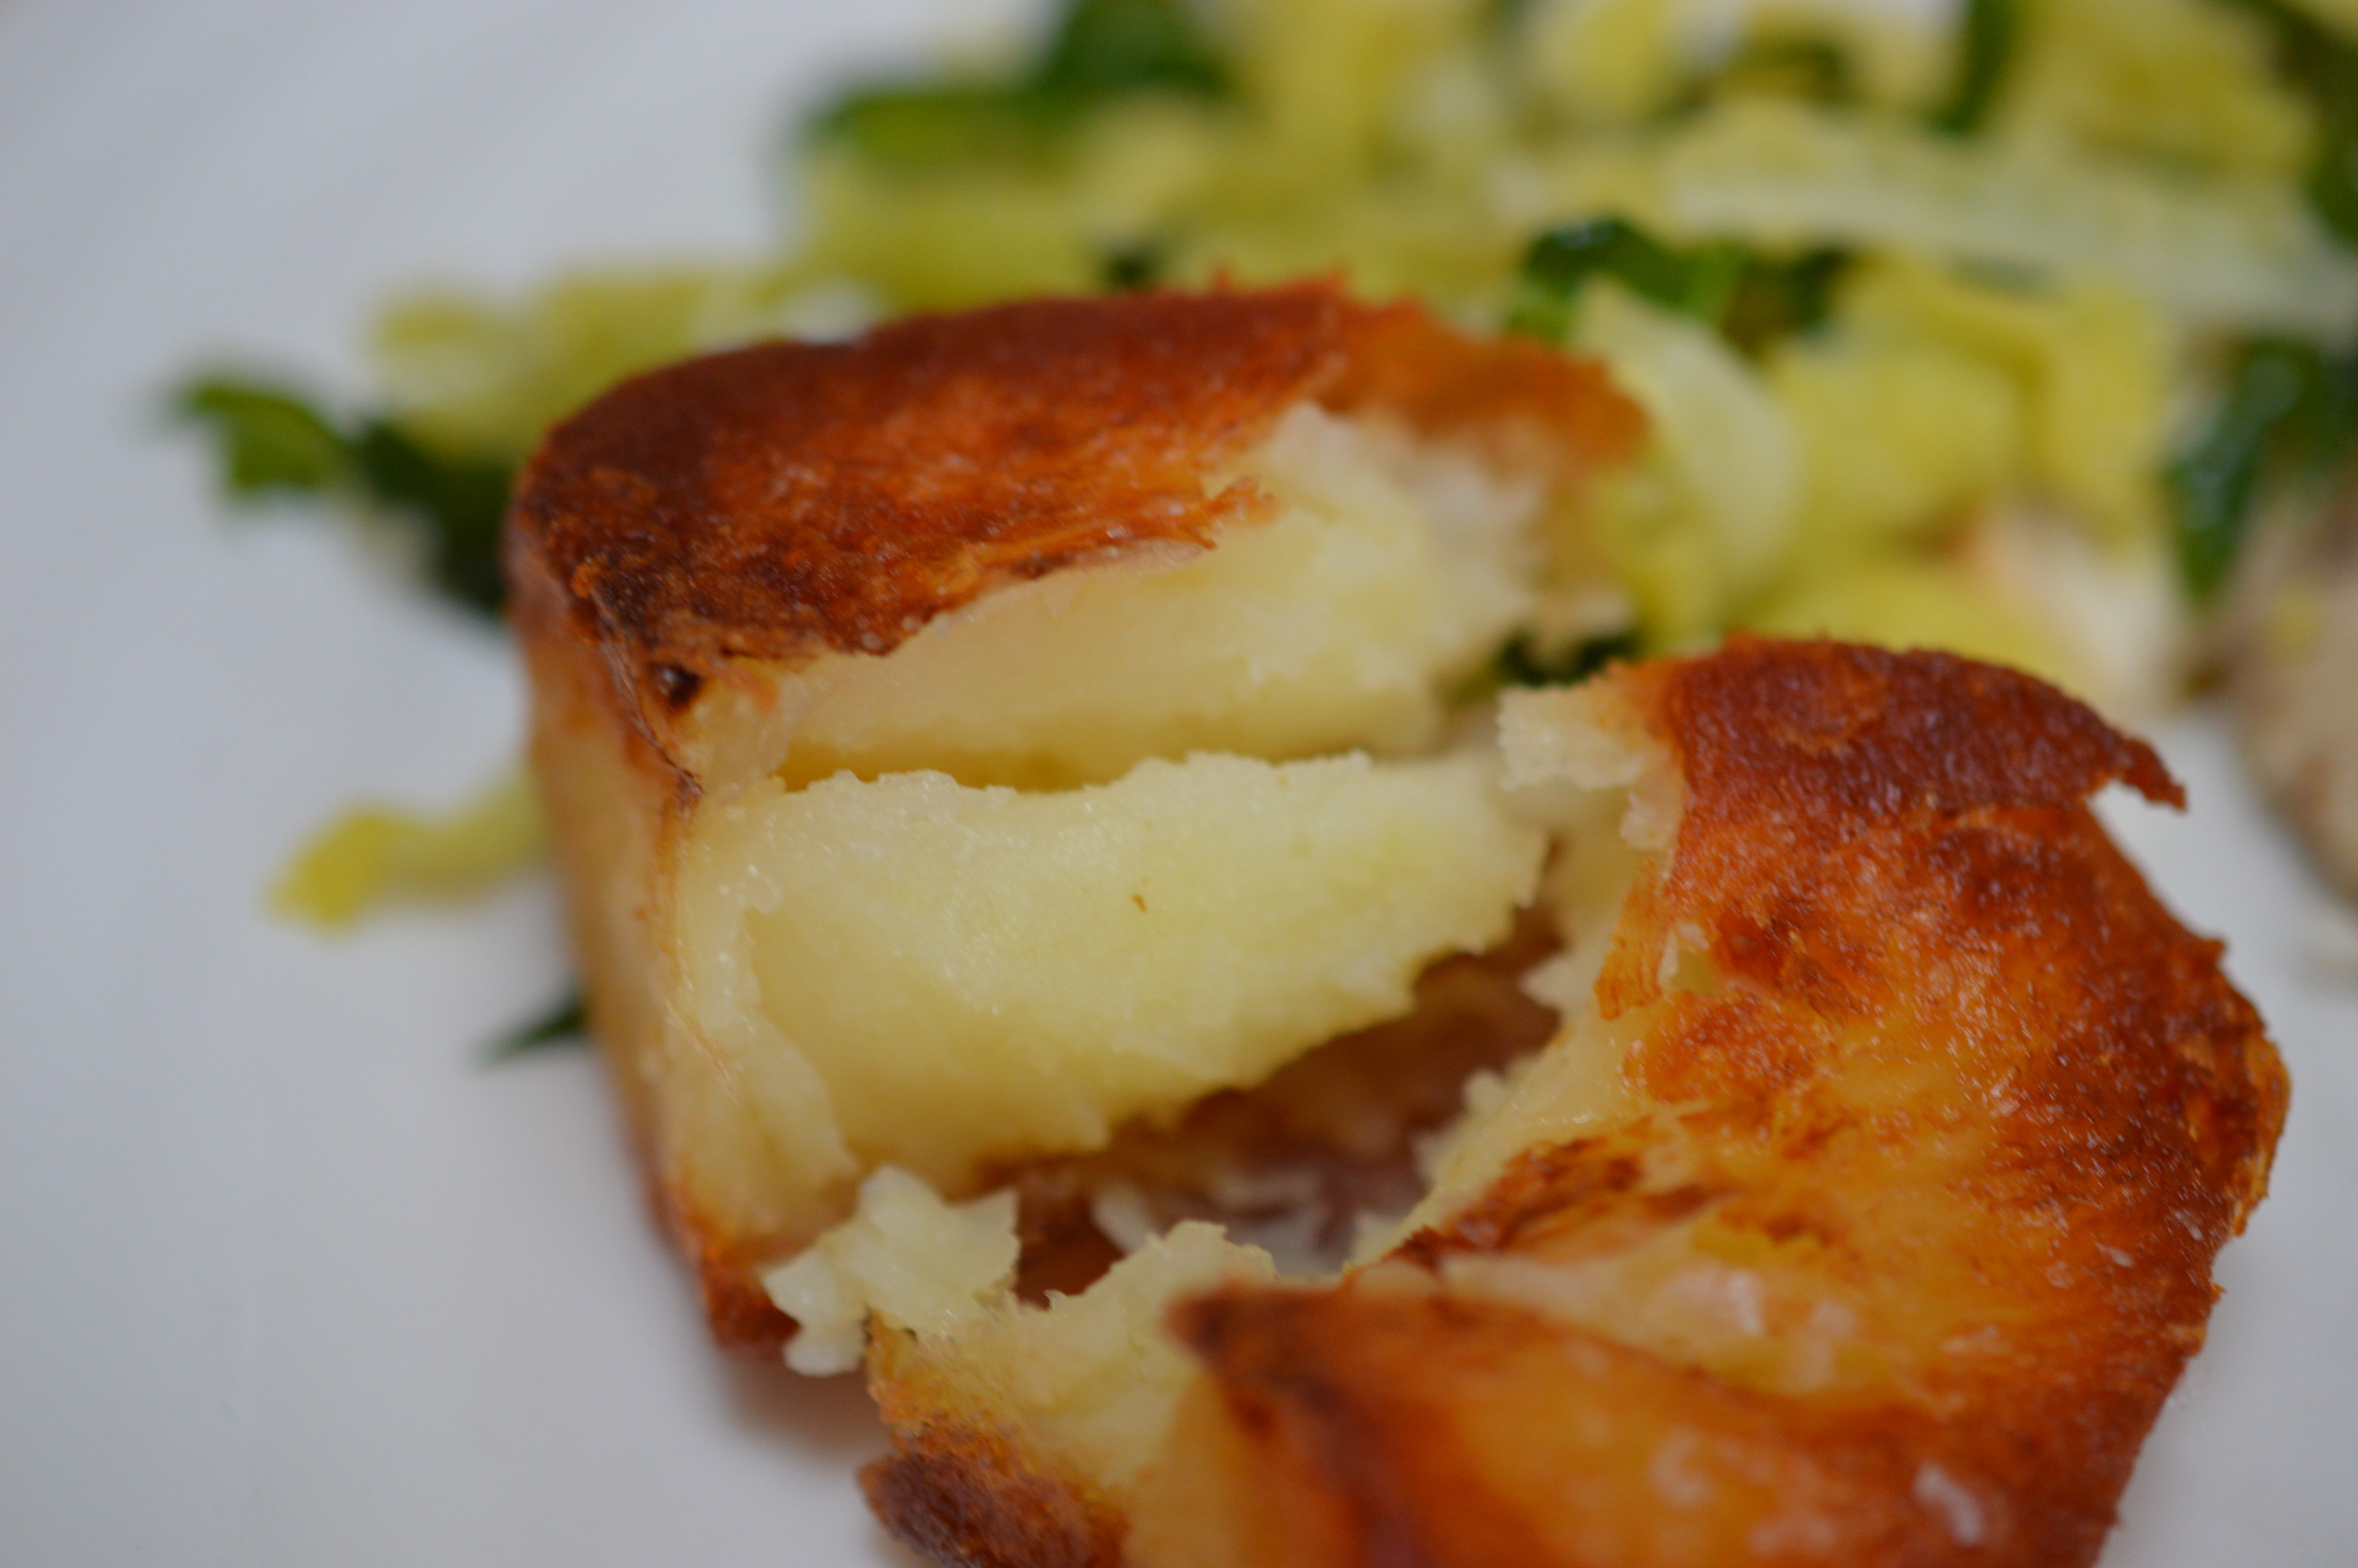
If your roast potatoes are crispy on the outside and fluffy on the inside the ‘game’ is already won. The second mortgage you’ve taken out to get a big enough piece of meat to feed the family, particularly if you’ve wanted the animal ethically reared, is largely wasted.
Last weekend I had a fuller-than-usual table for Sunday lunch – it was Great-Auntie Mary’s 82nd birthday. In accordance with ‘family tradition’, it was her choice of birthday food. So we had roast chicken(s) plural, stuffing, gravy, cabbage, carrots, mixed root vegetable puree and roast potatoes.
On average, I suppose I cook a full ‘roast’ once a month. Maybe. For my mum it was a weekly event with the ‘meat’ rotated – chicken, lamb, beef, pork. My grandparents’ too. Monday was ‘wash day’ and ‘leftovers’. Leftovers were cold meat, ‘bubble and squeak’ and piccalilli.
I don’t think I’ve ever eaten a great ‘roastie’ cooked outside of a home kitchen. The thing is, they just don’t hang around. For utter perfection, they need to go from oven to table with no intervening anything. Maybe just the time it takes to sprinkle with coarse sea salt … but that is it. “Keep warm uncovered”, is a lie. You lose the crispy.
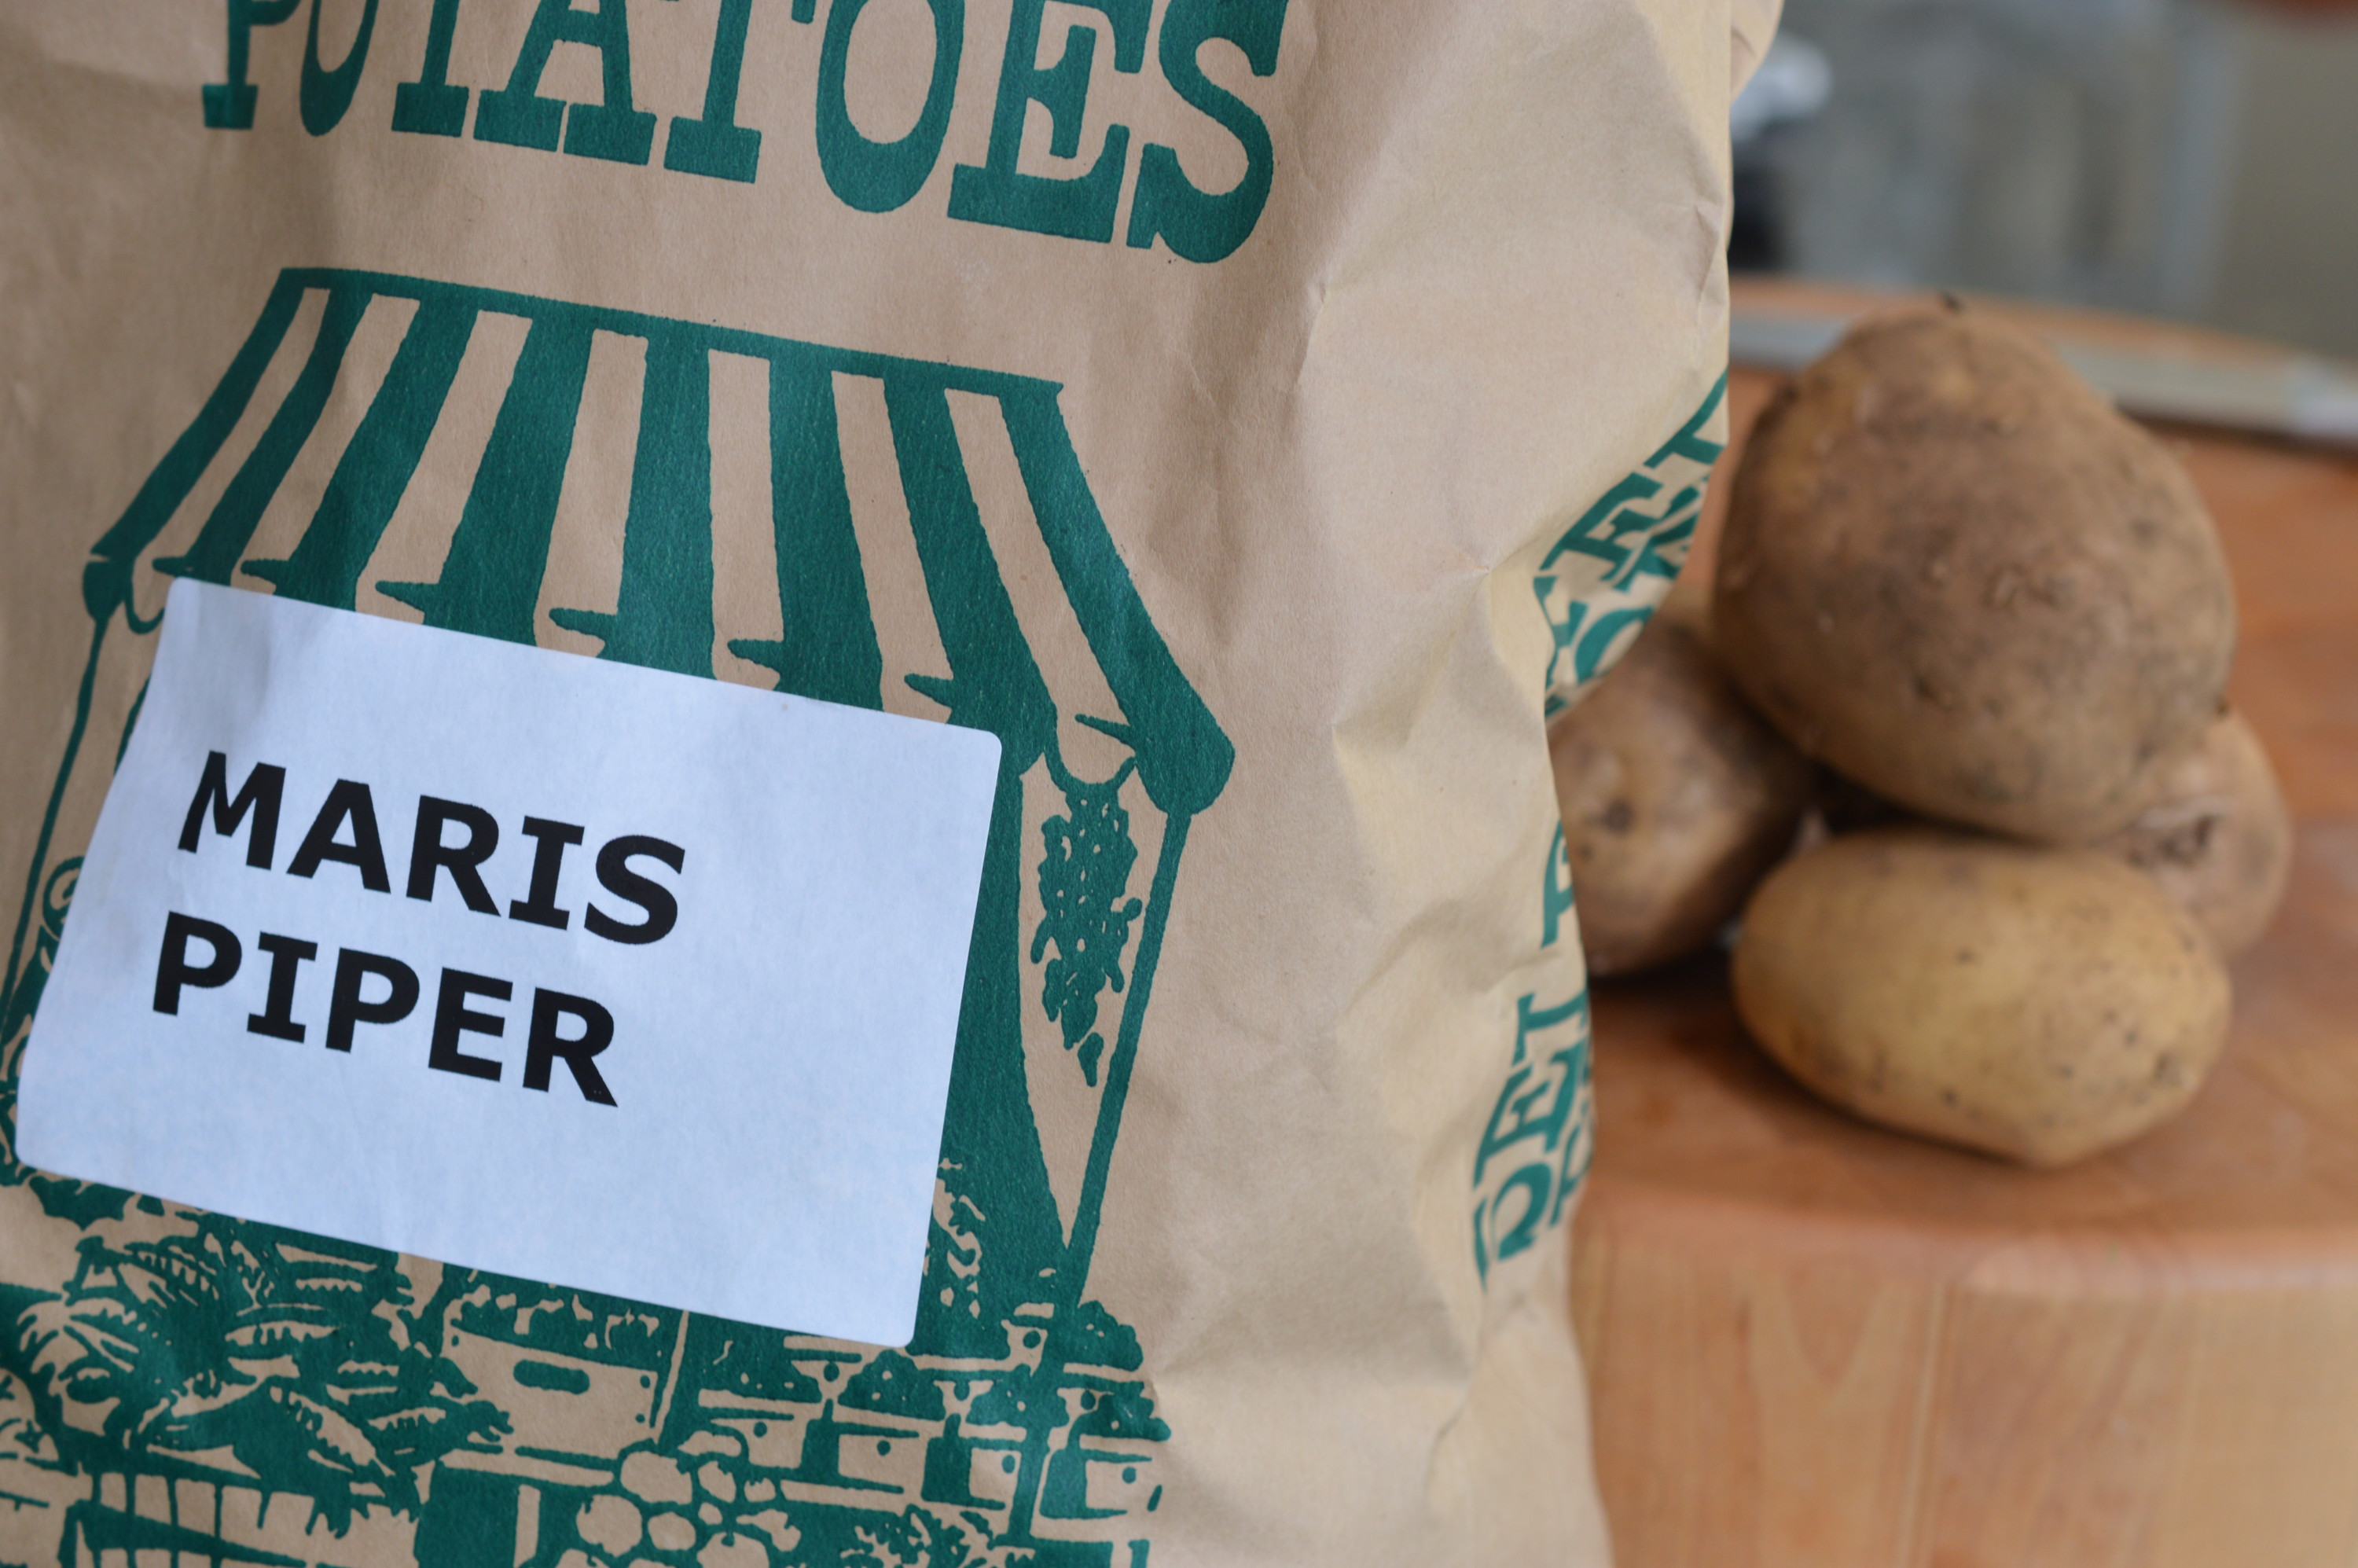
To get the fluffy centre you need a ‘floury’ potato. Maris Piper, Desirée, Romano and King Edward are all great UK choices.

Peel – and cut into even pieces. I aim for 5cm/2½” pieces. The straight ‘cut’ sides are actually a good thing.
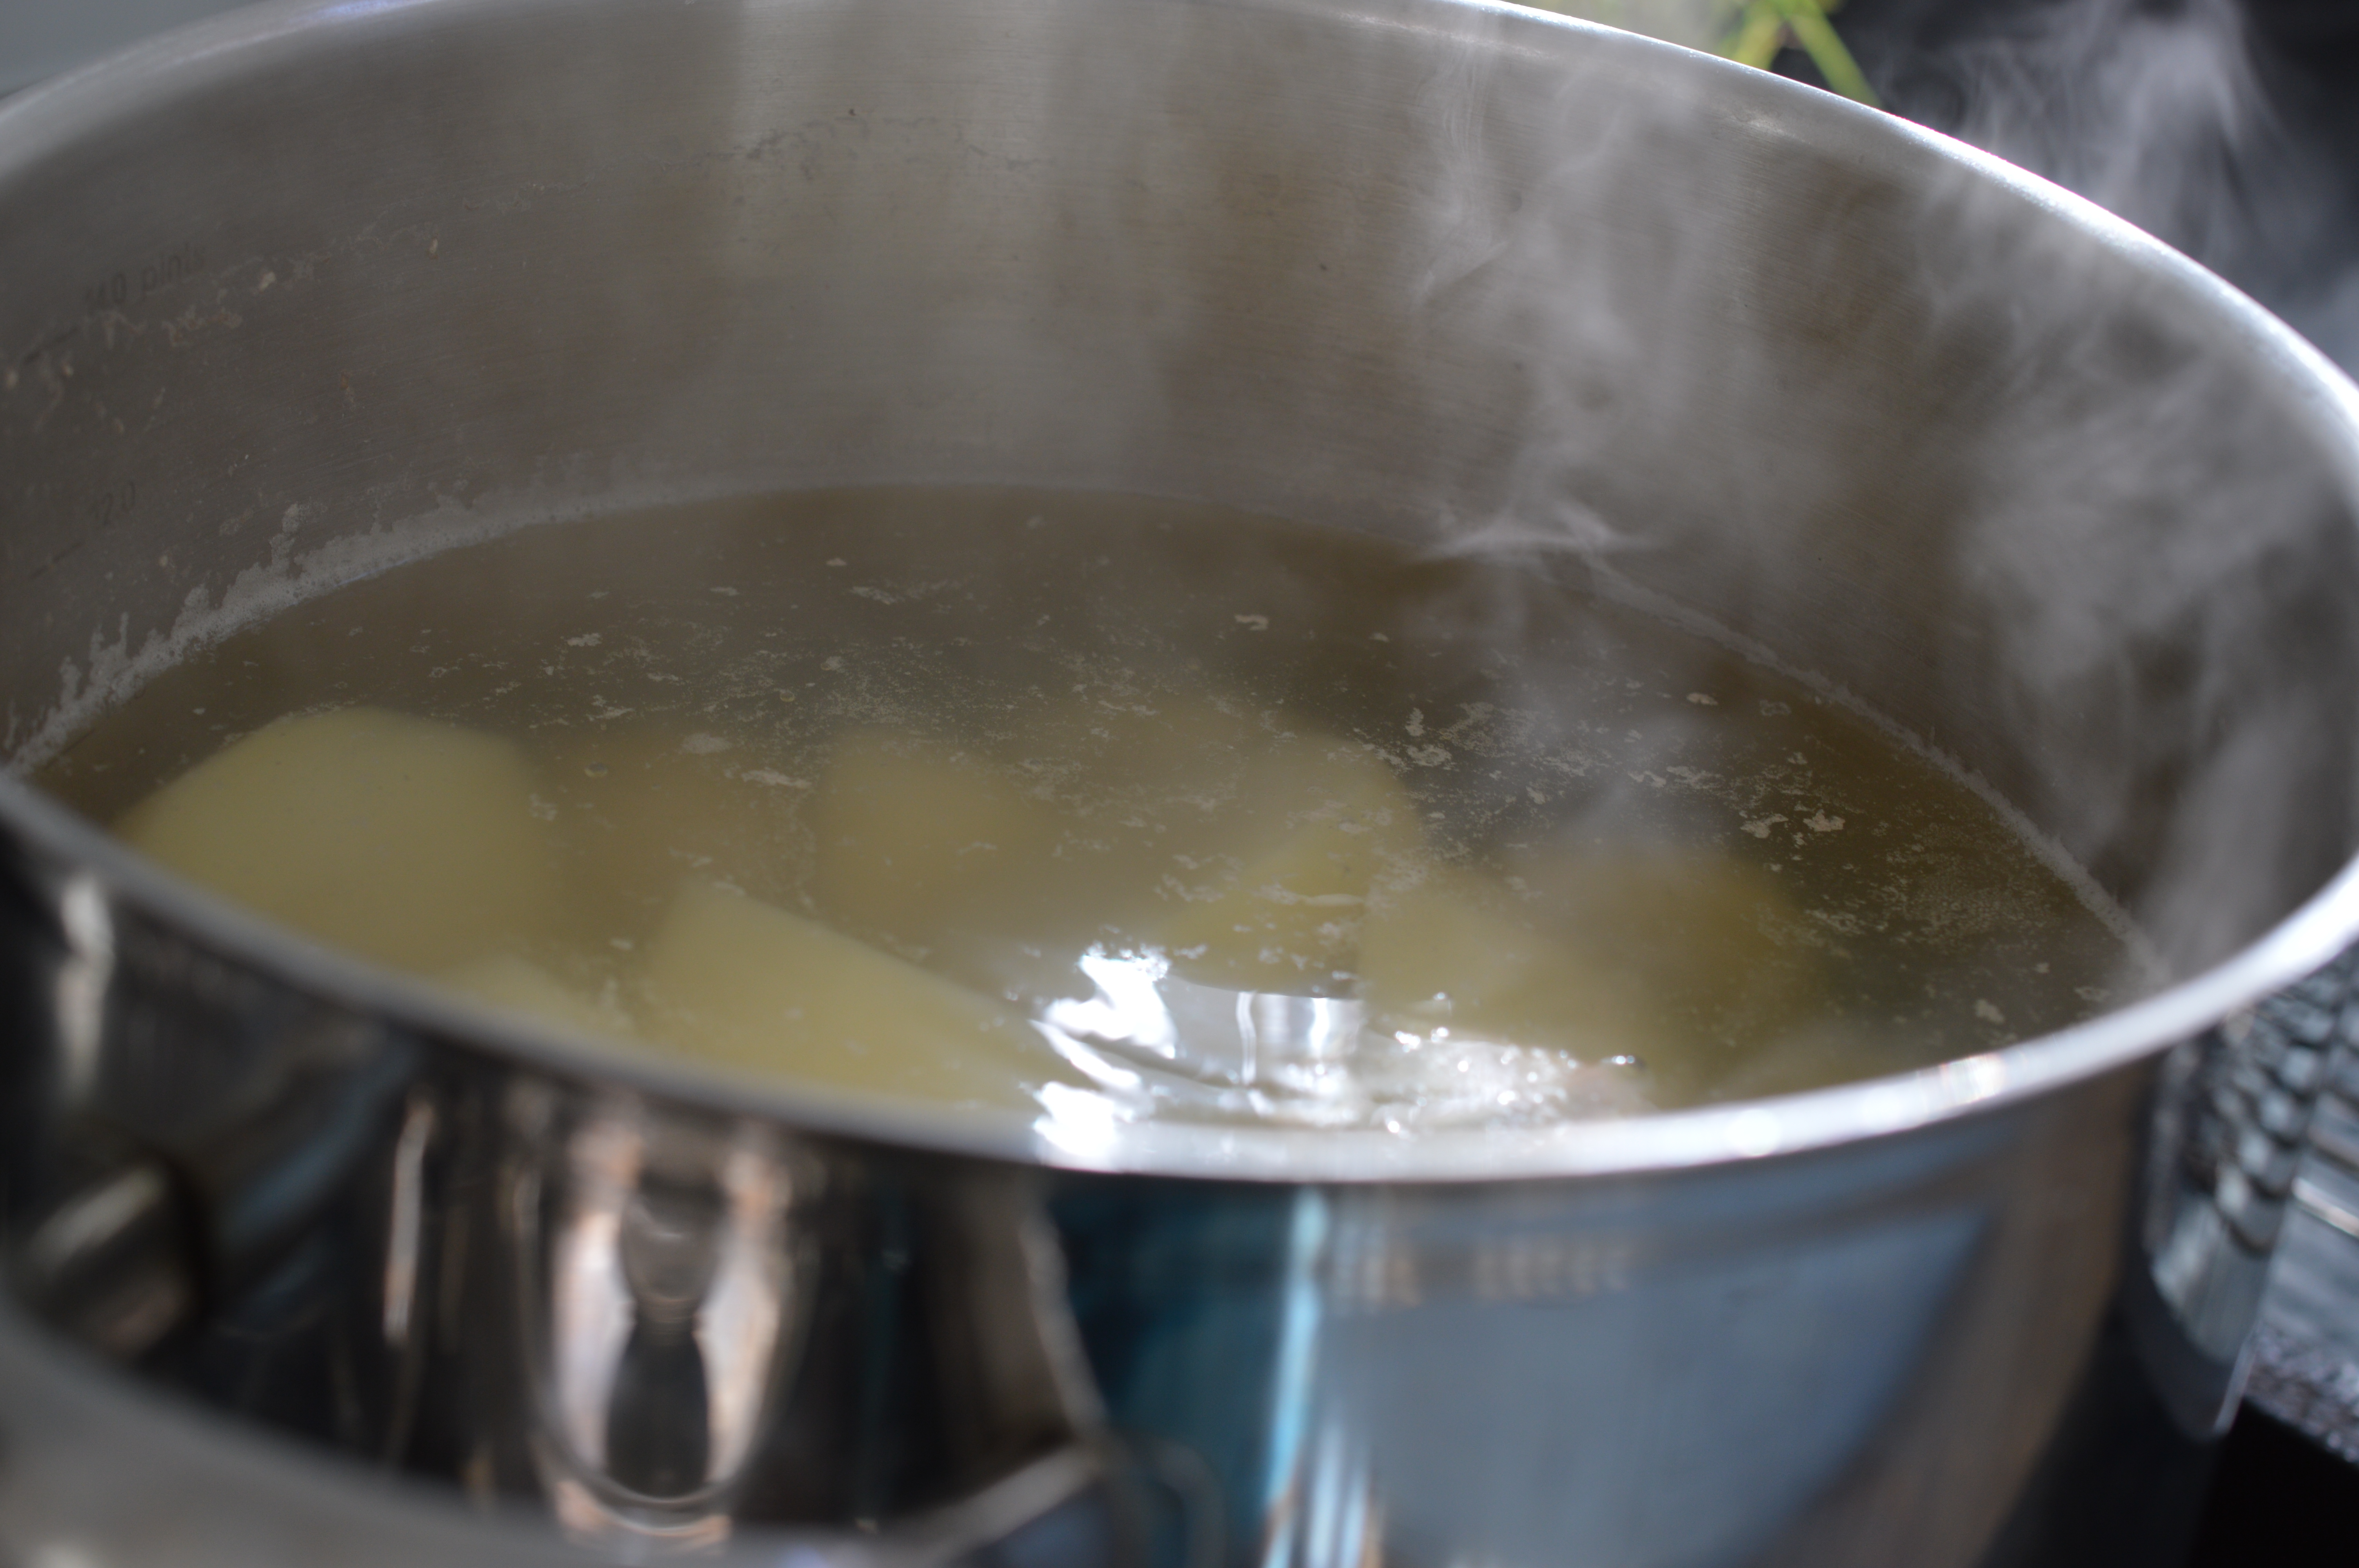
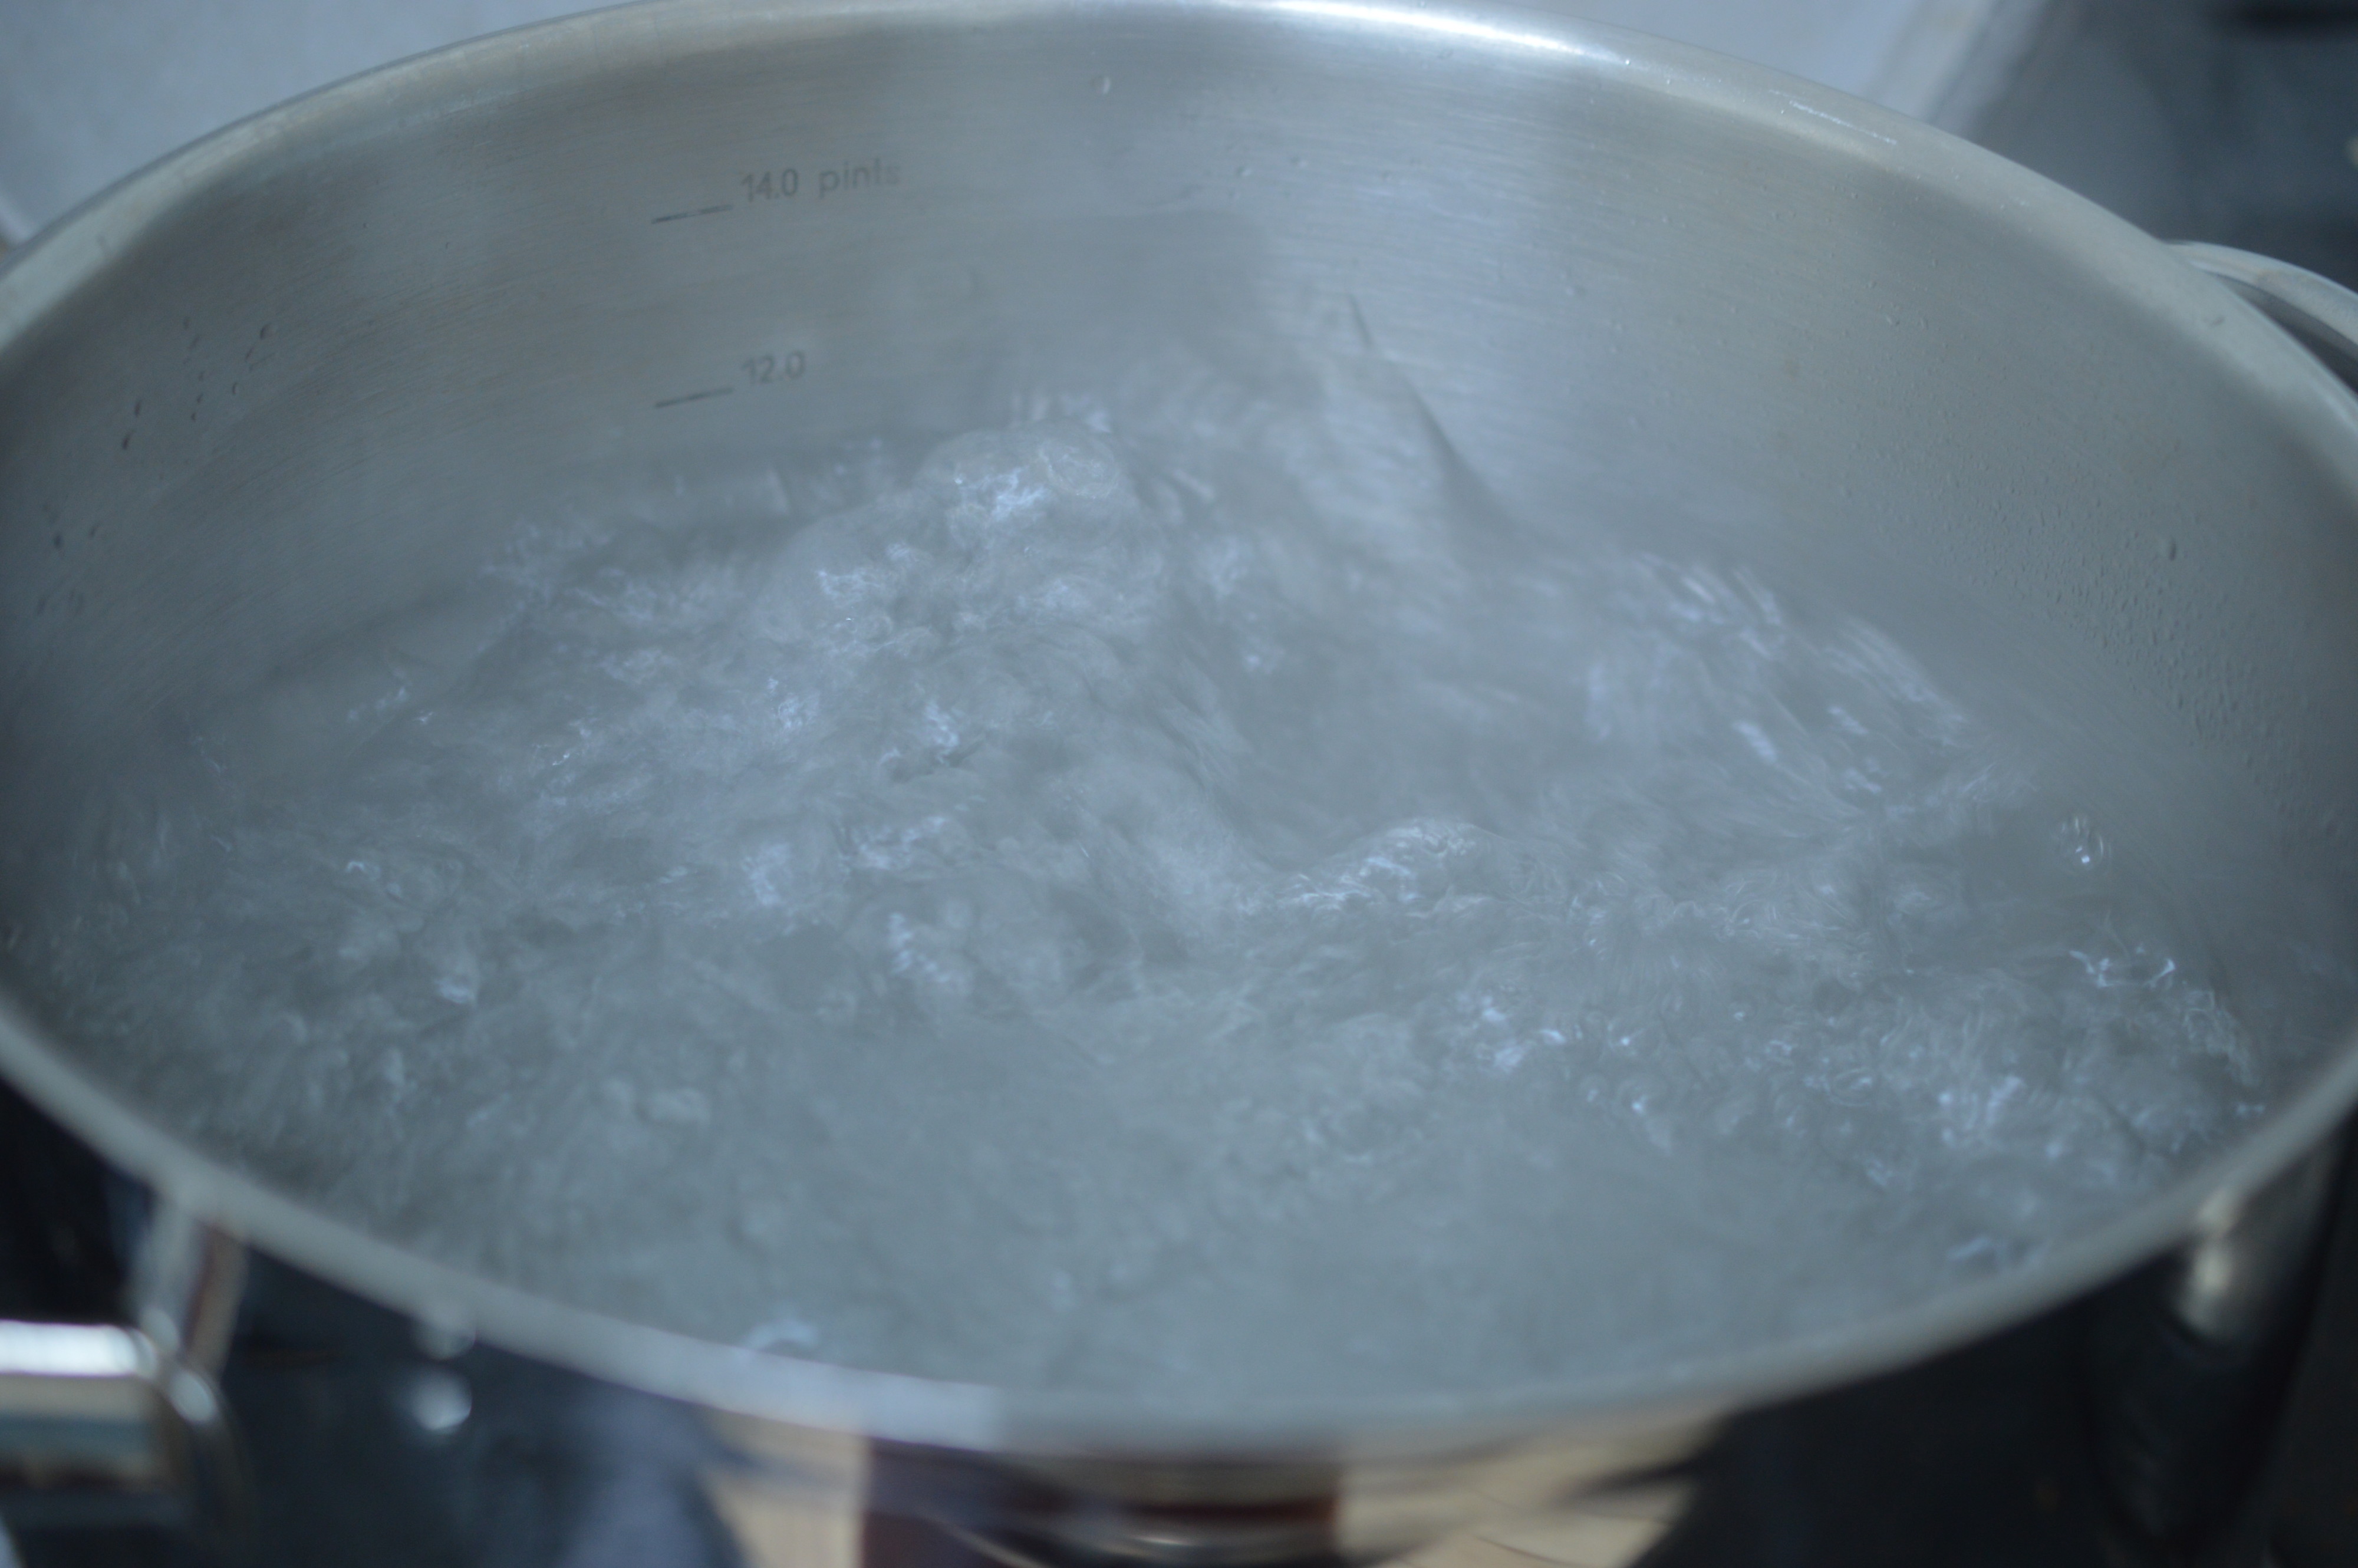
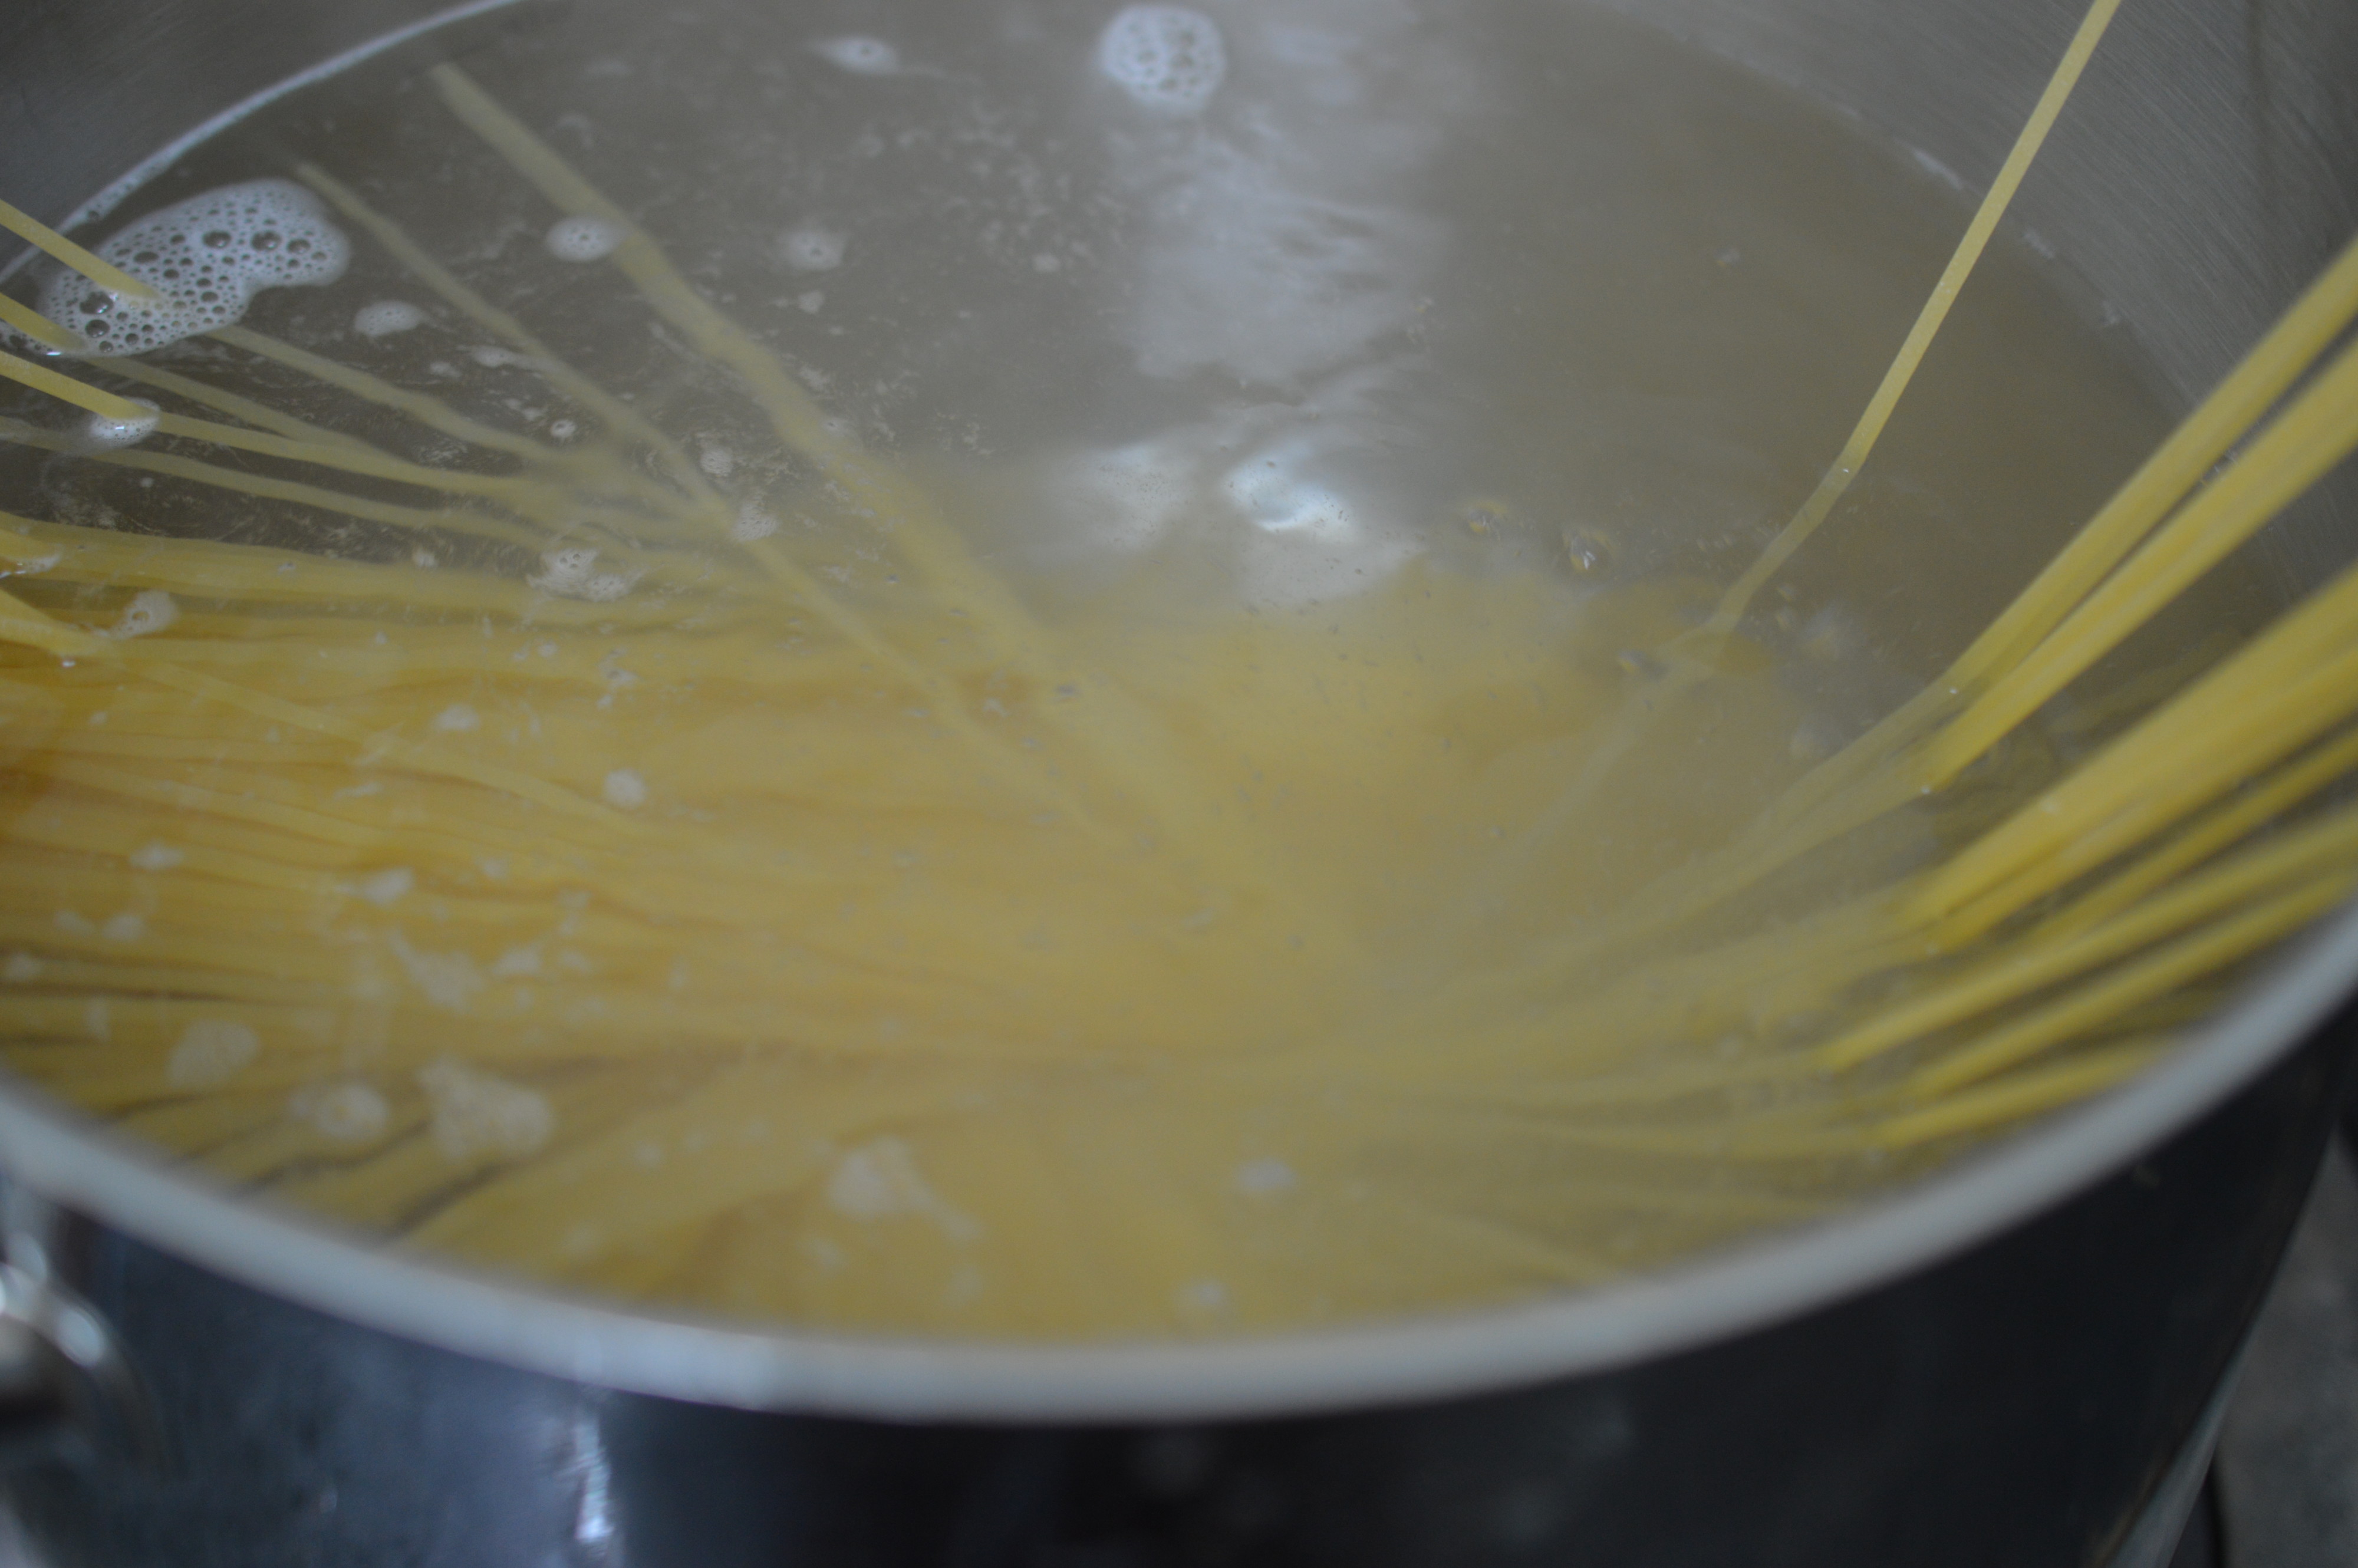
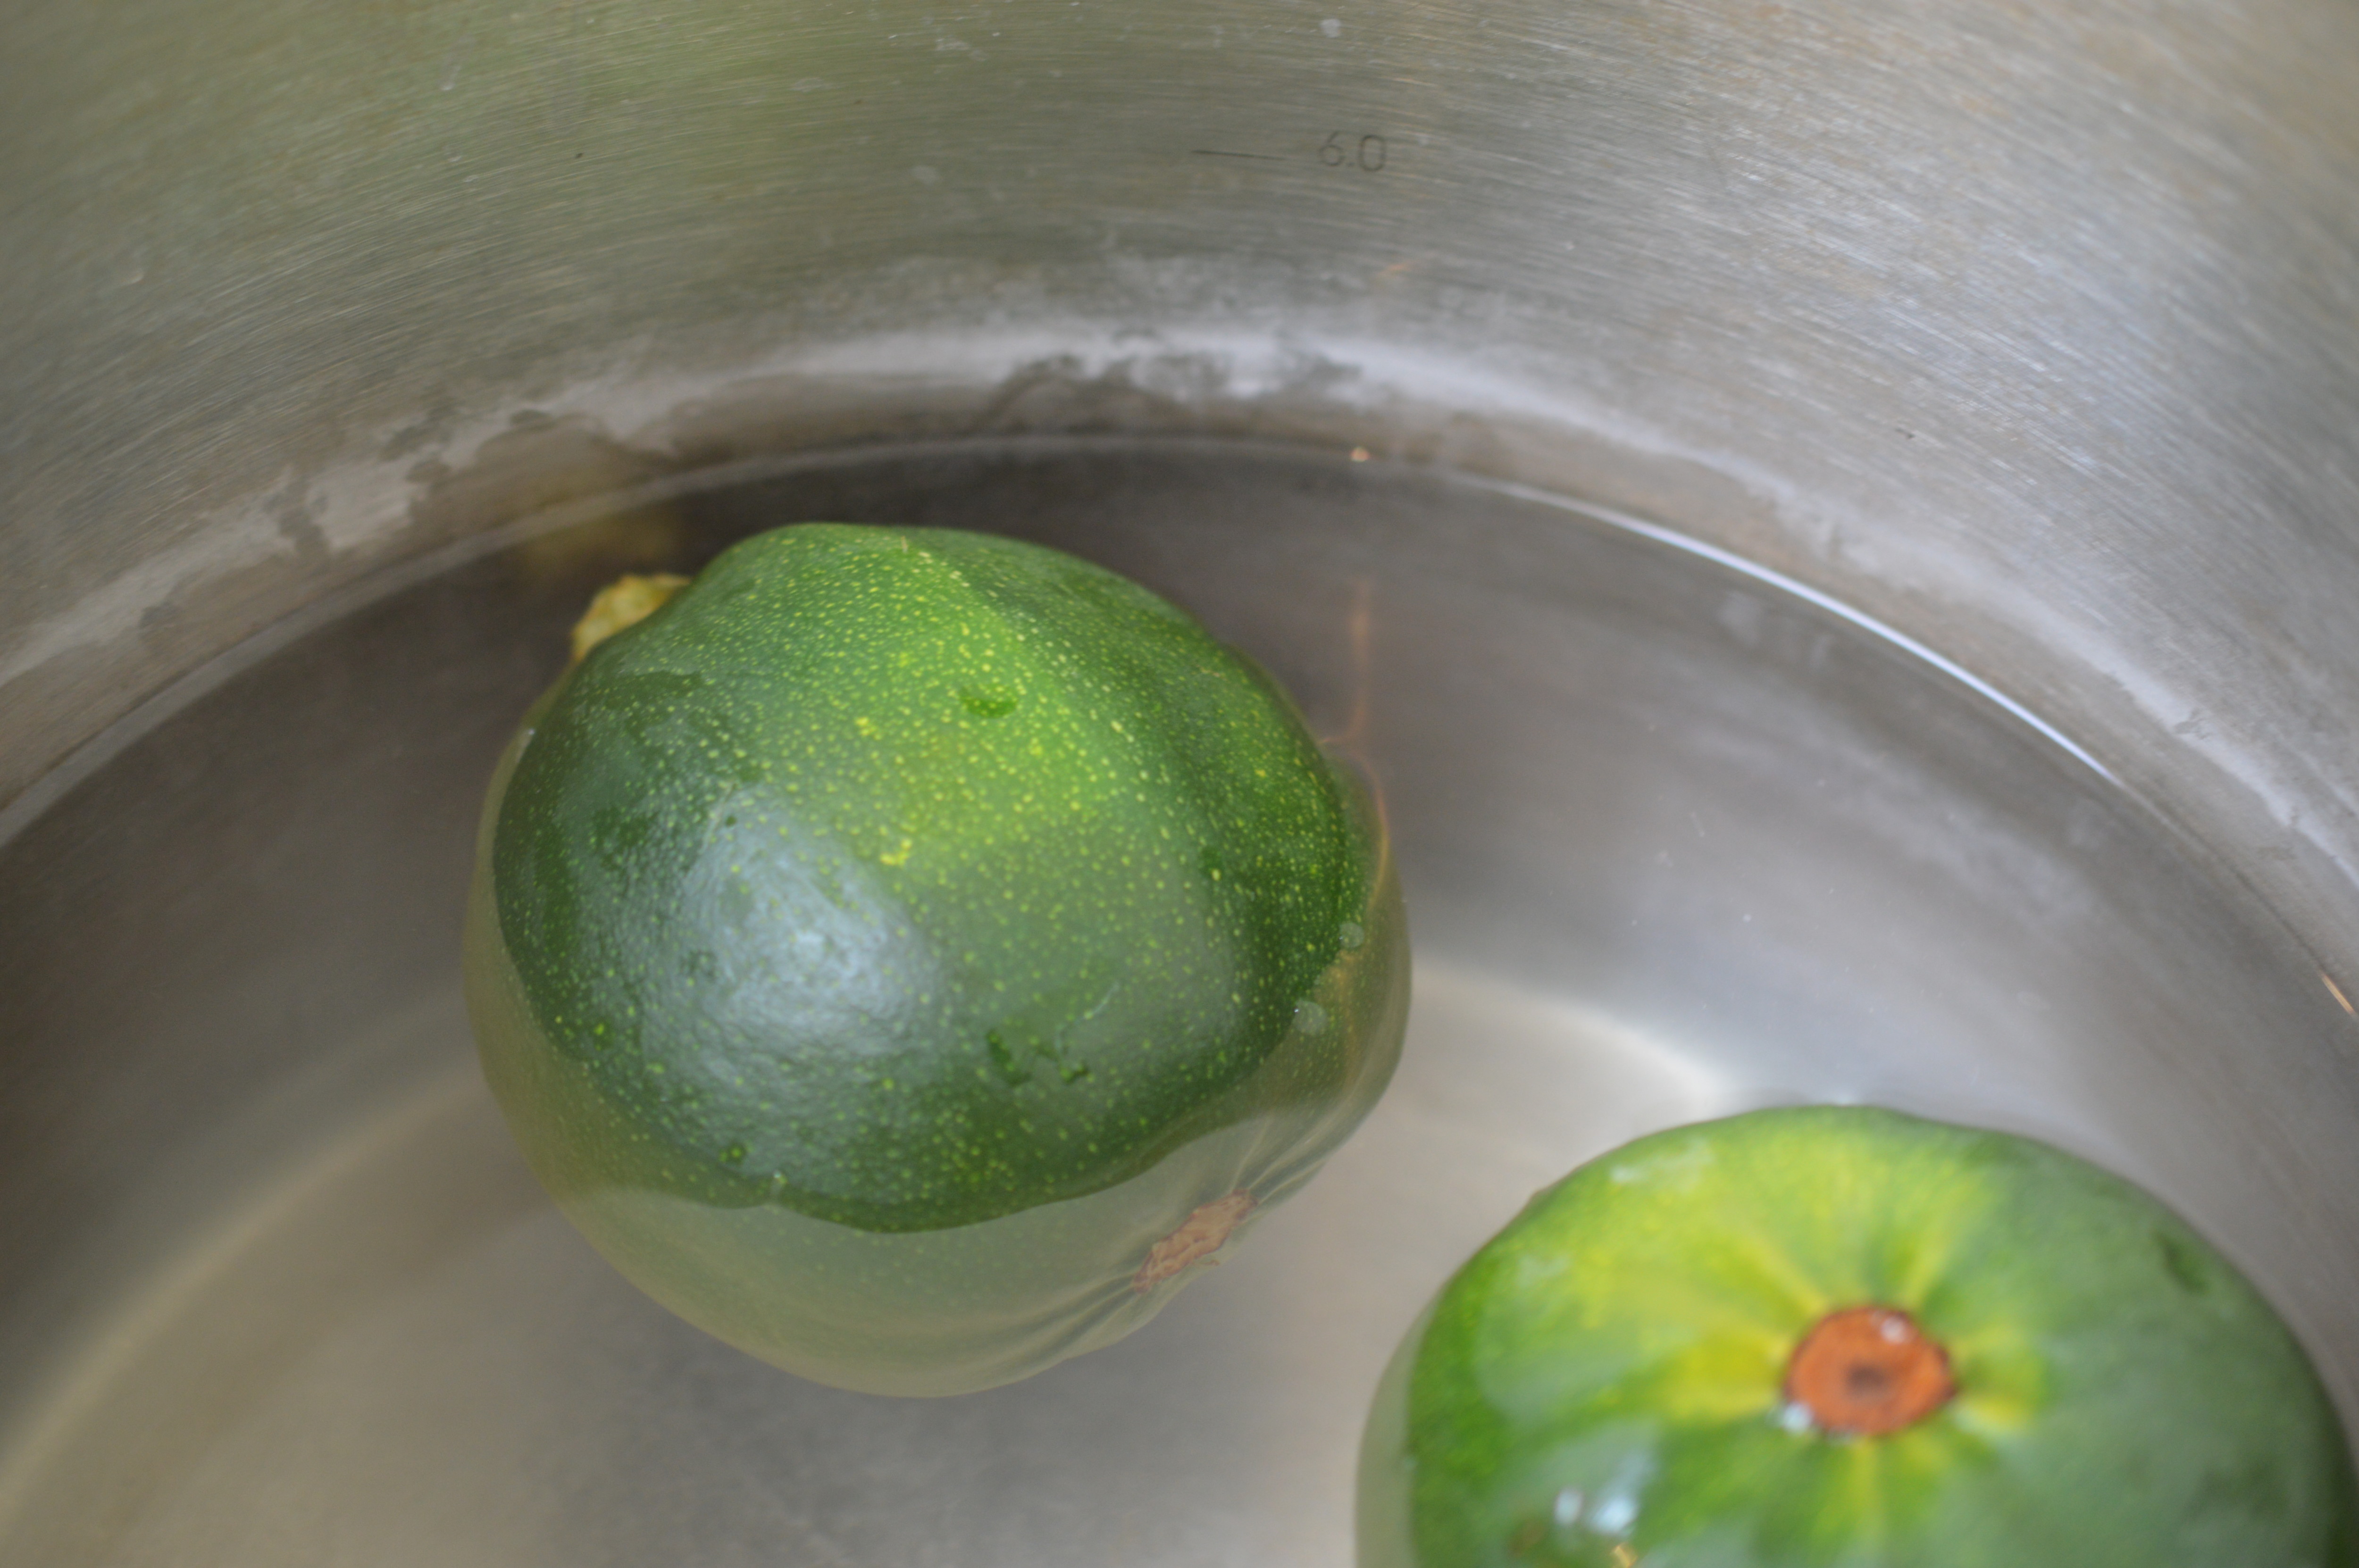
Place your potato into cold salted water and bring to the boil. Aim to have the potato in the water for a maximum of 10 minutes.
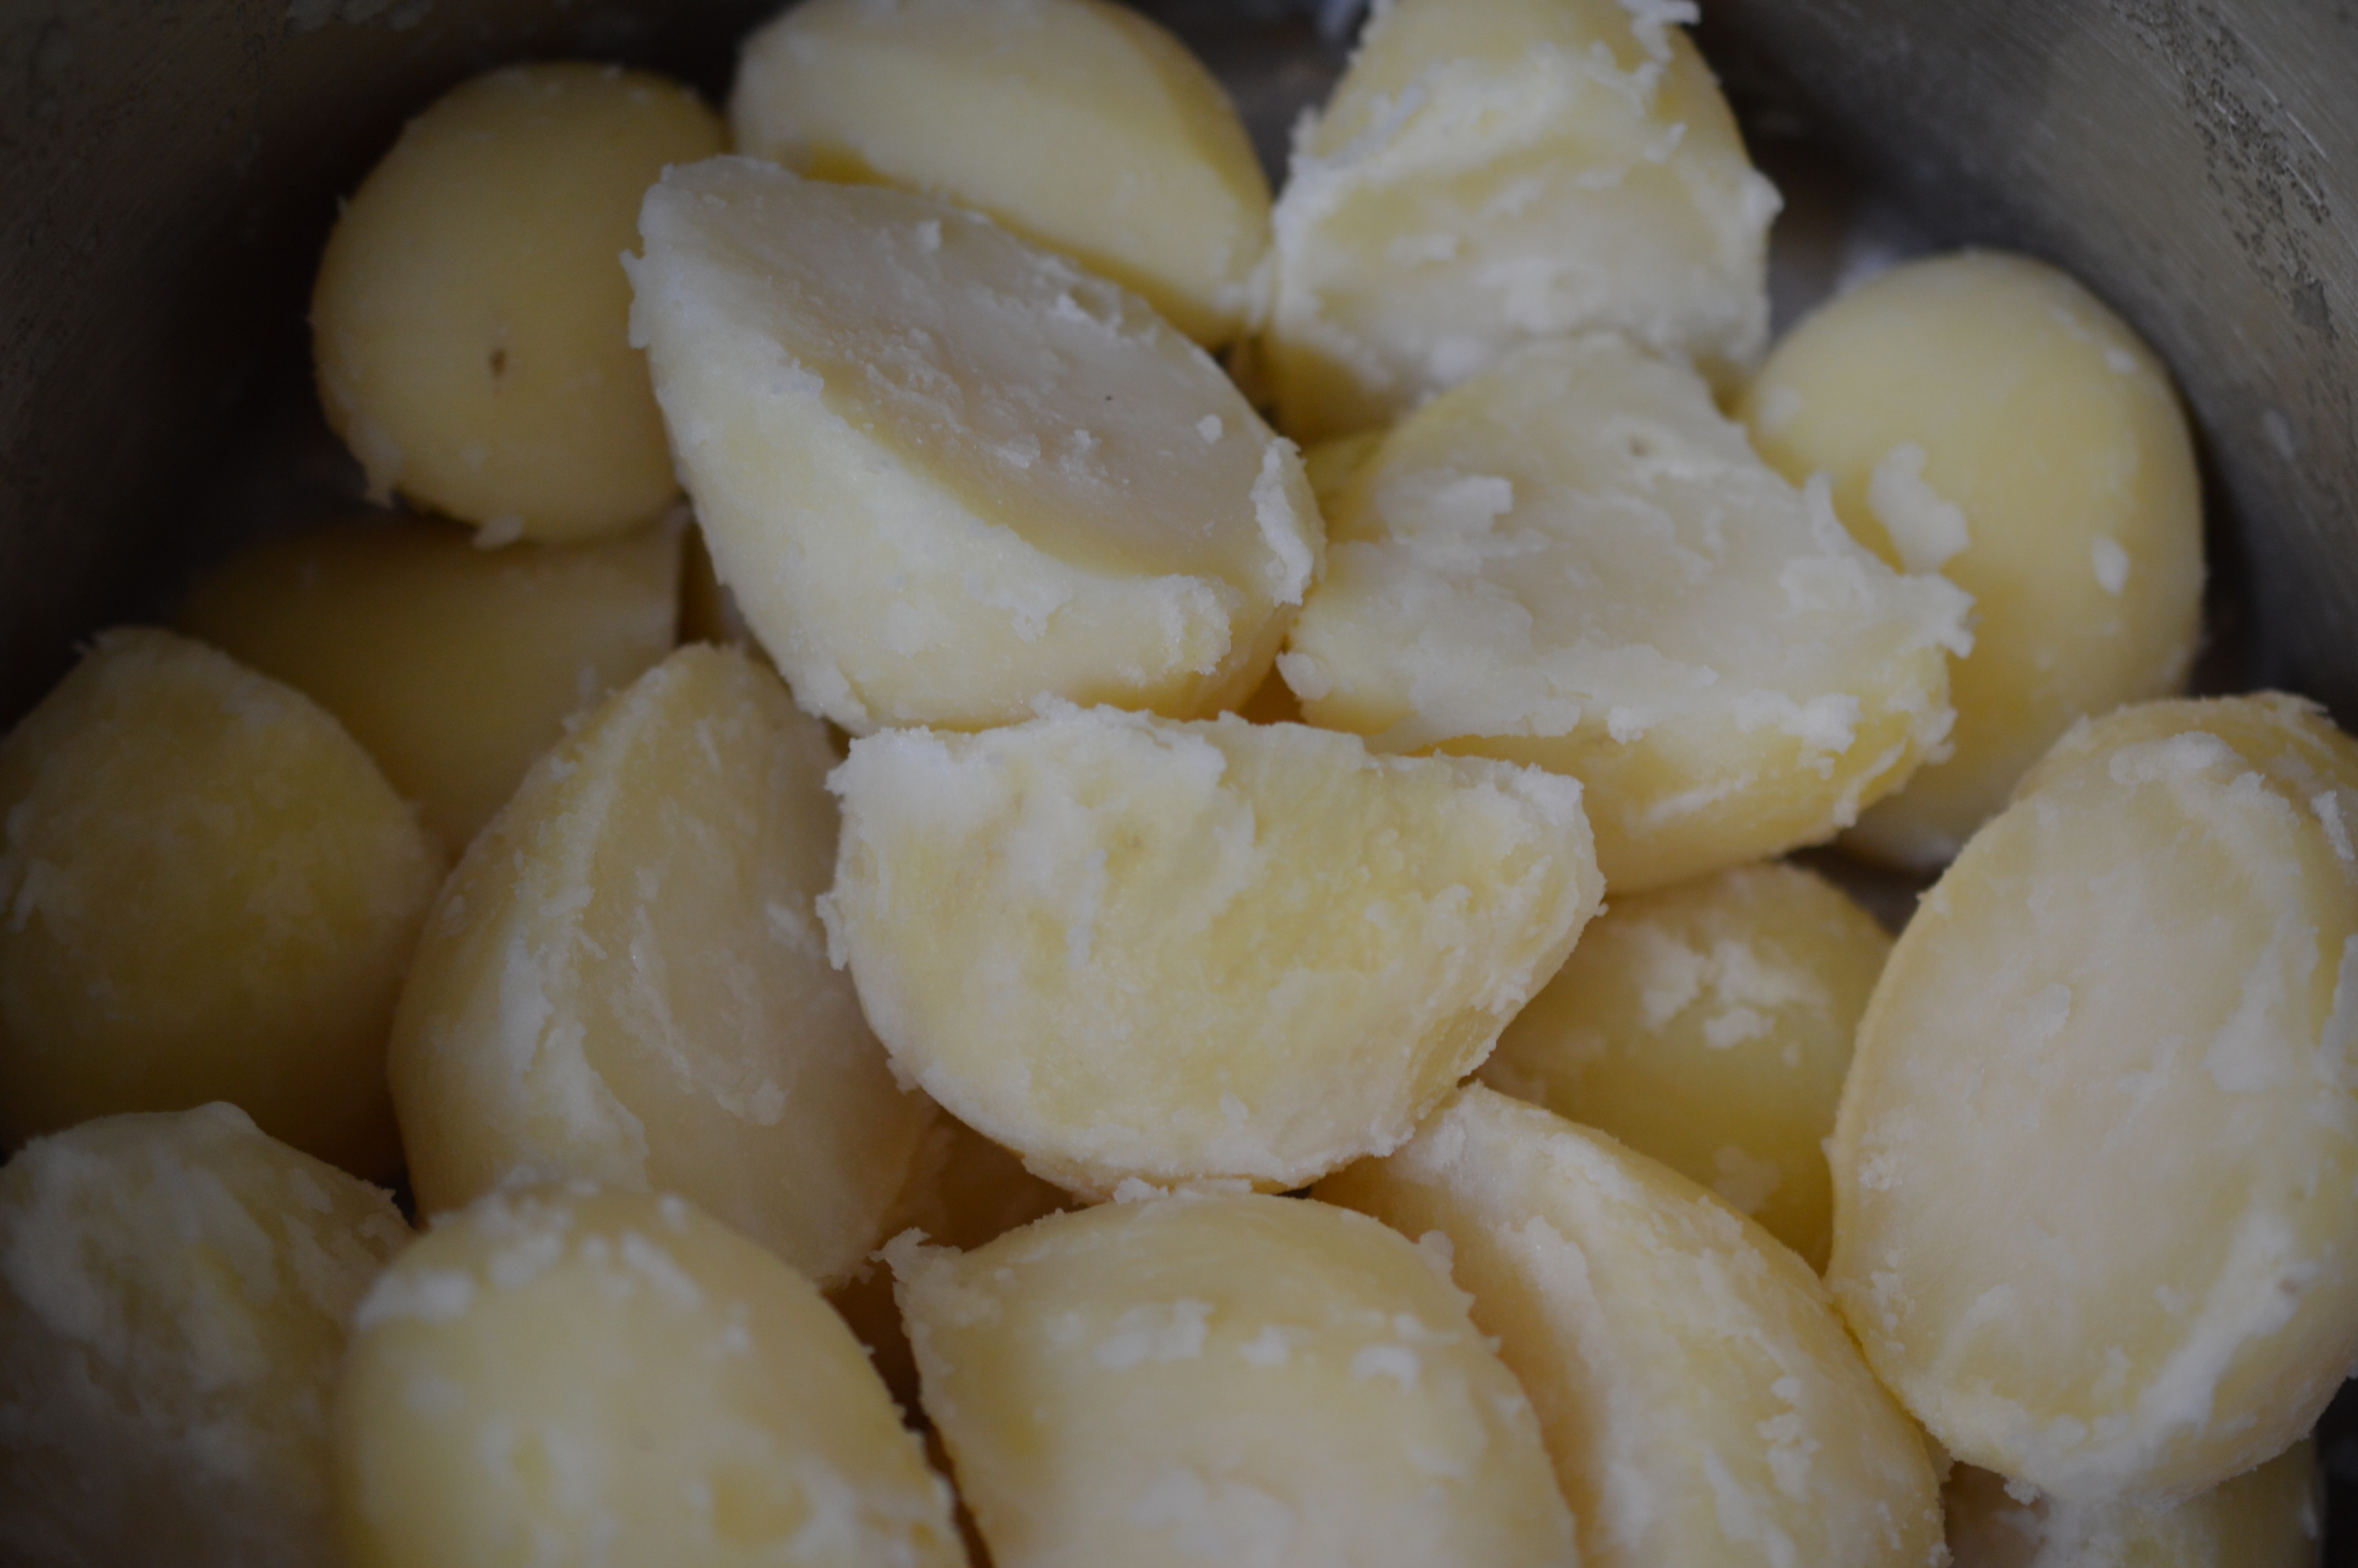
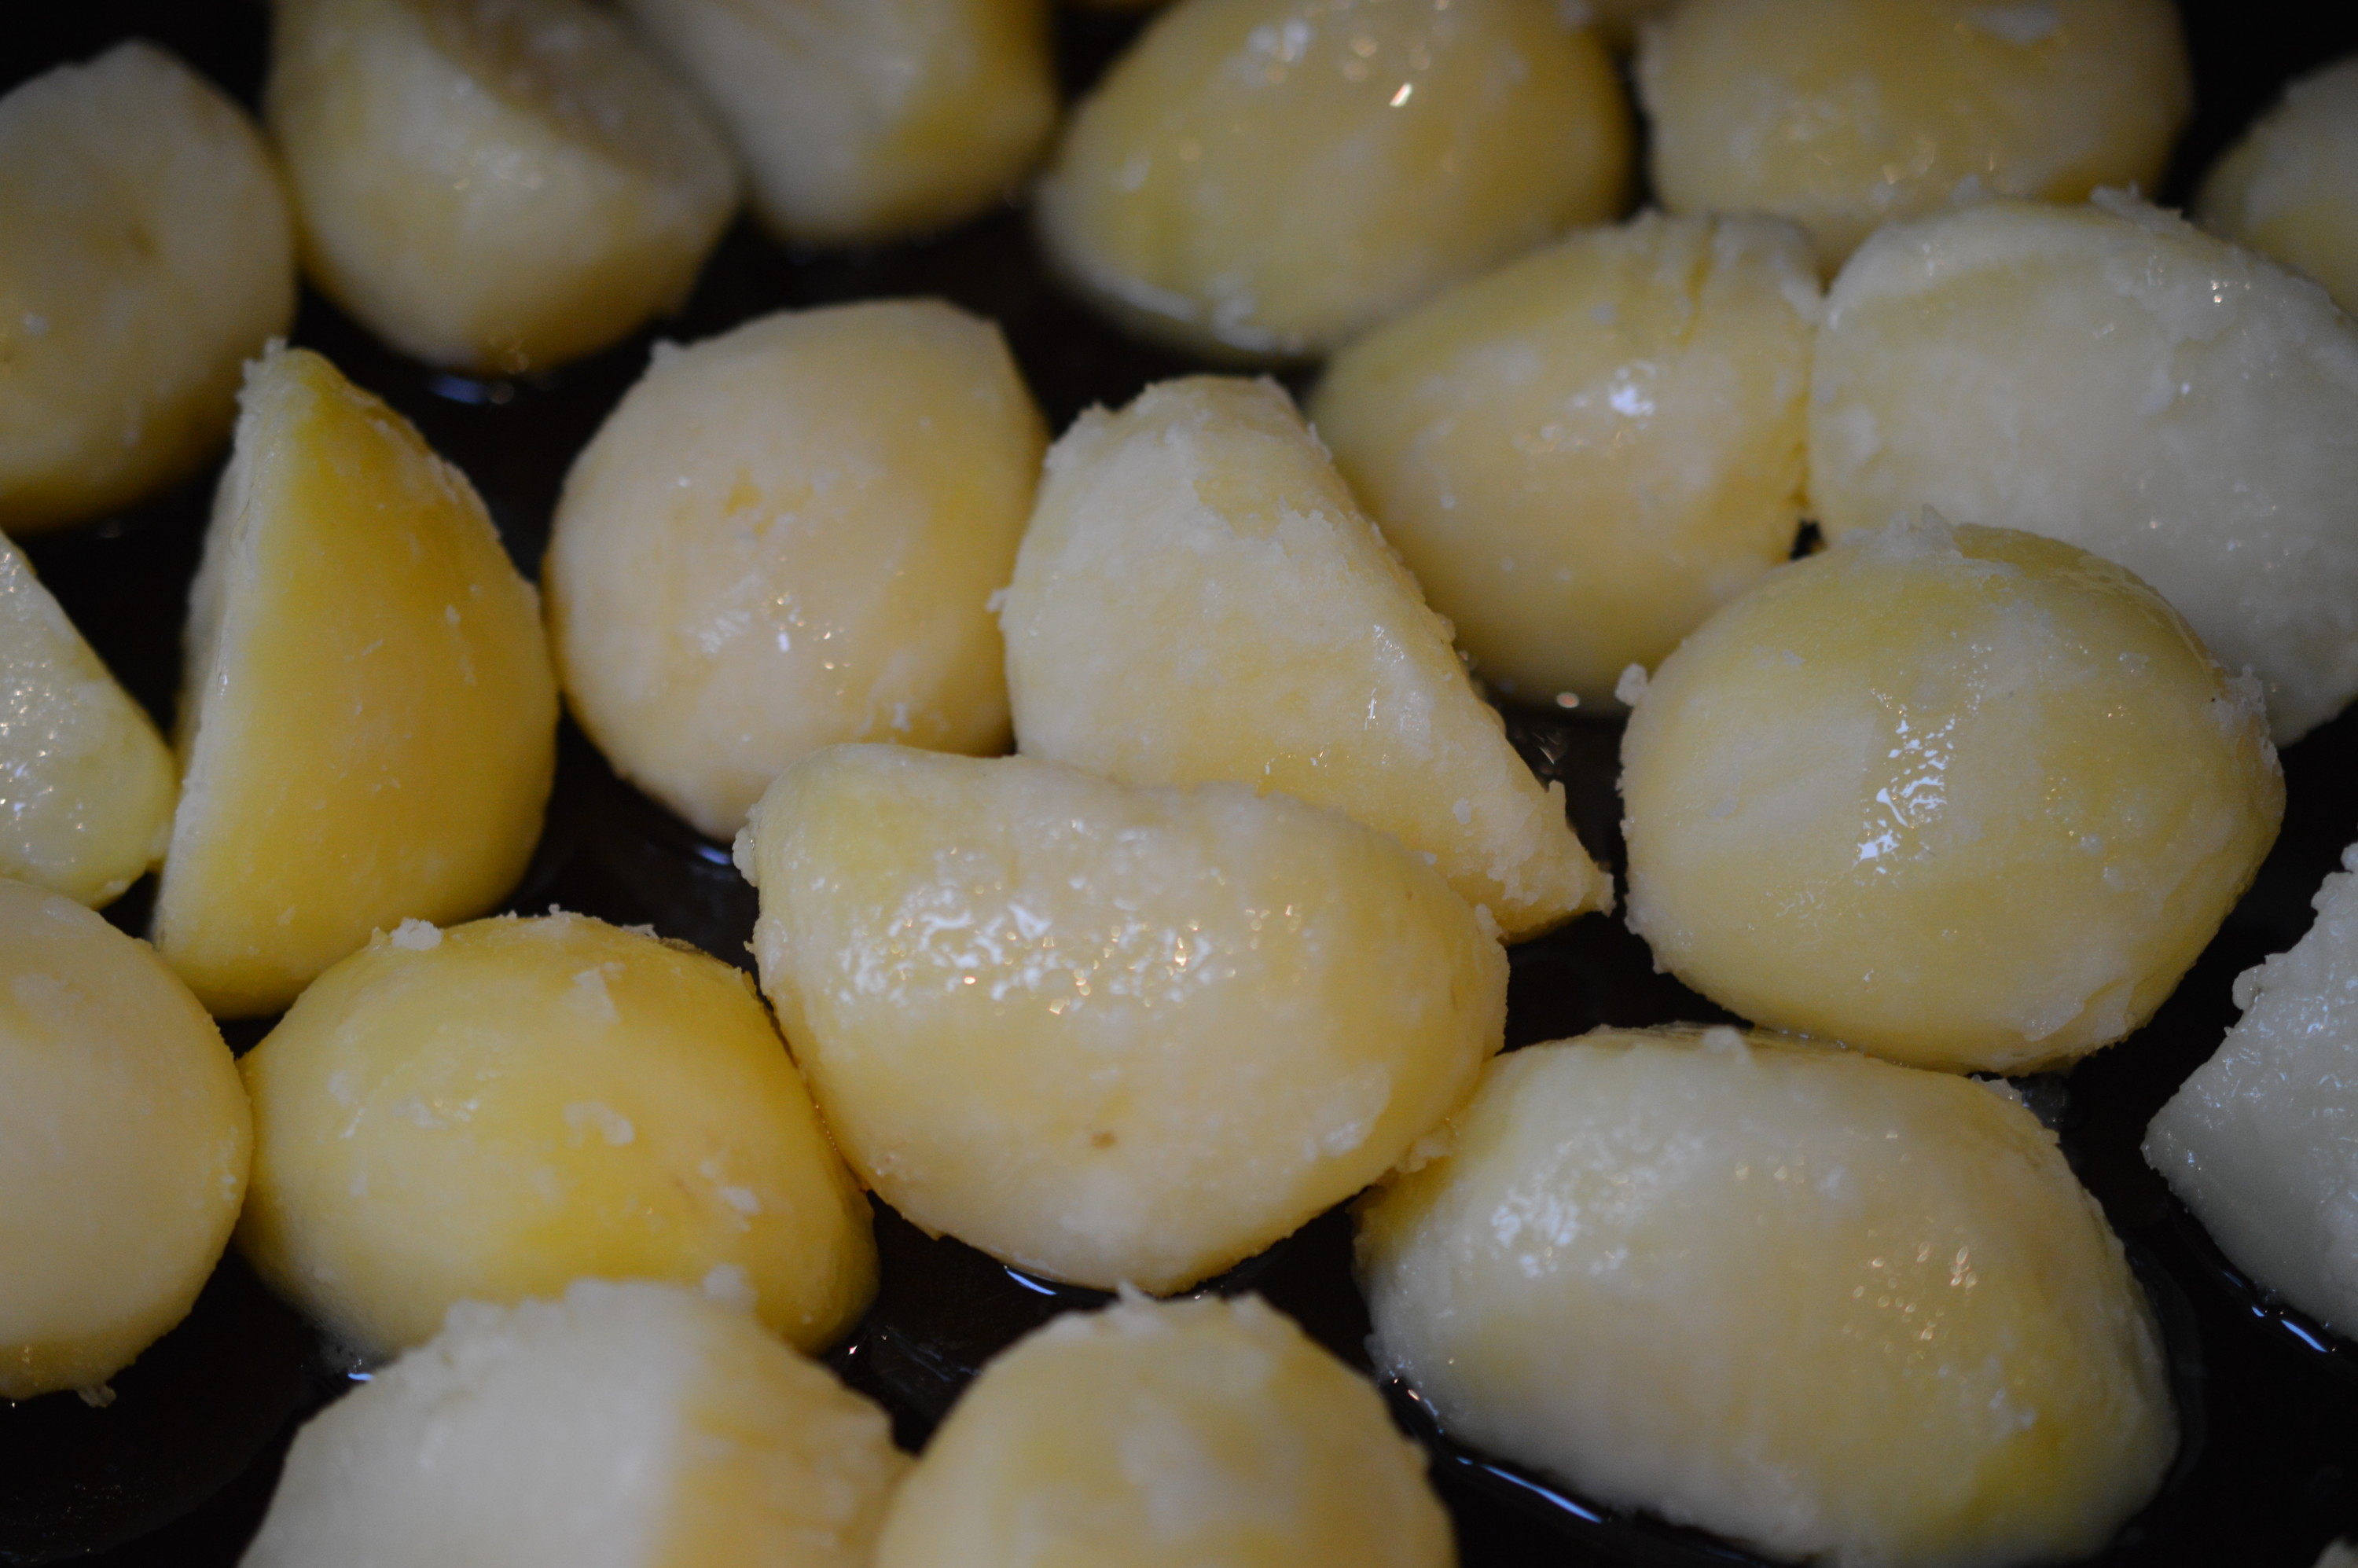
You are not aiming to boil to a mush – just soften the edges. My mum used to ‘fork’ her potatoes to break up the surface but I just – roughly – drain and tip back into the saucepan. It should be enough to break up the edges of the potato so it will catch the fat and give a lovely crispy finish.
I listened to an Italian TV chef on Food network this week who said once you’d roasted your cut-into-smallish-cubes potato in olive oil, garlic and rosemary you’d never par-boil again. Rubbish. It’s an entirely different thing. His point was that par-boiling makes the potato soggy and a soggy potato will never crisp up. I’ve finished spluttering now, but he’s cooking his roast potatoes wrong.
Once you’ve par-boiled, you need to dry your potatoes off. That’s probably on the lowest of low heat, then air dry. Mine sit on the warming plate of my Aga. But ‘dry’ is the key to a crispy potato. There’s no need to add semolina or flour, you just need to wait until your potato is dry.
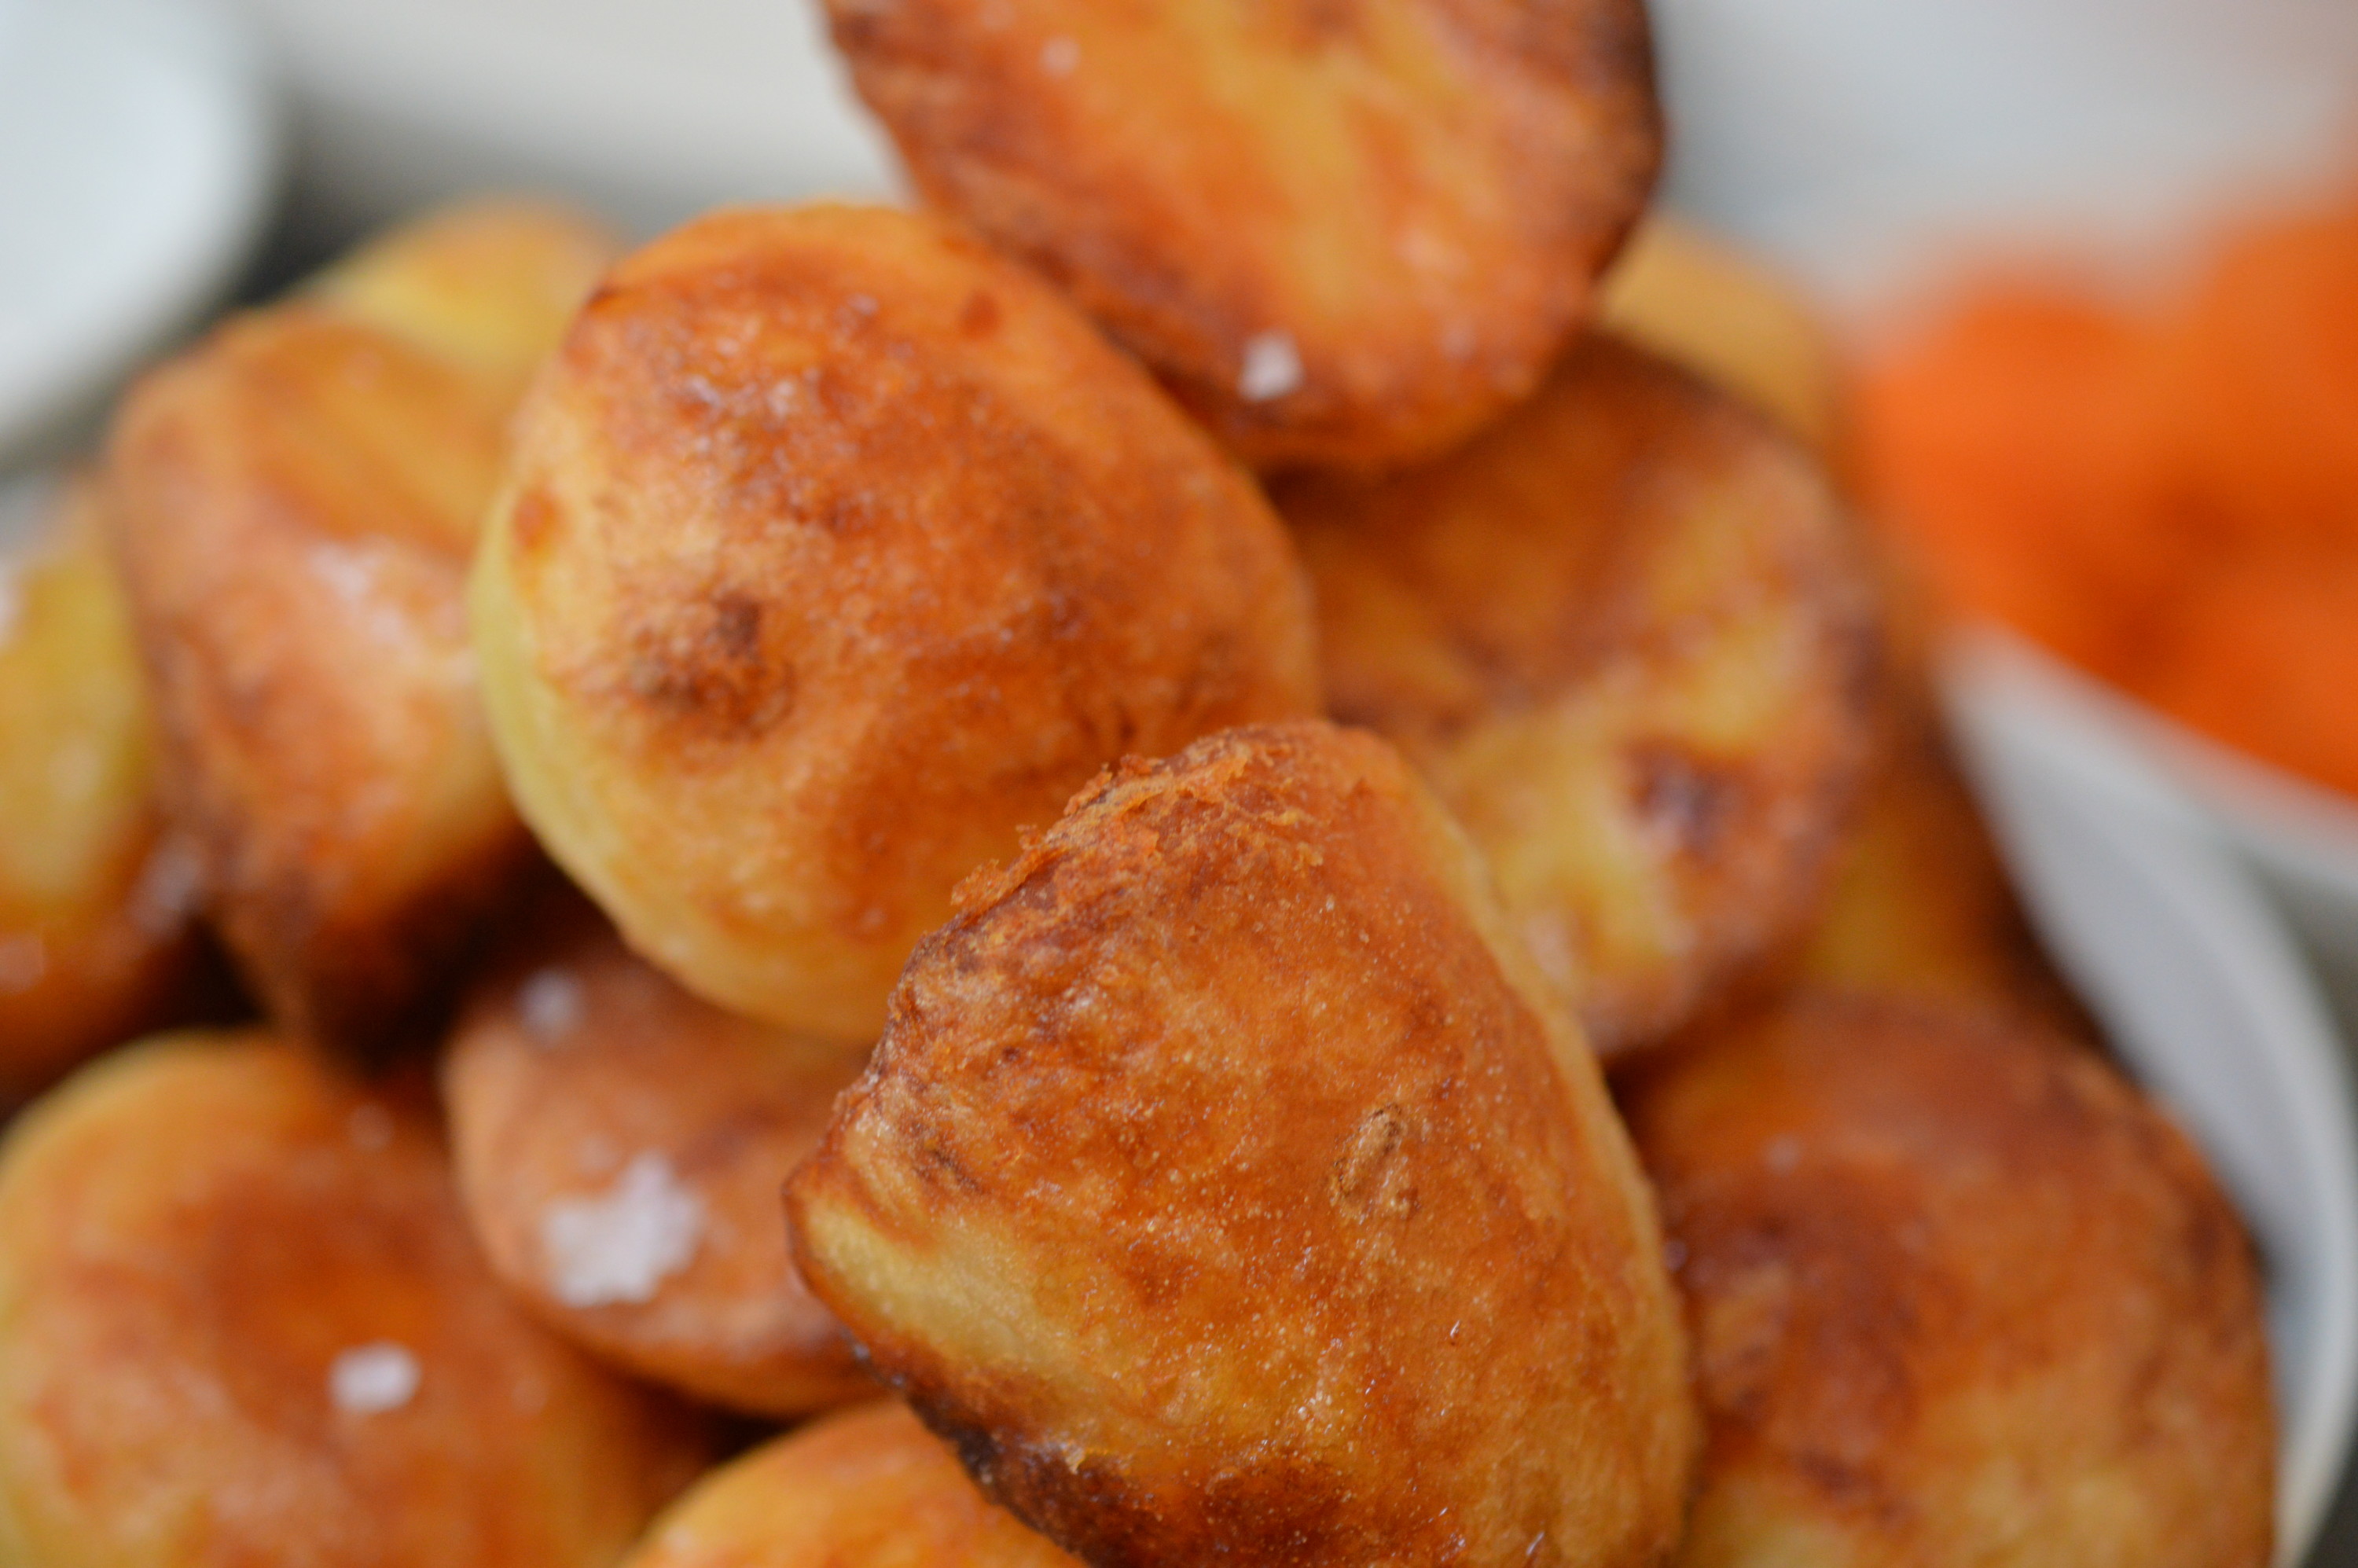
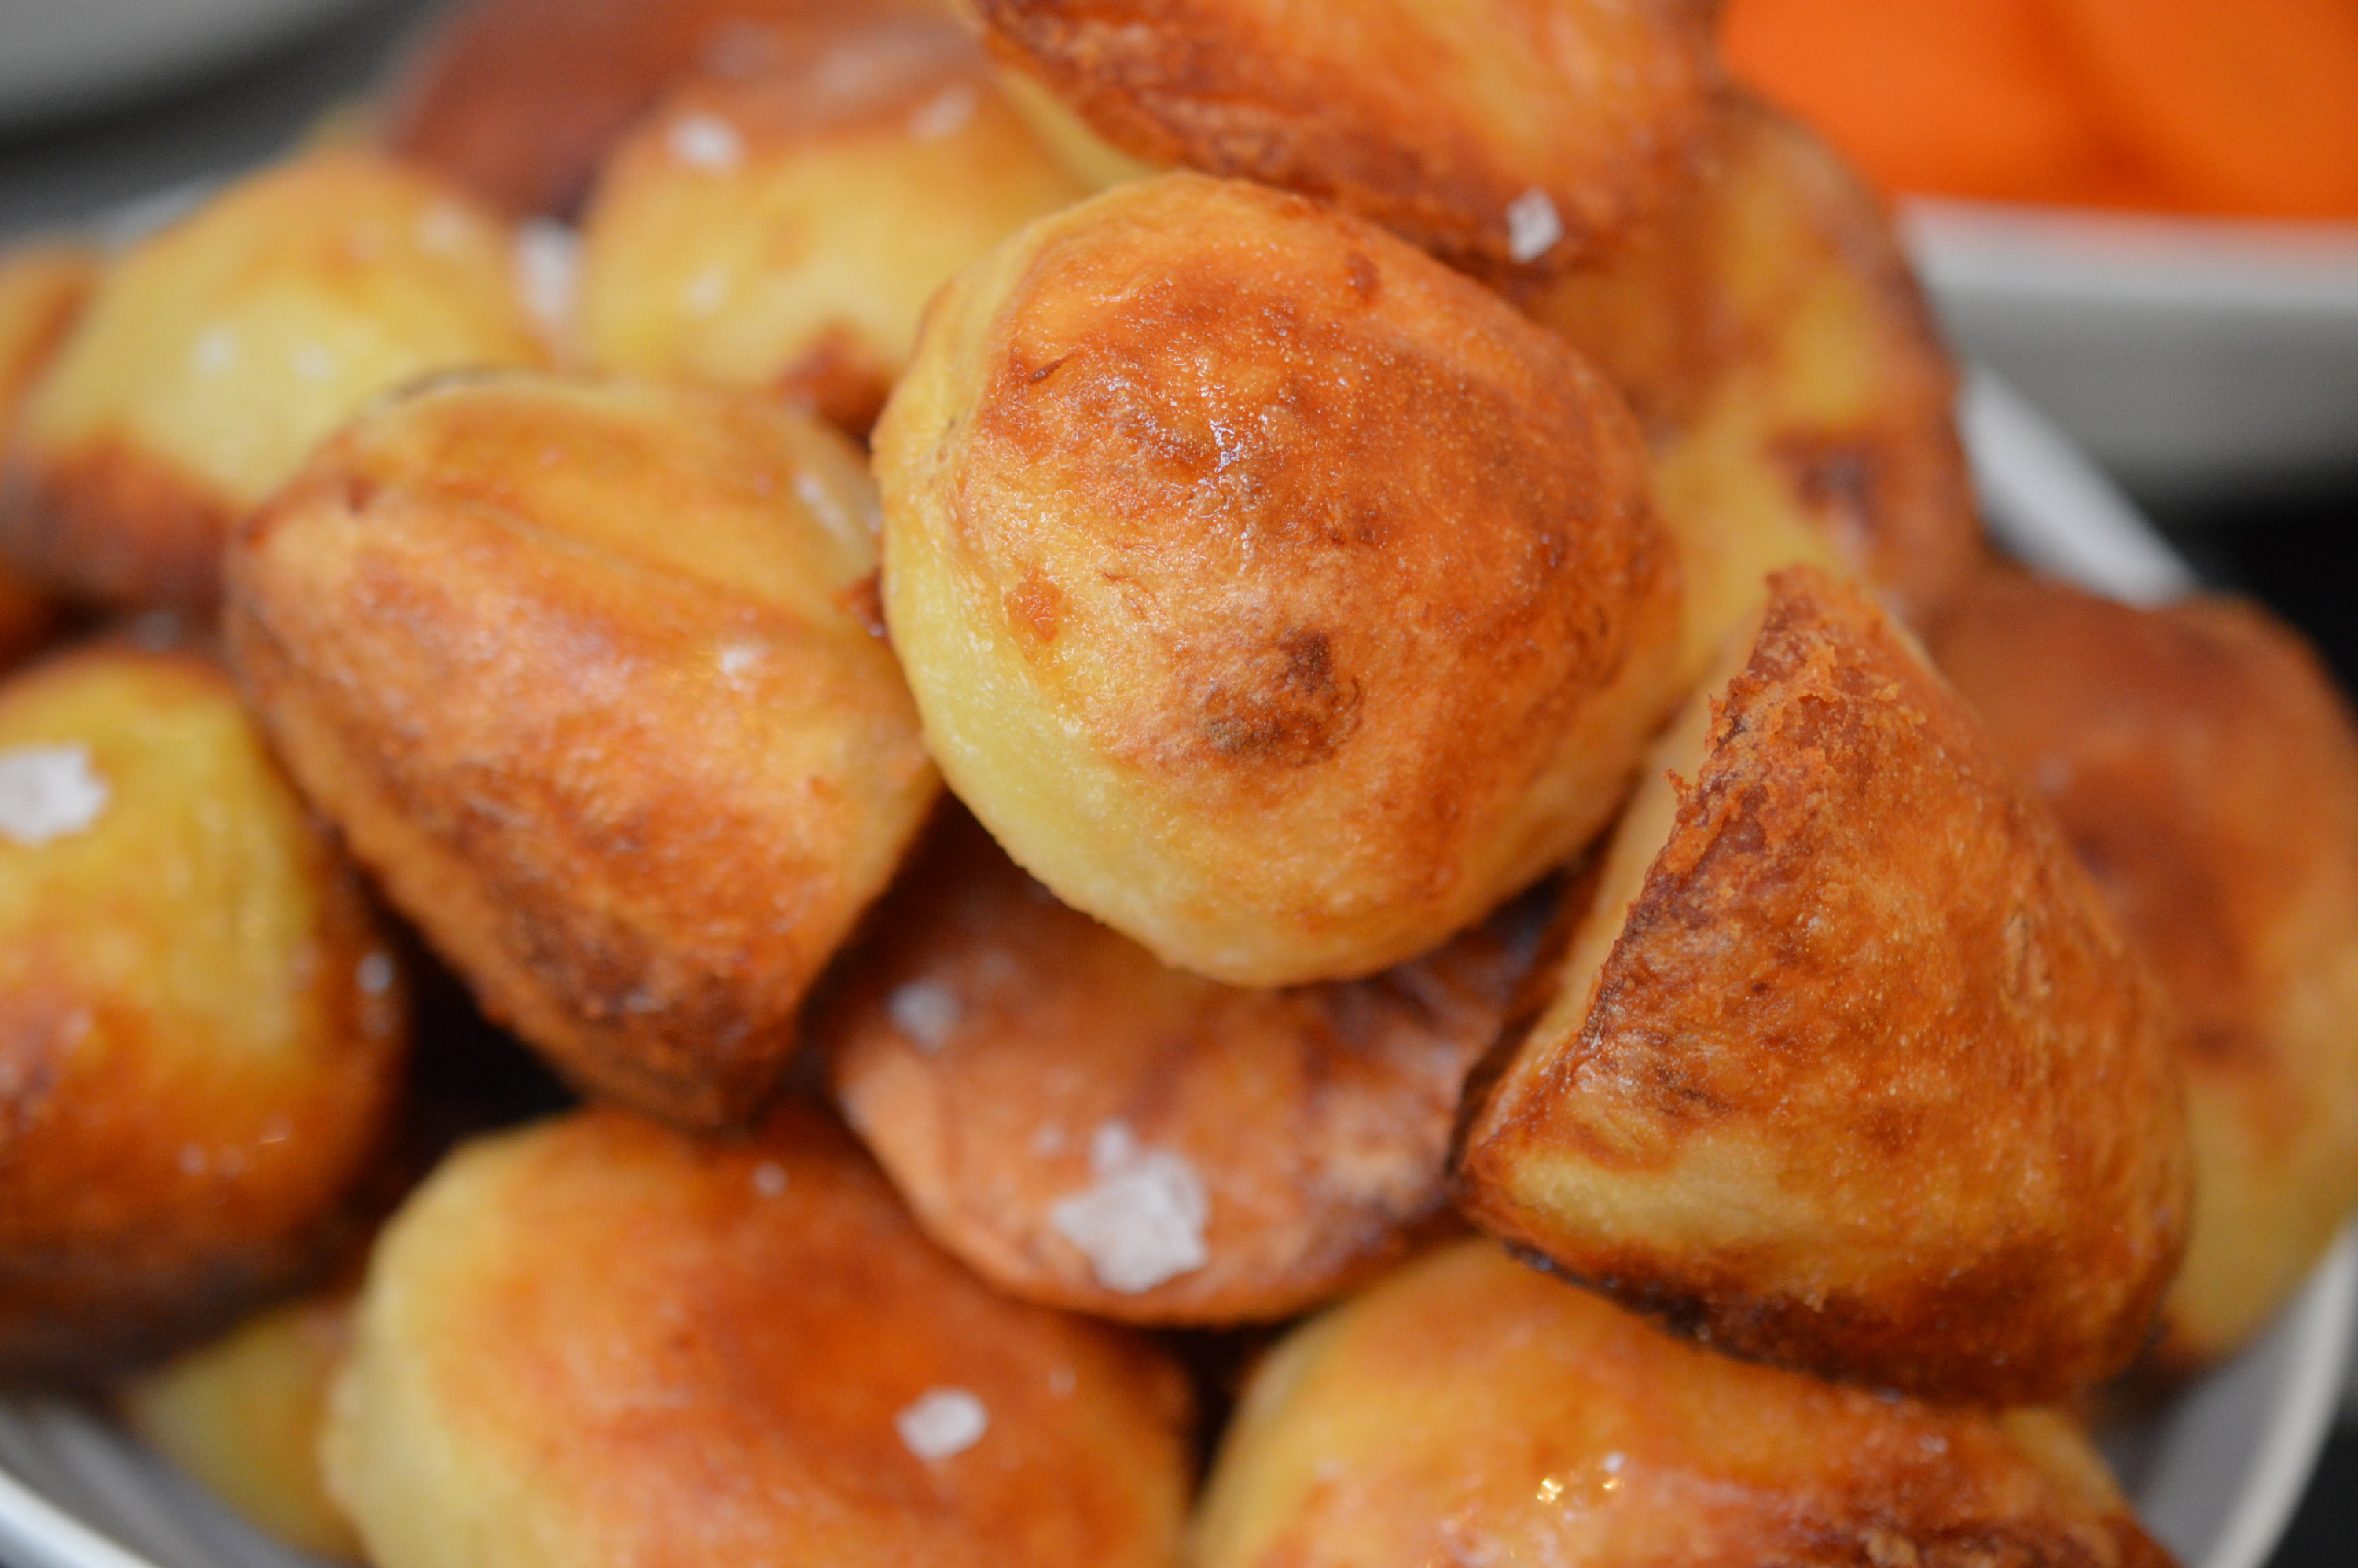
The next ‘secret’ is the oven temperature. You want to whack your oven up to the hottest you can get it. Your fat needs to be as hot as hell itself.
And the fat …
My fat of choice is goose fat. Duck fat coming a close second. Oddly I don’t really like beef dripping, even when I’m cooking beef. It seemed illogical – and then Liddy said it was because they “taste like chips“. So, that explained it..! Yes, they do – and I don’t like that.
So, your goose fat needs to be screamingly hot. Conveniently, any meaty joint needs to ‘rest’ to allow all those juices to re-absorb – and that’s the time to cook your potatoes. My mum used to roast hers around the joint while we were at church …
Nope. I won the roast potato war. Wait until your joint is out of the oven and whack the temperature up as high as your oven will go.
One hour or thereabouts, your potatoes are ready to rush to the table.
Eat.
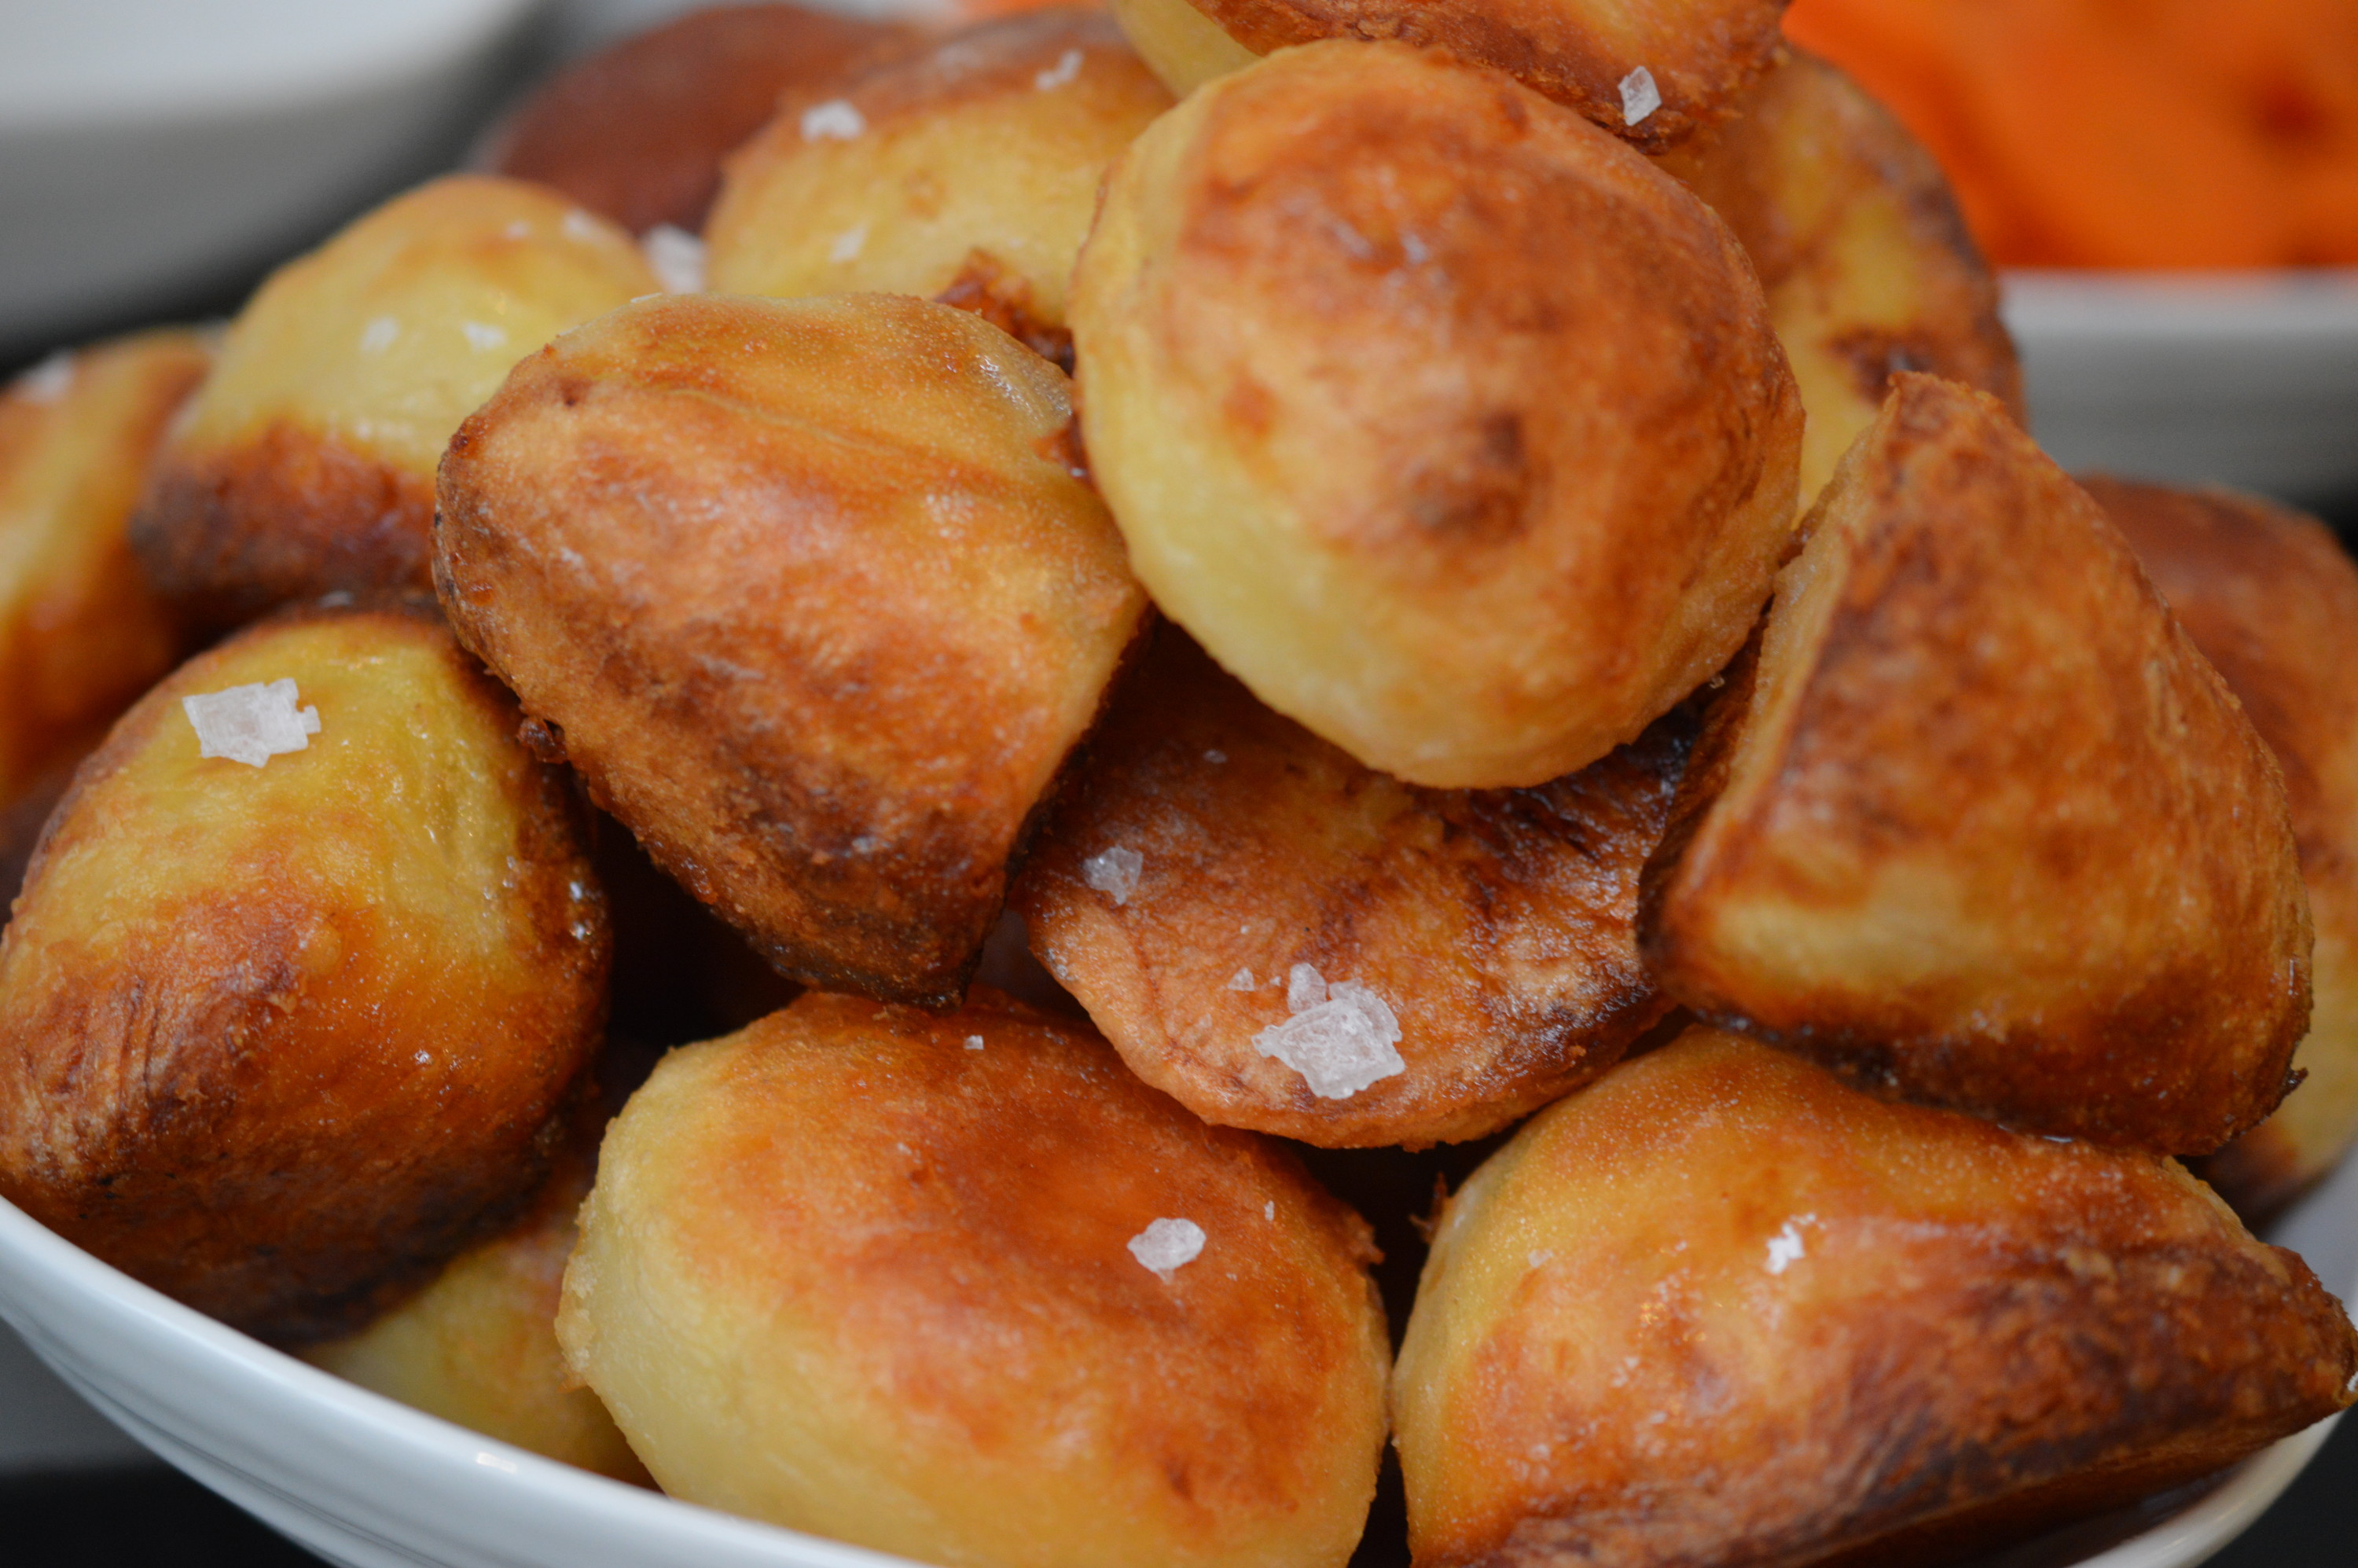
 Roast Potatoes – there is never enough
- Floury potatoes (Desiree, King Edward, Maris Piper) – aim for a minimum of three ‘roastie’ sized pieces per person
- Goose fat – aim for a screamingly hot, shimmeringly sea of fat to approximately 1cm in depth.
Pre-heat your oven to the hottest it will go.
Wash, peel and cut your potatoes into pieces – half or quarters. Put them in a large pan of salted boiling water, along with the peel. Yes, really. I wrap mine in muslin. Parboil for 10 minutes, although this will depend on how small you have cut your potato. You are not aiming to ‘cook’ the potato so much as to break up the edges.
Put the fat into your roasting tin and put it into the oven until it is screamingly hot. (Aga: because an aga cooks from above, below and both sides you need to cook in a shallow roasting tray).
Drain the potatoes and discard the peel. Shake the potatoes about to ensure the edges are roughened.
Take the roasting tin out of the oven, but try to keep the fat hot. Ideally, put your tray on the hob over a gentle heat. Place the potatoes in one by one – they should sizzle as they hit the pan – and baste all over.
Roast until golden and crunchy, It’ll take about an hour.
Season.
Eat.