Madeira Cake

It’s been a cold and blowy week and I’ve hidden myself away making marmalade – which is a strange way to introduce Madeira Cake, but stay with me.

Marmalade Seville Oranges

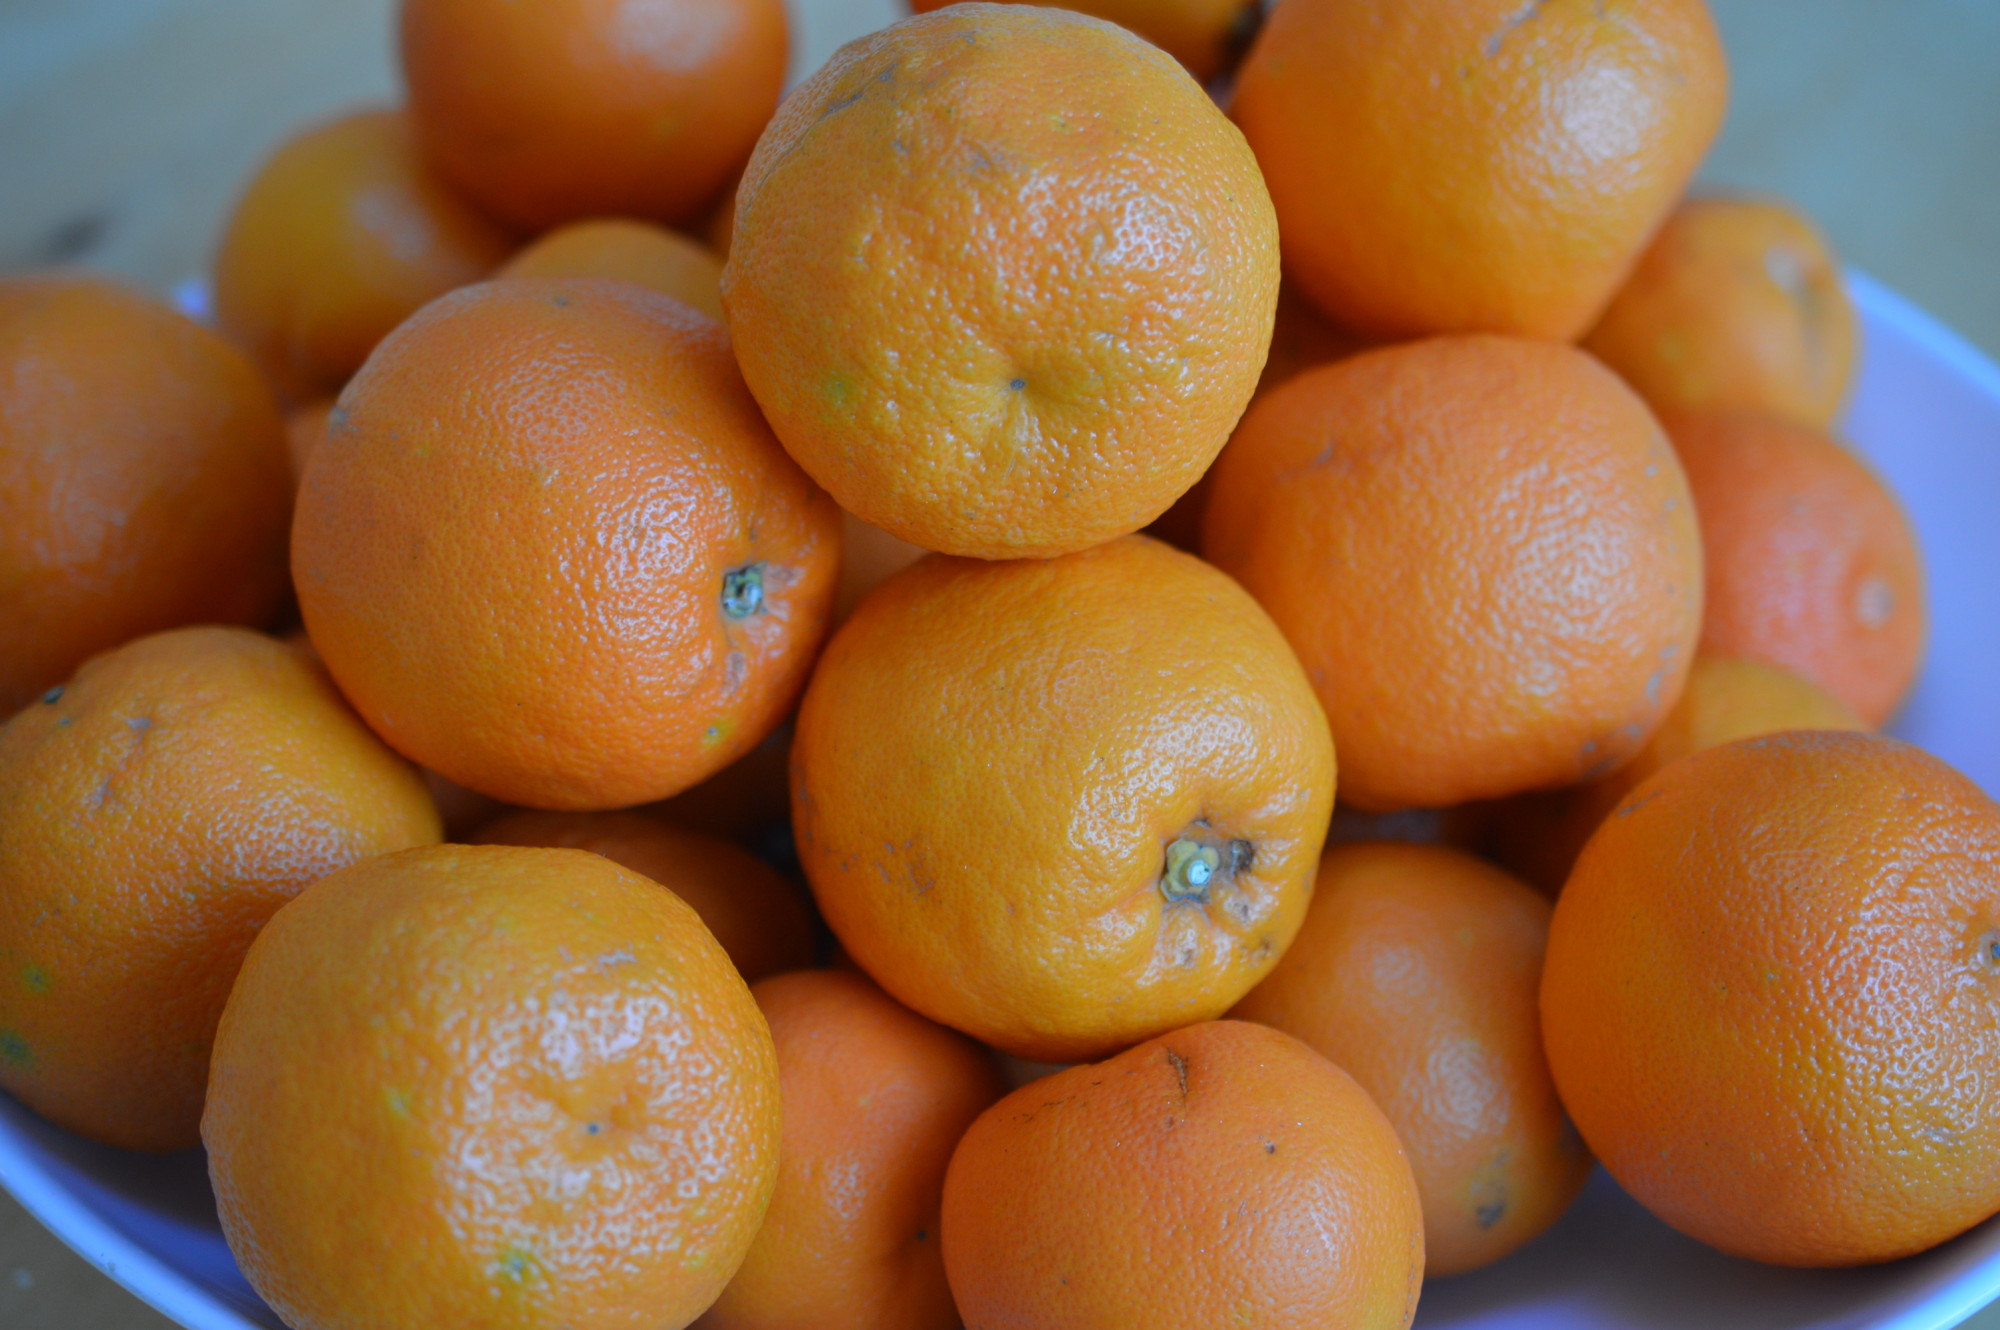
It all begins with Seville oranges – which are a ‘blink and you’ll miss them’ thing.  Imported, obviously.  You have to buy them when you see them.  Aside from vats of marmalade I like to make a Seville Orange Tart.  It’s a once in the year event, which is one of the things I love most about it.  For that I need 55g of Madeira Cake.

DSC_0152 1

So, that’s how I got here.  Madeira cake for packed lunches and a ‘hidden-away’ slice for the Seville Orange Tart.

DSC_0156 1

Madeira Cake is a really old fashioned cake.  The first recipes appear in the eighteenth century, but I doubt my ancestors were eating it.  It was luxury.  At a time when genteel ladies offered their afternoon callers ‘some refreshment’ Madeira Cake might have been served with a glass of Madeira, which is a Portuguese fortified wine.  That’s how it gets its name.

DSC_0126 2

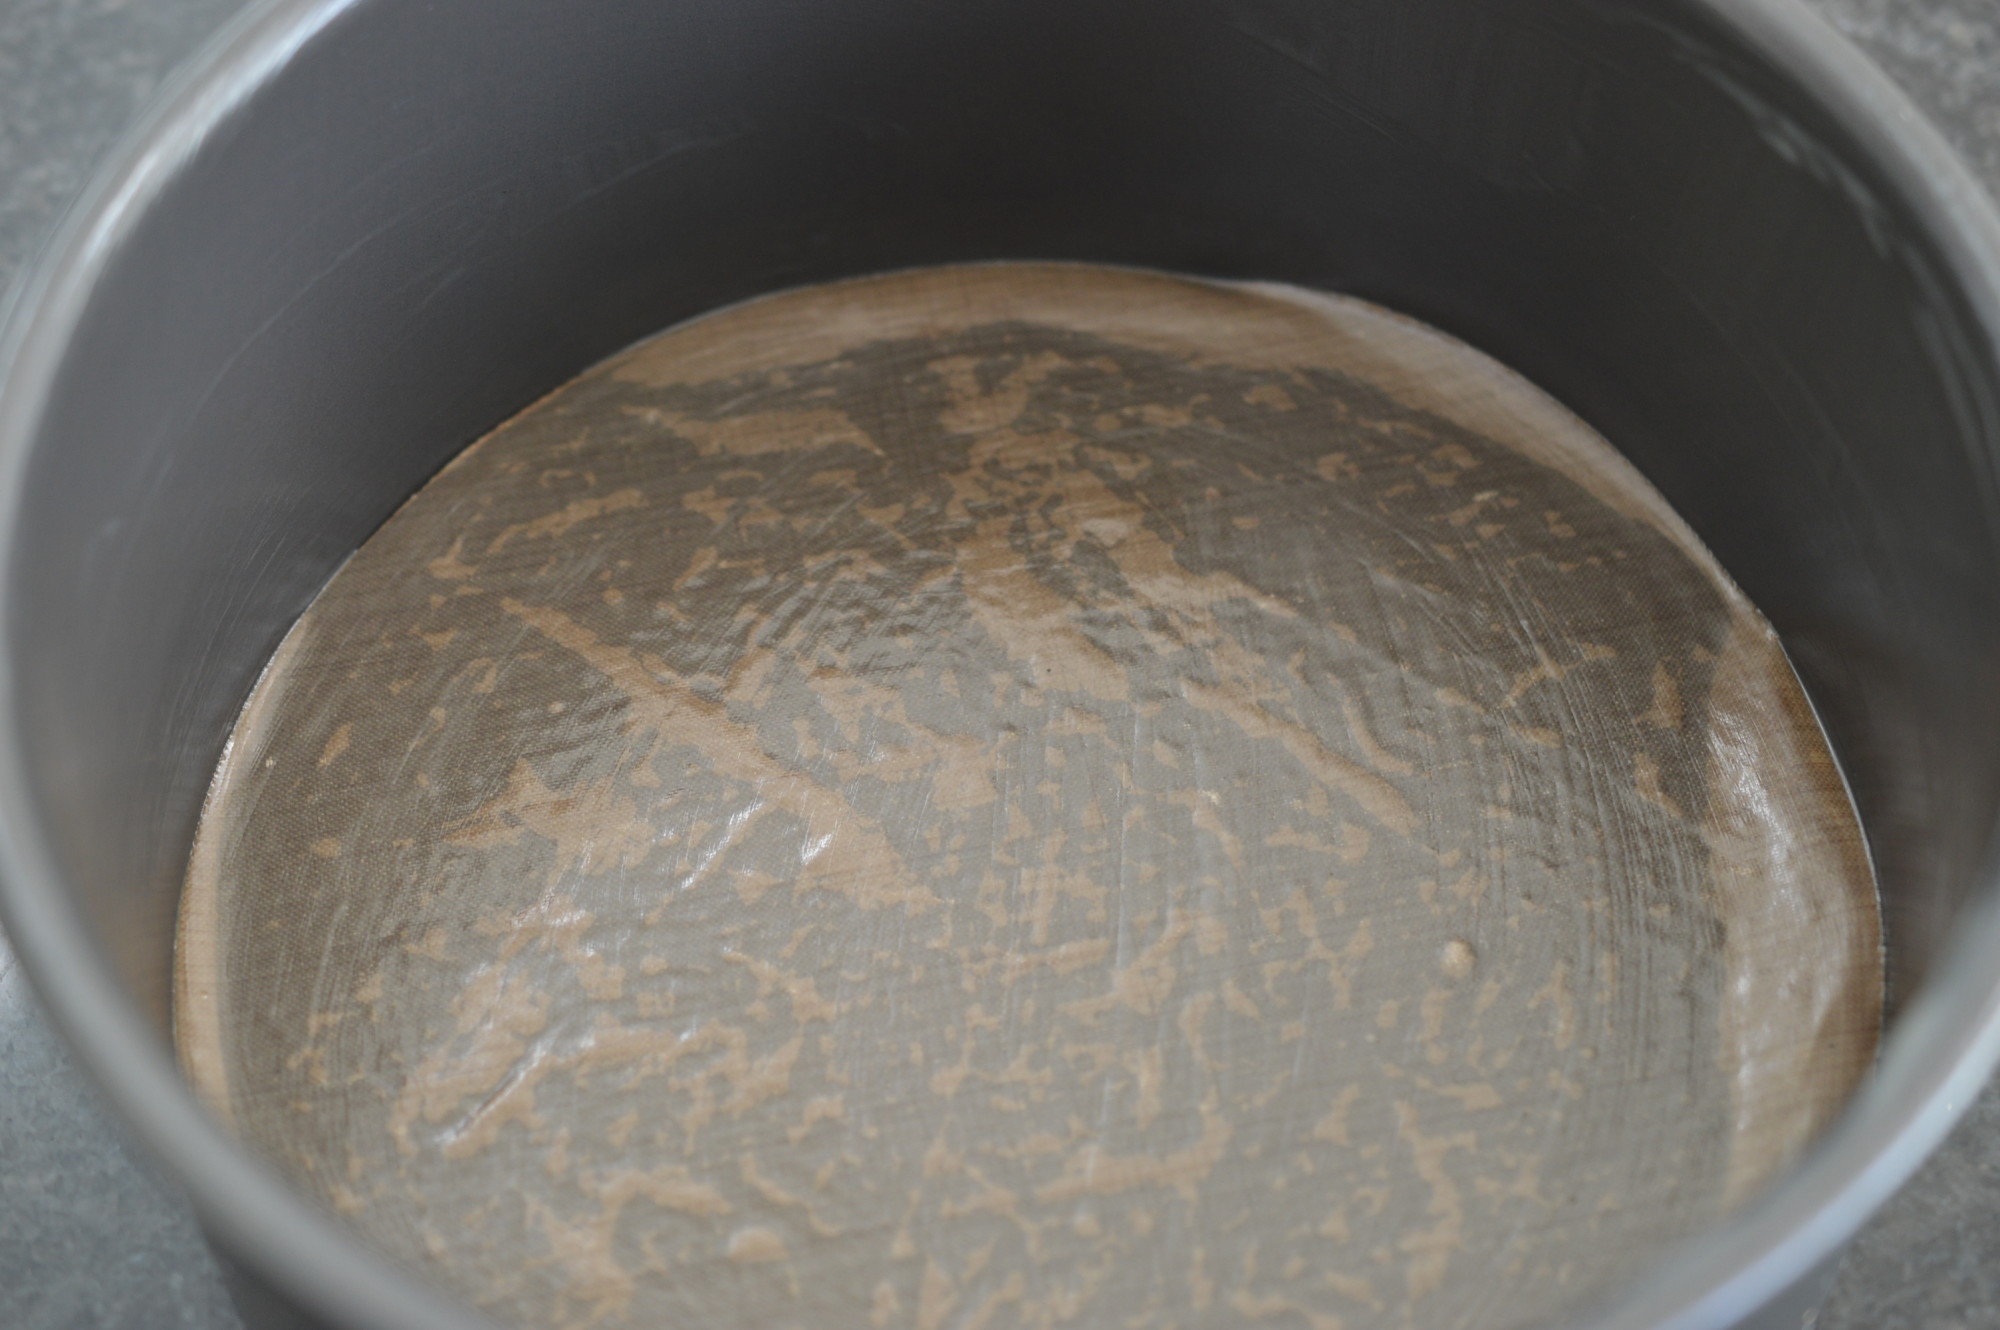
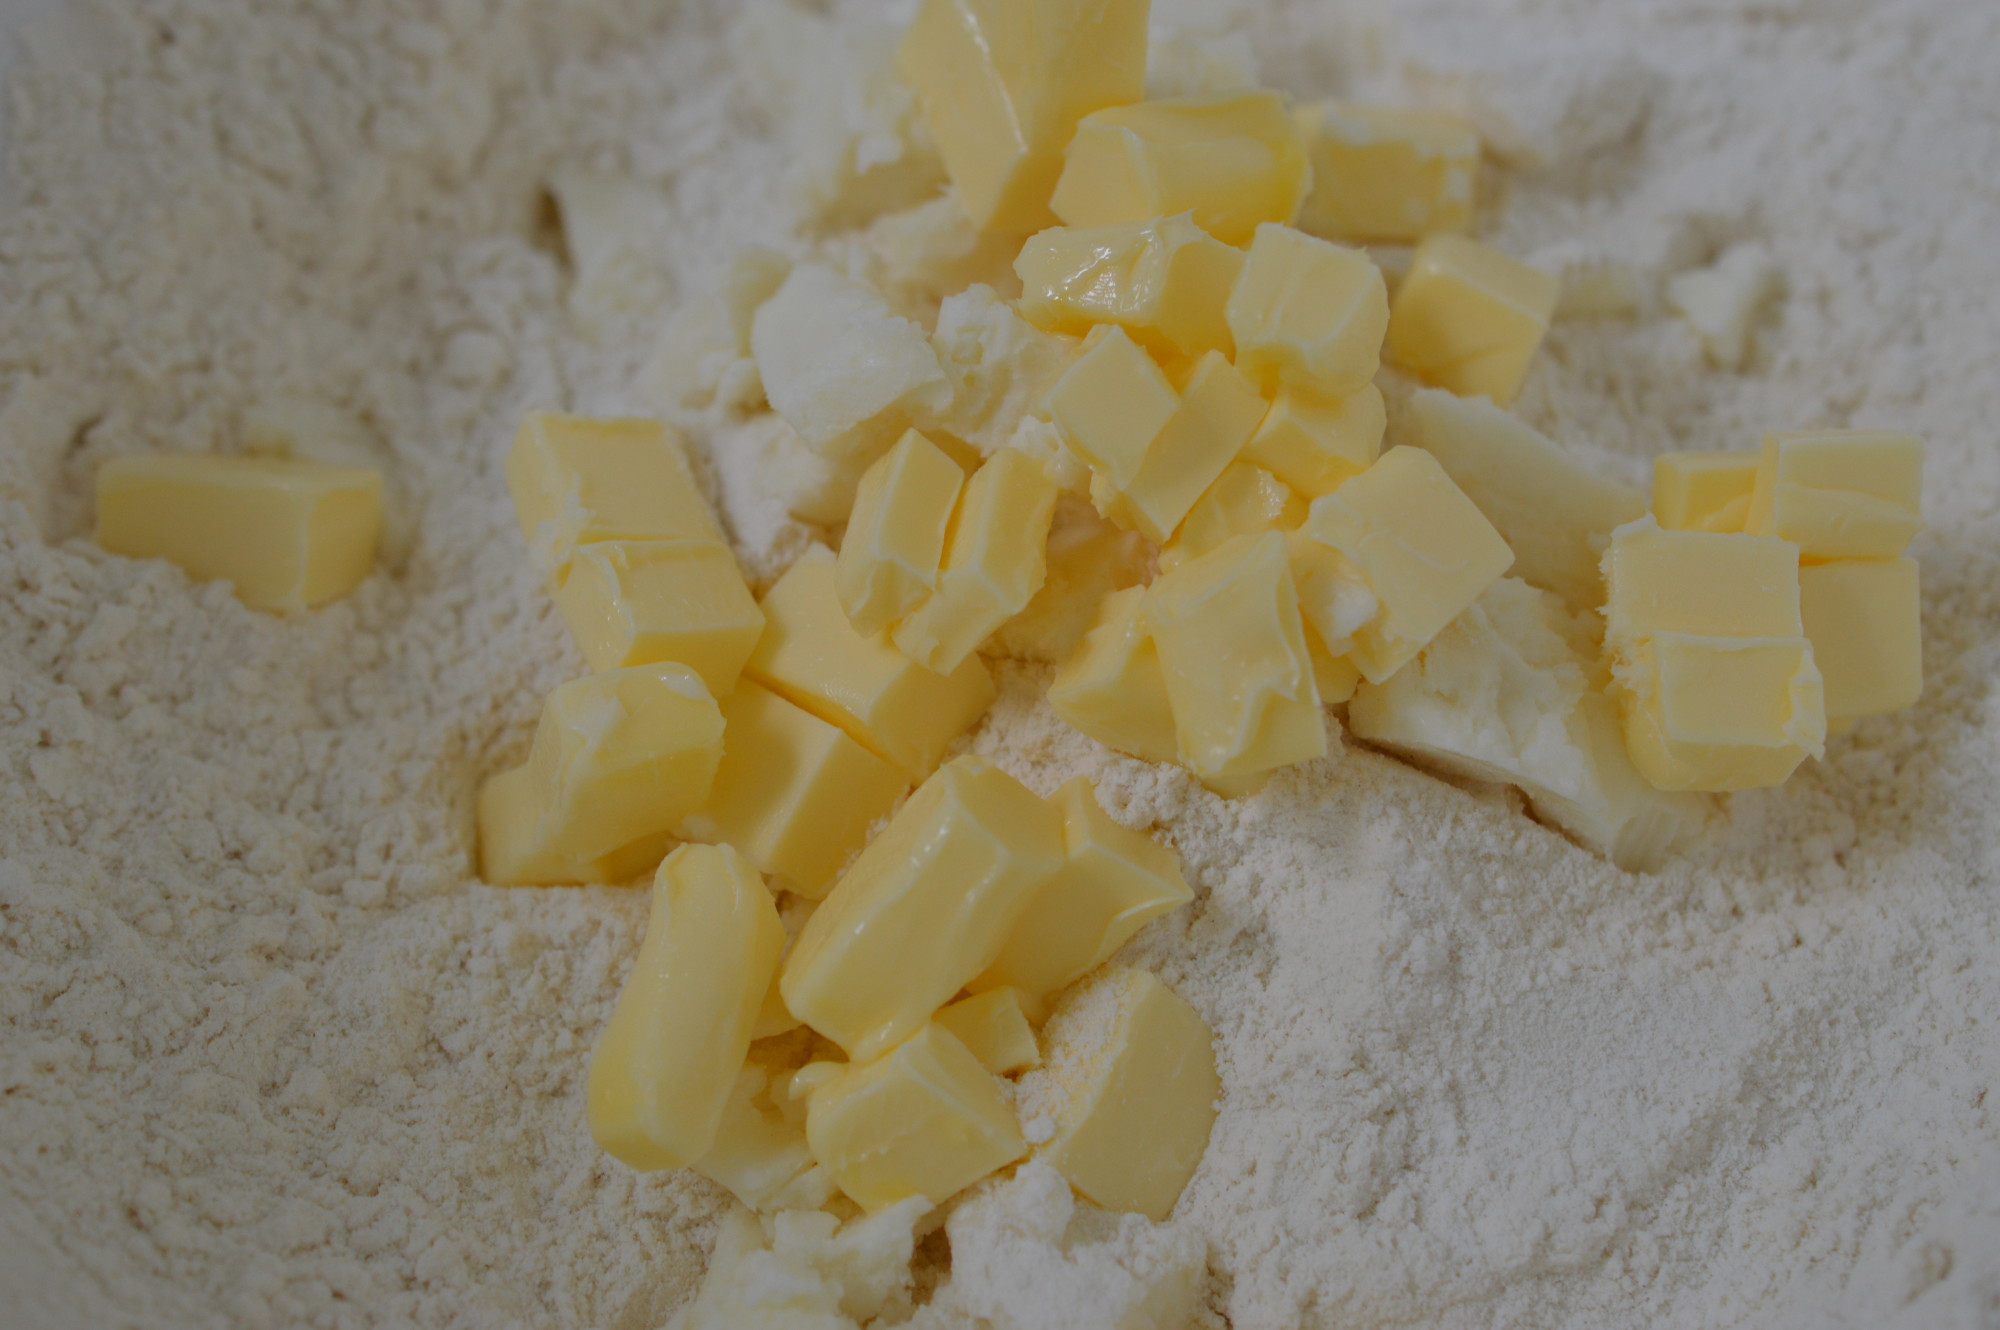
Start by preparing the 18cm/7″ cake tin.  I use melted butter and place a circle of baking parchment at the bottom.  Pre-heat the oven to 160ºC/325ºF/Gas Mark 3.

DSC_0111

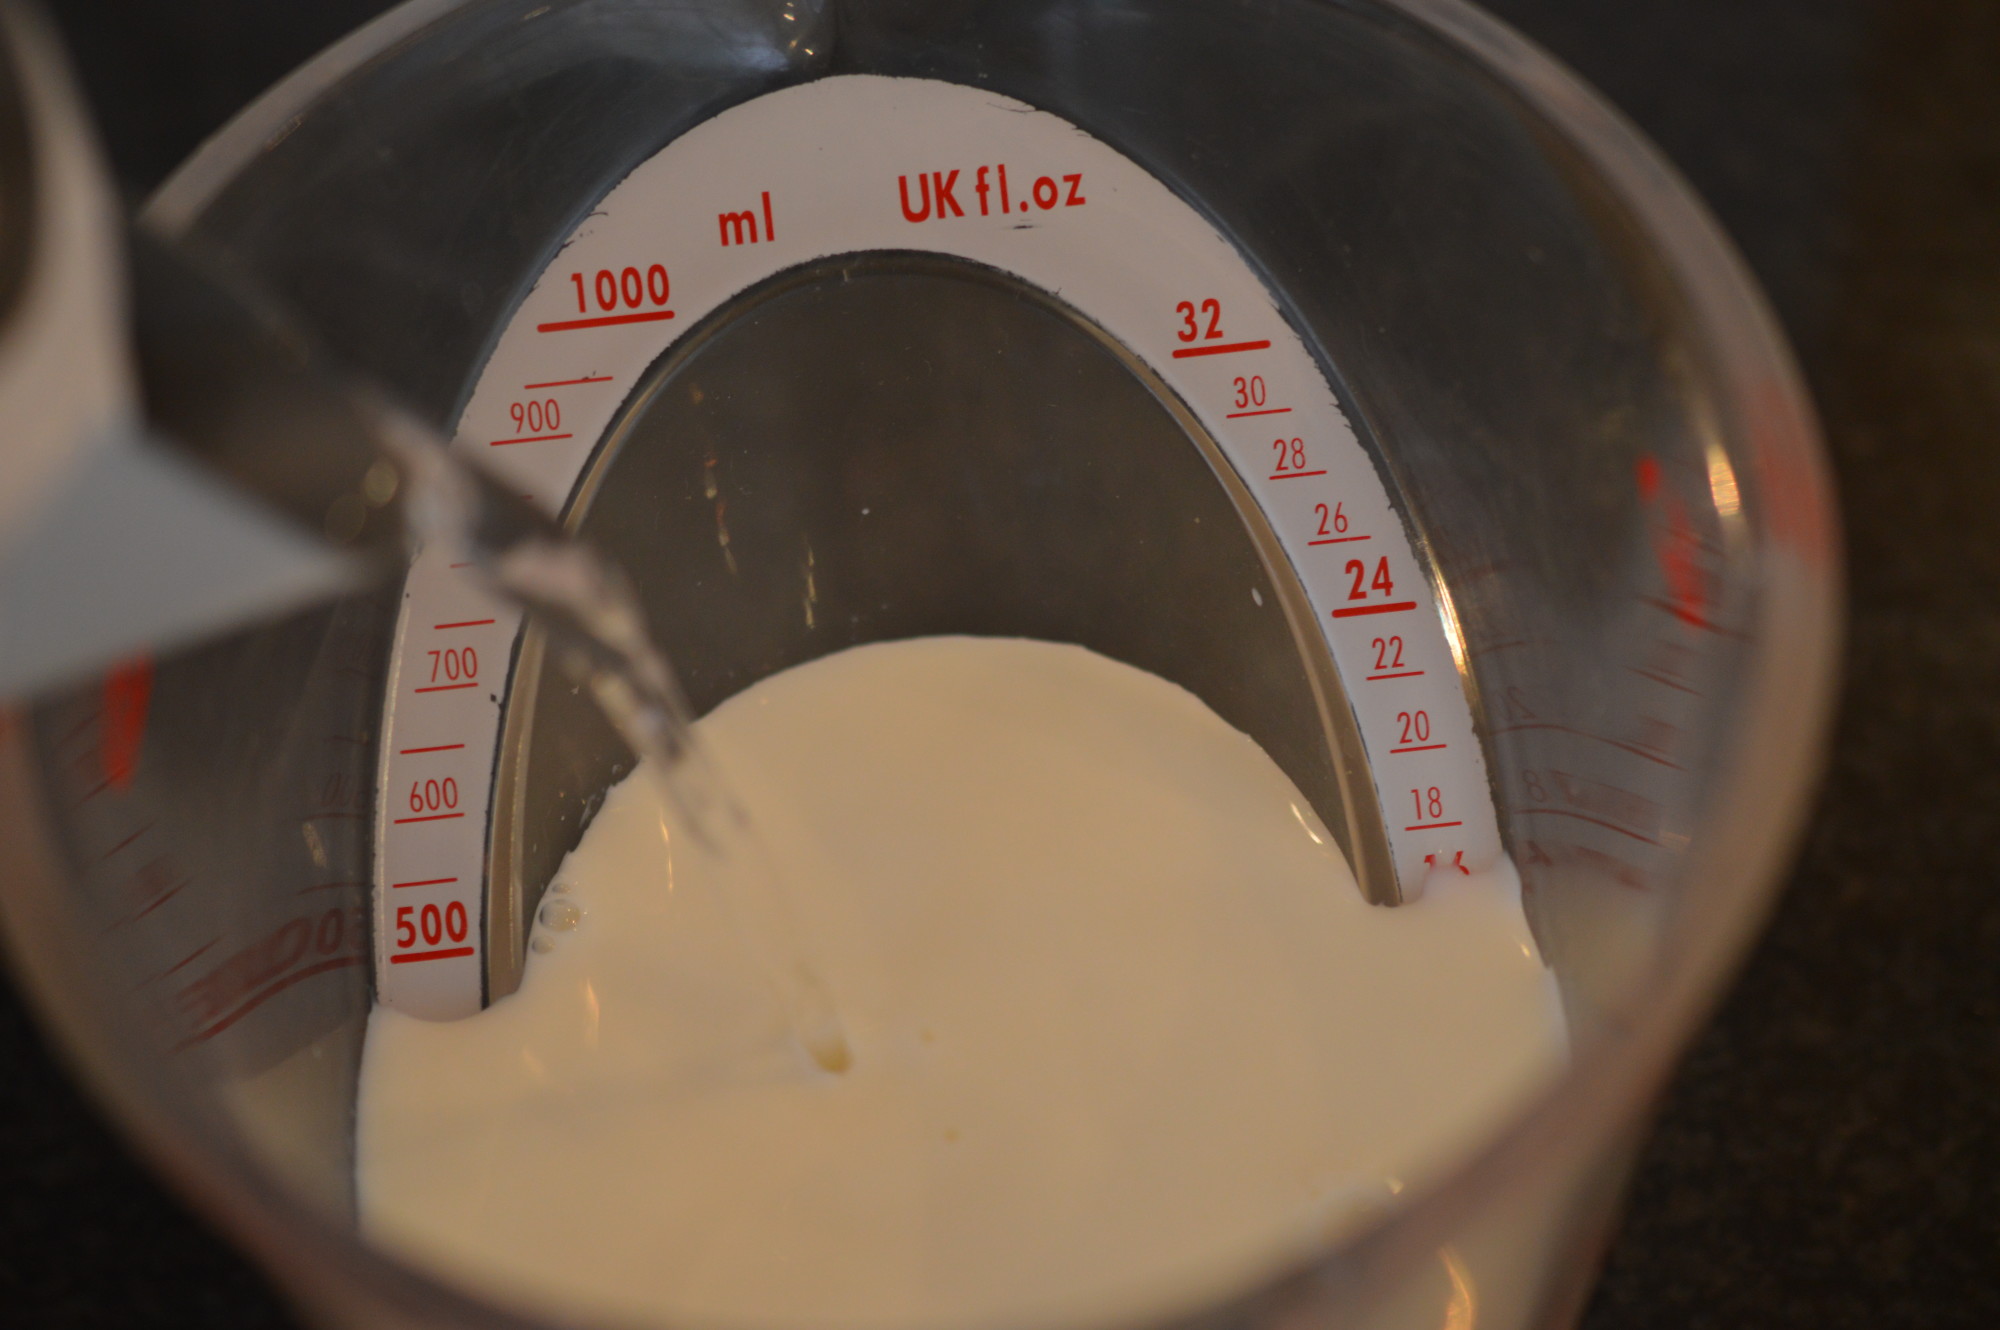
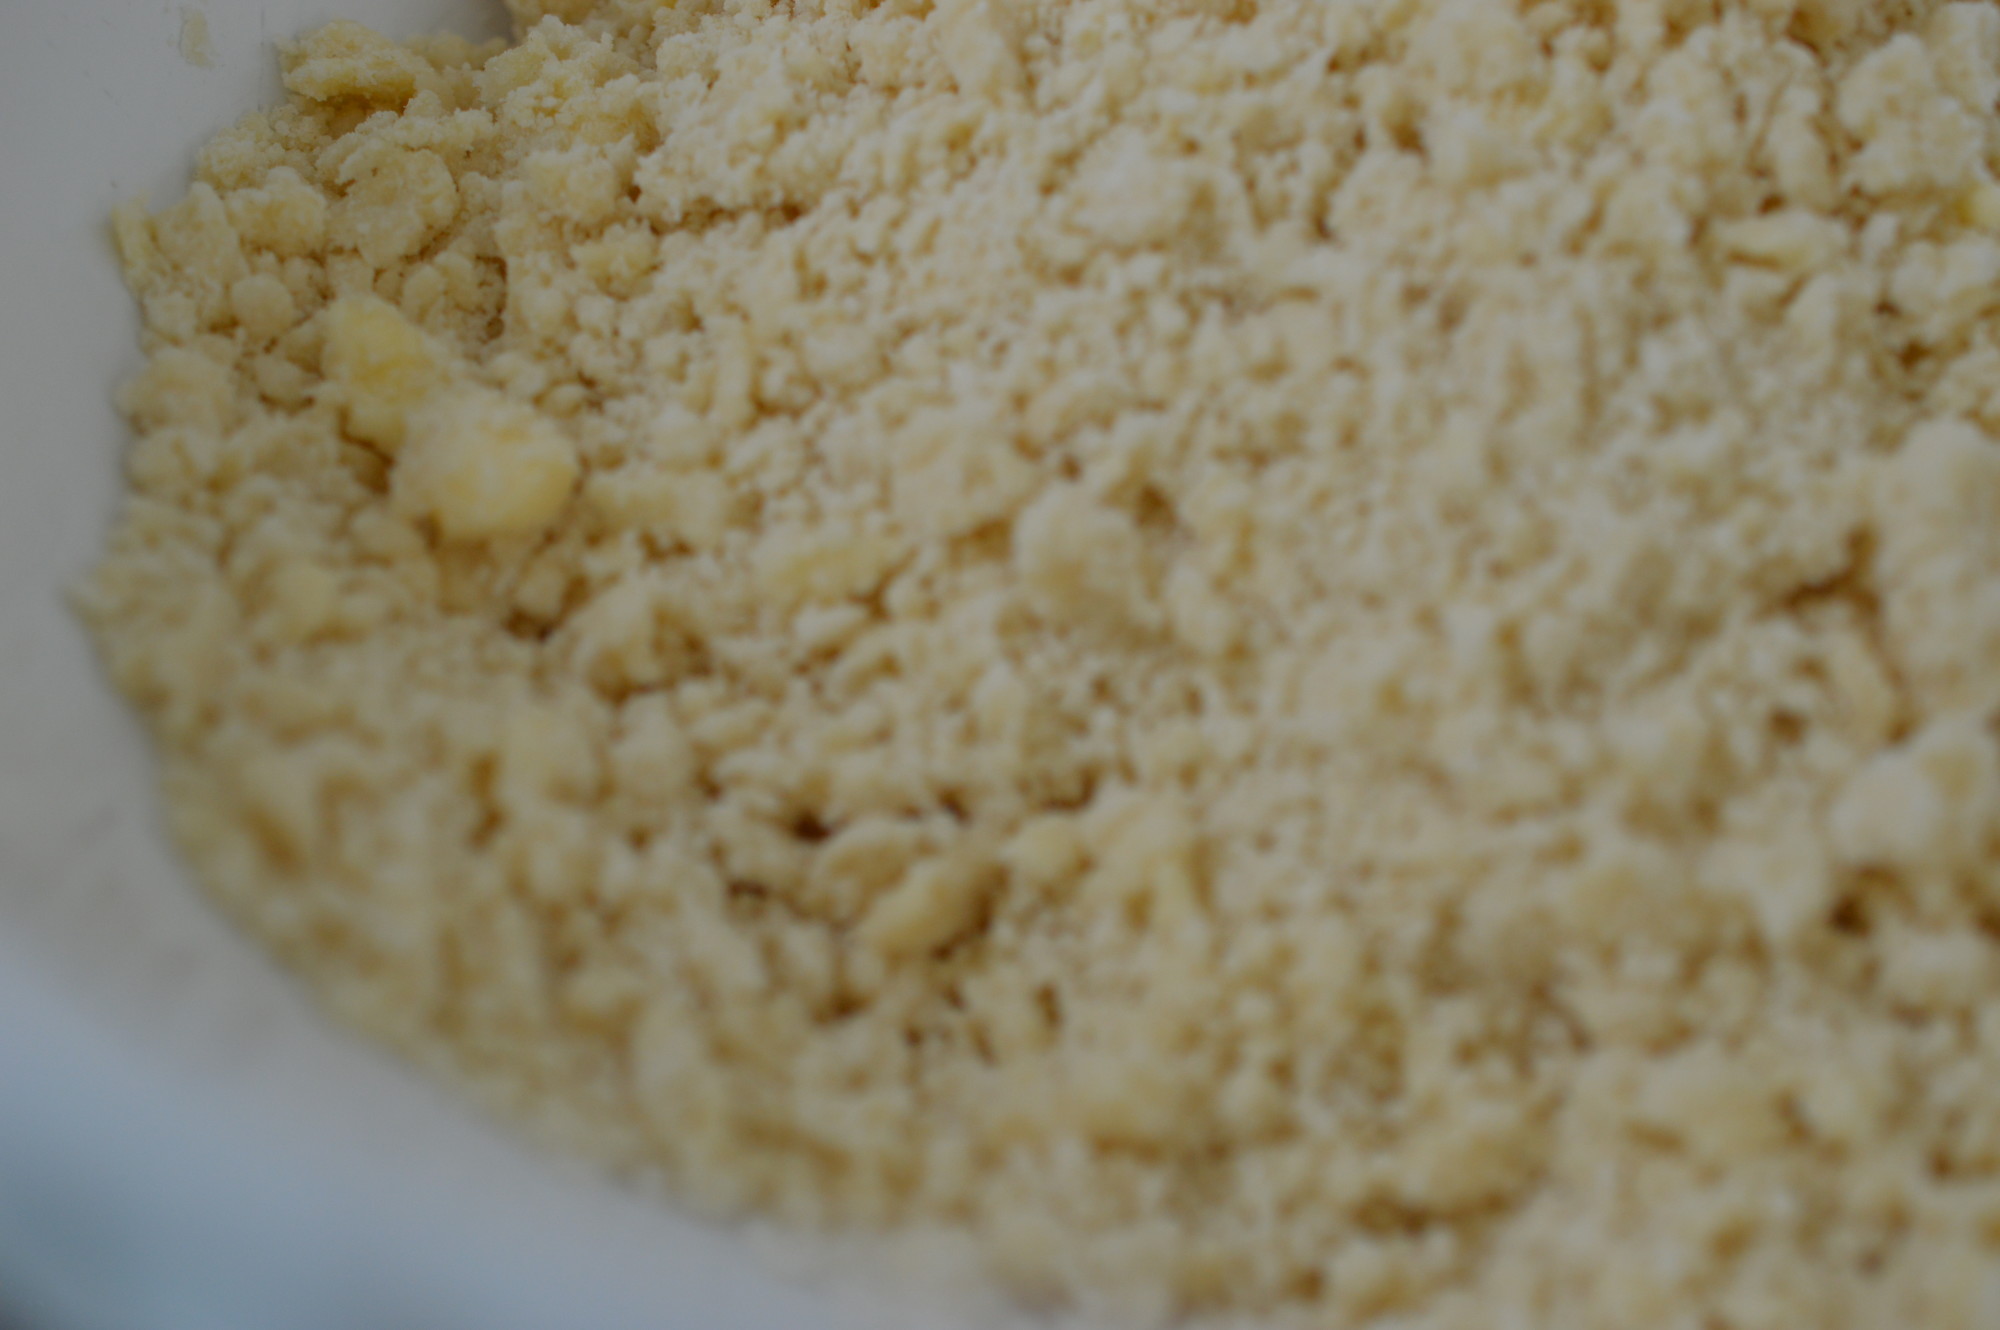
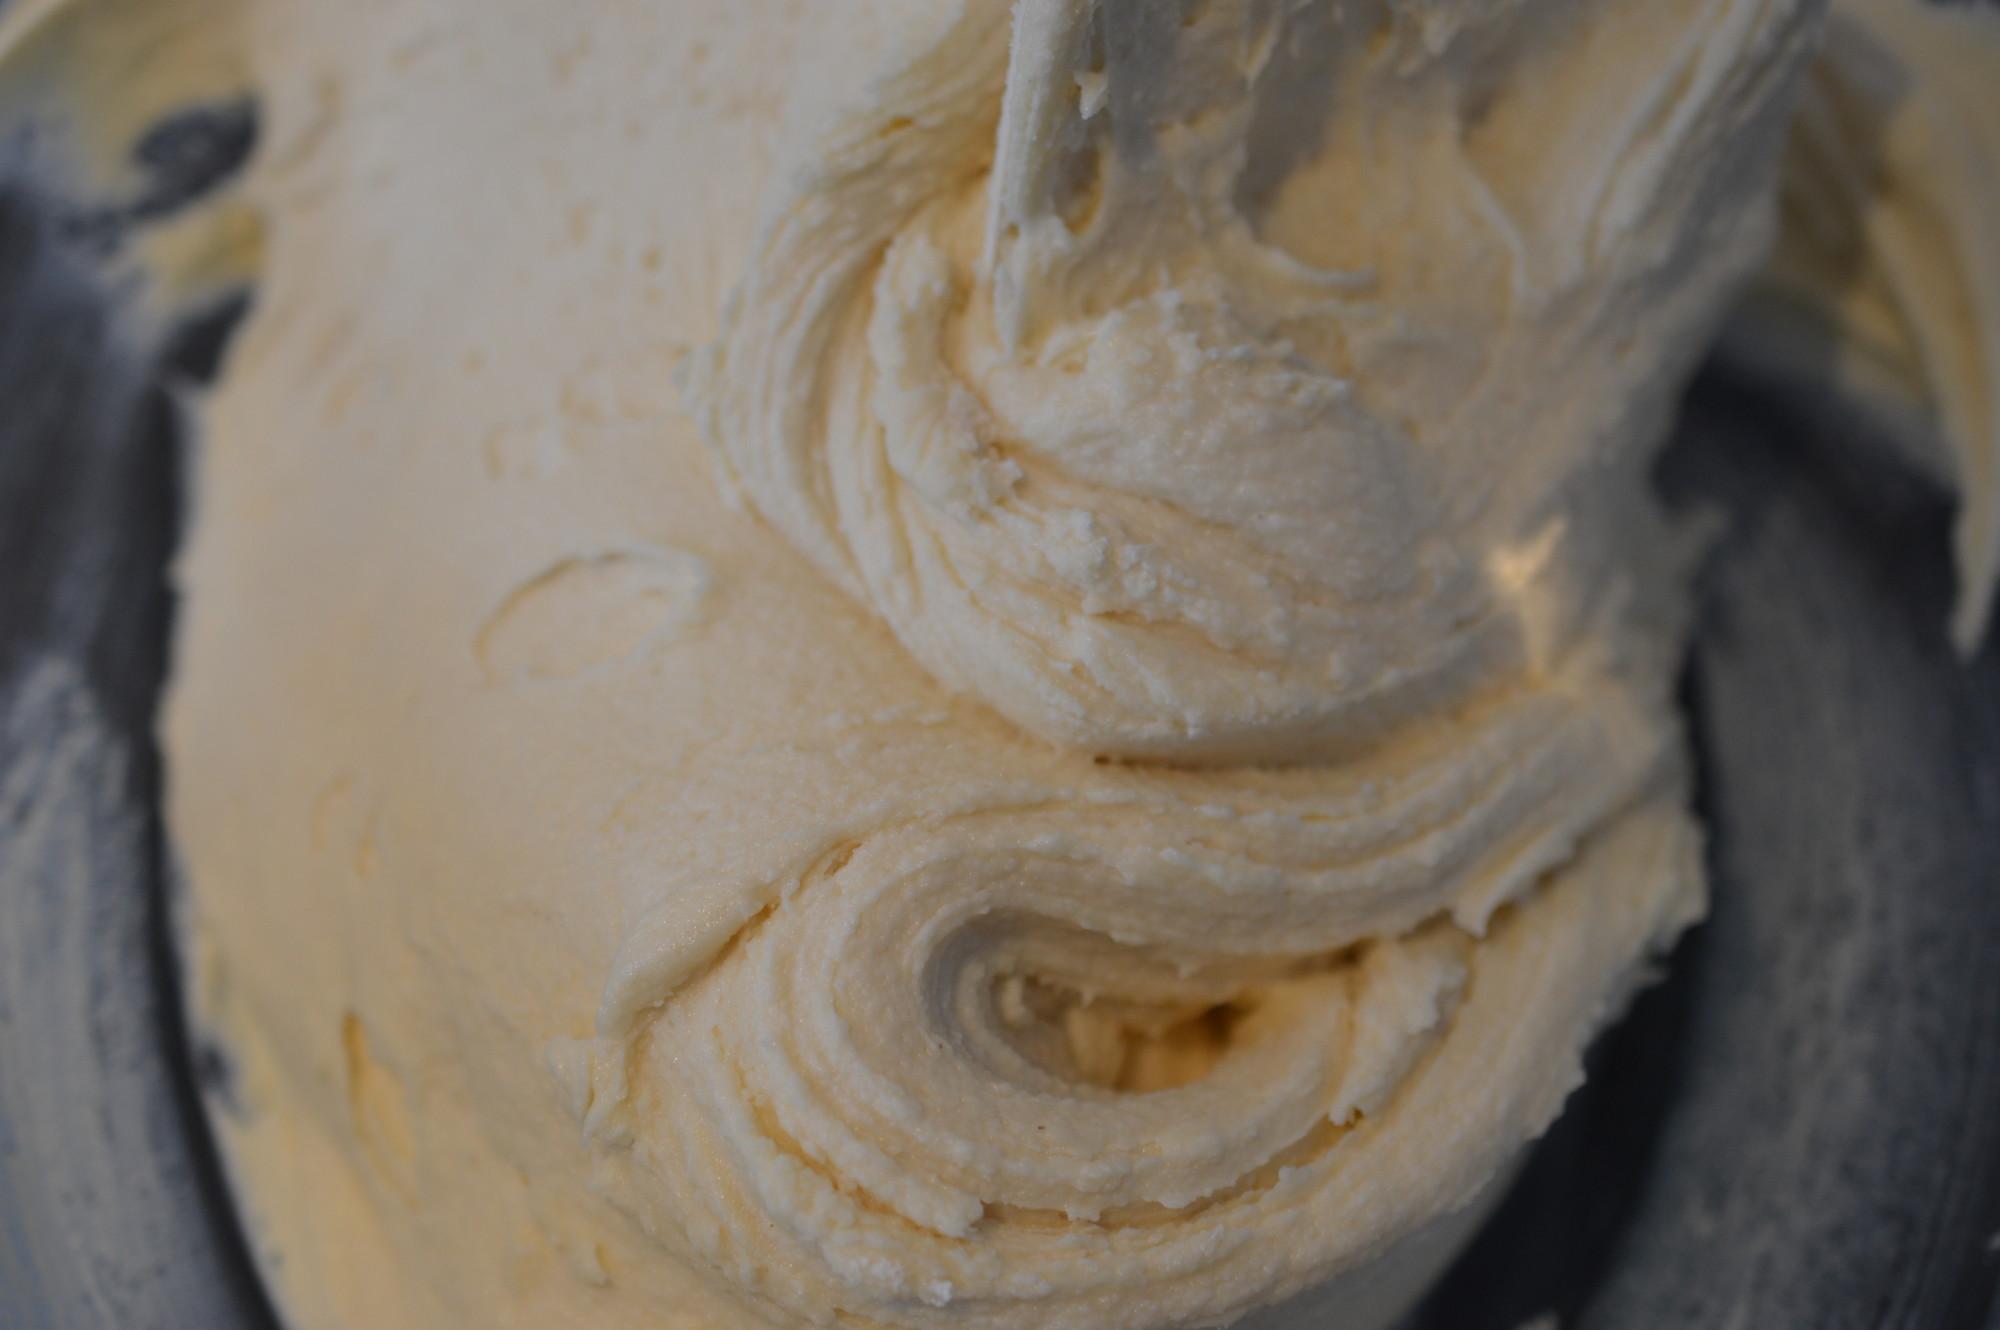
The cake mixture begins with softened butter.  Give it a quick beat and then add the sugar.

DSC_0113

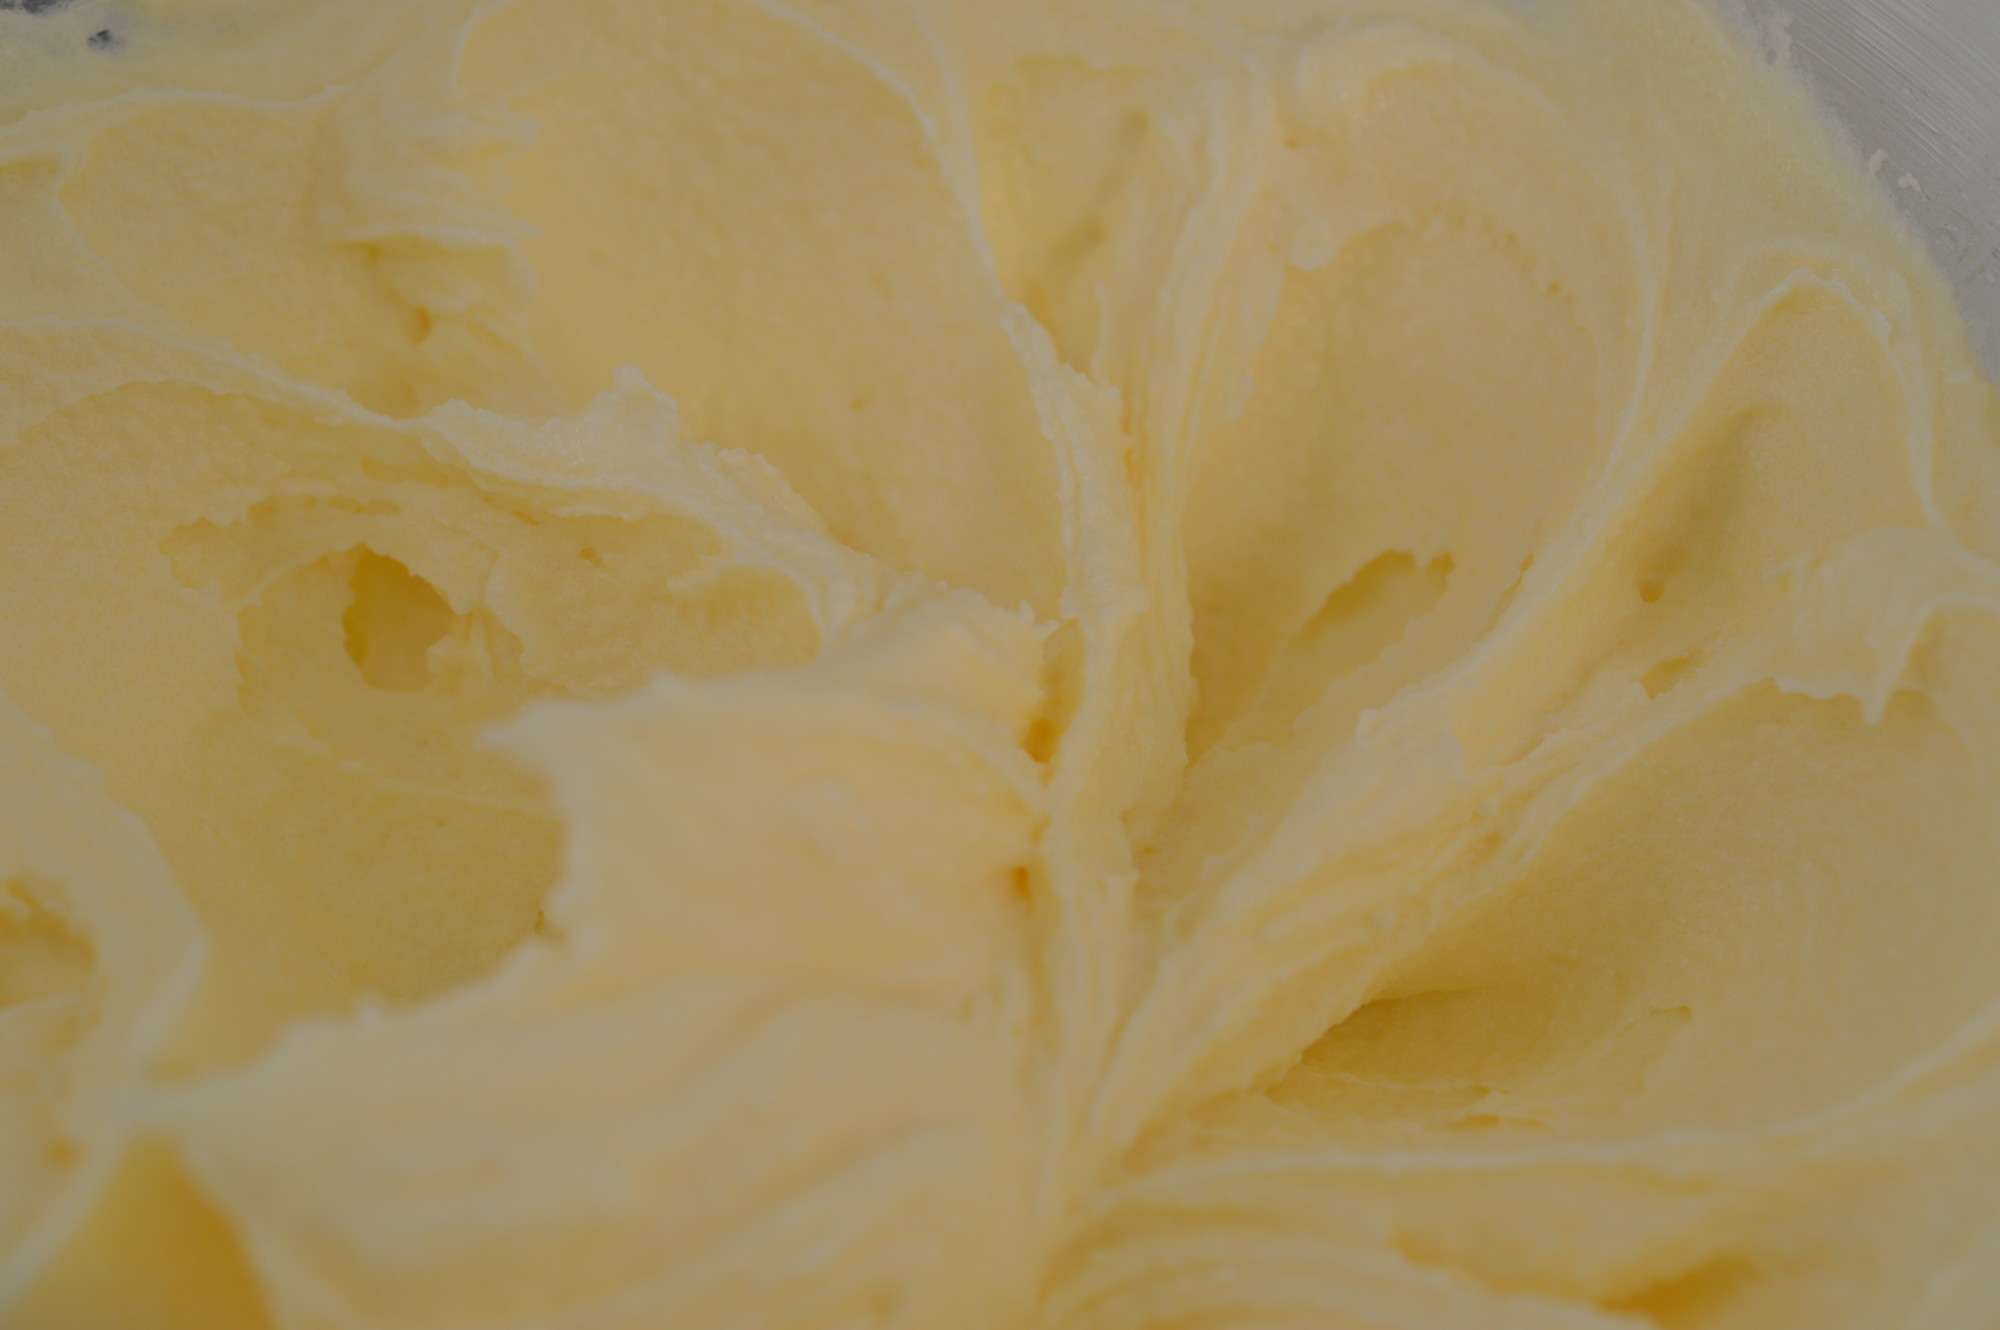
This stage always takes longer than you think it should and the paler you can get it the better.  Spare a minute to the poor souls who did it all by hand.

DSC_0115

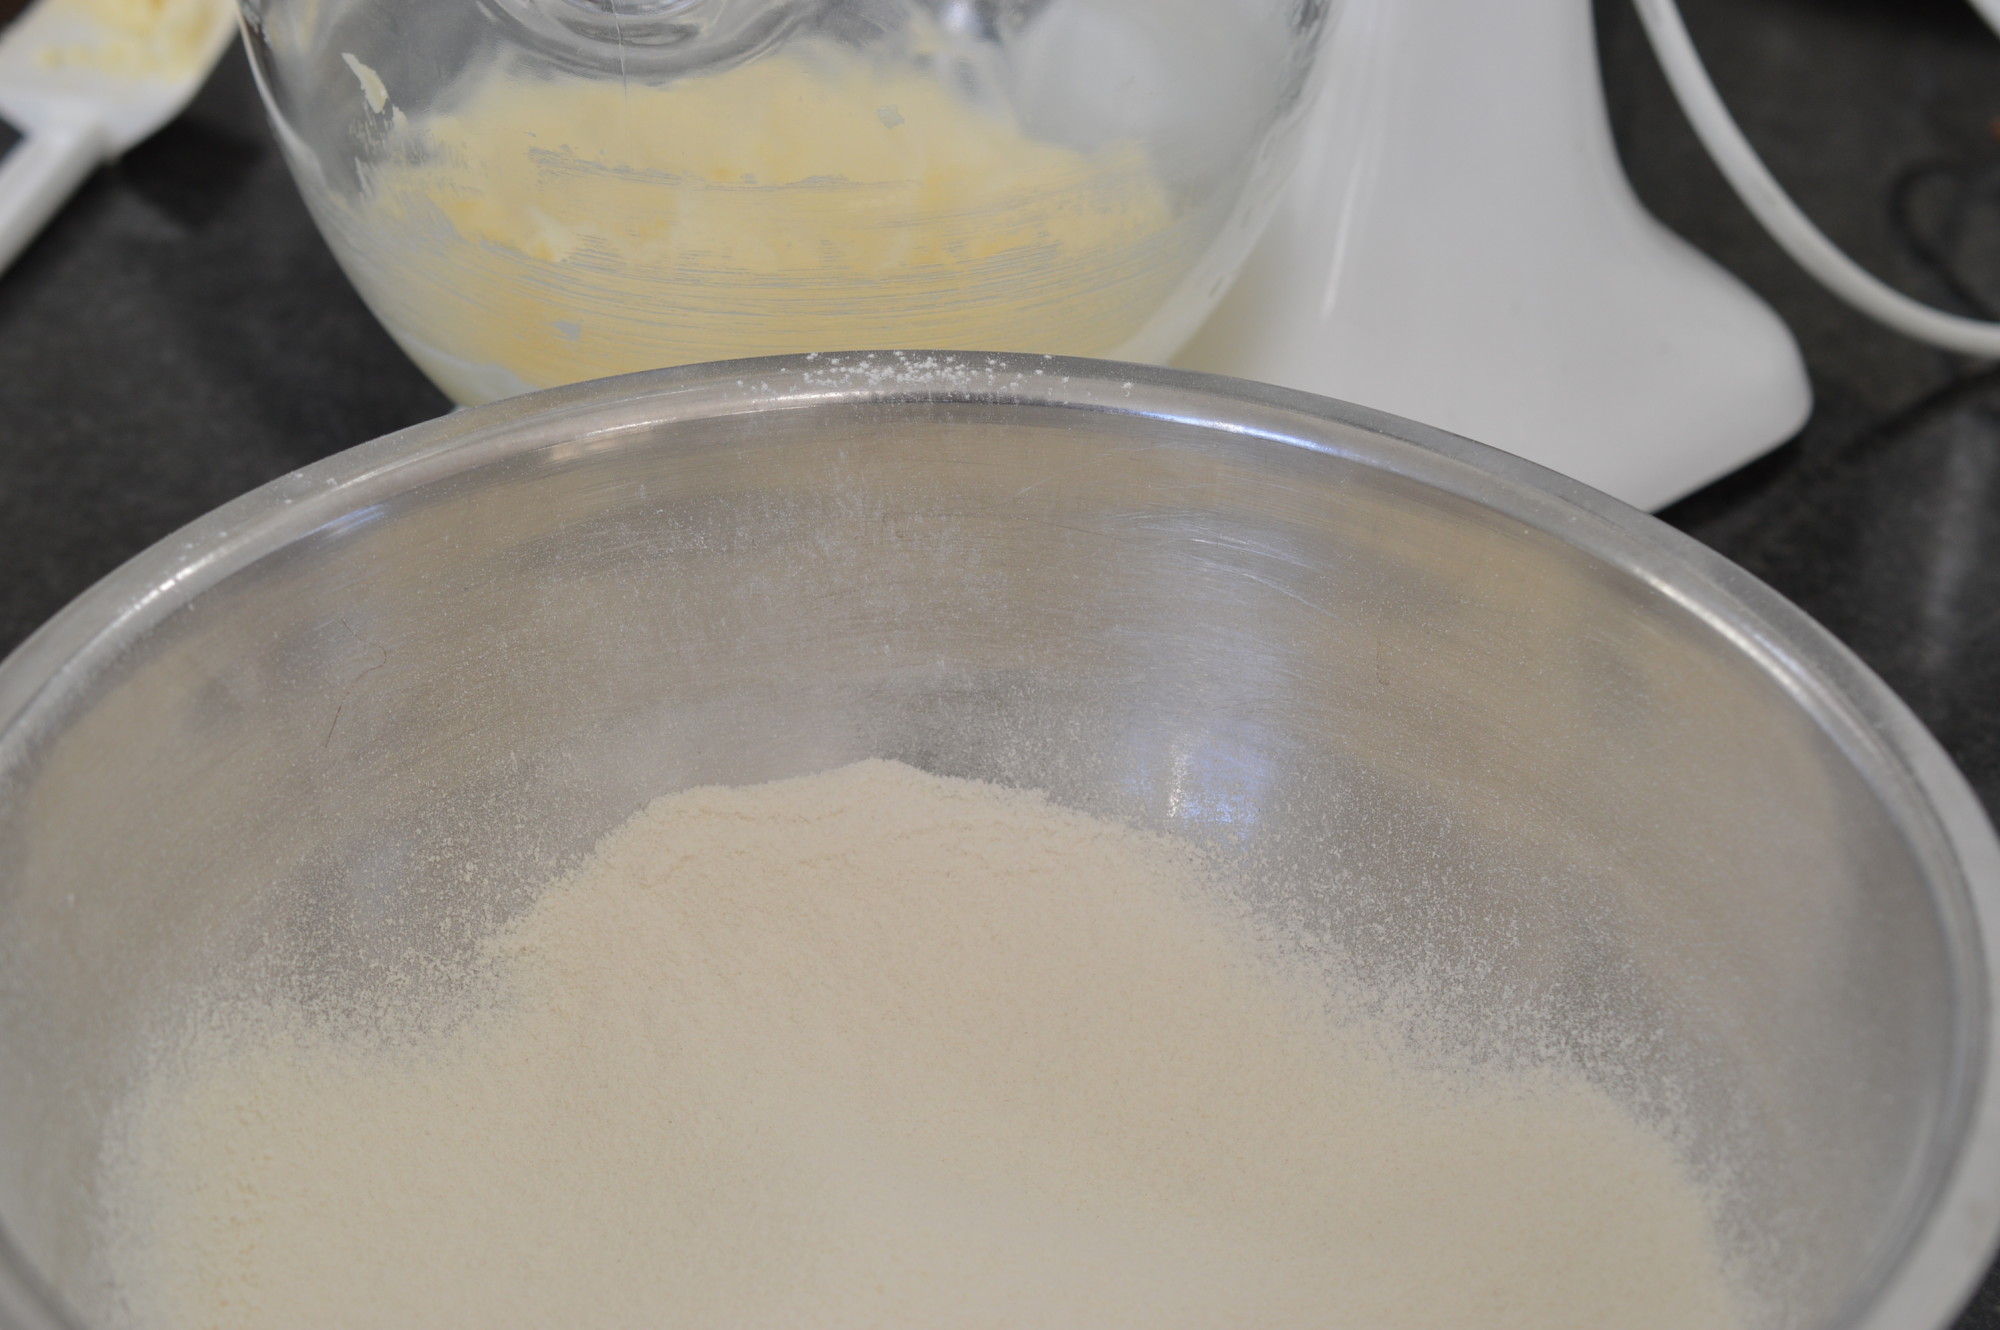
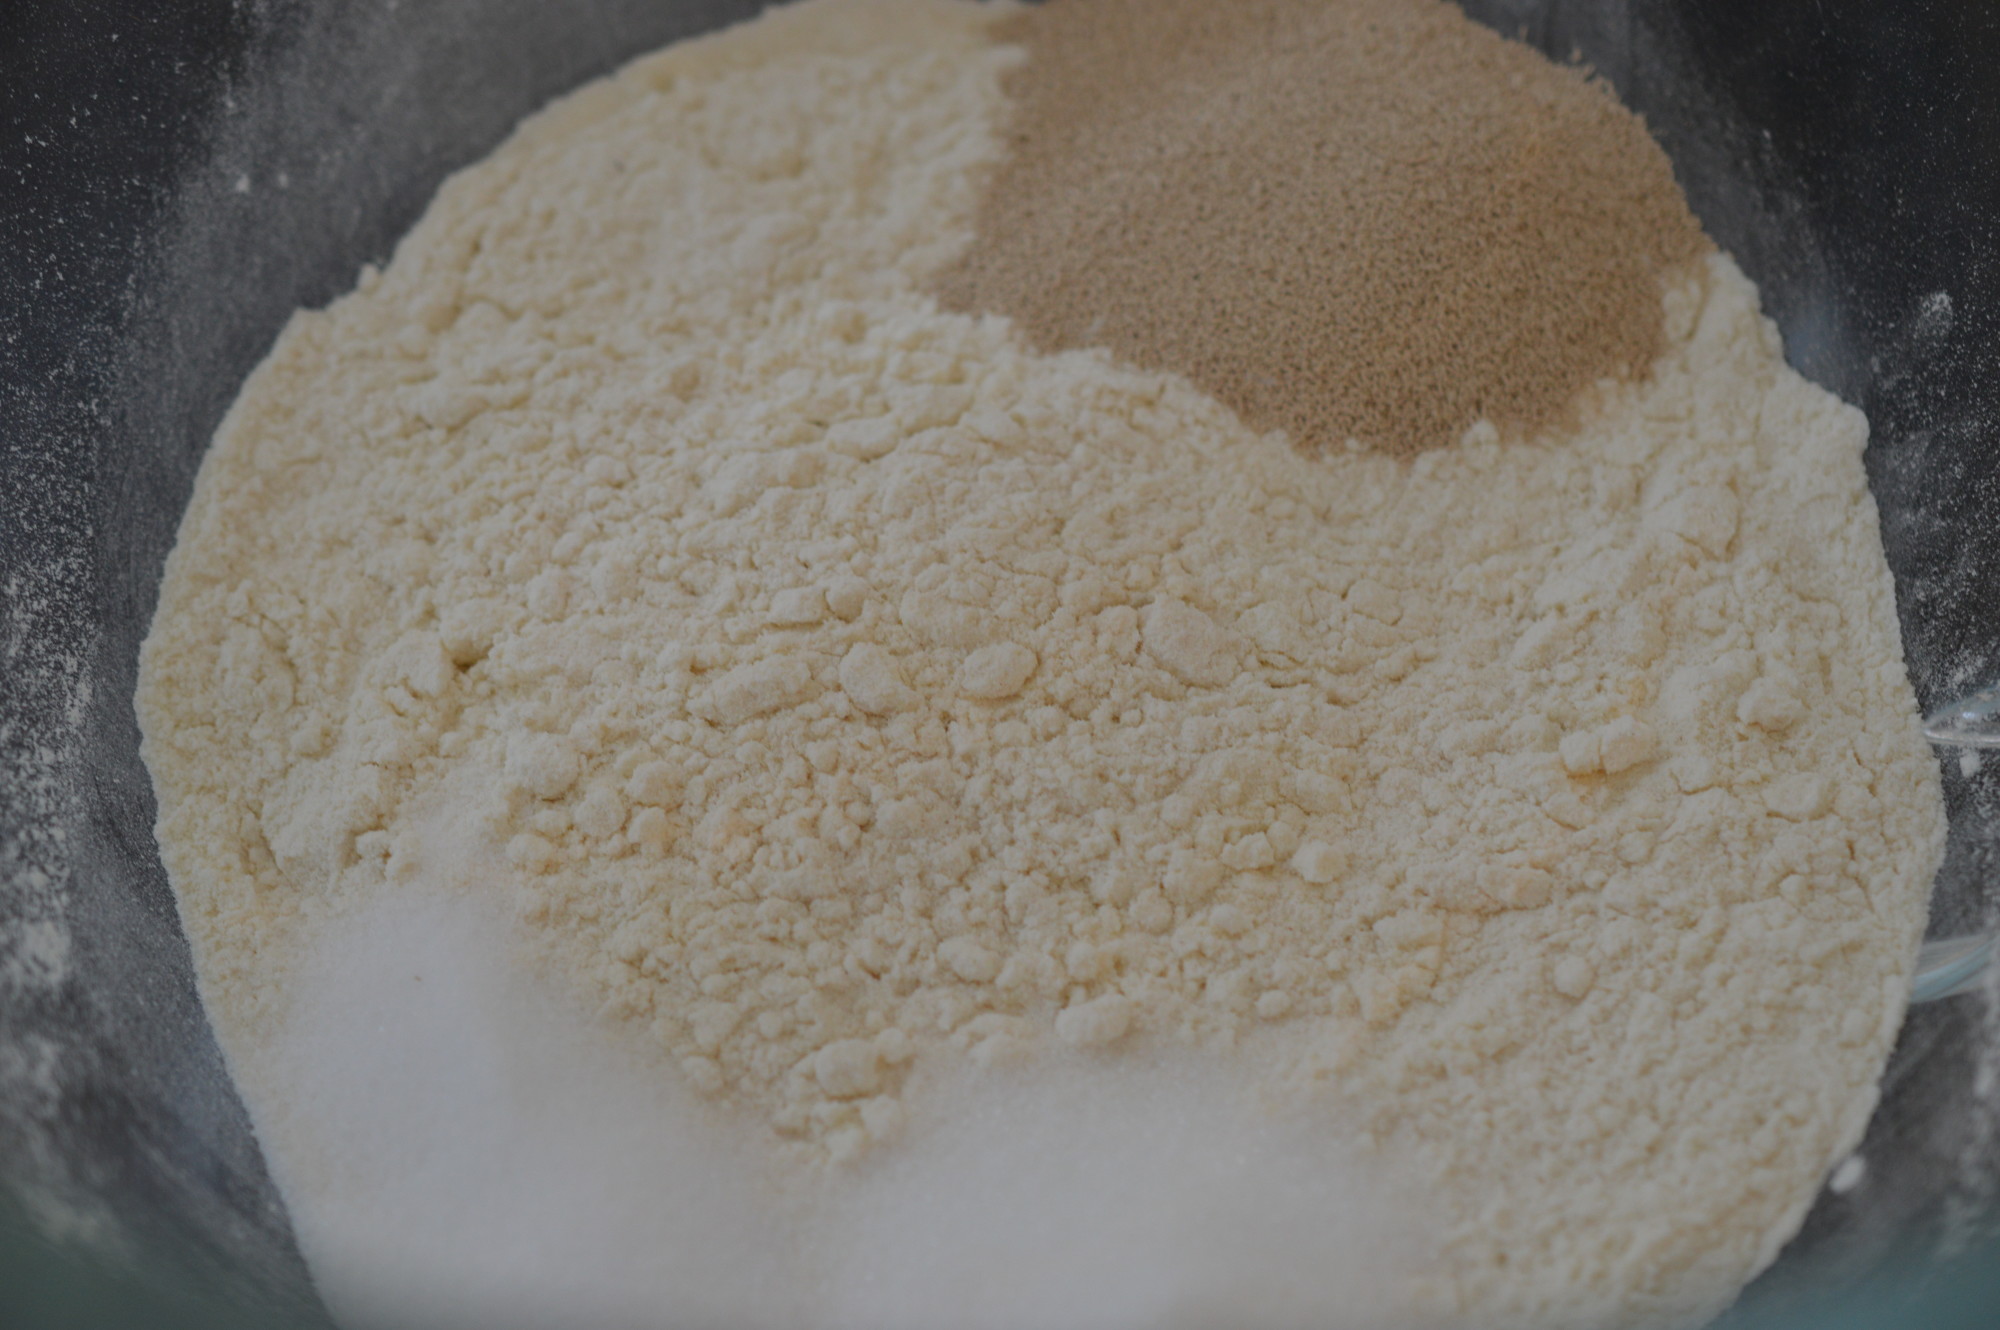
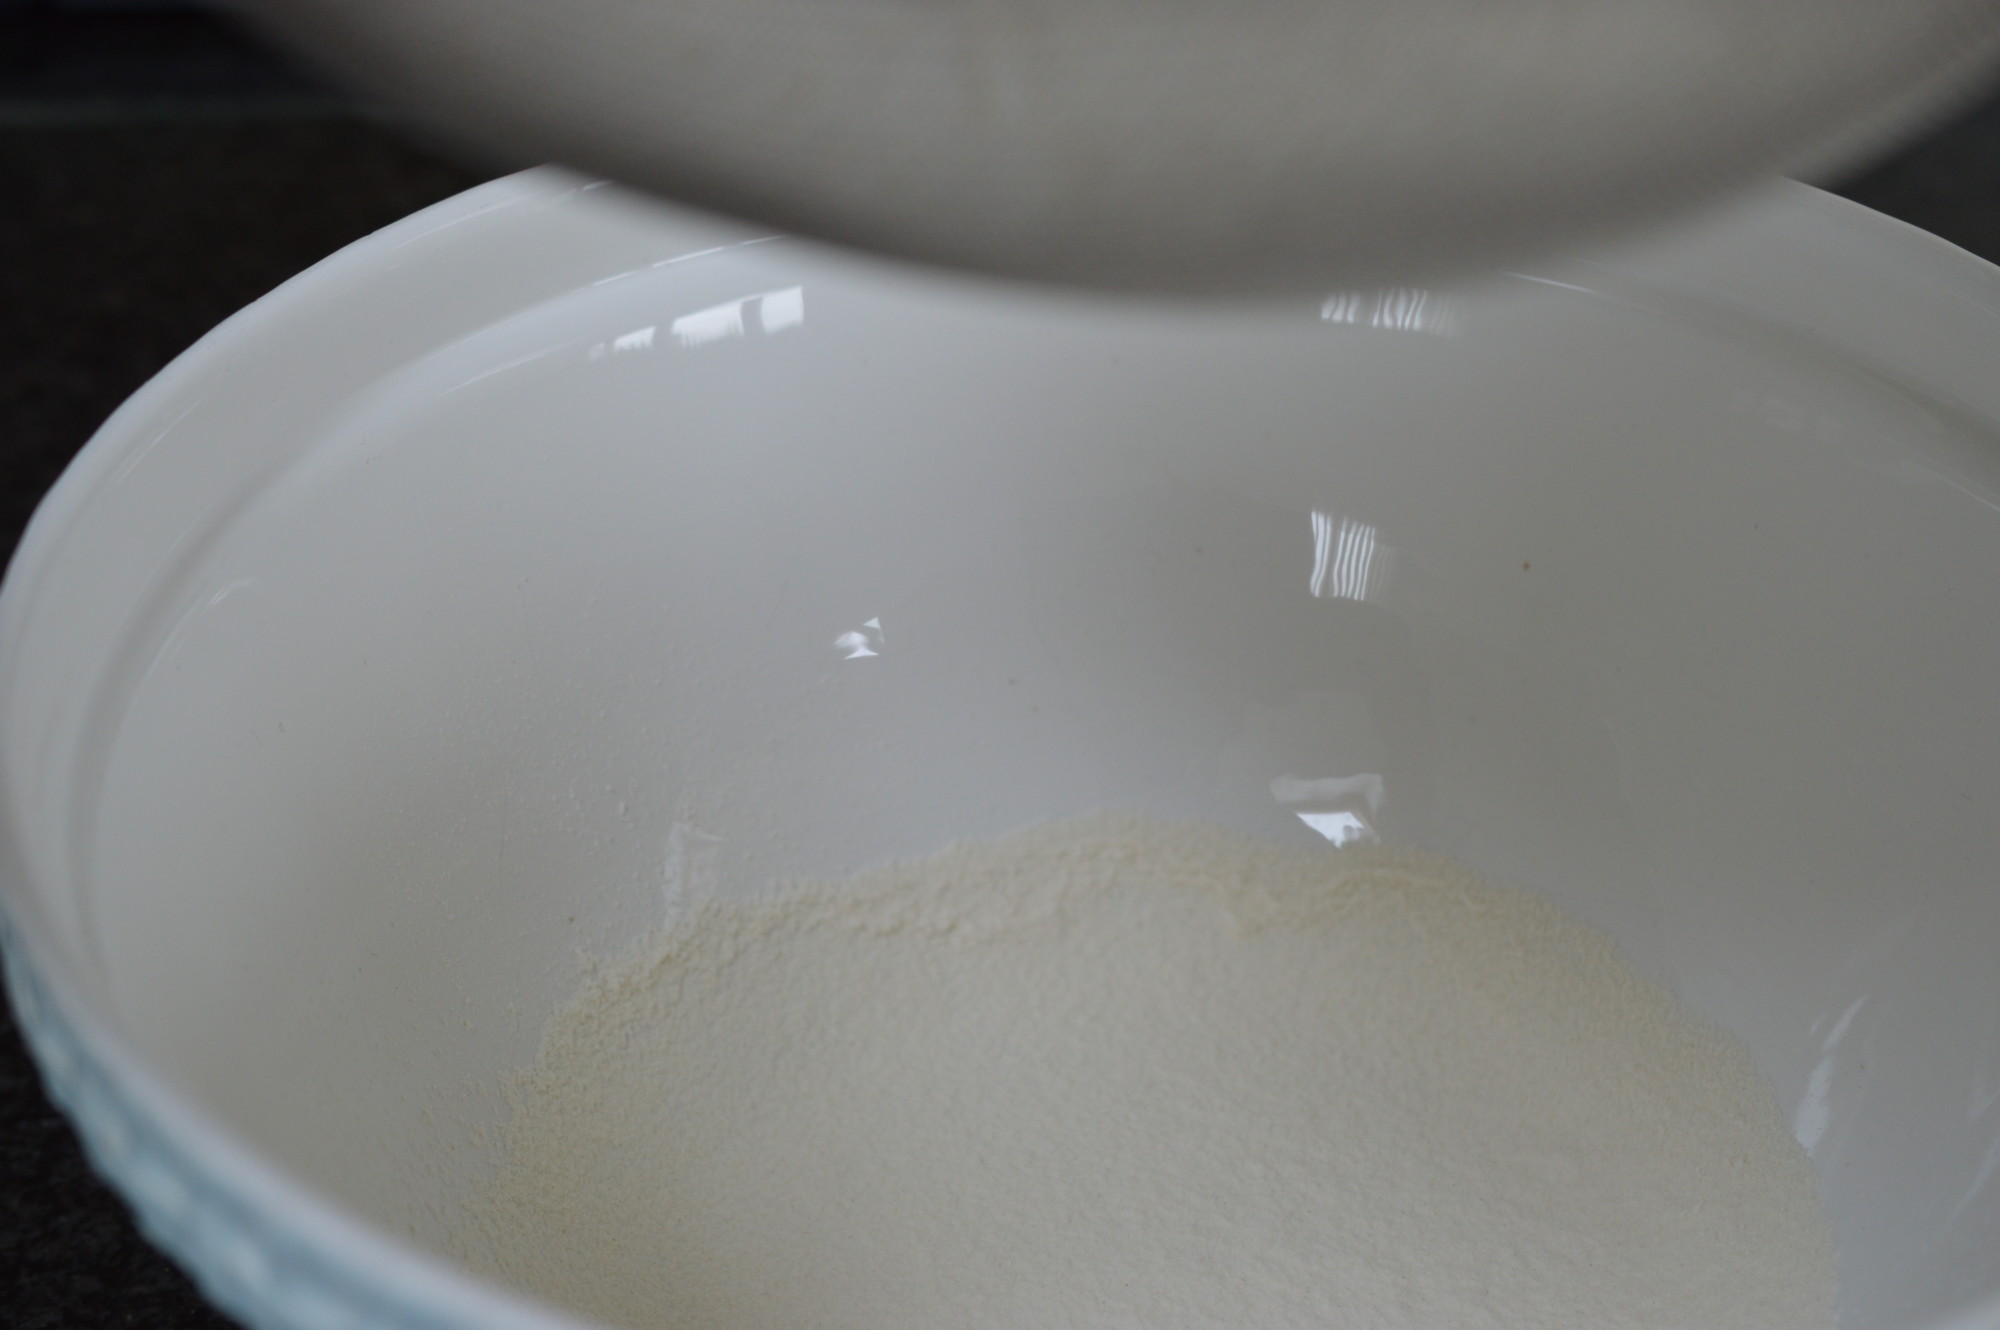
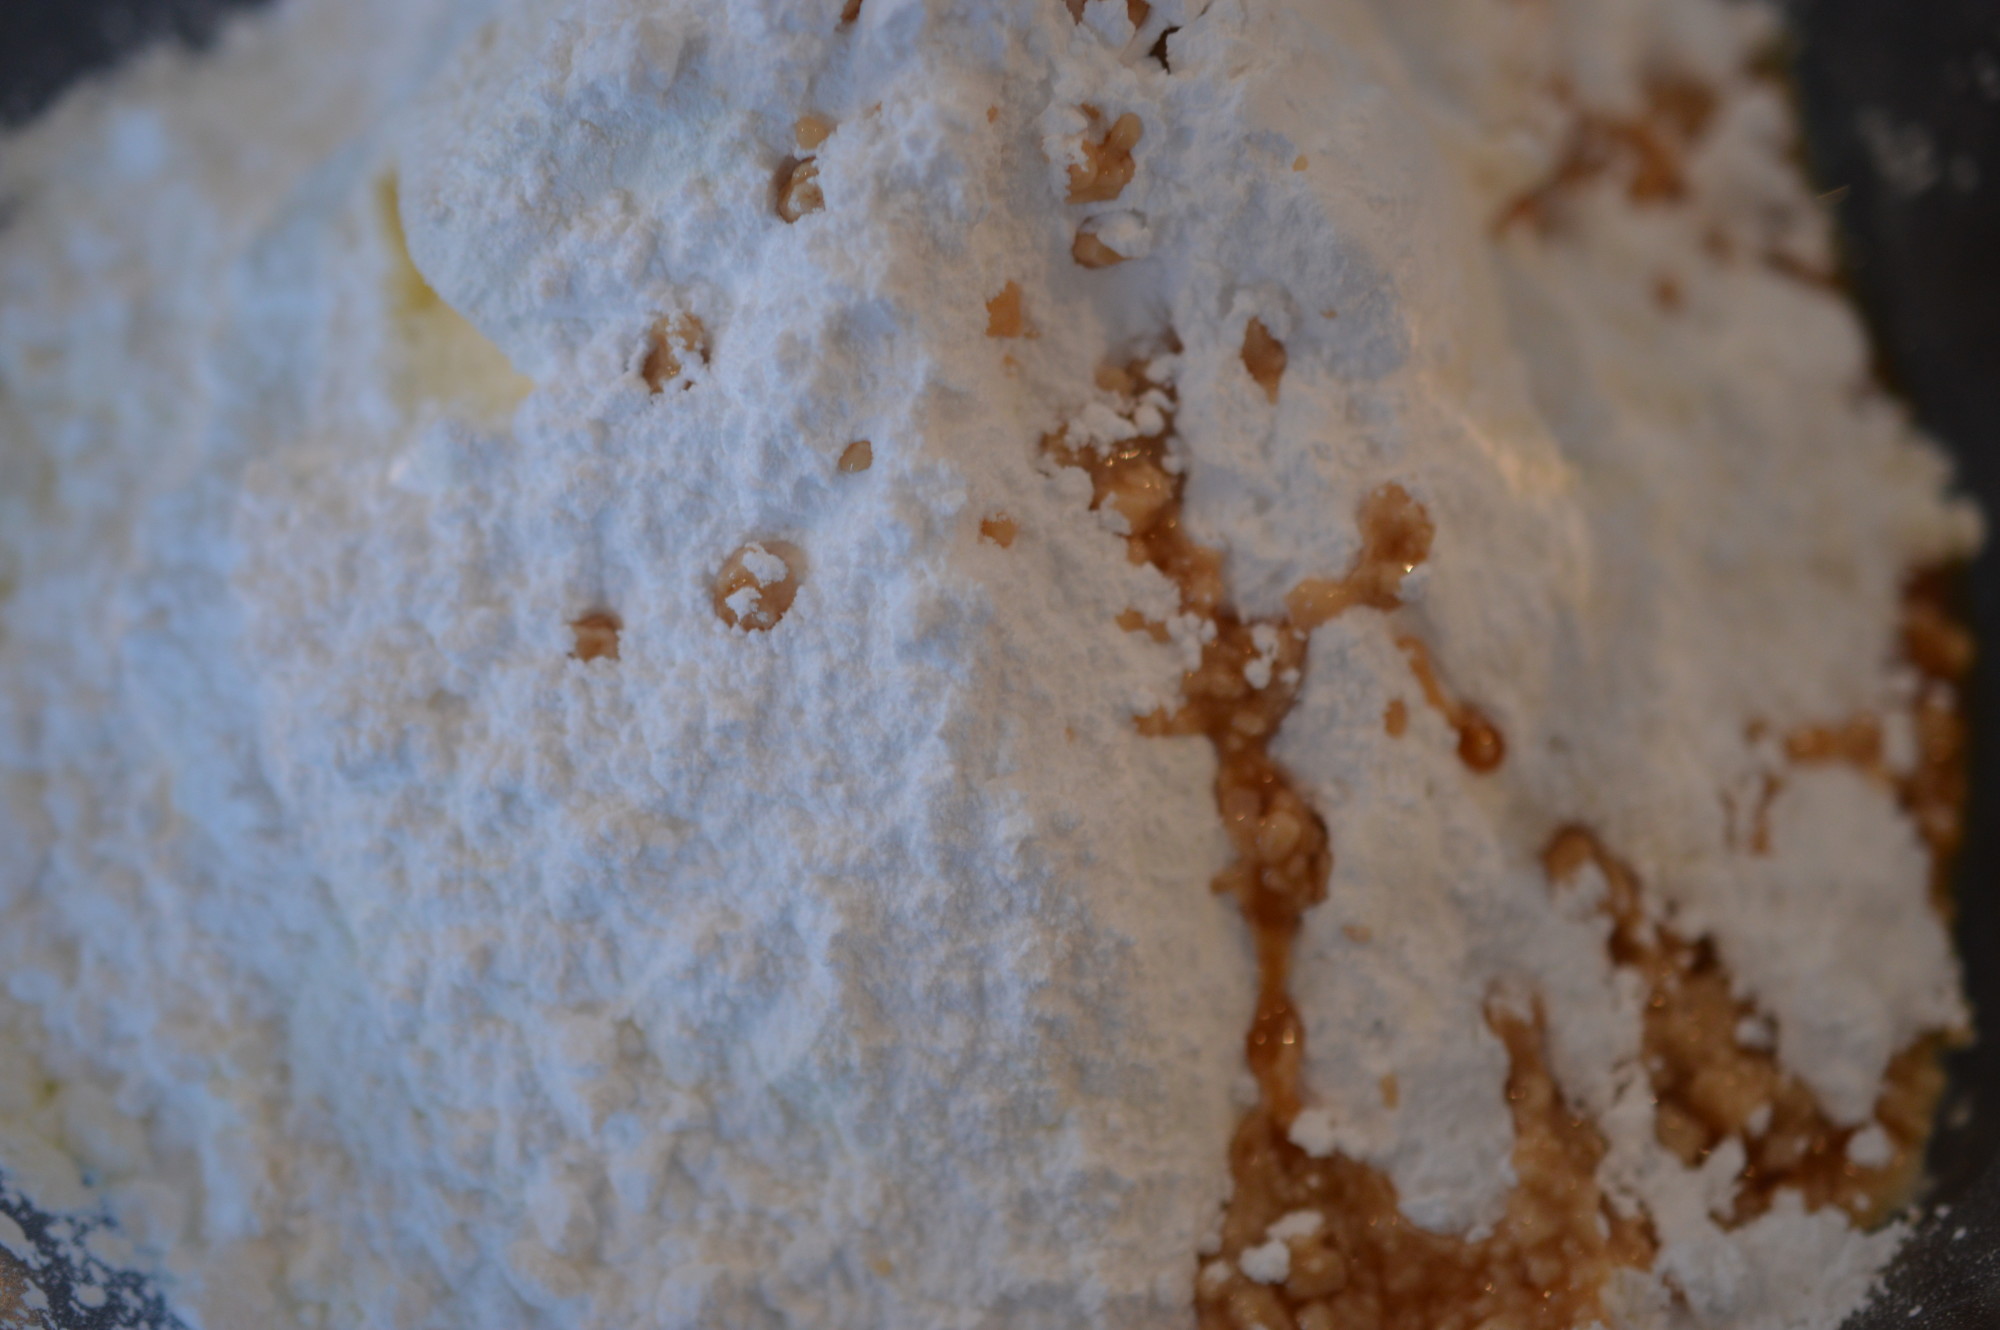
Have your flour ready.  I sieve to get more air in and combine the two flours together.

DSC_0117

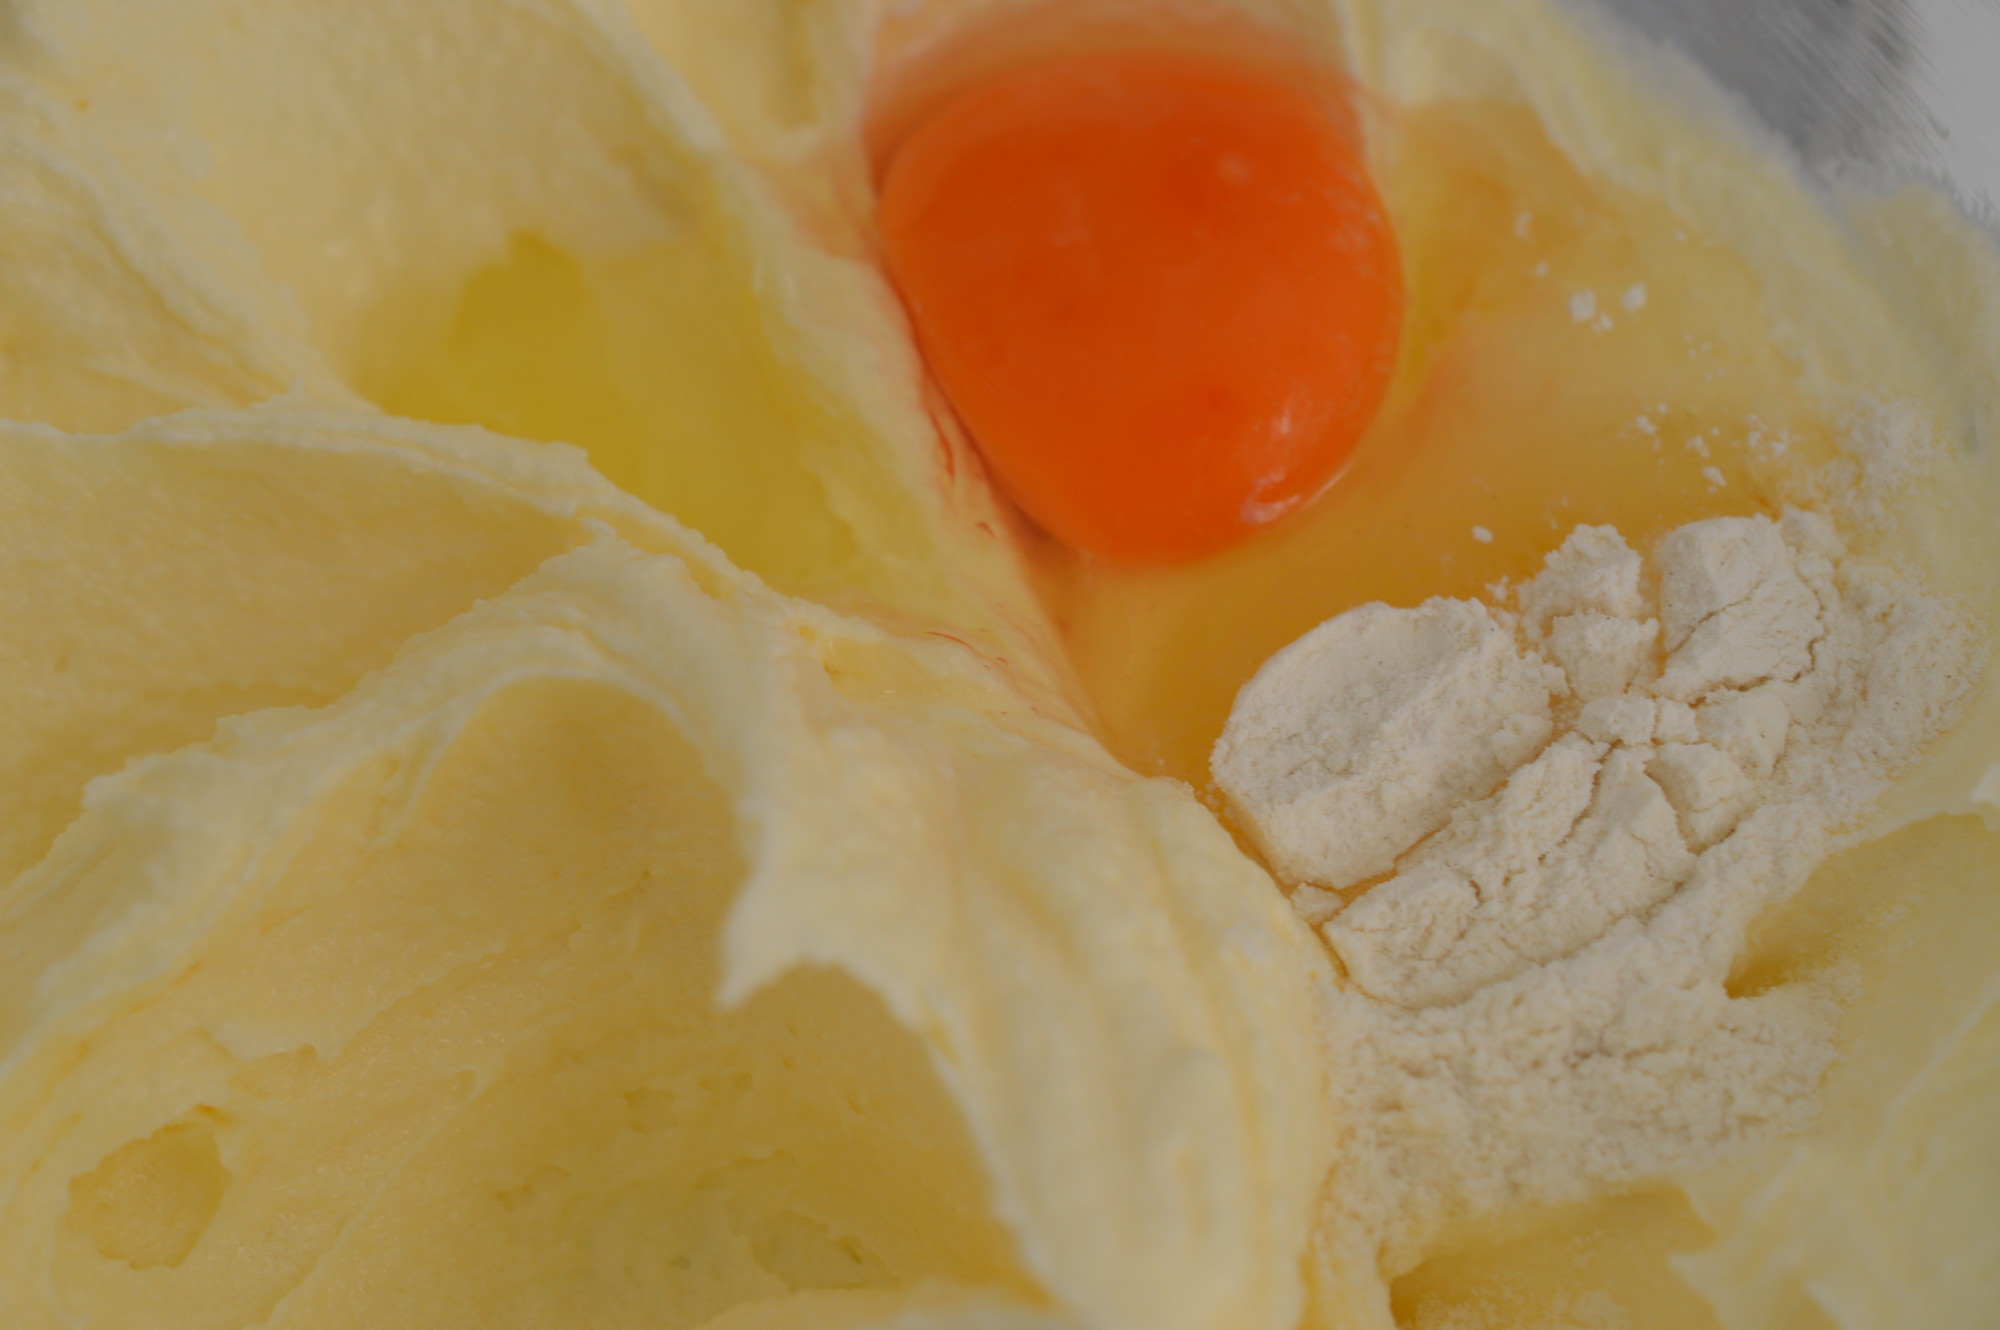
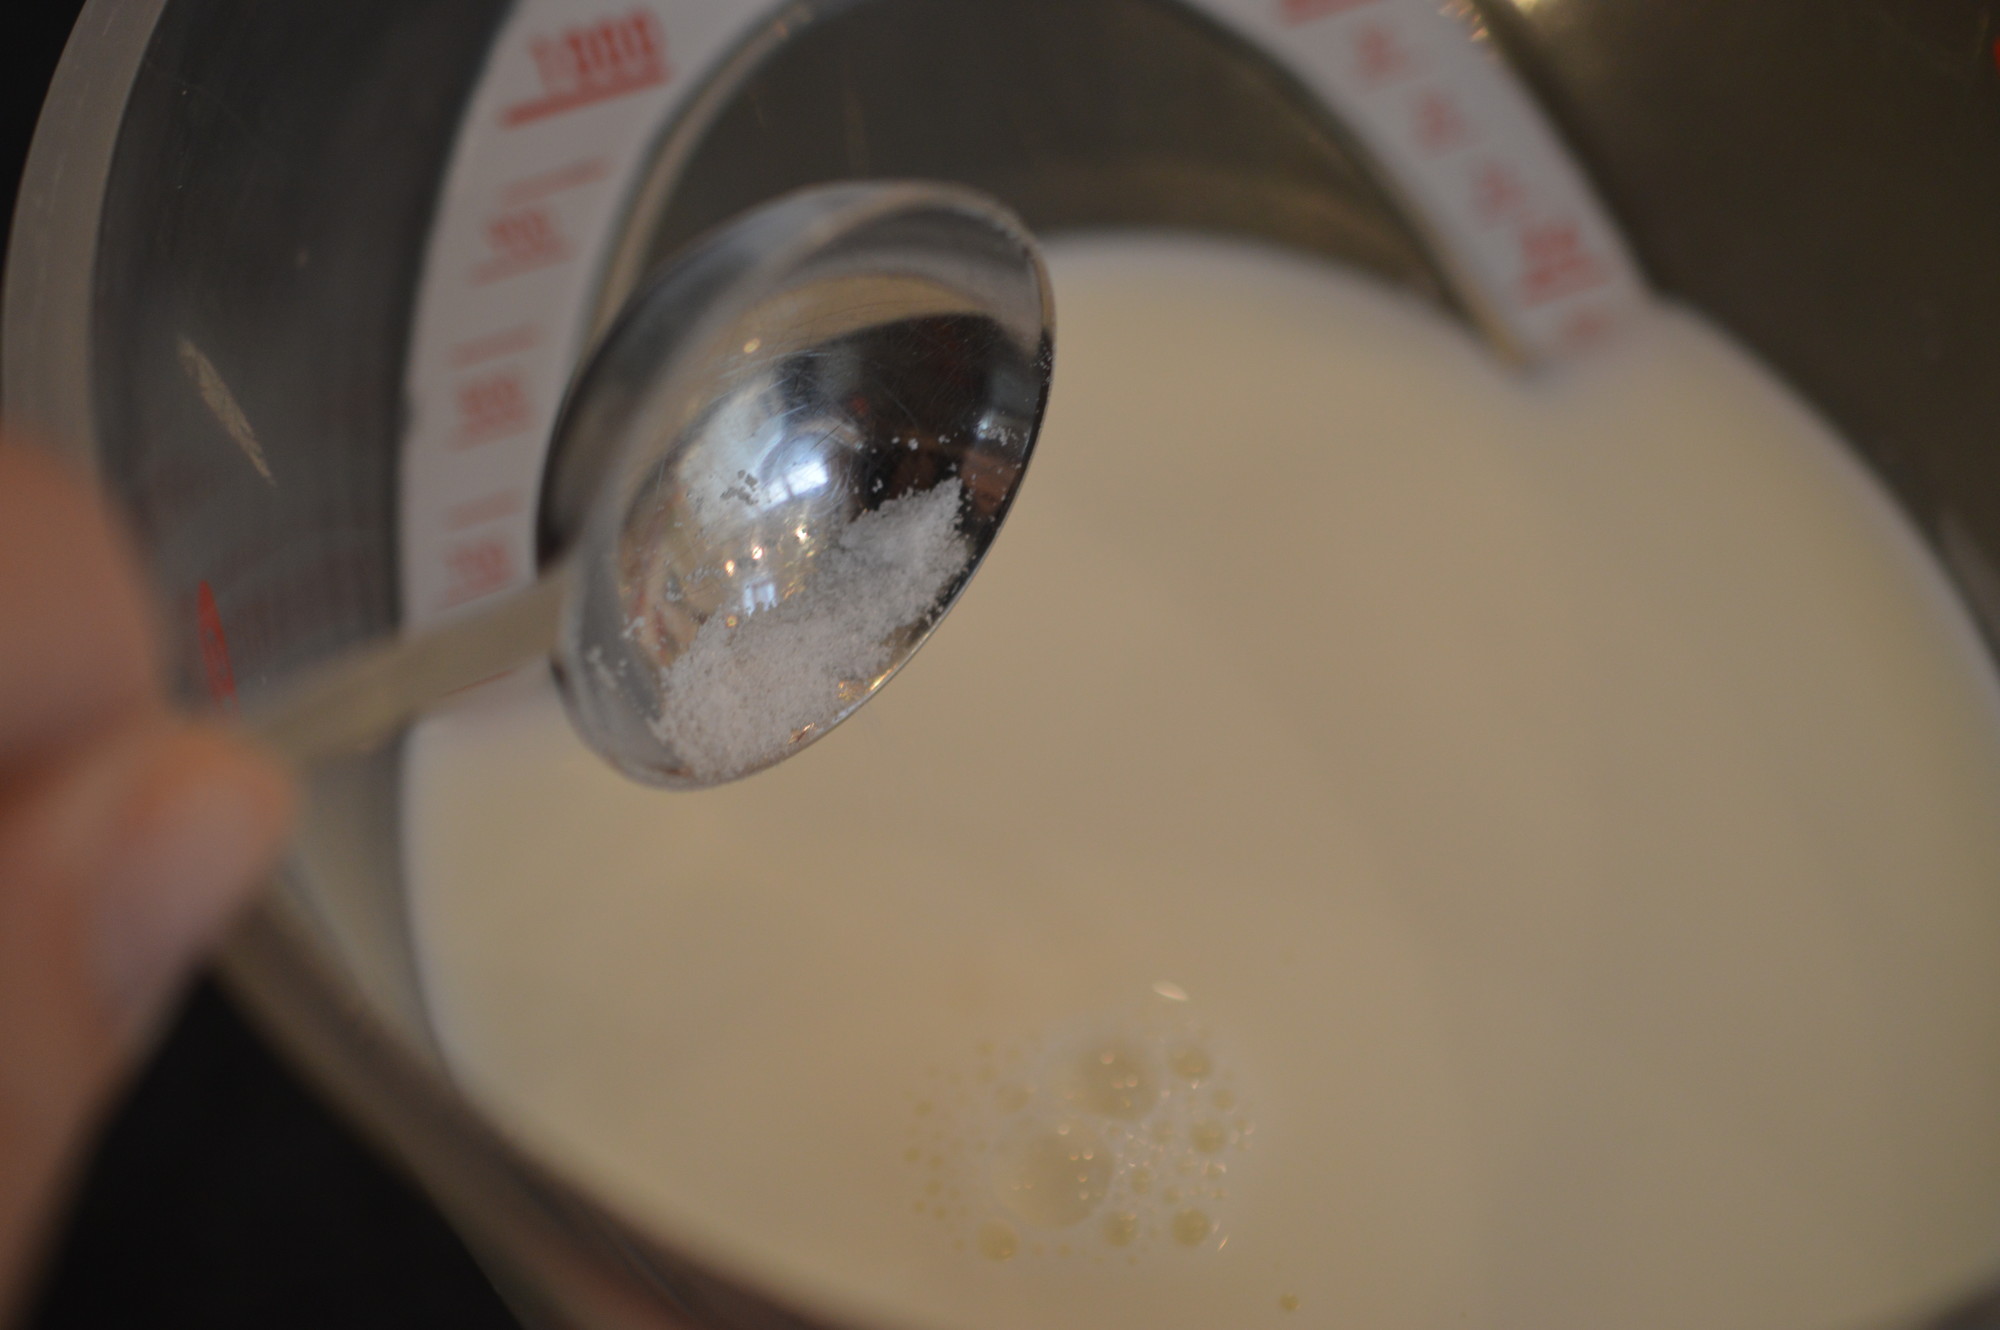
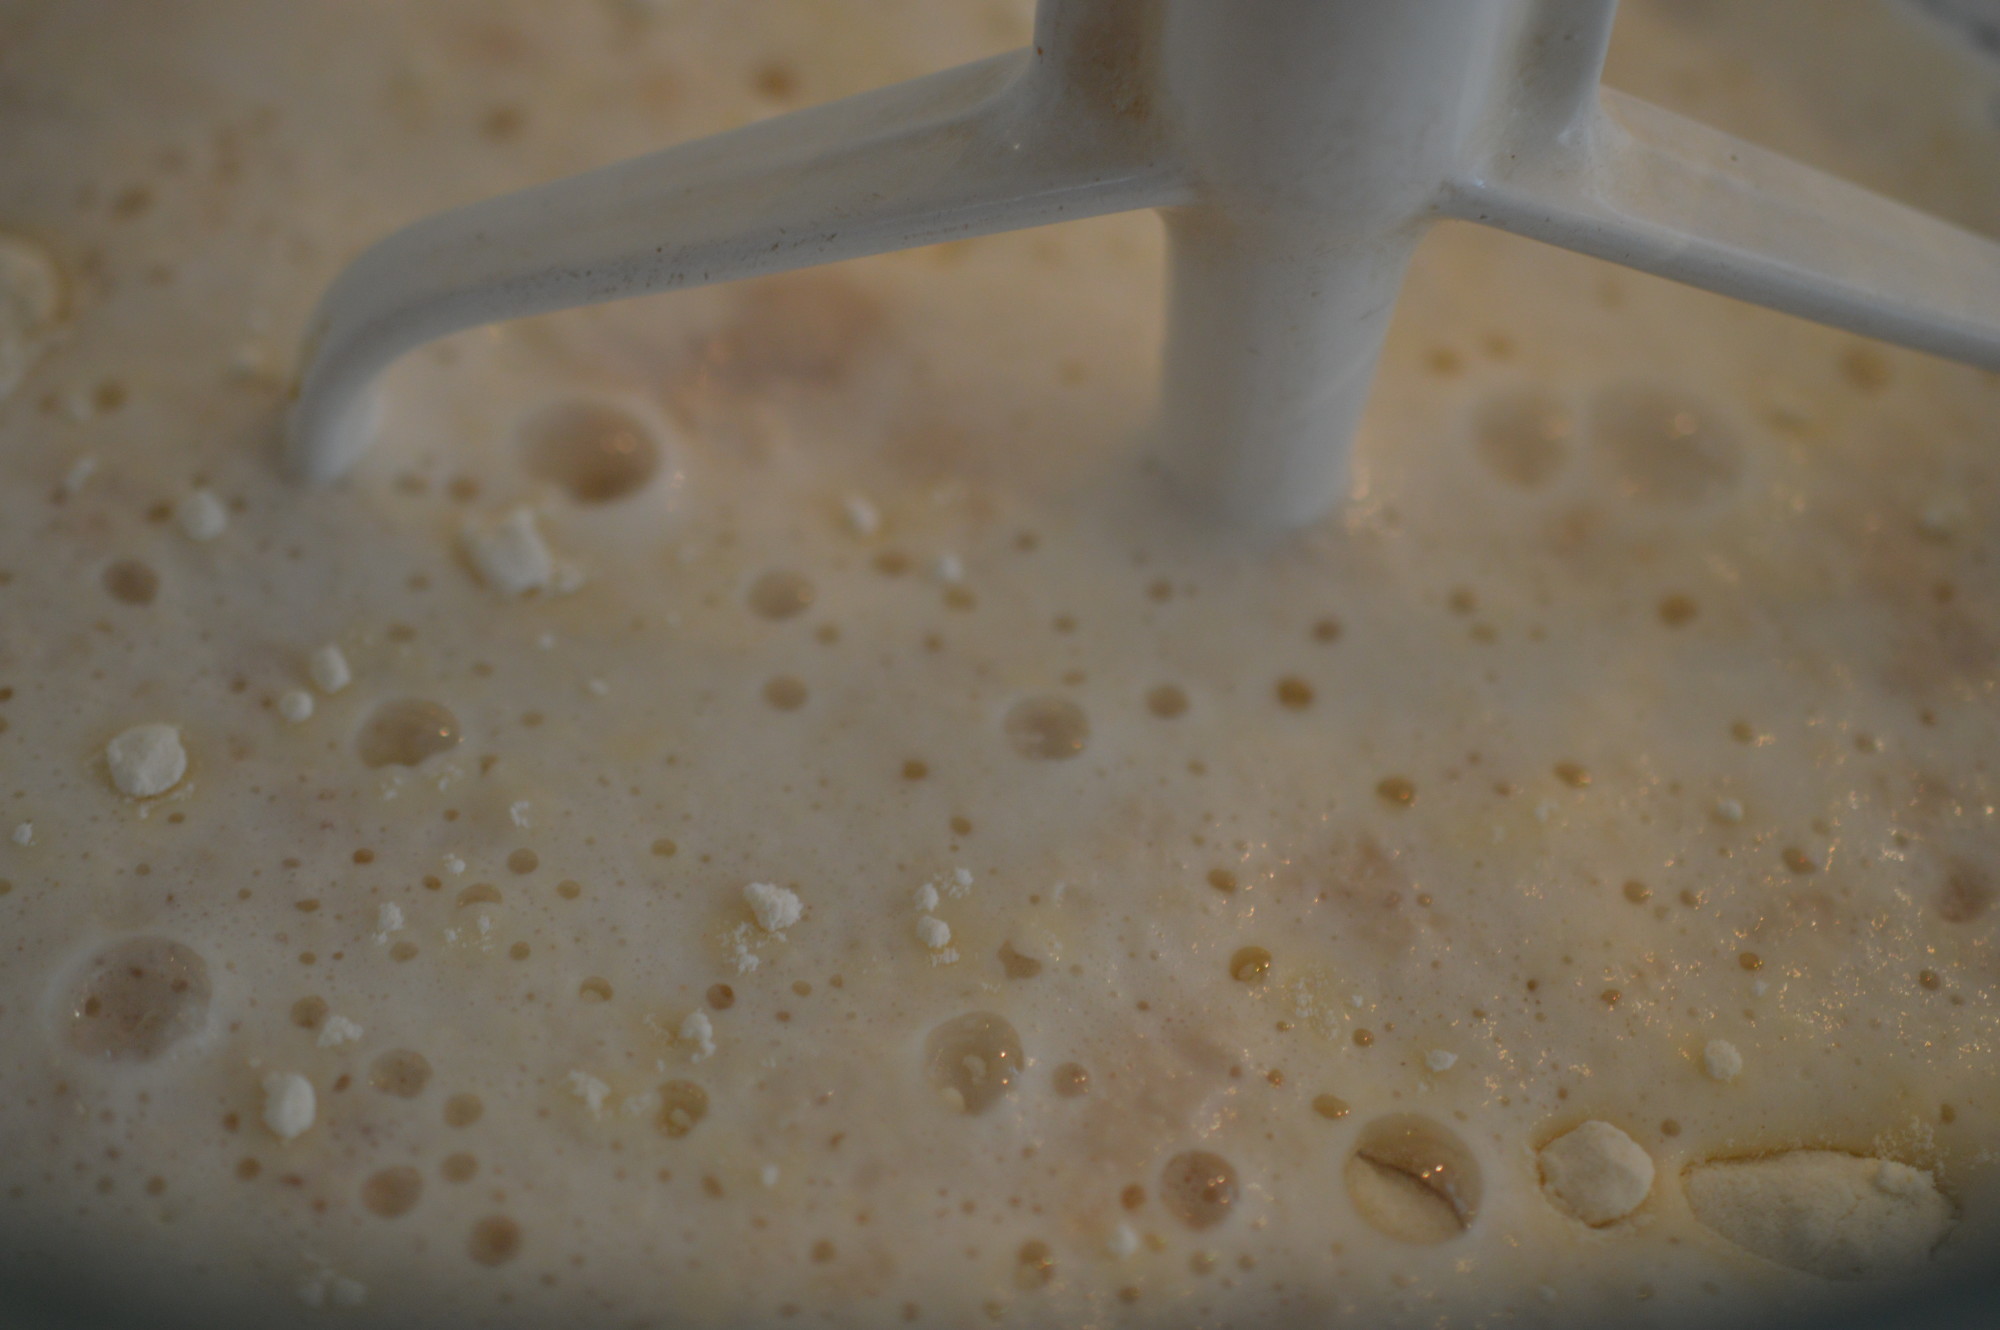
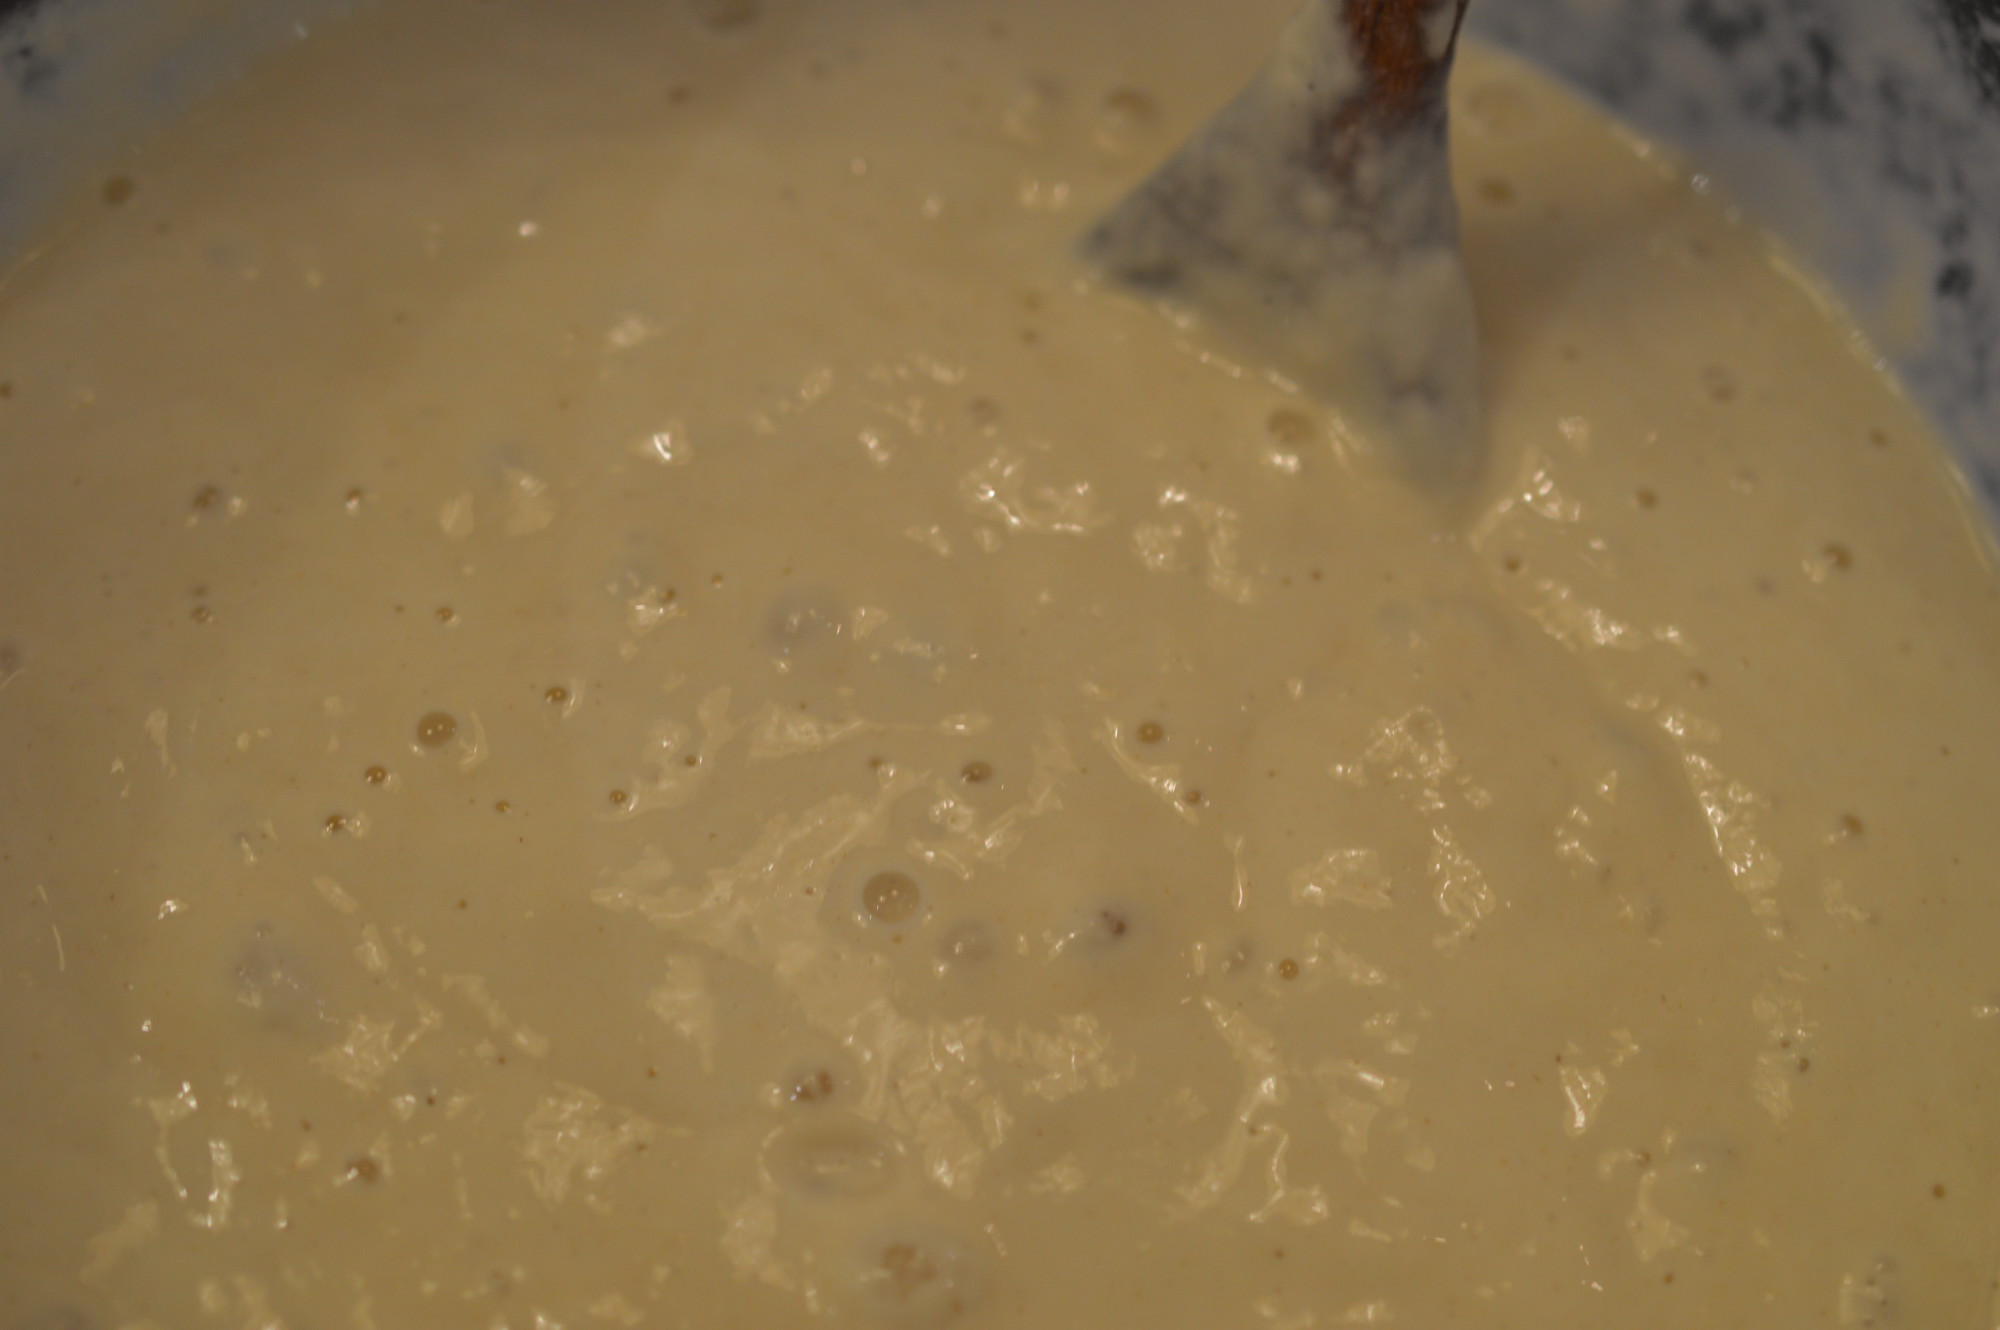
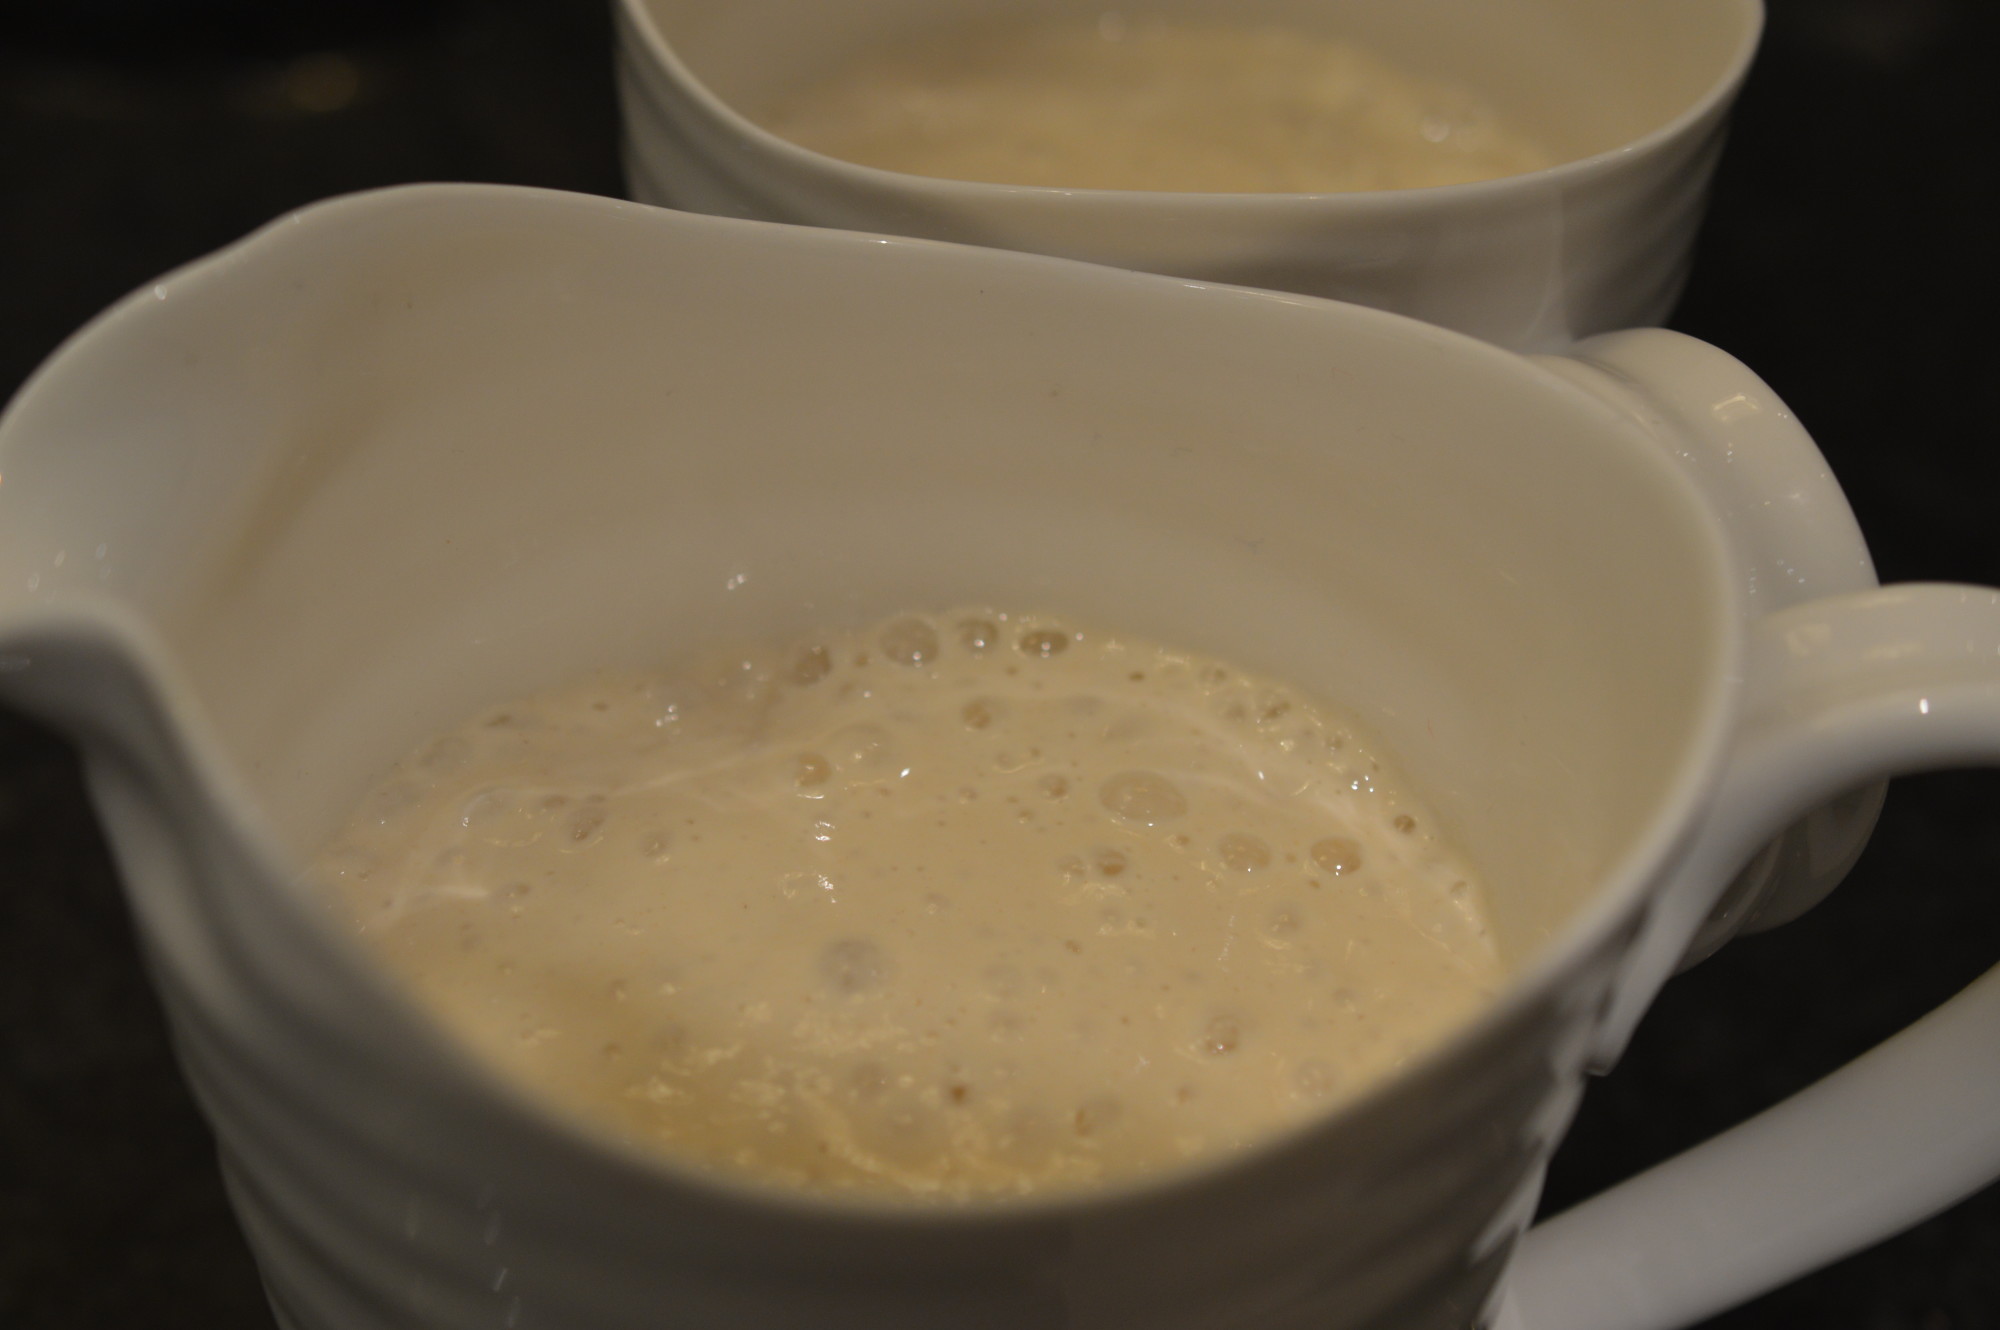
Now the room temperature eggs.  Add them one at a time and beat in really thoroughly.  A spoonful of the flour will also help stop the mixture curdling.  Curdling is best described as a cake batter with cellulite.  It happens for a number of reasons – if you add fridge cold eggs, don’t add them singly and/or beat them in enough.  You can rescue a curdled mixture by adding more flour and beating it in but your cake will be a little ‘heavier’.

DSC_0121

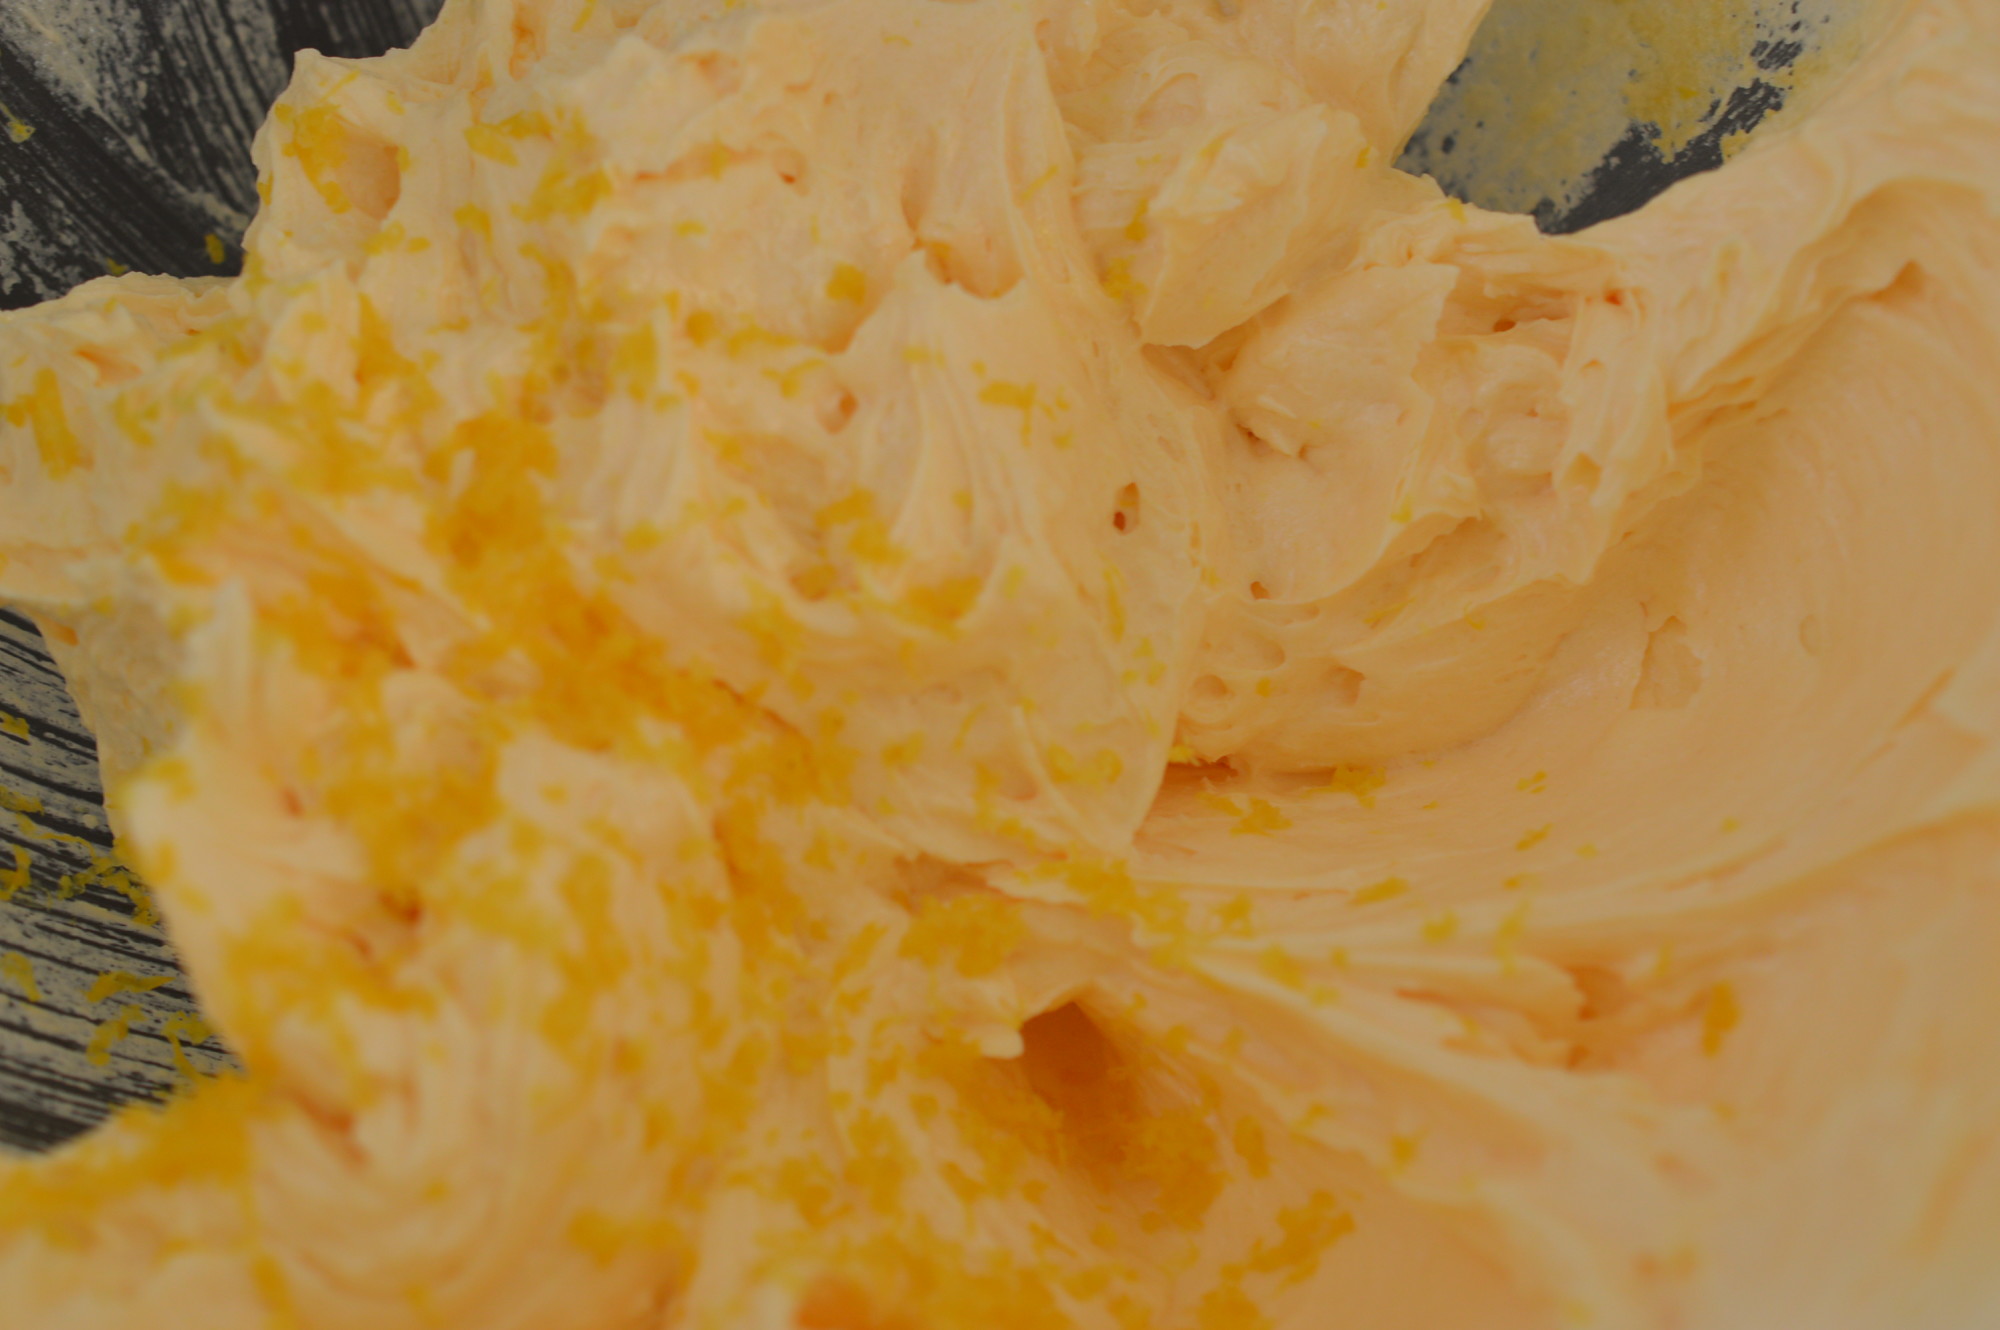
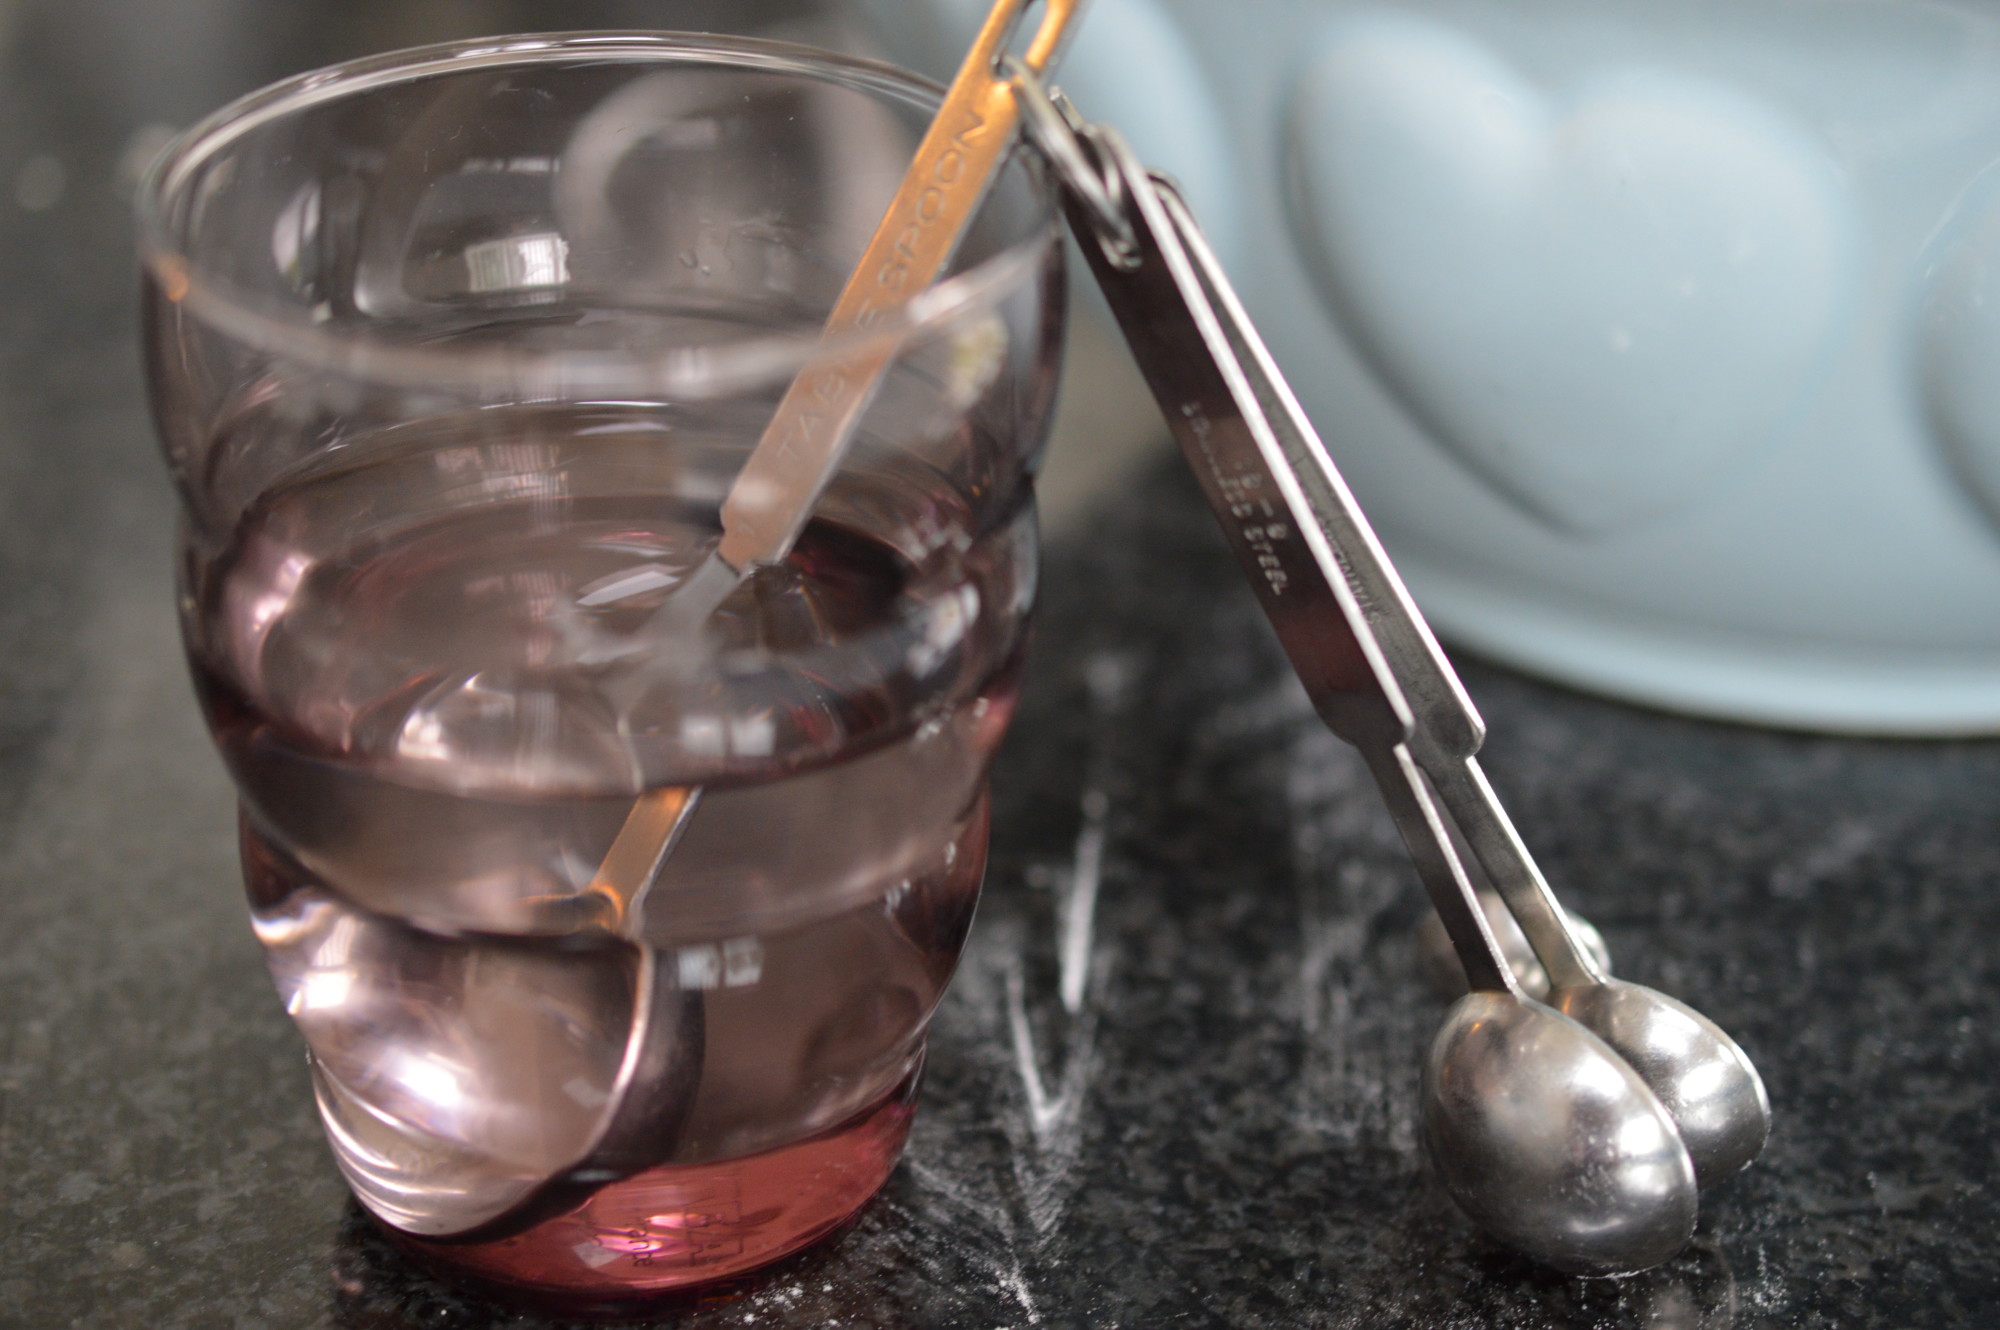
Then add the grated rind of half a lemon.  (Save the other half.)

DSC_0124 1

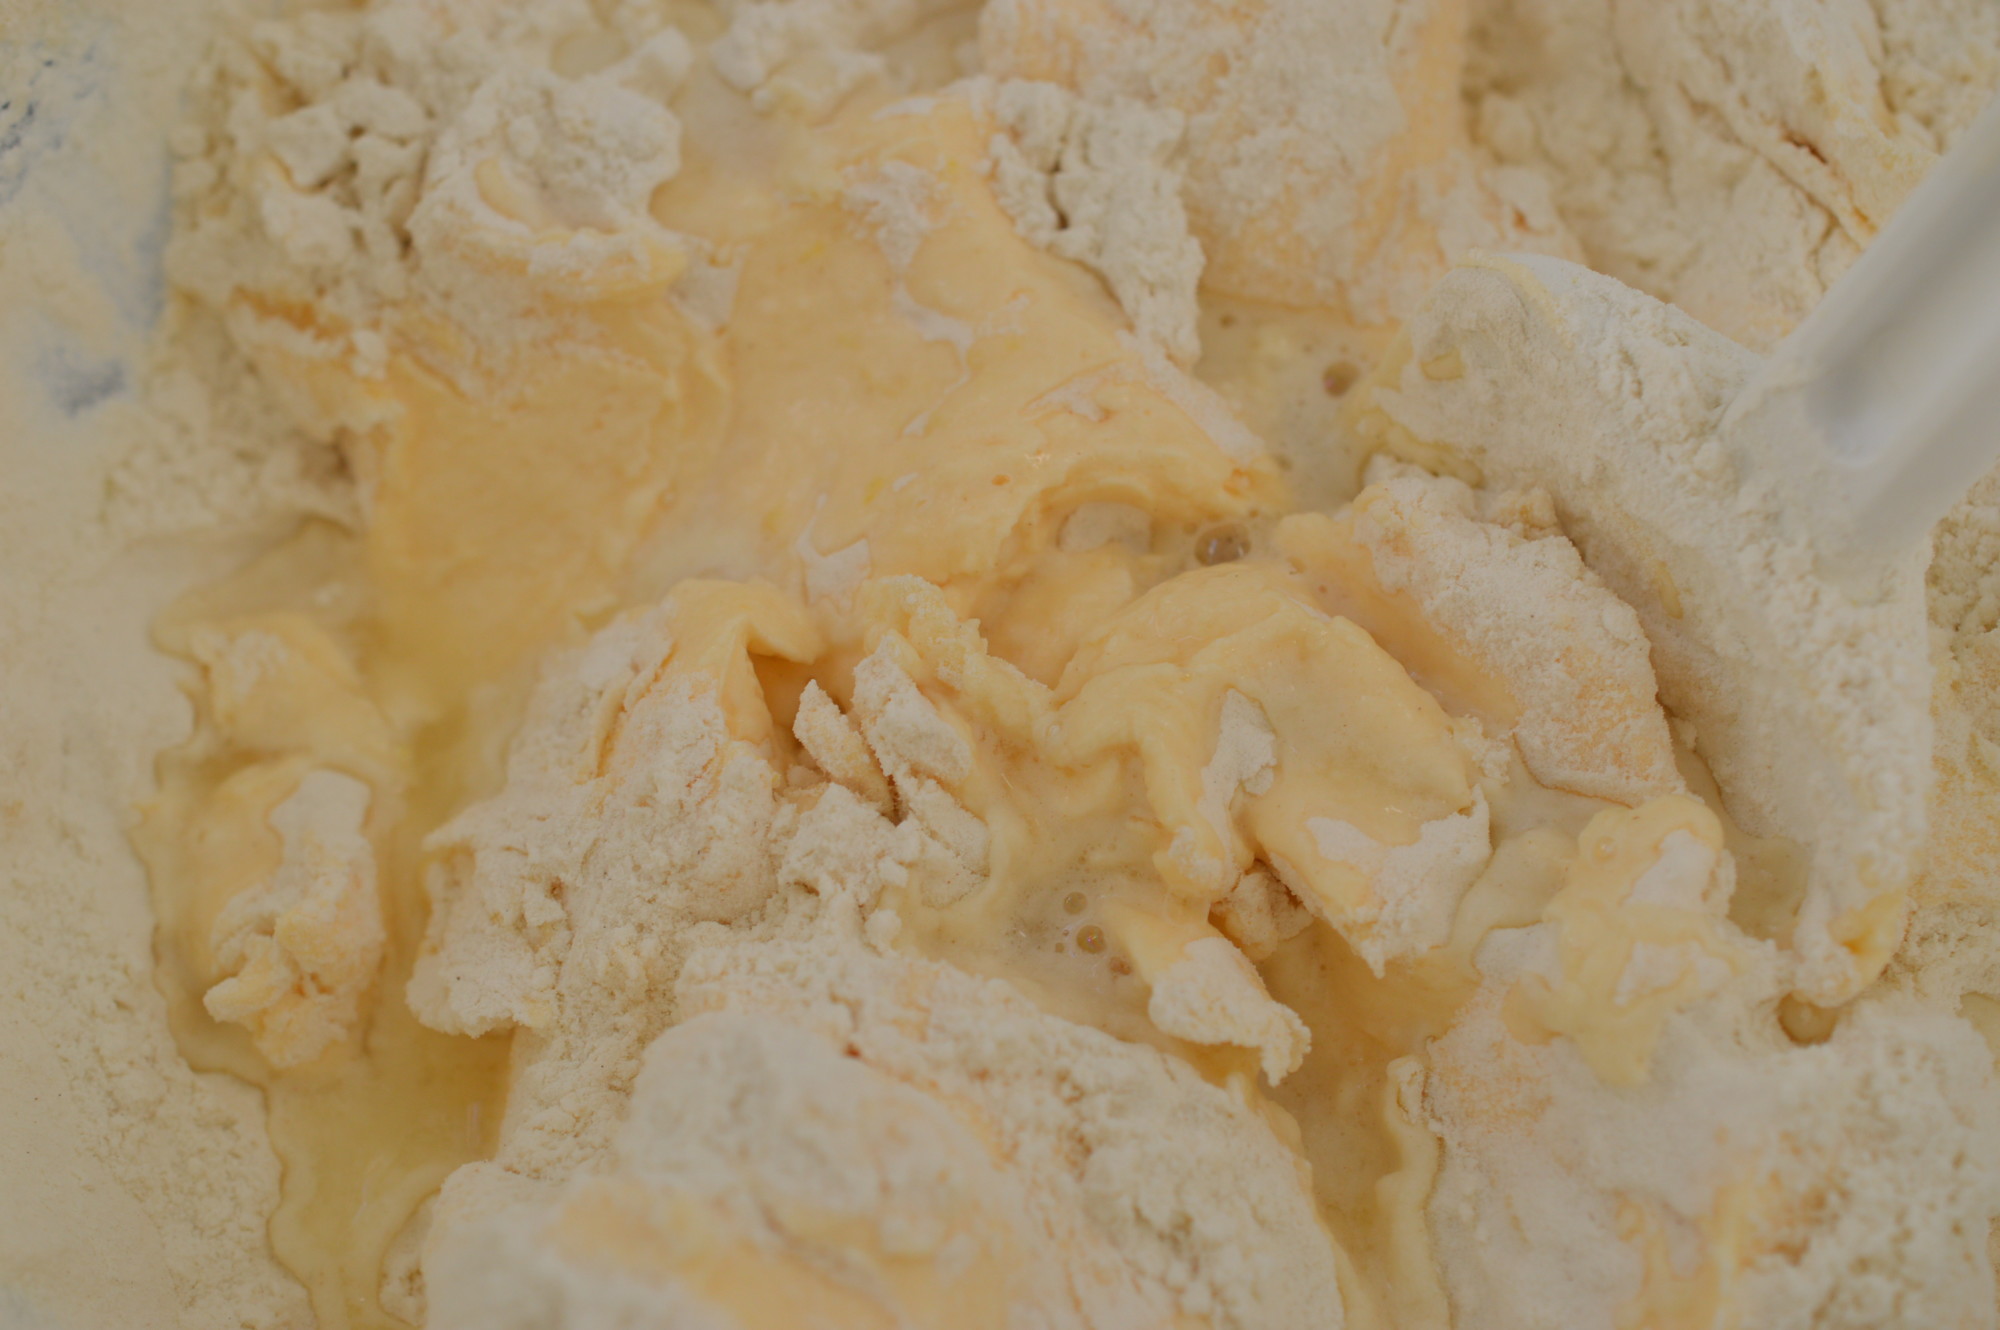
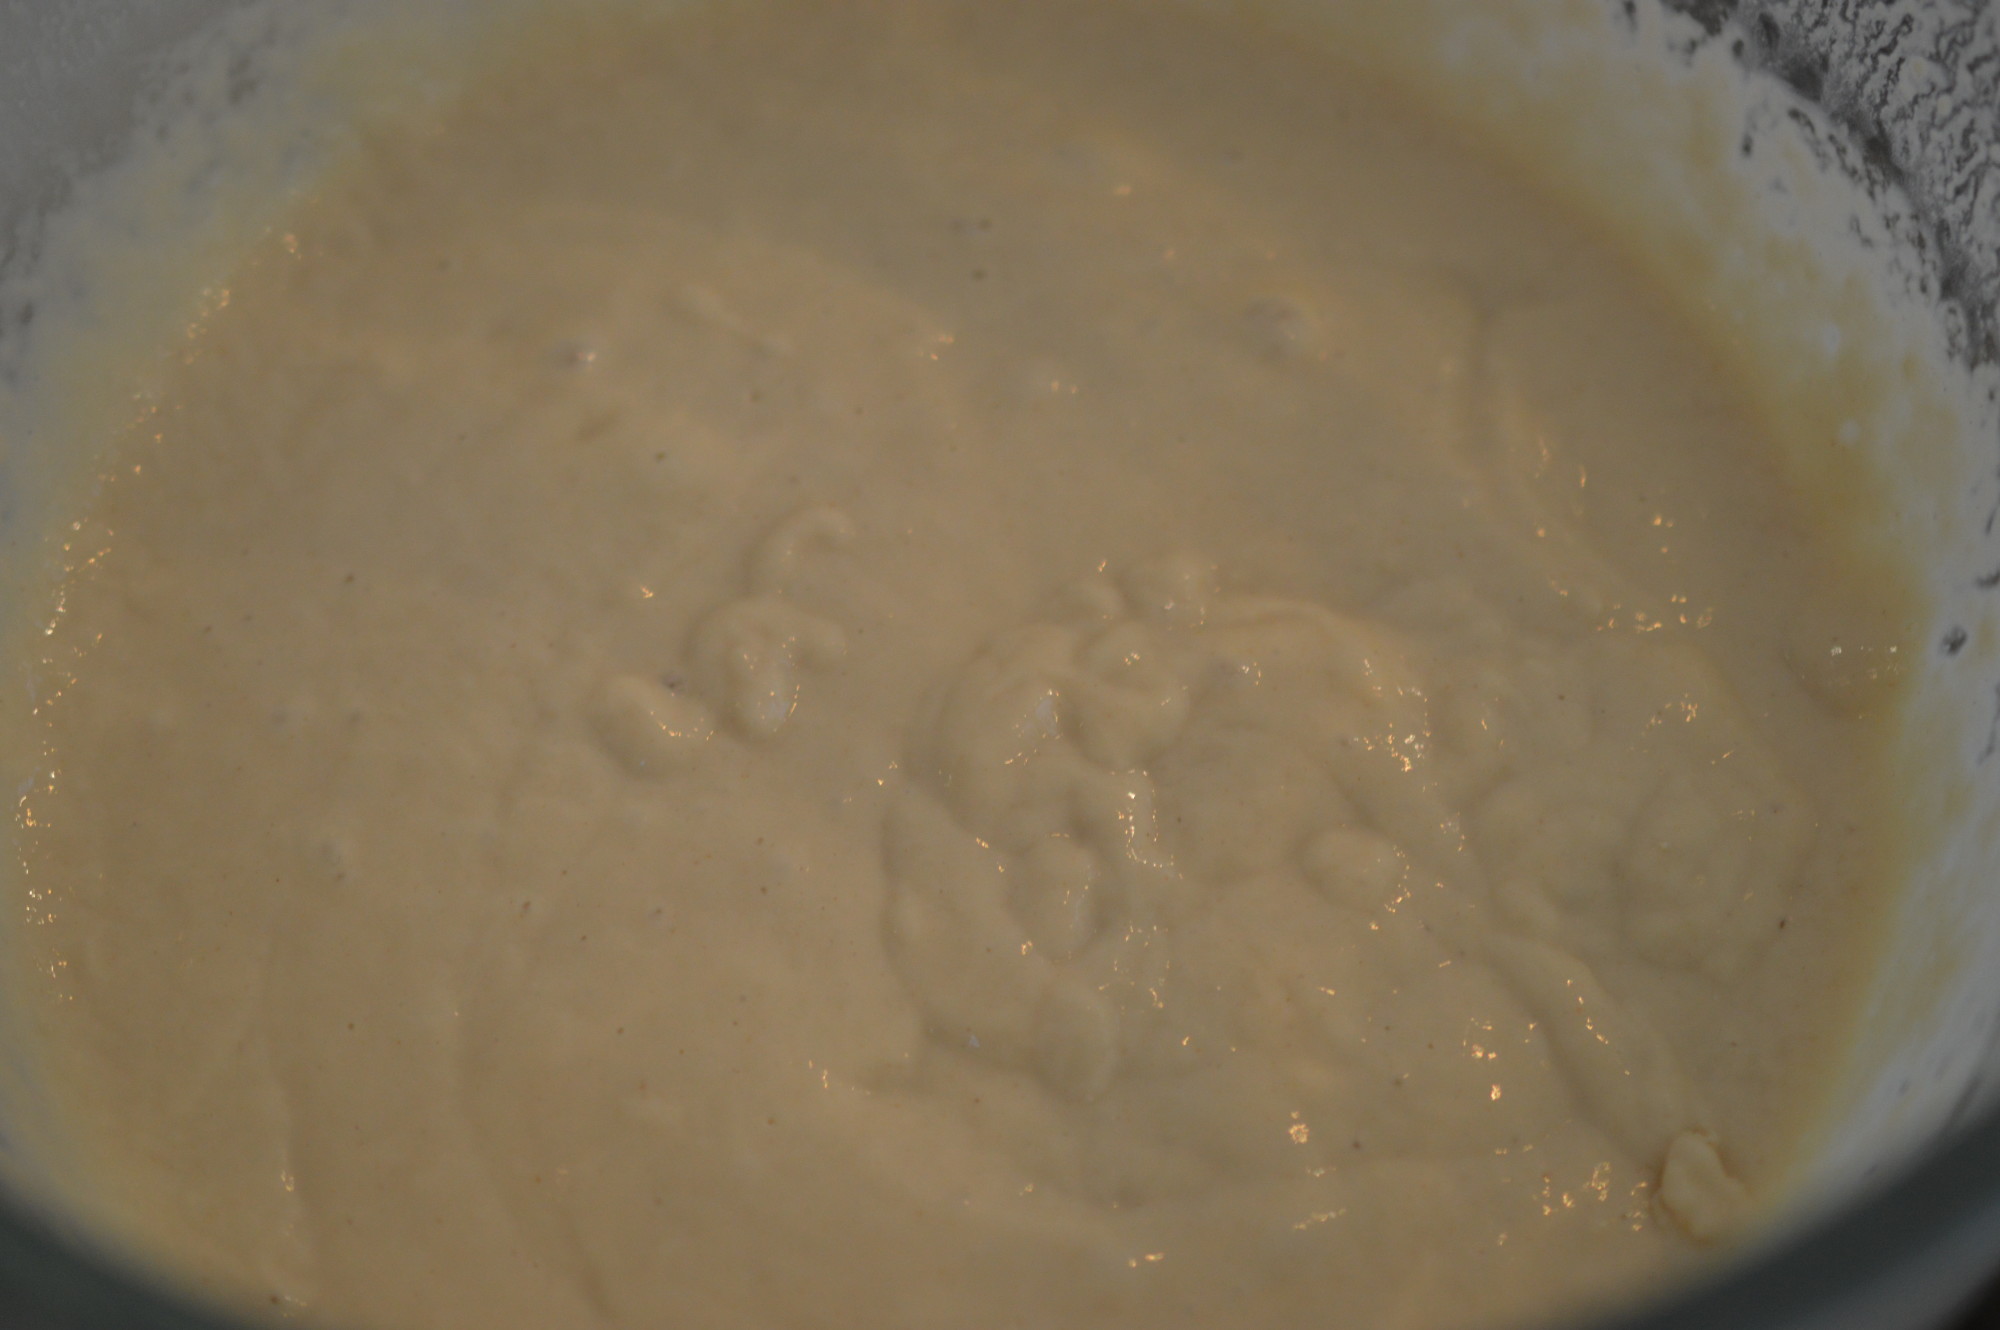
‘Fold’ in the flour.  That’s a gentle cutting movement.  Your aim is not to bash the air out of the mixture.  Just imagine you’ve been beating with a wooden spoon and you’ll treat it with care.

DSC_0125 2

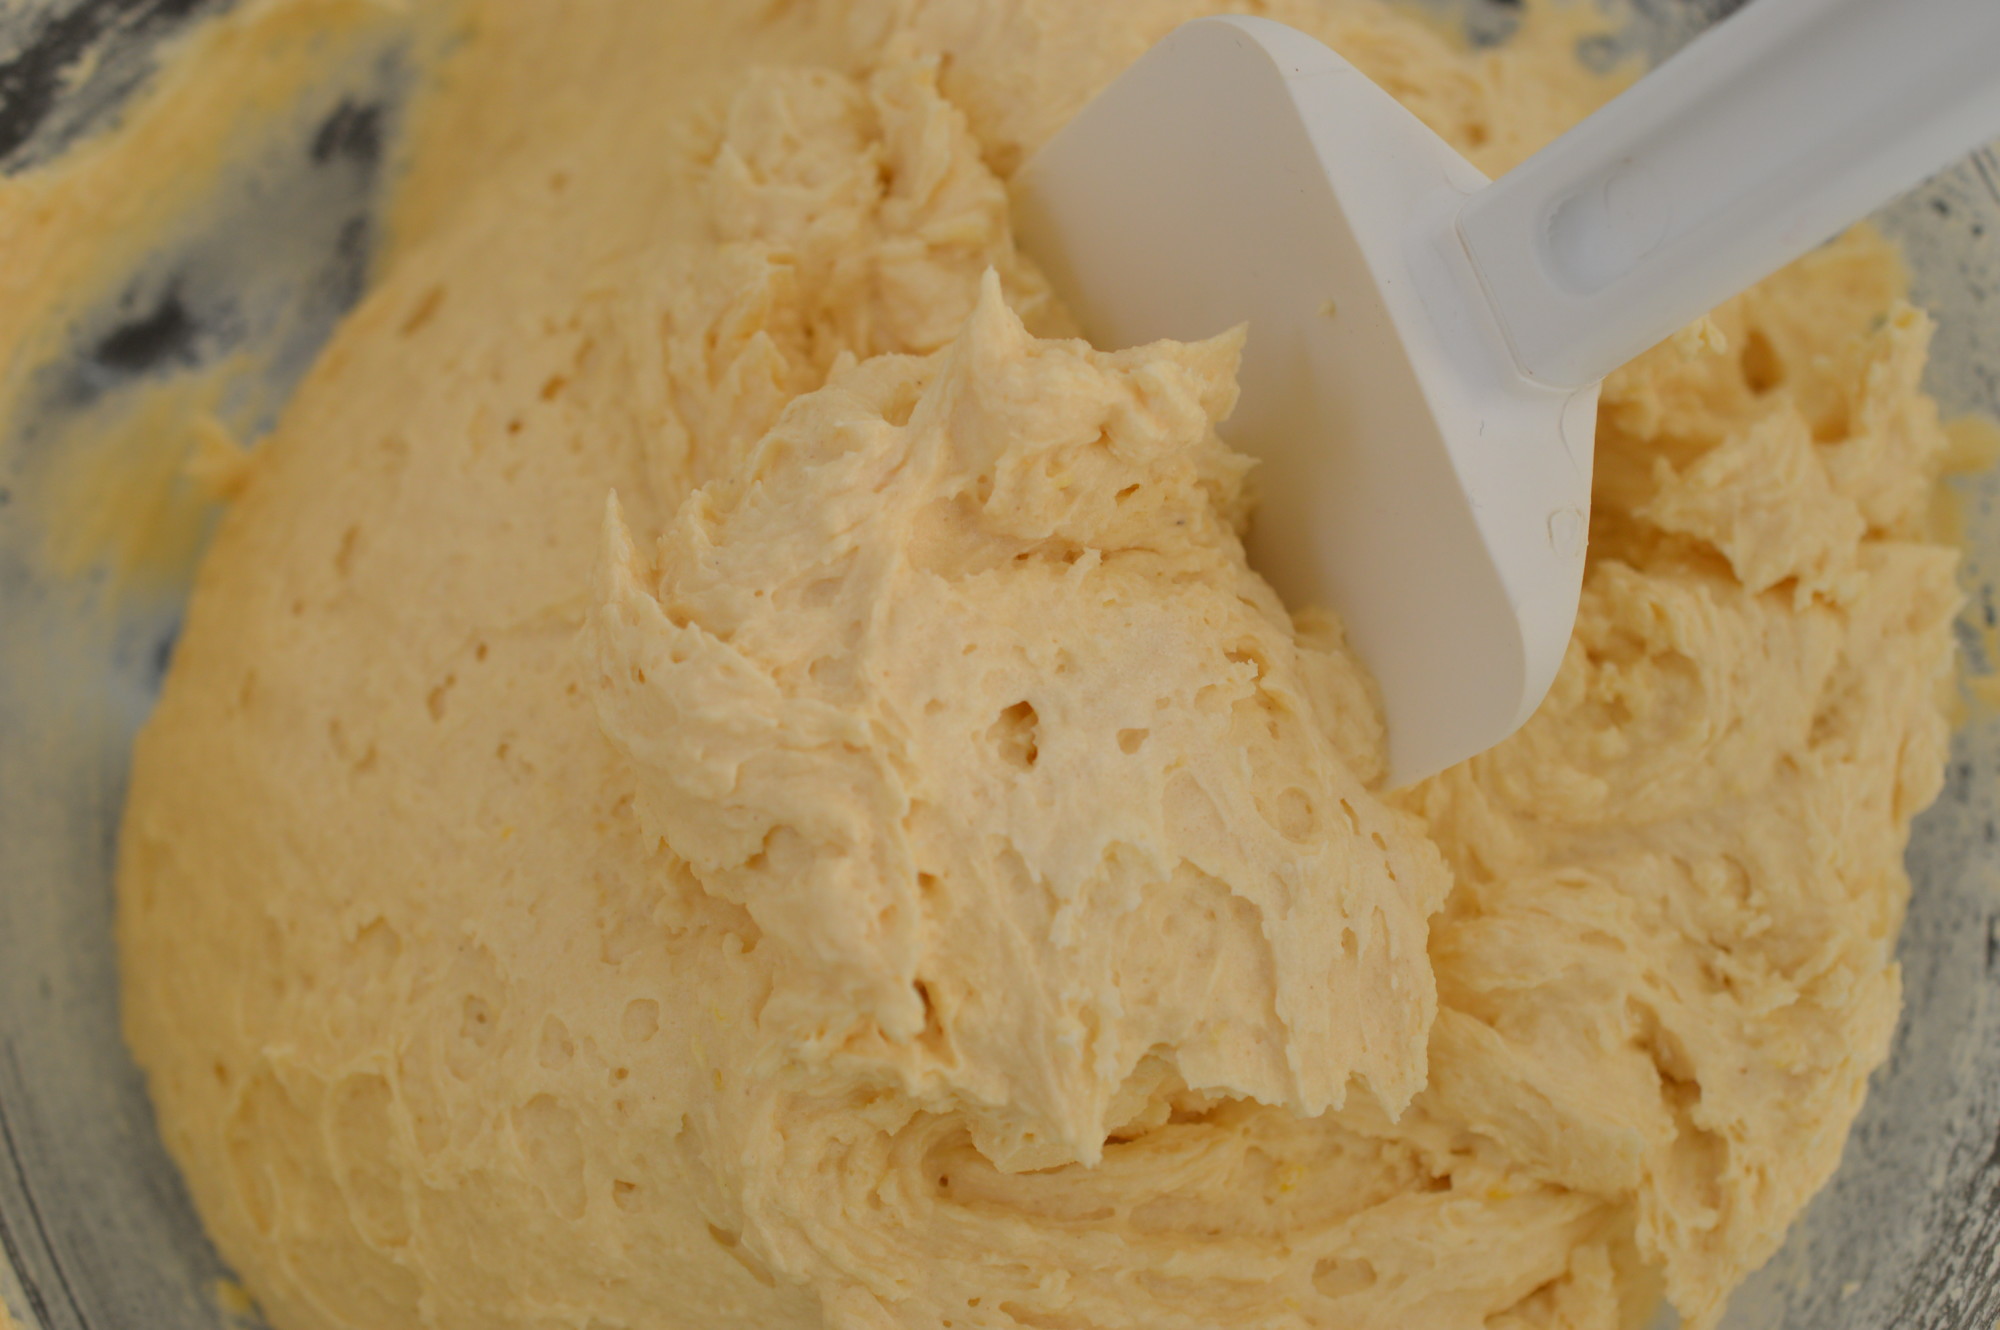
Add the juice of half a lemon.  You’ll get more juice from a warm lemon.

DSC_0129 2

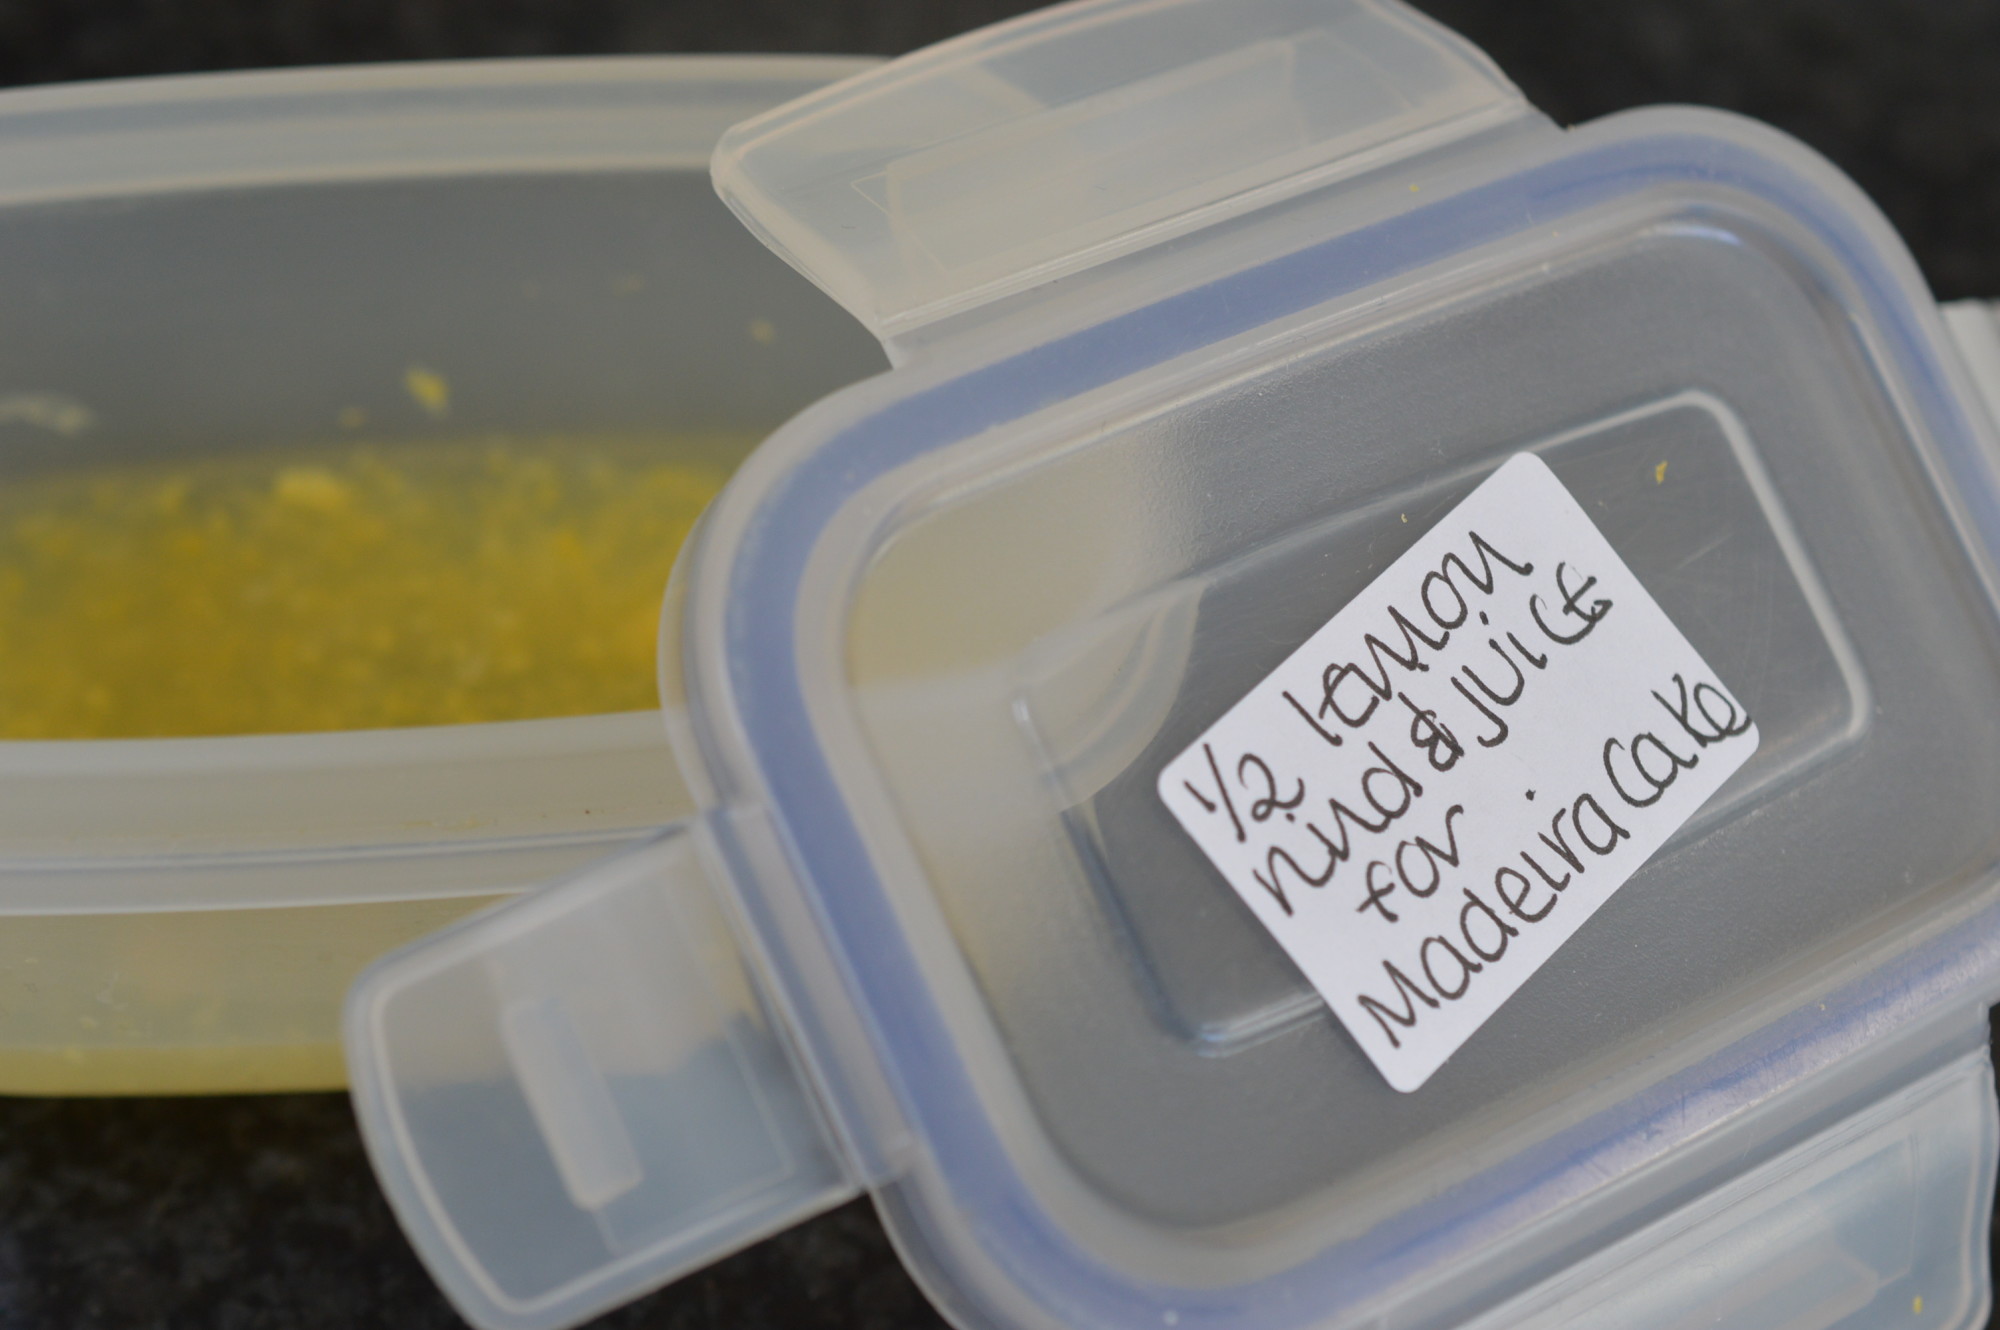
Combine the reserved lemon rind with the unused juice from the second half and freeze.  There’ll be a next time.

DSC_0128 2

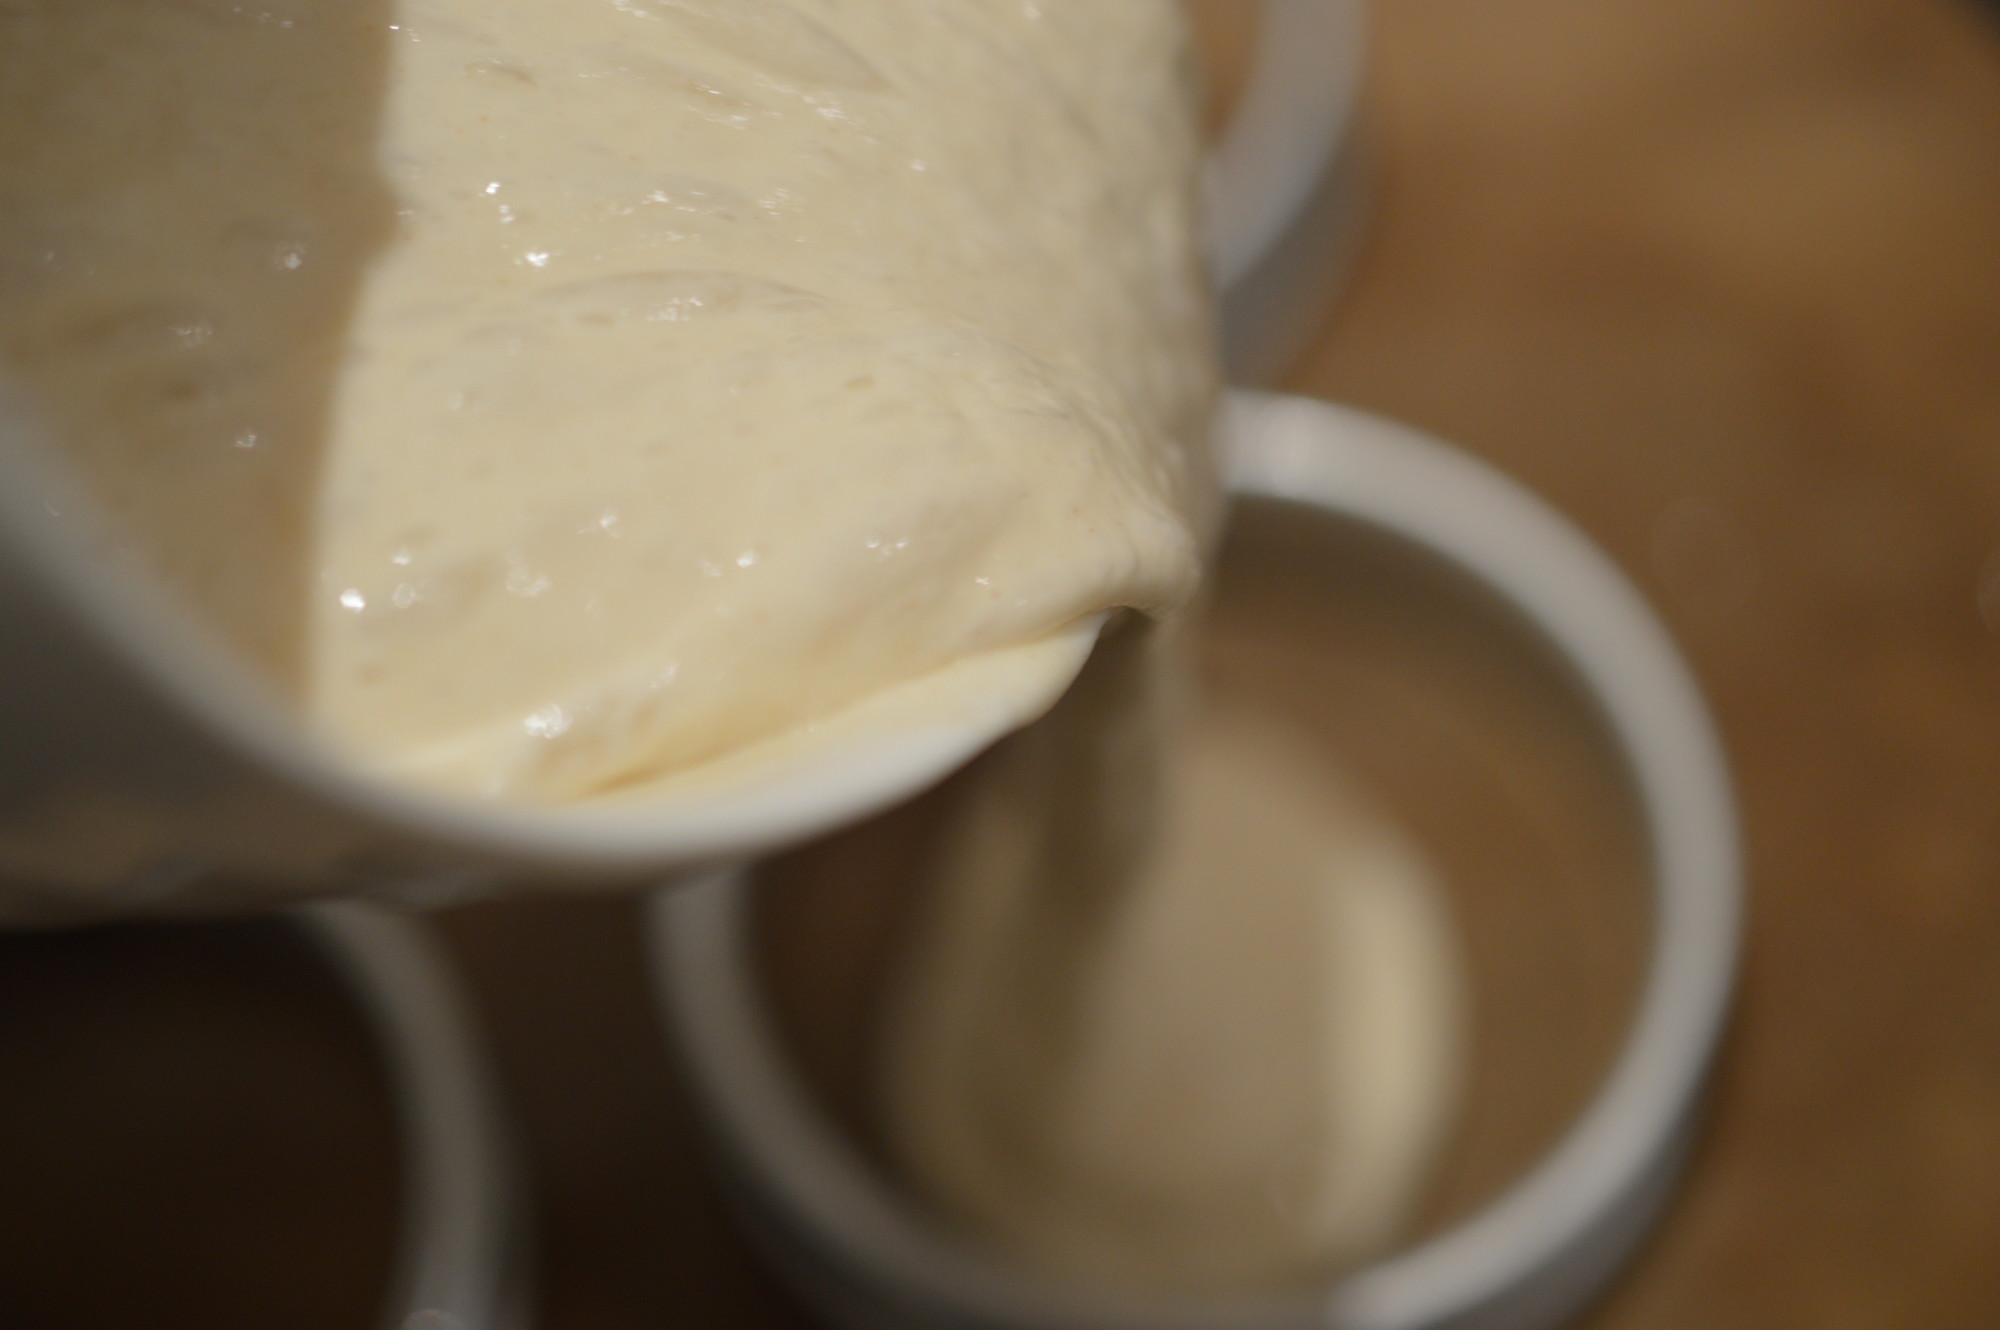
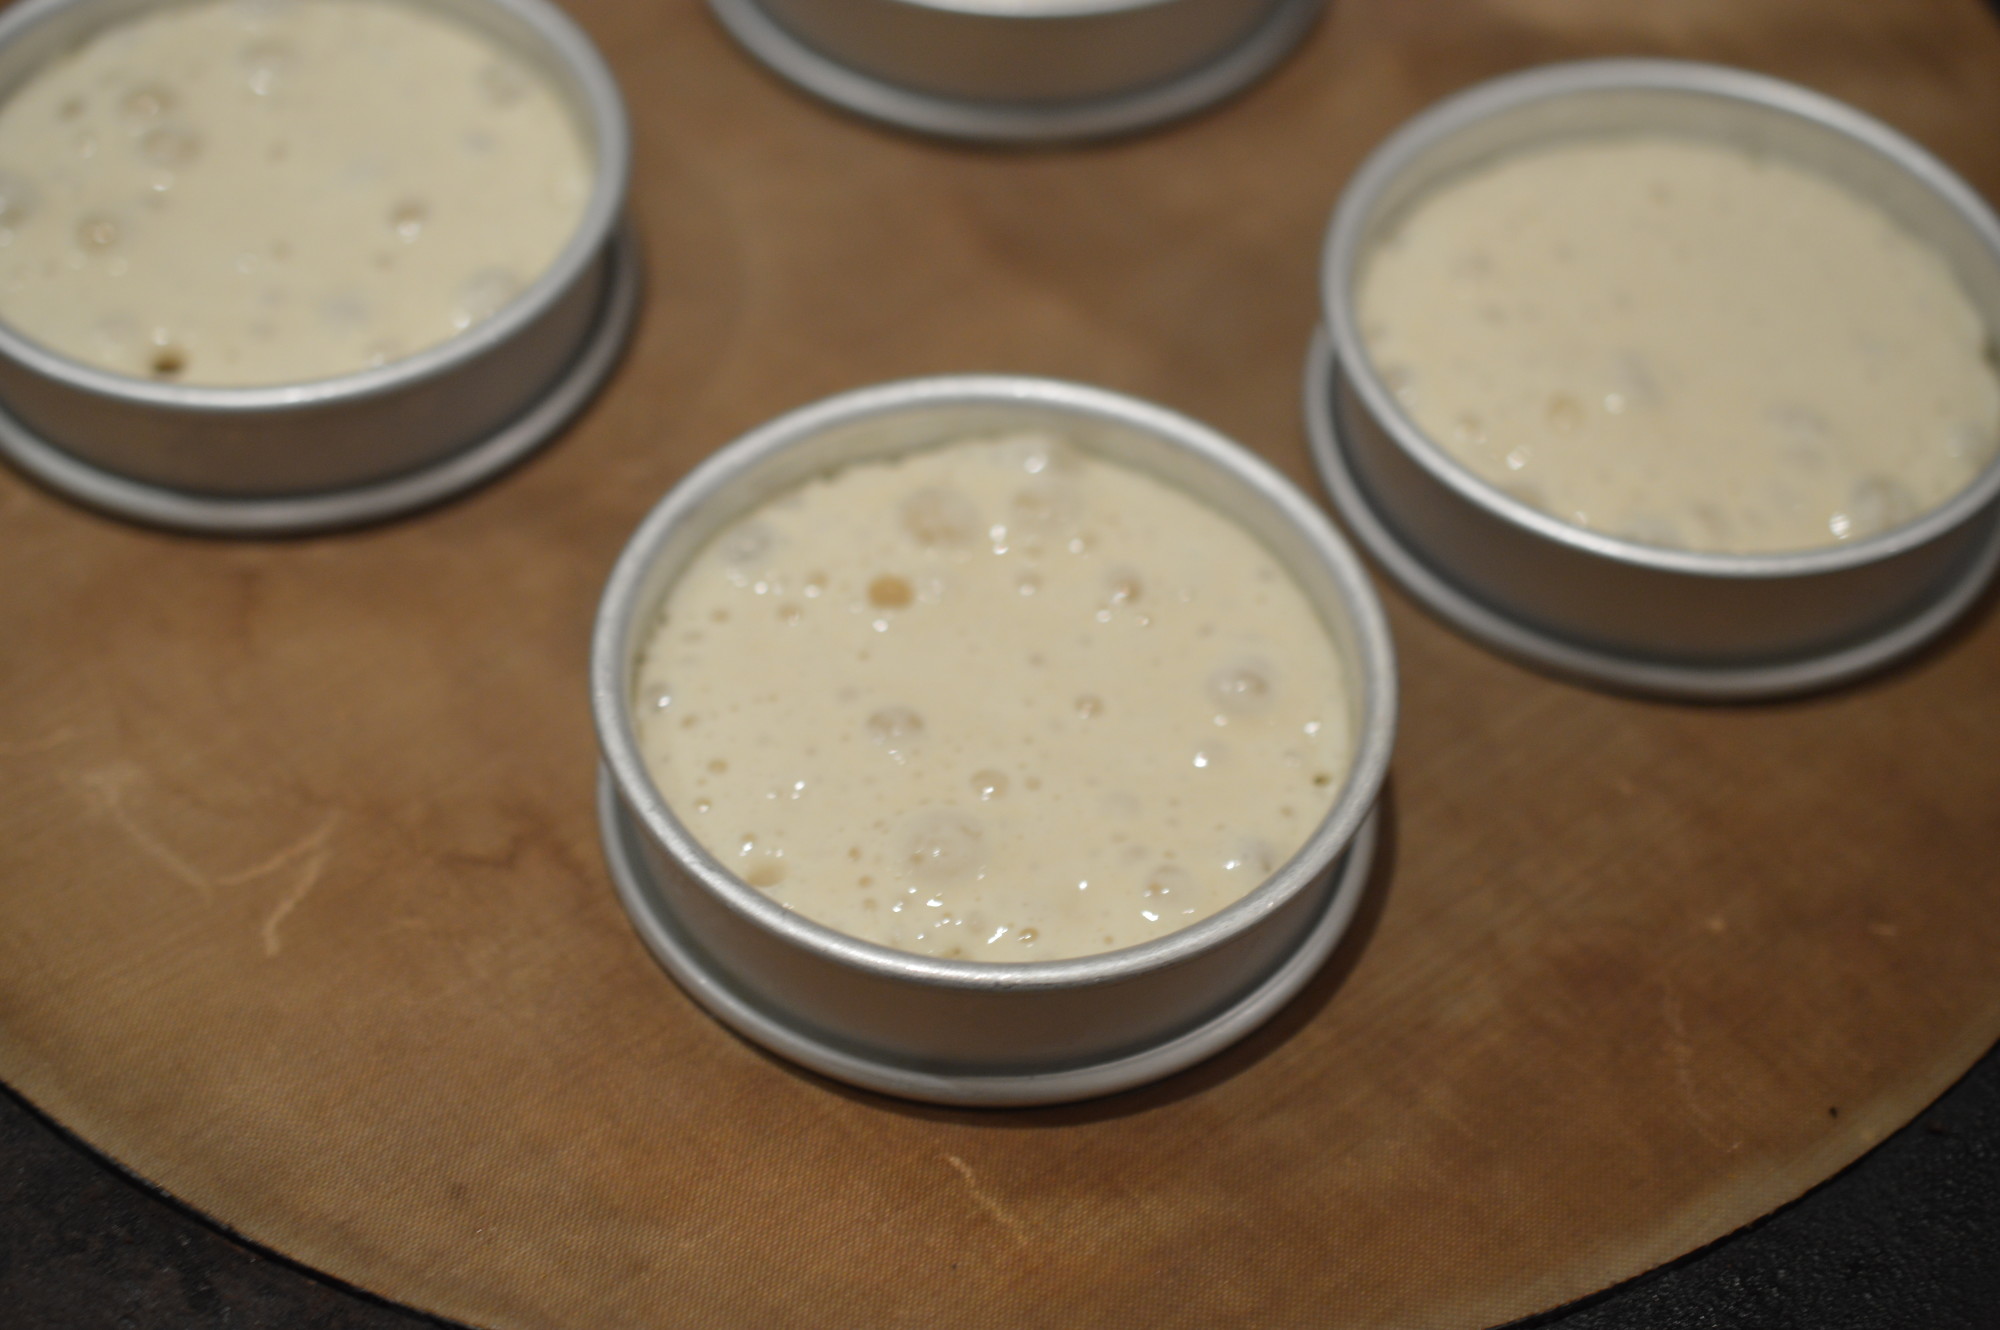
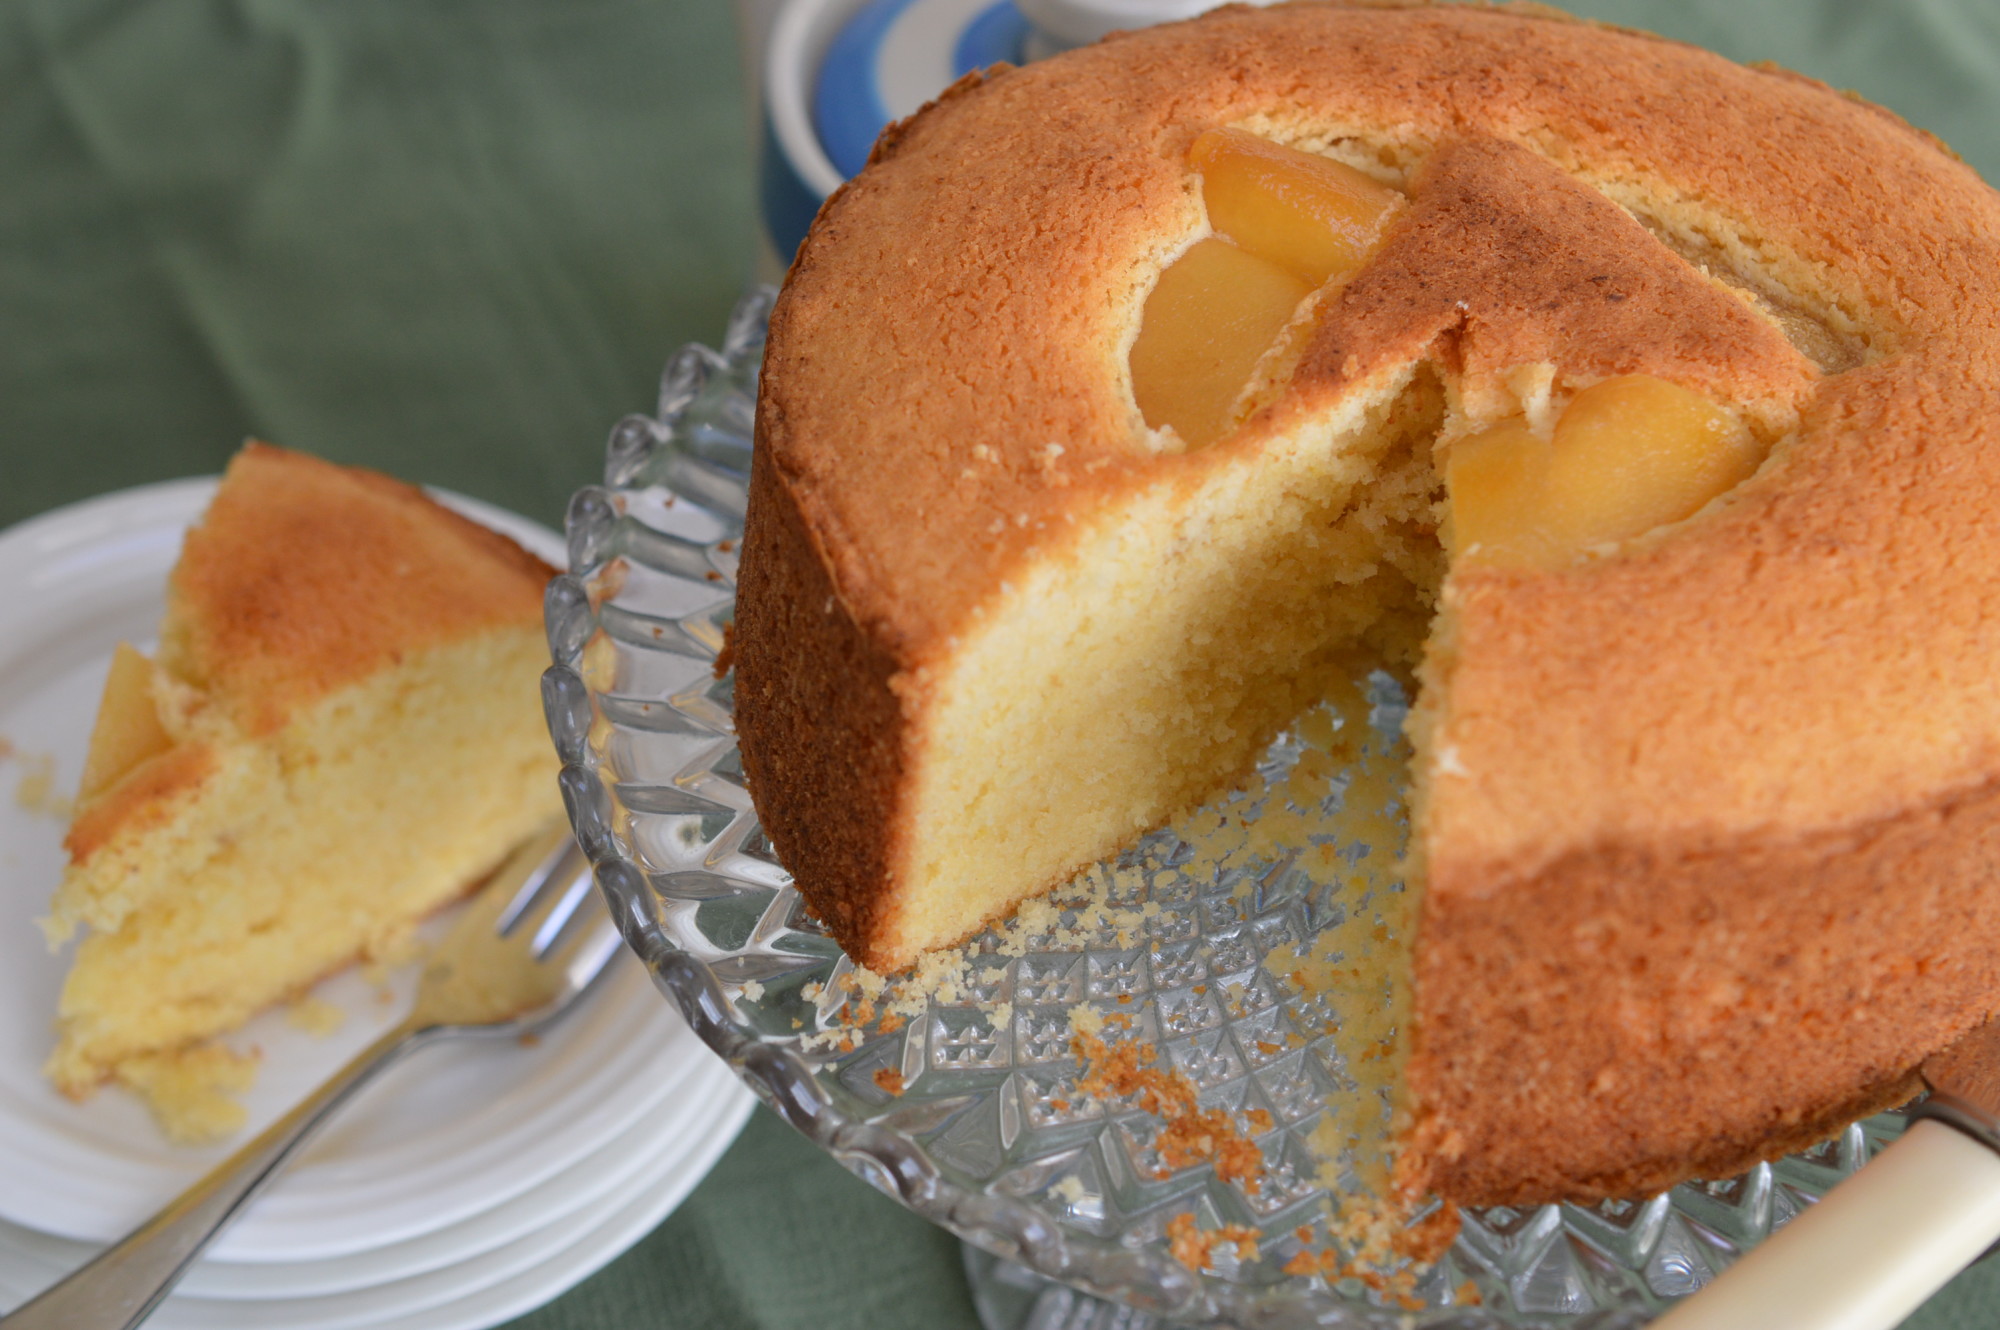
Put the cake mixture into the tin and smooth the top.  I like to decorate my Madeira Cake with some pieces of candied orange peel, but it’s not necessary.  Post Christmas I tend to have some handy.  Then bake.

DSC_0137 1

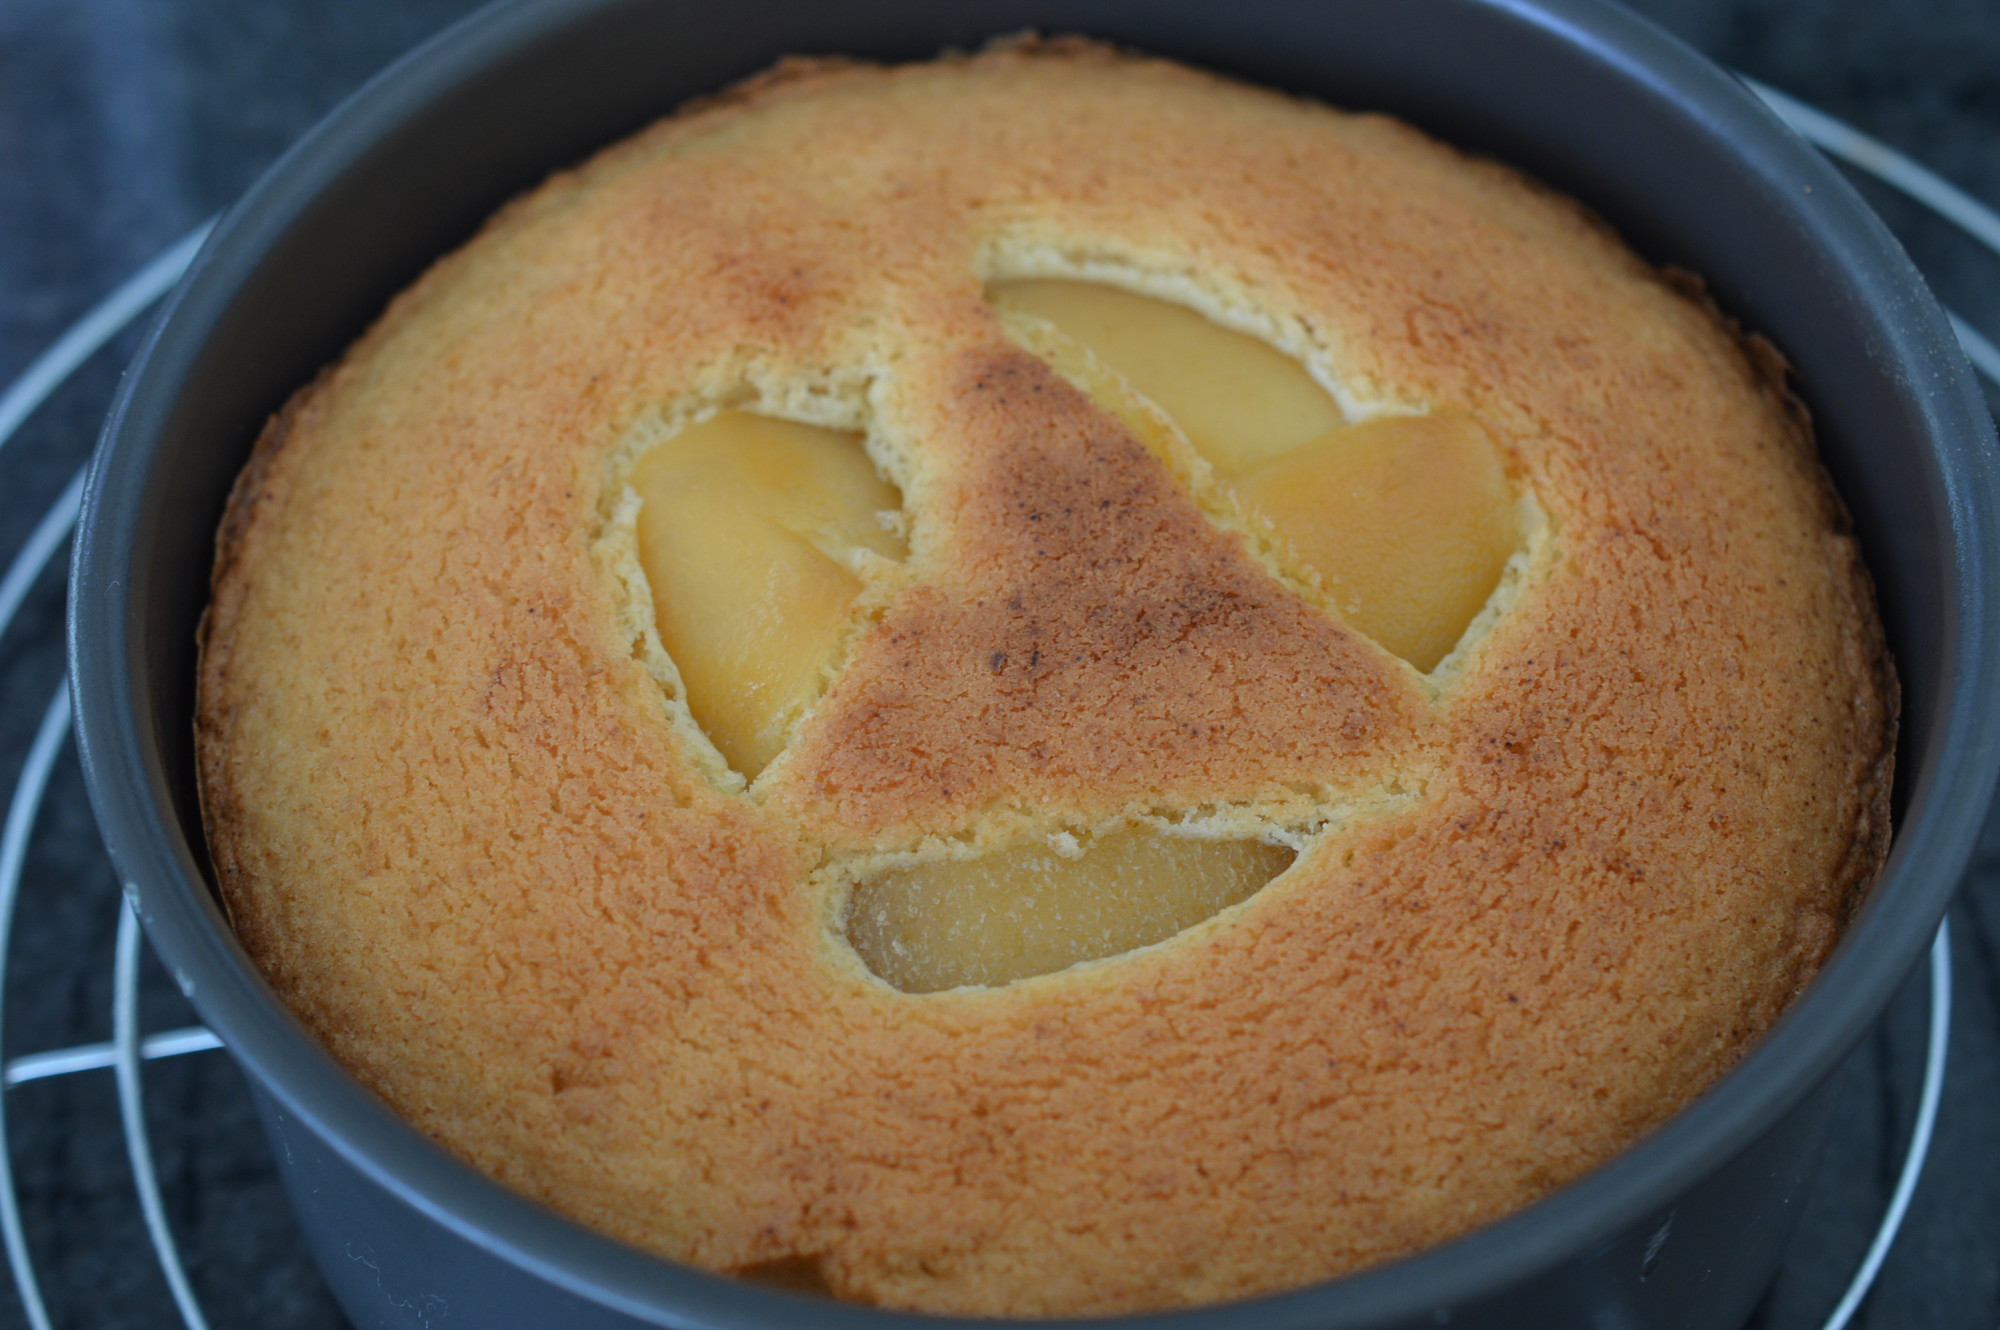
Leave the cake to cool in the tin for about ten minutes.

DSC_0138 1

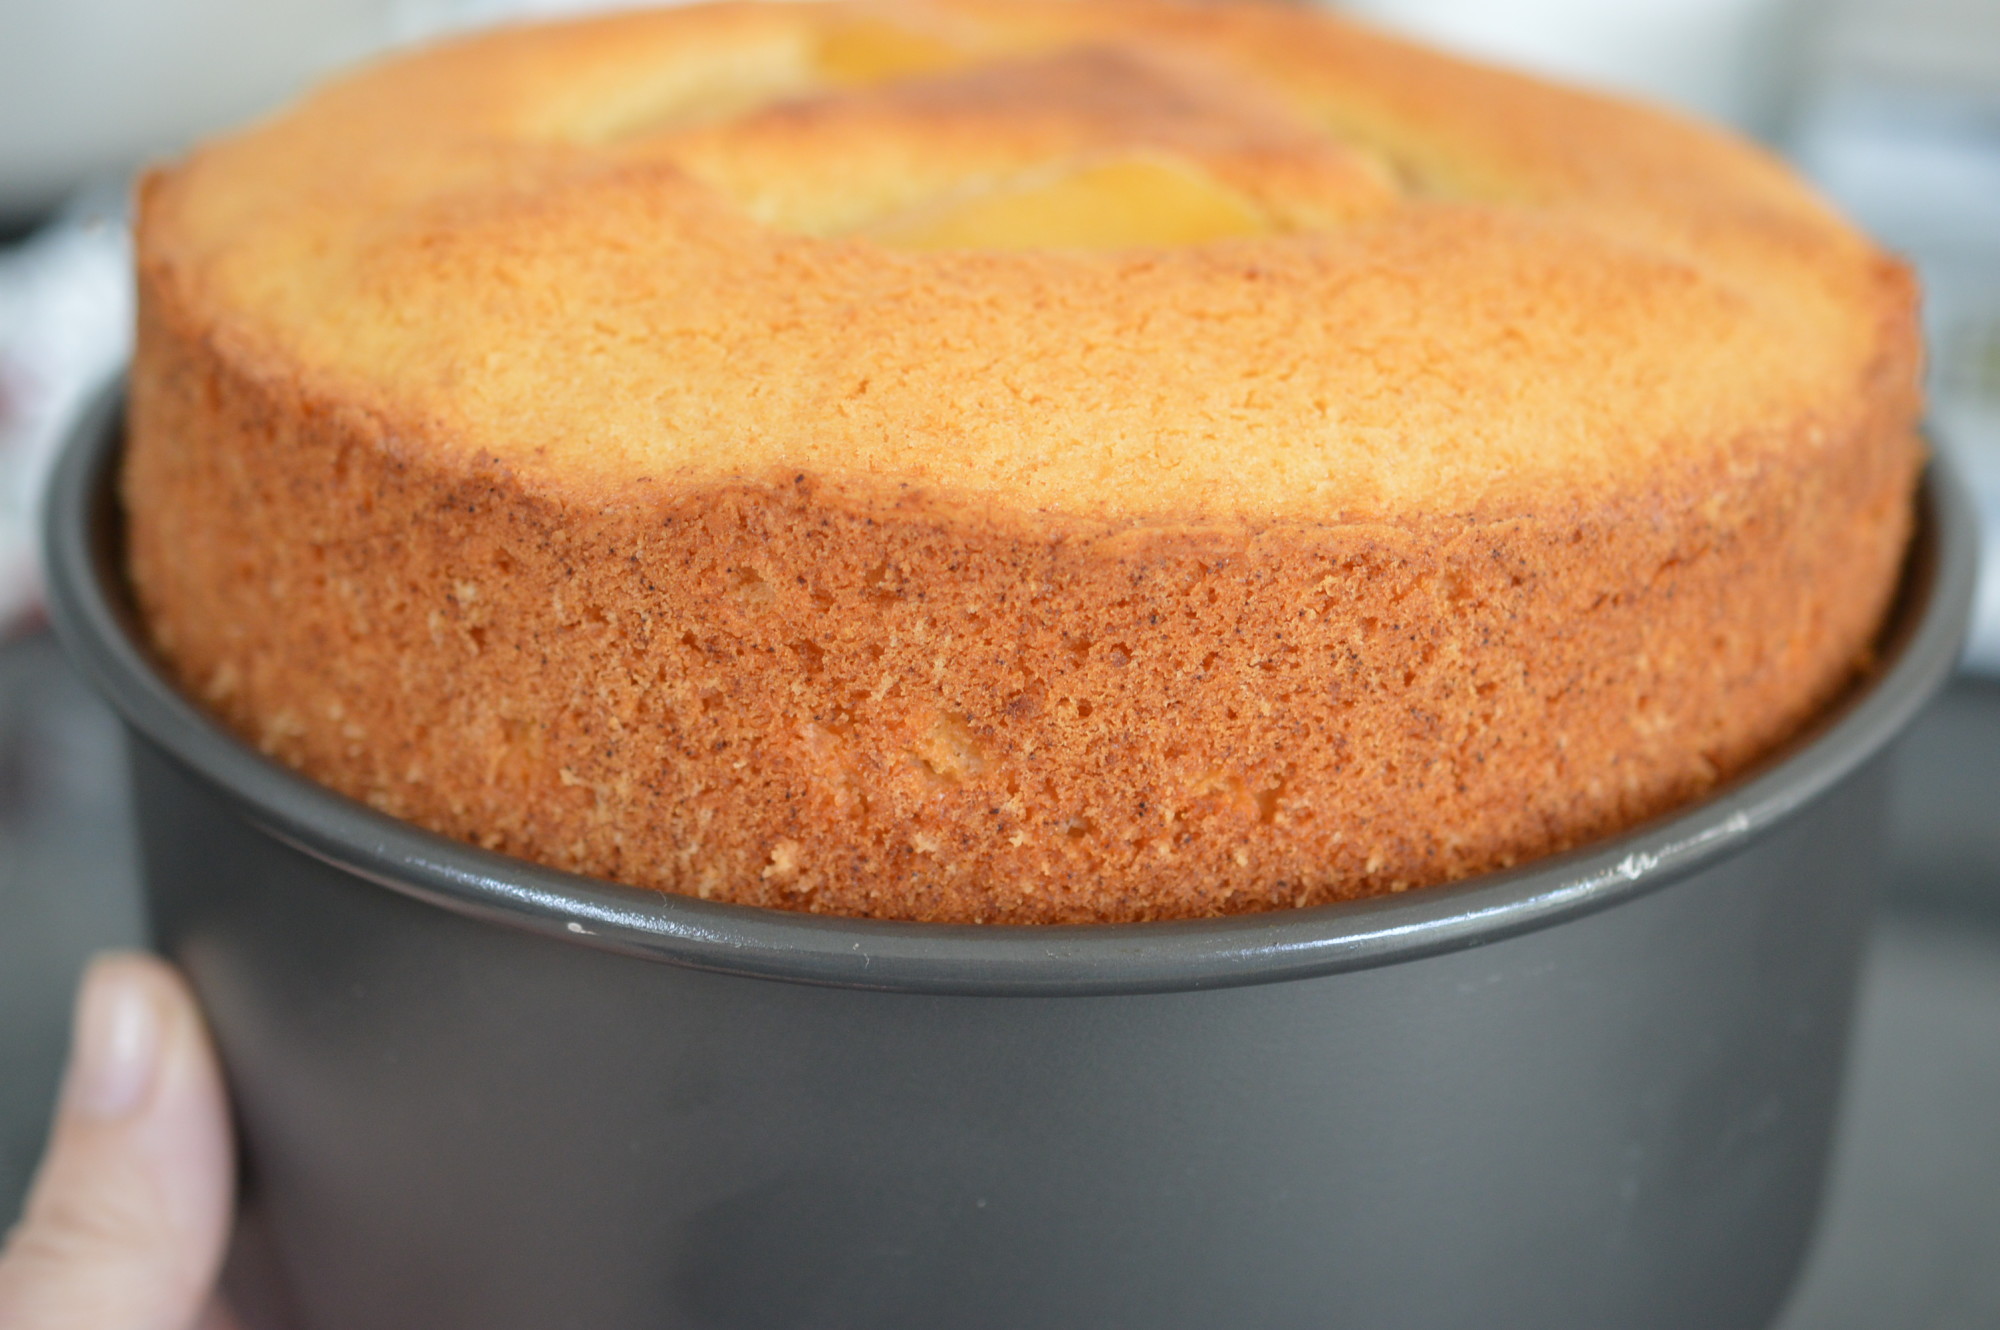
The easiest way to release the cake from the tin is to rest the tin on a can and ease the sides down.

DSC_0139 1

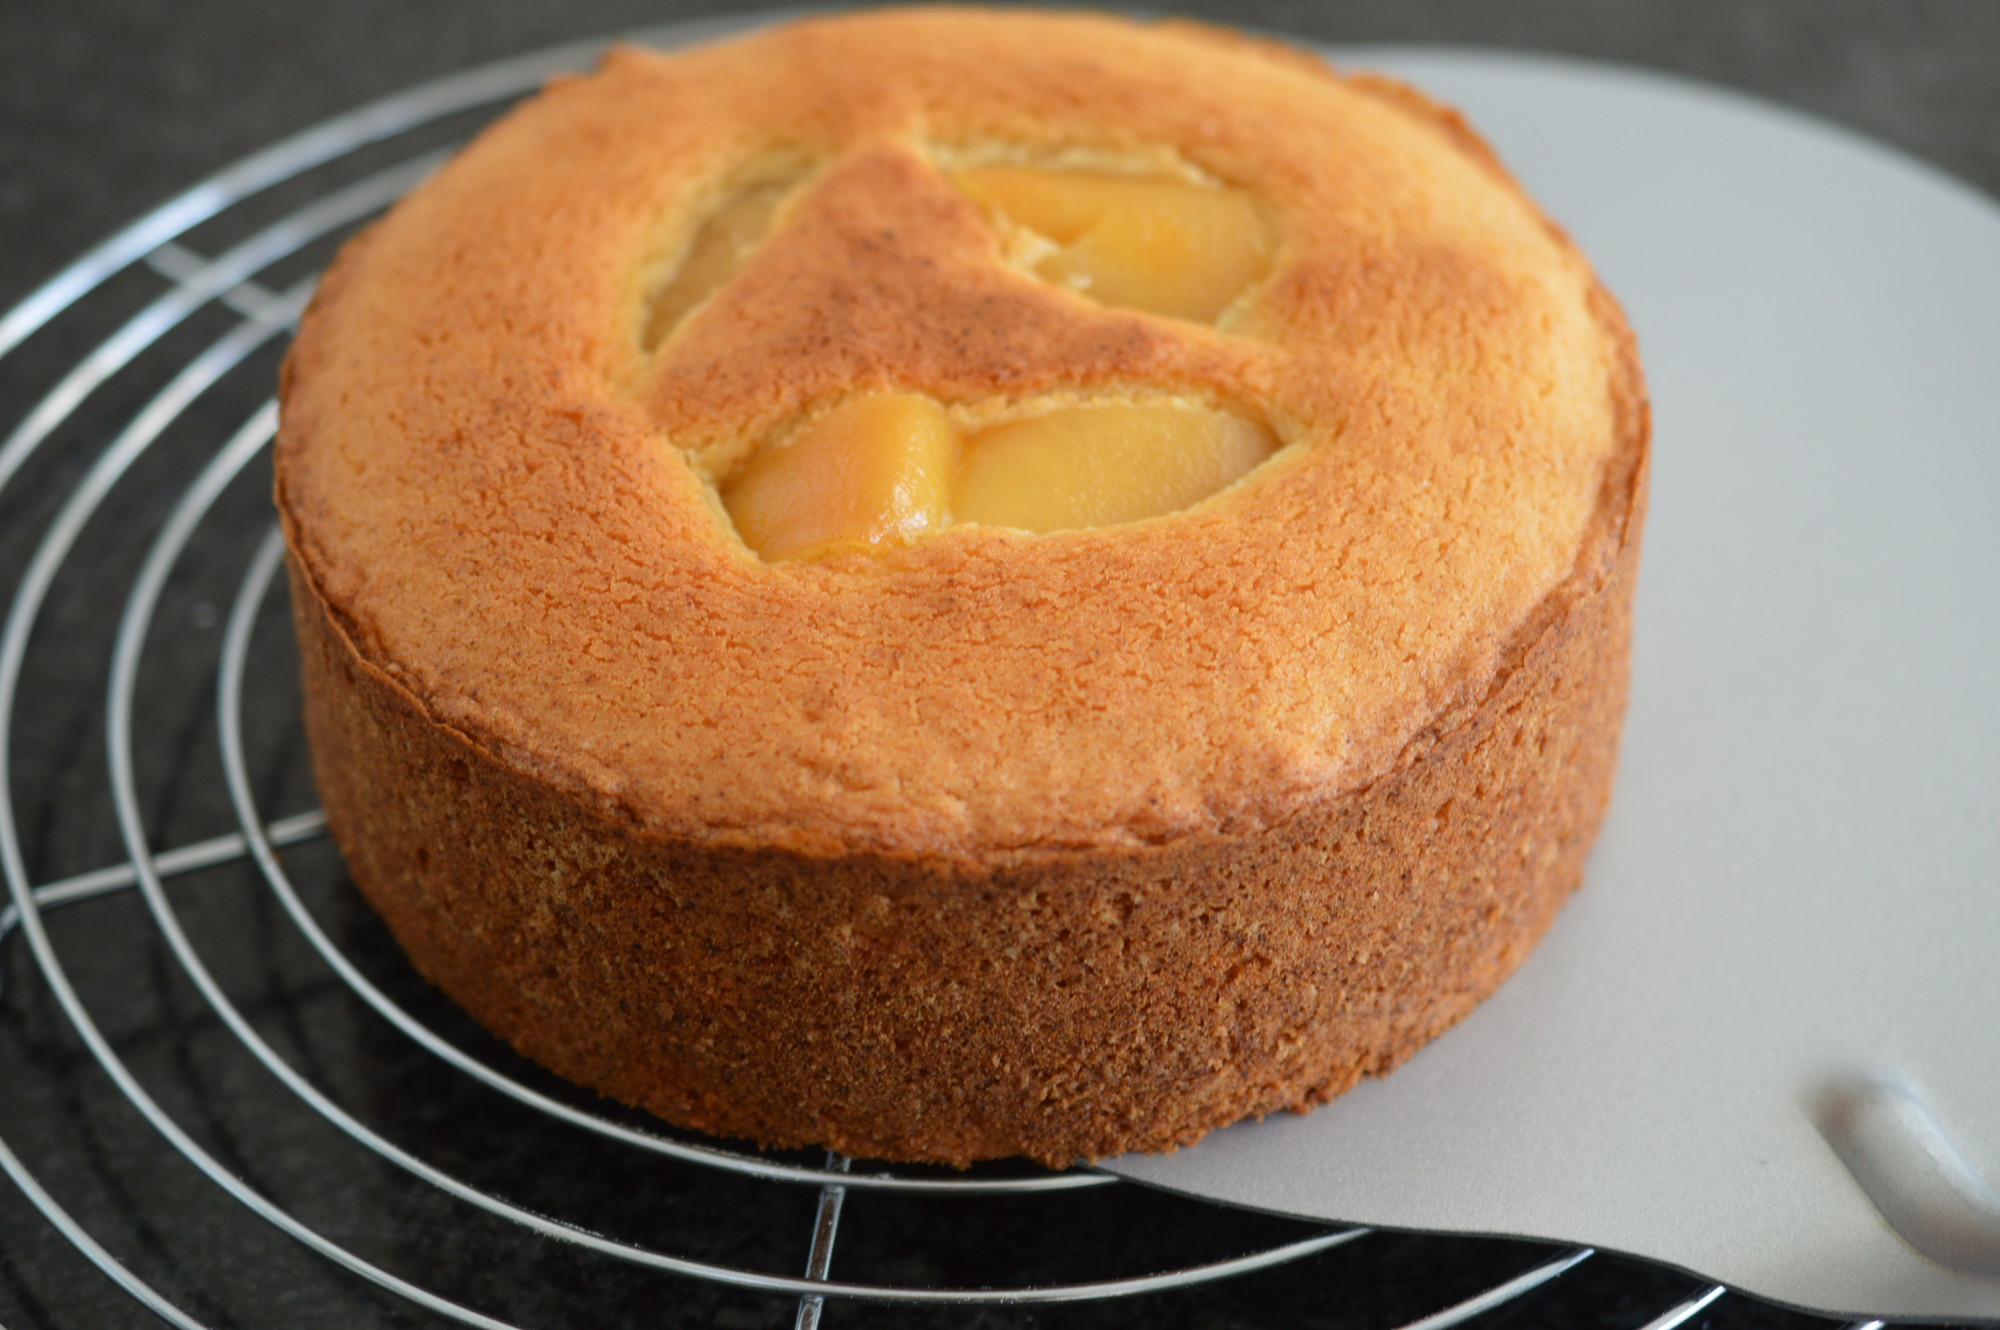
Transfer to a cooling rack.

DSC_0145 1

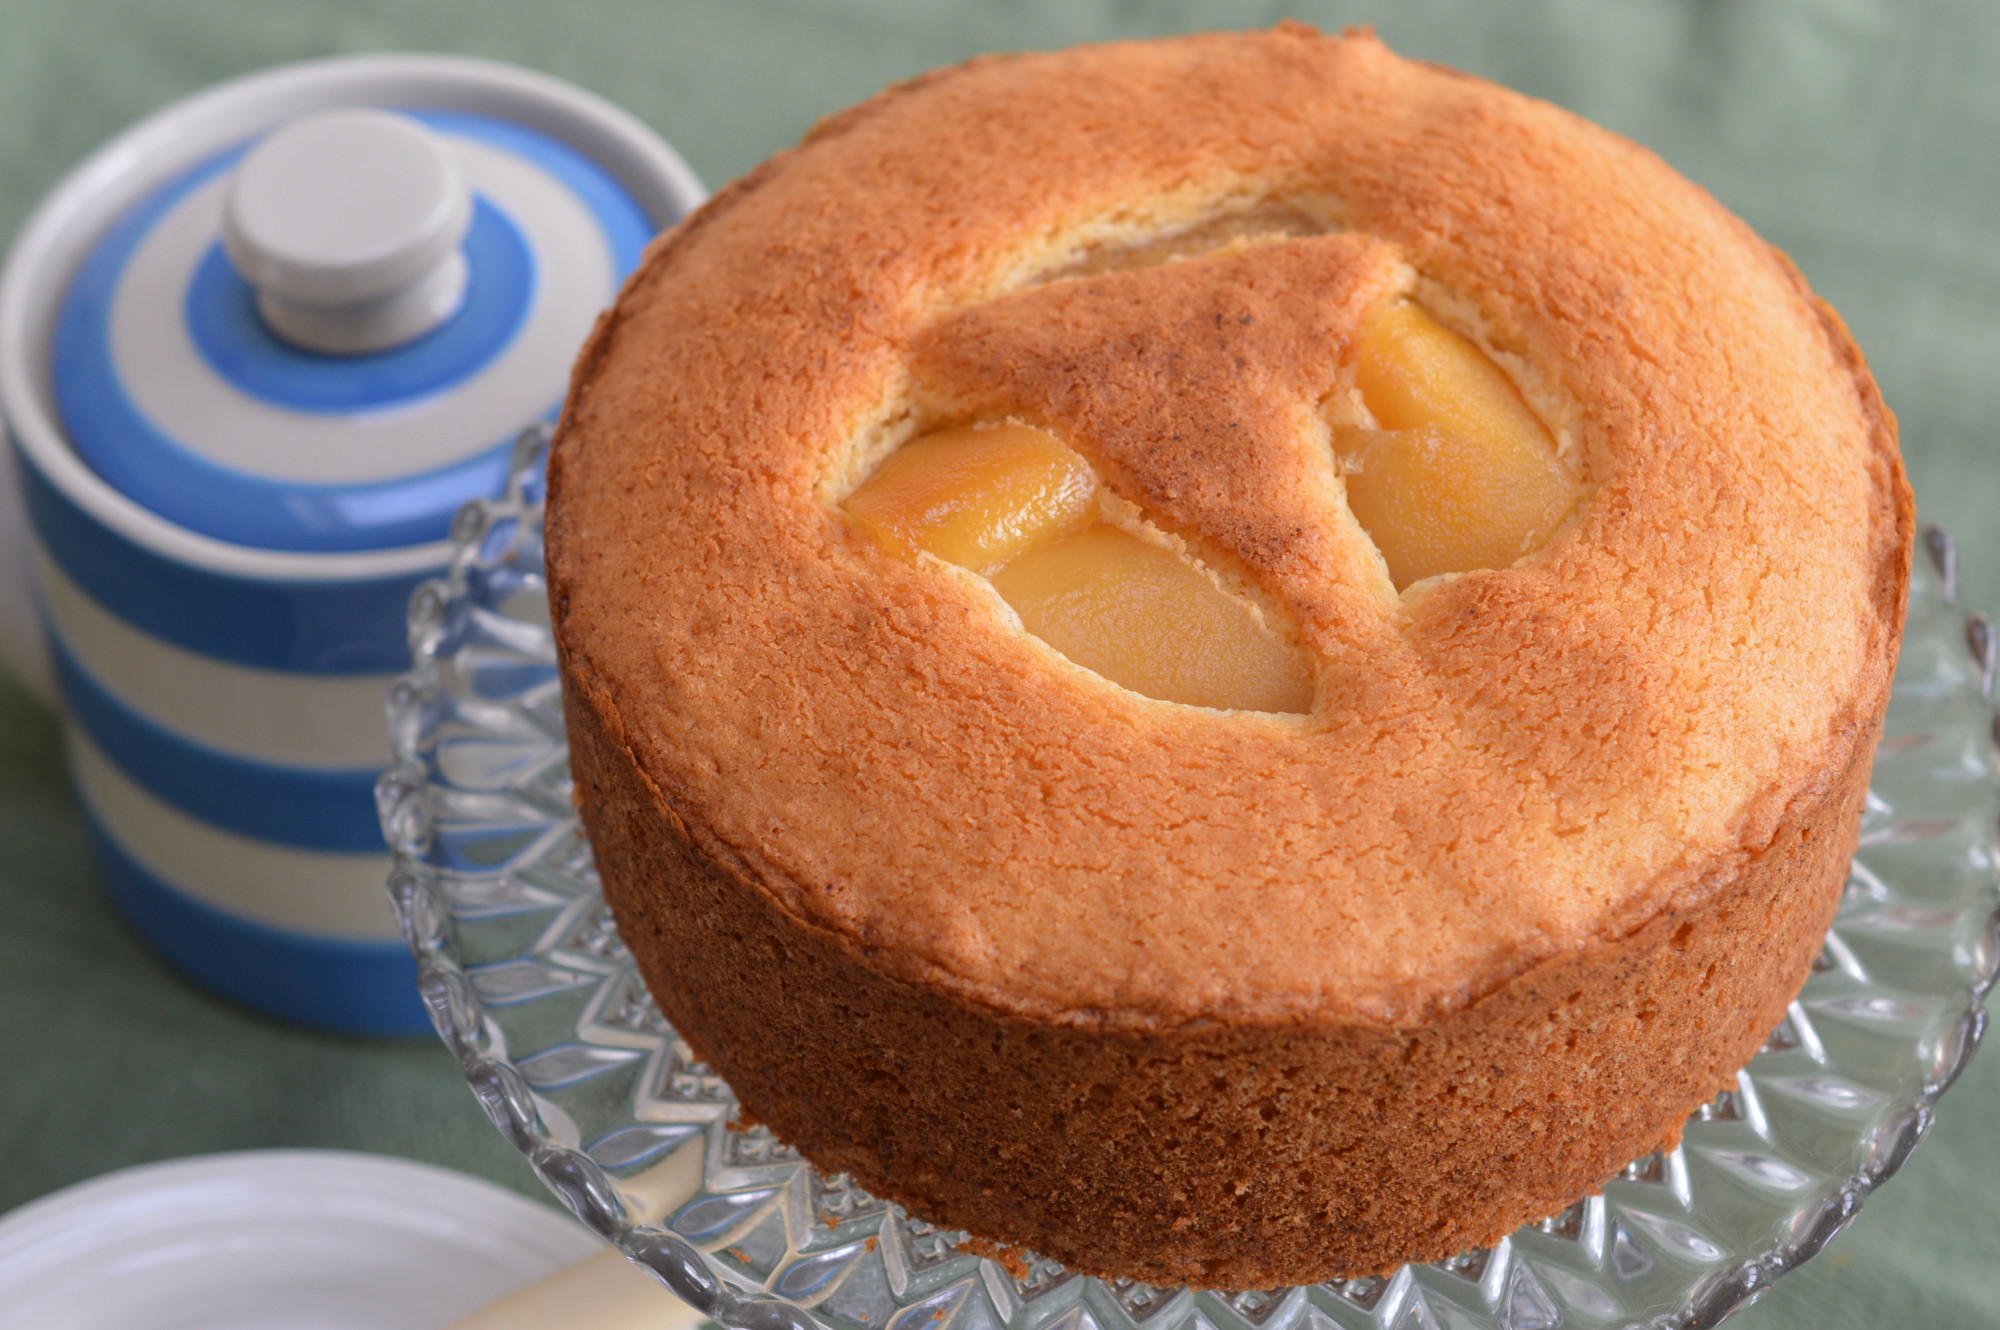
My mum’s pressed glass cake stand seems the right way to serve it.  Maybe not Madeira wine?  I like a cup of tea.
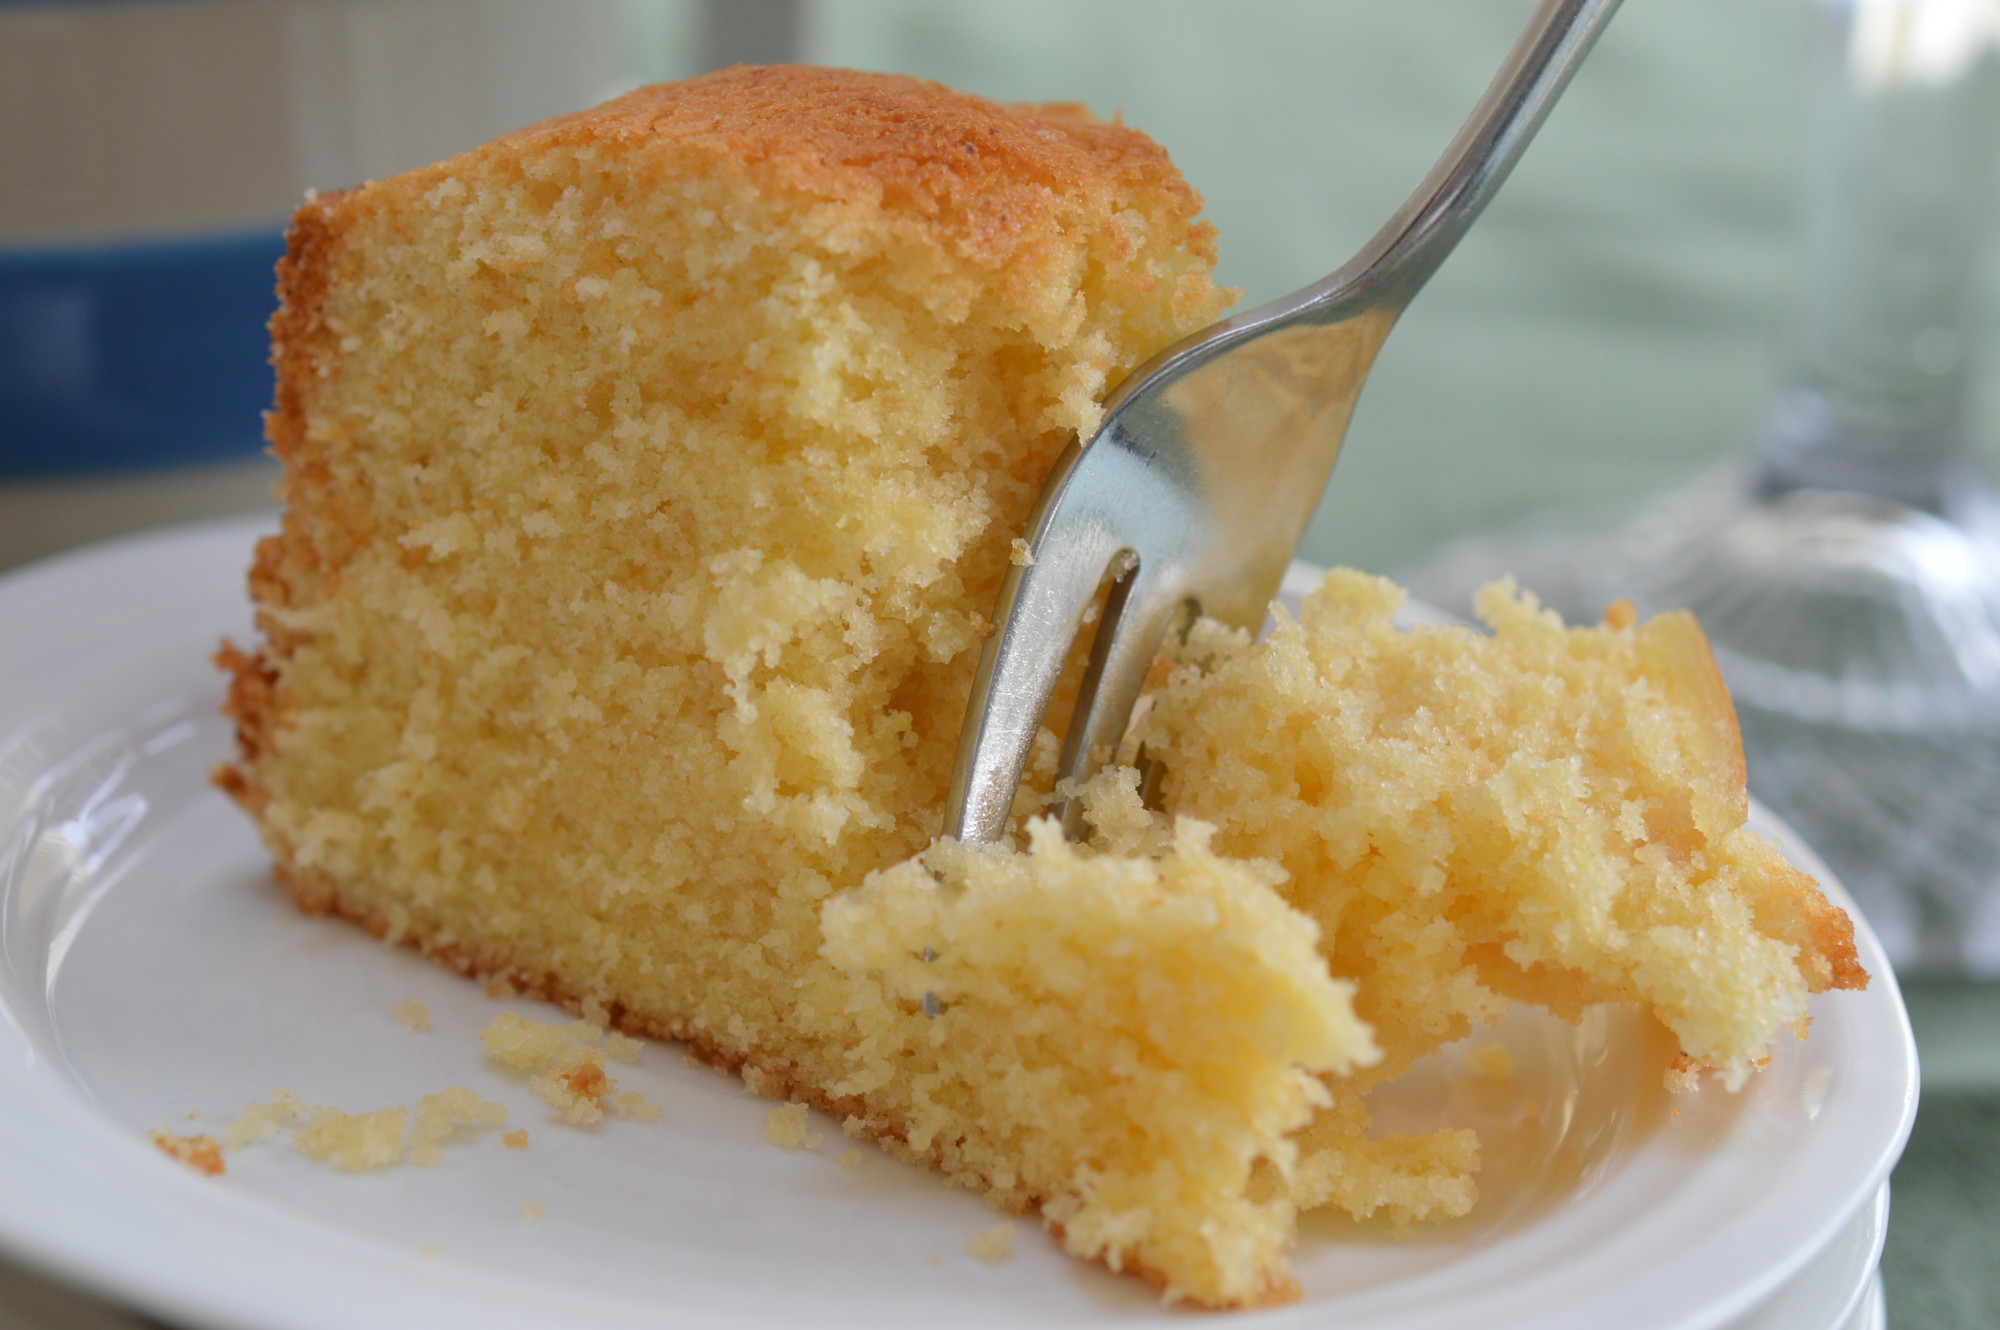
Eat.

DSC_0152 1Madeira Cake

Makes one 18cm/7″ round cake

  • 175g/6oz butter
  • 175g/6oz caster sugar
  • 3 large eggs
  • 150g/5oz self raising flour
  • 100g/4oz plain flour
  • grated rind and juice of ½ unwaxed lemon
  • candied peel to decorate (optional)

Grease and line the base of an 18cm/7″ round cake tin and pre-heat the oven to 160ºC/325ºF/Gas Mark 3.

Beat the butter and sugar together until it is pale.

Add the room temperature eggs, one at a time.  Beat well.  A little flour added with each egg will lessen the risk of the mixture curdling.

Gently fold in the flours, then add the rind and lemon juice.  Transfer the mixture to the tin and level the top.  Decorate with candied peel if liked.

Bake in the pre-heated oven for 1-1¼ hours.  Aga:  Bake on the grid shelf on the floor of the Baking Oven with a sheet of bake-o-glide resting on top of the tin for 40 minutes.

Leave to cool in the tin for 10 minutes before removing to a cooling rack.

Eat.

Print.


Crumpets

It’s a grey day – and I’m still cooking in ‘real’ time – so it seemed to me it was a day made for the comfort of a crumpet.  The only kind of crumpet to eat is a warm one.  They are surprisingly light because of all the honeycomb-like holes and perfect when they’re oozing with butter.  Salted, is my preference but I’m prepared to be flexible.

Crumpets 7

Apparently, the American publishers of the early Harry Potter books ‘translated’ crumpet to ‘English muffin’ because they were nervous about the British-isms putting off readers.  It’s a shame because an English muffin is a different thing with a very different ‘cultural’ feel.  A crumpet is about ‘home and hearth’, open fires and toasting forks, a rose-tinted view of times gone by and a warmed Brown Betty teapot of English Breakfast tea …

DSC_0715

You do need a bit of kit.  Crumpet rings.  They force the crumpet upwards rather than let them splay out into something much flatter and un-crumpet-like. (For some reason I now have seven rings.  I suppose it’s the missing-sock-syndrome as I have absolutely no idea where the eighth has gone.)

Crumpets 58

They are not difficult to make – providing you have a recipe which works. A mix of strong bread flour and plain flour seems preferable, but it’s the bicarbonate of soda which is the magic ingredient.

DSC_0277 1

Place the flours in a bowl.  Strong white bread flour has the gluten which will help the crumpet hold its honeycomb structure and the plain flour will encourage your crumpet to be soft and squidgy.  Add the yeast on one side of the bowl and the salt on the other.  (If the salt is placed on top of the yeast it will ‘kill’ it.)

Crumpets 60

A mix of milk and boiling water gives the perfect warm temperature.

Crumpets 56

A little bit of sugar gives the yeast a boost.

Crumpets 51

Pour the water/milk mix into the flour and yeast and beat.  Hard.  I use the paddle beater on my mixer.

Crumpets 50

Until it’s smooth.

Crumpets 61

Time is magic.  How long it takes depends on the day, the weather, the flour …  Leave until it’s a mass of tiny bubbles.  In my warm kitchen it usually takes a hour or so.

Crumpets 43

Now it’s time for the bicarbonate of soda.  The bicarb is all about creating ‘holes’, but you need to be restrained as you don’t want to taste it in the finished crumpet.  Mix with 100ml of water.  This bit feels counter-intuitive to me but .. stir it in.  Yes, you are destroying all those lovely bubbles.  I have absolutely no idea why it works, but it does.  Then leave it for another half an hour to recover.

Crumpets 44

I like to pour it into a jug.

Crumpets 26

Melt a little butter and brush the rings with it so they are thoroughly greased.  There is little so annoying as your lovely crumpet getting stuck.  Traditionally you’d be baking on a griddle.  I use a piece of bake-o-glide on my Aga Simmering Plate, but a heavy cast iron frying pan would work well too.  Place the crumpet rings on the cooking surface and bring both to the same temperature.  Then pour in some of the gloopy mixture …

Crumpets 41

Aim for about two thirds up the side of the ring.

It’s the cooking where you need to acquire a ‘knack’.  Too hot and you’ll burn the base of the crumpet.  Pour the mixture too high up the rings and you’ll end up with a muffin top and a burnt bottom before the top has ‘set’.

Crumpets 31

Get it right and it will climb to the top of the ring and you can smugly watch the holes appear.

Crumpets 25

Risking life and limb, lift the rings off when the top has almost set.  I use a clean tea towel.  If the rings were greased well and hot before you added the crumpet mixture they should release easily, but sometimes you’ll need to coax the crumpet out with the point of a knife.

Crumpets 19

Once free ..

Crumpets 15

… flip and cook the other side.  This does ‘flatten’ the holes a little so if you are super fussy you can pop them under a grill/broiler until the top is golden.

Crumpets 12

And keep going.

They are ready to eat now, but you can let them cool and pop them in the freezer ready to toast at a later date.

Crumpets

Eat.

Crumpets 4Crumpets

  • 2 tsp sugar
  • 400 ml whole milk
  • 200 ml boiling water
  • 2 tbsp dried yeast
  • 300g strong white bread flour
  • 200g plain flour
  • 2 tsp salt
  • 1 tsp bicarbonate of soda
  • Butter for greasing the crumpet rings

Combine the flours and add the dried yeast to one side of the bowl and the salt to the other.  Mix.

Measure the whole milk into a jug and add the boiling water.  Pour into the dry ingredients and mix until smooth.  Cover and leave to form a mass of tiny bubbles.  The will take between one and two hours.

Mix the bicarbonate of soda with 100 ml of warm tap water and stir it into the bubbly batter. It will deflate.  Cover again and leave to recover 30 minutes.

Meanwhile, melt some butter and brush the inside of your crumpet rings.  Heat a large cast iron frying pan, a smooth griddle or place a piece of bake-o-glide on the Simmering Plate of an Aga.  Warm the crumpet rings.

Transfer the crumpet batter to a jug and pour into the rings until two-thirds full.  Watch the bubbles appear.  Once the top is almost set, remove the crumpet rings.  Flip to cook the top of the crumpet – or place under a hot grill/broiler until golden.

Serve with lashings of butter.  I like mine with grated Sussex Charmer cheese and batons of celery.

Eat.

Print.


Viennese Mince Pies

The best laid plans – I’ve had acute bronchitis and then had to play catch-up throughout Christmas, but through it all I’ve learnt several things:  food bloggers should not ‘cook’ in real time or there is nothing to post when life is troublesome: this blog is necessary for my future well-being, as all my family felt able to provide me with while I was ill was toast; toast isn’t a great thing to be eating in bed.

Viennese Mince Pies 3

Tradition has it you should eat a mince pie on all twelve days of Christmas to ensure good fortune for the year ahead.  Currently we are on day 12 – when my true love should be giving me twelve drummers drumming (and if that means nothing to you – it’s a traditional Christmas song) and it’s the last day of calorie-free mince pies.  That is right, isn’t it??  It’s also the night I have to take all my Christmas decorations down …

Viennese Mince Pies 2

Viennese Mince Pies are my ‘starter’ mince pies.  They’re how I introduced my children to mincemeat and it’s what I bake for people who say they loathe dried fruit but are prepared to give mince pies a go.

You begin with the pastry and, for these, I use the pastry I recognise from my childhood.  Half fat to flour, and the fat a 50/50 split between butter for flavour and lard for flakiness.  It’s the same pastry I used in Lemon Meringue Pie, but since I hate flicking between pages I’ll post it again here.

There’s a whole heap of nonsense talked about making pastry, but there are really only two secrets to the business. The first, don’t over-handle it. The second, don’t skip the chilling. That said, put a glass of tap water in the fridge. Minimal effort, I feel.

LM - sieve high

Sift your flour and salt into a large bowl. (It always confused me when recipes said that because the salt never does entirely go through the holes, does it? What you’re doing is adding air if your flour has compacted in the bag and getting the salt dispersed evenly through it. What’s left in the sieve, you can just add!)

LM - Butter

Then add the fat, cut into smallish cubes. You don’t want soft fats (that makes pastry difficult to work with), but you don’t want fridge hard either. Trying to ‘rub in’ icy little cubes isn’t much fun.

What you’re actually doing by ‘rubbing in’ is coating tiny bits of flour with fat – before you add any liquid. Think of it like a raincoat! It’s to stop liquid penetrating the flour. Liquid + flour = gluten proteins. And gluten proteins give you tough pastry. Roughly!! You can do the whole thing in a food processor, but it’s so easy to do it by hand and who likes washing up???

So clean hands, not cold. Butter and vegetable shortening cut into smallish cubes, at squeezable temperature.

Stop when it looks like this:

DSC_0028

Breadcrumbs – ish. There are still little lumps of fat, but that doesn’t matter. This is the bit where you get better results if you don’t ‘over-work’ it. Light and cool is the mantra!

LM - cold water

Retrieve the water from the fridge. How much you’ll need will depend on the absorbency of your flour and the weather. Annoying, I know. But – you can always add more … so start with a couple of tablespoons and try and sprinkle it over the entire surface. Then take a blunt knife and mix. Light touch rather than bingo wing work-out. Stop when it starts to form clumps.

LM - dough ball

Bring it together into a ball with your hand until it leaves the sides of the bowl clean. You are now done with the bowl.

On your worktop give the pastry a little knead. (Yes, really.) You want it free of cracks and smooth.

-If you’ve made a mistake with the water and the pastry is crumbling beneath your fingers – run your hands under the cold tap and lightly knead in the water on your hands.

-If it’s too wet you’ll have to sprinkle flour on your worktop. Go careful because you are altering the fat/flour ratio.

DSC_0035

Form it into a flat disc and wrap in plastic cling. The flat is important. If you chill it as a ball the outside will come back to room temperature much quicker than the centre and you’ll struggle to roll it later. Put it – and this time you don’t have a flan tin to chill but I haven’t got another picture – in the fridge. Chill for a minimum of 30 minutes. Longer is absolutely fine …

Viennese Mince Pies 20

After it’s had its resting time, roll out thinly and cut out twelve rounds with a 8cm pastry cutter.

Viennese Mince Pies 21

Brush a 12-hole pie tin (my mum always called it a patty tin and everyone looks blank when I do …) with melted butter, then lay the pastry circles on top of each hole.

Viennese Mince Pies 19

Being a woman of limited interests I have a natty gadget which appeared in my Christmas stocking one year.  You can get one here.  Push the pastry into the holes and pop back into the fridge to chill while you make the viennese topping.

Viennese Mince Pies 17

The viennese topping is made up of soft butter, plain flour, cornflour, icing sugar and vanilla extract.  Put all the ingredients in the bowl of your food processor and give it a whizz.

Viennese Mince Pies 18

Once it is smooth, transfer the mixture to a piping bag fitted with a large star nozzle.

Viennese Mince Pies 16

Take the pastry cases from the fridge and place a heaped teaspoon of mincemeat into the centre of each.  If you’re using a shop bought jar you might like to jazz it up with extra fruit and nuts.  Half a teaspoon of the hard stuff per pie is nice for adults and orange juice for the children.

Viennese Mince Pies 14

Then you pipe the viennese topping around the edges of each pie.  Don’t be too generous.  Too much topping spoils the balance of the  end result.

Viennese Mince Pies 4

Keep going.  At this point return to the fridge, if they’re going to be out of the oven for any amount of time.

Viennese Mince Pies 11

I cook mine on the floor of the Aga Roasting Oven for 20 minutes.  In a conventional oven it’s 190C/375F/Gas Mark 5 for 20-25 minutes.

Viennese Mince Pies 9

As soon as you are able, remove to a cooling rack.

Viennese Mince Pies 7

Warm or cool, these are delicious.  Dust with icing sugar.

Viennese Mince Pies 1

Pile onto a plate – and stand back and watch them disappear.


Viennese Mince PiesMakes 12Viennese Mince Pies 1

Traditional Shortcrust Pastry as my mother made it:

  • 4 oz/100g plain flour
  • ¼ level teaspoon fine sea-salt
  • 1 oz/25g lard
  • 1 oz/25g unsalted butter
  • 1 tablespoon of cold water

Sift the flour and salt into a large bowl. Add the butter and lard and ‘rub in’ until you have something approaching fine breadcrumbs. Keep it all light.

Sprinkle the water over and mix the dough with a round bladed knife until it starts to form lumps. Bring together to form a ball. Lightly knead until it is smooth and flatten into a disc. Chill for a minimum of 30 minutes.

Roll out thinly and cut out twelve 8cm circles and press into a greased 12-hole pie tin.  Into the centre of each hole, place 1 heaped teaspoon of mincemeat.

Viennese Topping:

  • 100g/4oz soft butter
  • 75g/3oz plain flour
  • 25g/1oz cornflour
  • 25g/1oz icing sugar
  • half a teaspoon of vanilla extract

Place all the ingredients for the topping in the bowl of a food processor and whiz together until you have a smooth mixture.  Transfer to a piping bag fitted with a large star nozzle.  Pipe around the edges.

Bake at 190C/375F/Gas Mark 5 for 20-25 minutes.  In an Aga, cook on the floor of the Roasting Oven for 20 minutes.

Once golden, transfer to a cooling rack.  Dust with icing sugar.

Eat.

Print.