Gooseberry and Elderflower Cake

I wasn’t fond of gooseberries as a child and I told everyone the reason for that was because they made me ‘blink’.  I was right.  They can be lip pursing-ly sour and even the sweetest need sugar.  What’s more, they are spiteful to pick, with thorns like spears.

Gooseberry Fool was the only way I was prepared to eat them.  Now, I’ve branched out but it’s still important to treat them with love – which is probably why they’re not so easy to find.  If you don’t grow them yourself you’re more likely to find gooseberries at farm shops and farmers’ markets than at the supermarket.

Gooseberry and Elderflower Cake 15

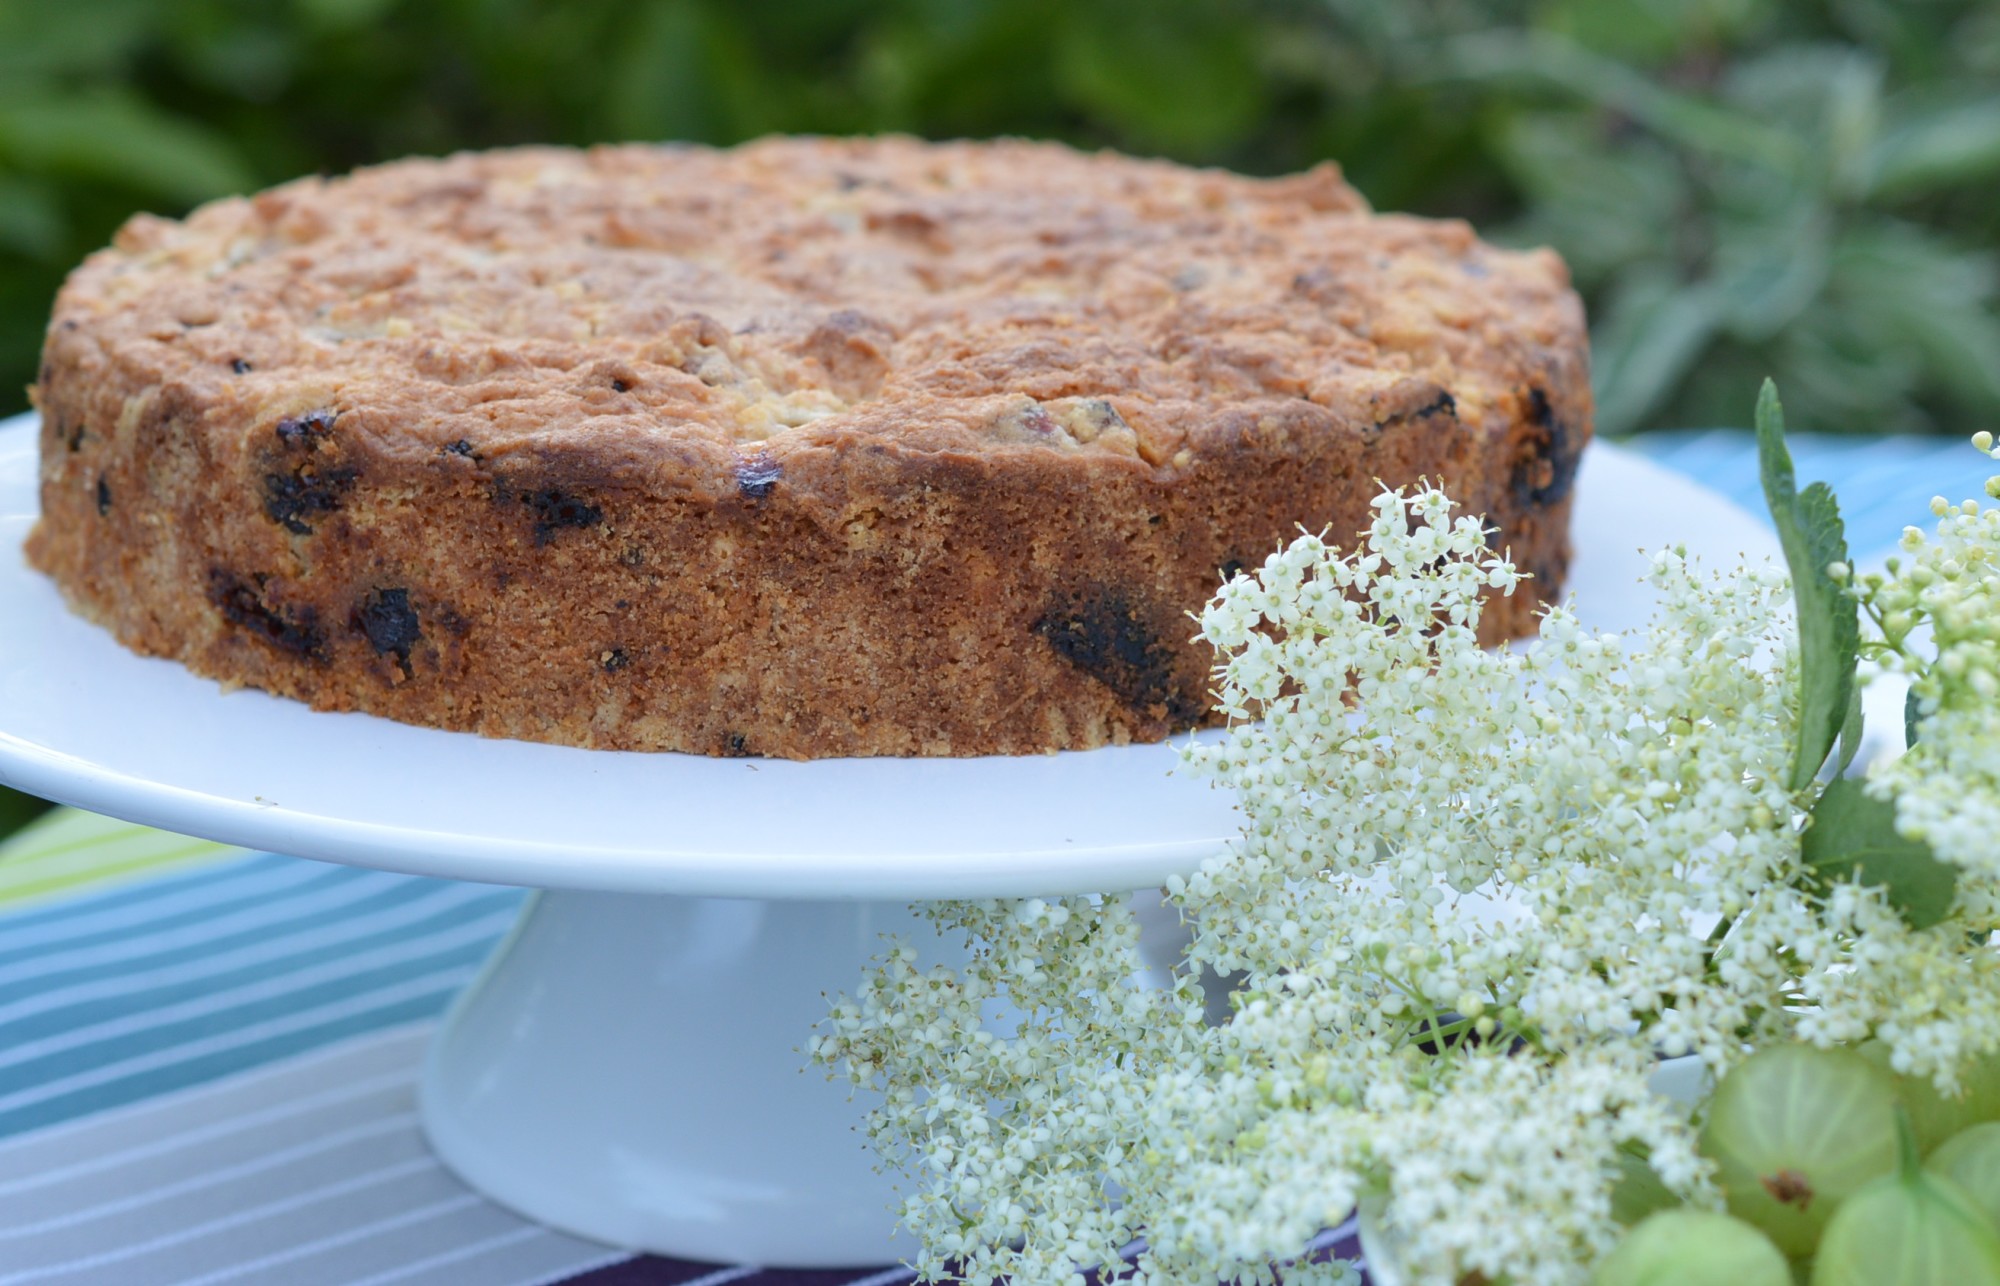
(Please note the artistic positioning of gooseberries and elderflowers in this photo.)

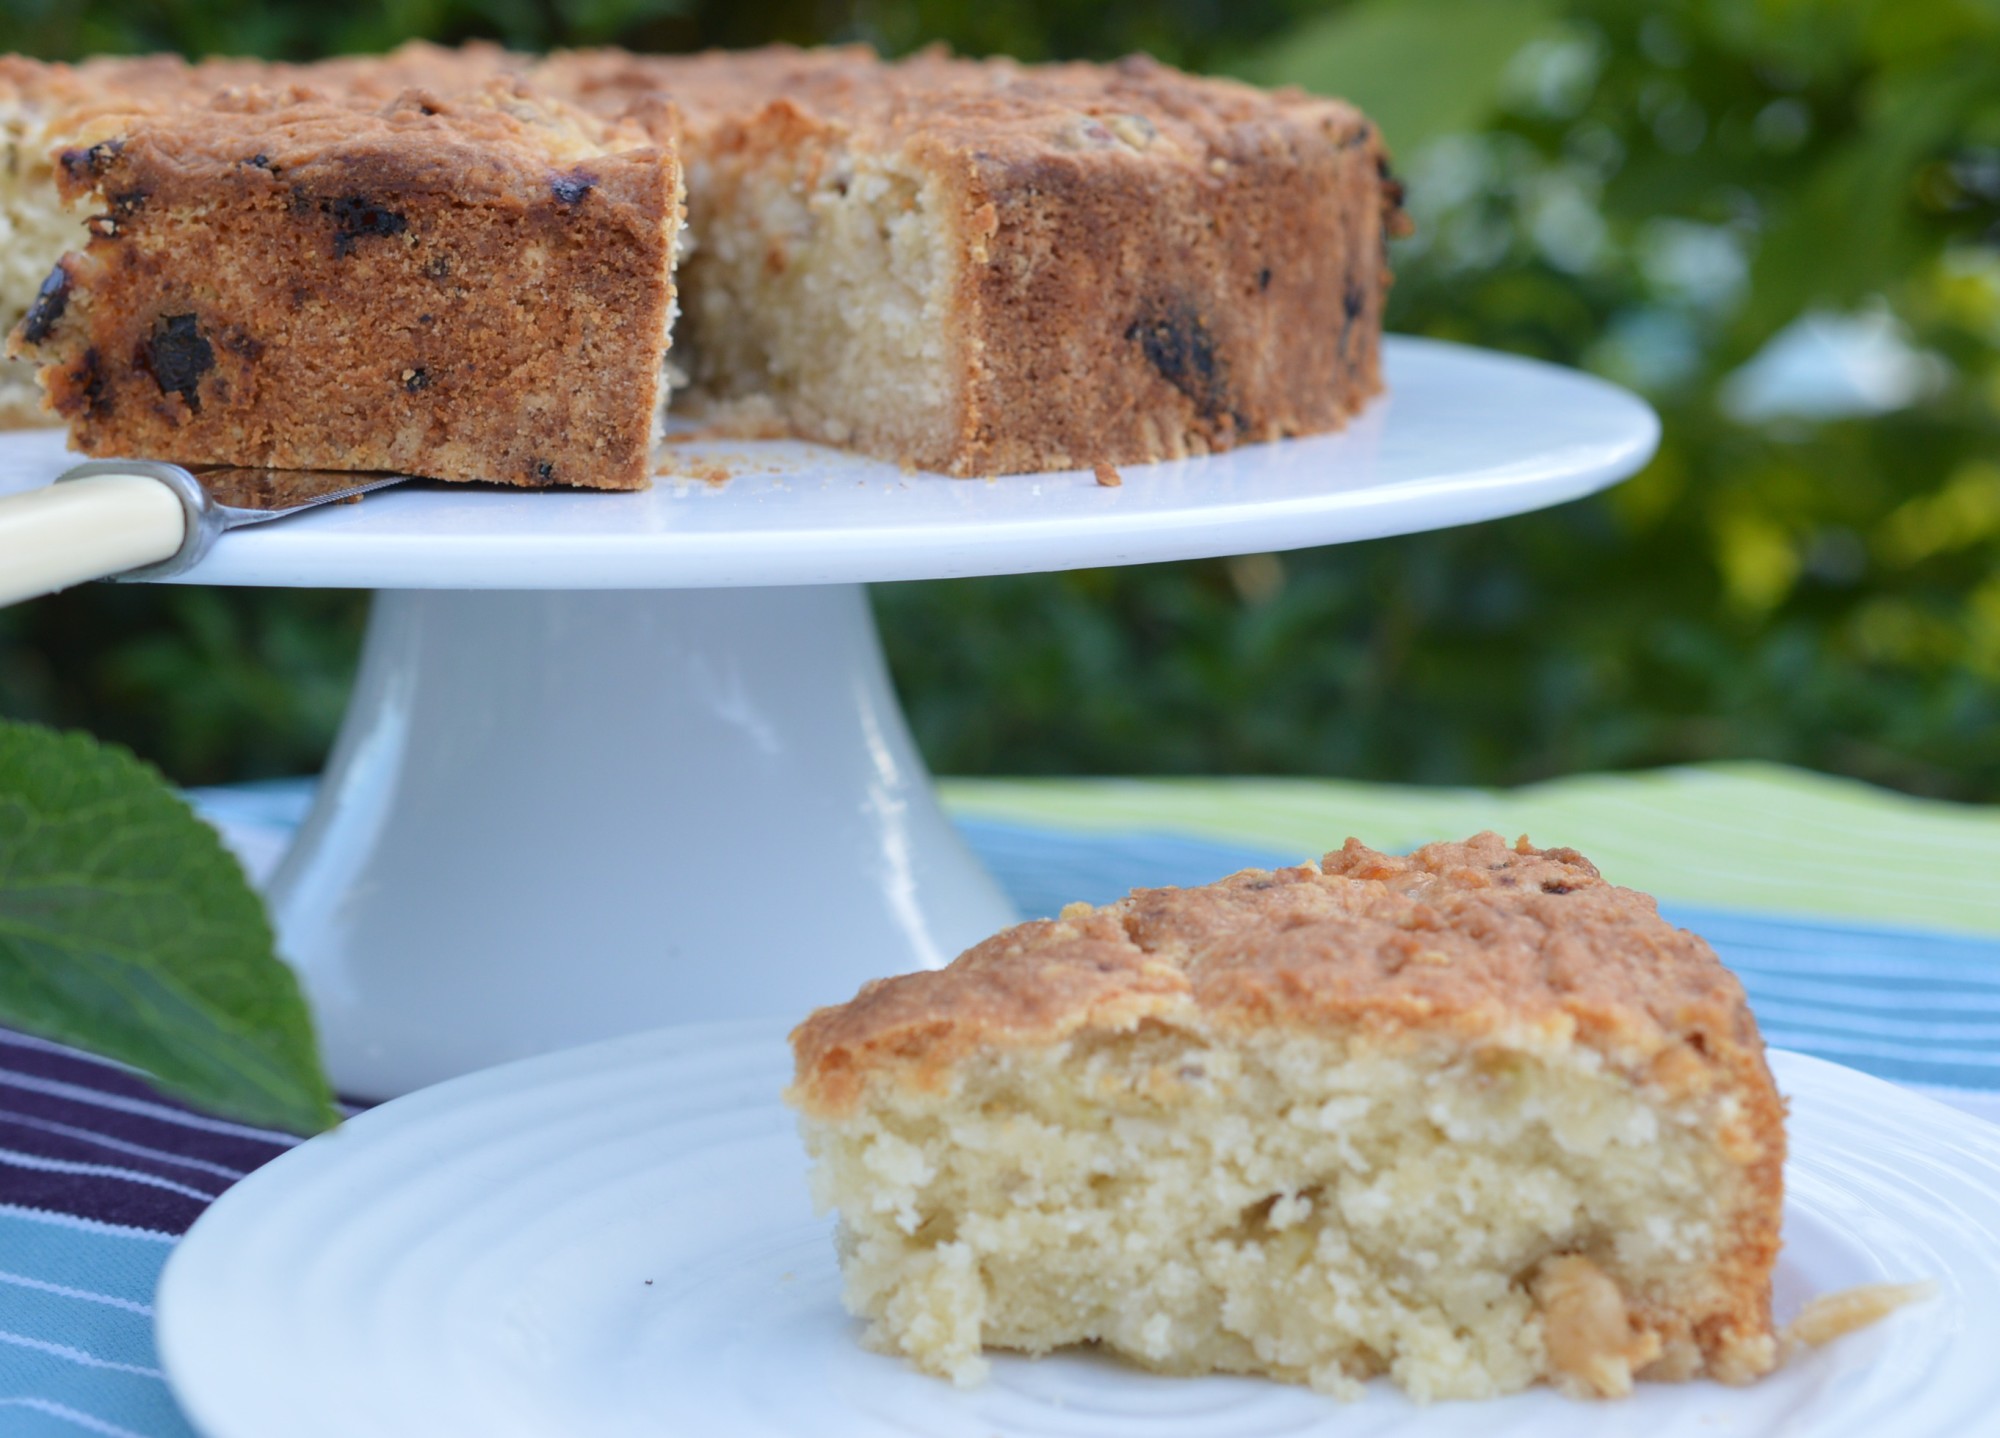
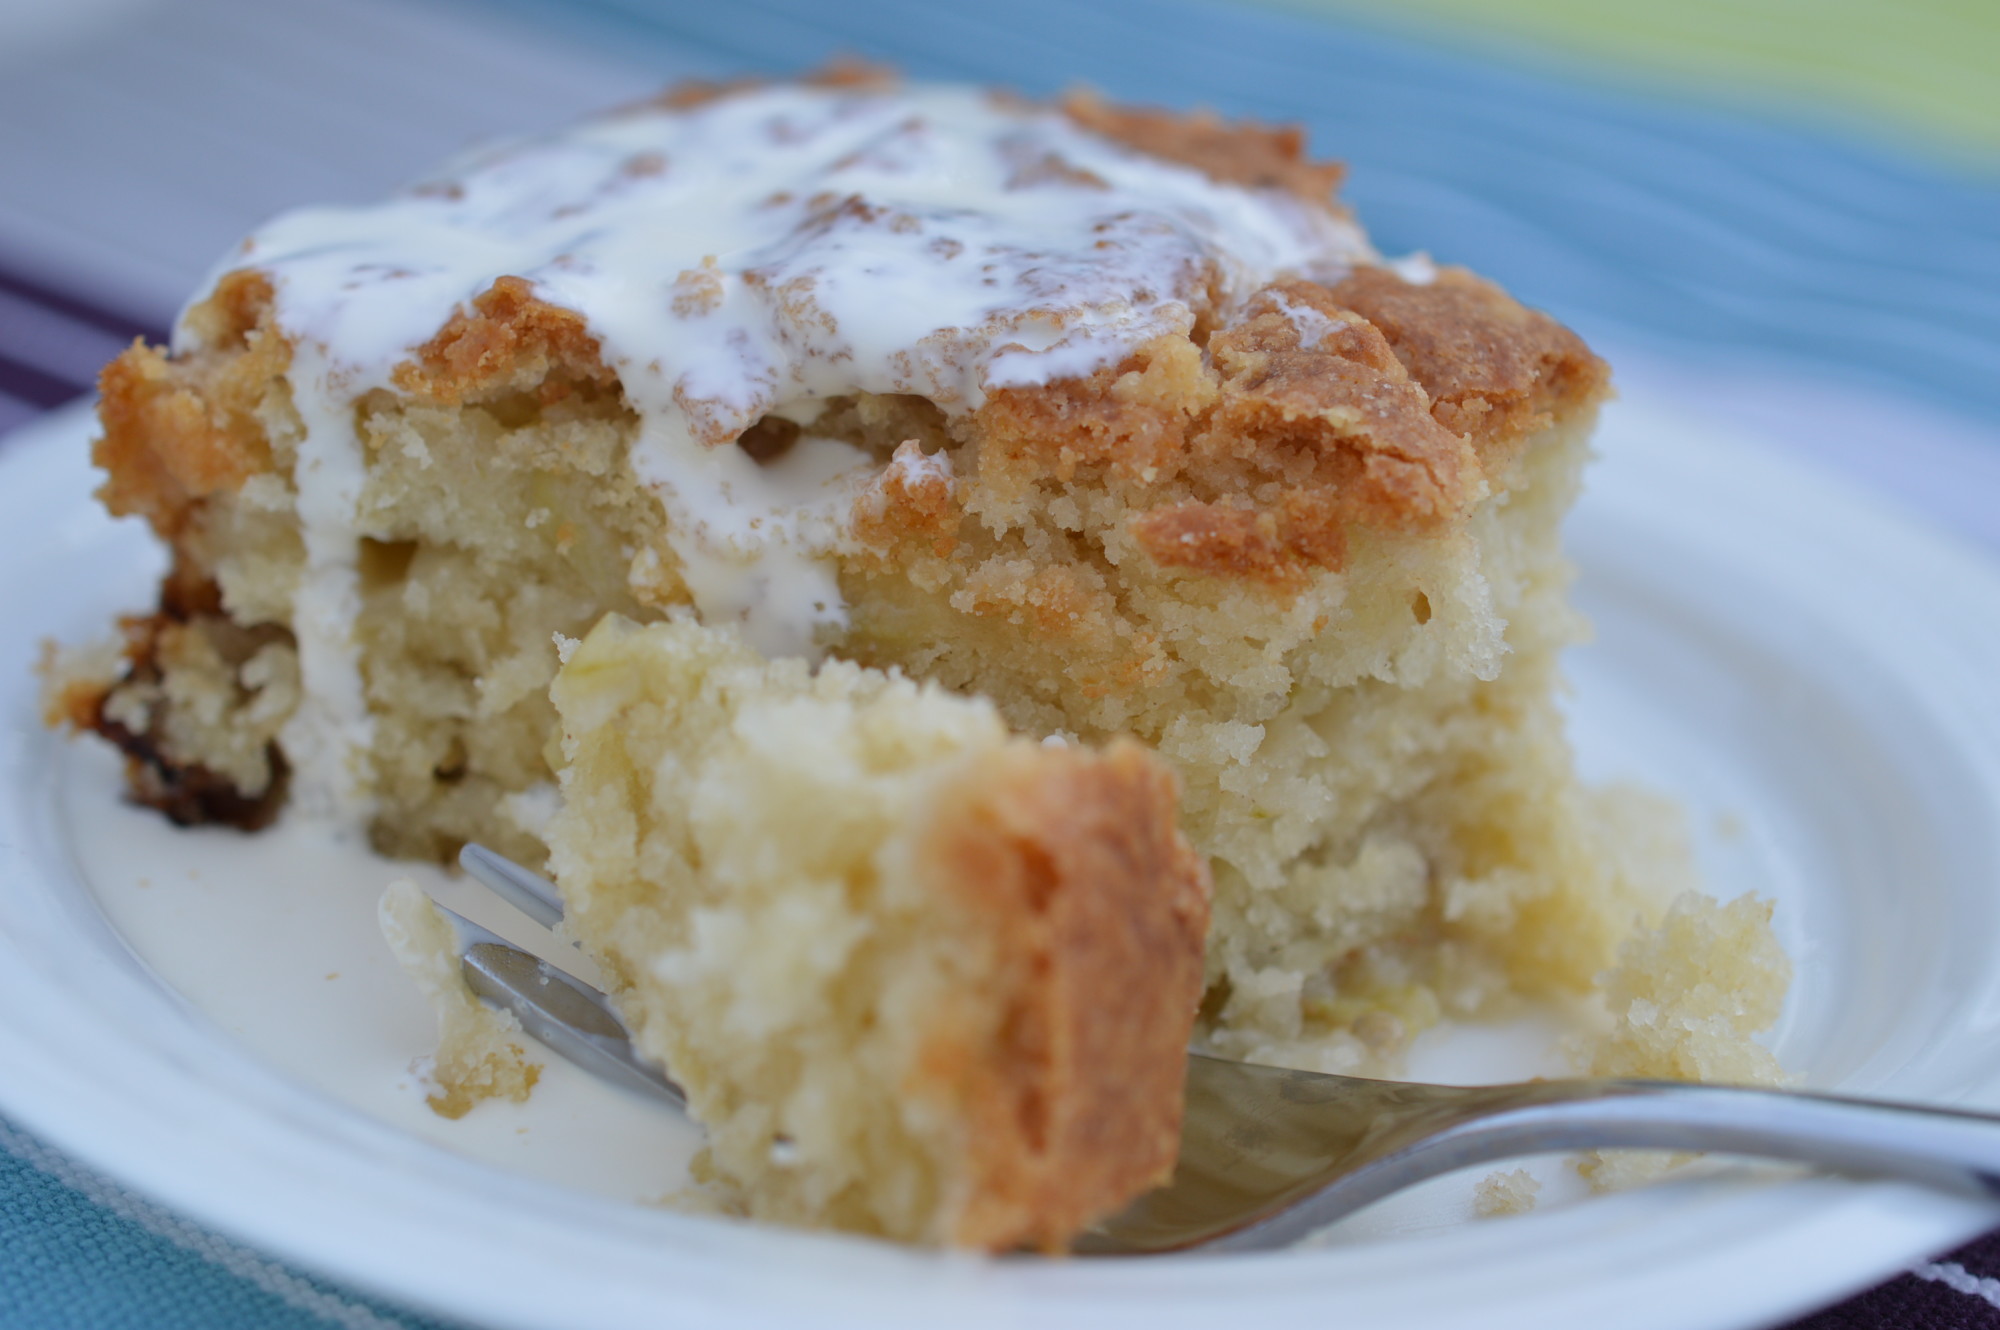
The parent recipe of this cake features in my mum’s recipe collection as ‘Apple Cake’ and I suspect it will have entered my mum’s life via a ‘parish cookbook’; the kind that’s produced by fantastic home cooks in aid of their Grade I listed 12th bell towers and my mum would always buy when on holiday.  Warm from the oven, it’s lovely with cream or custard and eaten as a pudding.  Cold, it’s perfect picnic and packed lunch food.

Gooseberry and elderflower is an early summer switch away from apple.

Gooseberry and Elderflower Cake

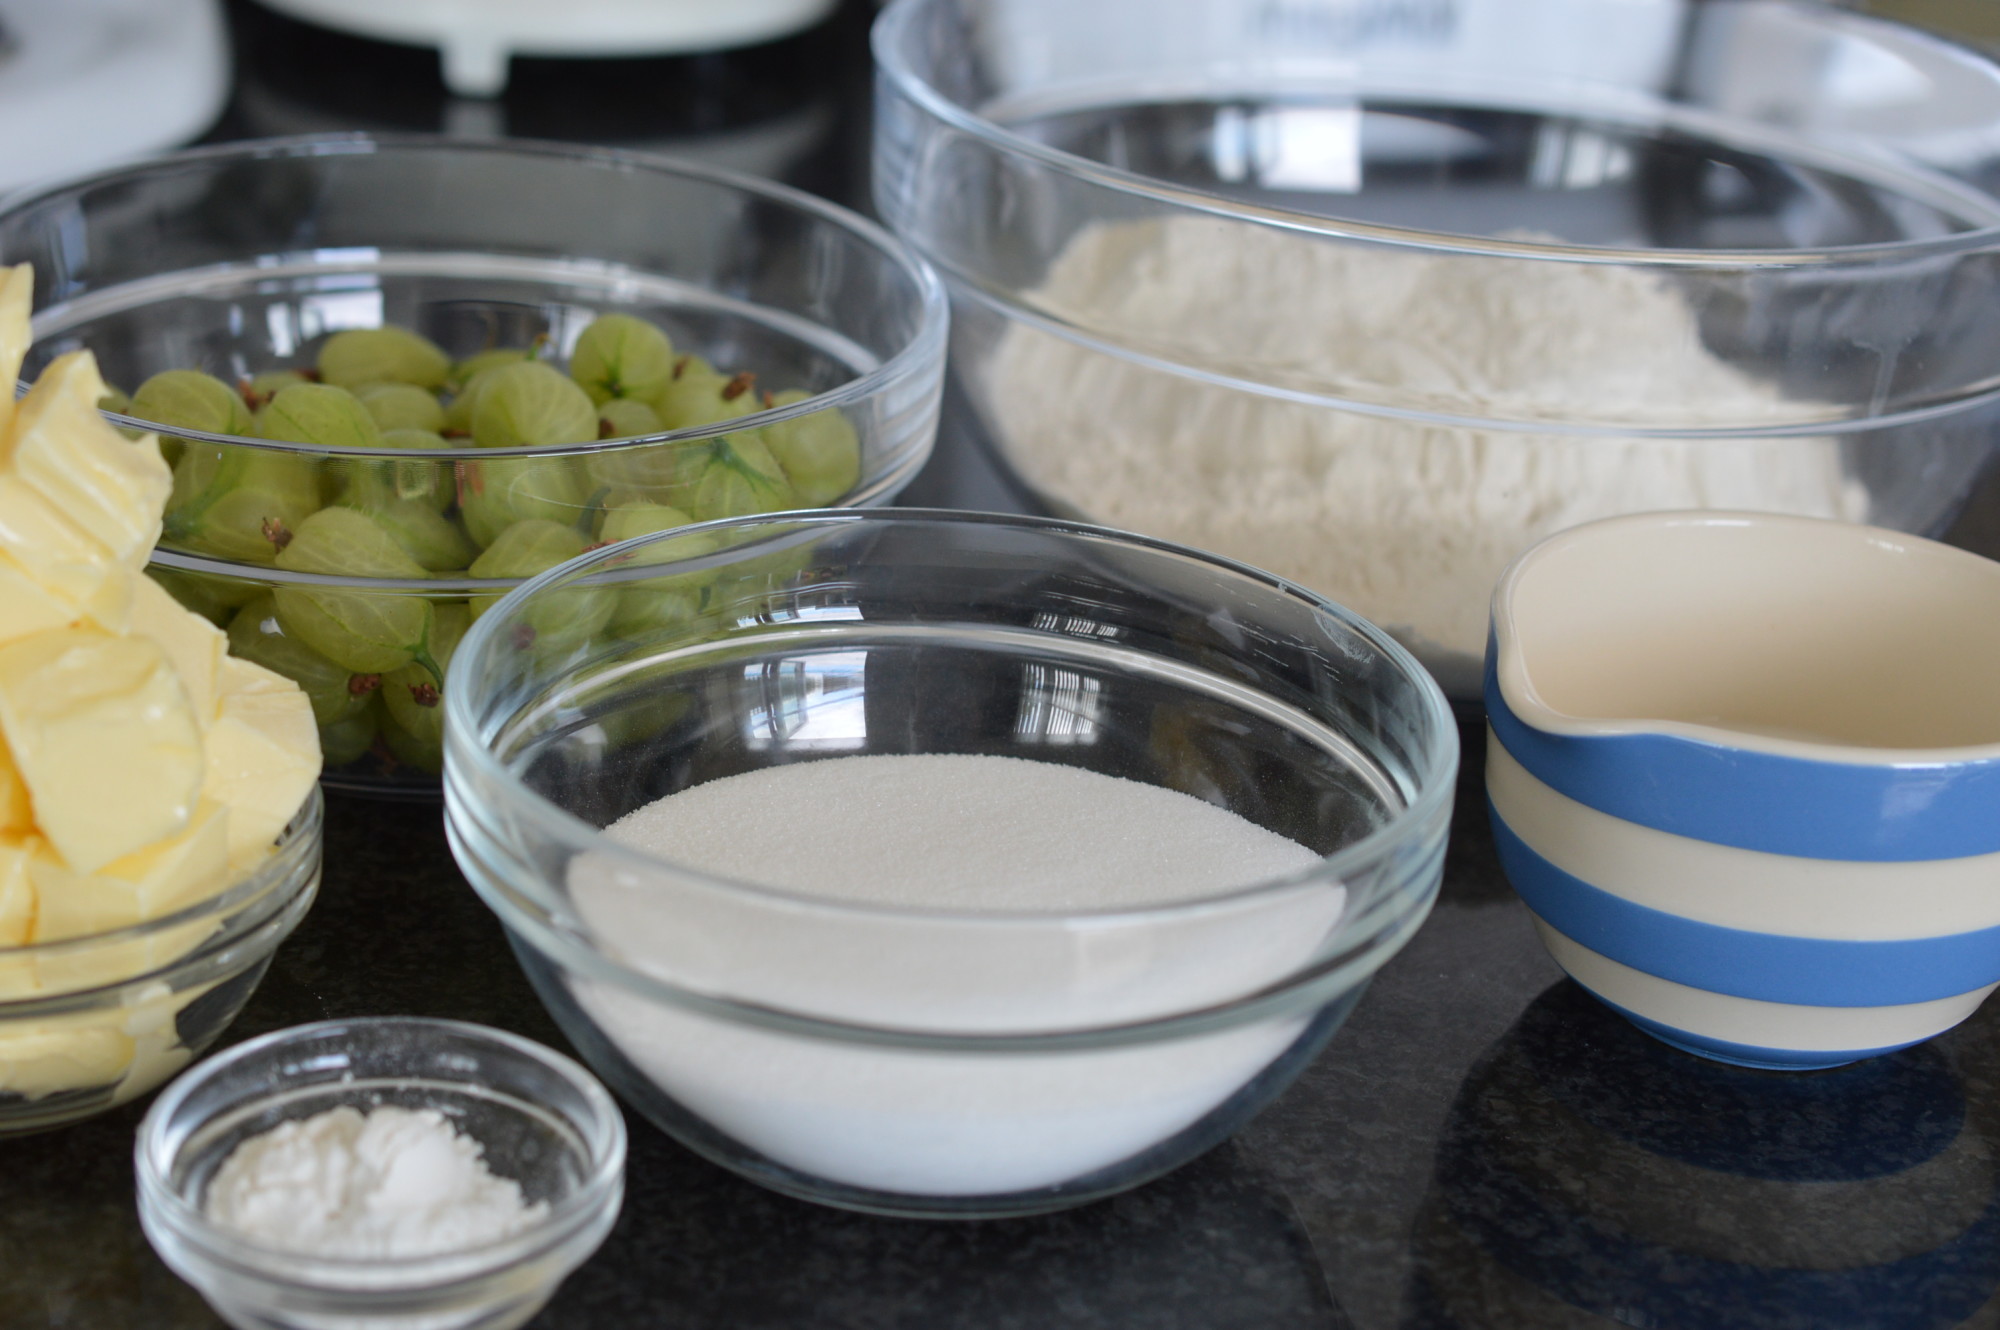
It’s a wonderfully simple cake and easy to scale up or down.  It’s the same weight of flour and fruit, in this case gooseberries.  Half the weight of the flour in sugar and the same of butter.  A little baking powder and milk to mix.  That’s it.

No eggs – which is useful if you’re baking for someone who reacts to the protein in eggs.

Gooseberry and Elderflower Cake 2

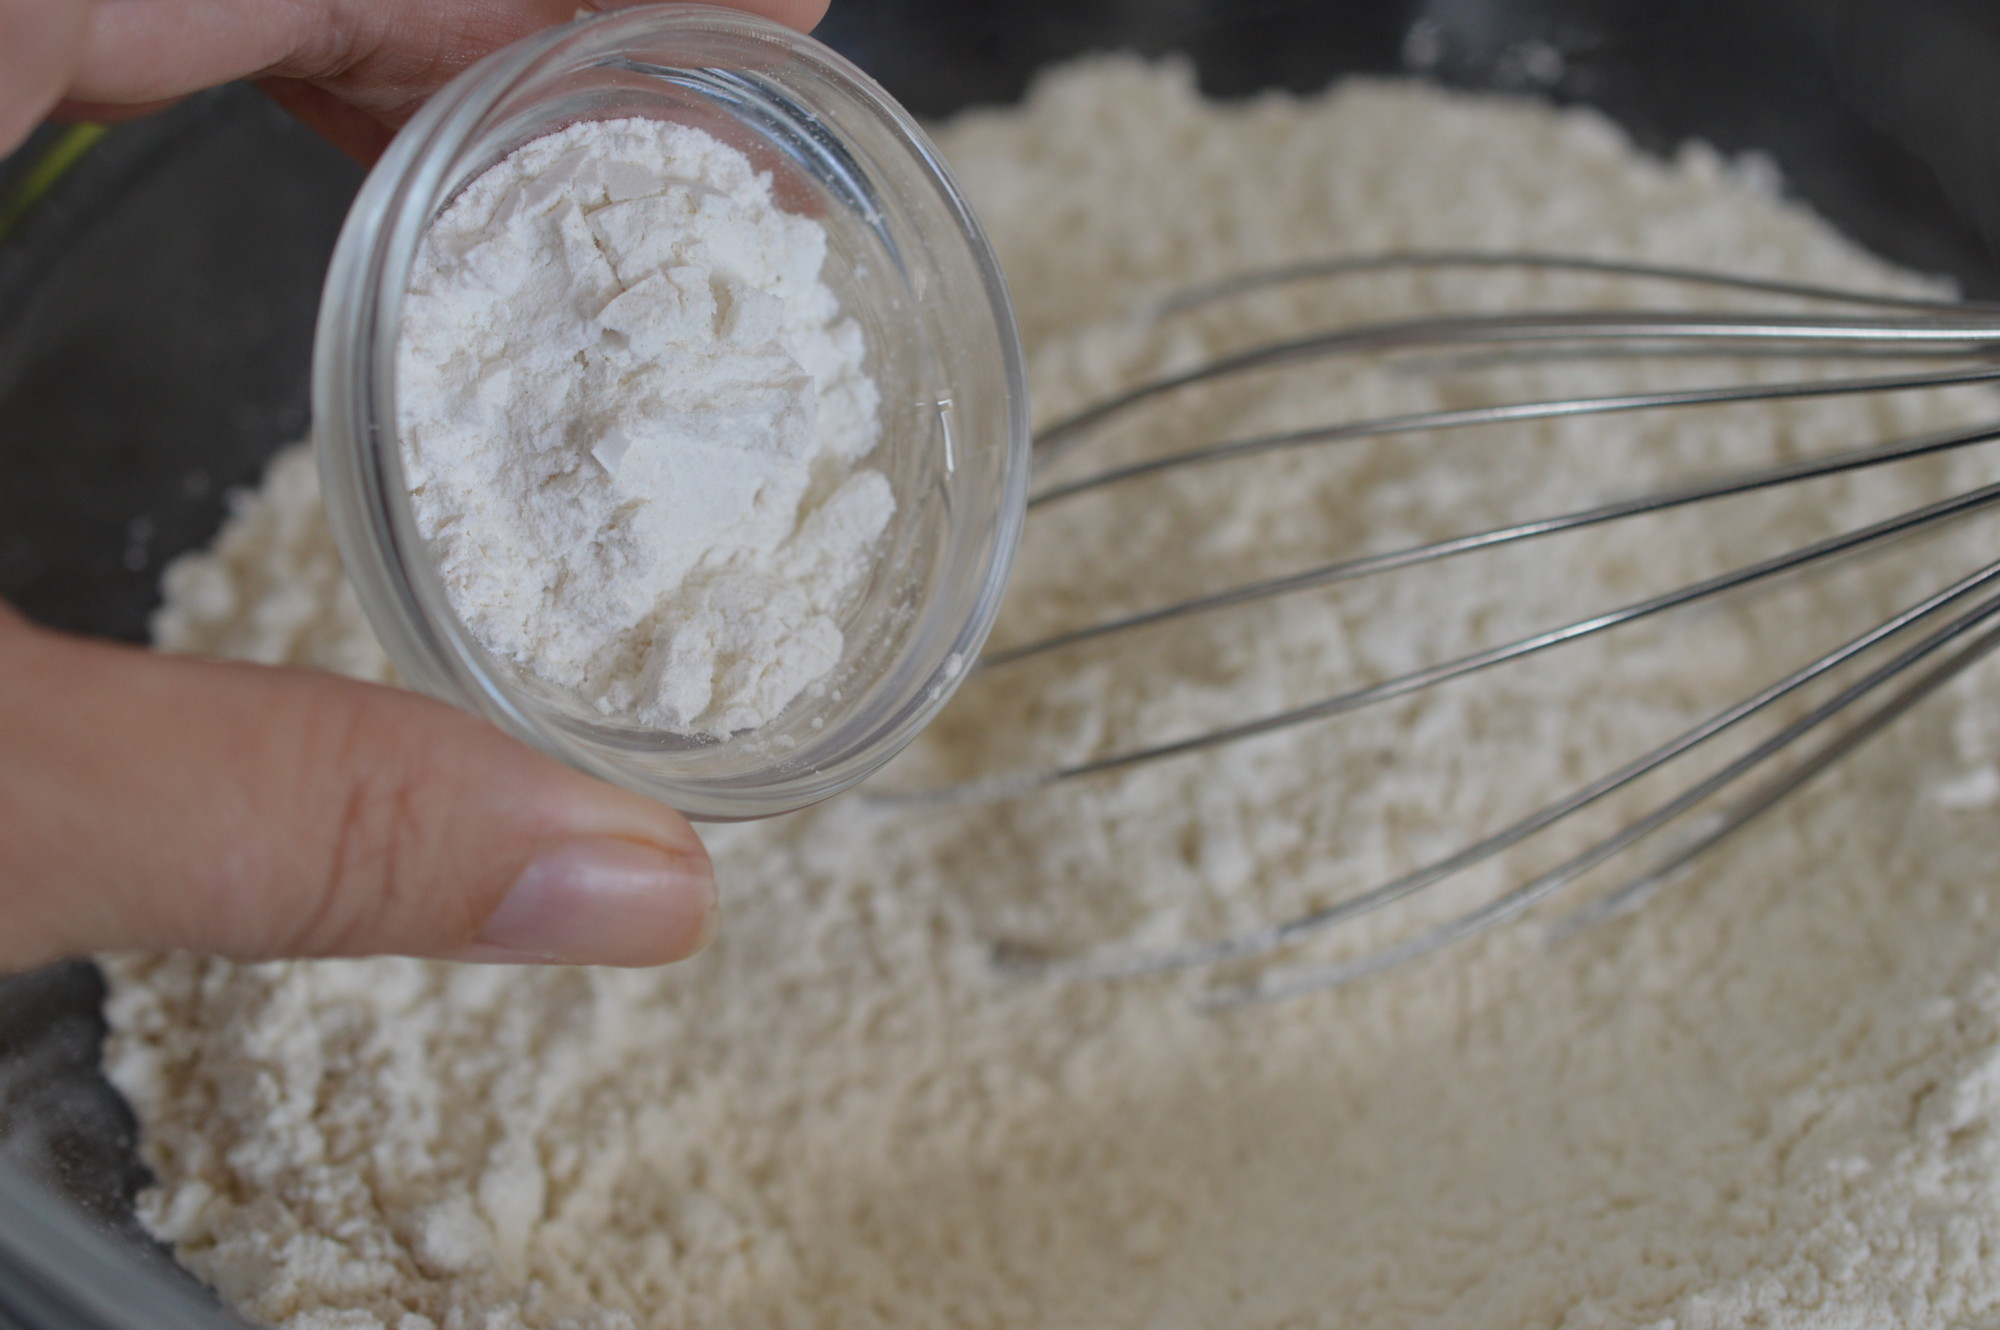
14oz/380g plain flour, mixed with 2½ tsp baking powder.

Gooseberry and Elderflower Cake 3

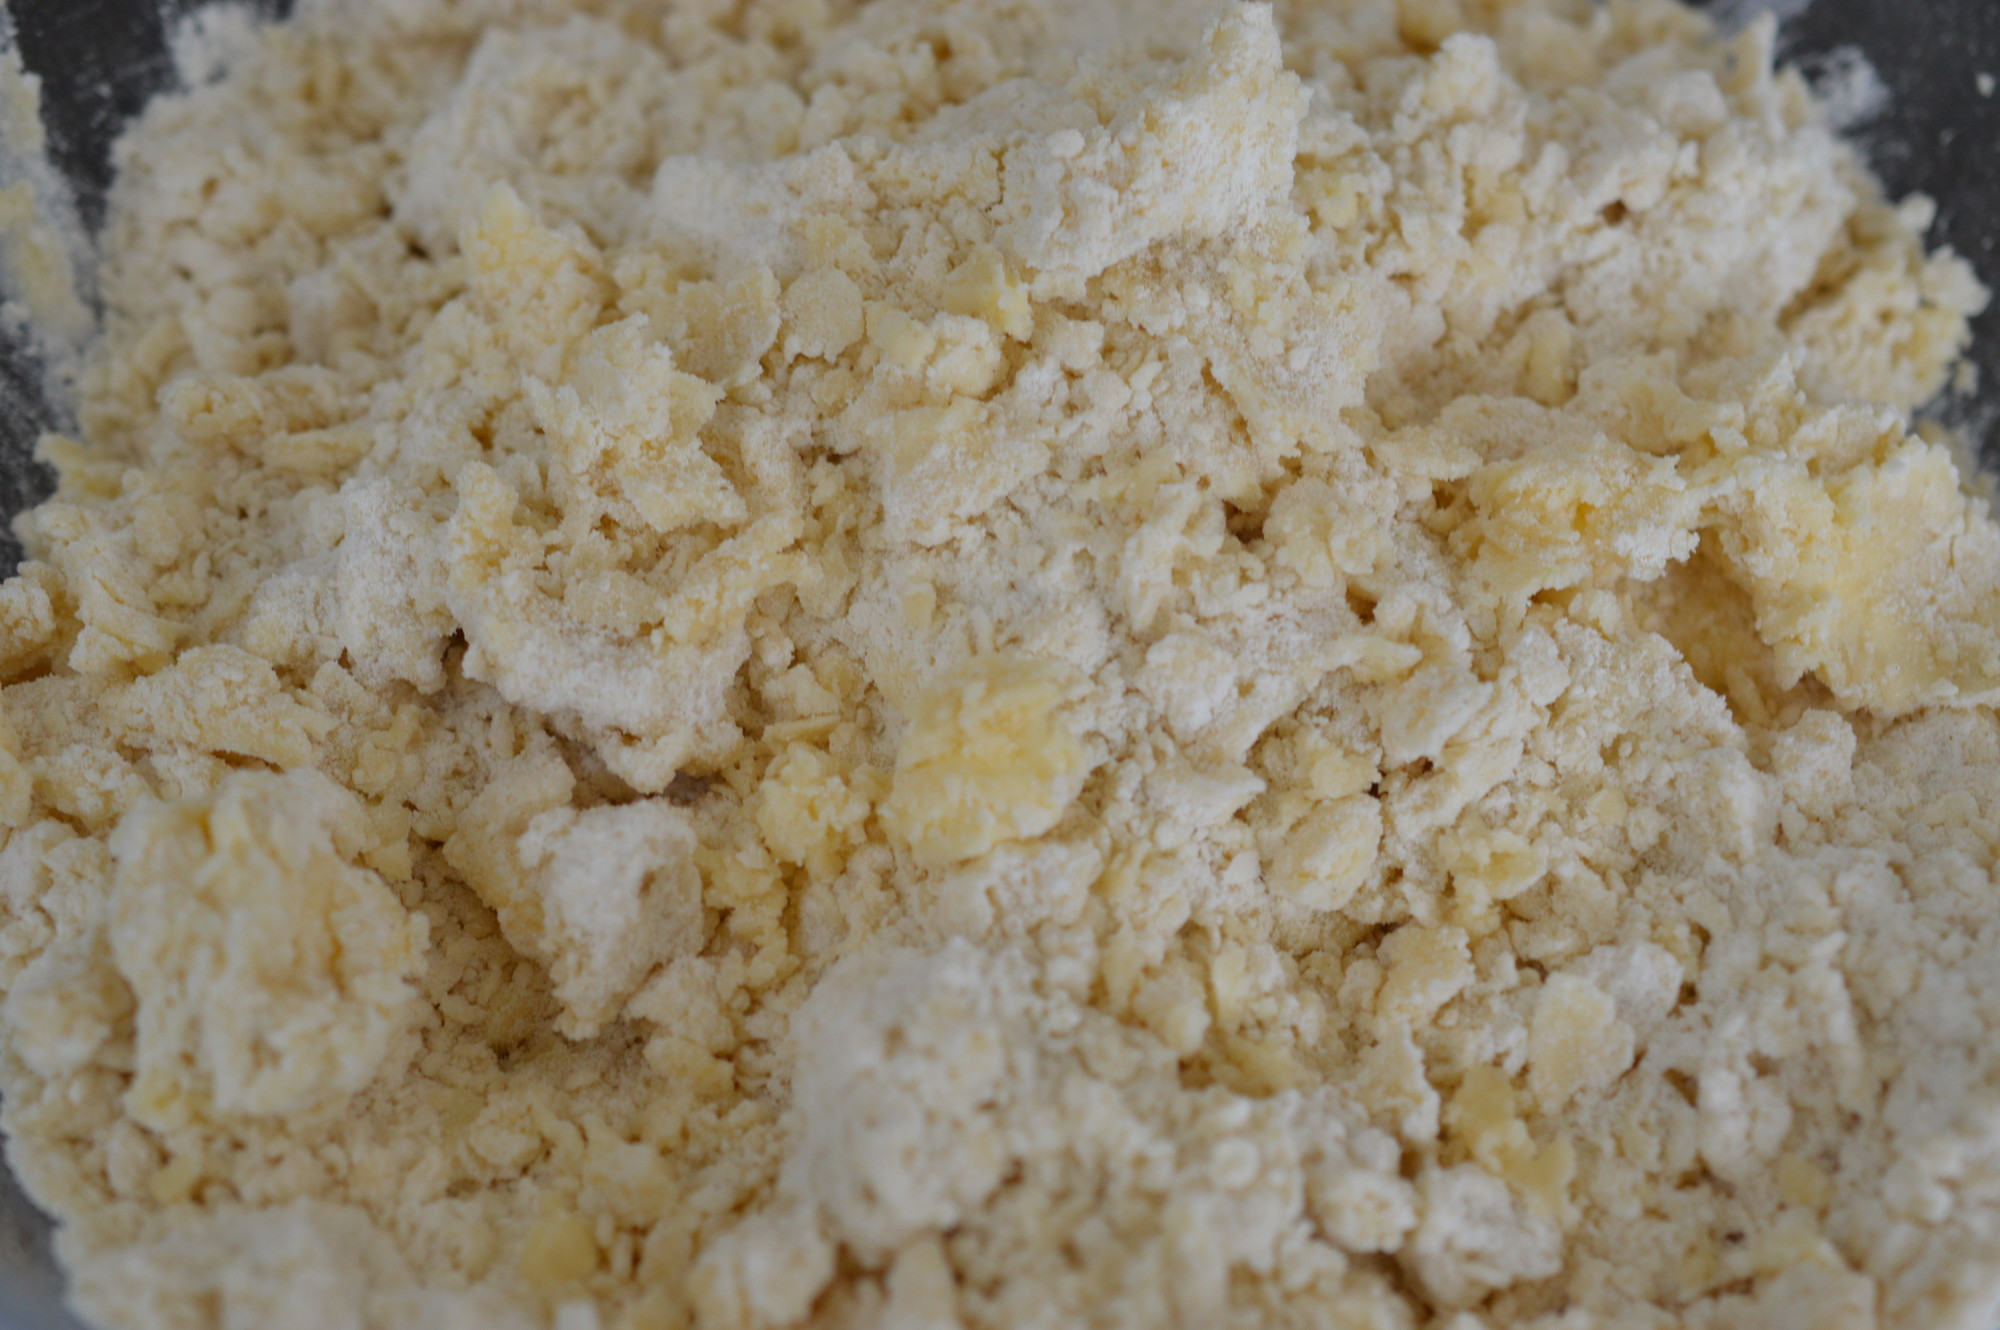
7oz/190g butter ‘rubbed in’.  Using just the tips of your fingers you lightly ‘rub in’ small cubes of butter.

If you aren’t as washing up phobic as I am you could blitz the flour, sugar and butter together in a food processor.  Breadcrumbs is the usual way to describe the result you are hoping for but I think sandy rubble is closer to what I aim for in this kind of cake.

Gooseberry and Elderflower Cake 4

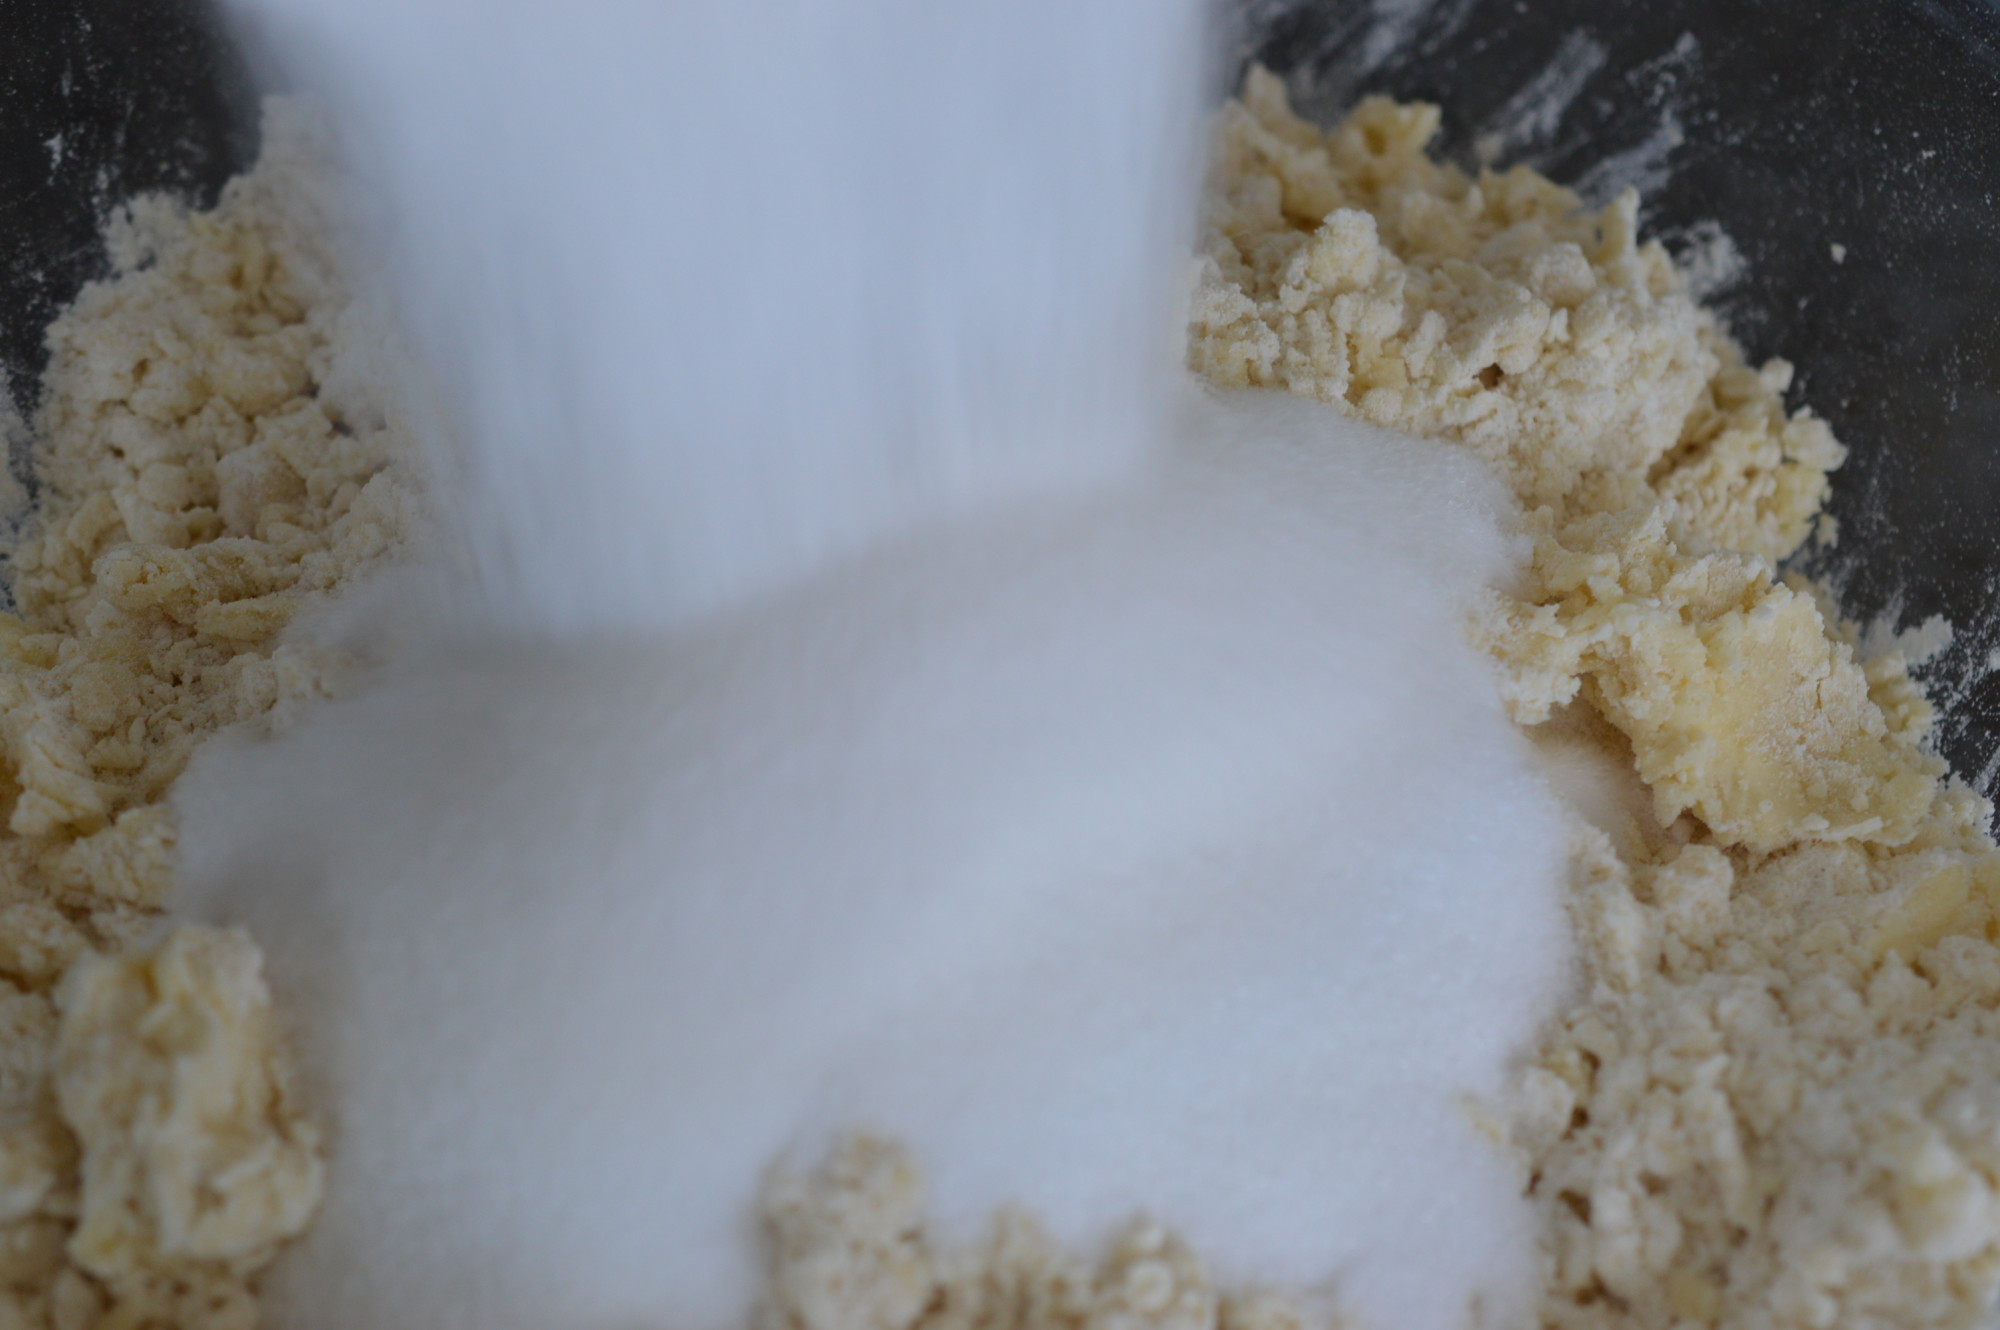
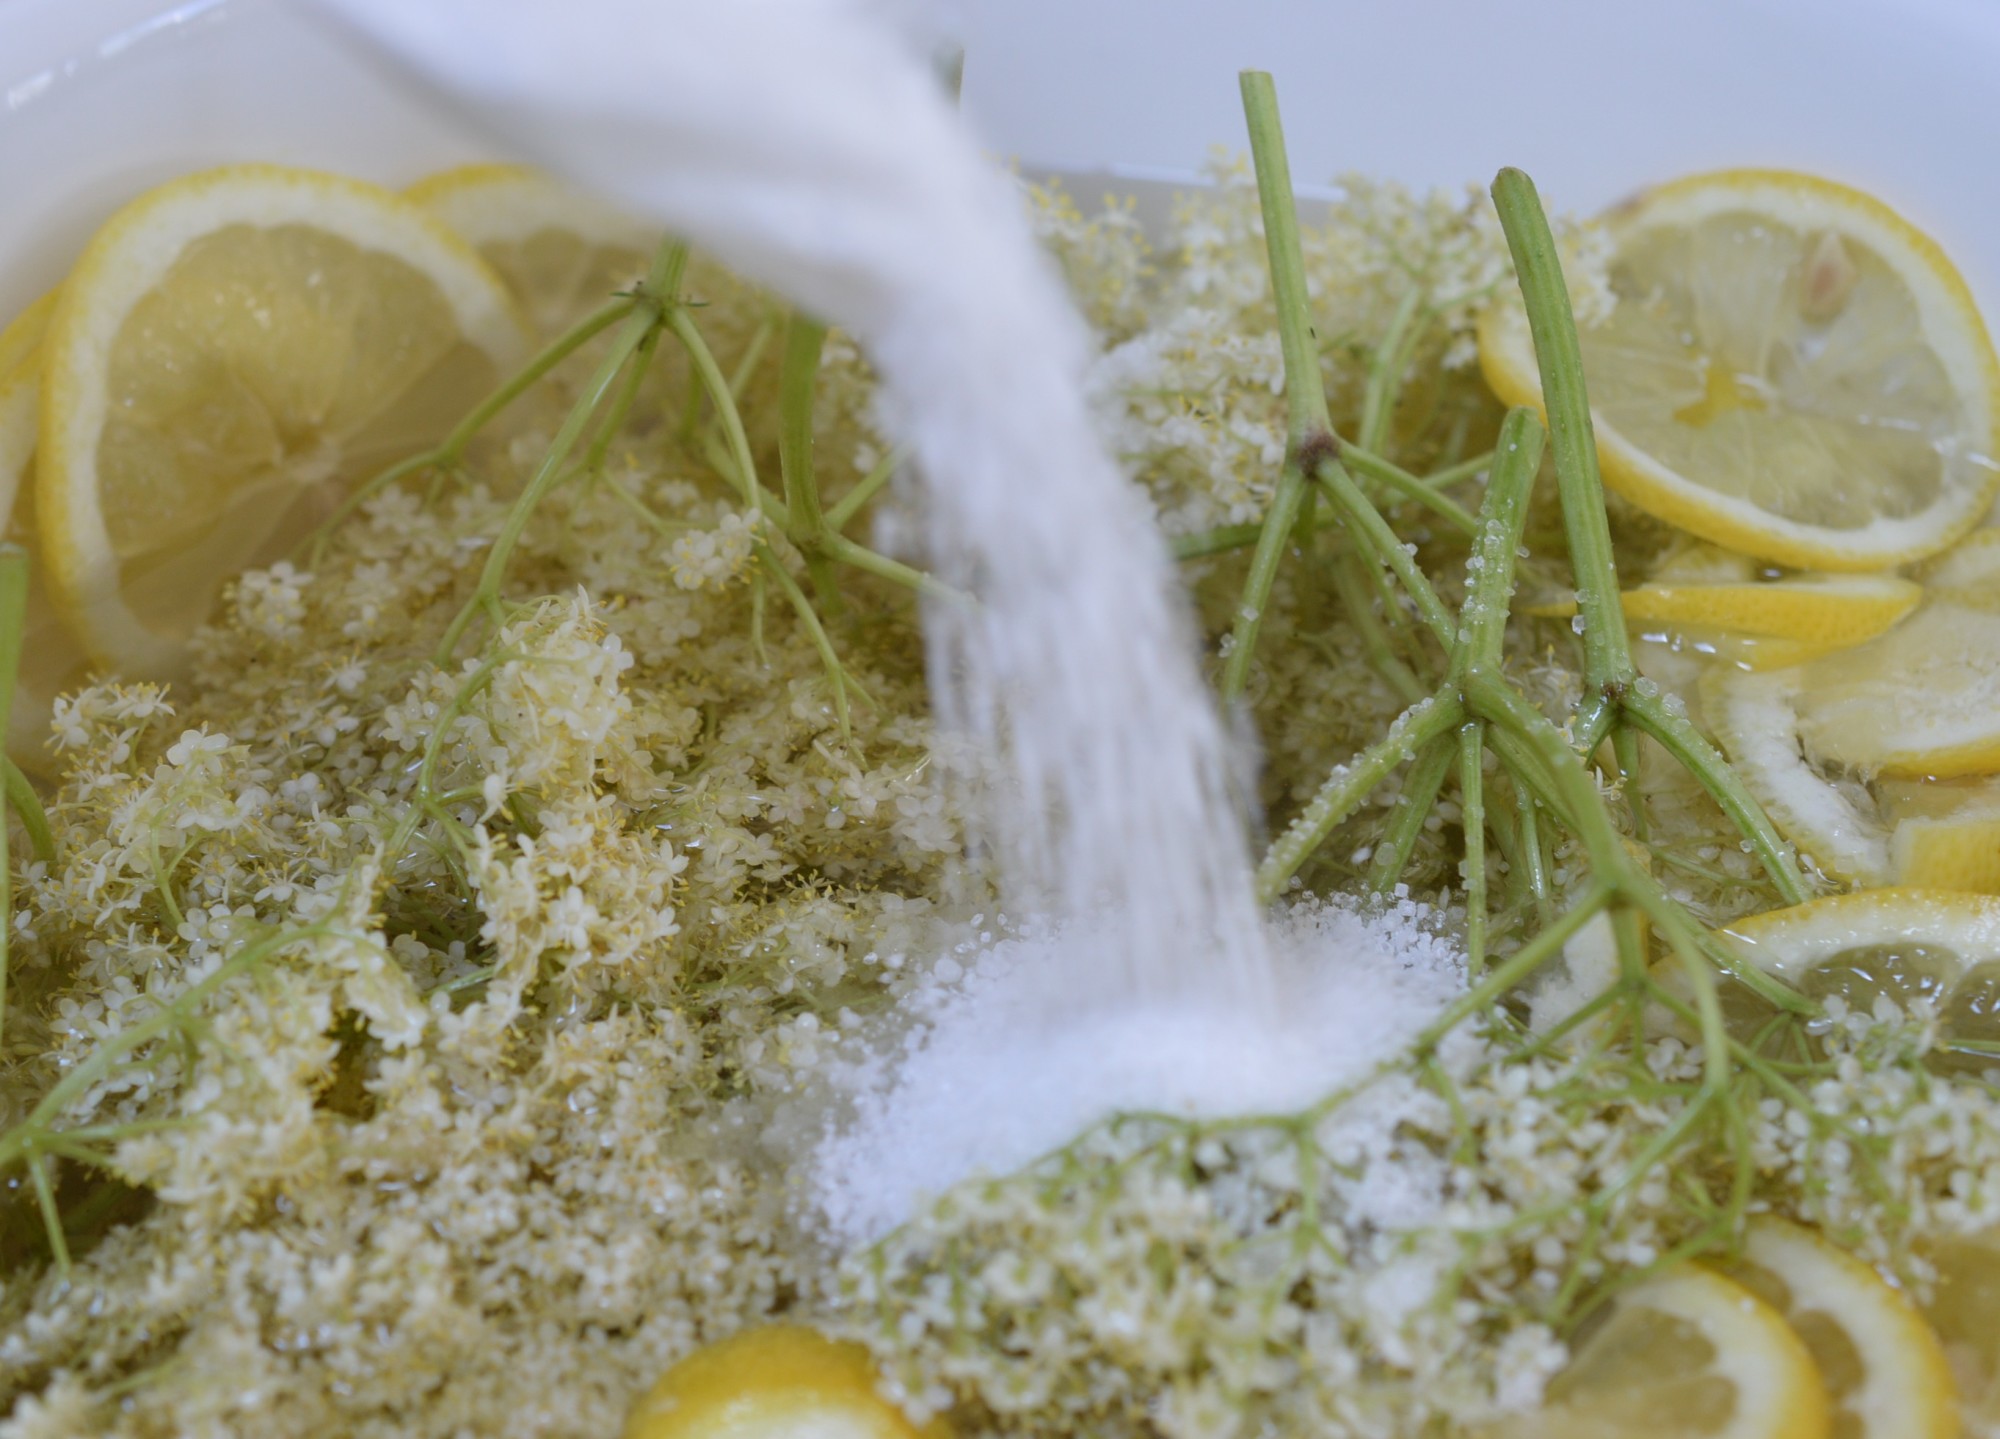
Stir through the sugar.

Gooseberry and Elderflower Cake 5

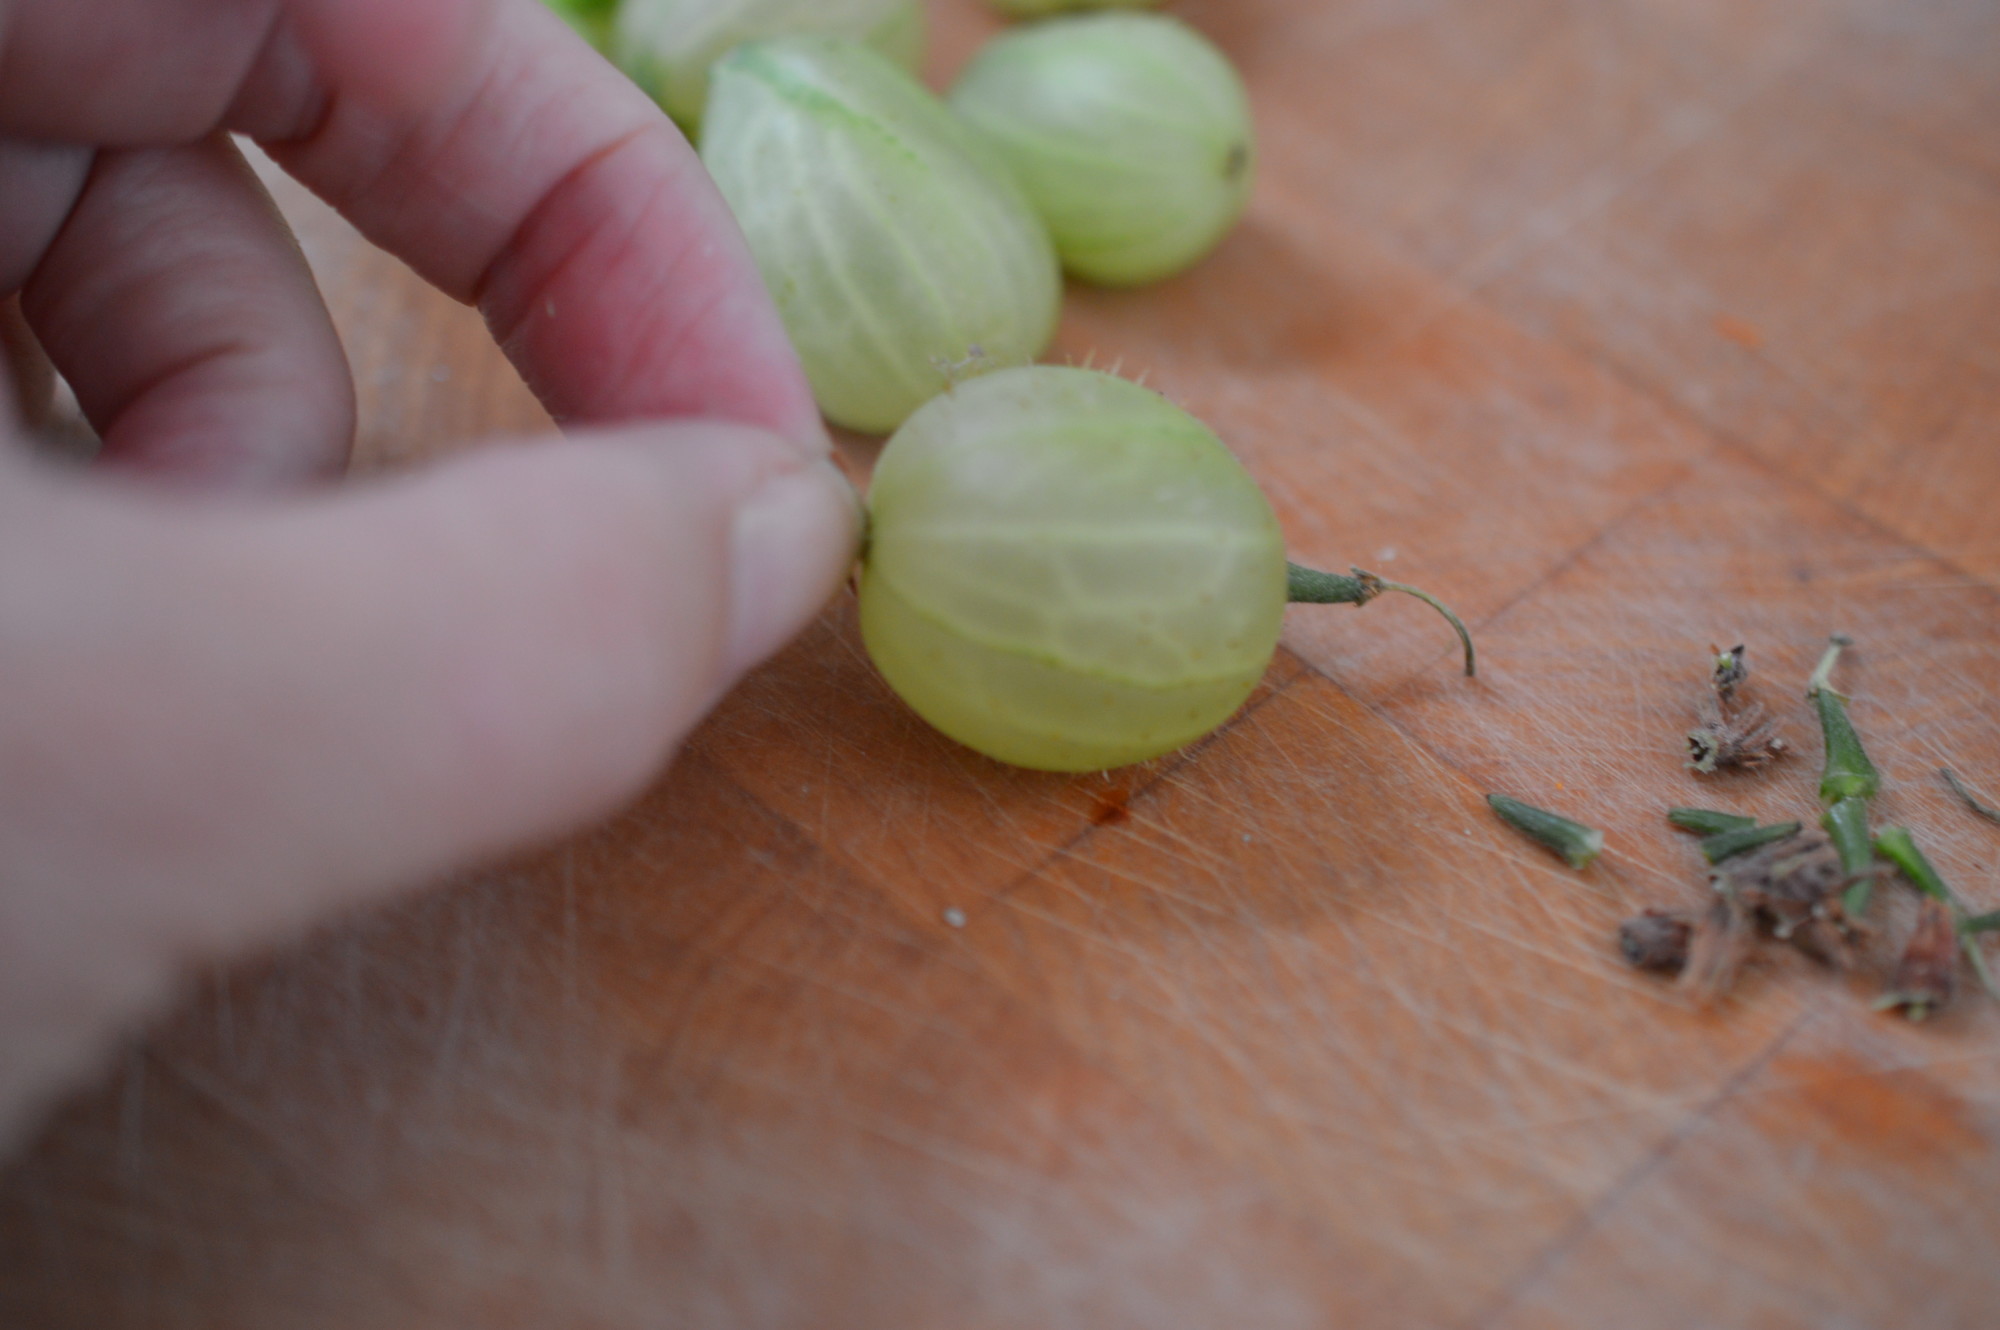
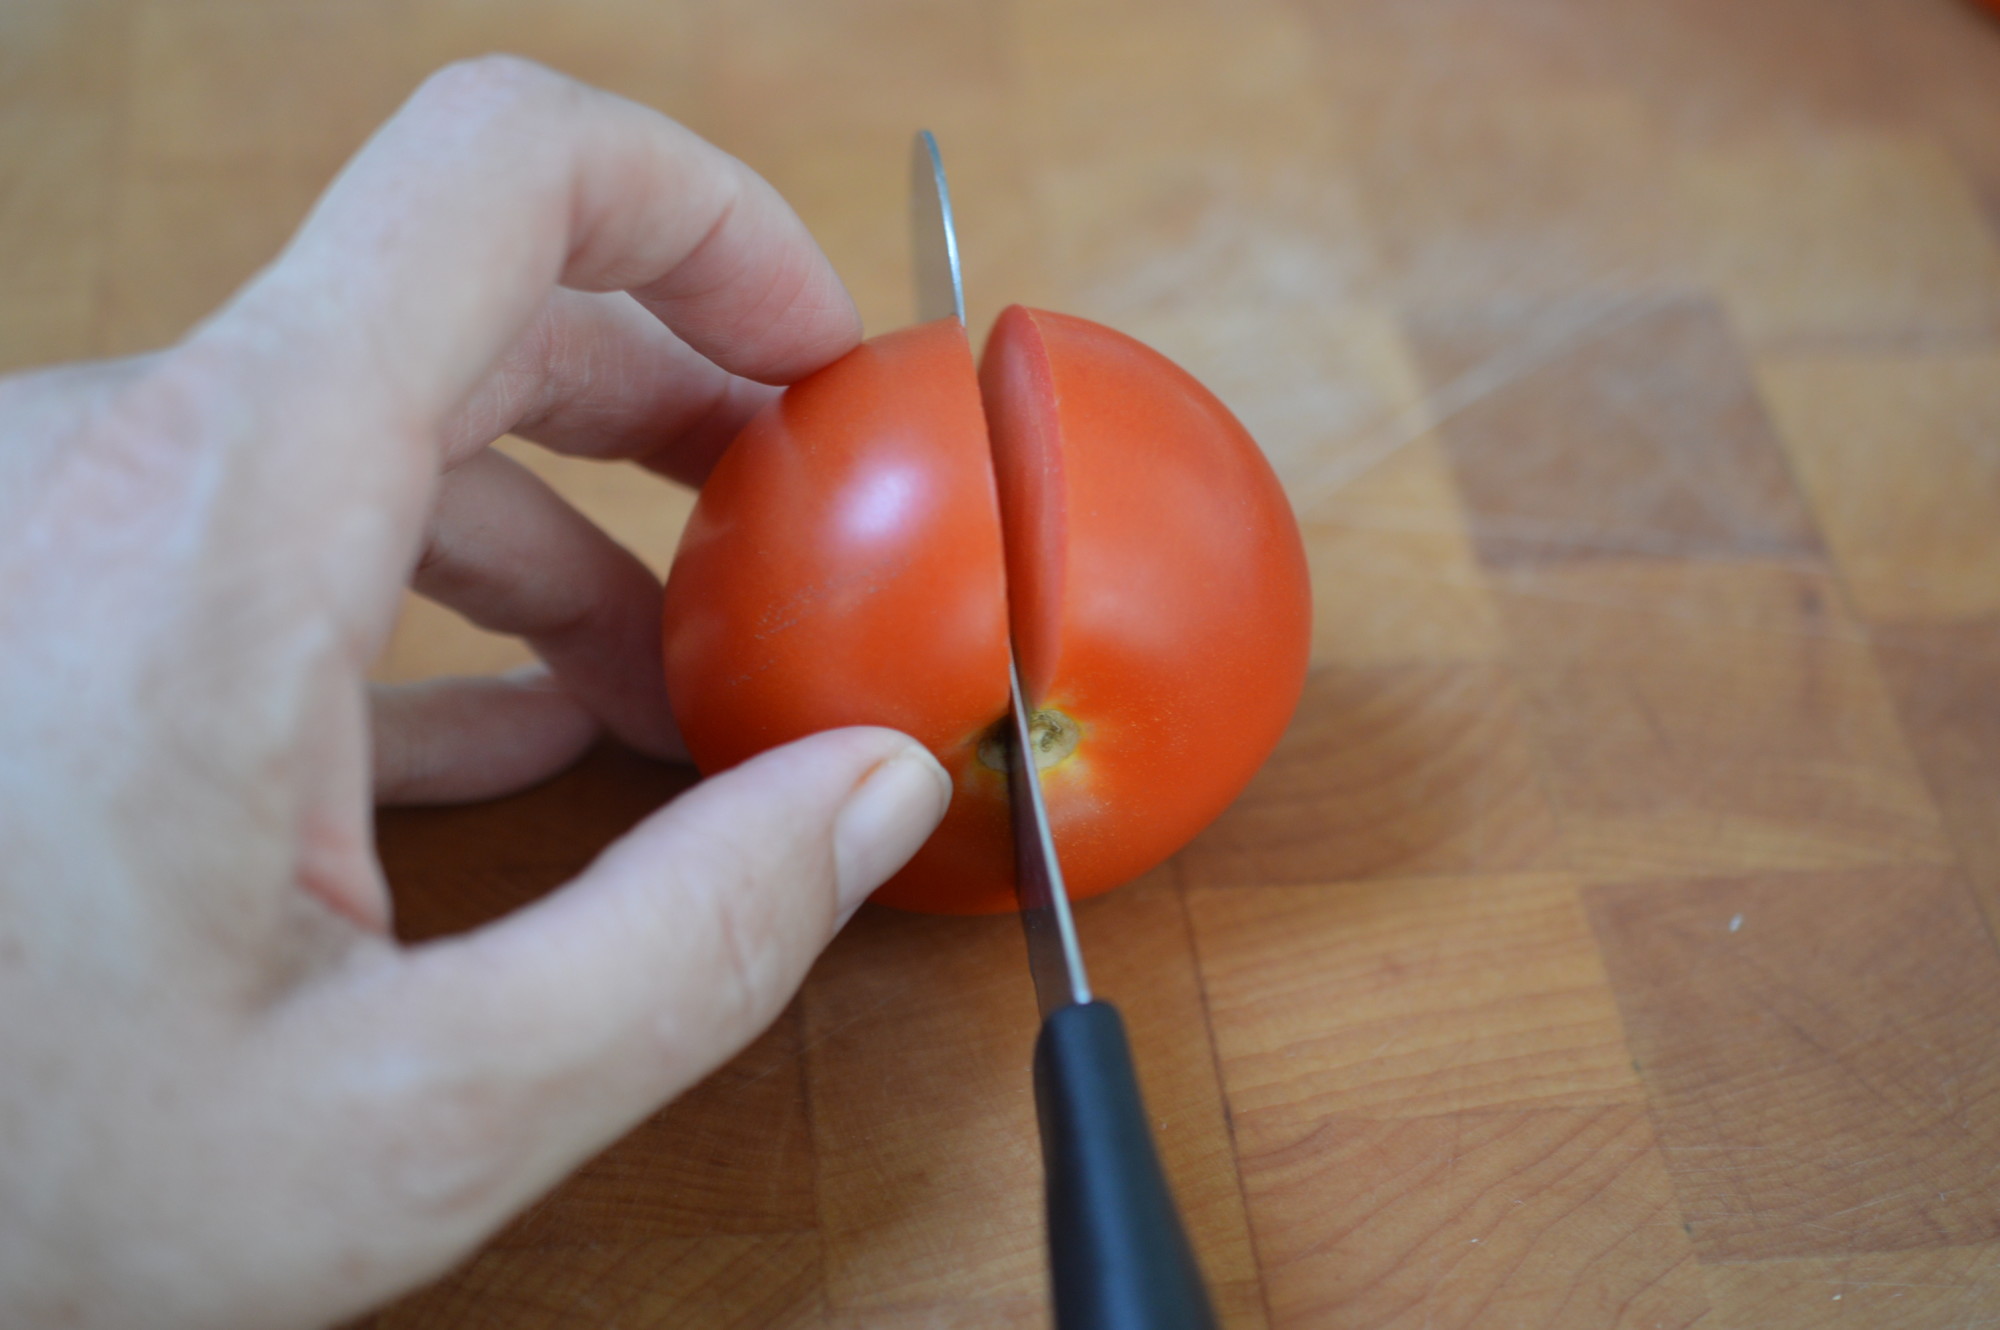
There is no escaping this bit.  Topping and tailing.  Pinch off the top and the tail with your fingers.

Gooseberry and Elderflower Cake 6

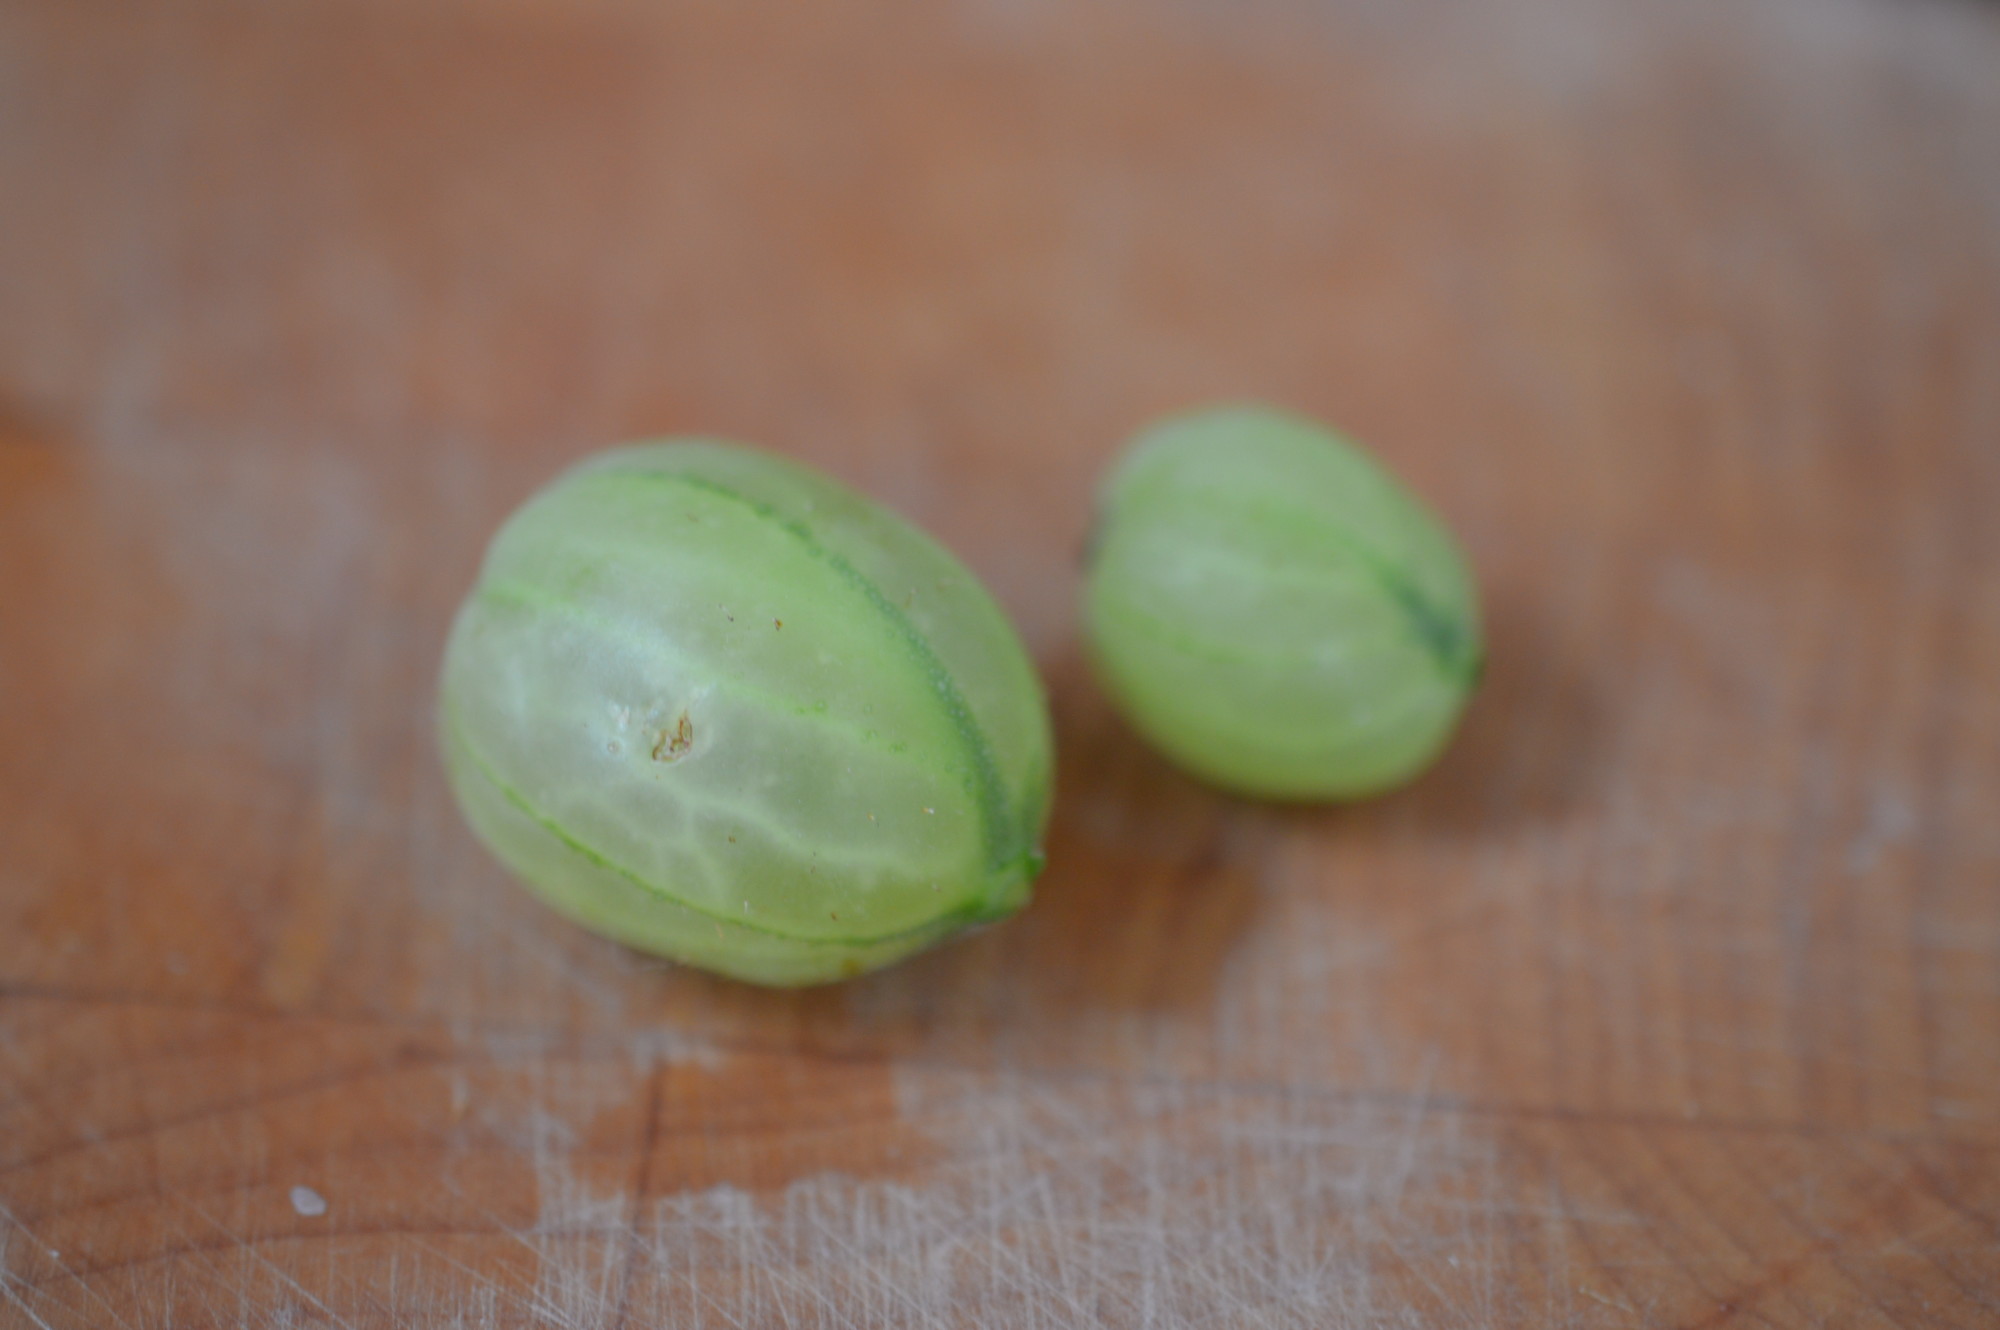
You are left with what looks like veiny grapes.  In order to prevent the gooseberries sinking you need to cut them in half or quarters, depending on their size.

Gooseberry and Elderflower Cake 7

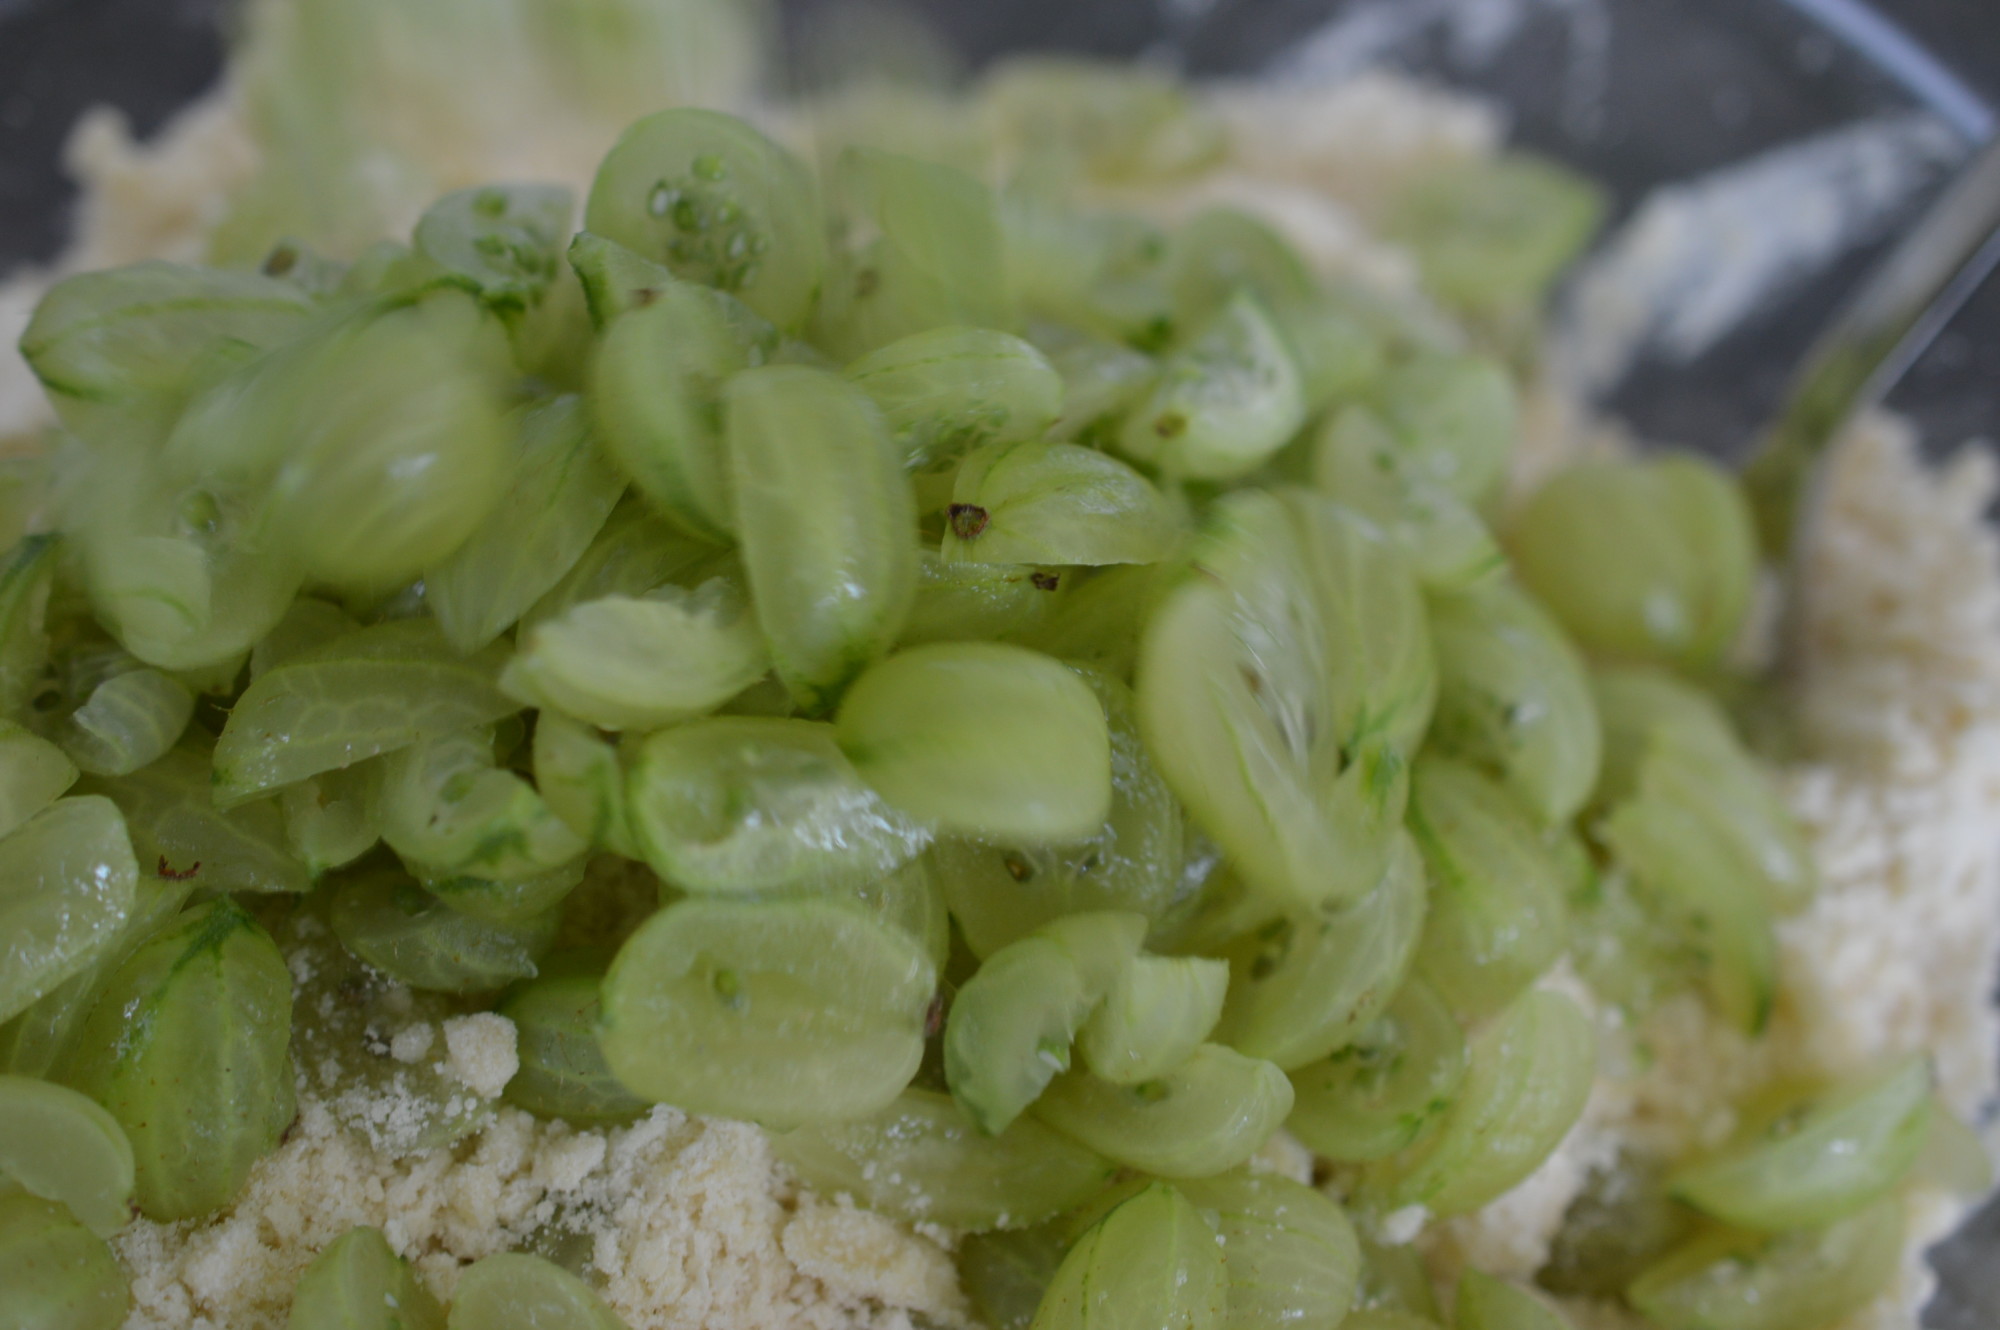
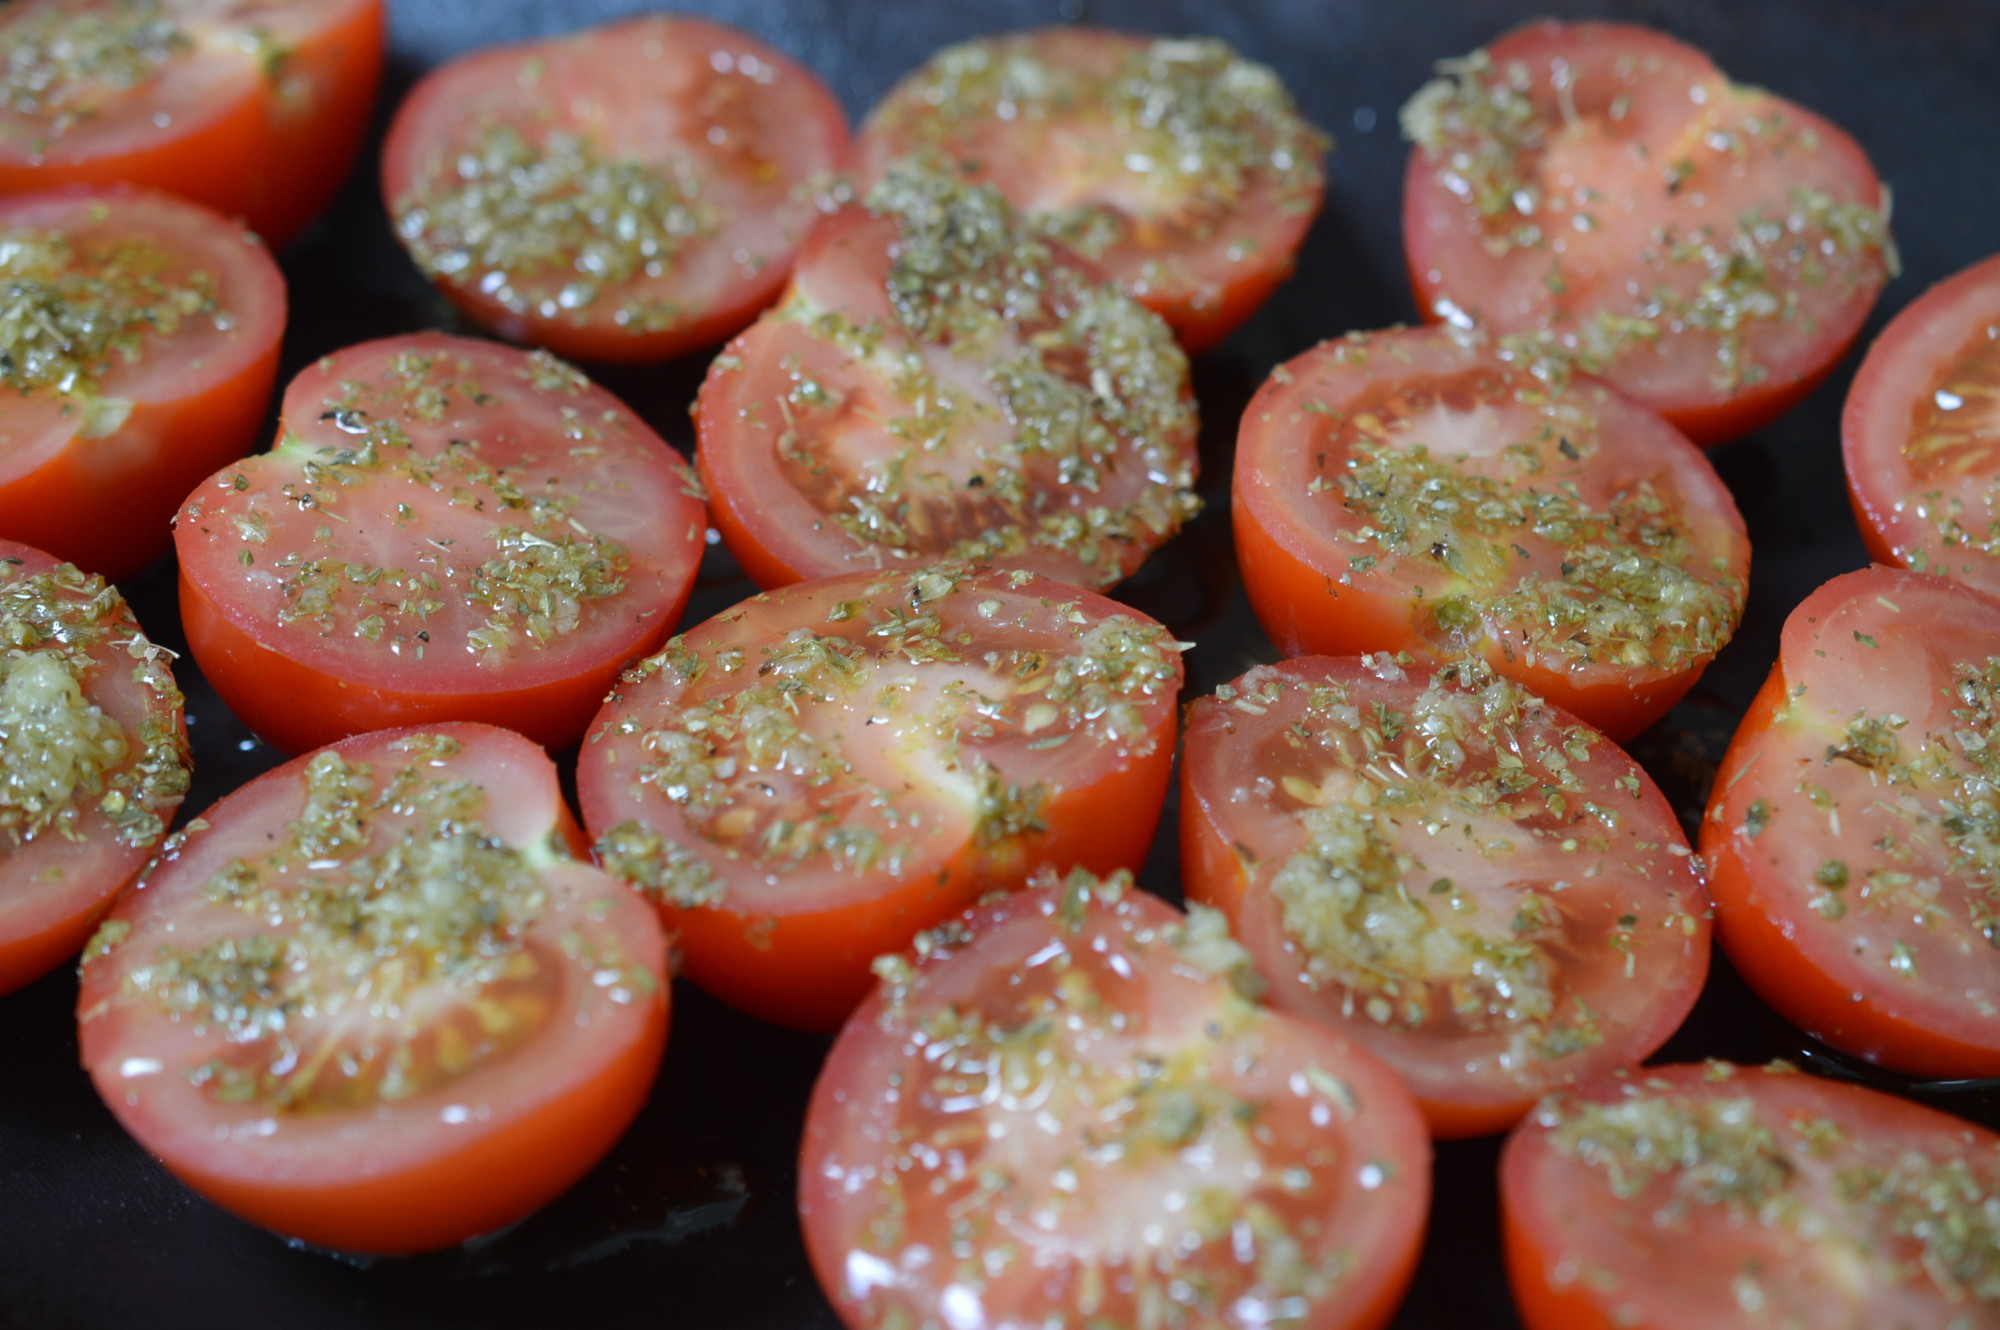
Stir the prepared gooseberries through the flour mixture.

Gooseberry and Elderflower Cake 8

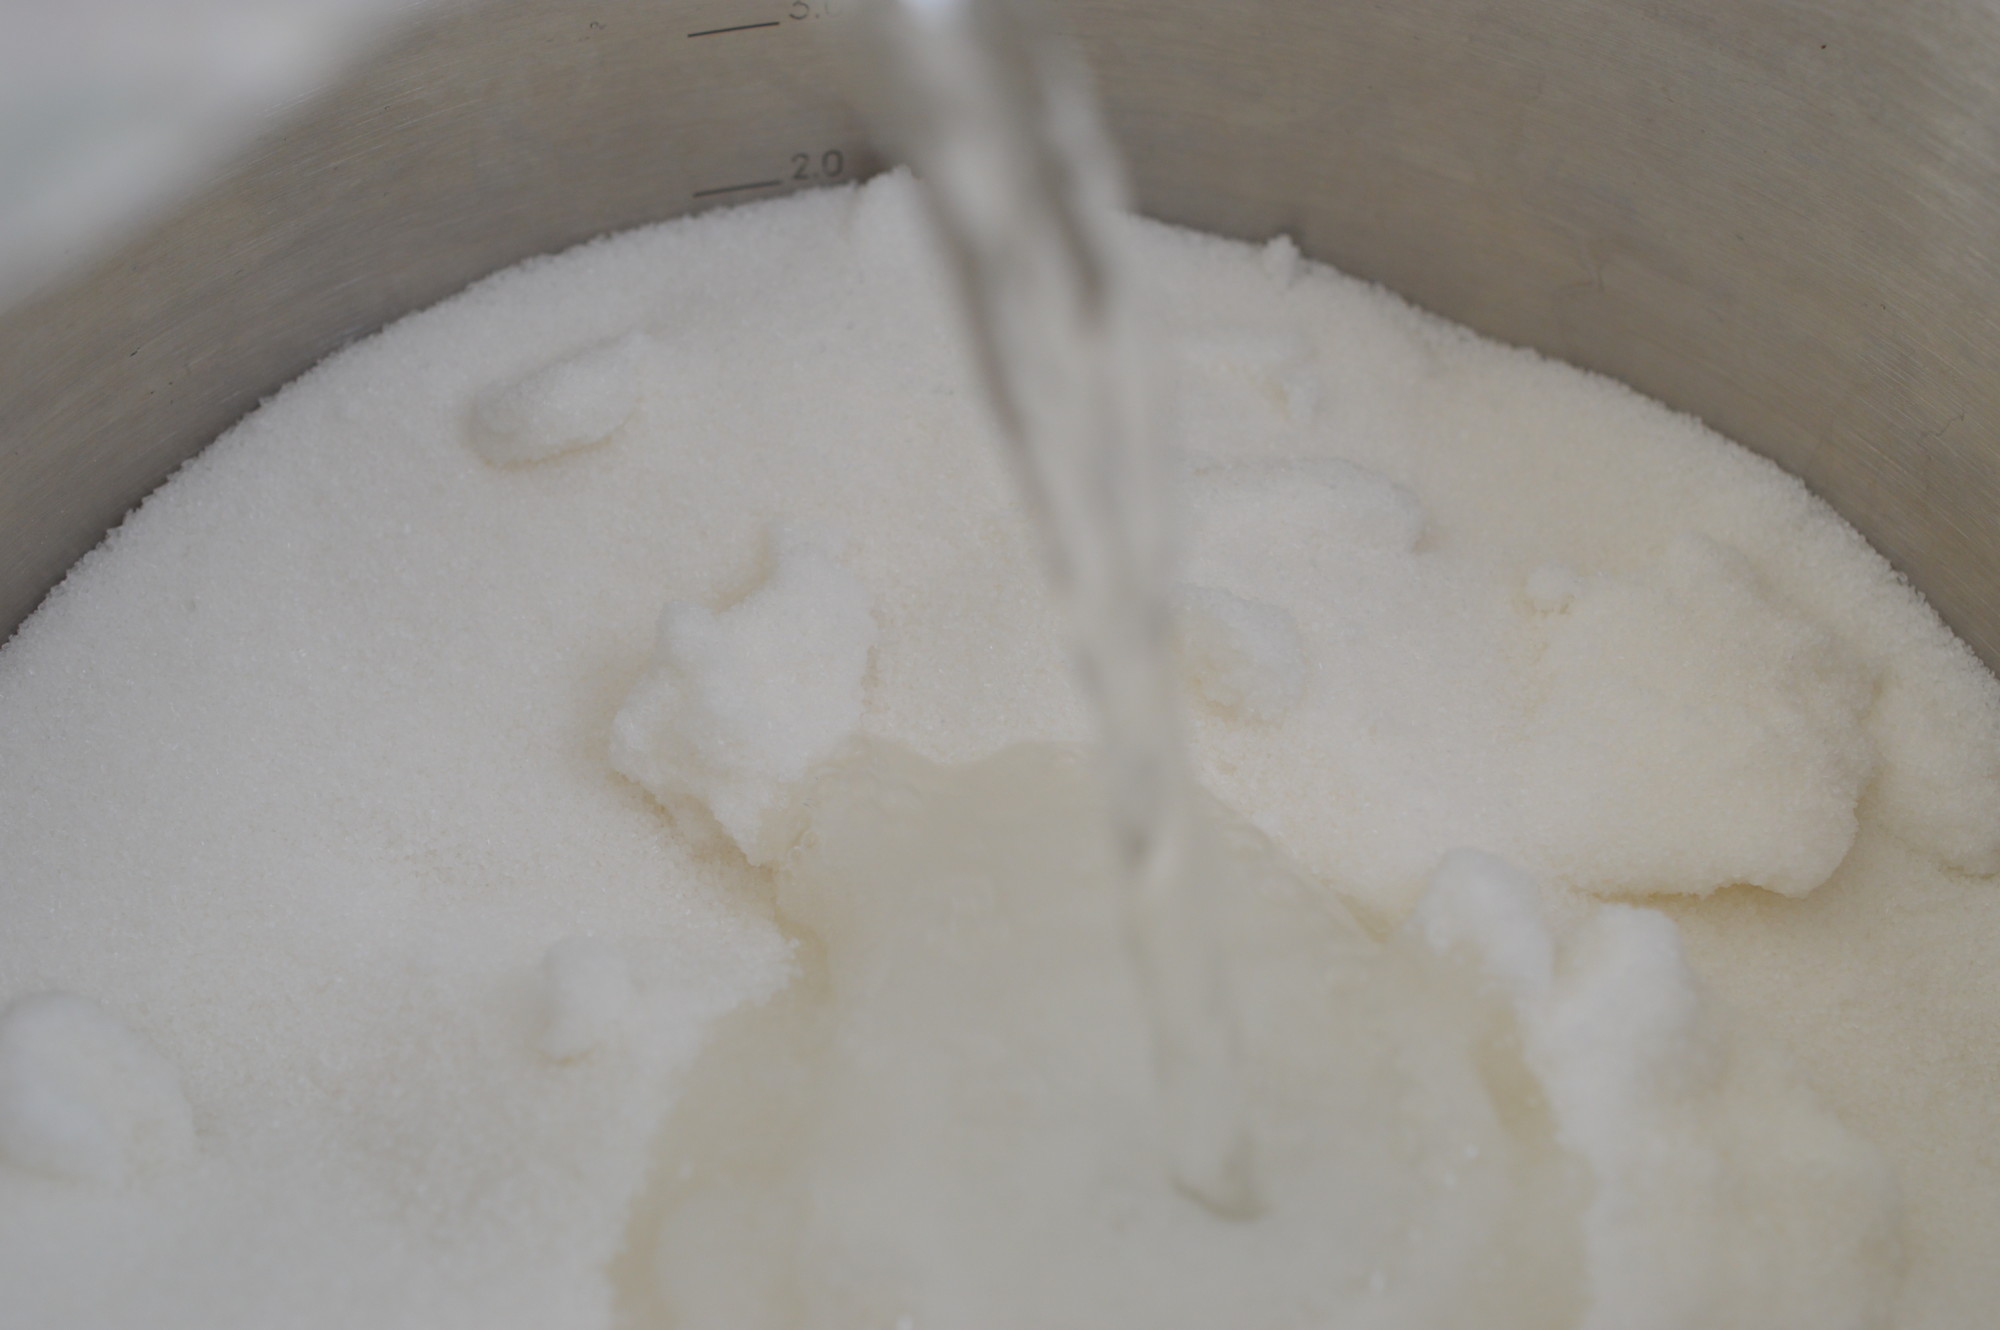
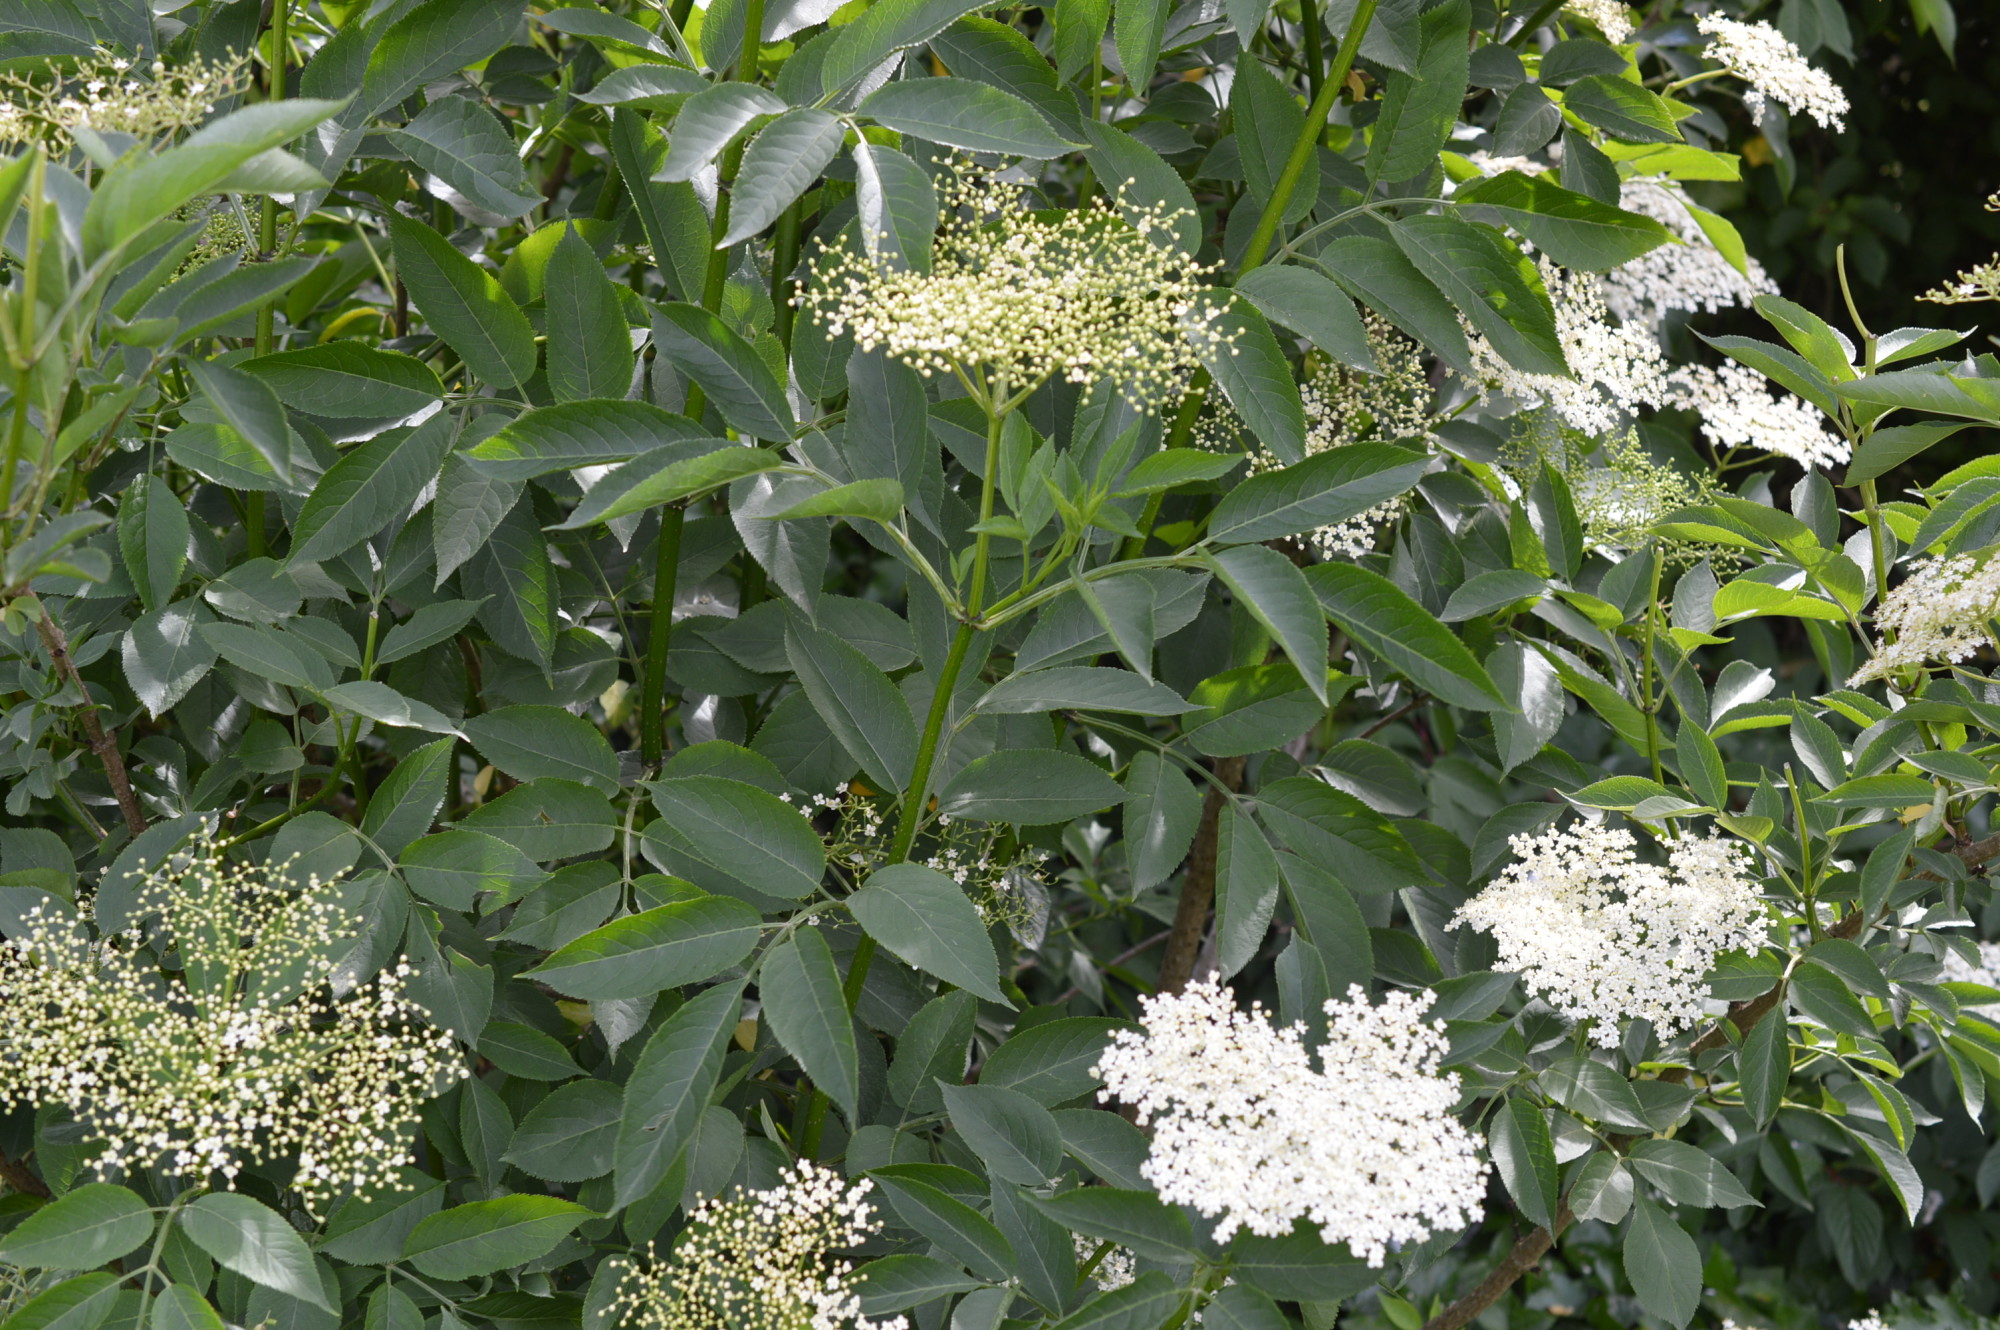
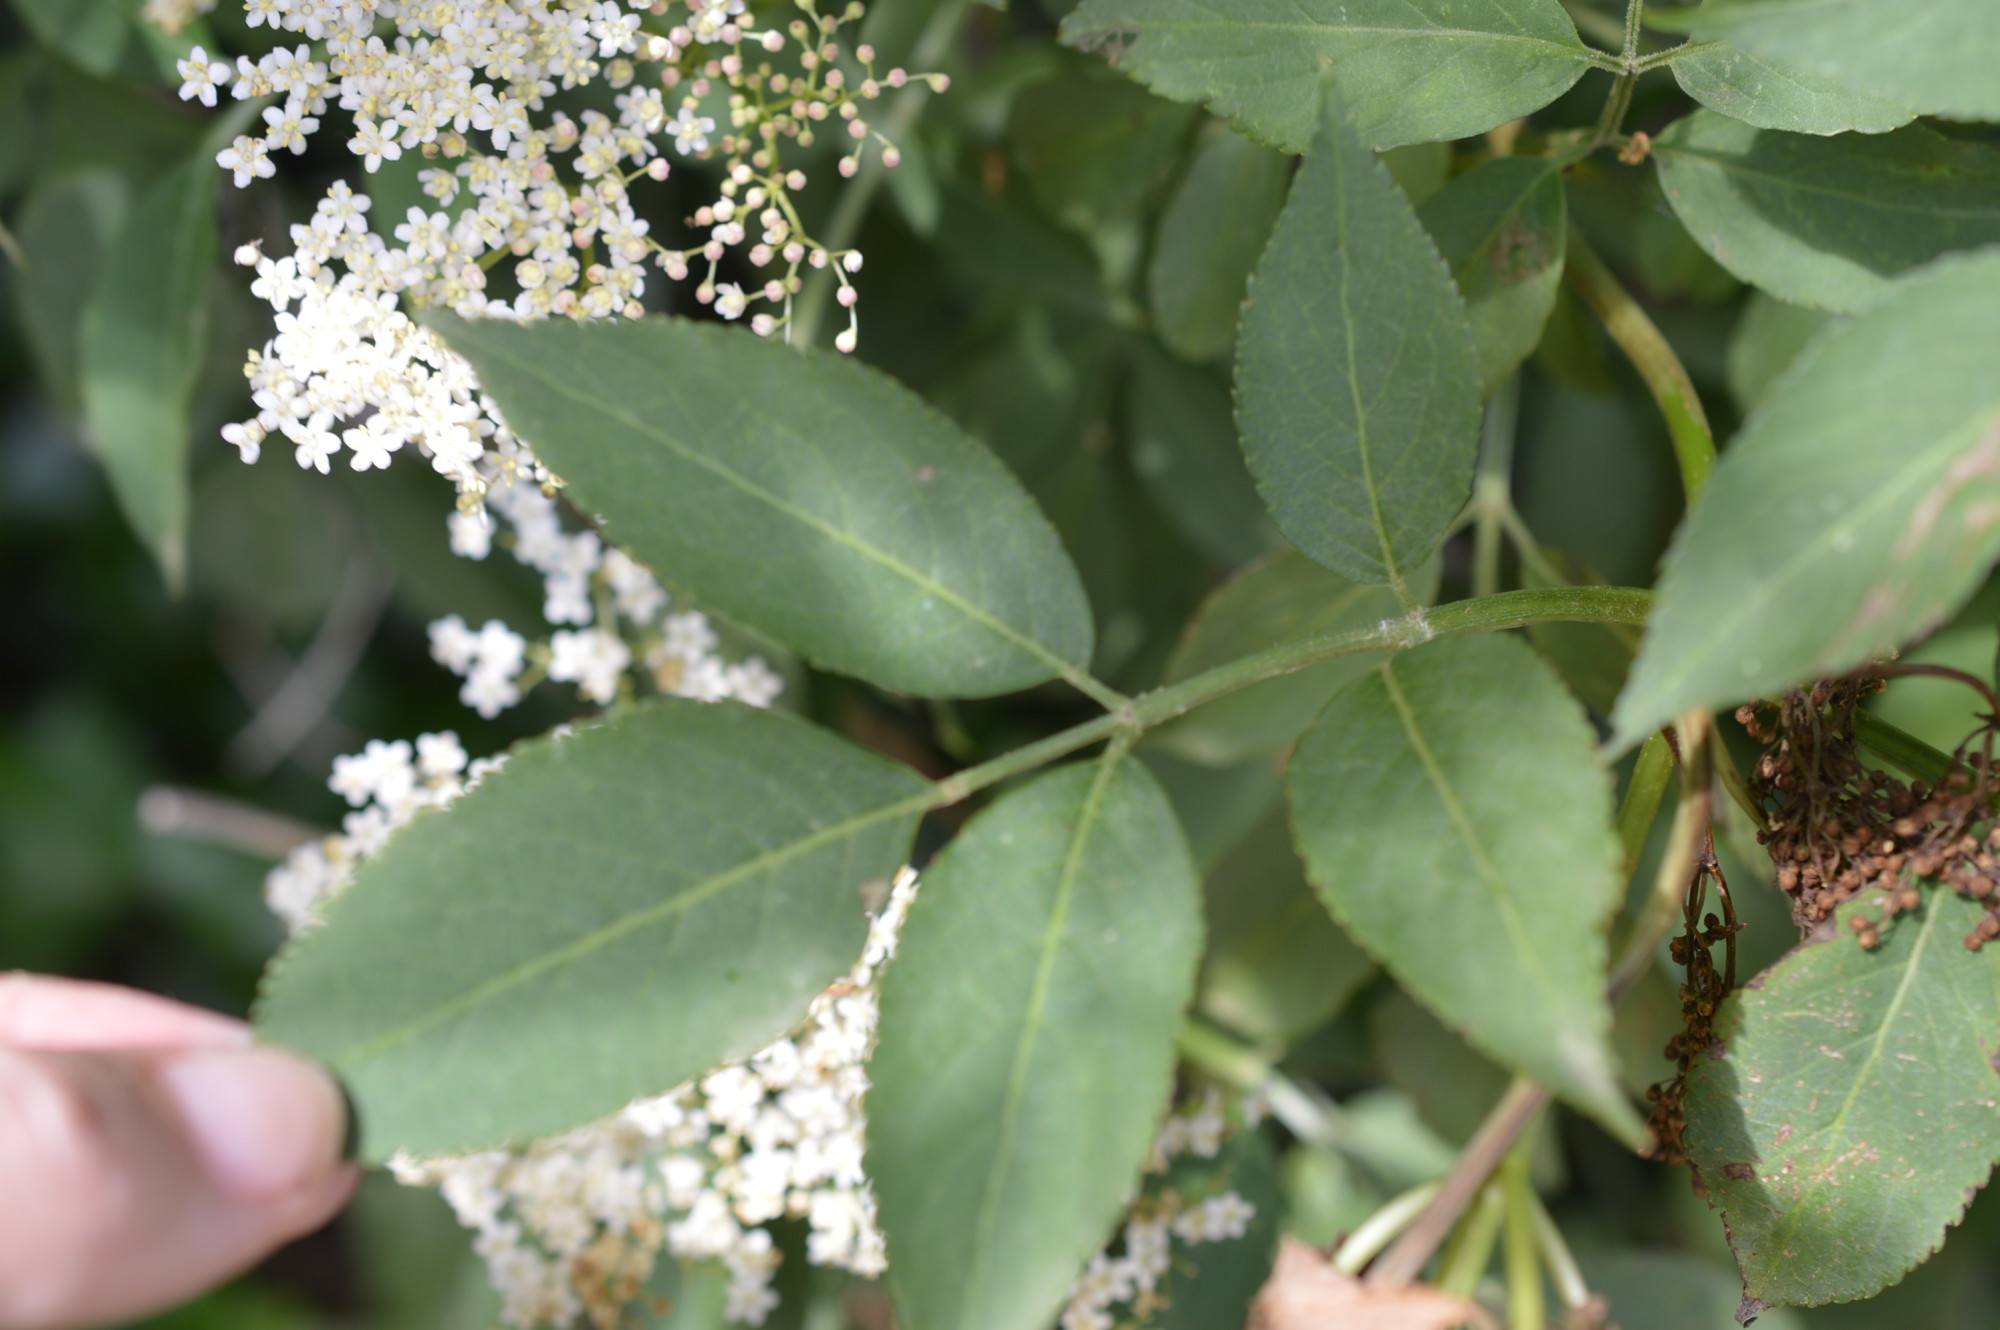
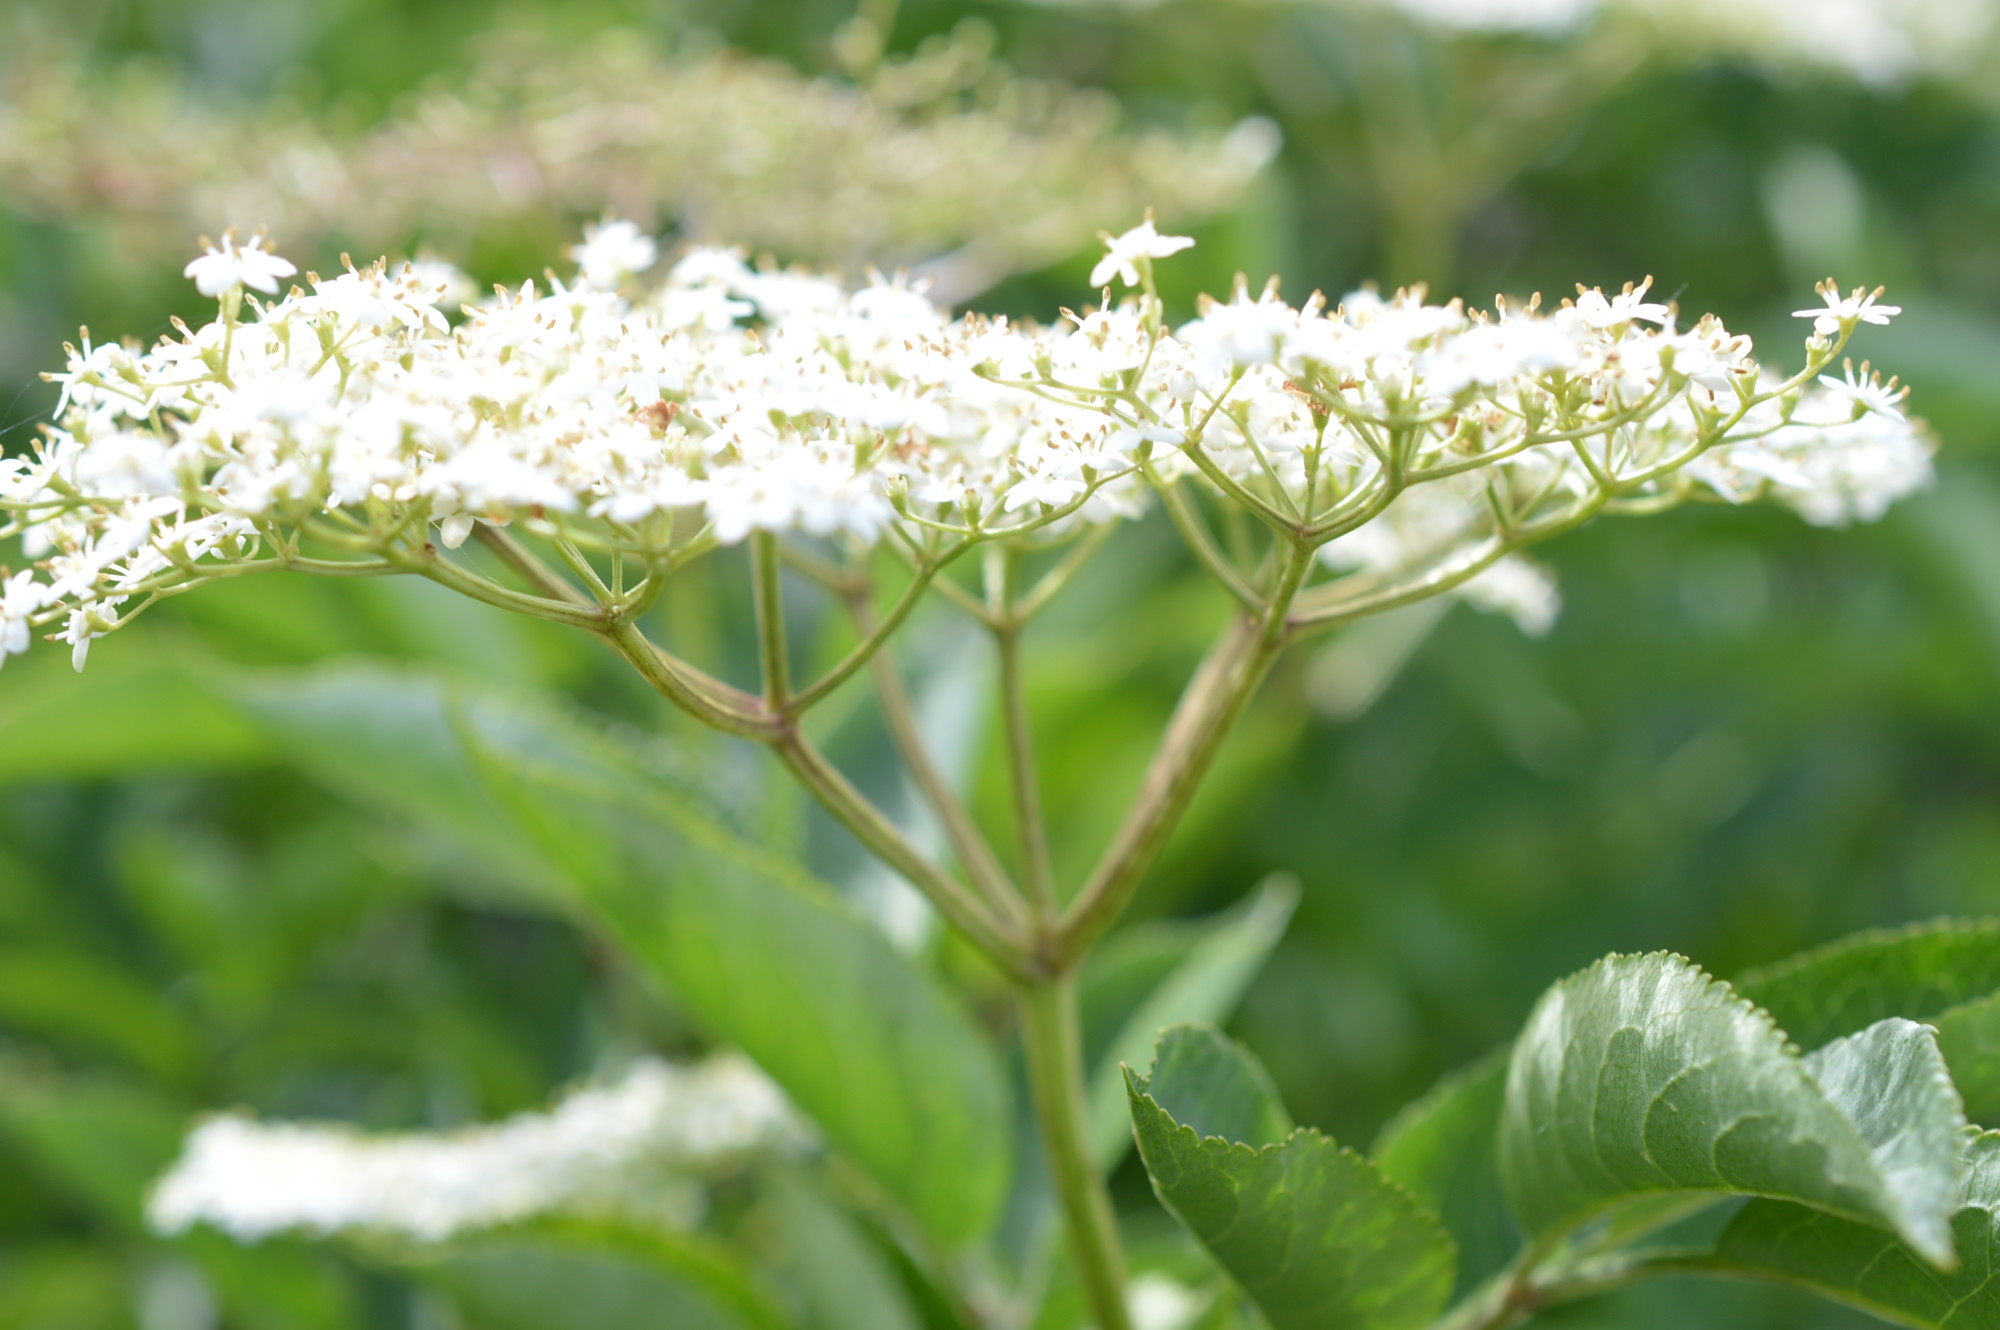
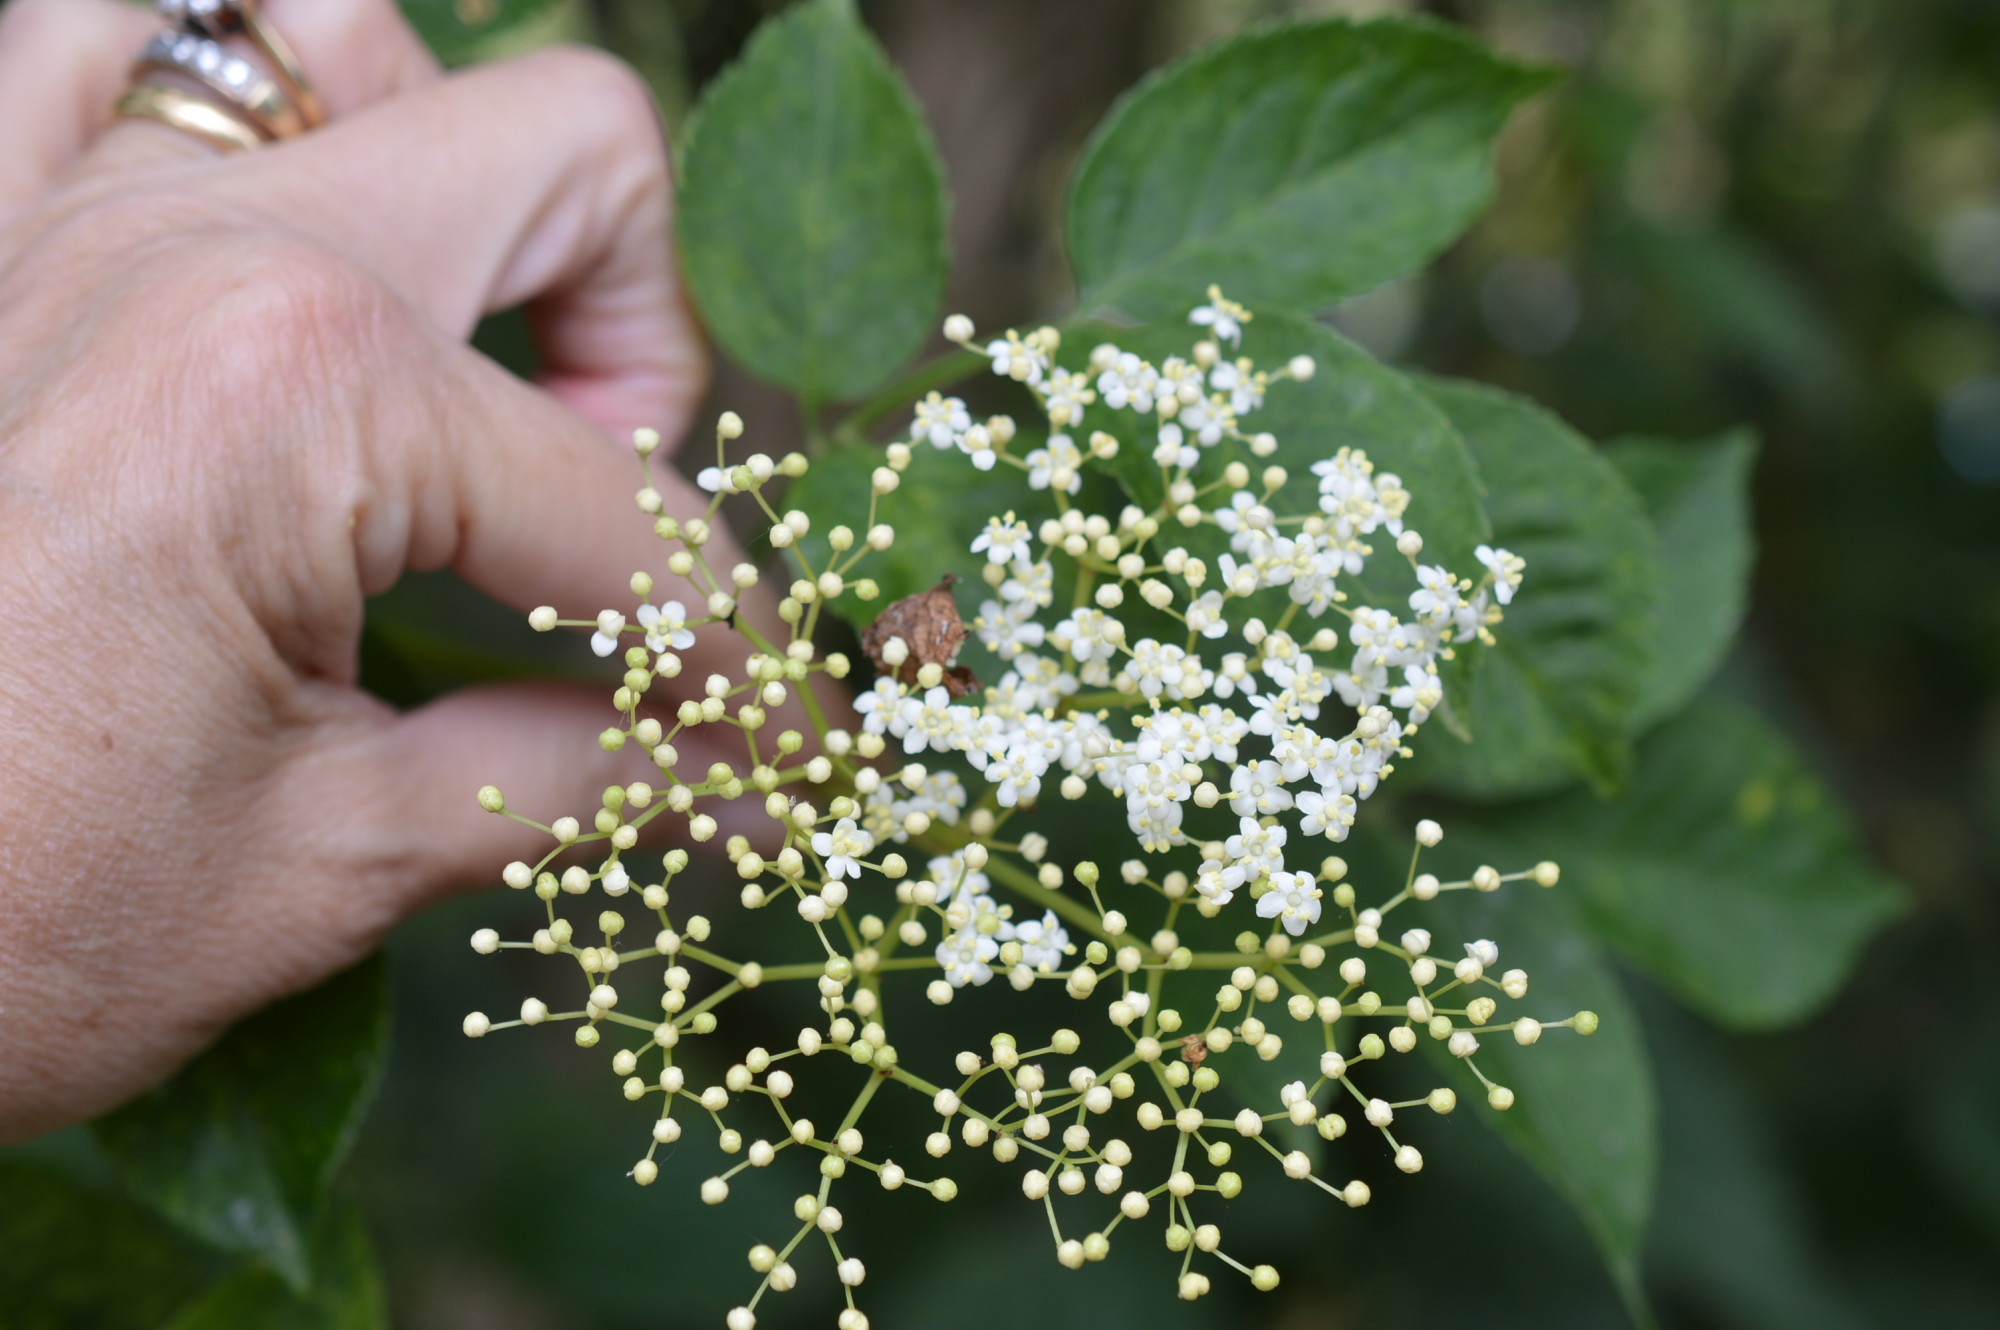
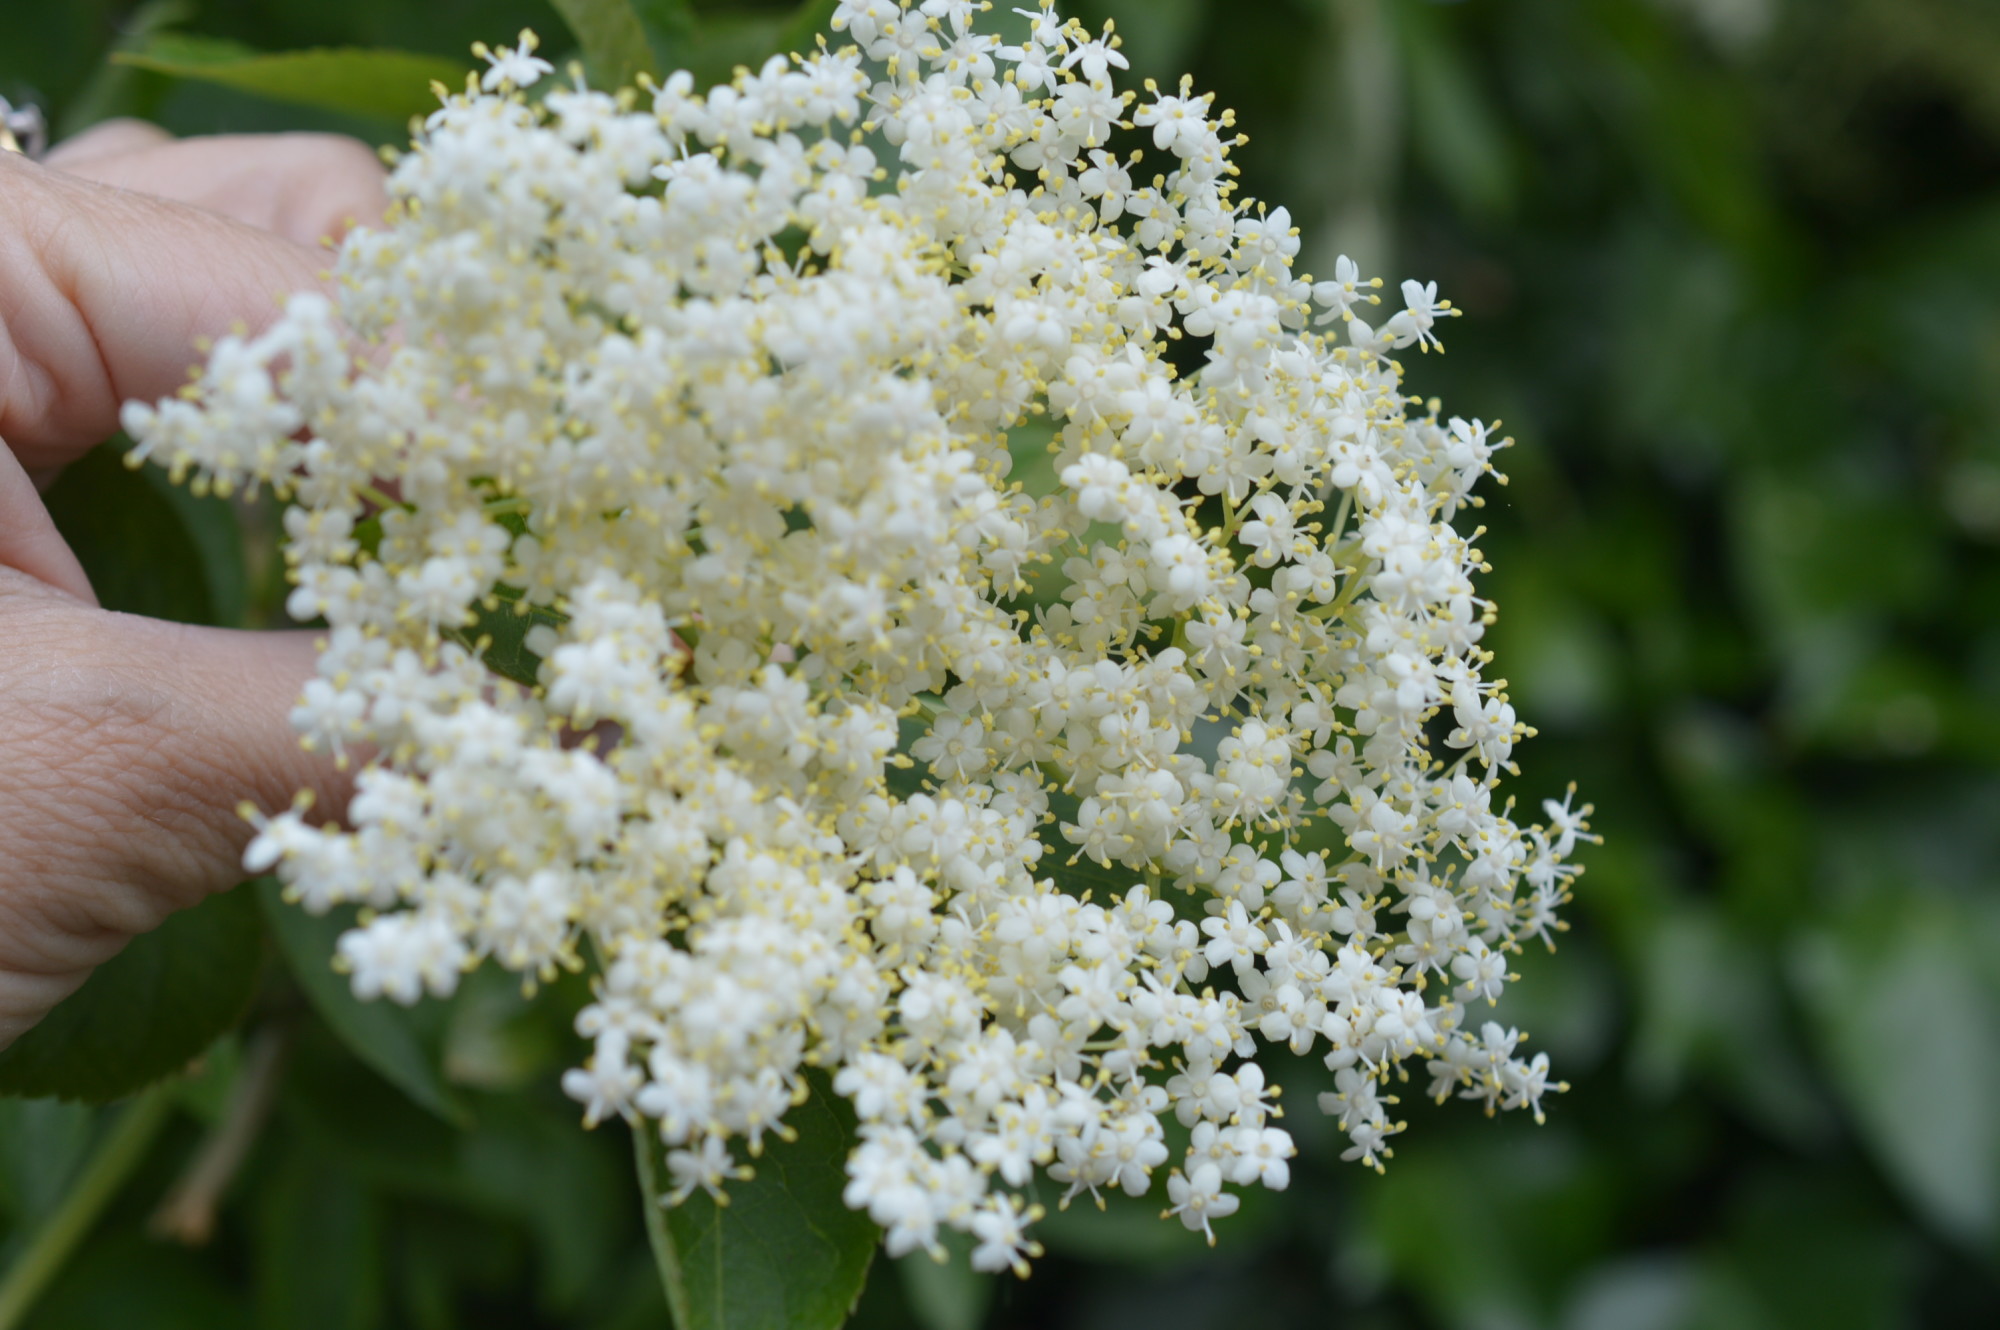
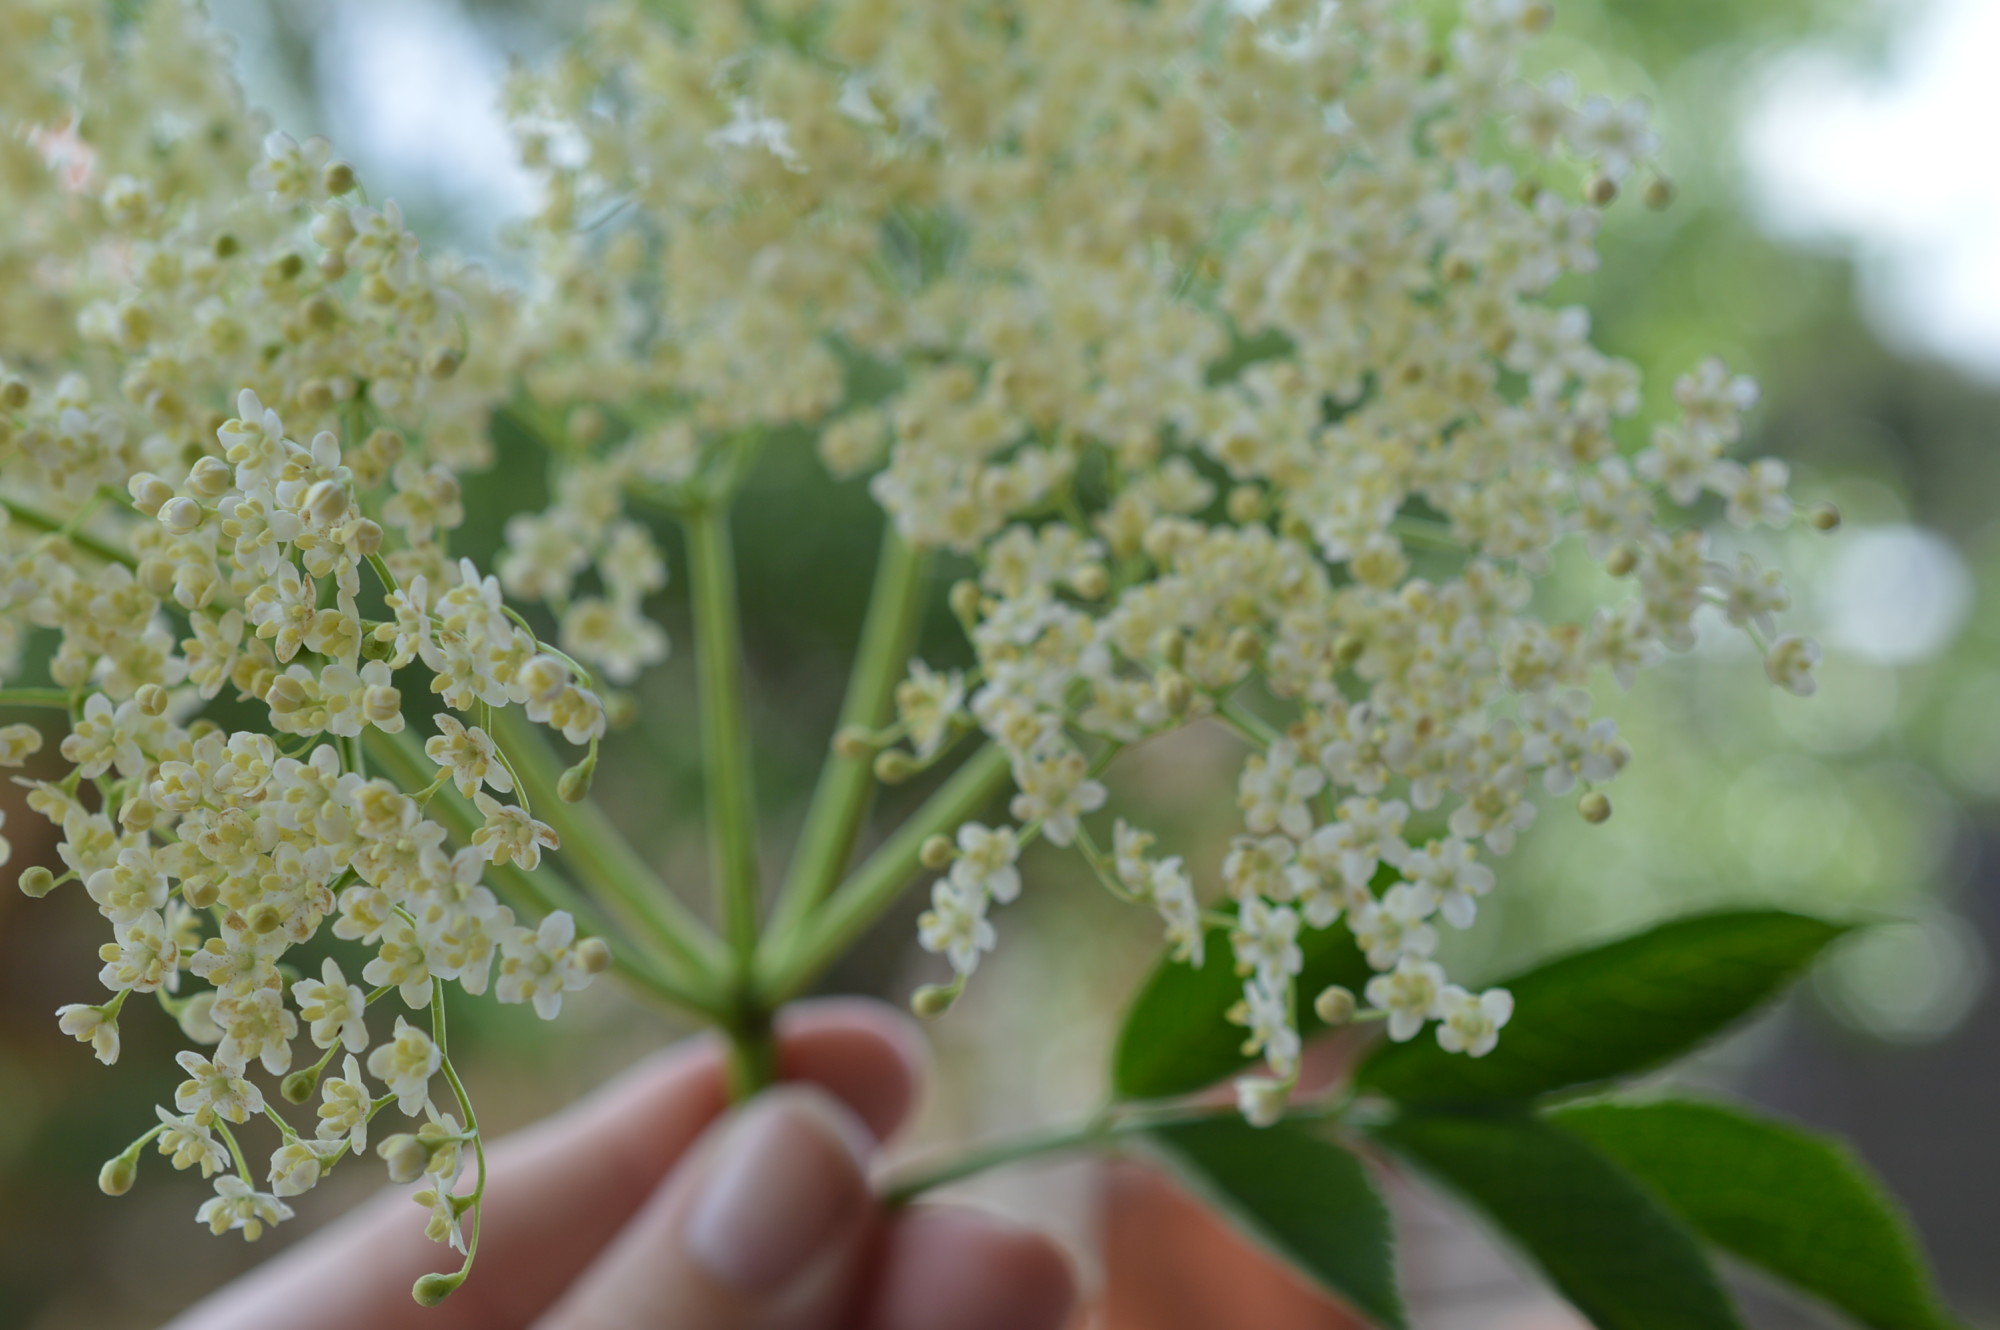
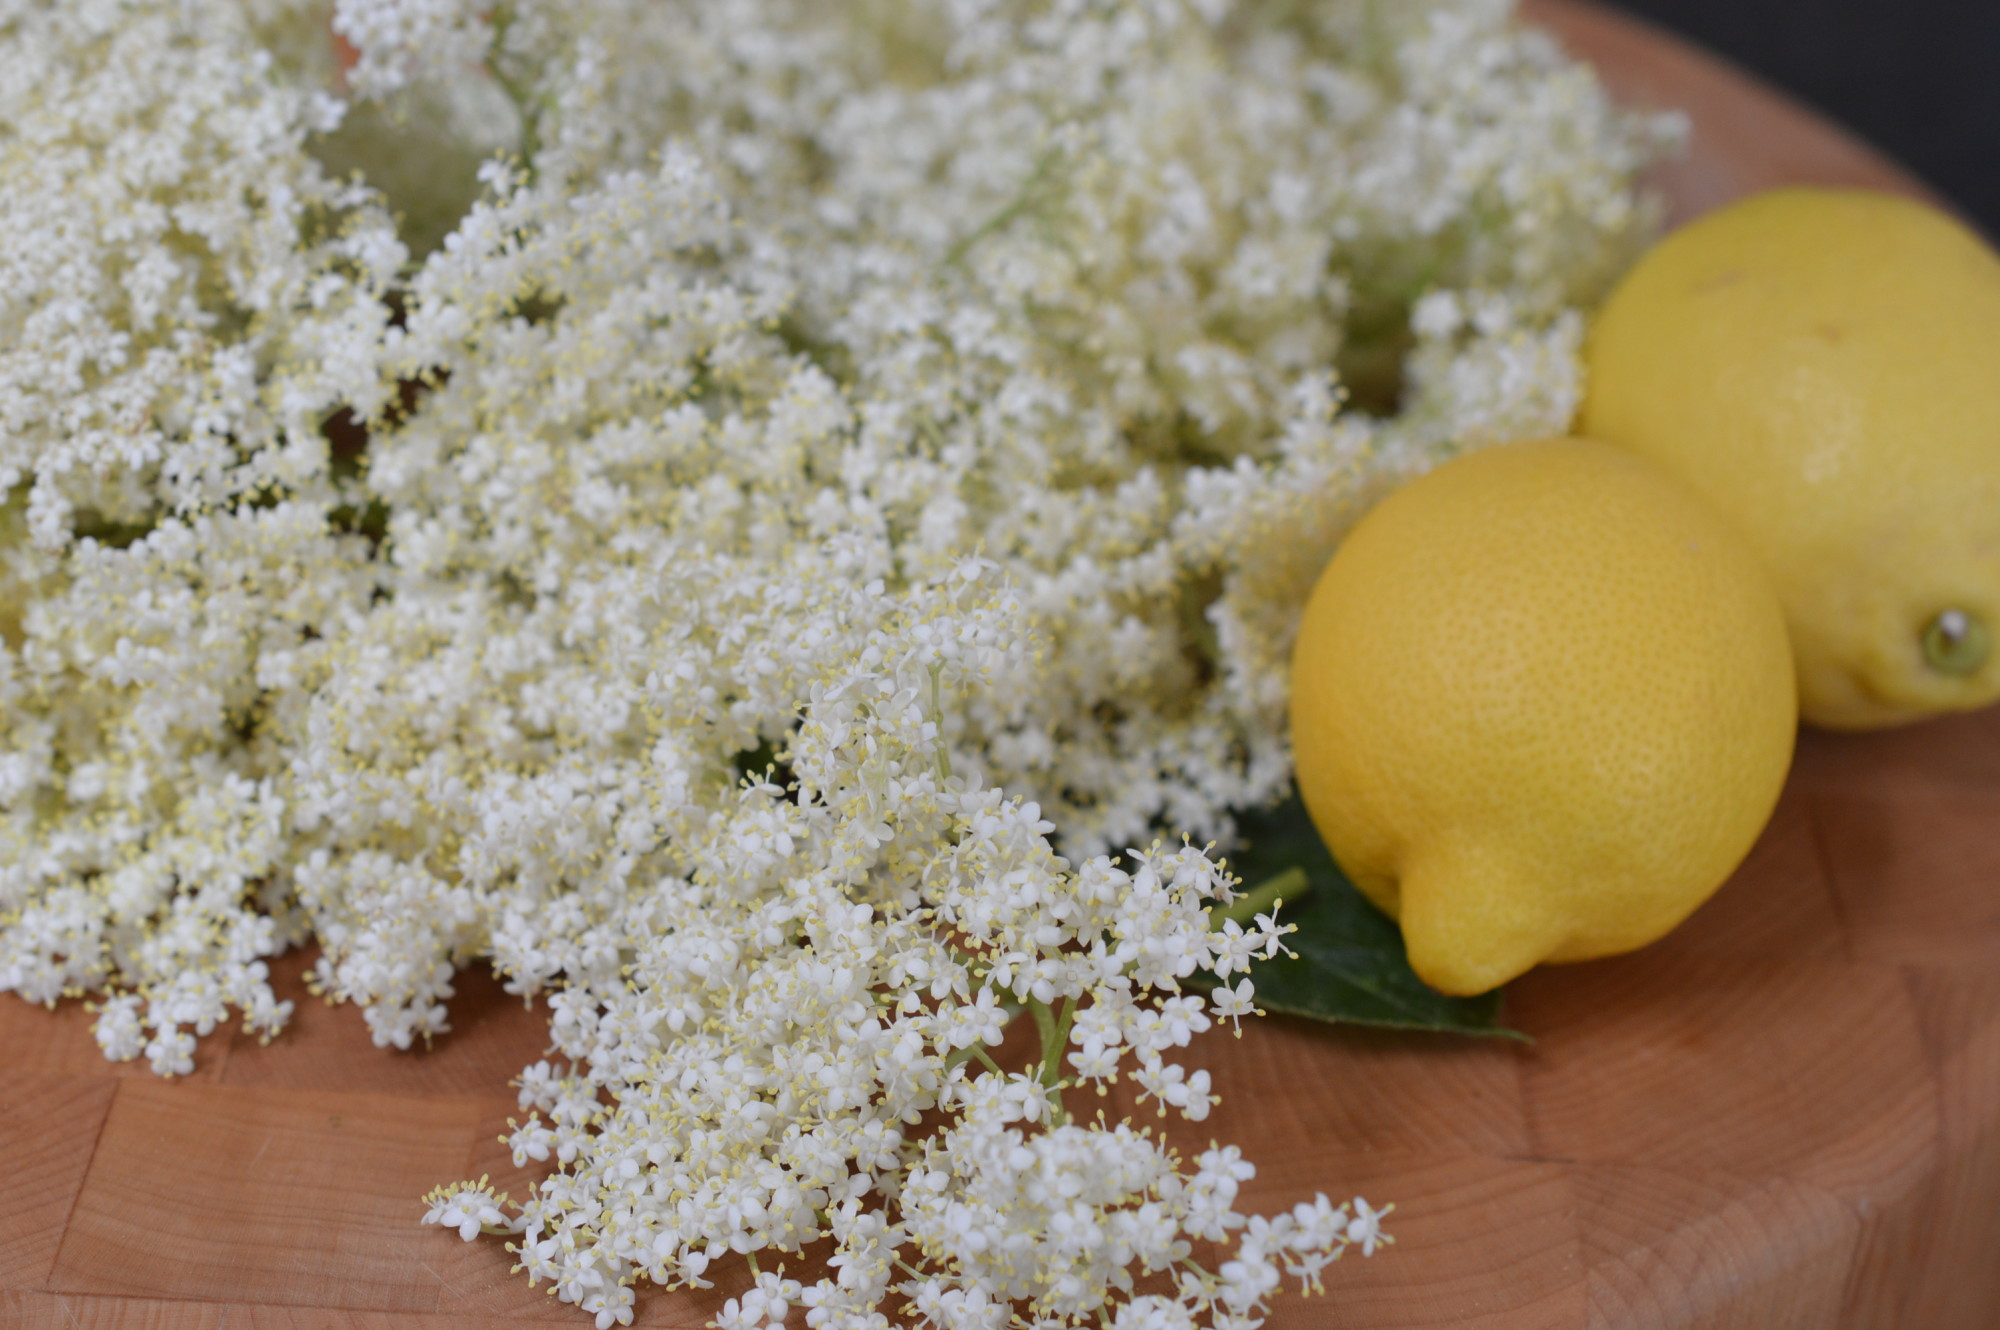
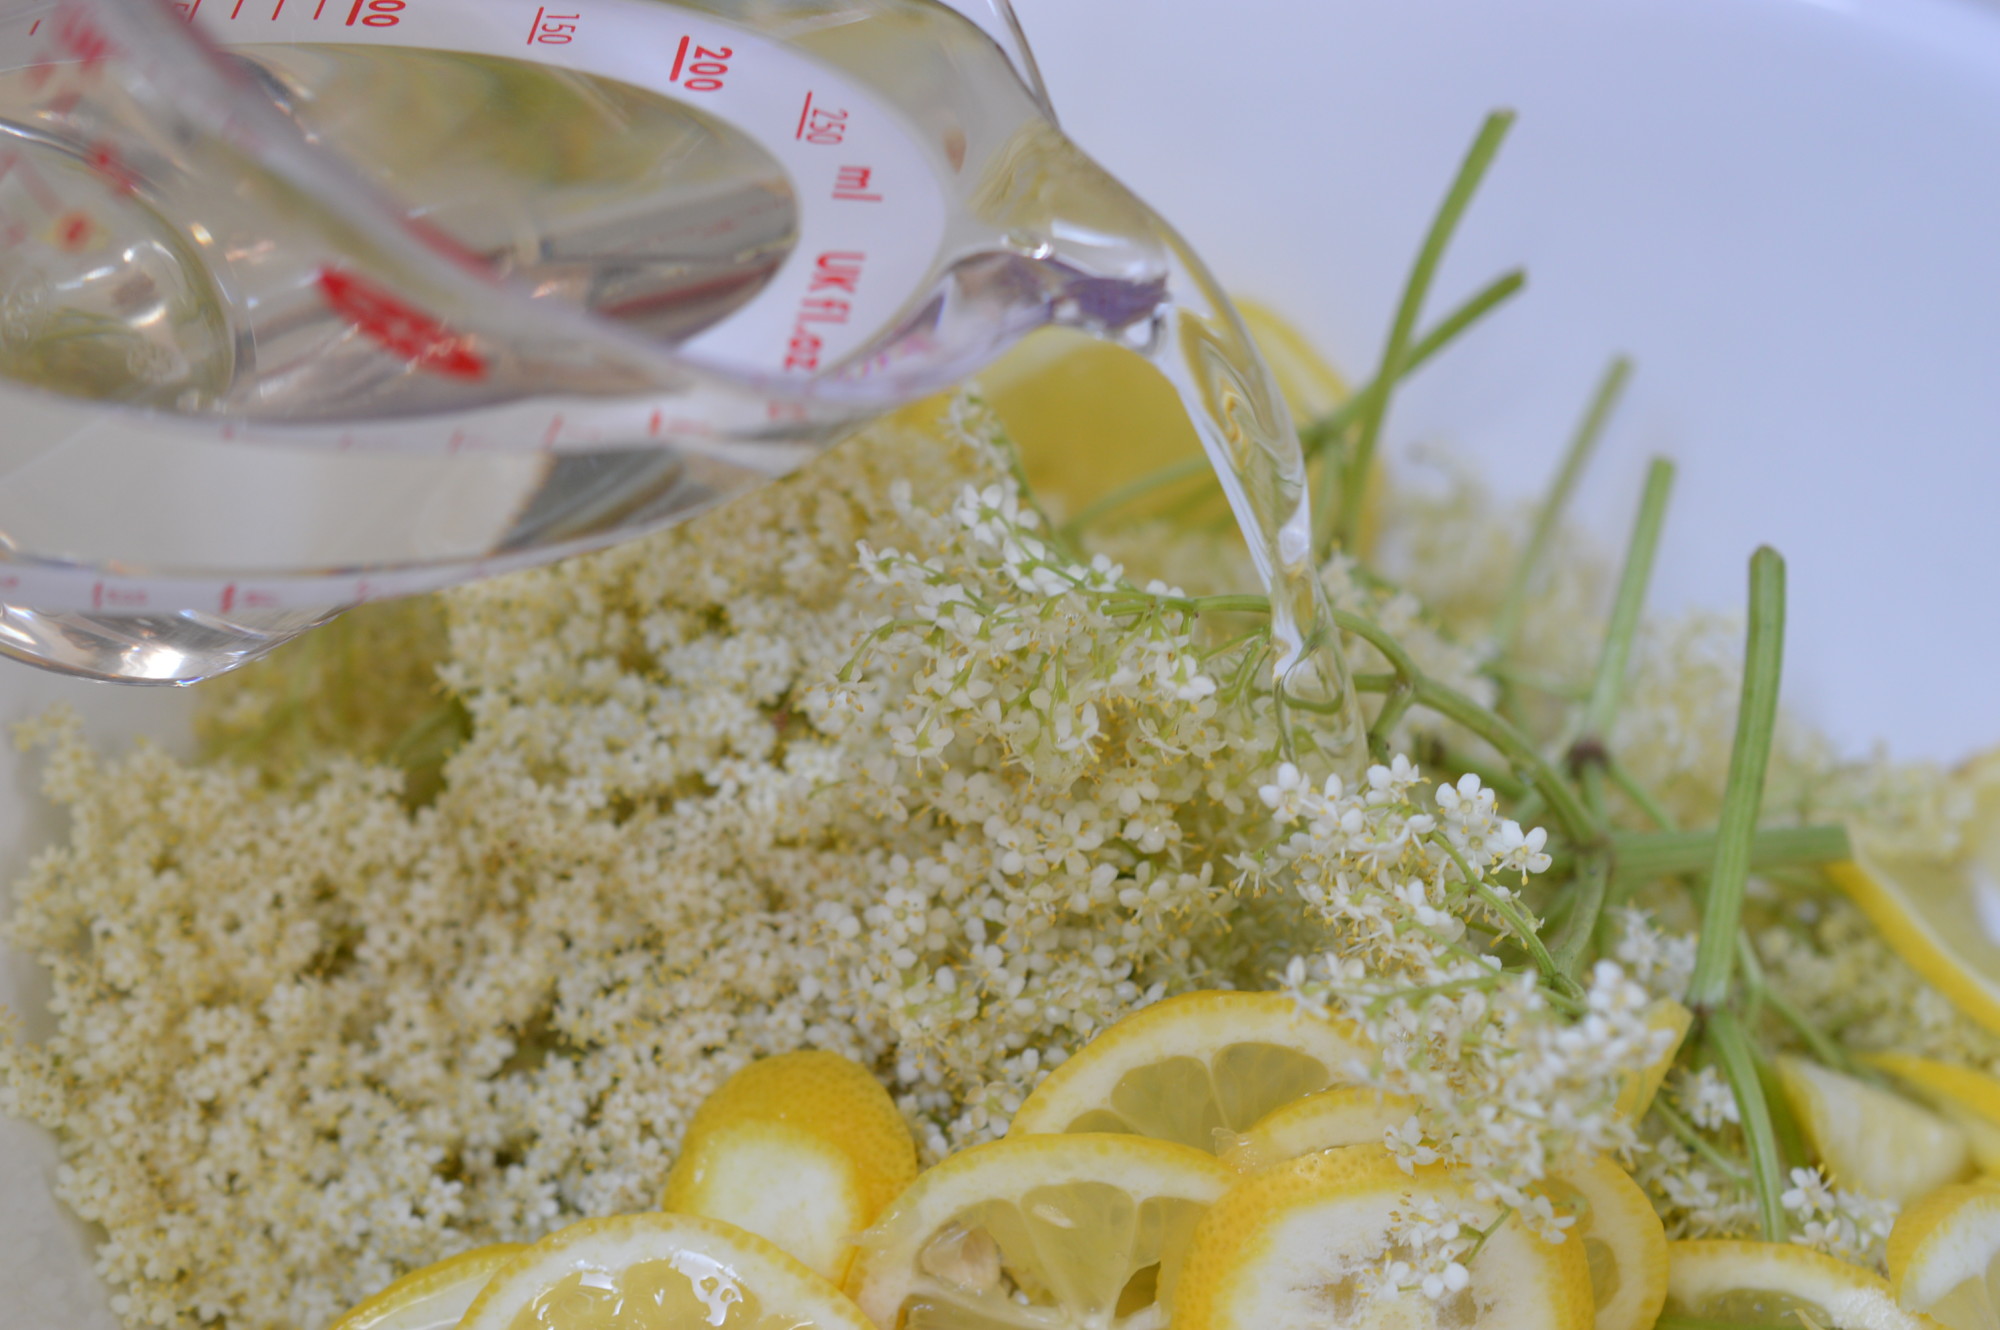
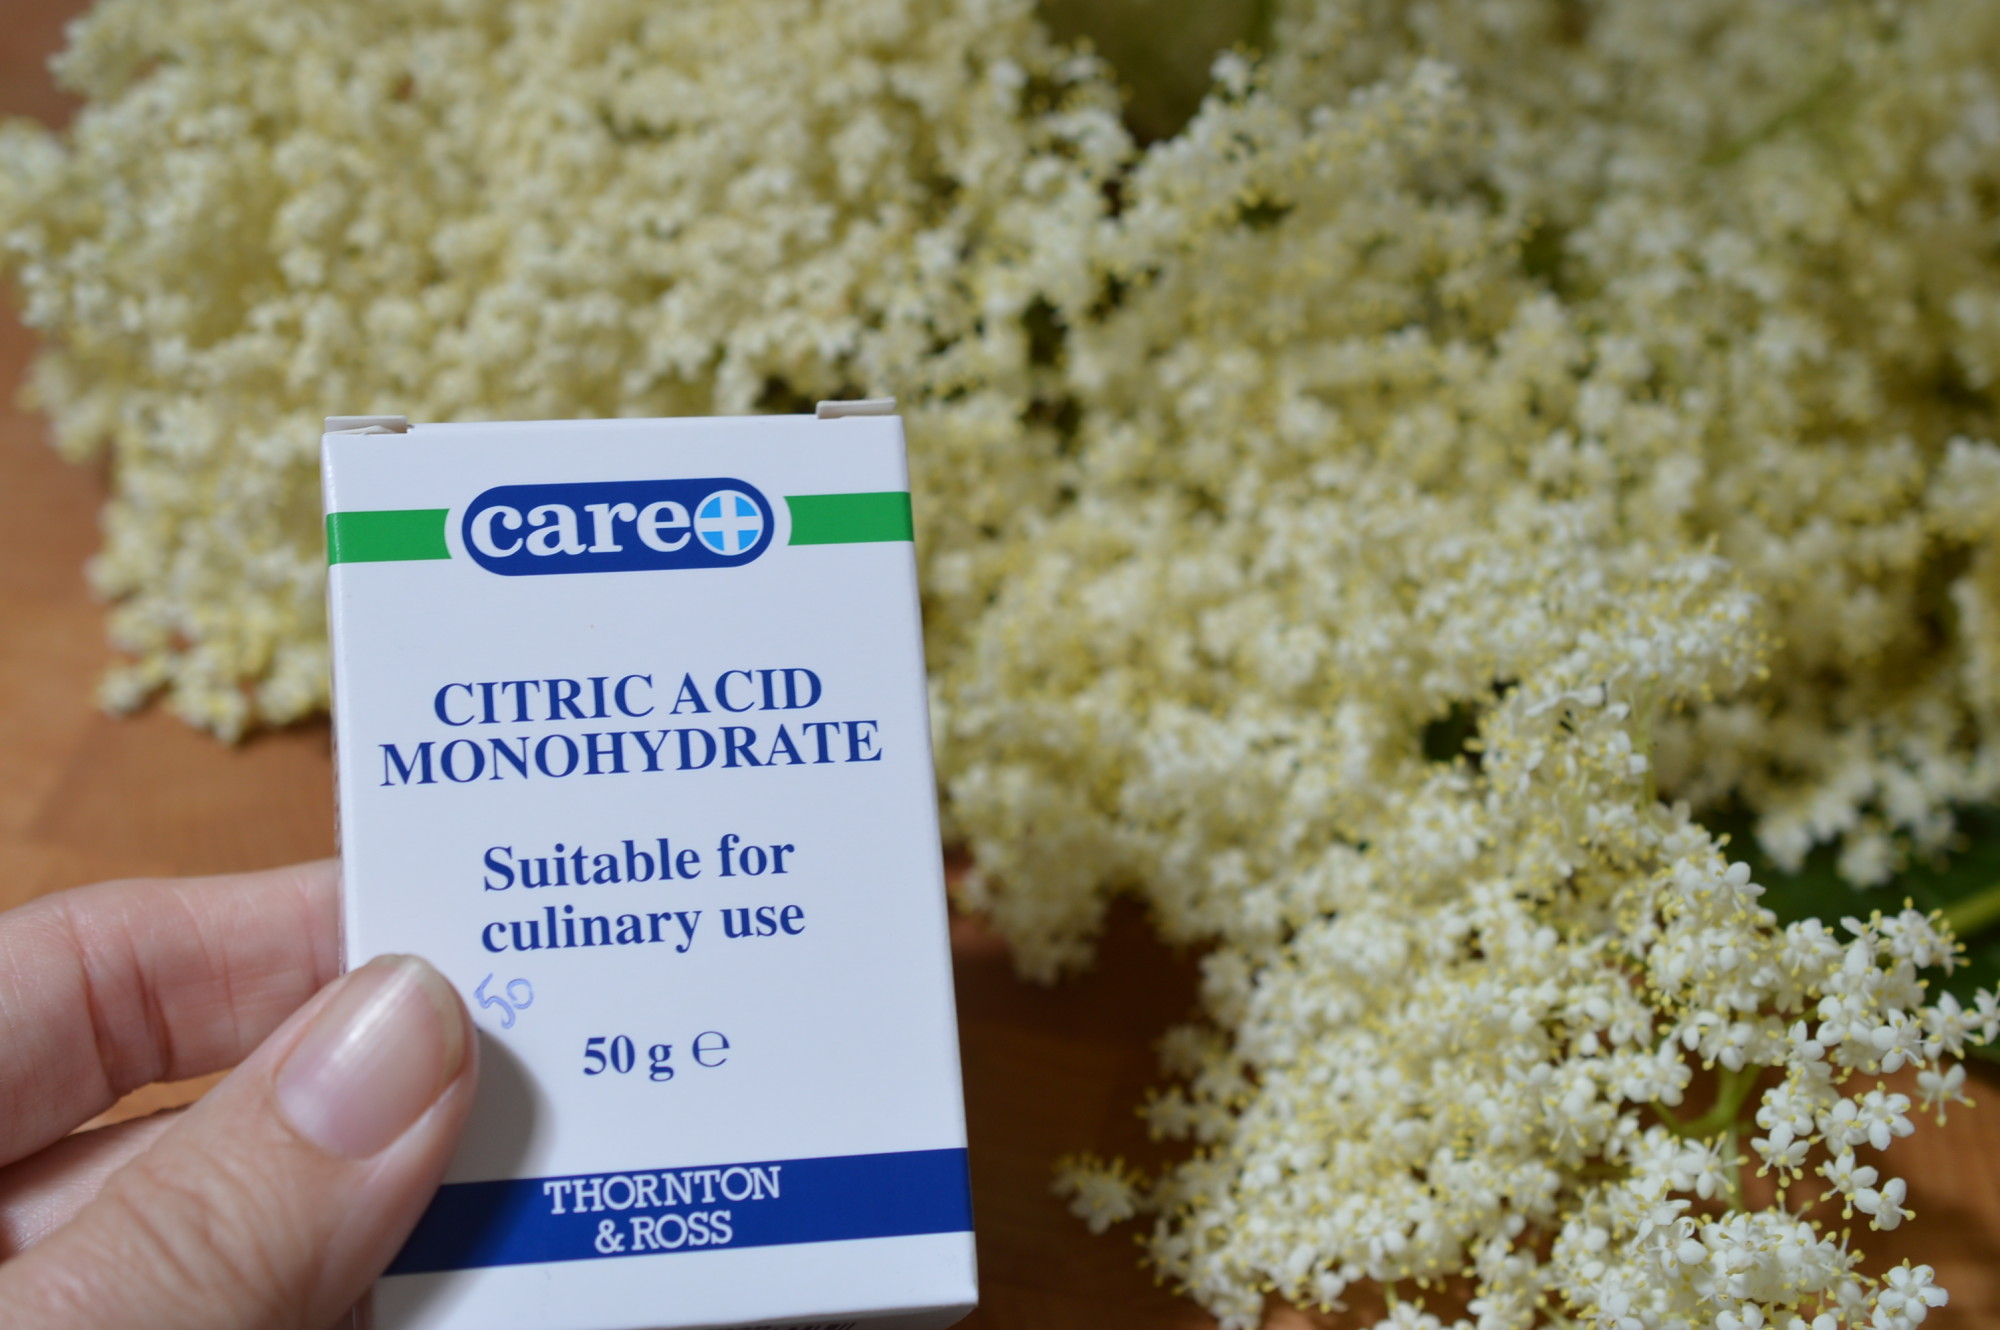
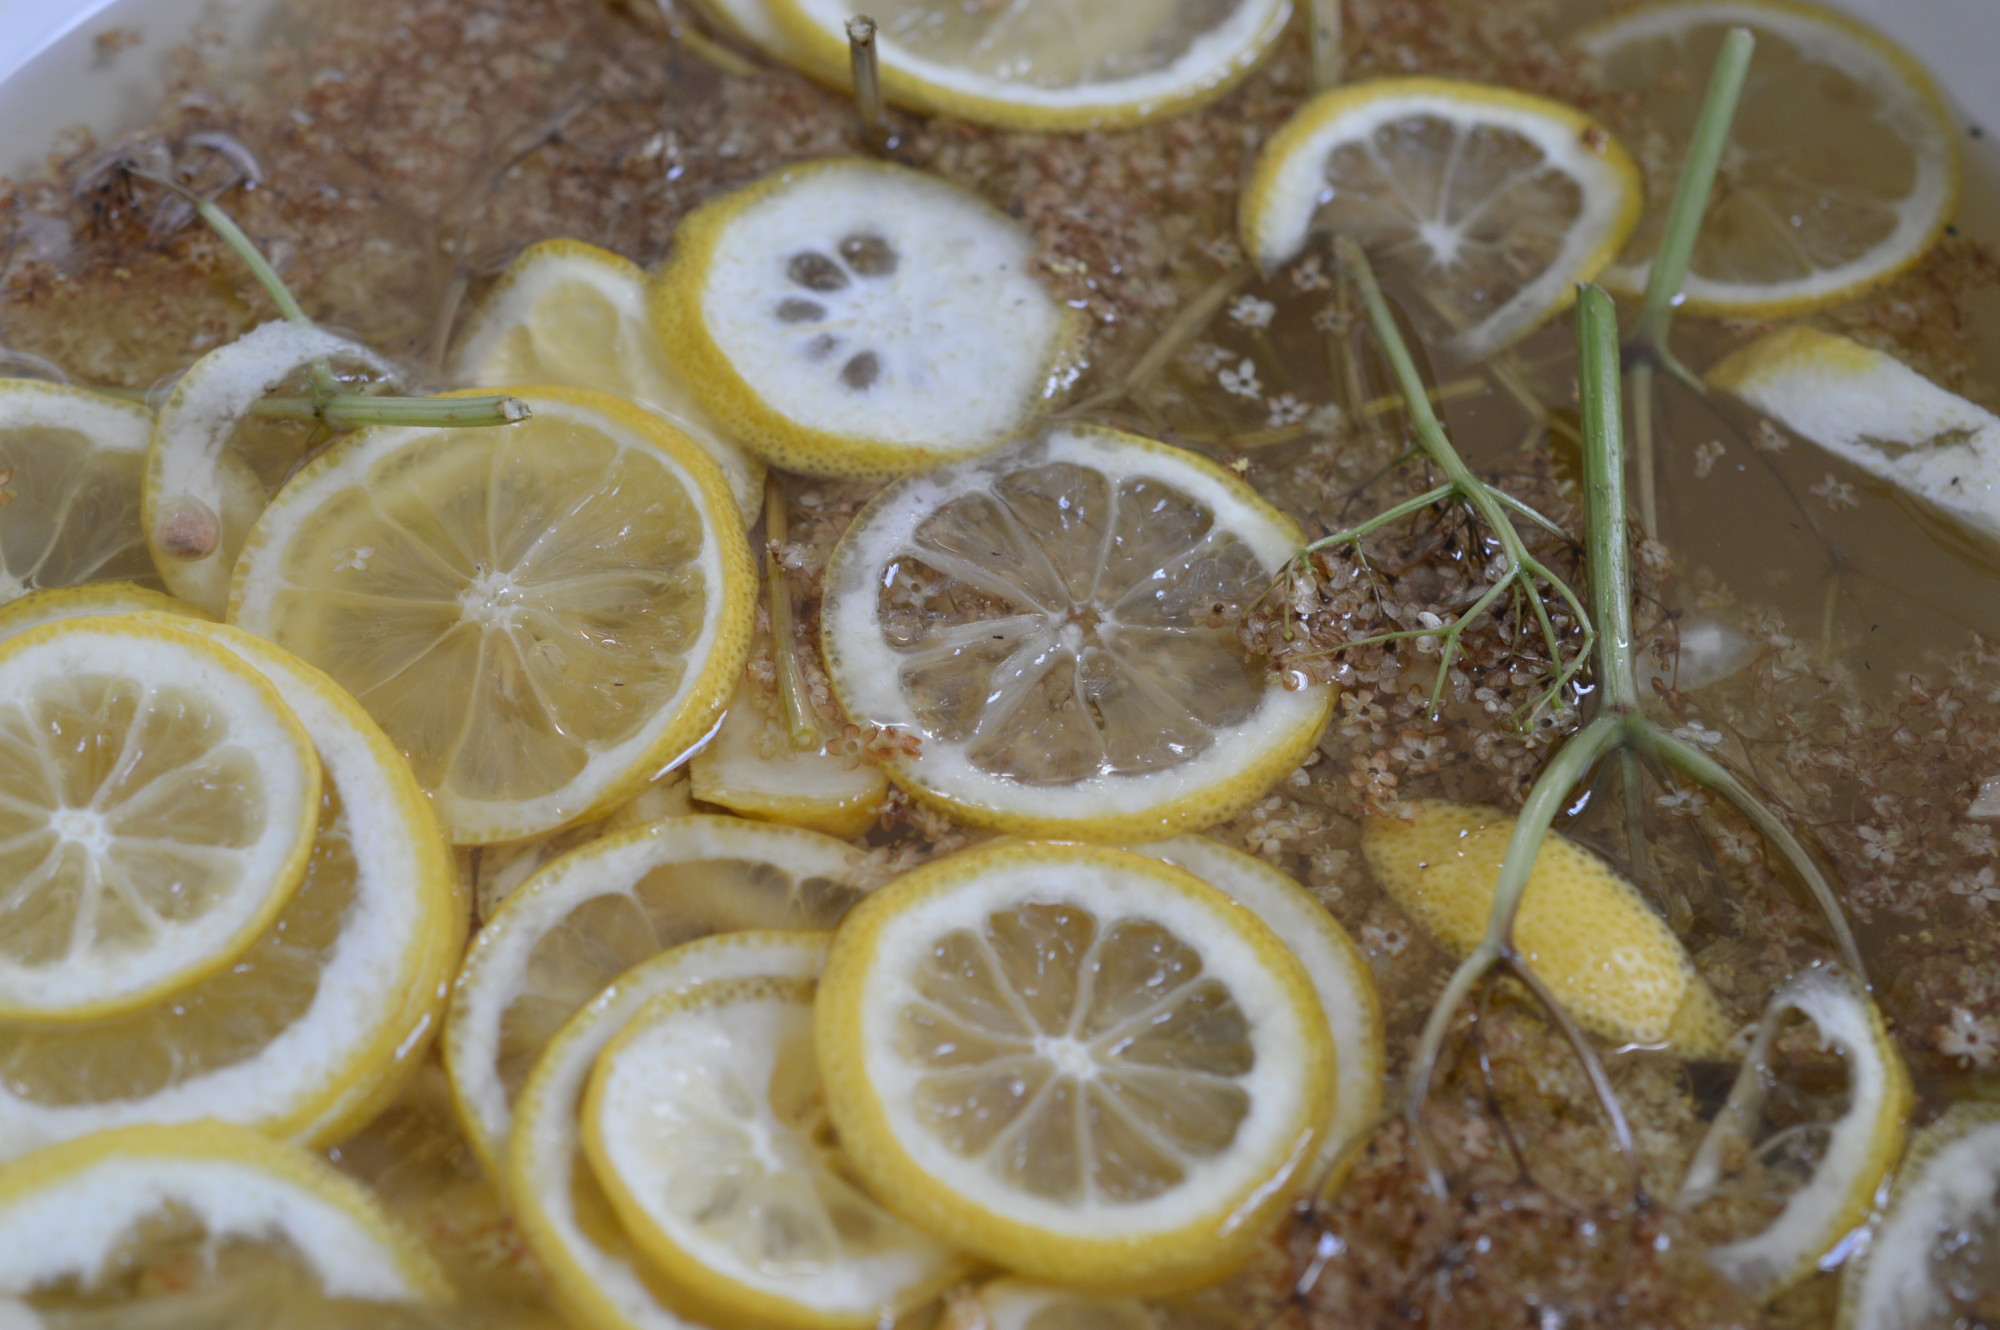
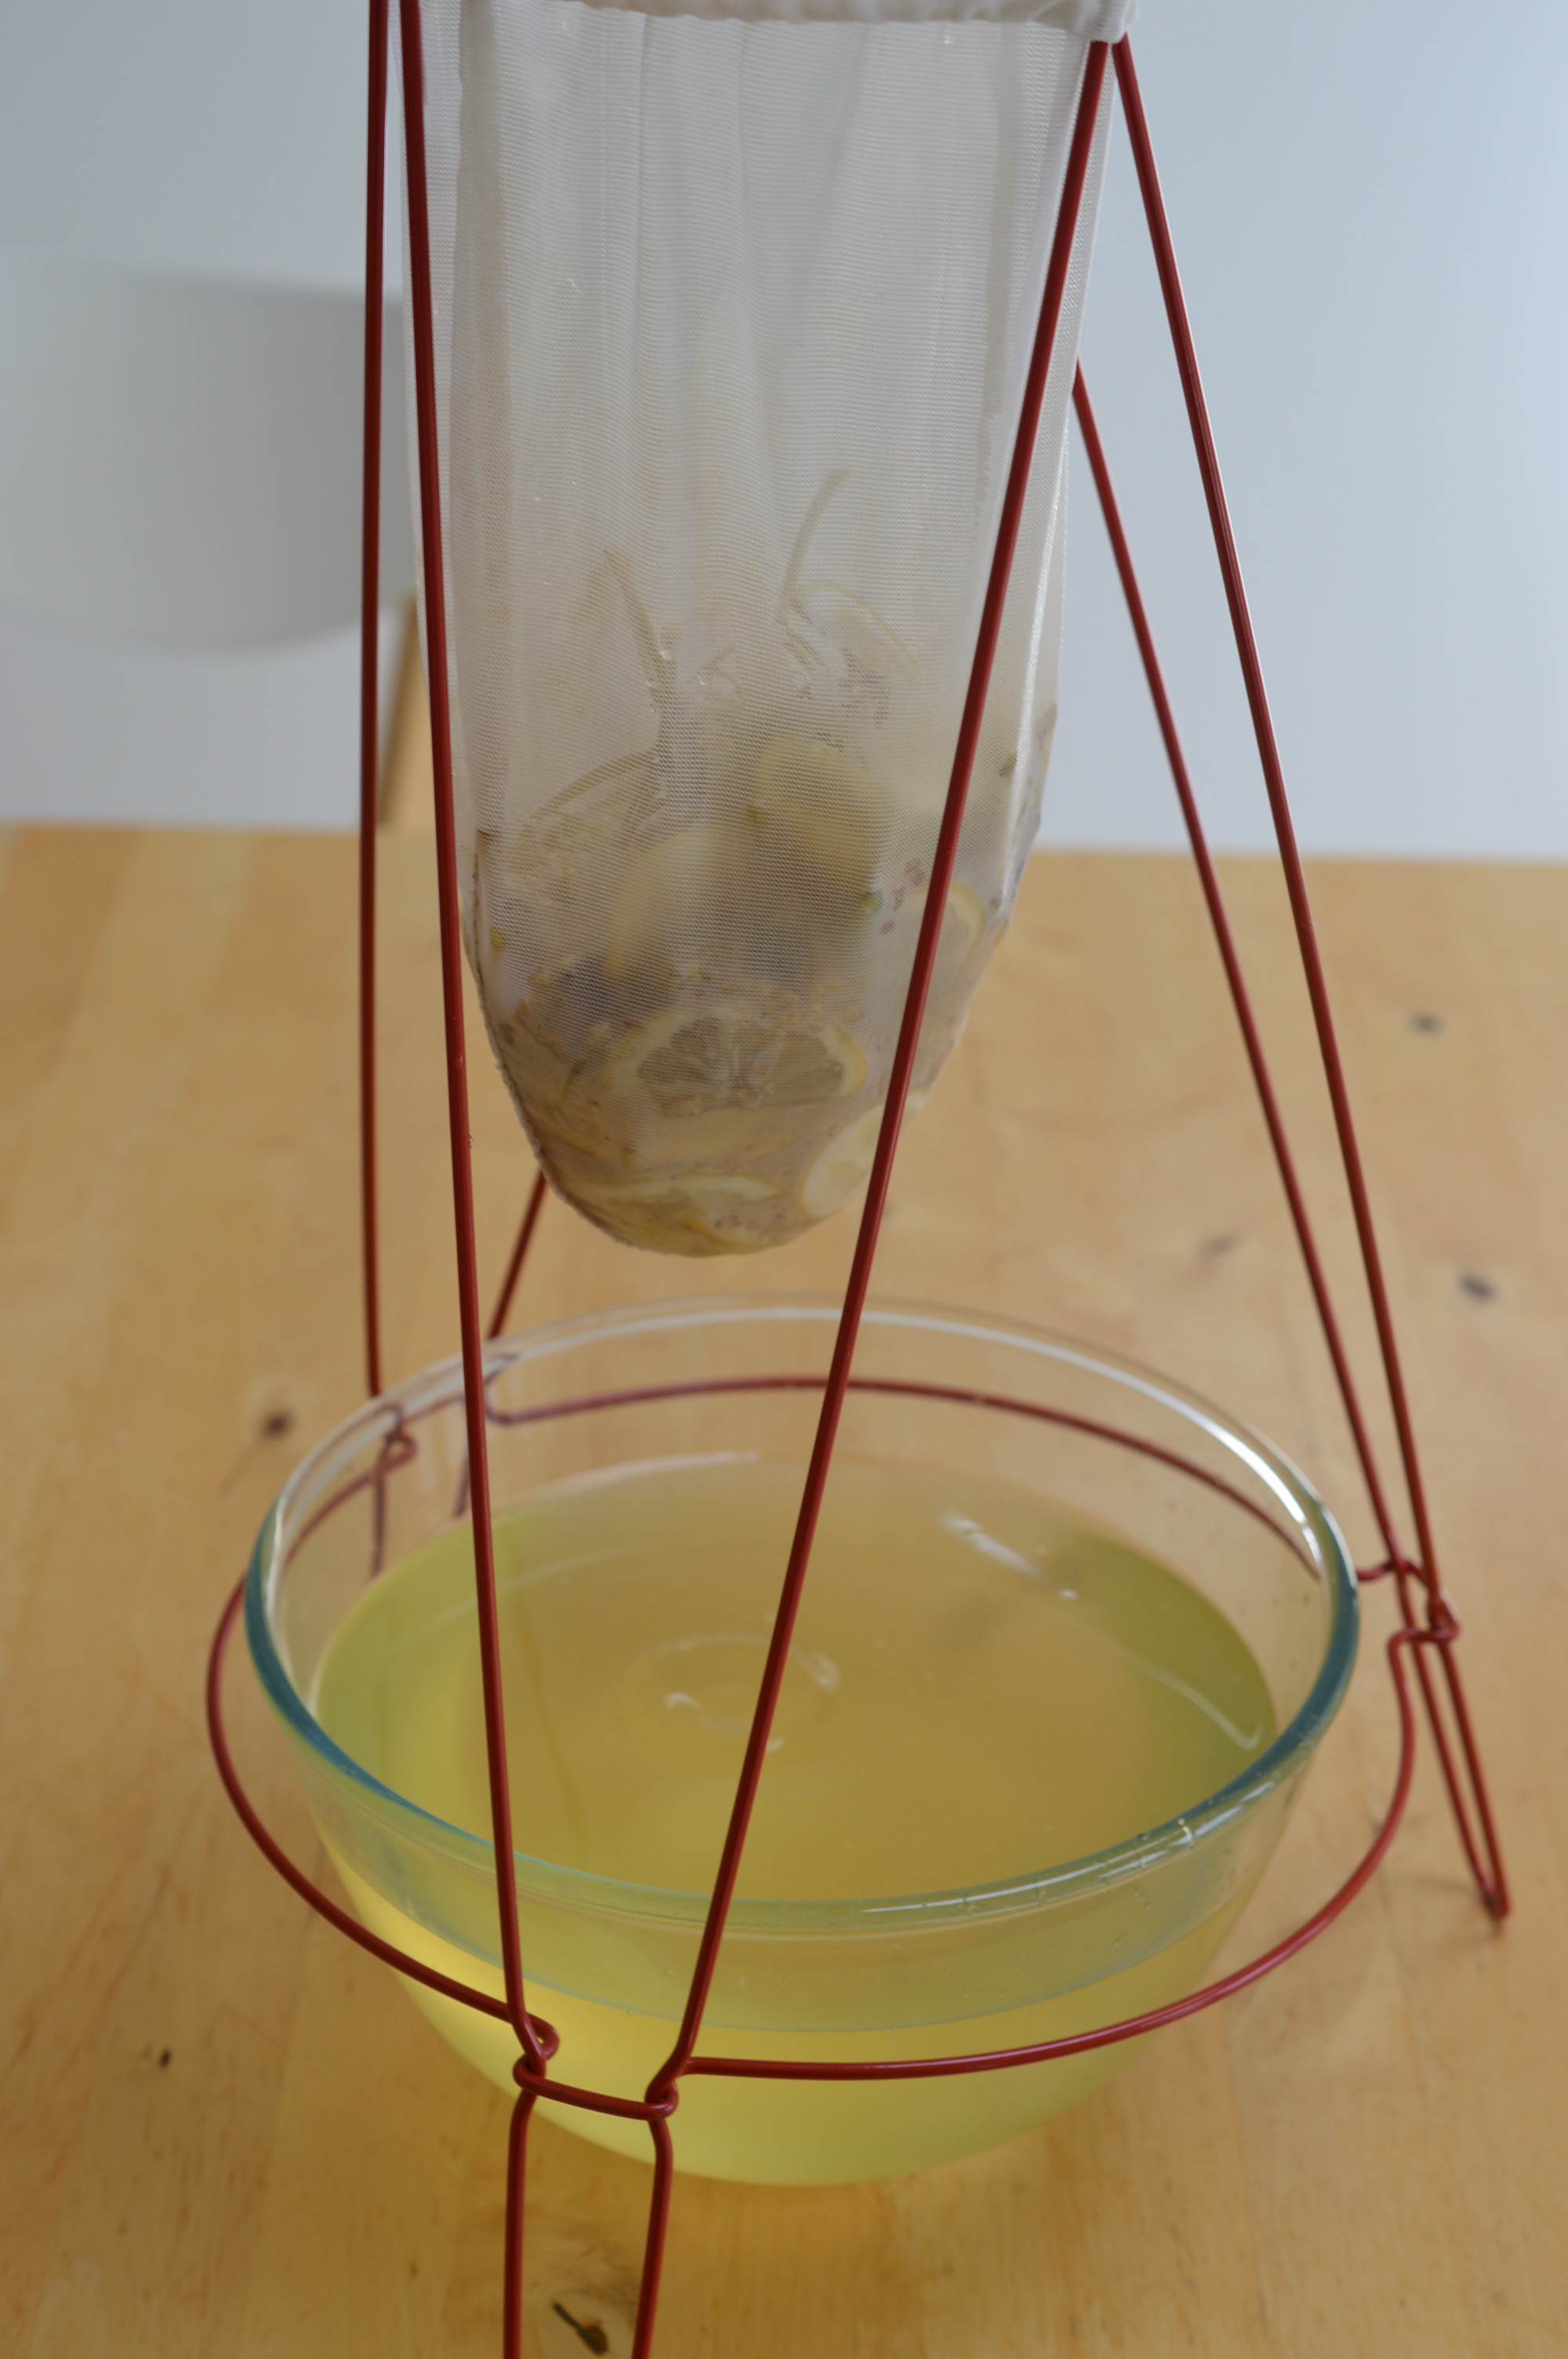
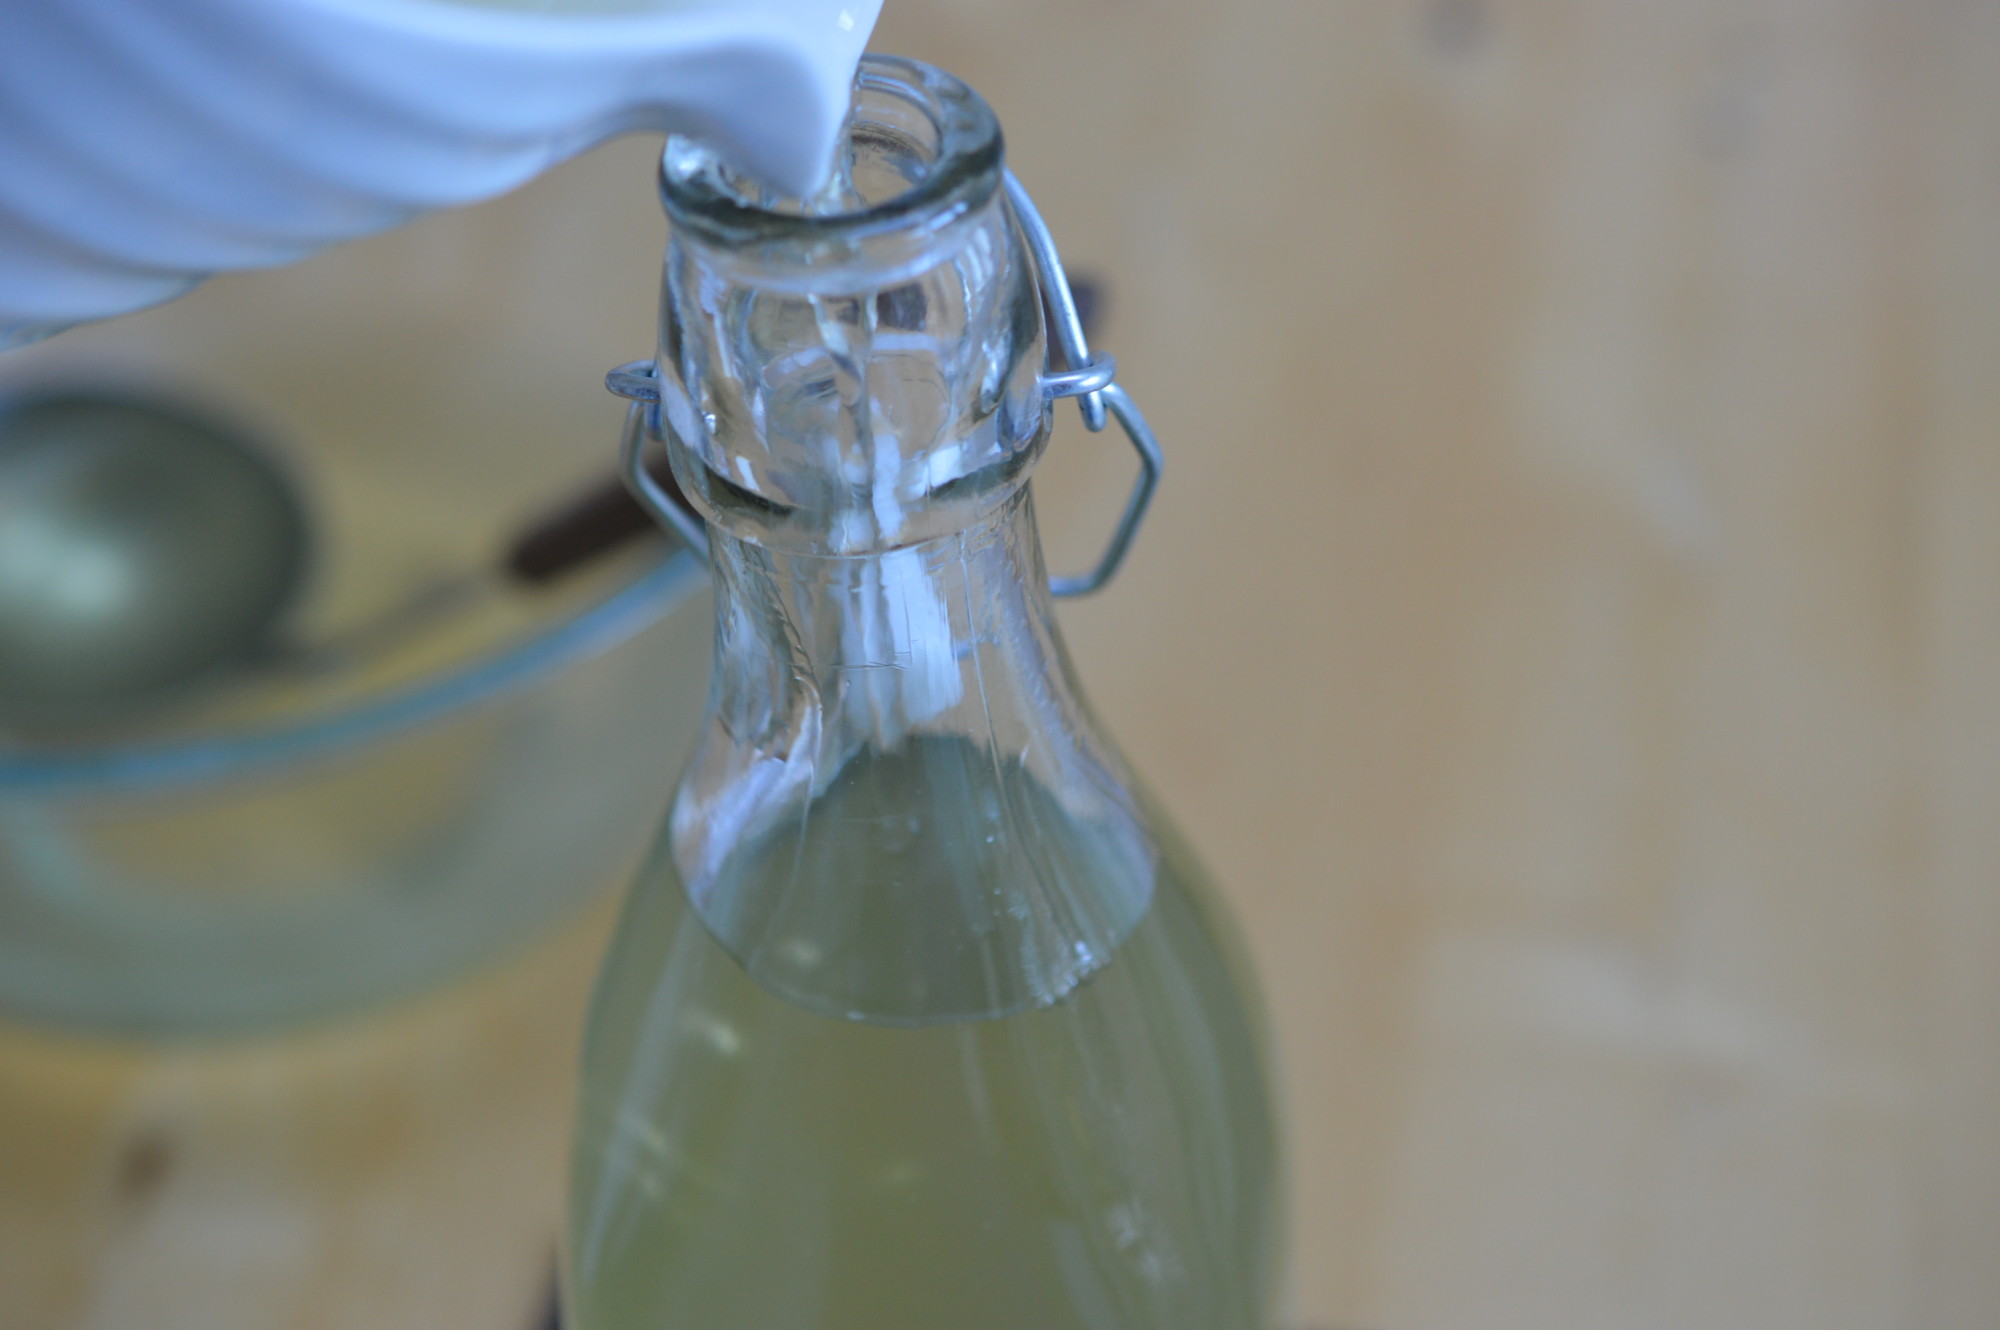
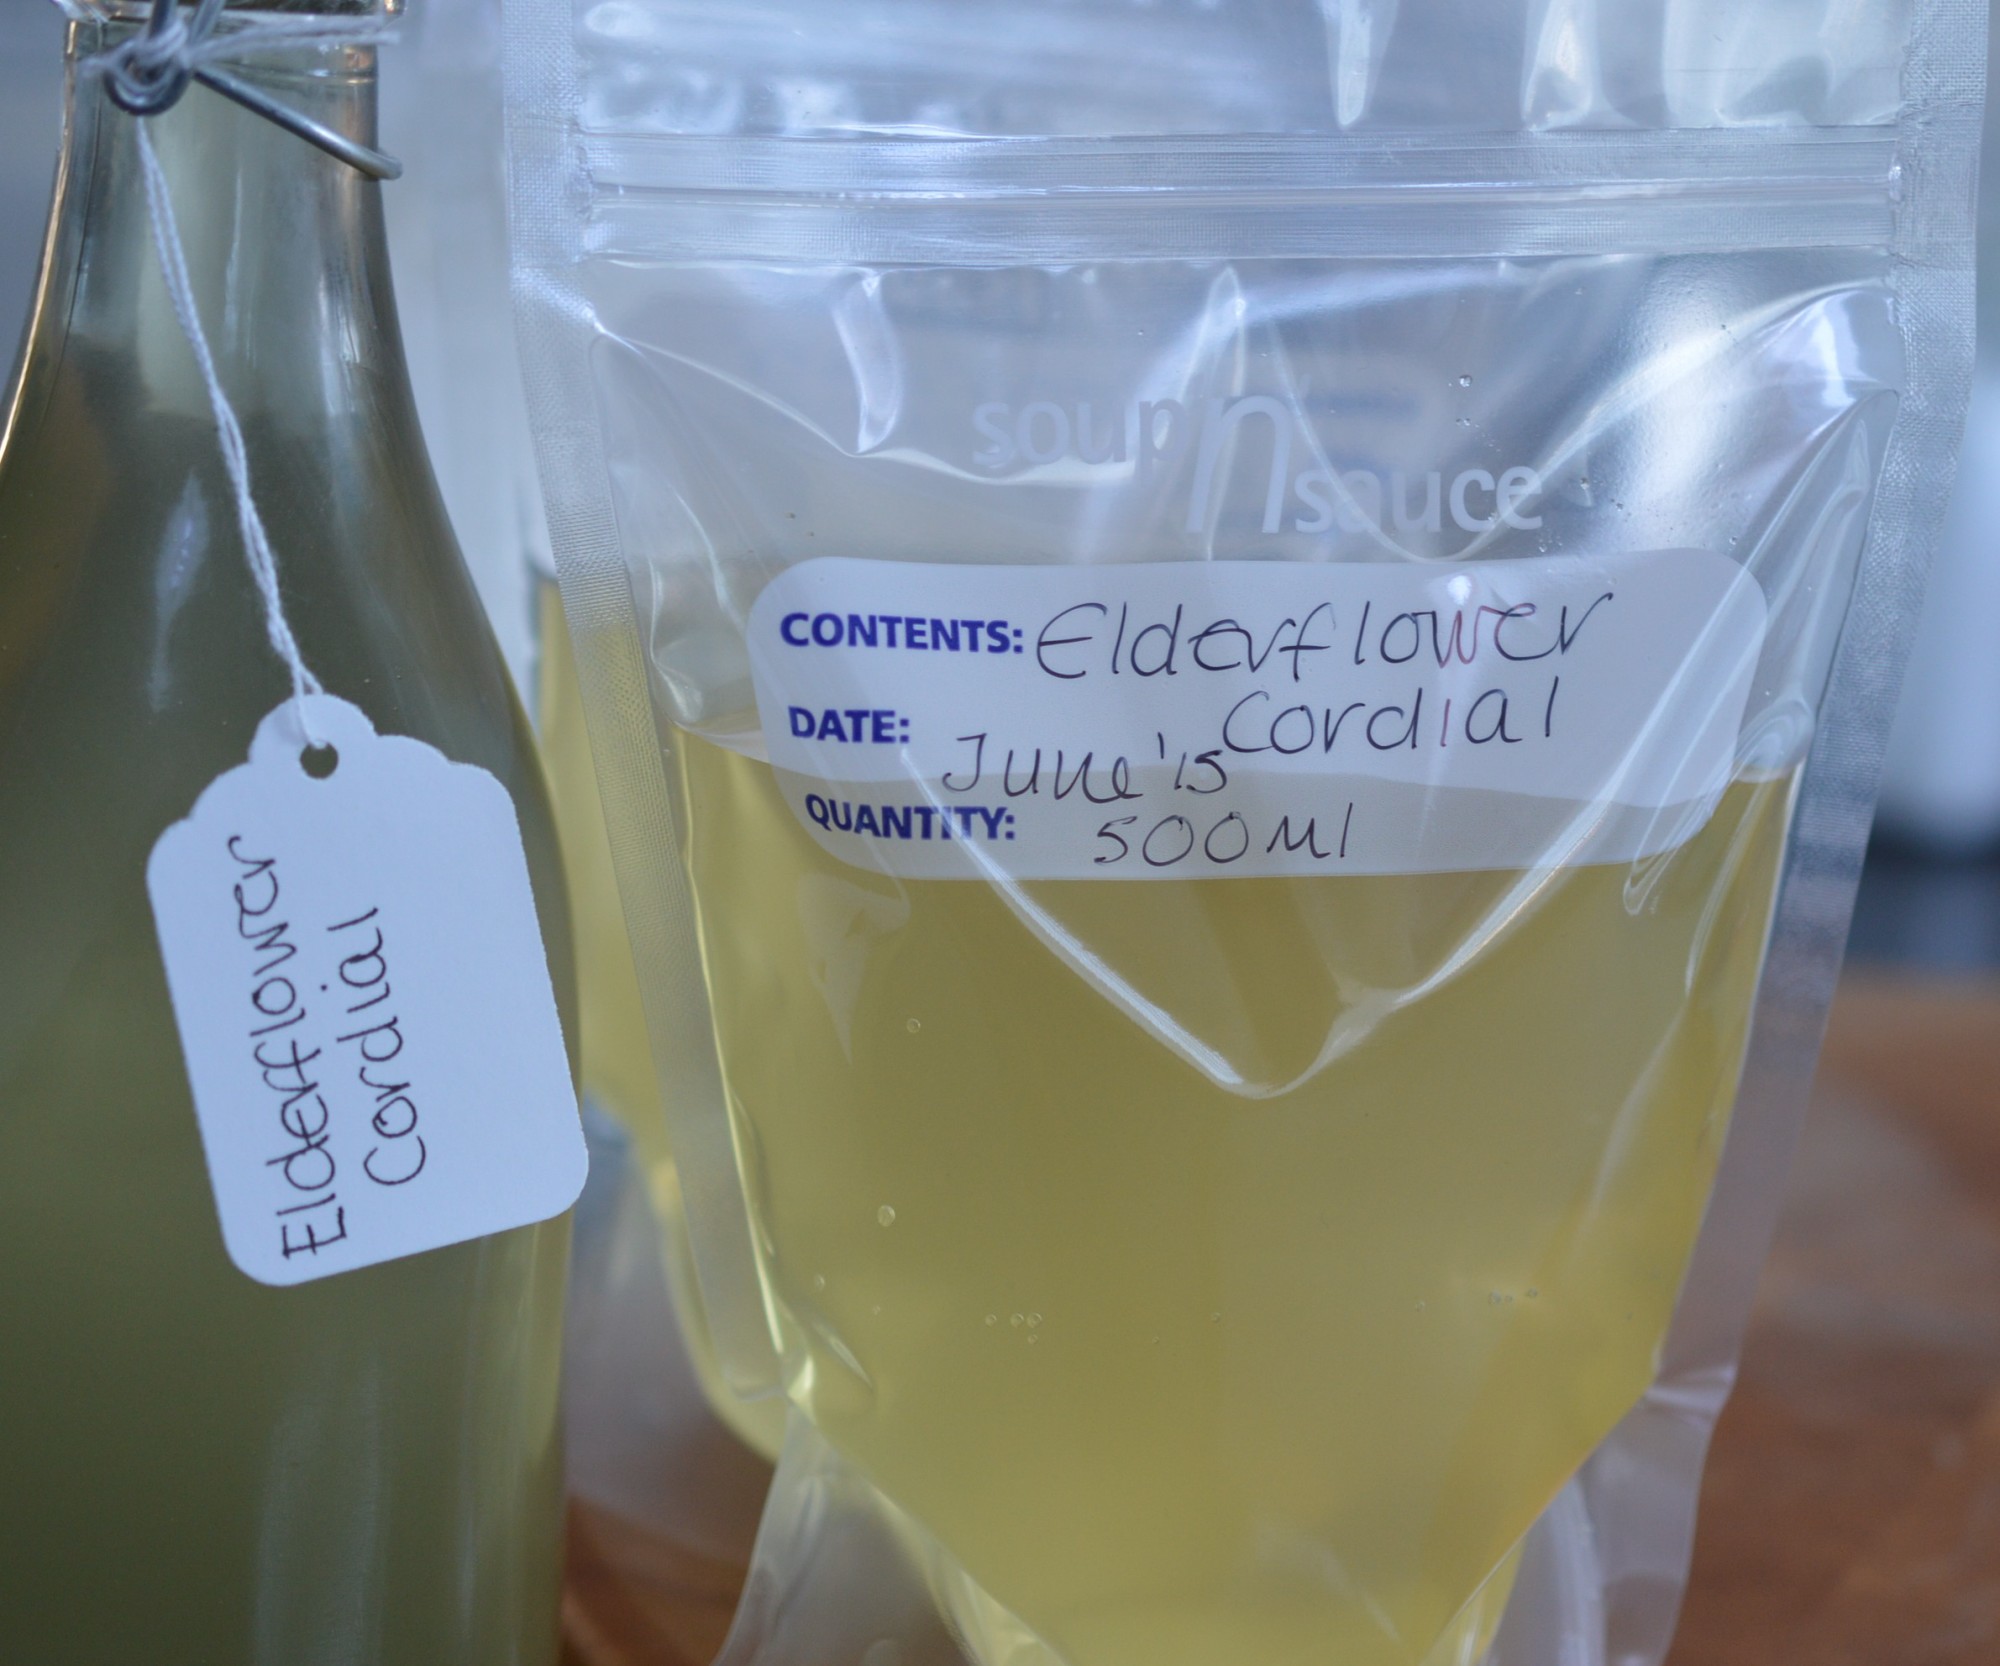
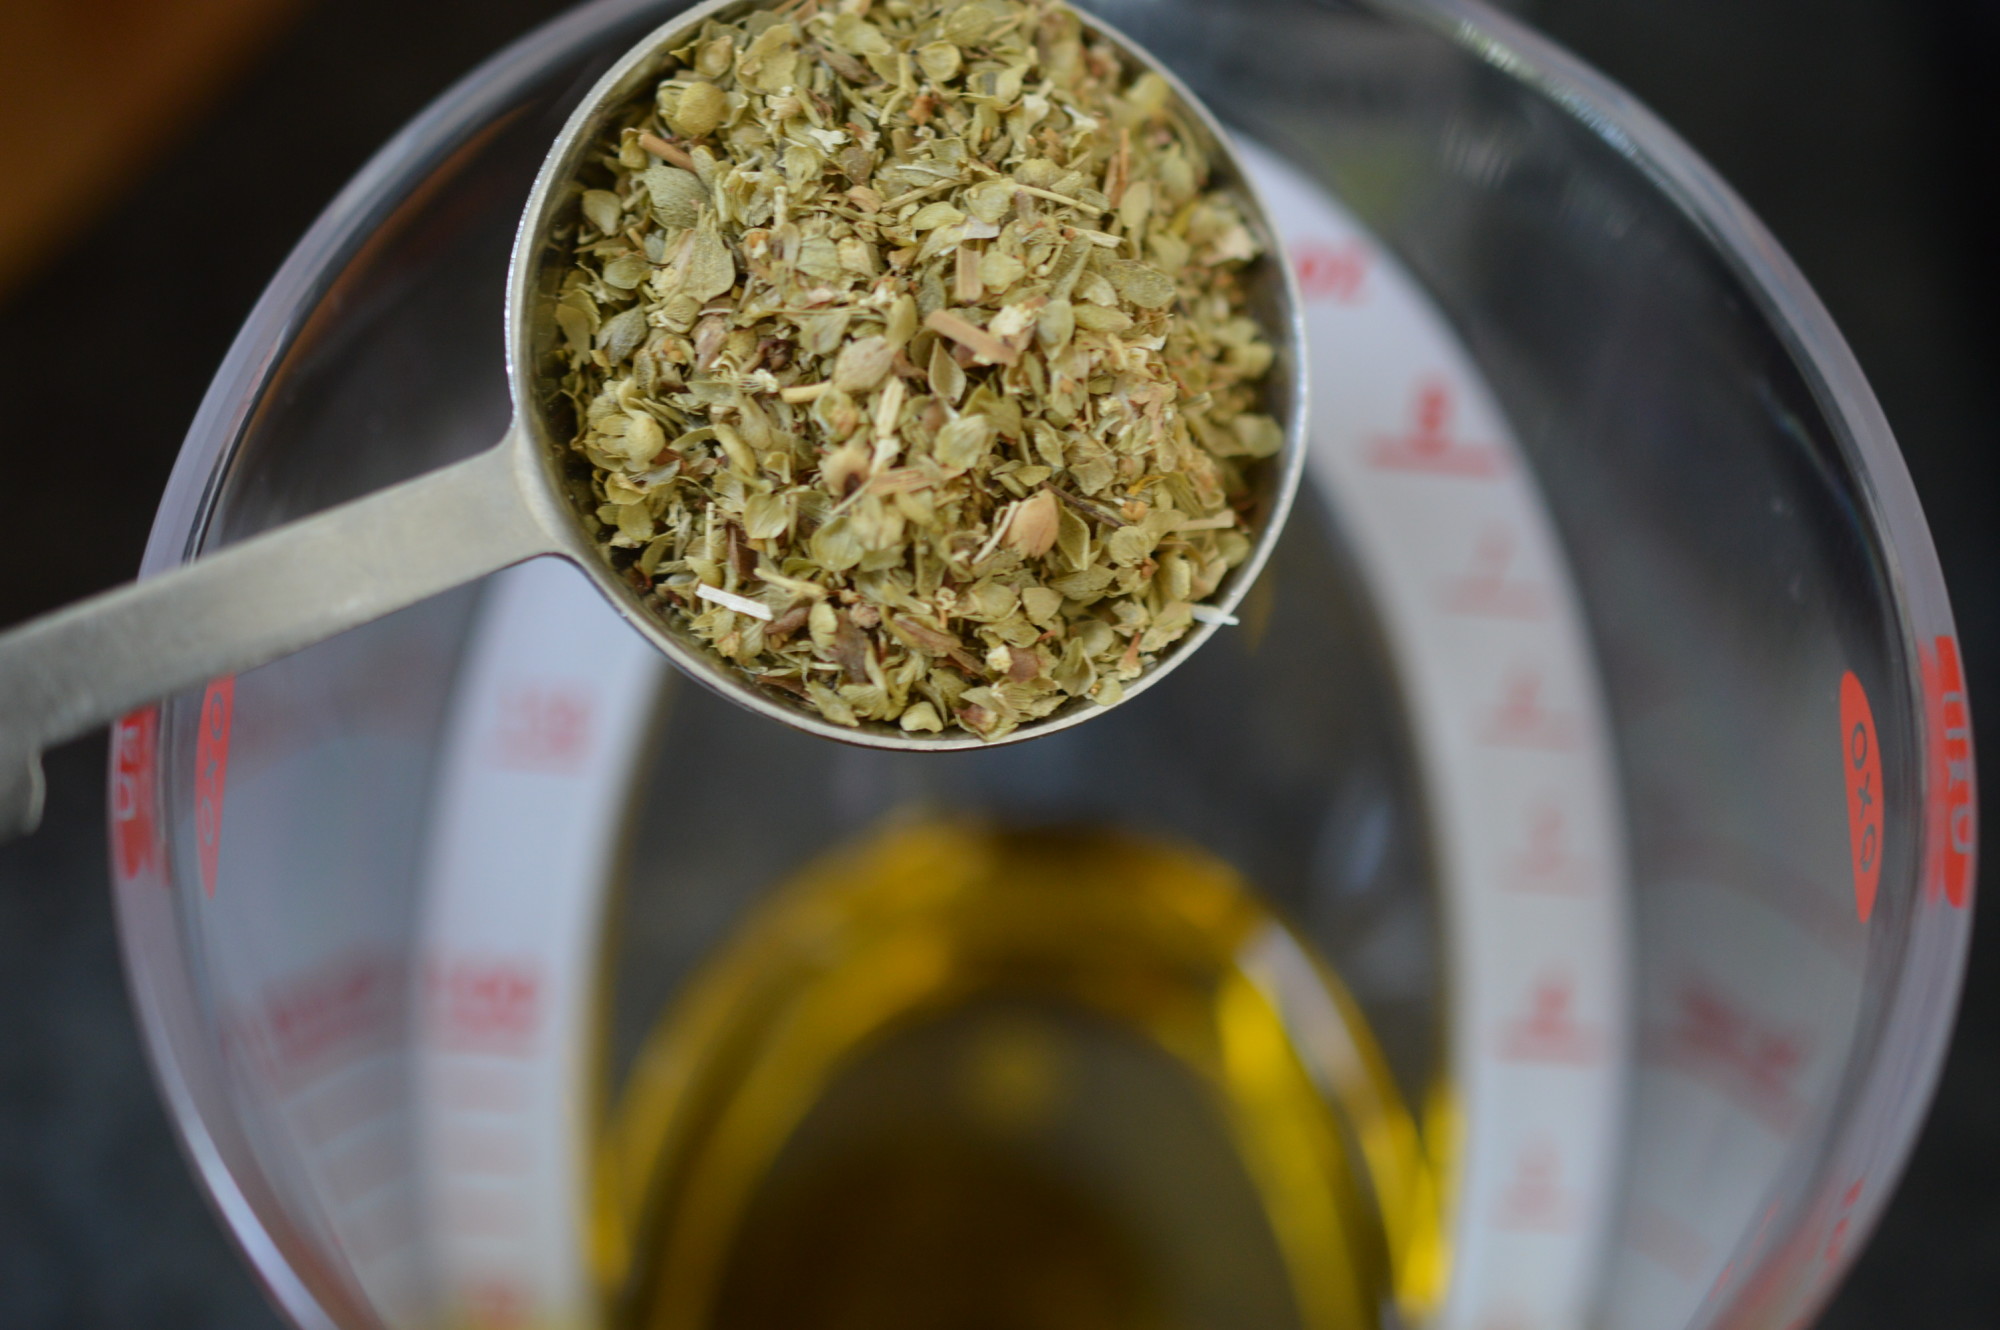
Now for the elderflower cordial.  If you haven’t made this, there are commercial versions available.

Gooseberry and Elderflower Cake 9

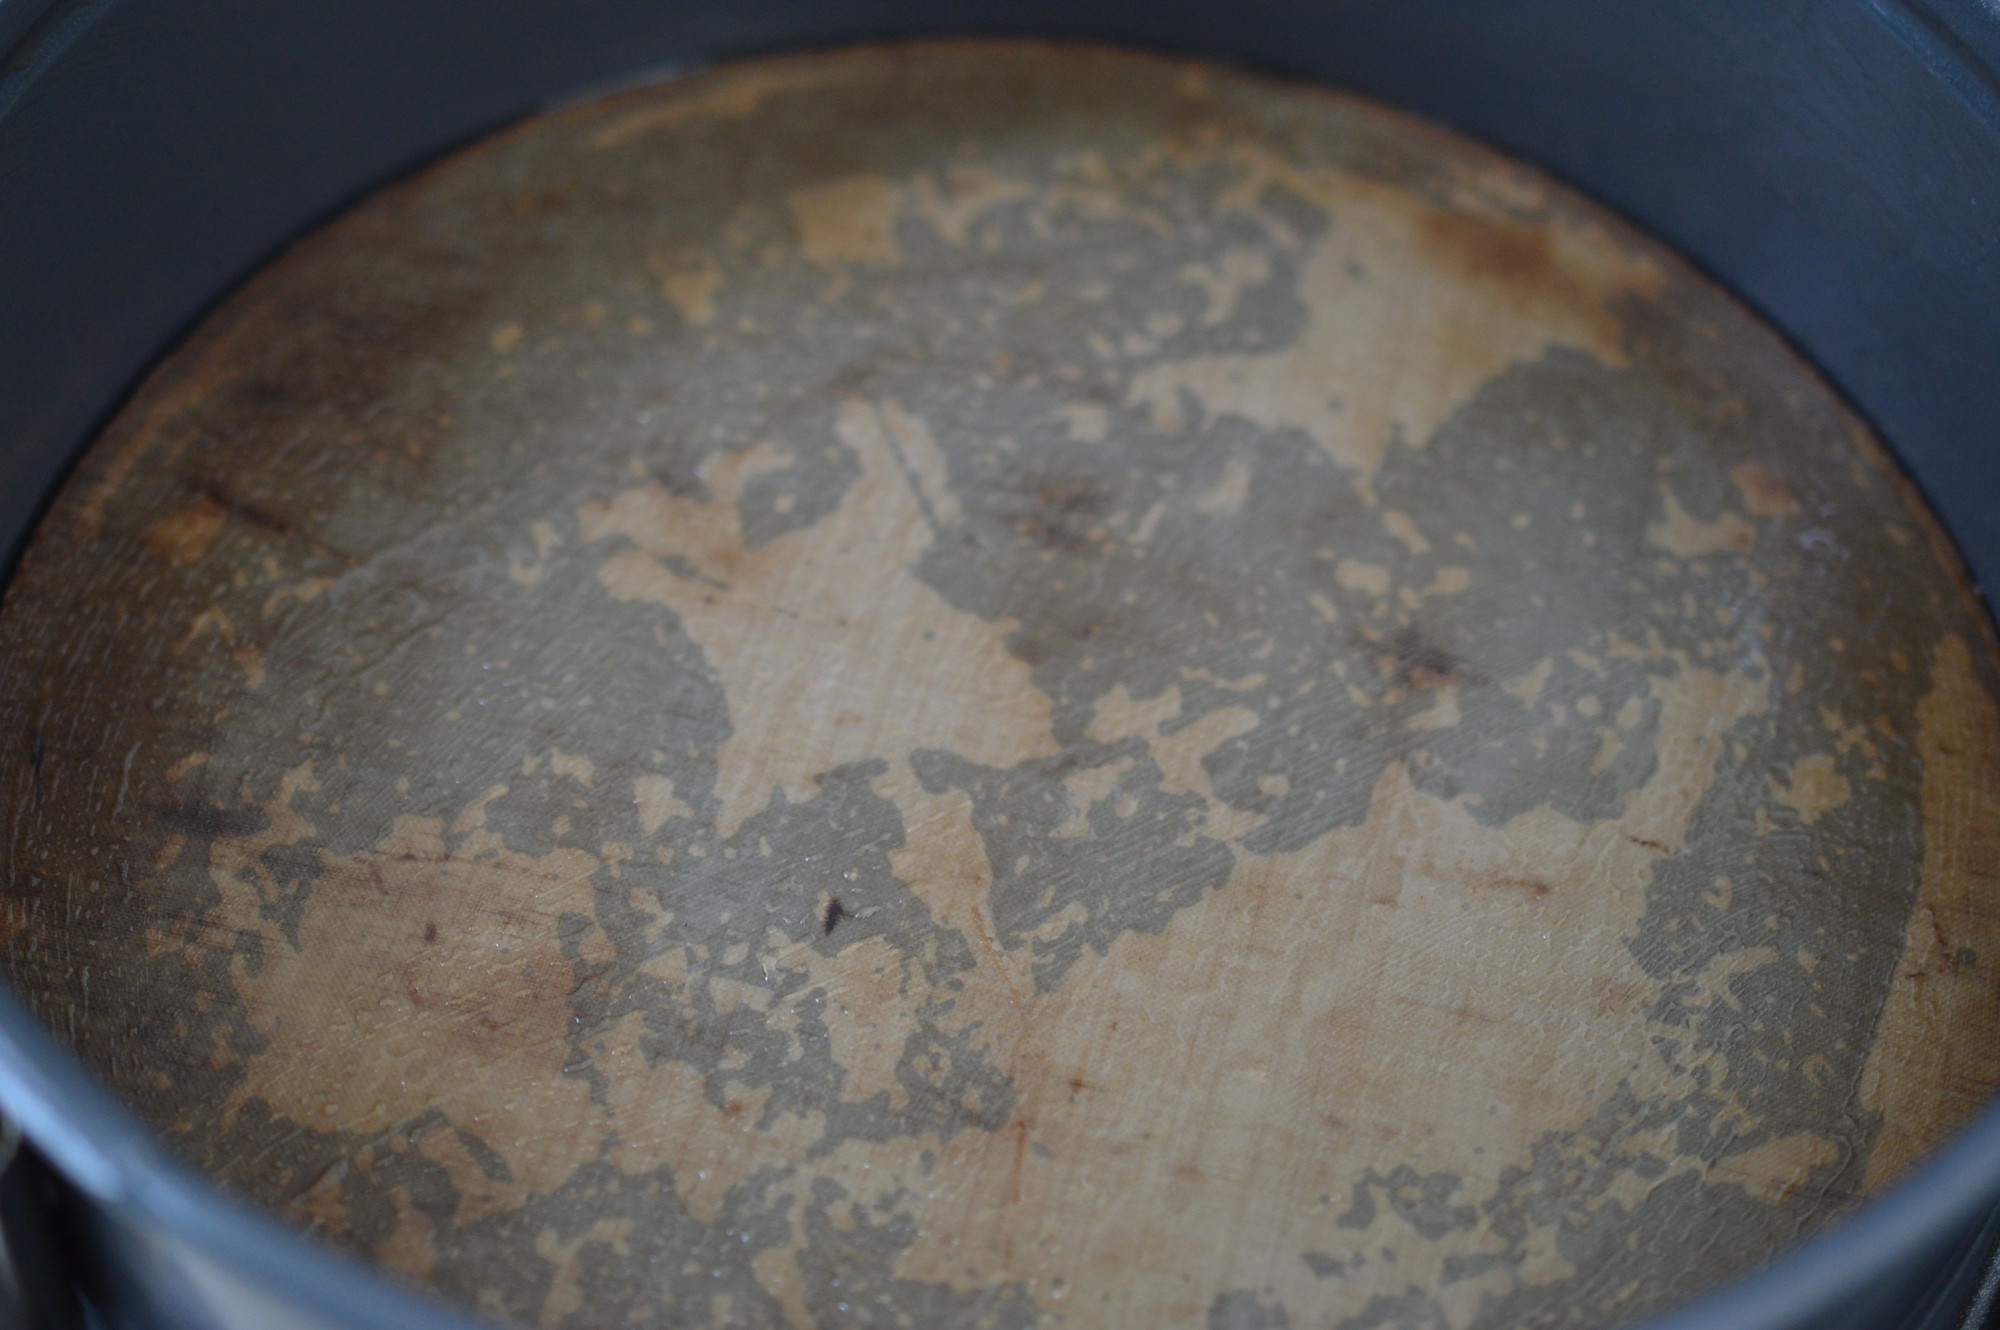
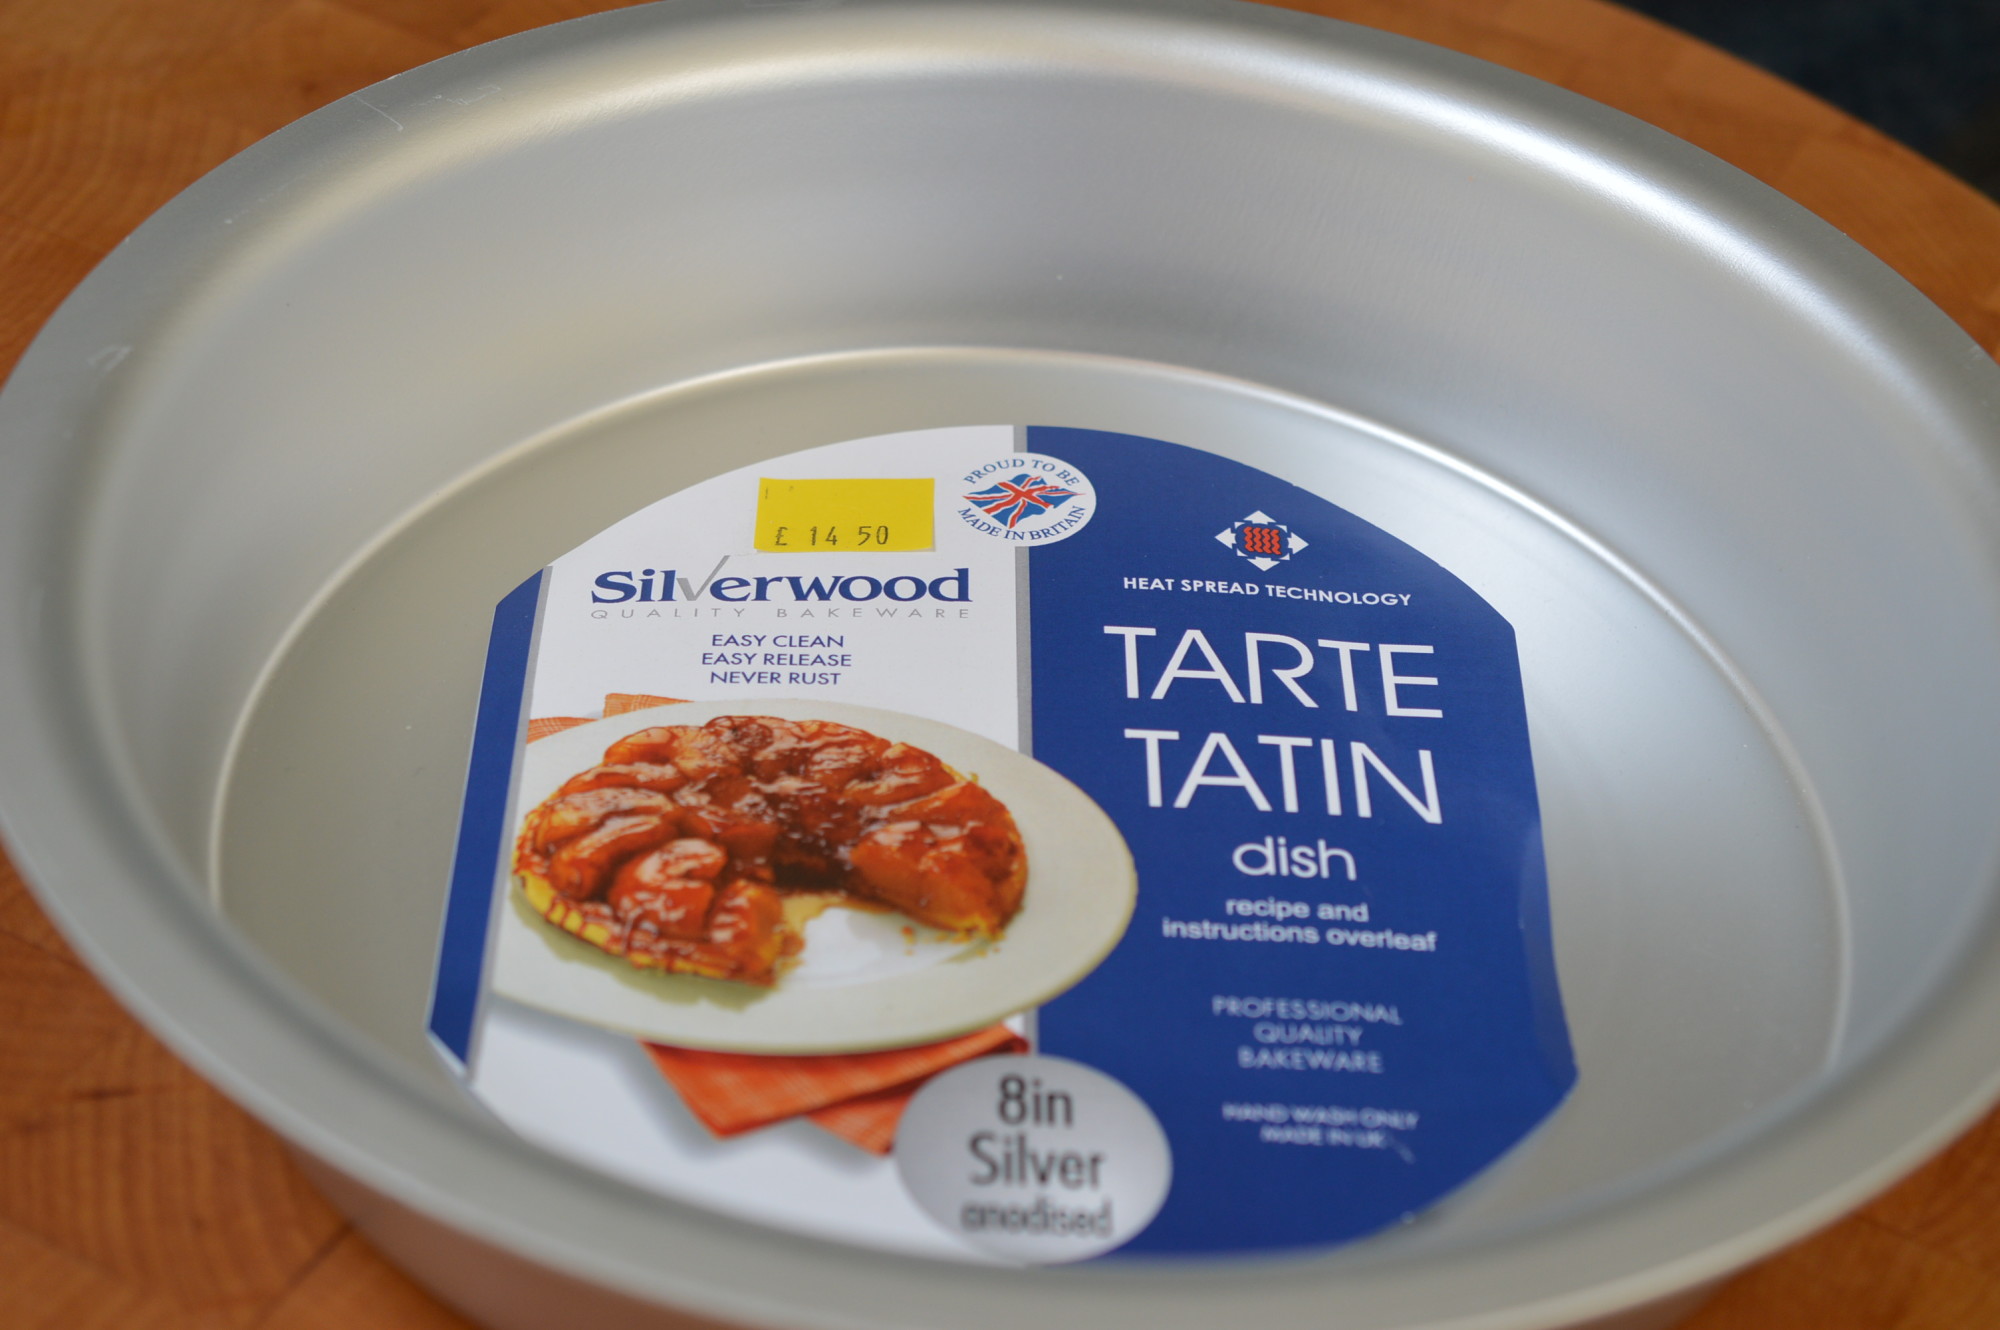
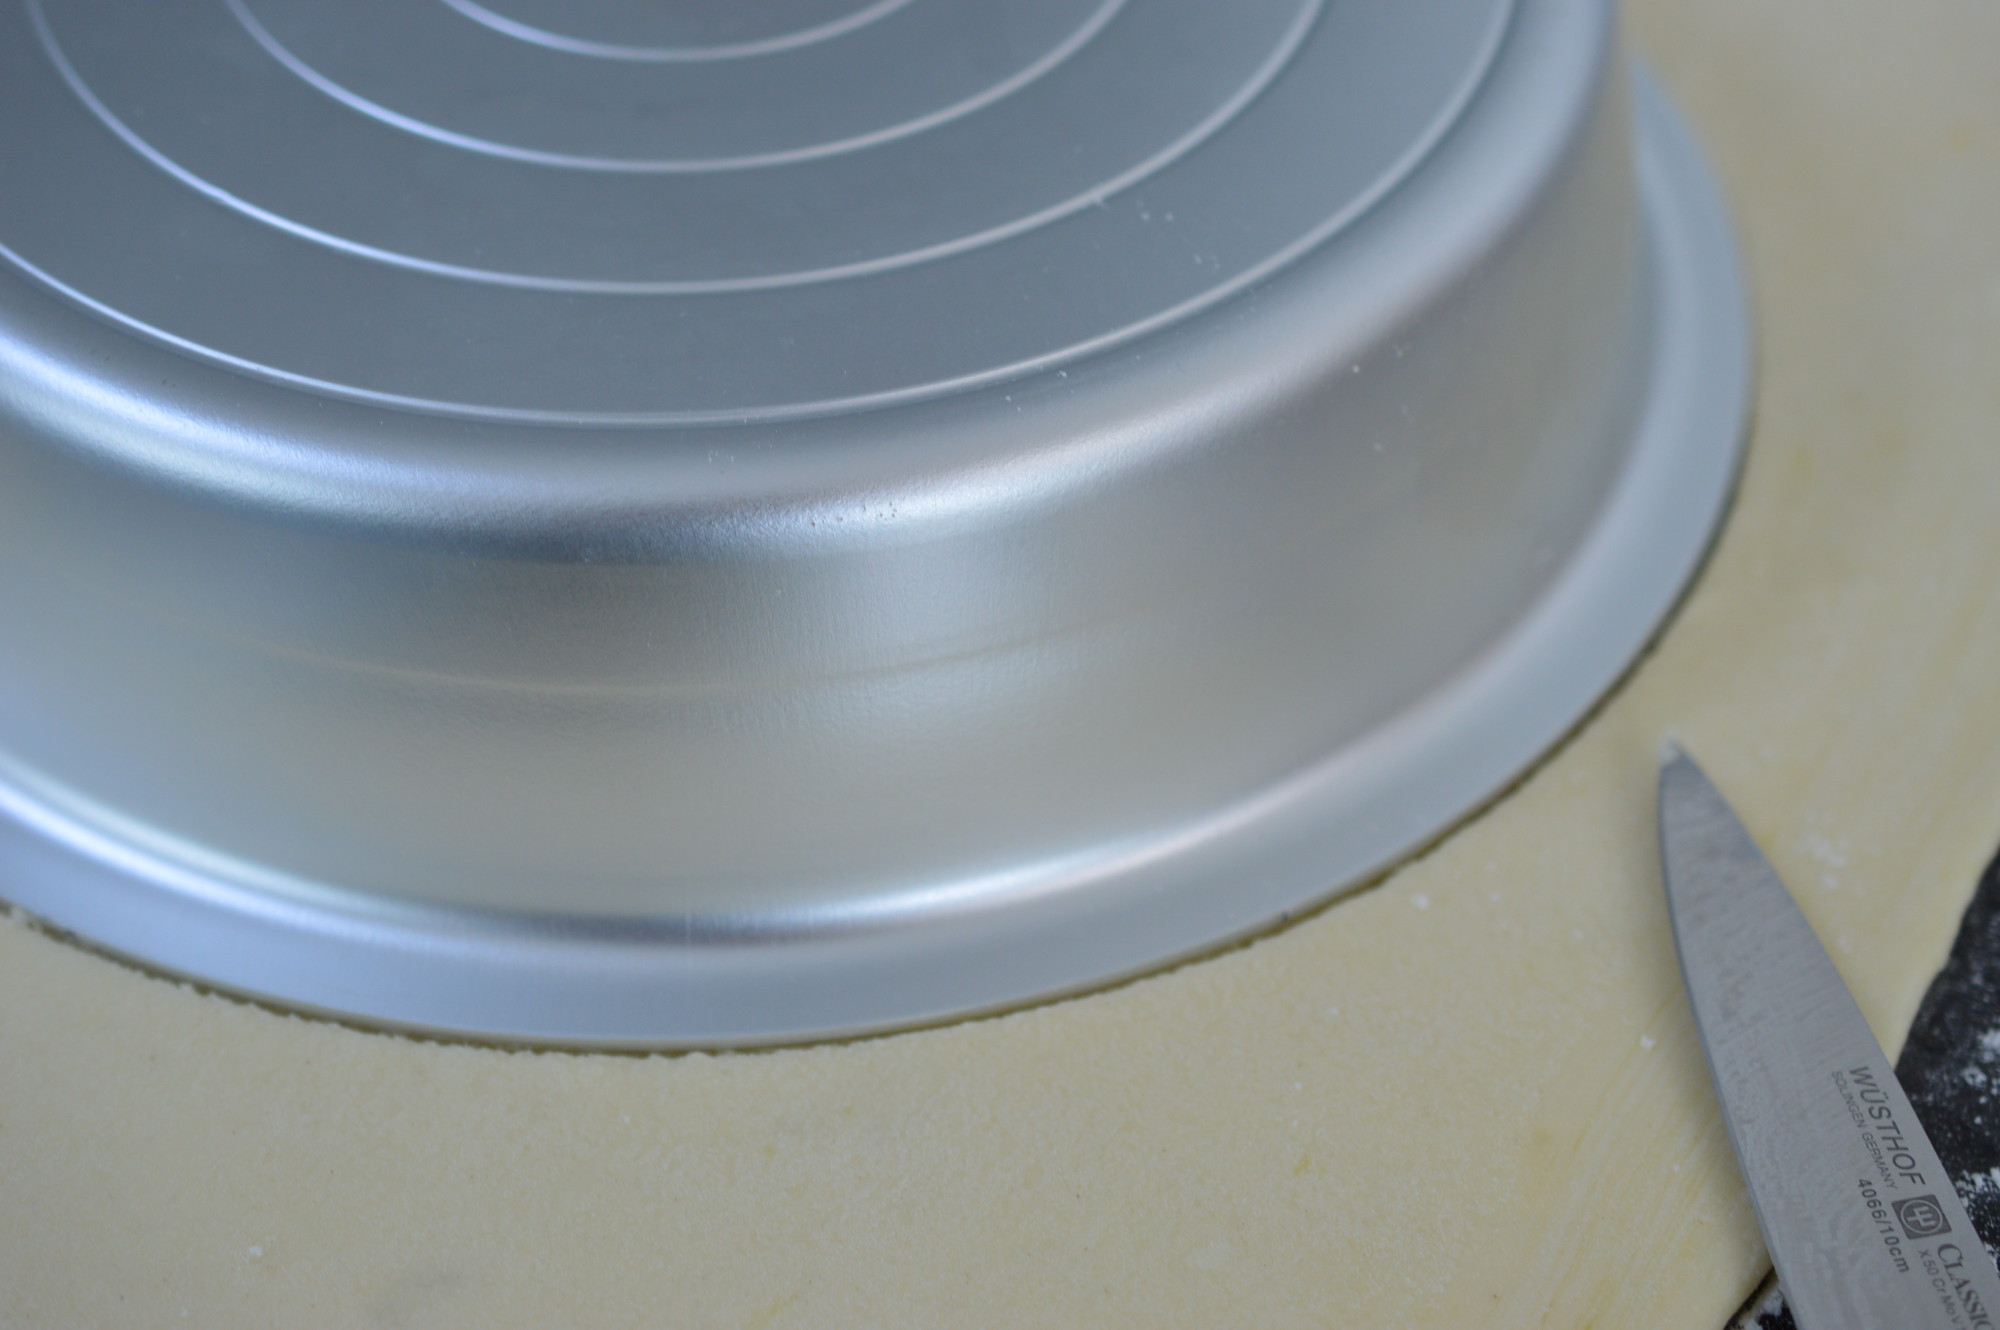
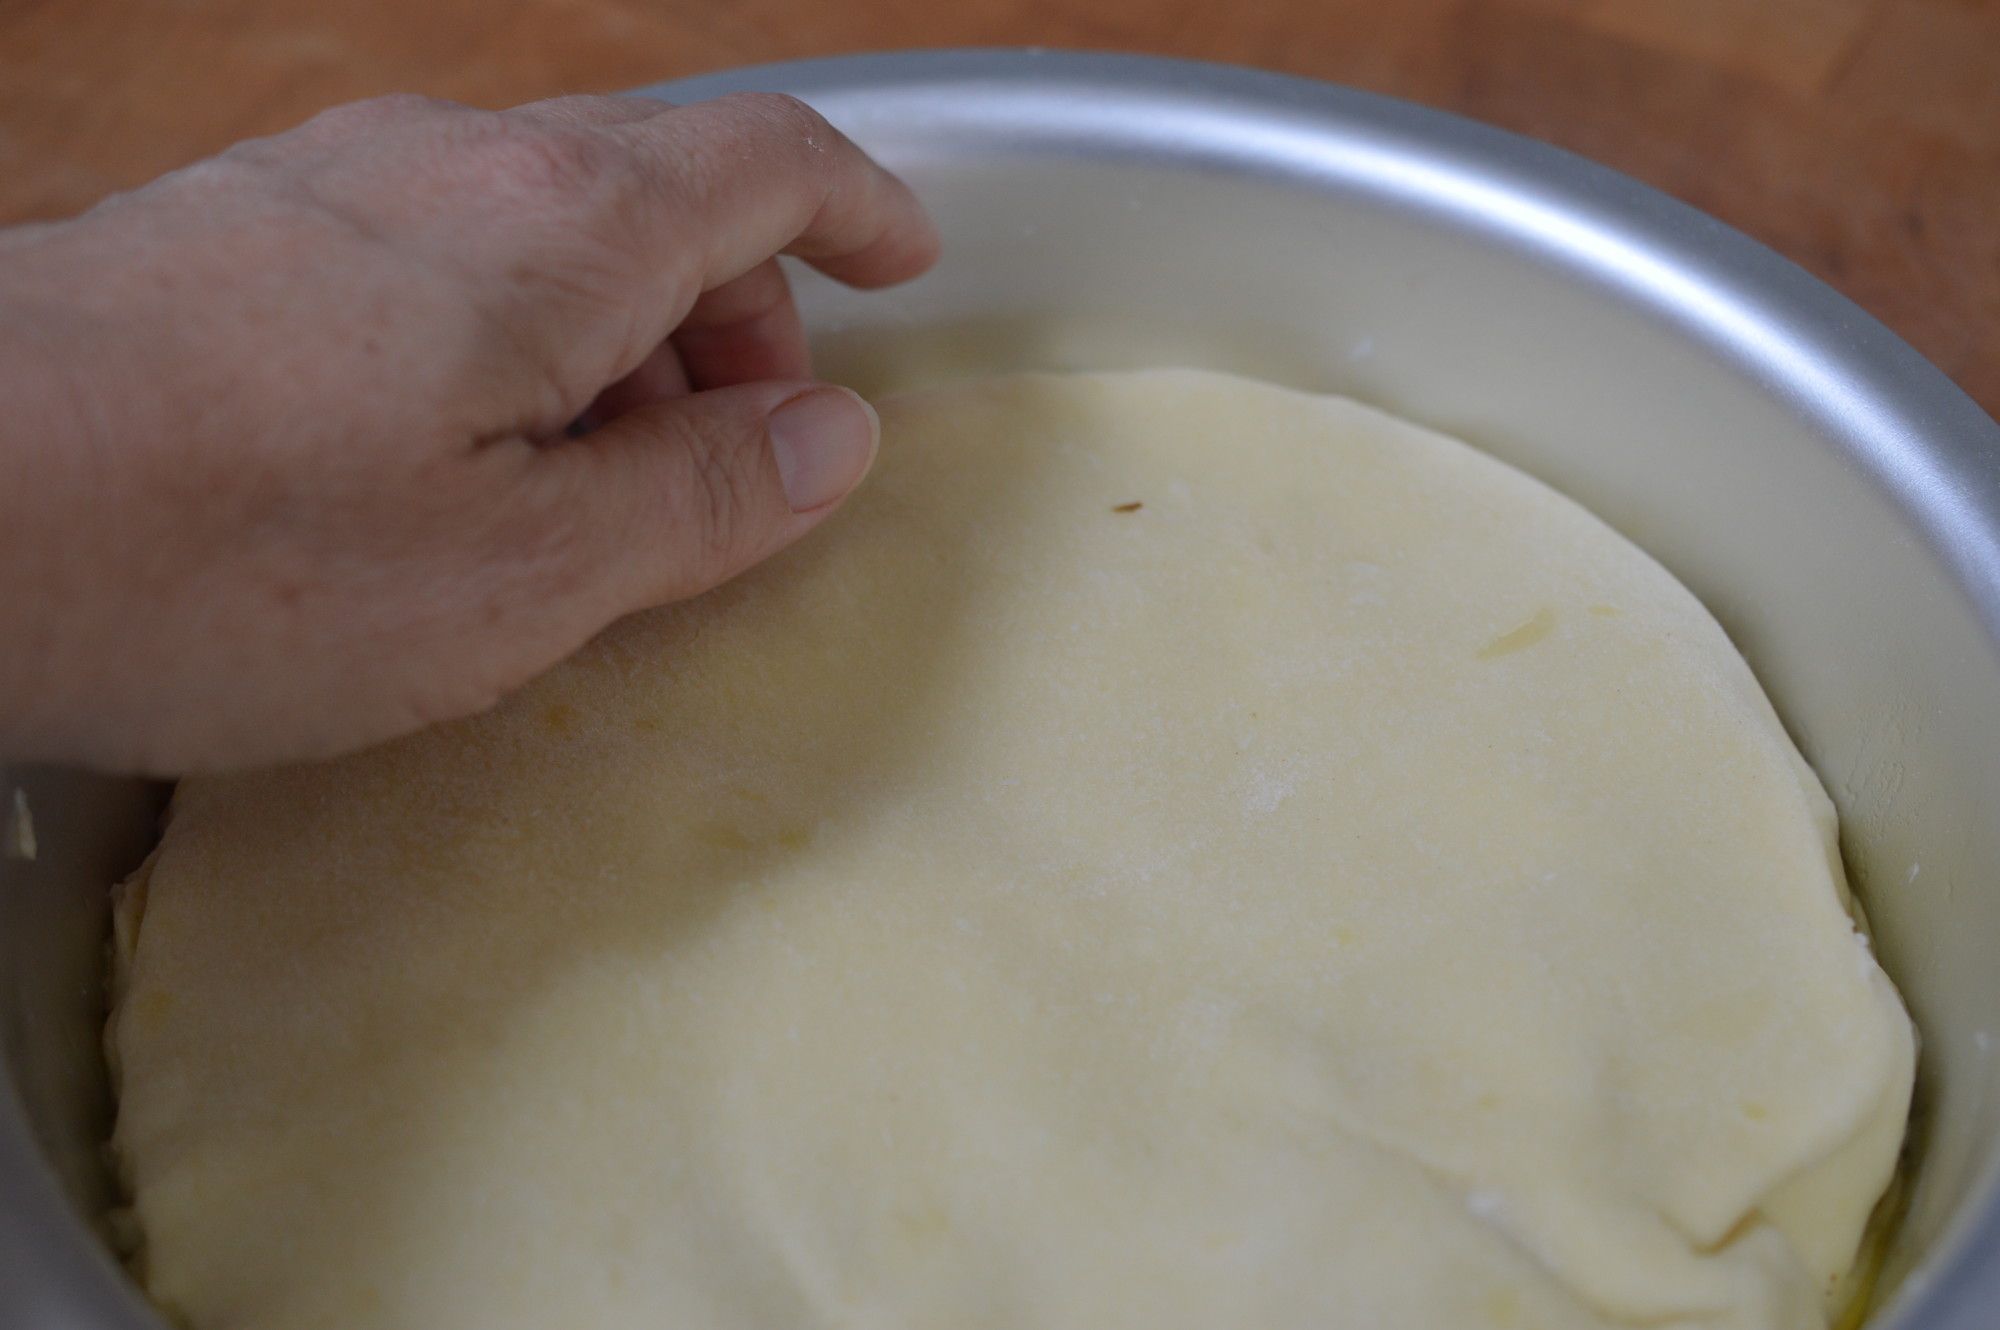
I melt butter to lightly grease the sides and bottom of my cake tin.  In an ideal world (the kind where days are longer than twenty-four hours and university student children didn’t want their washing done) I would line the sides.  Truthfully, I rarely do for a cake like this and I have pre-cut bake o’ glide to fit my tin collection.

Gooseberry and Elderflower Cake 10

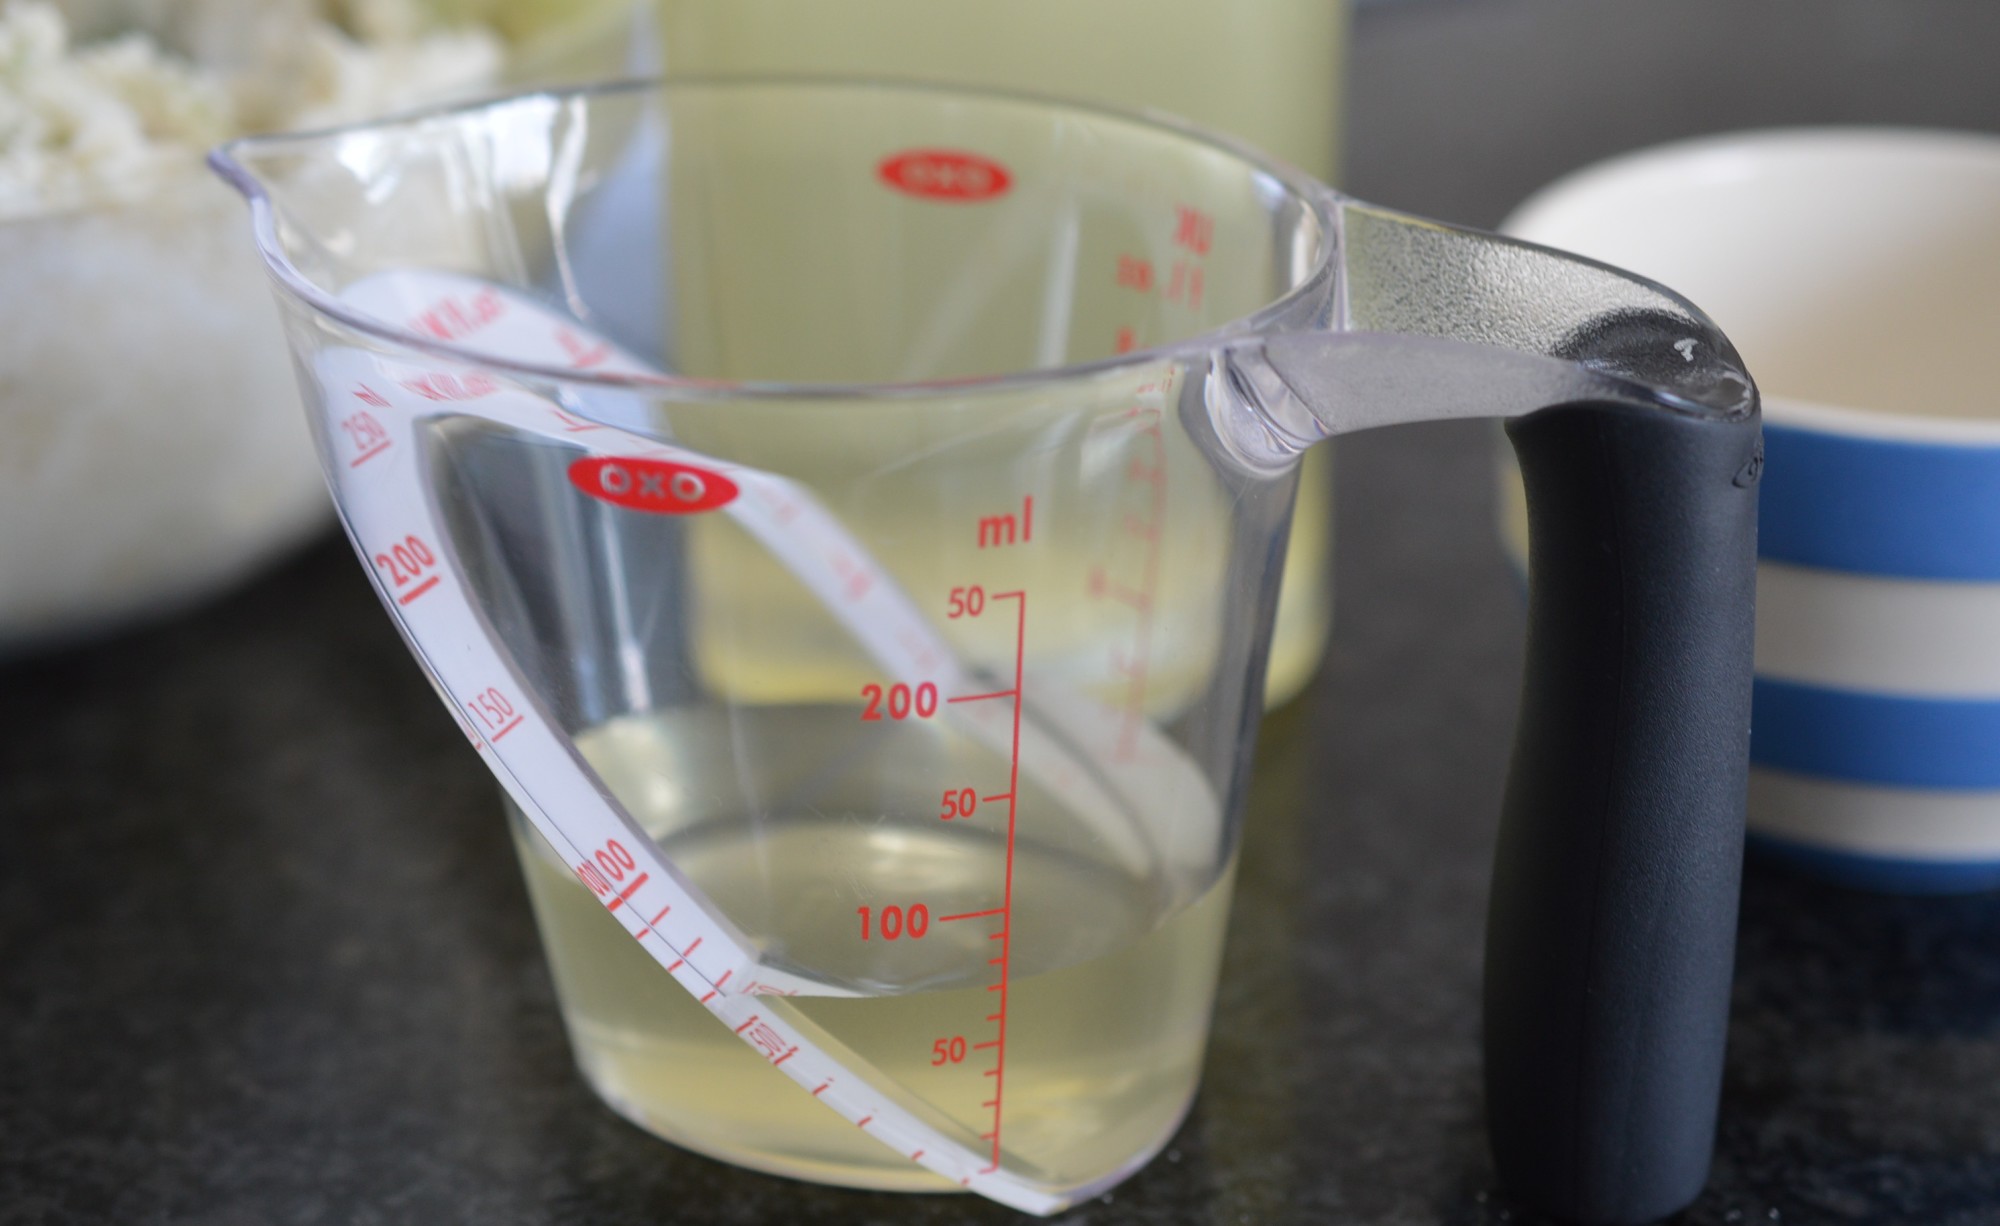
Now, it’s the liquid.  75ml/2½ fl oz of undiluted elderflower cordial.

Gooseberry and Elderflower Cake 11

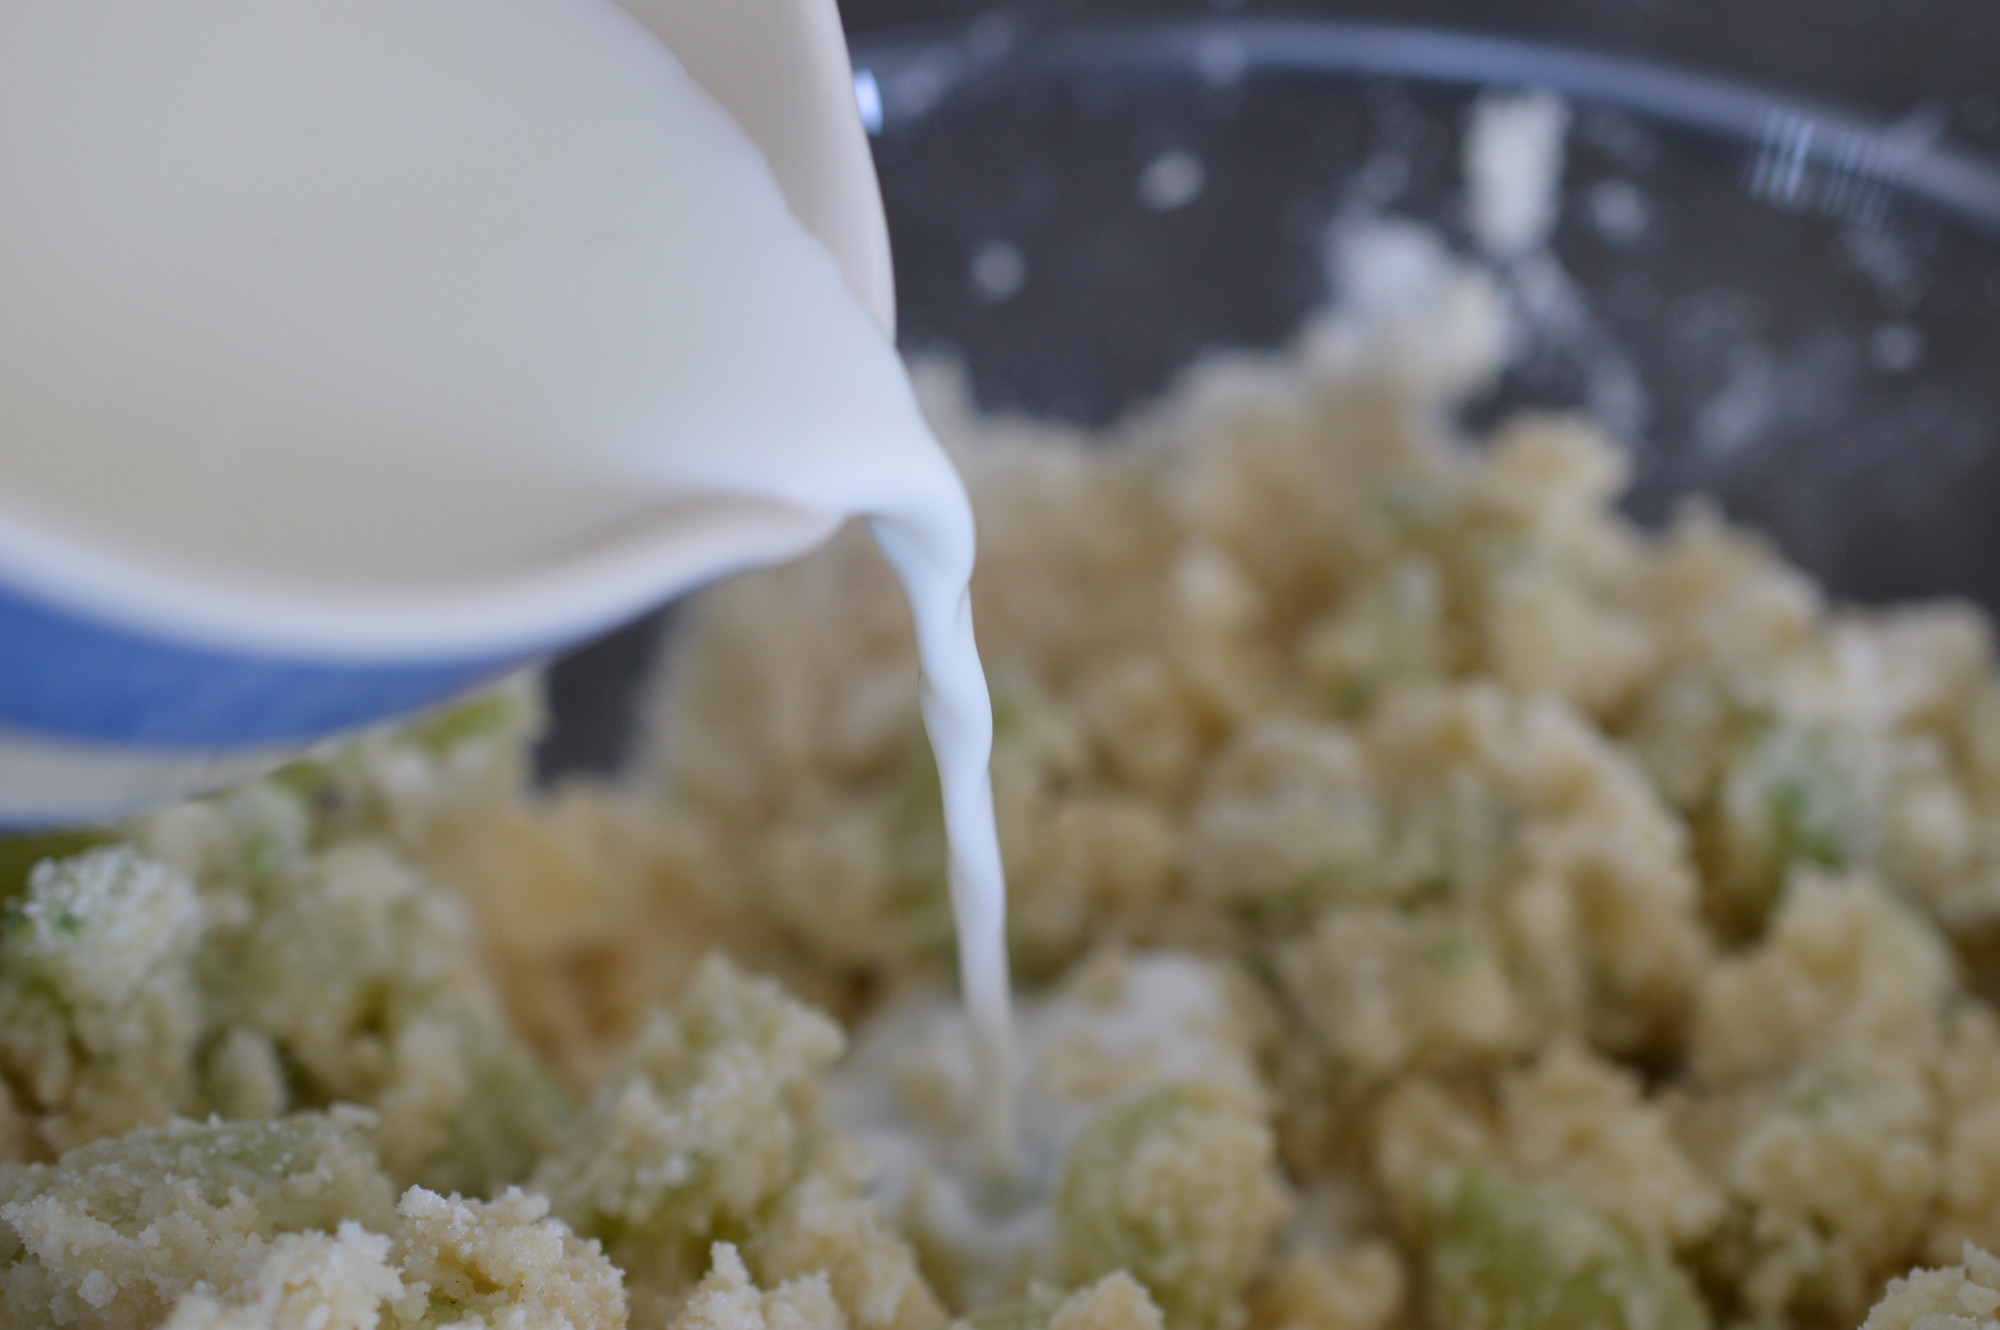
You’ll need a little milk.  Go careful.

Gooseberry and Elderflower Cake 12

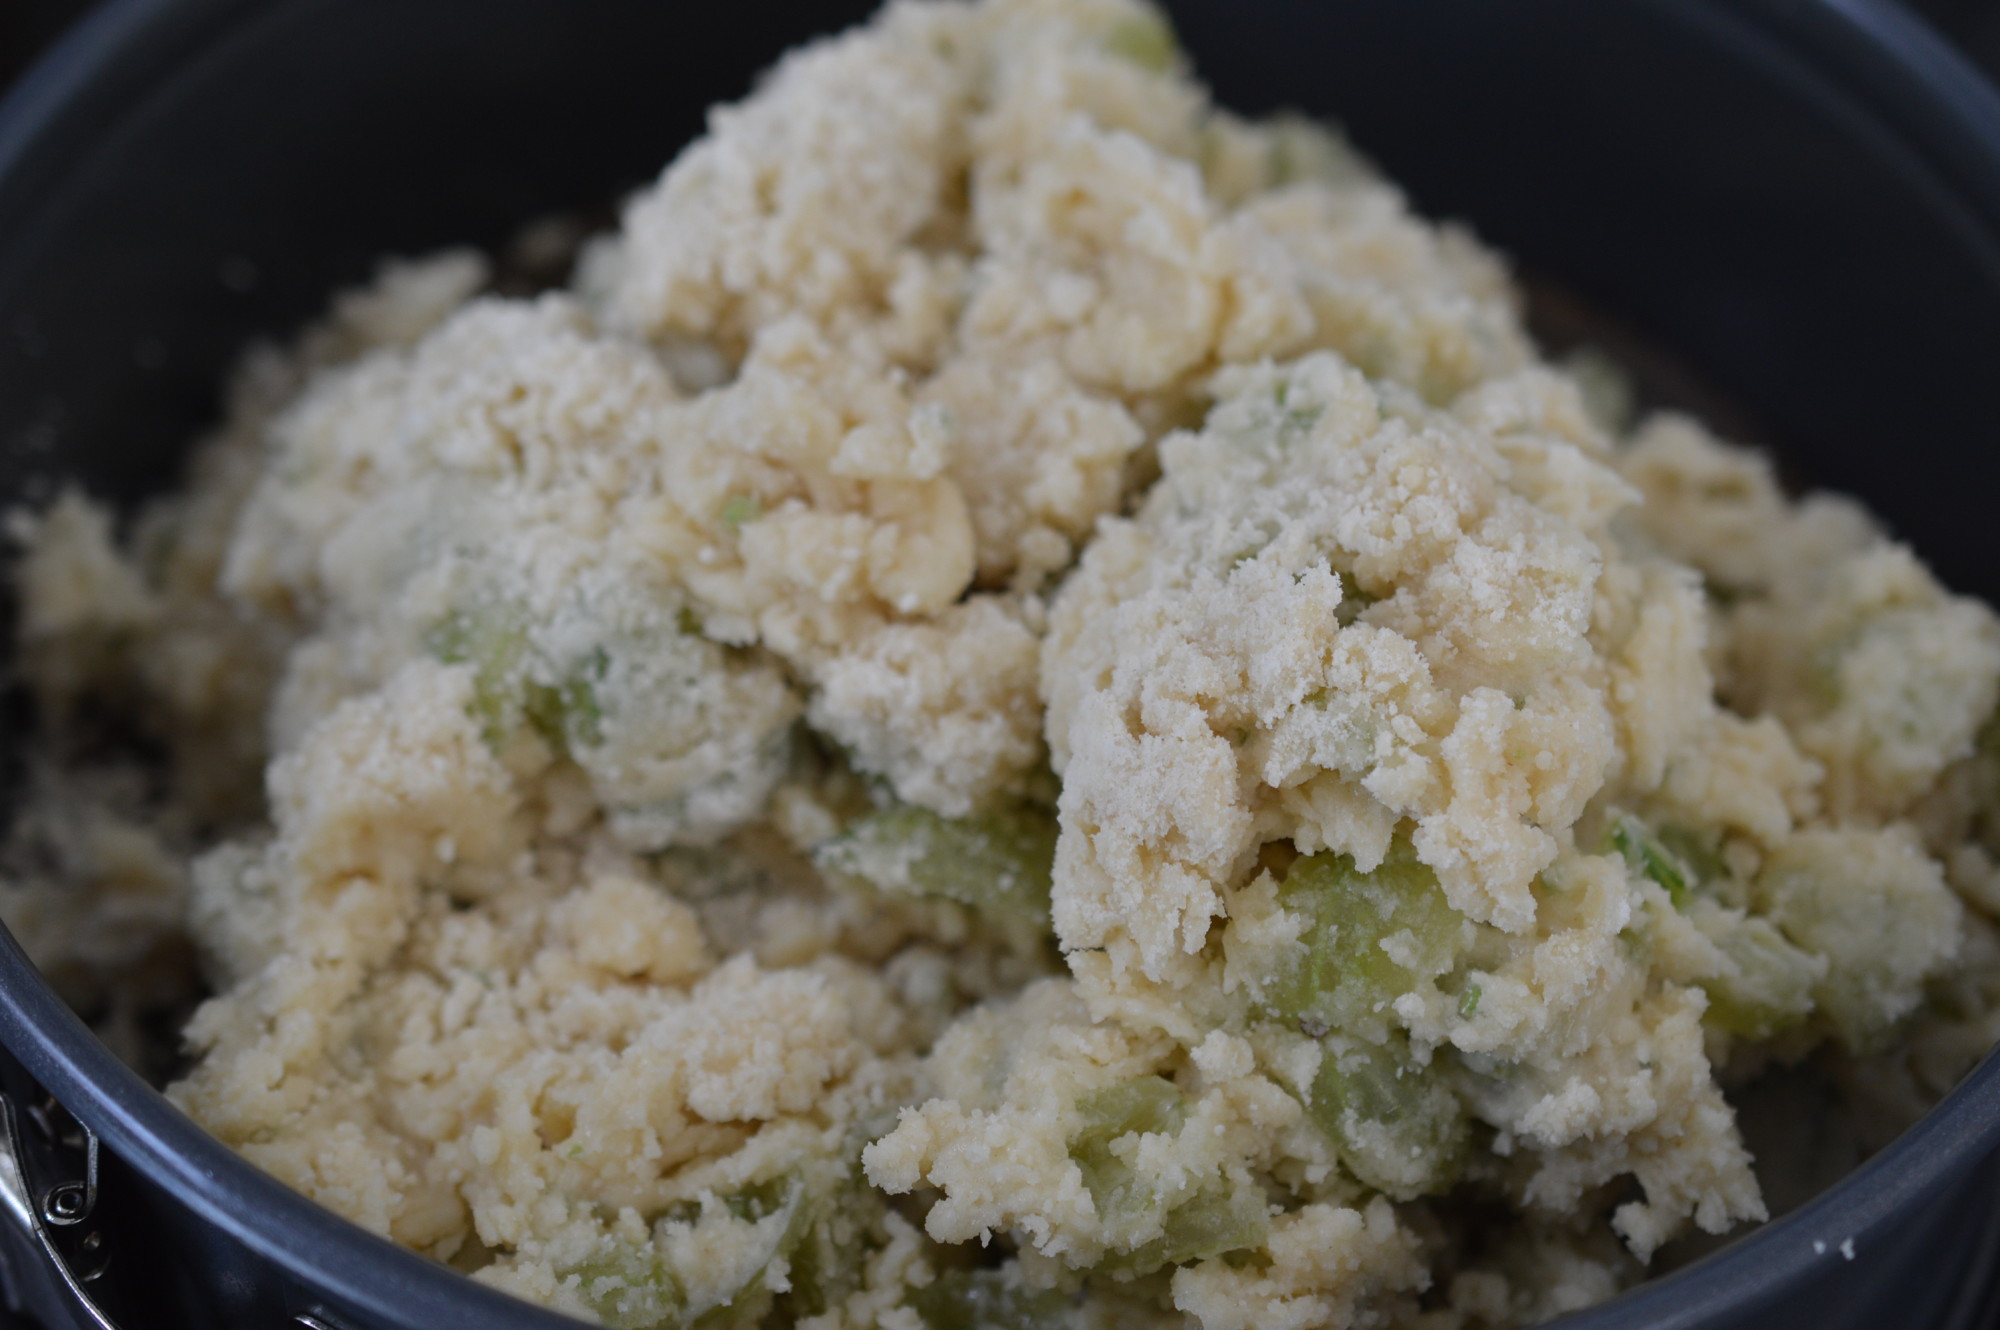
You want a dry mix rather than a more usual cake batter.  The gooseberries will release lots of moisture.

Gooseberry and Elderflower Cake 13

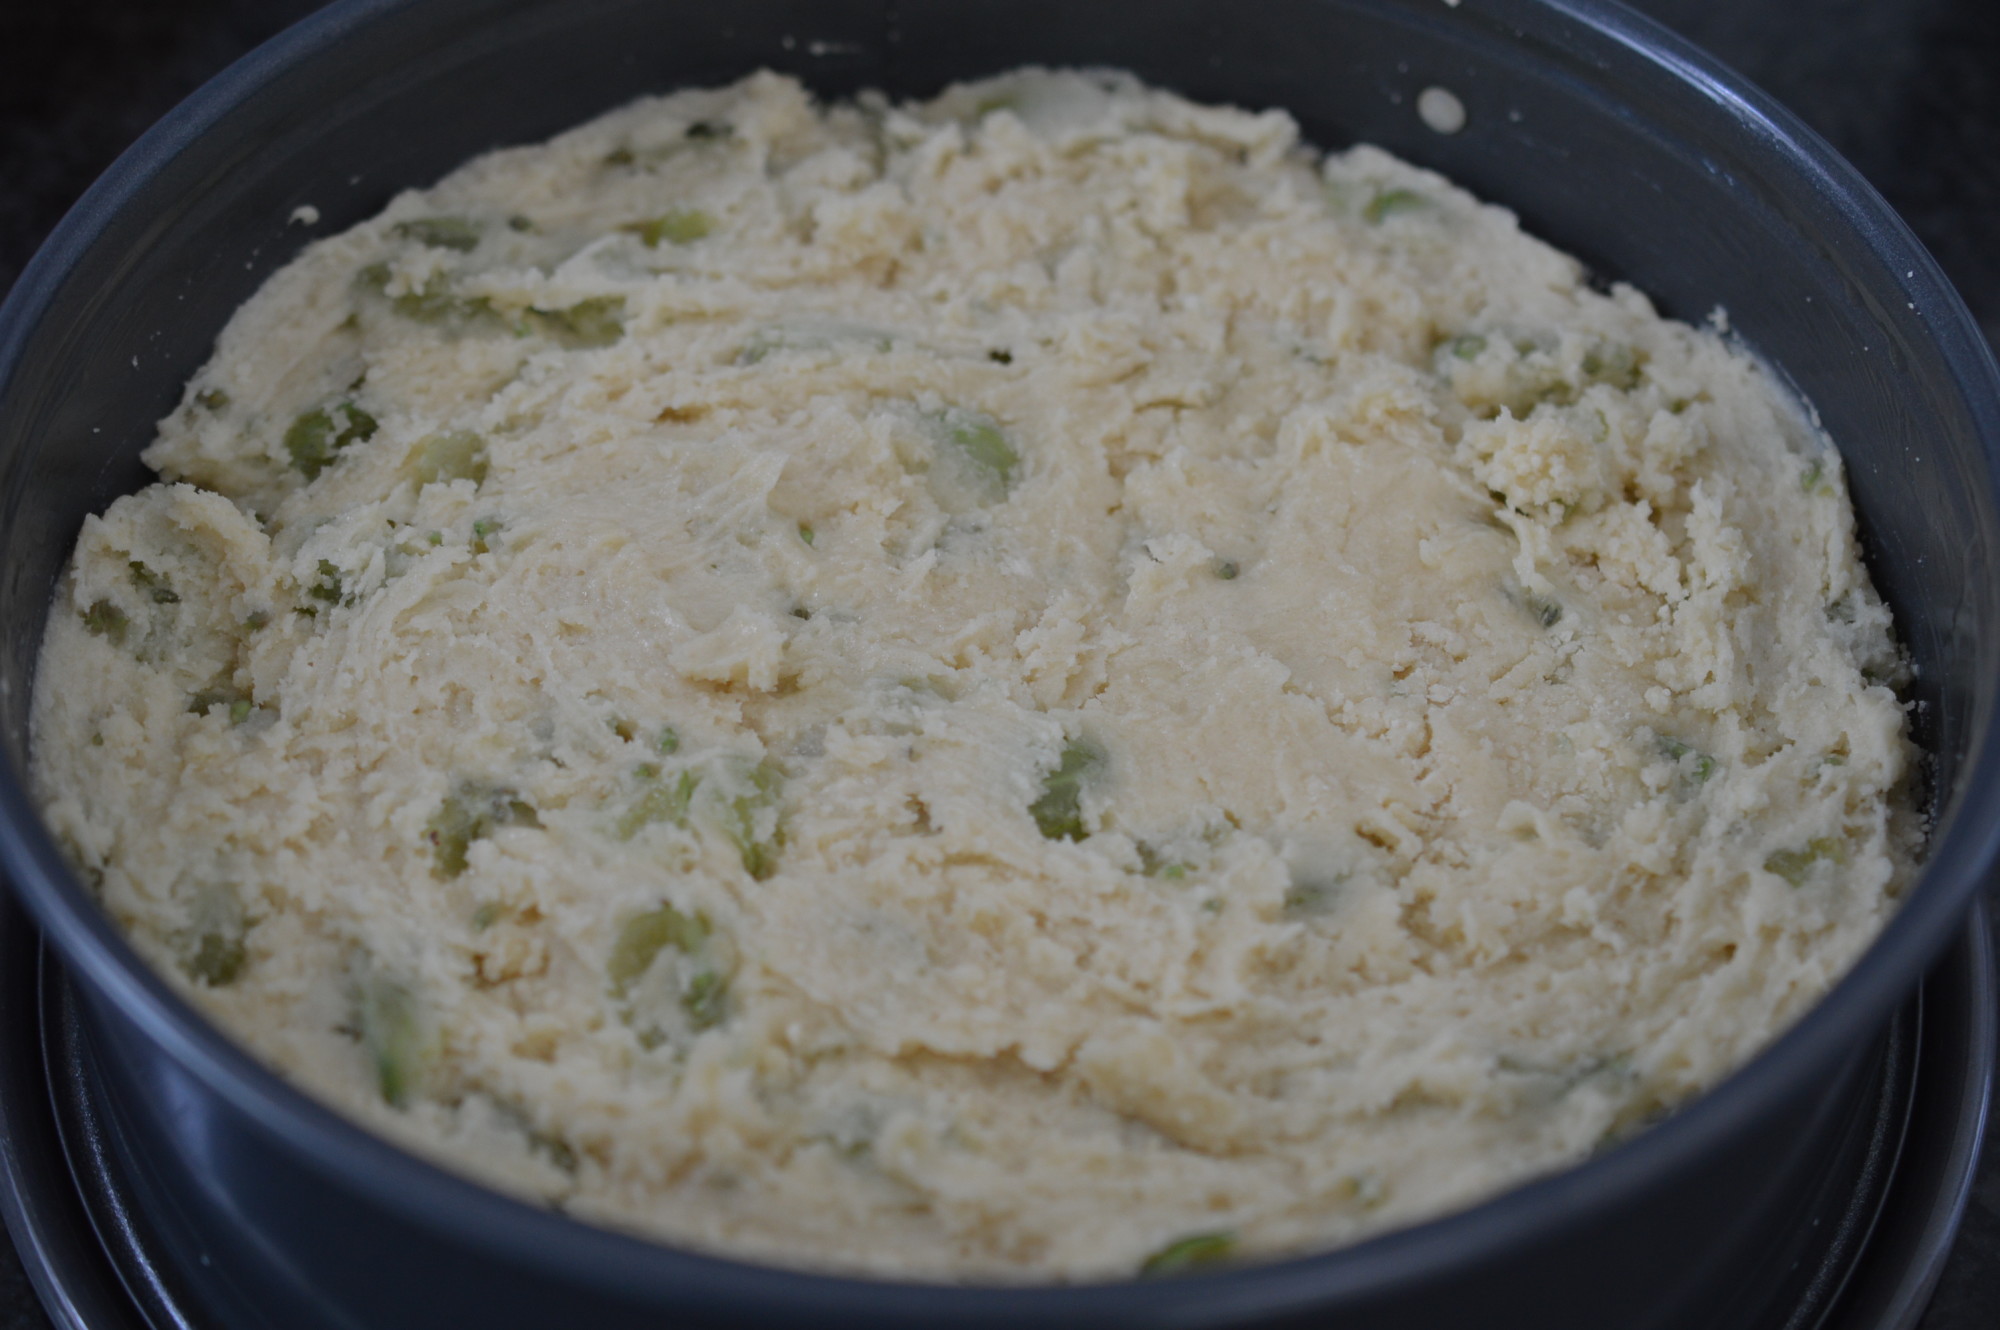
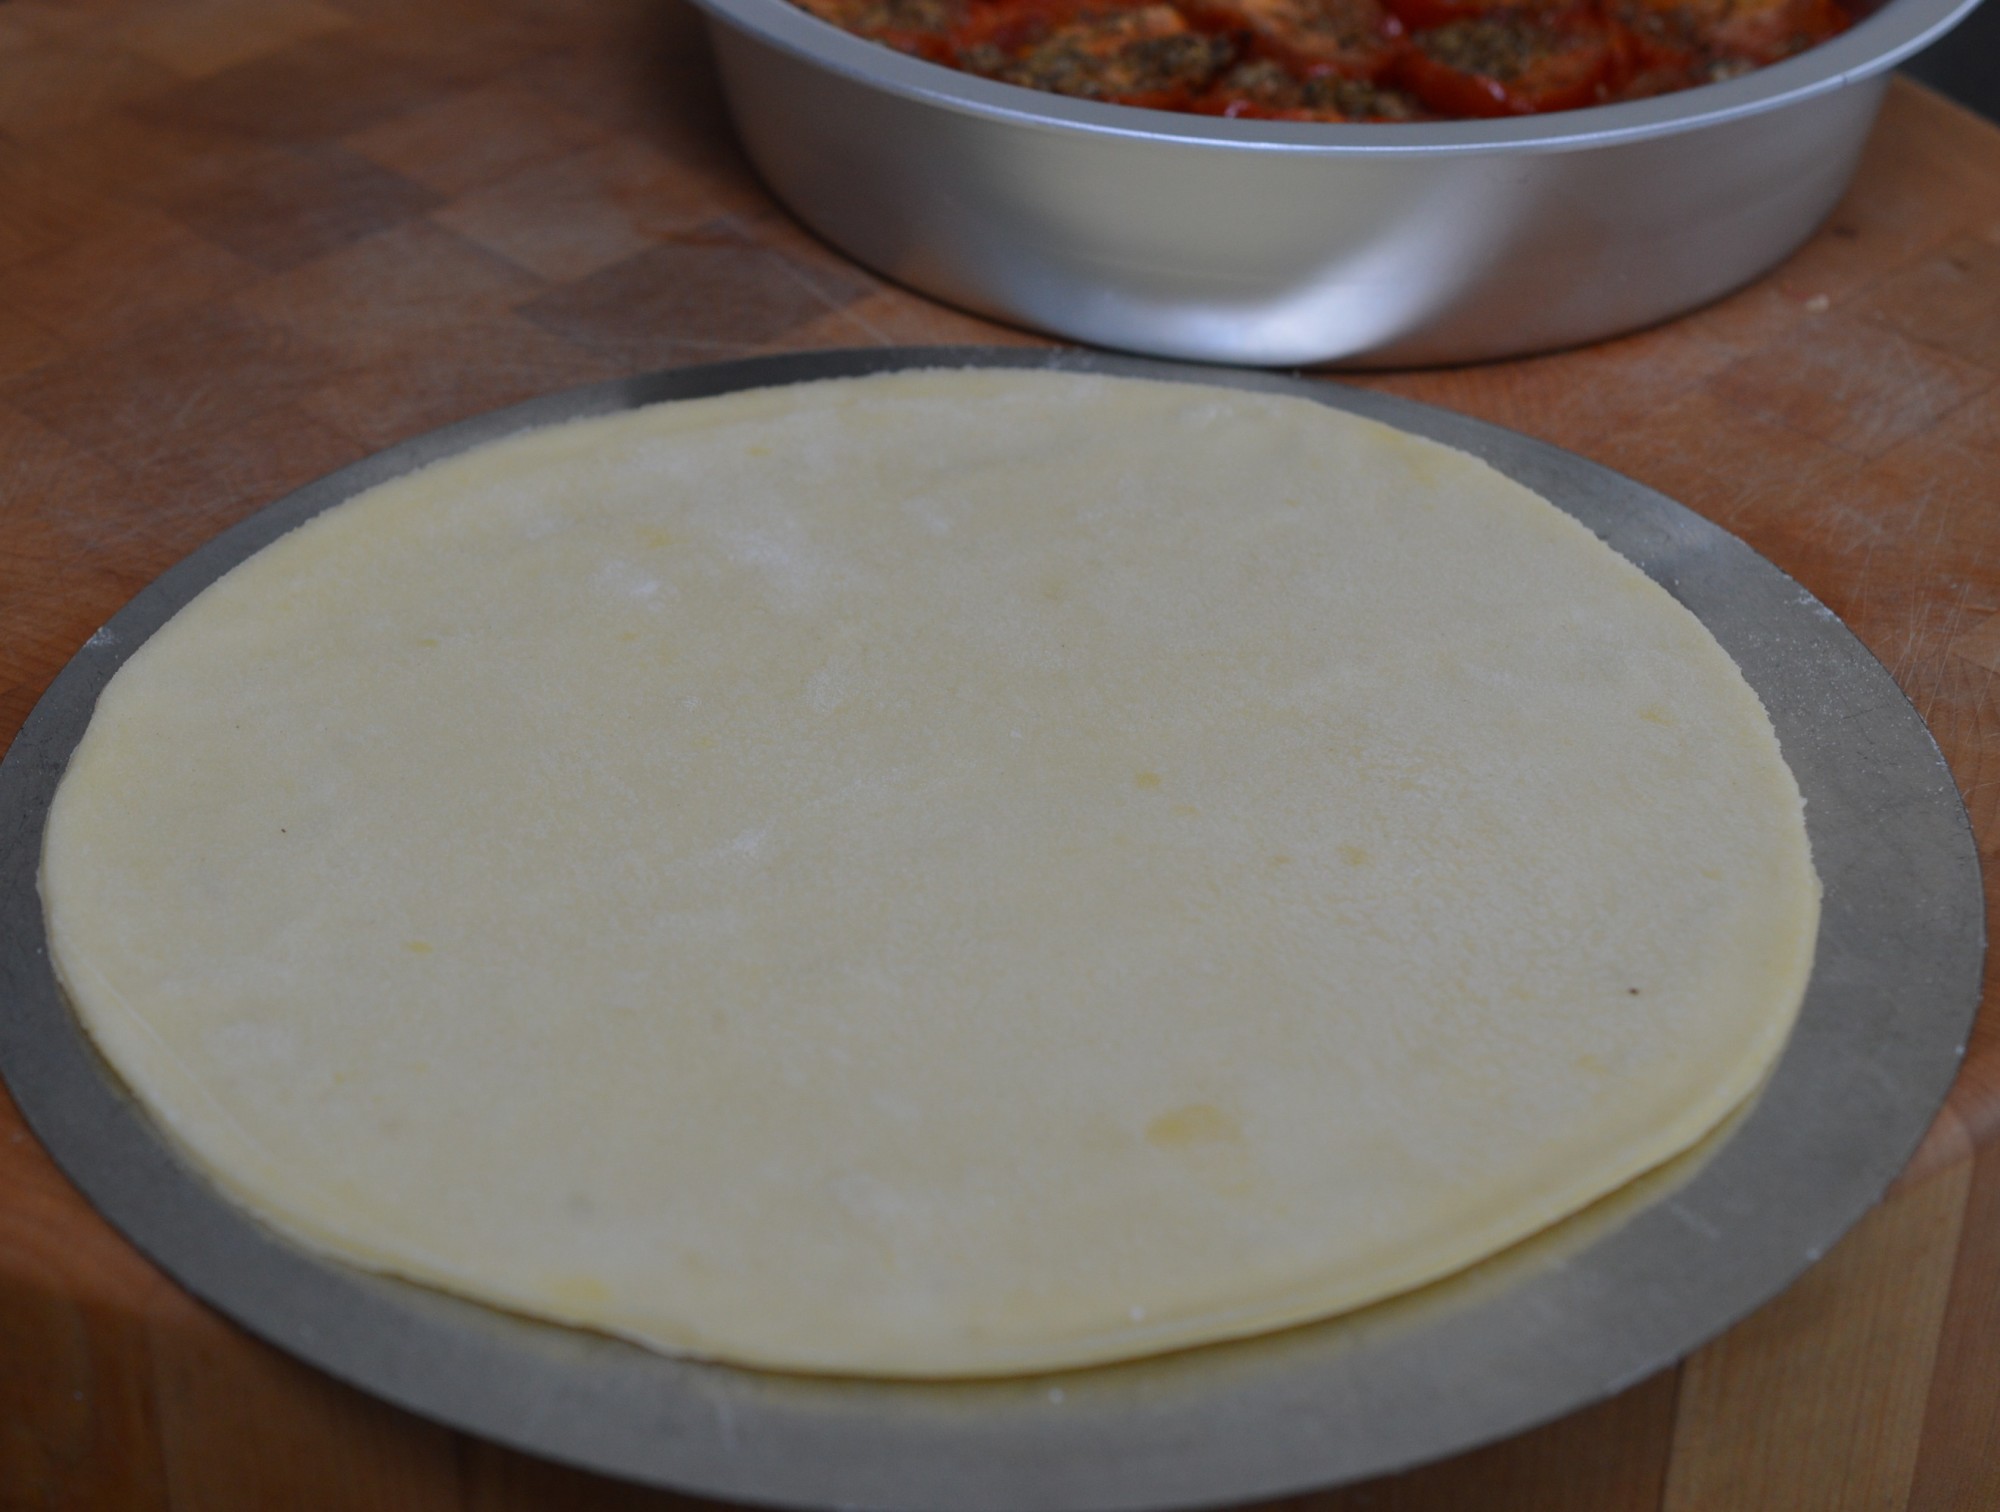
Level out the top.  To get a nice flat top, I use the back of a spoon.  If you dunk it in water first, so much the better.

Gooseberry and Elderflower Cake 14

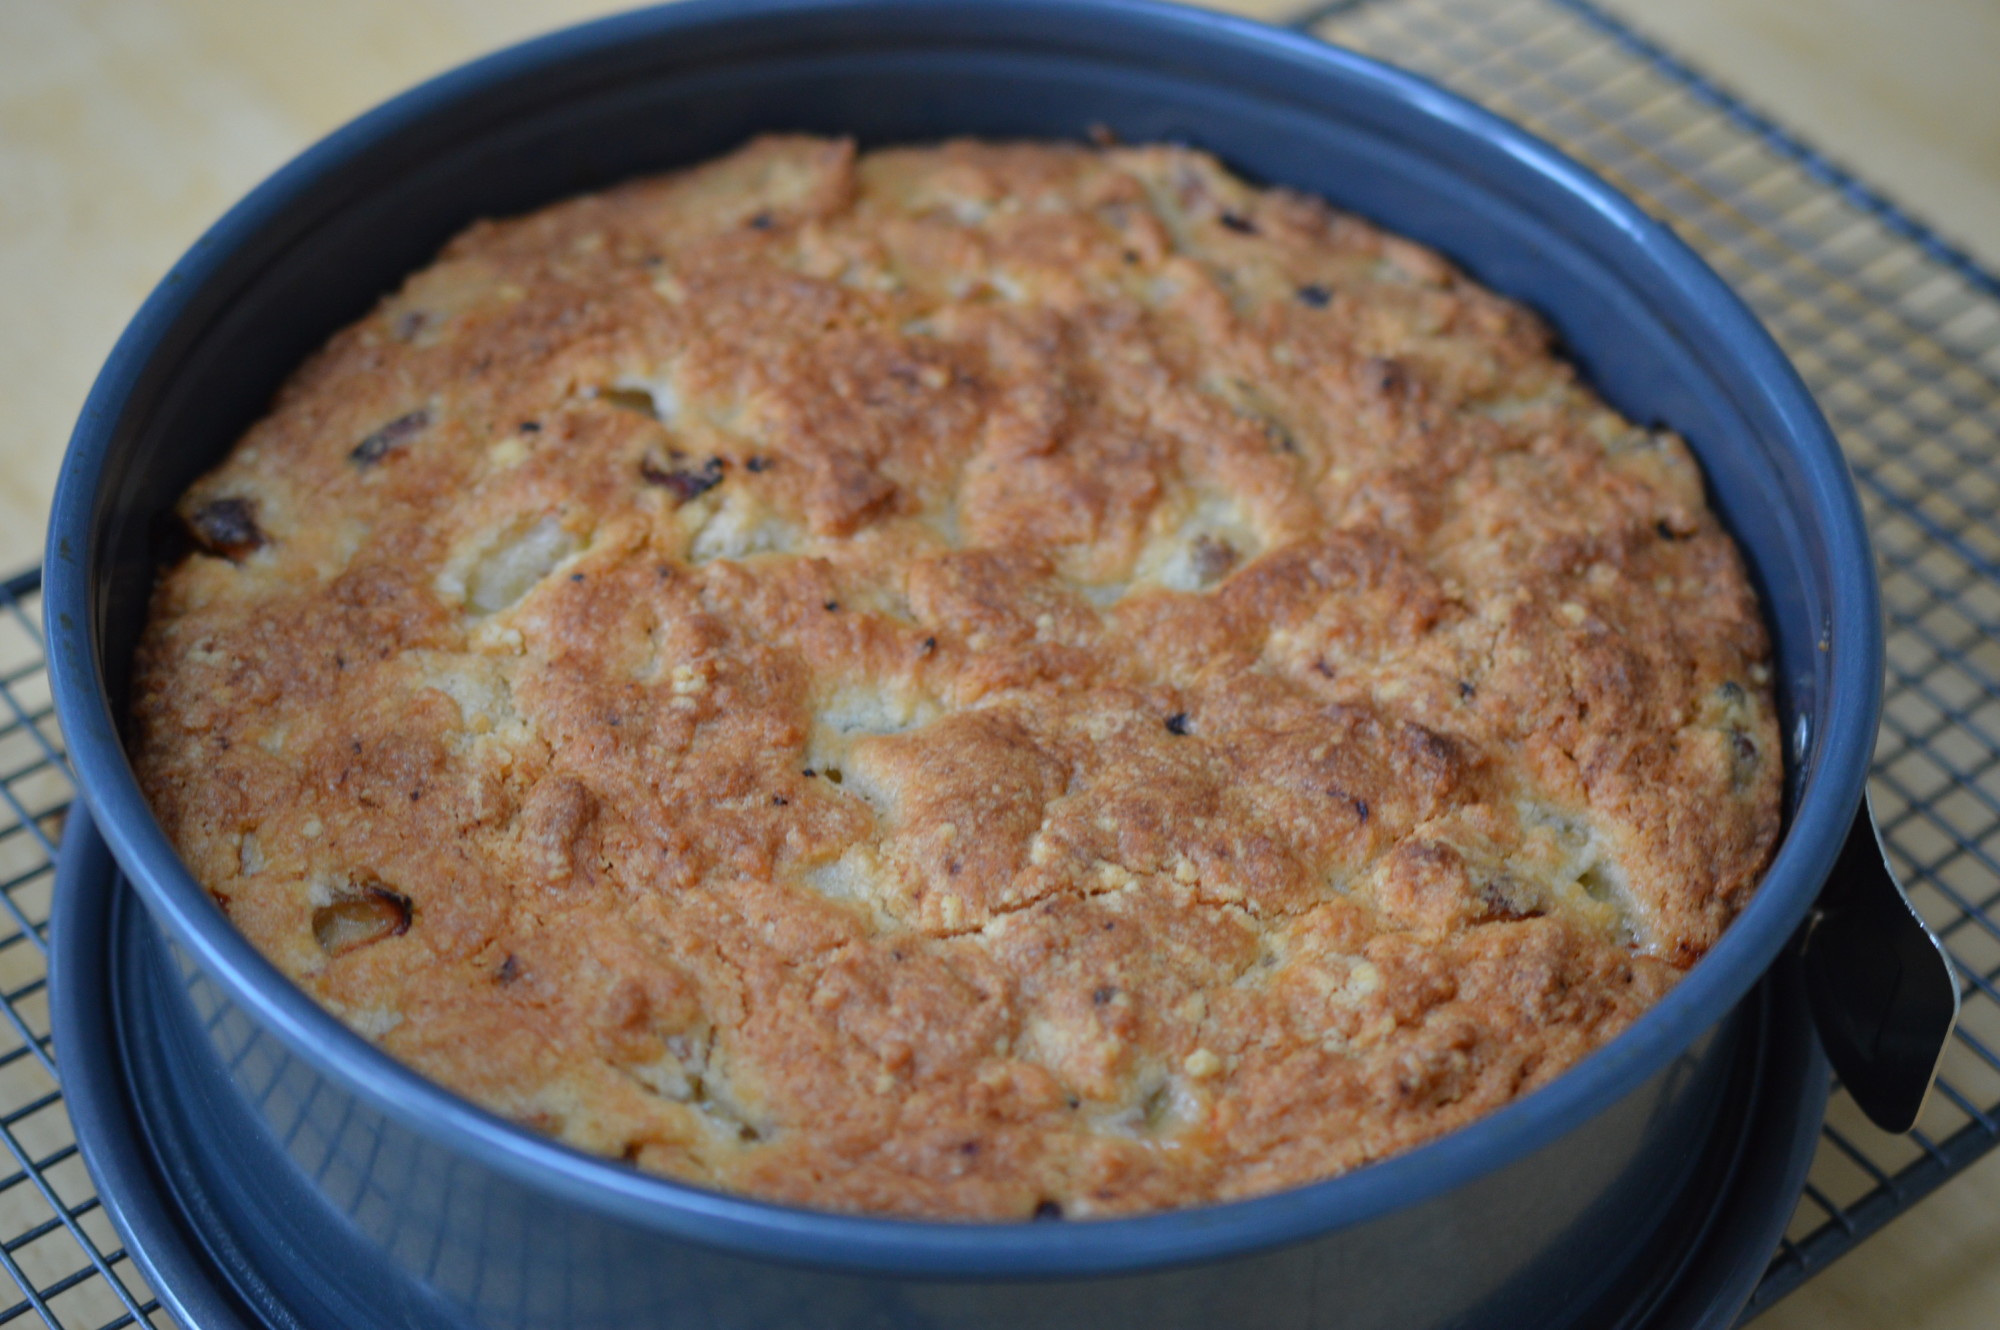
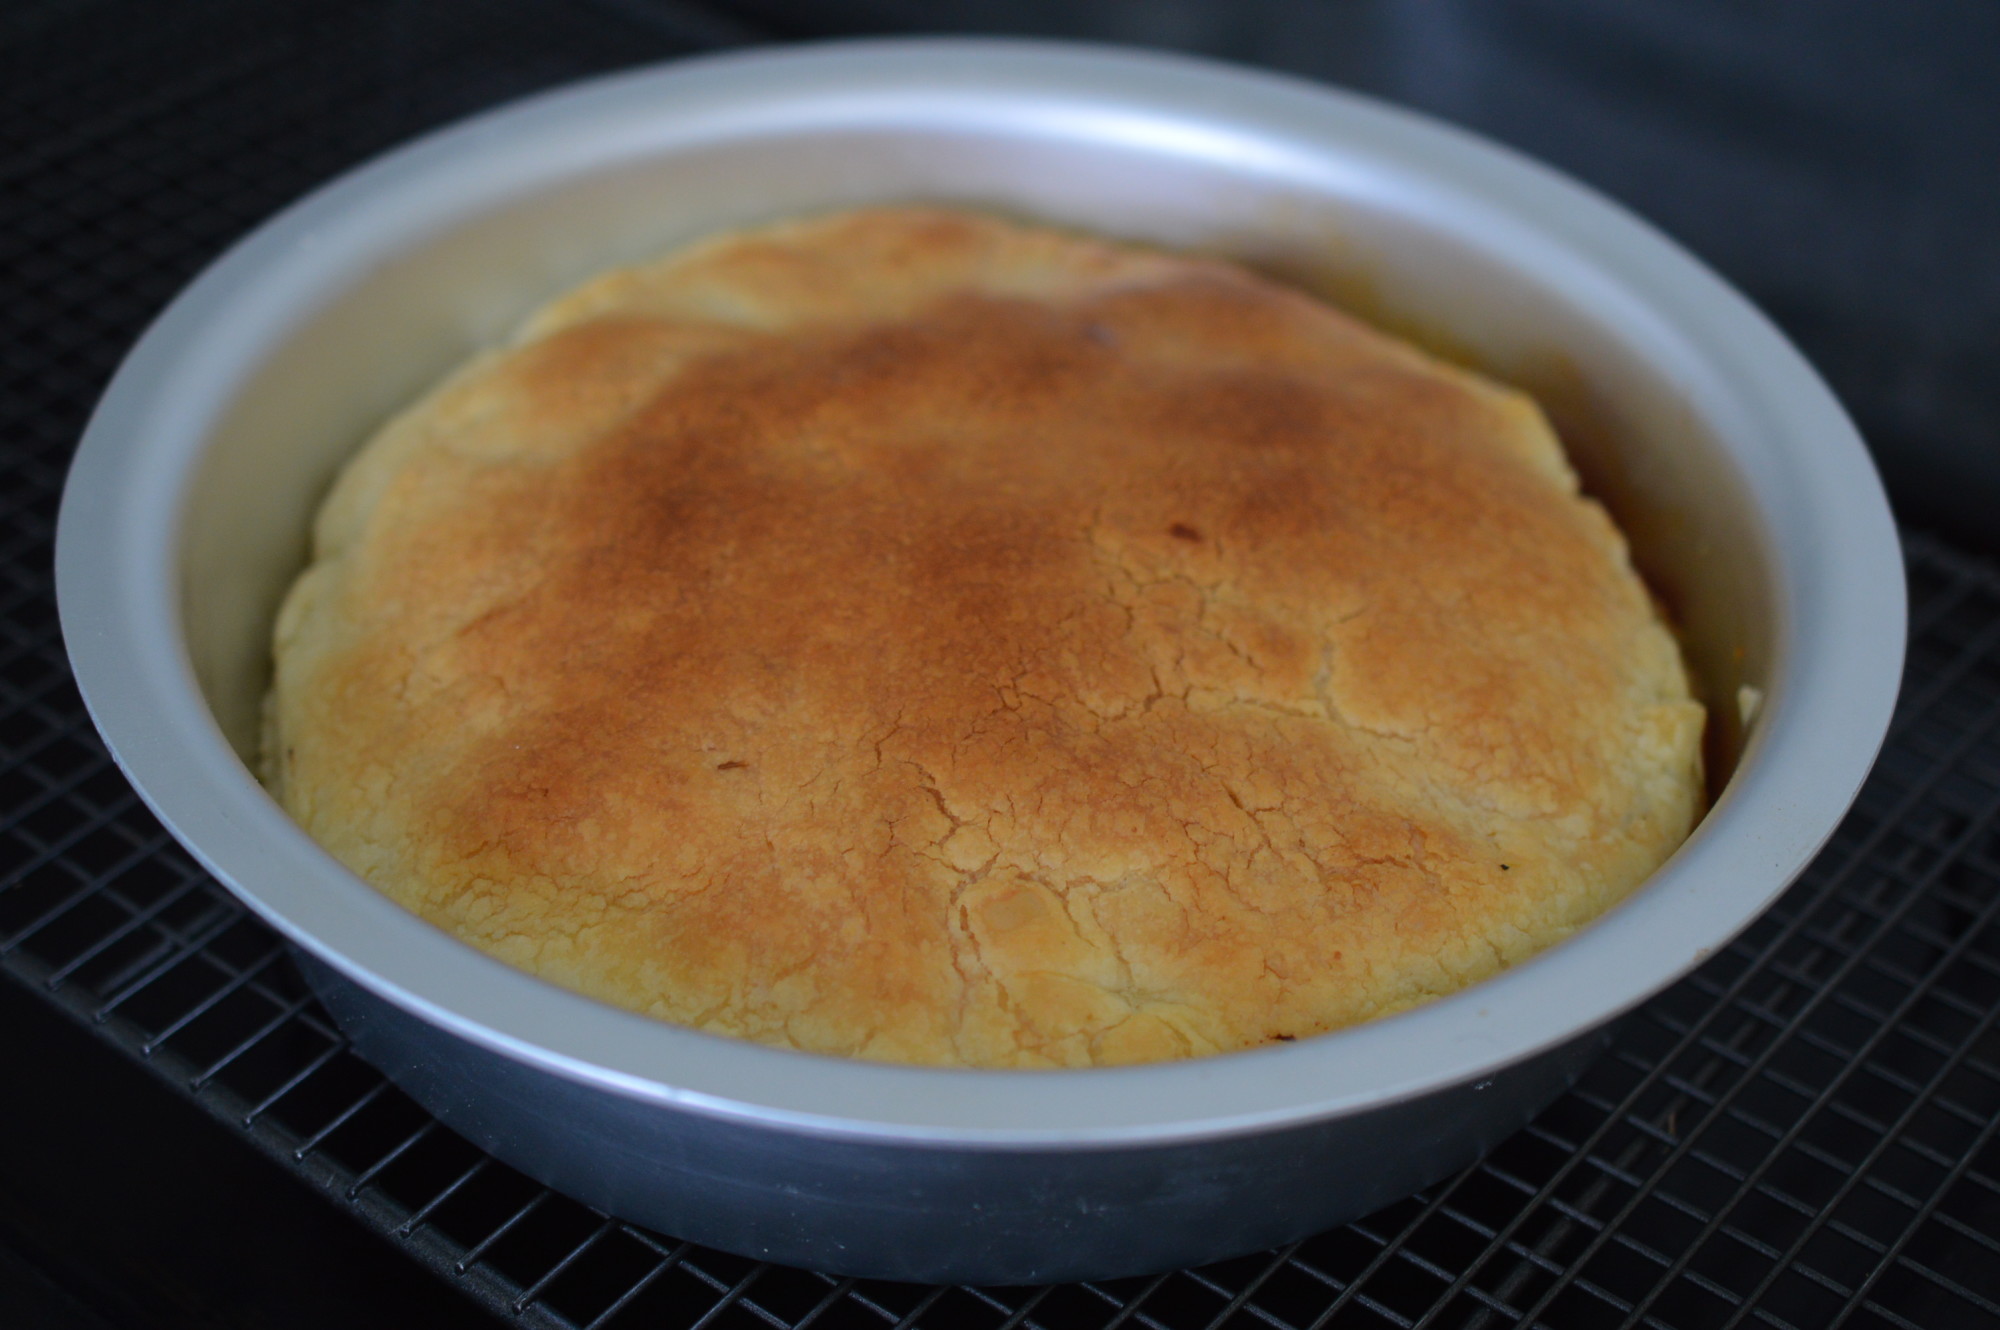
An 20cm round cake tin cooks in the Aga Baking Oven (rack on the floor) in 1 hour.  Conventionally, it’s 180ºC/Gas Mark 4/350ºF.

Gooseberry and Elderflower Cake 16

If you want you can sprinkle the warm cake with a little caster sugar.

Gooseberry and Elderflower Cake 17

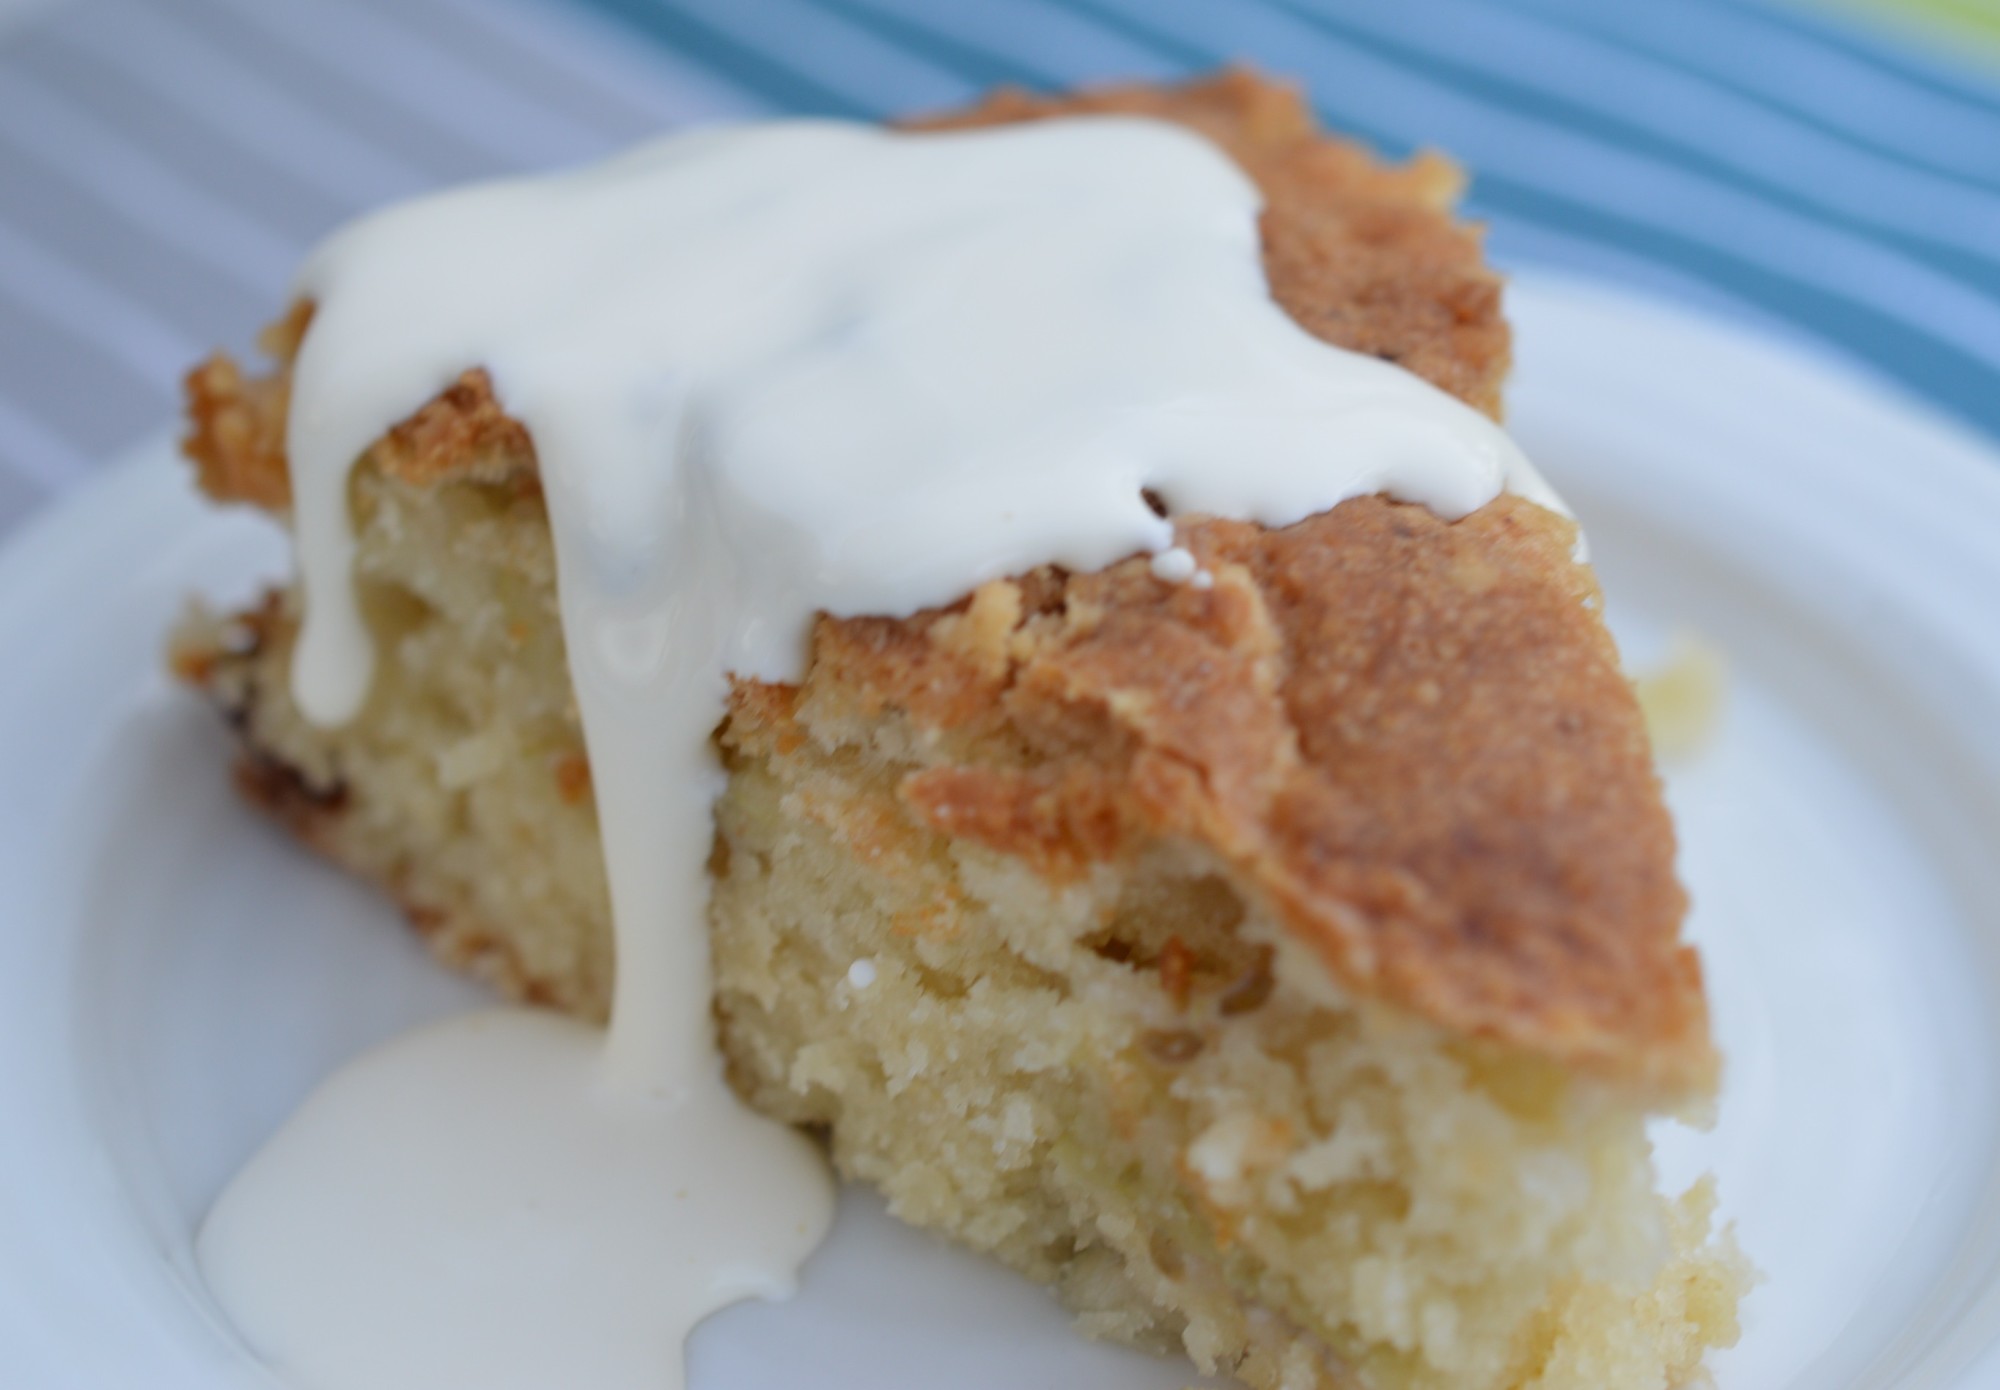
I forgot.  Since we were eating this warm with pouring double cream I don’t know that it mattered.

Gooseberry and Elderflower Cake 18

Eat.

Gooseberry and Elderflower Cake 16Gooseberry and Elderflower Cake

Makes 1 20cm/8″ round cake or a 20cm x 25cm tray bake.

  • 380g/14oz plain flour
  • 190g/7oz butter
  • 190g/7oz caster sugar
  • 2½ tsp baking powder
  • 380g/14oz gooseberries, top and tailed, then halved or quartered depending on their size
  • 75ml/2½fl oz elderflower cordial
  • A drizzle of milk, as needed

Pre-heat the oven to 180ºC/Gas Mark 4/350ºF

Add the baking powder to the flour and whisk to combine.

Rub the cold cubed butter into the flour, then add the sugar and prepared gooseberries.

Drizzle over the elderflower cordial and use a knife to stir through.  Add a drizzle of milk to make a dry mix, remembering the gooseberries will release lots of juice as the cake cooks.

Bake for 1 hour, turning halfway if necessary.  (Aga:  Baking Oven with the rack on the floor – 1 hour.)

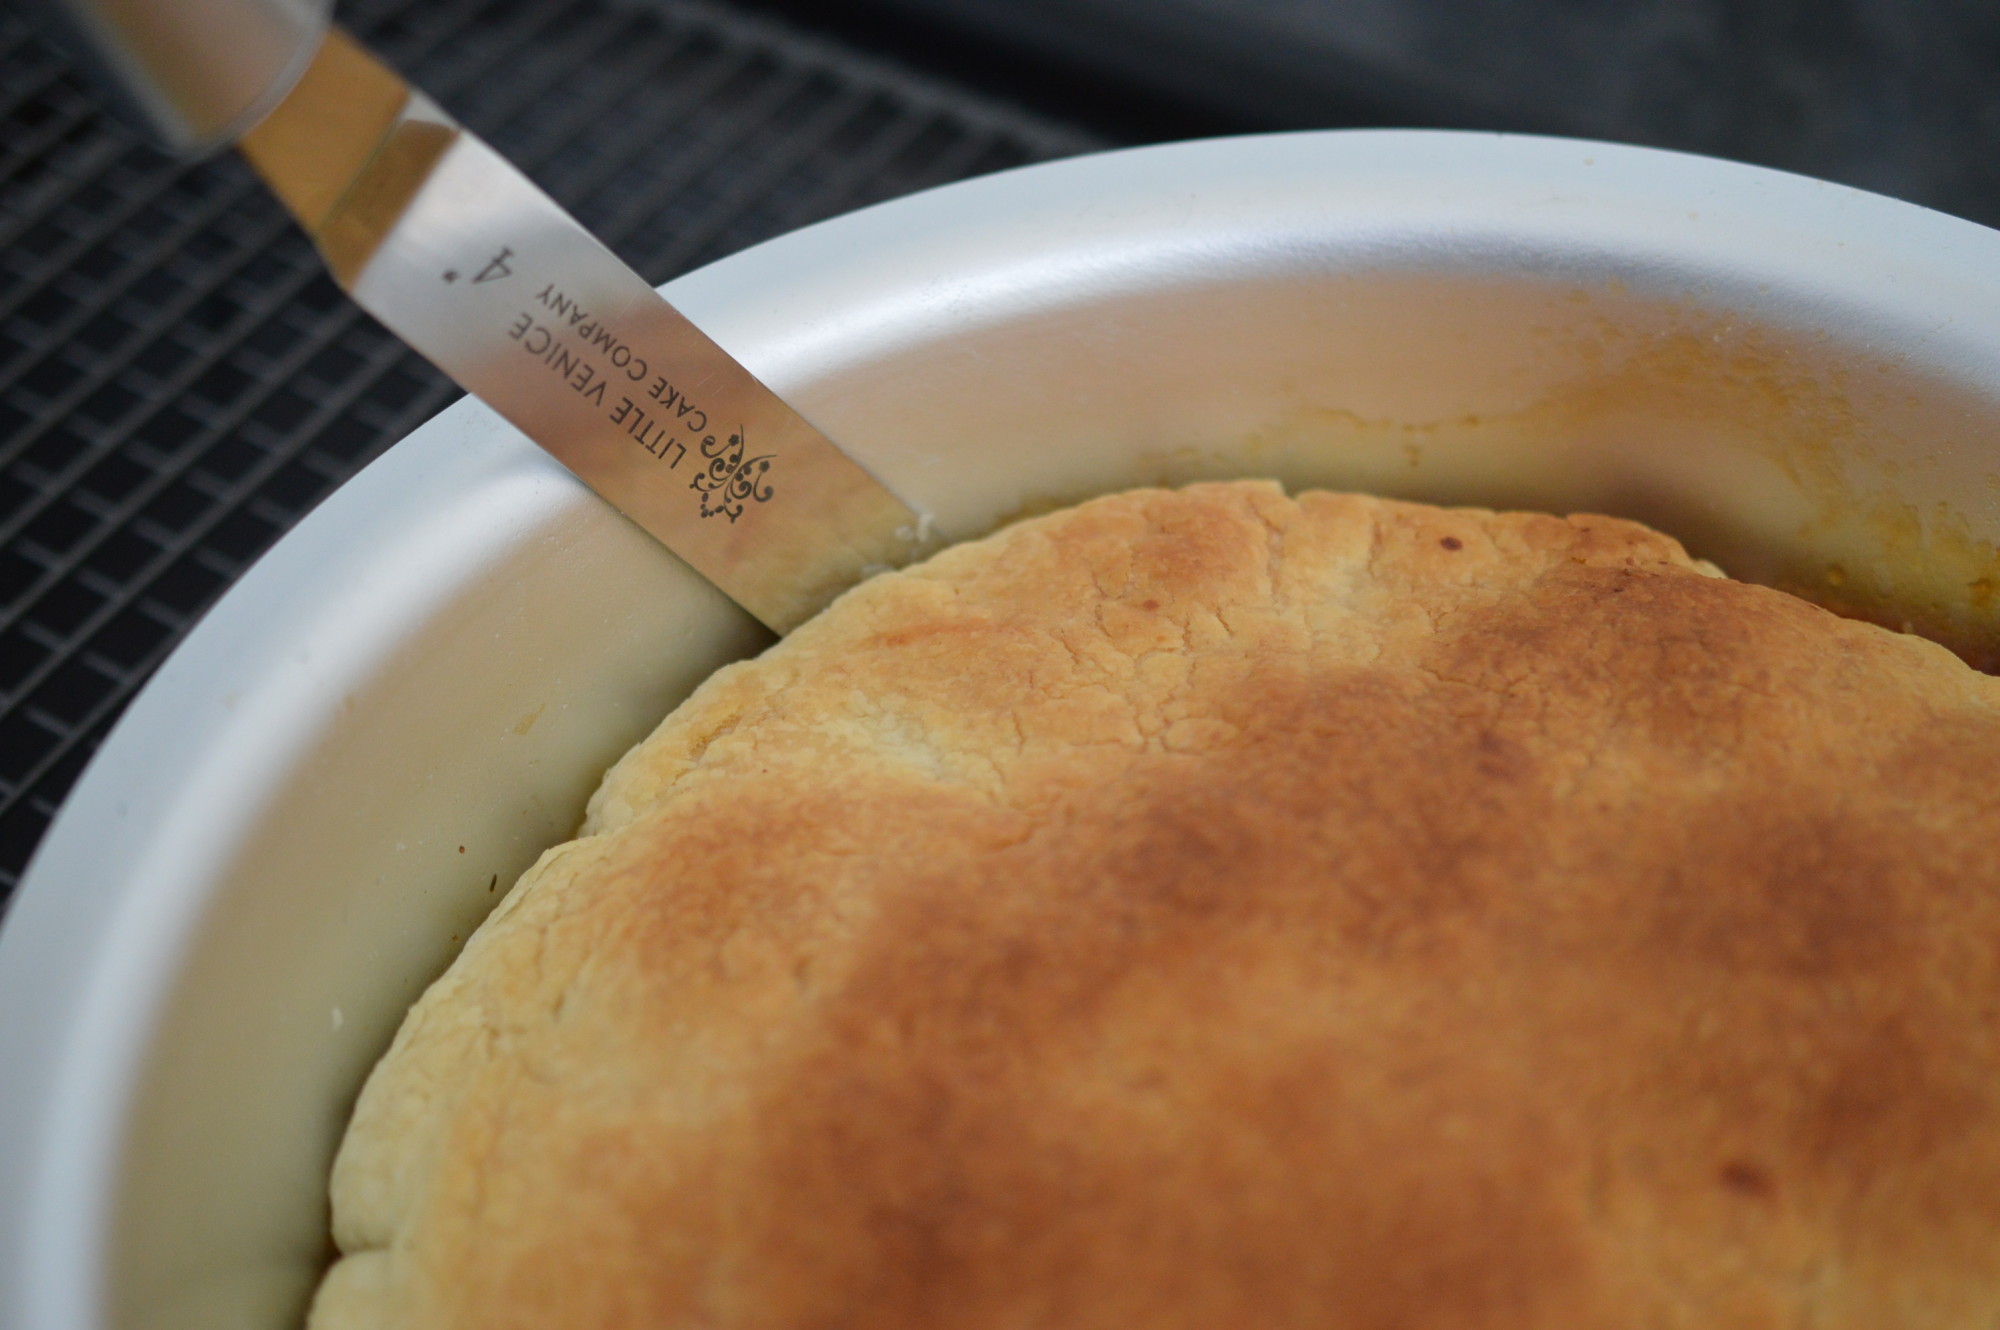
Sprinkle with caster sugar, if desired.  Allow to cool in the tin for 5-10 minutes before transferring to a wire cooling rack.  Serve warm with cream or custard or cold.

Eat.

Print.


Elderflower Cordial

If you’re raising readers of Brian Jacques ‘Redwall’ books, Elderflower Cordial is an essential summer beverage.

Elderflower Cordial 5

It’s refreshing, summery and non-alcoholic.  Elderflower Cordial is also a useful ingredient to have in the freezer.

Elderflower Cordial 1
Place 1.5kg/3lb 5oz of granulated sugar into a saucepan. It’s a lot. Hold your nerve. Pour on 1.5 litres/2½ pints of cold water and bring to the boil over a medium heat. Stir gently until the sugar has dissolved. Turn off the heat, cover with a lid and leave to cool while you go off foraging.

Elderflower bush

The elderflowers were late this year, but I start looking in early May.  Usually they are past their best by the end of June, but there are still plenty to find at the moment.  This isn’t hard urban foraging.  In fact, I manage to do it in heels…!

The only thing you could possibly confuse it with is cow parsley.  If what you are picking is growing directly out of the ground you’re picking the wrong thing.  This won’t hurt you as another ‘common’ name for cow parsley is ‘wild chervil‘.  It’s perfectly edible, but I don’t like it.

Although the elderflower is a bush they can grow very large and look very tree-like.

Elderflower leaves

Elderflower leaves have serrated edges and tend to grow in fives – like this.  Cow parsley, just so you know, has no leaves near the flowers.

Elderflower florets

Look for a spray of flowers.  Elderflowers grow in florets.

Elderflower Cordial 4

Before they open they have tight buds which open to form creamy white flowers.  The pollen is very visible.

Elderflower Cordial 2

A froth of creamy white and they smell of summer.  Or should.  Bushes vary.  Pick from a bush where the flowers are fragrant.  If they smell musty,  move on.

I read once that elderflowers smell like muscat grapes.  Unfortunately my experience of muscat grapes is limited.  I do dream of one day standing in a vineyard and remarking how the grapes smell of elderflowers but … it hasn’t happened yet.  Maybe you have a different life experience??!

Elderflower Cordial 5

This identifier is a bit revolting.  Once they’ve flowered they are attractive to black fly.  I avoid those!  You could pick them off but I feel it’s a step too far.

Elderflower Cordial 3

And this is what they look like when they’ve ‘gone over’.  Avoid picking any elderflowers with any brown as fragrance equals taste.

Never pick on a wet day. If you’ll excuse me for saying, elderflowers tend to smell like cat’s pee when rained on.  Whilst muscat grapes are beyond my experience, I do actually have direct knowledge of cat’s pee.  My childhood cat, imaginatively called ‘Kitty’, had a .. problem in old age.  (I was an imaginative child when it came to naming my pets.)

An English spring is a variable thing – weather-wise.  Since a sunny morning and available time to make cordial is a rare combination, the good news is you can freeze the heads. Place them in a zip-lock freezer bag and place directly in your freezer. Aside from picking off any bugs don’t do anything to them. When you want to make your cordial, don’t let them defrost or they’ll turn a revolting brown. Just add them to the sugar syrup and lemon slices.

Elderflower head

Pick about 25 heads.  It seems to be a fact of life that the best blooms are the ones you can’t quite reach.  Go for the ones that don’t drop all their blossom when you shake off any wildlife and pick away from the road.  Look for creamy coloured flower heads in preference to brilliant white.

Like all foraging, don’t take more than you need.  Leave some to become elderberries in the autumn …!

Elderflower Cordial 6

Once home, I don’t wash my flower heads.  (It’s the cat’s wee thing.)  If you leave them on a tray in a warm kitchen you’ll find tiny insects will wander off.  Depending on your temperament you can return the wildlife to the big outside … or not.  Just give the flowers a quick check over.

Elderflower Cordial 8

Finely slice two unwaxed lemons.

Elderflower Cordial 9

The elderflowers and lemon slices, including the pips, go into a big bowl.  Pour over the sugar water.

Elderflower Cordial 7

The only other ingredient you need is ‘citric acid’ which is a weak organic acid and a natural preservative.  You buy it from the chemist.  They’ll ask you what you want it for … in case you have a heroin habit.  Apparently it’s useful.  I’ve found asking for it in May and June has never been a problem.

I don’t keep my cordial in a bottle for longer than a month, but if I’m making it to give as a gift I add a couple of campden tablets.  I buy them from my local brewers shop but you can also get them online.  They kill bacteria and inhibit the growth of most wild yeast.  Since this is ‘just for us’, and I’m going to store it in the freezer, it’s just the citric acid.

Elderflower Cordial 10

Pour in the 50g packet and give everything a stir.

Elderflower Cordial 12

Cover with a clean tea towel and leave it to infuse for 24 hours.  Somewhere dark and cool is best.  My writing desk is north facing and I put mine on there overnight.

Elderflower Cordial 9

I can’t make this look photogenic.

DSC_0036

I can’t make this look photogenic either.  I let my cordial drip through a jelly bag.  The alternative would be a nylon sieve lined with muslin or a new J-cloth.  Whatever you use, scald in boiling water first.

Either put your bottle through the dishwasher or wash in soapy water, rinse and dry in a warm oven for 30 minutes or so.

Elderflower Cordial 6

Then you can fill the hot bottle with the elderflower cordial.  I even managed to do it left-handed and take a photo!  Store in the fridge and it’ll keep for a month – if you can stop people drinking it.

Elderflower Cordial 1

In the freezer it’ll keep for 3 months – which is the summer.  By the time we get to October I’m ready to move on.  I store mine in 500ml portions in Soup n’ Sauce freezer bags.

Elderflower Cordial 3

Dilute to a ratio of 1 part cordial to 10 parts cold water.  Fizzy or still.  As cold as you can get it.

Ice cubes.  A slice of lemon.

Drink.

Elderflower Cordial 5Elderflower Cordial

Makes 2 litres/3½ pints

  • 20-25 heads of creamy white elderflowers
  • 1.5kg/3lb 5oz granulated sugar
  • 1.5 litres/2½ pints water
  • 2 unwaxed lemons
  • 50g/2oz citric acid
  • 2 campden tablets, optional

Place the sugar in a saucepan and add the water.  Over a medium heat, bring to a boil and gently stir to dissolve the sugar.  Turn off the heat, cover with a lid and leave to cool.

Collect your elderflowers.  Check for insect life and place in a large bowl.

Thinly slice the unwaxed lemons and add it to the bowl.

Pour over the sugar water and add the citric acid and campden tablets, if using.

Give everything a stir and cover with a clean tea towel.  Leave in a cool, dark place to steep for 24 hours.

Strain the cordial through a scalded jelly bag – or a nylon sieve lined with scalded muslin or a new scalded j-cloth.  Pour into sterilised bottles.  For longer storage, freeze.

Dilute 1:10 cordial to water.  Serve as cold as you can get it.

Drink.

Print.


Roasted Pepper Salad

The parent dish of this salad is peperonata.  It must be sixty plus years since Elizabeth David’s ‘A Book of Mediterranean Food’ was published in the UK and brought it to our notice.   I do think we’ve got over the grief of not being a misplaced mediterranean country now, but peperonata remains a lovely part of my summer.  It’s that silky mix of sweet peppers, onions and tomatoes. Sometimes with garlic, basil and, I read the other day, potatoes …

Really lovely – and I make it and use it in all kinds of sacrilegious non antipasto situations.

Here, the same ingredients become something different.  Rather than stew everything together over a low heat for 40 minutes or so, I’m roasting my peppers and onions.  It’s super easy to make and, like the French-Style Potato Salad, sits perfectly happily in the sunshine.

Roasted Pepper Salad 20

If you want to make it ahead, it will only taste better if it’s been allowed to sit in the fridge overnight.  It makes a good side dish for a barbecue or buffet and the leftovers are fantastic in a wrap.  (Try it with hummus.)  I love it in a baked potato with or without cheddar.  And, if I’m still trying convince you to give it a try, it freezes brilliantly.

Roasted Pepper Salad ingredients

It begins with lots of good things.  This is the recipe in which to make use of the bowls of small peppers you find at the market or bagged together at the supermarket.  If they are particularly small, simply add an extra pepper or two in.  As far as colour goes, I like a sunshine mix but it really doesn’t matter.

Roasted Pepper Salad deseeding

Cut off the top and the bottom.  Then run your knife along the remaining pepper strip, removing the seeds and the pith.

Roasted Pepper Salad chopping

And slice into 5mm strips.

Roasted Pepper Salad ends

If presentation were my main concern I’d probably use the ends for something else, but it isn’t – and I don’t.  Slice them up.

Roasted Pepper Salad the peppers

A bowl of summer sunshine.  I’ve used 6 medium sized peppers here.

Roasted Pepper Salad onions

Then, top and tail the onions.  Peel and slice into 5mm crescents.  1 onion for every 3 peppers.  Roughly.  It really isn’t an exact science.

Roasted Pepper Salad

Don’t be horrified at how much garlic is going in this.  Once it has been roasted it’s sweet and mellow.

Roasted Pepper Salad 2

2 whole bulbs of garlic went into my salad.  1 bulb for every onion.  Roughly.  Peel and cut in half if the clove is particularly enormous.

Roasted Pepper Salad 3

Place everything into a big bowl.  Add 4 teaspoons of dried oregano, 2 teaspoons of ground cumin, a grinding of peppercorns and a drizzle of olive oil.

Roasted Pepper Salad 4

Then spread out onto baking trays.  You want the vegetables to roast rather than steam, so don’t overfill the baking trays.  Cook at 200ºC/Gas Mark 6/400ºF for 15 minutes.  (Aga Roasting Oven:  fourth set of runners for 10 minutes.)

Roasted Pepper Salad 5

Meanwhile, prepare the tomatoes.  6 tomatoes.  De-seed.

Roasted Pepper Salad 6

And cut into cubes.

Roasted pepper Salad 8

When the initial cooking time is up, add the chopped tomatoes.  Give everything a stir and return to the oven for a further 15 minutes.  (Aga: 10 minutes).

Roasted Pepper Salad 10

Squeeze the juice from a lemon.  (I used a microplane grater to remove the zest first.  You don’t need it for this, but it freezes.  I made ‘rock cakes’.)

Roasted Pepper Salad 13

Place all the roasted vegetables into a big bowl and add the juice of the lemon.  Give everything a stir and let it all cool.

Roasted Pepper Salad 16

Just before serving, roughly chop a large bunch of parsley and add that to the salad.  Basil is a nice alternative.

Roasted Pepper Salad 18

Eat.

Roasted Pepper Salad 22Roasted Pepper Salad

Serves 8

  • 6 medium-sized peppers in a mix of colours, de-seeded and sliced into 5mm strips
  • 3 onions, peeled and sliced into 5mm crescents
  • 2 bulbs of garlic, separated into cloves and peeled
  • 4 tablespoons of olive oil
  • 3 teaspoons of oregano
  • 2 teaspoons of ground cumin
  • Freshly ground black pepper
  • 6 tomatoes, de-seeded and cut into cubes
  • juice of 1 lemon
  • large bunch of chopped parsley

Pre-heat the oven to 200ºC/Gas Mark 6/400ºF.

Place the pepper strips, the onion crescents and the peeled garlic cloves into a big bowl.  Add the oregano, ground cumin, freshly ground black pepper and olive oil.  Mix everything together.

Lay everything out in a shallow layer on baking sheets and cook for 15 minutes.  (Aga:  Roasting Oven fourth set of runners – 10 minutes.)

Add the chopped tomatoes and give everything a stir.  Return to the oven and cook for a further 15 minutes.  (Aga:  Roasting Oven fourth set of runners – 10 minutes.)

Transfer everything into a bowl and add the juice of a lemon.  Allow the salad to cool.  Just before serving add a large bunch of roughly chopped parsley.  Stir.

Eat.

Print.


Tomato Tarte Tatin

I bought myself a present.  There is no justification for that other than I saw, I wanted .. and I bought.

Tarte Tatin dish

I like to think I economised because I bought the smaller of the two sizes available which was cheaper, but it was probably a false economy because I now know I need the bigger one.  (We can pause here and discuss how irritating the sizing of bakeware is.  I’m happy to go metric or imperial but it would be really helpful if we’d make a decision …!)

Coincidentally, I also bought a bumper box of tomatoes at the market and immediately set about playing.

Tomato Tarte Tatin 17

As a child, grilled tomatoes on toast was one of my favourite breakfasts – and my love for it made it just a short step to putting them on flaky puff pastry for lunch.  There was a short hiatus after an unfortunate .. incident whilst pregnant with Dominic.  Probably too much information to share on a foodie blog, b-but … tomatoes are quite acidic.  The Duchess of Cambridge and I have both experienced hyperemesis gravidarum.  I’ll let you google that.

I’m over it now.

Tomato Tarte Tatin 1

Cut the tomatoes in half through the core.  If you cut the other way you’ll end up with half your tomatoes having a dot in the centre when you flip your  finished tart out.  It will taste exactly the same, but it won’t be as pretty.  And, yes, pretty matters.

For my 8″ tin, I used 9 medium sized tomatoes.

Tomato Tarte Tatin 2

50ml of olive oil (that’s about 4 tablespoons).  Add 1 tablespoon of dried oregano.  Marjoram is also lovely.

Tomato Tarte Tatin 3

Microplane 2 cloves of garlic (or chop finely) and add to the oil and dried oregano.  Season with sea salt and freshly ground black pepper.

Tomato Tarte Tatin 4

Lay the tomato halves cut side up on a baking sheet.  Then pour and dab the garlicky/herby/oil between the tomato halves.

Mine went into the Roasting Oven fourth set of runners for 1 hour until they were soft, slightly shrunk but not coloured.  In a conventional oven I would bake at 160ºC/325ºF/Gas Mark 3 for about an hour and half.  It will depend on how big your tomatoes are.

Tomato Tarte Tatin 6b

Lightly brush your tarte tatin dish with olive oil and arrange the tomato halves.  Make sure the cut side is facing upwards.  It’s the same principal as the pineapple upside-down-cake you probably made at school.

Tomato Tarte Tatin 7

Squeeze them in closely.  Any gaps will spoil the effect.  Then set aside to cool.  That bit’s important.  If the tomatoes are warm when you add the puff pastry the butter will start to melt and you’ll have much less puff.

Tomato Tarte Tatin 5

If you are using bought puff pastry – use an all-butter one.  You can  console yourself with the thought it has far less butter in it than if you use home-made ..

Tomato Tarte Tatin 6

Roll out to something between 3mm and 5mm.  Cut around the rim of the tarte tatin tin.

Tomato Tarte Tatin 8

While the tomatoes are chilling, place the pastry circle back into the fridge.  I use the base of a flan tin.  (Don’t waste any of the off-cuts, but don’t scrunch them up as you would shortcrust.  Fold the pieces on top of each other so you don’t interfere with all the layers and use it to make cheese straws.)

Now would be the time to increase the oven temperature to 200ºC/400ºF/Gas Mark 6.

Tomato Tarte Tatin 9

Place the pastry circle on top of the cold tomatoes.  Carefully tuck the pastry down the sides so it hugs the tomatoes.

Mine went in to the Roasting Oven fourth set of runners for 20 minutes.

Tomato Tarte Tatin 10

At 200ºC/400ºF/Gas Mark 6 it will also take 20 minutes.

Tomato Tarte Tatin 11

Remove from the oven and allow to cool for 5 minutes.  Just loosen the edges if it has caught anywhere.

Tomato Tarte Tatin 12

Place a cooling rack over the tarte tatin tin and flip it over.  I have a baking sheet underneath to catch any escaping juices.

Tomato Tarte Tatin 13

Then allow it to cool.

Tomato Tarte Tatin 14

It can be served warm or at room temperature.  Grind over some black pepper.  Decorate with basil leaves.

Tomato Tarte Tatin 16

Eat.

Tomato Tarte Tatin 17Tomato Tarte Tatin

Serves 4

  • 9 medium sized tomatoes
  • 2 garlic cloves, microplaned or chopped finely
  • 1 tablespoon of dried oregano
  • 50g/4 tablespoons of olive oil
  • 250g home-made or all-butter puff pastry
  • sea salt and freshly ground black pepper
  • To serve:  fresh basil leaves and a lightly dressed baby-leaf salad

Pre-heat the oven to 160ºC/325ºF/Gas Mark 3 and lightly grease an 8″ tarte tatin tin.

Cut the tomatoes in half through the core.  Lay them on a baking sheet, cut side facing upwards.

Add the microplaned garlic and the dried oregano to the olive oil.  Season with sea salt and freshly ground black pepper.  Drizzle the mixture over the cut surface of the tomatoes.  Bake for about 1½ hours.  Aga:  Roasting Oven, fourth set of runners, for 1 hour.

Roll out the puff pastry to a 5mm thickness and cut around the rim of the tarte tatin dish.  Arrange the tomatoes, cut side facing upwards, in the tarte tatin tin.  Chill both the tomatoes and the pastry.

Increase the oven temperature to 200ºC/400ºF/Gas Mark 6.

Lay the pastry over the tomatoes and tuck the edges down the sides.  Bake for 20 minutes.

Allow to settle for 5 minutes before flipping over on to a cooling rack.

Serve warm or at room temperature with a grinding of black pepper, some basil leaves and a lightly dressed baby-leaf salad.

Eat.

Print.


Breakfast Mushroom

I don’t think I’ve ever met a man who doesn’t love a ‘Full English’ and with Fathers’ Day looming you might be thinking of clogging up the arteries of the dad in your life.  Whilst it can be a wonderful thing to eat, it’s ‘proper’ cooking which feels bit gruelling when done horribly early in the morning, creates masses of washing up and isn’t child friendly.

So, now I’ve talked you out of it, here’s my solution.

Breakfast Mushroom 18

My ‘Breakfast Mushroom’ gives you most of the elements of a full English breakfast, but you can do all of the preparation the day before and get even young children helping.

Breakfast Mushroom 1

You need large flat mushrooms – the bigger the better.  Good quality streaky bacon – smoked or unsmoked.  Great breakfast sausages.  And, when cooking for my boys, black pudding.  They love it.

Black pudding has been made for centuries and is actually very good for you – protein, iron, potassium, calcium and magnesium.  By the time I got around to telling my boys it was a blood sausage they were already converts.  Liddy, however, doesn’t like it.  So, if it’s really not going to be your thing, crumbled blue cheese is also lovely.

Breakfast Mushroom 2

These are big saucer style mushrooms and benefit from being peeled.  Don’t wash them.  Simply brush off any dirt.

Breakfast Mushroom 3

Remove the stalk.  (Both the ‘peelings’ and the stalks can used for stock.)

Breakfast Mushroom 4

Black pudding freezes well.  Cut off what you’re going to use and remove the casing.  What’s left can be double wrapped and tucked away in the freezer for another day.

Breakfast Mushroom 5

Cut into cubes and encourage into crumbs.  Divide the black pudding between the mushrooms.

DSC_0567

There really isn’t a way of making the next part photogenic.  Remove the sausage-meat from the casings.  Roughly one sausage per mushroom.  Mix together with a fork.  It’s a much nicer texture if you don’t compact it down into a heavy lump.

Breakfast Mushroom 6

Form into patties and place on top of the black pudding (or cheese if that’s what you’ve decided).

Breakfast Mushroom 7

Ease the meat to the edges of the mushrooms.

DSC_0230

Now it’s the streaky bacon.  You could lay bacon very simply across the top, but making a lattice looks pretty.  Cut each strip in half.

Breakfast Mushroom 12

So, that’s three rashers of bacon, cut in half.

Breakfast Mushroom 8

Lay three on top of the sausage-meat.

Breakfast Mushroom 9

Lift up the central strip.

Breakfast Mushroom 10

Place another bacon strip across horizontally and replace the central strip into position.  Then fold back the two outside strips and lay the fifth bacon strip across horizontally, returning the folded back strips back into place.

Breakfast Mushroom 11

Finally, the central strip is folded back and the final piece of bacon placed horizontally.

Breakfast Mushroom 13

Tuck the ends underneath the mushroom and place on a baking sheet.

Breakfast Mushroom 14

And on to the next one …

Cover with cling film and pop into the fridge.  They’ll happily keep overnight.

Breakfast Mushroom 15

Even the earliest breakfast doesn’t feel much work now.  I like to have that first all-important cup of tea and, while that’s happening, I take my Breakfast Mushrooms out of the fridge and let everything return to room temperature.

Tomatoes can be cooked on the same tray.  Depending on their size you may have to remove them a little before the Breakfast Mushrooms.  Mine took 30 minutes in a hot oven (Aga Roasting Oven – 2nd set of runners).

Conventionally,  200ºC/Gas Mark 6/400ºF for 30 minutes.

Breakfast Mushroom 17

Coffee on!  I cook my eggs without oil on a piece of bake ‘o glide on the Simmering Plate.  (For a party trick, you can close the lid.  Always shocks everyone .. and you end up with a ‘sunny-side down’ effect.)

Breakfast Mushroom 21

Eat.

Breakfast Mushroom 18Breakfast Mushroom

Serves 1 – easily multiplied

  • 1 large flat mushroom
  • slice of black pudding
  • 1 breakfast sausage
  • 3 rashers of streaky bacon

Brush the mushroom free of any dirt, peel and de-stalk.  Crumble black pudding over the gills.

Remove the sausage-meat from its casing and break up with a fork.  Form into a loose patty and place on top of the black pudding.  Ease the meat across to the edge of the mushroom.

Cut each slice of streaky bacon in half and arrange all six strips in a lattice effect over the top of the sausage-meat.  Tuck the ends under and place on a baking sheet.

Cover with cling film and place in the fridge until needed.

To cook:  Allow everything to return to room temperature and pre-heat the oven to 200ºC/Gas Mark 6/400ºF.  Cook for 30 minutes.  Aga:  Roasting Oven on 2nd set of runners for 30 minutes.

Serve with fried egg and roasted tomatoes.  Eat.

Print.