Kedgeree

And .. this is why I’ve been posting about curry powder, crispy fried onions and hard boiled eggs.  I made Kedgeree for Sunday brunch.

Kedgeree served

I must apologise for the lack of mahogany buffet-serving dresser and Victorian silver chafing dish in my photographs …  Standards have slipped since the days of the Empire.  Not that my antecedents seem to have ventured much beyond 100 miles of London and, sadly, there is no family silver to inherit.

But .. Kedgeree.  In the normal run of things, this is more likely to be supper in my house.  I doubt even my grandparents would have whipped up a batch for breakfast … although, thinking about it, my Dad’s mum may well have done as she was in service.

This was a lazy day Sunday brunch.  One of those magical mornings.  The seven of us all together, home from church by 9am and no-one pushing to be anywhere but a friend’s barbecue in the afternoon.  That day.

DSC_0058

Truthfully, there is no definitive recipe for Kedgeree.  It’s generally accepted as being a fusion between khichdi and pilau brought back from India and given an anglicised spin.  The smoked fish and the hard boiled eggs being the British contribution.  I suppose that replaces the protein of khichdi’s lentils.  Some people add peas.  Others mushrooms.  You can make a looser, creamier version or something drier.  If you’re a follower of fashion you might want to top it with a softly poached egg and mix the smoked haddock with salmon et al.

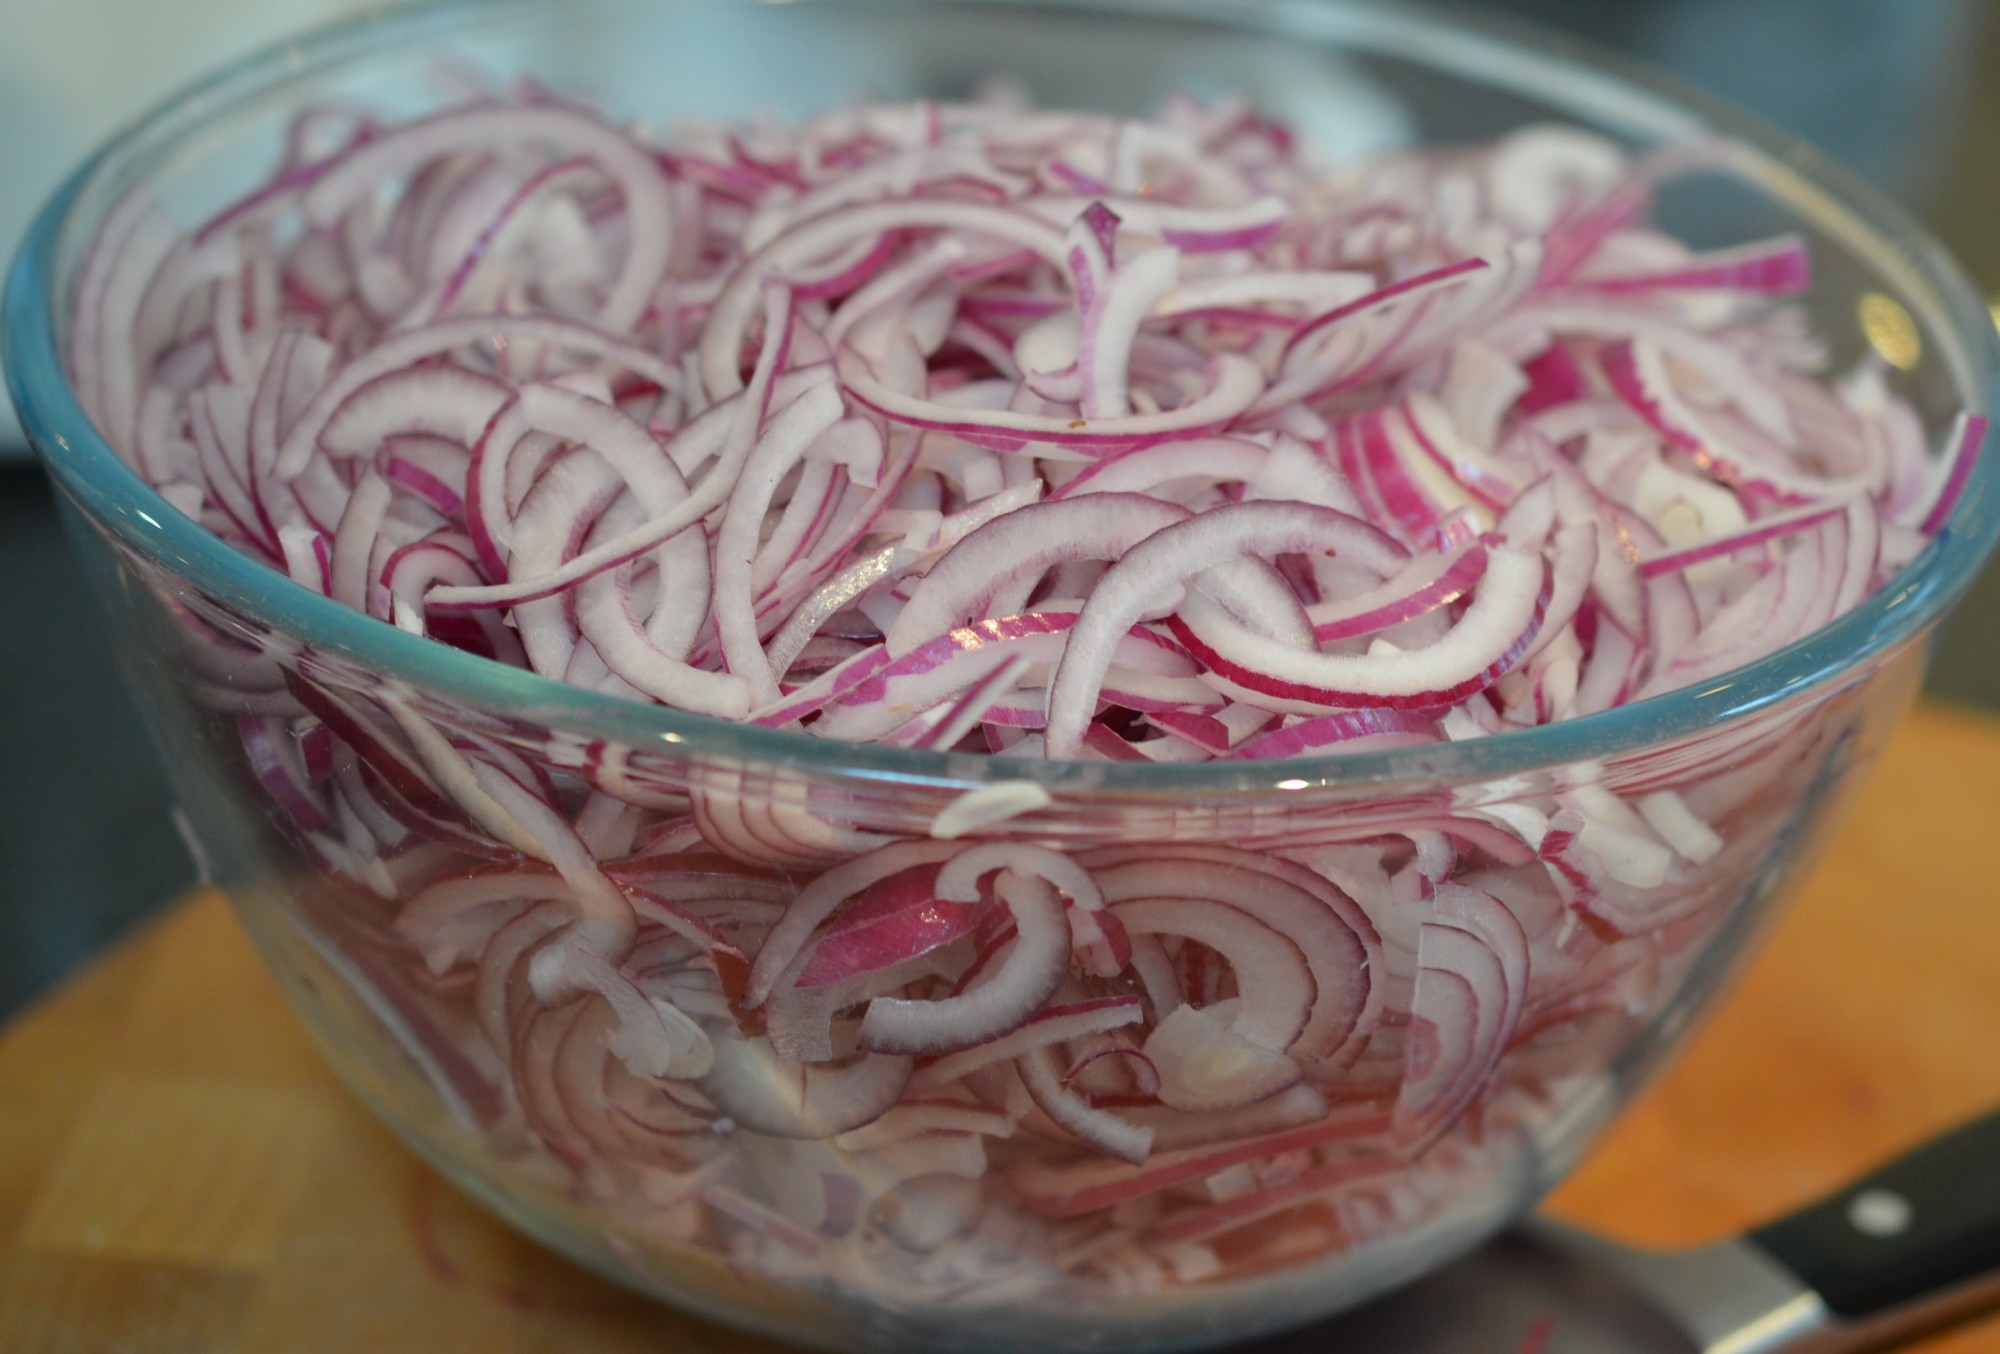
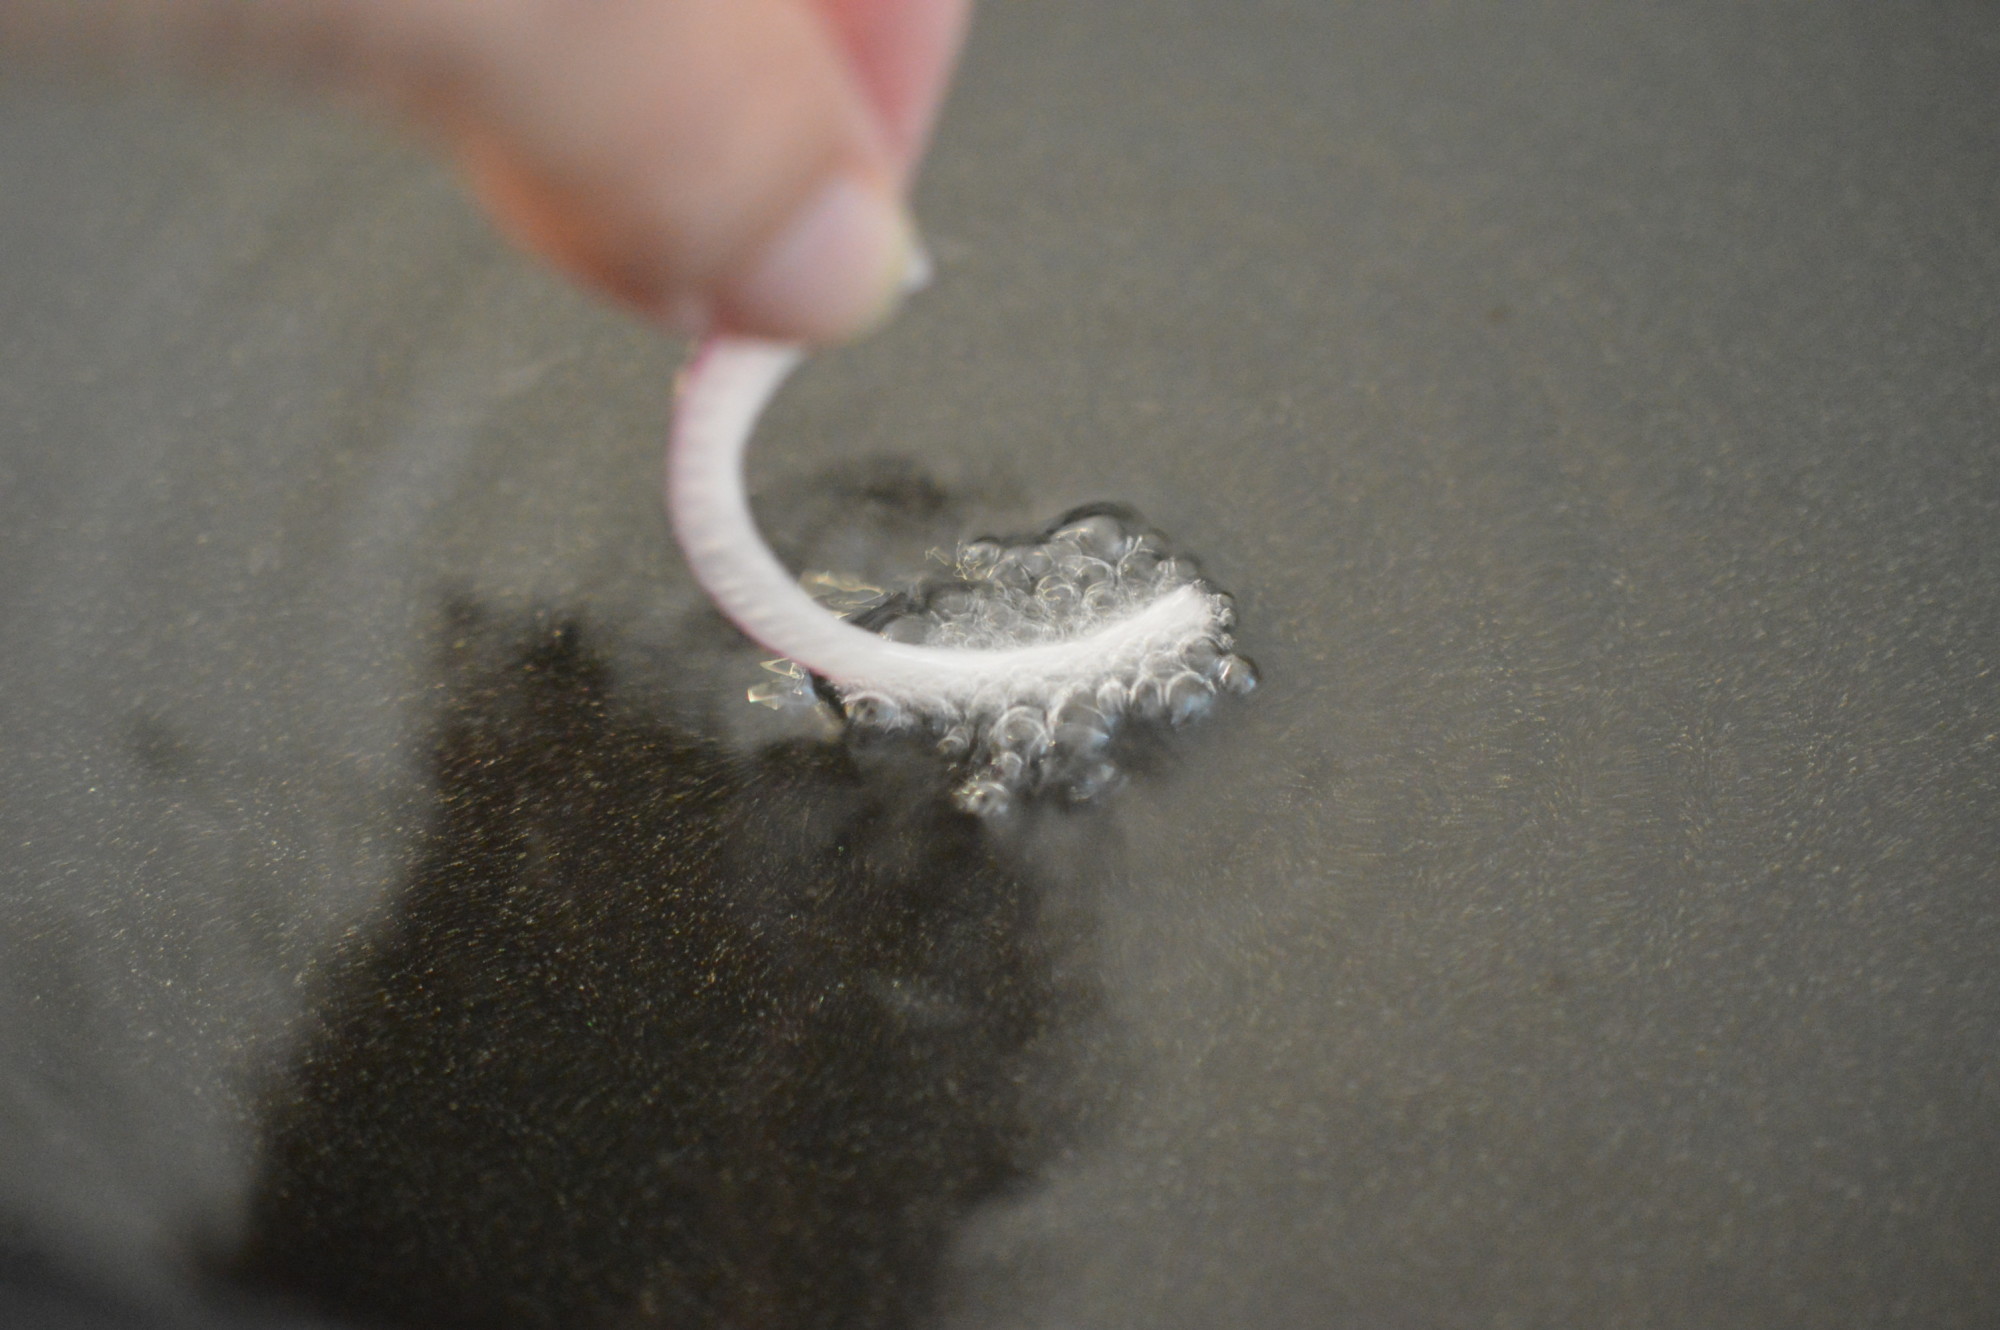
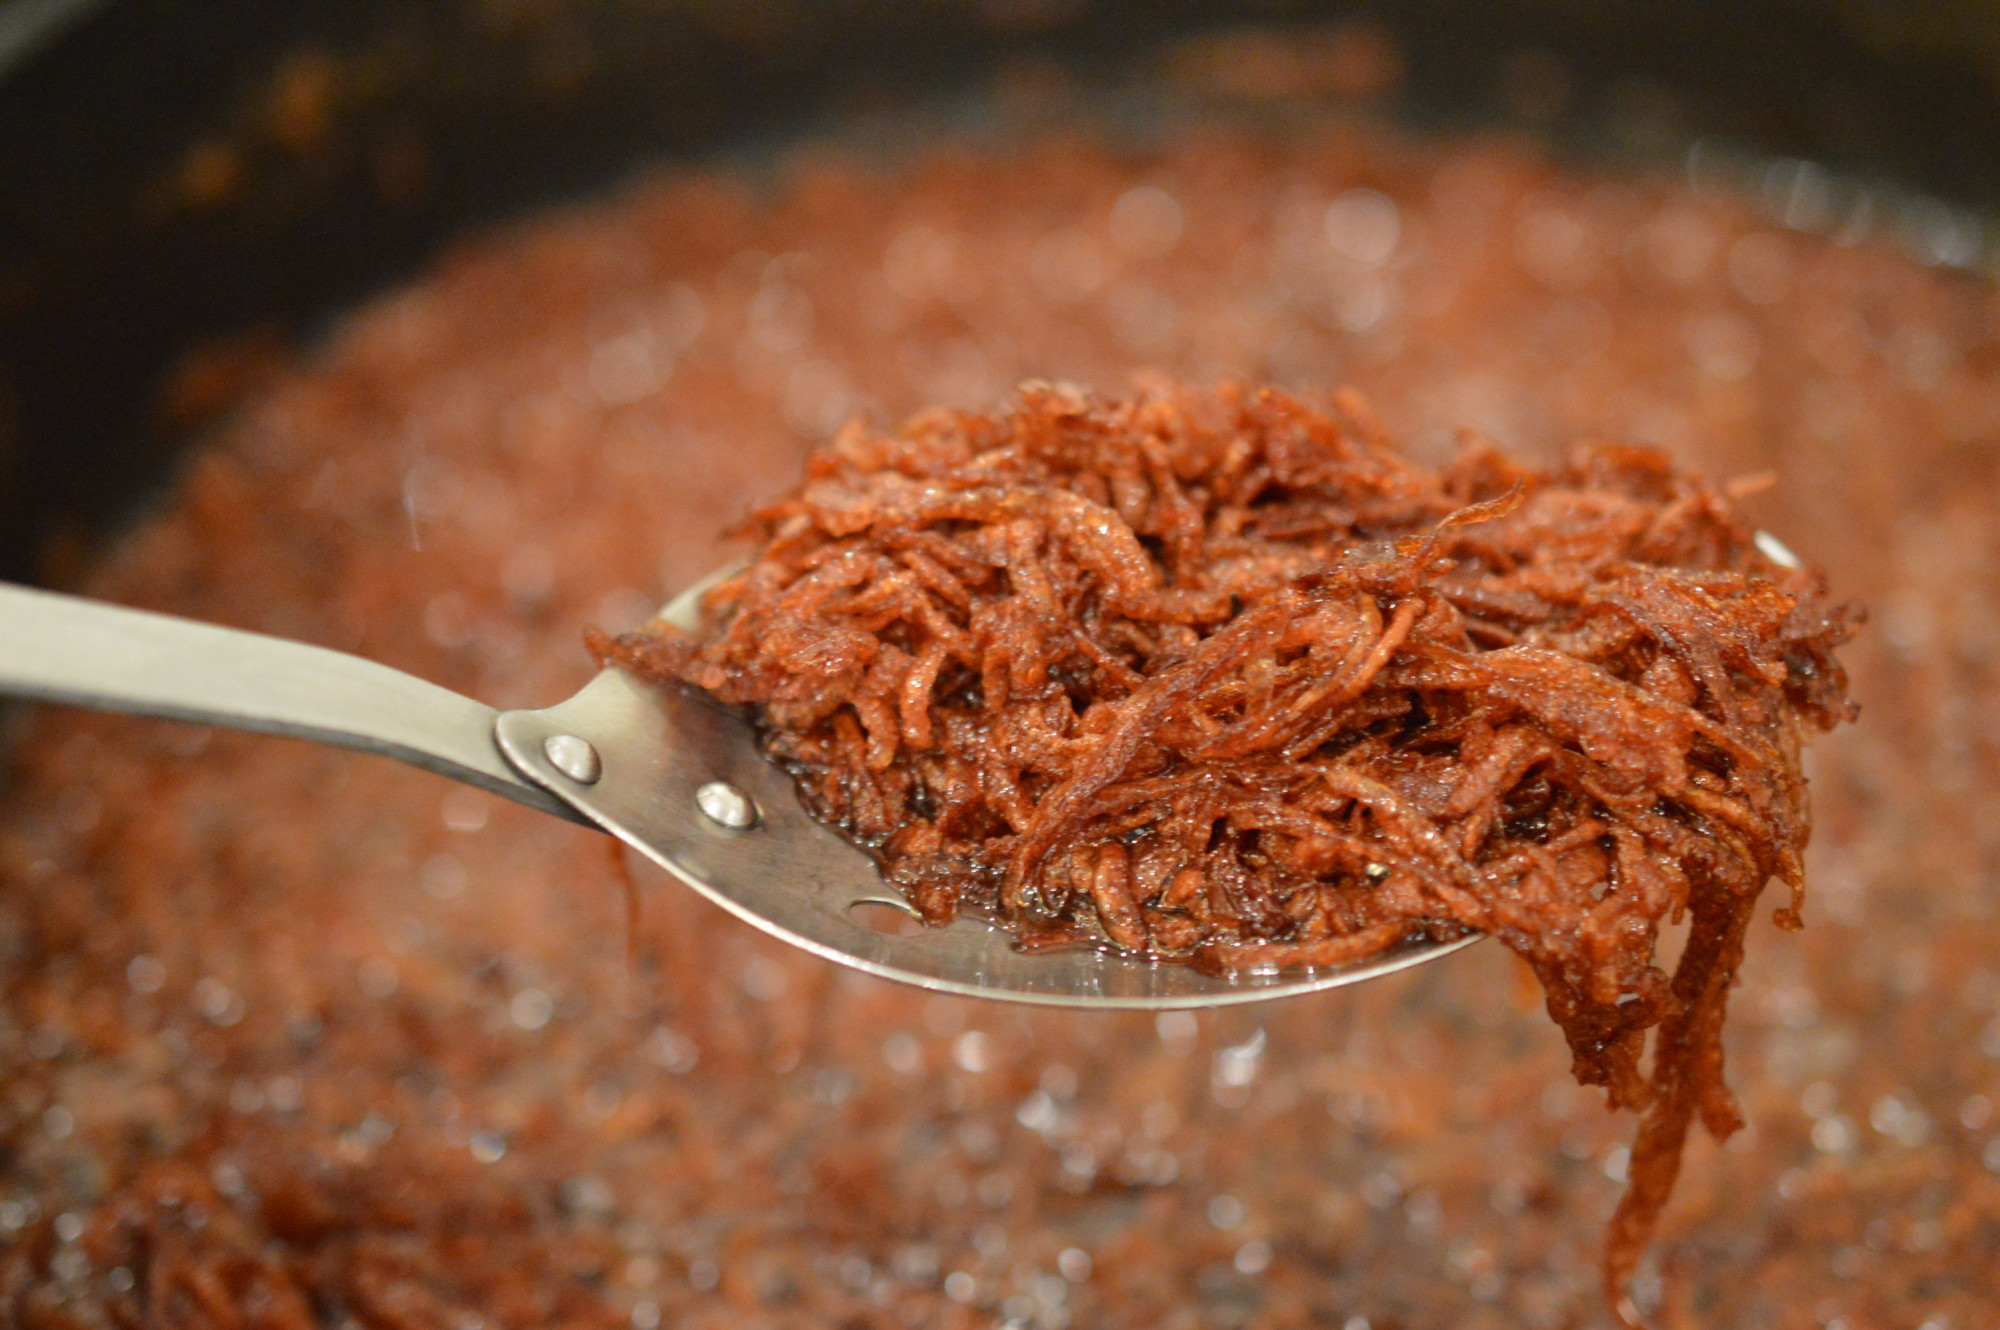
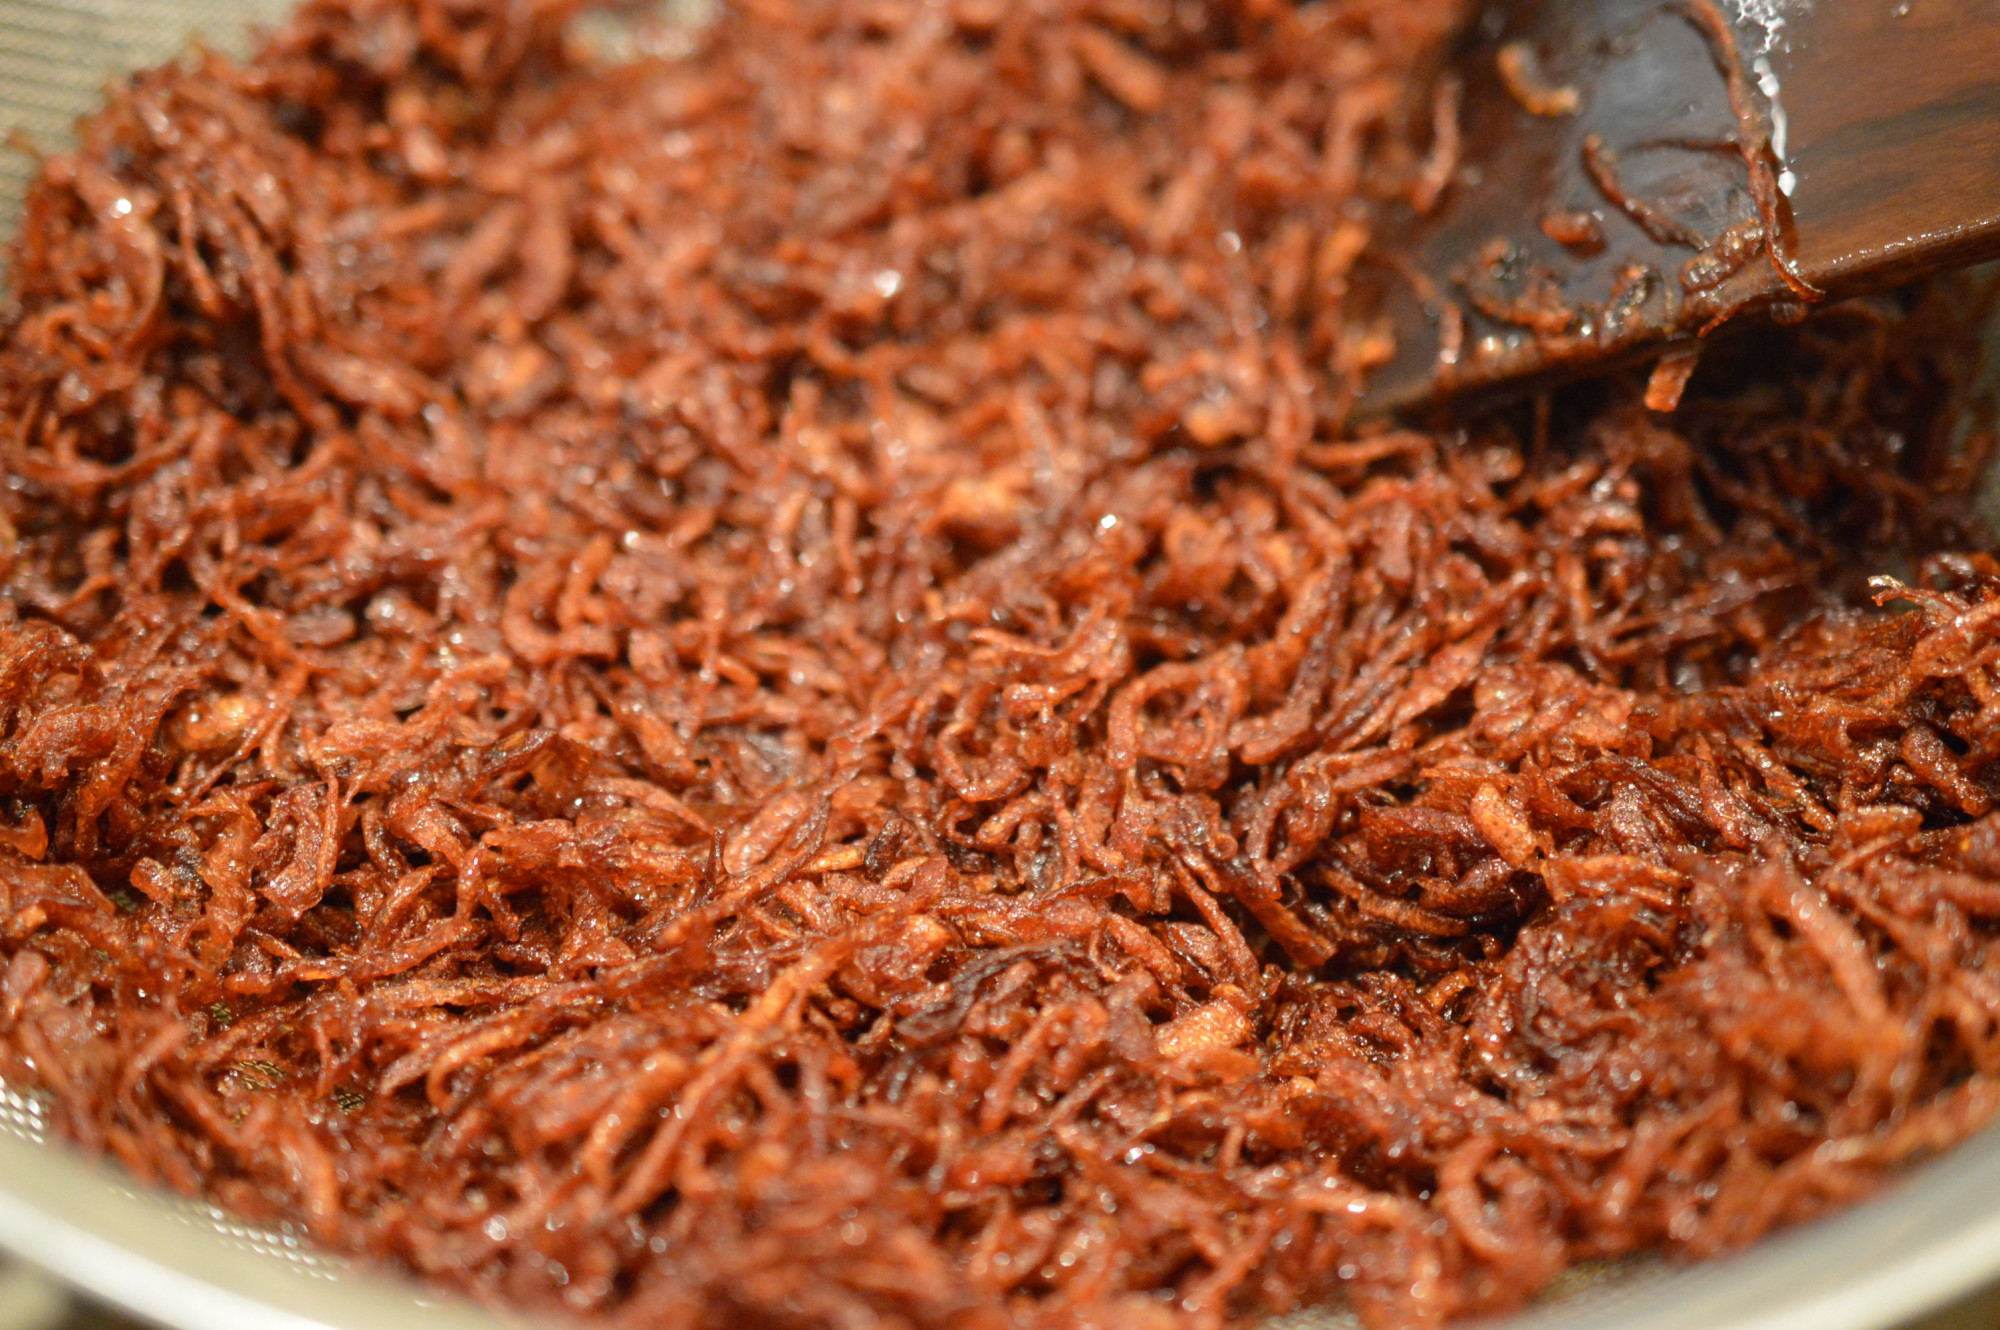
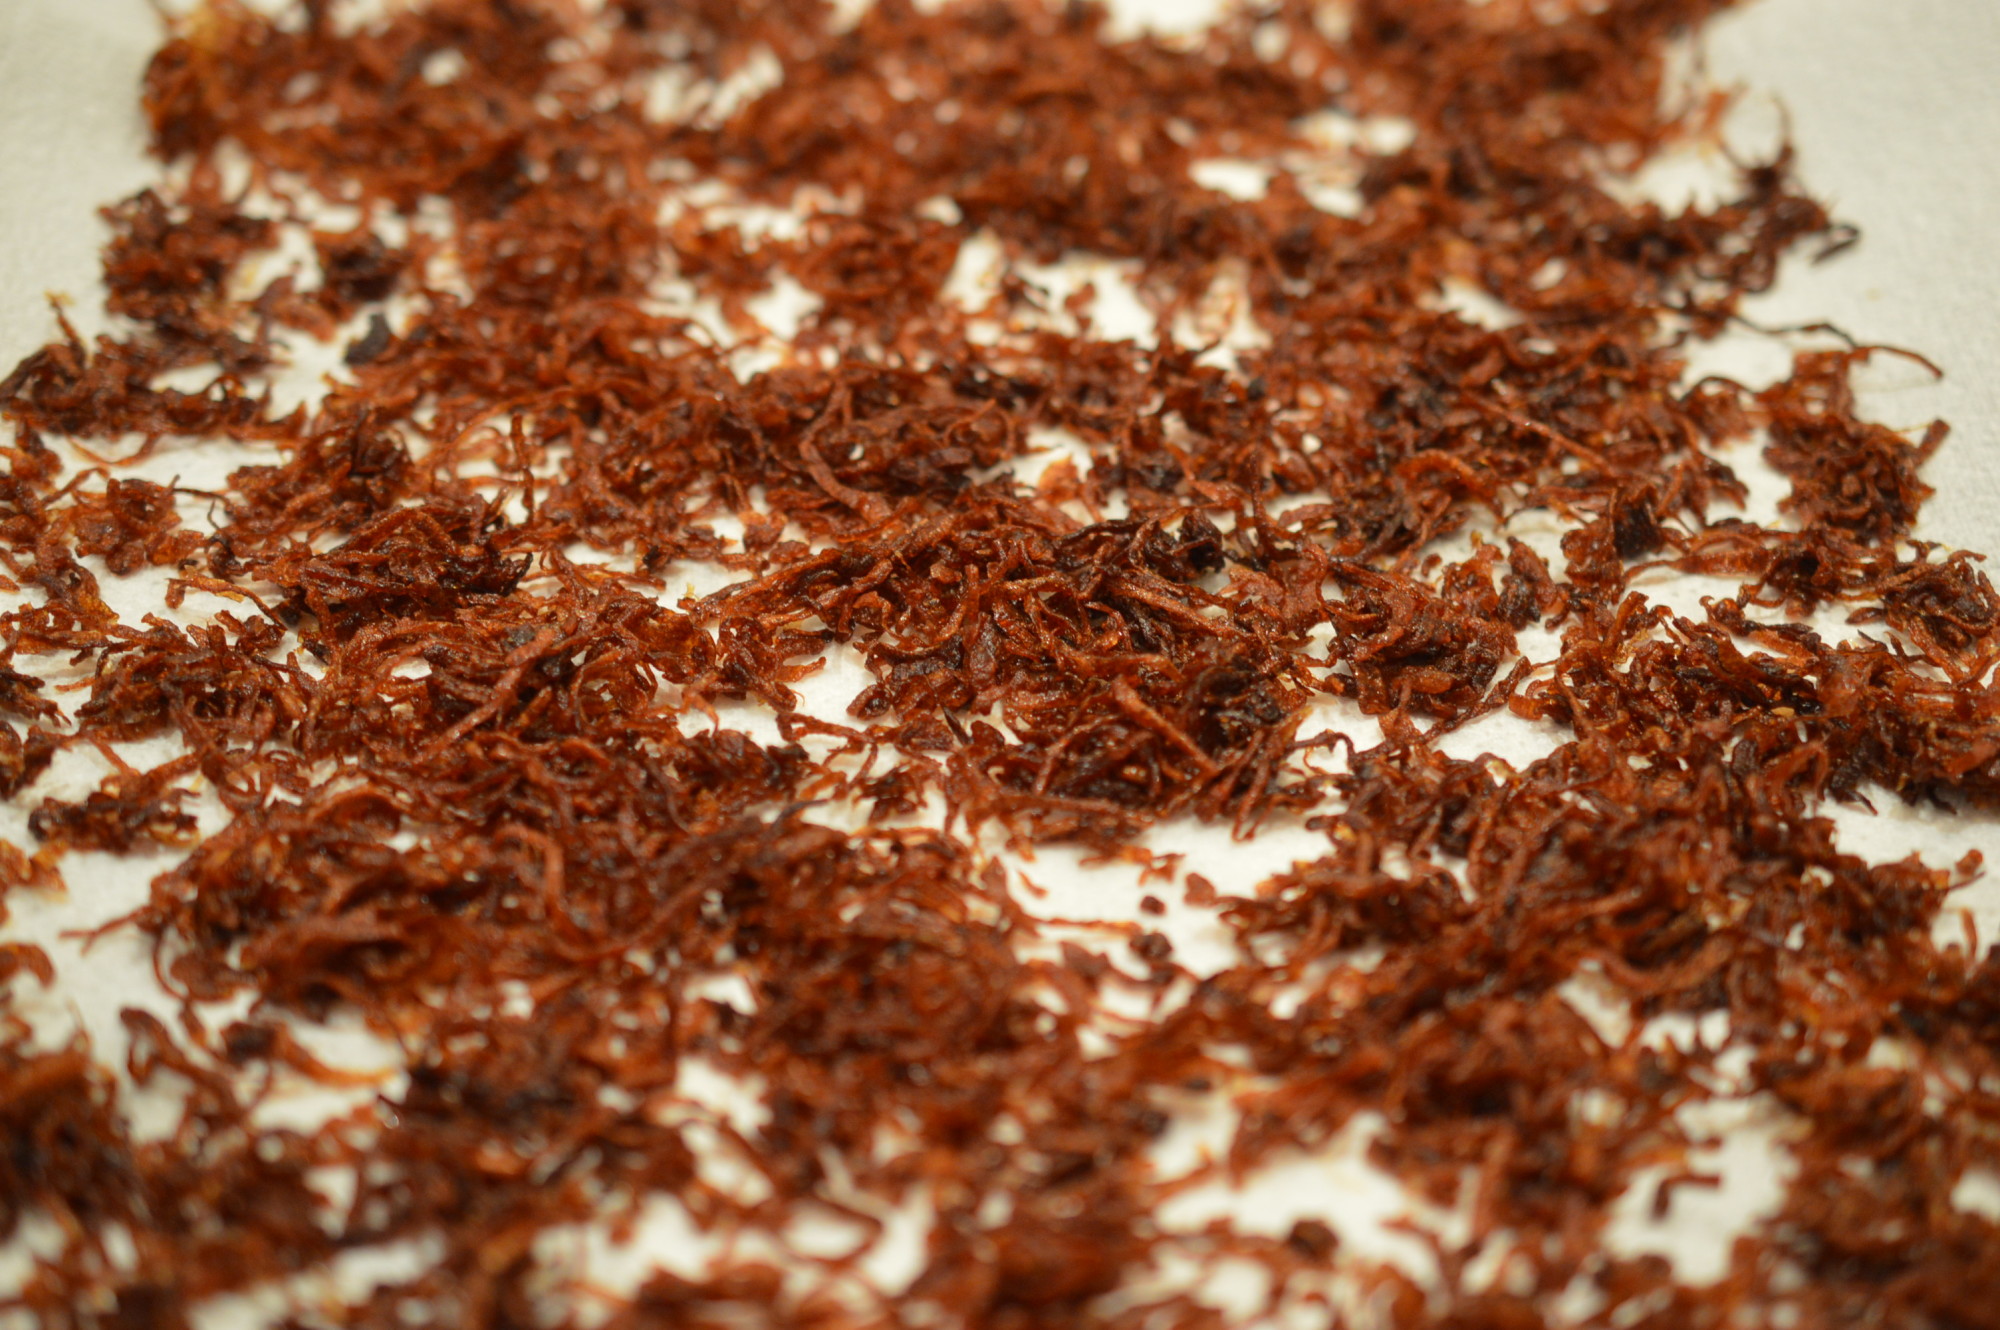
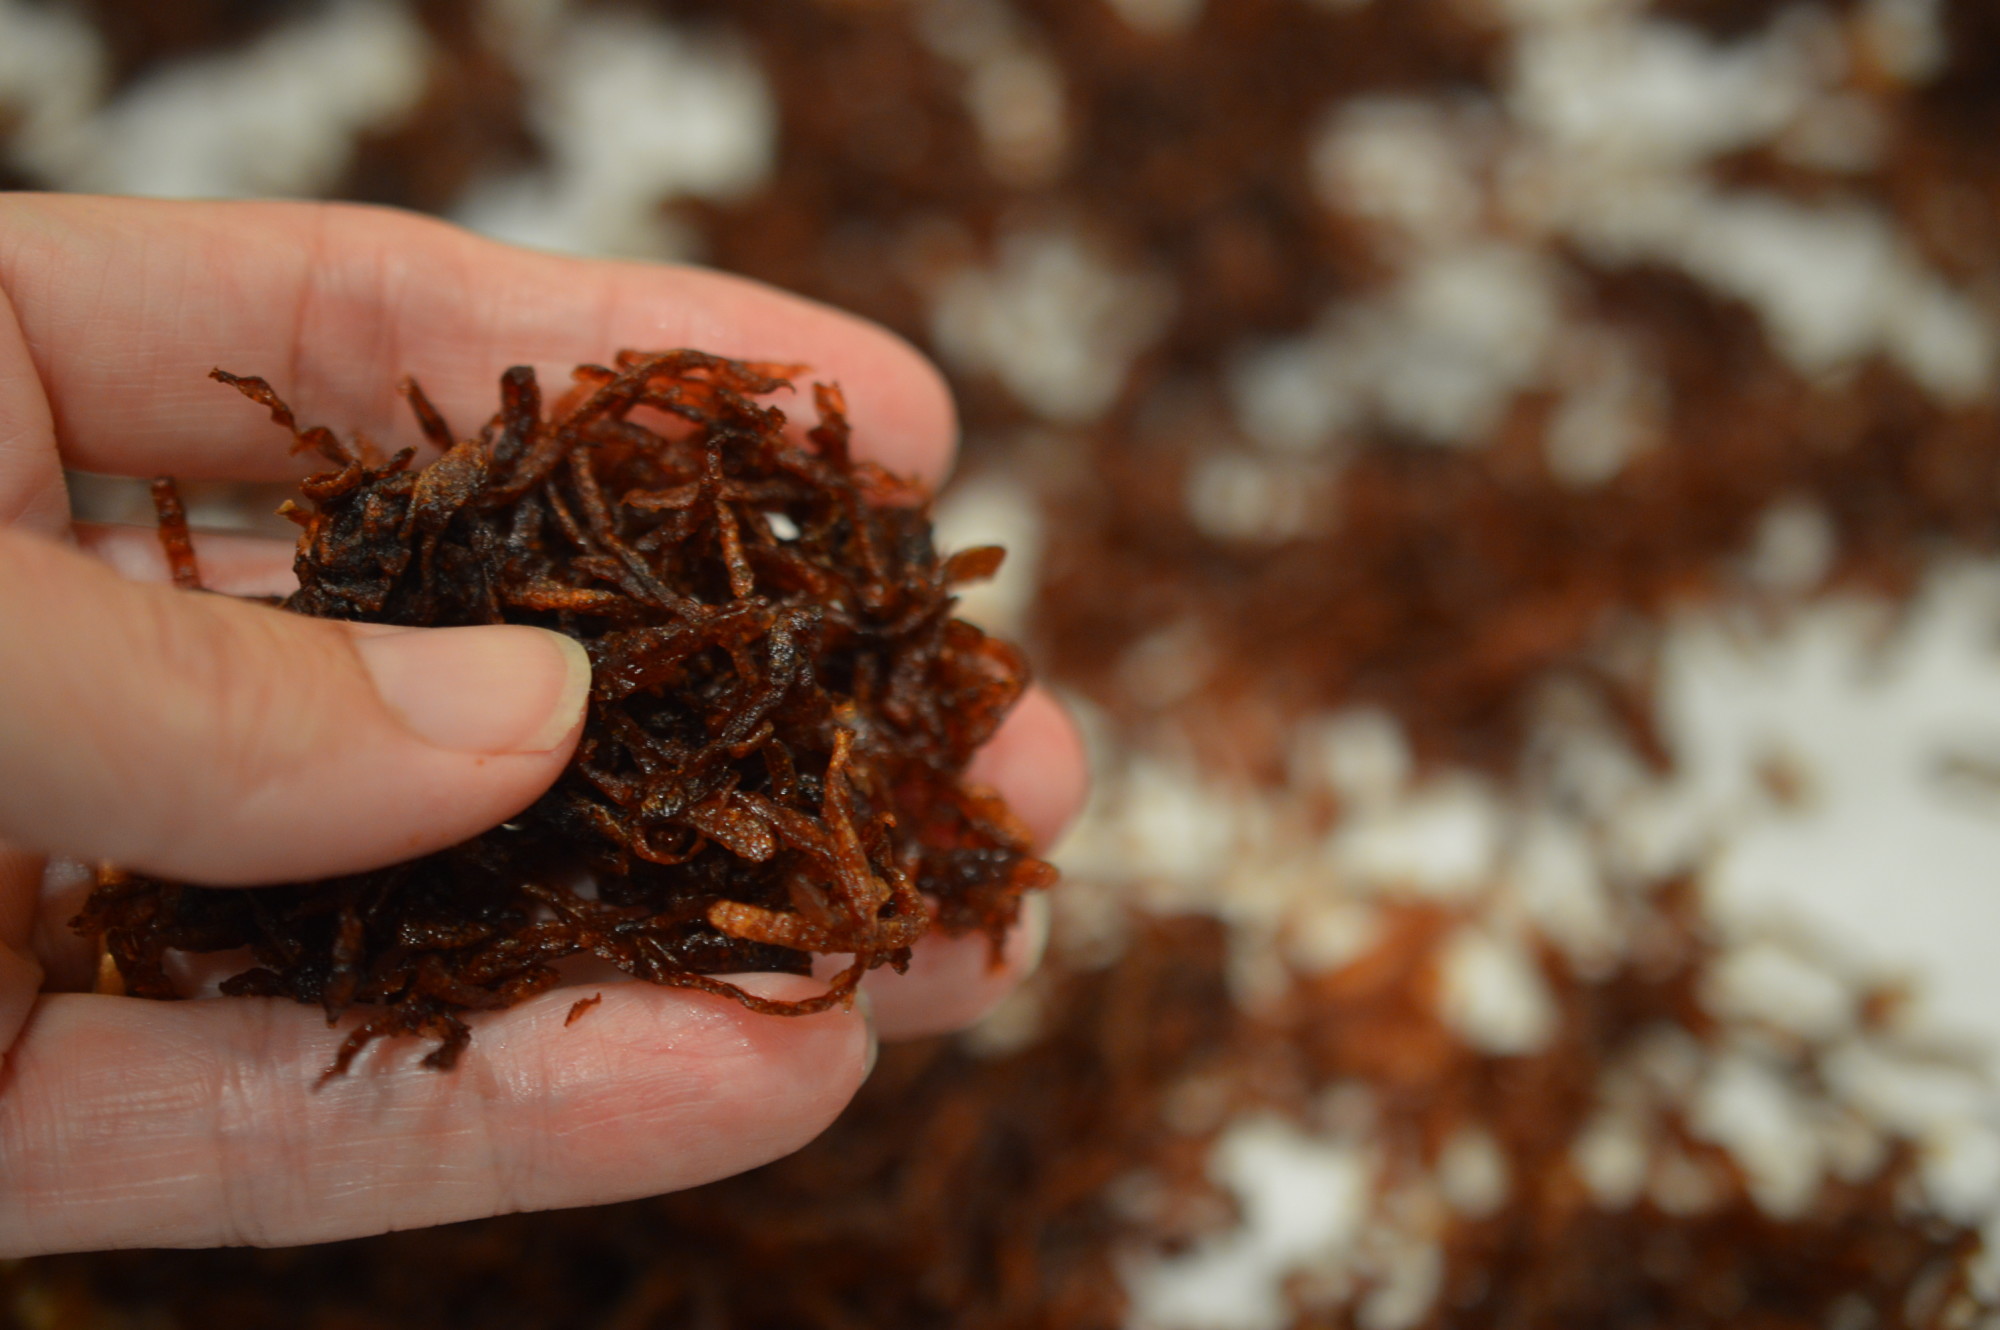
It’s all fine, particularly since ‘Khichdi’ literally means hodgepodge and has just about as many variations.  Khichdi is often served with crispy fried onions on top and that’s why I put some on top of my Kedgeree.

Fried onions 16

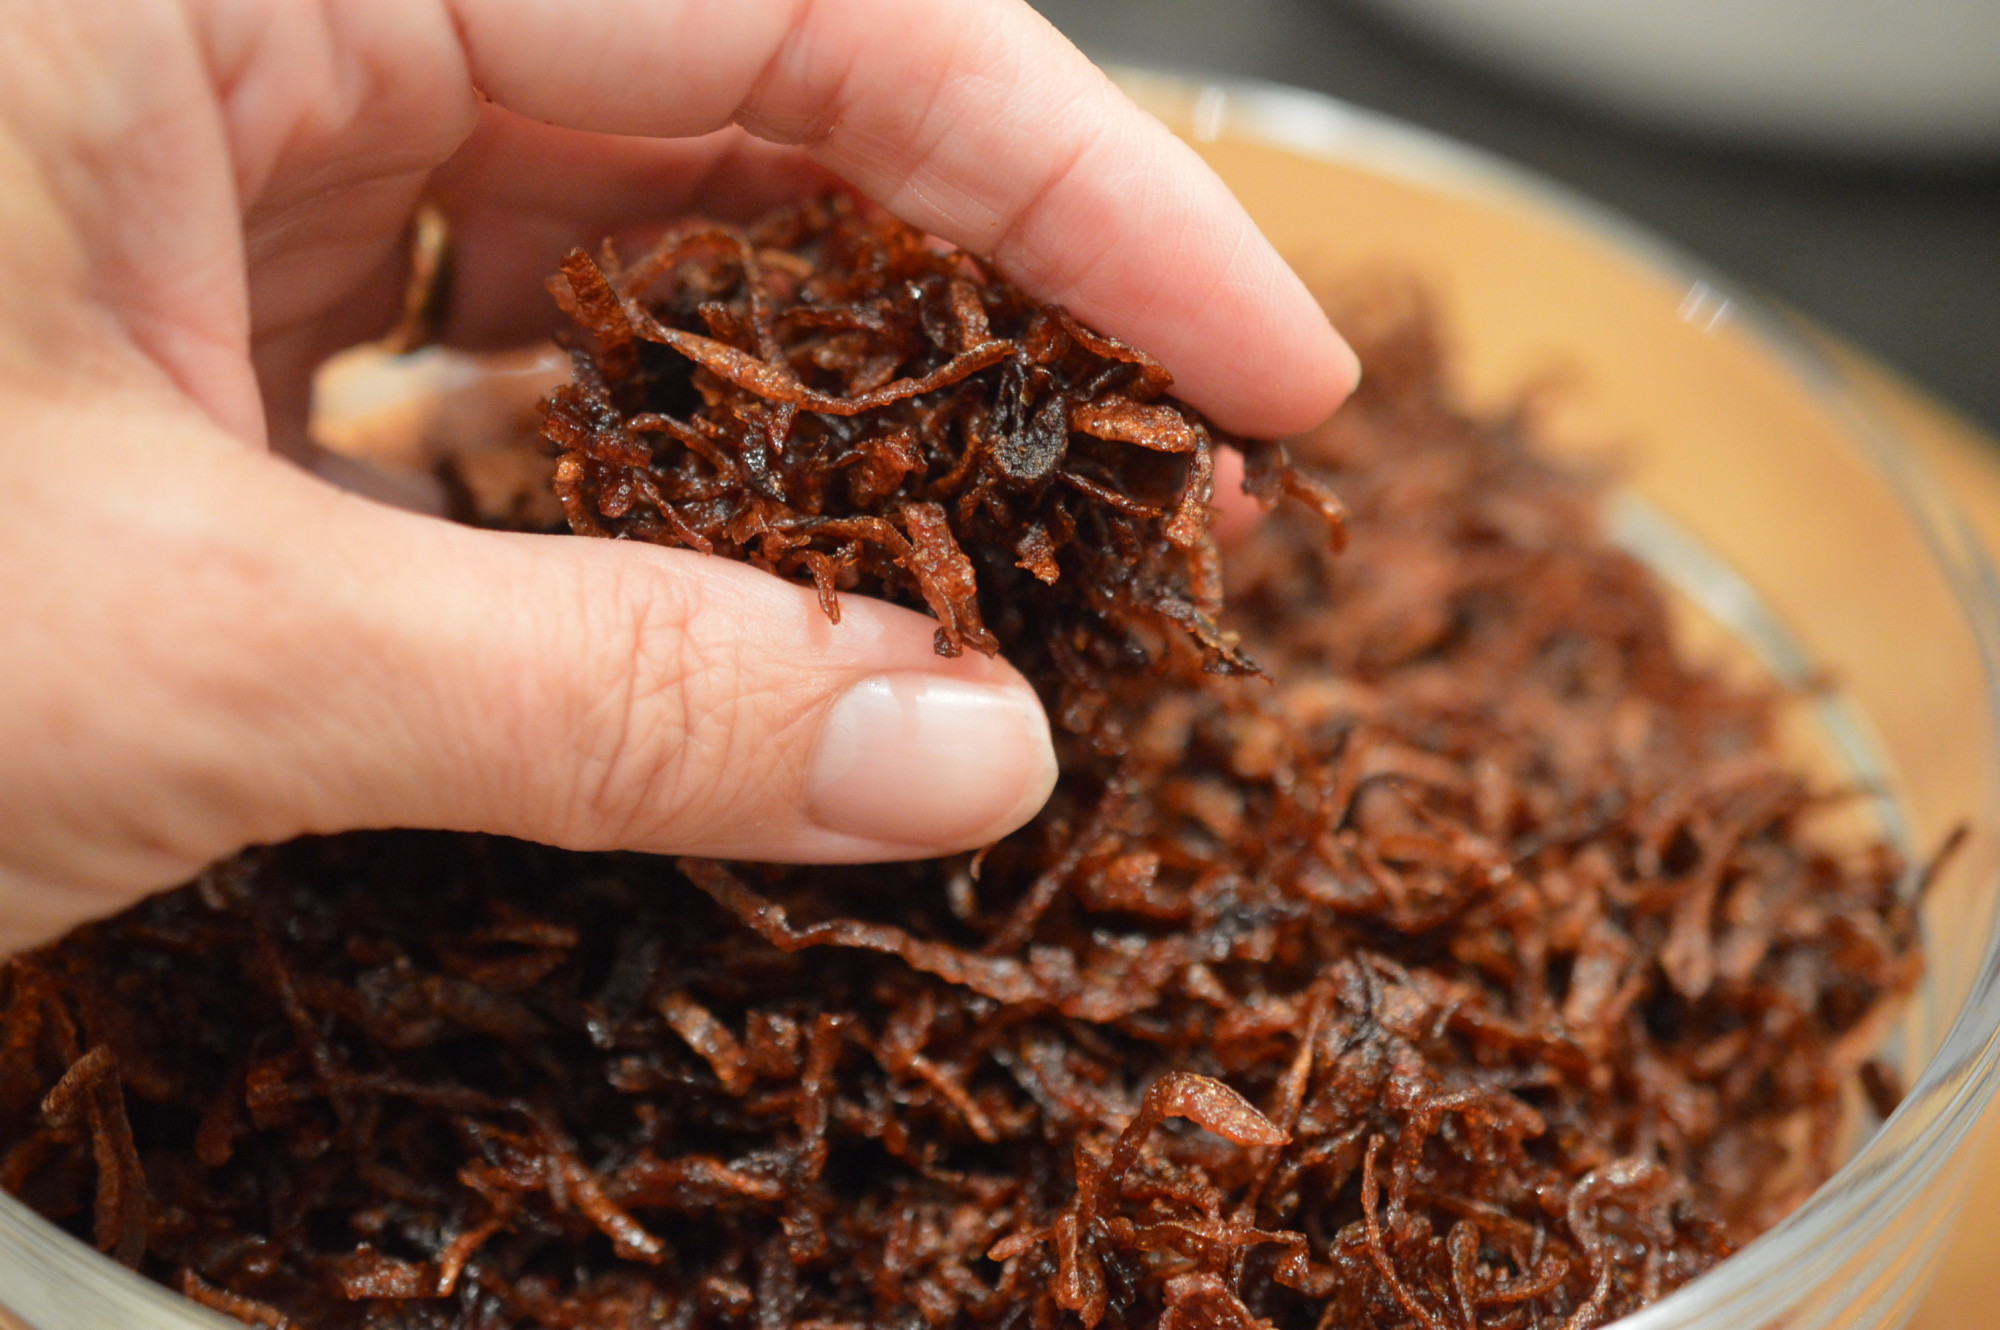
If you don’t have a stash of these sitting in your freezer they’re the first job.  What you don’t use with this will sit happily in the freezer.

Kedgeree Haddock

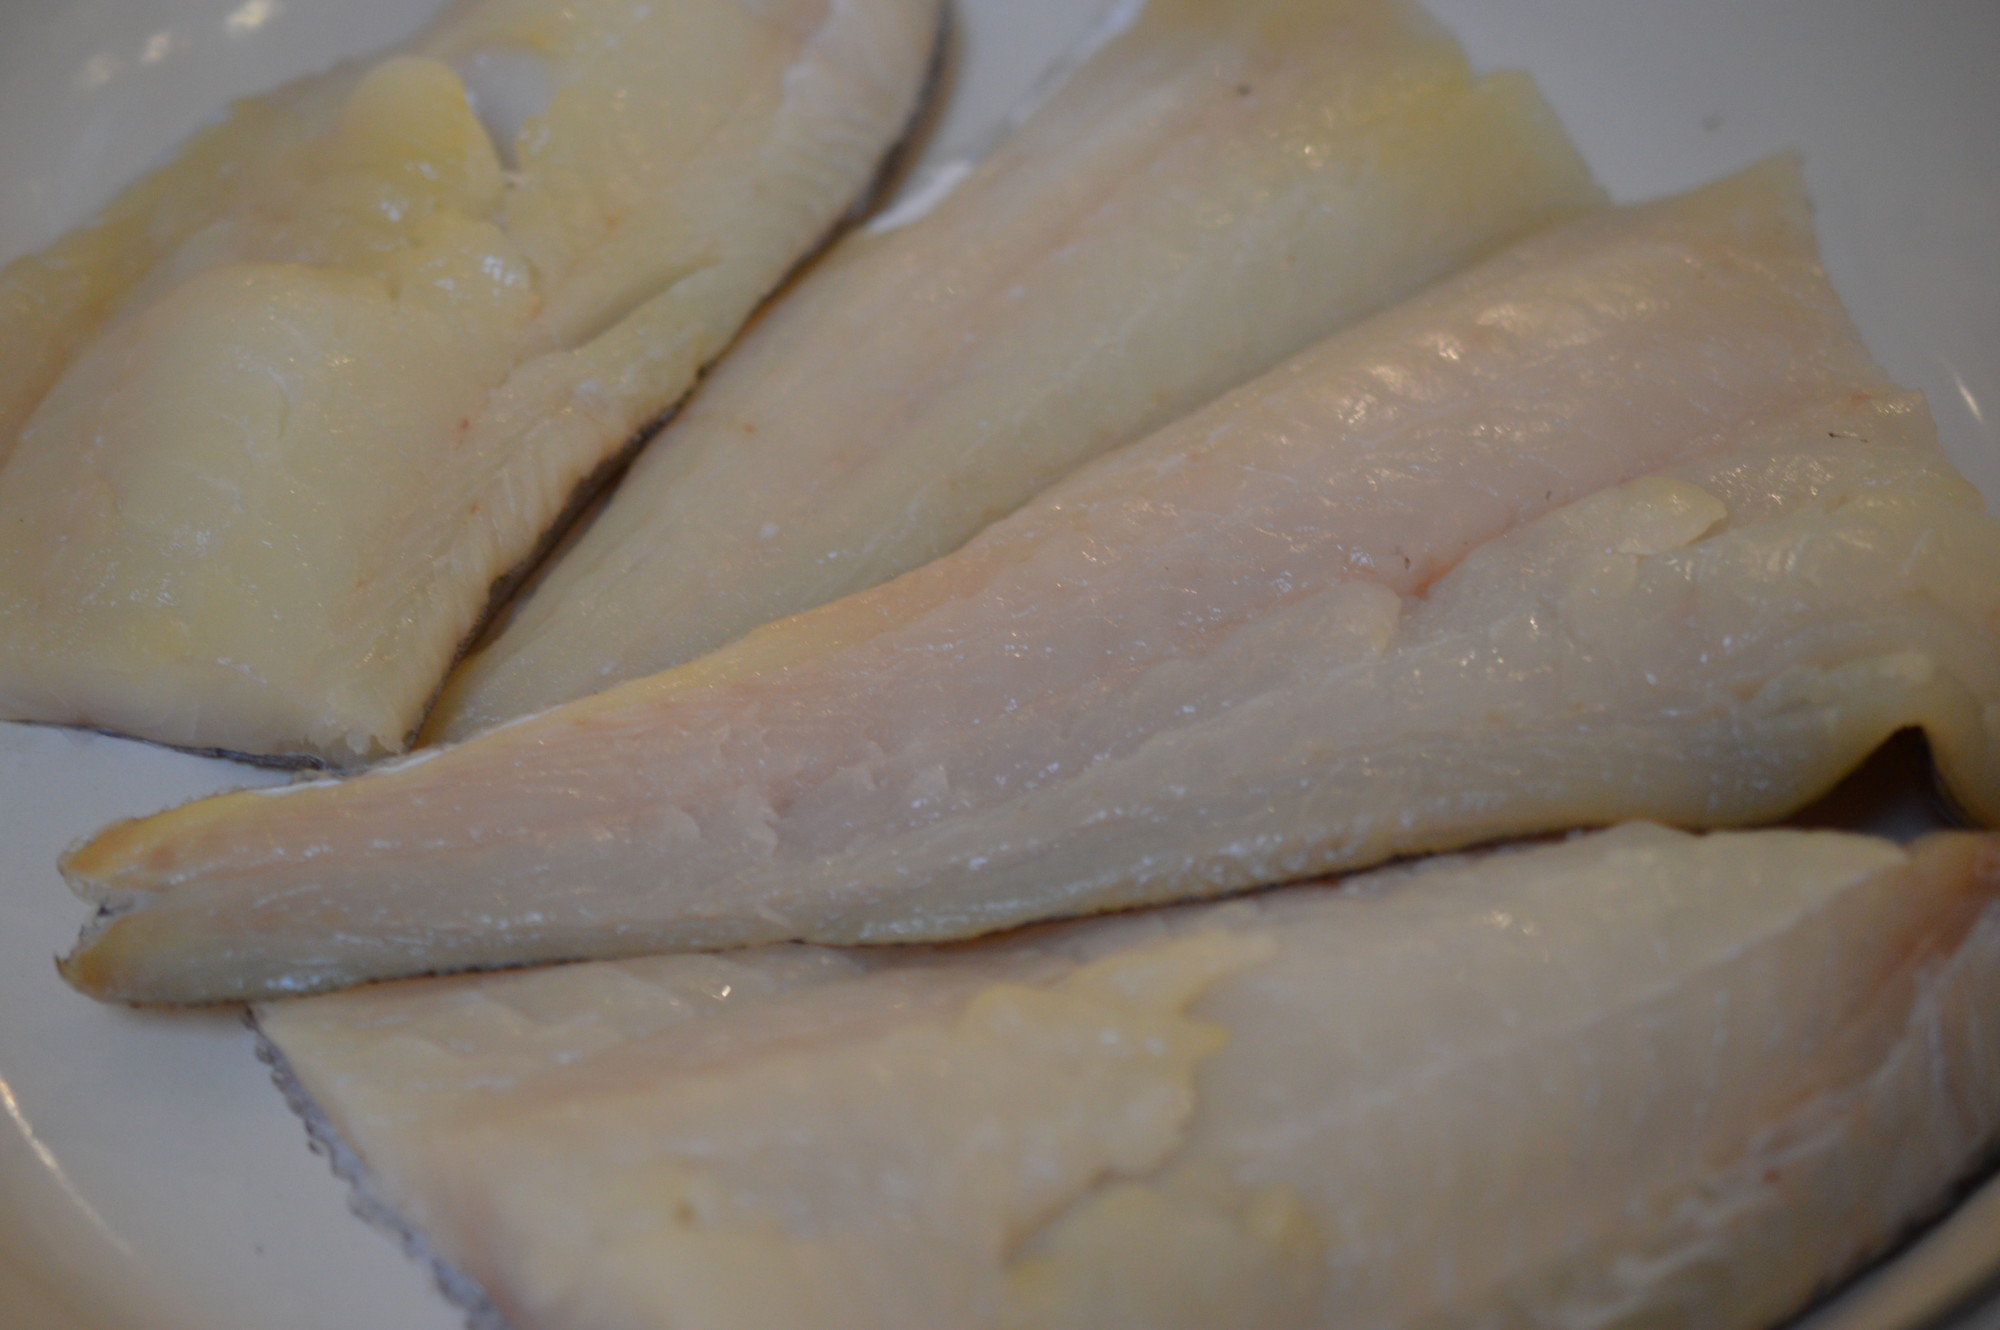
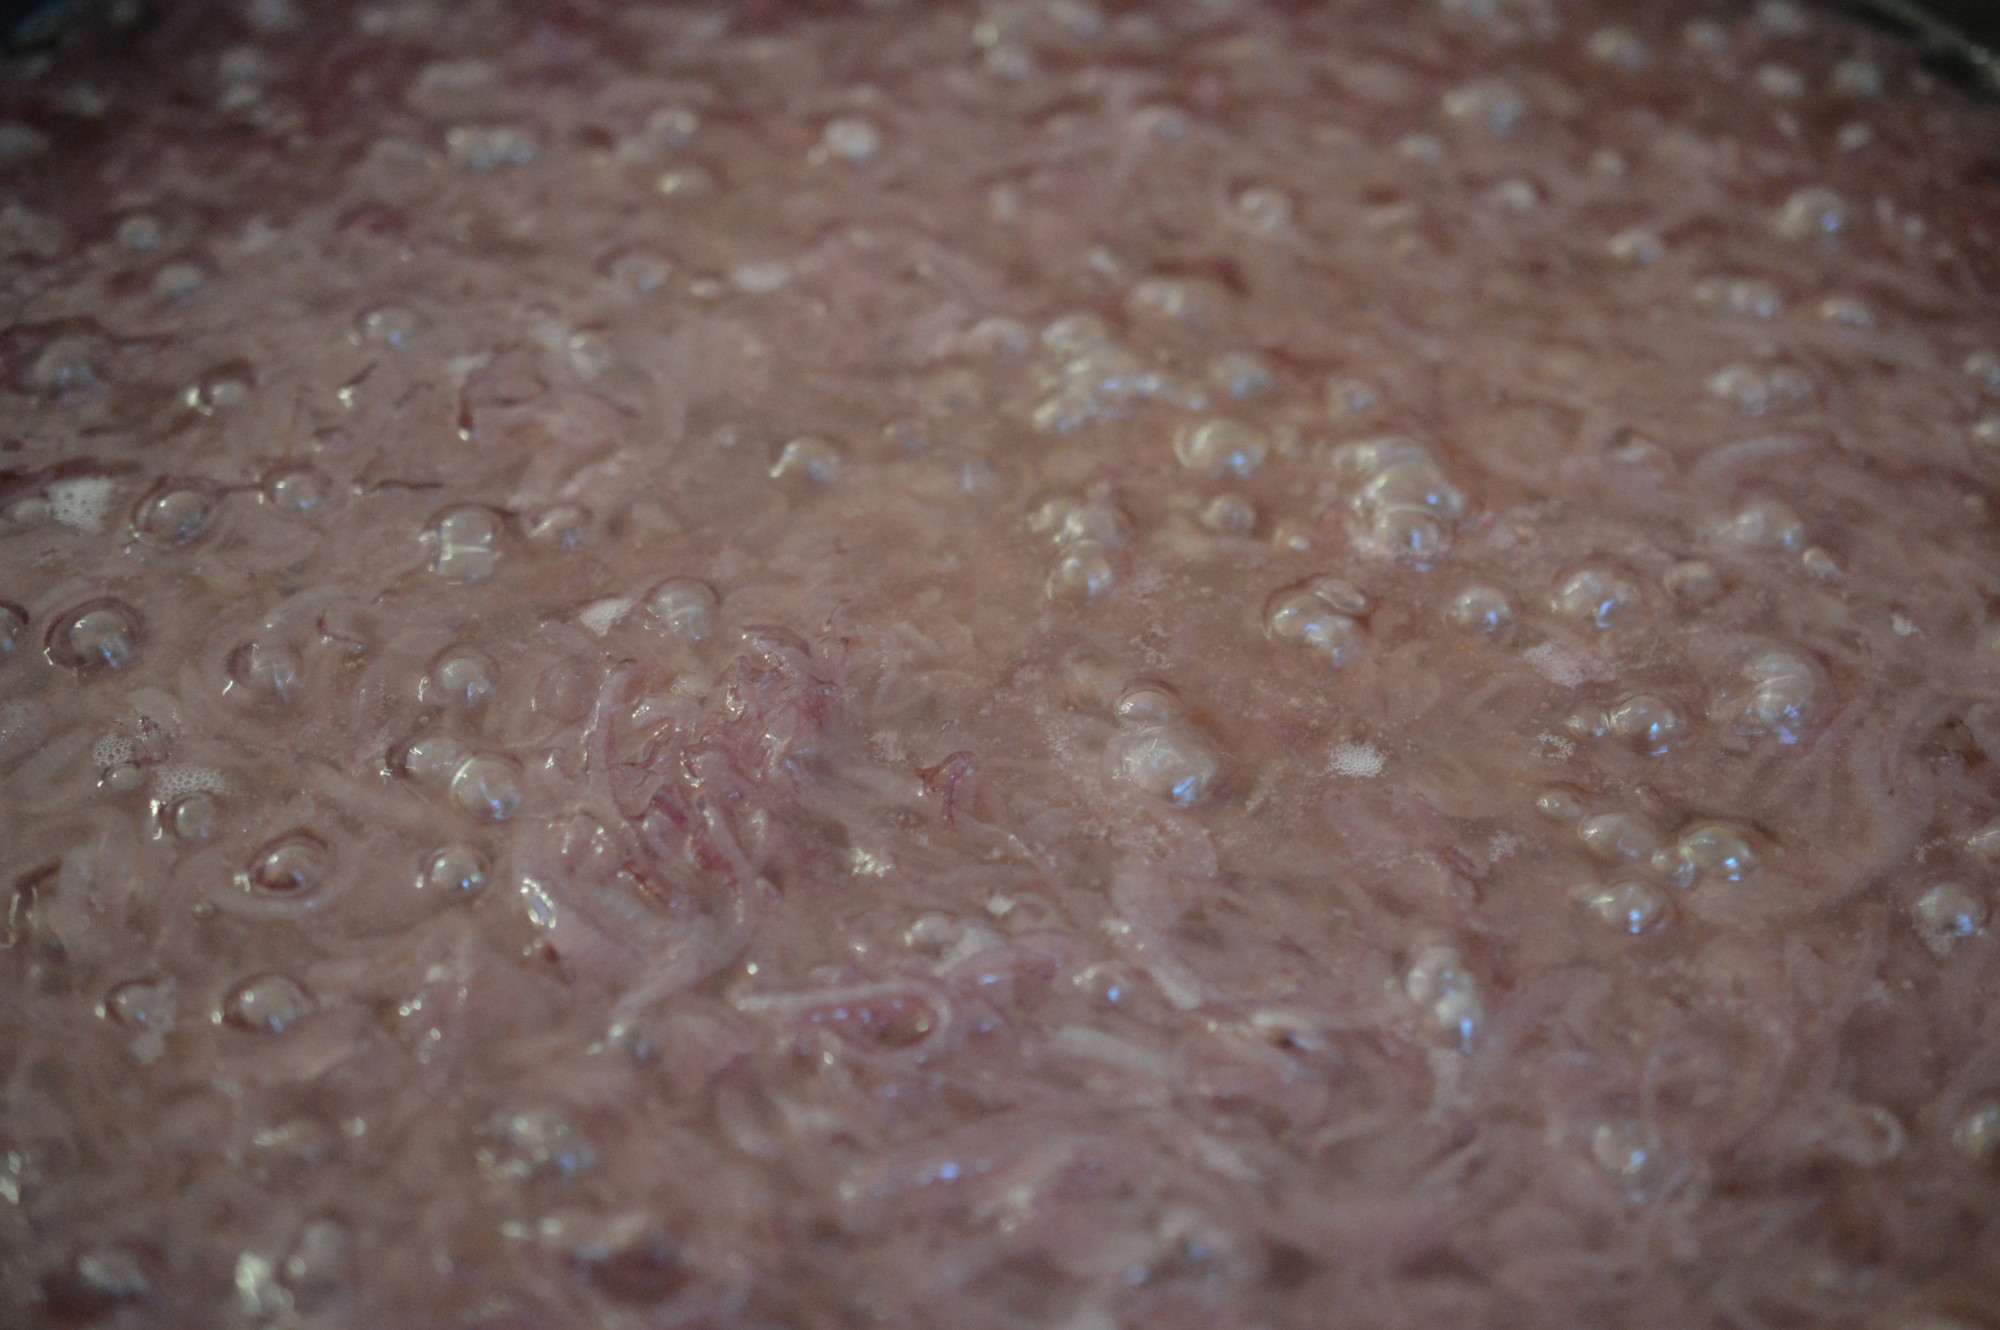
For the Kedgeree itself.  The first step is to poach the haddock.  For the seven of us, I used 2 fillets of undyed smoked haddock which weighed 0.735g.  A little bit more, a little bit less, isn’t going to matter.

Kedgeree Haddock in milk

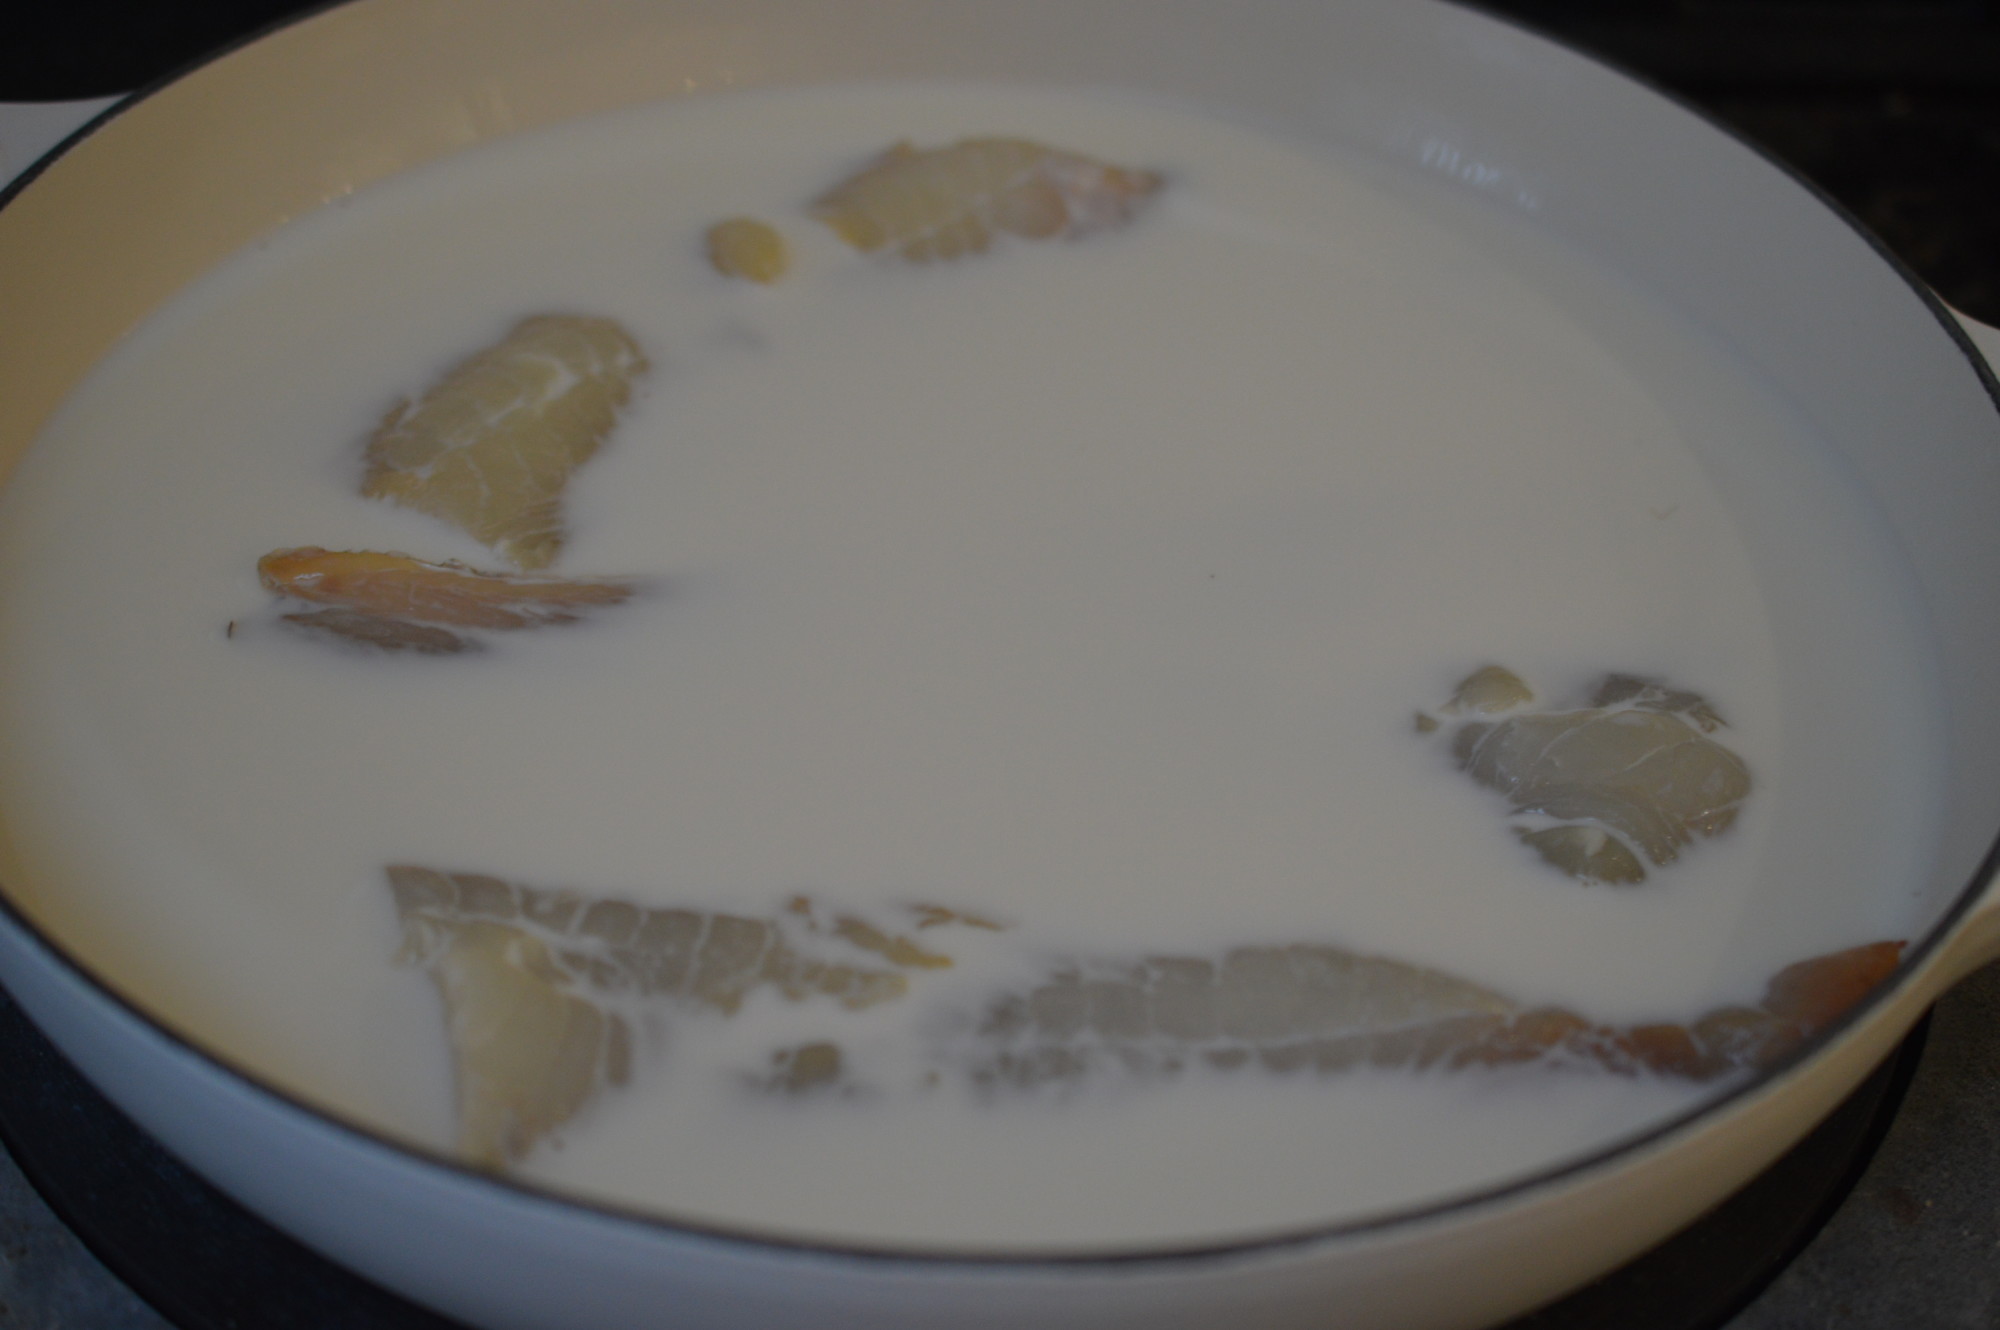
My Mum always poached in milk and so do I.  Pour over some full-fat milk, enough so it almost covers the smoked haddock.

Bring to a gentle simmer, put the lid on and simmer for 4 minutes.

Kedgeree Pot

Take off the heat and leave to ‘steam’, lid on, for a further ten minutes.

Kedgeree onions

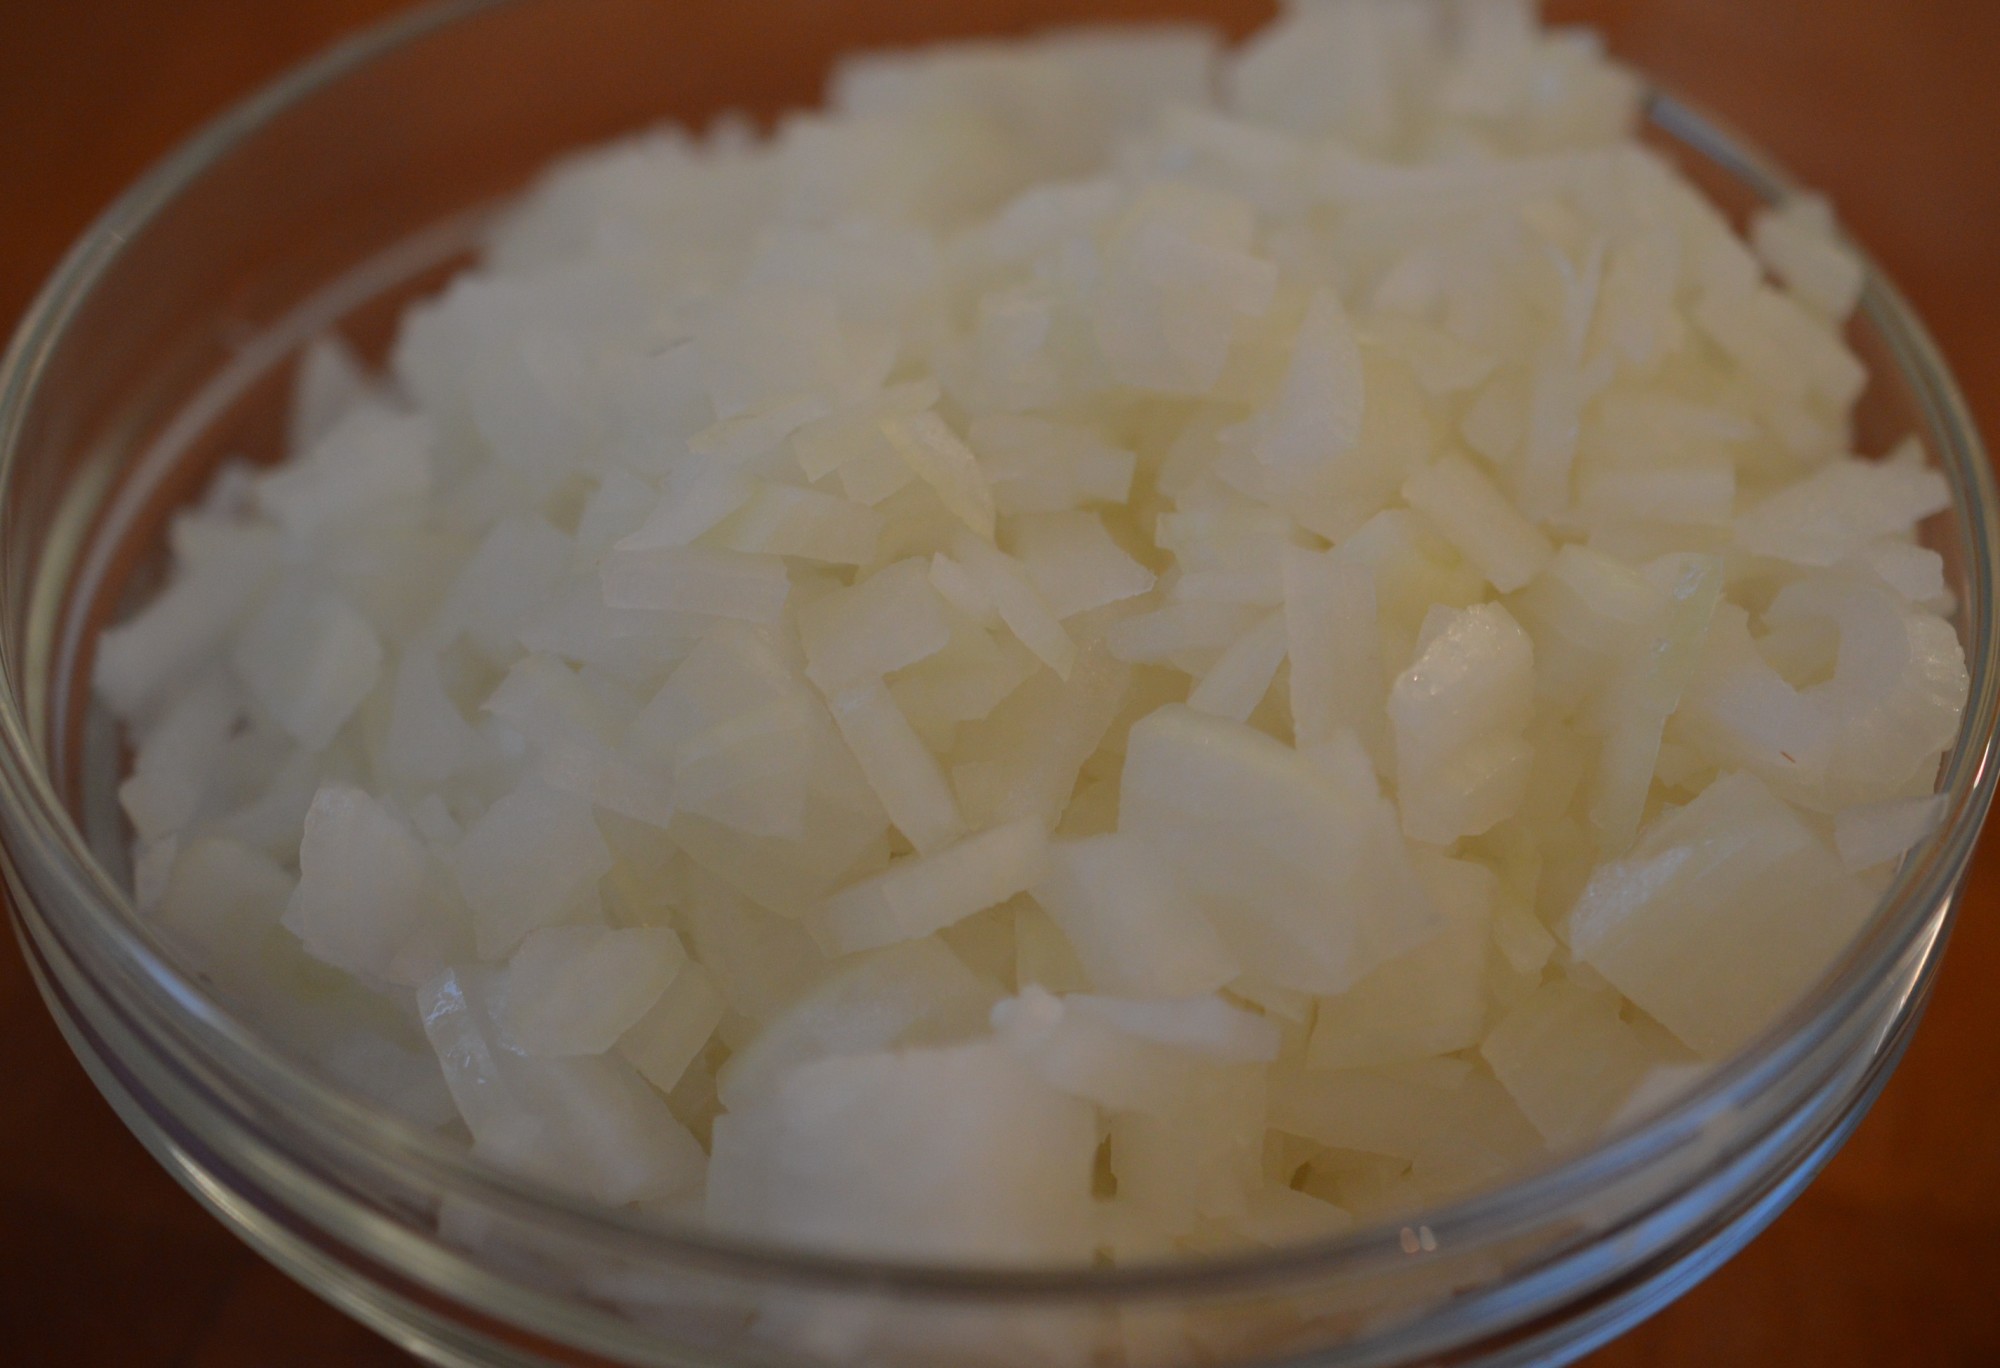
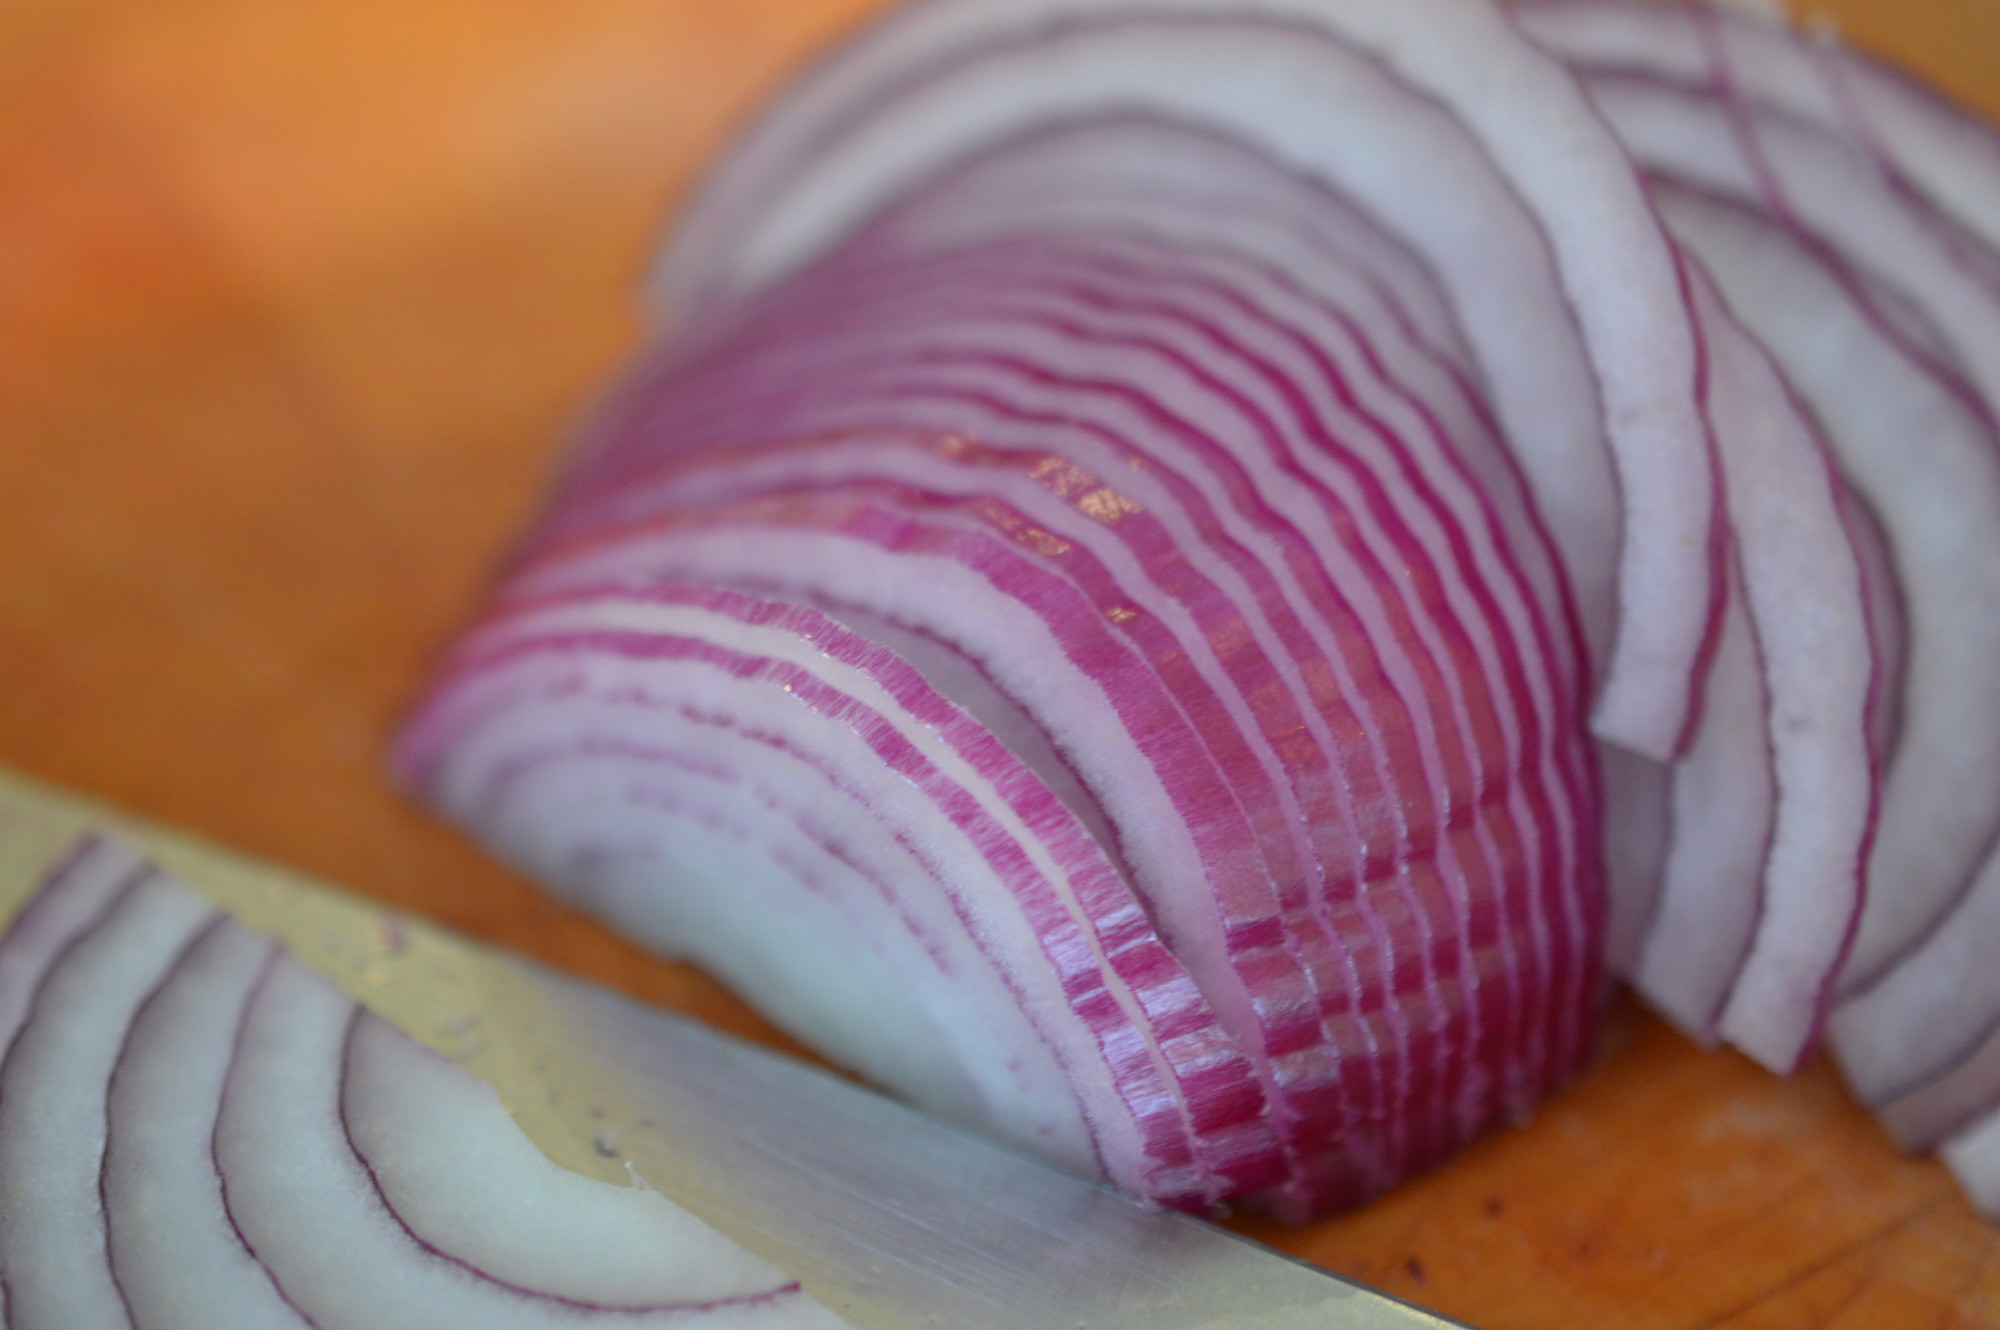
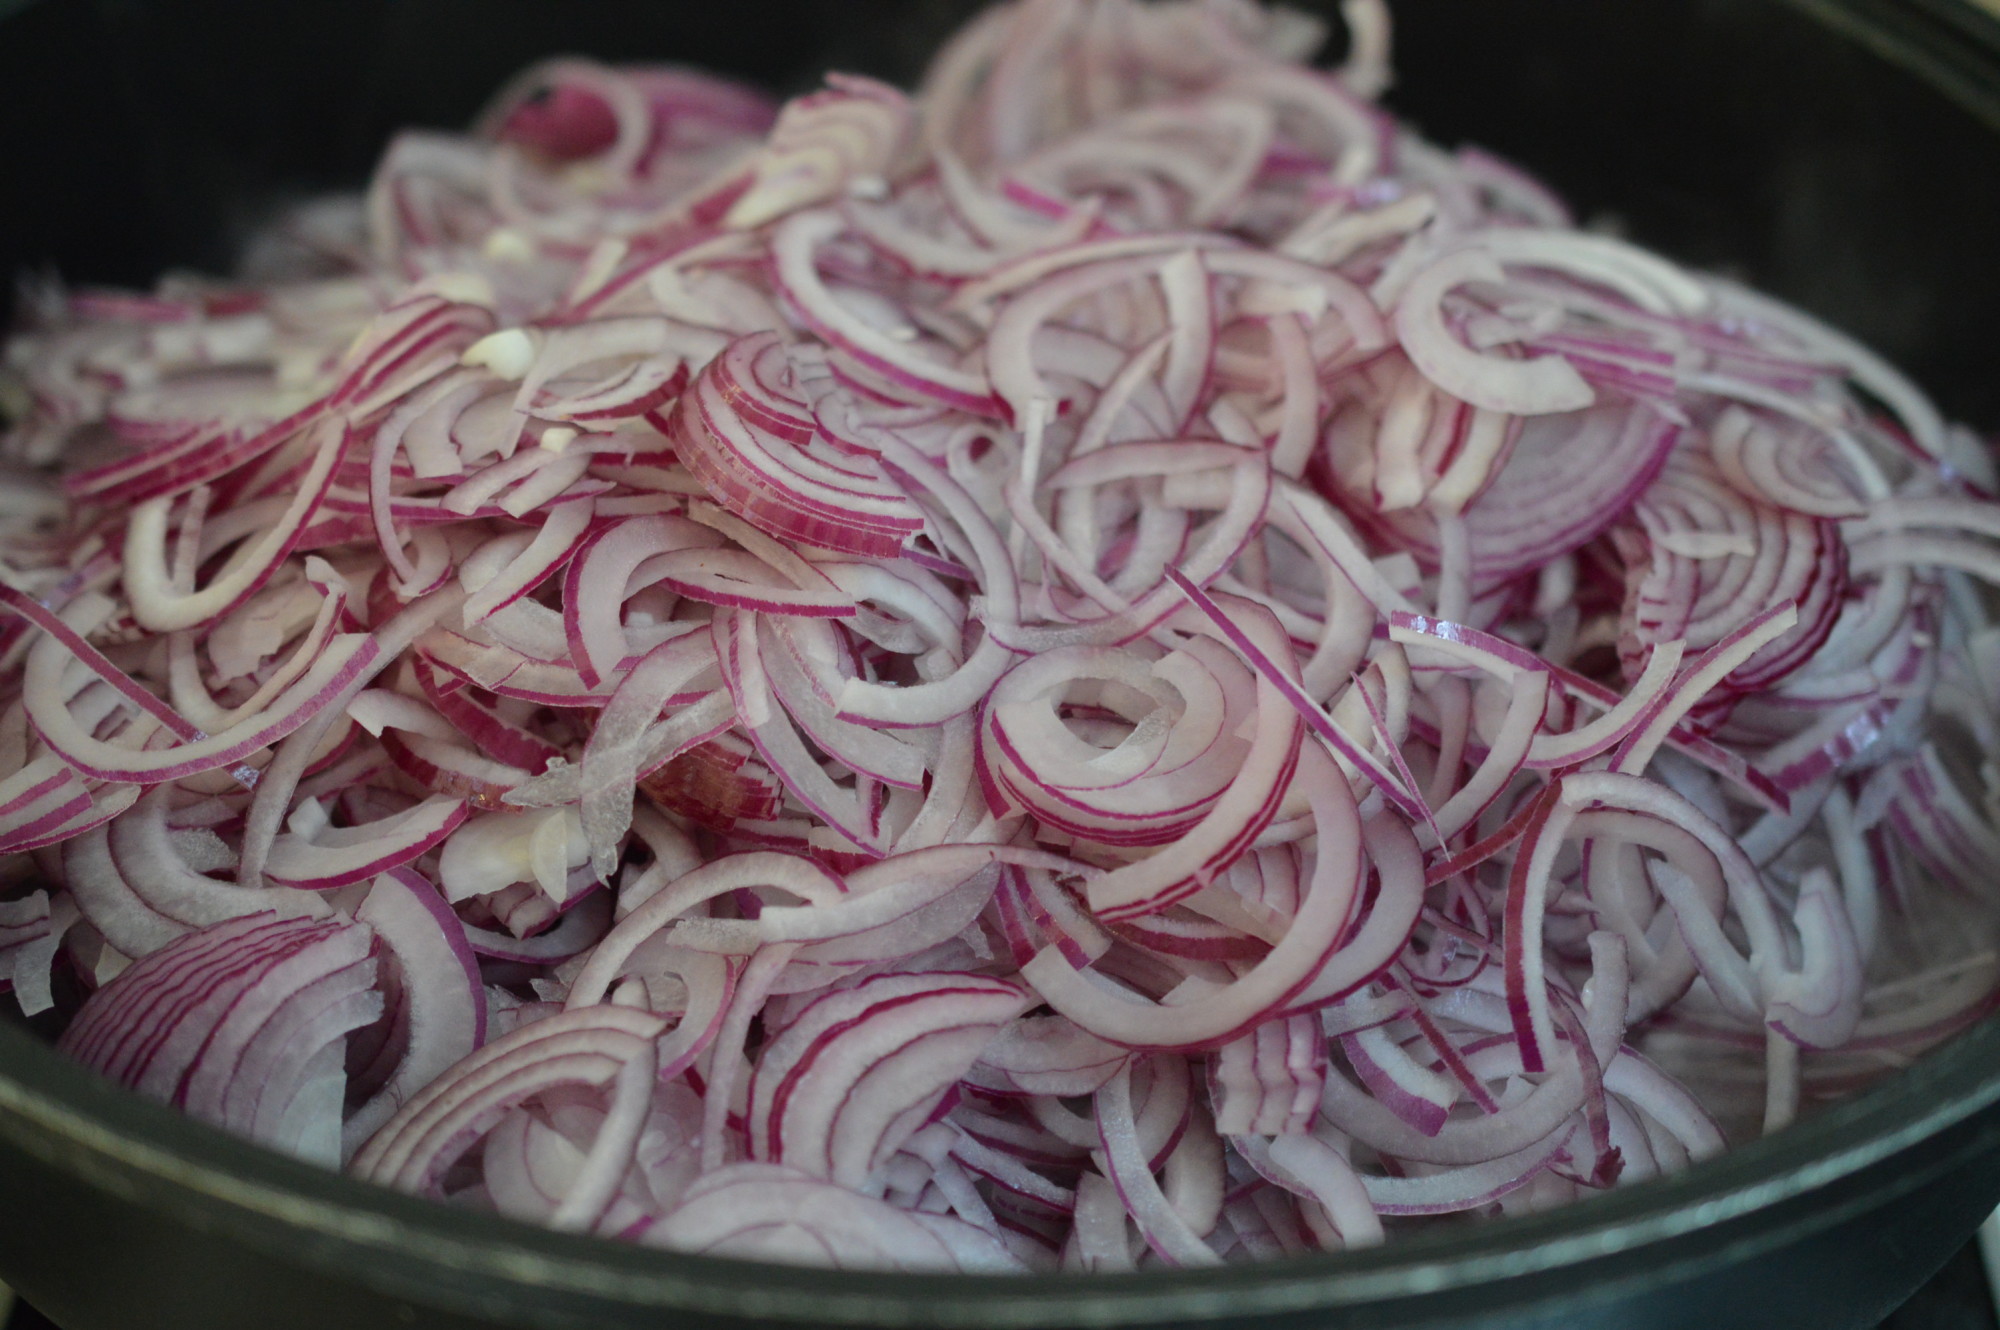
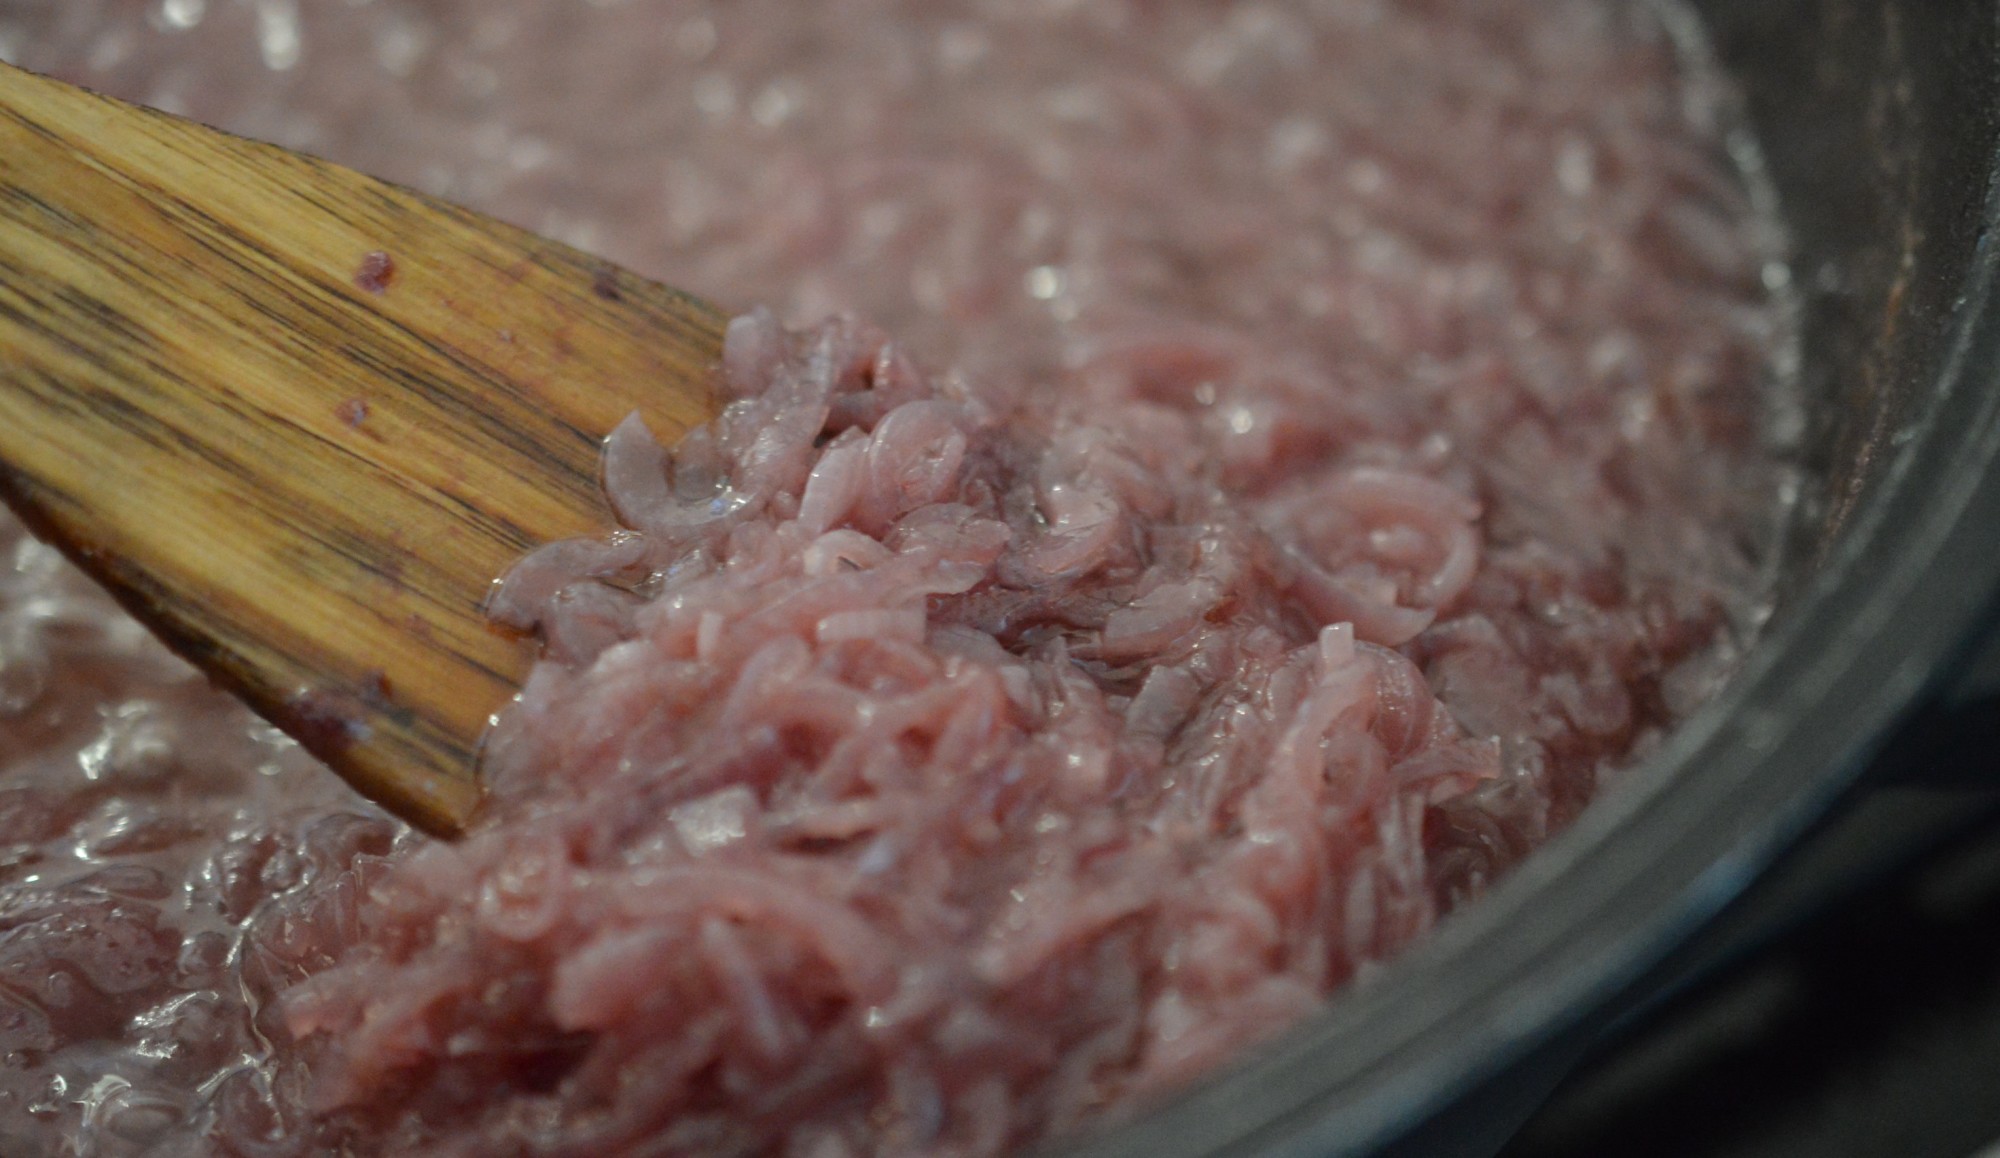
Chop a couple of onions.

Kedgeree 2

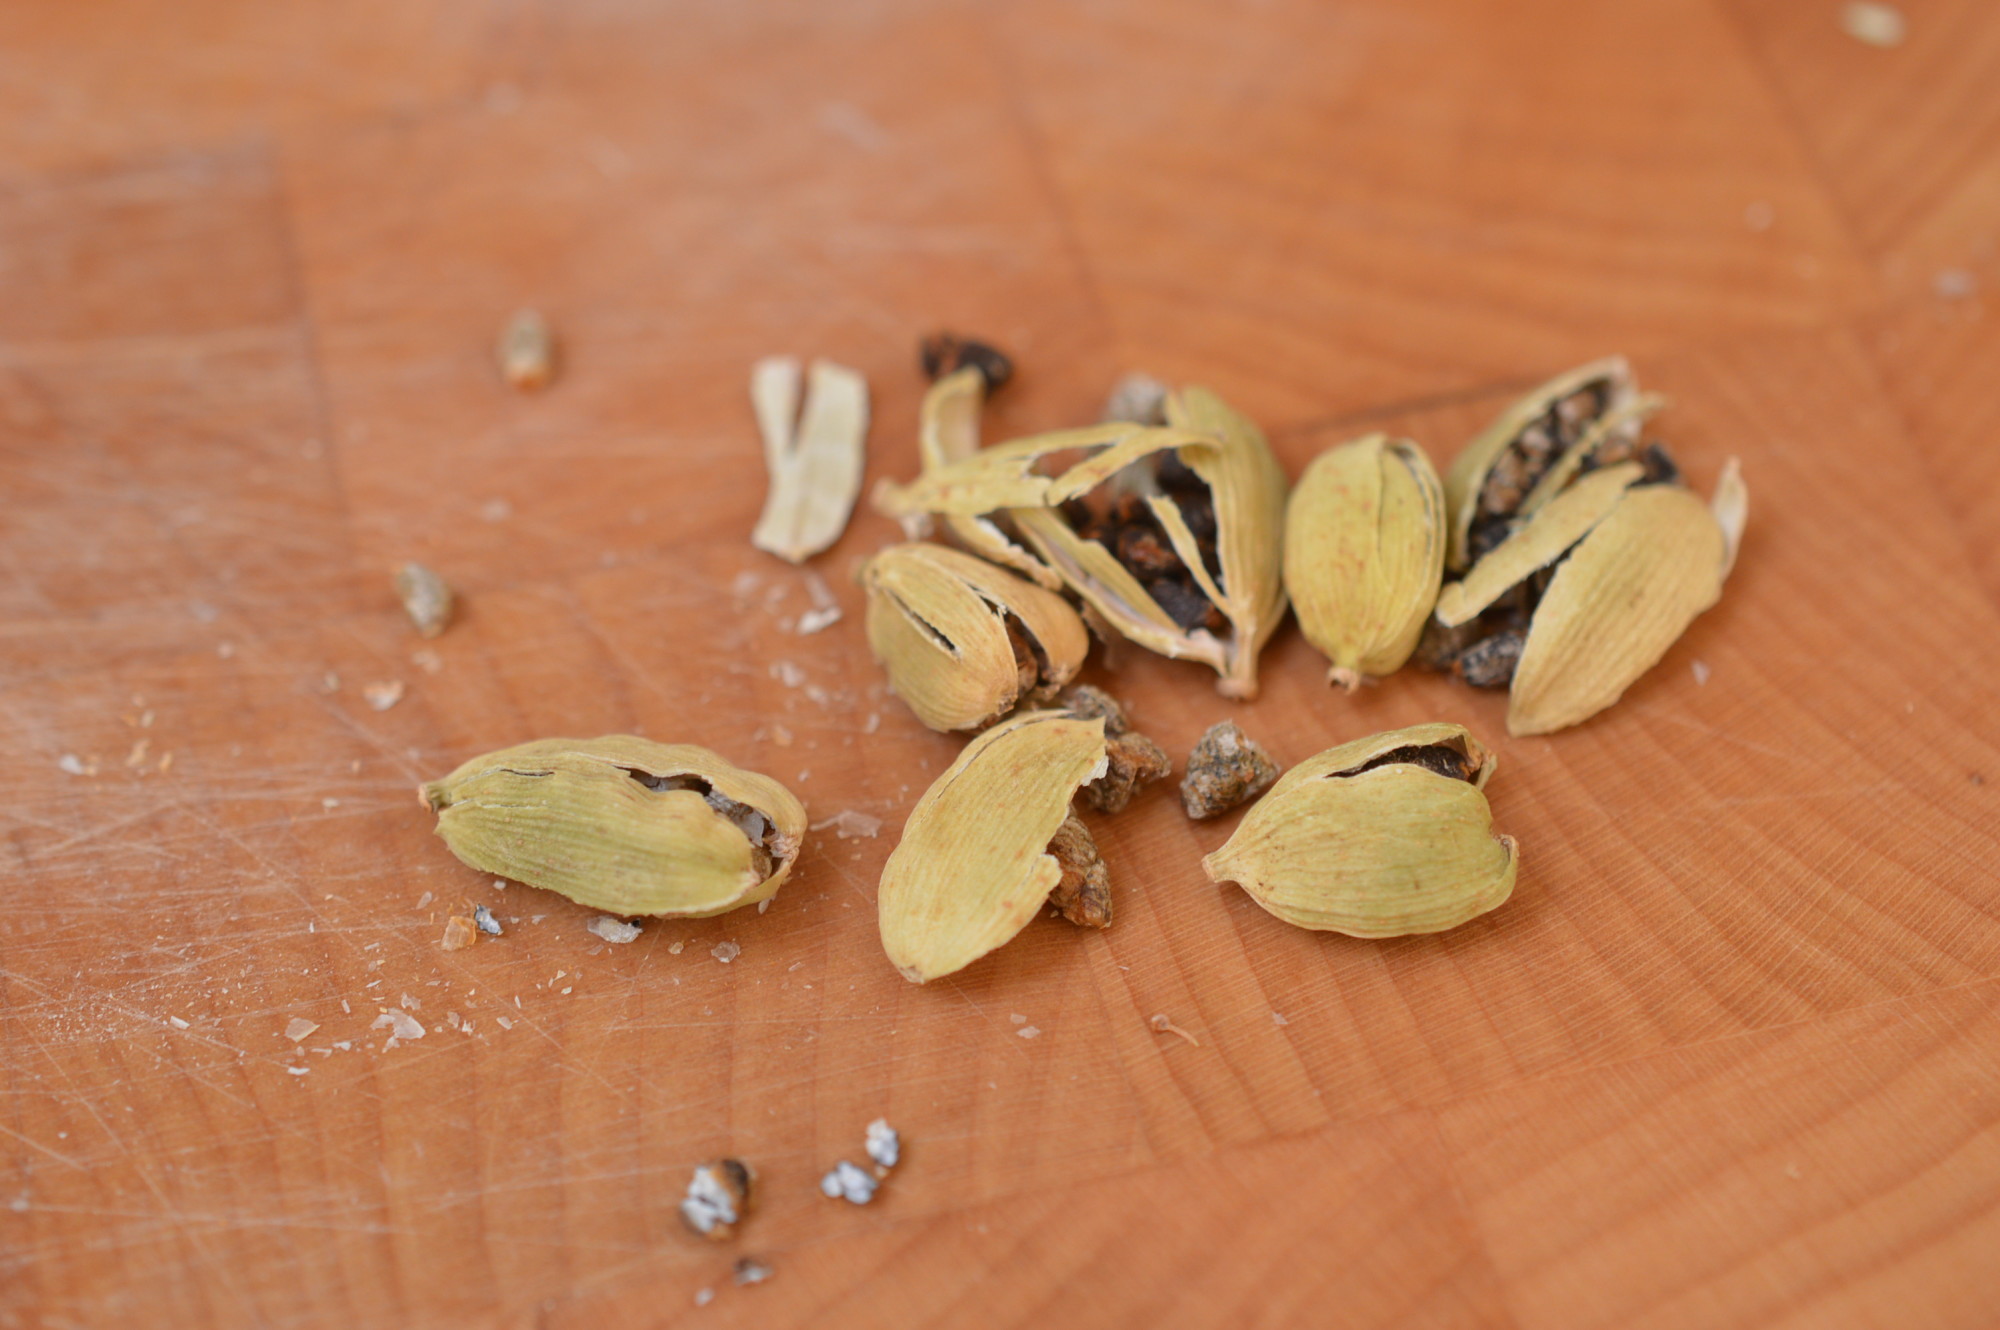
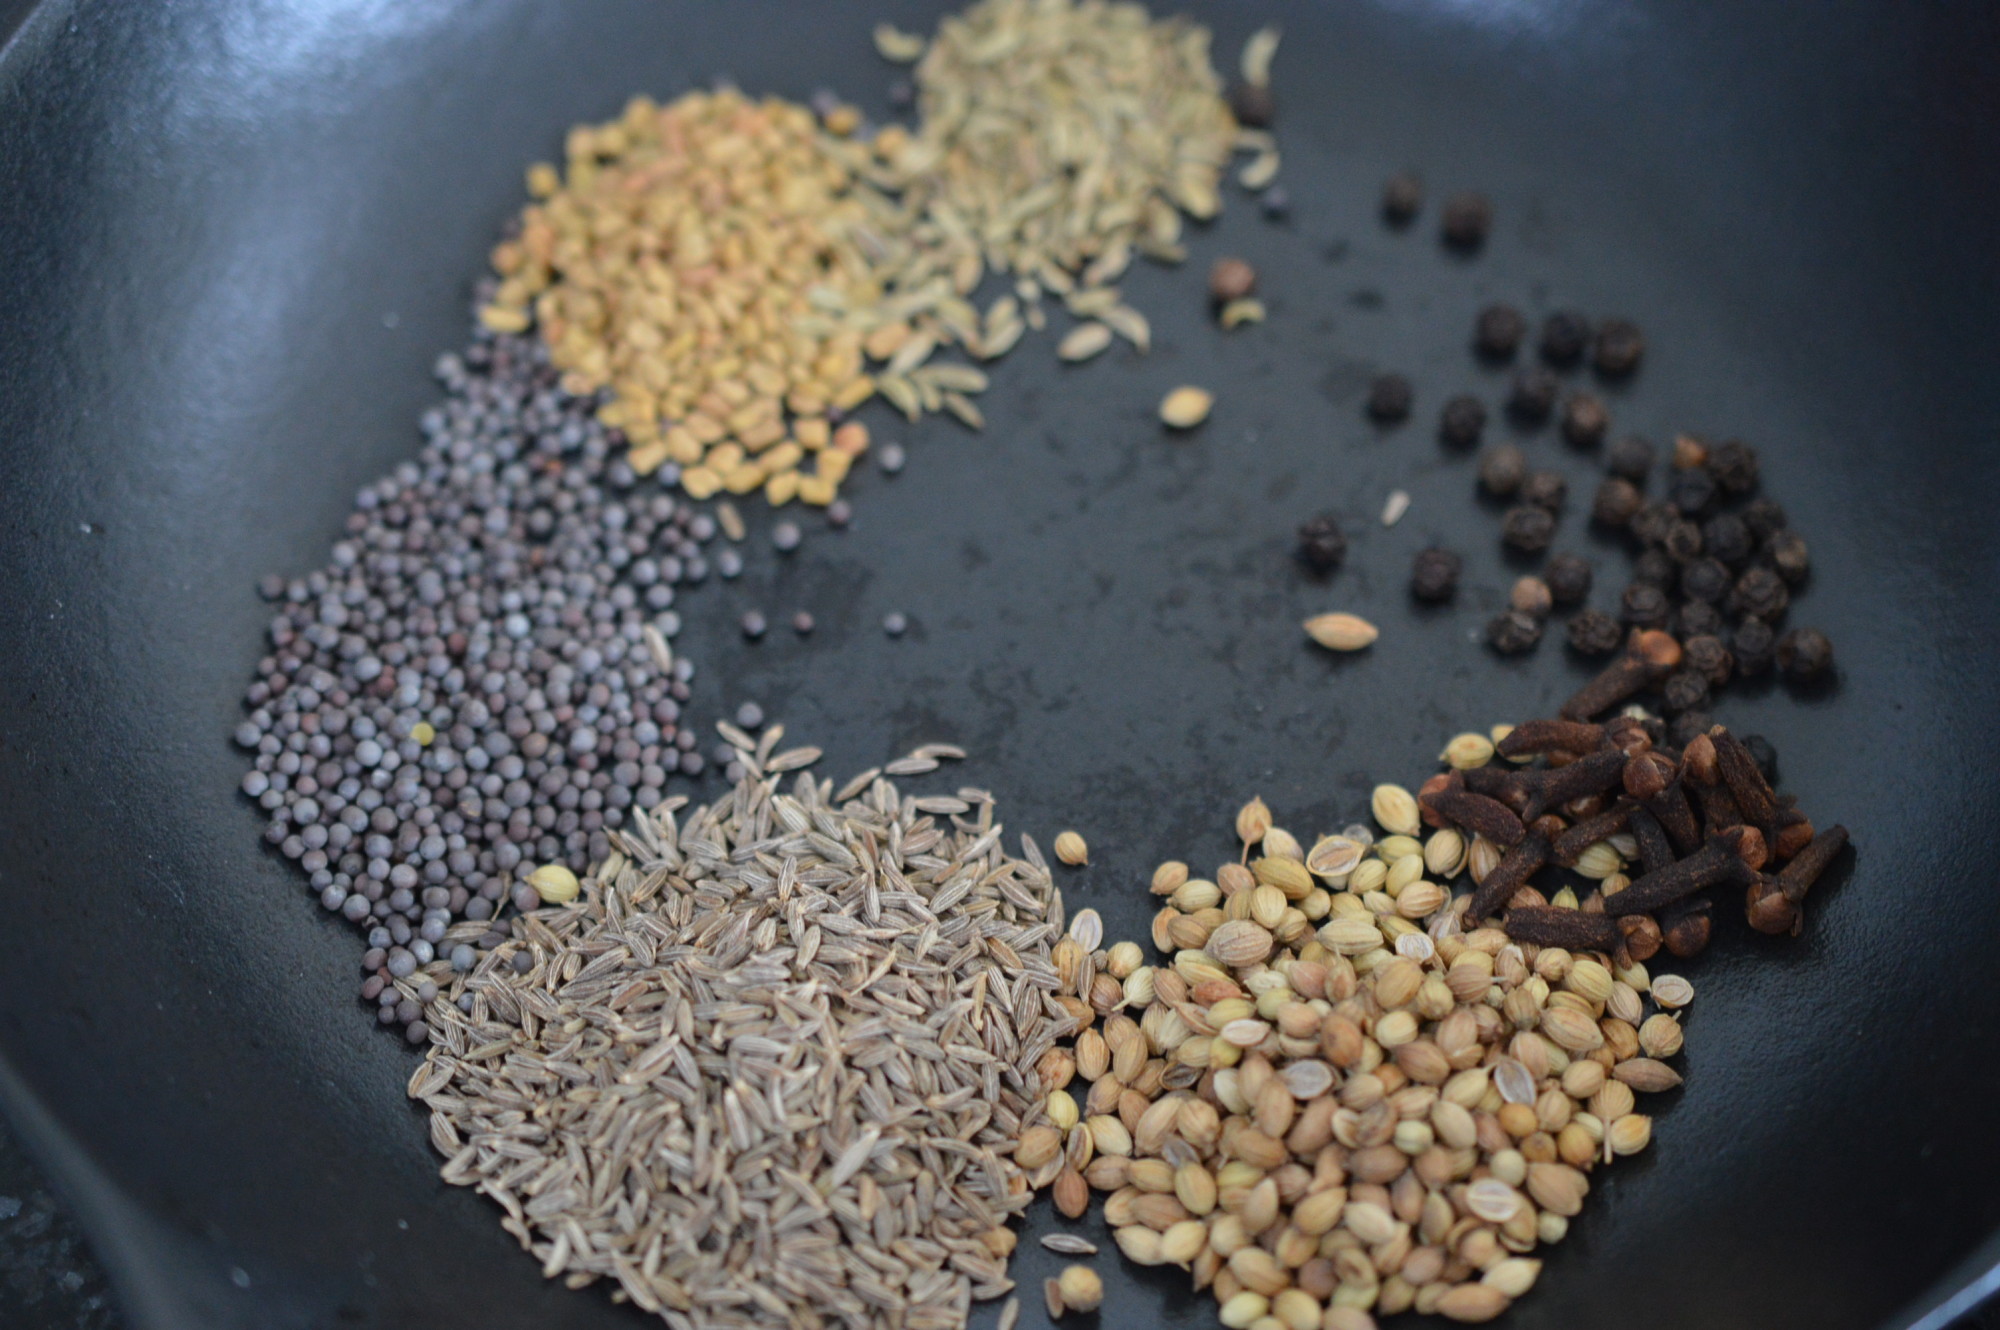
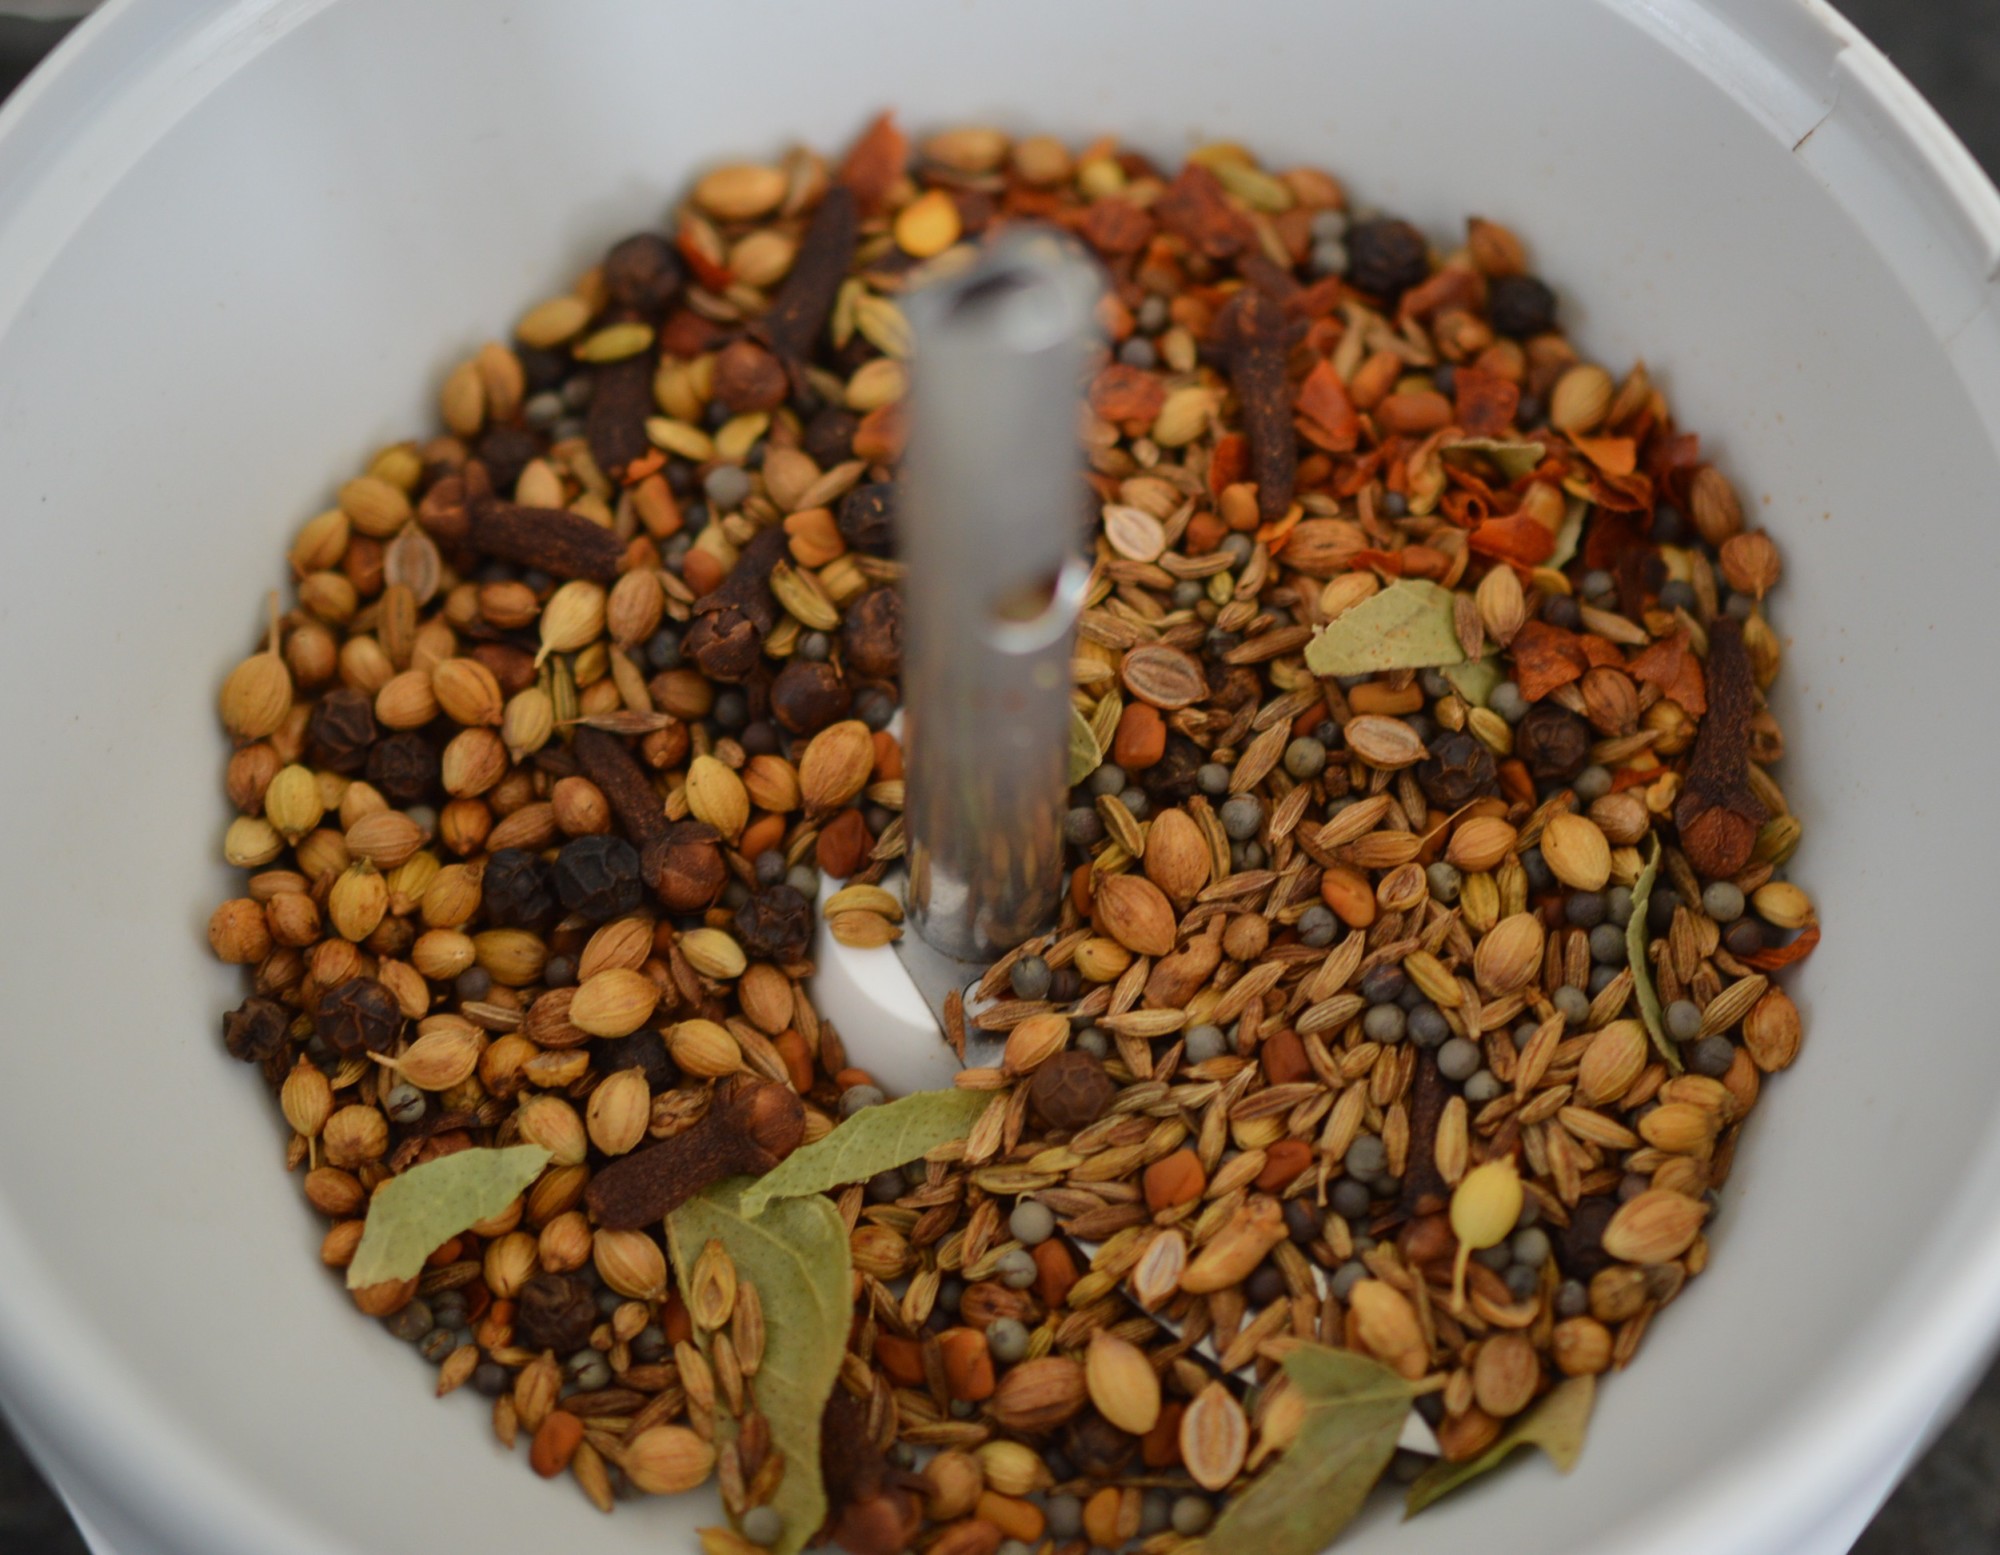
Bash 7 green cardamom pods.

Kedgeree 3

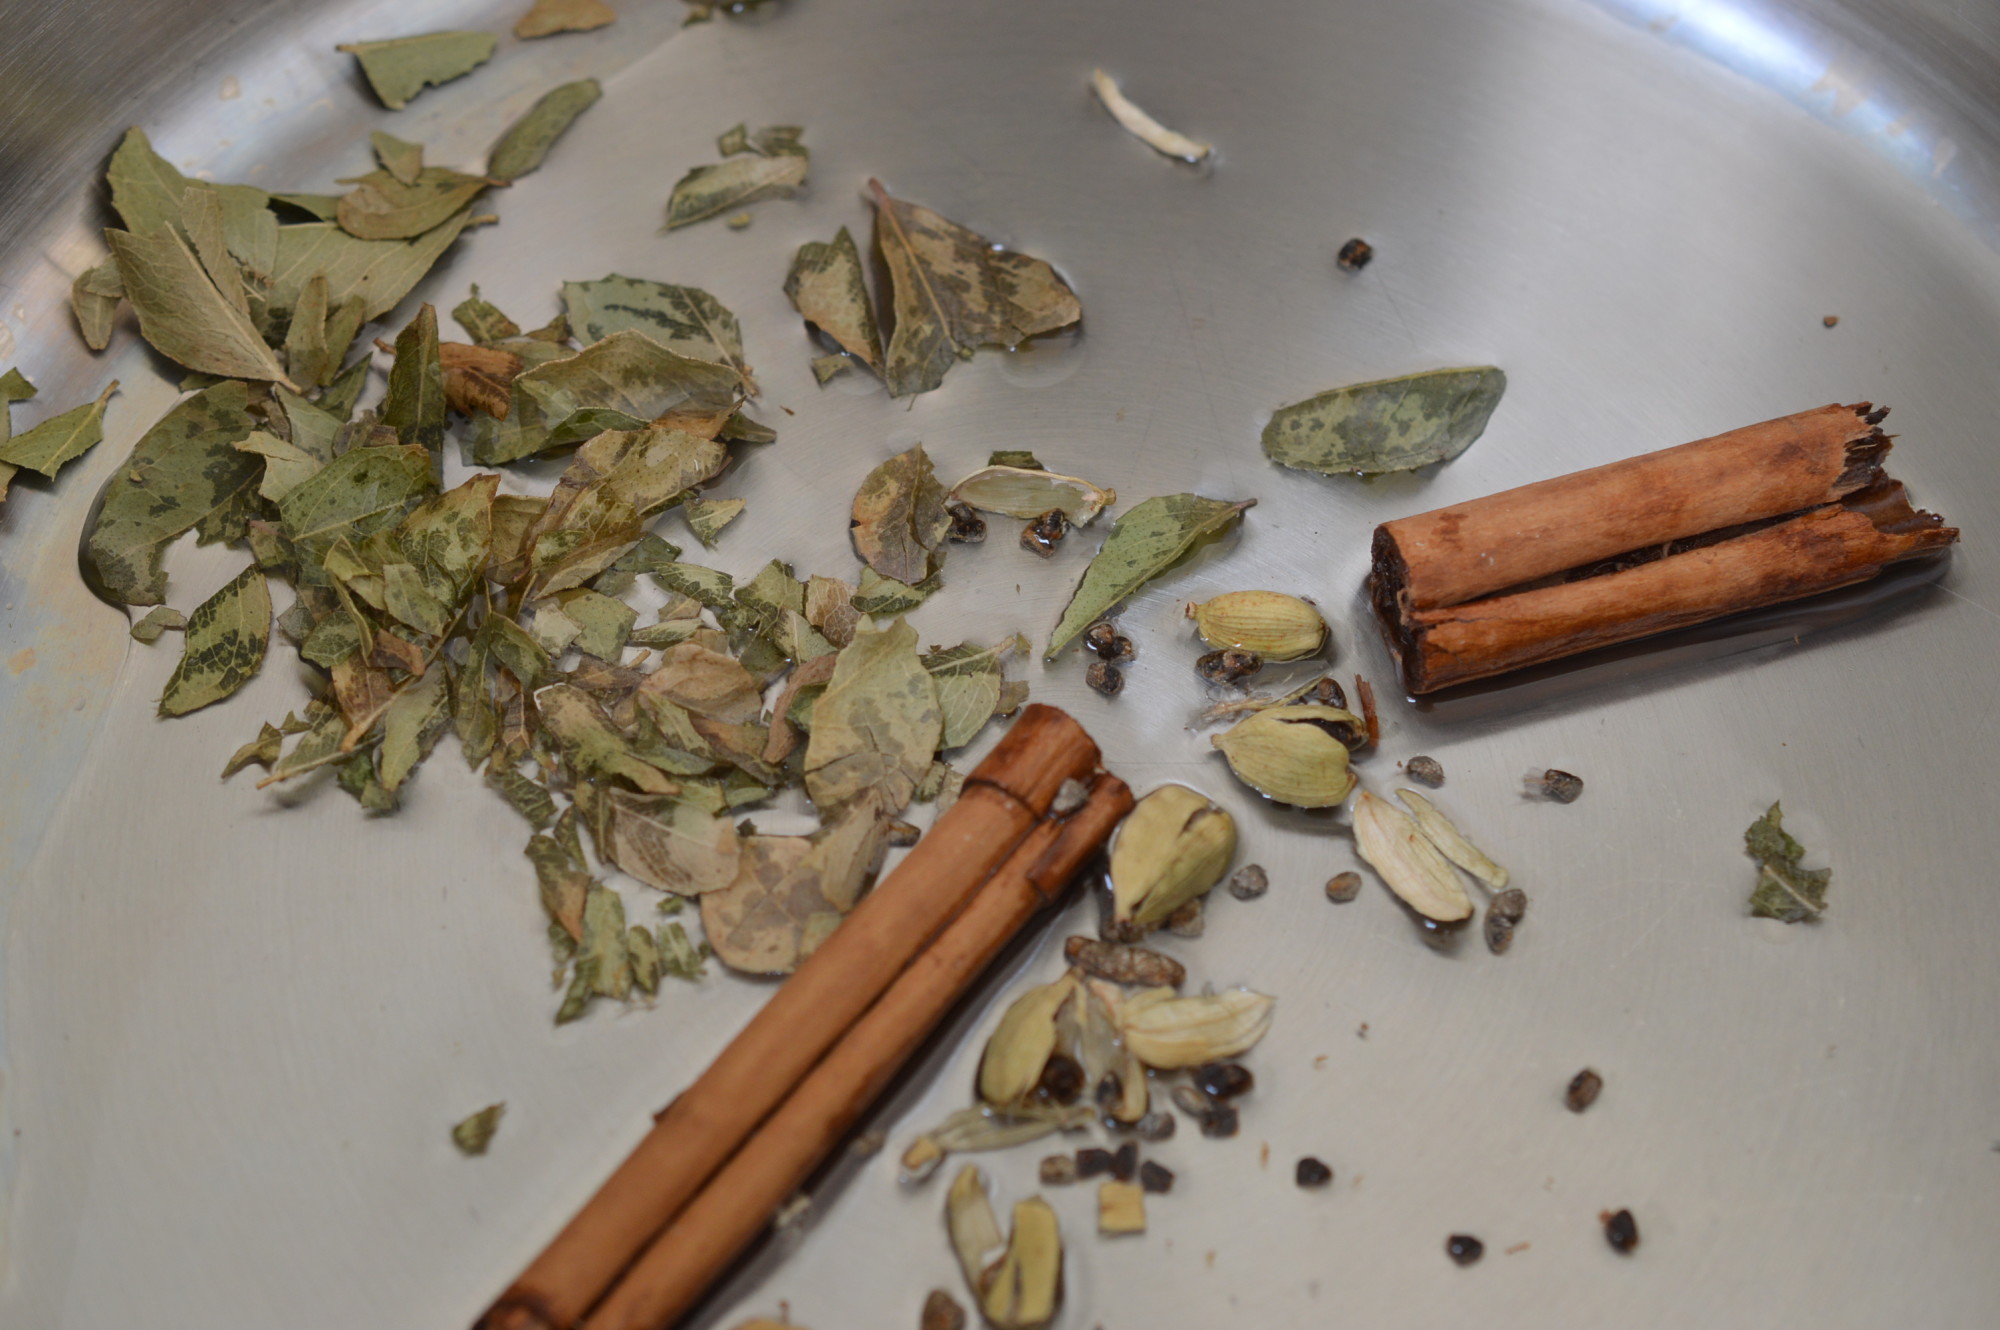
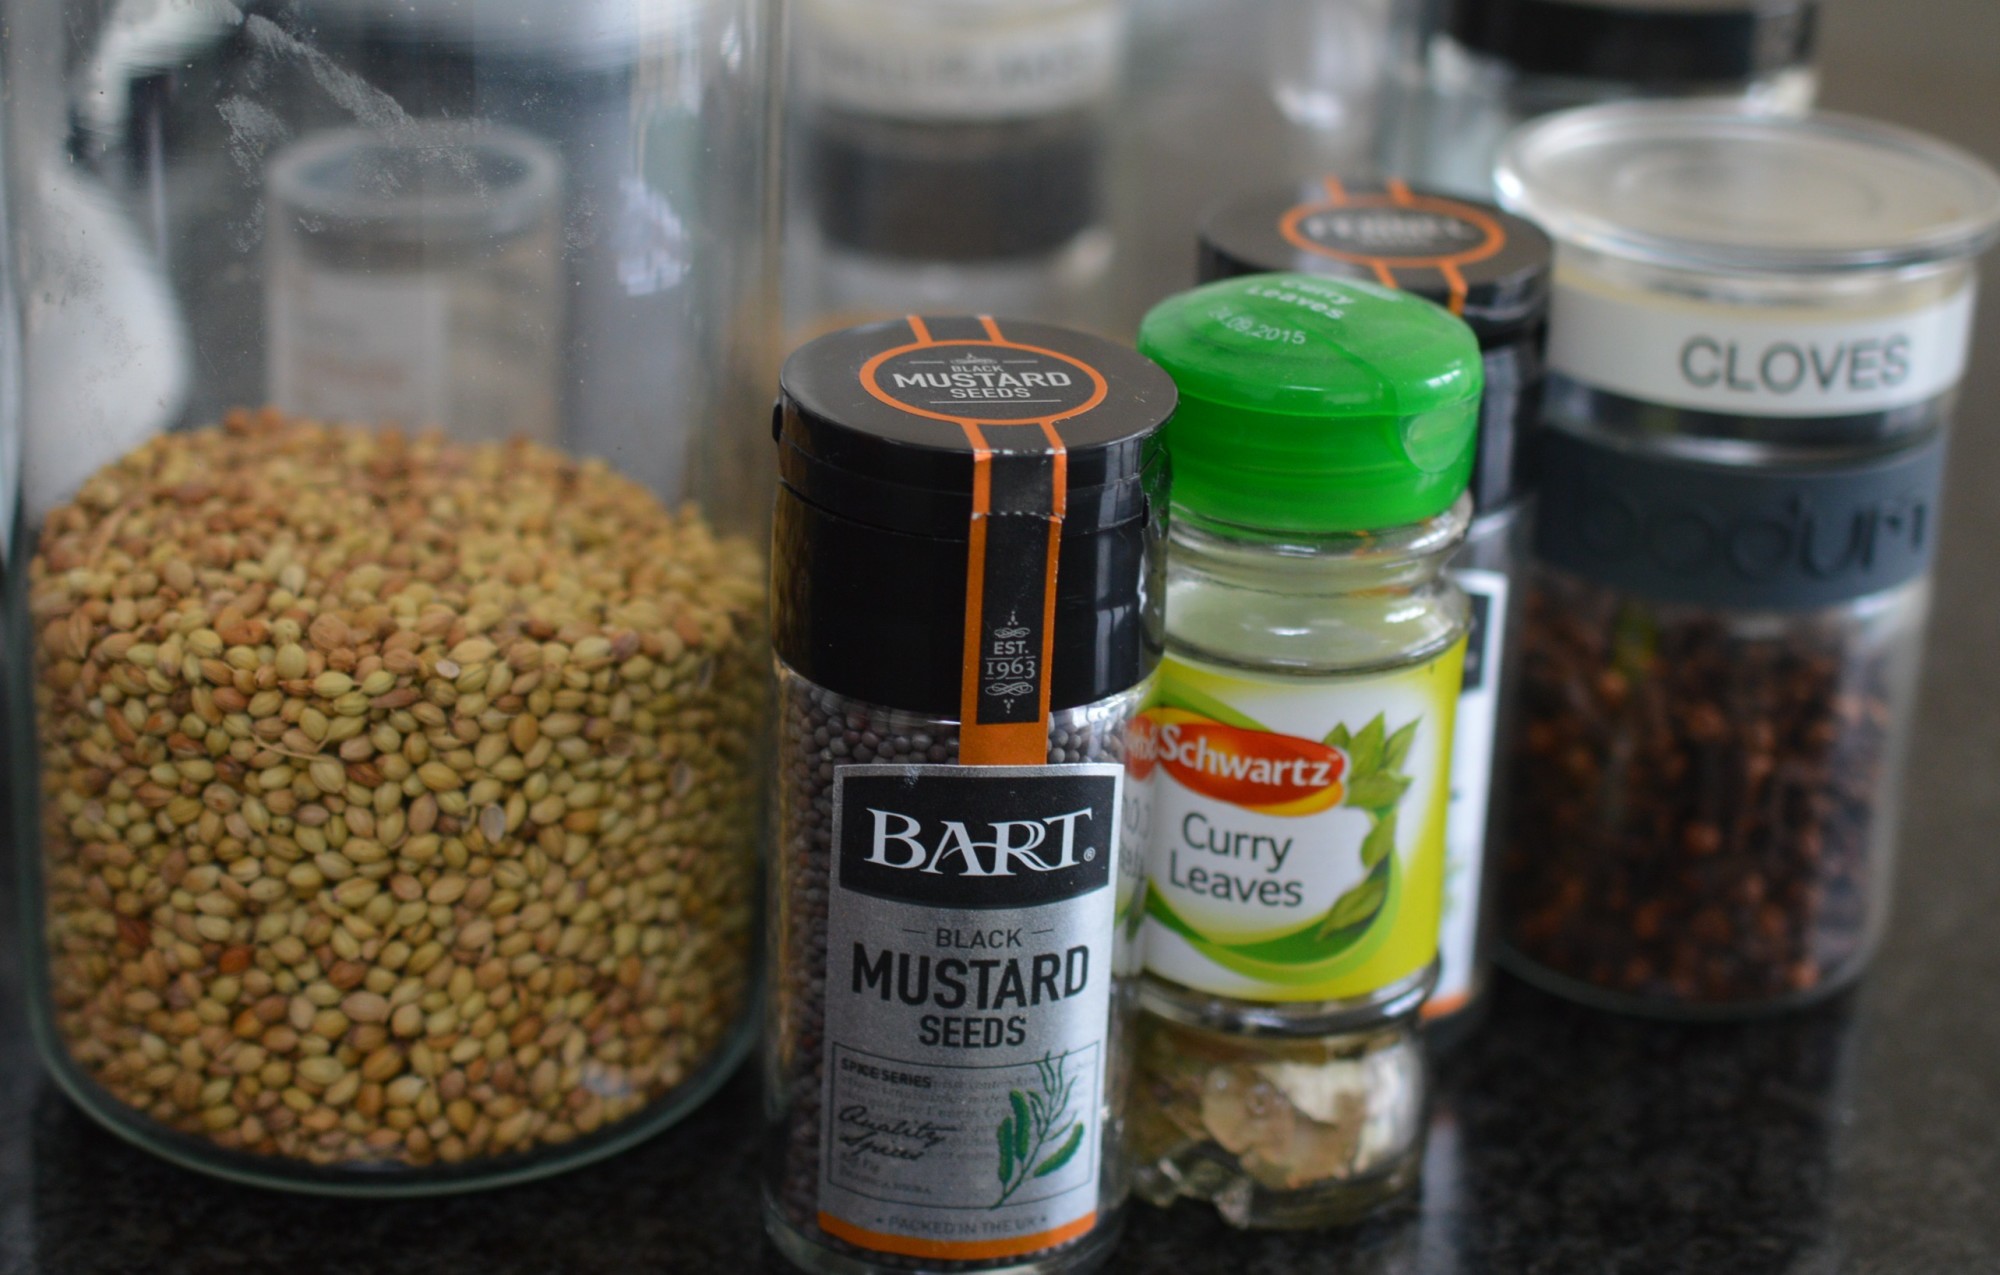
Crush about 20 fresh or freeze-dried curry leaves.  I can get fresh curry leaves at my weekly market.  I give them a wash and careful dry and store in my freezer.  My local Morrisons stocks Swartz freeze-dried curry leaves.  Break a long cinnamon stick.

Kedgeree soften onoins

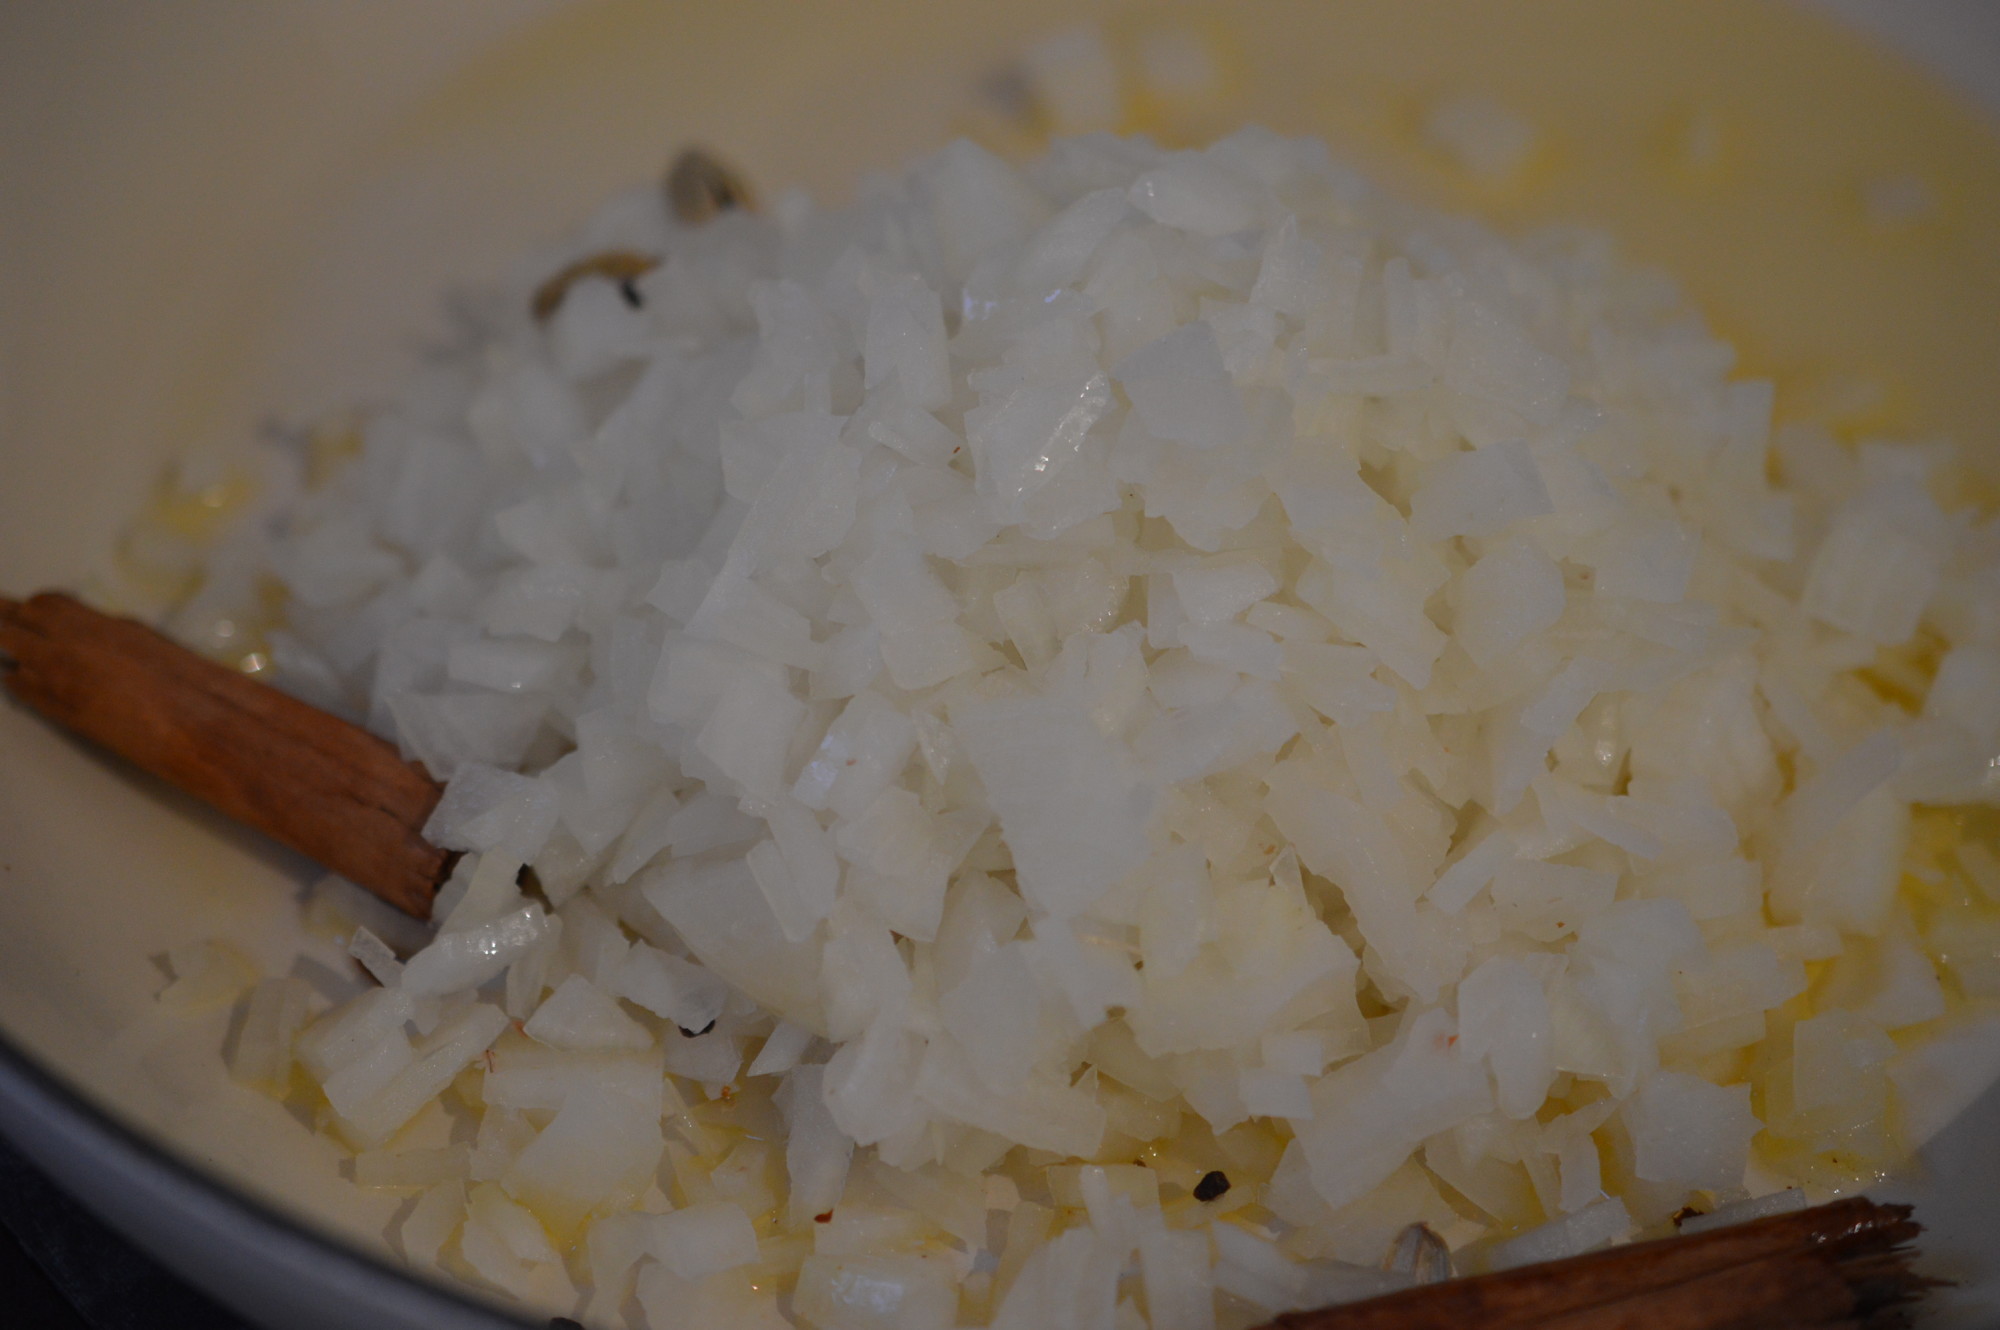
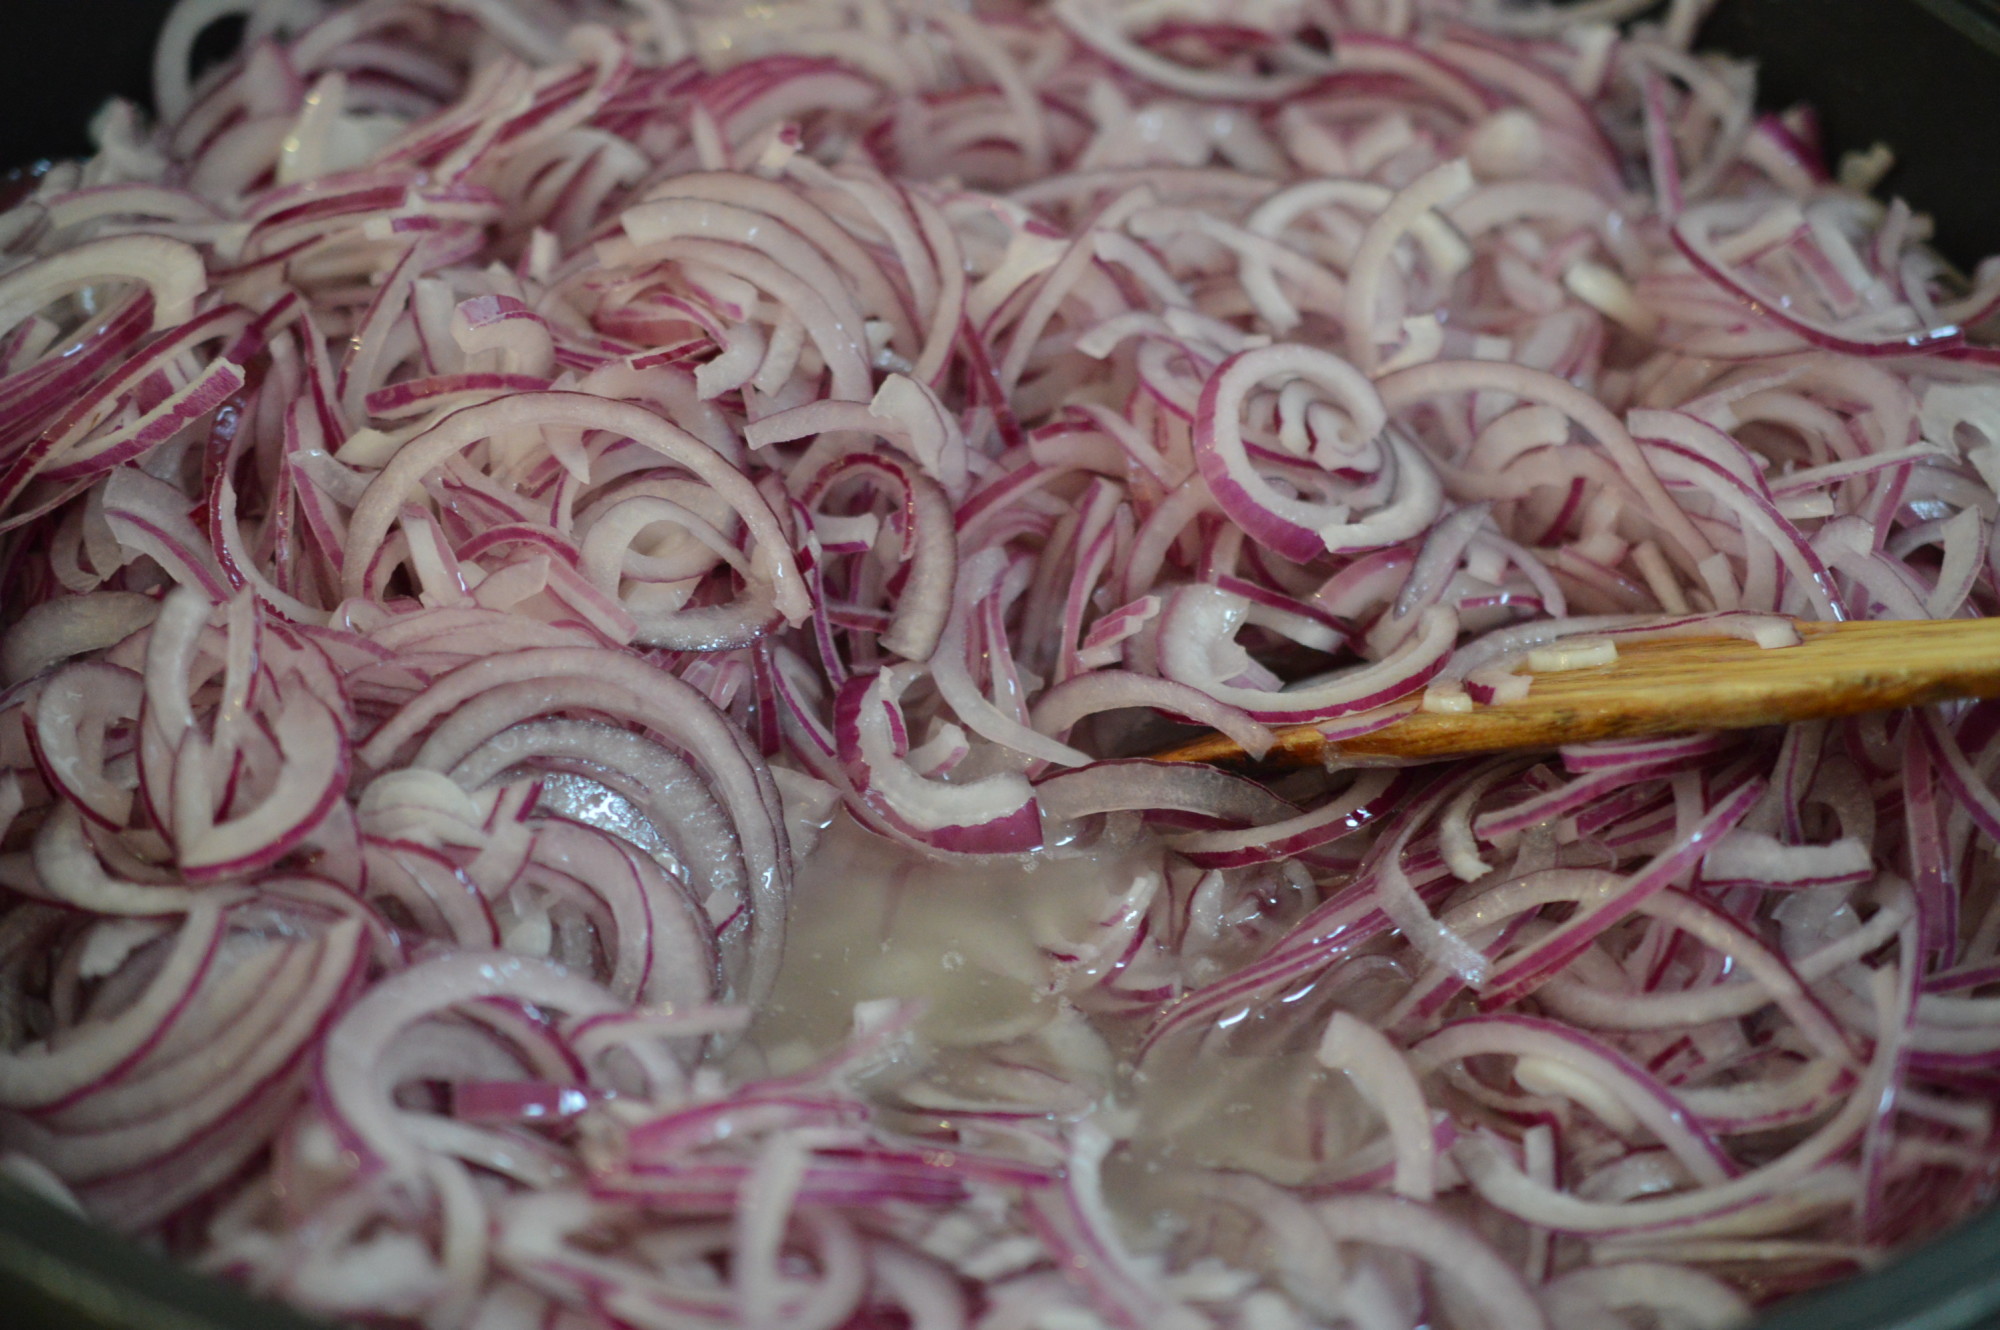
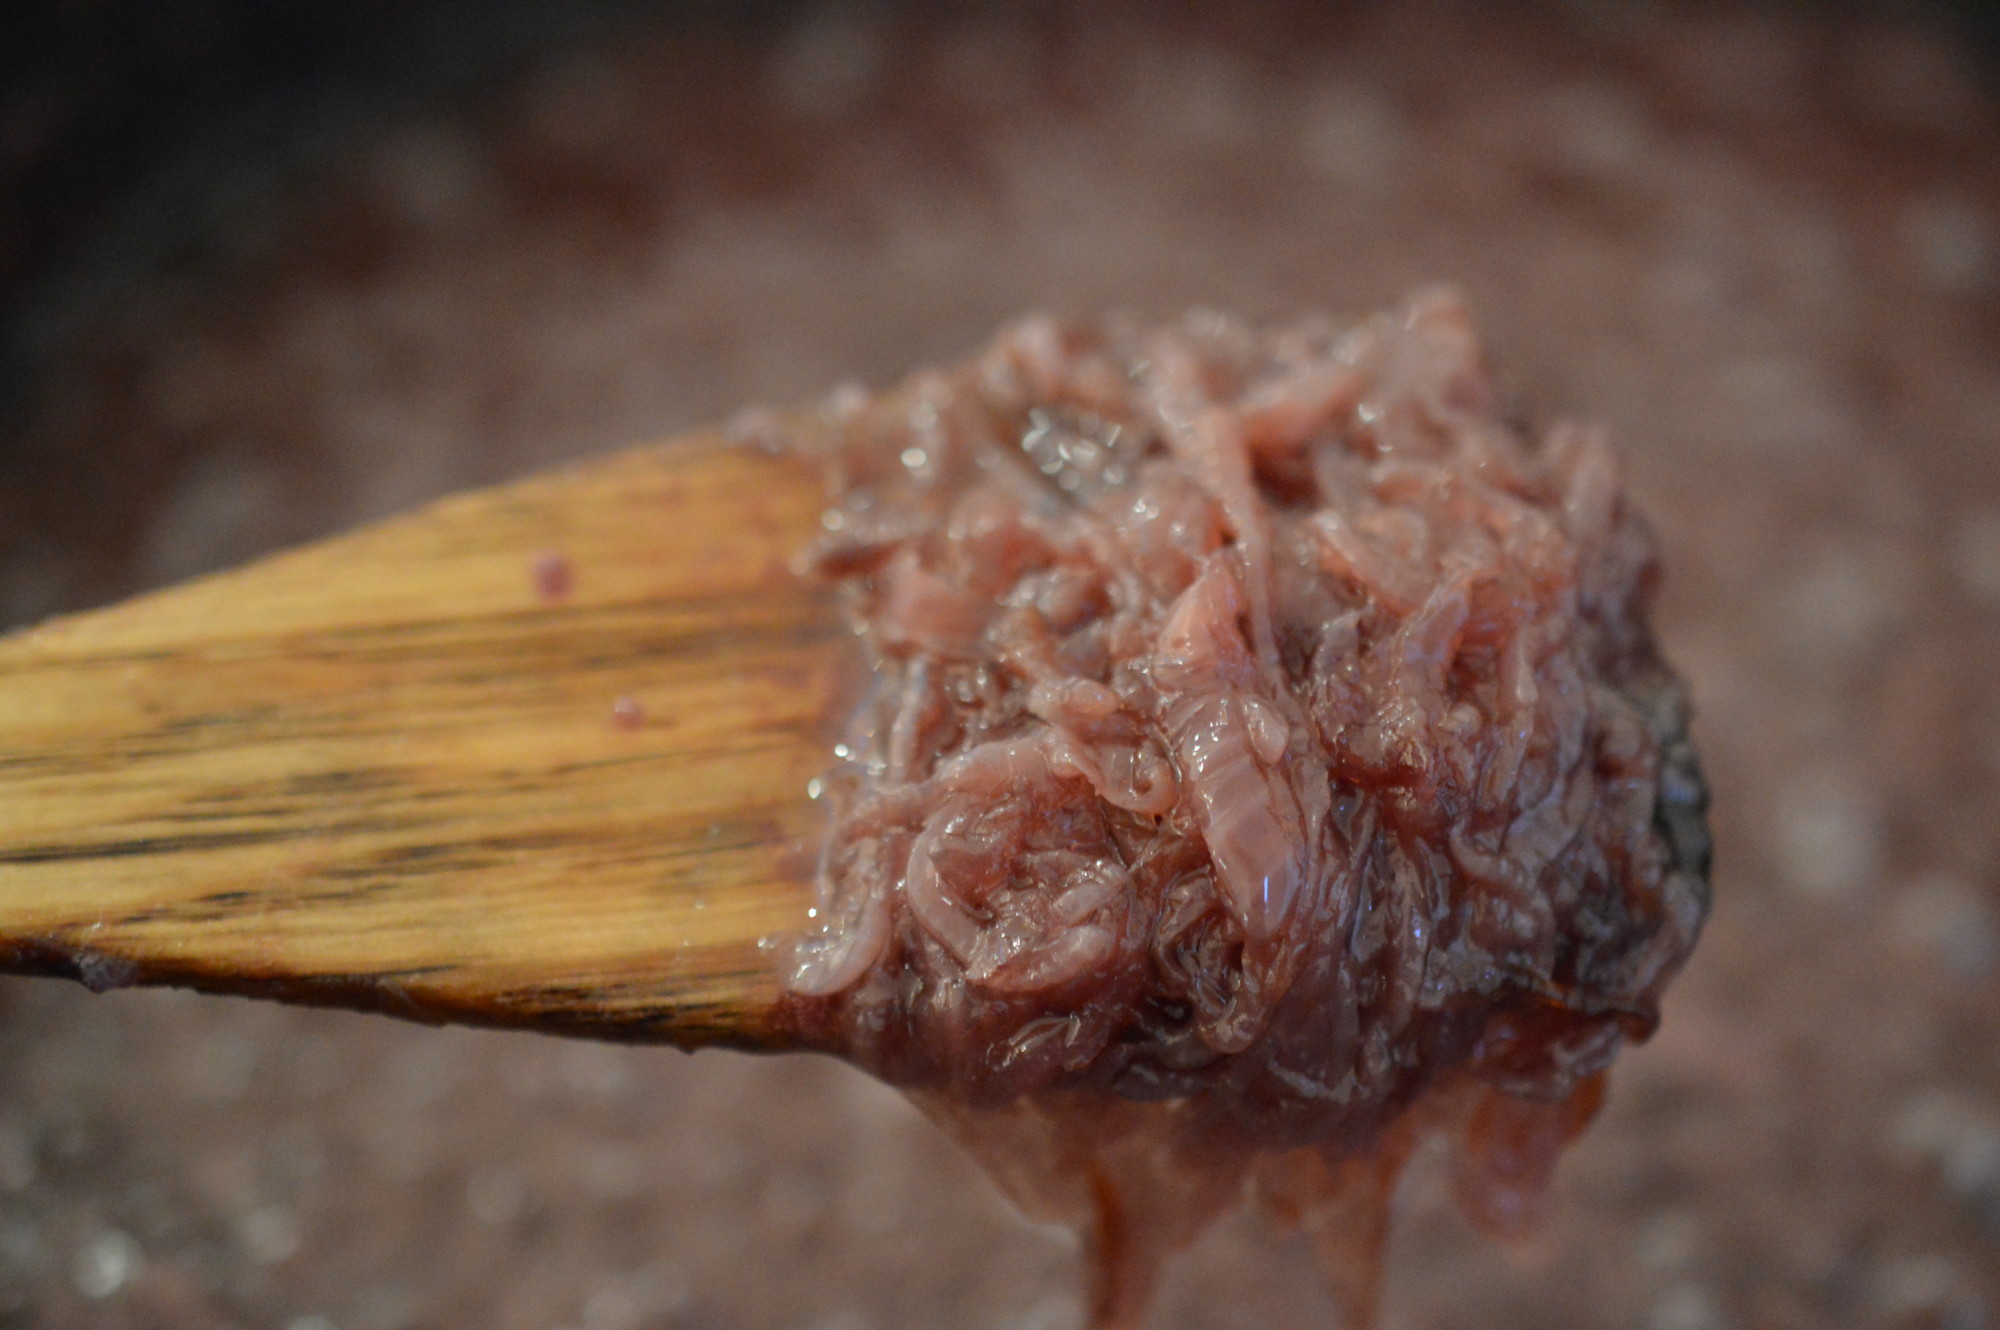
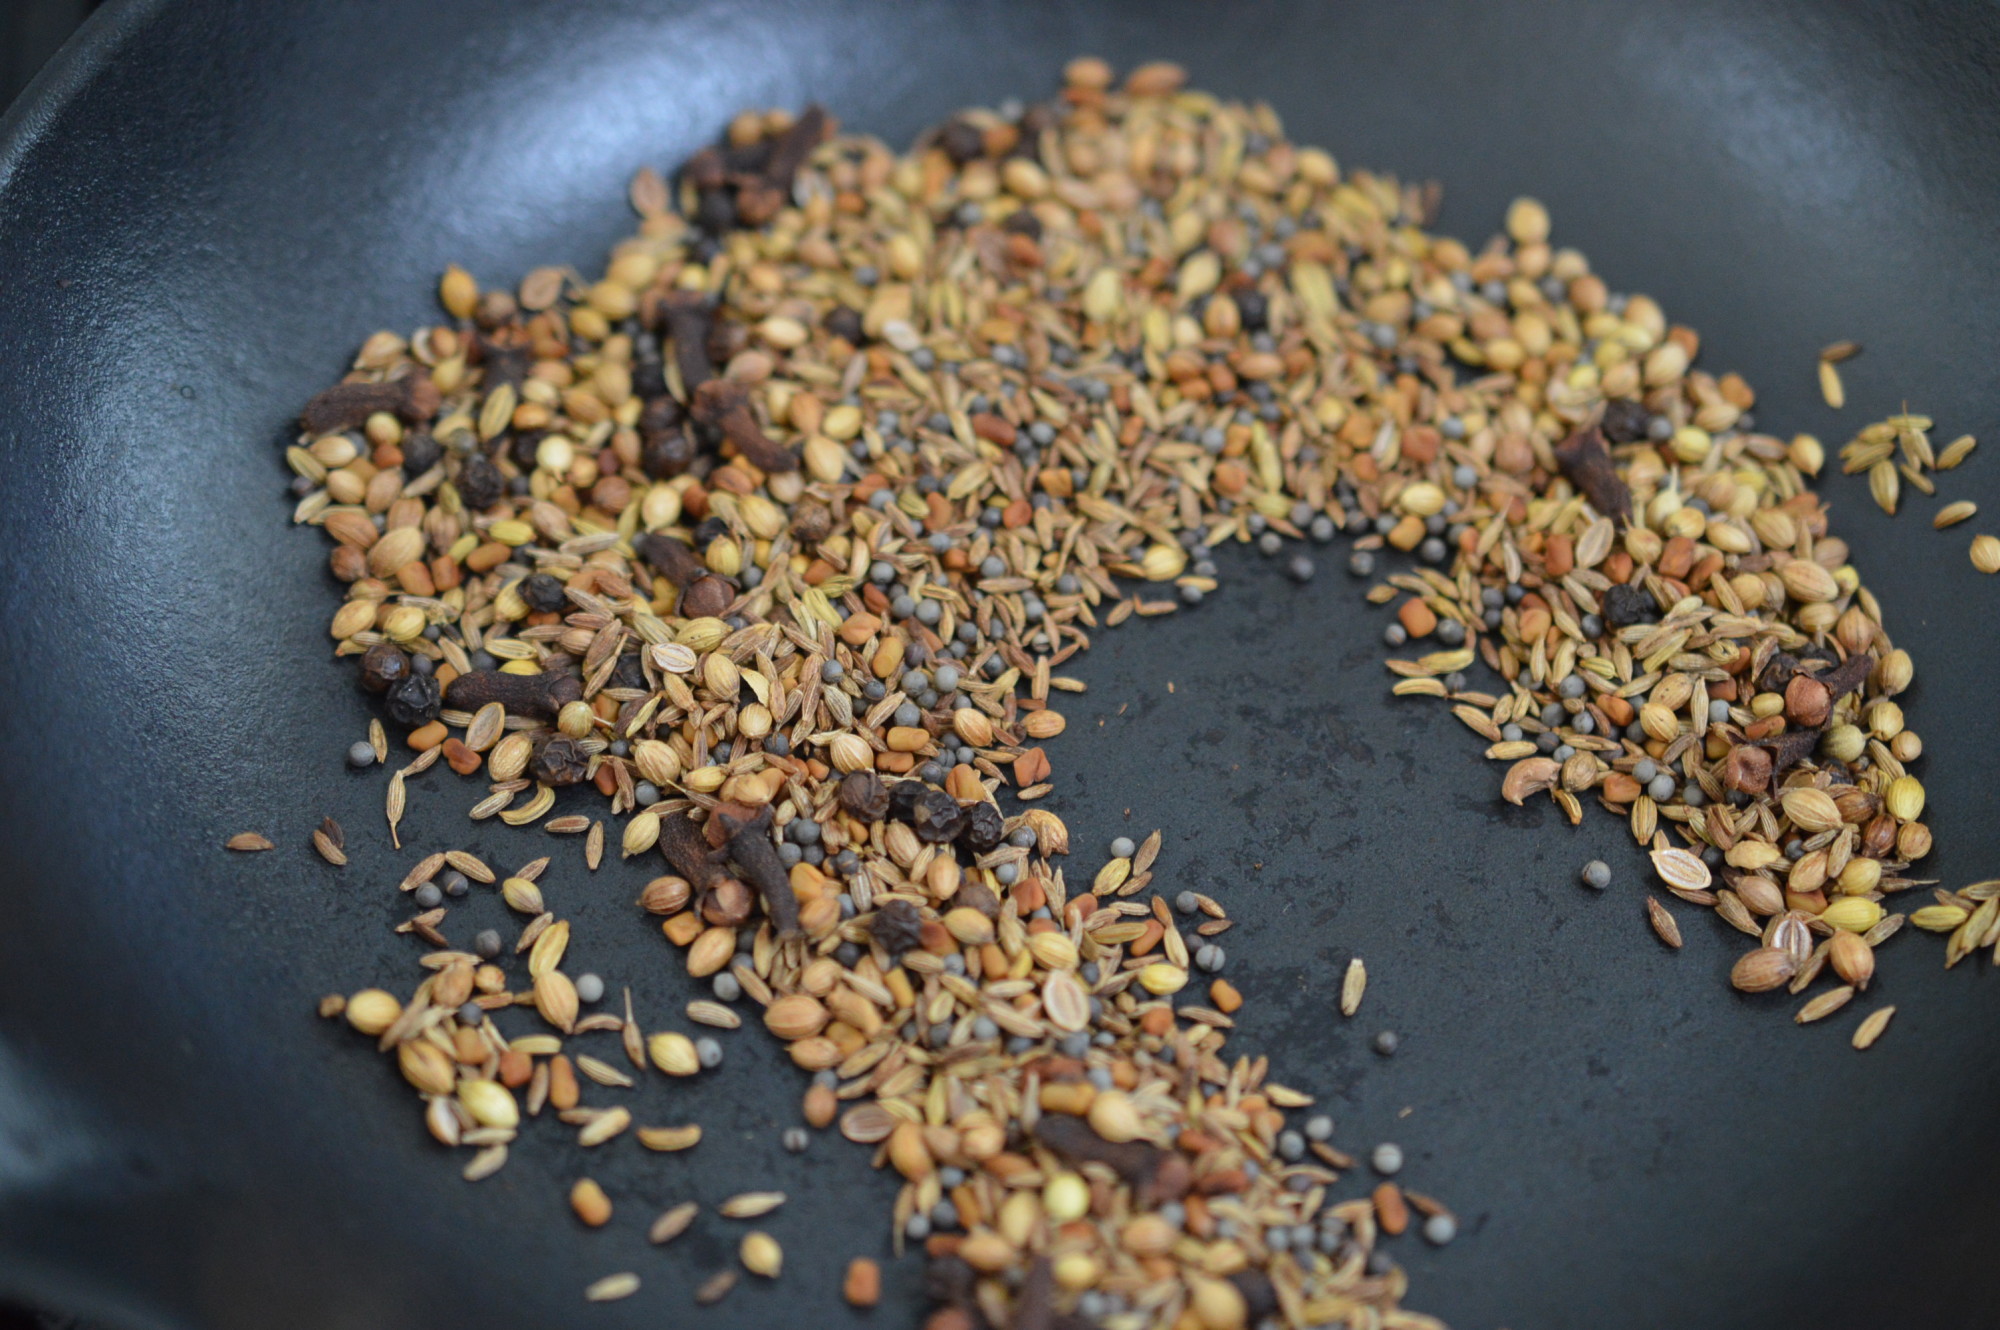
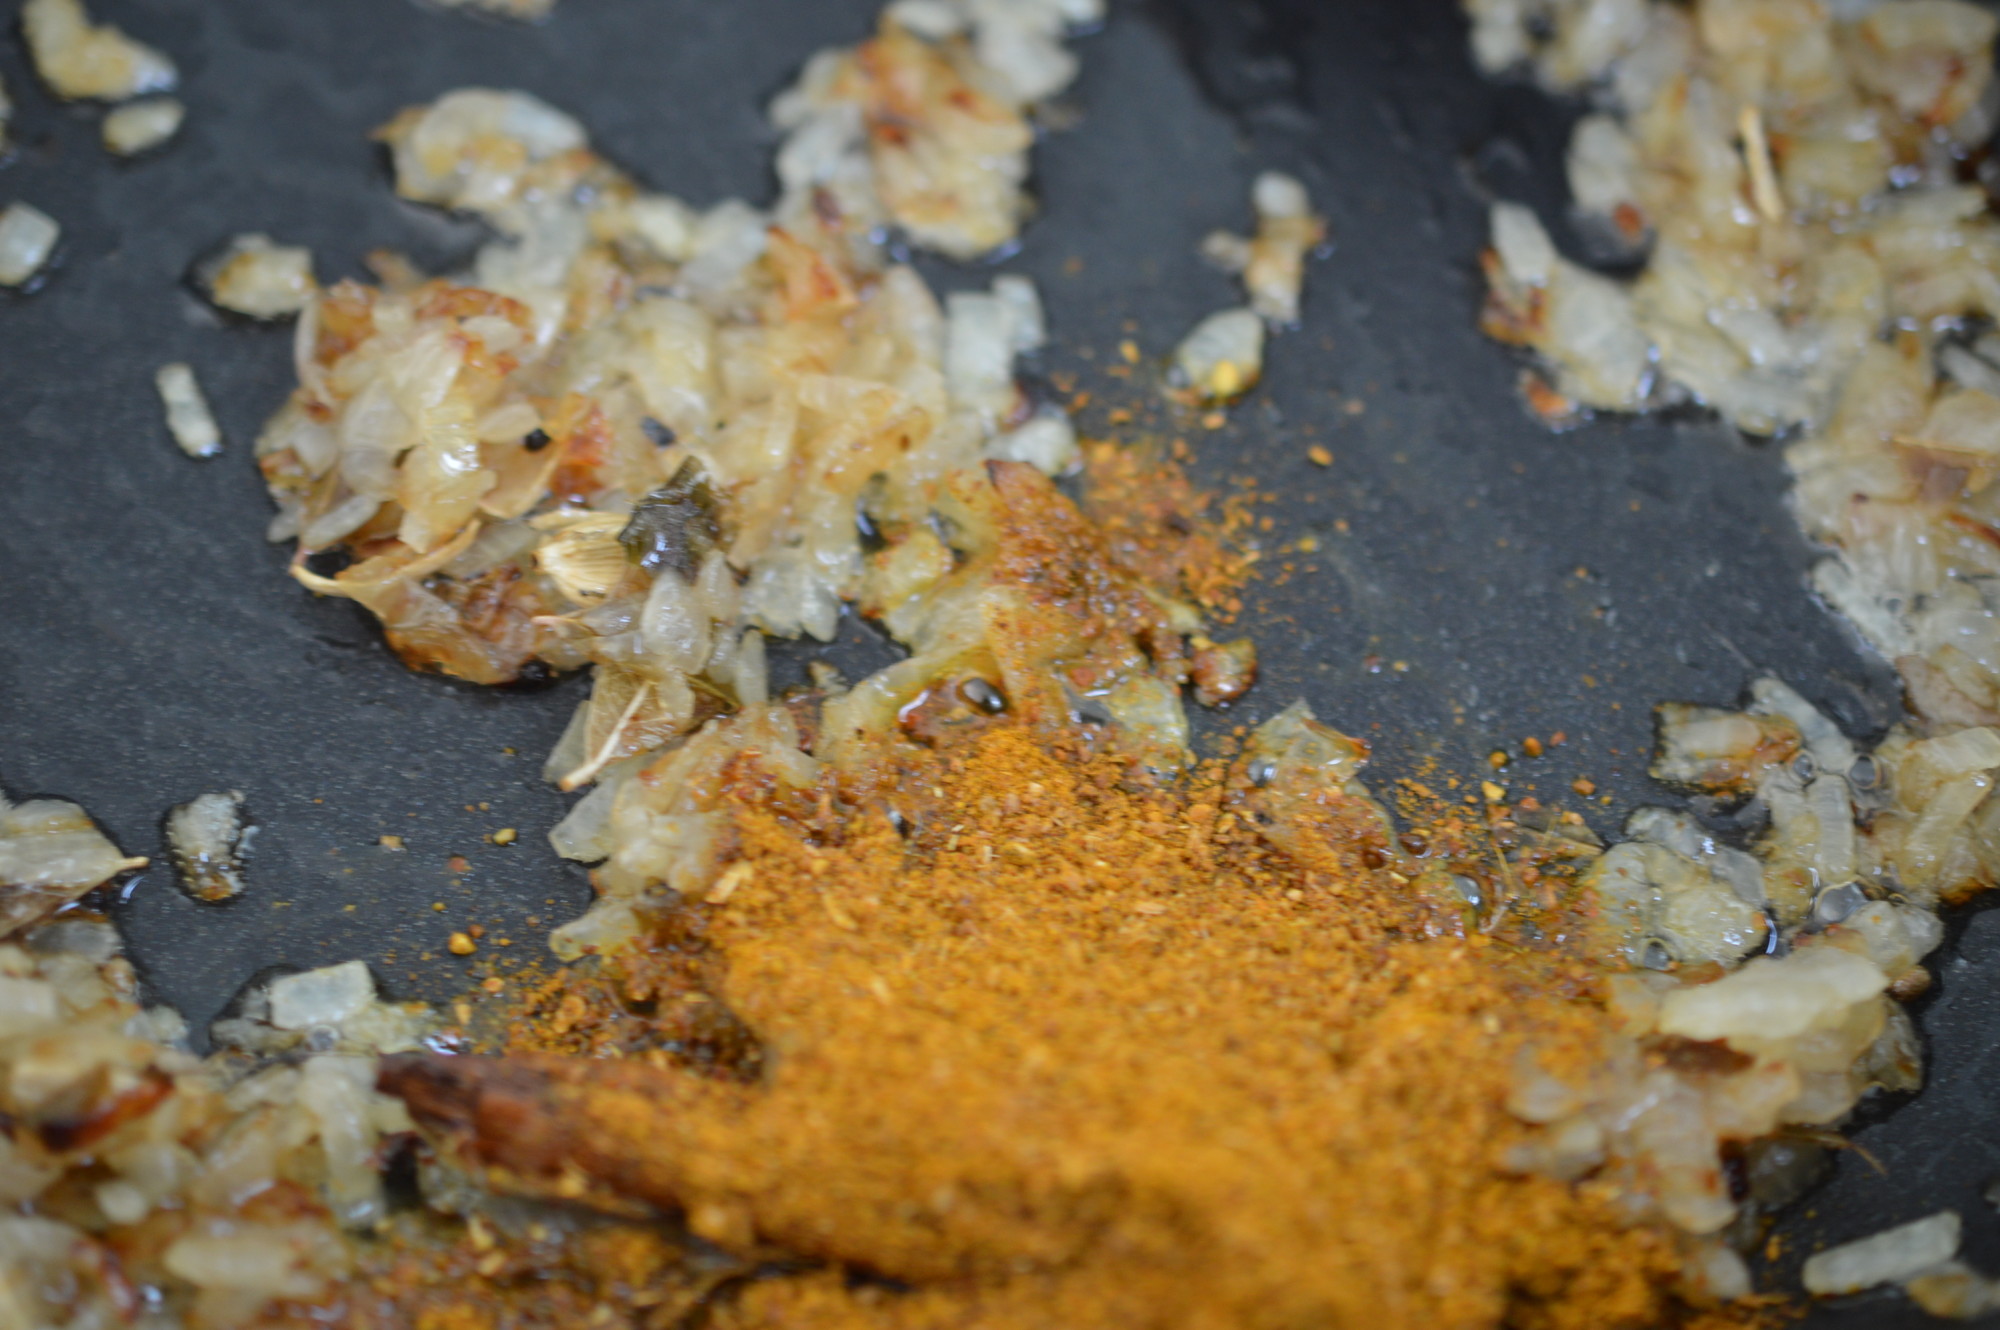
Heat 5 tablespoons of ghee, or sunflower oil, in a sauté pan and add the curry leaves, cardamom, cinnamon and onions.

Kedgeree brown onions

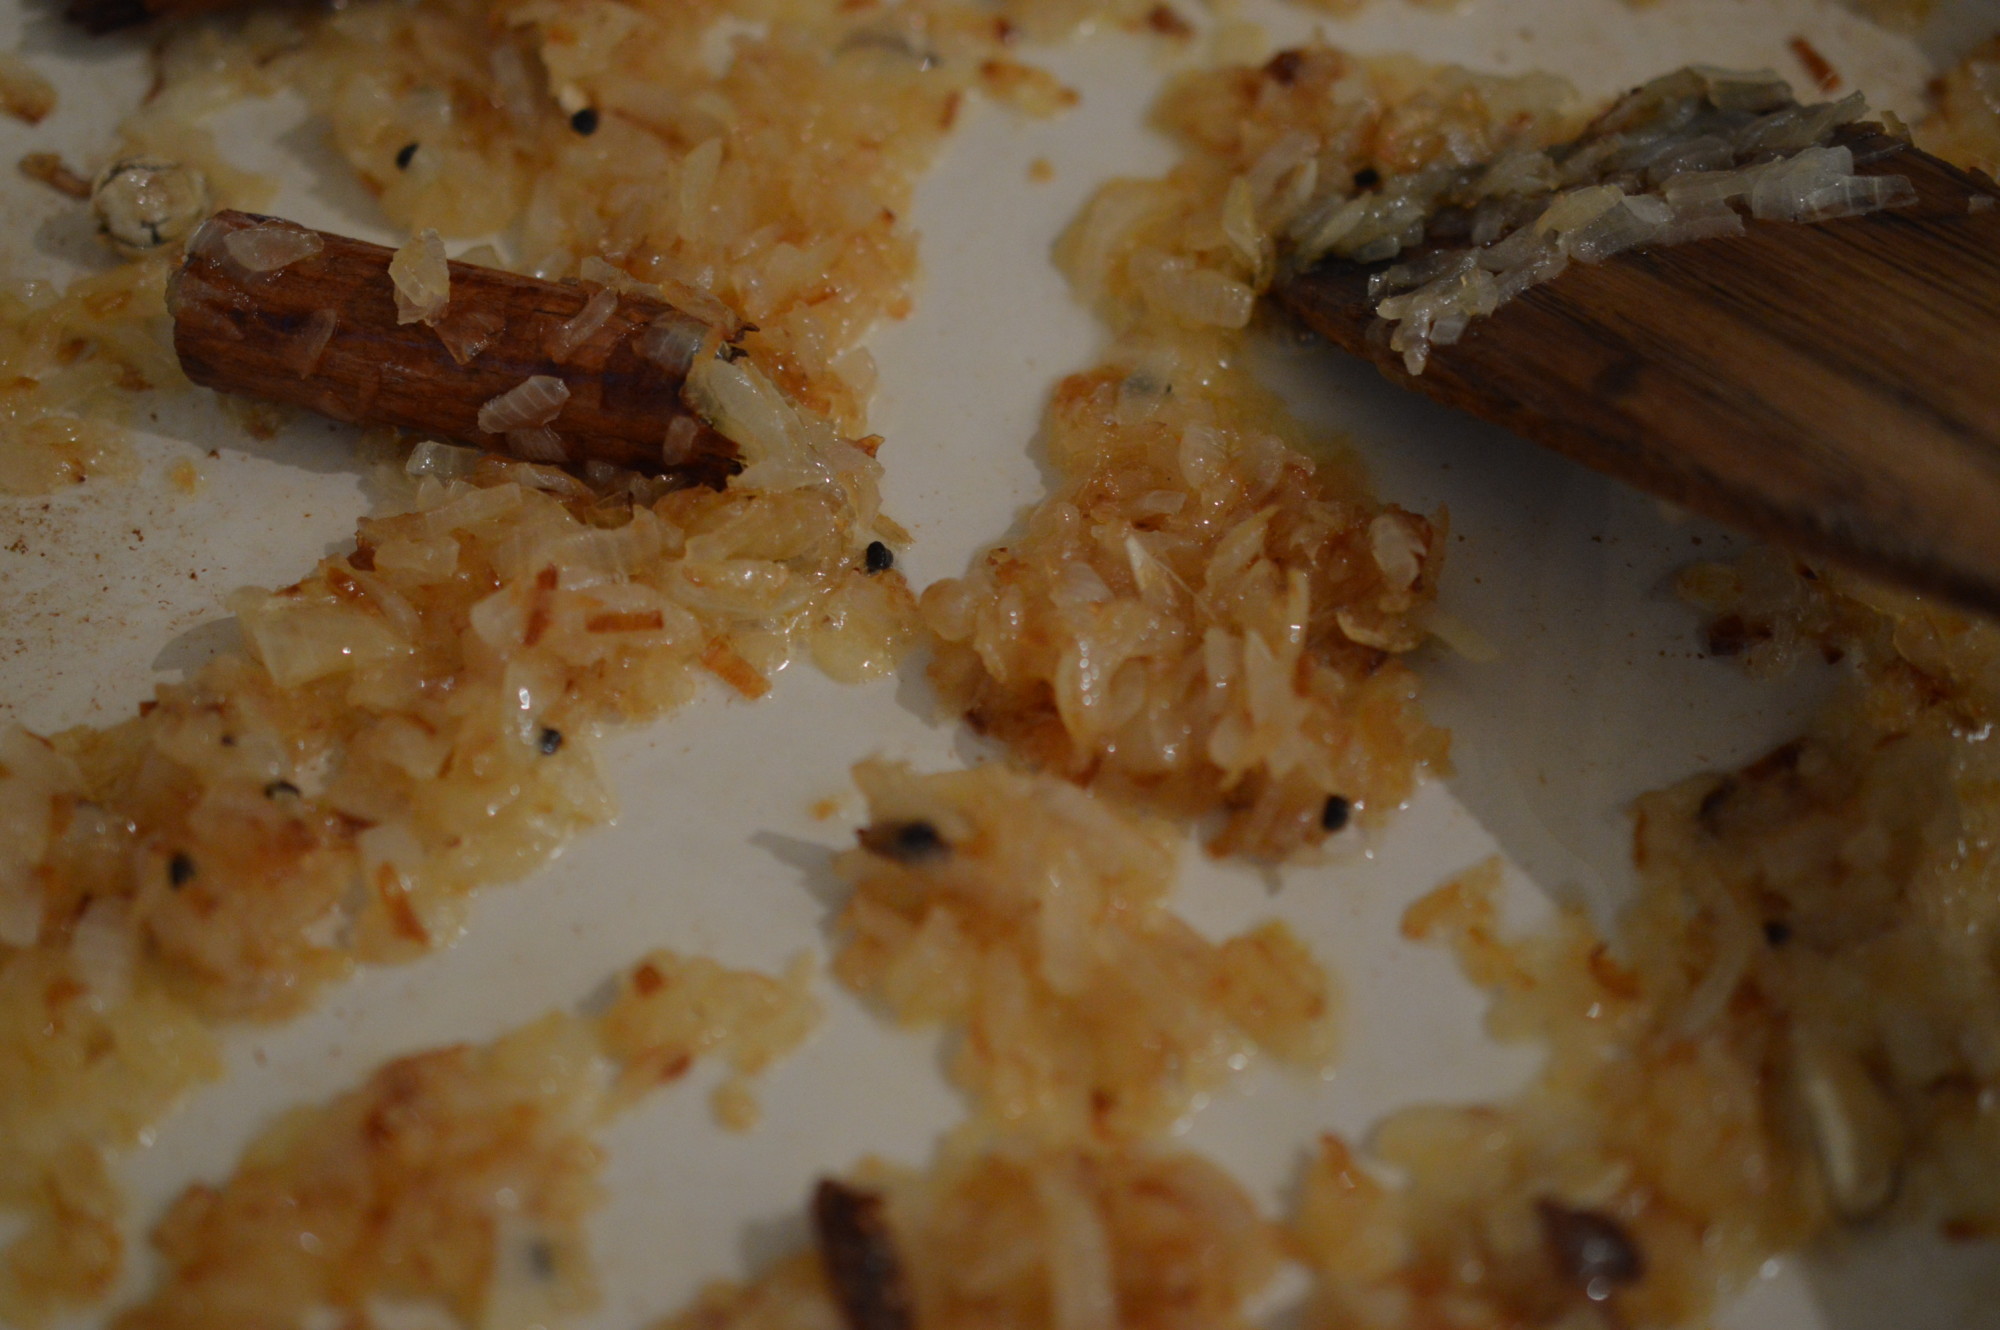
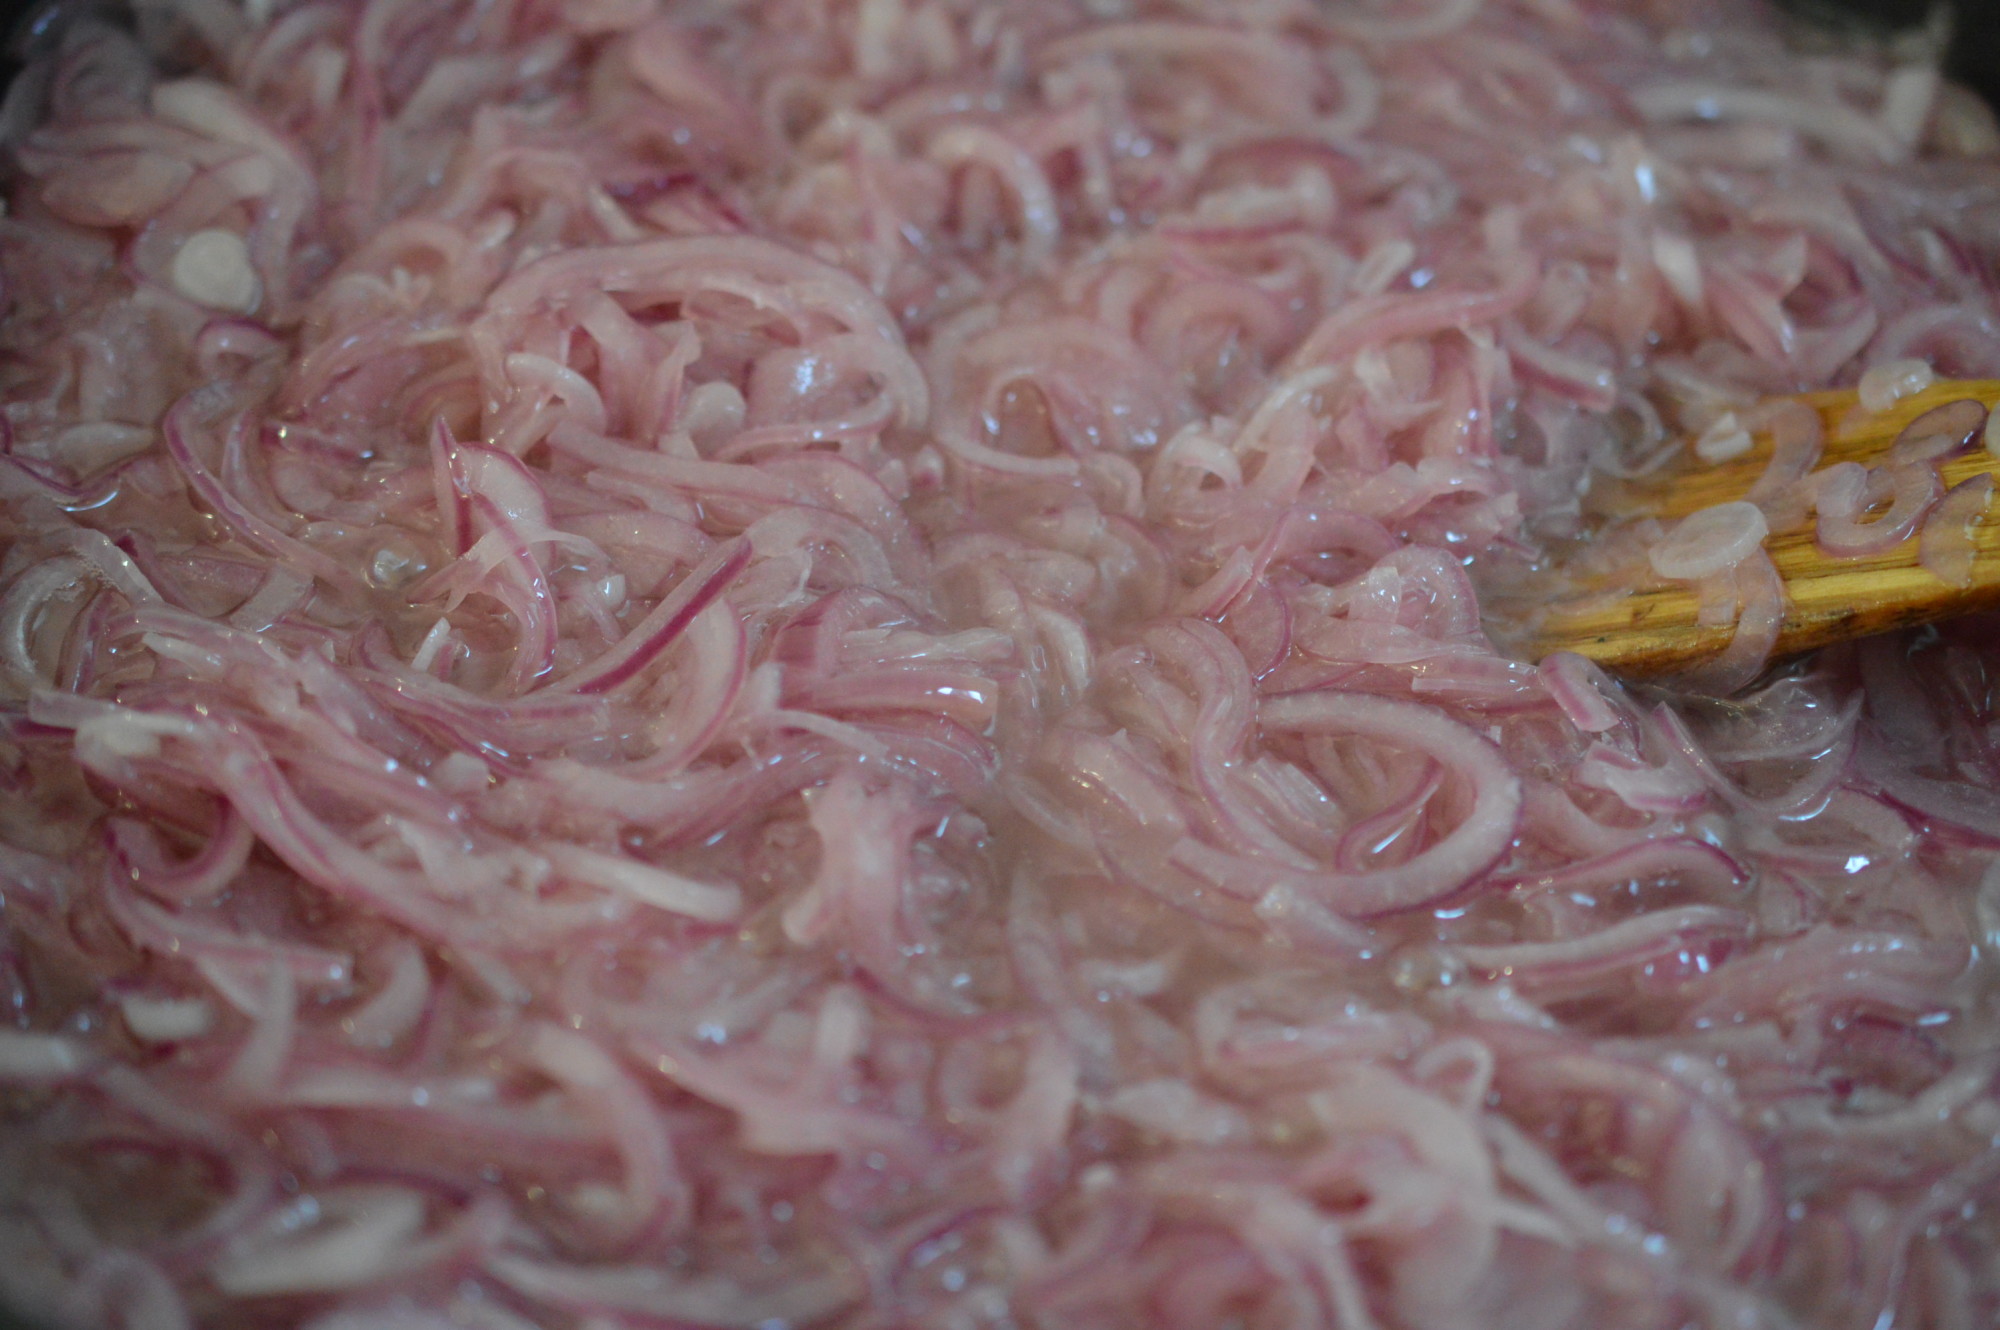
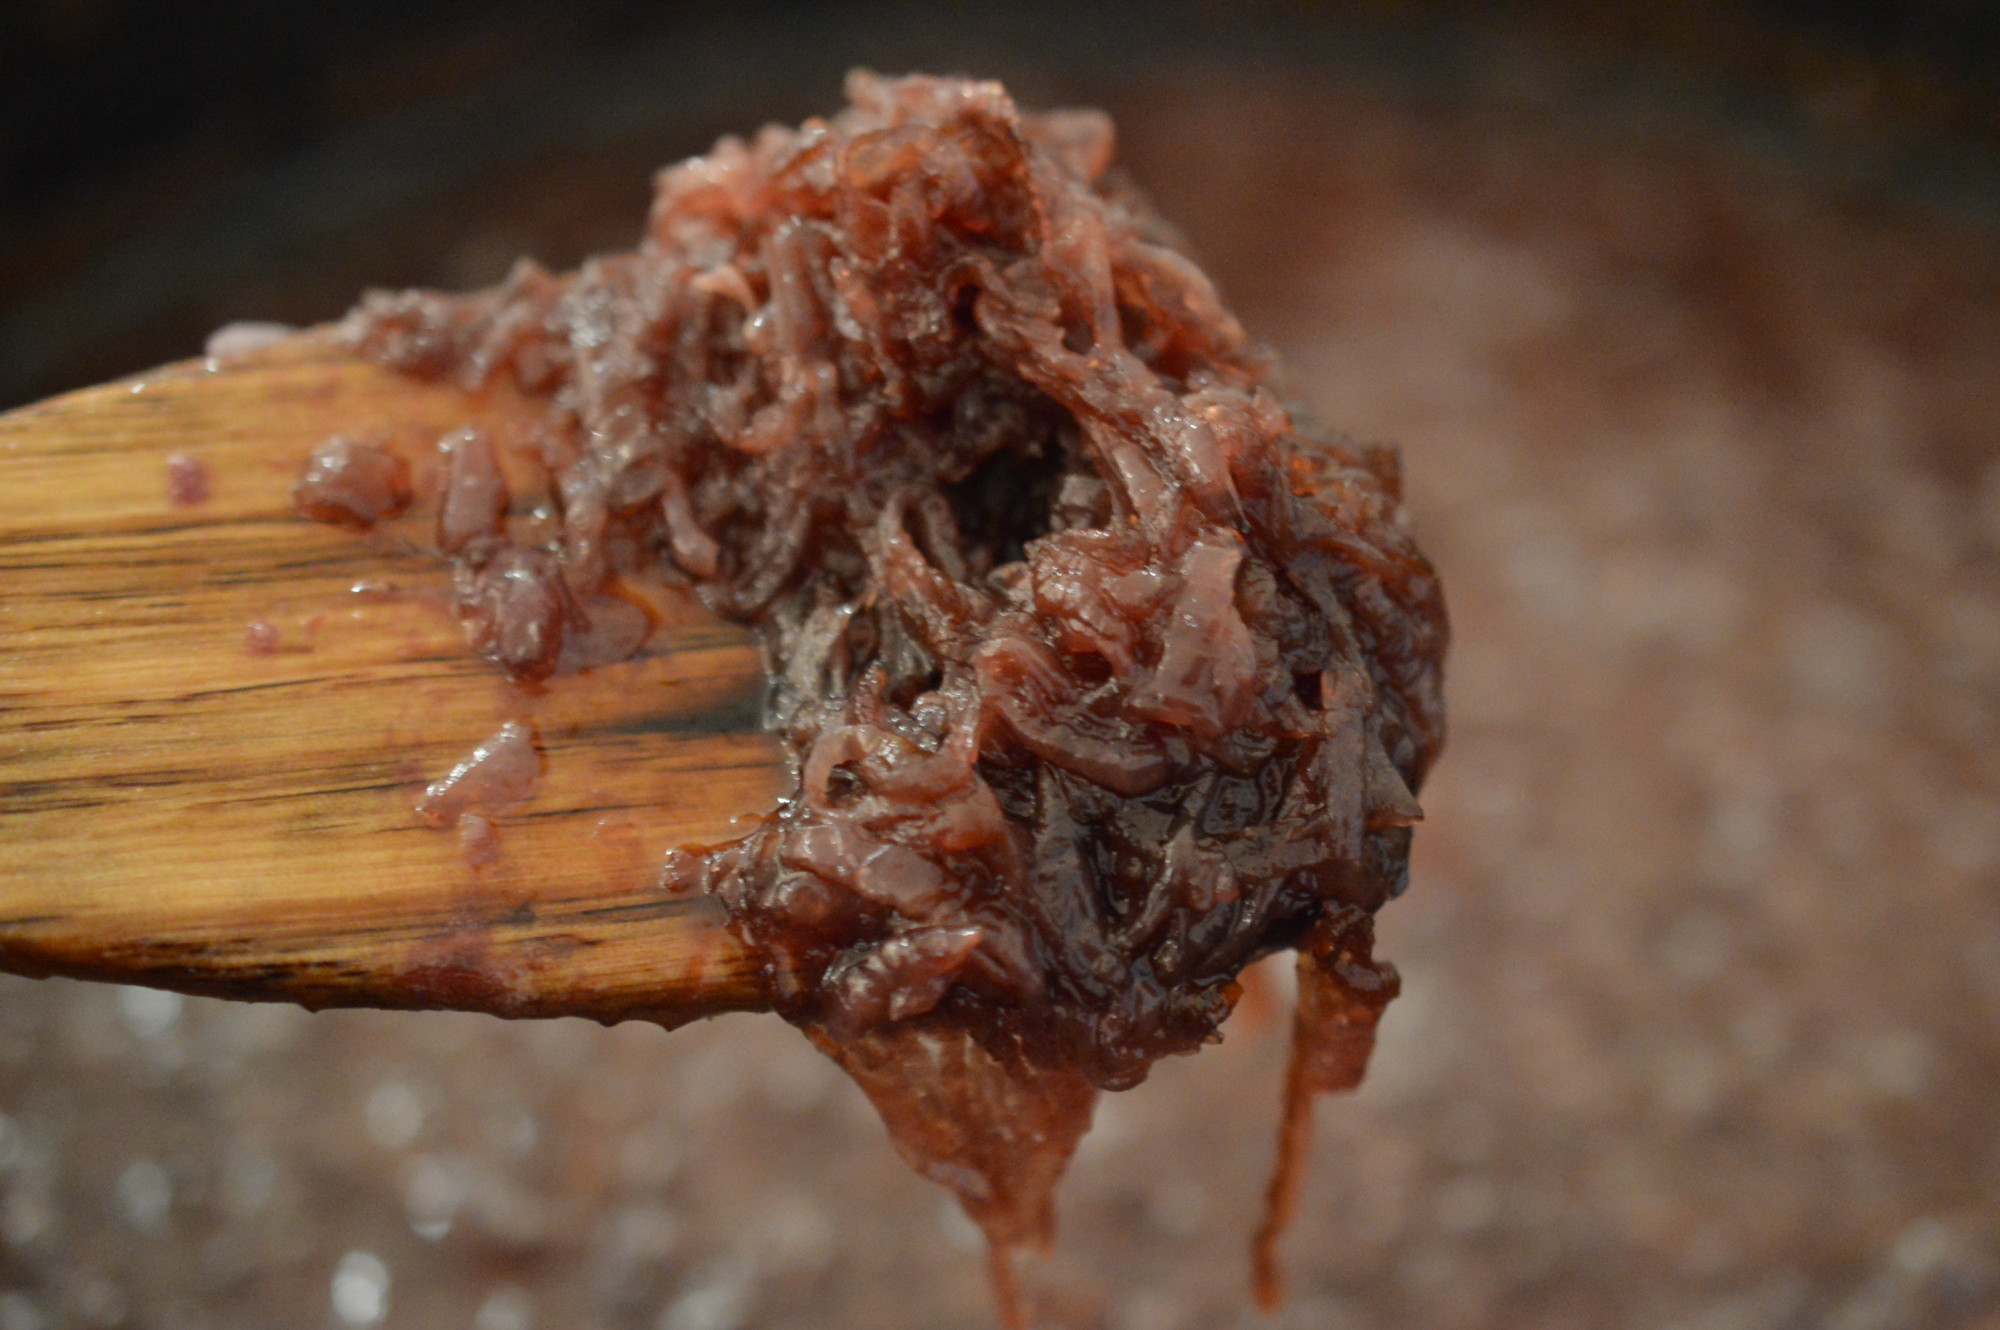
Unlike most European recipes, get some colour on your onions.  You are looking for soft and golden rather than the more usual ‘translucent’.  Stir often and take it as dark as you dare.  It all adds flavour.

Haddock keep warm

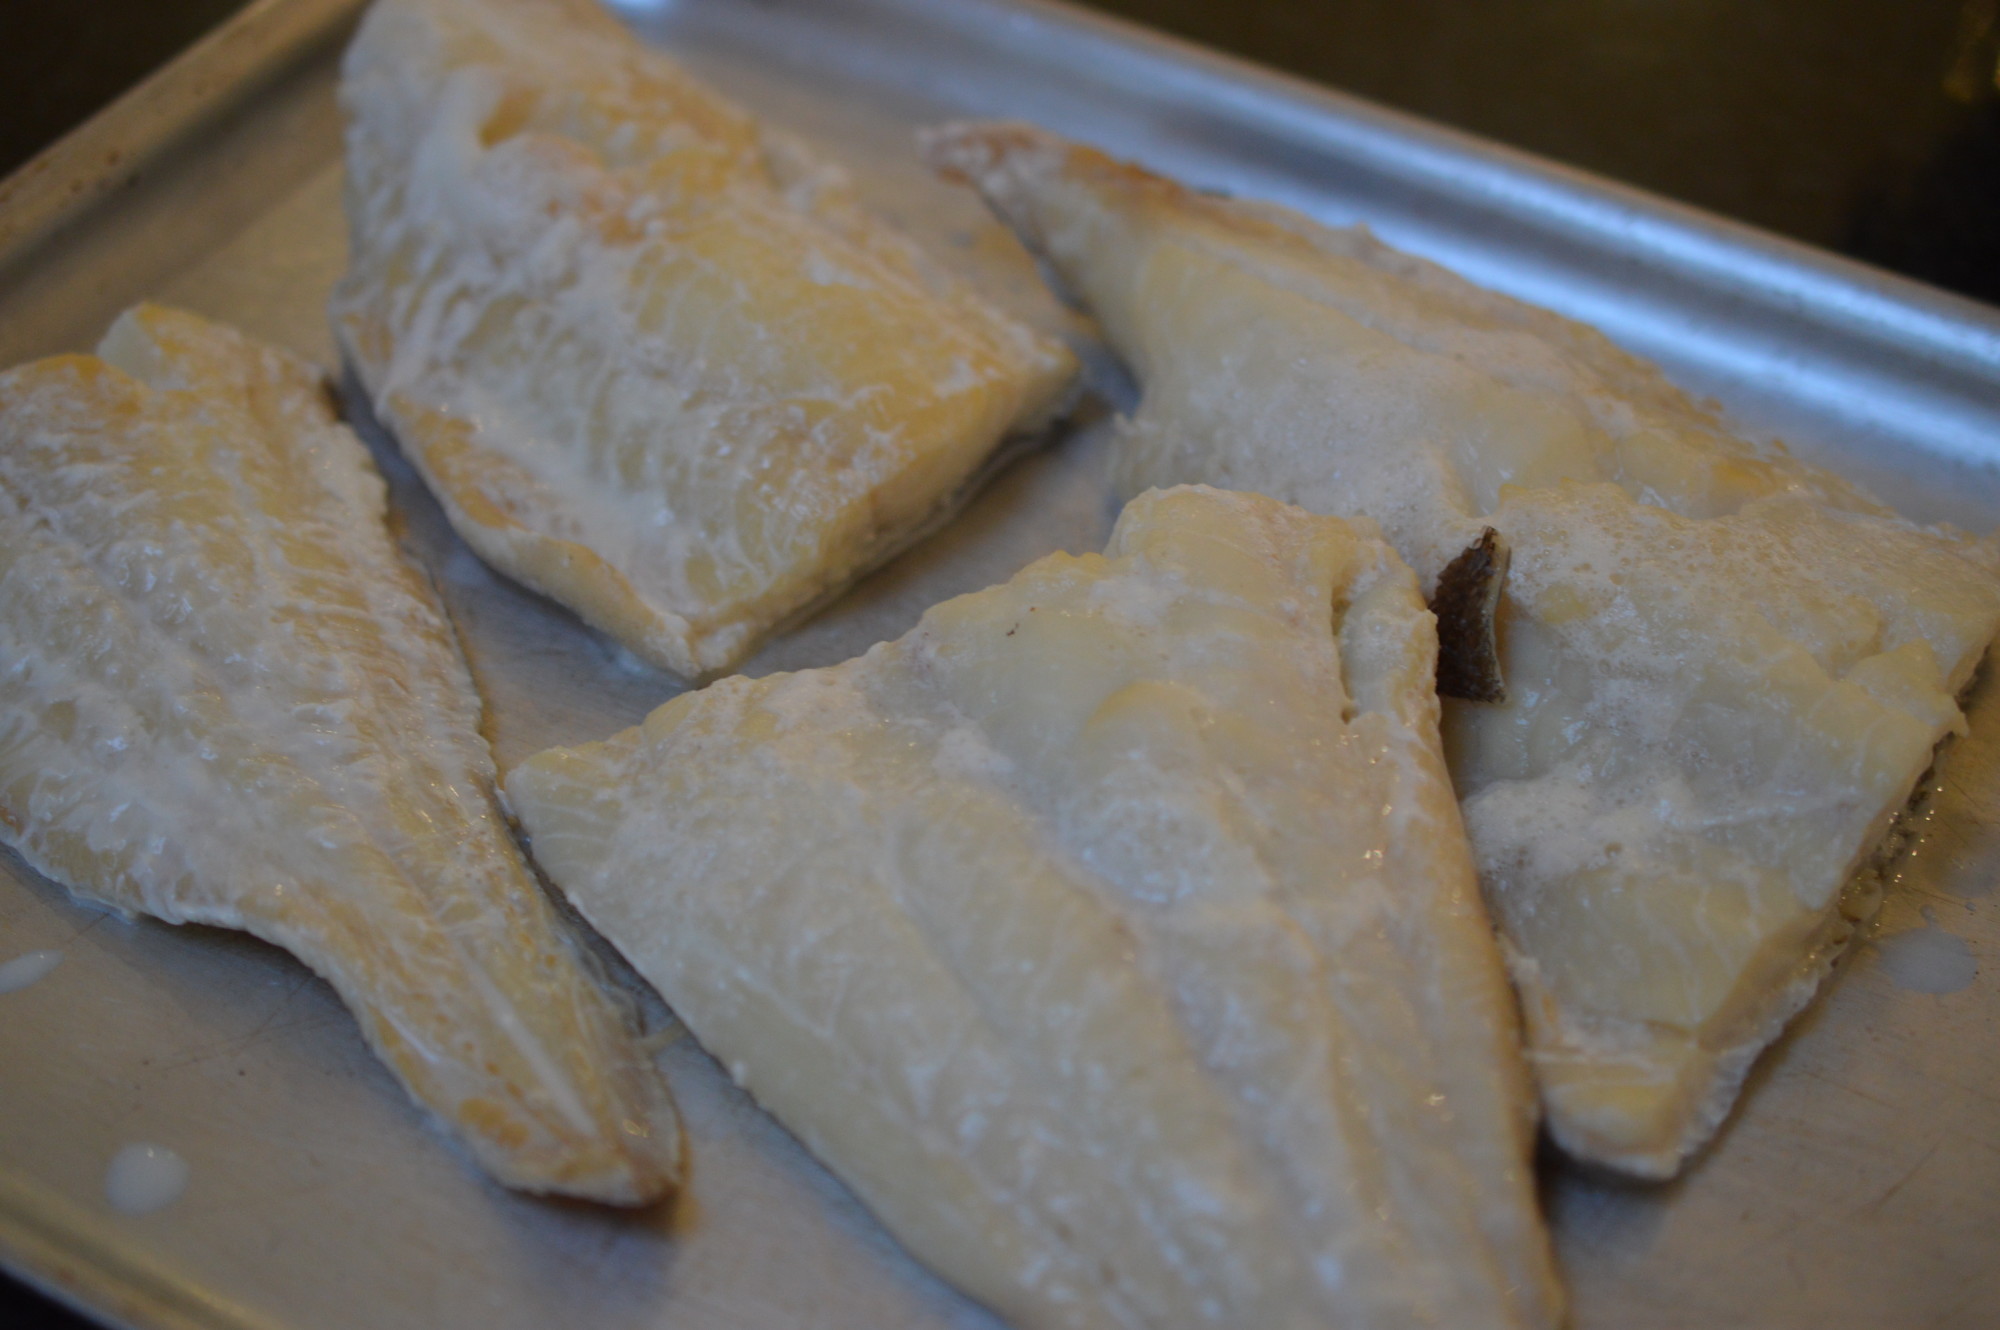
By now your fish will be cooked.  Lift out and keep warm.  (Place them on a plate and cover with foil.  Rest the plate on a saucepan of simmering water.)  Sieve the milk and add enough water to make up to 900ml/1½ UK pints.

Kedgeree curry powder

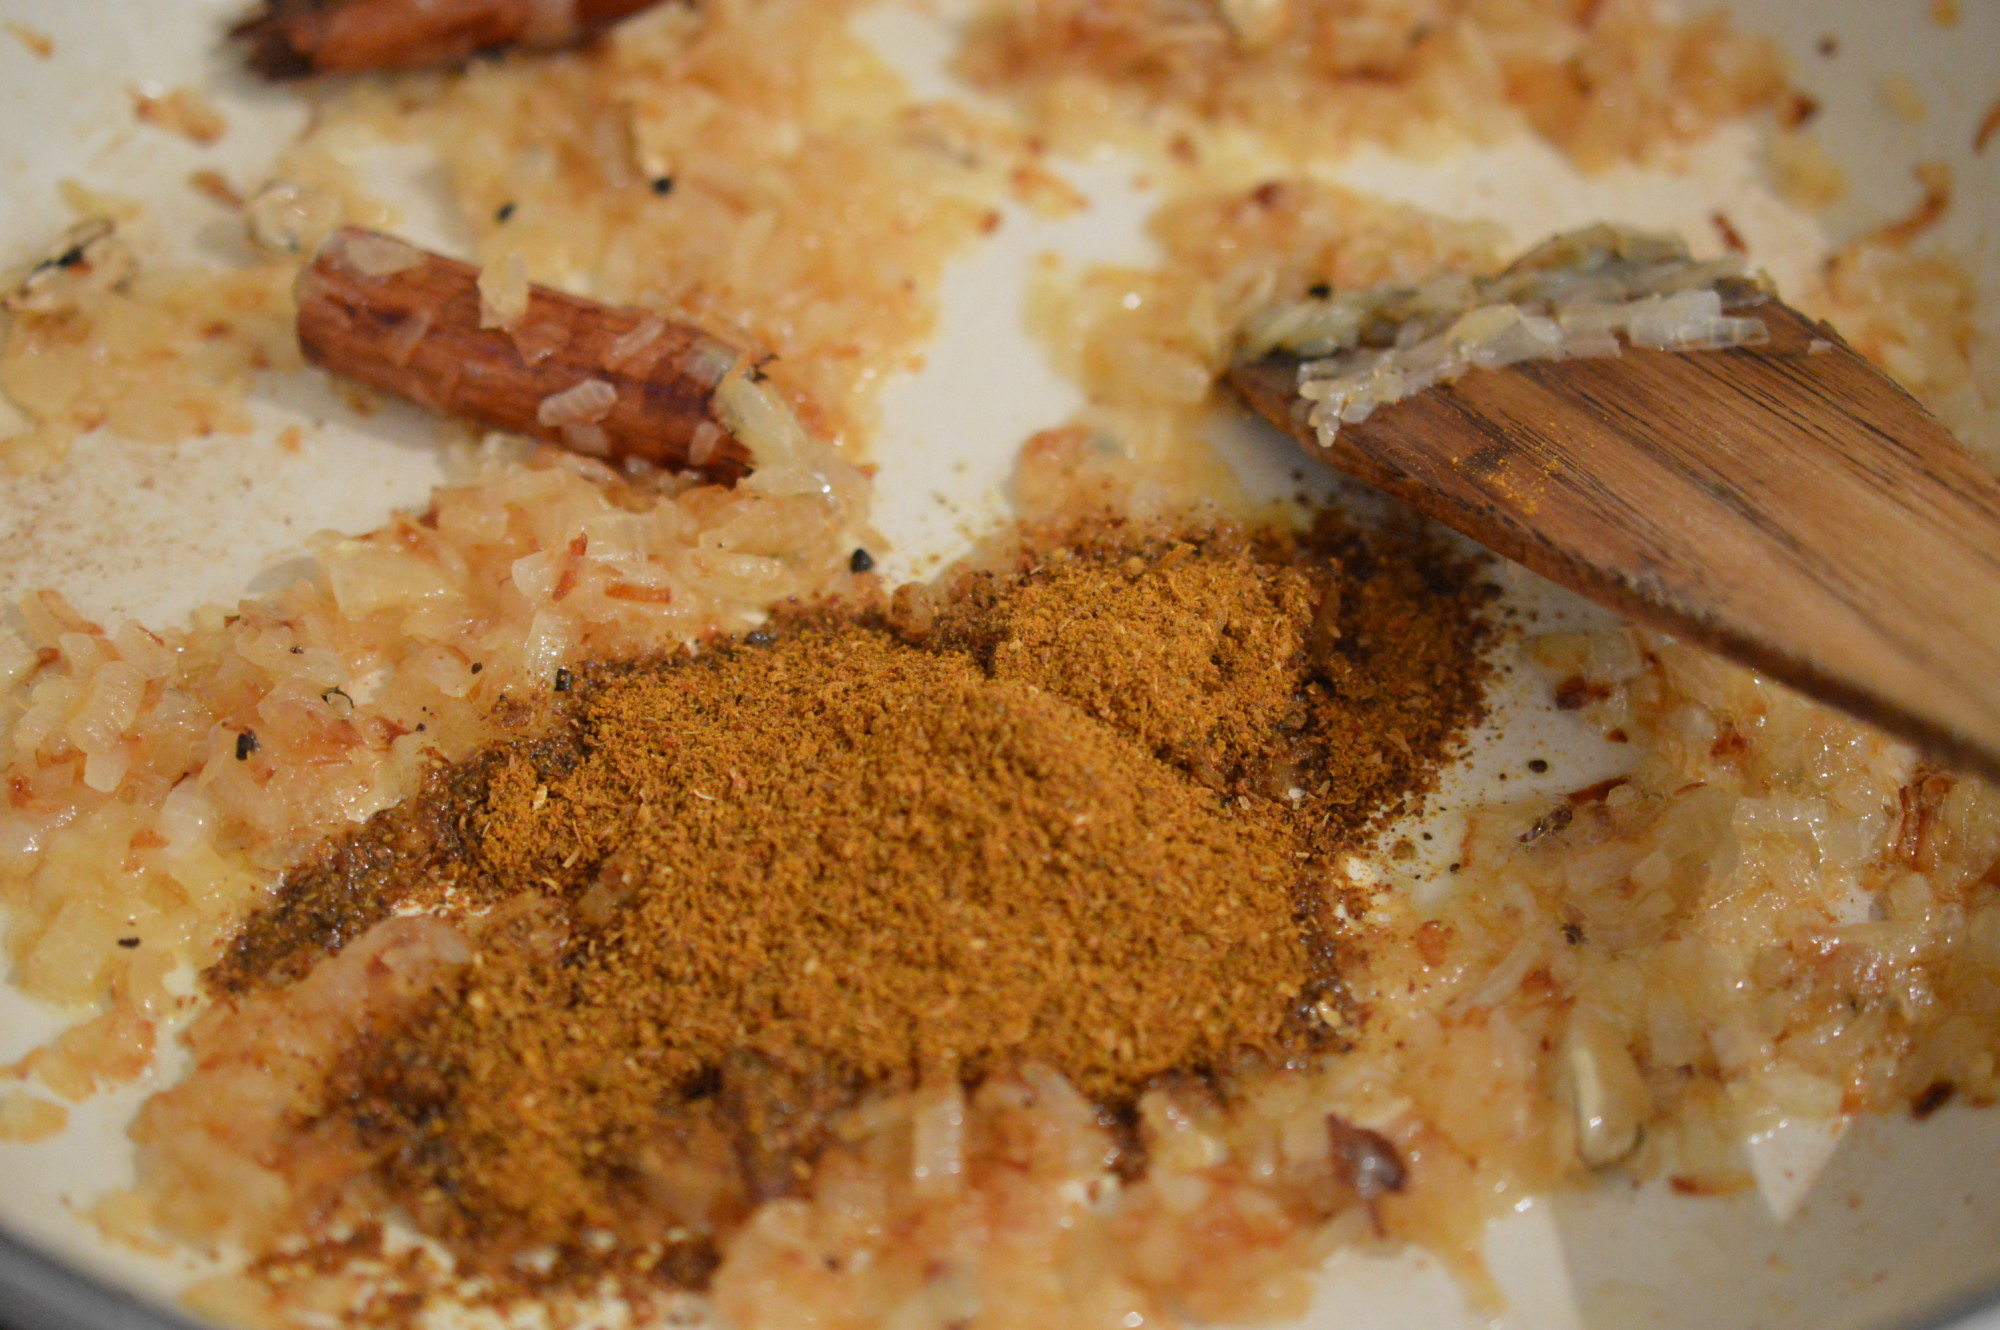
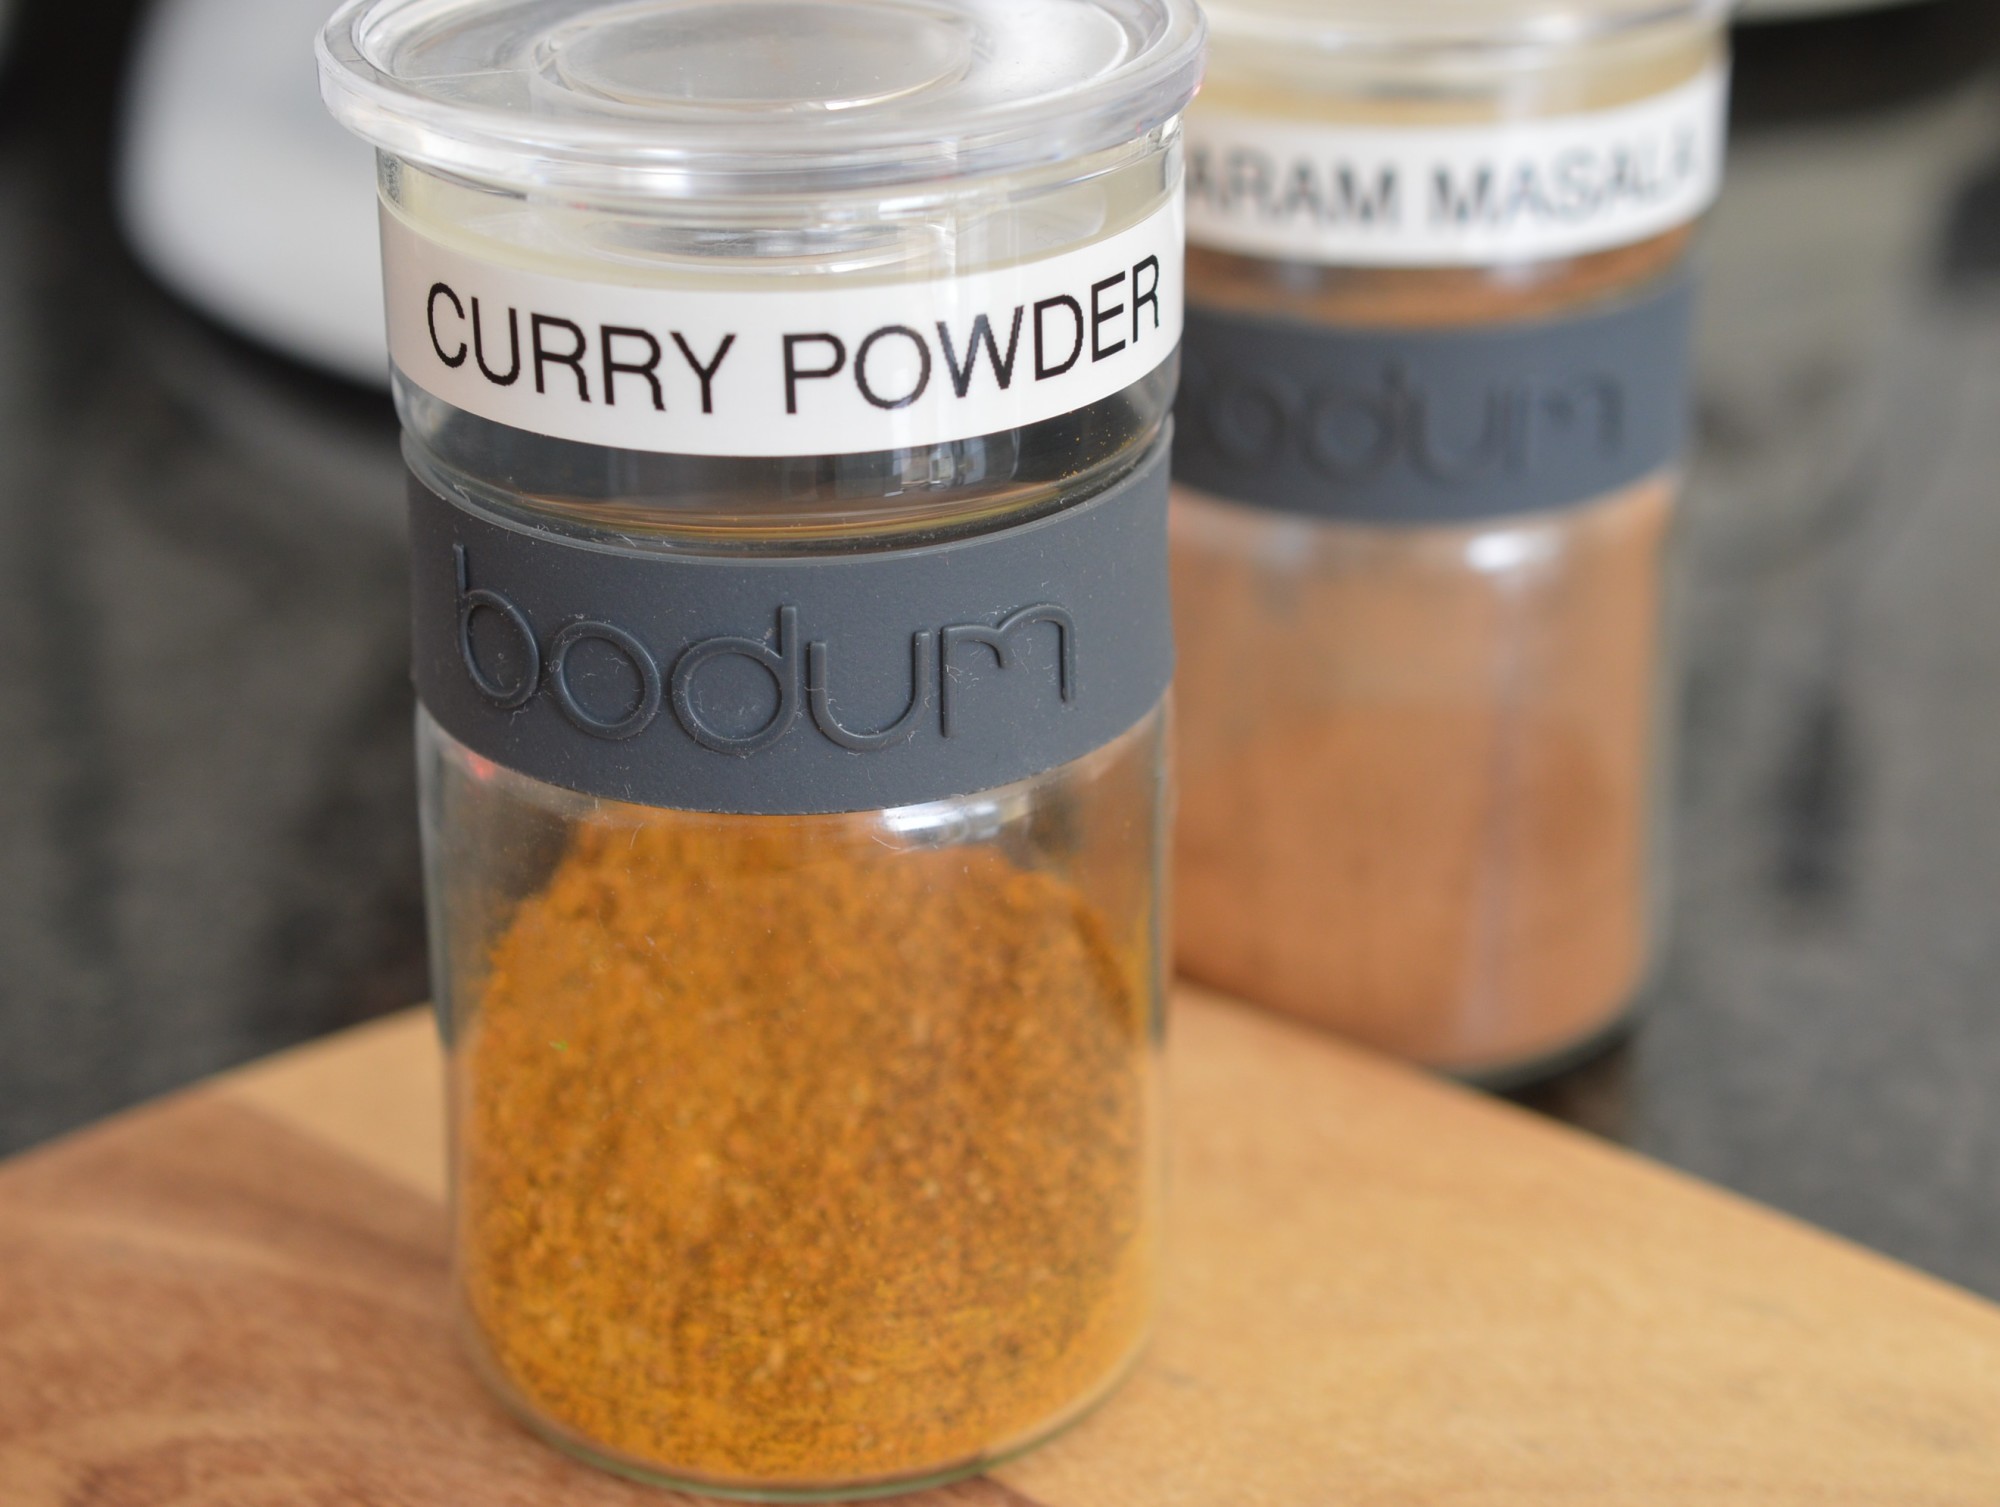
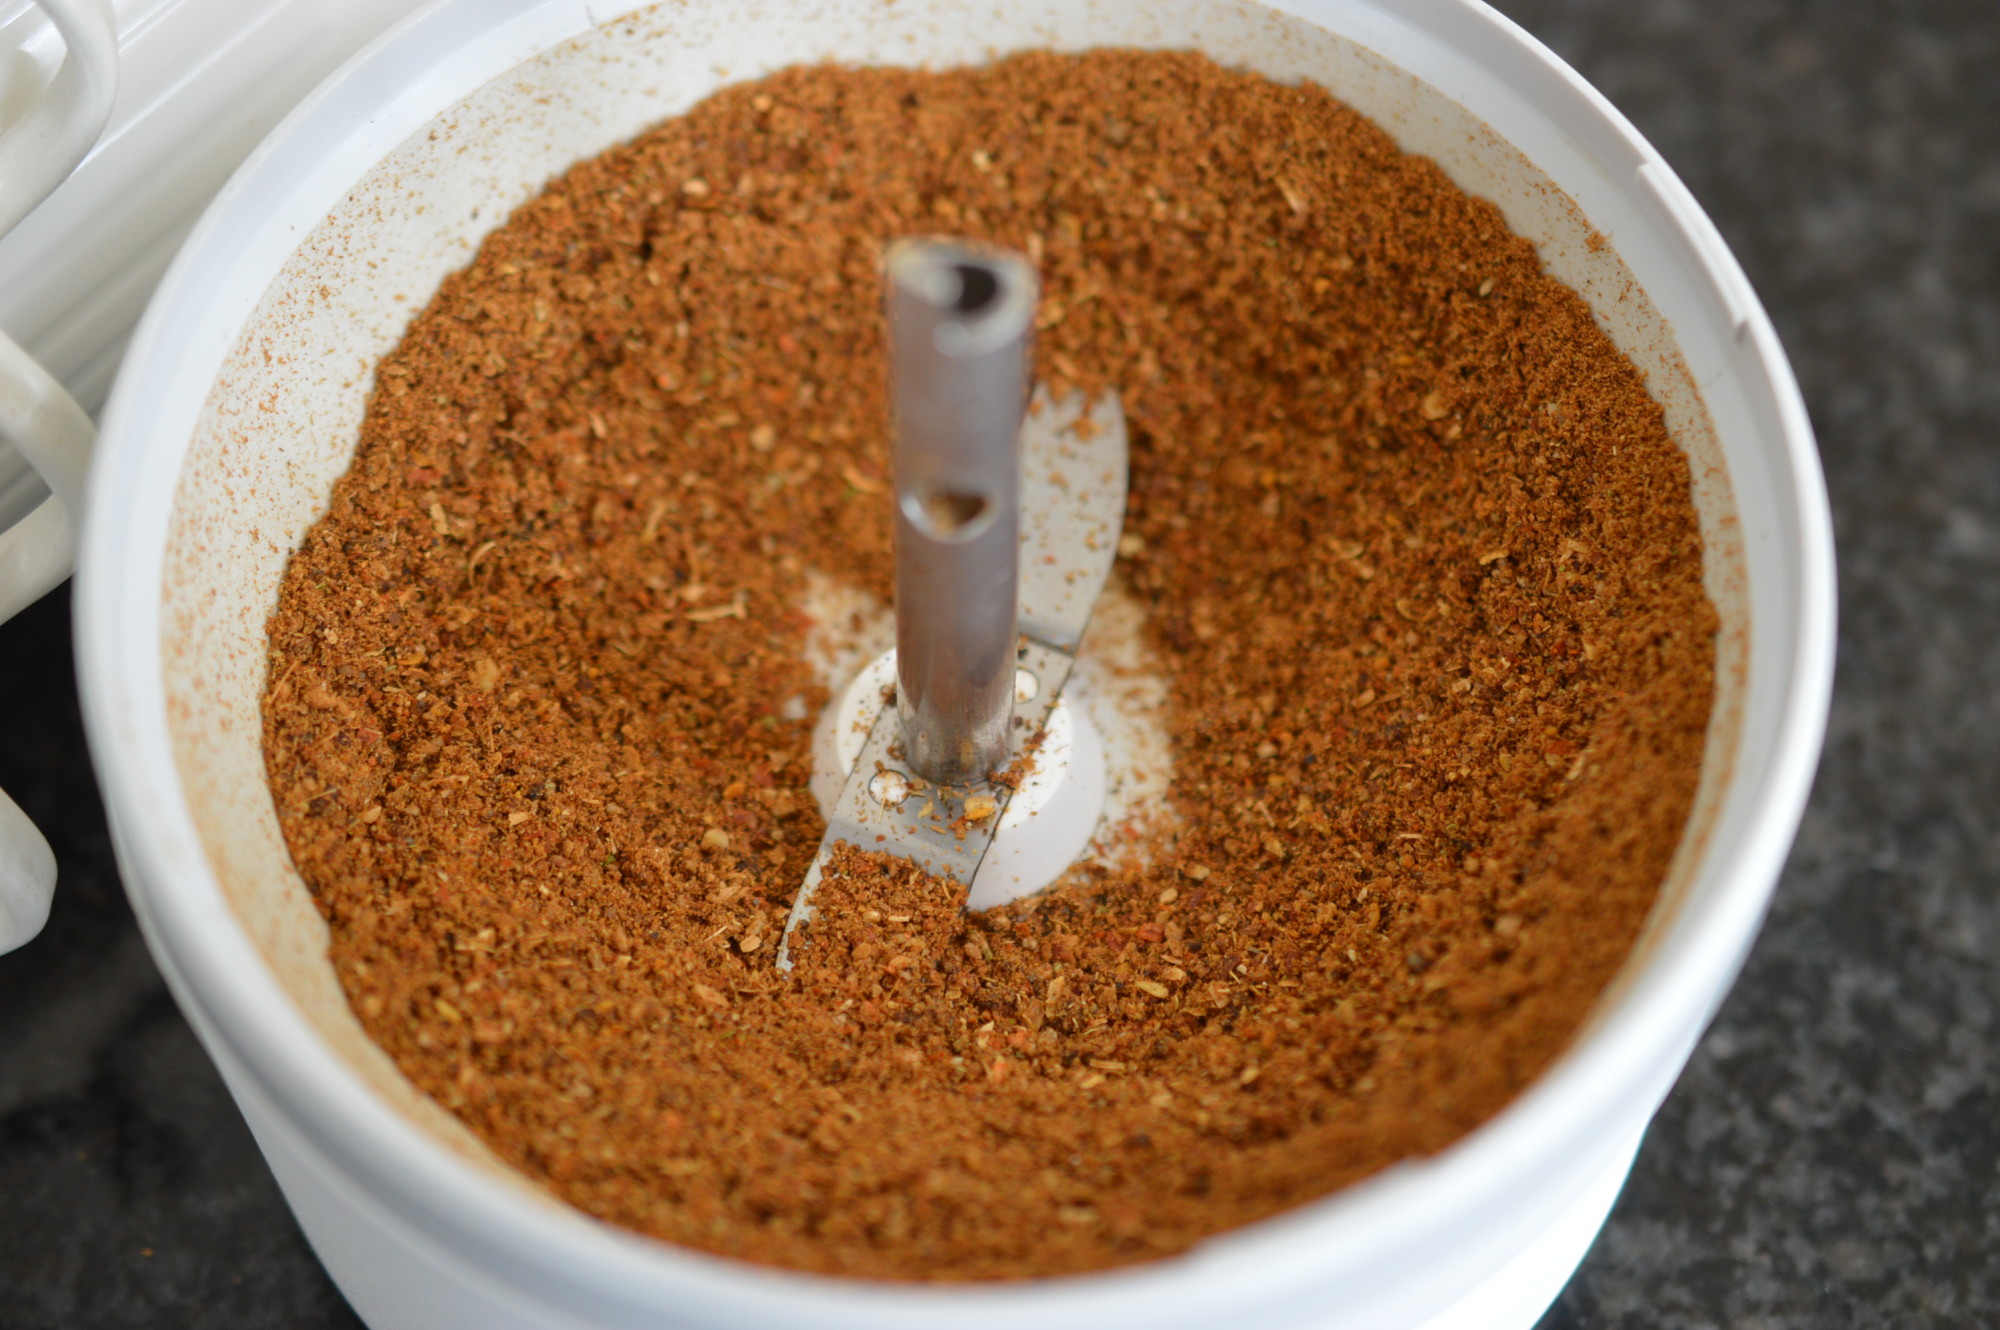
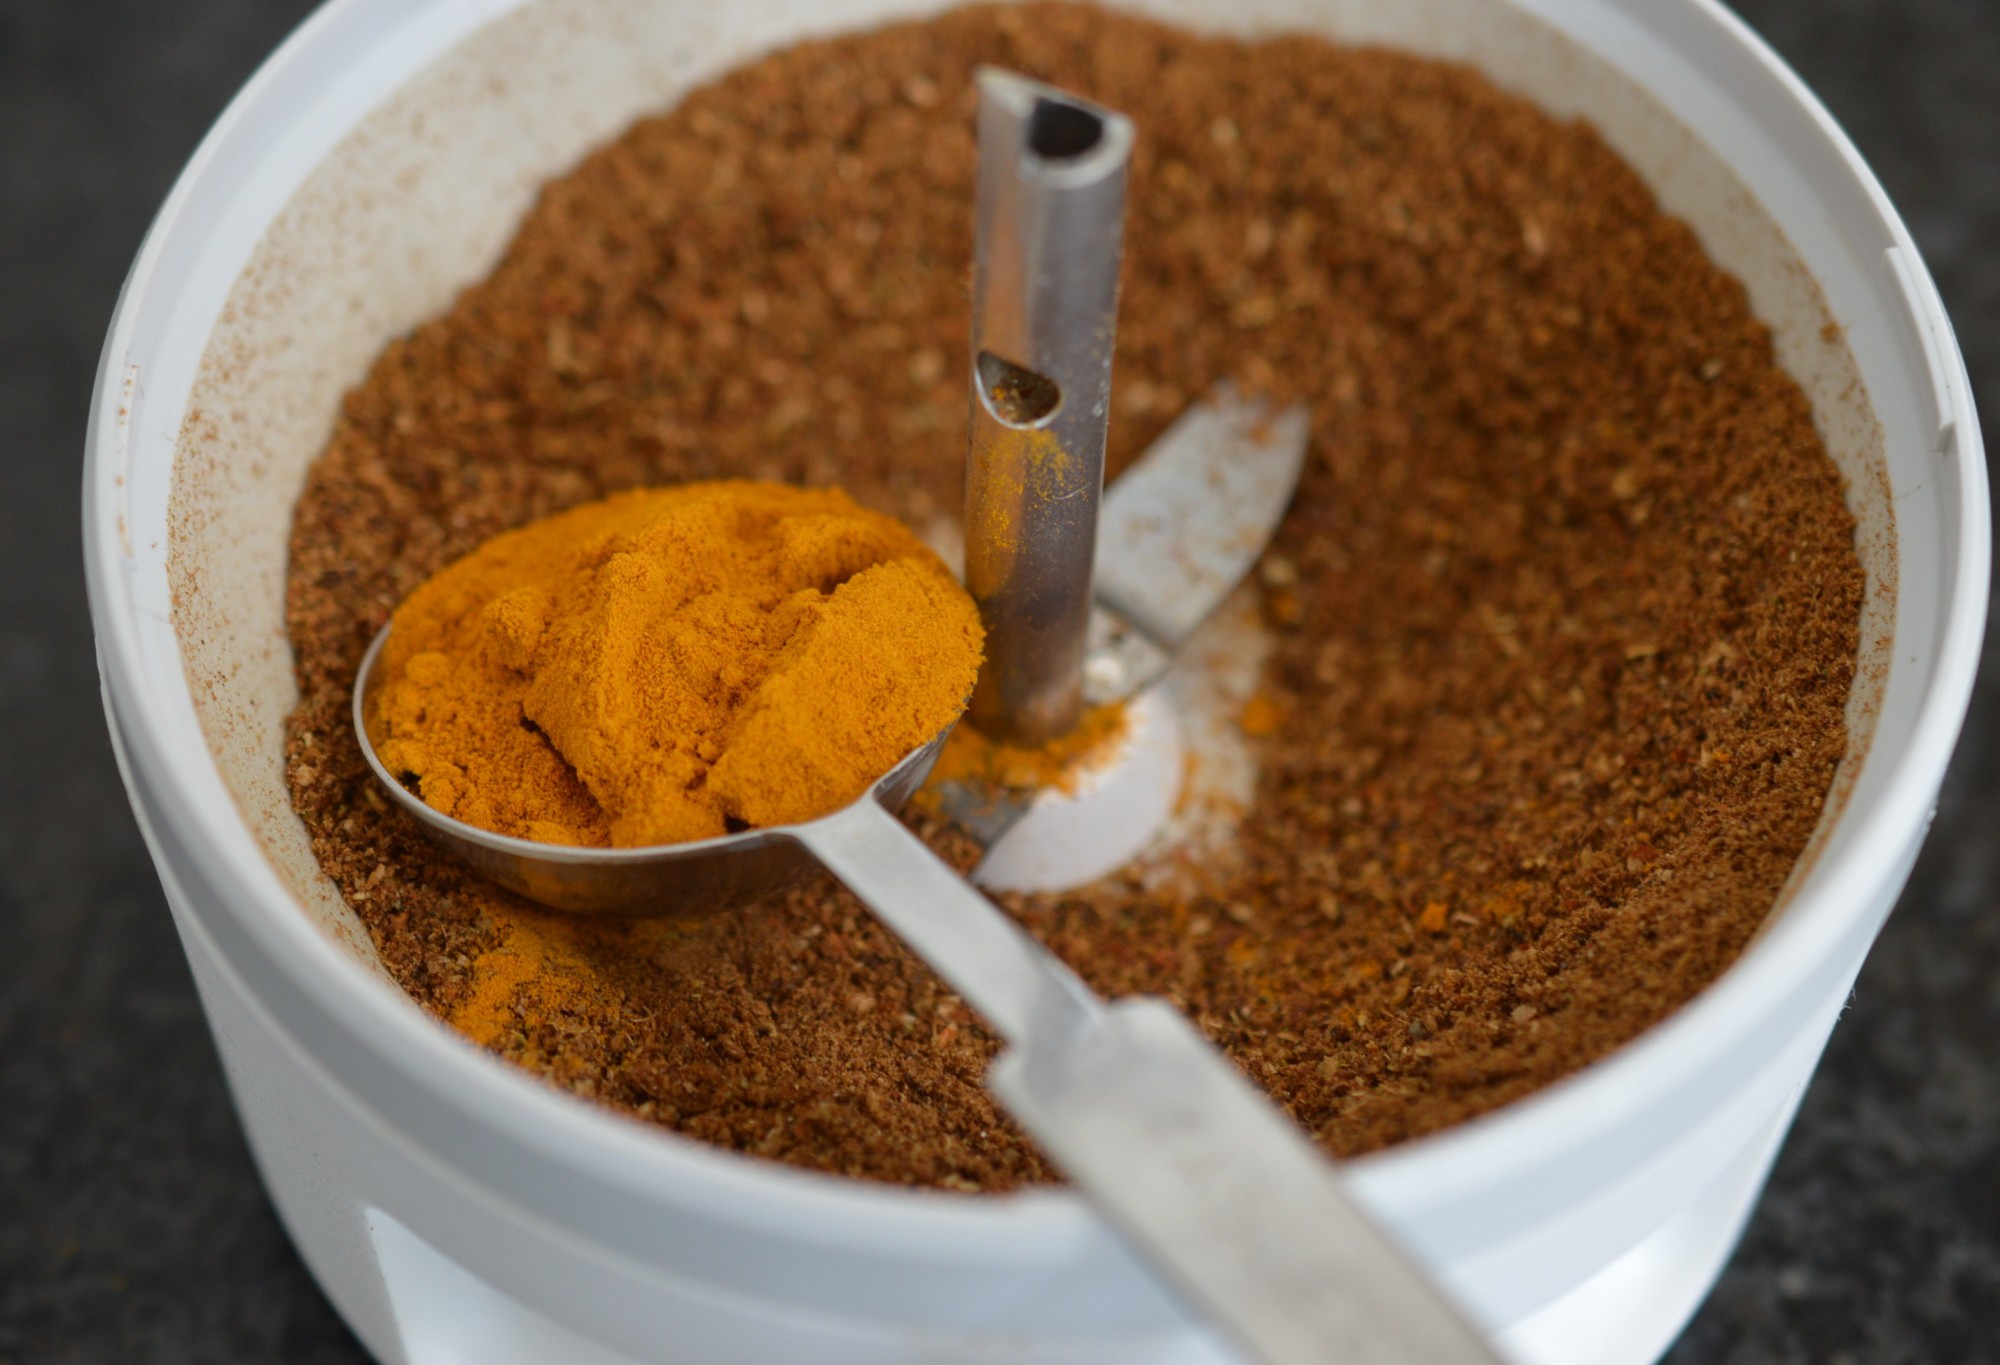
Now the onions are golden, add the curry powder.

Kedgeree cook spices

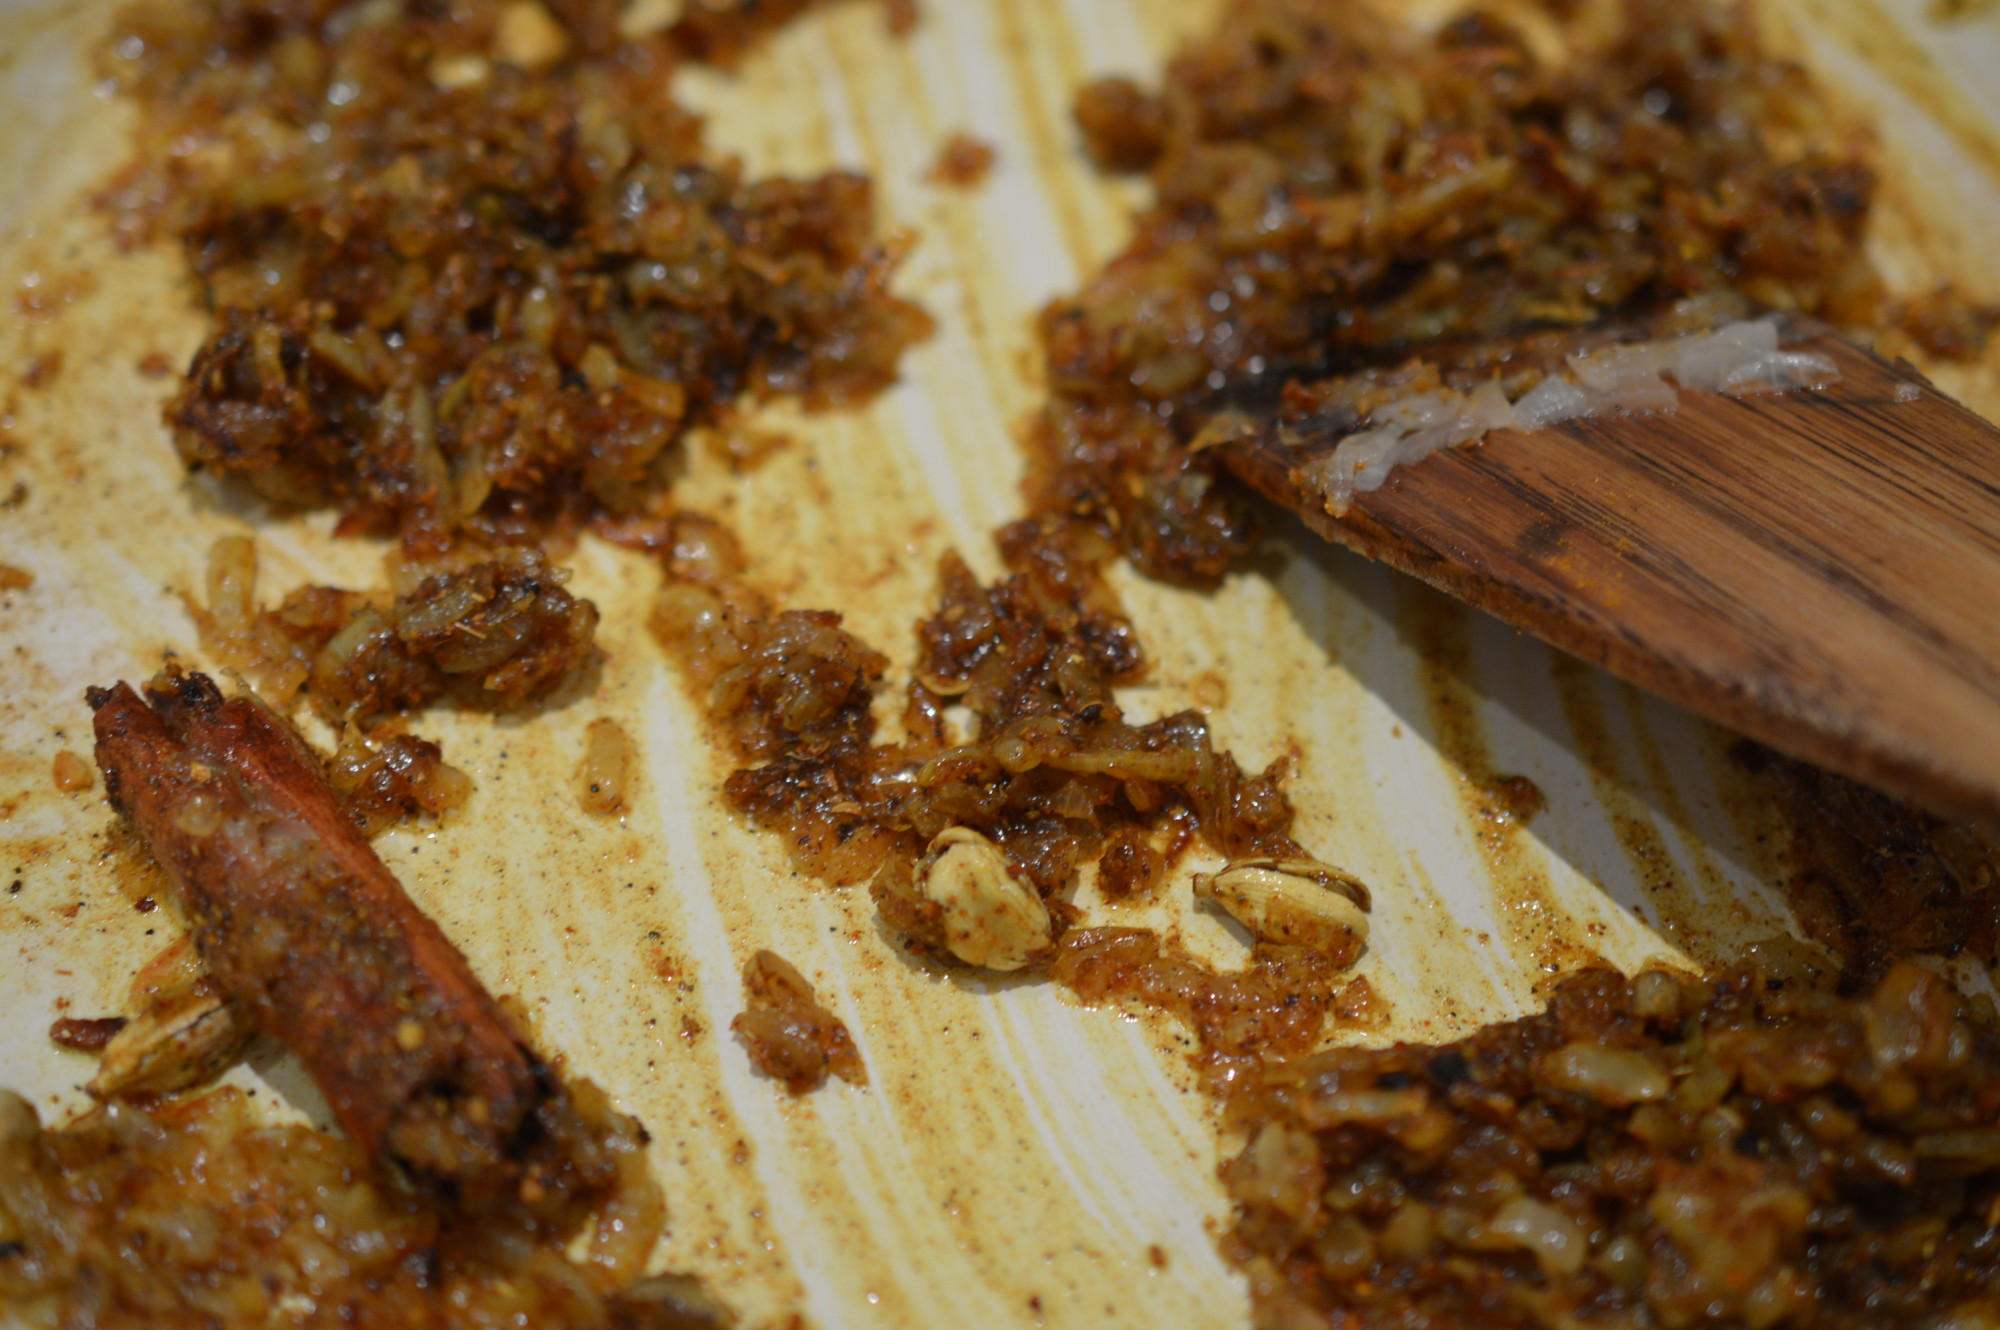
Give everything a stir and cook for a couple of minutes.

Kedgeree coat rice in spices

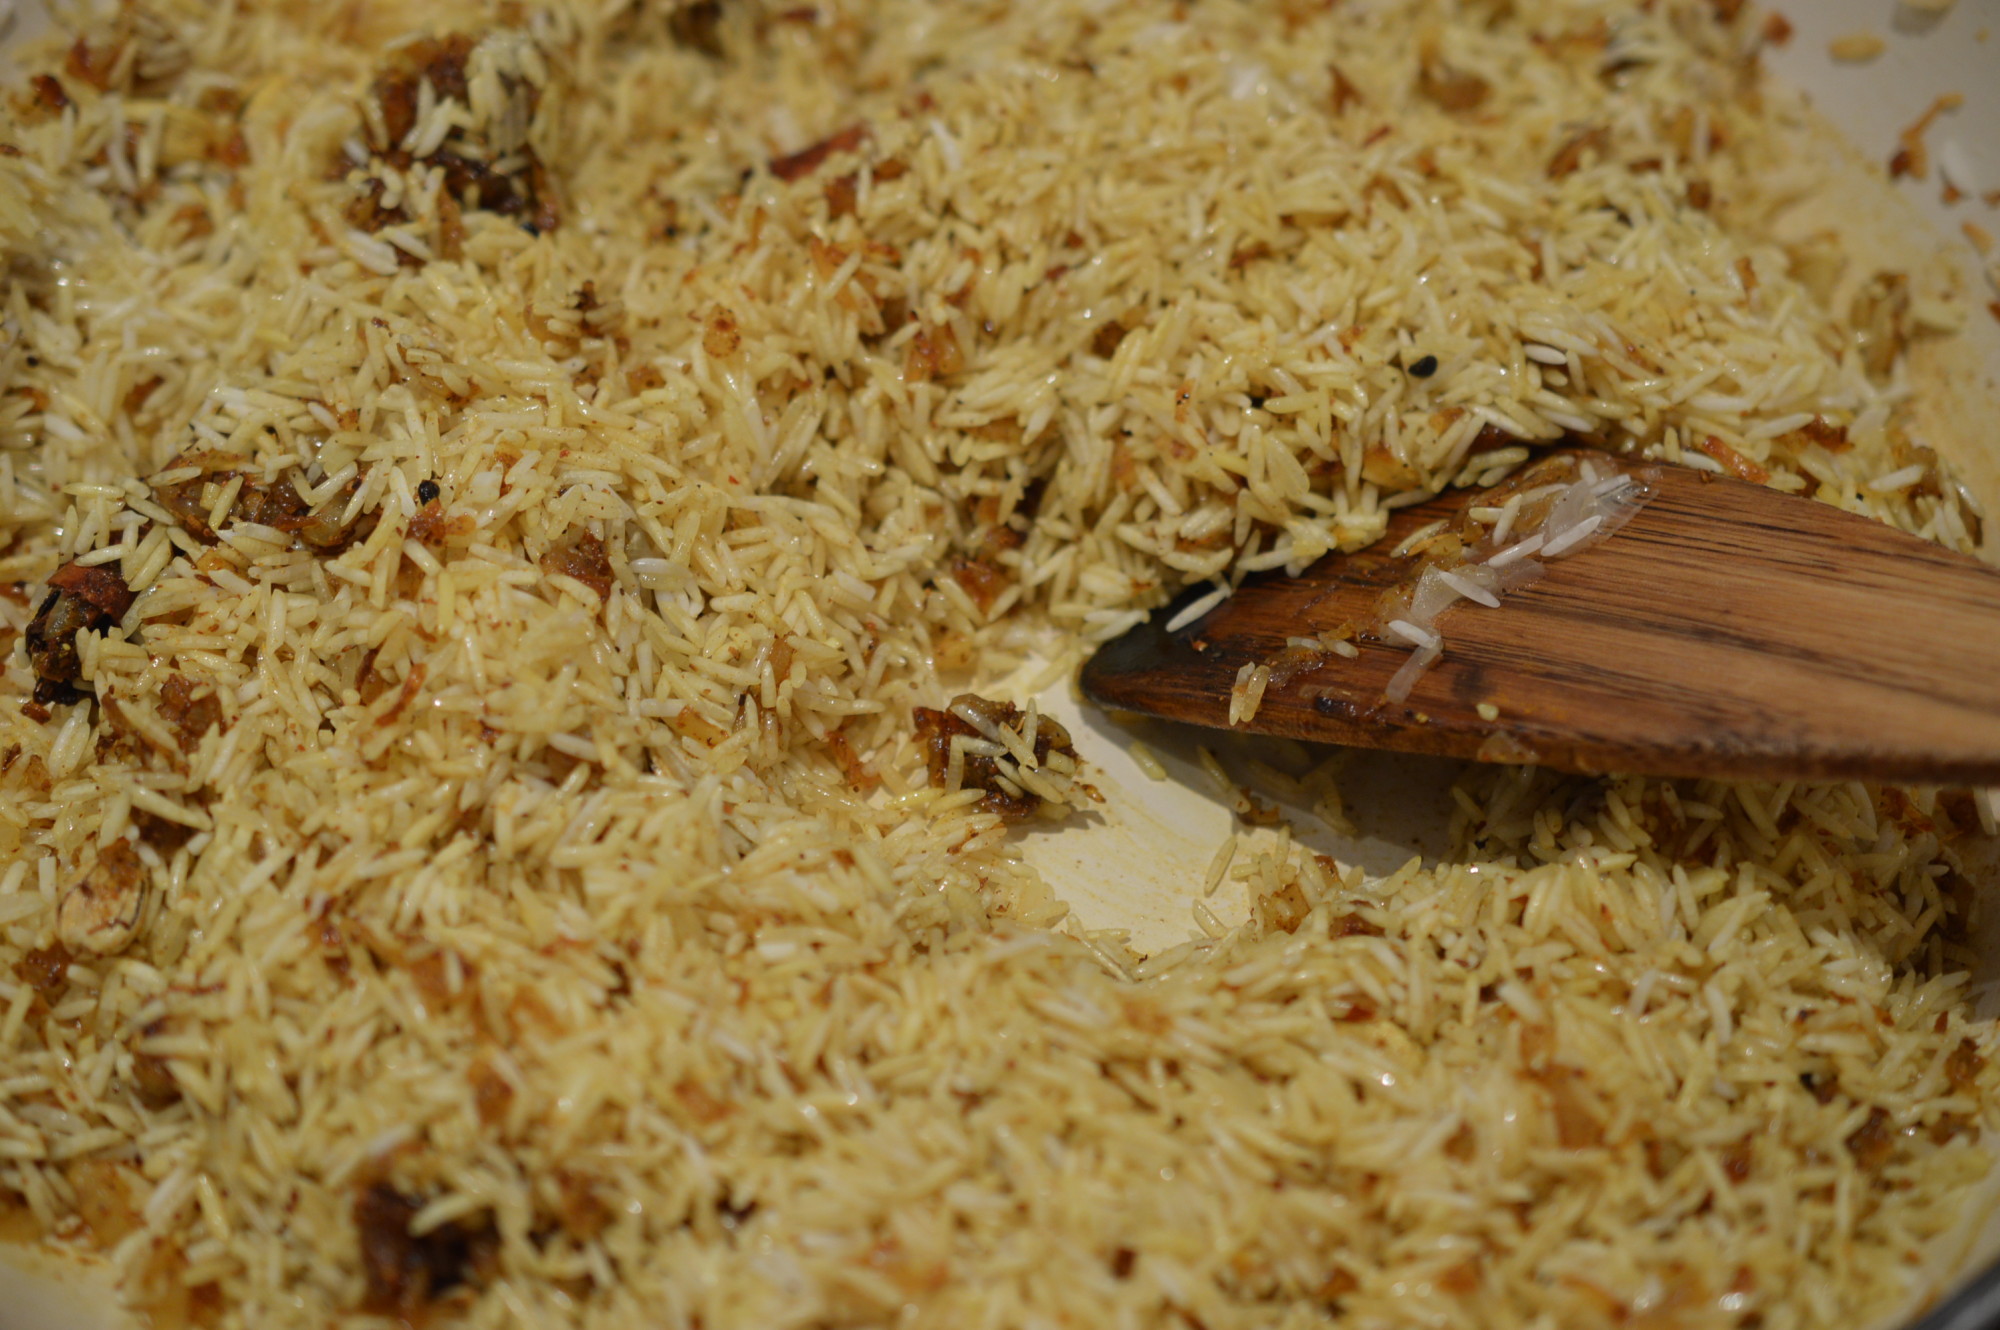
Add the rinsed basmati rice and give everything a stir.

Kedgeree cook rice

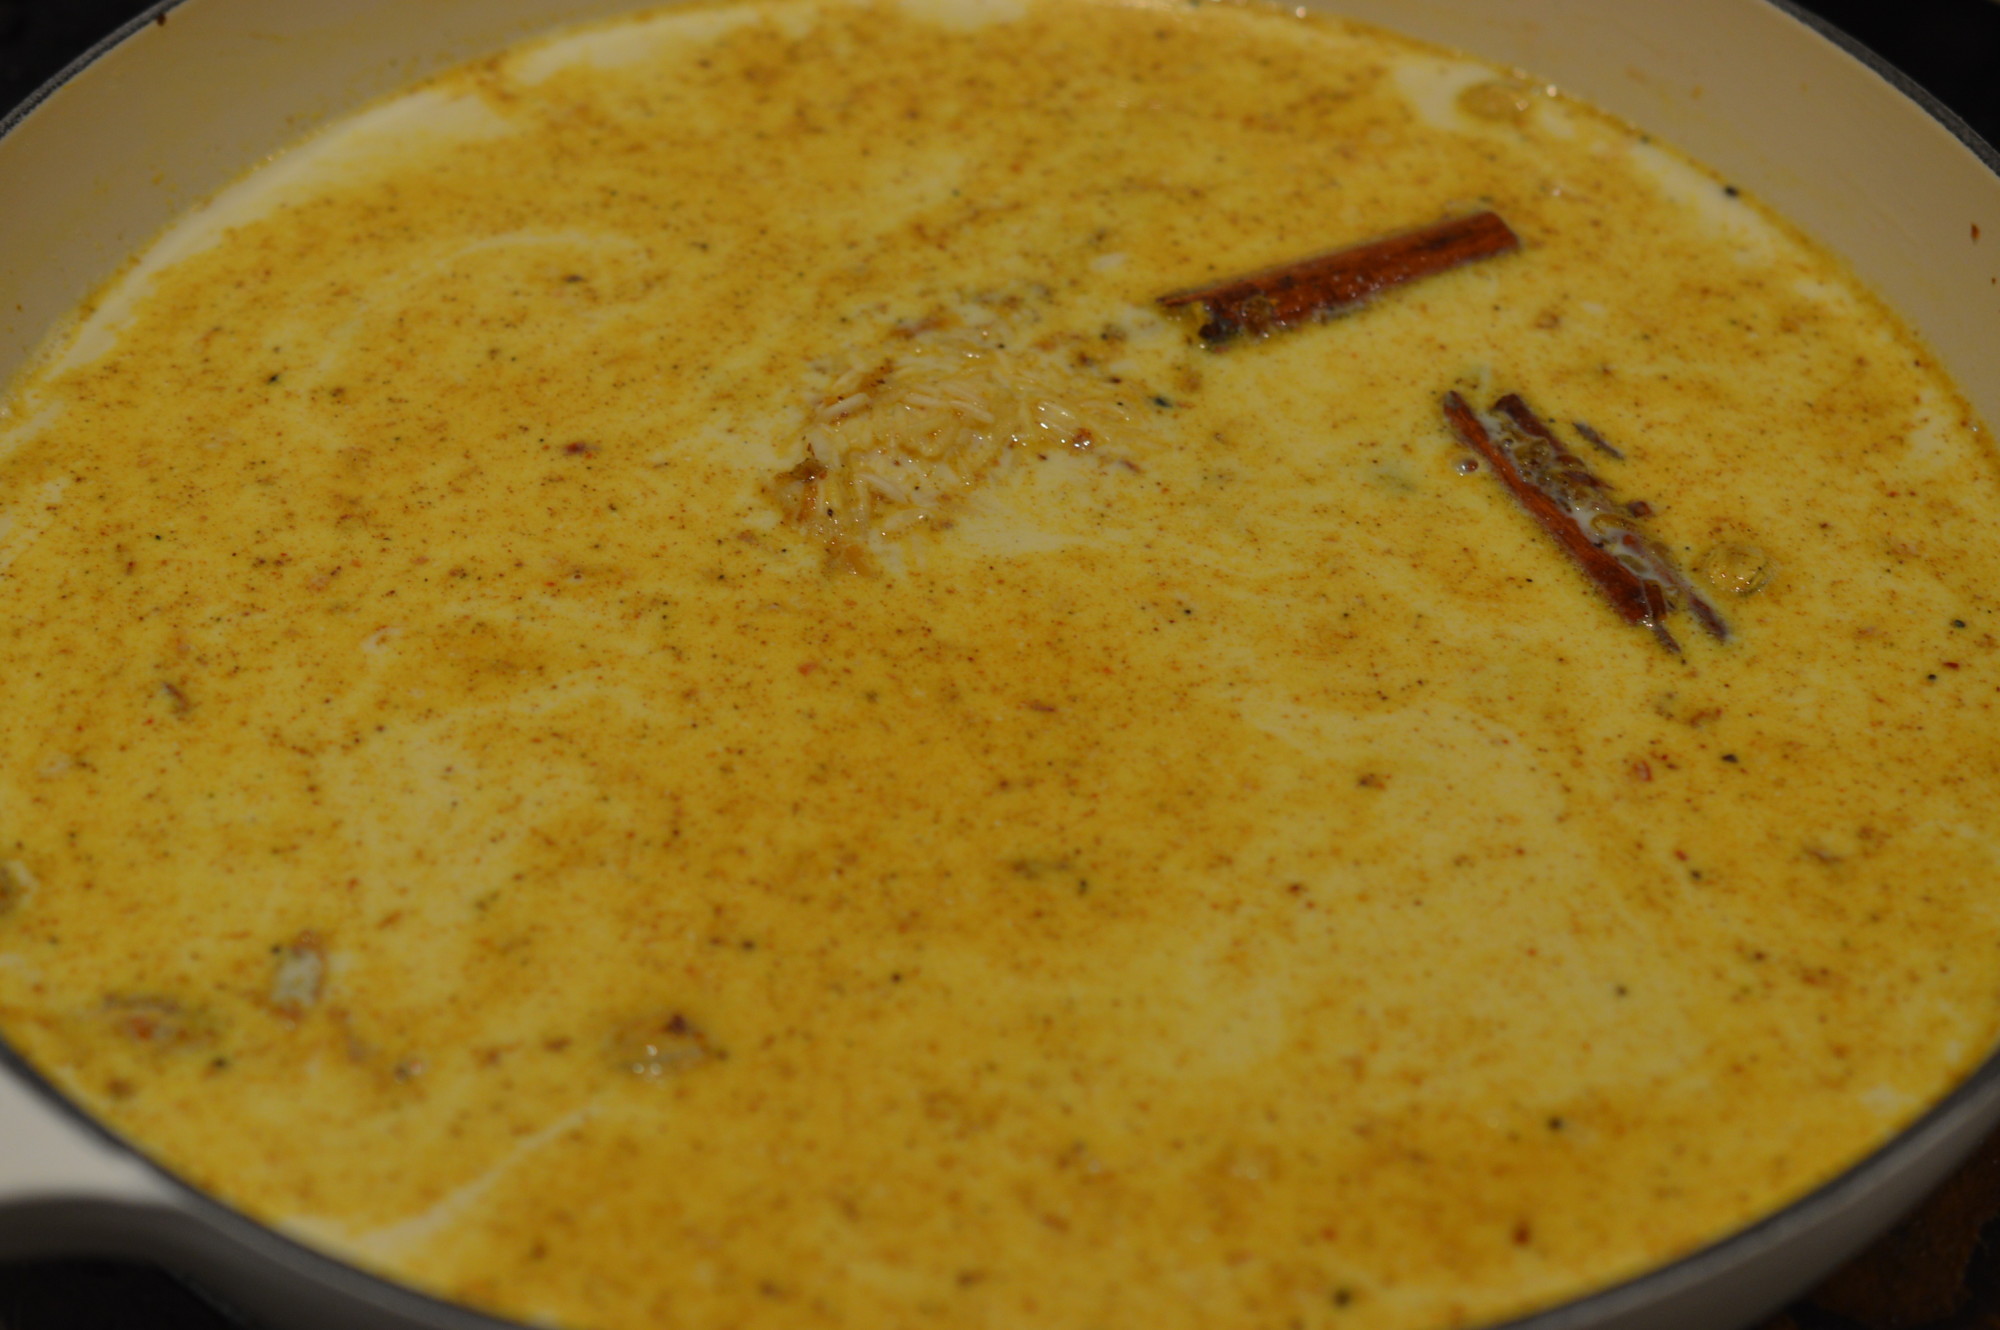
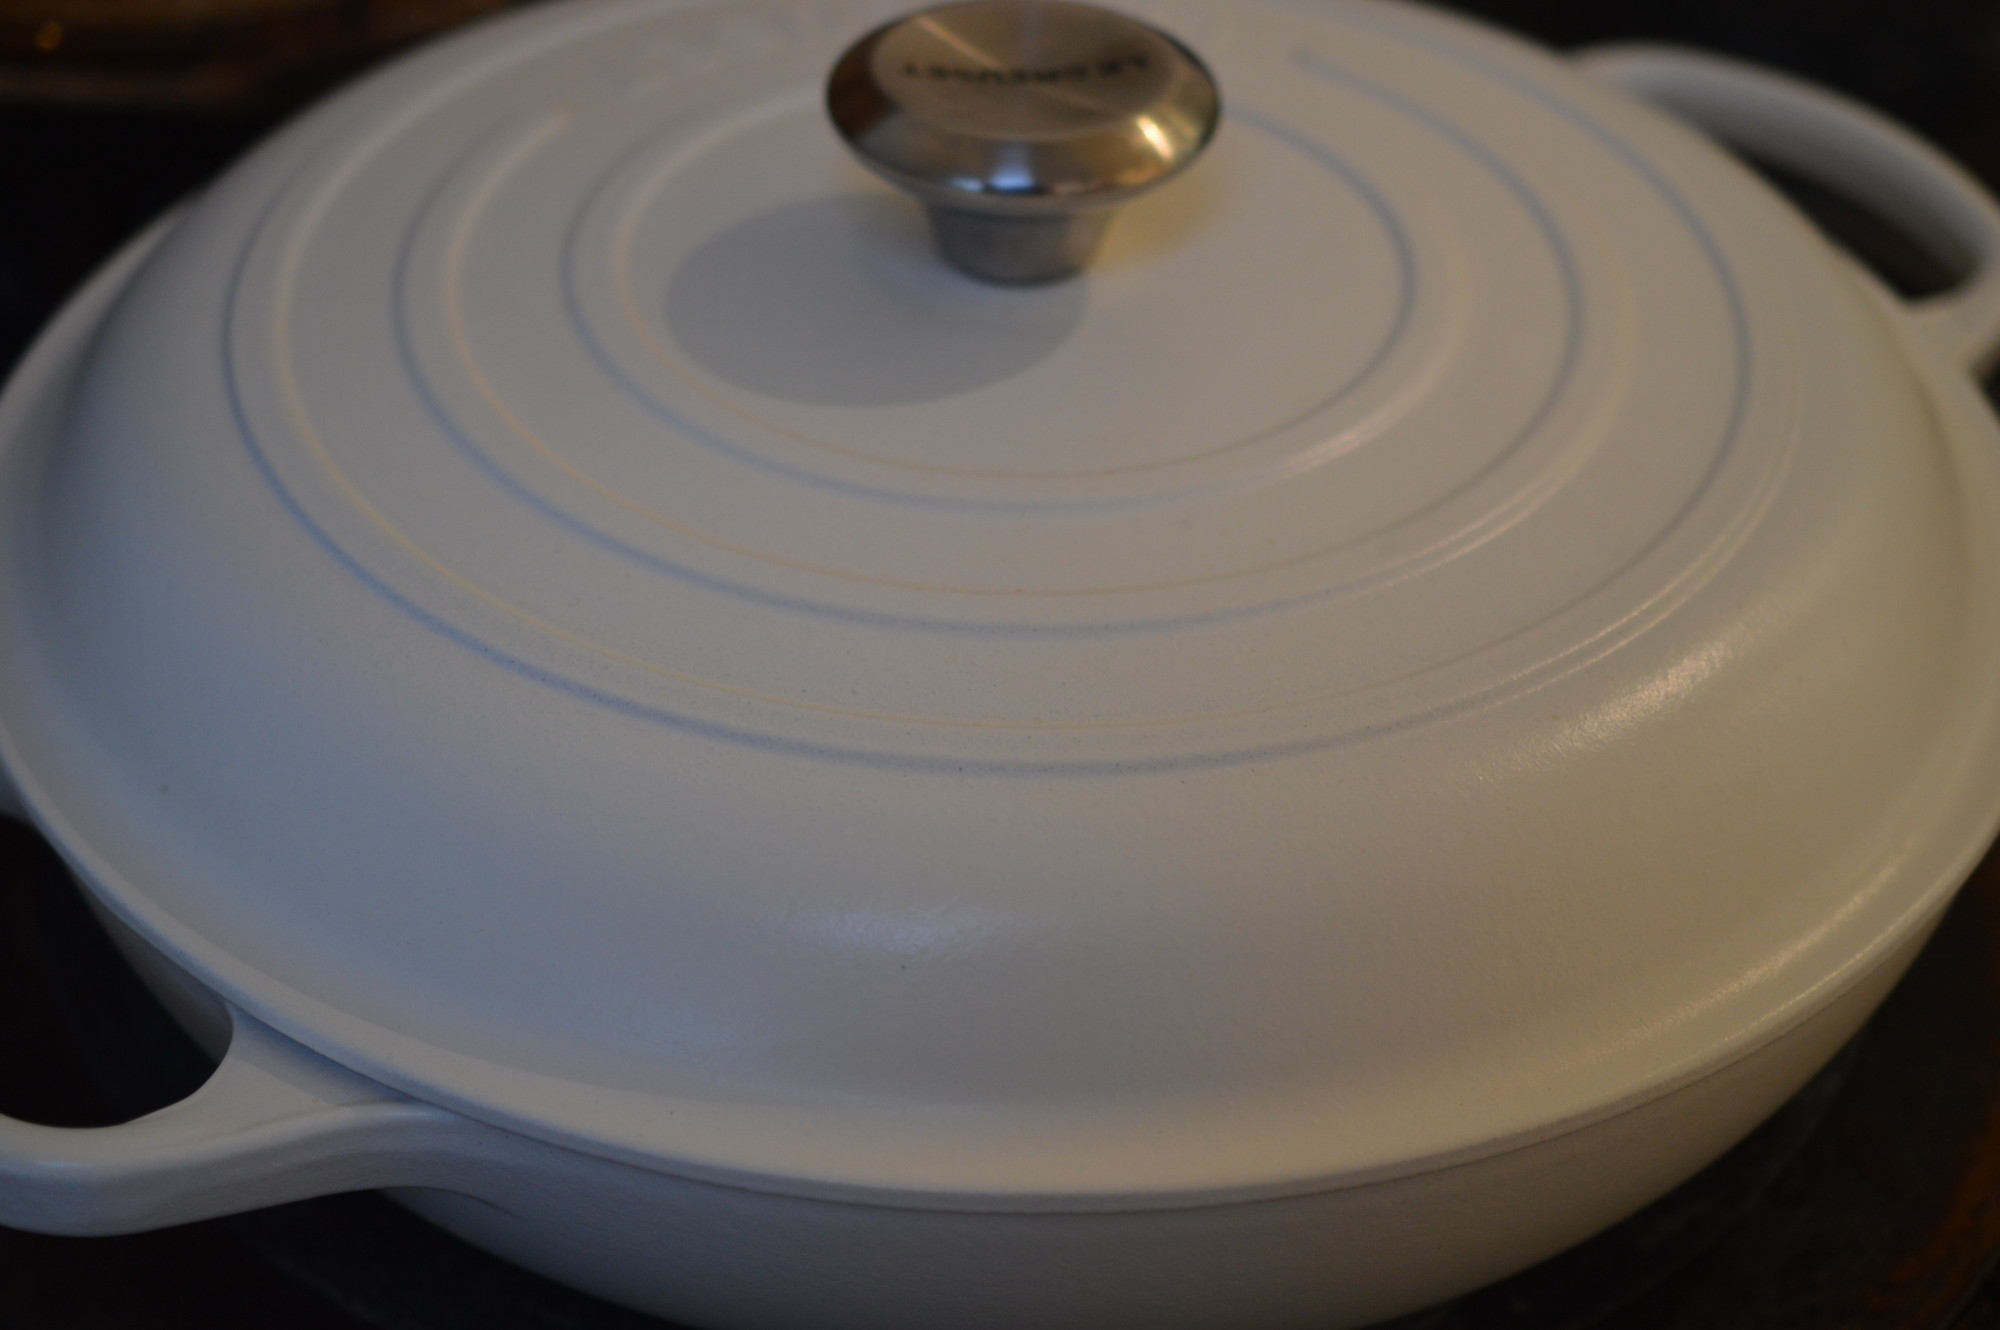
Add the milk/water mix and bring to a boil.  Let it simmer, covered, for ten minutes.

Kedgeree cooked rice

It’ll look like this.

Kedgeree 17

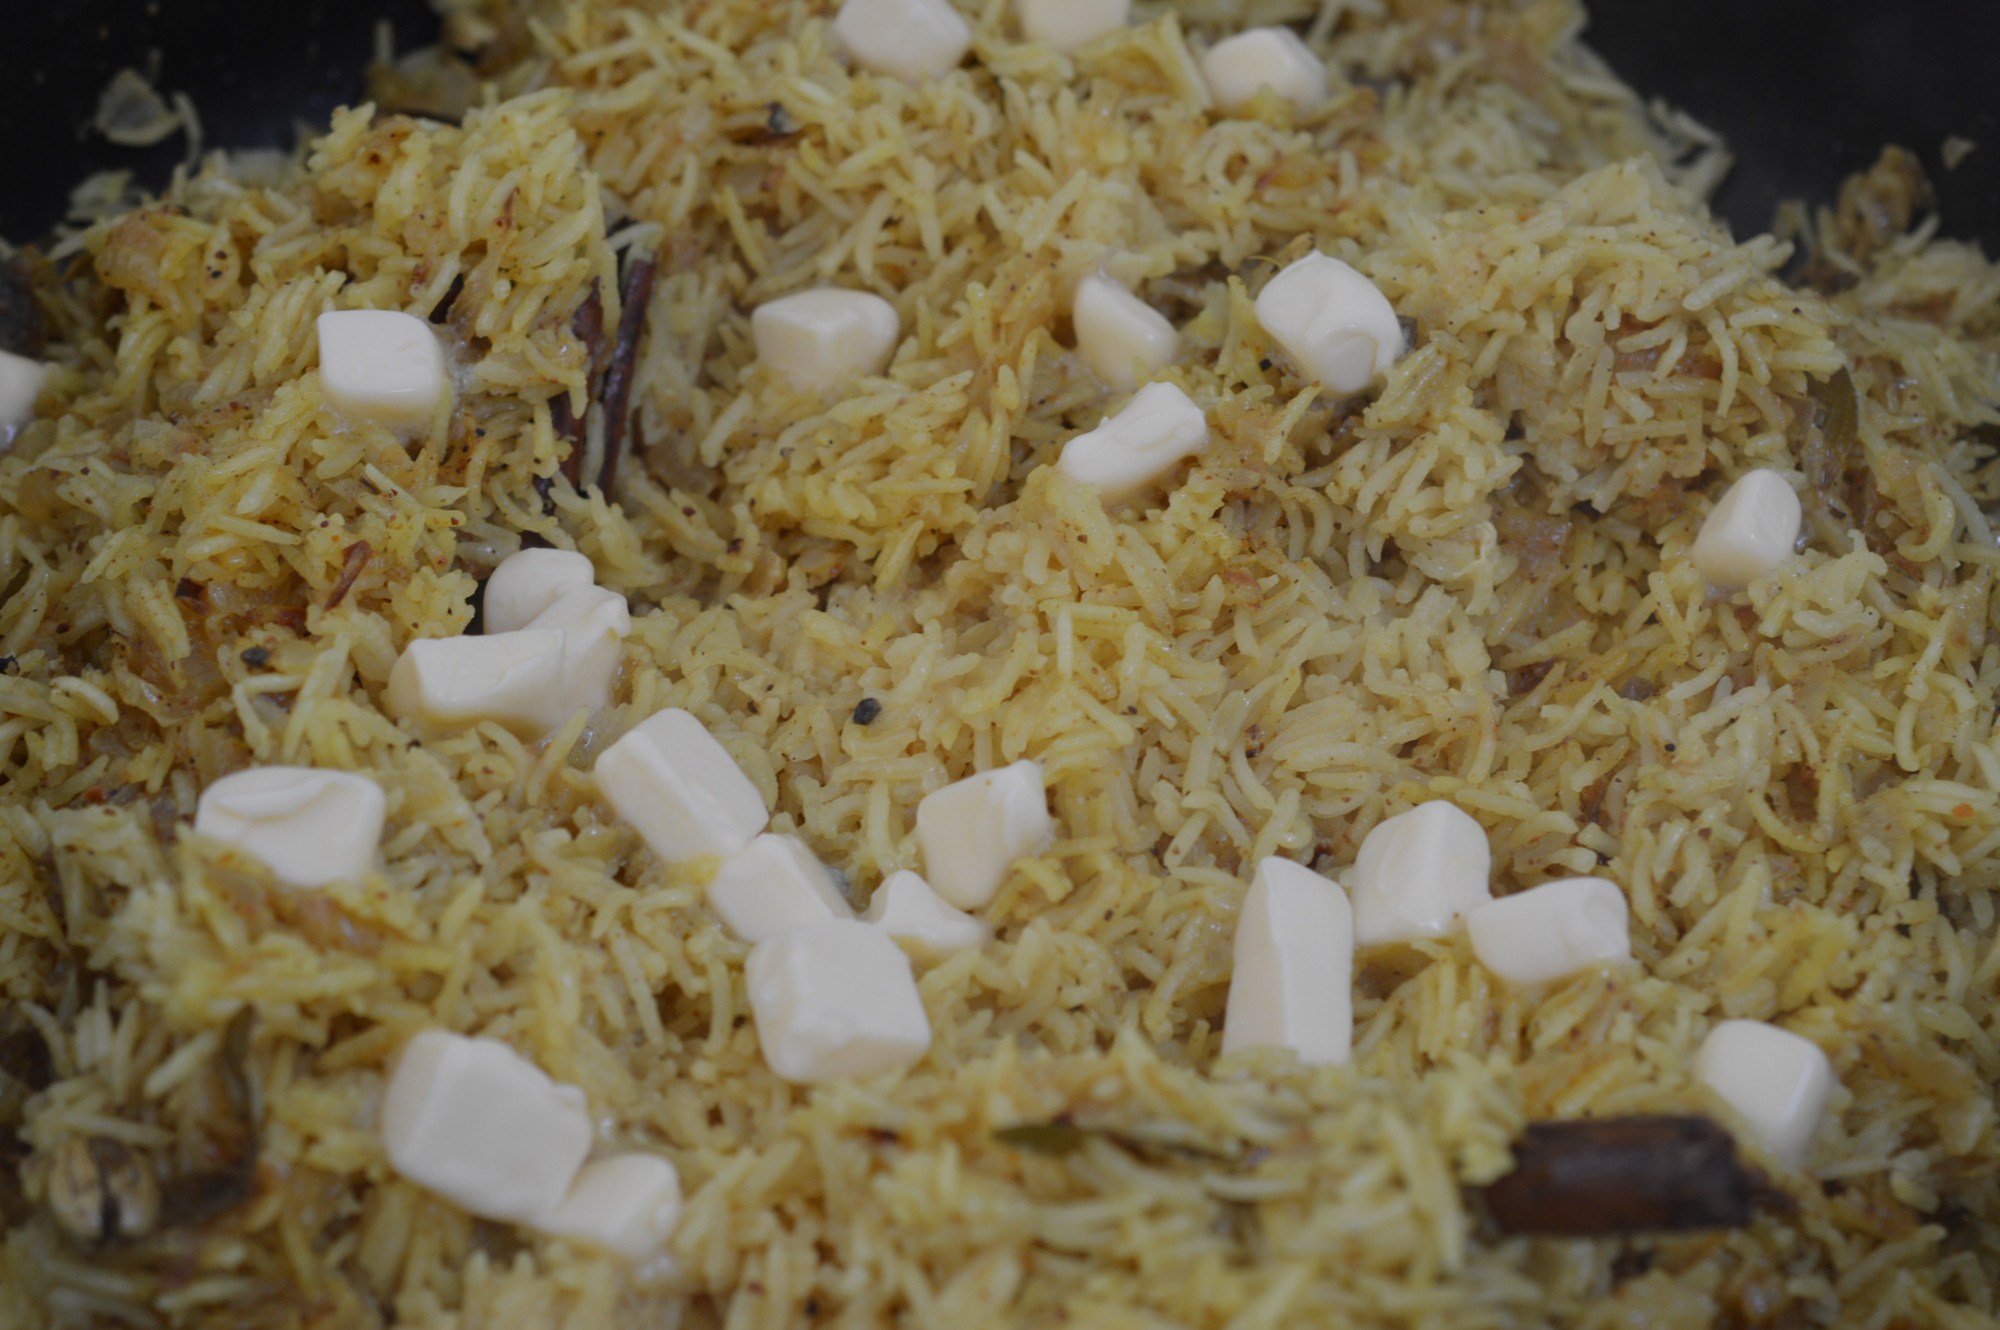
Cream is an option, but I prefer butter.  Lay cubes of cold unsalted butter over the rice.

Kedgeree add fish

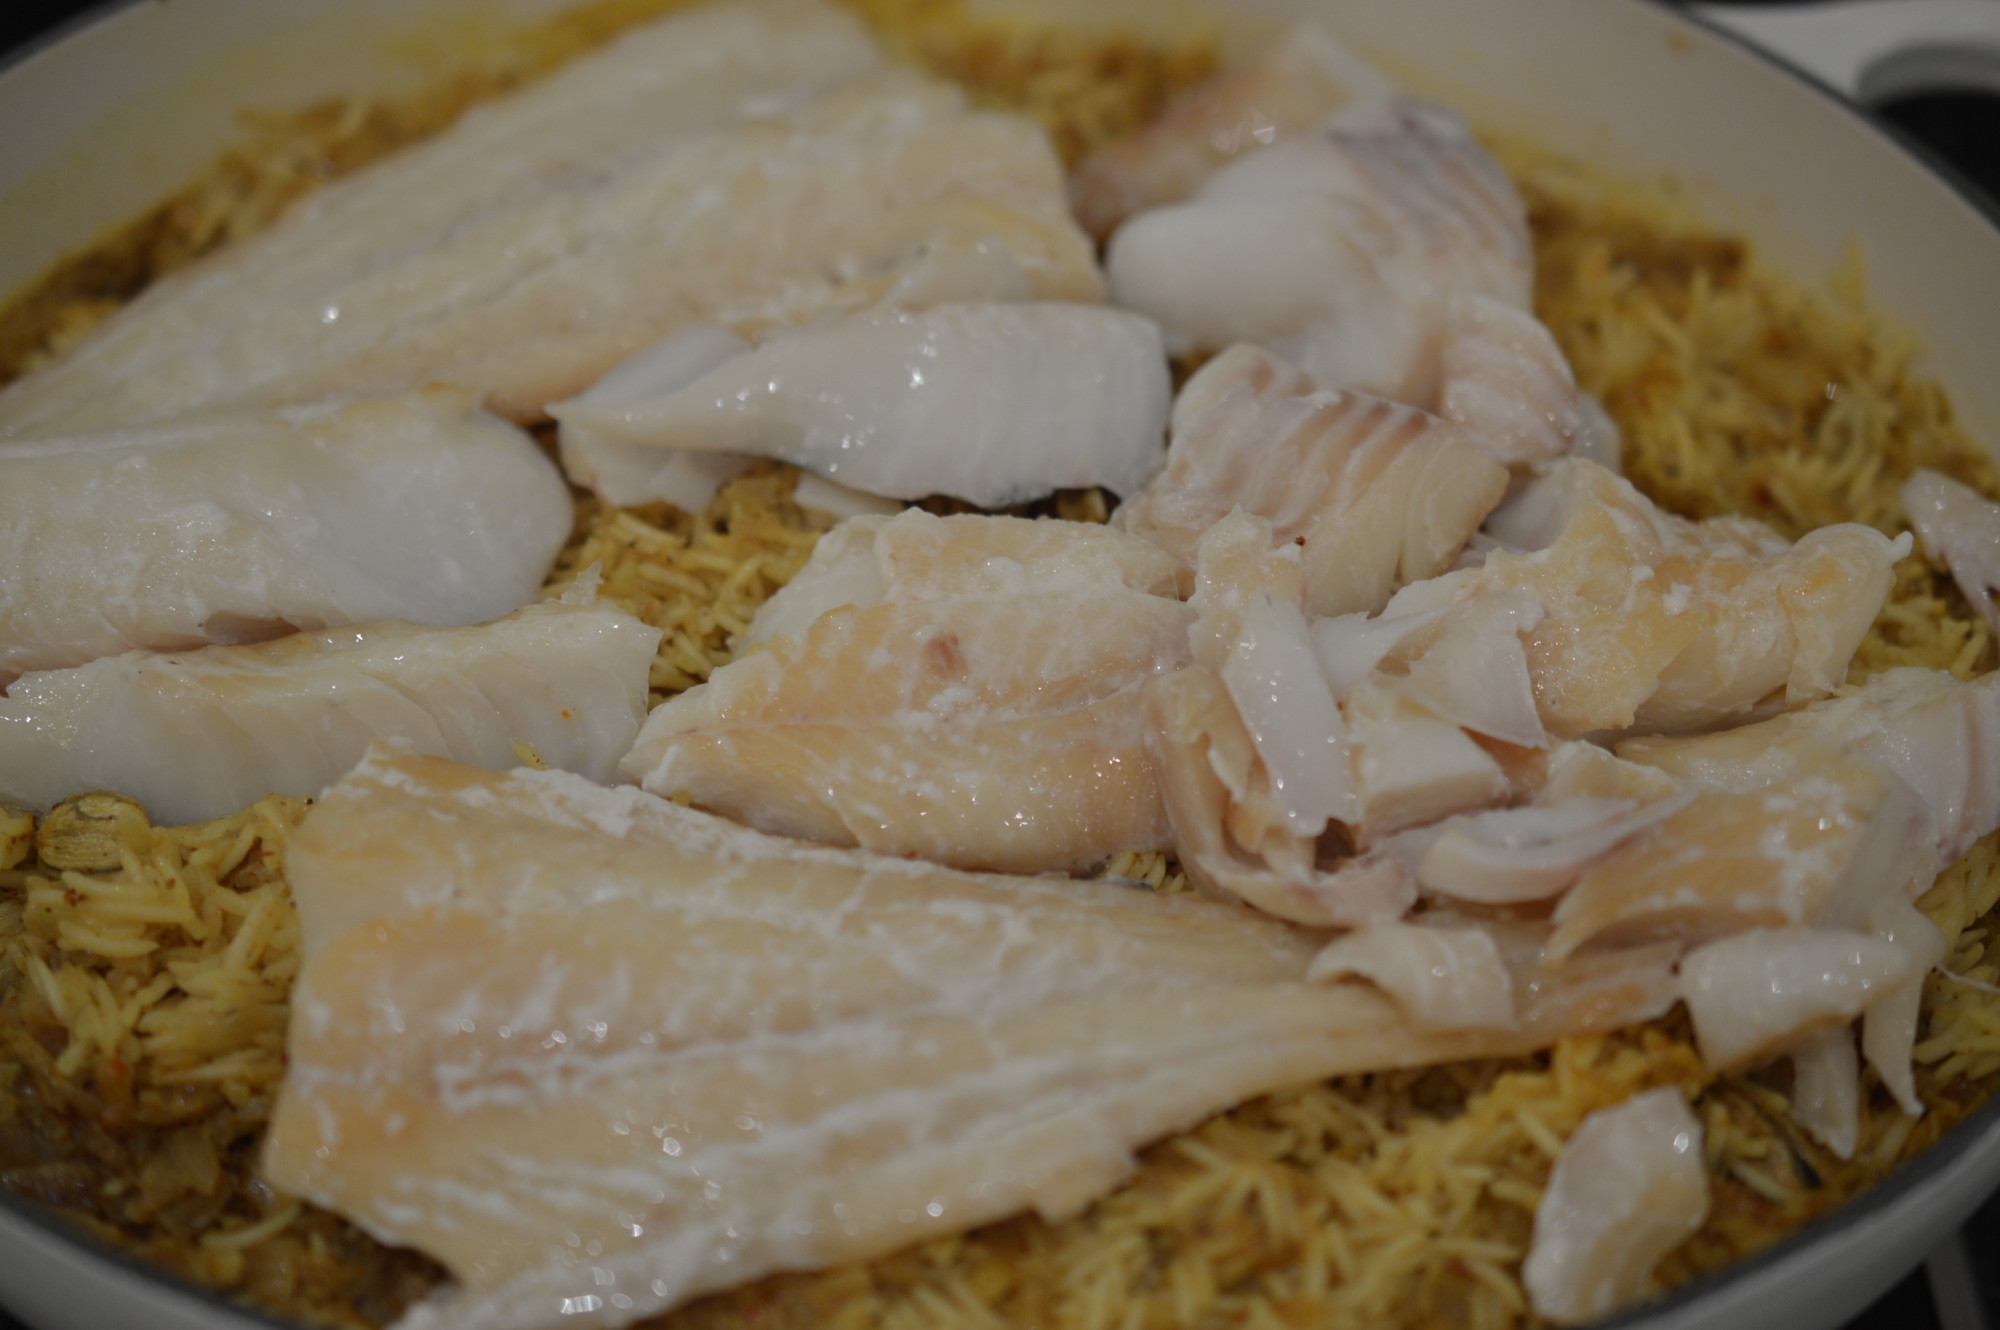
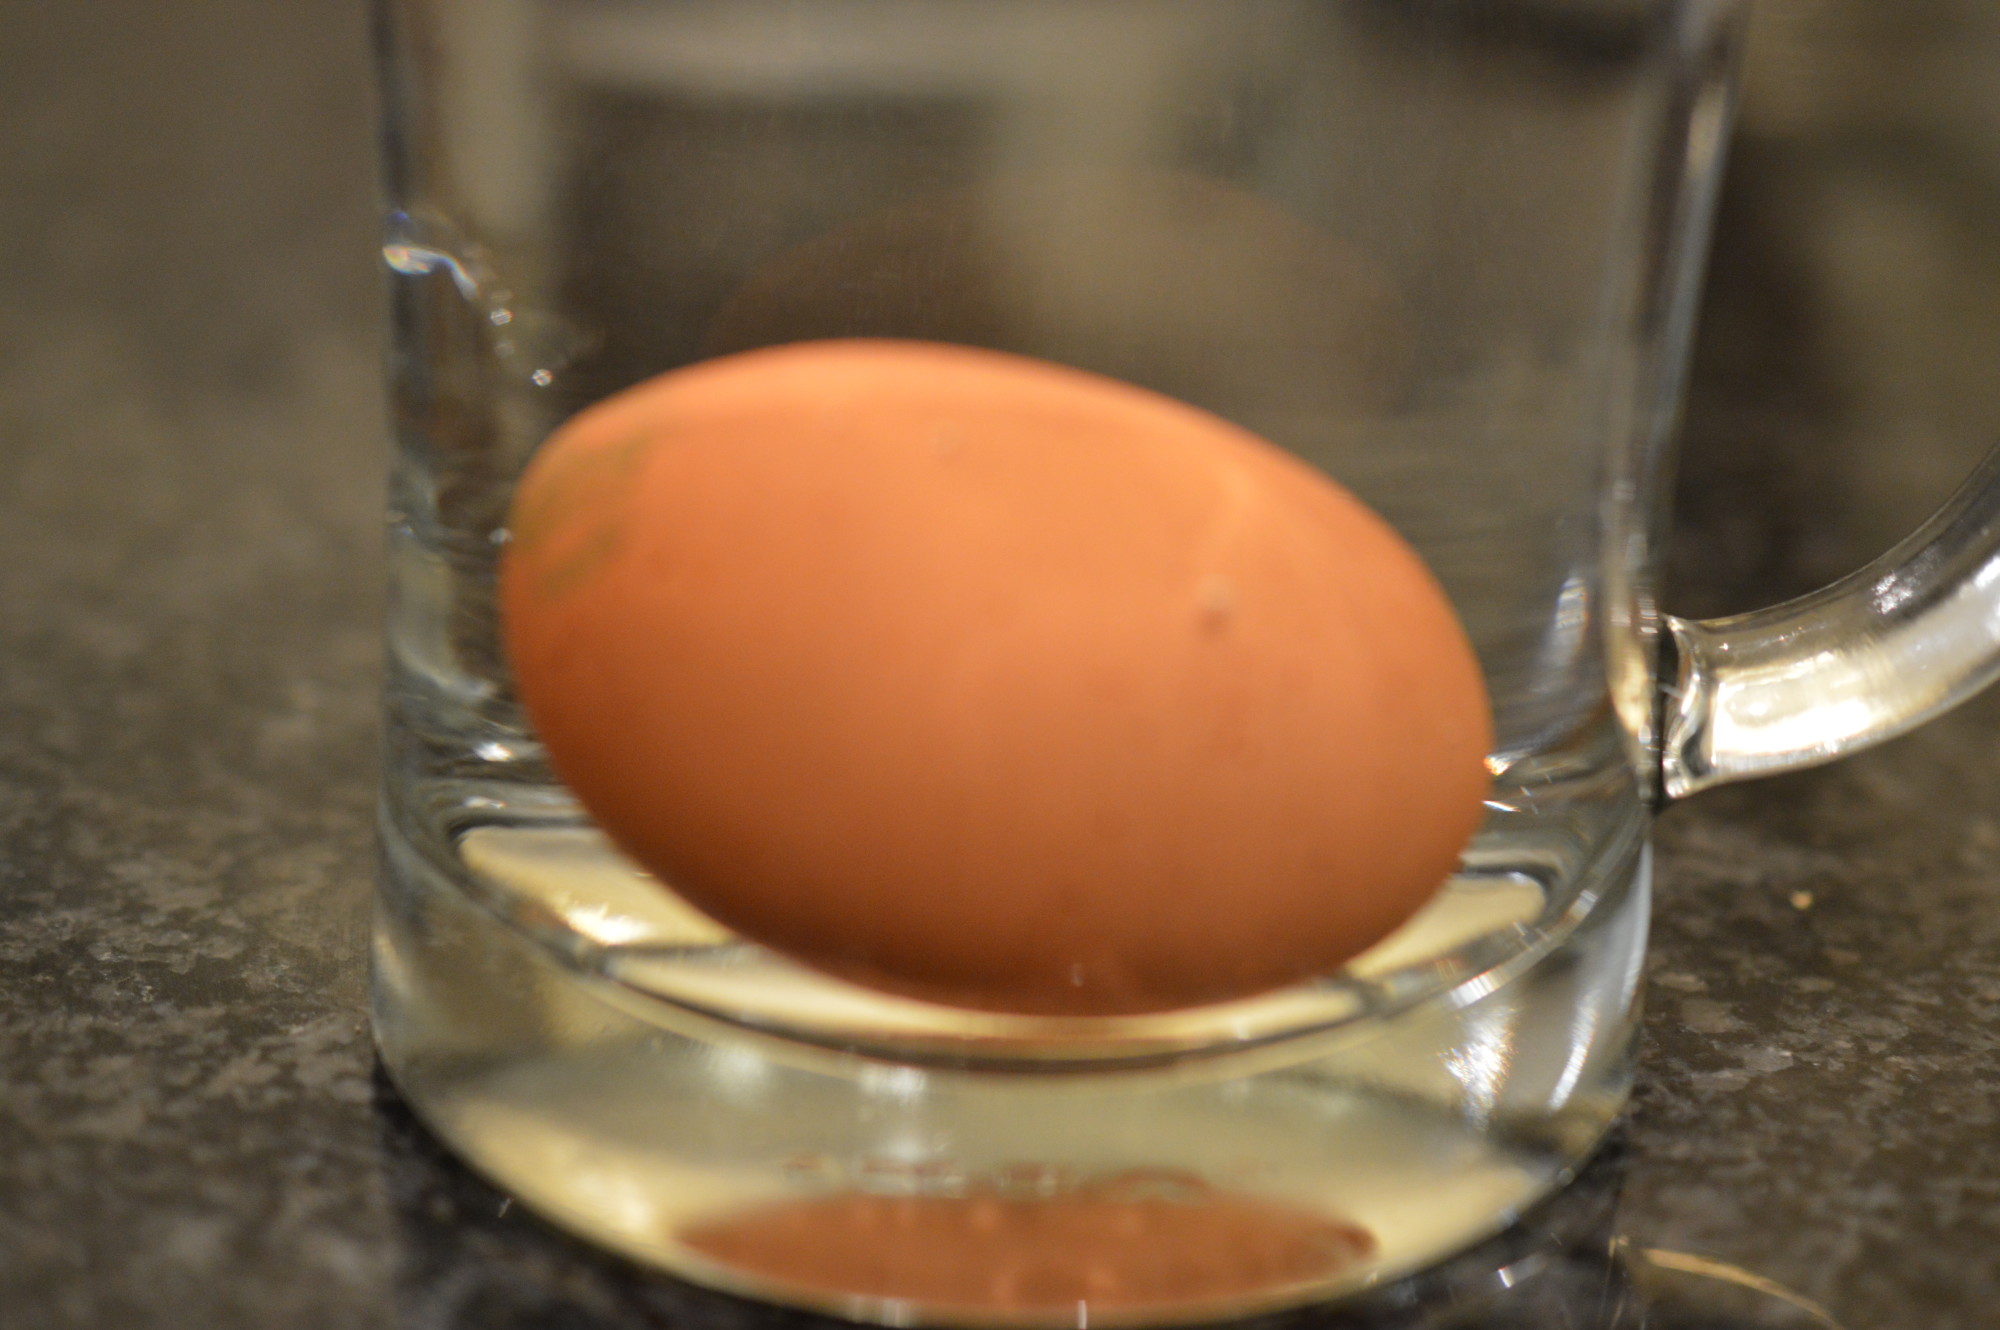
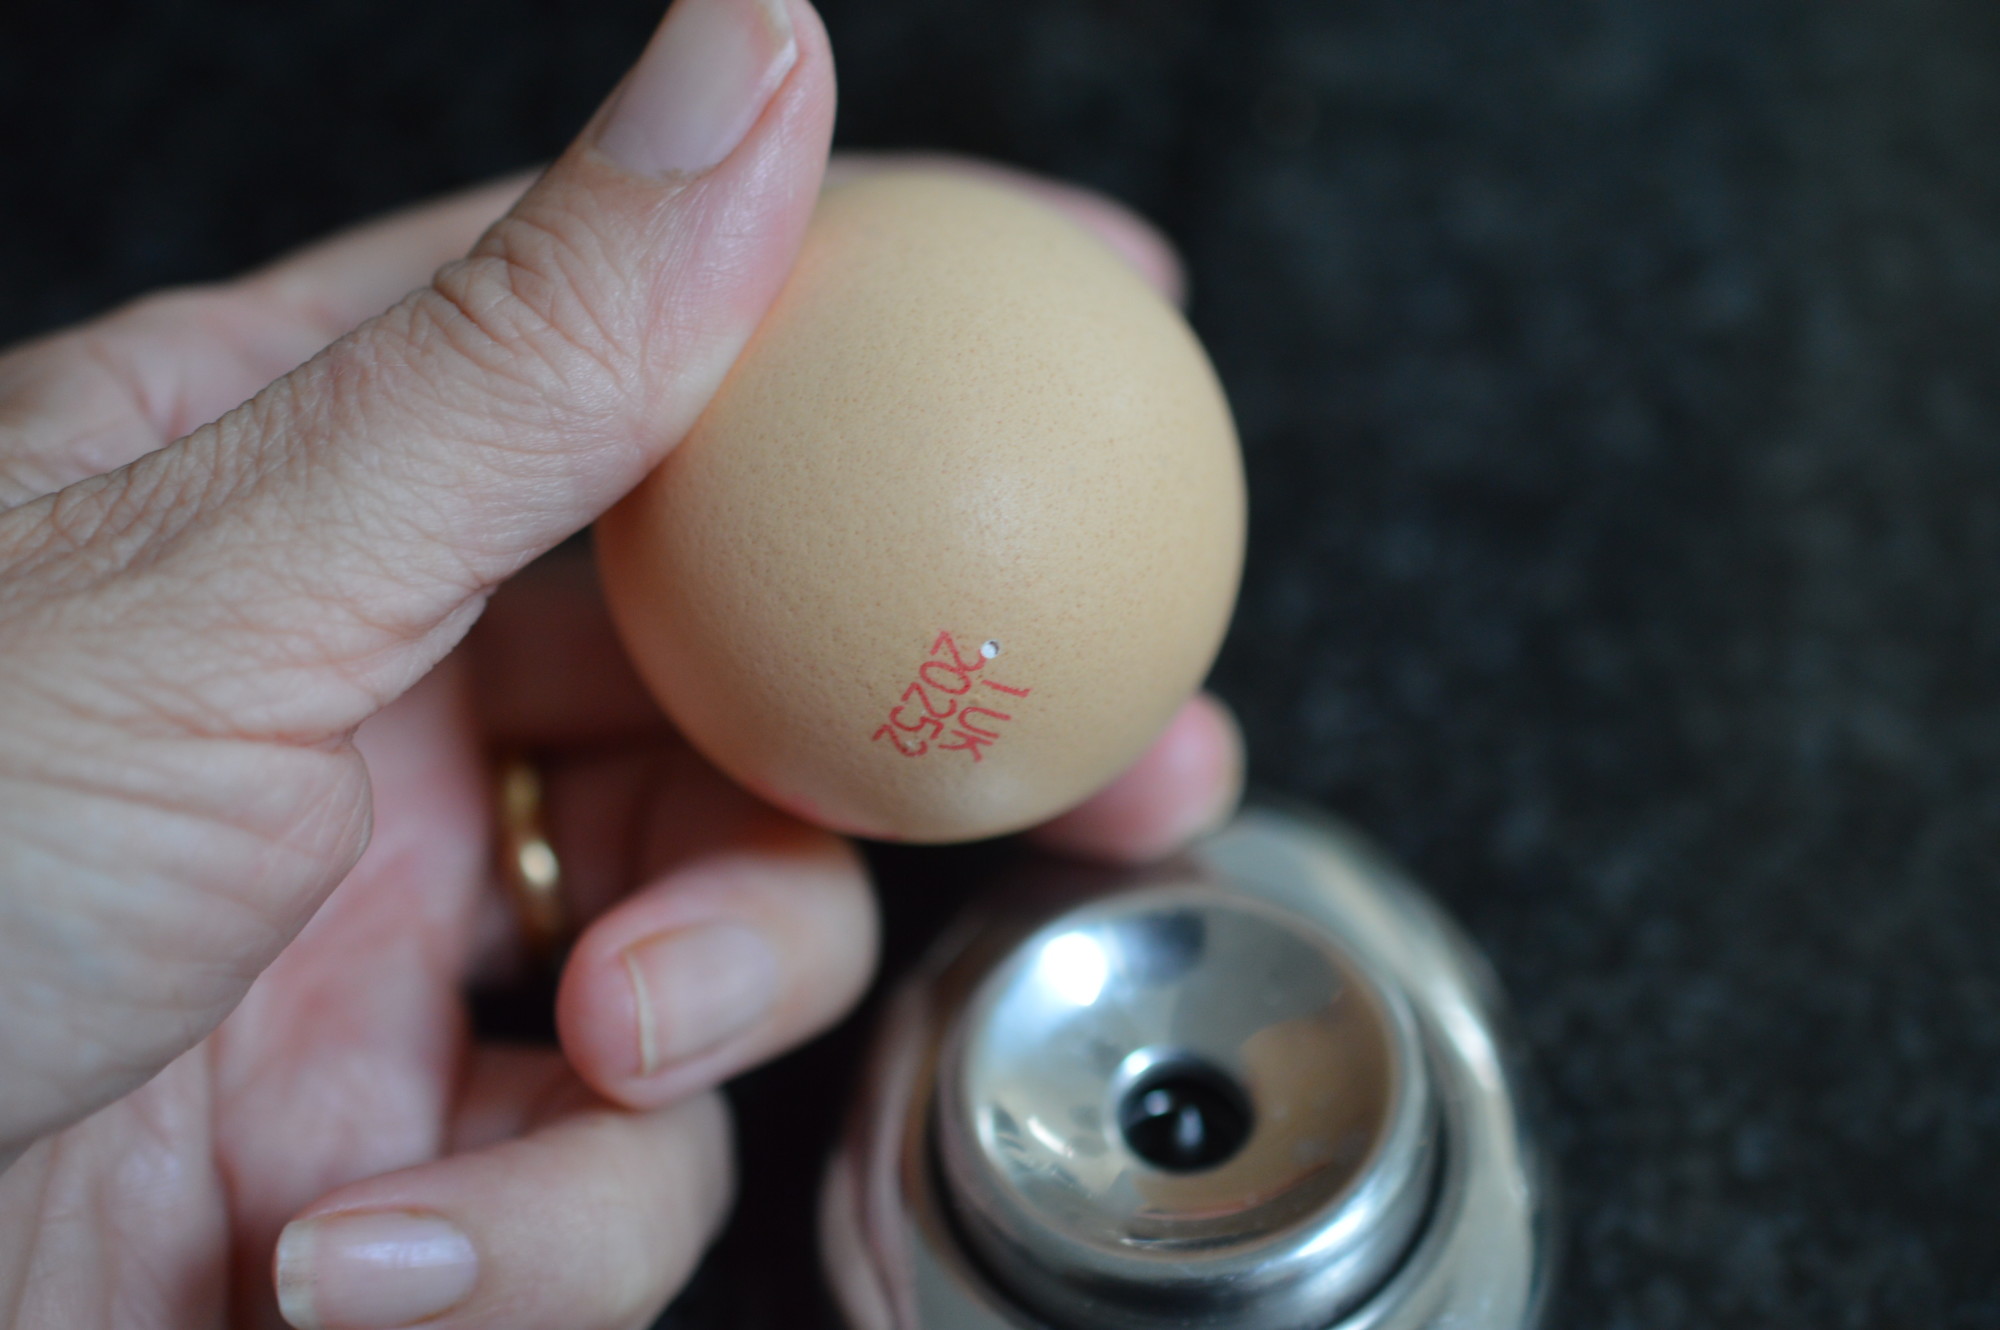
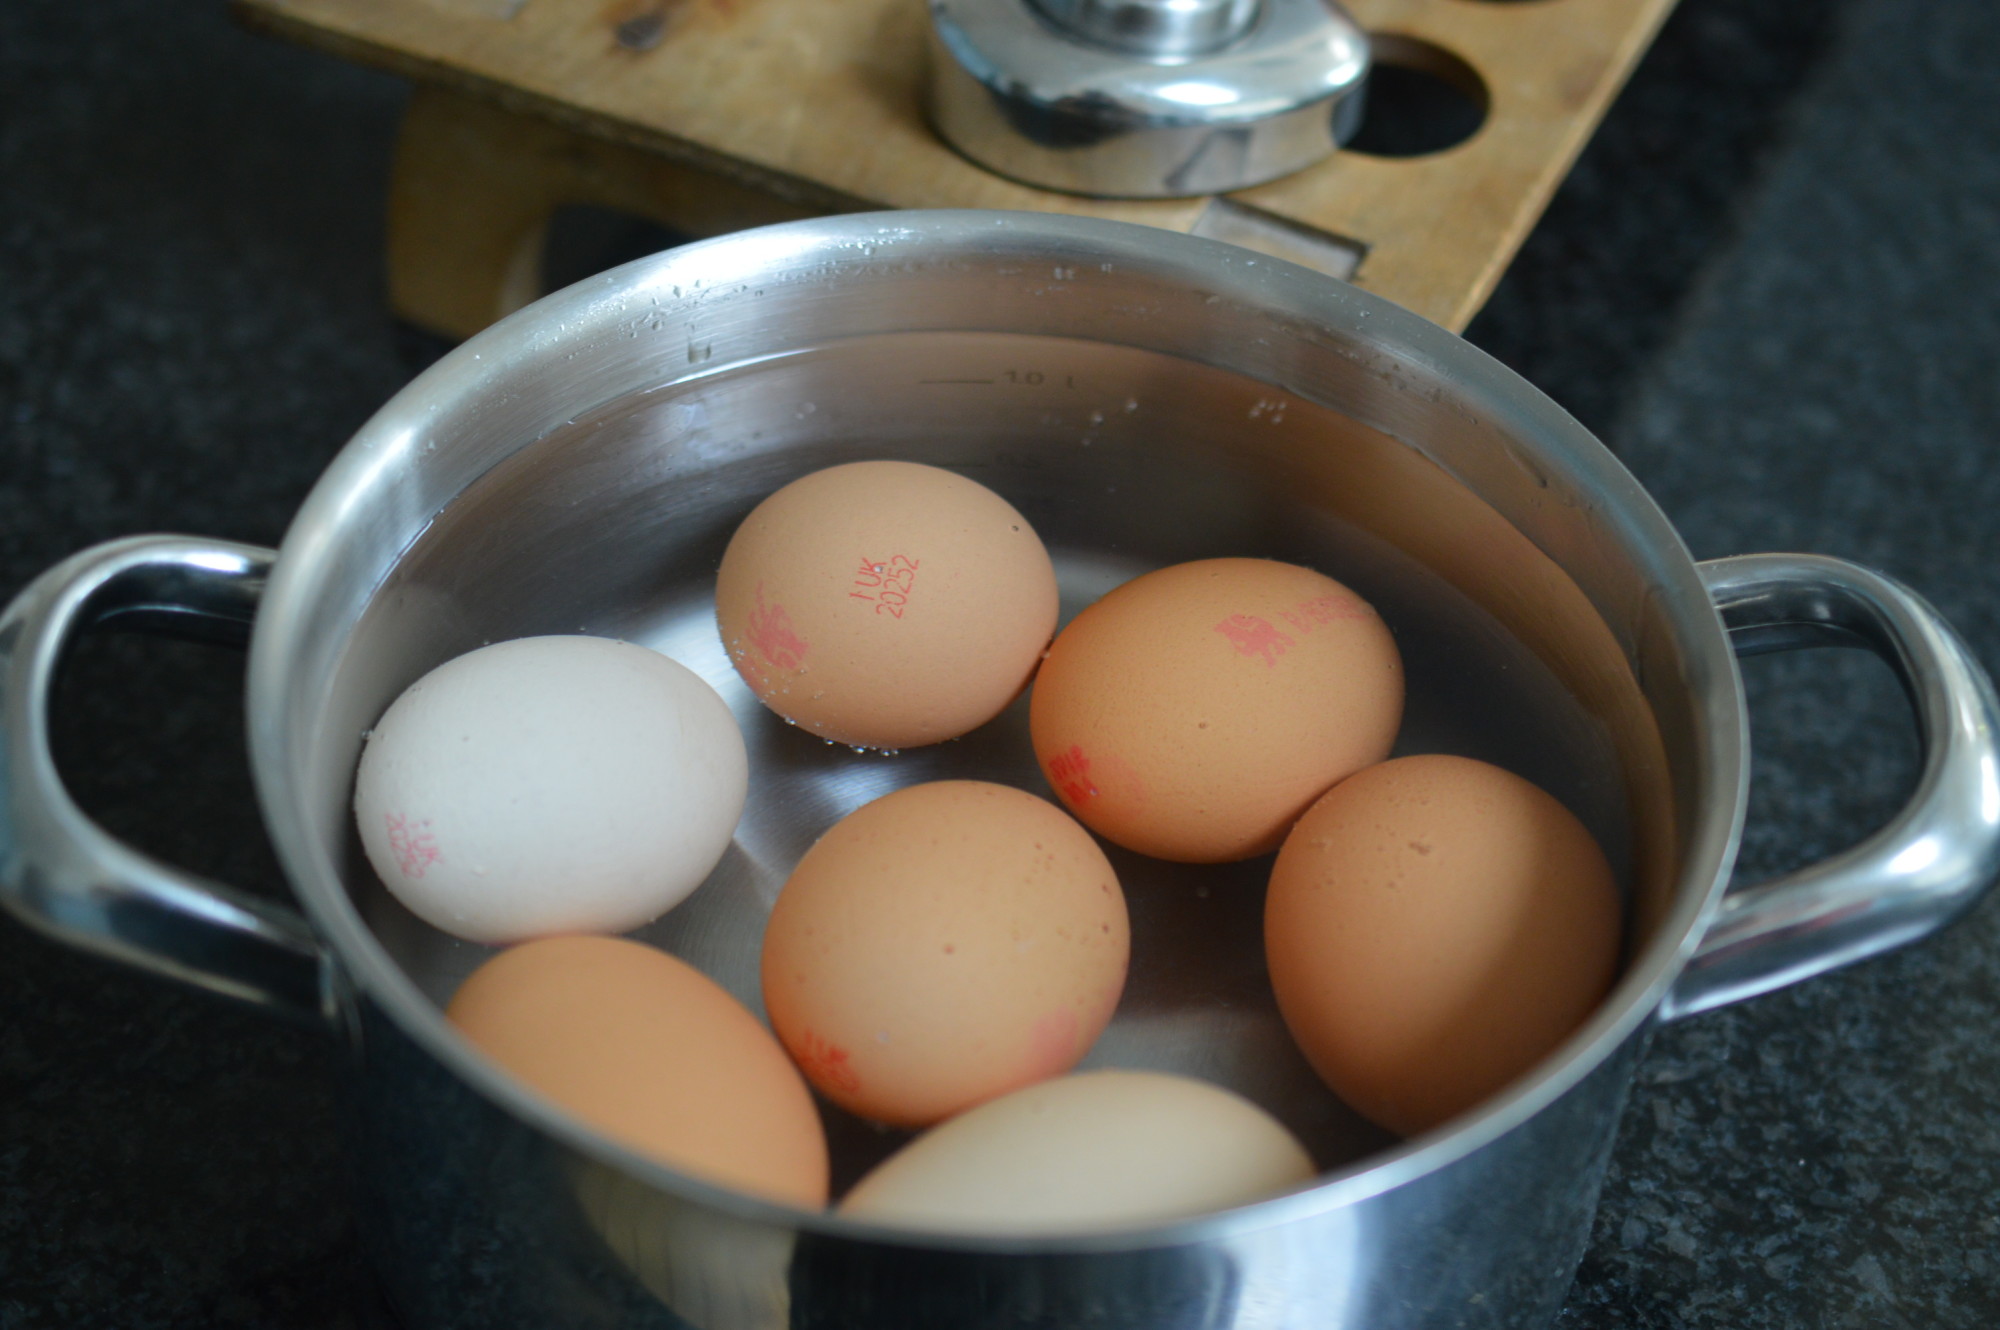
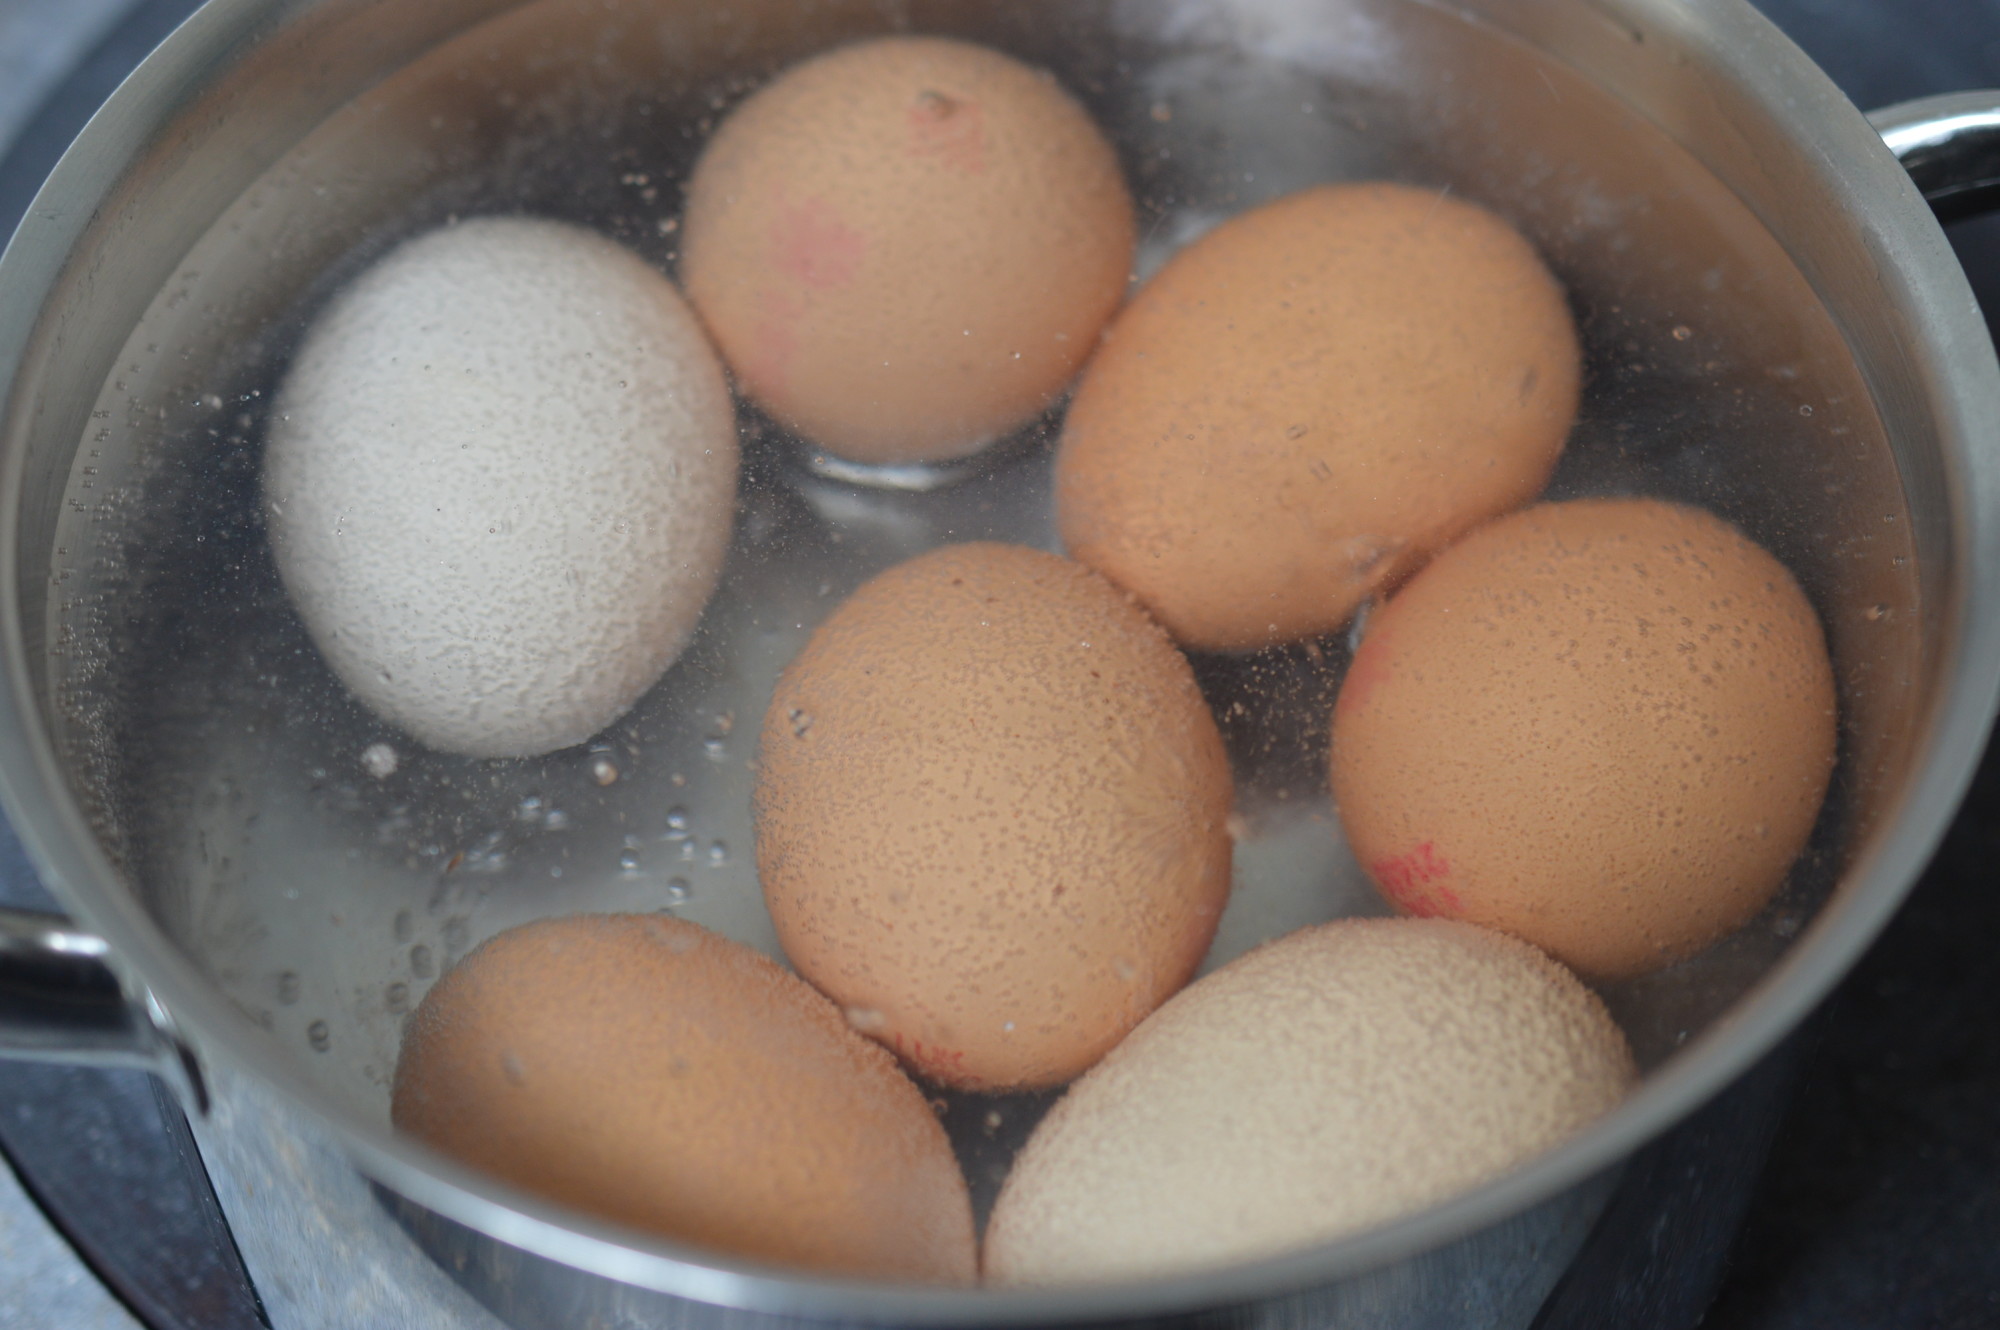
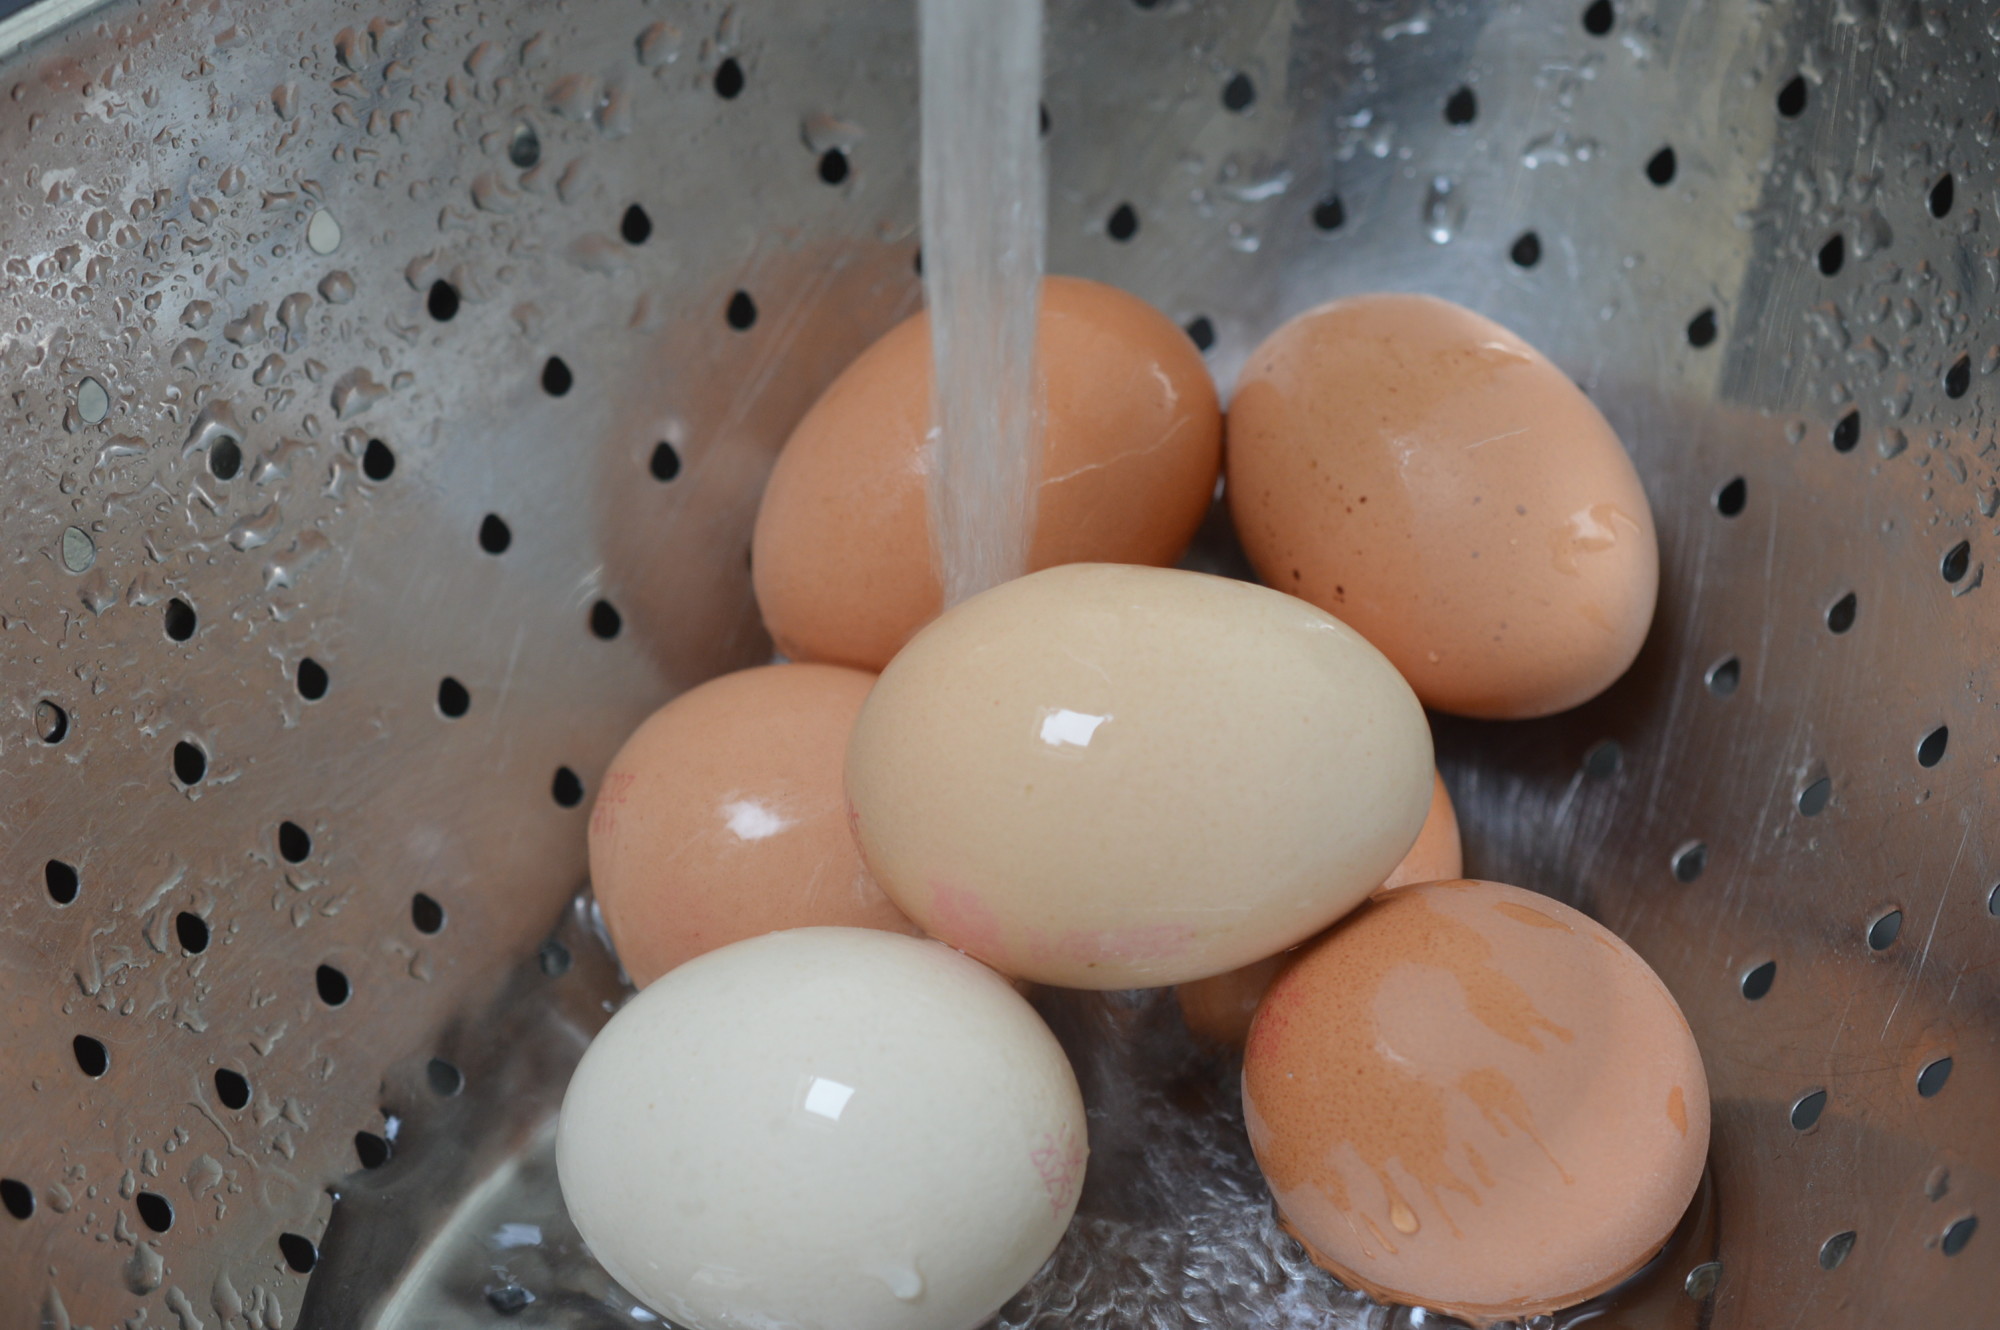
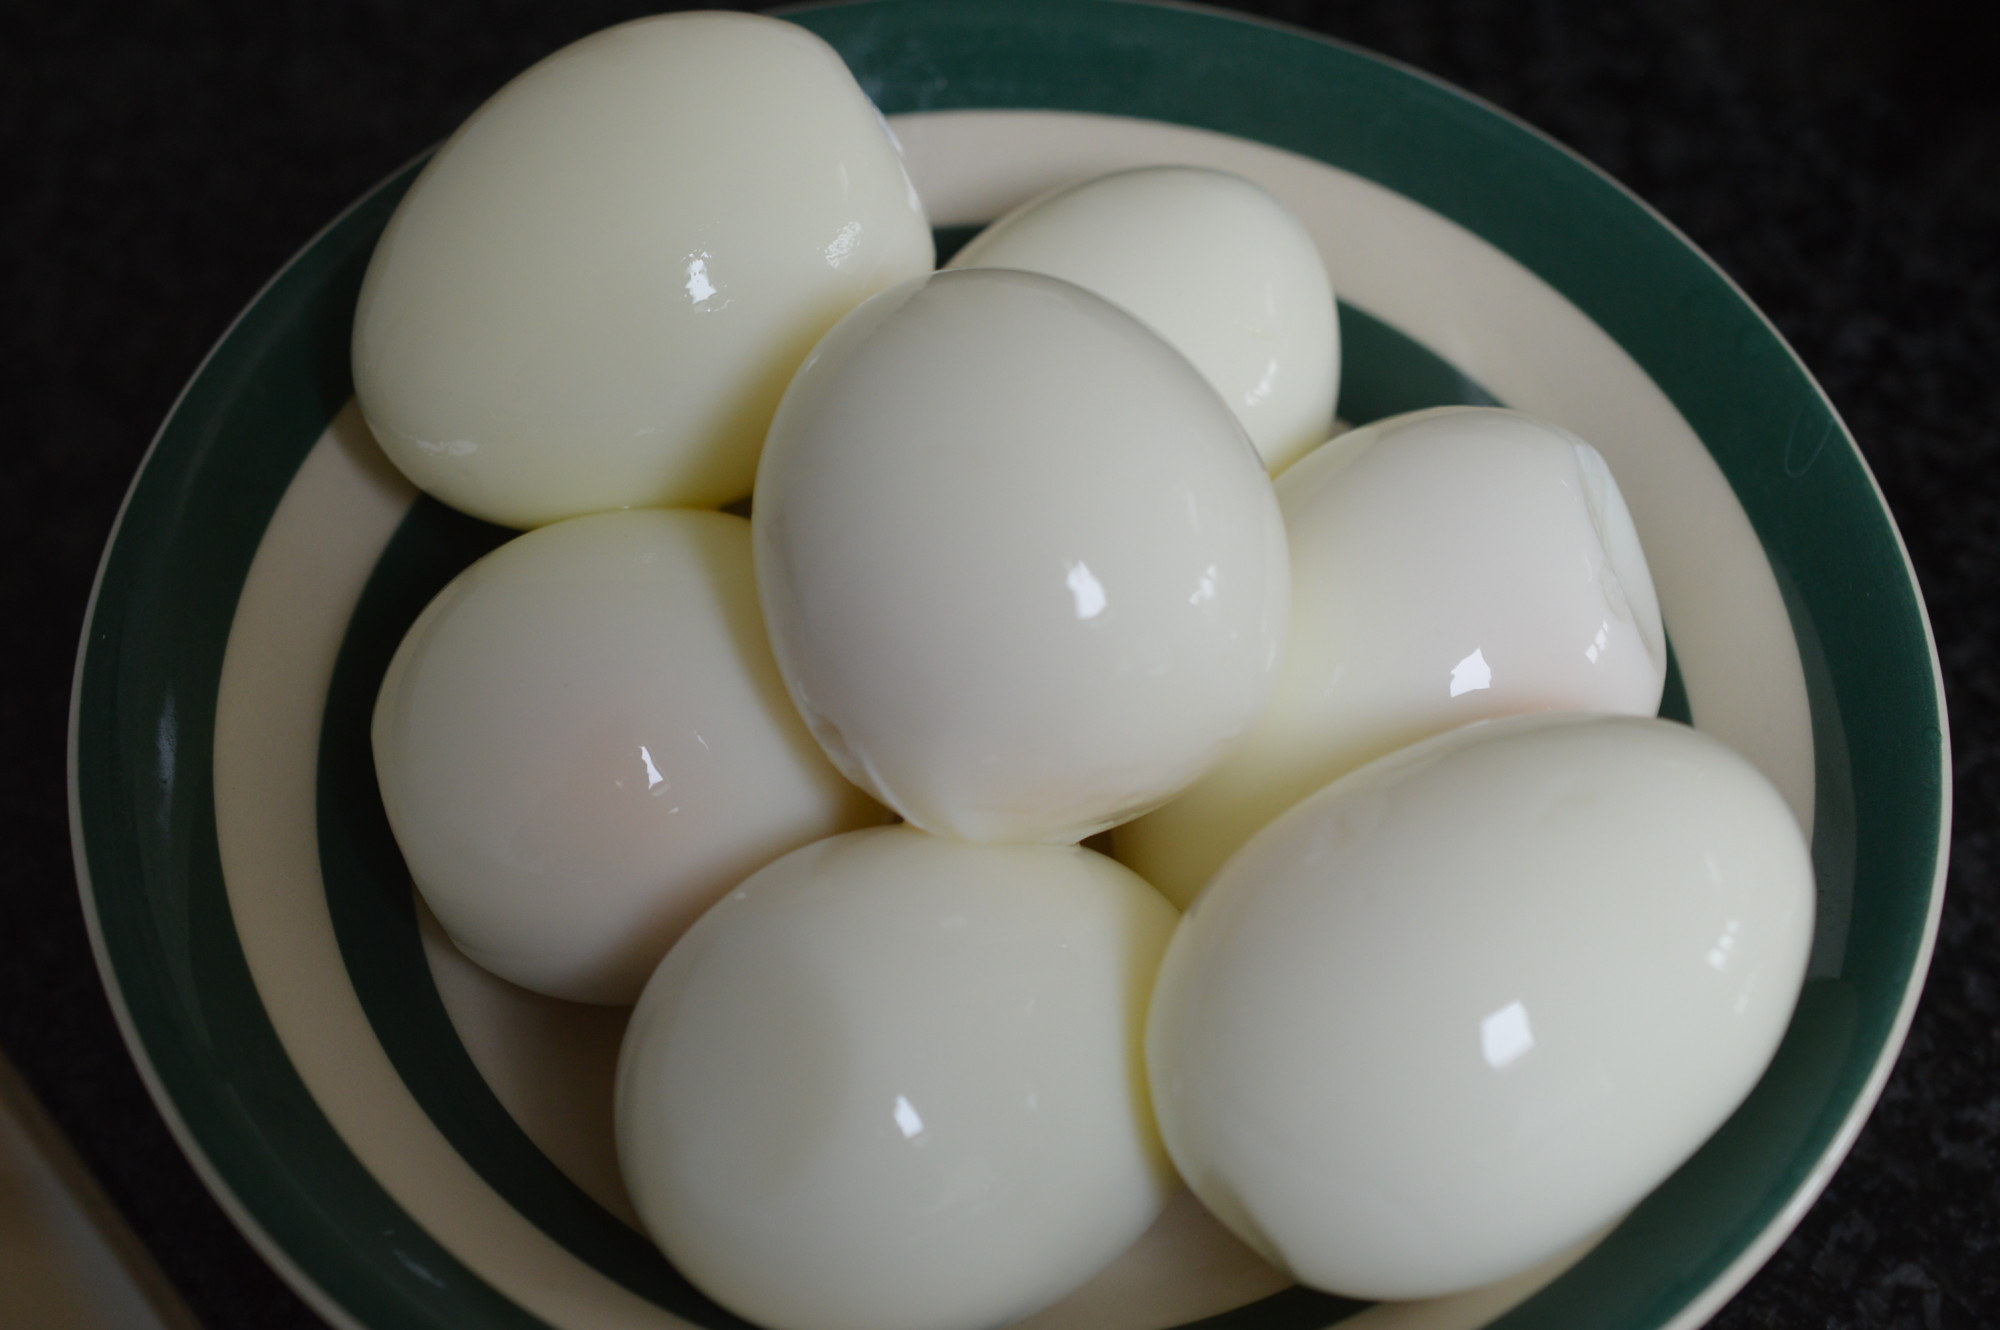
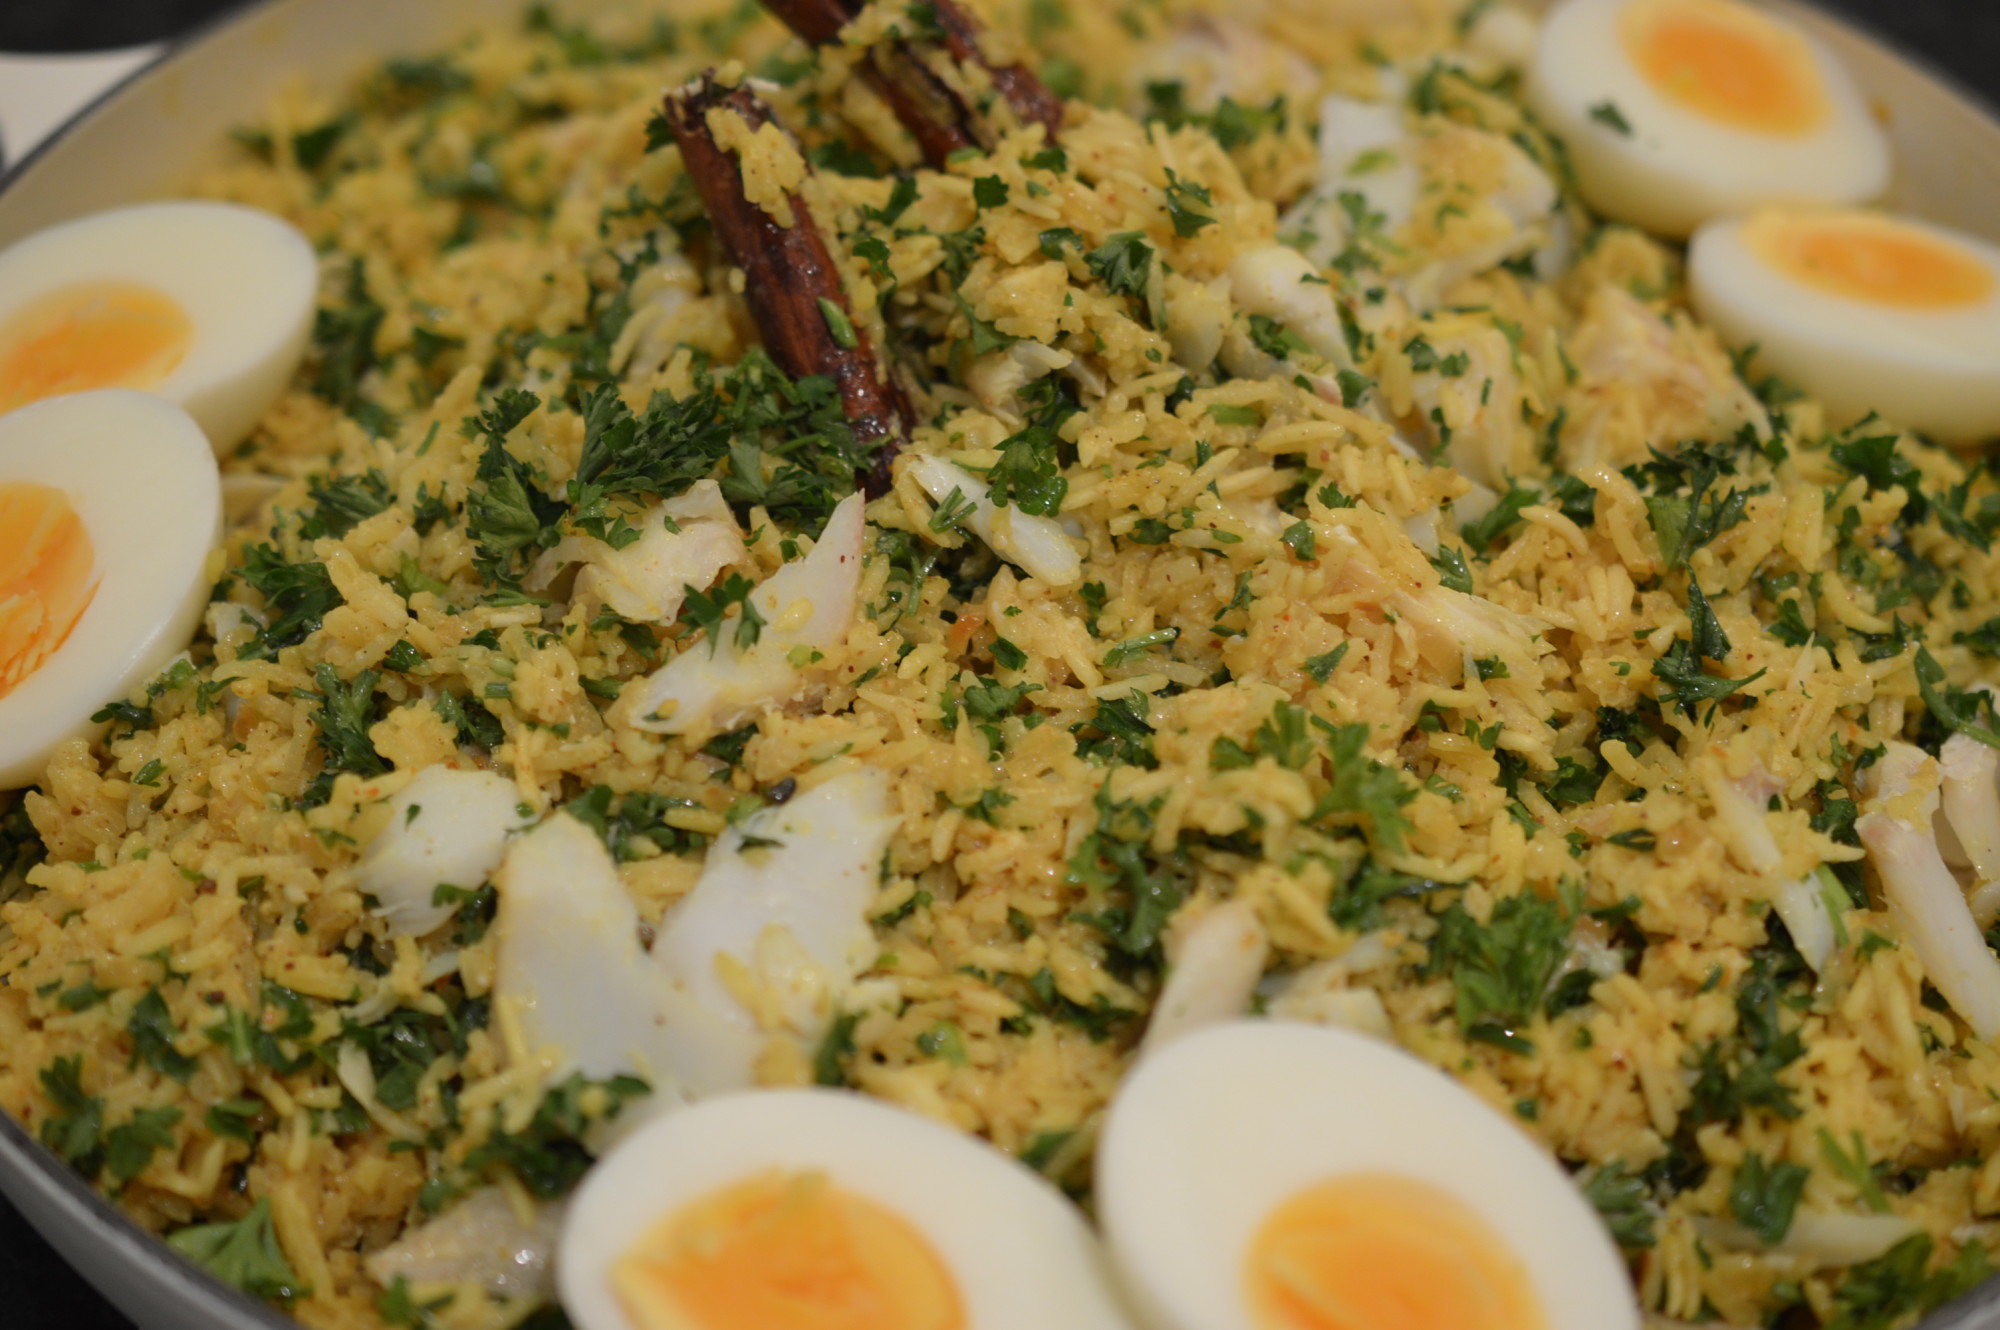
Place the cooked smoked haddock on top and cover with a lid.  Let it all sit and ‘steam’ for ten minutes or so.  While that’s happening, it’s time to boil the eggs.

Kedgeree lightly combine

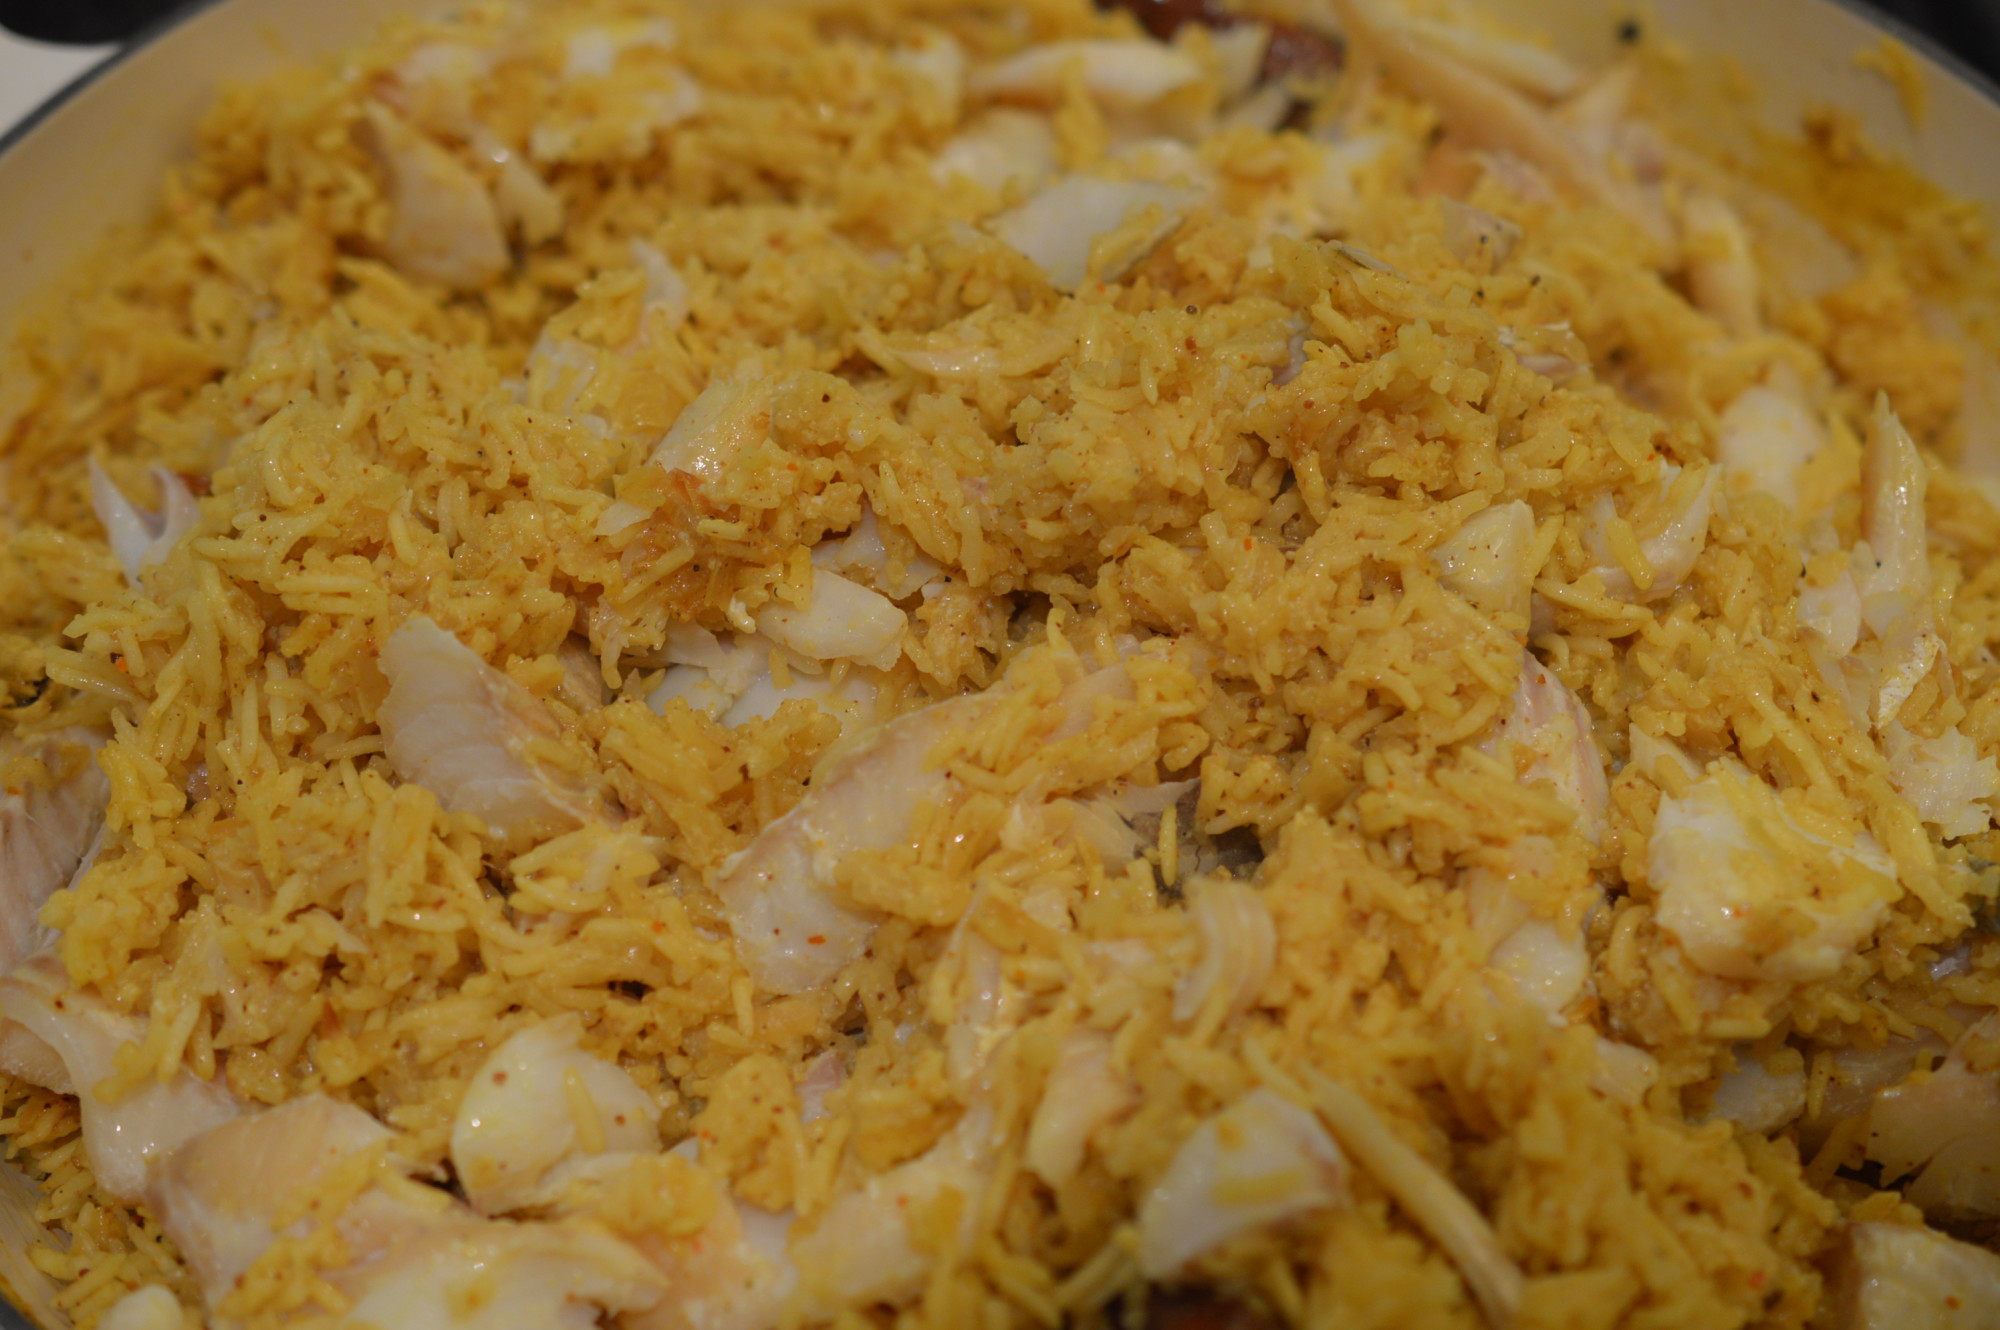
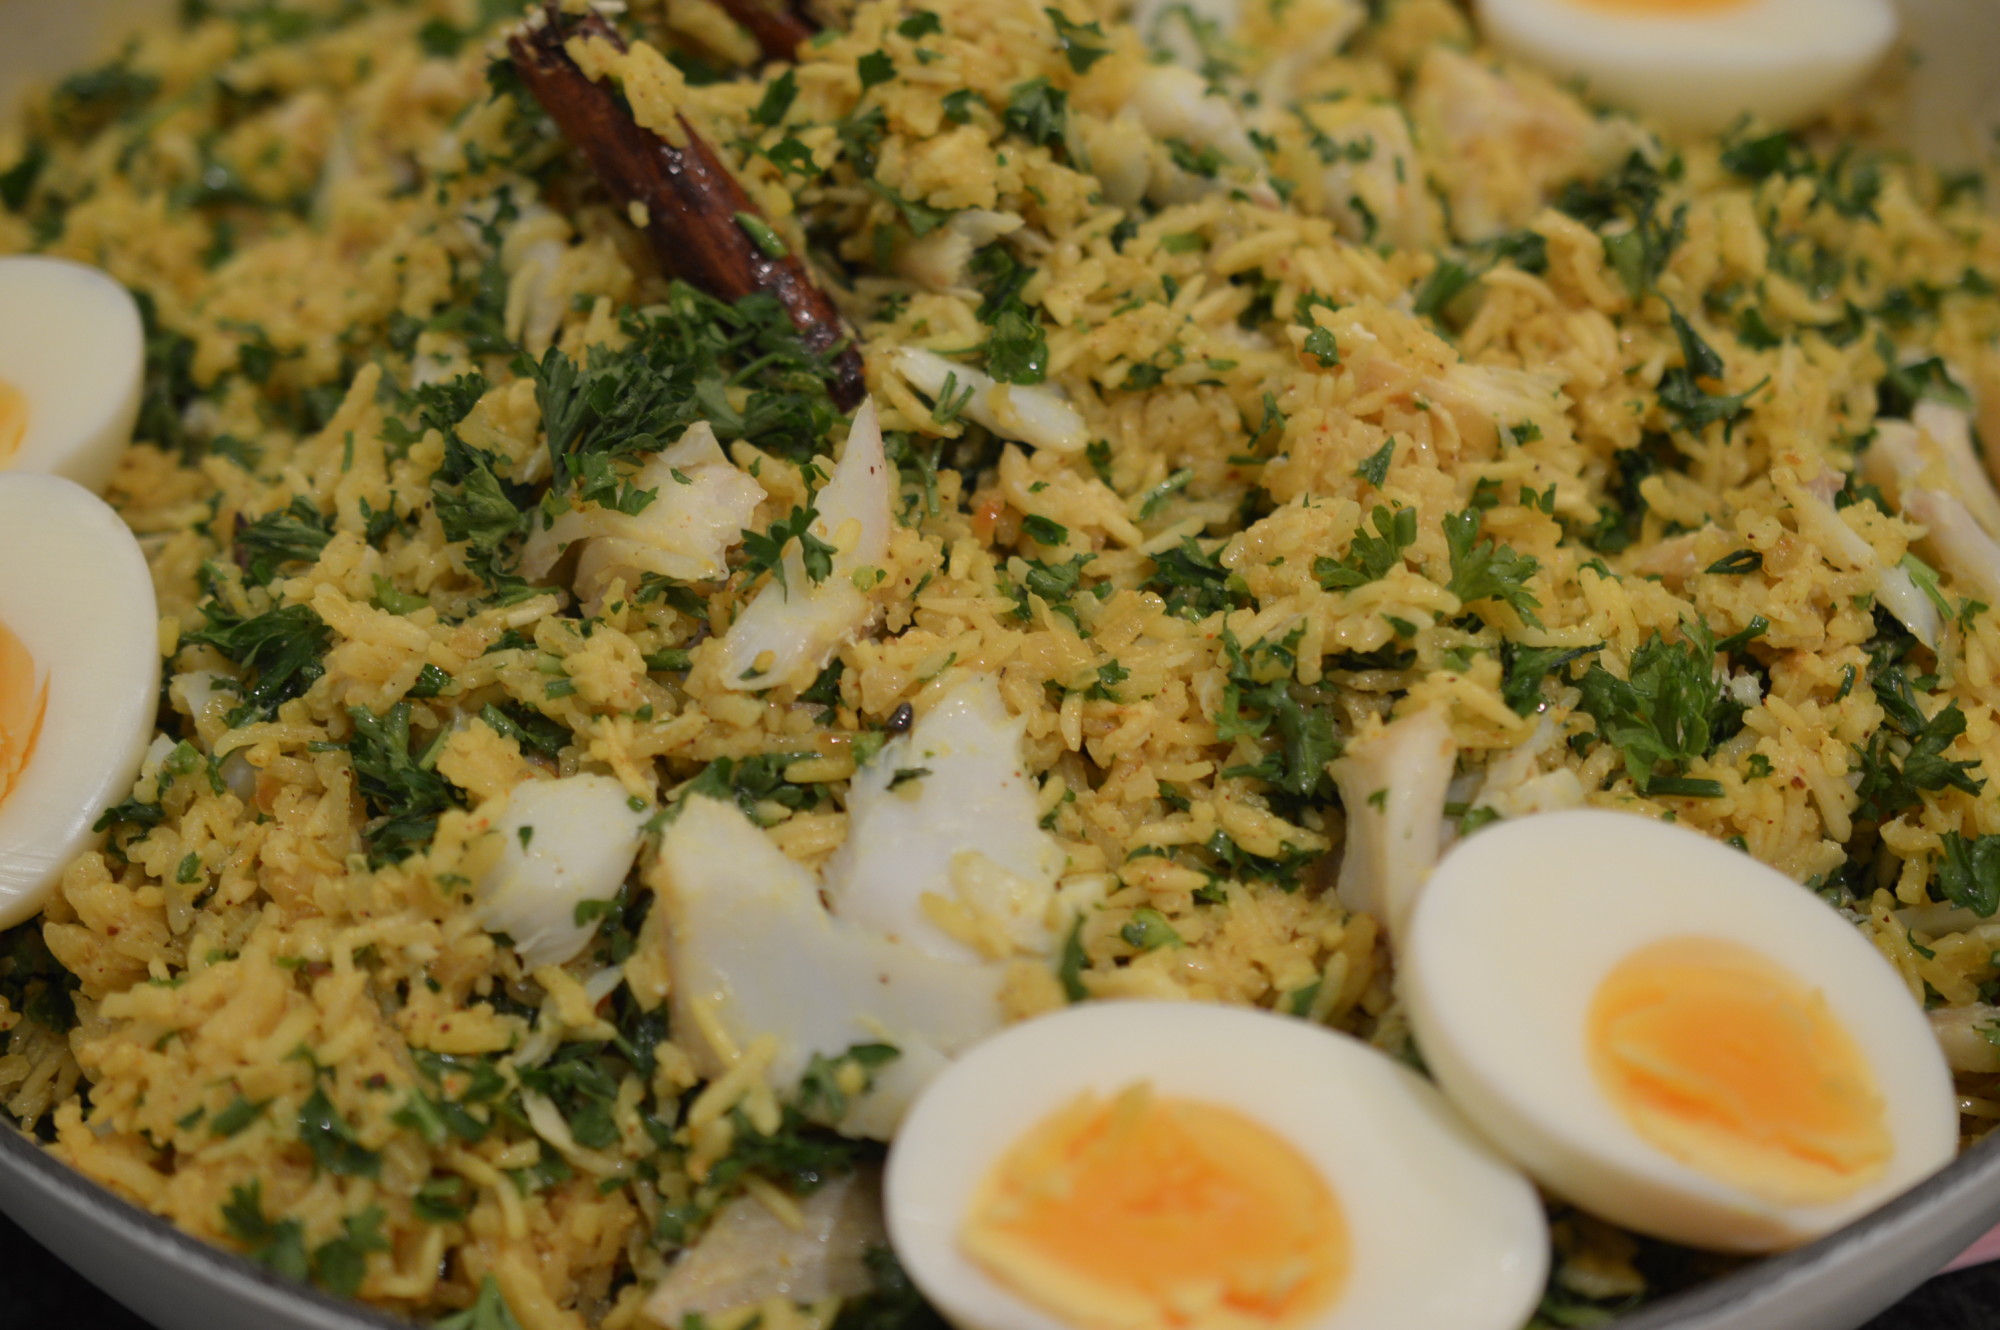
By now the rice will be fully cooked.  Lightly fork the fish into the rice, leaving nice big fishy pieces.

Kedgeree Garnish

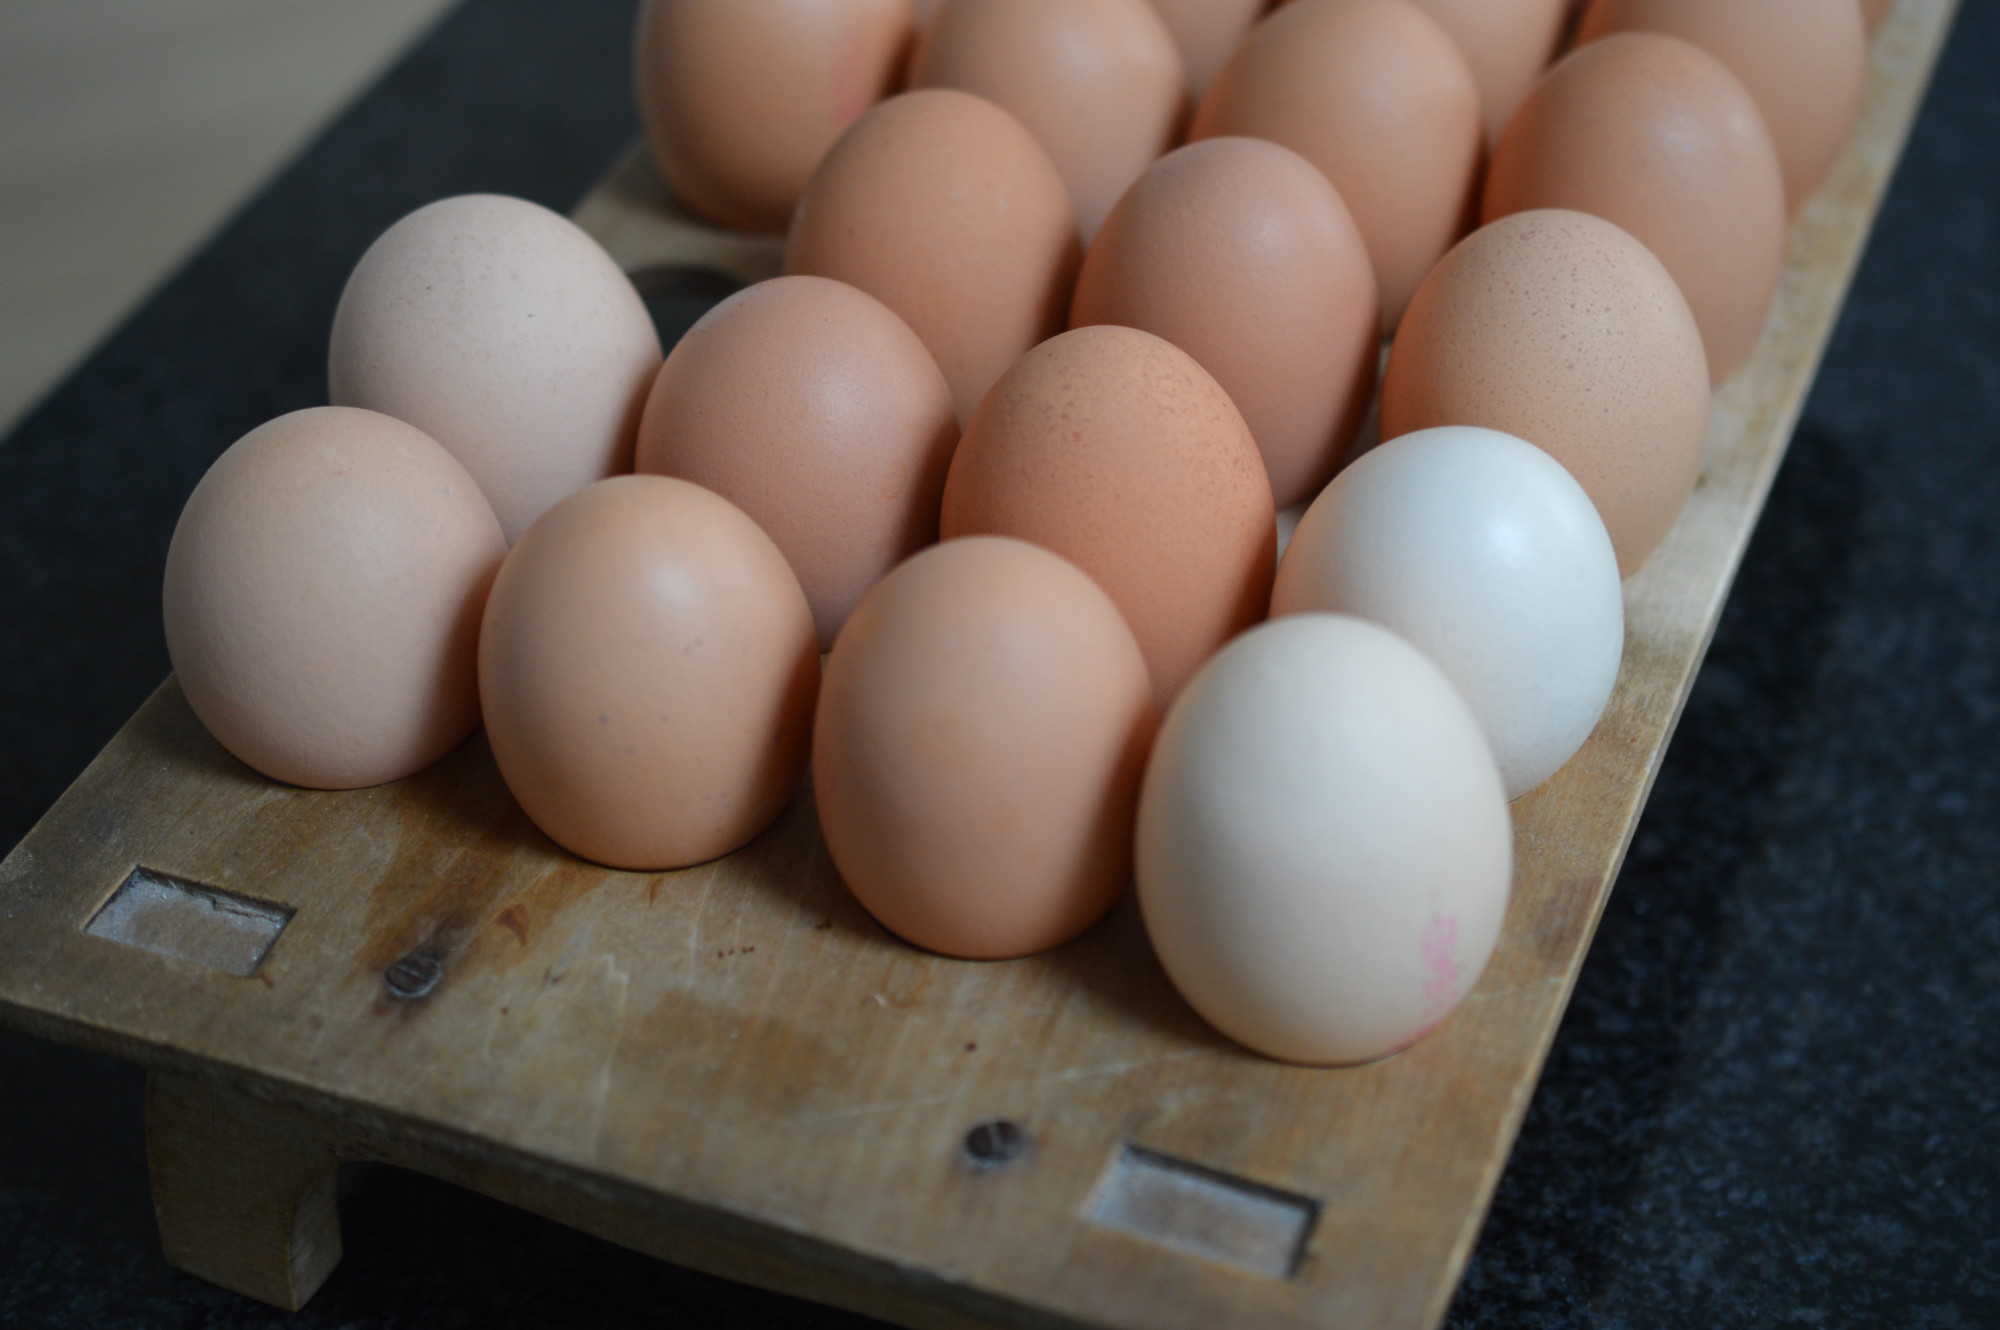
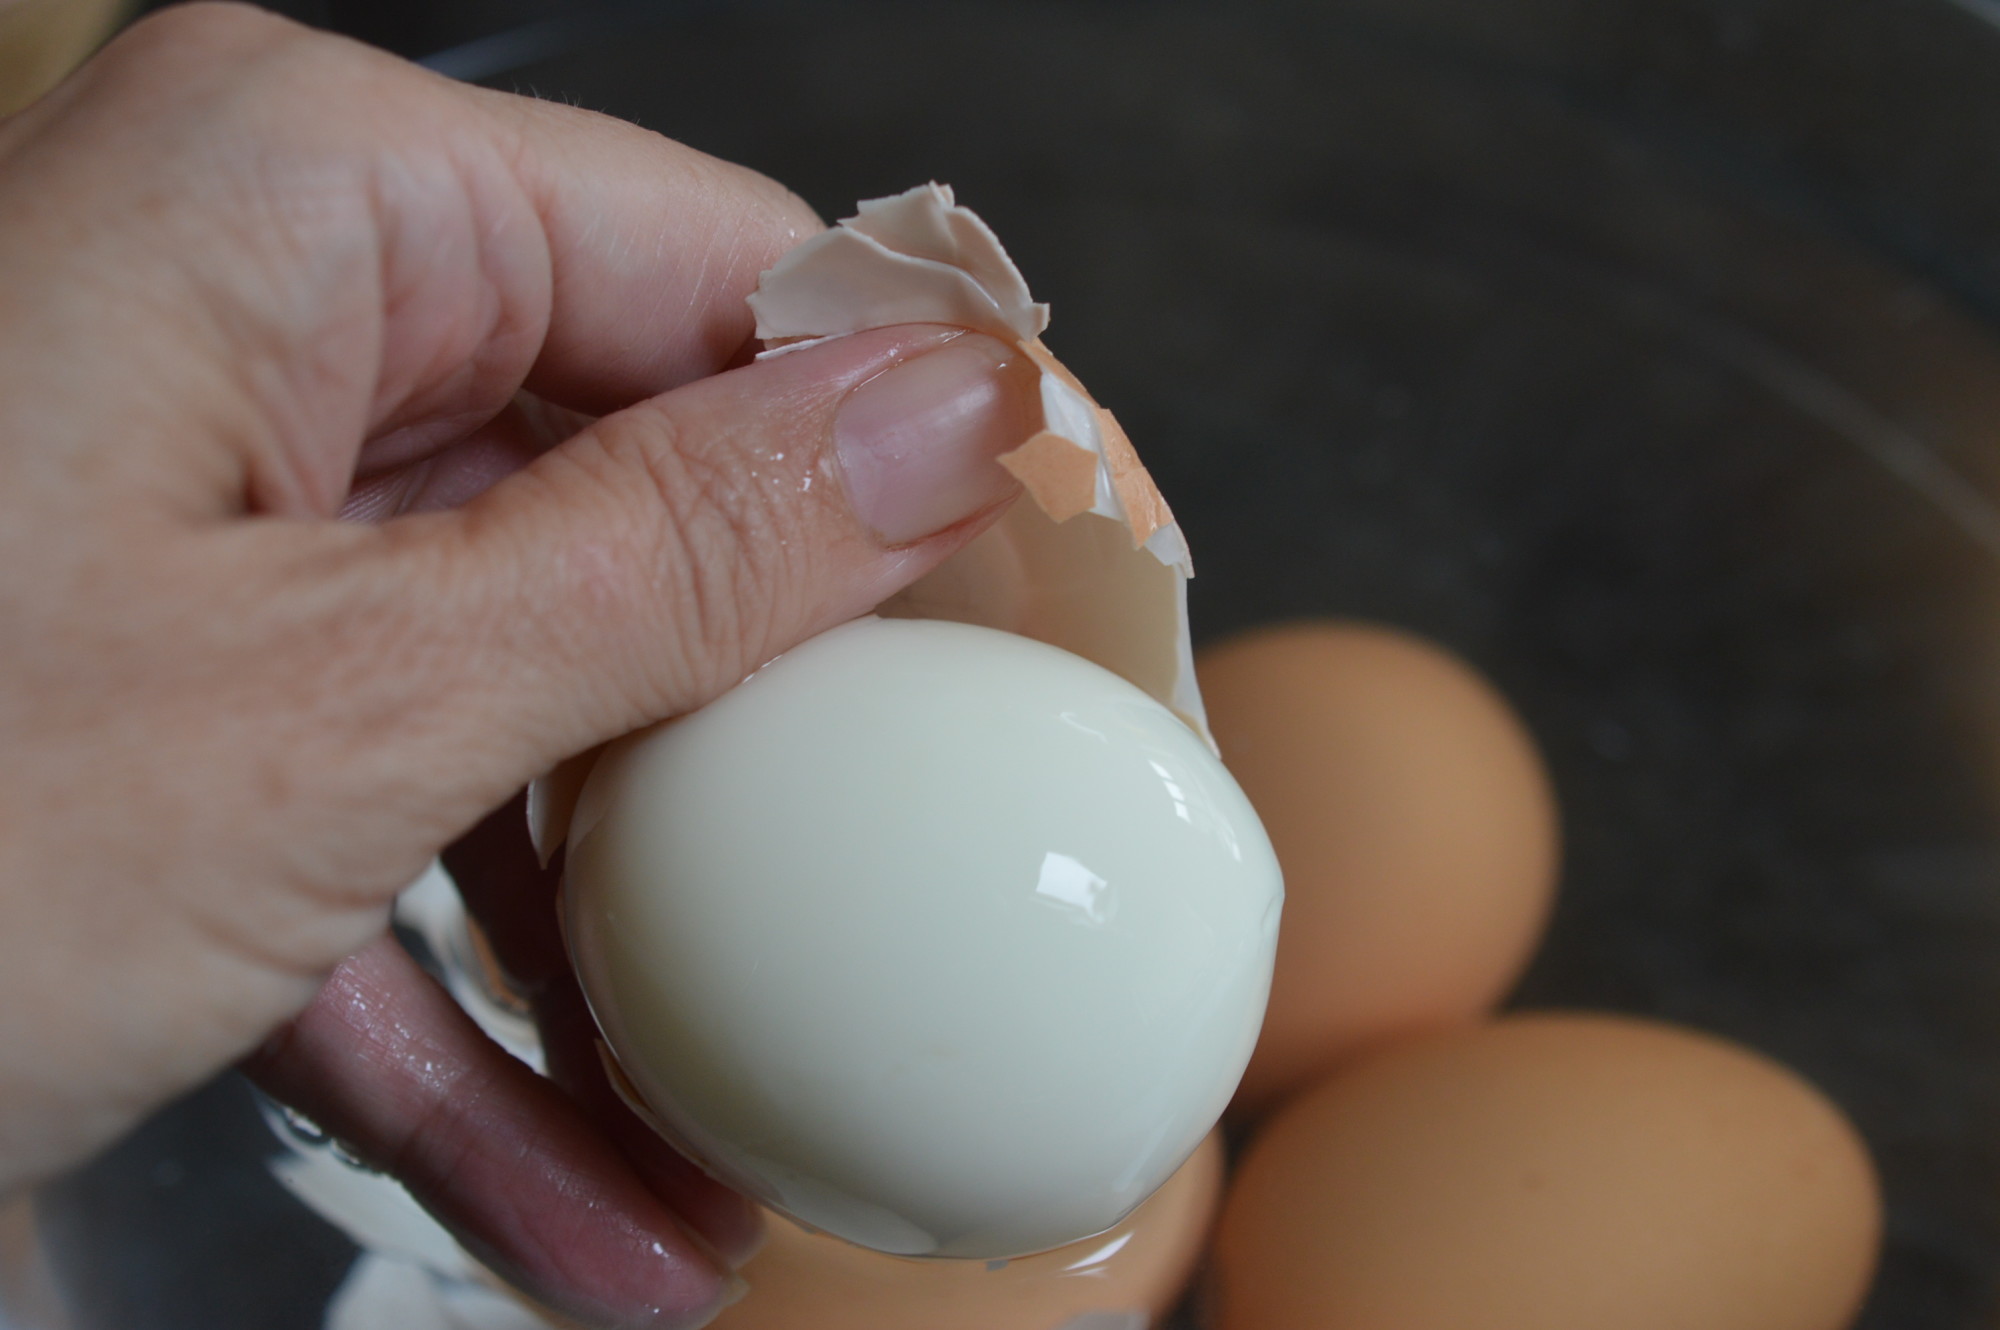
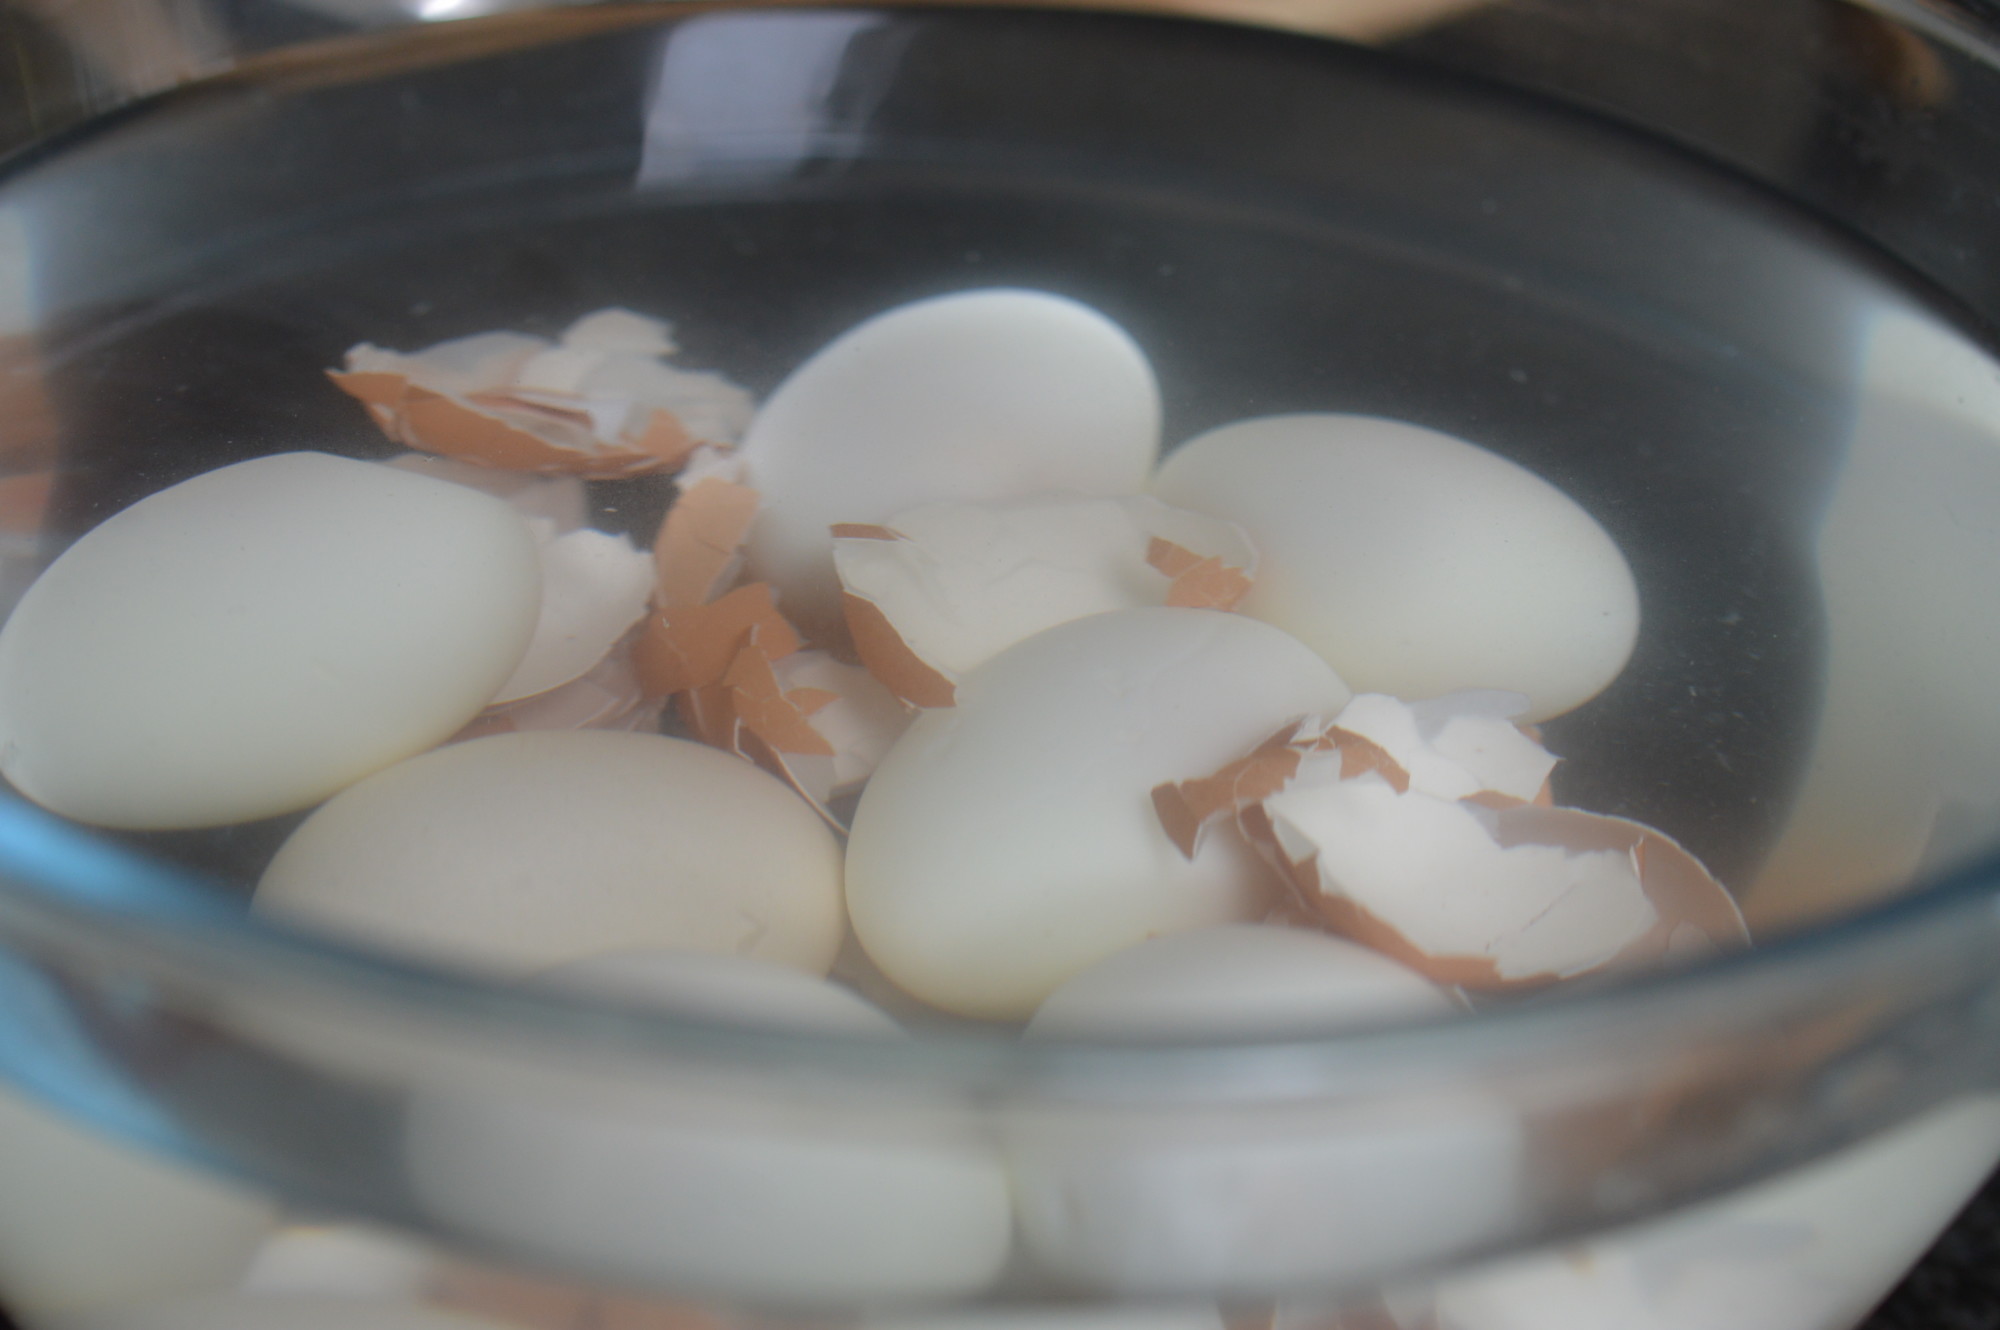
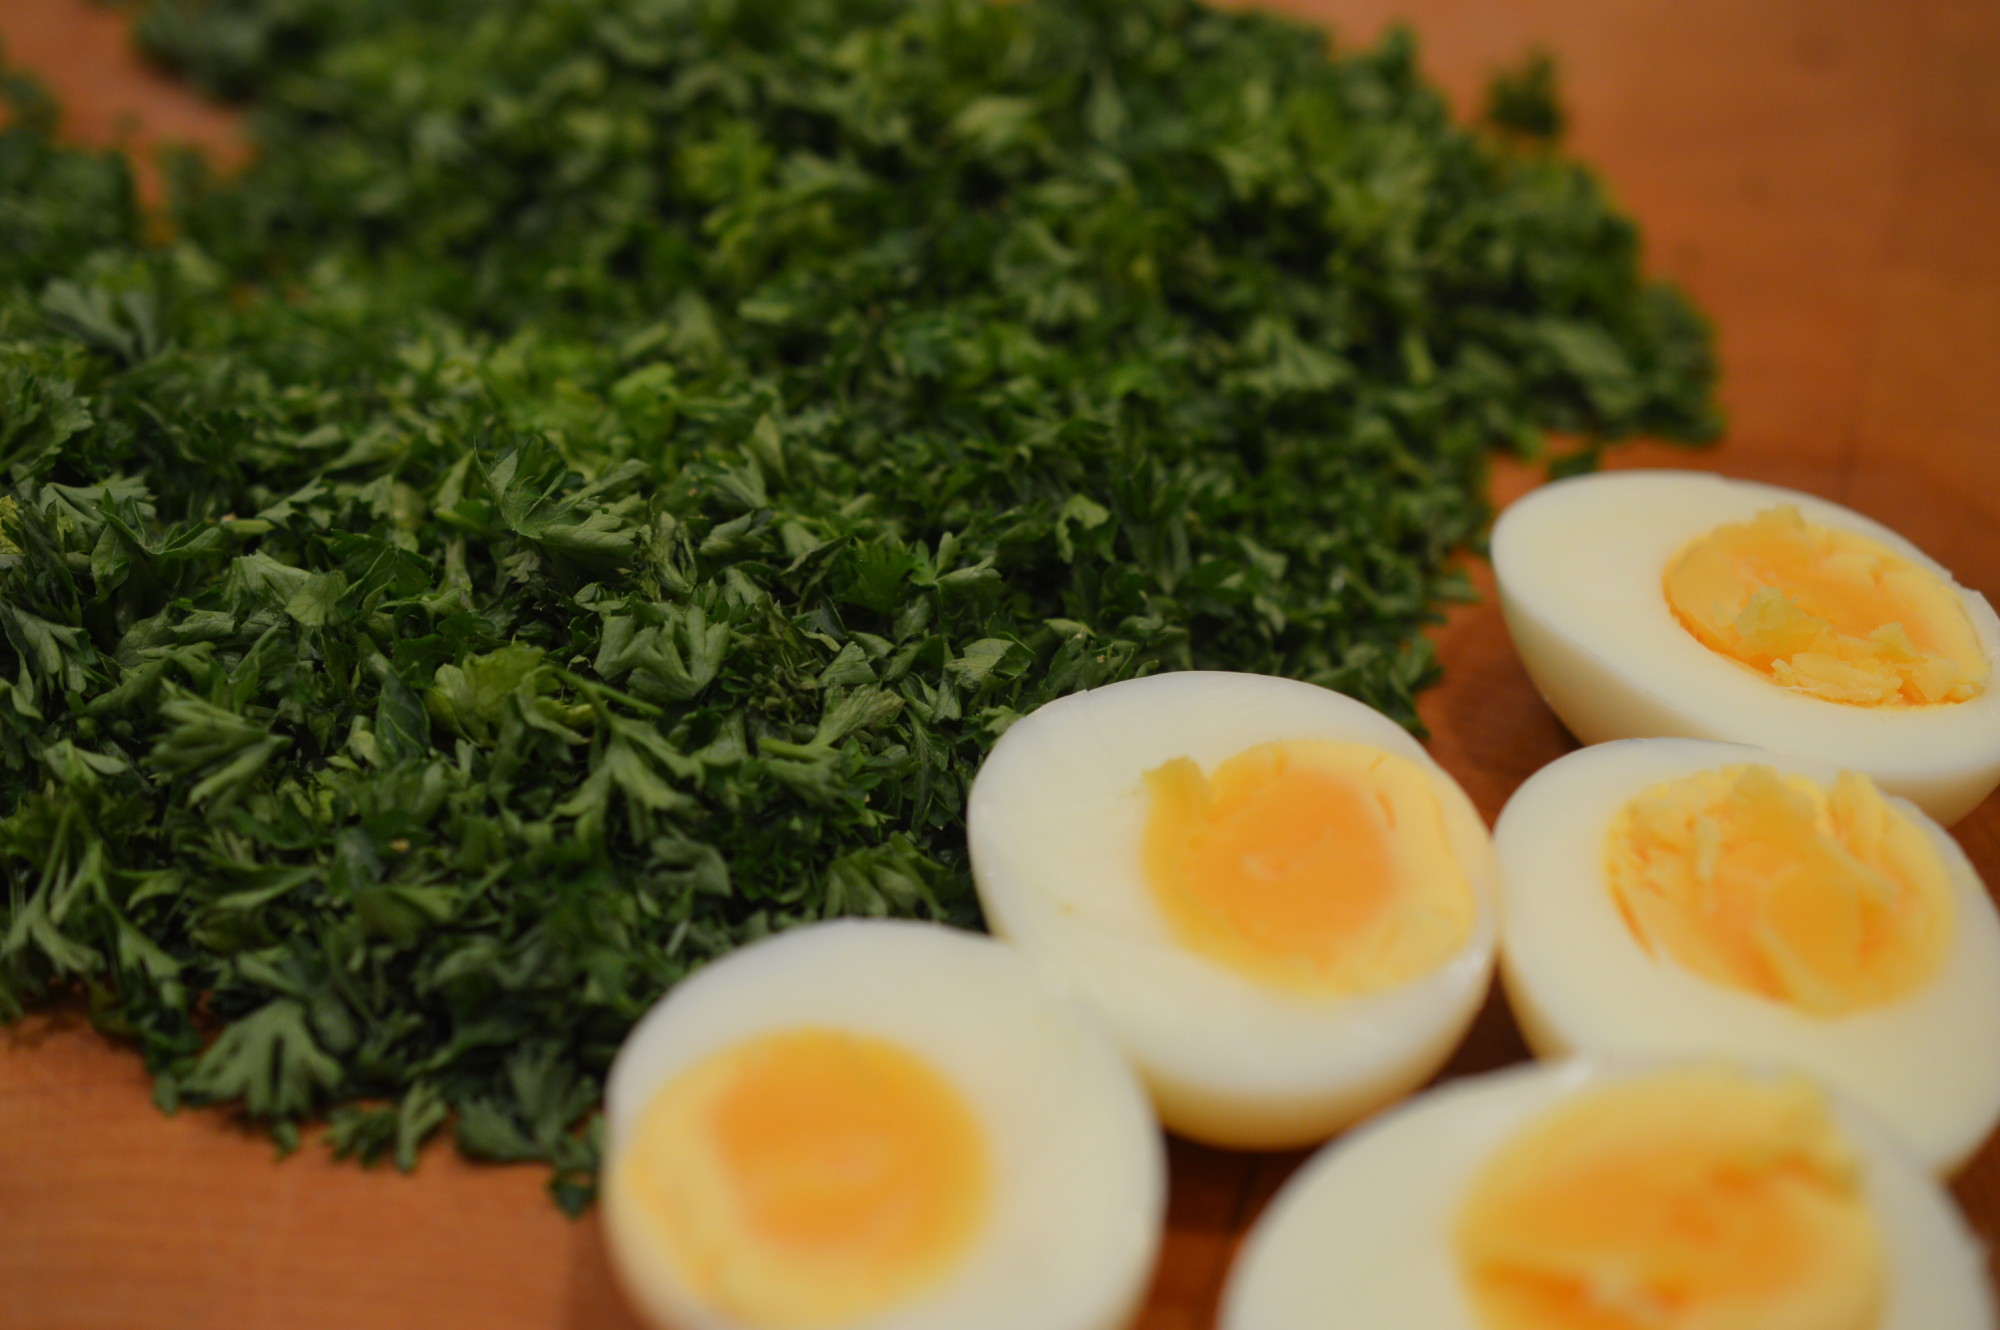
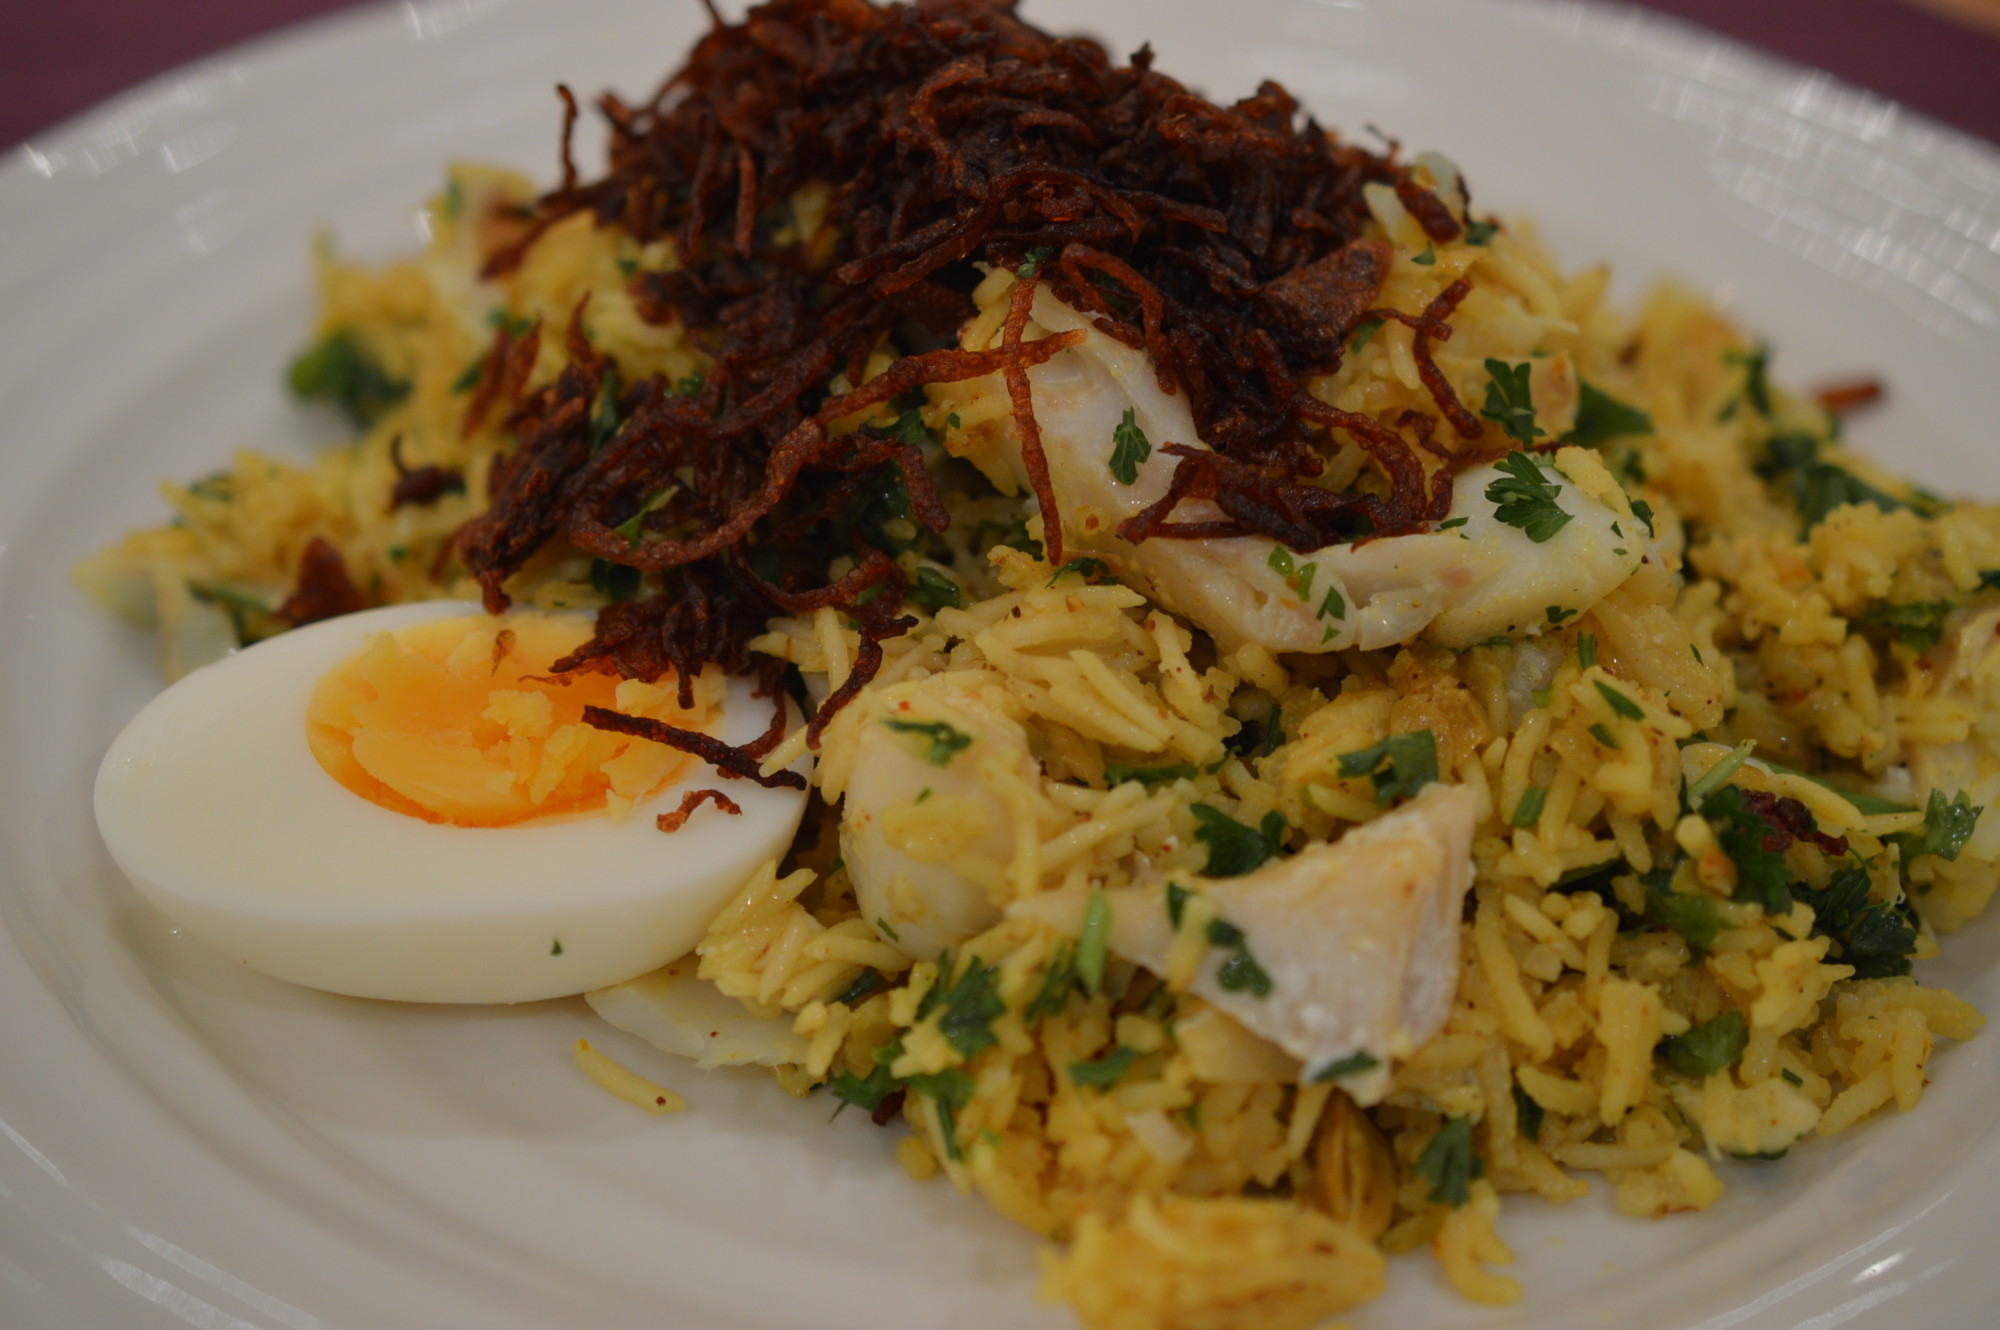
Stir through some chopped parsley and decorate with the hard boiled eggs.

Kedgeree plated

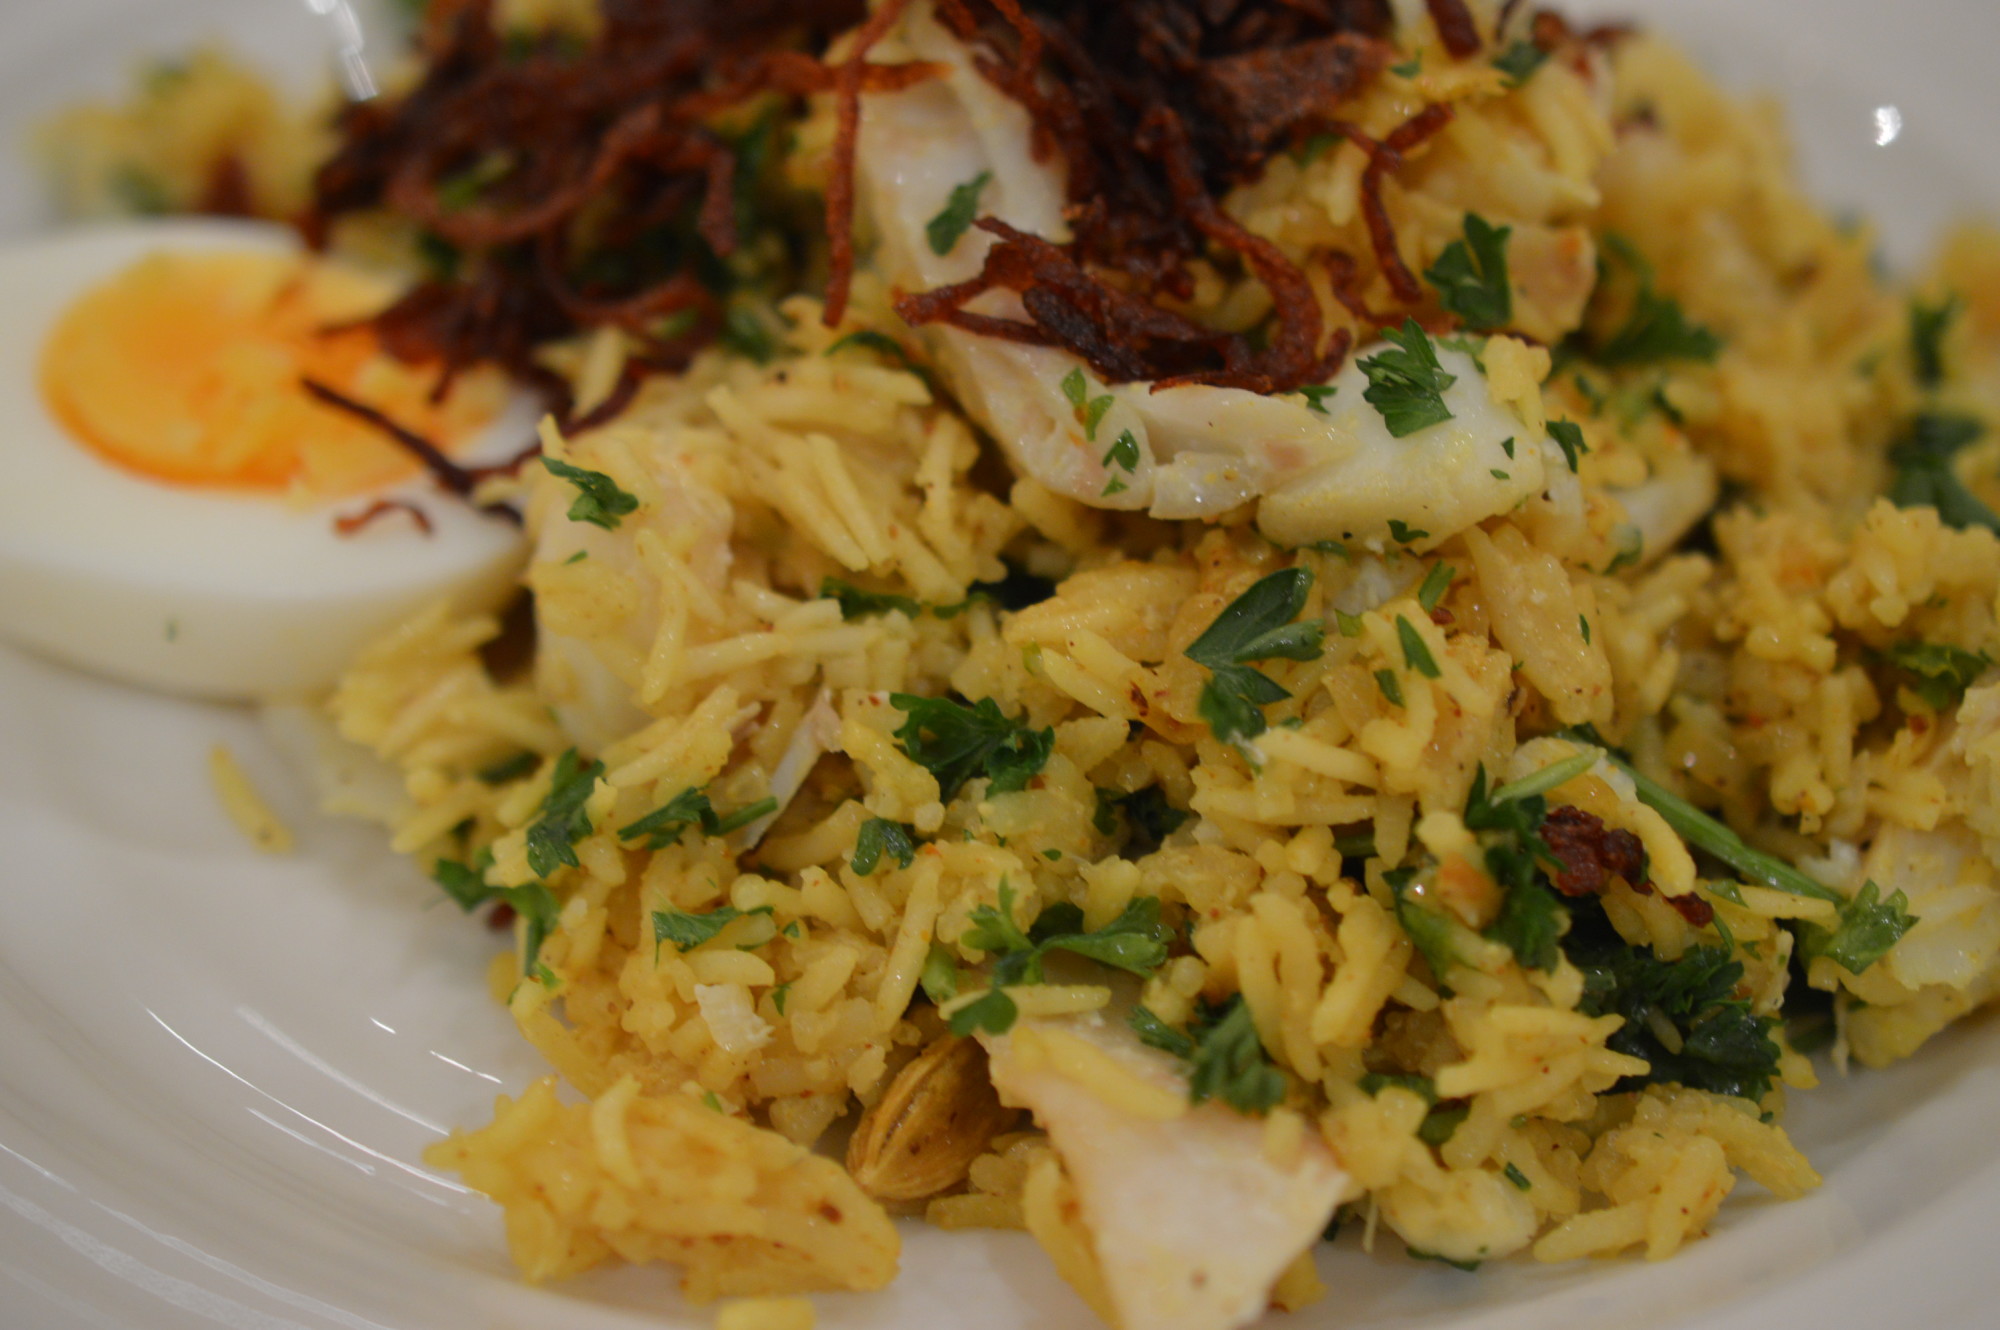
Top with some crispy fried onions.  Hot or cold.  Eat.

Kedgeree finishedKedgeree

Serves 6-7

  • 750g/ undyed smoked haddock
  • ¾ UK pint full-fat milk
  • 5 tablespoons of sunflower oil or ghee
  • 1 large cinnamon stick
  • 20 fresh or freeze dried curry leaves, crushed
  • 7 green cardamom pods, crushed
  • 2 onions, finely chopped
  • 1½ tablespoons of curry powder
  • 450g basmati rice, rinsed under running water until the water runs clear
  • 75g unsalted butter
  • 3 hard boiled eggs, to serve
  • Handful of fresh parsley, to serve
  • Handful of crispy fried onions, to serve (optional)

Place the smoked haddock in a single layer in a sauté pan and cover with the cold milk.  Bring to a boil, cover, and let it simmer for 4 minutes.  Remove from the heat and let it sit and finish cooking for a further 10 minutes.

Heat the sunflower oil (or ghee) in a shallow casserole dish.  Add the curry leaves, cardamom, cinnamon and onions.  Let the onions become soft and golden.

Remove the fish fillets from the milk and keep warm.  Strain the milk and add enough water to make 900ml/1½ UK pints.

Add the curry powder to the onions and cook over a gentle heat, stirring, for a couple of minutes.

Add the rinsed basmati rice and stir to coat.

Add the milk and water mix.  Bring to a boil and then lower the heat to a simmer and cover.  Cook for 10 minutes.  The rice should have absorbed the milk and be al dente.

Dot over the cubes of cold butter and lay the warm fish fillets on top.  Cover with a lid and let everything sit for a further 10 minutes.

Lightly fork the the fish into the rice and serve with chopped parsley, hard boiled eggs and crispy fried onions.

Eat.

Print.


Hard Boiled Eggs

Twice this week I’ve needed some hard boiled eggs.  Once for Kedgeree and once for sandwiches – so I’m taking that as a sign and here is how I do it.

Hard Boiled Egg 1

Not surprisingly, it begins with the egg.  I buy free-range – always.  It’s more expensive but if you’ve ever seen the conditions battery hens are kept in you’ll understand why.  Within the EU, an egg labelled ‘free-range’ guarantees the hens have had continuous day-time access to outdoor runs ‘mainly covered in vegetation’.  An egg labelled ‘organic’ is automatically ‘free-range’.  That’s not ‘worldwide’ so you’d need to check if you live outside the EU.

DSC_0086 1

Doing anything with an egg is much easier if you know how old your egg is.  If you buy eggs in a box which is stamped with the lion mark it will give you a best before date.  That date is 21 days after laying so you can do some calculations.

The other way to tell the age of an egg is to float it in cold water.  A newly laid egg will sink to the bottom of a glass and lay entirely horizontal.  This is because there’s no air pocket.  As the egg ages the porous shell will absorb air which will collect in the rounded end.  When you float an egg with an air pocket it will cause the egg to tilt upwards.  A egg which sits vertical is stale.

A newly laid egg will poach effortlessly and, really, anything else is best not poached.  It’s also better for fried eggs, scrambling, making omelettes and for any recipe which asks you to separate the yolk from the white.  When an egg is fresh the yolk is plumper and the white clings to it.

Not only does the porous shell absorb air it allows the natural moisture in the egg to evaporate.  As the egg ages everything becomes flatter and looser.  For peeled hard boiled eggs the optimum egg is one between 5-12 days old.  You can, of course, hard boil an egg of any age.  What you’ll struggle with is the peeling.  When the egg is fresh the inner membrane which surrounds the egg white adheres like glue.  As the egg ages that membrane becomes looser and the shell slips off effortlessly.

Hard Boiled Egg 4

Start with your egg at room temperature.  That air pocket which settles at the rounded end – prick it.  Being a woman of limited interests, a gadget to do just that is what Father Christmas put in my stocking a few years ago.

Pricking the egg before boiling lessens the chance of the shell cracking.  Sometimes that matters and sometimes it doesn’t.

Hard Boiled Egg 5

Use a saucepan which minimises the amount of space the eggs have to bounce about.  Again, that’s about not cracking the shell during cooking.

Place your eggs in the saucepan in a single layer and cover with cold water so it covers the eggs by 1cm/½”.

Hard Boiled Egg 6

Bring the water up to simmering point – and set the timer for 7 minutes.  This will give you a set yolk.  If your egg is fresh, less than 5 days old, cook for 7½ minutes.

Hard Boiled Egg 7

Overcooked eggs taste like rubber.  They are also the ones which tend towards having a dark line around the yolk.  The solution is to stop the egg cooking as quickly as is possible.  It no long matters if the shell cracks so tip it into a colander and run cold tap water over it.  Keep going until the egg is cool to hold.

Hard Boiled Egg 8

Finish cooling in a bowl of iced water.

Hard Boiled Egg 9

Tap the egg all over on your work surface and start to peel at the wider end (where the egg pocket is).  I always peel over the bowl and use the water to deal with any tough to peel bits.  If you’re really struggling to get the shell off cleanly then peel under a running tap.

Hard Boiled Egg 10

Back into the iced water until completely cold.

Hard Boiled Egg 11

A bowl of hard boiled eggs, kept in the fridge, is great for snacking on.

Kedgeree Garnish

Eat.

Hard Boiled Egg 11Hard Boiled Eggs

  • Eggs.  5-12 days old and at room temperature.

Prick the air pocket at the rounded end of the egg and place in a single layer in a saucepan.  Cover with cold water.  Bring to a simmer and then set the timer for 7 minutes (adding an additional 30 seconds if your egg is fresh).

Drain in a colander and rinse in cold water to stop the egg cooking.

Transfer to a bowl of iced water.  Once cool enough to handle, peel.  (If the shell is sticking, peel under cold running water.)  Return to the bowl of iced water until completely cold.

Eat.

Print.


Crispy Fried Onions – Indian Style

I don’t really know what to call this as I’ve heard it being given all kinds of names.  Presumably it’s something which varies between dialects.  In English I reckon ‘Crispy Fried Onions’ is as descriptive as I can get it.

Fried onions 16

Nor is it accurate to describe it as a garnish because it adds so much more than that implies.  I serve it when I make Khichdi, Biryani and the Anglo-Indian Kedgeree.  If you happen to have a stash in your freezer, it’s lovely on any kind of topped spicy flatbread.

I will confess it’s a bit of a labour of love.  That’s the bad news.  The good news is you can do it when you have the time and the inclination since it freezes perfectly.  Since the cooking of it does take a while it’s worth making in bulk.

Fried onions - Birista 1

First, peel and slice the red onions.  Thinly.  That’s important.  As thin as you can get it.  Take your time (use a sharp knife) and comfort yourself with the thought other people pay to go on courses to work on their knife skills.

Fried onions 2

By the time I’d prepared my onions I was left with a little under 1.5 kg.  (1.429kg if you want it exact ..!  I don’t normally weigh it.  Just a big pyrex bowl full.)

Fried onions 3

The secret to good fried onions, I think, is to use enough oil.  For my quantity of onions I used 750ml (roughly 3 cups) and I use the same sauté pan I use for risotto.  Heat the oil until it’s hot enough to fizz when you lower an onion crescent in.

Fried onions 4

Then, in with the rest of the onions.  Keep the heat on high and stir constantly.  This stage takes about ten minutes.  (I don’t add any salt, now or at any stage.  Although salt does encourage the onions to crisp up, I find it doesn’t store as well as if I don’t use it.)

Fried onions 5

Separate out all the onion crescents and keep stirring.

Fried onions 6

After ten minutes, turn the heat down to somewhere between medium to low.  From now on it needs a little less babysitting.  You do need to keep an eye on it and give it all an occasional stir.

Fried onions 8

After twenty minutes cooking time my onions look like this.

Fried onions 9

A further ten.  Give it another stir to make sure nothing is catching on the bottom of your pan.

Fried onions 10

Another ten minutes.

Fried onions 11

50 minutes.  Keep an eye on it now as it goes suddenly.

Fried onions 12

This was just over the hour.  It’s now ready to drain.

Fried onions 13

Place a large bowl on a heatproof mat and drain the onions in a sieve over it.

Fried onions 14

The fried onions now need to crisp up.  Lay them out on absorbent kitchen towel placed over large baking sheets.  I separate out the strands with a couple of forks.  Leave to dry for 10 minutes.

Fried onions 15

It’s now ready to use.  When the 10 minutes are up pop them in a sealed container.  Store in the freezer.  There’s no need to portion as you can use it straight from the box.

Fried onions 18

It’s lovely.  Eat.

Fried onions 16Crispy Fried Onions – Indian Style

  • Red onions, peeled and thinly sliced (1.5kg once prepared)
  • 750ml sunflower oil (approximately 3 cups)

Heat the oil in a wide and deep sauté pan until it fizzes when a sliced crescent of onion is lowered in.  Add the rest of the onions.

Stir constantly over a high heat for ten minutes.

Lower the temperature to medium-low and continue to cook, stirring occasionally.  It takes between 50 minutes to an hour until the onions are cooked to a deep golden colour.

Set a large sieve over a bowl and drain the onions.

Line two large baking trays with paper kitchen towel and spread out the onions using two forks.  Leave to cool for 10 minutes.

Transfer to a sealed container and store in the freezer.

Eat.

Print.


Home-Made Curry Powder

Curry Powder isn’t ‘one’ thing.  It’s a house mix and would seem to be a Western invention, but it’s a ready-mix which has been around for a long time.  It  was certainly available in London in the mid 1780s as there’s an advert for it in ‘The Morning Post’.  That  must have been powerful stuff because it promises “it contributes most of any food to an increase of the human race”.  I don’t make any such claims for mine … although I do have five children …

You can buy Hot, Medium or Mild, but your own will always be better.  Whole ground spices are more flavourful and zingy than anything you buy ready ground.  Plus, you can customise your mix to your own taste.

Curry Powder 9

This is mine.  (If you happen to be one of my children – this is the curry powder I send you to university with to put on your spicy popcorn ..)

Curry Powder 1

I’ve made choices.  If you buy it, depending on the brand you buy, you may find coriander, turmeric, curry leaves, cumin, fenugreek, chilli, ginger, garlic, asafoetida, fennel seeds, caraway seeds, cinnamon, cloves, mustard seeds, green cardamom, black cardamom, nutmeg or black pepper.  I think I spotted celery salt in one the other day.

This is my go-to mix.  Since the shelf life of ground spices is no more than 3 months at most I like to grind mine in small quantities.

Curry Powder 2

Lightly toasting the spices does make the kitchen smell wonderful, but the real reason to do it is because it alters the flavour of the spice.  It’s not better, just different.  I like it for this.

For my curry powder I place coriander seeds, cumin, black mustard seeds, fenugreek, fennel seeds, black peppercorns and cloves  in a small cast iron frying pan.

Curry Powder 3

Over a low heat, warm through until the spices release their aroma and they appear slightly darker.  Transfer to a bowl.  If they stay in the pan they might burn in the residual heat.  Leave to cool.

Curry Powder 4

I’m sure a purist would opt for a pestle and mortar, but I keep a bamix dry blender for the purpose.  (Don’t even think of grinding coffee beans in what has become a ‘spice mill’ or they’ll taste peculiar!)

I add a few freeze-dried curry leaves and a couple of dried chillies.

Curry Powder 5And whiz.

Curry Powder 6

A little turmeric.  Then, mix.

Curry Powder 7

That’s it.  A fresh and zingy curry powder.  Eat.

Curry Powder 9Home-Made Curry Powder

  • 1 tablespoon coriander seeds
  • 1 tablespoon cumin seeds
  • 1 tablespoon turmeric
  • 1½ teaspoons black mustard seeds
  • 1½ teaspoons fenugreek
  • 6 freeze dried curry leaves, crushed
  • 2 dried chillies, seeds included
  • ½ teaspoon fennel seeds
  • ½ teaspoon whole cloves
  • ½ teaspoon of black peppercorns

Set the curry leaves, the chillies and the turmeric to one side.

Place the coriander seeds, cumin seeds, black mustard seeds, fenugreek, cloves and peppercorns in a small cast iron frying pan and place over a low heat.  (Don’t use a non-stick pan for this as the coating may smoke.)  Keep watching and shaking the pan as spices burn quickly.  You want everything to roast evenly.  Warm through until the whole spices have darkened slightly and an aromatic scent has filled your kitchen.  Immediately transfer them to a bowl to cool.

Once cool, add the crushed curry leaves and roughly chopped dried chillies.  Grind in a pestle and mortar or whiz in a spice grinder.

Add the turmeric and stir.  Store in a sealed container and use within weeks.

Eat.

Print.