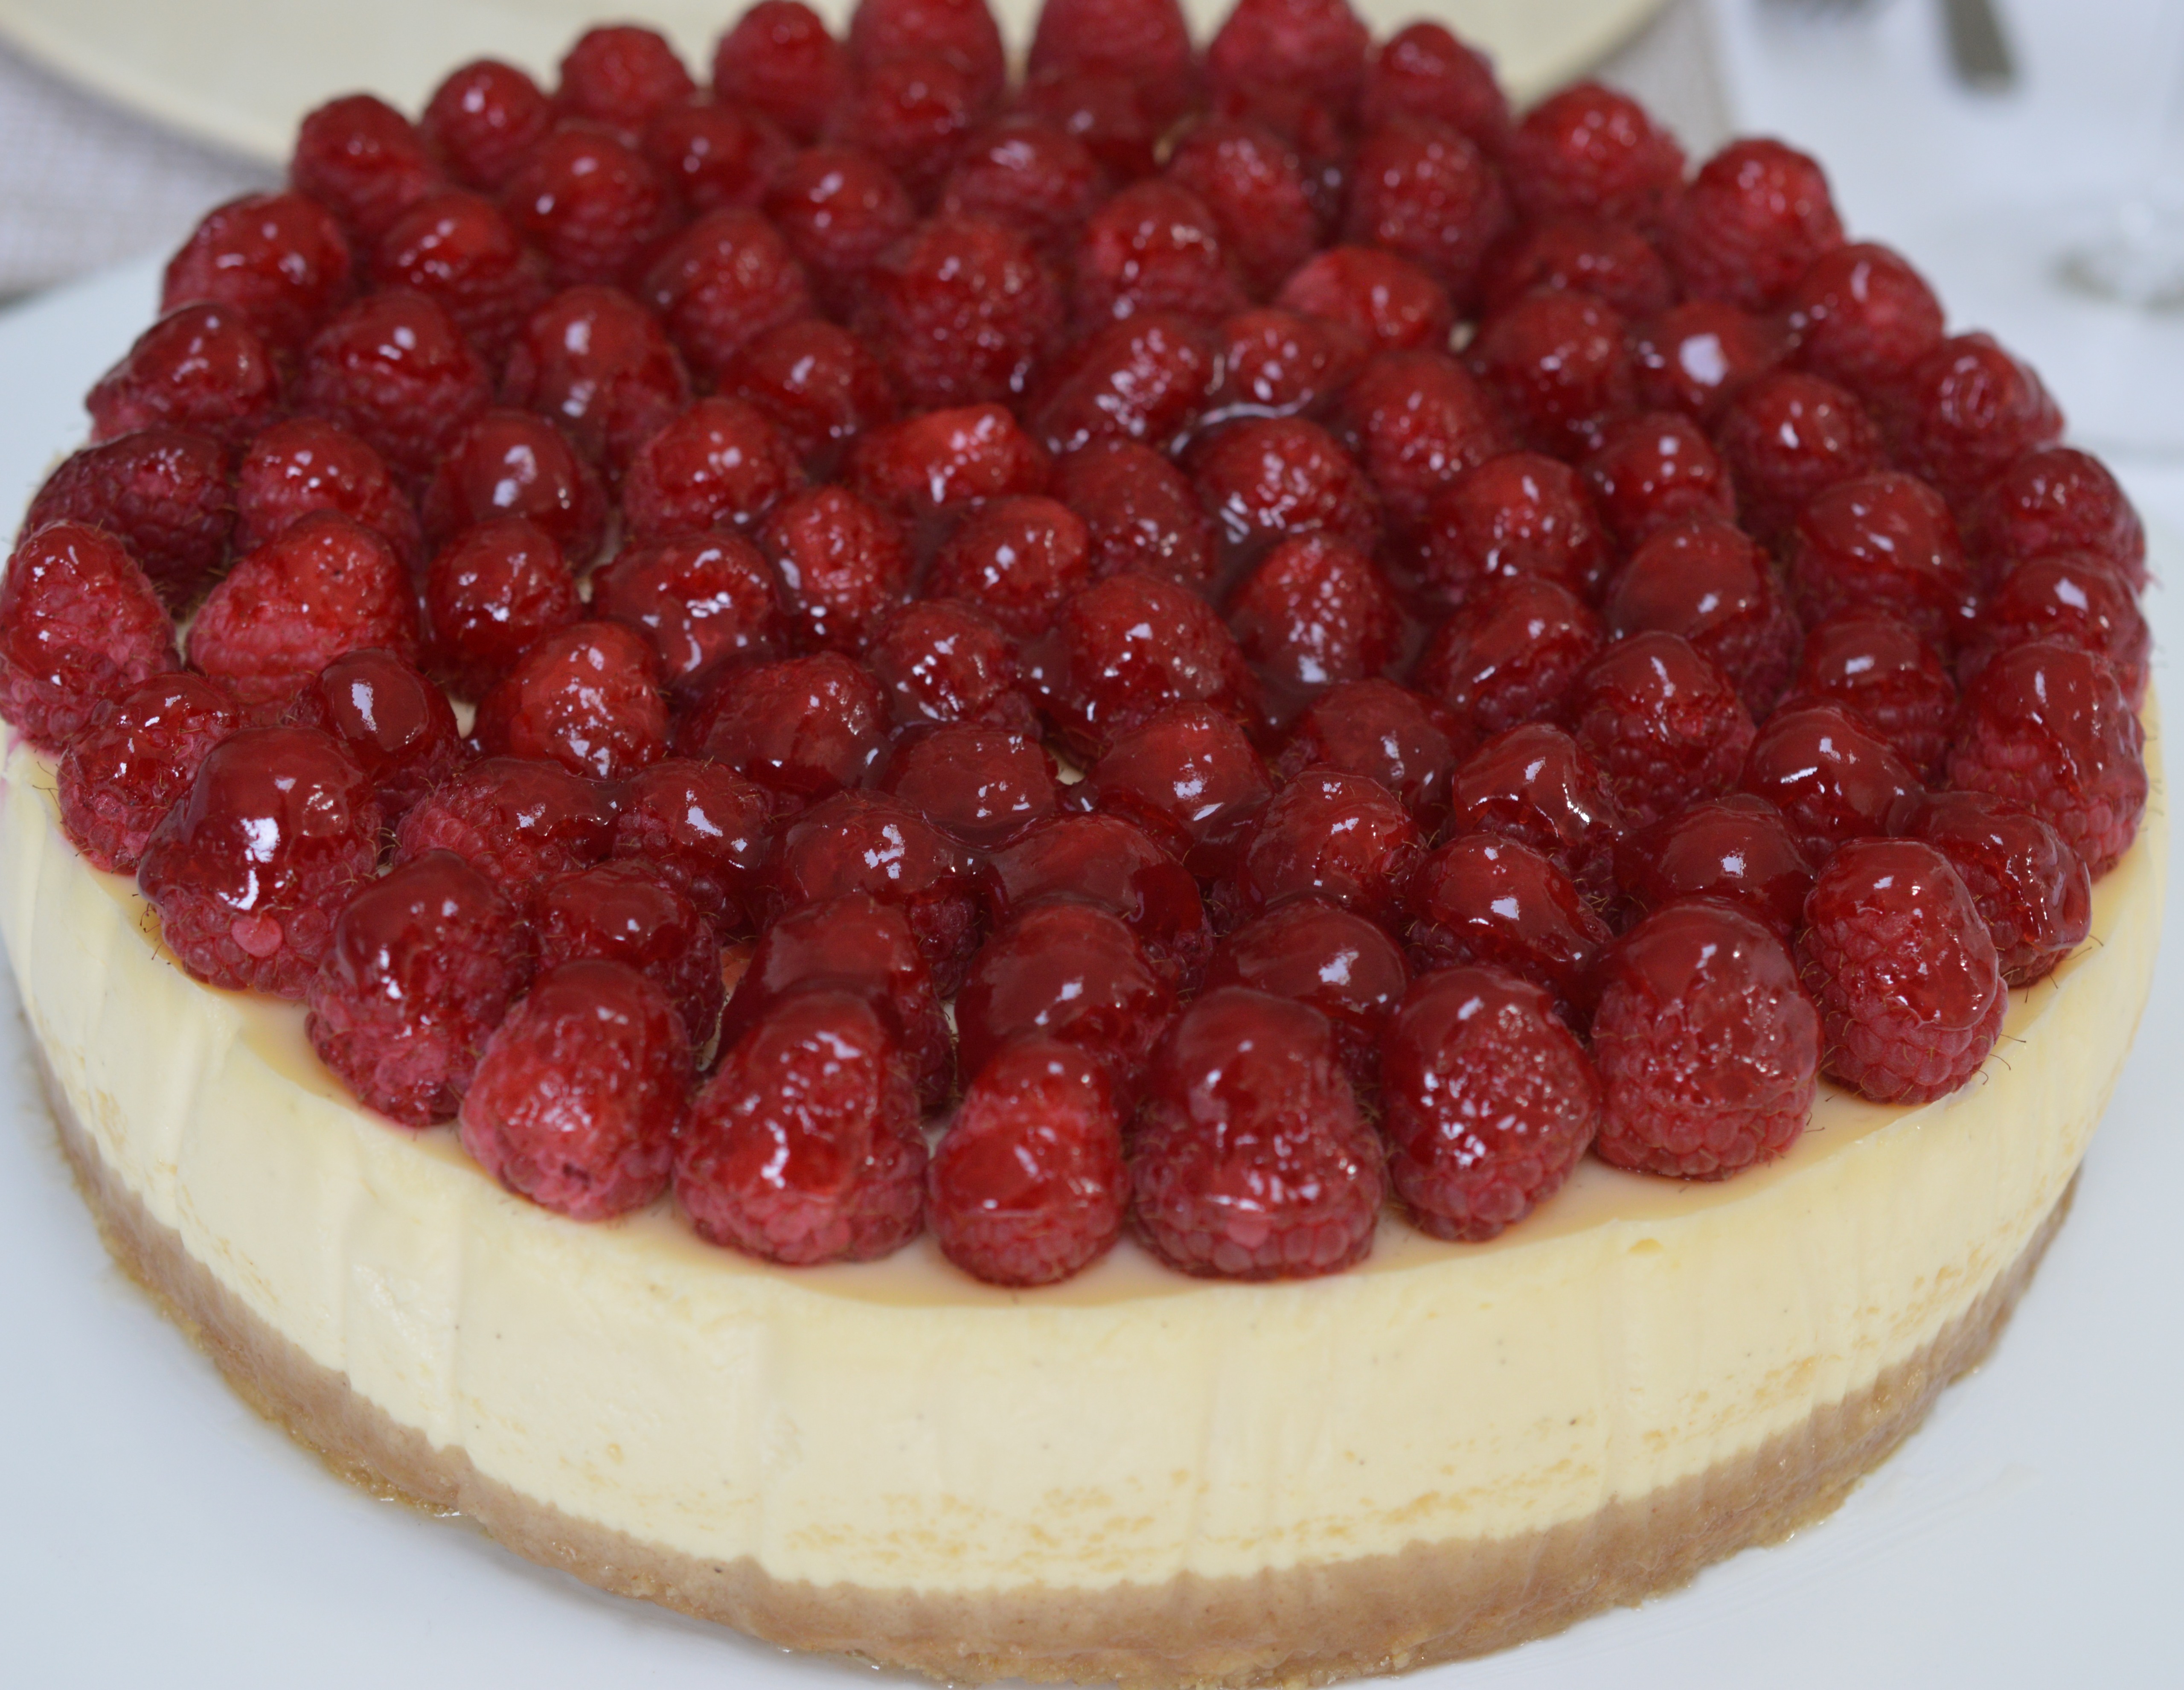
Baked Vanilla Cheesecake with fresh raspberries
This is my baked vanilla cheesecake topped with fresh raspberries – a) because I particularly like fresh raspberries with vanilla cheesecake and b) because it’s a ‘birthday’ cheesecake and I felt I needed to make an effort.
In actual fact, it wasn’t anyone’s birthday. Monday I drove Seb and assorted plastic storage boxes to uni and since he’ll be away on the ‘real’ day, we decided to celebrate early. (He demonstrated a sad lack of any ‘separation issues’, btw, and it reminded me of his ‘first day at school’ when I stood forlornly waving goodbye to my four year old who scarcely looked back. Who’d be a mum?)
Now to concentrate on vanilla cheesecake.
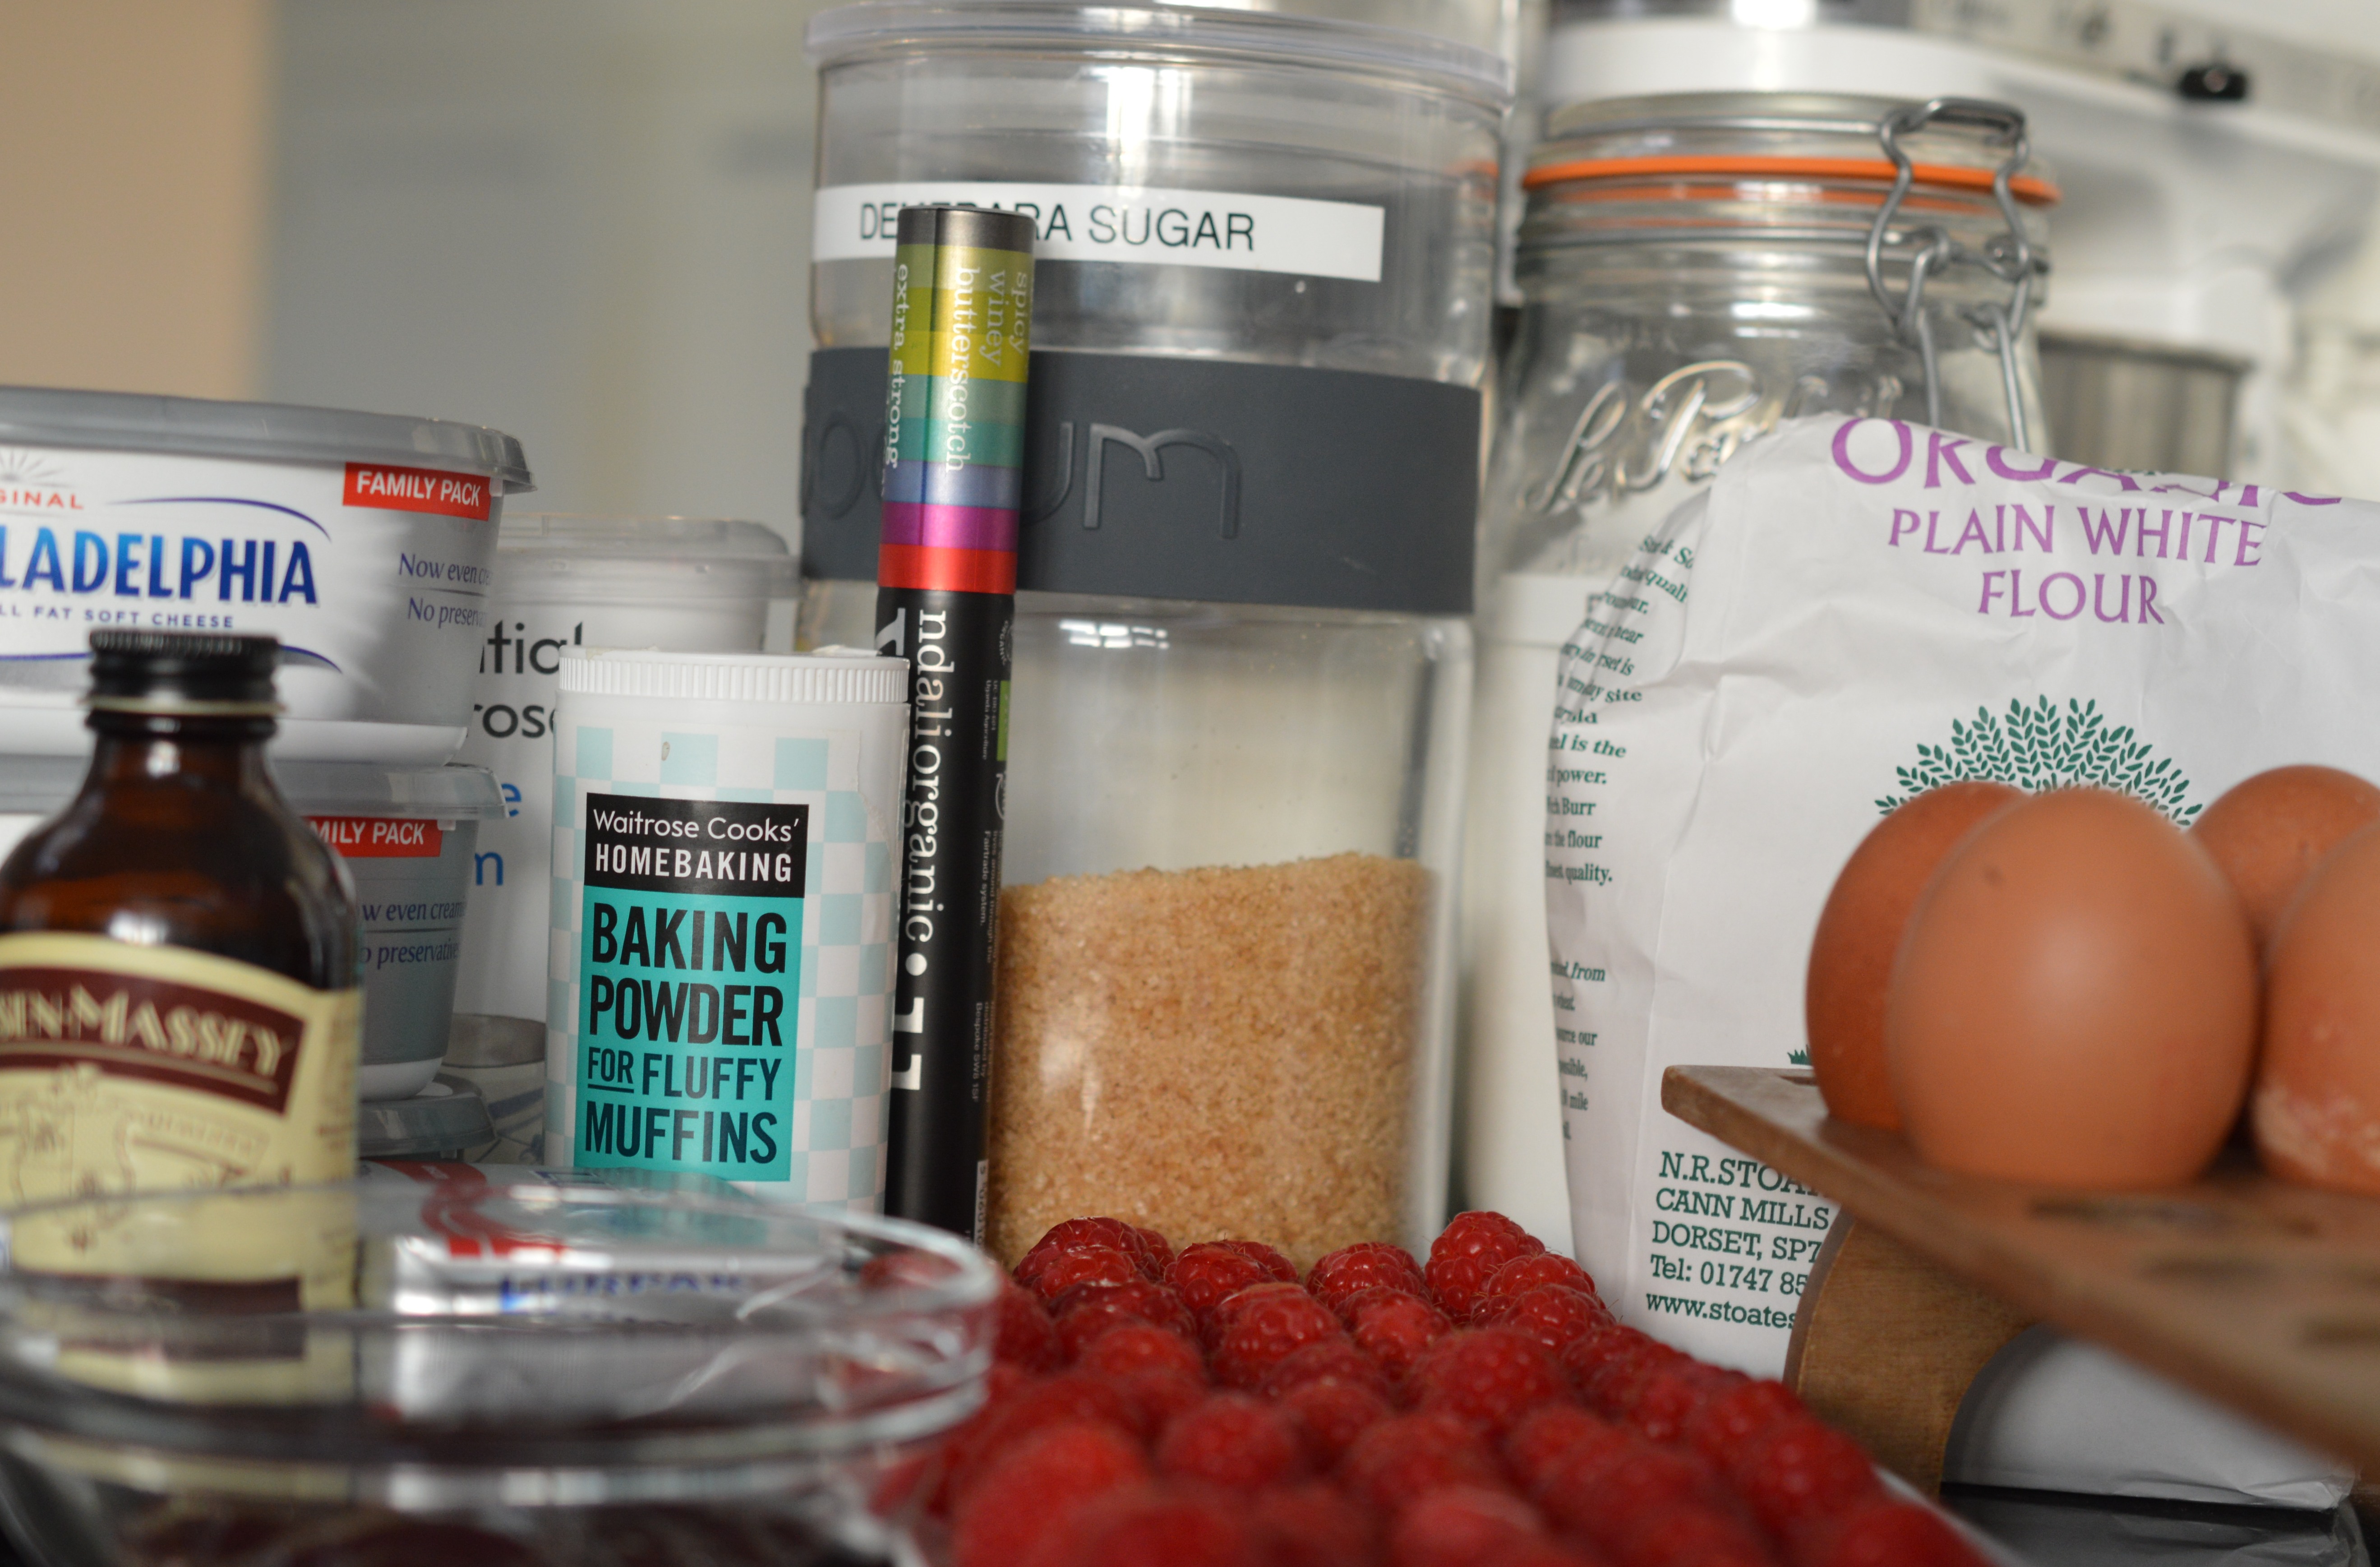
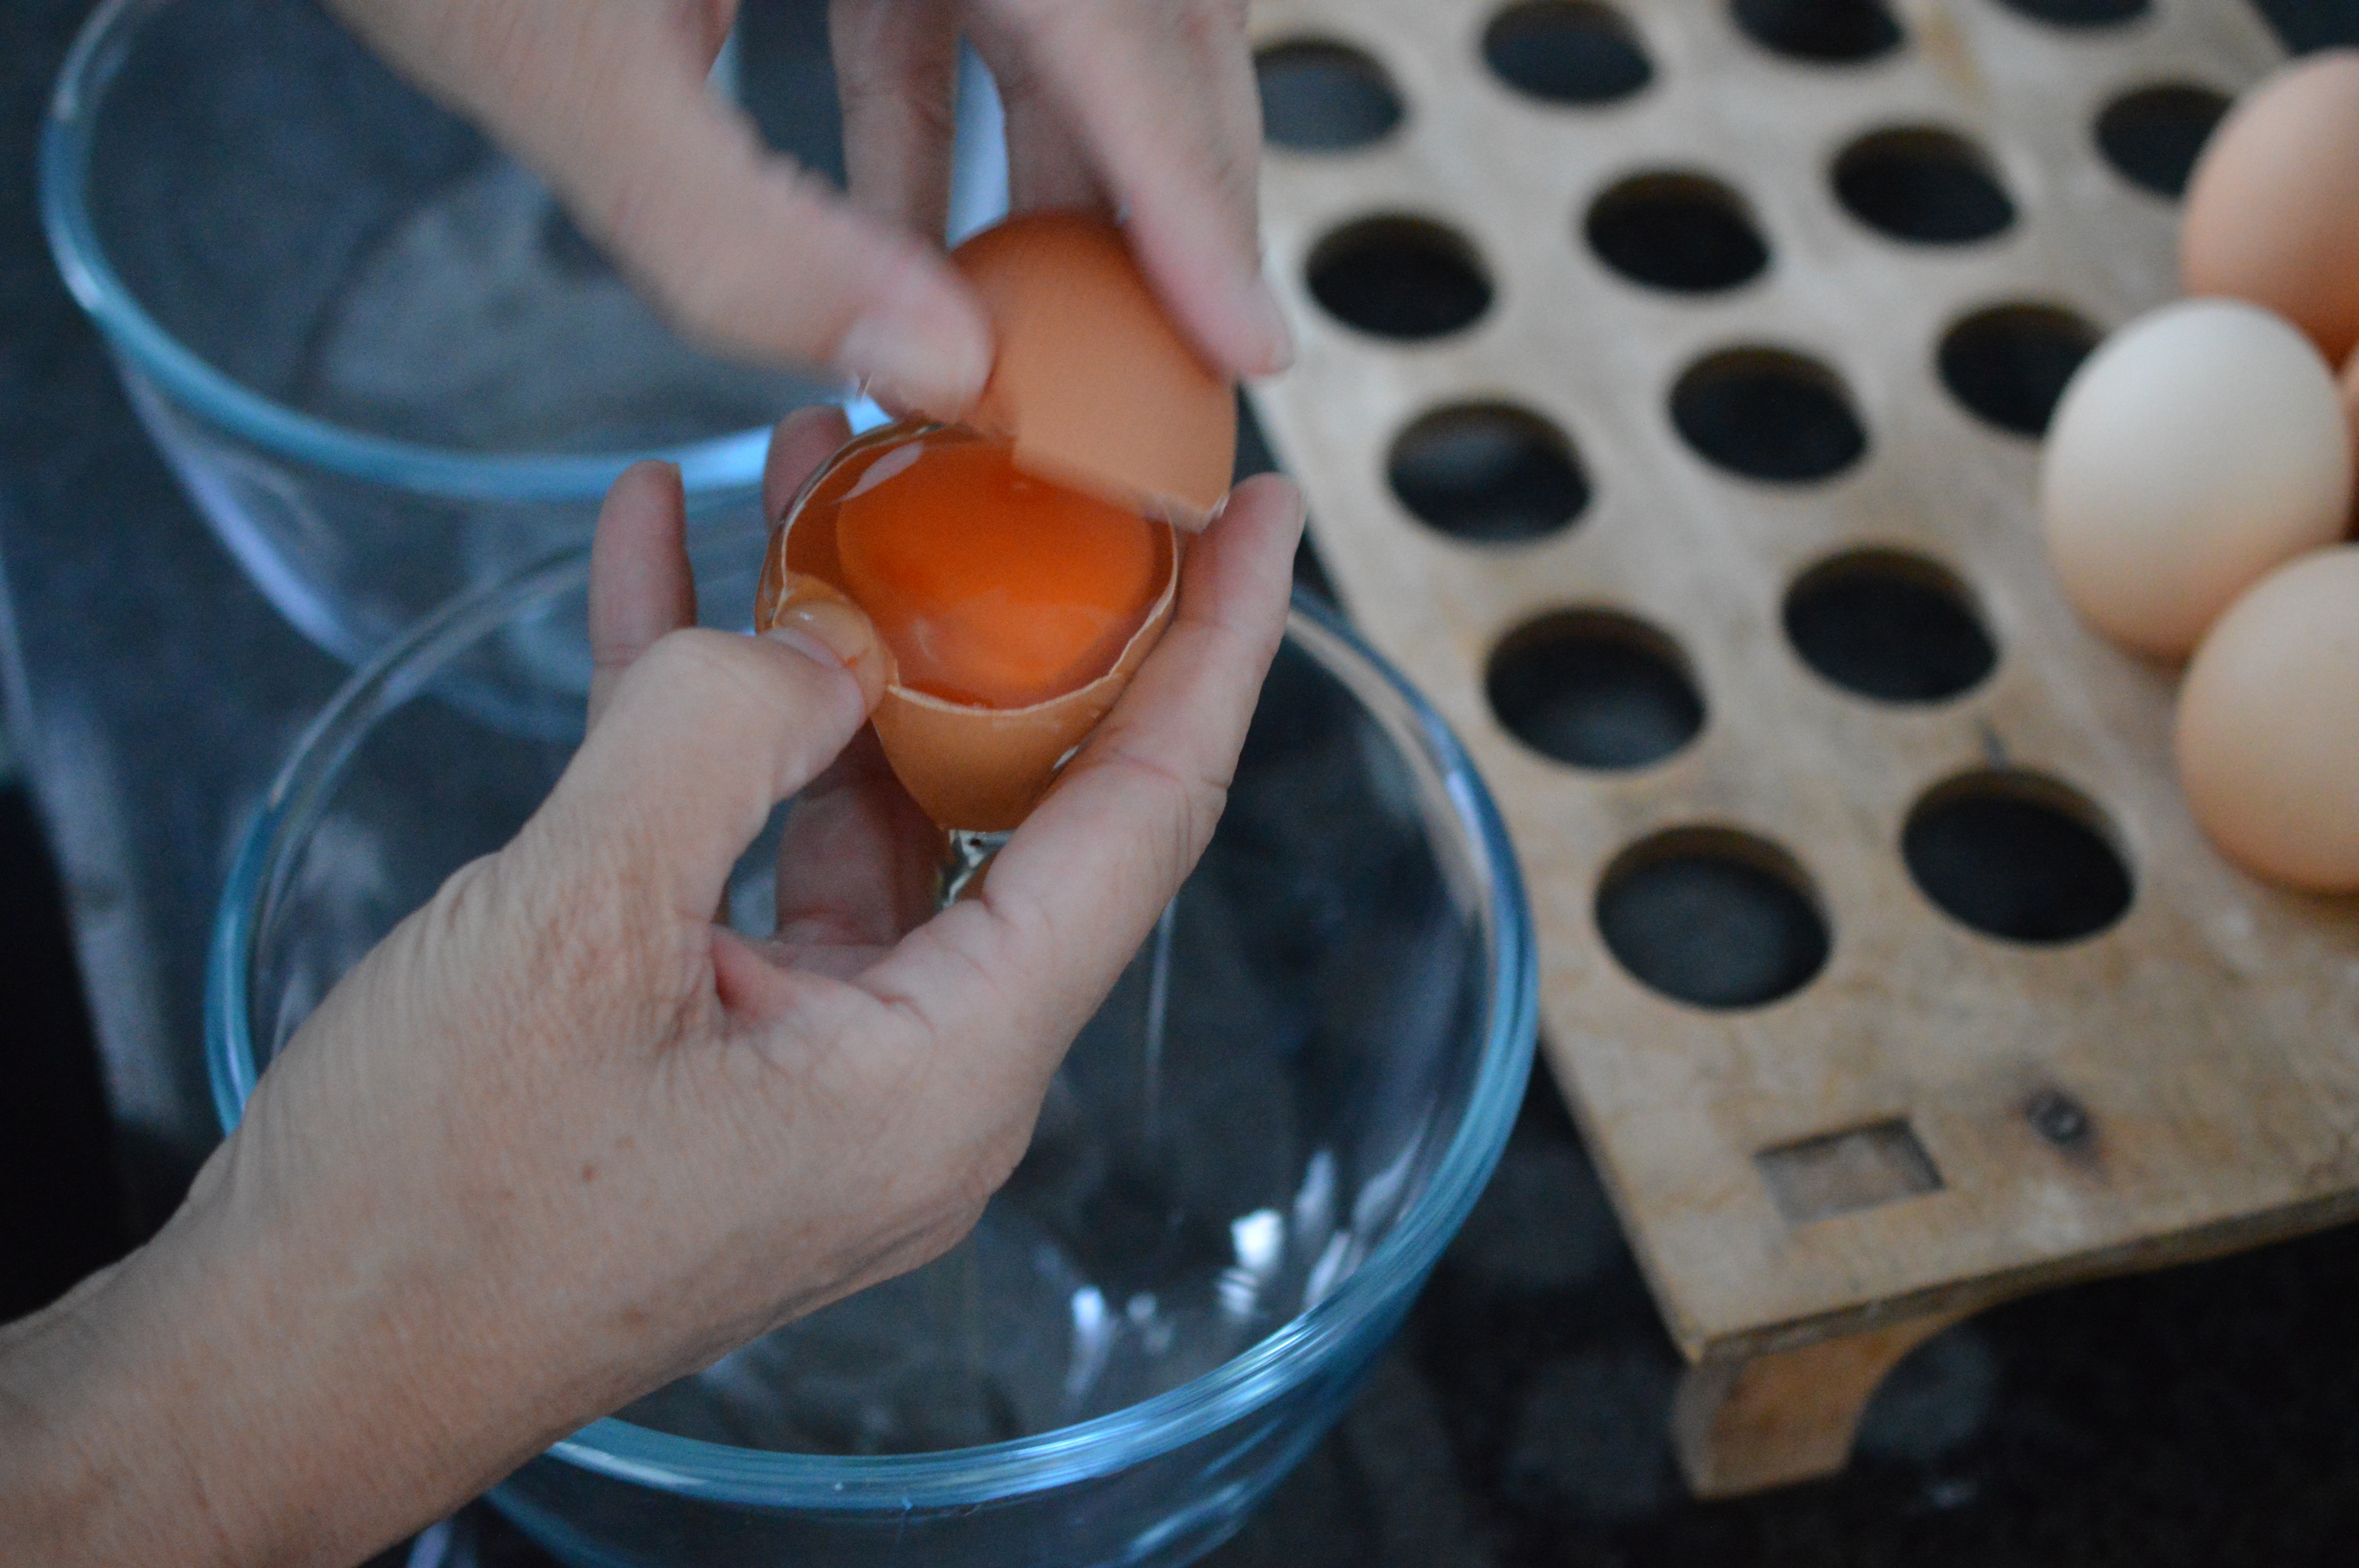
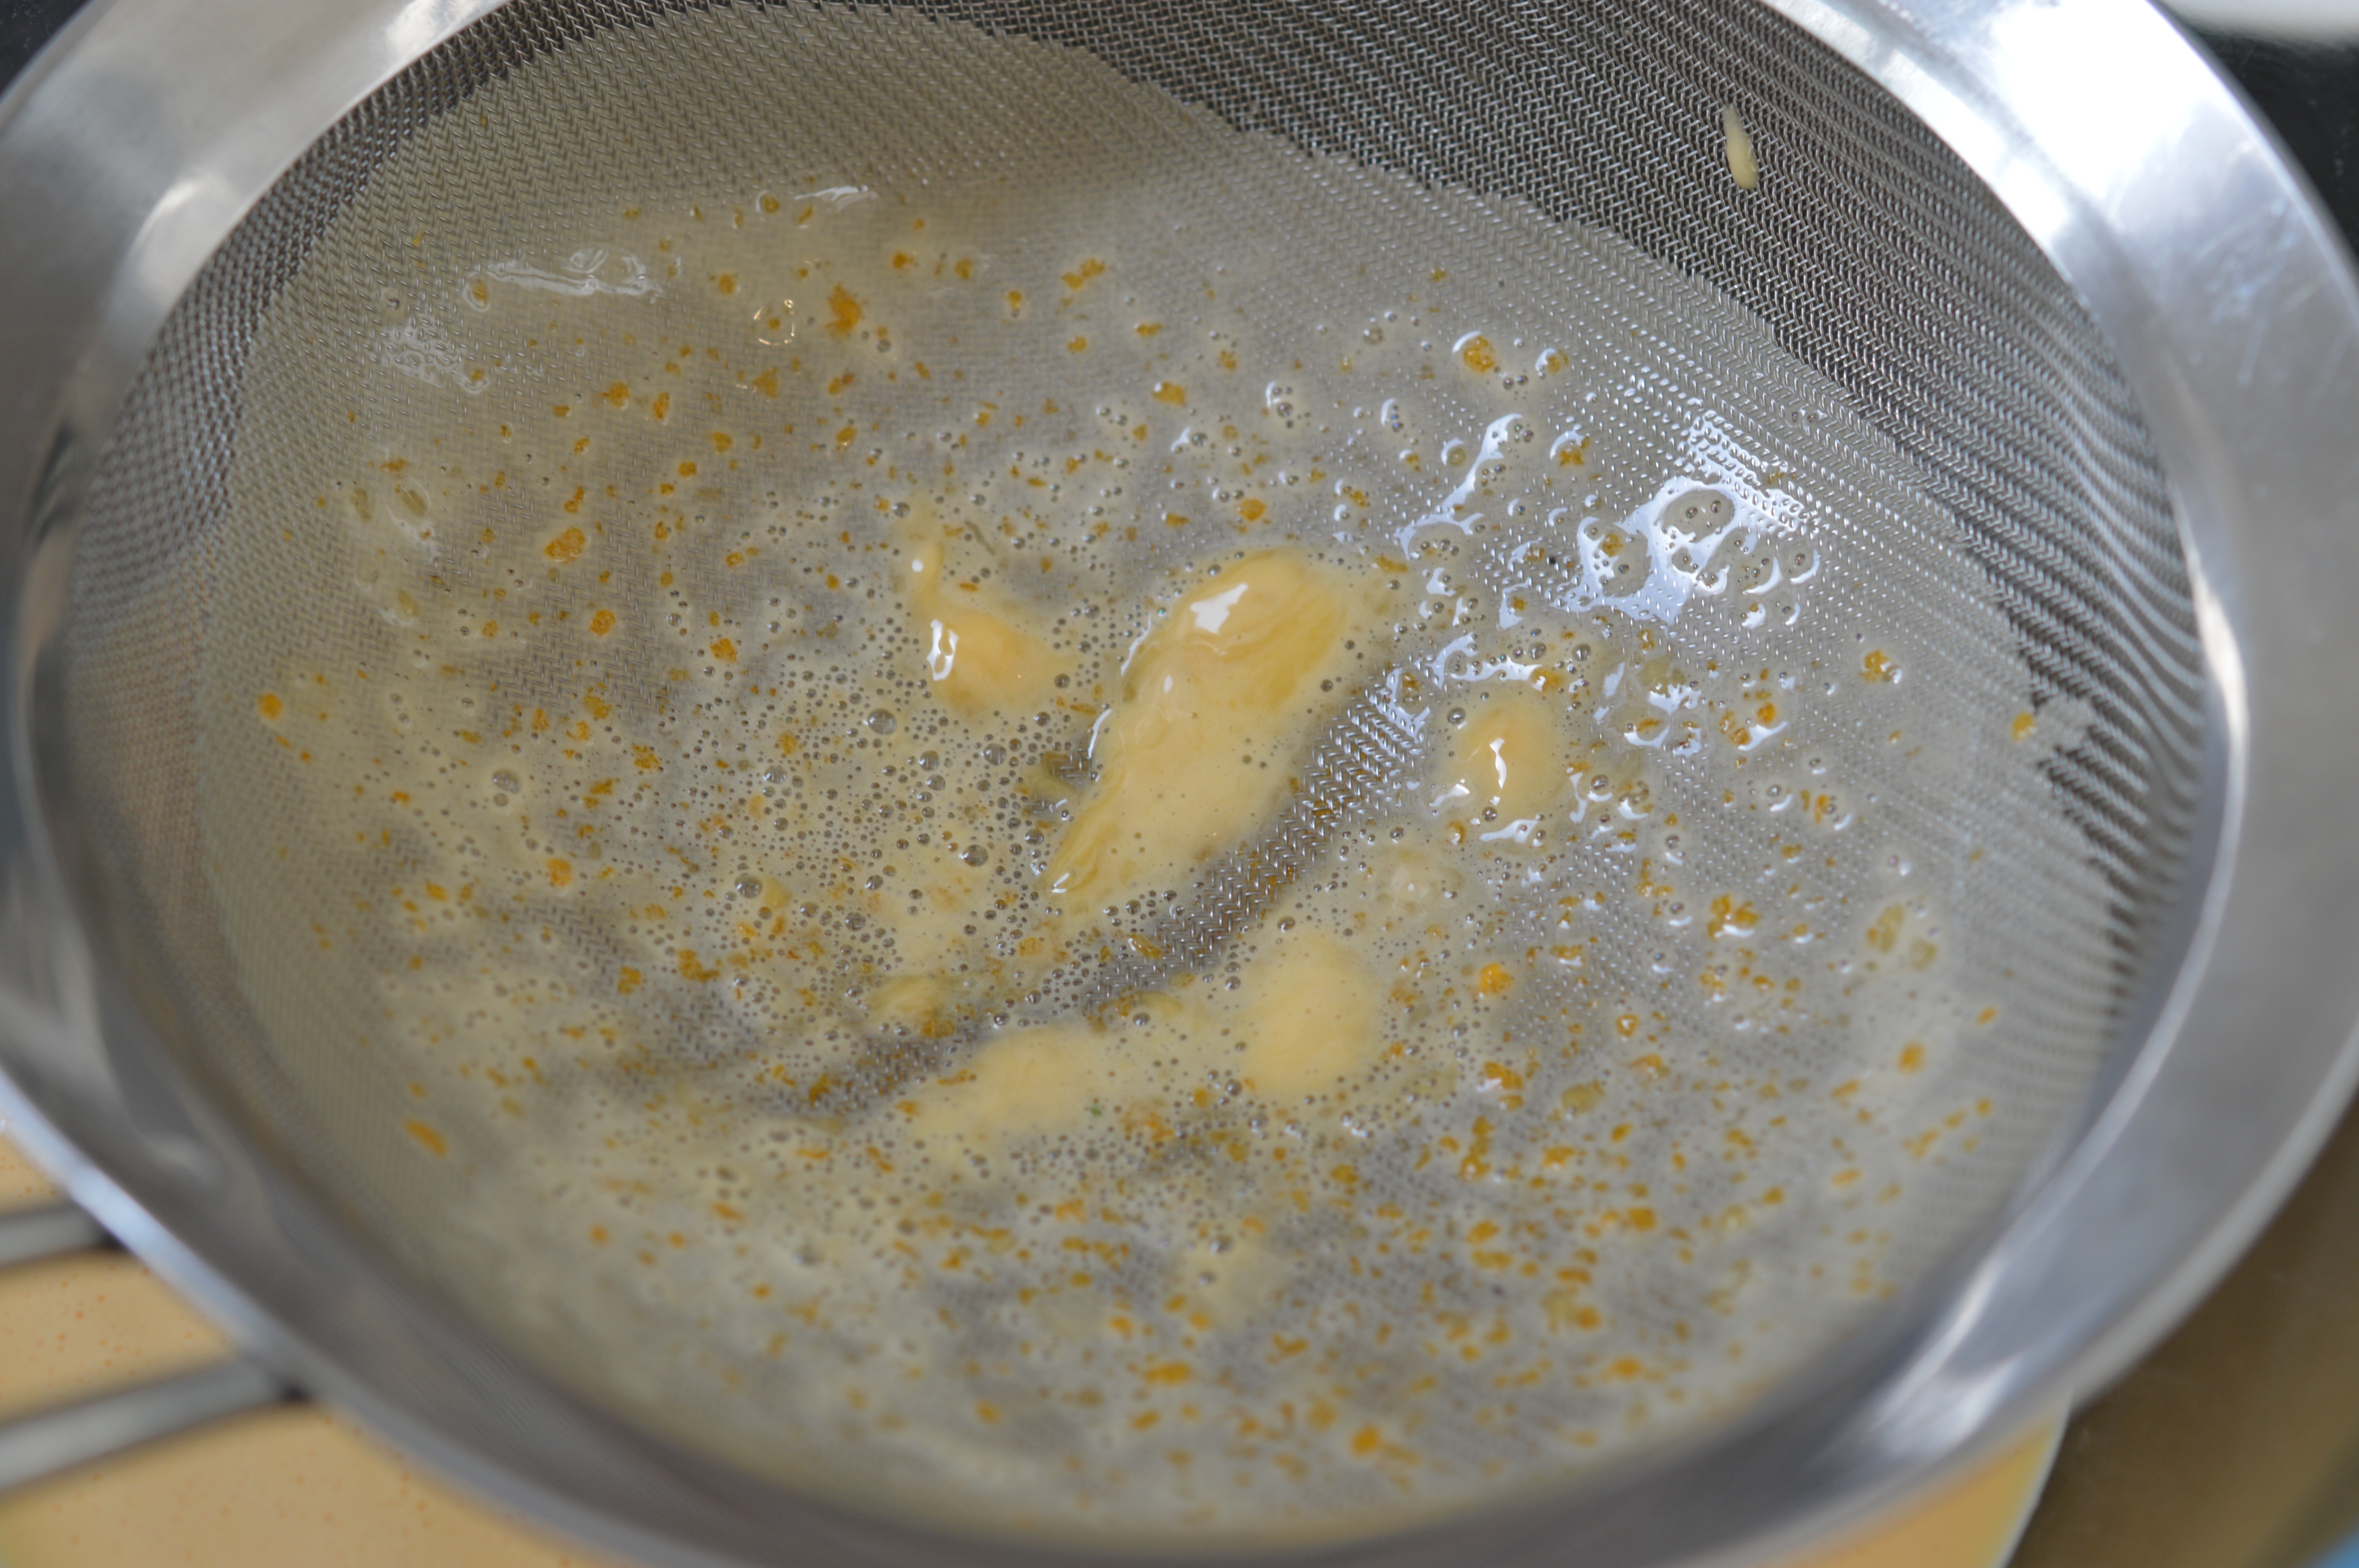
It is really important your cream cheese and eggs are at room temperature. So get them out at the very beginning. If you to try use fridge cold cream cheese you’ll never get a smooth mixture. The eggs are the ’emulsifier’ and if they’re cold they encourage your mixture to curdle.
Now the base. Until very recently I’d have been whizzing up oaty hobnobs or digestive biscuits in my food processor, but now … now I make my own. (I can hear you groan, but trust me …!) I promise it’s so easy and definitely worth it.
This epiphany came about when I happened across a recipe book called ‘The Pocket Bakery’ by Rose Prince. In there, page 204, there’s a recipe for ‘Ricotta Cheesecake with Roasted Peaches and Toasted Pinenuts’. She says, “Just to show you what a real cheesecake is, setting aside all those industrial versions, we want to encourage you to make your own biscuit base.” Where it not for the fact Rose Prince uses Stoates flour, as I do and which led me to think she might know a thing or two, I might never have taken the idea out of the steamy bathroom where I do my reading. (Bubblebath, glass of wine, candles .. no-one can get me …)
I’m totally converted. Firstly, it tastes better. Secondly, it feels emotionally ‘right’ not to be pouring butter into something I otherwise avoid eating. And, thirdly, there’s no temptation to finish the packet which, I admit, is something I’ve been known to do in times of stress.
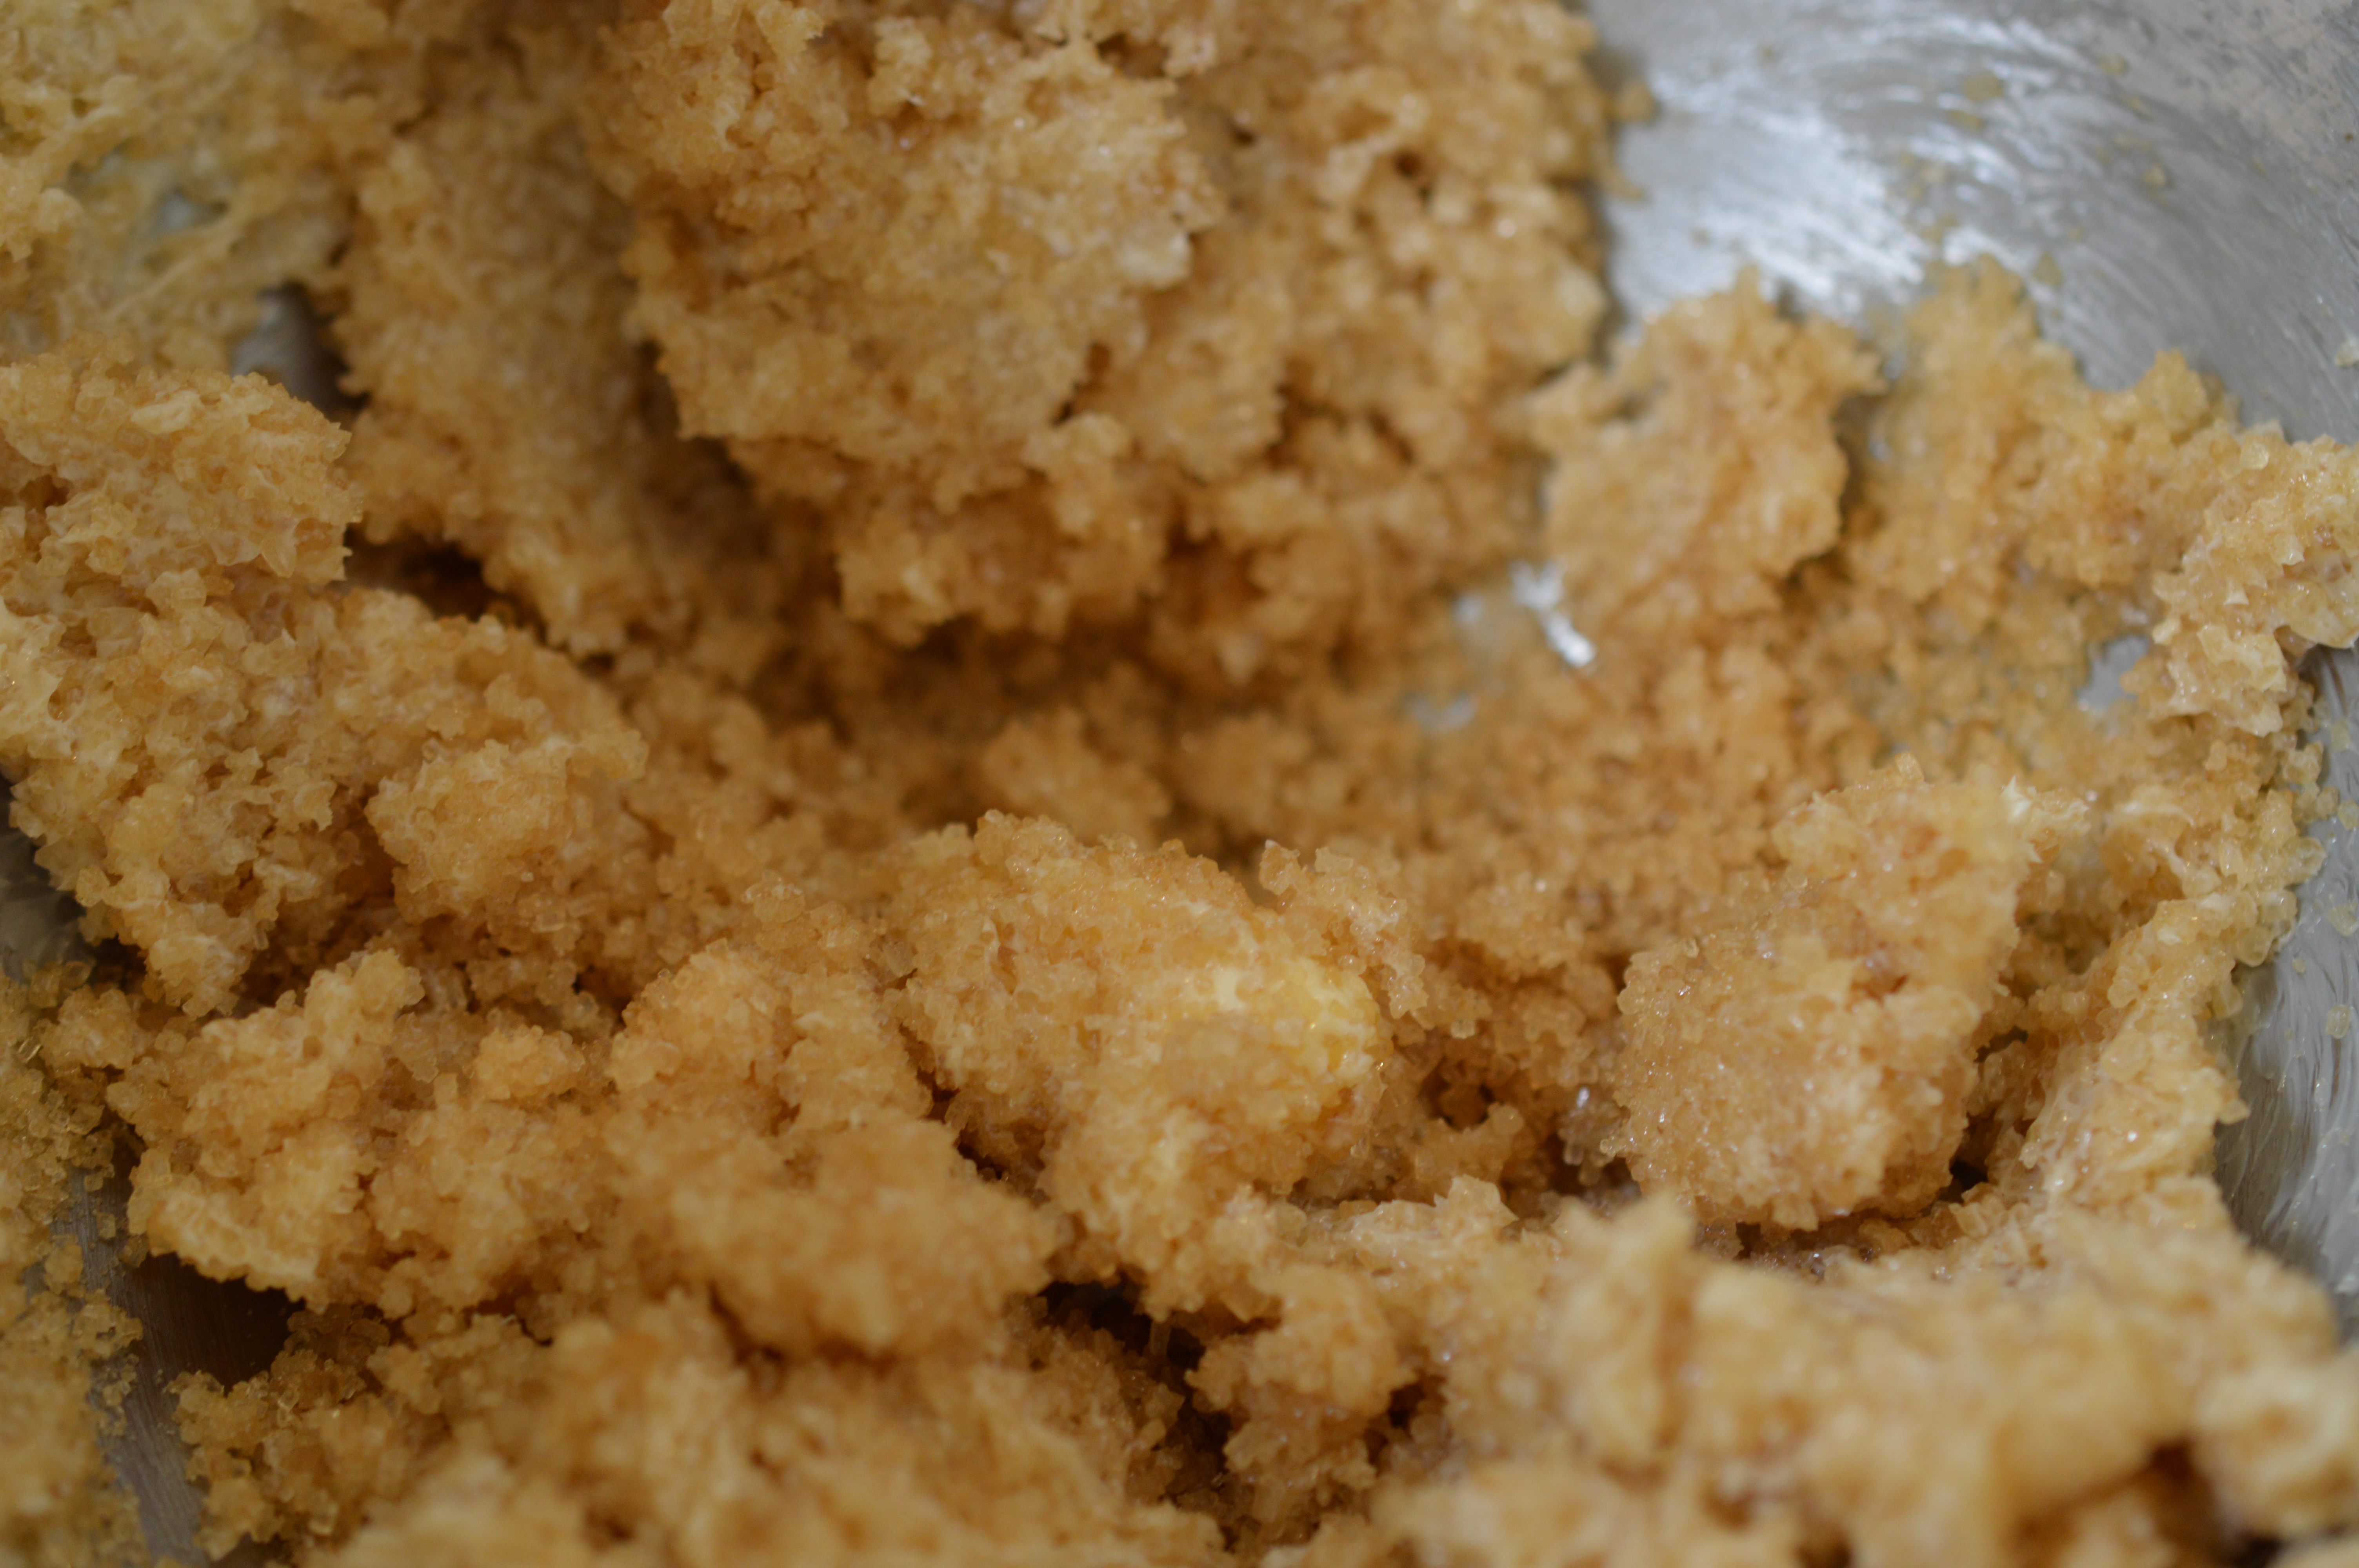
So, put 80g/2¾ of softened butter and 165g/6oz Demerara sugar in a bowl and mix. Rose Prince states mix until it is ‘pale and light textured’. I find this butter/sugar mix needs frequent scraping down of the bowl sides and I never reach anything which I’d describe as ‘light textured’.
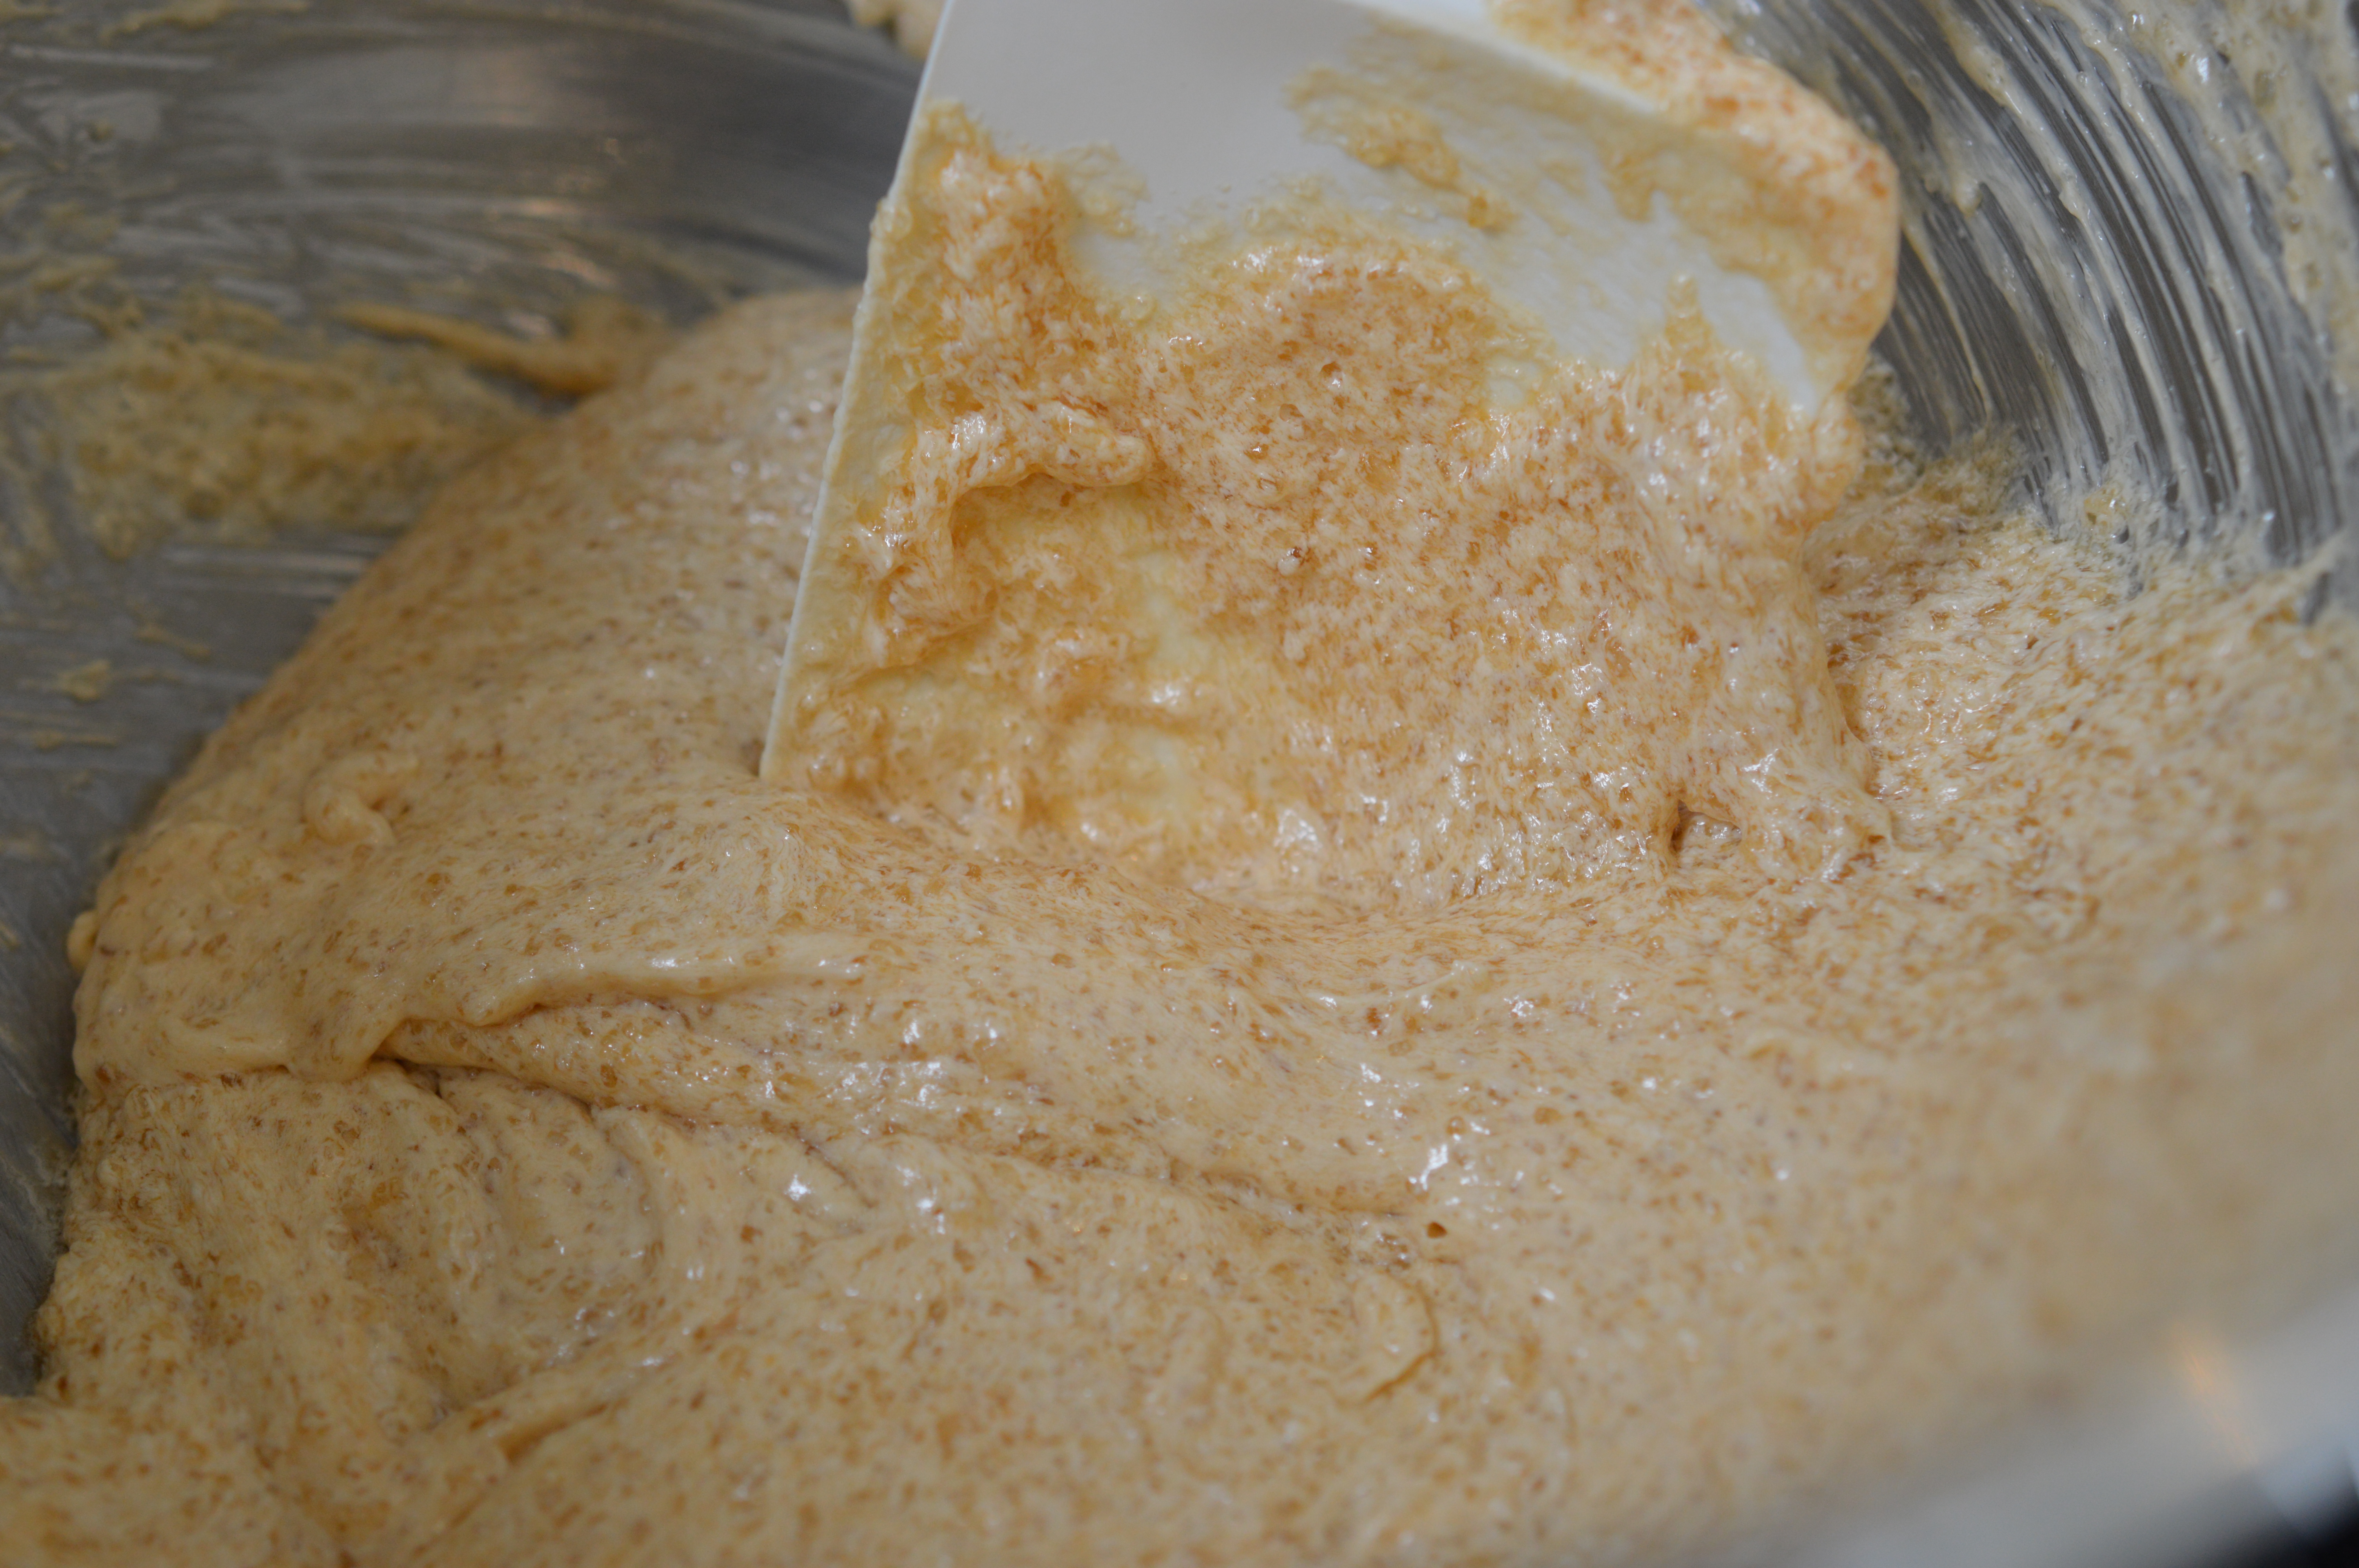
Add the egg, vanilla extract and stir. Then the flour, baking powder and salt. Gather everything into a soft dough, wrap in cling film and pop into the fridge for 30 minutes or so. Pre-heat the oven to 180ºC/Gas mark 4, 350ºF (or do nothing, while feeling smug you cook on an aga) and have a cup of tea.
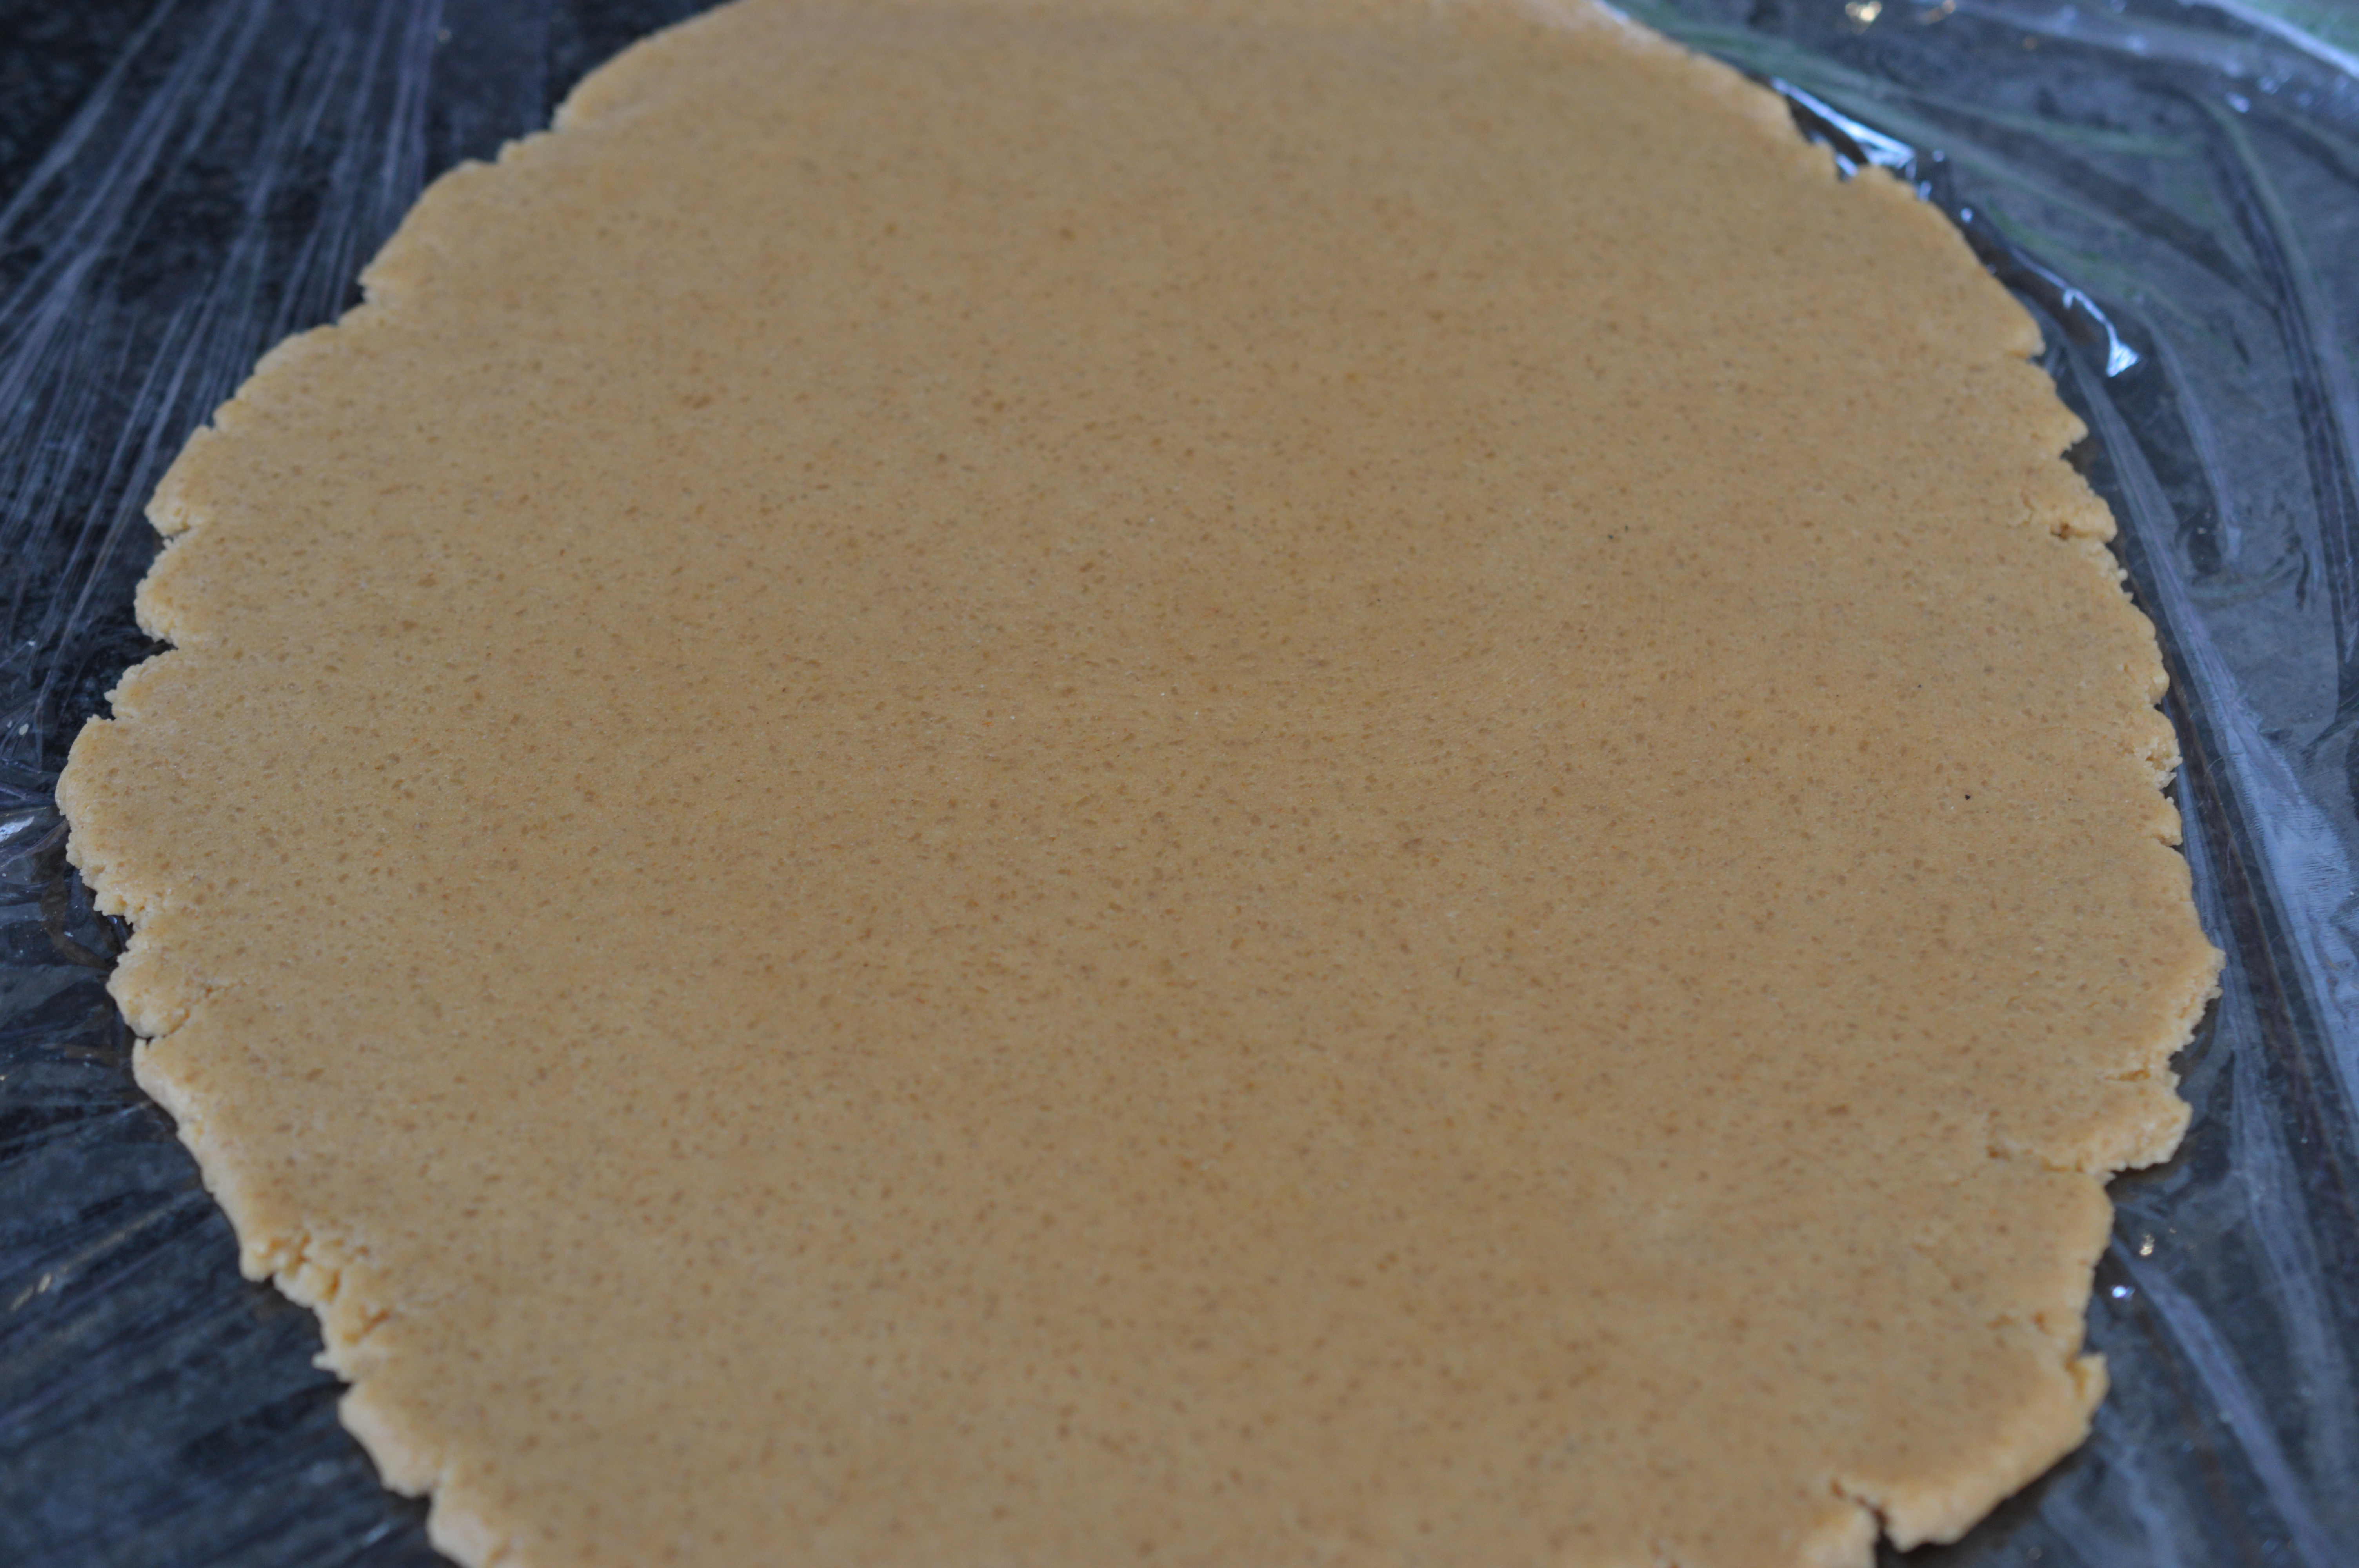
Time in the fridge makes the dough ‘roll-able’, but it’s a tricky thing to transfer to the baking sheet. I roll between sheets of cling film which helps. Roll to about ½cm/¼” thick, and place on a baking sheet lined with bake-o-glide or baking parchment.
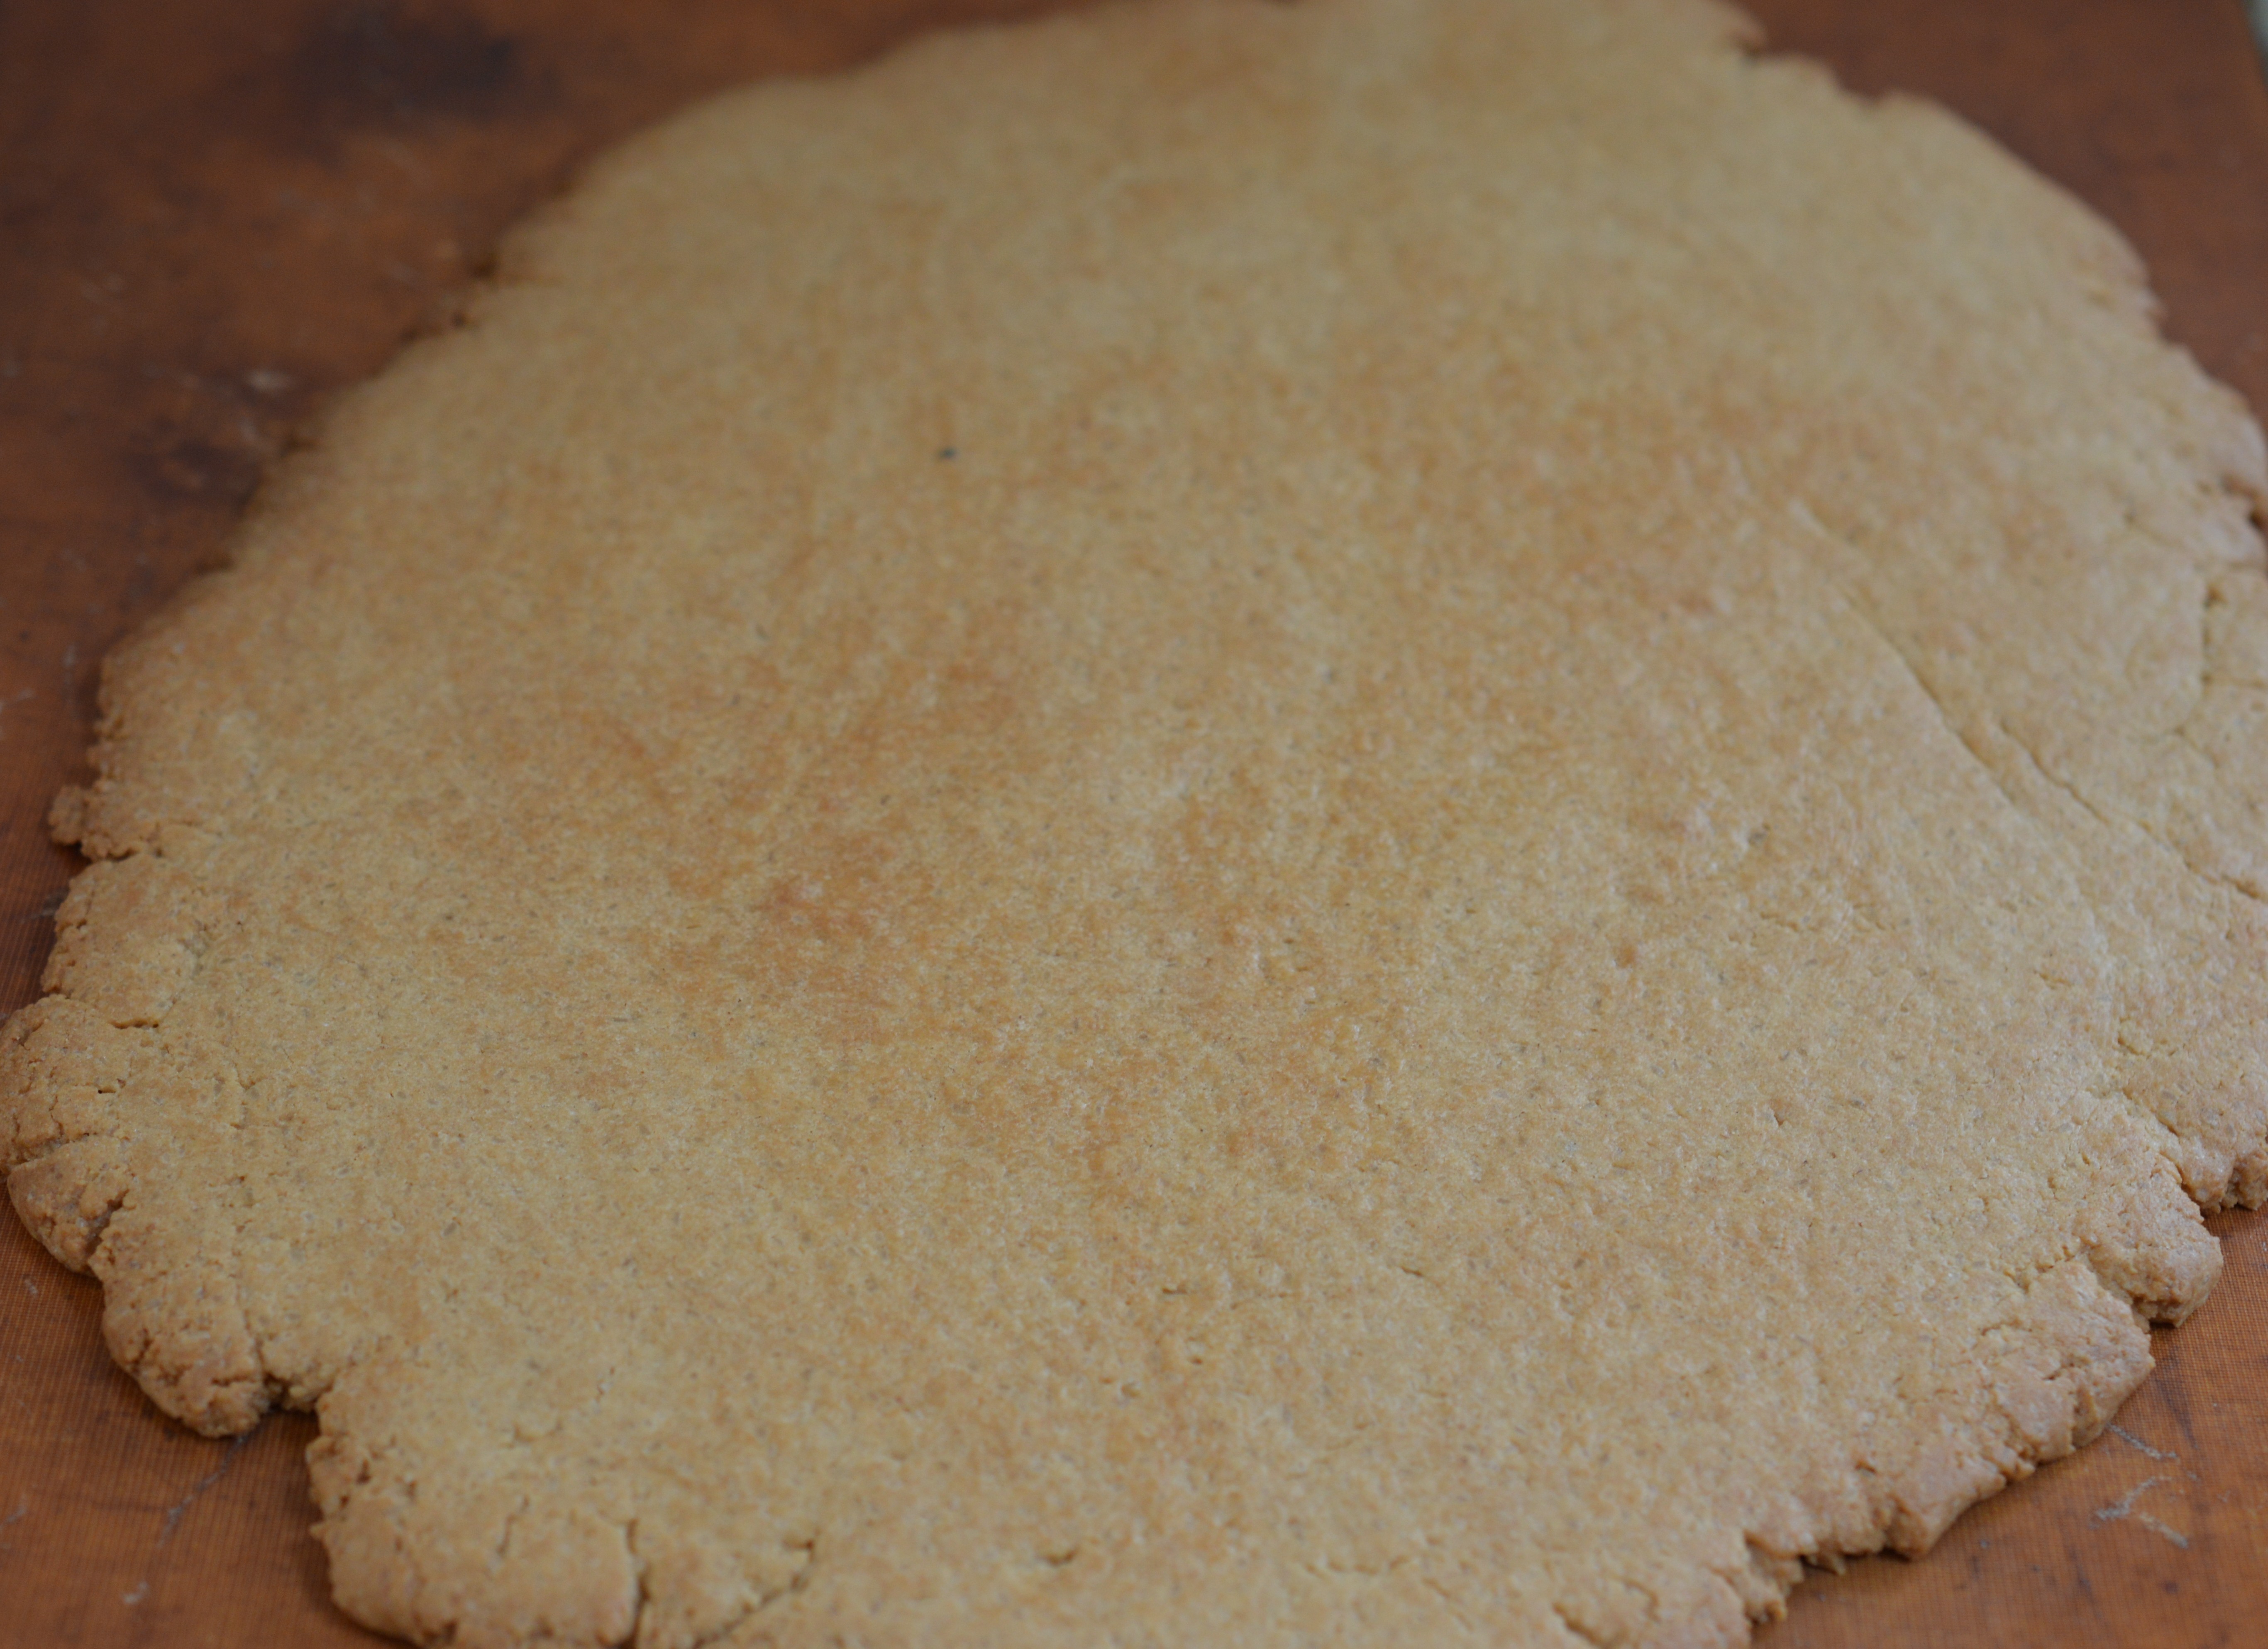
Bake for 15 minutes. (Aga: I cook on the top set of runners in the Baking Oven for the same time.) Then, leave to cool.
While that’s happening, prepare the tin. Ideally, you need a springform tin which measures 23cm/9″ across the bottom … You will immediately notice there’s a problem with that – as 23cm isn’t the same as 9″. Anyone else frustrated by inconsistent tin sizes???
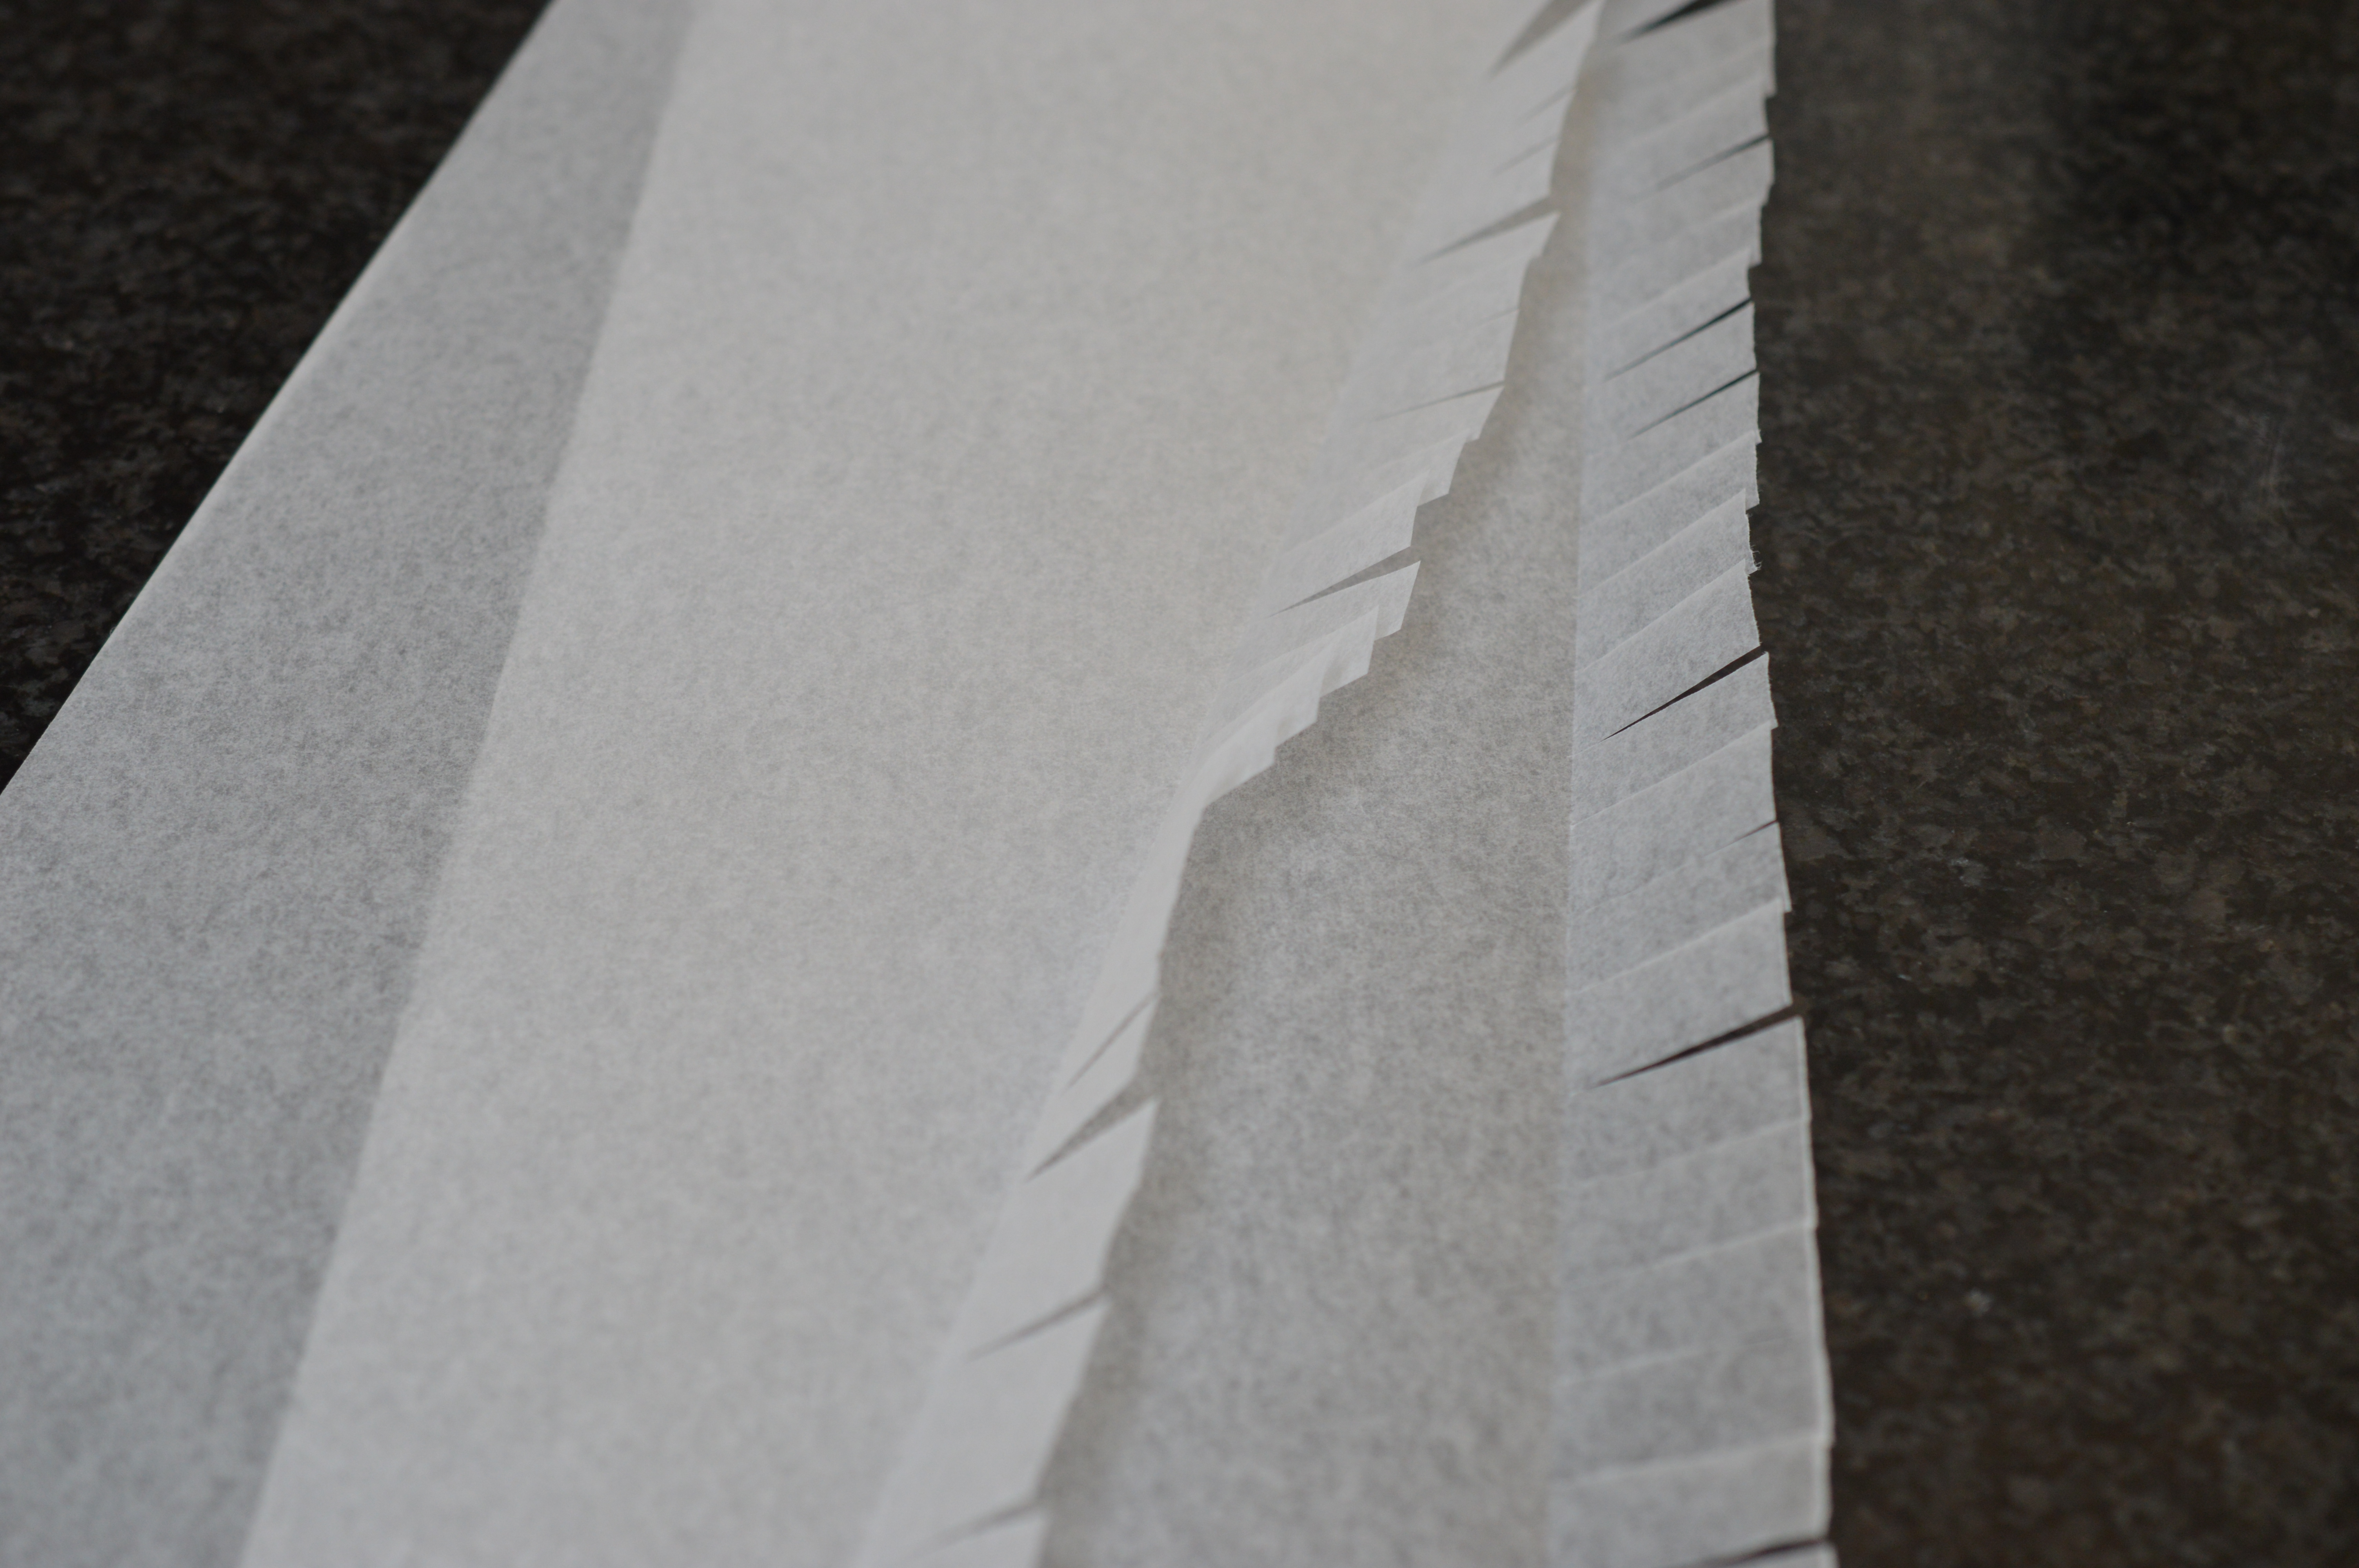
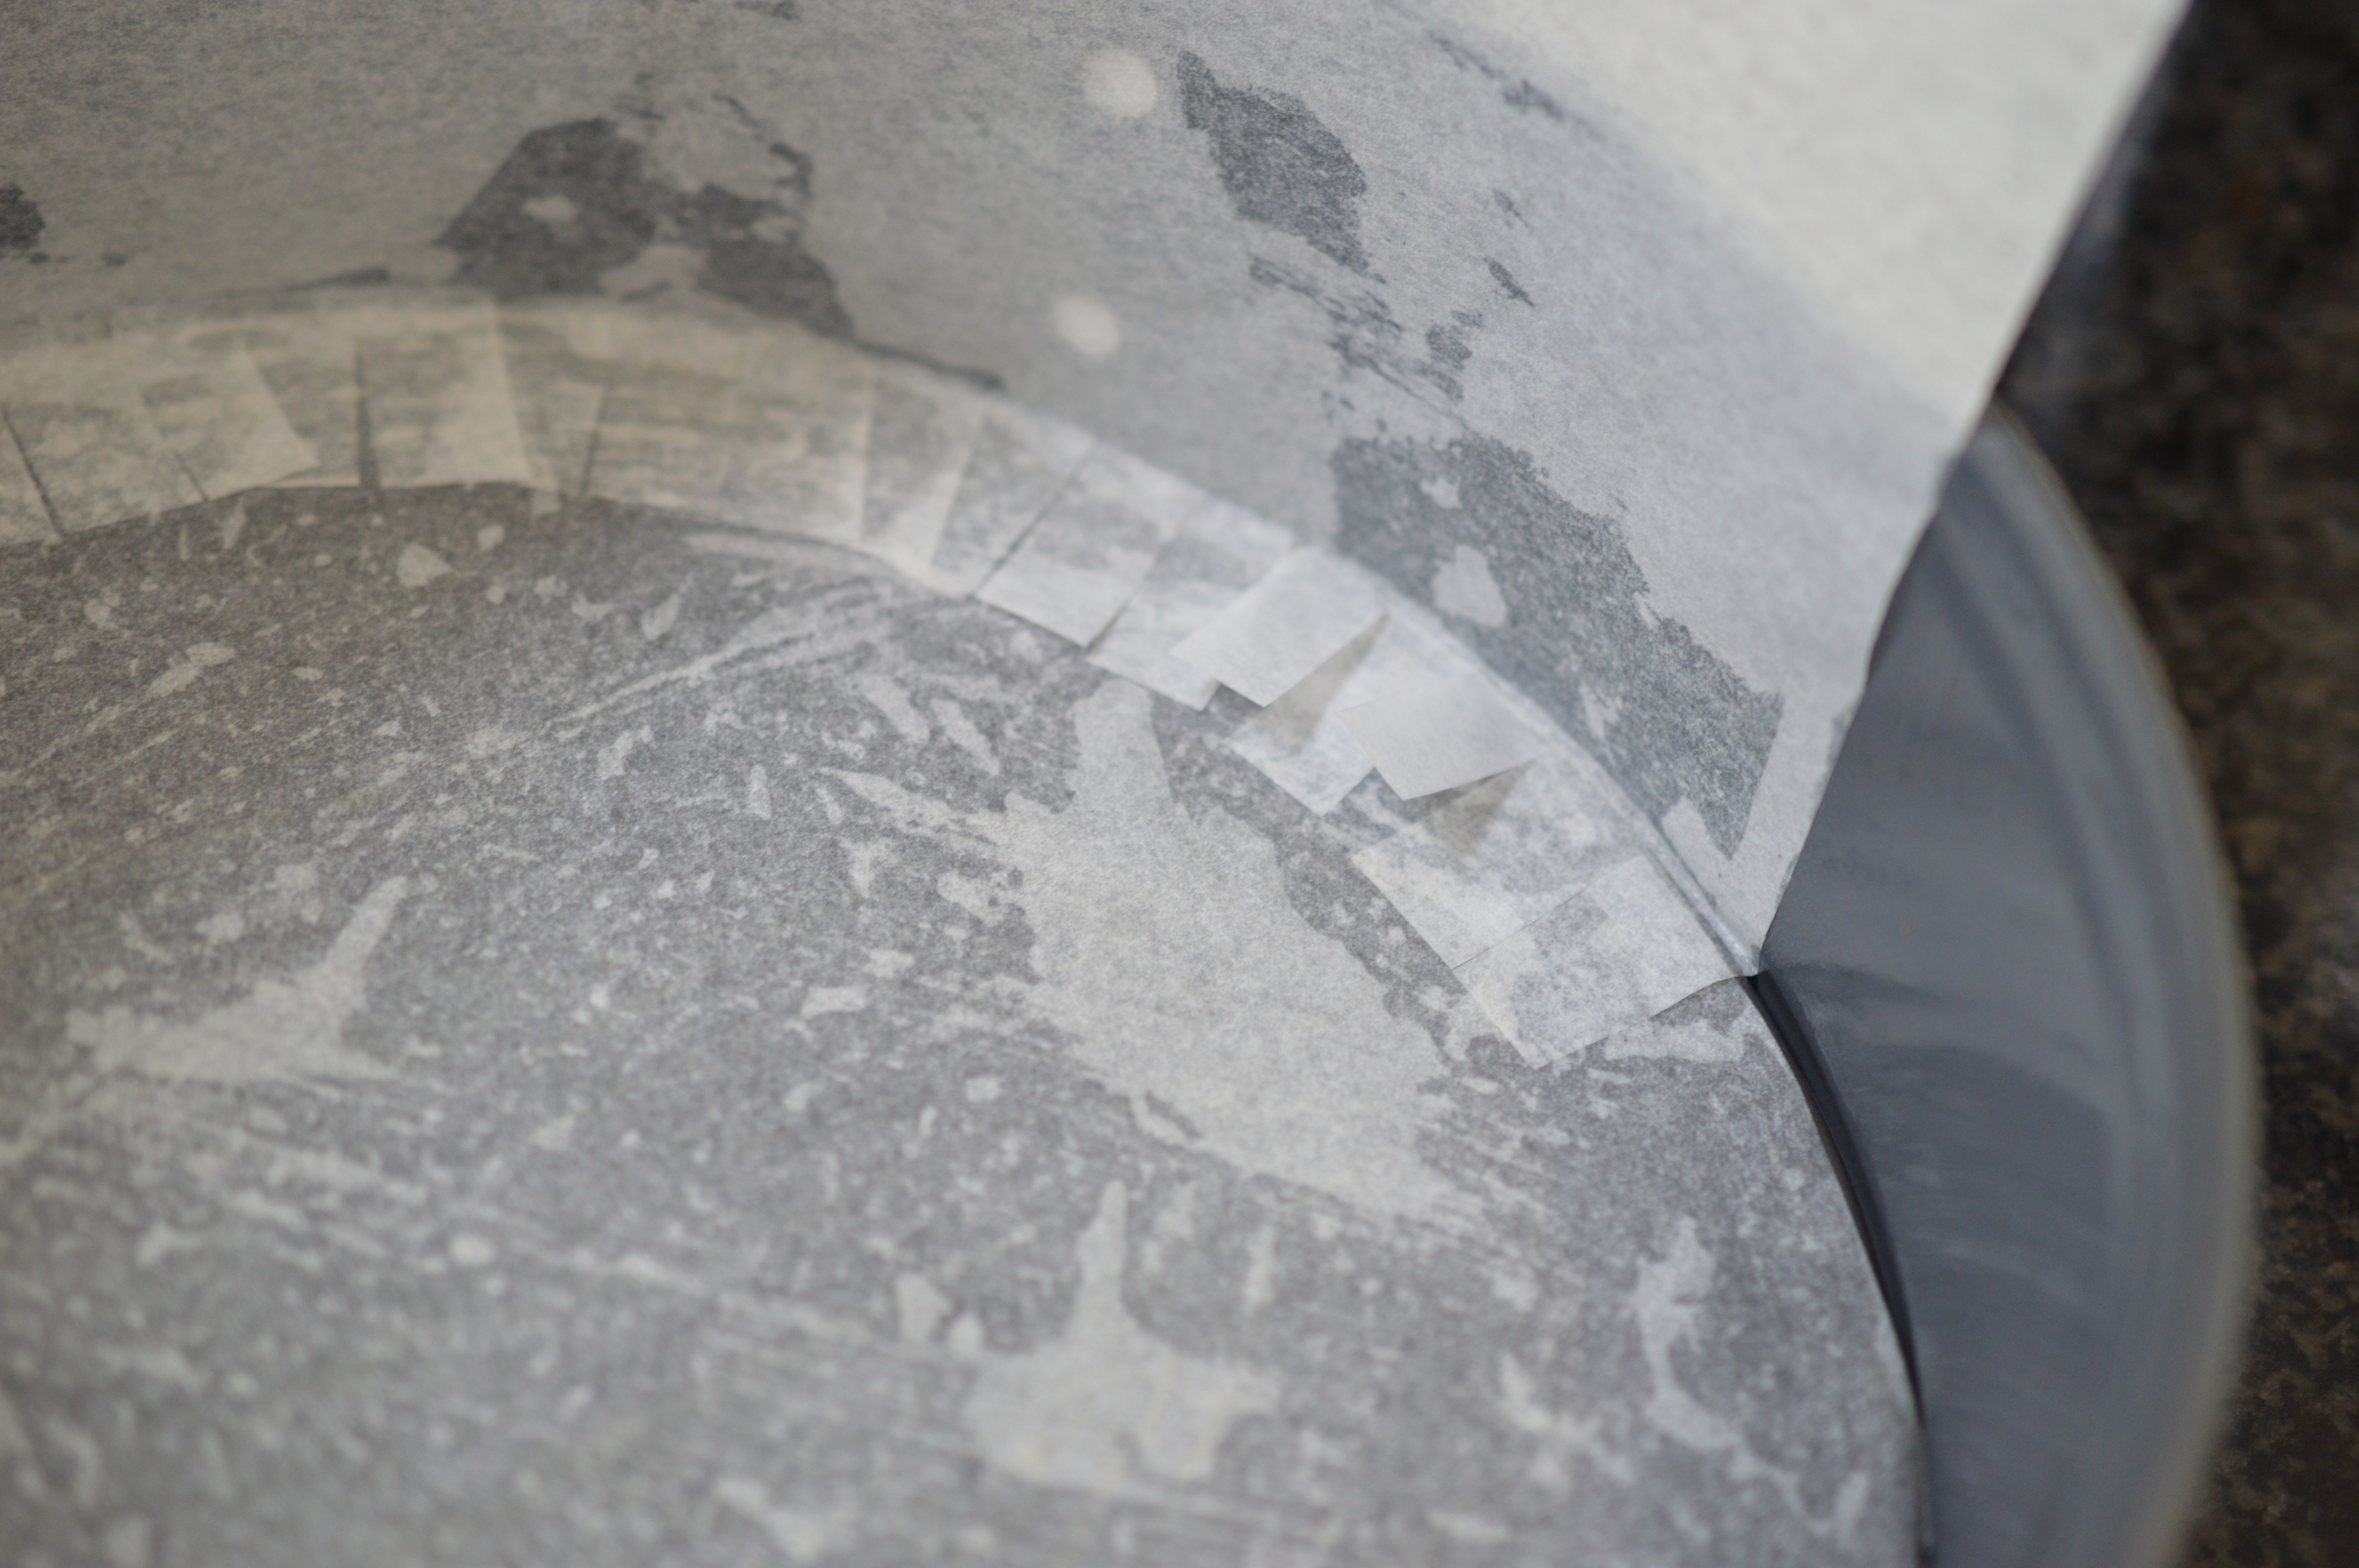
Springform is the best choice because you can unclip the sides to release the cheesecake without risking too much damage. (My tin actually measures 22.5cm, btw, and is a Kaiser La Forme plus.) Cut strips of baking parchment a good 6cm/2″ deeper than the height of the tin and fold up a narrow strip and cut up to the line. This is so it will lay smoothly round a curve.
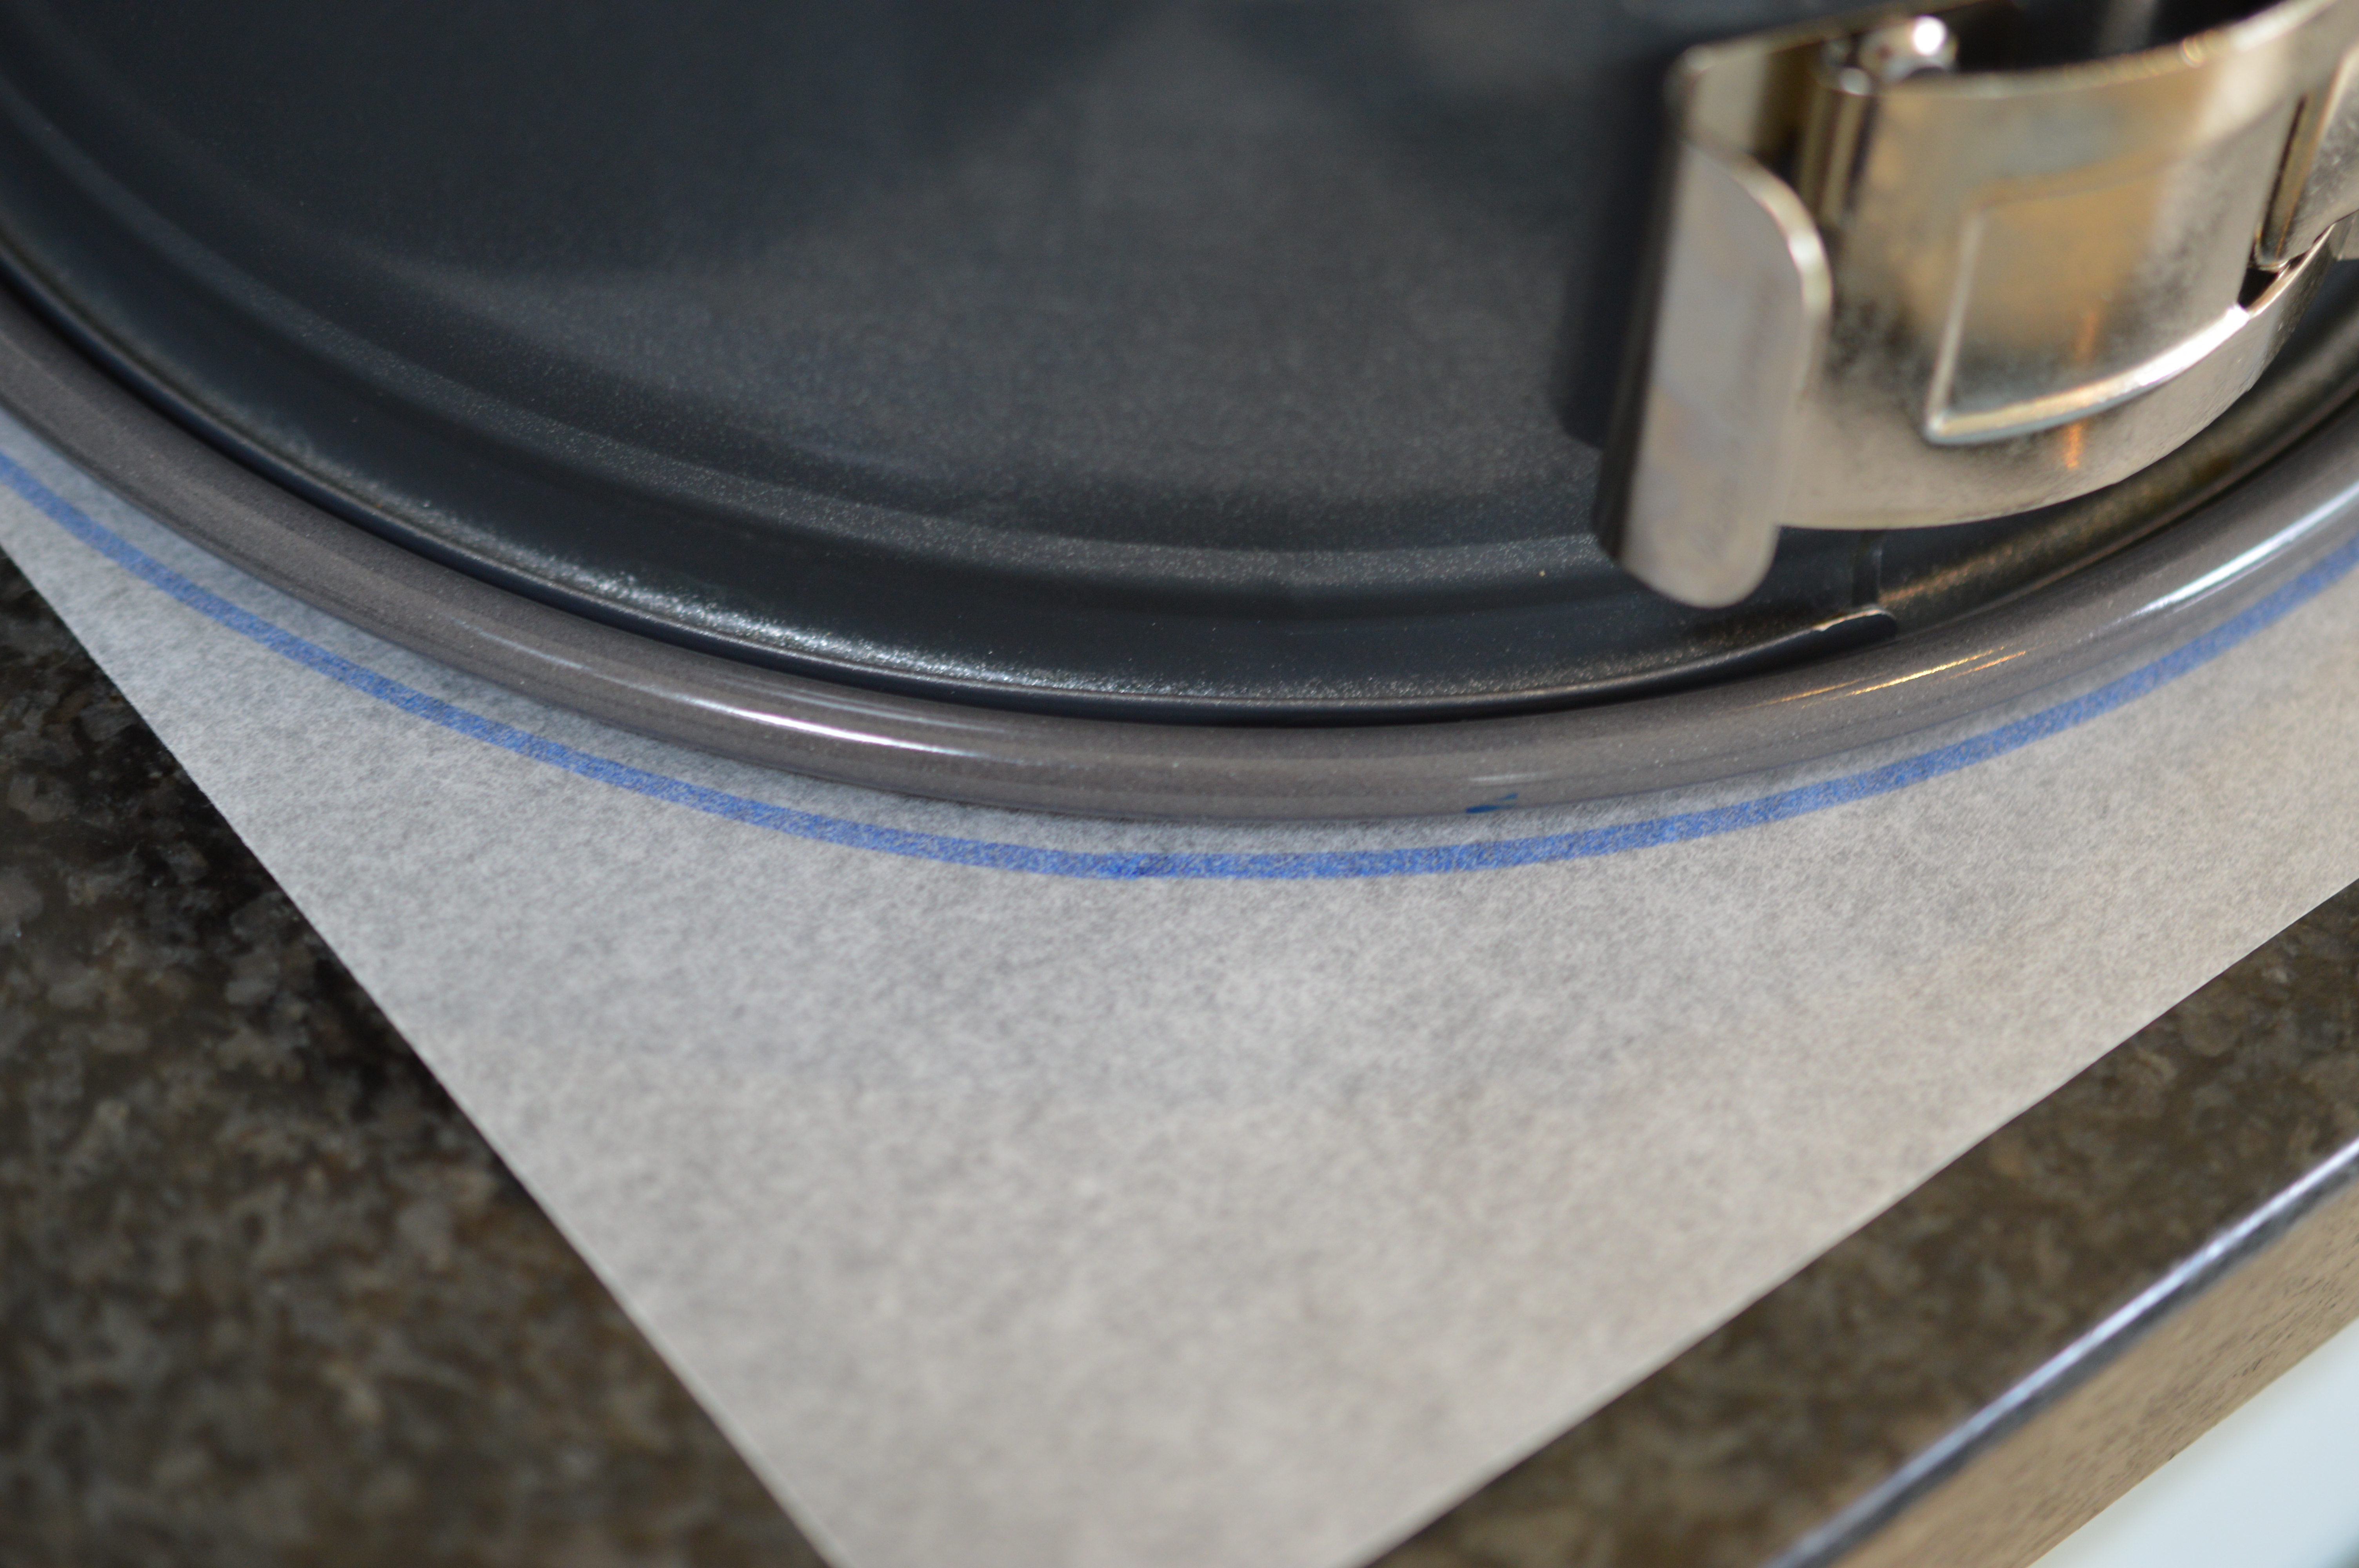
Draw around the base of the tin. Twice. Cut out the circles.
The downside to many springform cake pans is that they have an internal lip which makes getting anything off the base difficult. My Kaiser springform doesn’t have that lip which is a plus, but the trade-off for the completely flat base is the lip is outside the side. So I now have two circles of baking parchment larger than I need. I place them into the tin and mark a score line with my nail around the base, then cut around that line which leaves me with two accurate paper circles.
Grease thoroughly. I brush on melted butter. Thoroughly buttering the tin isn’t just about getting the cheesecake out at the end, it’s also about avoiding cracks across the top. You want your mixture to rise evenly and gently pull away from the sides without pressure put on that top surface.
Place one of the parchment circles in the base and then line the sides with the scissored strips. Brush with butter. It’s the glue that keeps the paper in place.
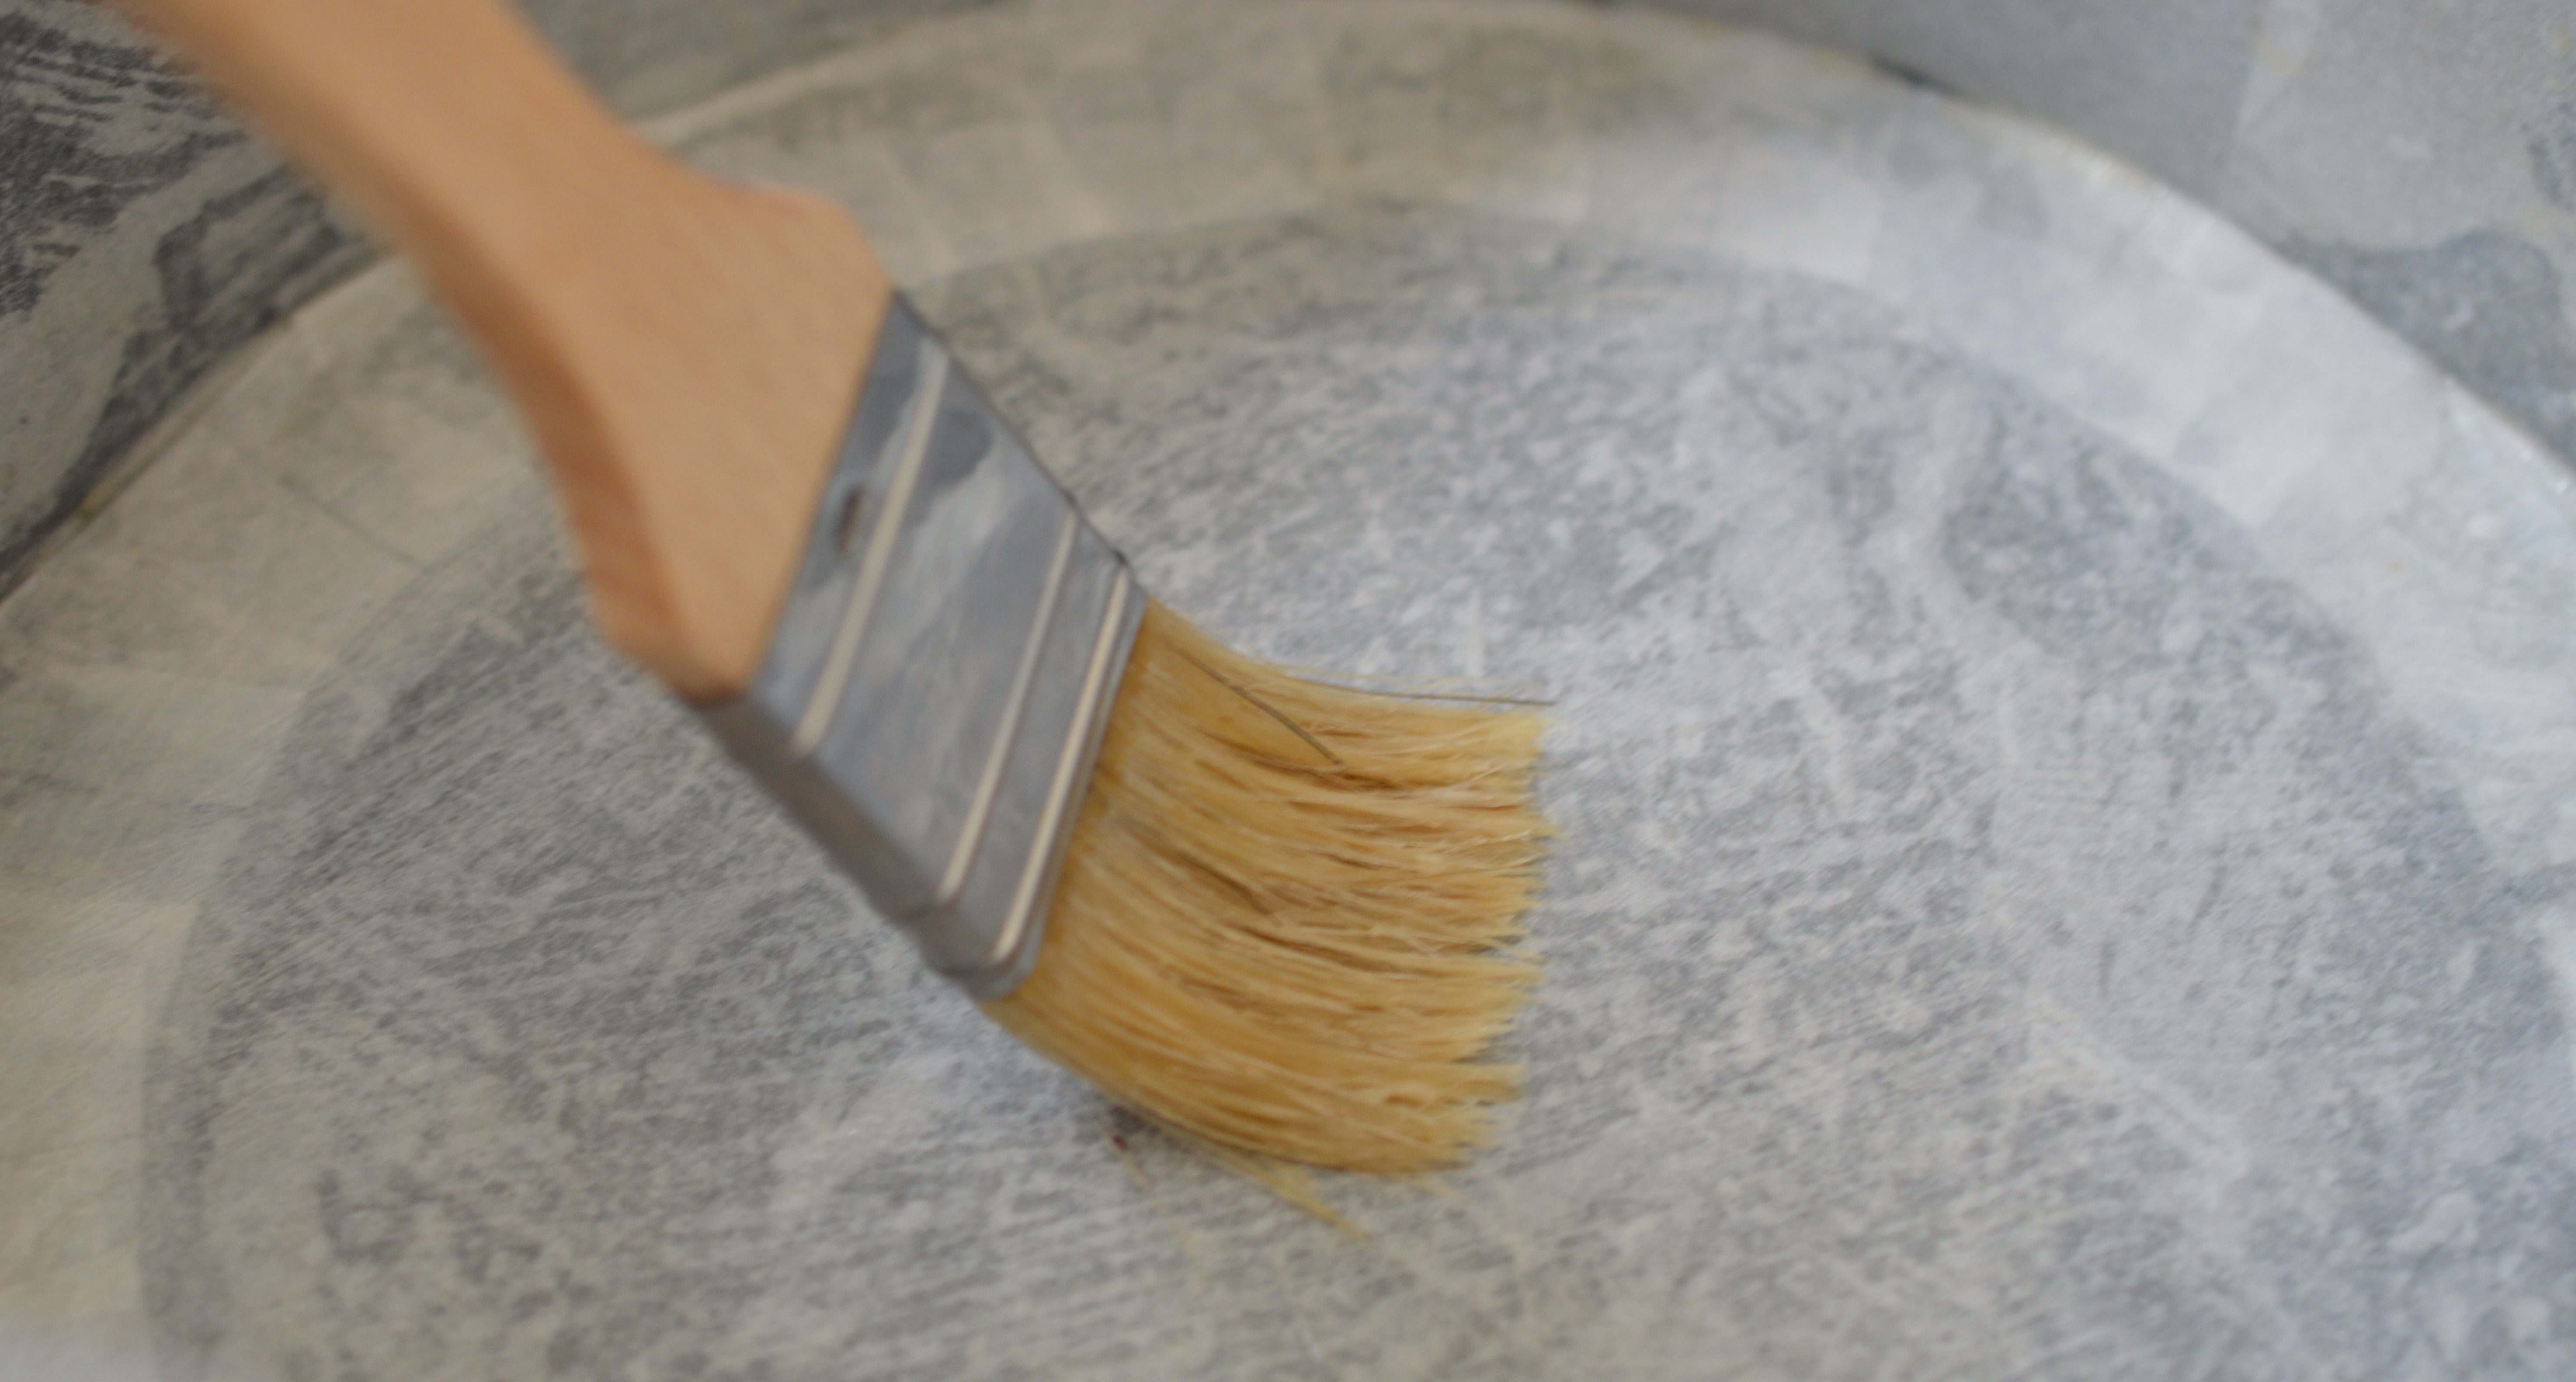
Finally, top with the second circle. Brush with butter. That’s the tin ready.
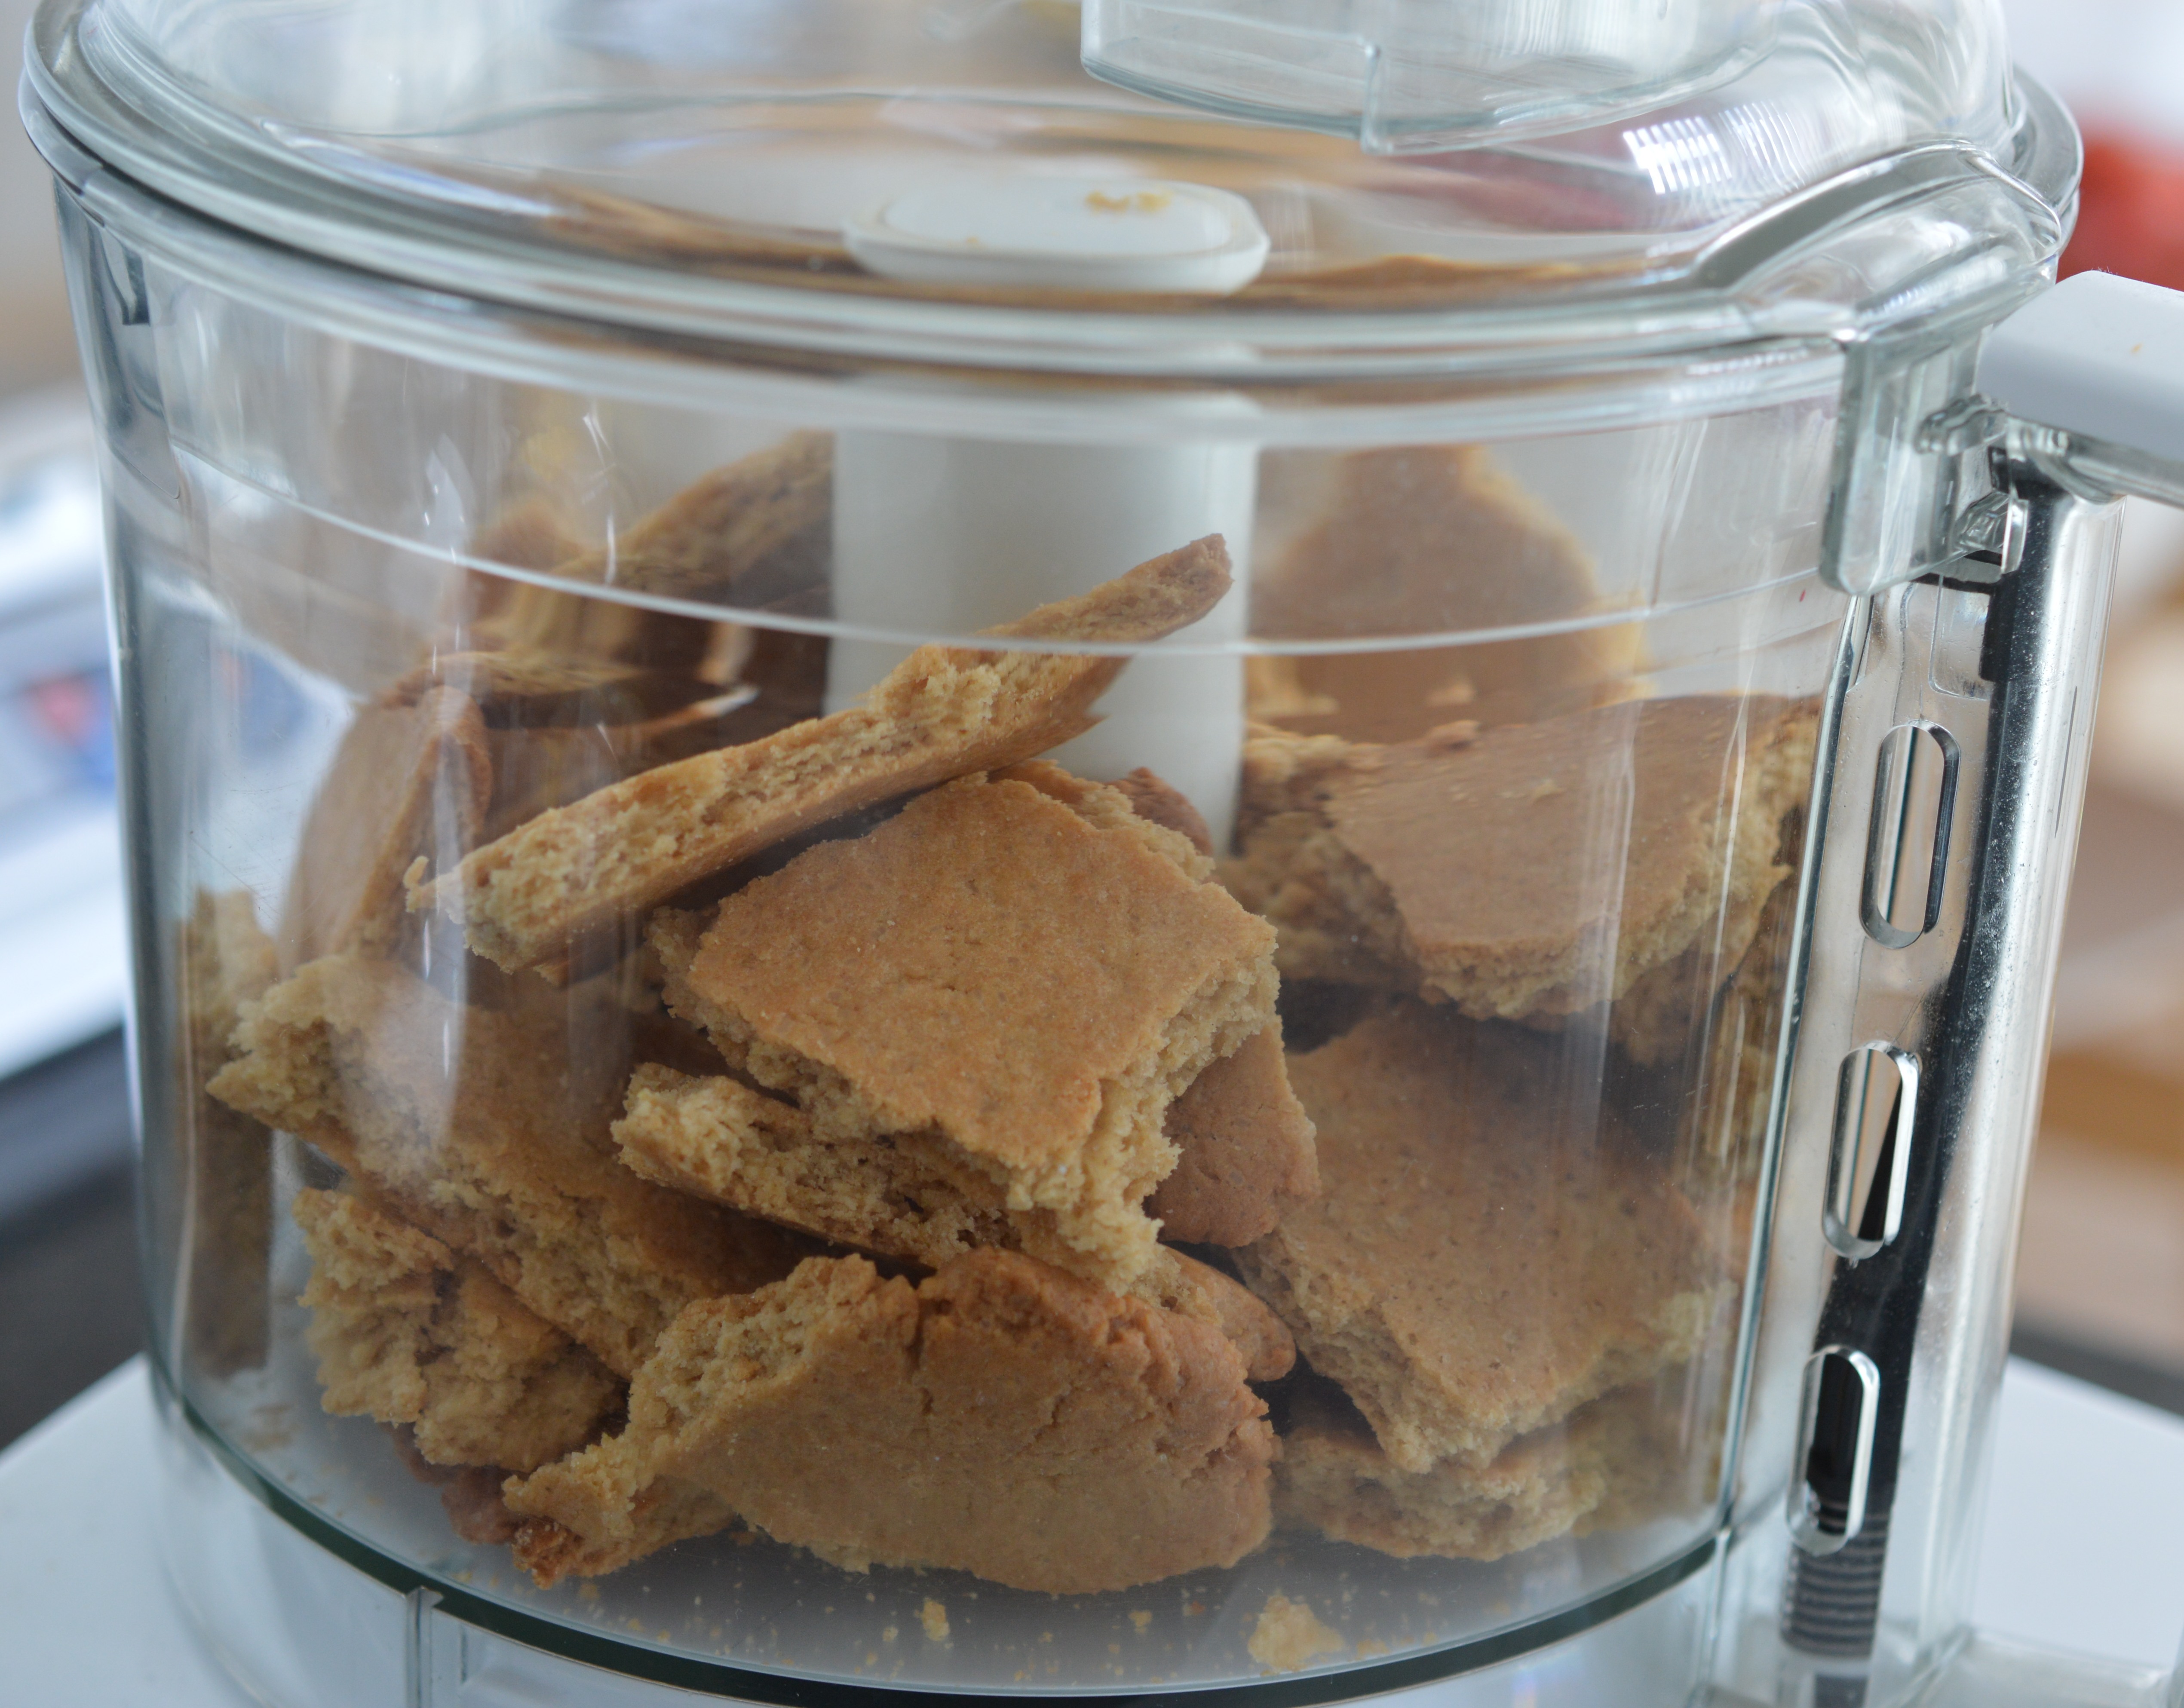
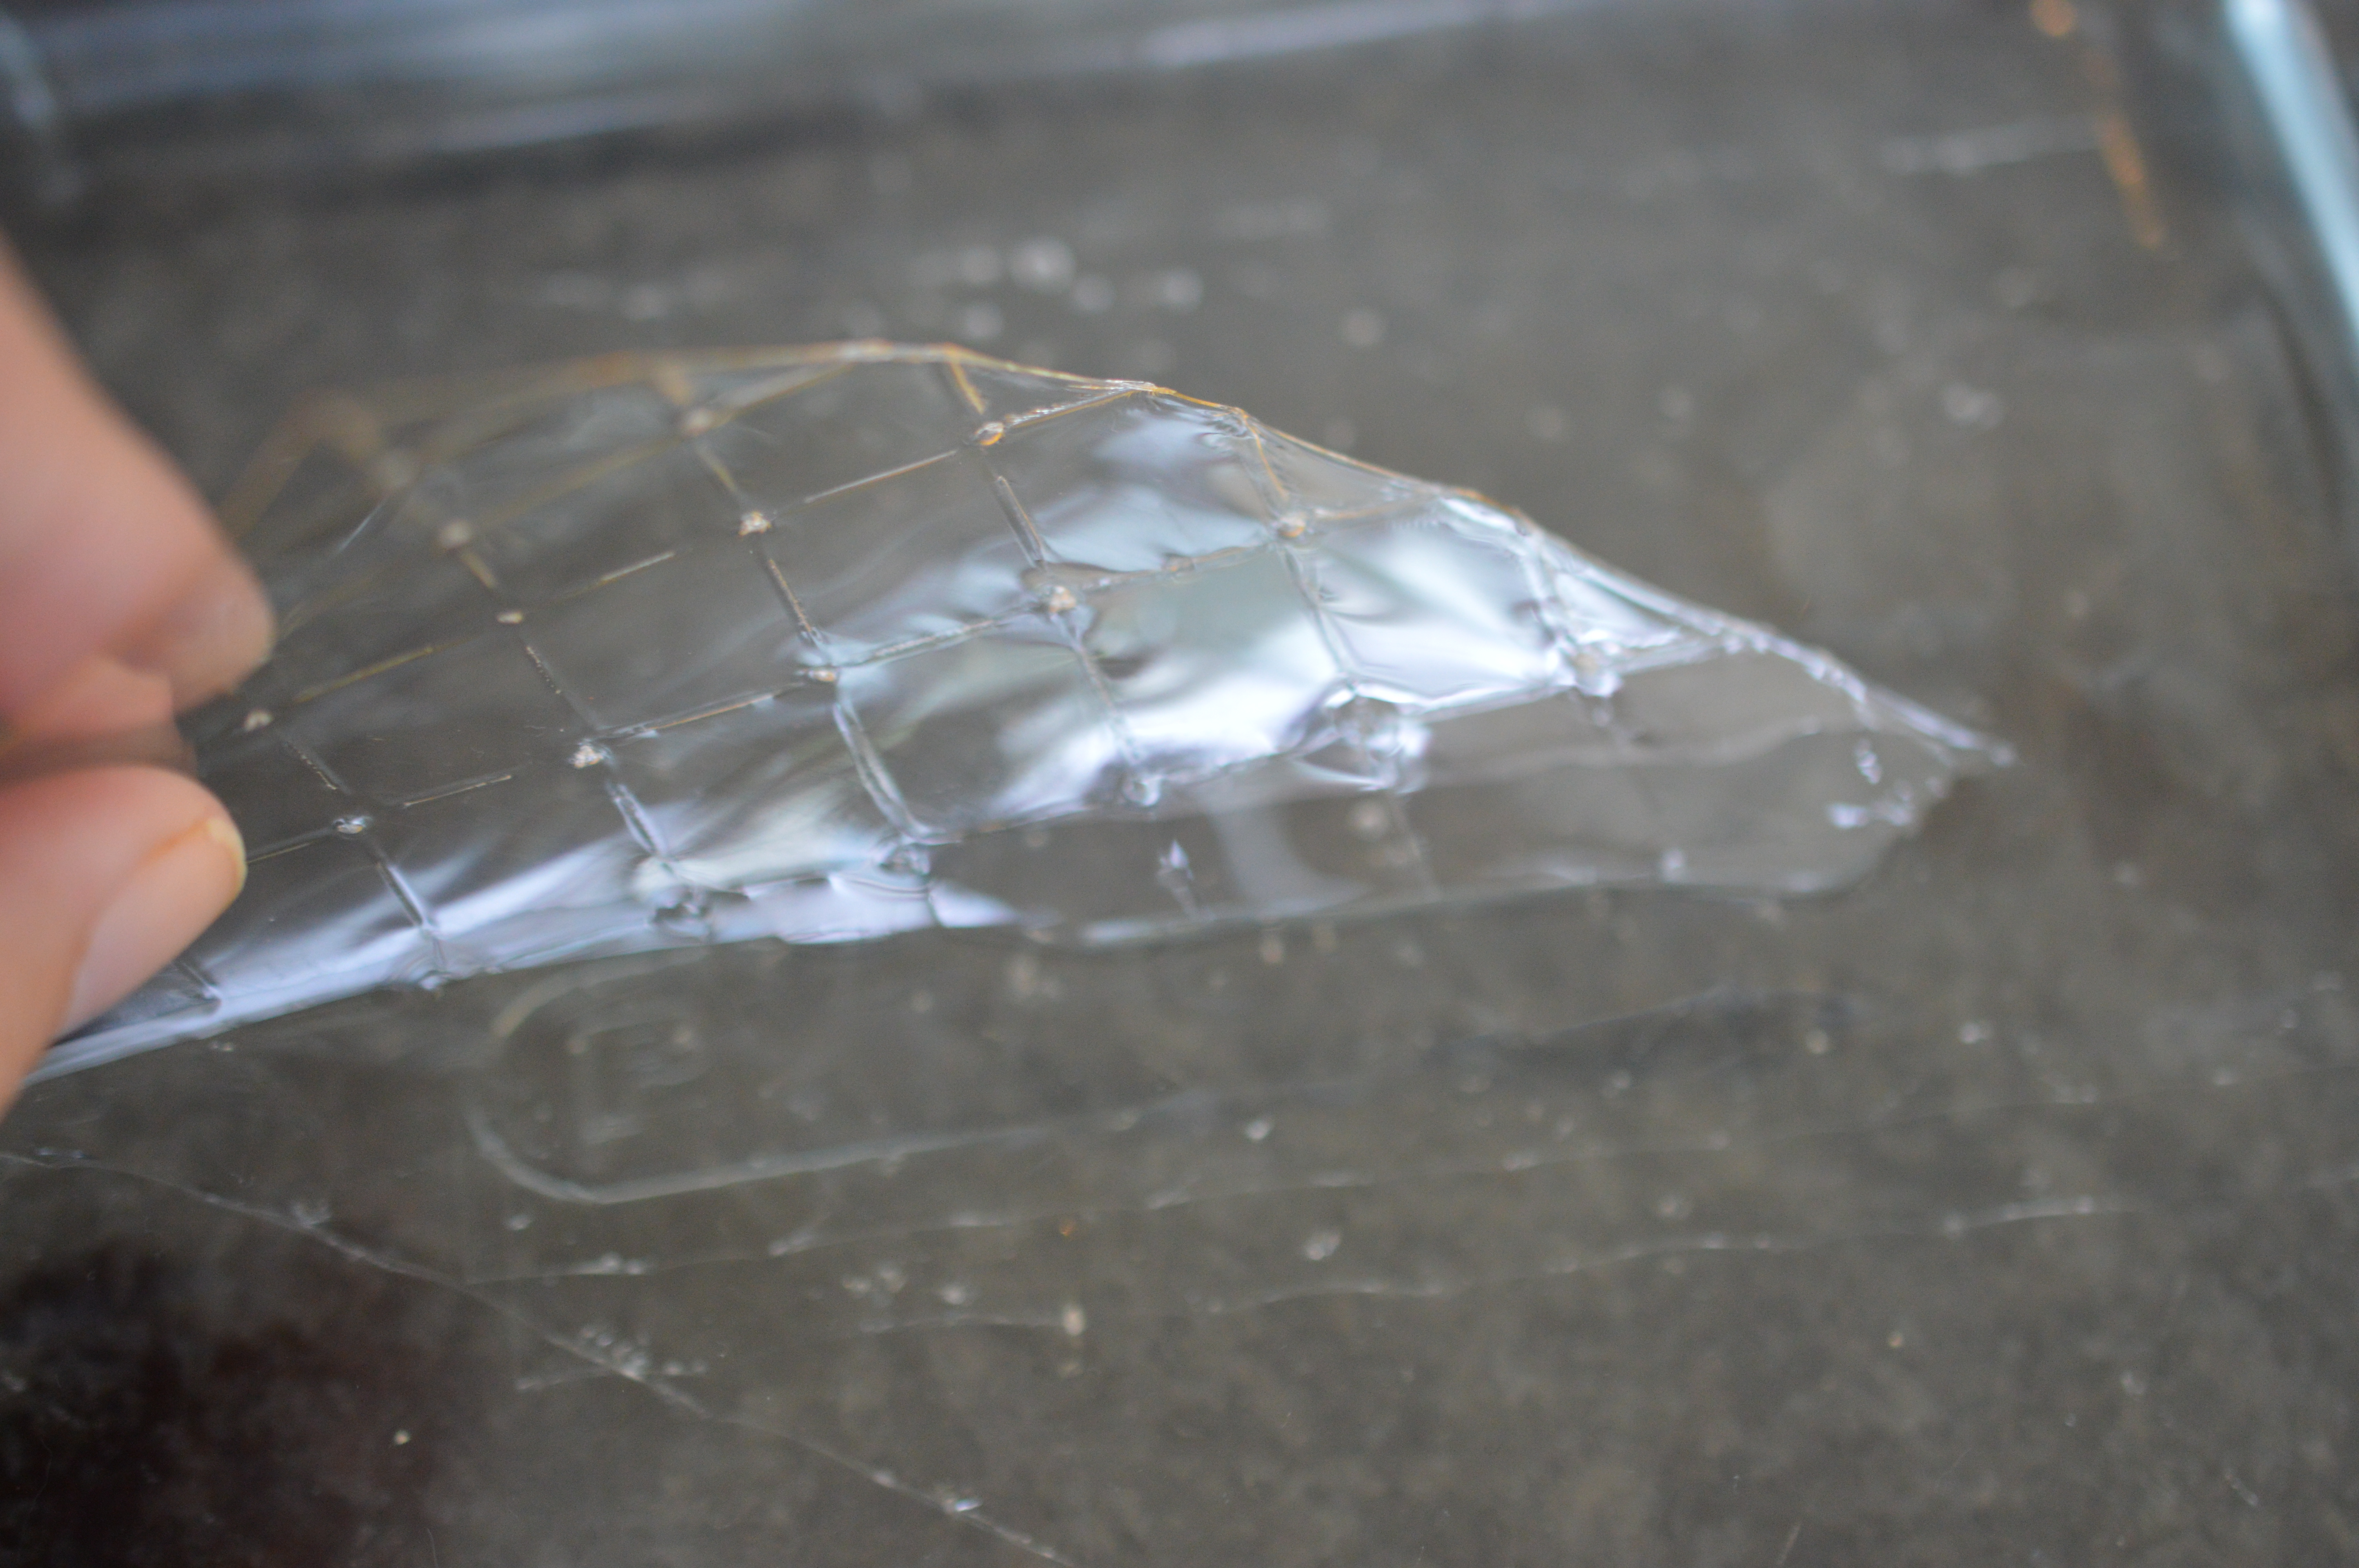
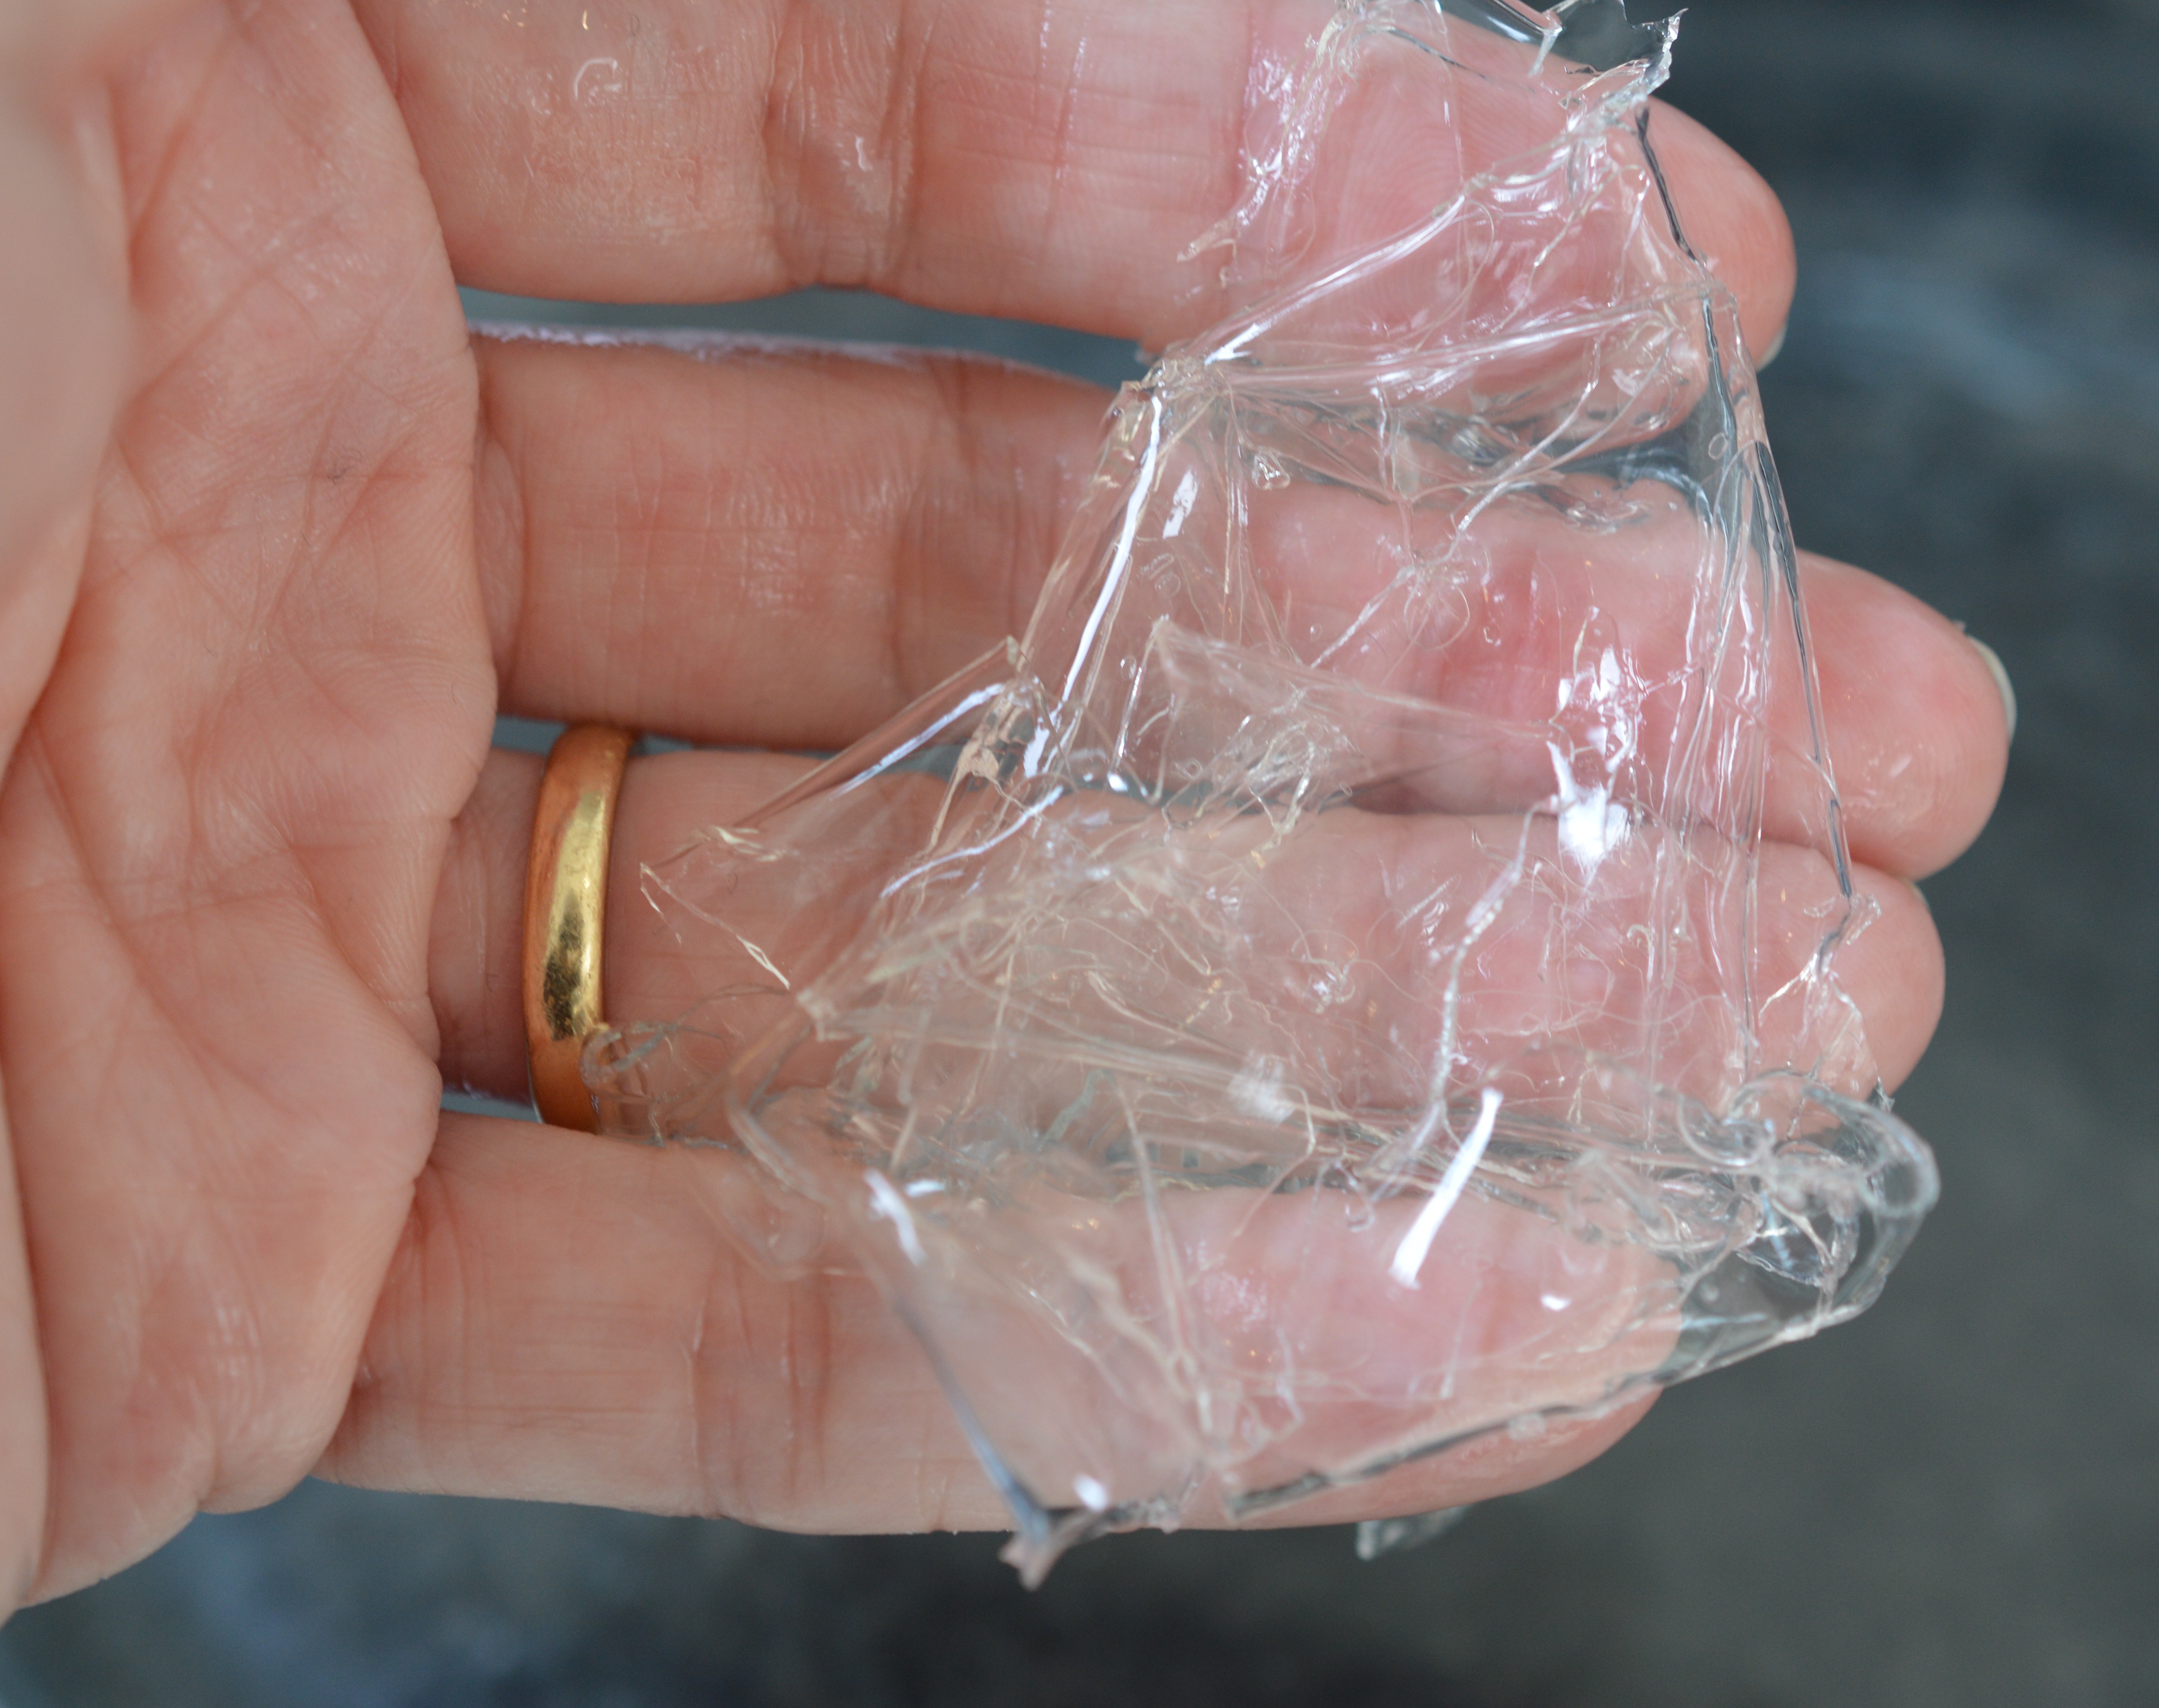
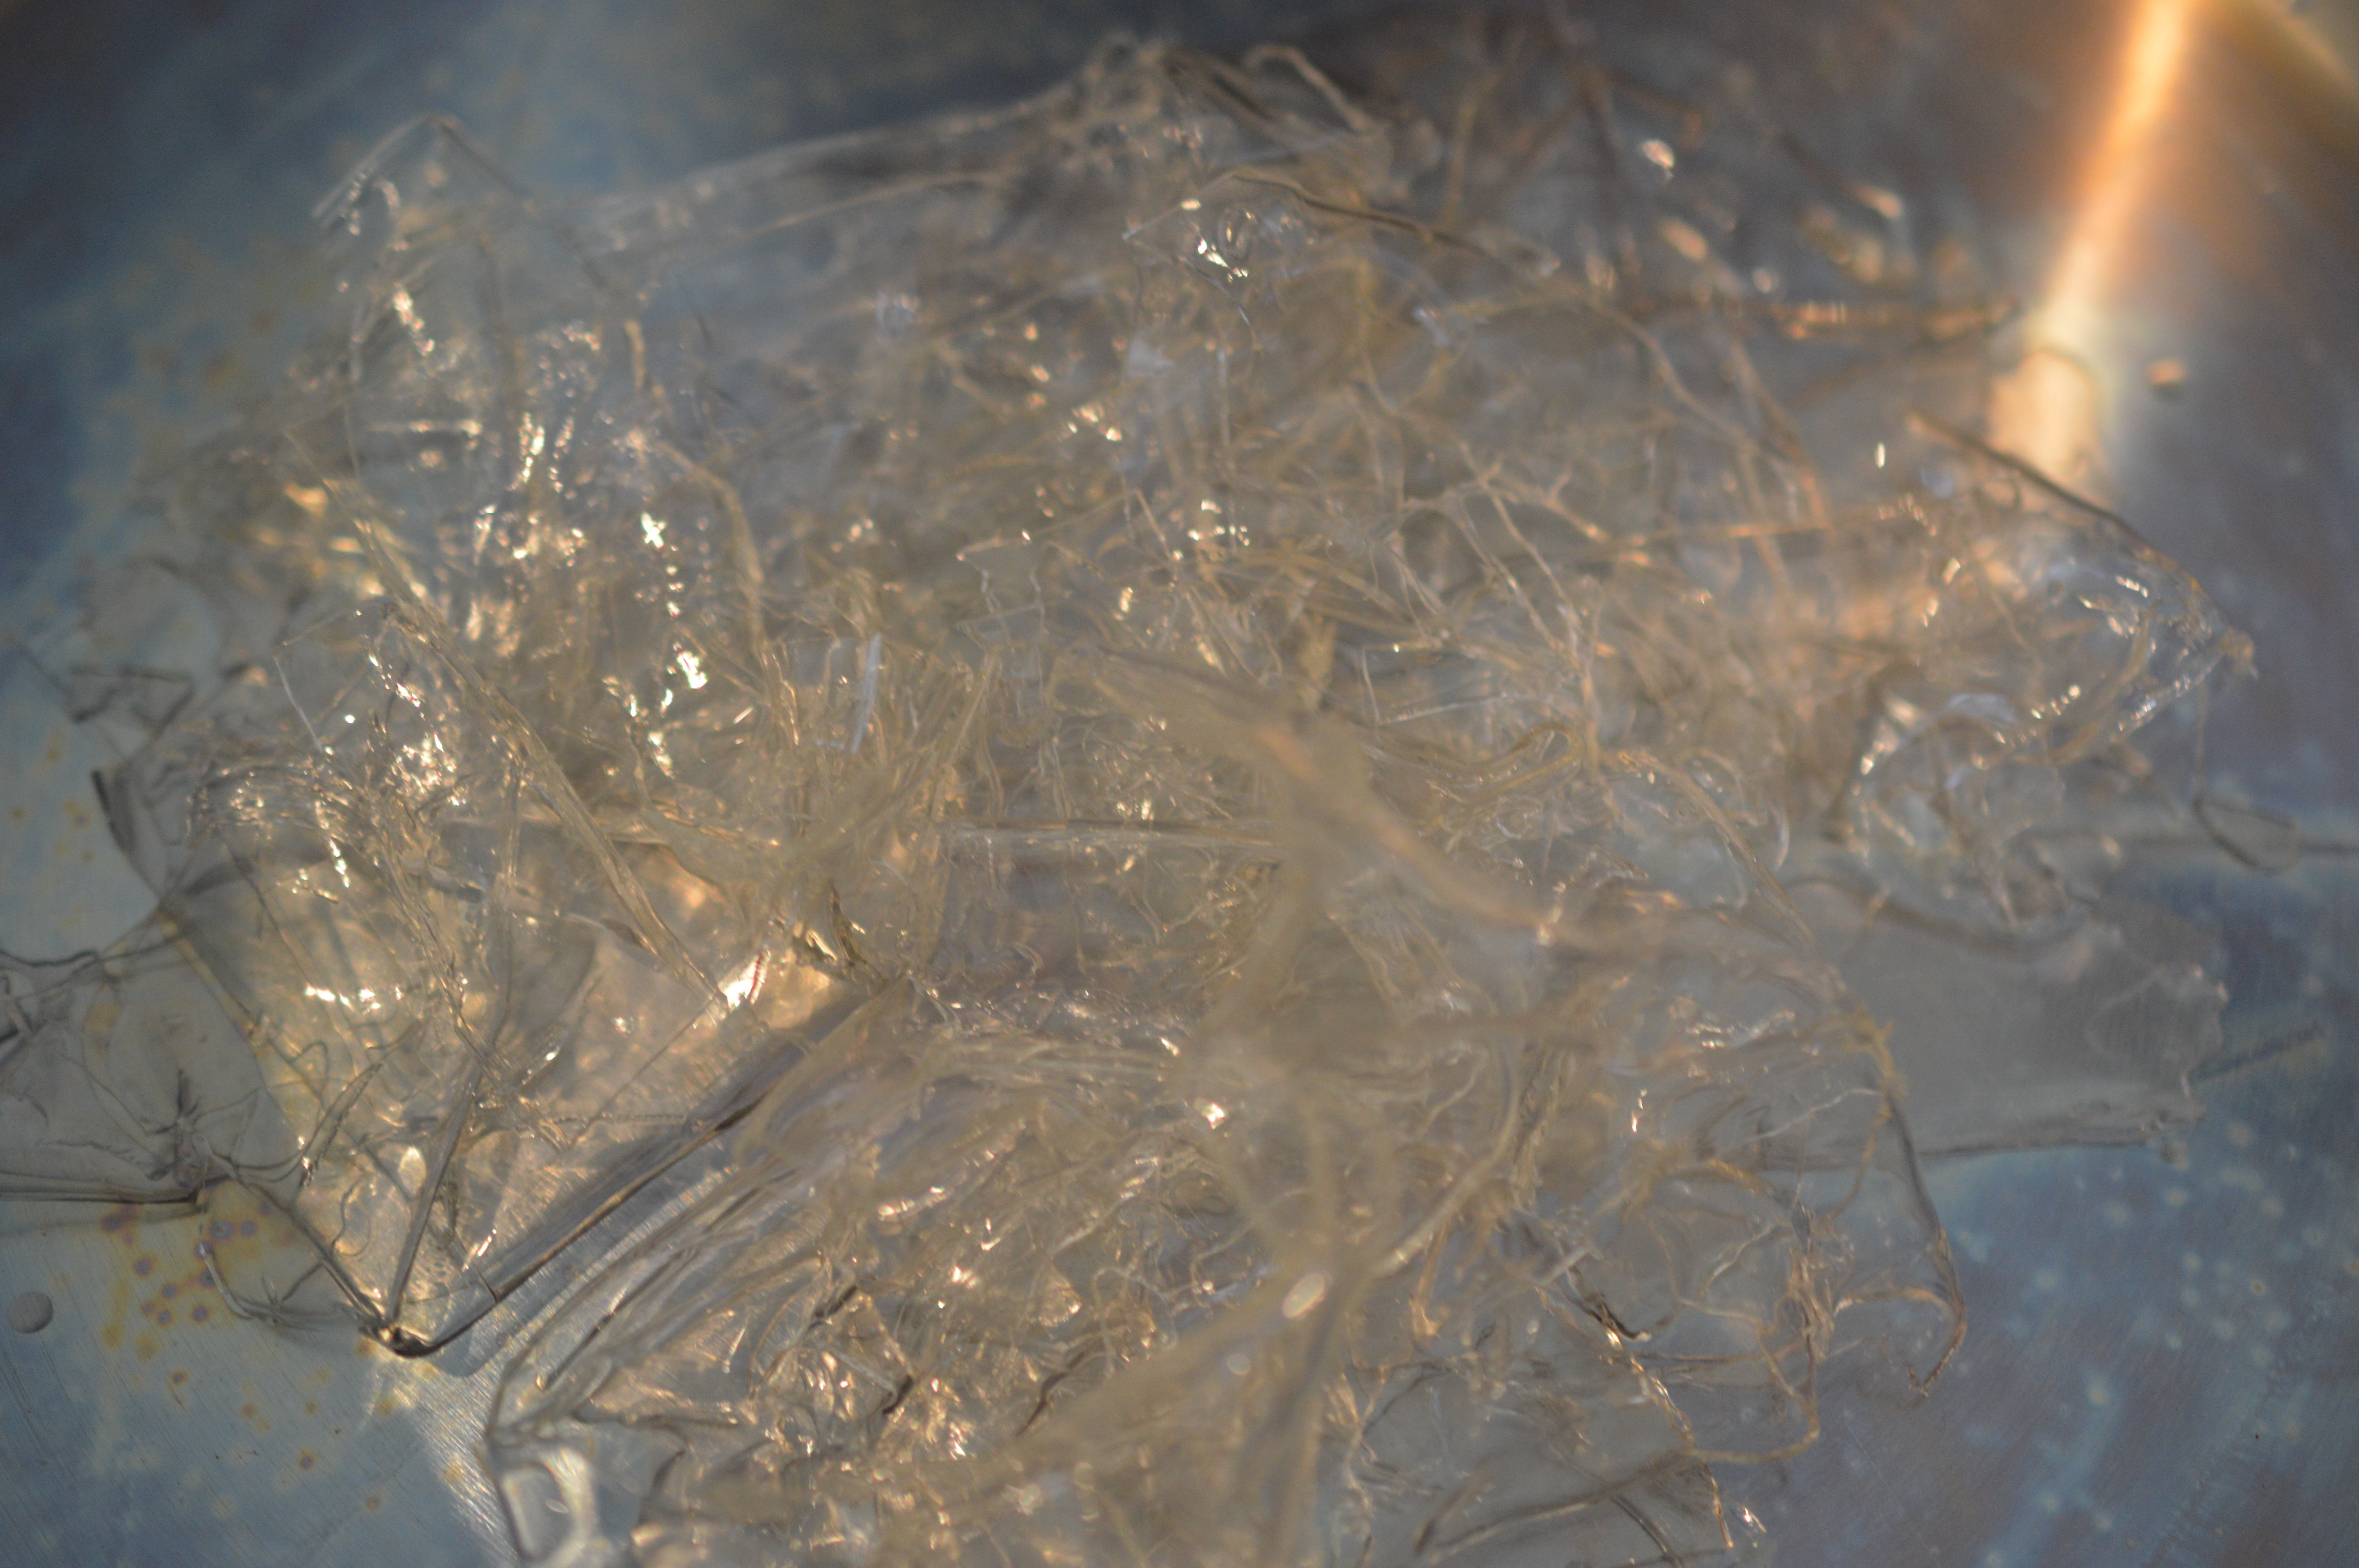
Break the now-cooled ‘biscuit’ base into generous shards and place in a food processor (or plastic bag). Whizz (or bash). Until you have fine breadcrumbs.

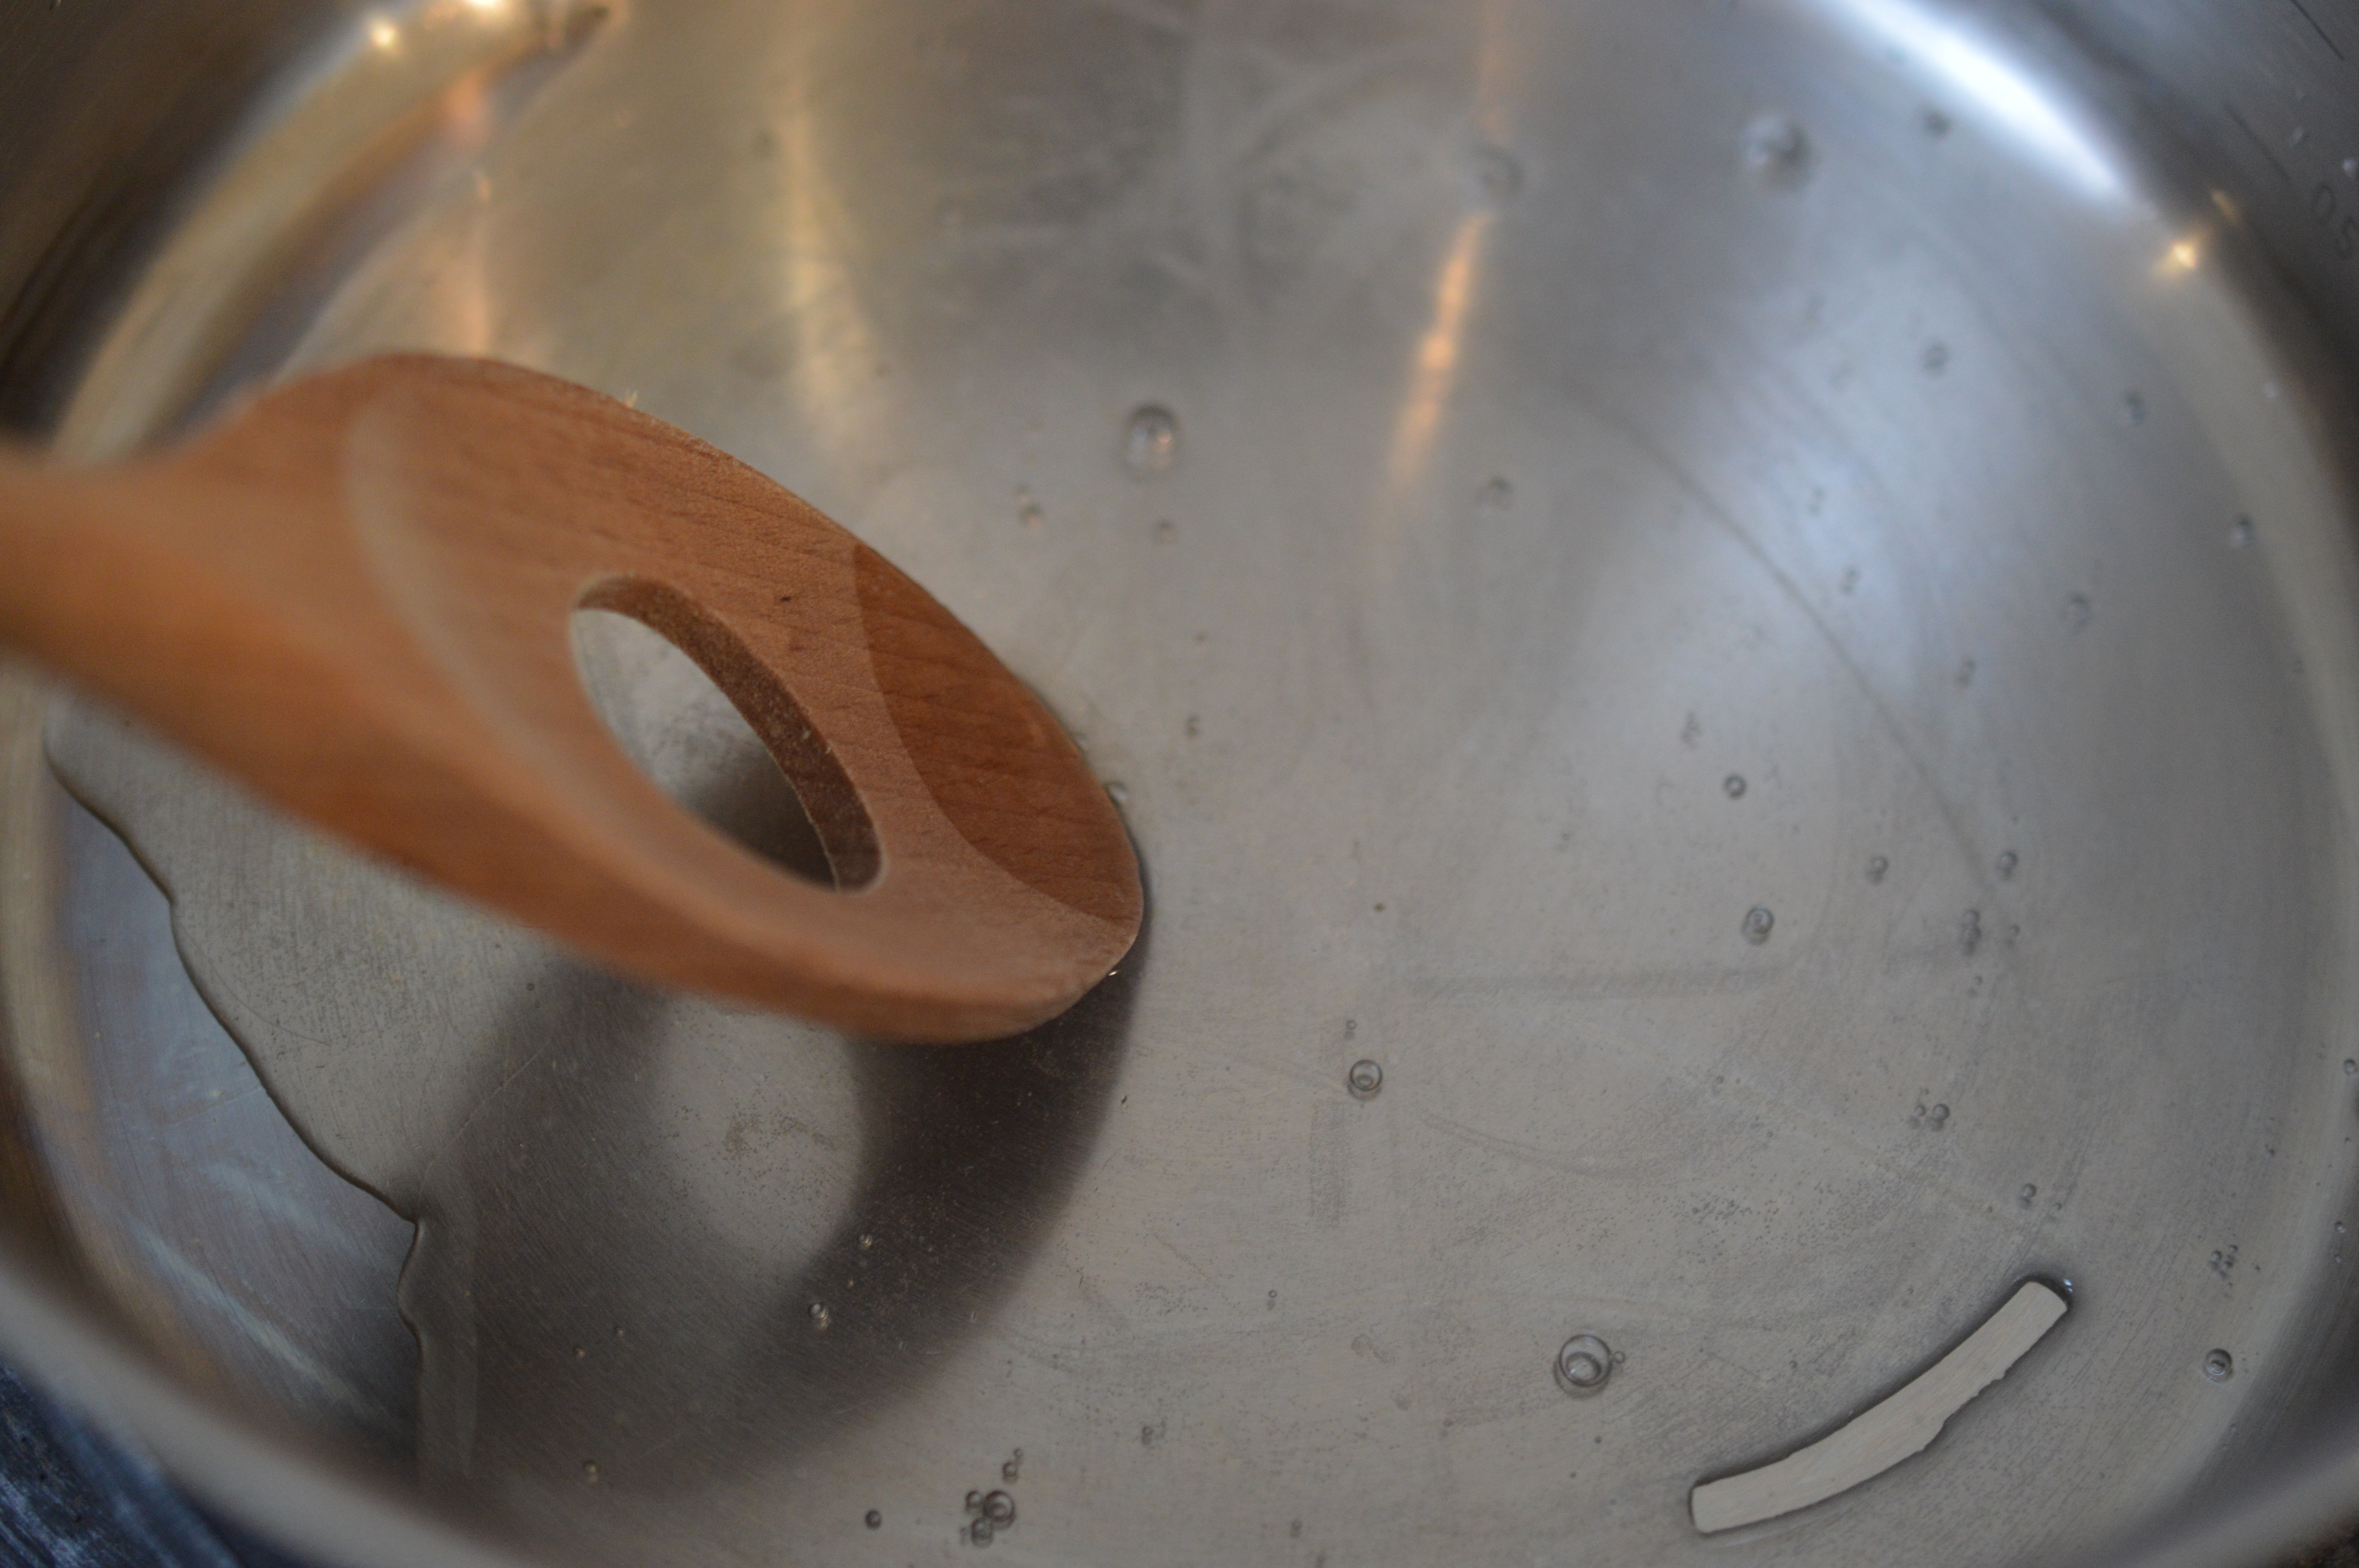
Add 40g melted butter and whiz again.
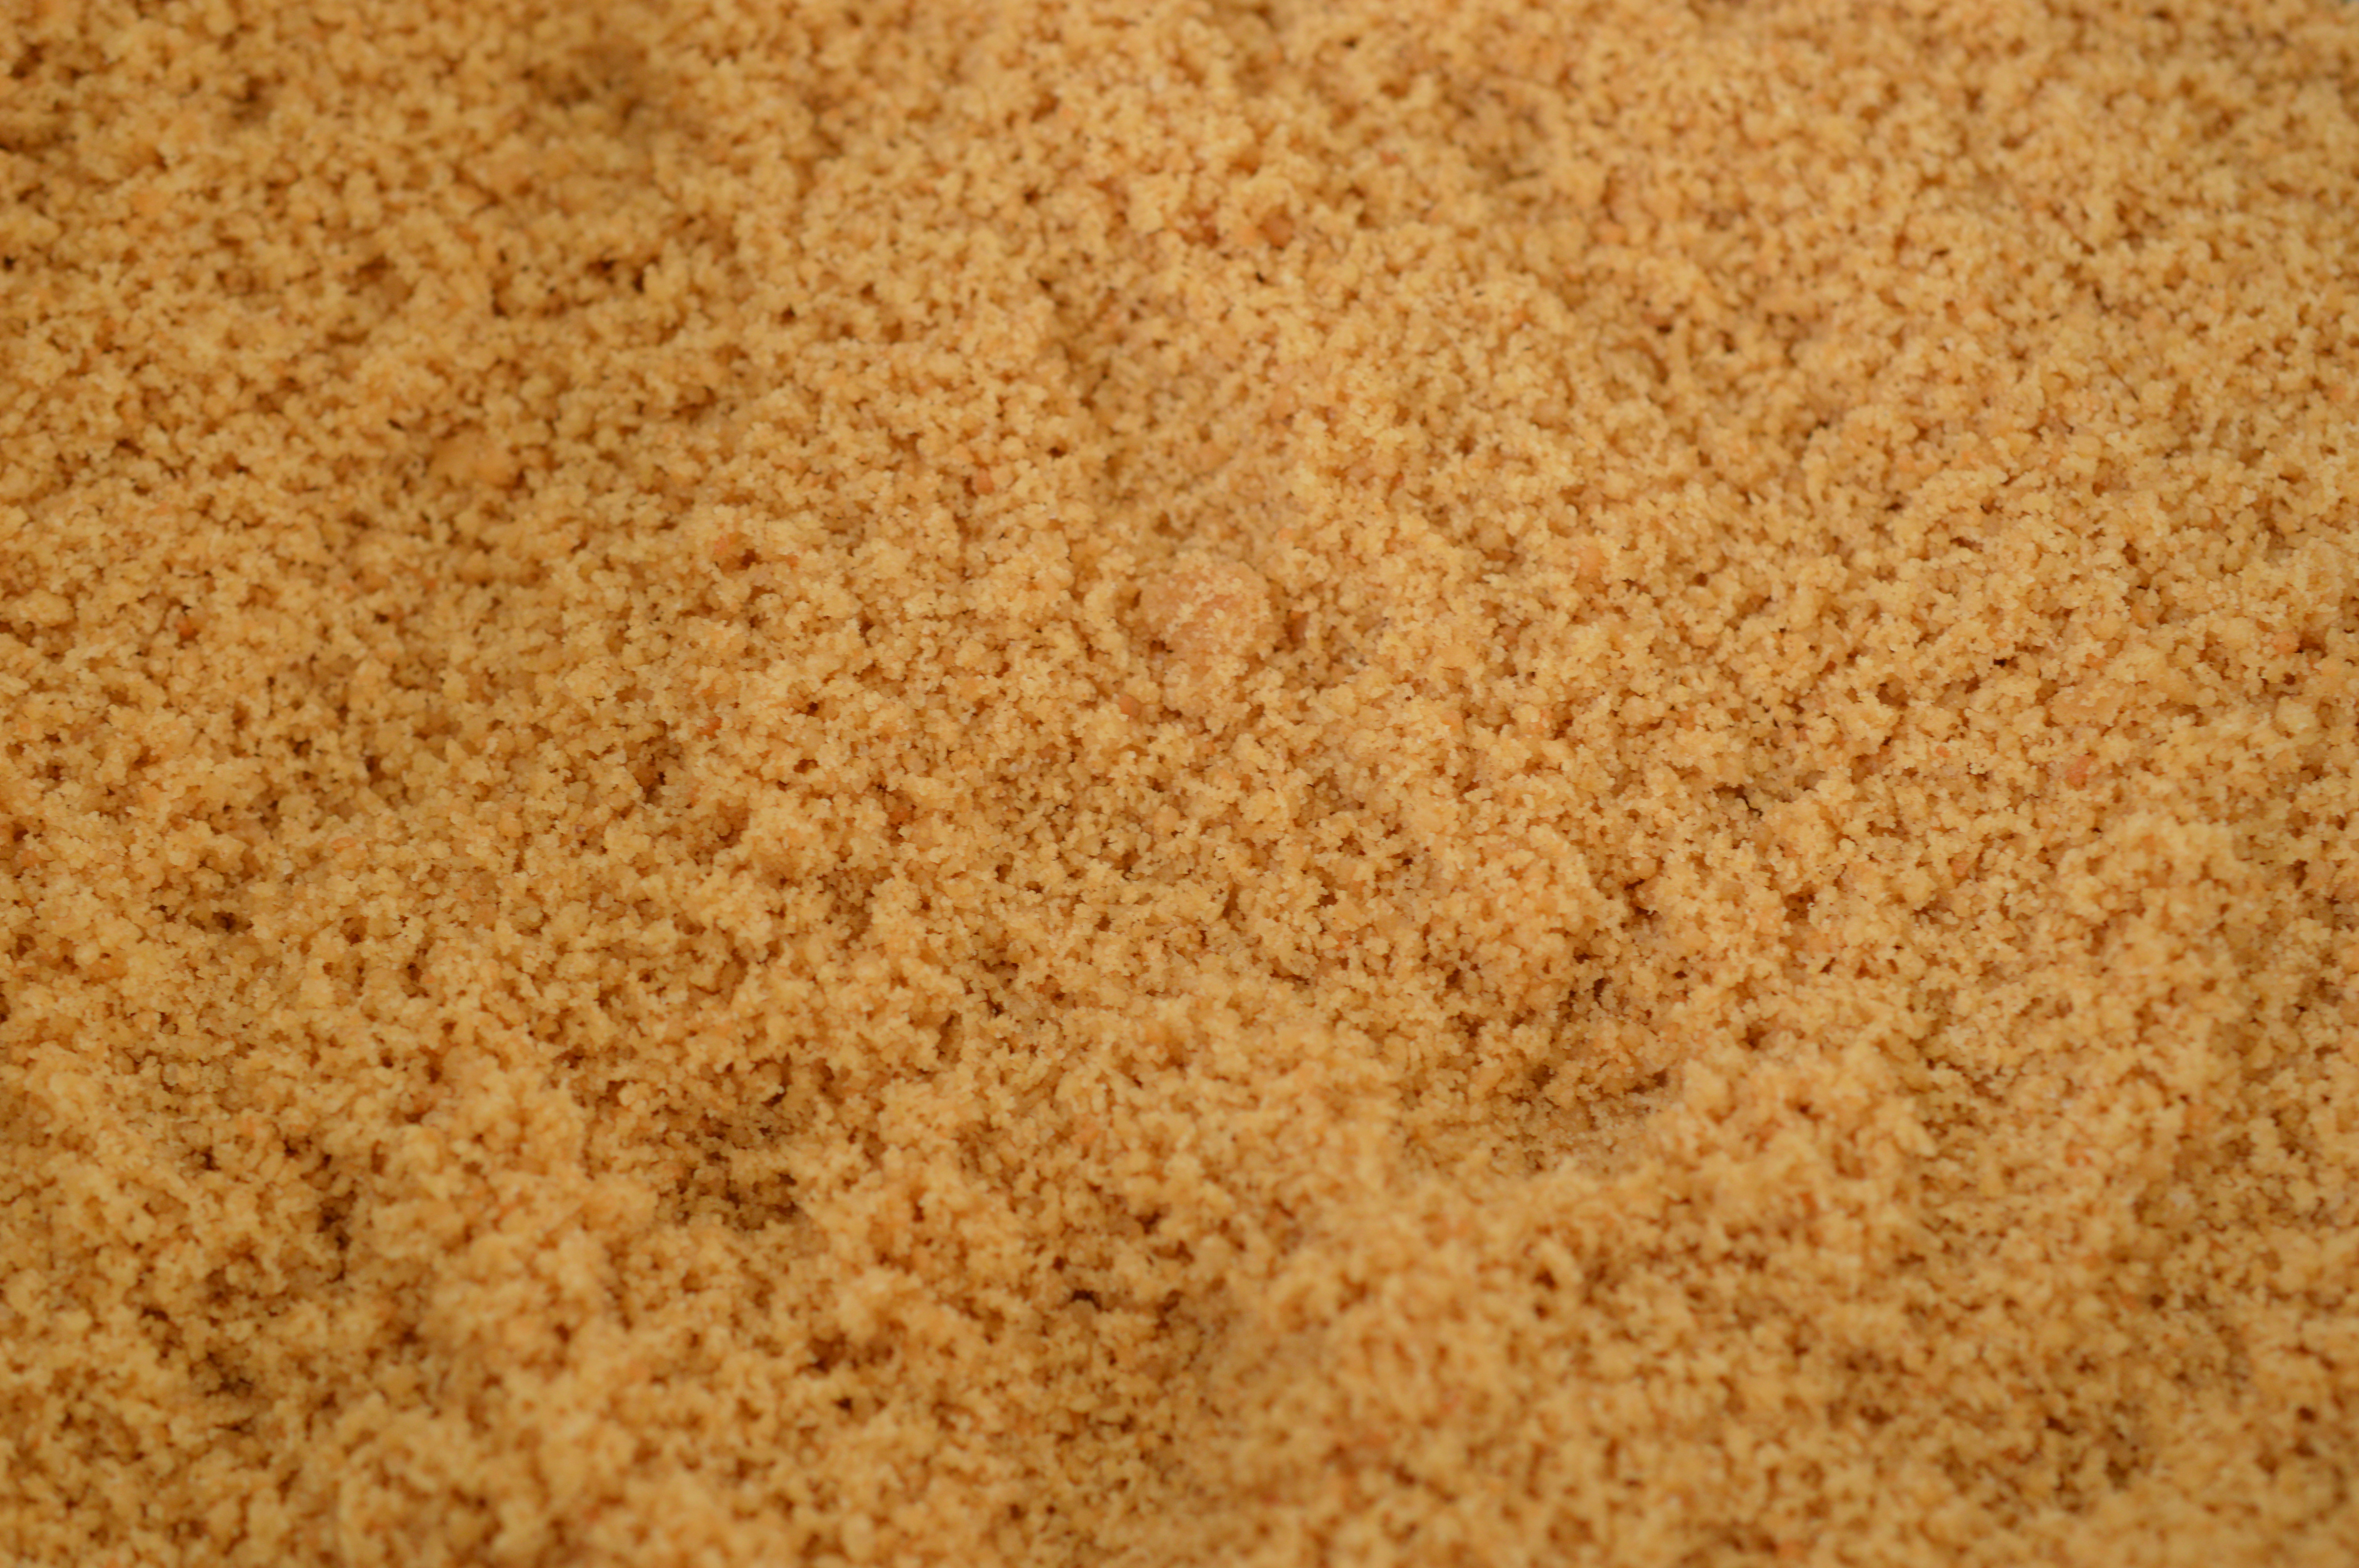
You are left with fine, sandy breadcrumbs. Press into the base of your prepared tin, using the back of a dessertspoon. At this point, using ready-made biscuits you would usually put it in the oven for a 10-15 minute bake. Don’t do that. Rose Prince’s recipe moves seamlessly on to adding the ricotta cheesecake topping and then baking.
The first time I tried this recipe I baked my biscuity base before adding the cheesecake mixture. What I ended up with was a damp ‘seepage’ line. So, no baking. Simply whizz and press.
Now would be the time to reduce your oven temperature. 160ºC/320ºF/Gas Mark 3.
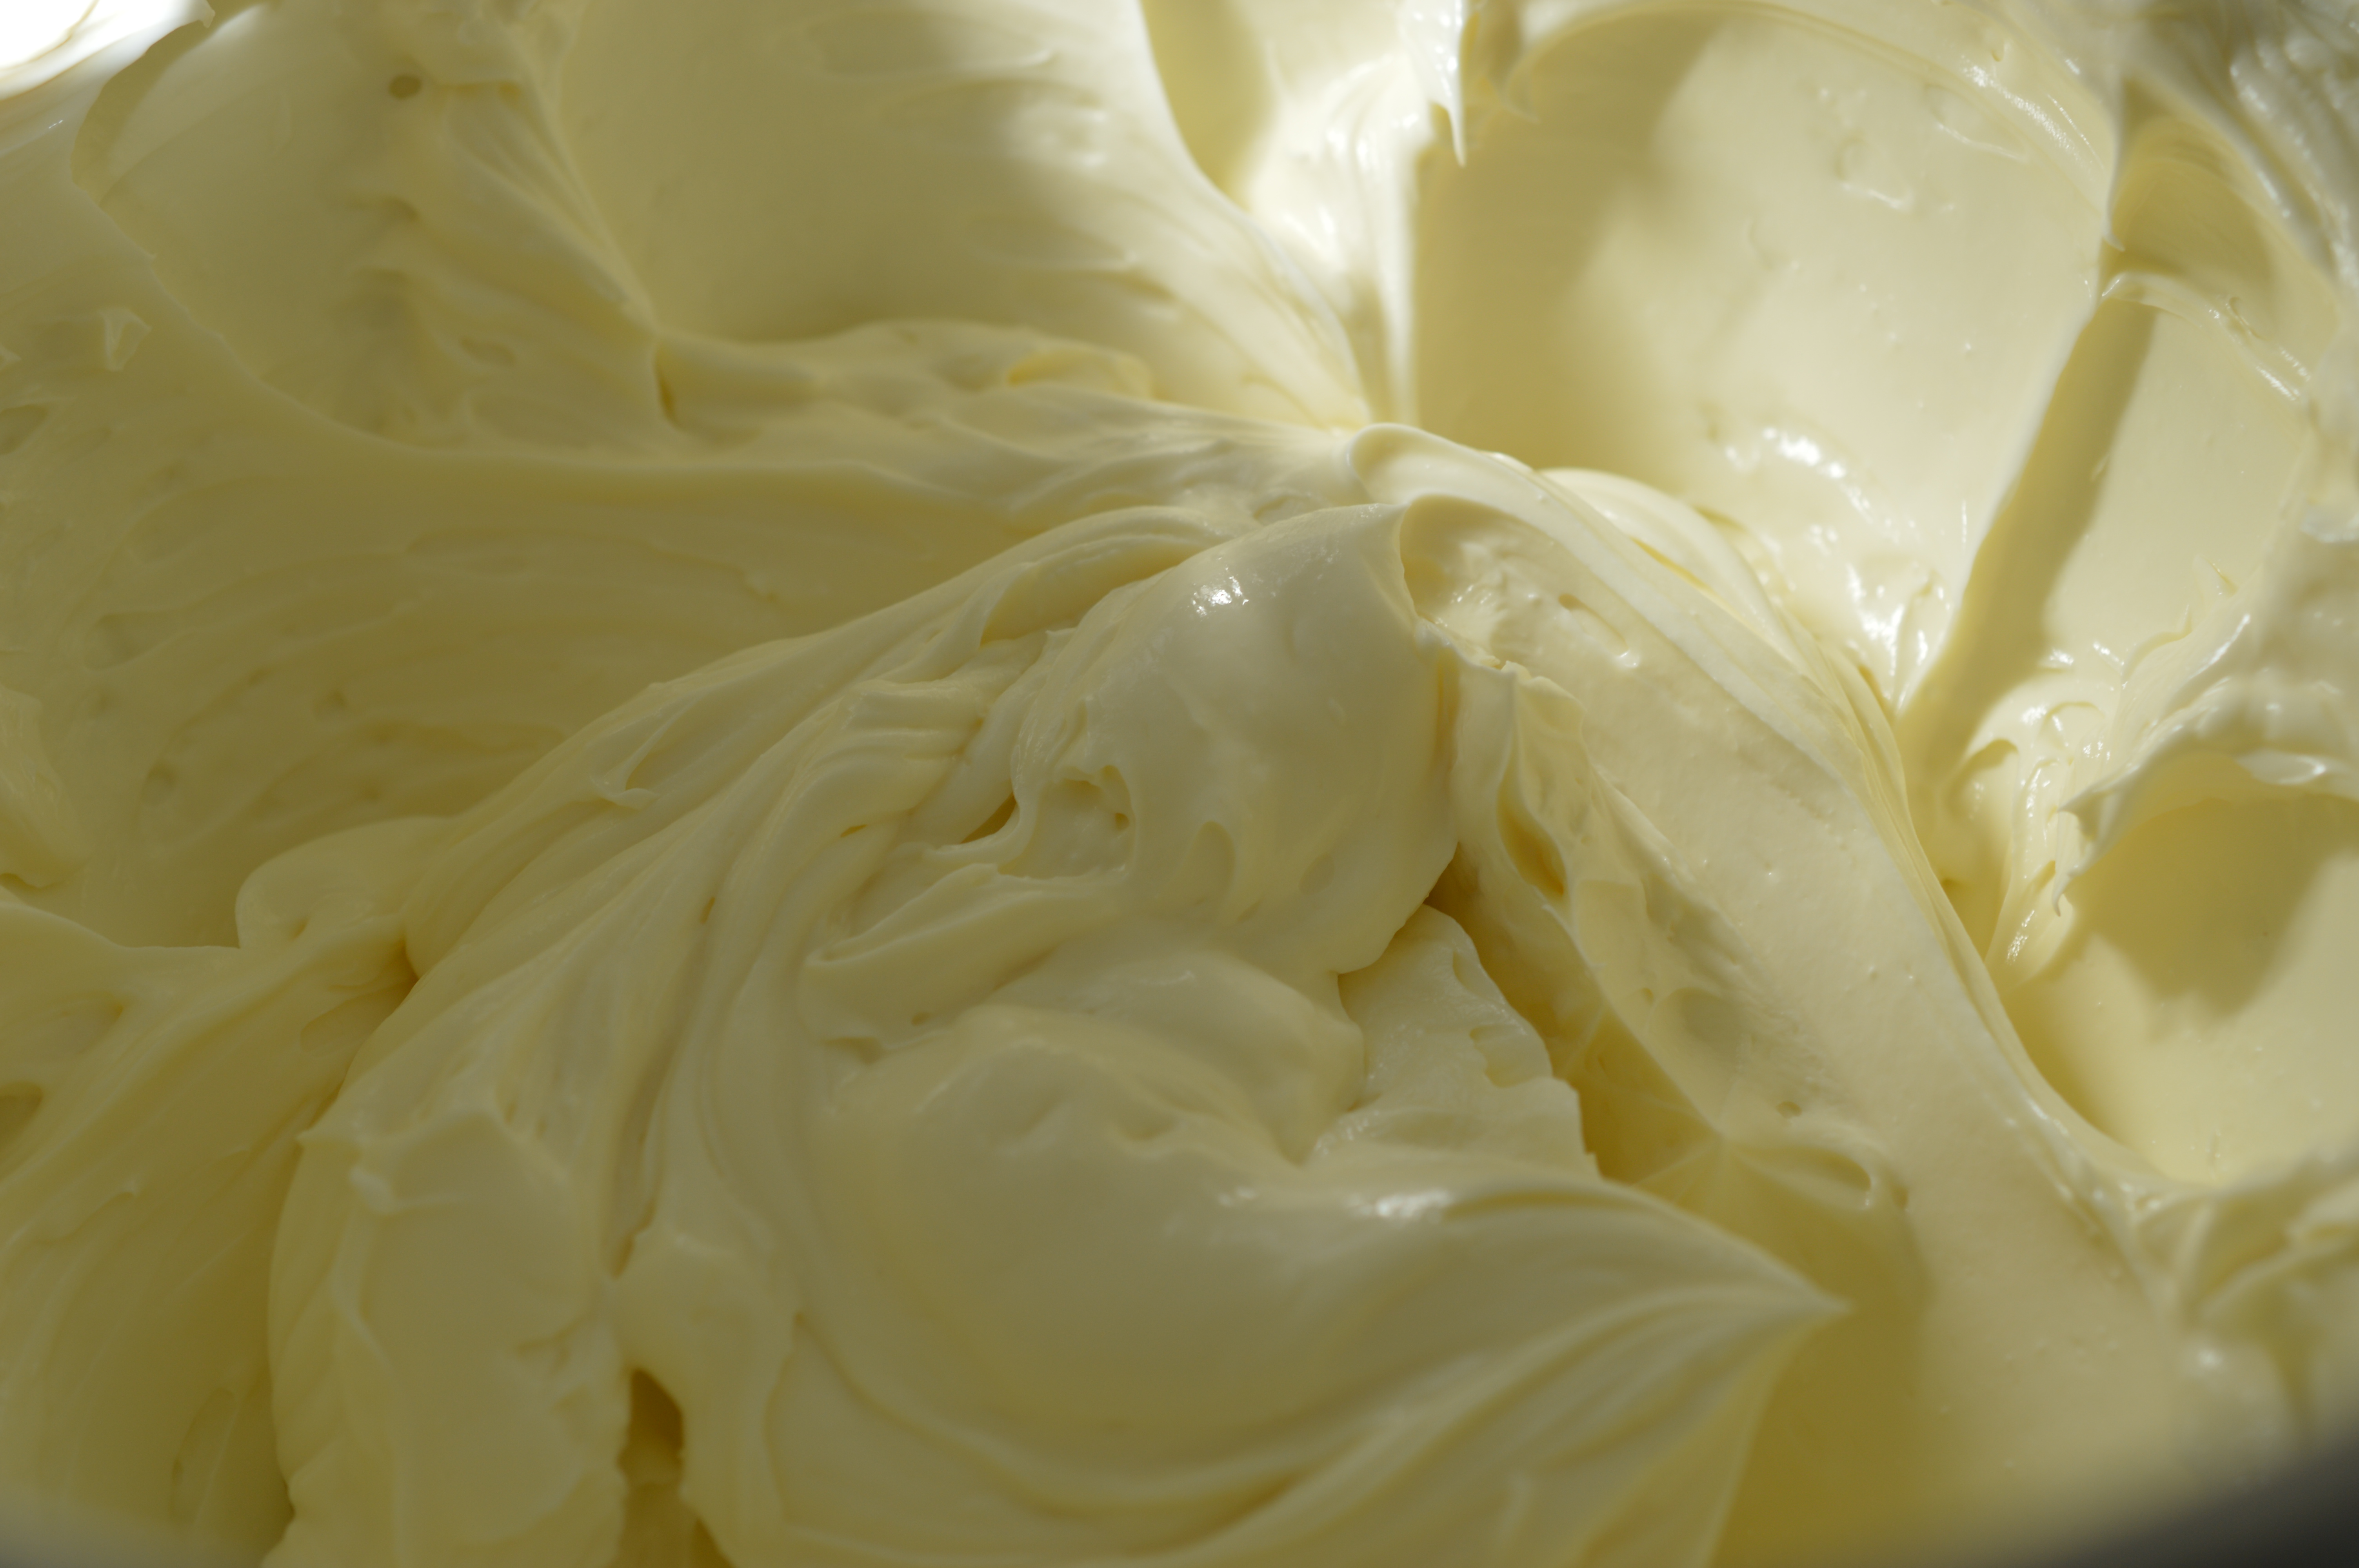
I put my room temperature cream cheese into the mixer bowl and beat until smooth. Then I add a small carton of sour cream and the same amount of double cream (for me that’s cream with a 48% butterfat content). I add that to the cream cheese to give me a lighter end result.
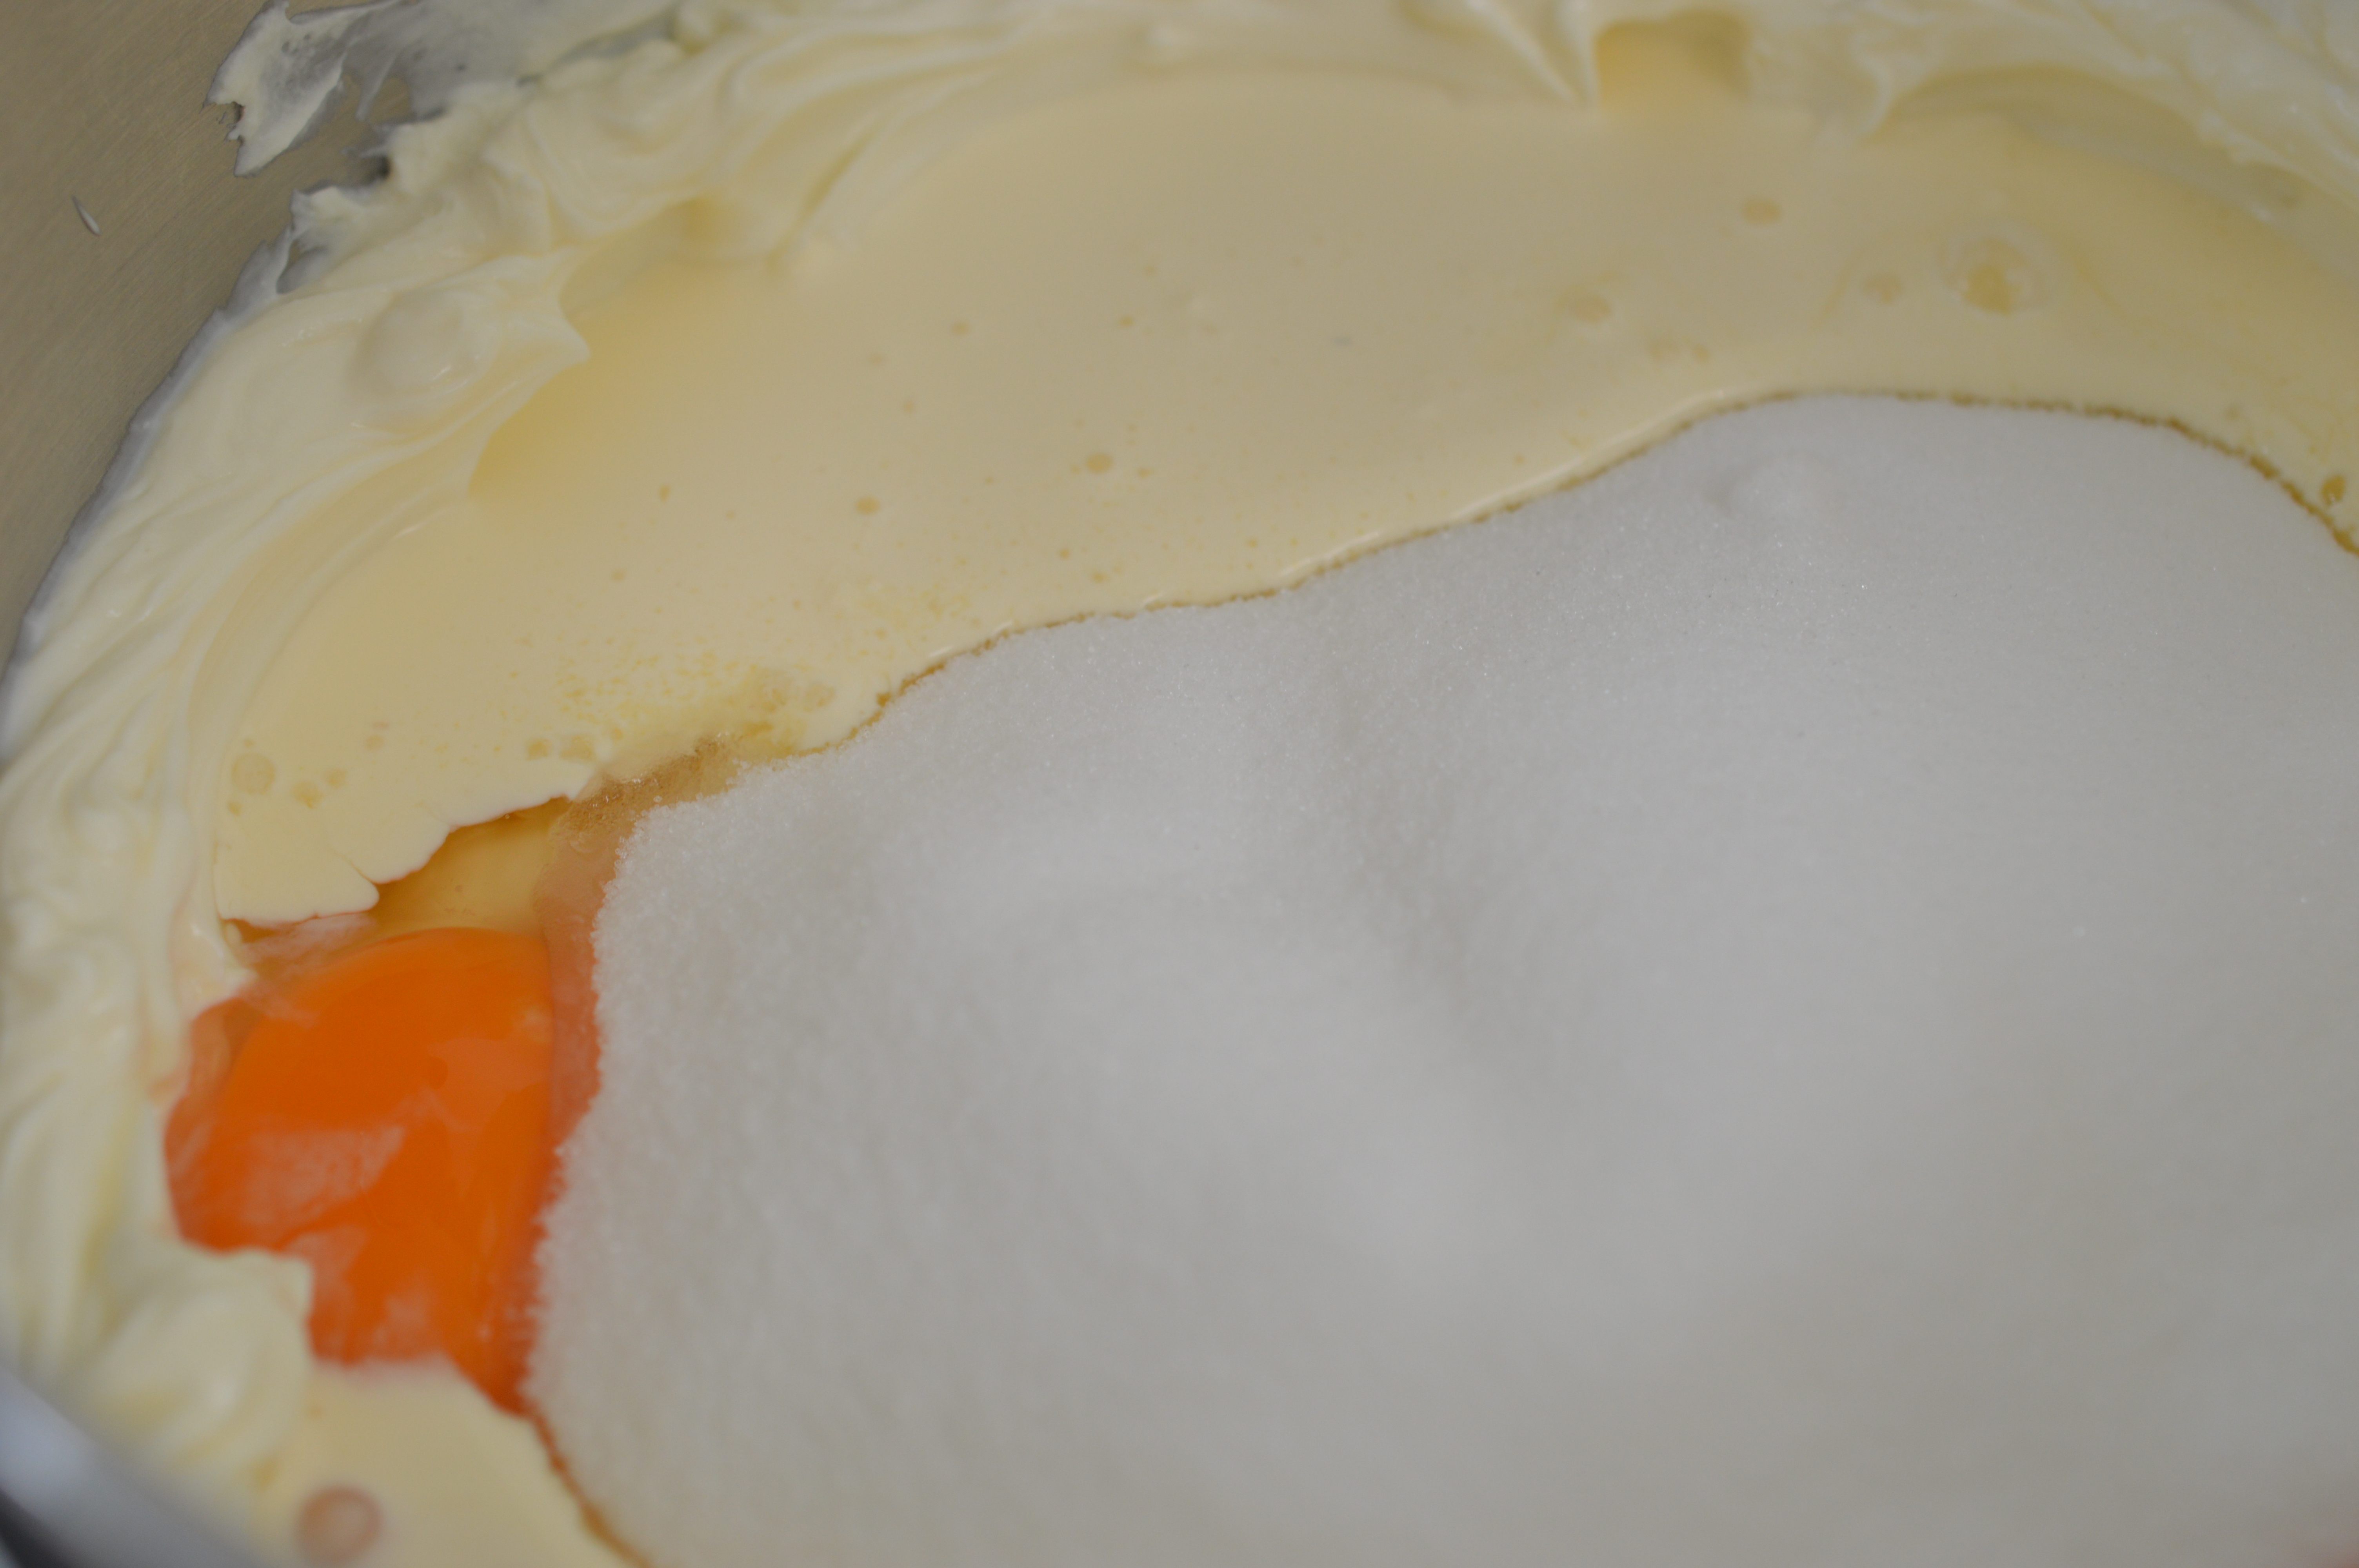
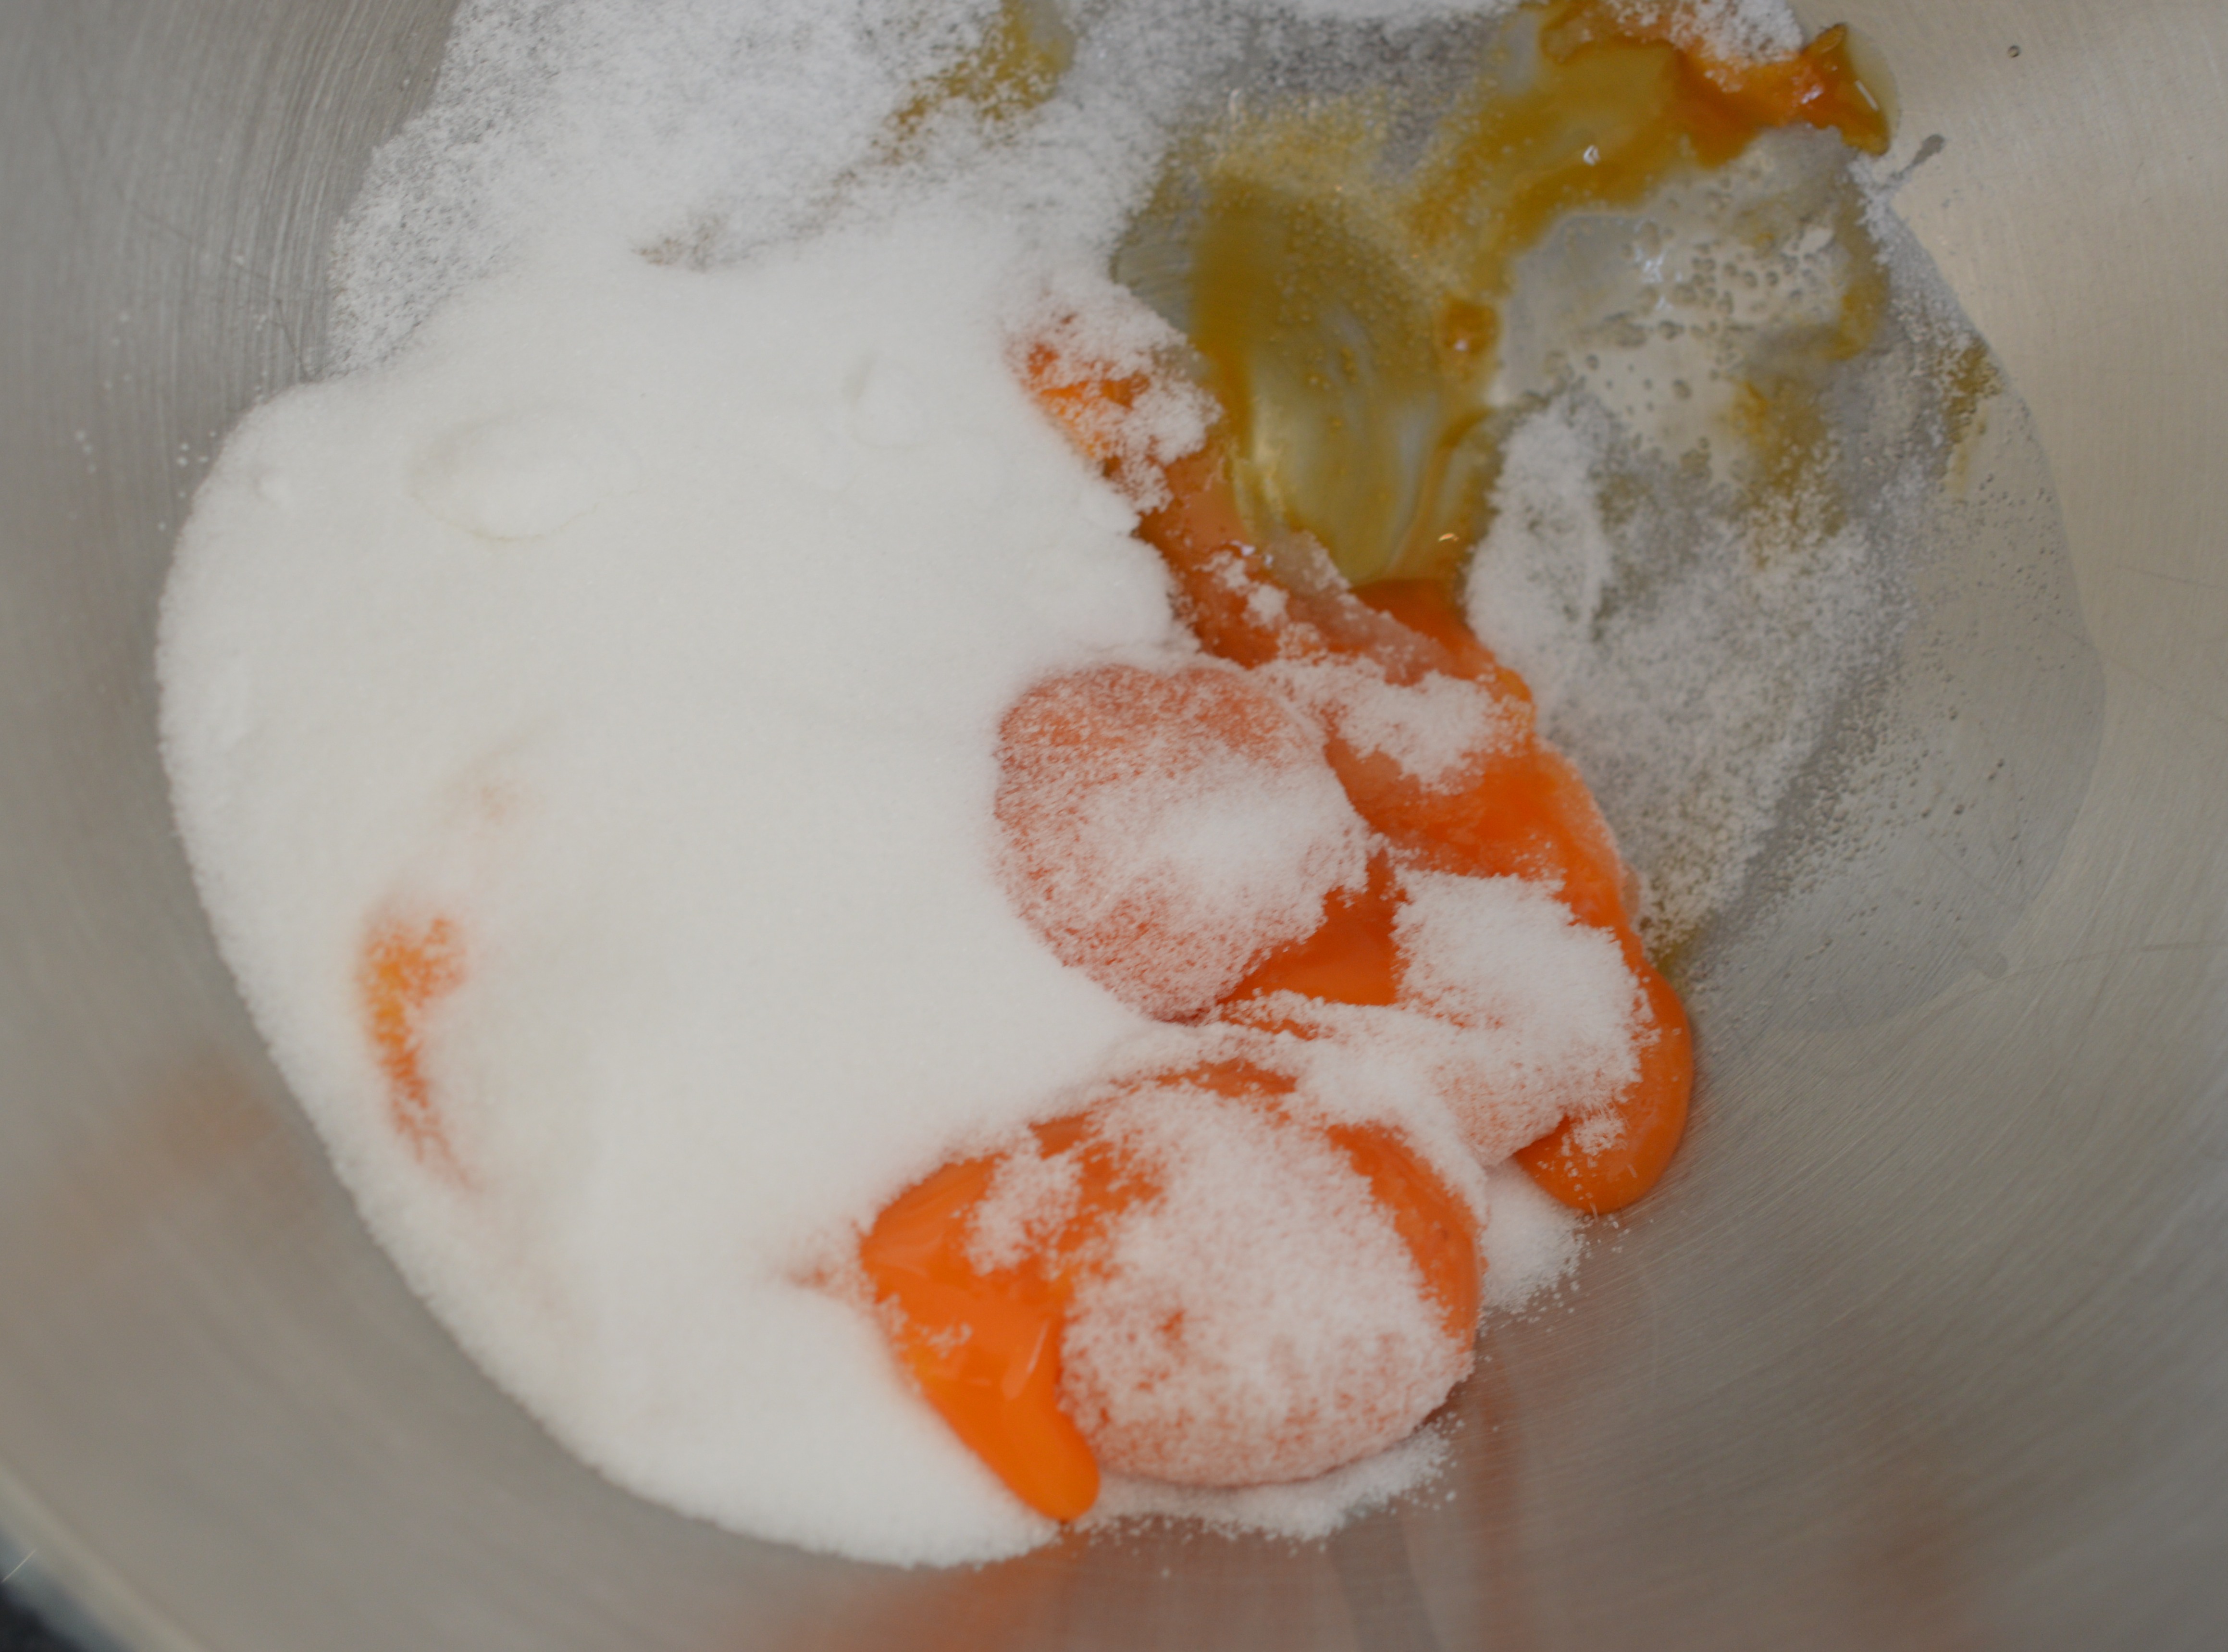
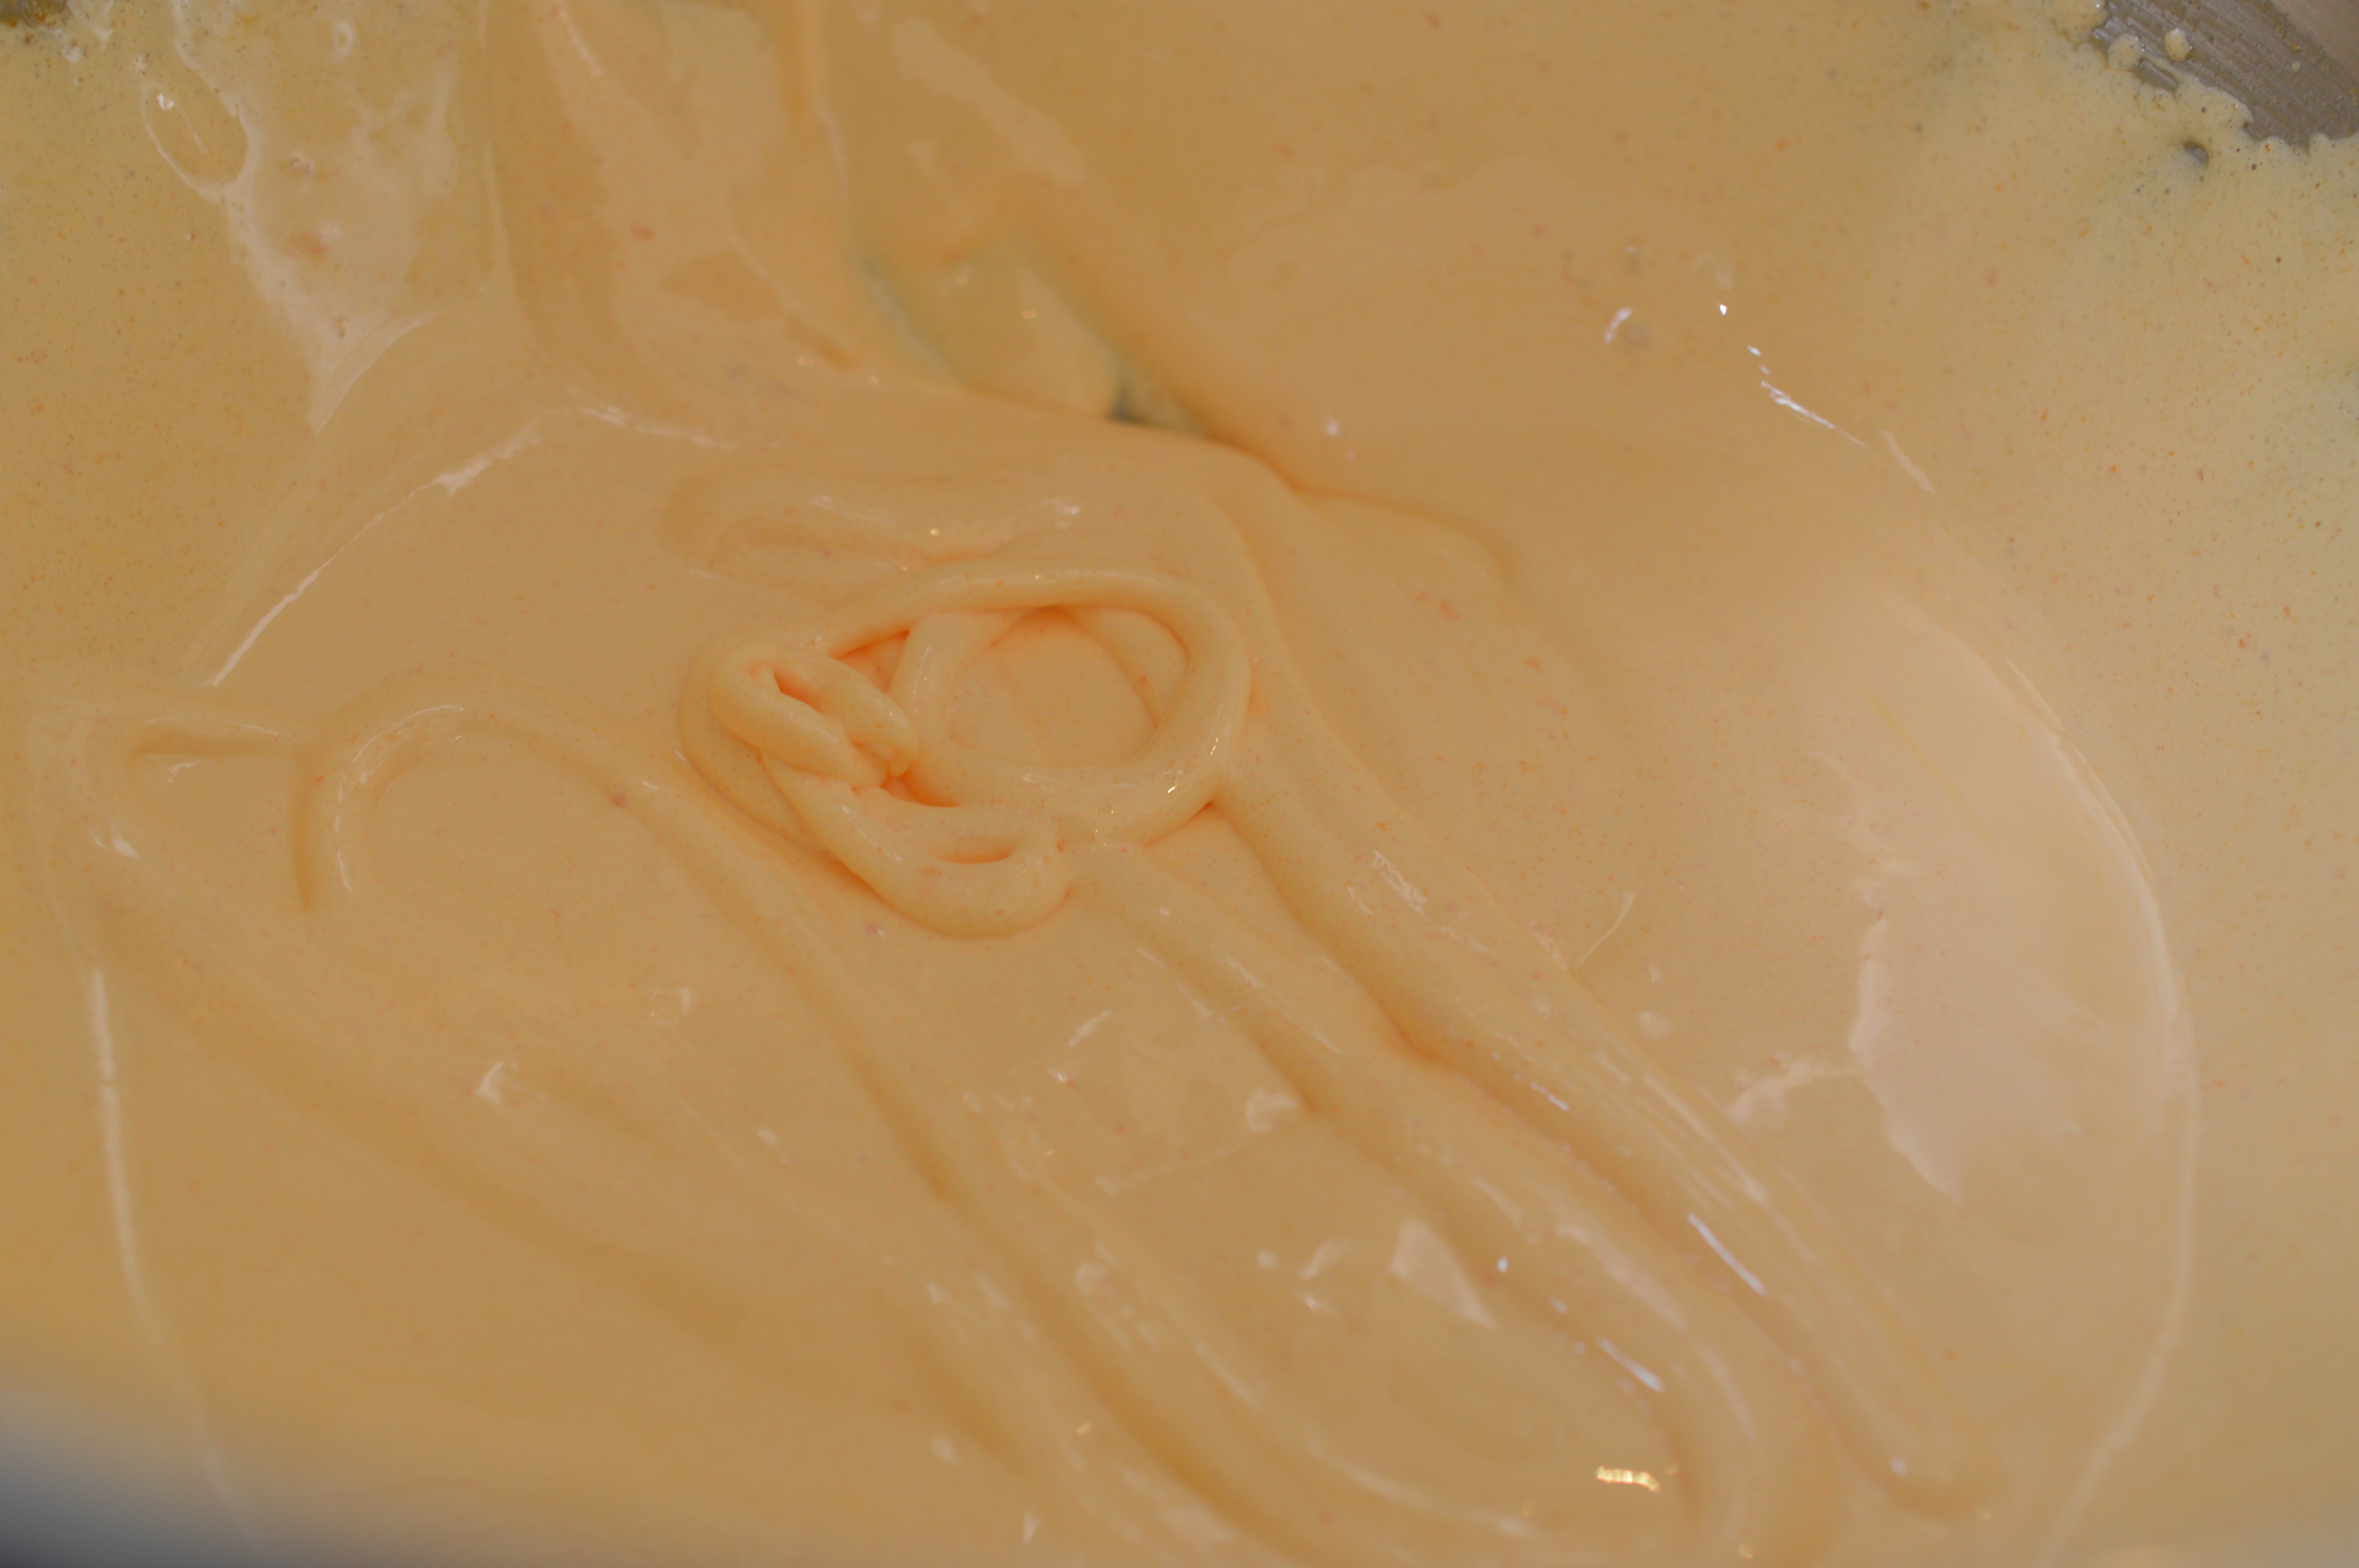
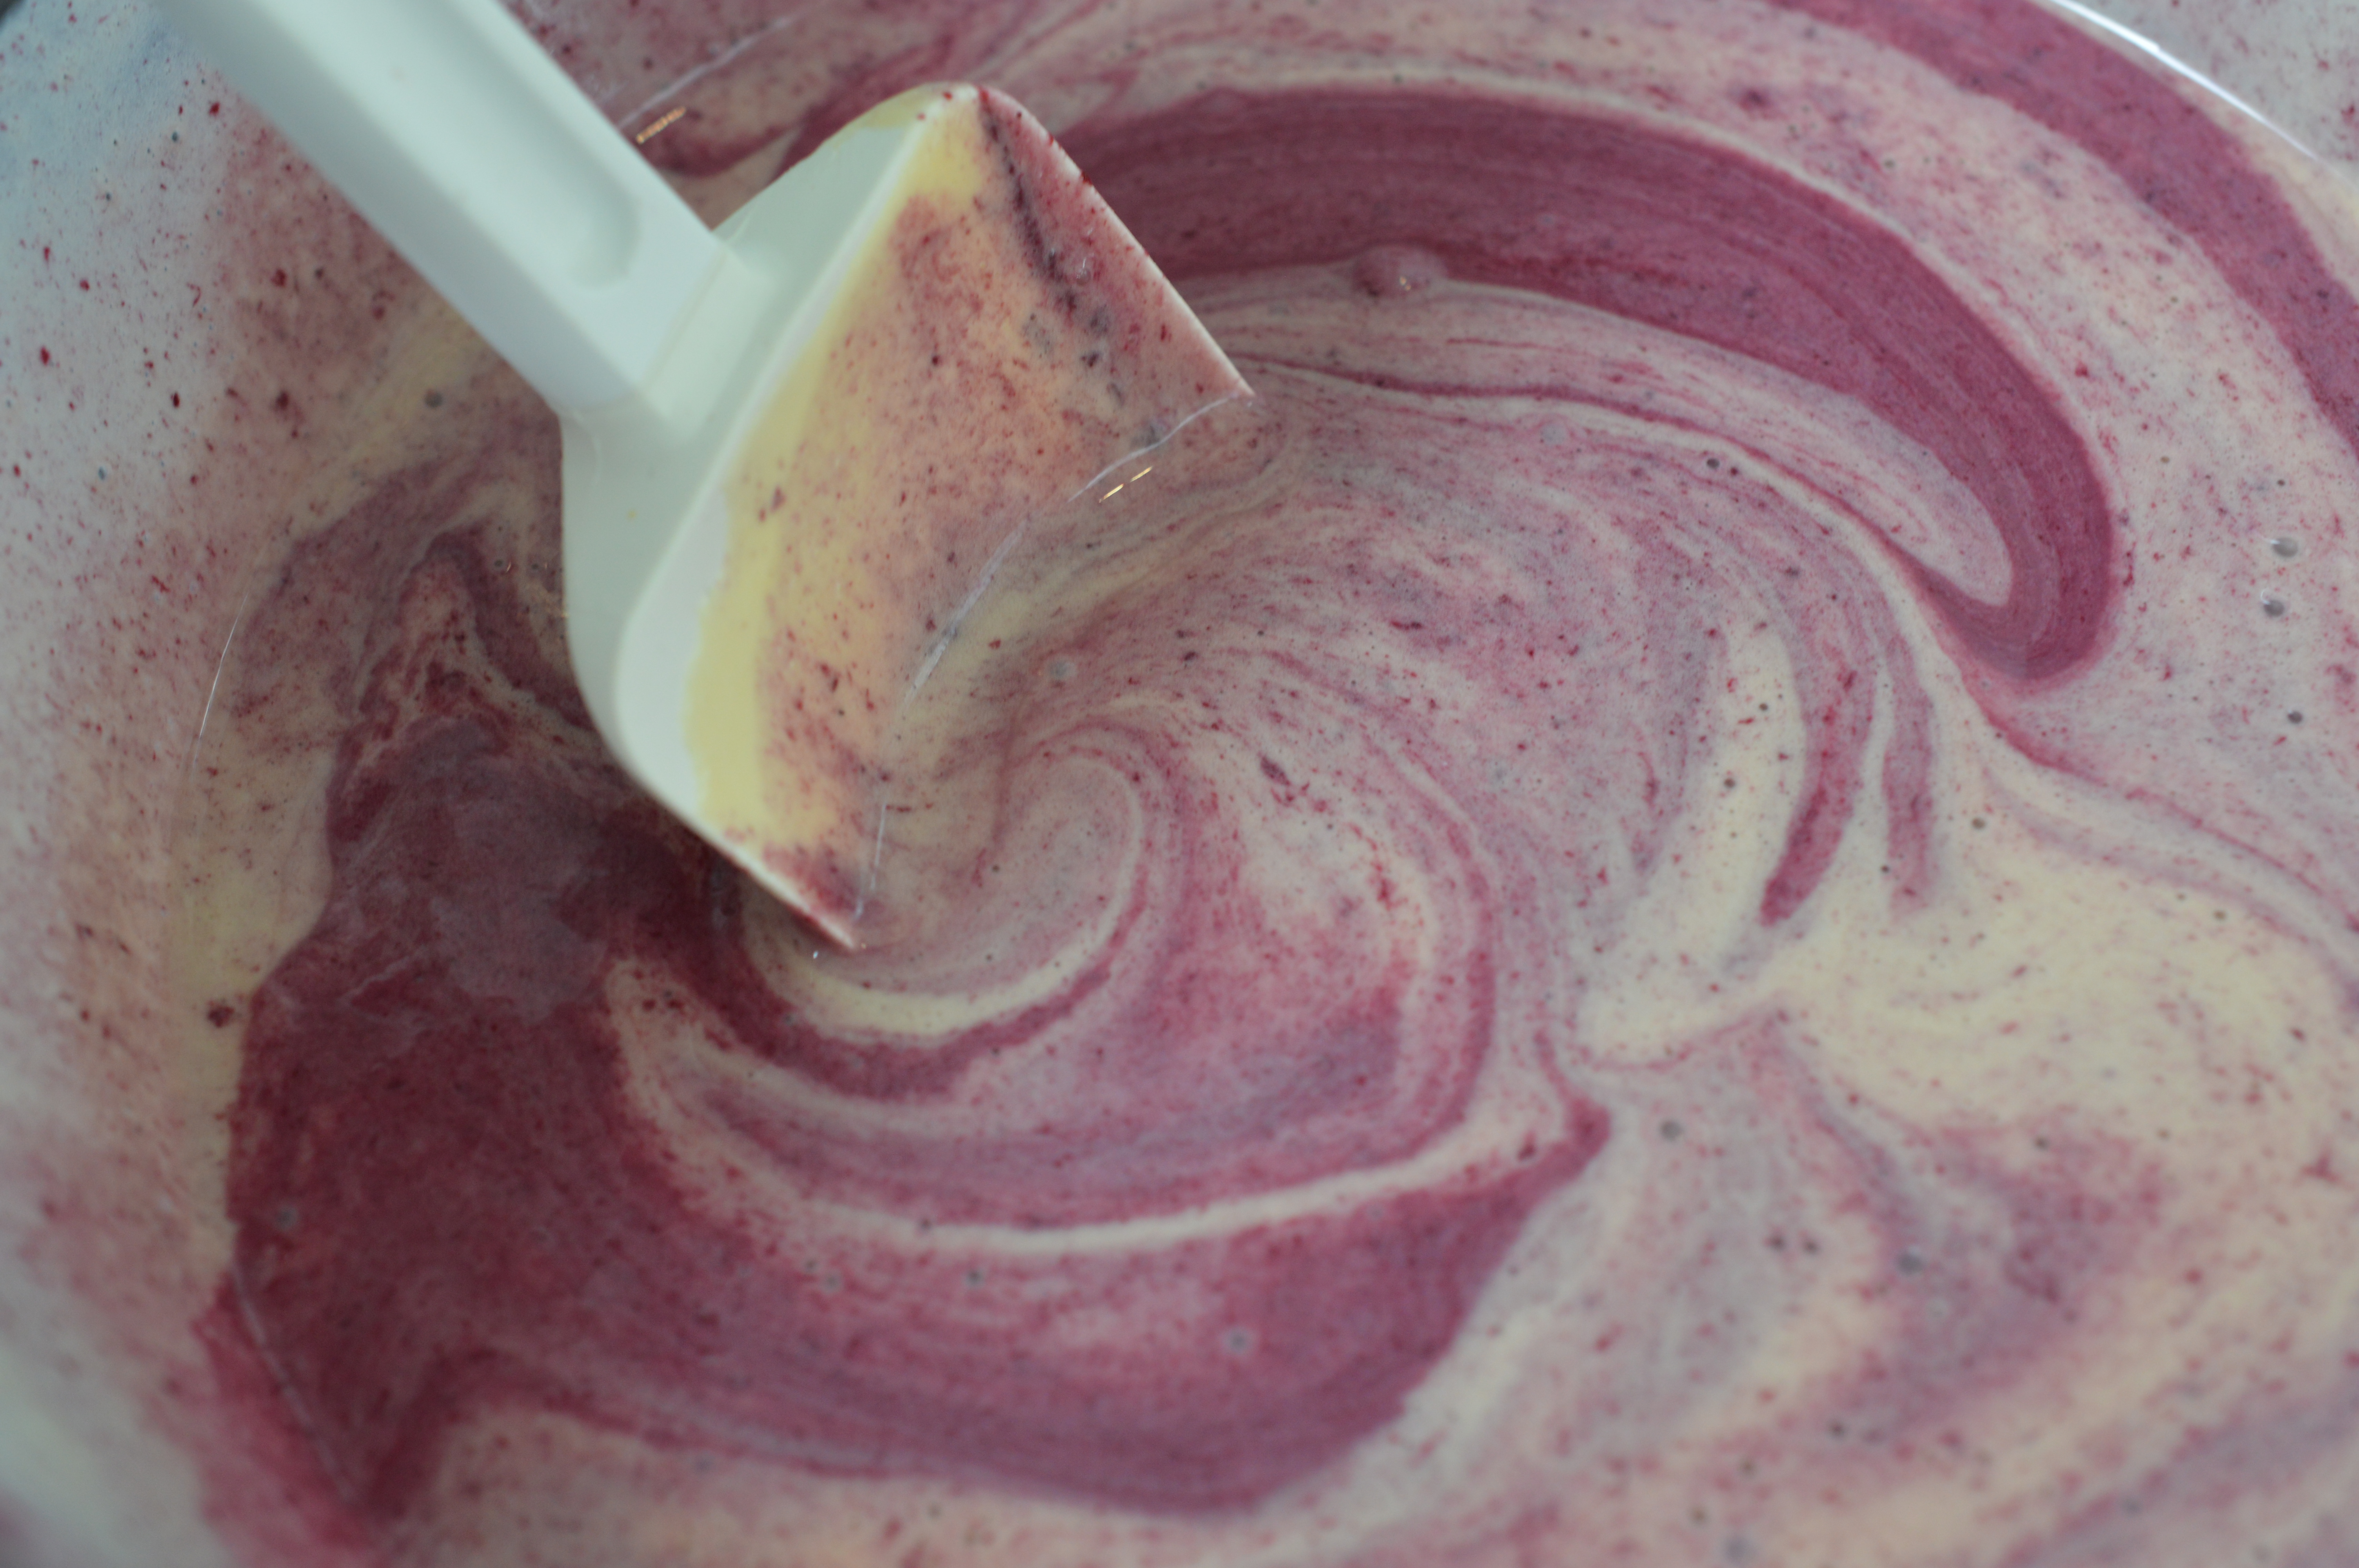
Then it’s the sugar and the room temperature eggs. You are not trying to add air, but ensure a beautifully smooth mixture. Beat, using a flat beater on a medium speed, for 5 minutes. It should be smooth and very creamy. Scrape down sides of the bowl to catch anything missed on the bottom and add the flavouring.
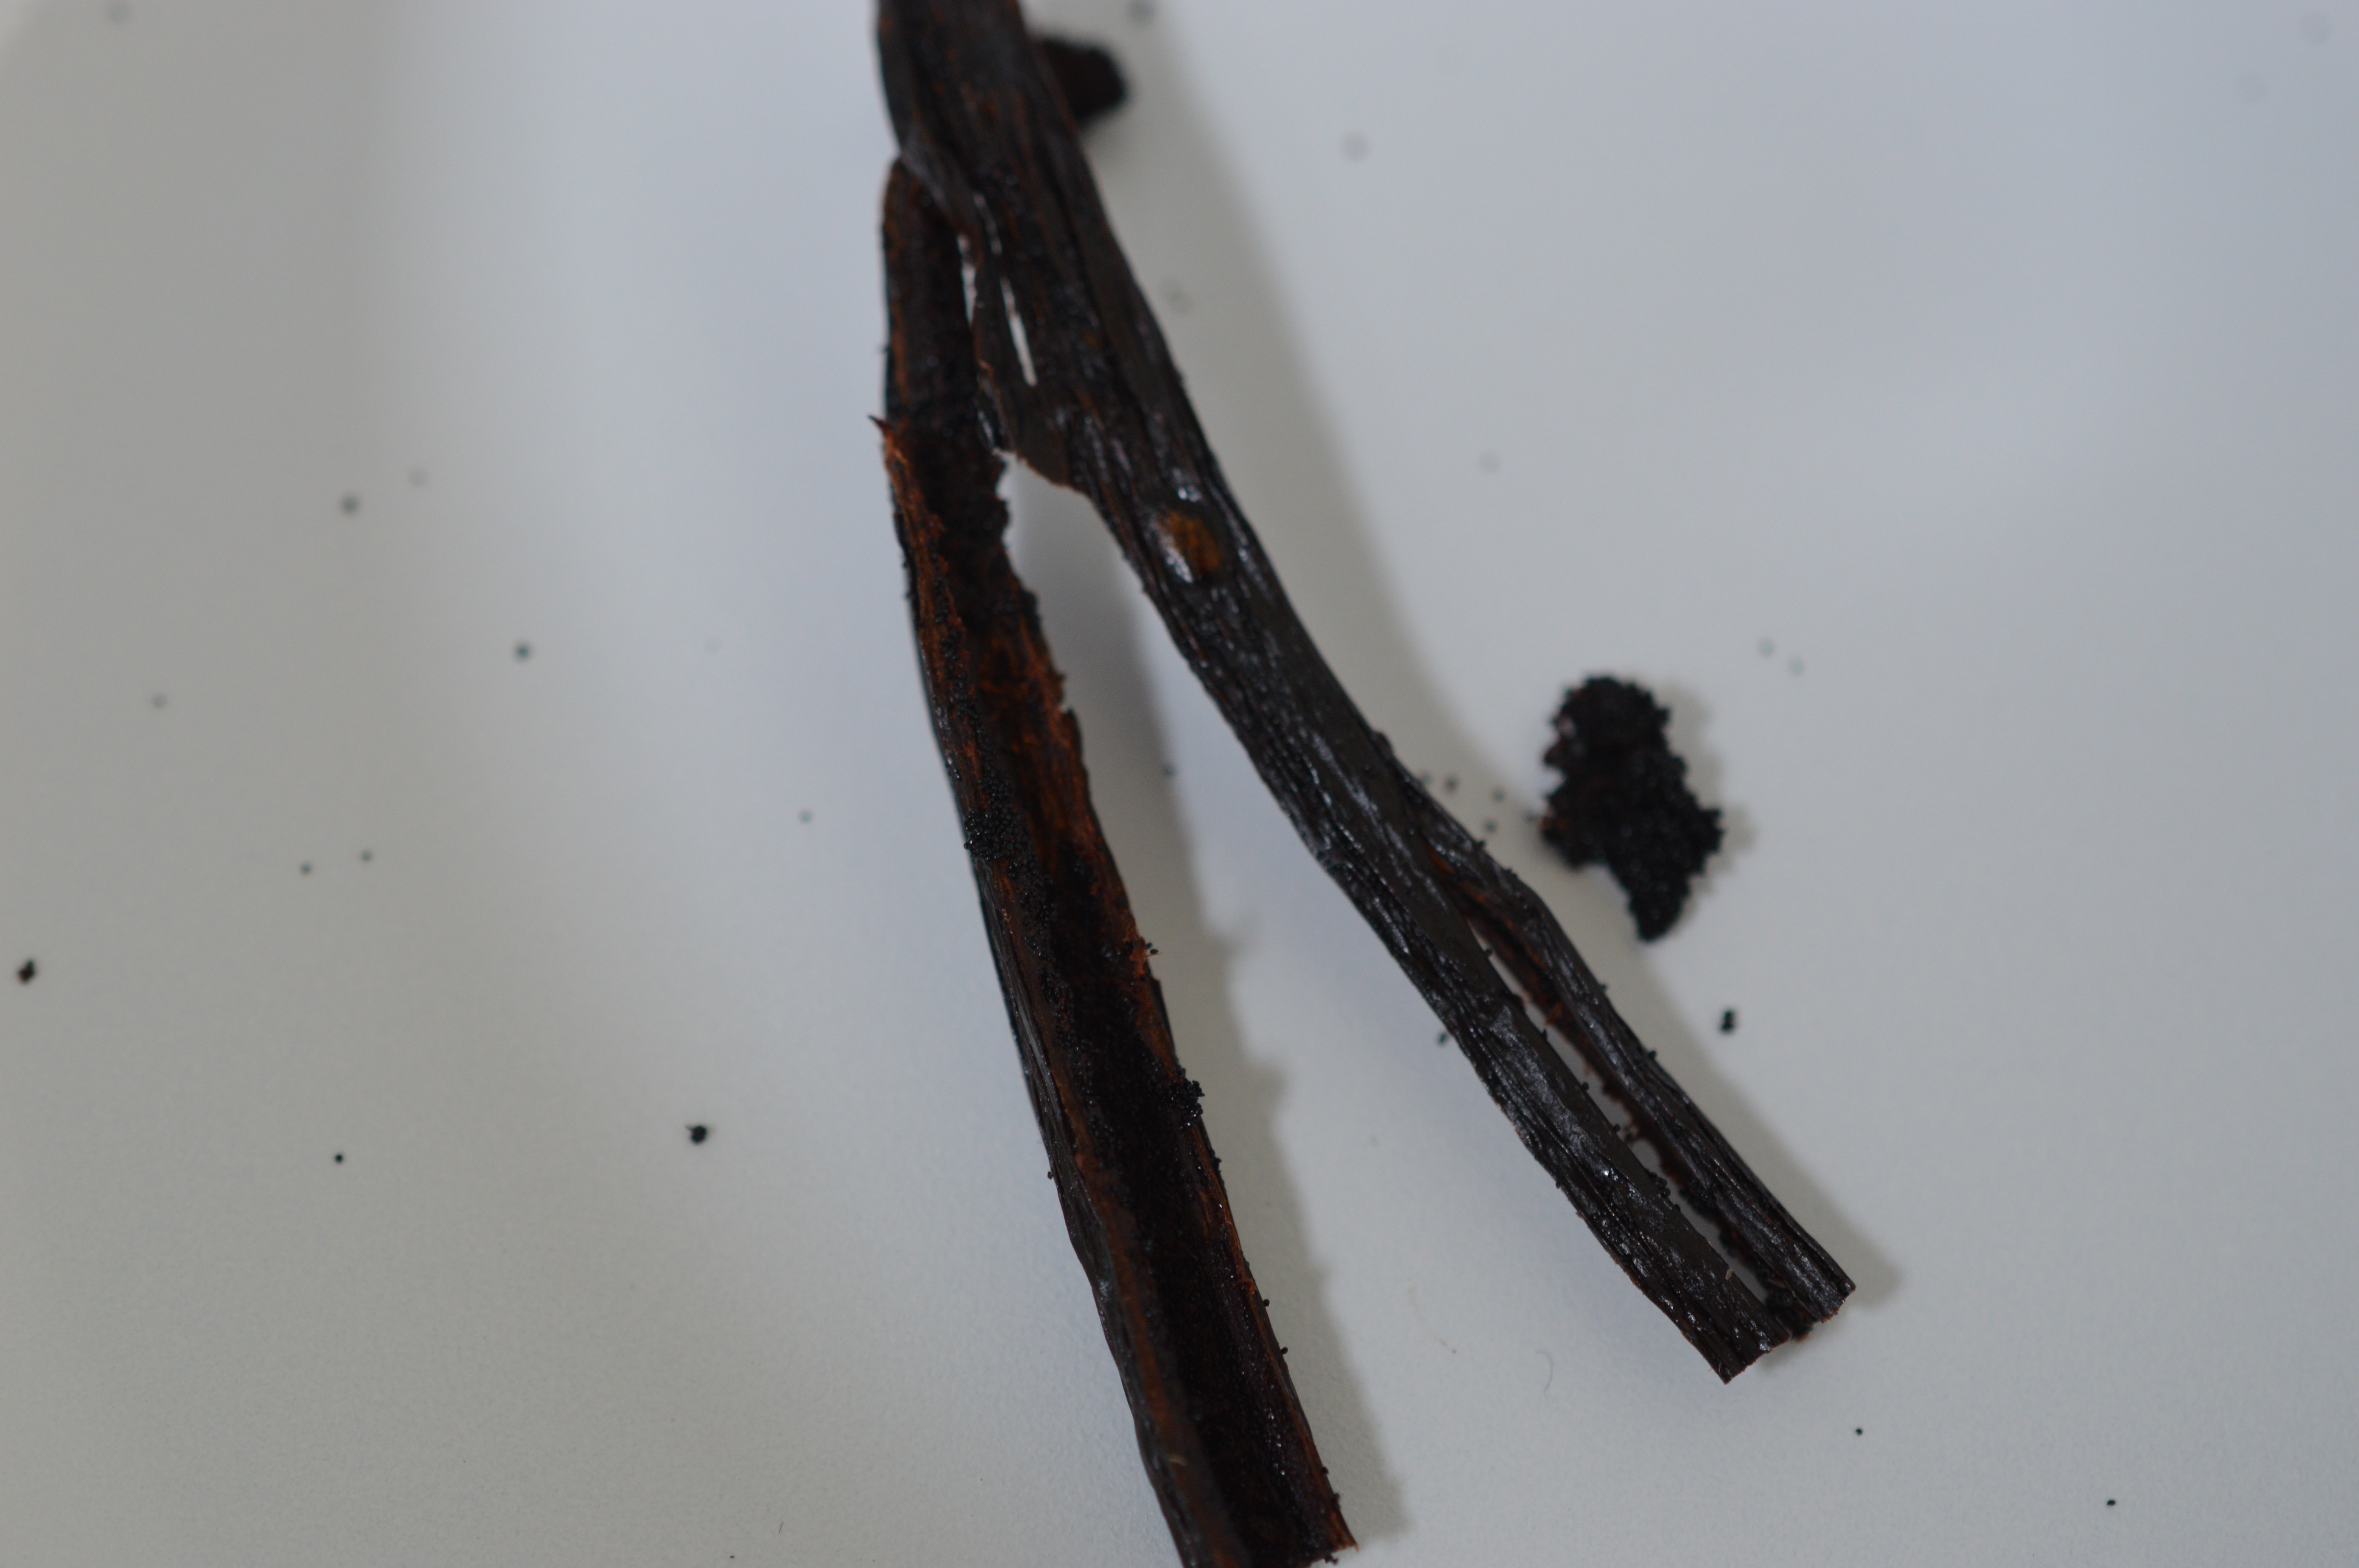
Vanilla here. With vanilla, I’m afraid you get what you pay for. You want a soft, fat, bendable pod. Split the pod with the point of a sharp knife and scrape out the gooey seeds with a teaspoon. (Pop the pod casing into a jar of caster sugar – eventually you end up with ‘vanilla sugar’ which is lovely to bake with.) The seeds go into the cheesecake mixture. Mix again.
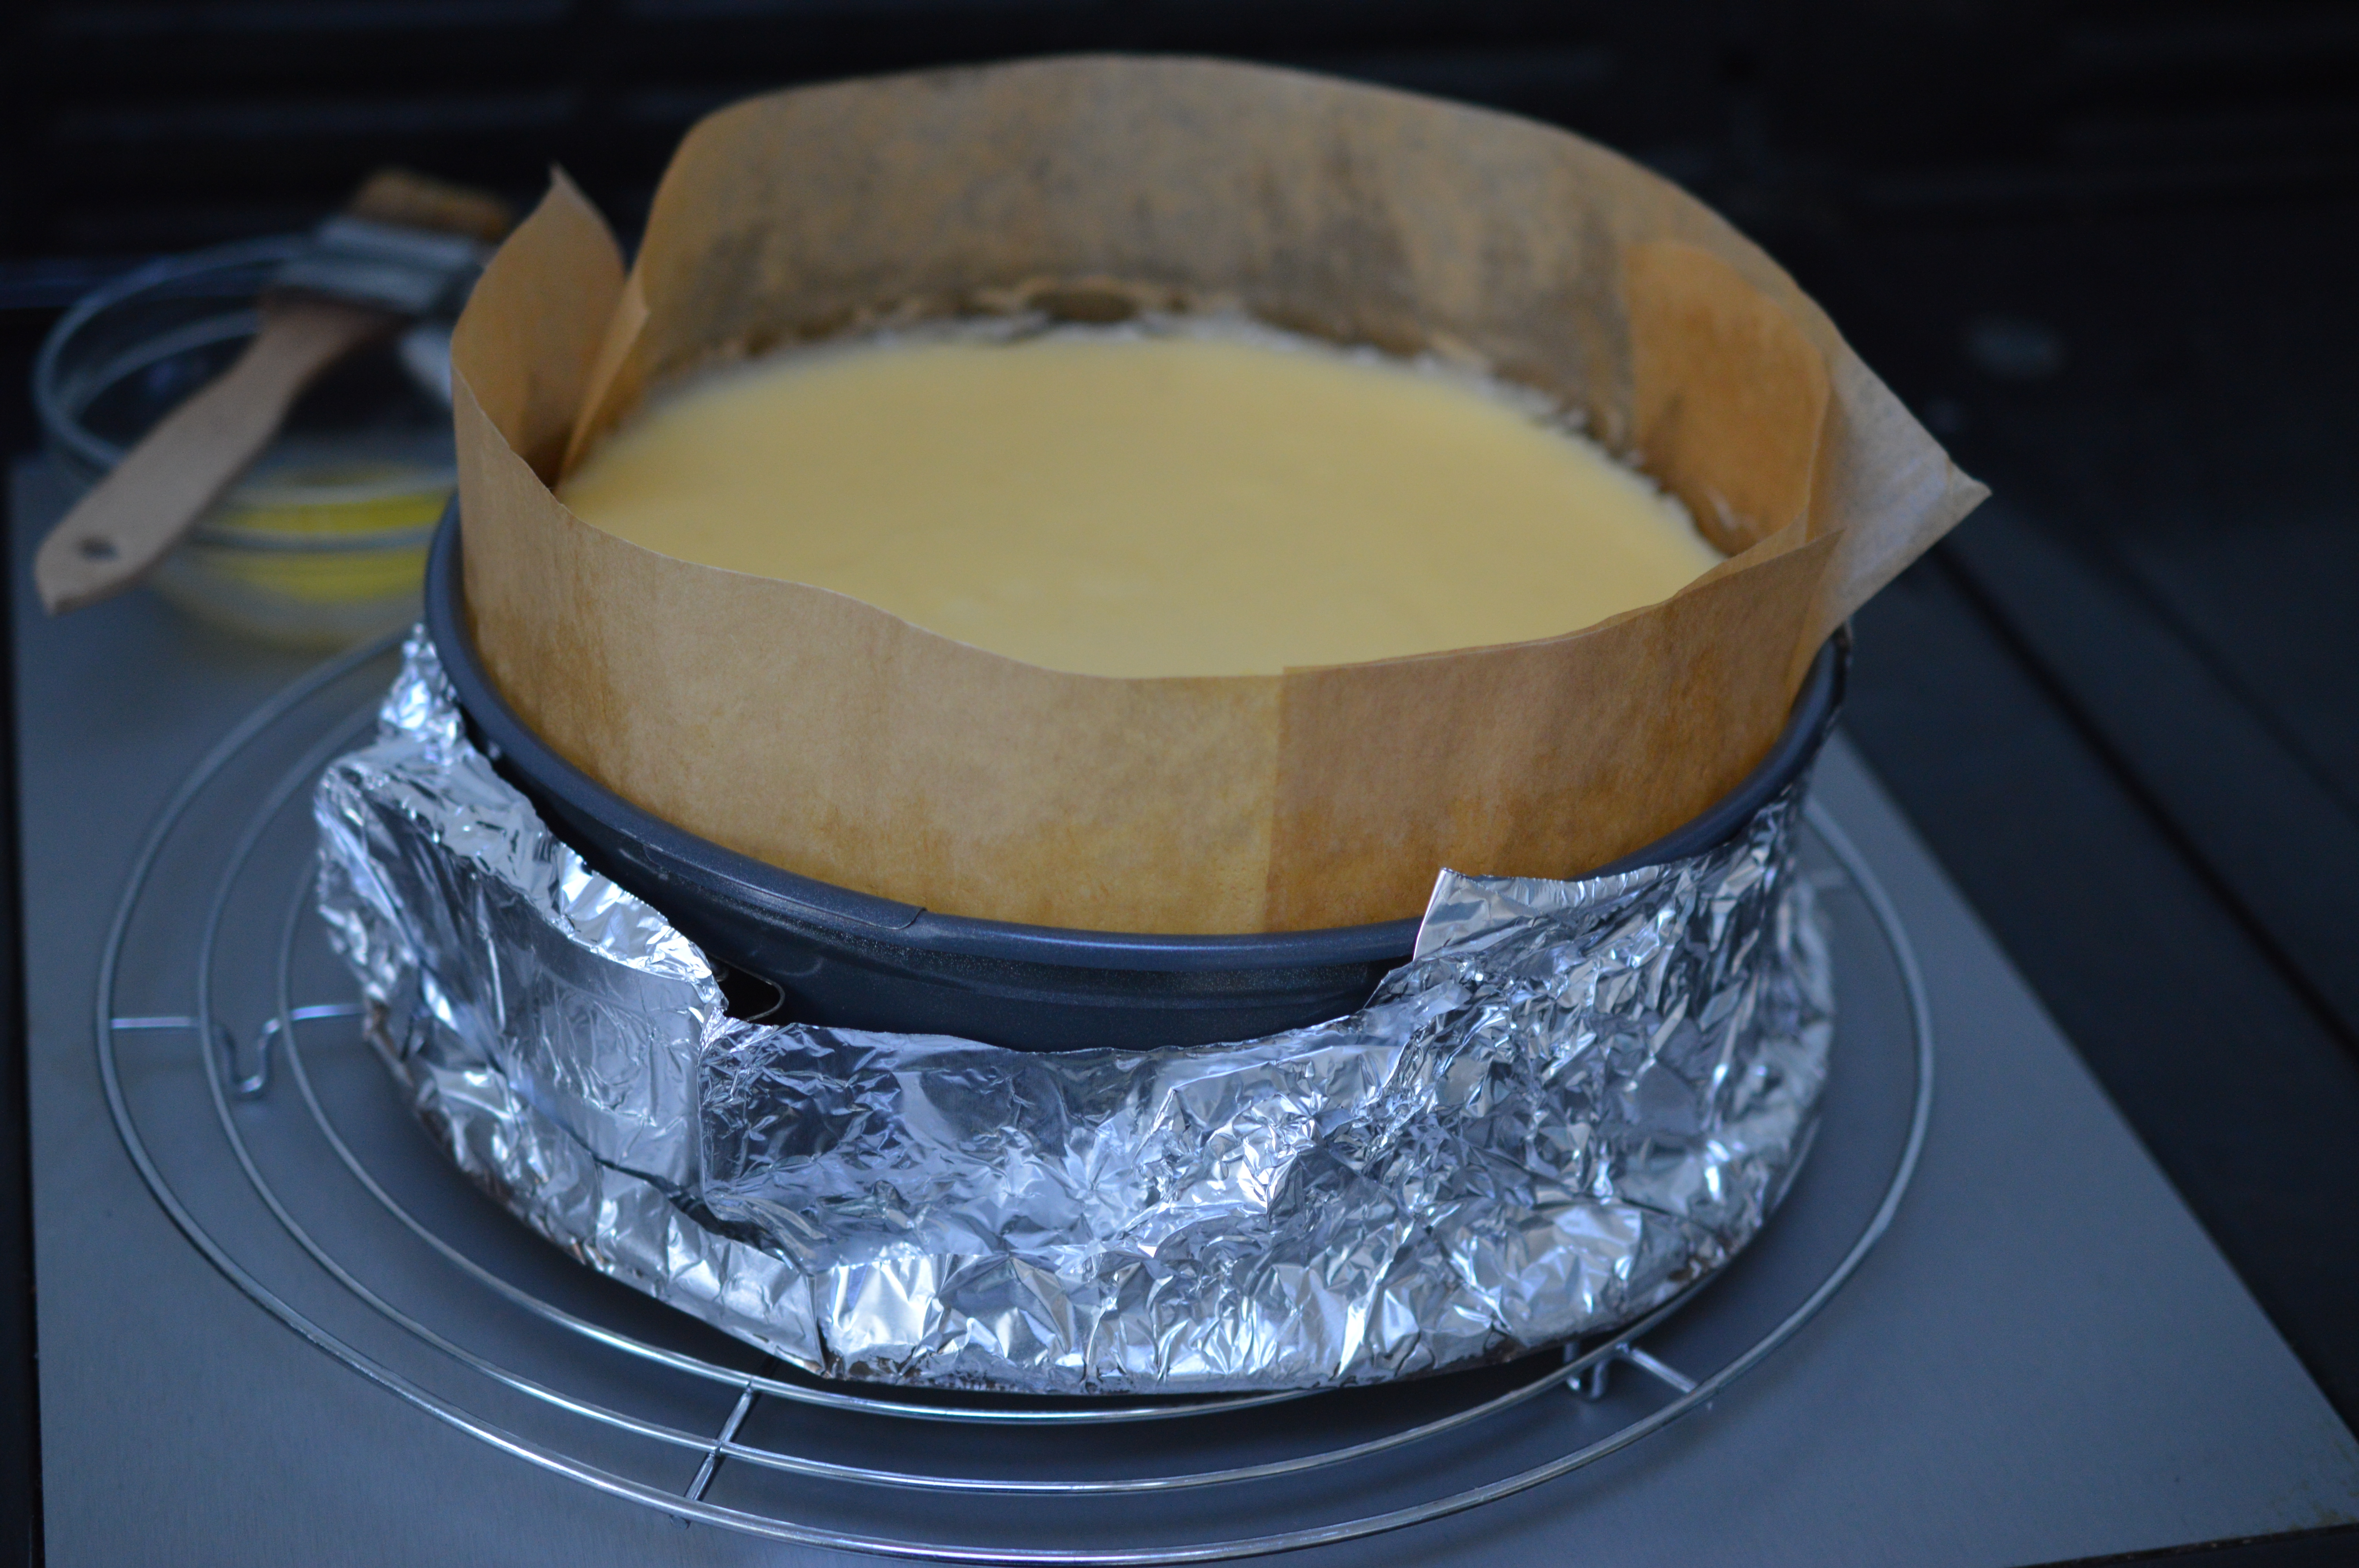
Cheesecakes need a gentle bake and the best way to do that is to use a water bath. Wrap the base of your prepared cake tin in foil. Make a good job of this. Two sheets are better than one. There must be no gaps or water will seep into your cheesecake and it will be fit for nothing but the bin.
Once all is watertight, place into a roasting tray. Put on the kettle. This time, it’s not for you.
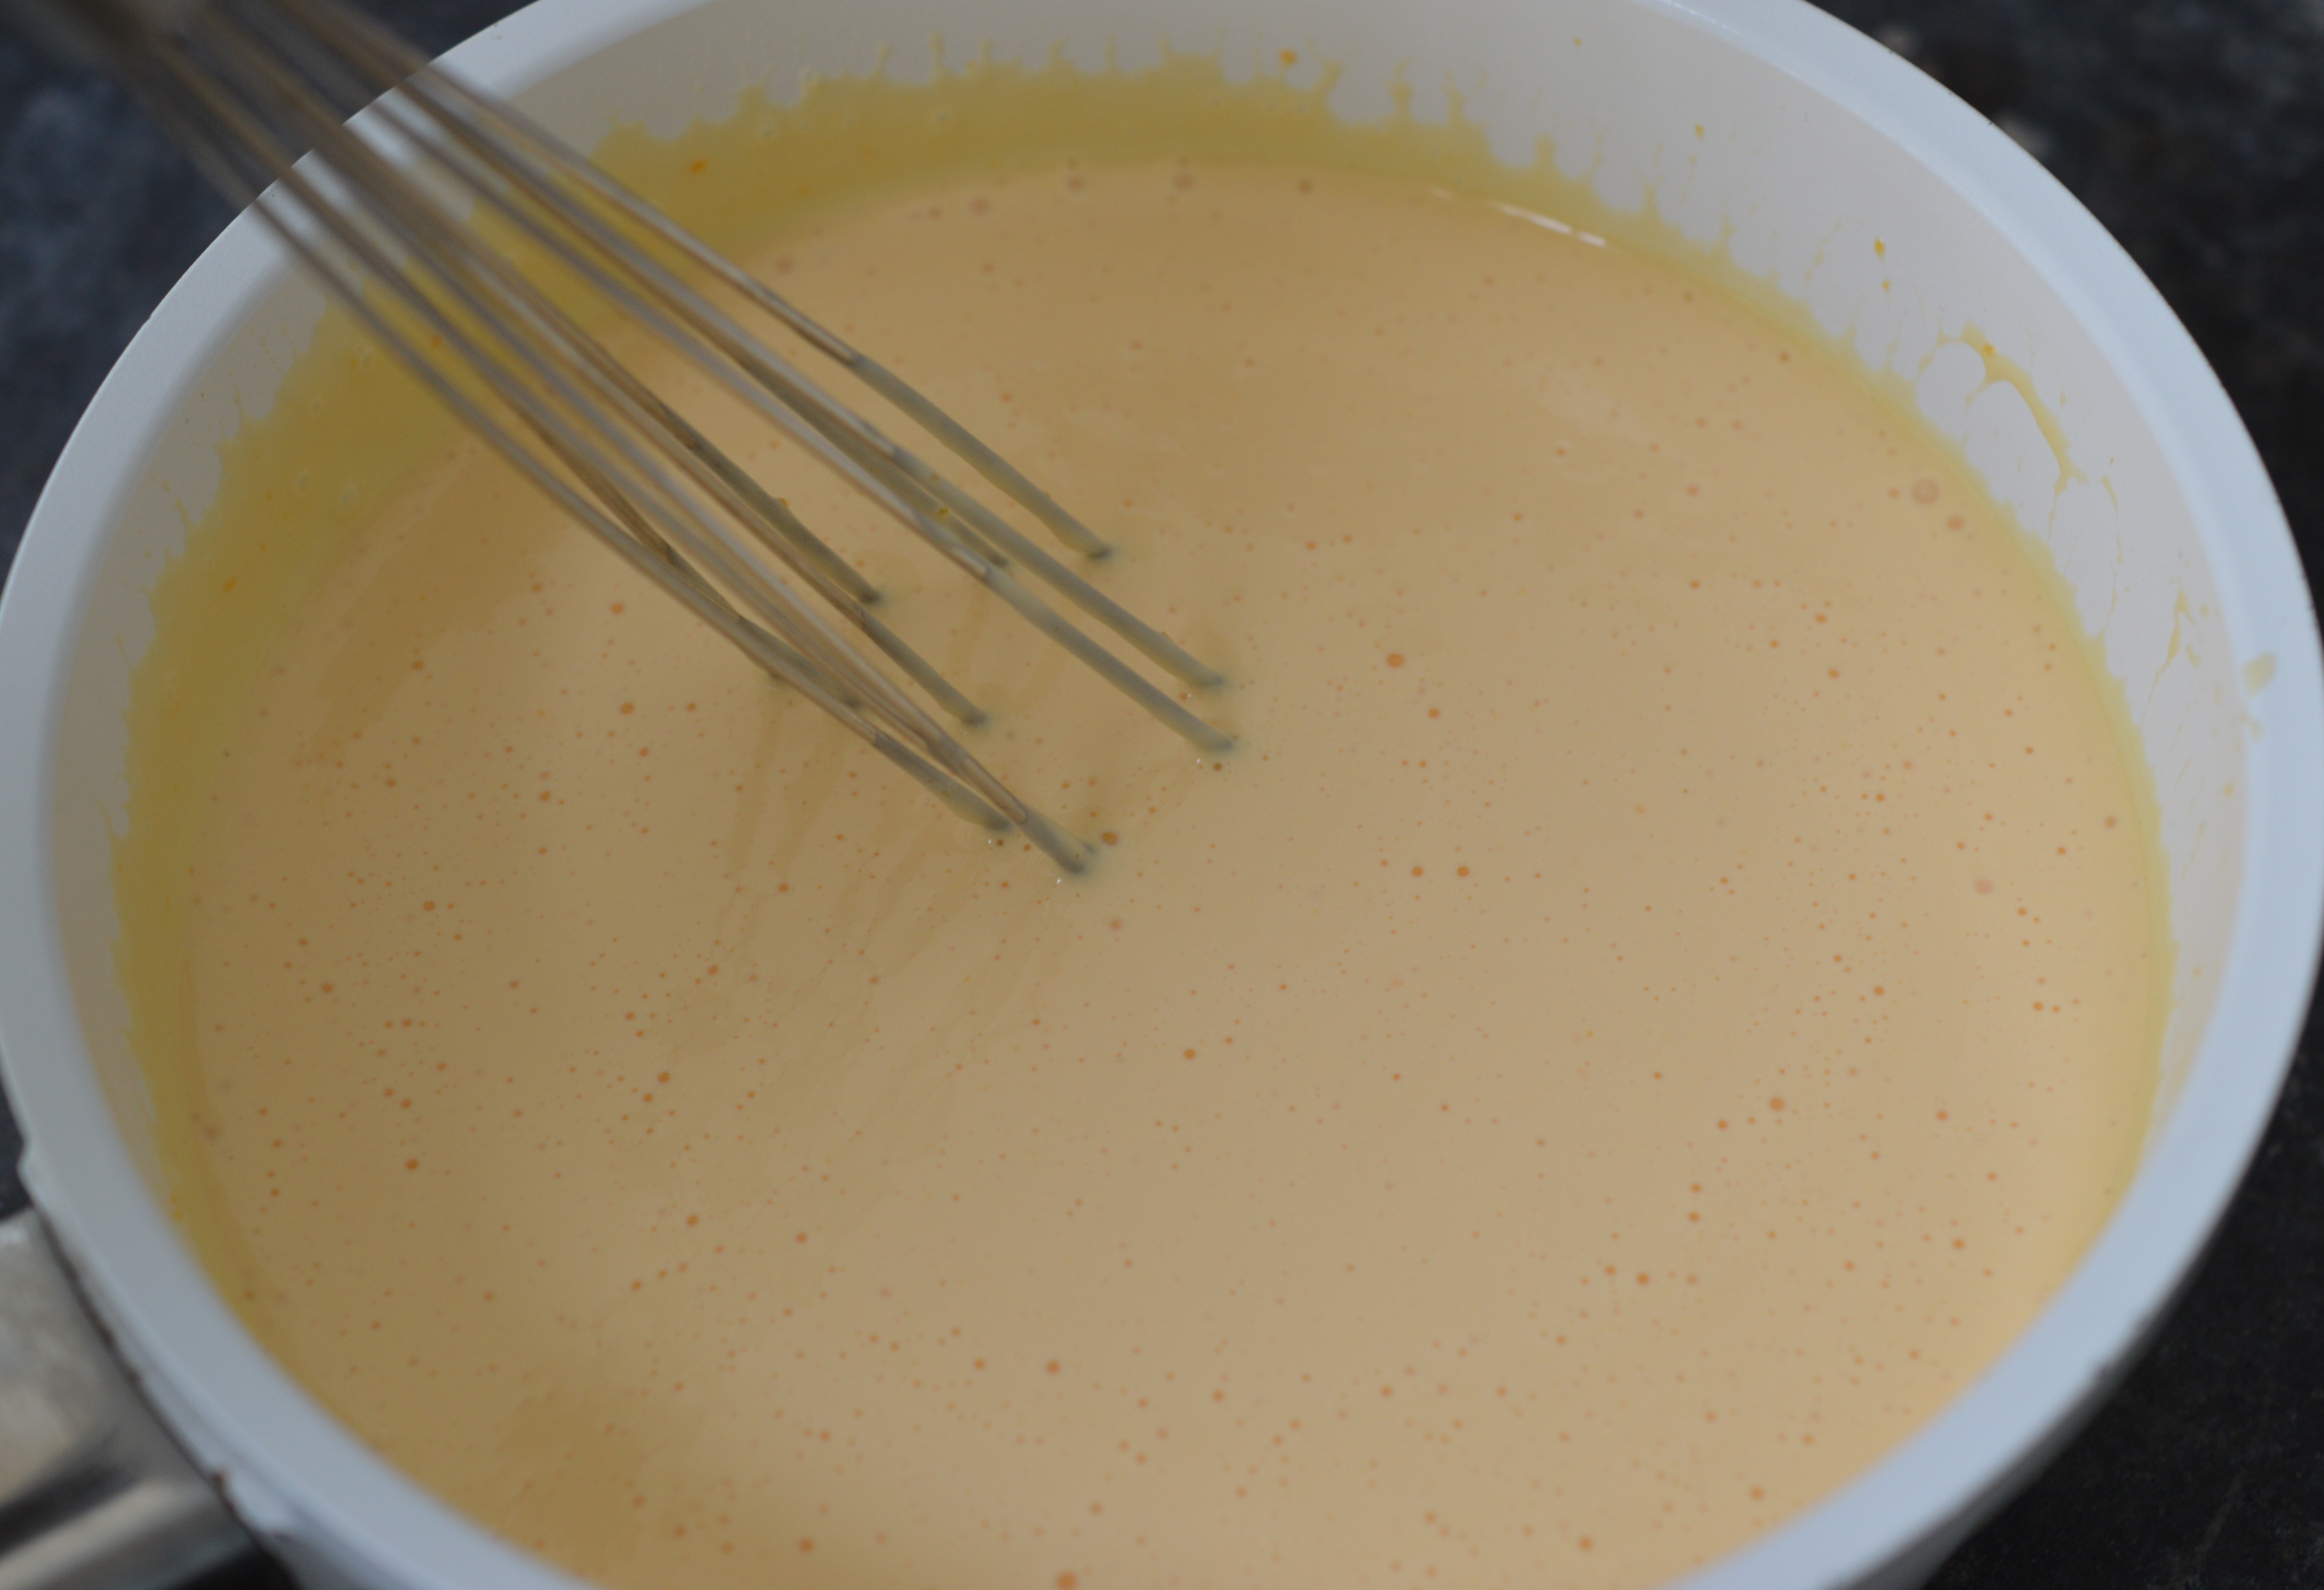
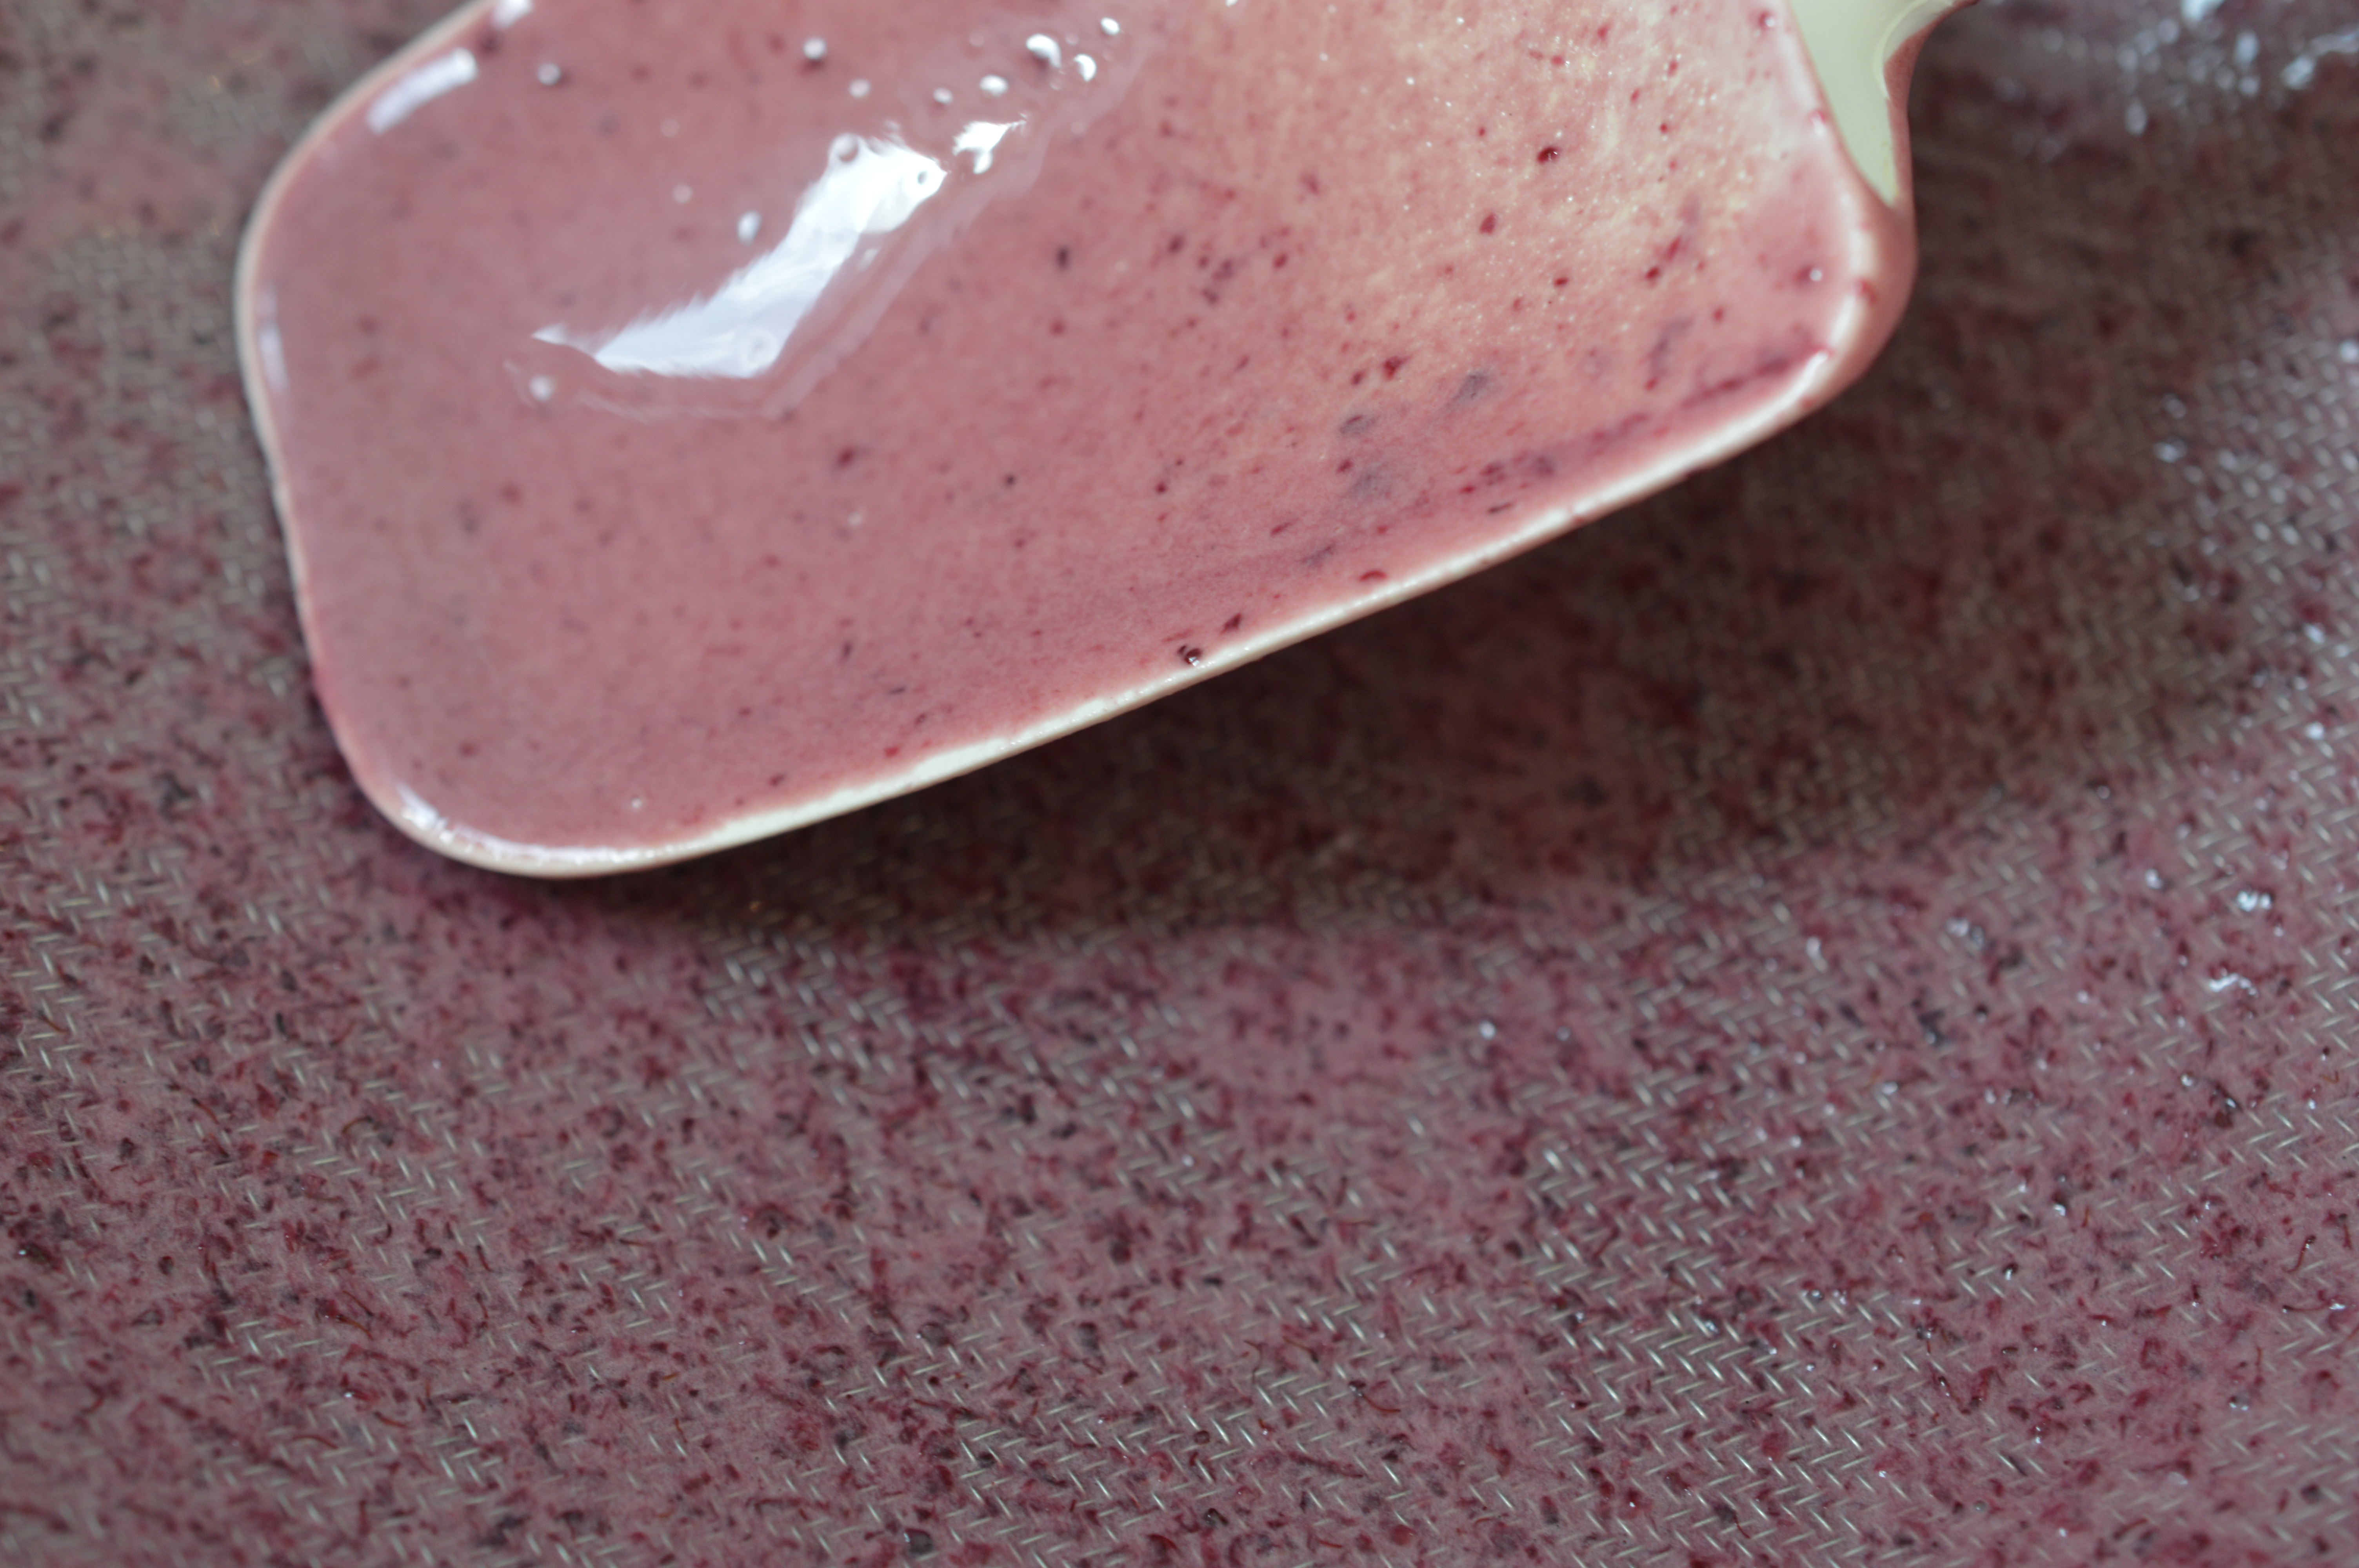
Pour the silky smooth cheesecake mix on top of your biscuity base. Once the kettle is boiling, pour hot water into the roasting tin so your cheesecake is sitting in a gentle water bath which reaches halfway up the sides of the tin. Then into the oven. Bottom shelf. 1½ hours.
(Aga: I cook in a water bath because I find it still gives better results. It’s 20 mins on the grid shelf on the floor of the Roasting Oven and then transfer to the simmering oven for a further 2 hours.)
It’s cooked when the sides are gently pulling away from the paper and the centre is set but still a little wobbly. The cheesecake will continue to cook as it cools.
Conventional ovens – turn off the oven and leave the door ajar for an hour or so and let the cheesecake cool very gently. This is all about avoiding cracking. Then you remove completely, cover the top with clean foil but making sure it’s not in contact with the surface, and put into the fridge. Four hours or overnight.
(Aga – I have a four oven aga so after two hours in the simmering oven, I take my cheesecake out of the water bath and put on a cooling rack resting on the warming plate.)
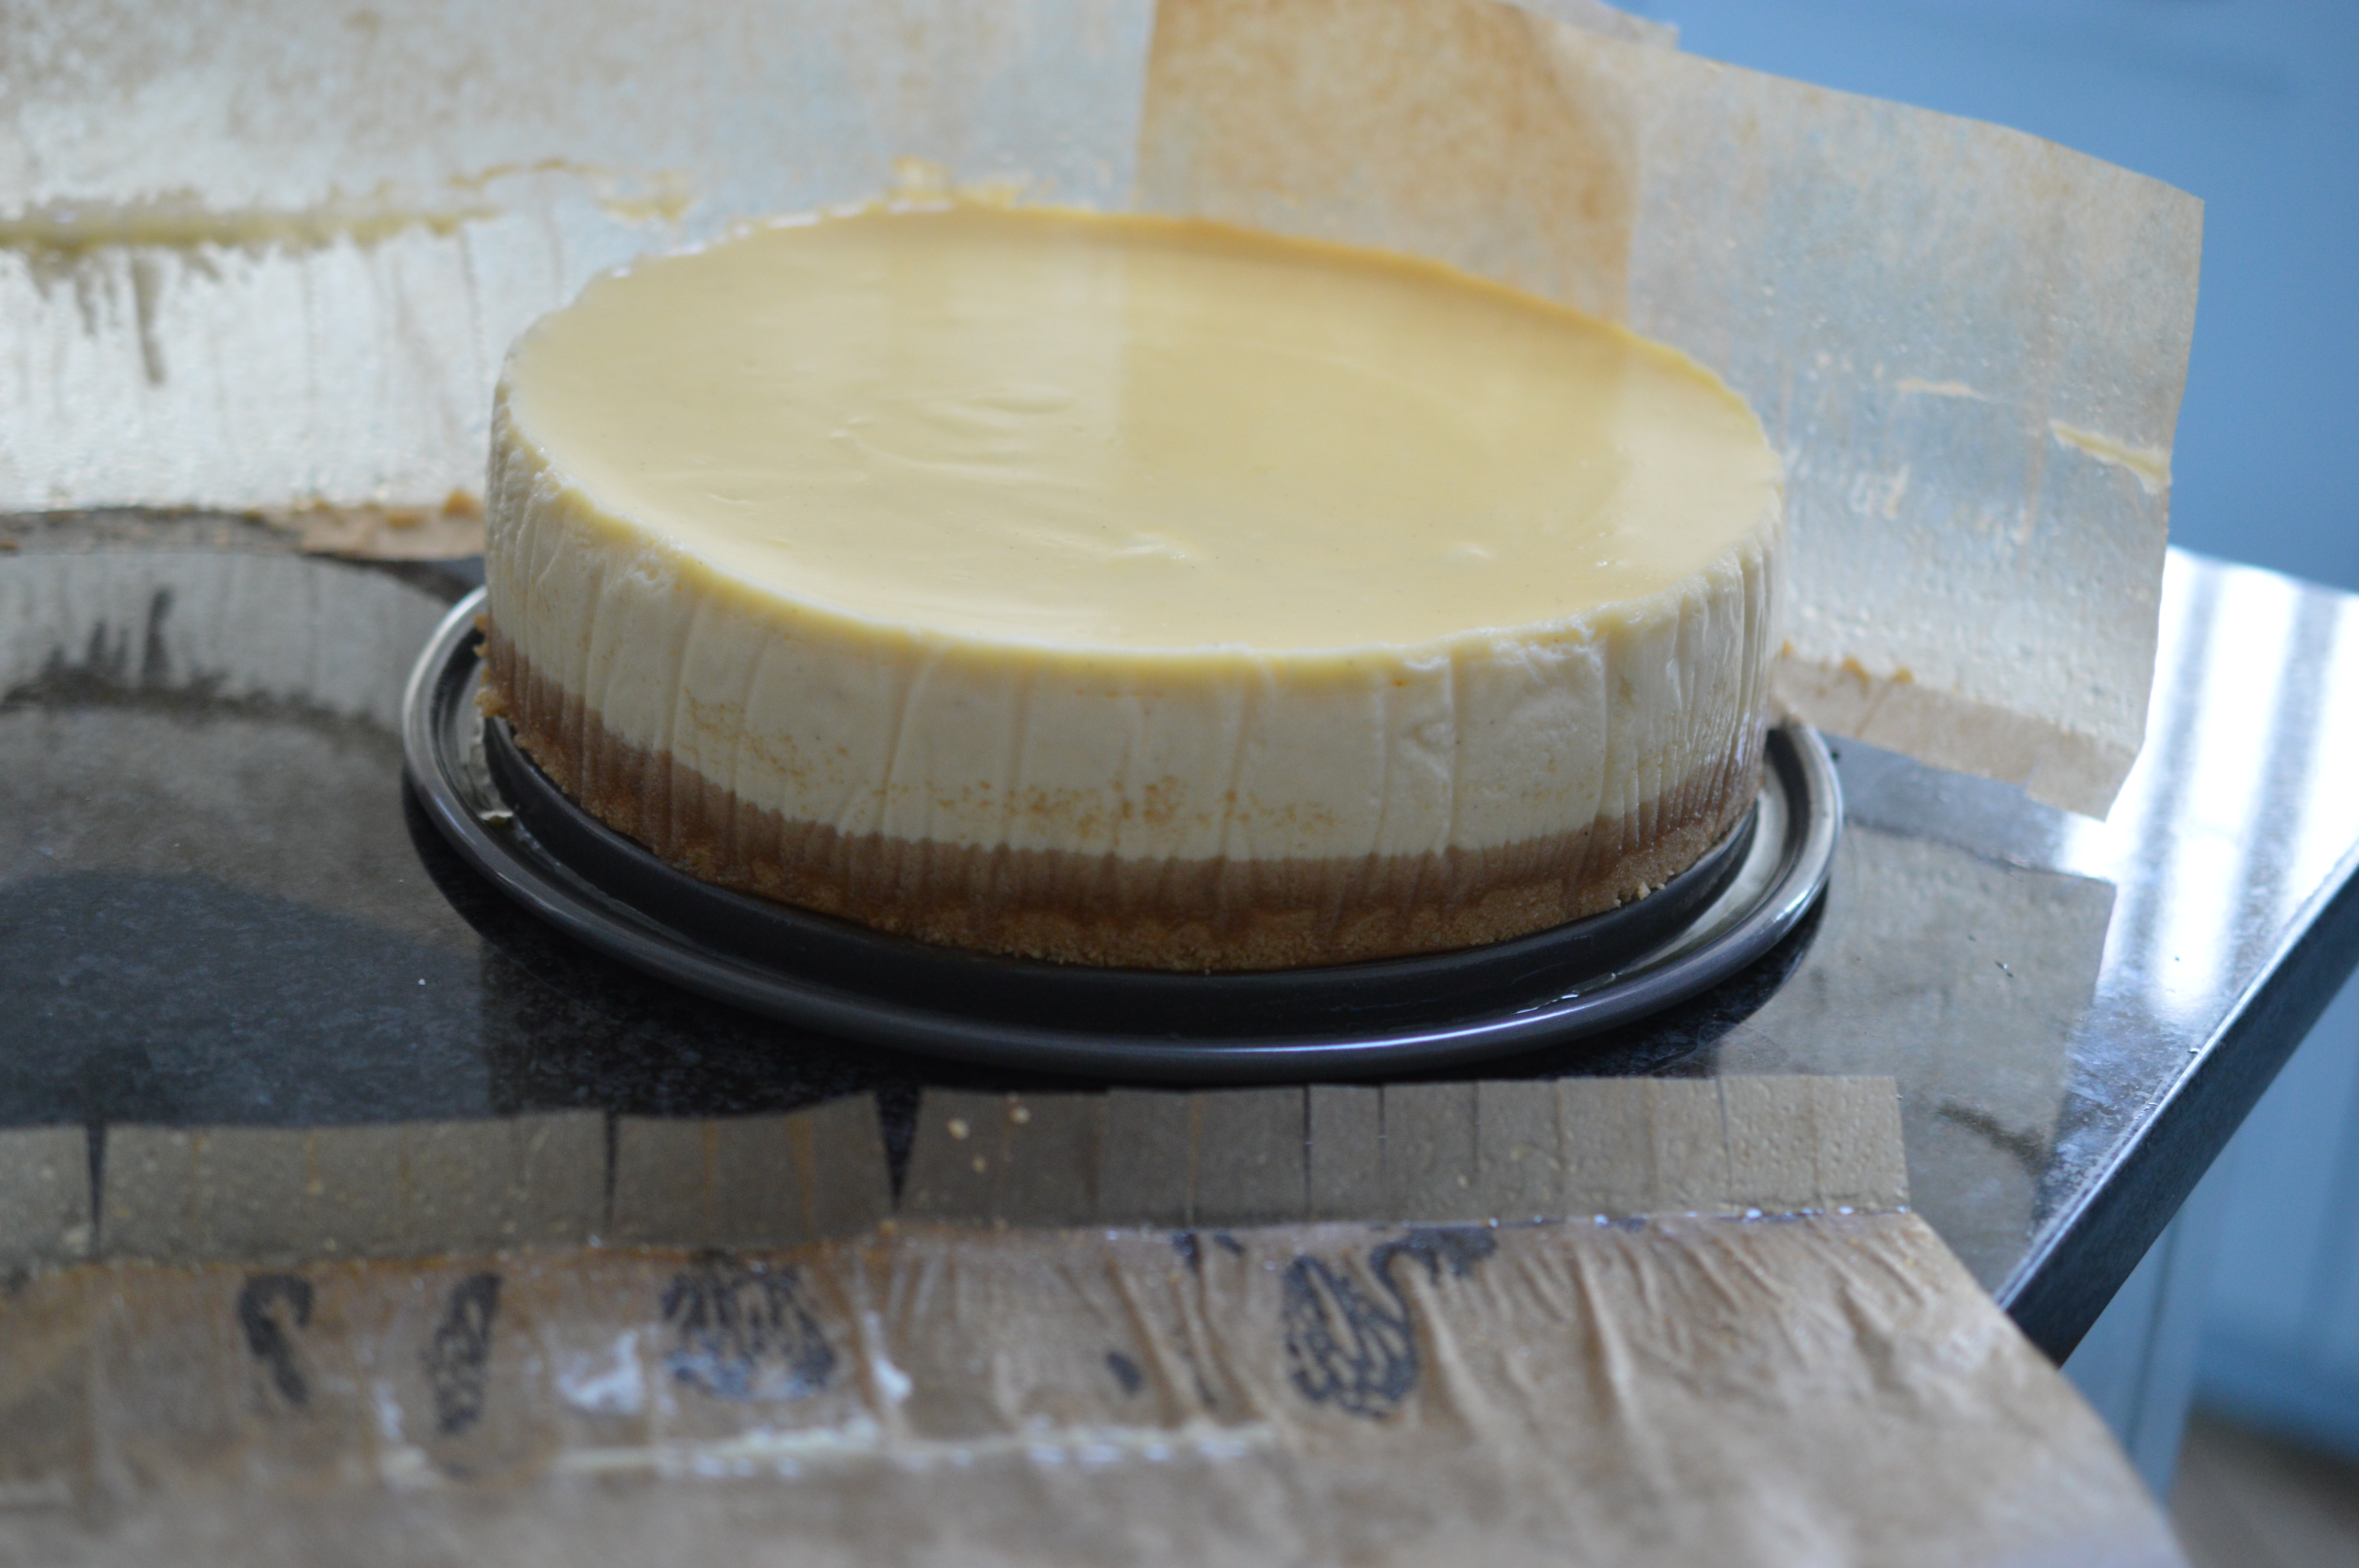
The now completely cooled cheesecake is ready to be unwrapped. Go gently. A cheesecake is a fragile beauty. Release the clip and gently pull away the baking parchment.
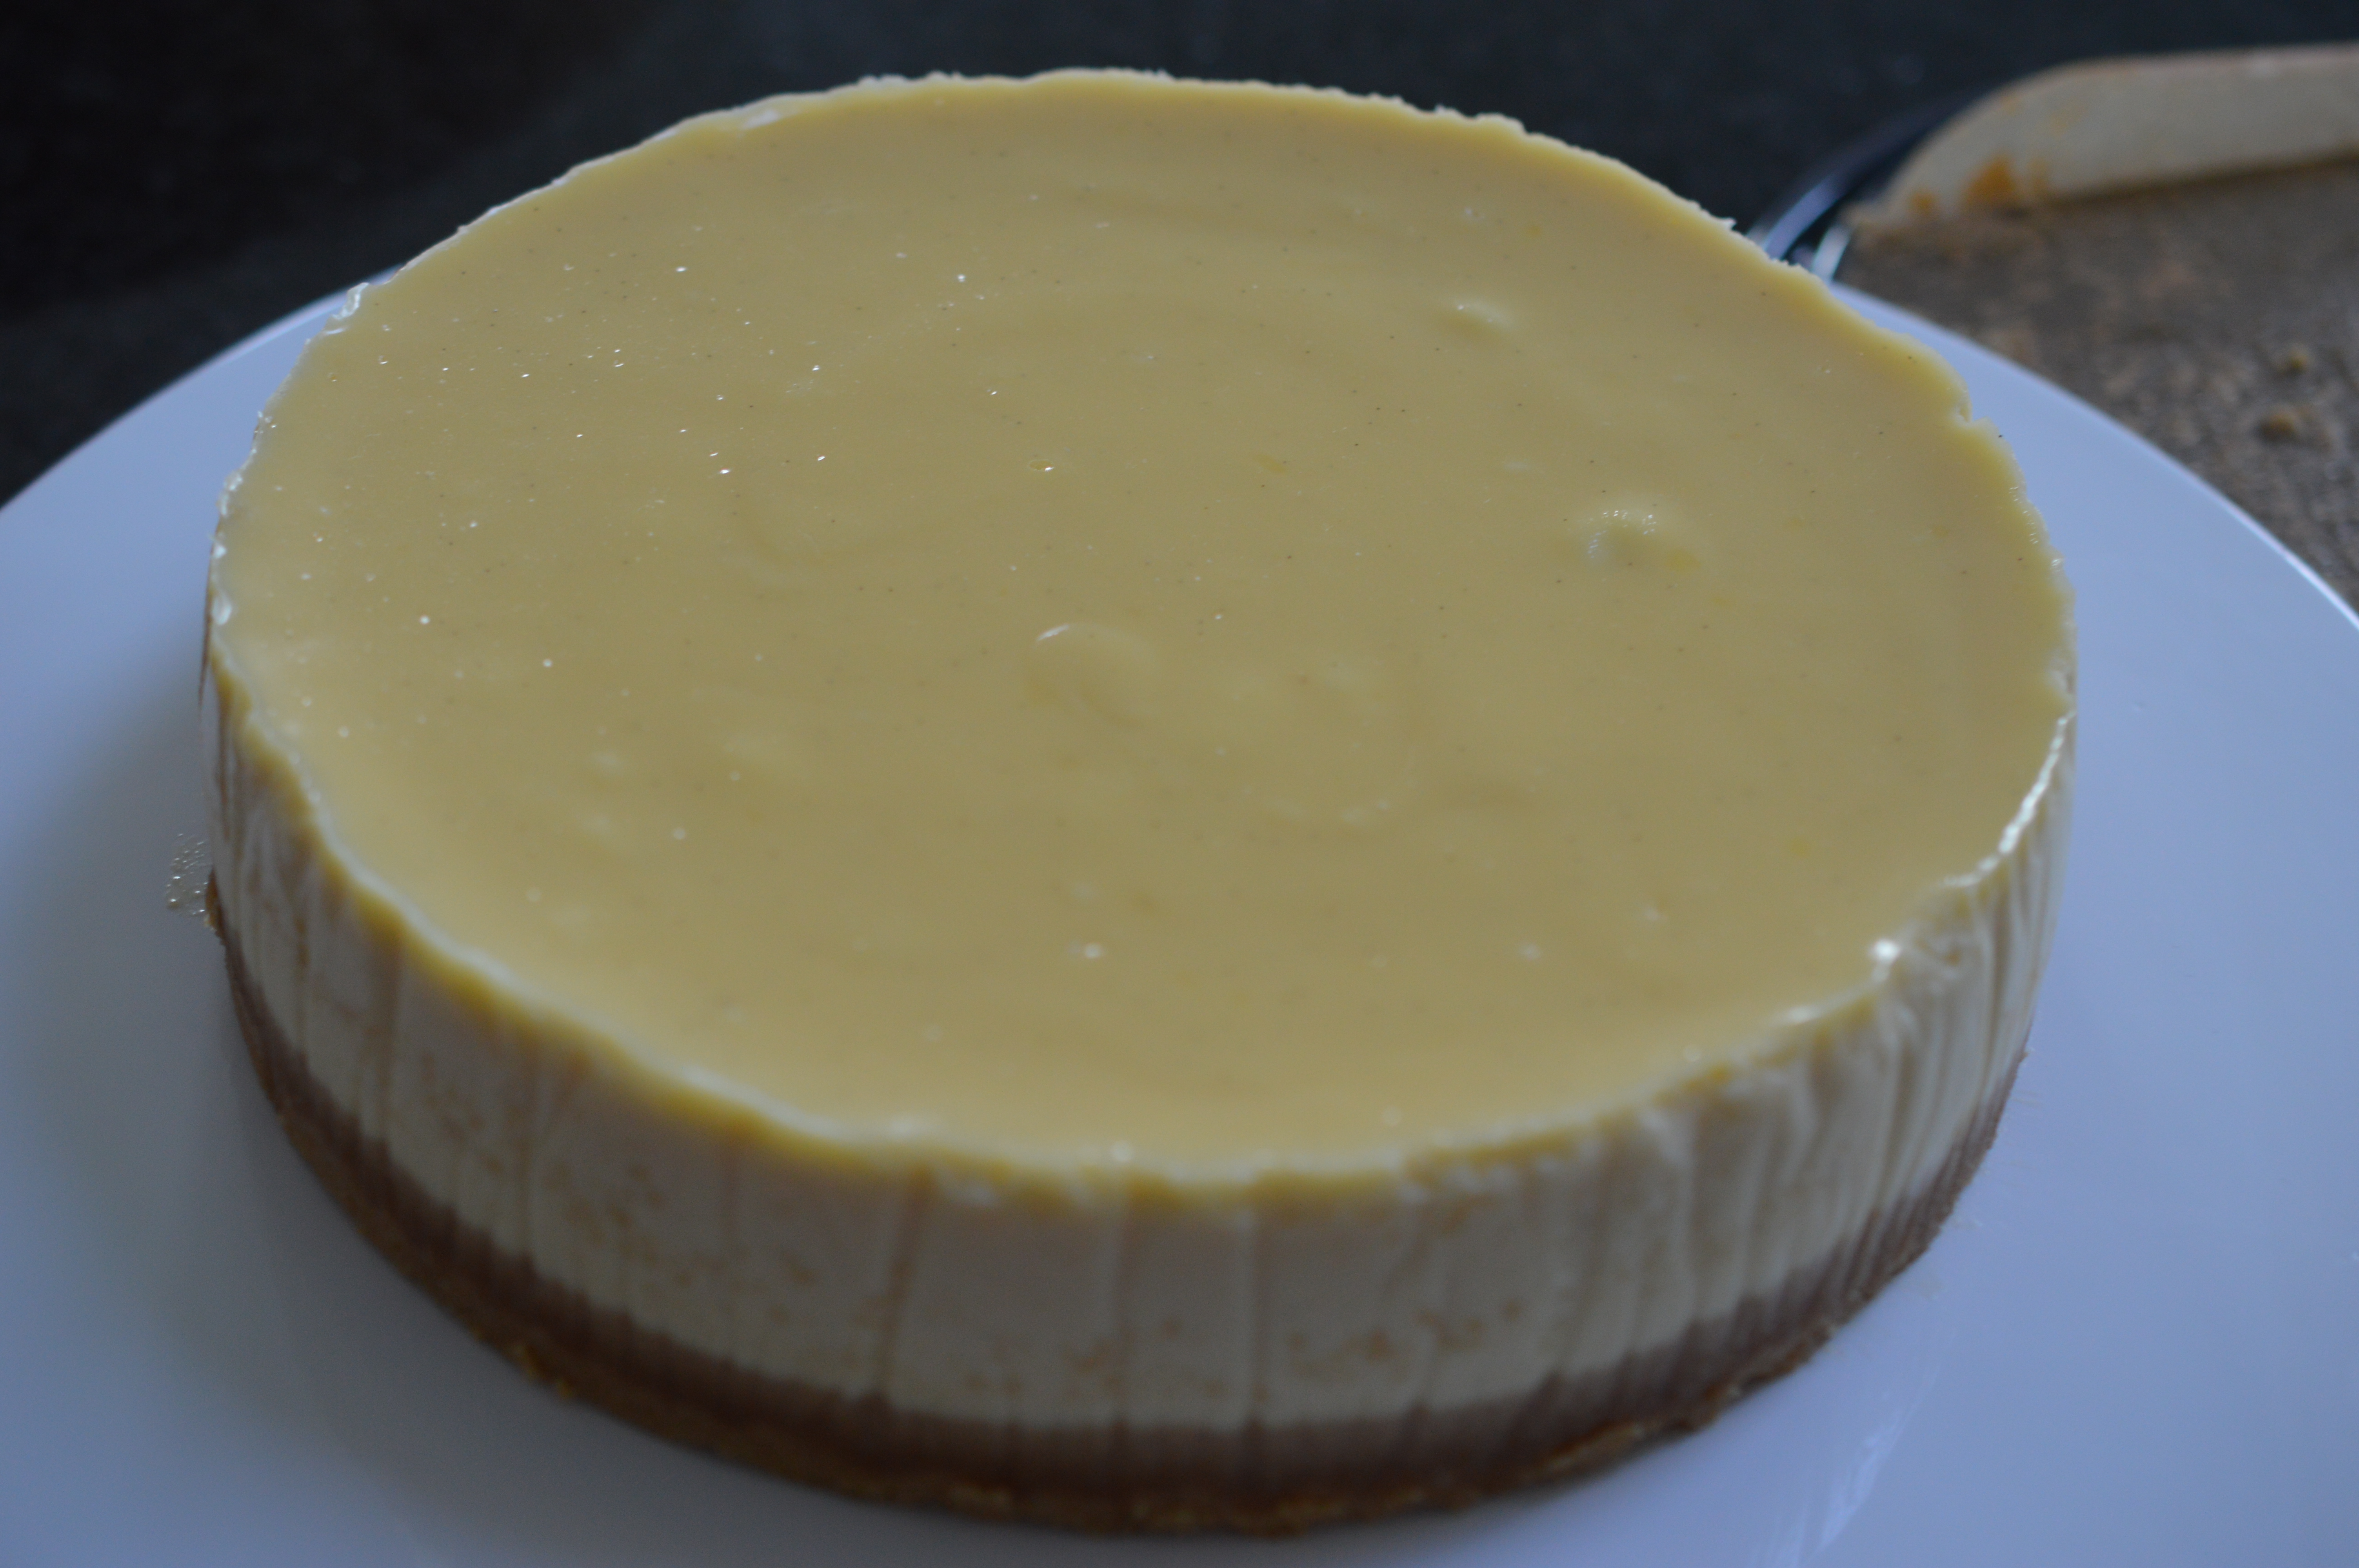
I like to remove the base. The easiest way I’ve found is to use the flat base of a larger quiche/flan tin. Slide it between the biscuit base and the tin. It’s one of those nerves of steel situations …
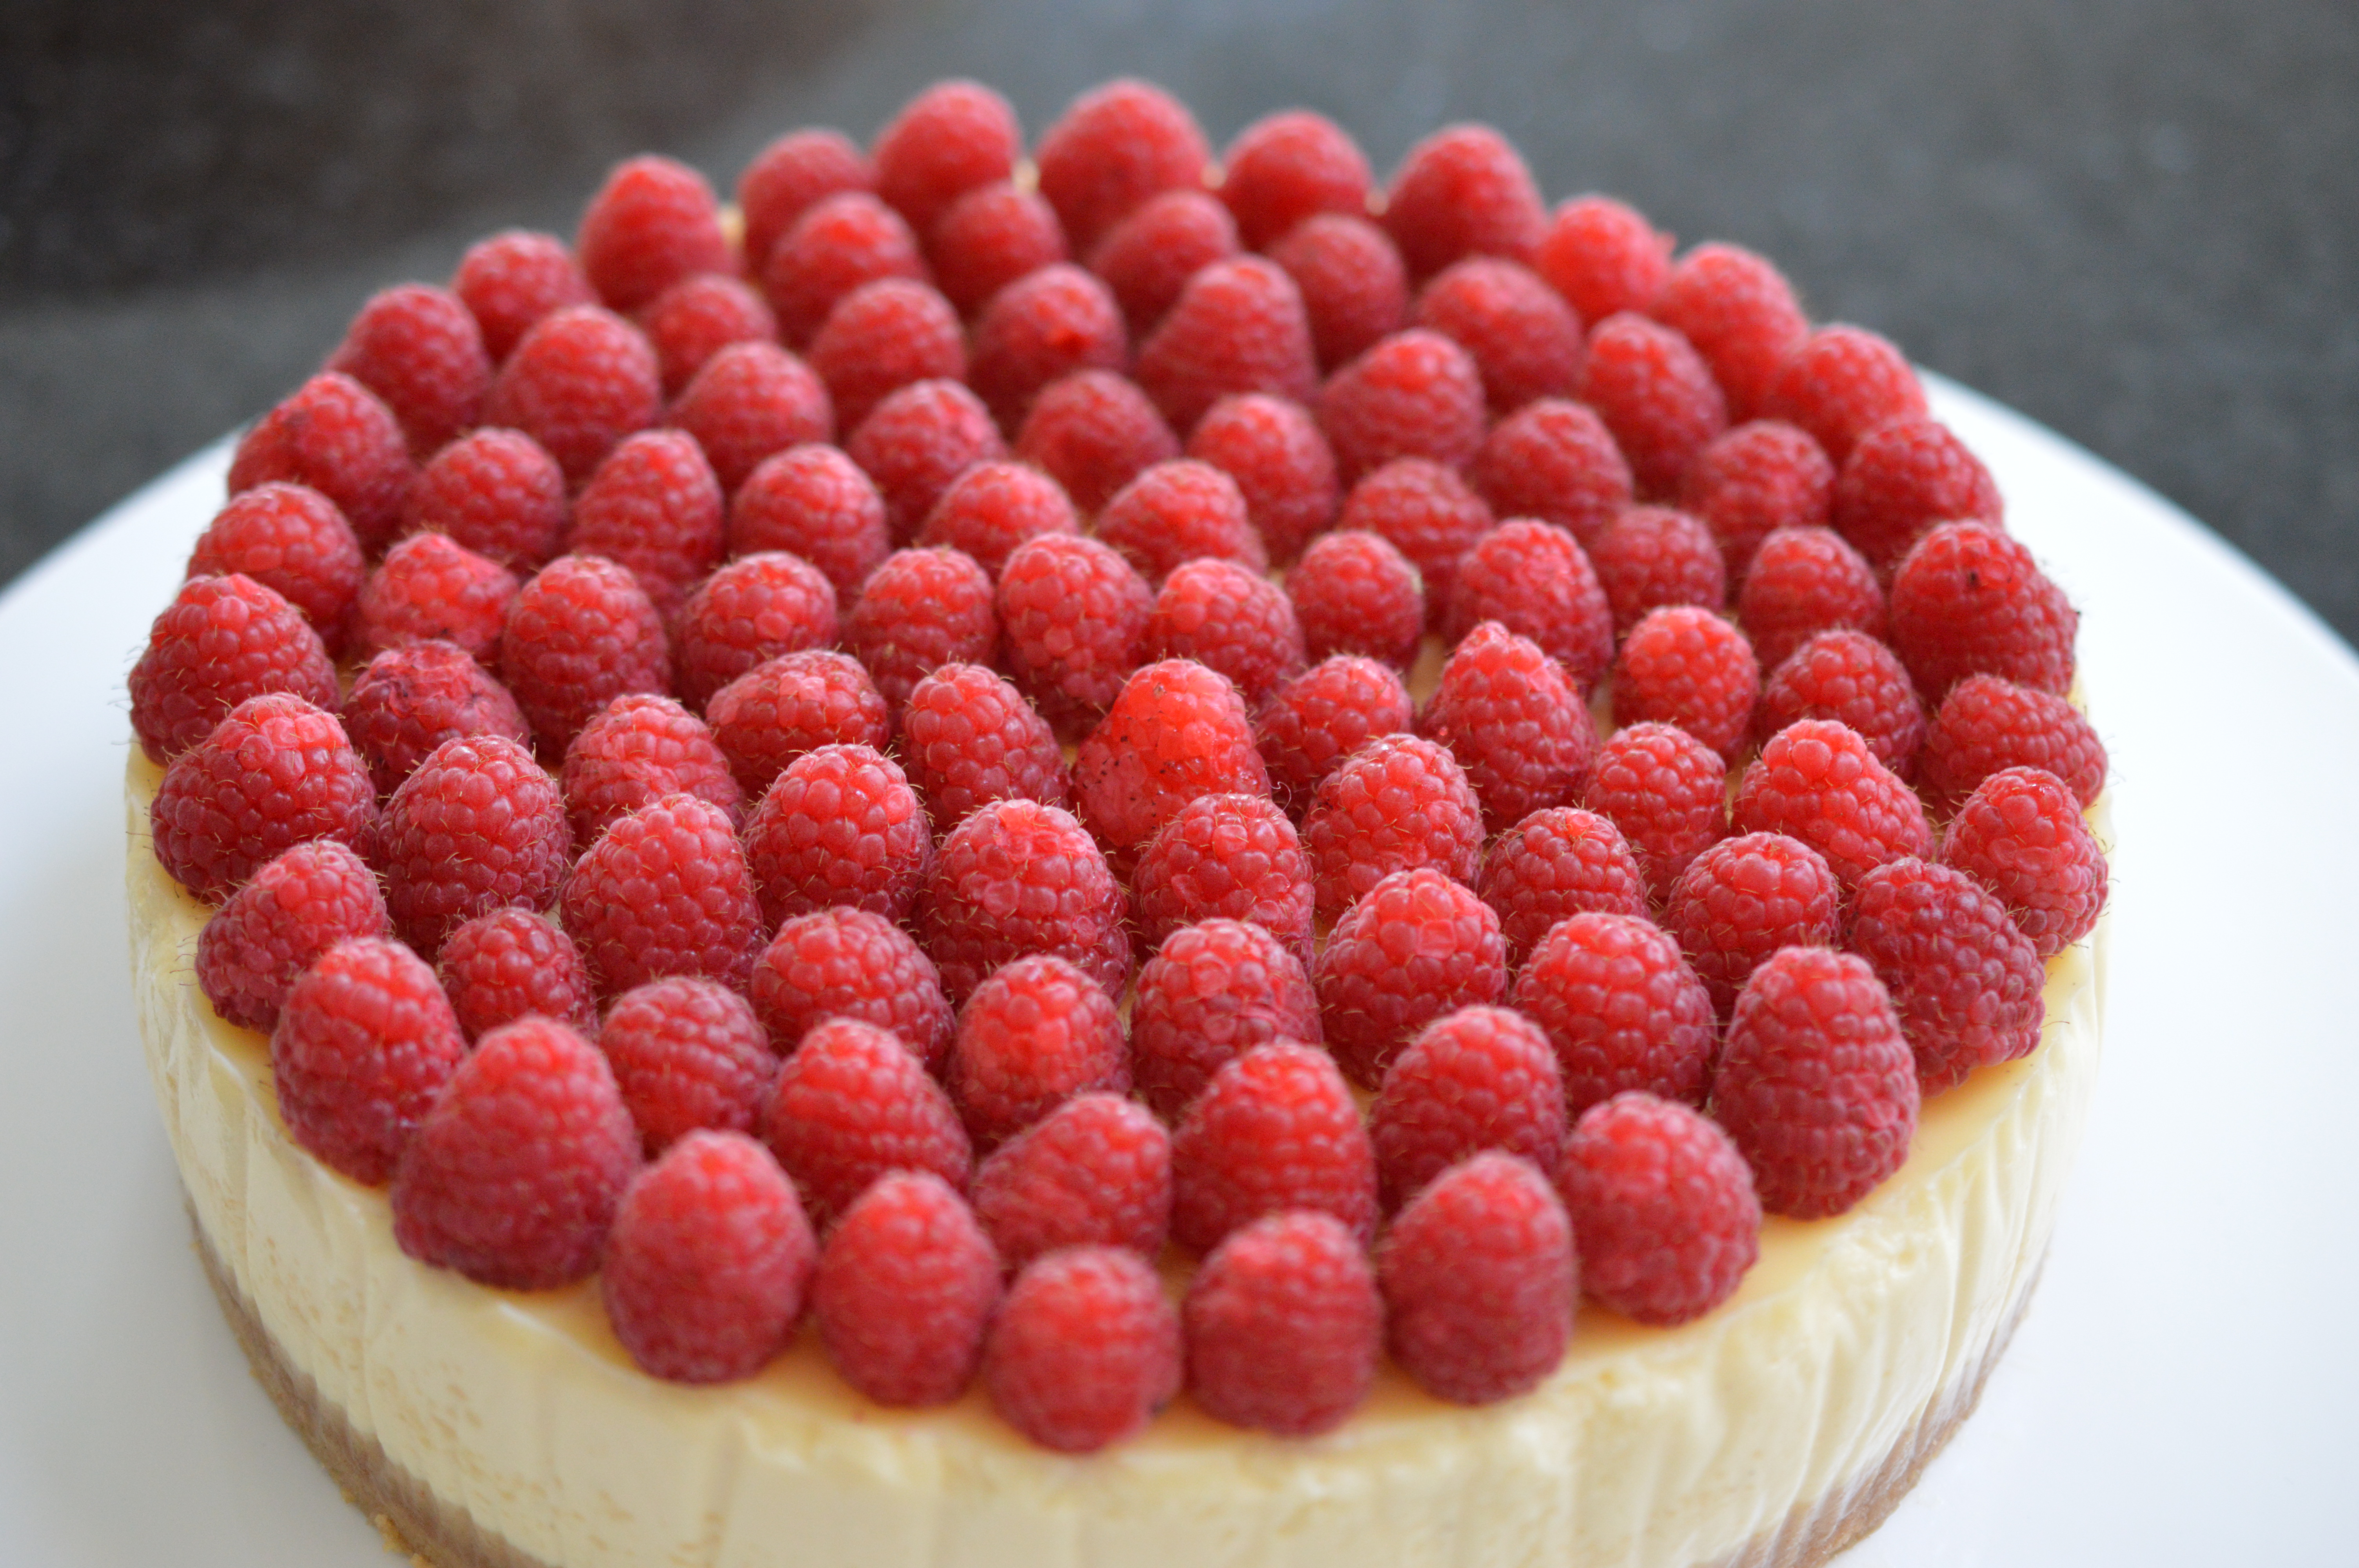
For my ‘birthday’ version. I covered the top with fresh raspberries.
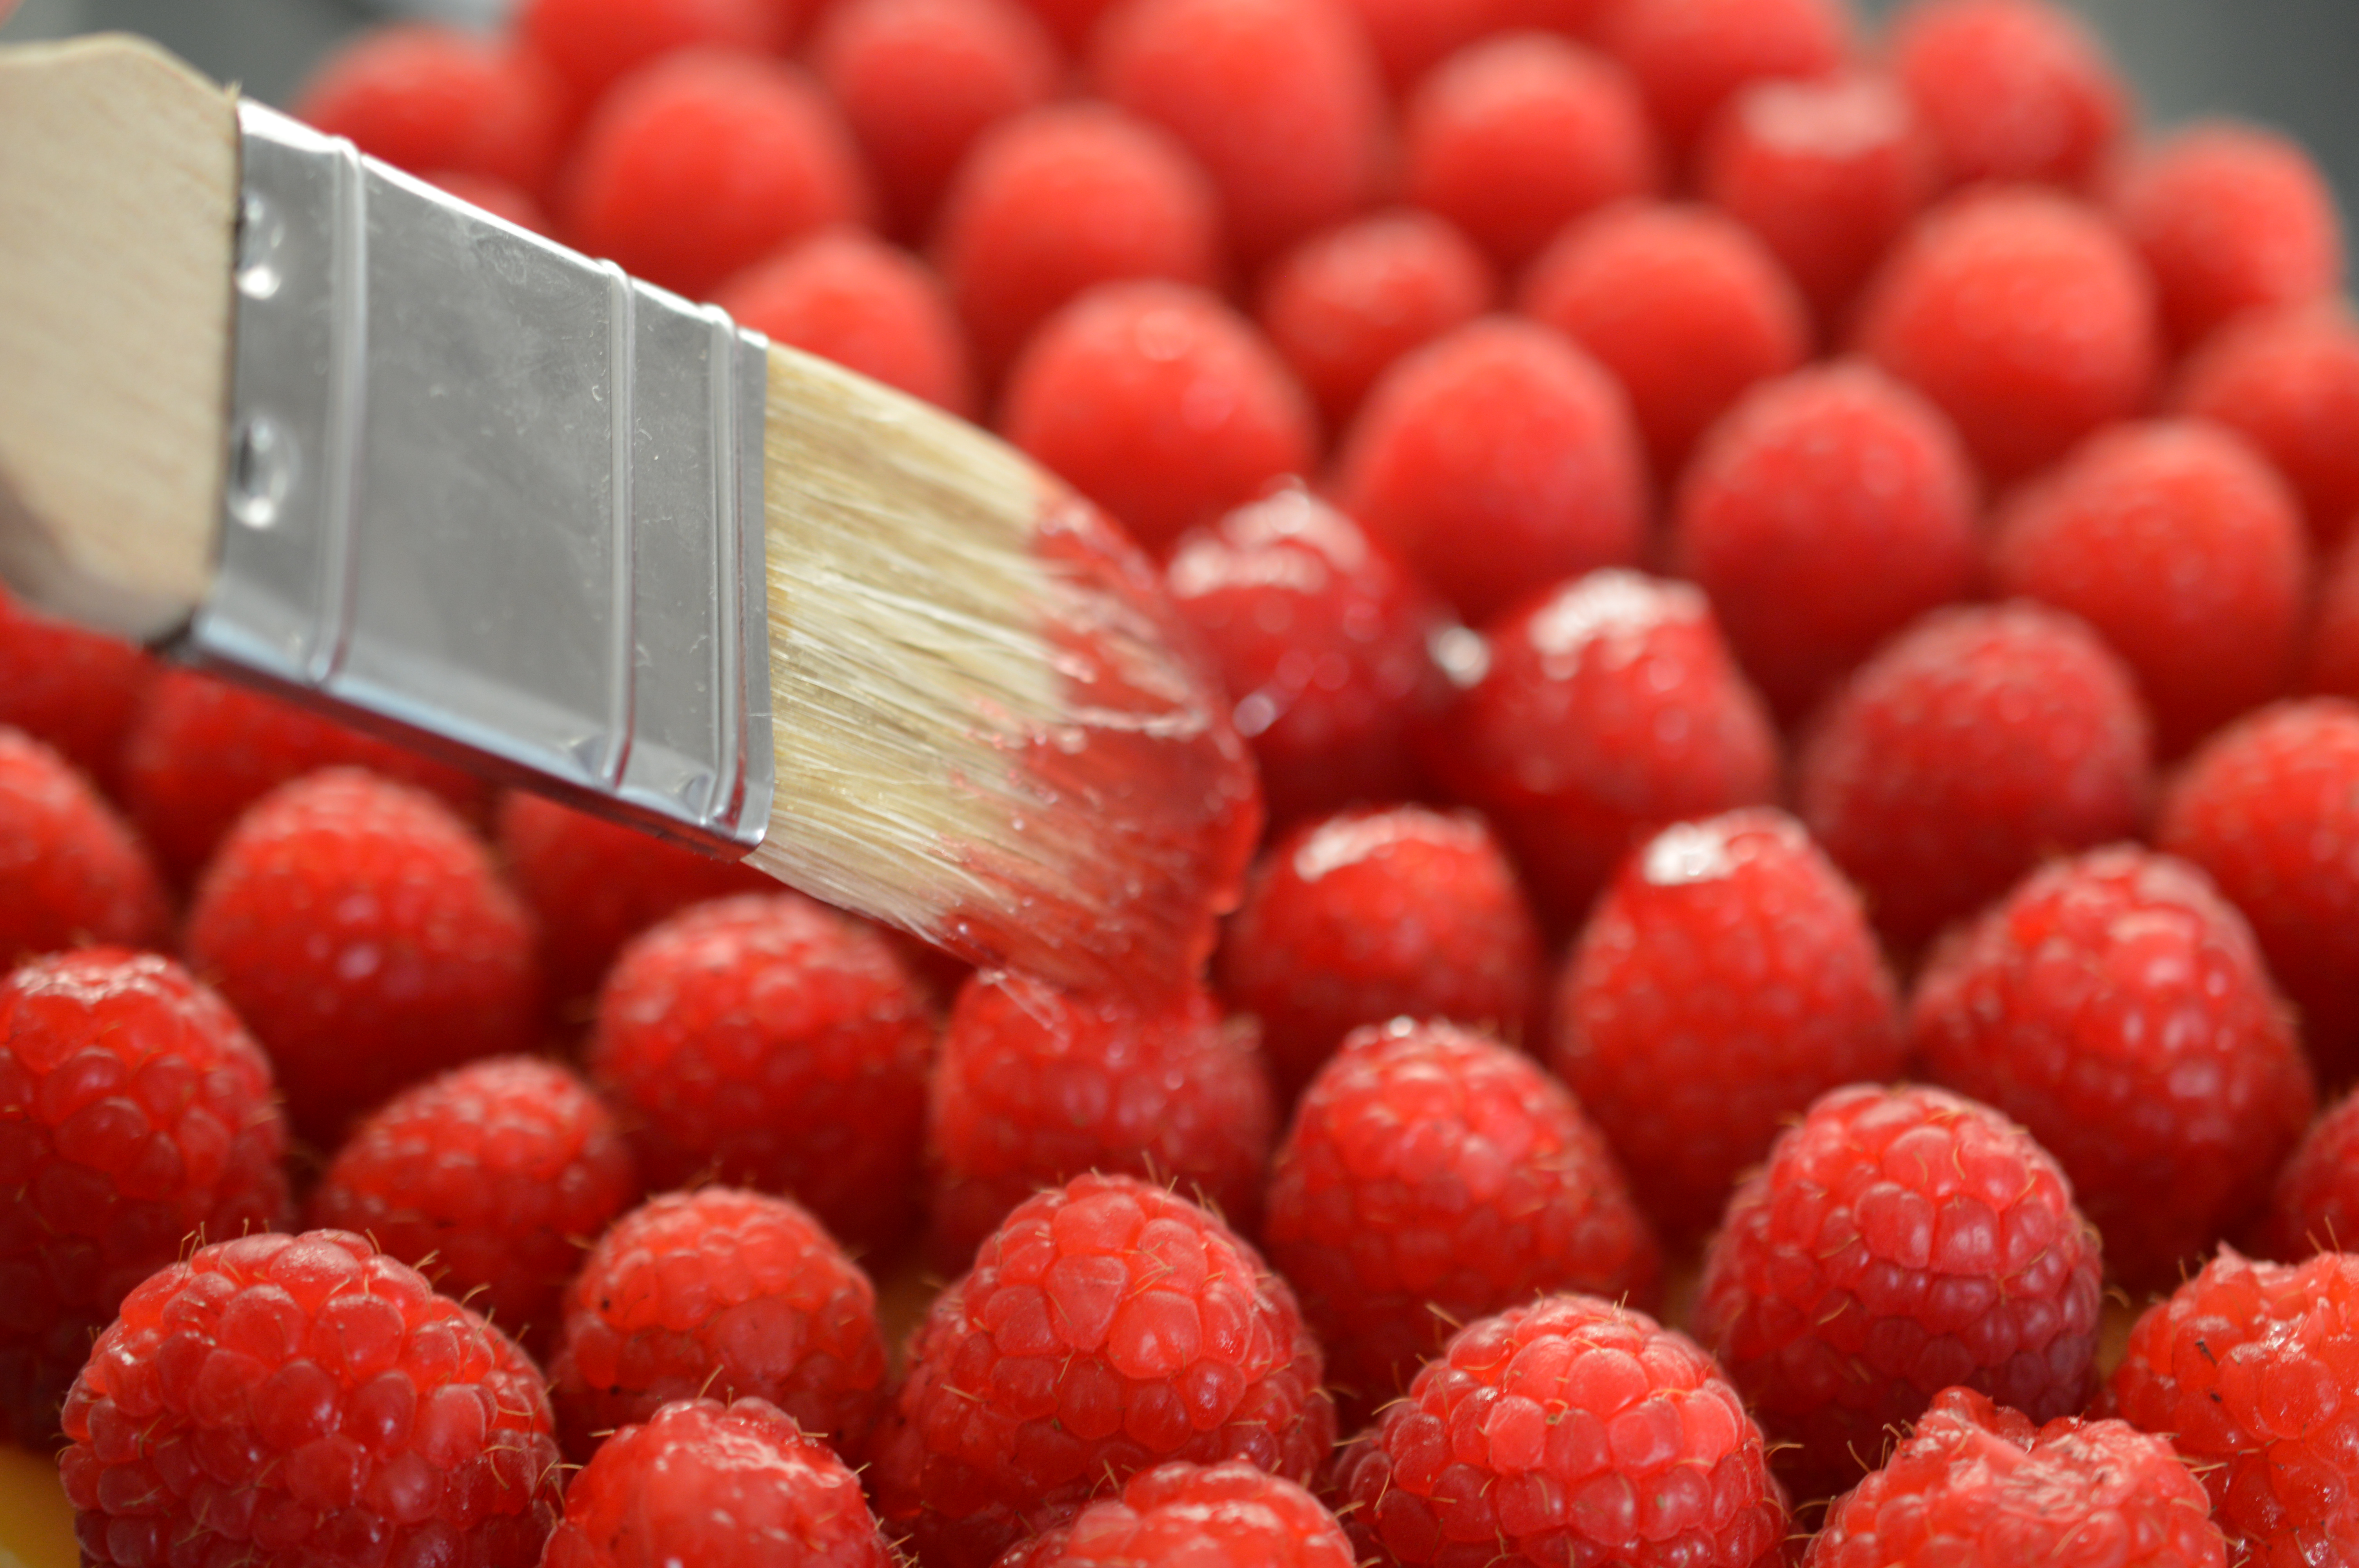
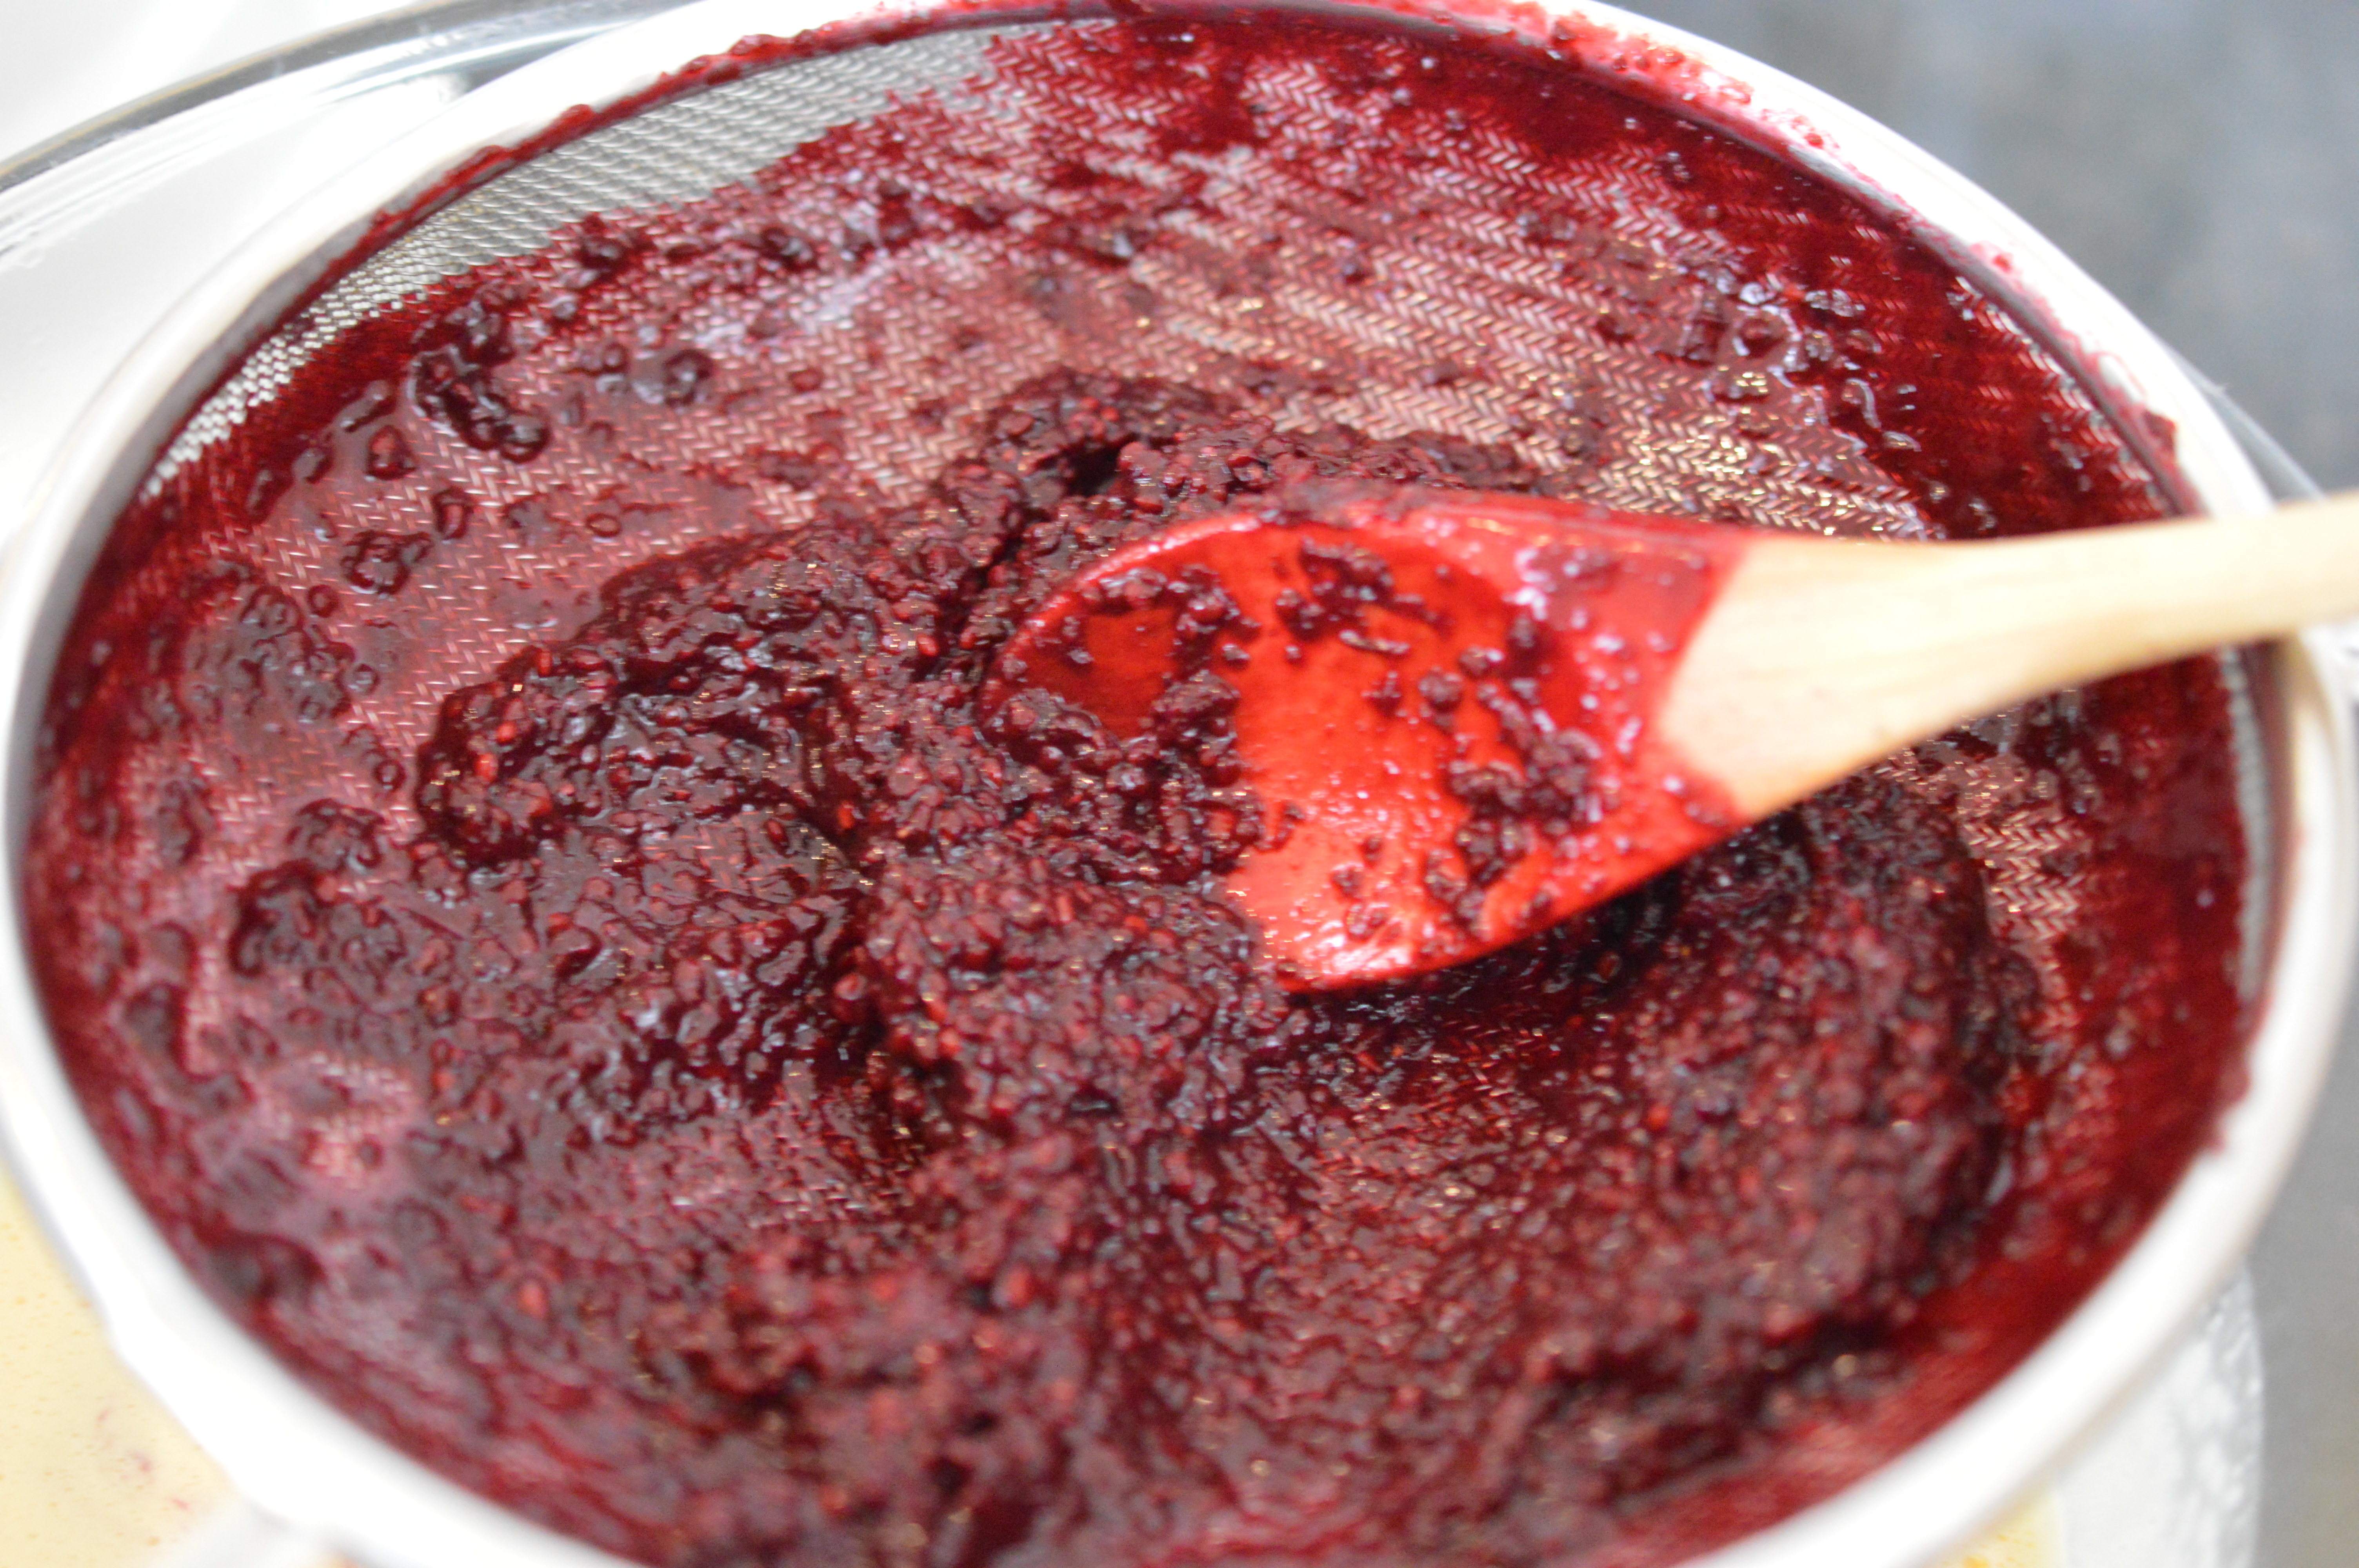
It may well have been easier to have brushed my raspberries with warmed, slightly thinned with water, sieved and cooled raspberry jam before placing on the cheesecake .. but, I didn’t …
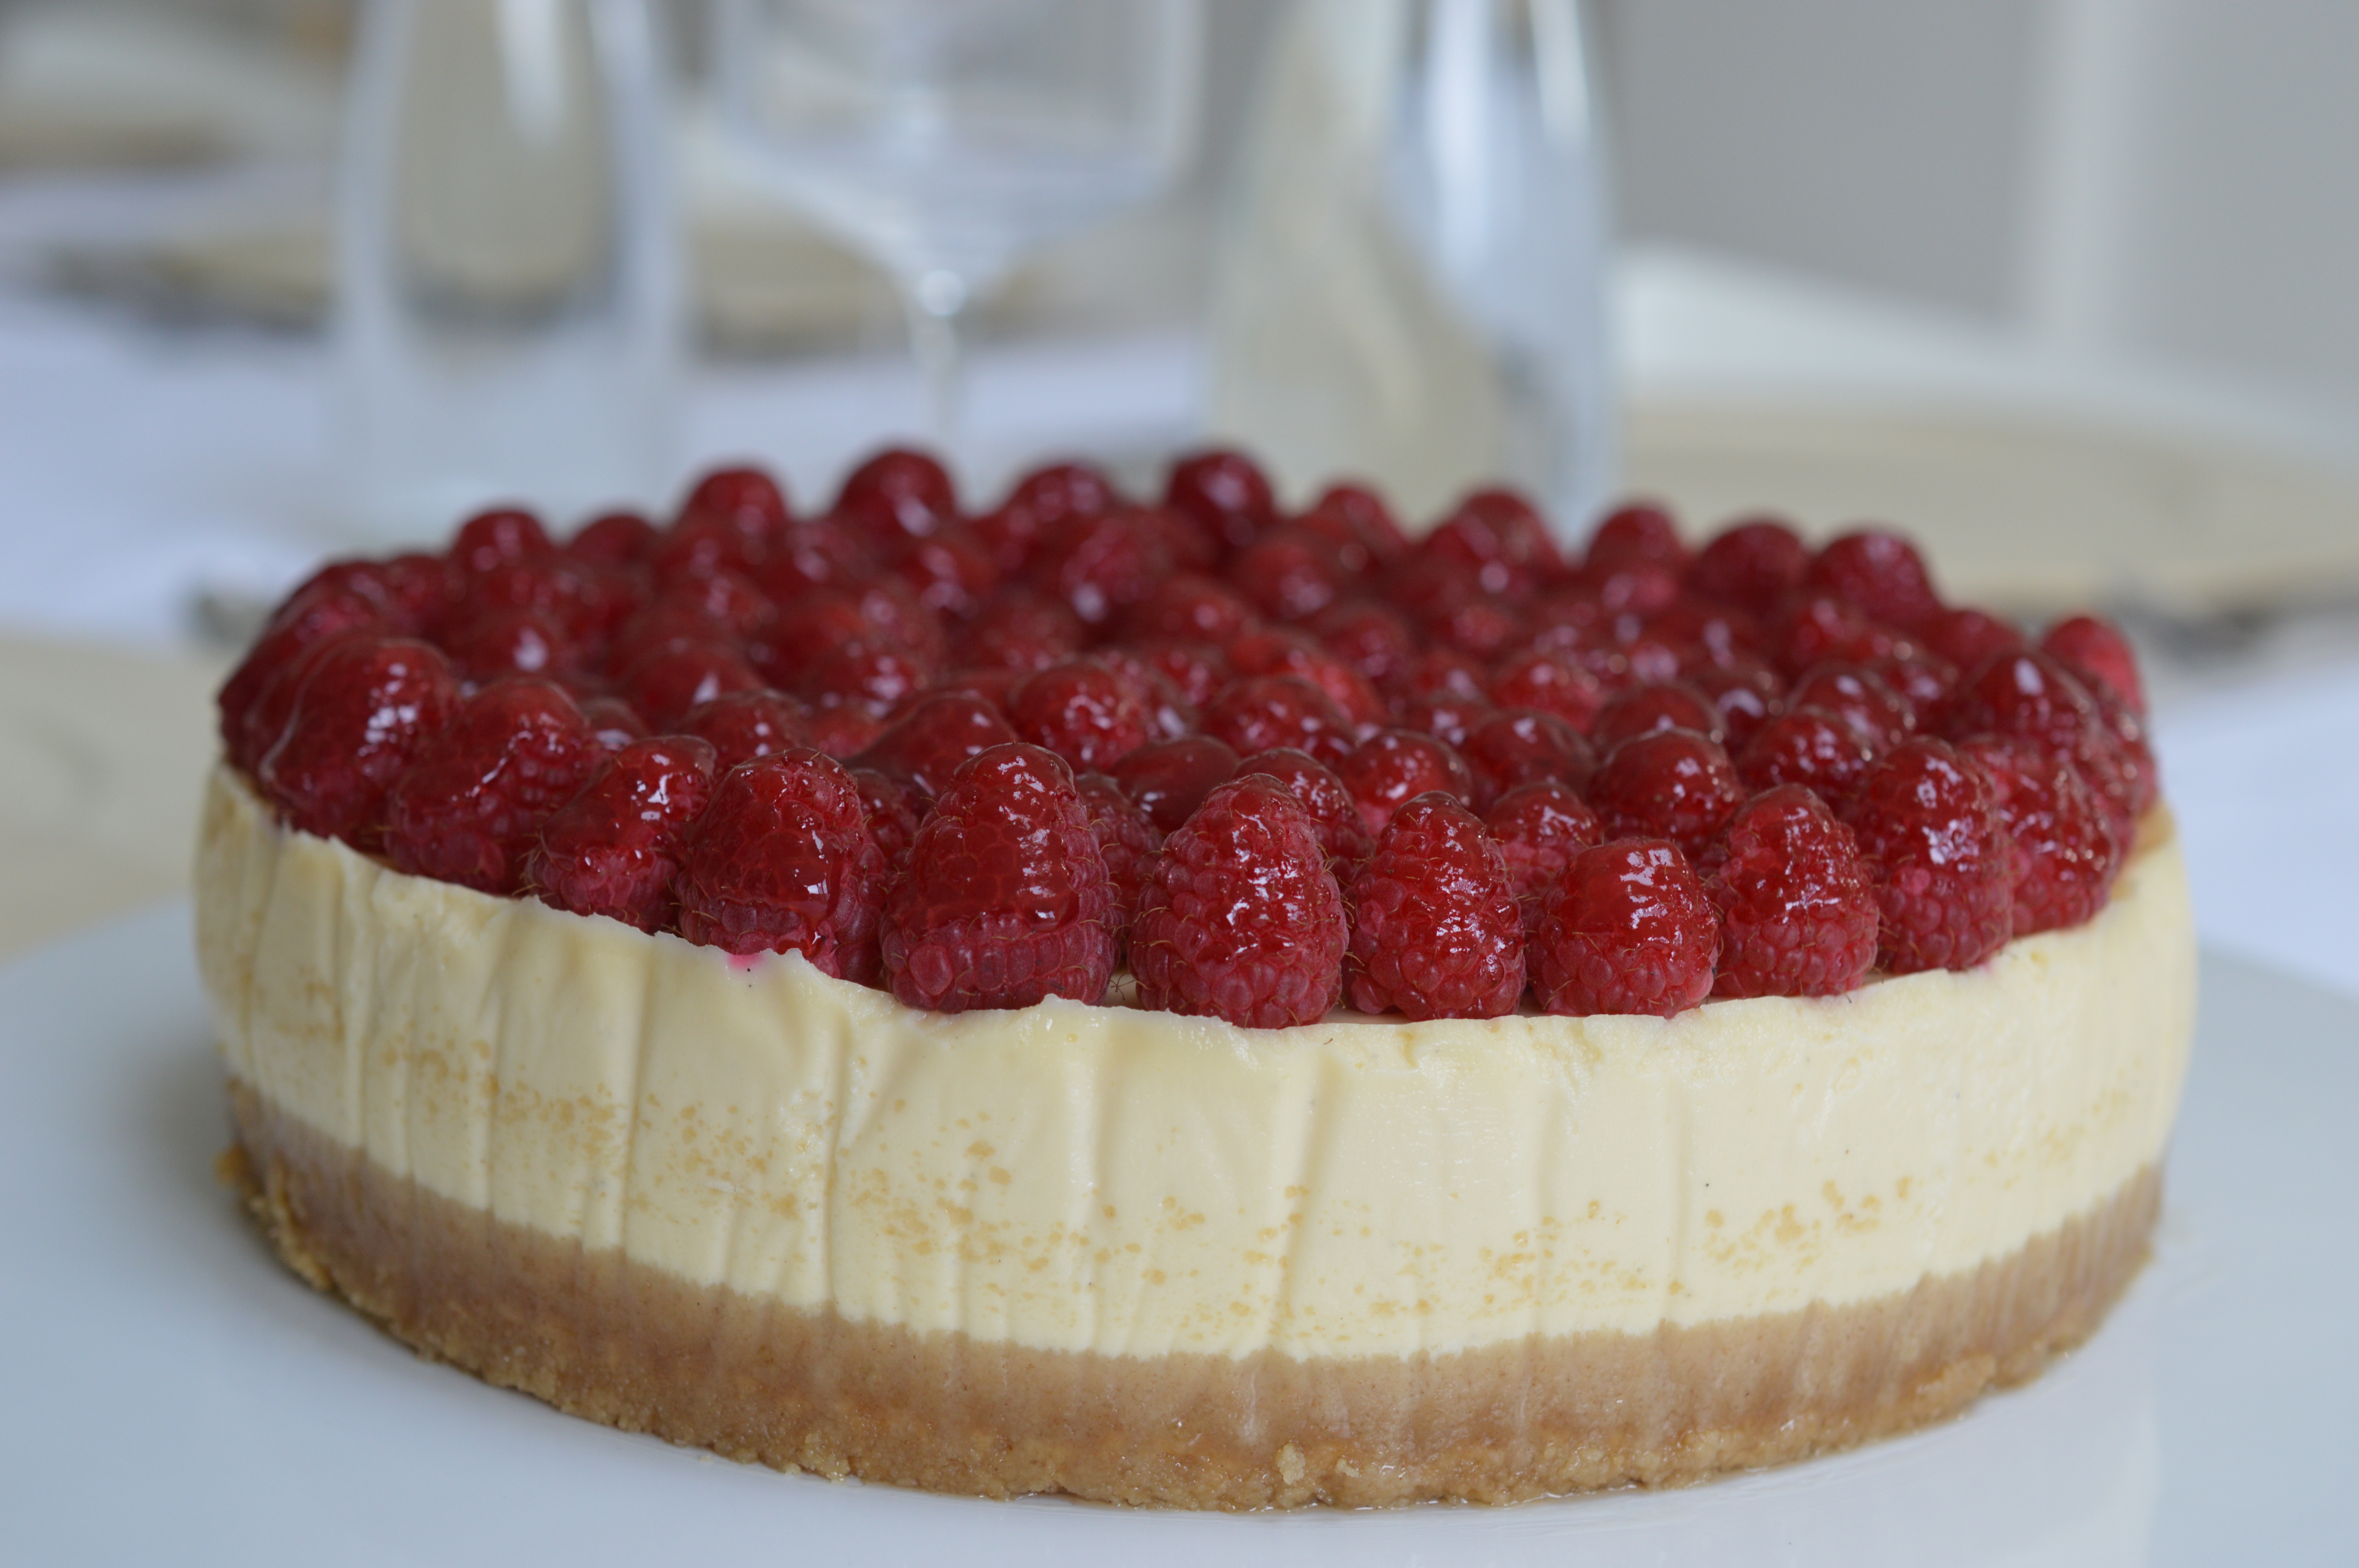
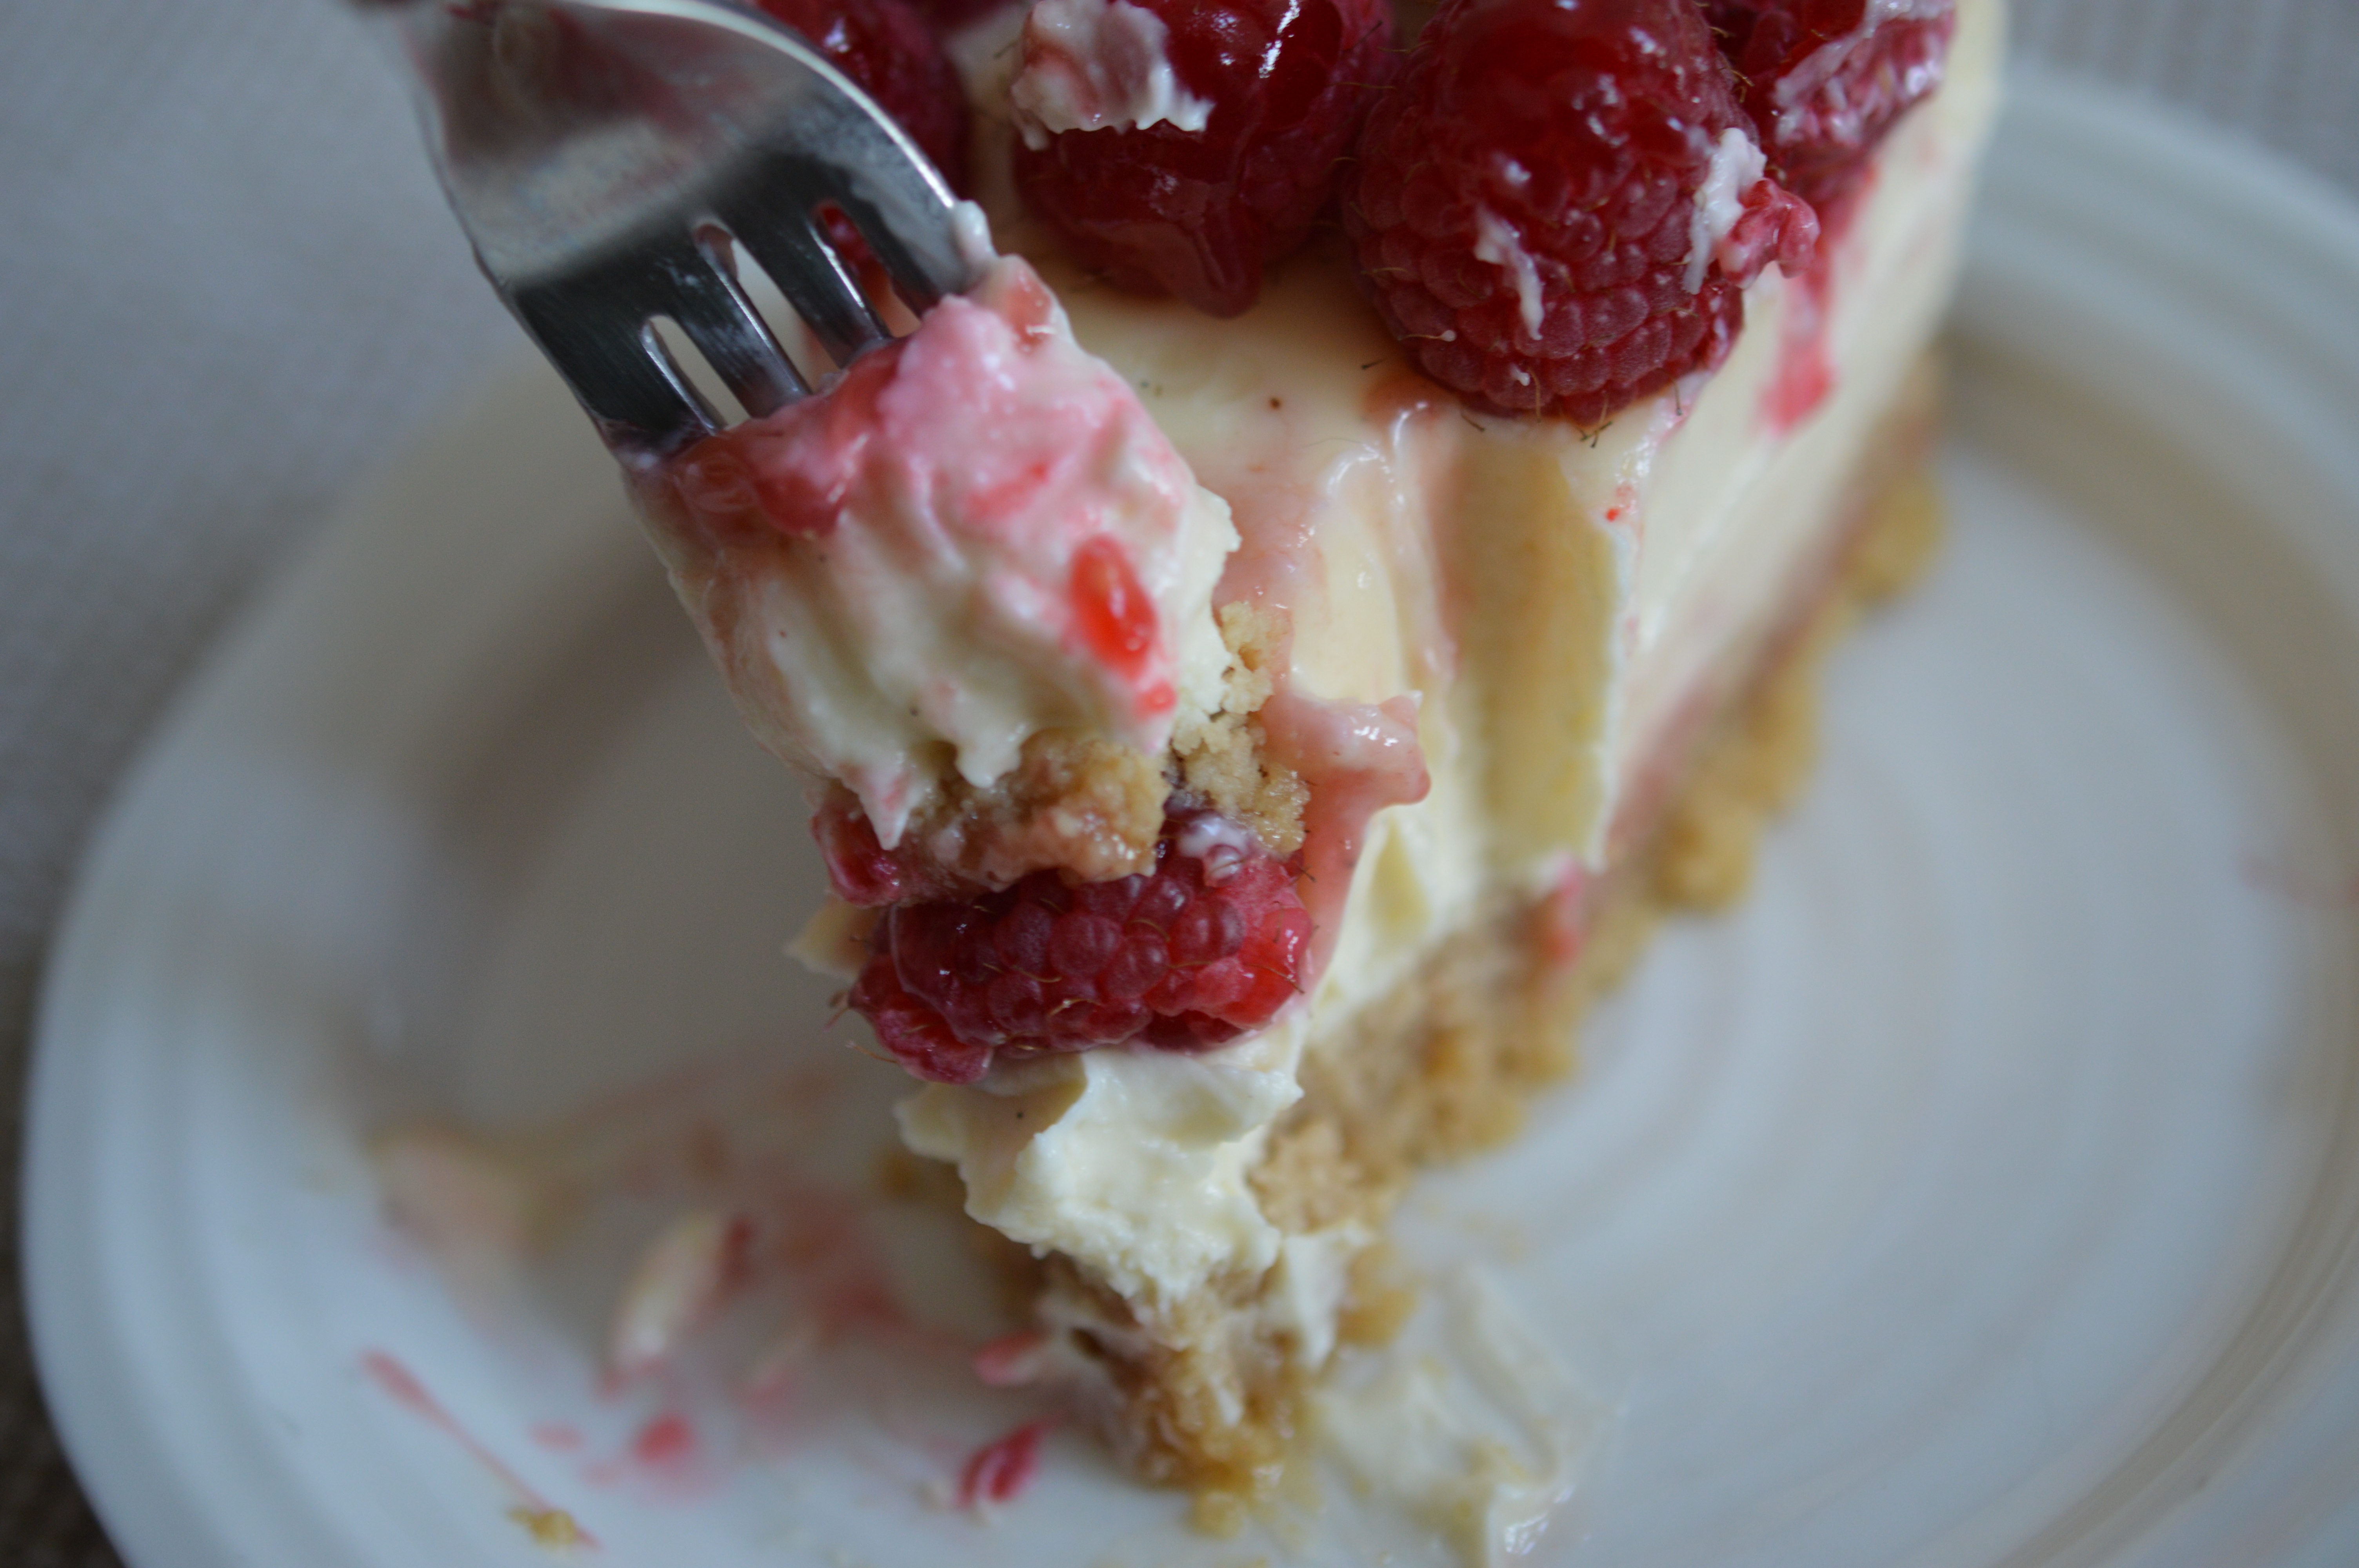
That’s it. A calorific slice of Heaven. And candles ..

Yes, of course, I did! Happy Birthday Seb!
Baked Vanilla Cheesecake with fresh raspberries – Serves an optimistic 12
The Base (discovered in ‘The Pocket Bakery’ by Rose Prince)
- 120g/4½oz softened butter
- 165g/6oz Demerara sugar
- 1 large egg
- ¼tsp vanilla extract
- 225g/7½oz plain flour
- ¾tsp baking powder
- Pinch of salt
Cream 80g/2¾oz of the butter with the Demerara sugar until is is lighter in colour and very soft with a flat beater. Add the egg, vanilla extract, flour, baking powder and fine salt. Mix again. Scrape the dough out onto your work-surface and form into a ball, then press into a disc, wrap in cling film and put into the fridge.
Pre-heat your oven to 180ºC/350ºF/Gas Mark 4 and prepare your 22cm/9″ springform cake tin.
After half an hour your dough should be roll-able. Between two sheets of cling film, roll until it is approximately ½cm/¼” thick. Then, transfer to a baking sheet lined with bake-o-glide or baking parchment.
Bake for 15 minutes until it is golden and ‘cooked’ through. Set aside to cool. (Four Oven Aga: I cook on the top set of runners in the Baking Oven for 15 minutes.)
Break into shards and put into the bowl of a food processor. Blitz until it becomes sandy crumbs. (Or place in a plastic bag and bash until you reach the same stage.)
Melt the remaining 40g butter and add that to the crumb mix.
Melt the remaining 40g of butter. Add that to the biscuit crumbs. Whiz again. Then pour into the lined and greased springform tin and press in, evenly and firmly.
Wrap the base of the cake tin in strong foil to make a waterproof coat. Place in a large roasting tin.
The Filling
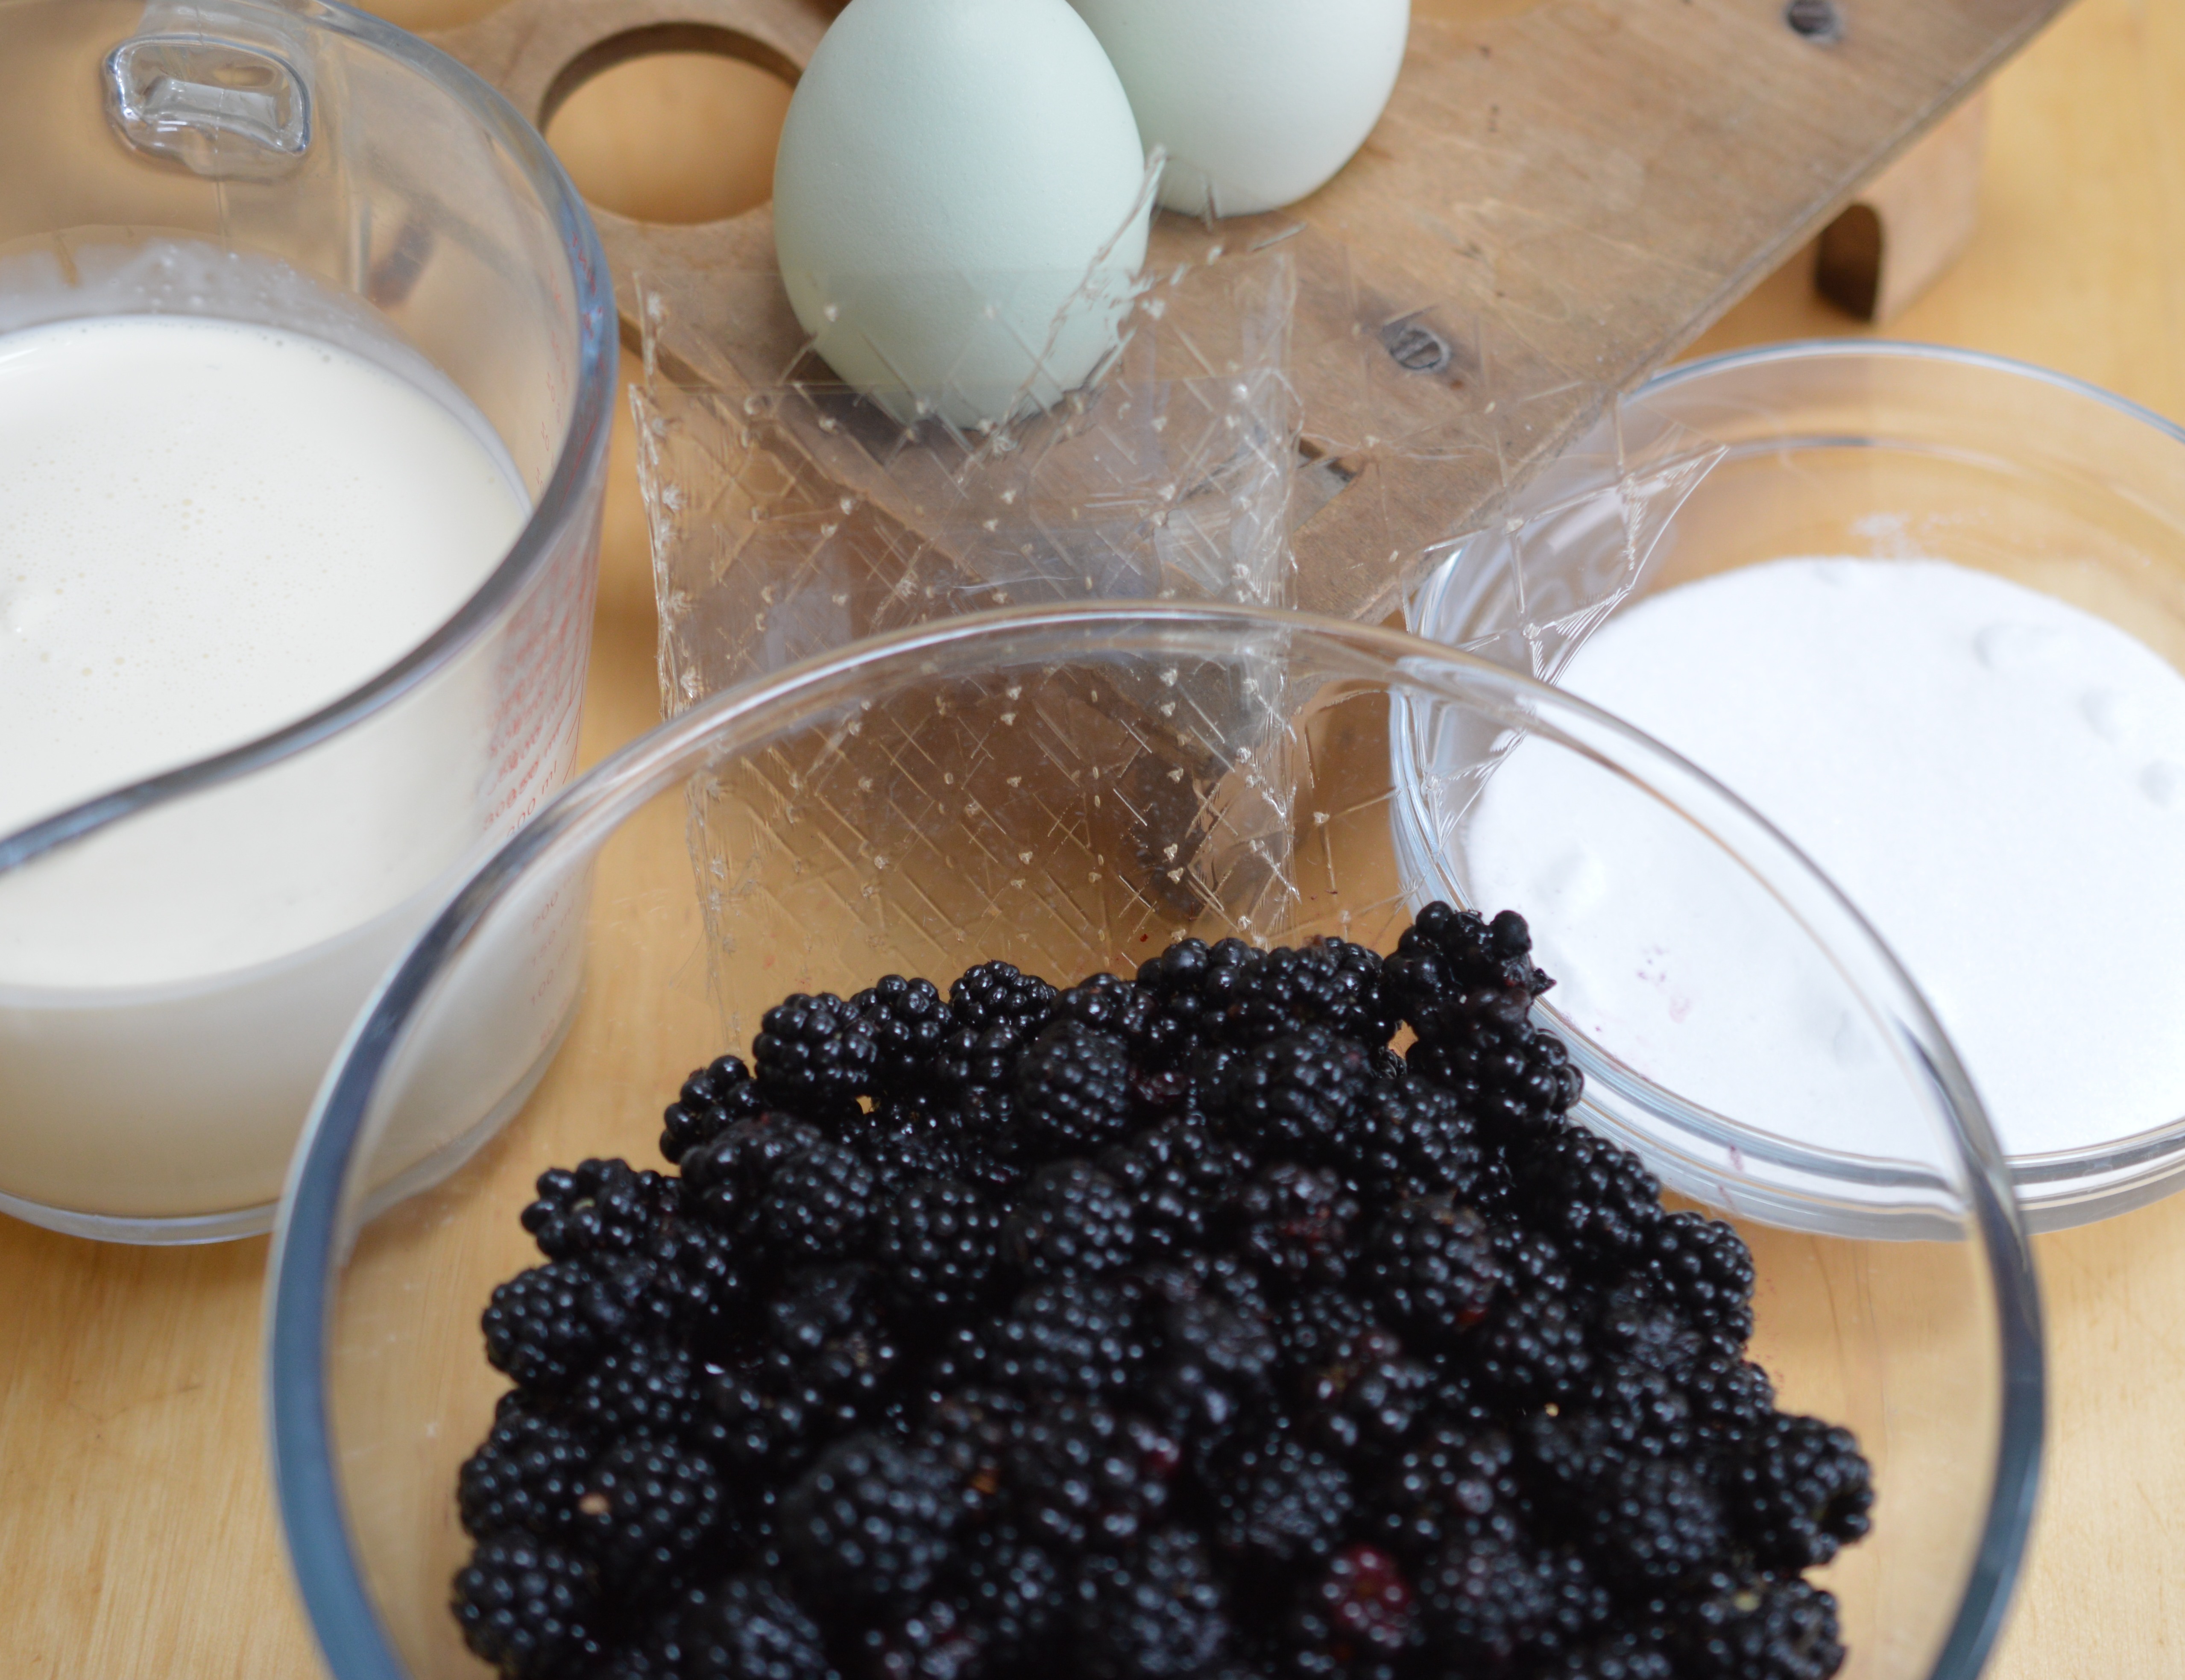
- 900g/2lb full-fat cream cheese, at room temperature
- 170g carton of soured cream
- 170g double cream, I measure using the soured cream pot
- 270g/9½oz caster sugar
- 4 large eggs, at room temperature
- 1 vanilla pod, split with a knife lengthways and the sticky seeds scraped out with a teaspoon
Preheat the oven to 160ºC/320ºF/Gas Mark 3.
Place the cream cheese into a bowl and beat until smooth.
Add the double cream and soured cream and beat again.
Now the sugar and eggs. Mix for 5 minutes on a medium speed until your cheesecake mix is silky smooth.
Add the vanilla seeds and mix to incorporate.
Pour into the prepared tin and smooth the top with an angled palette knife.
Put on the kettle. Once boiling, pour the water into the roasting tin until the hot water reaches halfway up the sides of the springform cake tin. Then transfer to the oven. Bottom set of runner for 1½ hours. (Aga: cook for 20 mins on the grid shelf on the floor of the Roasting Oven and then transfer to the simmering oven for a further 2 hours.)
Once the sides are slightly pulling away from the baking parchment and the centre is set but still has a slight wobble, turn the oven off. Leave the cheesecake in place and leave to cool very gently for an hour. (Aga: remove the cheesecake from the Simmering Oven and either place on a cooling rack on the warming plate or leave to cool in the water bath.)
Cover the top with foil, making sure it isn’t in contact with the delicate cheesecake top, and put in the fridge to chill for a further four hours or so.
Completely cold, remove the cheesecake from the wrappings. Loosen the clip and peel away the baking parchment. The flat base of a large quiche/flan tin makes it easier to transfer to a serving plate.
Decorate with fresh raspberries. With warmed, thinned with water, sieved and cooled raspberry jam – glaze. Serve at room temperature. Eat.
Print UK – Metric and Imperial