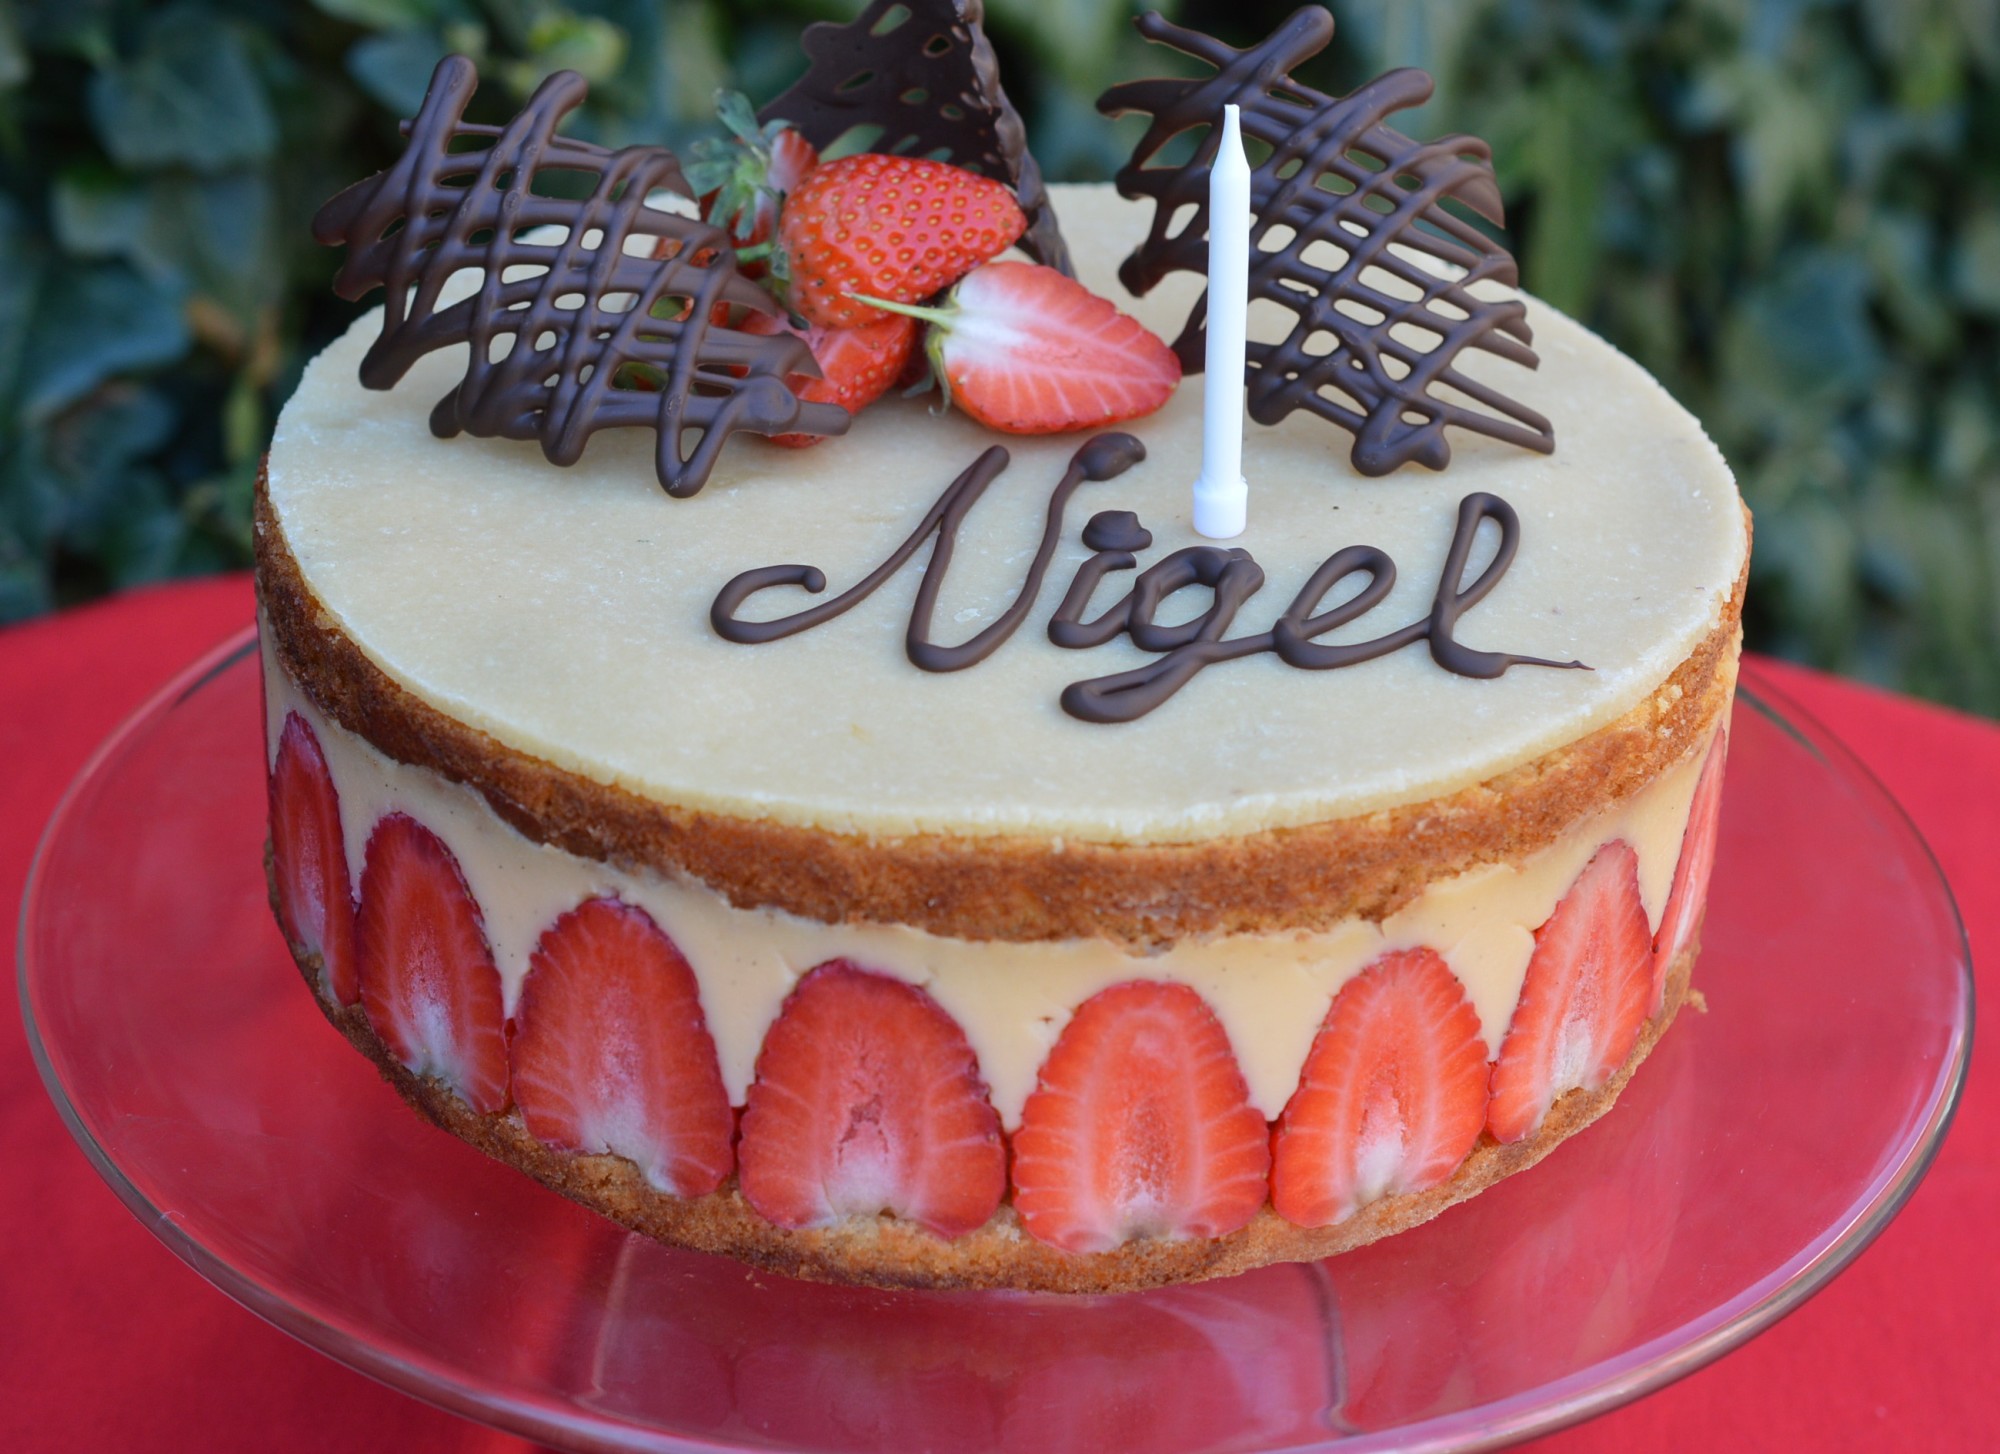
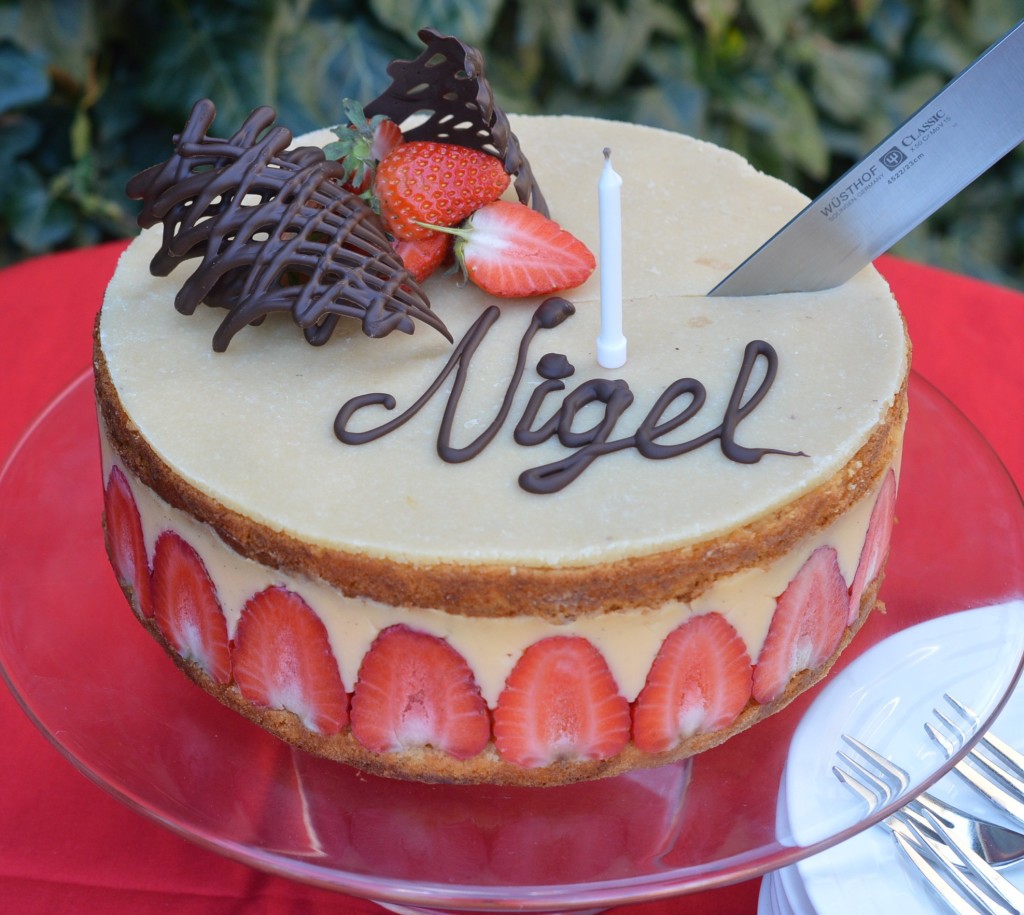
It was Nigel’s birthday earlier this month – and that always involves strawberries. Despite the fact we’d been picking them from the garden for most of June, when Nigel was a child his birthday always signalled the first strawberries of the summer and some things should be respected.
Le Fraisier is a french strawberry gateaux, fraise being the french word for strawberry. I don’t think it can be a creation of too much antiquity because strawberries in this plump form, as opposed to the wild variety, are a fairly recent arrival. Amédée-François Frézier (1682-1773) gets the credit for introducing them to Europe, having brought some specimens back from Chile.
Whoever the culinary genius was who created this celebration of the strawberry I can’t say. I do know where I came across it. Baking a Frasier Cake was a Mary Berry technical challenge on series 3 of ‘The Great British Bake Off’.
I’m fairly confident my children, with the exception of Liddy who can be trusted not to tell her brothers, will not be reading this .. so I will make a confession. All those technical challenges … well, they’re a whole lot easier if you are not cooking in a tent, have a complete set of instructions, no interruptions, no tv camera pointed at you watching for mistakes and as much time as you like to cook.
This is fun to make. Okay, so it’s not something I’d whip up on an average week night, but no stage is complicated – and then it’s an assembly job. It tastes amazing.

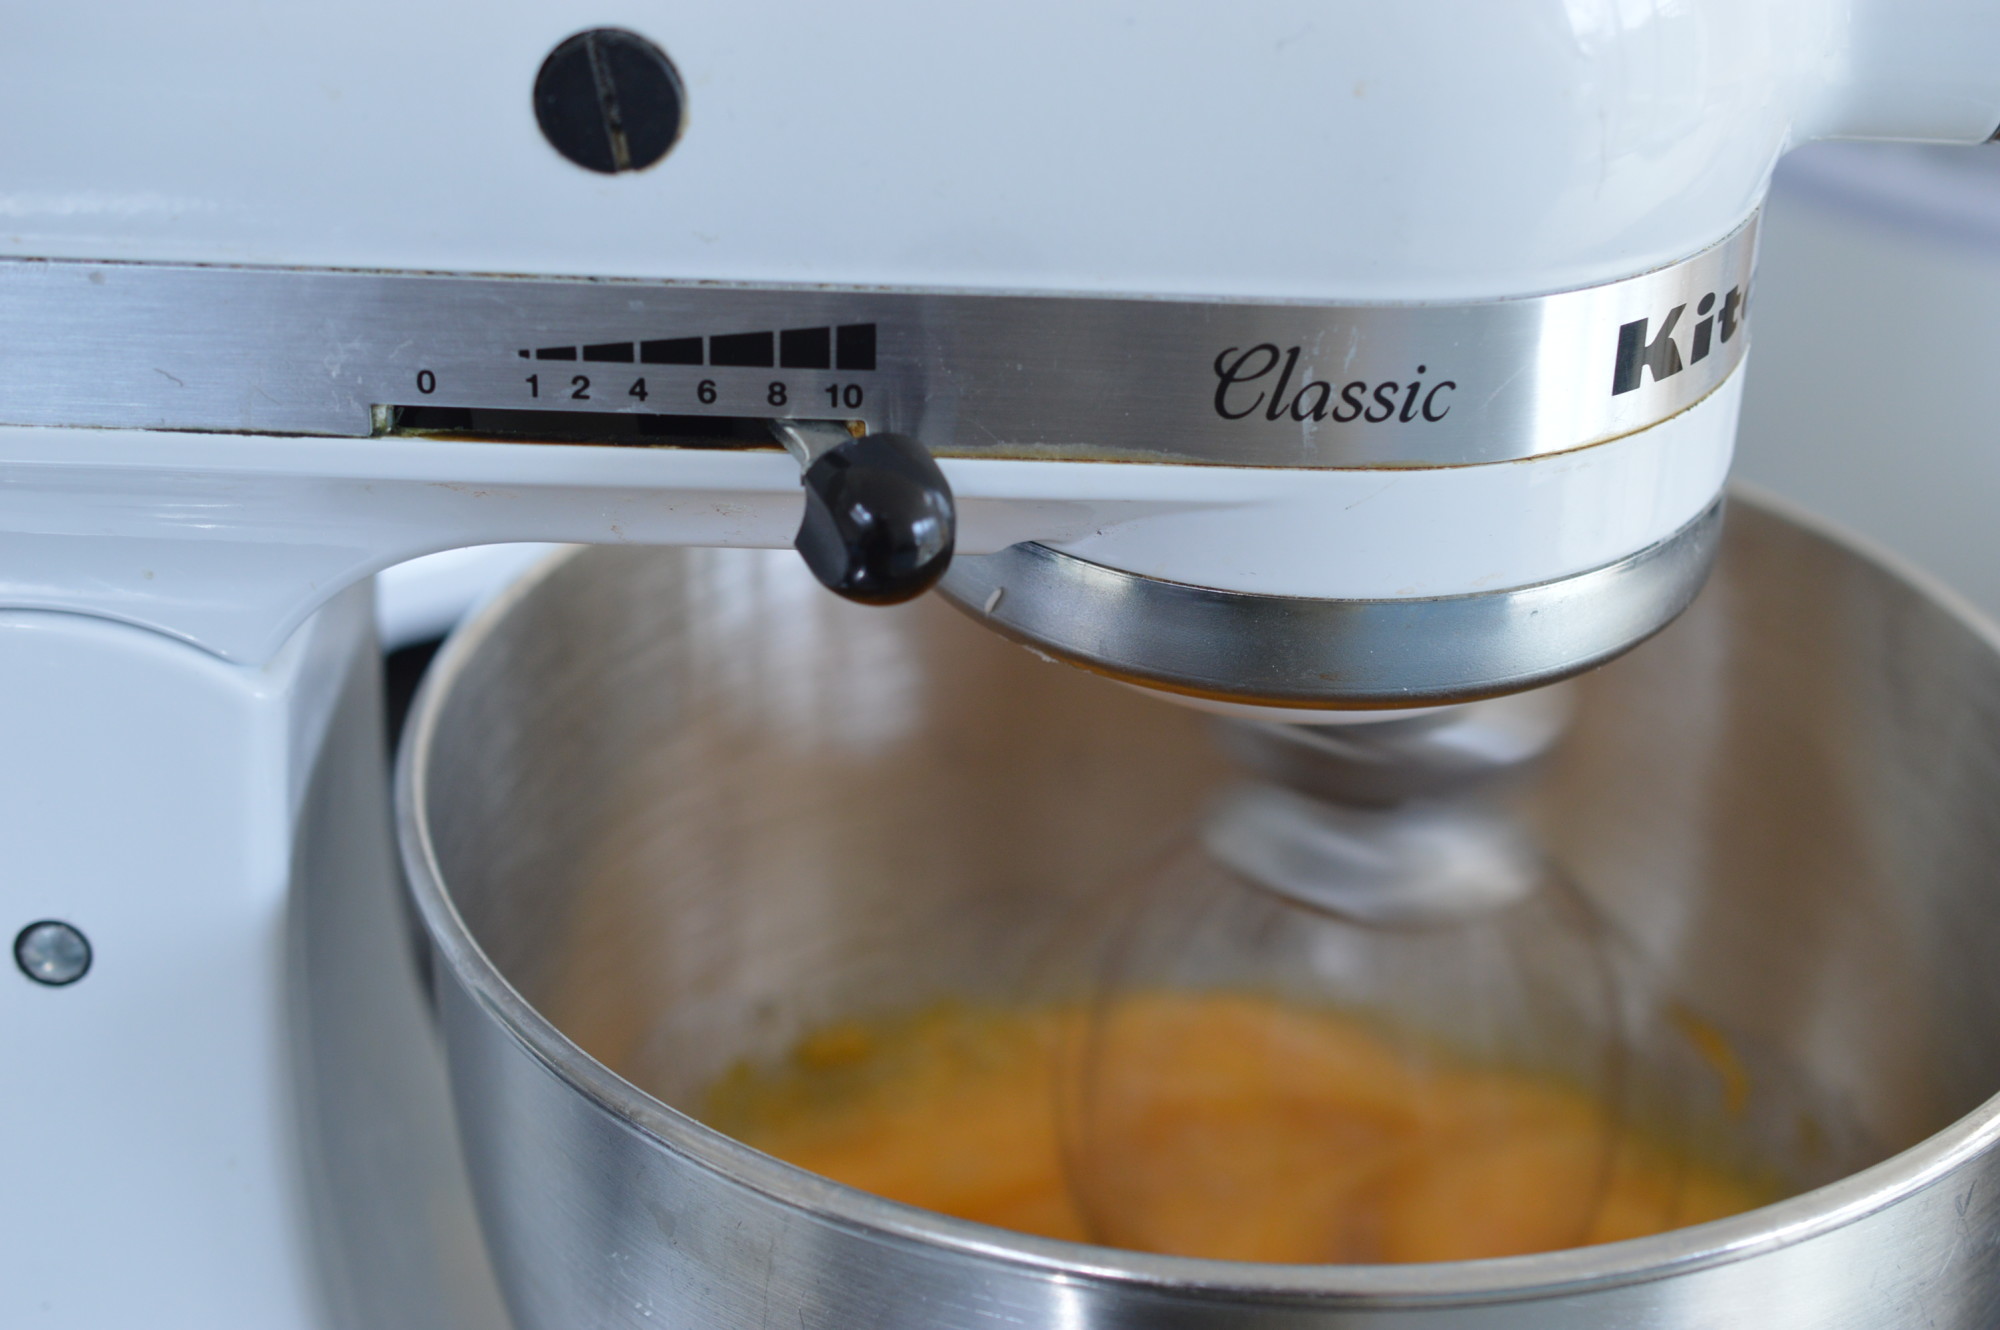
Making a Genoise Sponge is so much easier with a stand mixer. If that’s not what you have, you need to do it the classic way which is in a bowl set over a pan of simmering water.
Melt 50g/1¾oz of unsalted butter, and allow it to cool slightly. Heat your oven – 180ºC/Gas Mark 4/350ºF. Prepare a round 23cm/9″ cake tin – I melt more butter to grease my tin really thoroughly and line the base with bake o’glide.

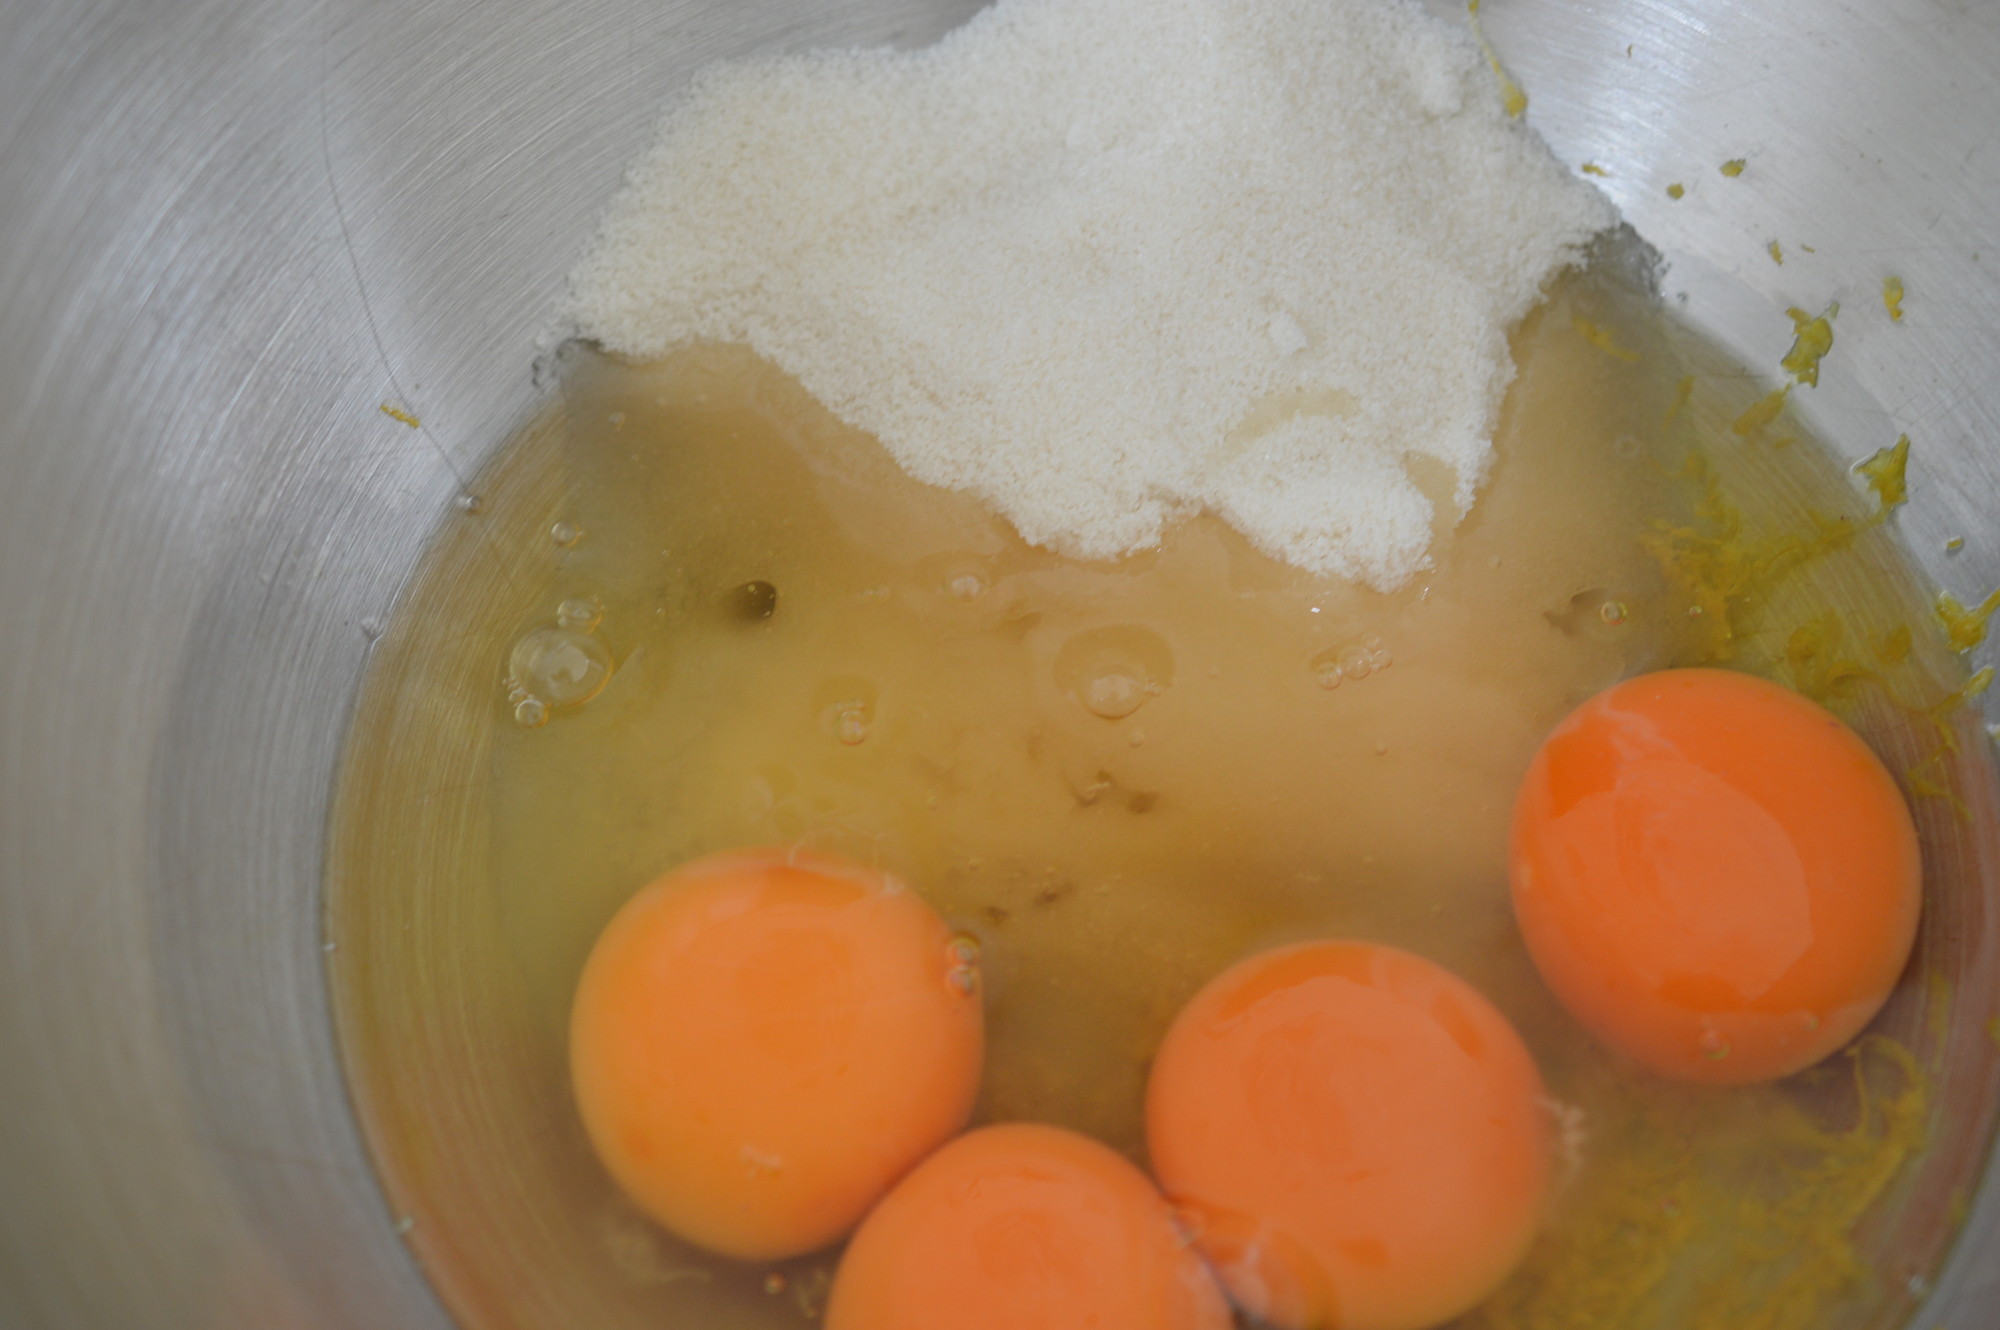
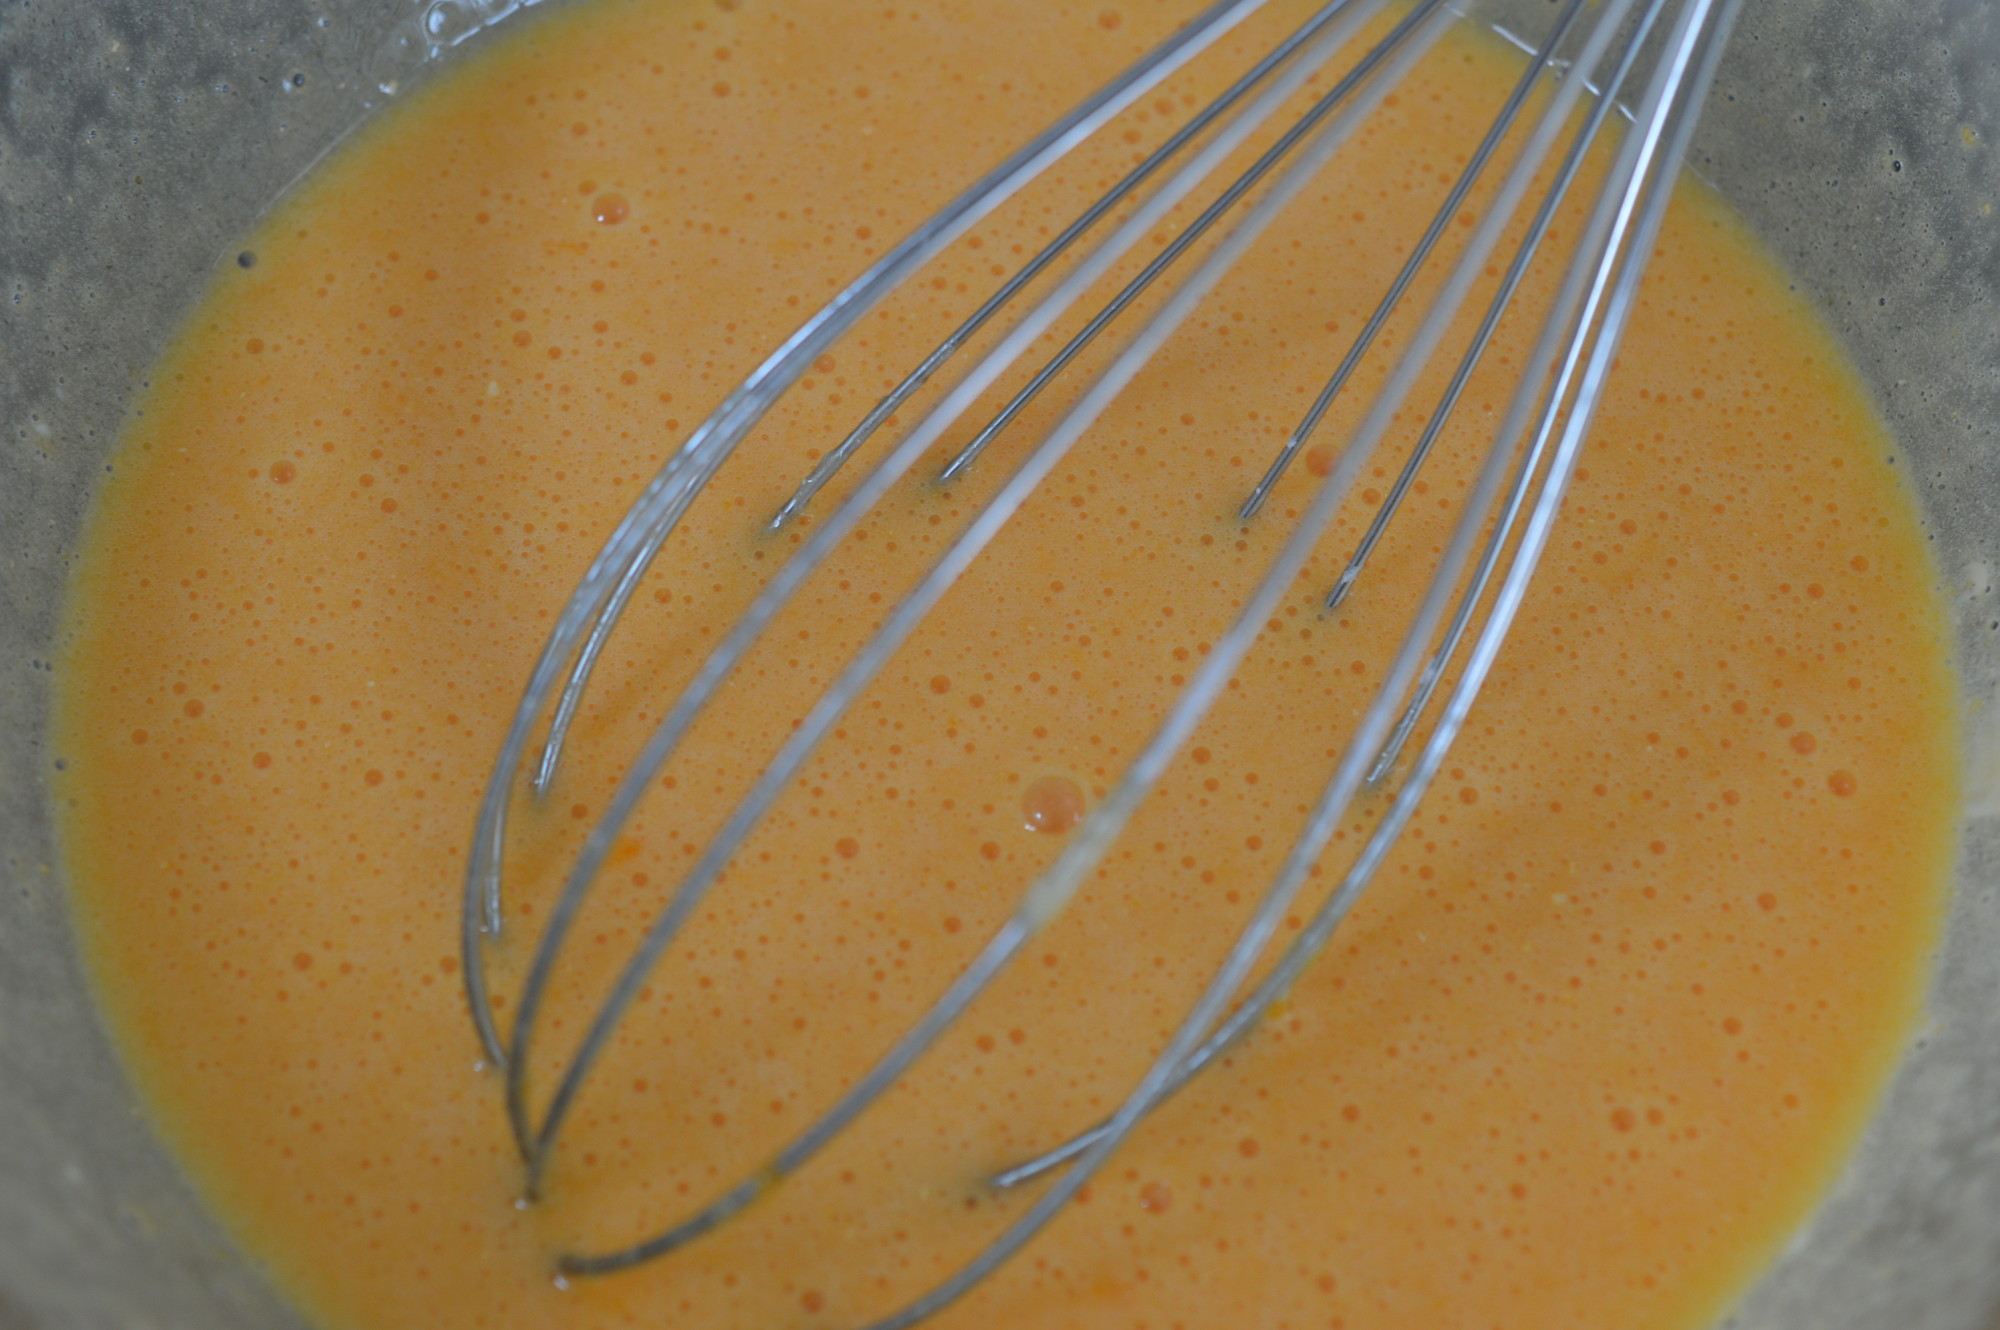
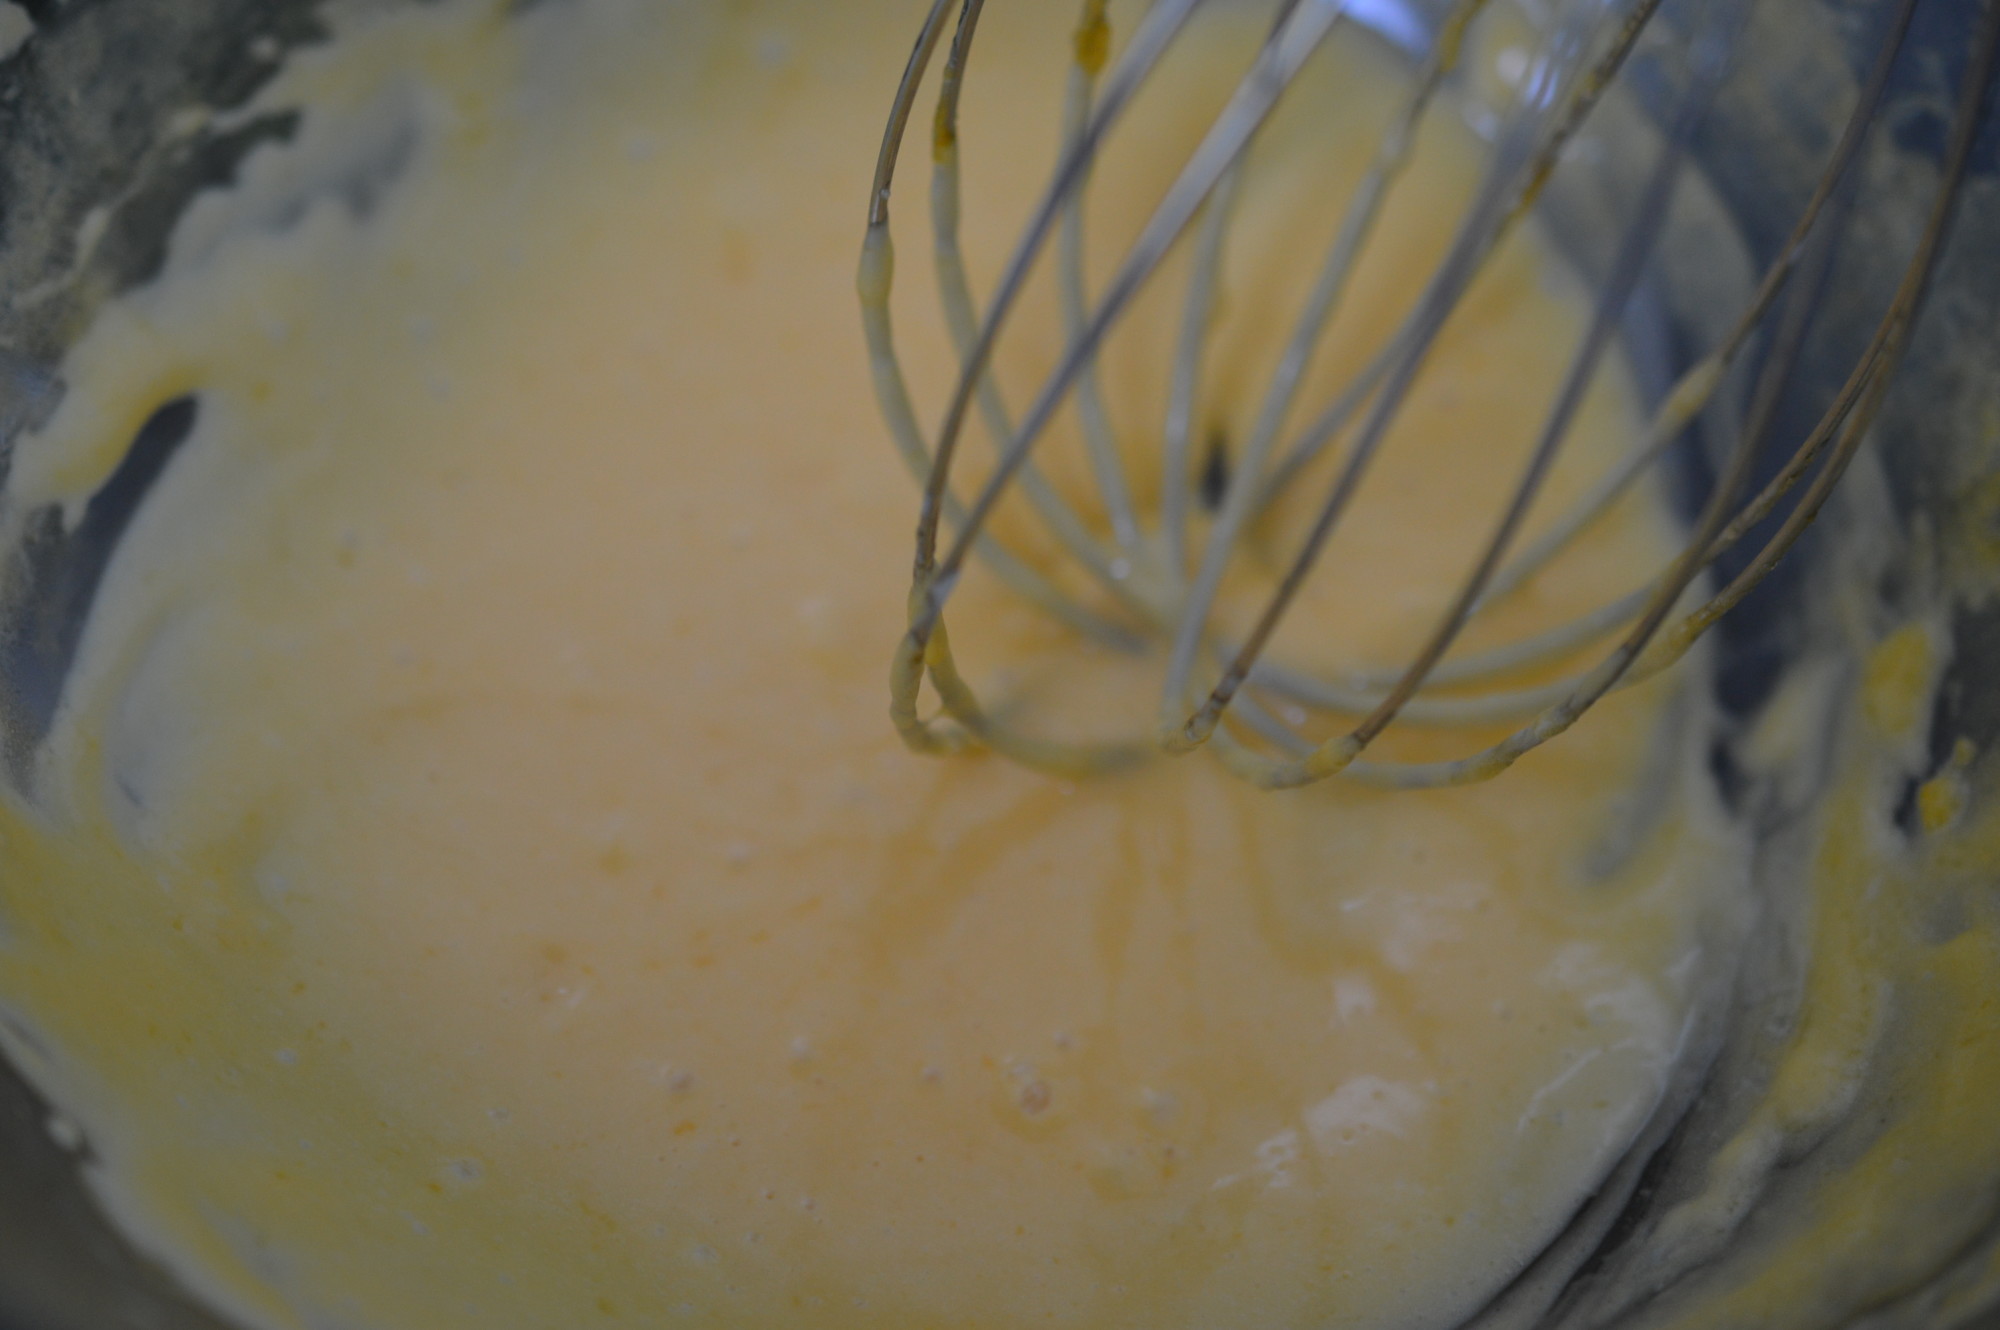
Then, with the four eggs, finely grated zest of two lemons and 125g/4½oz caster sugar in the bowl – whisk. I use my kitchen aid with the whisk attachment on maximum.
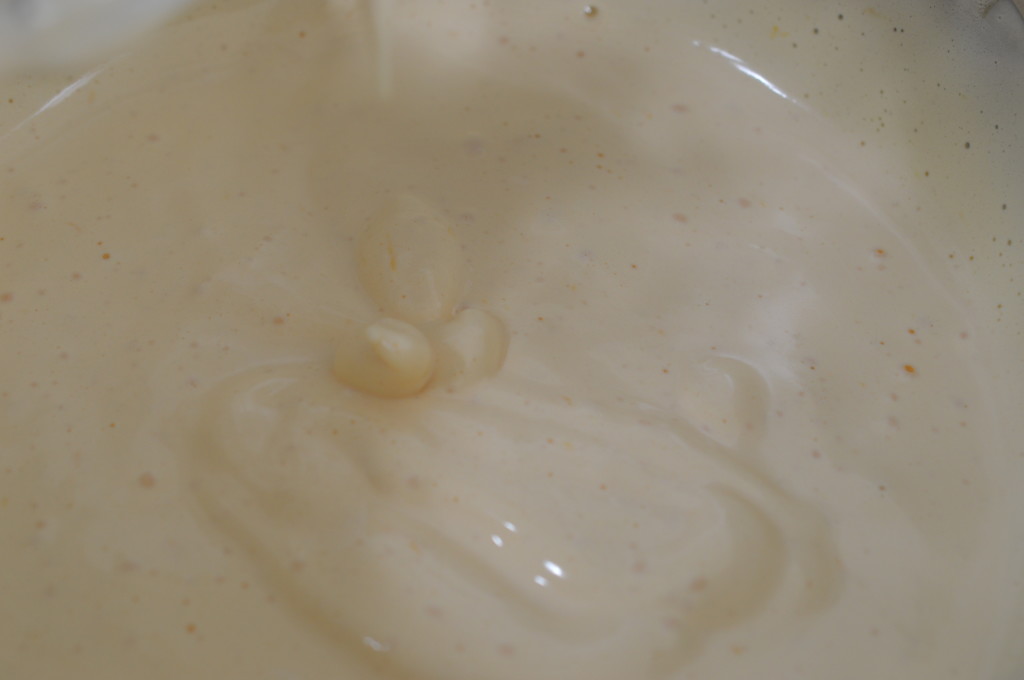
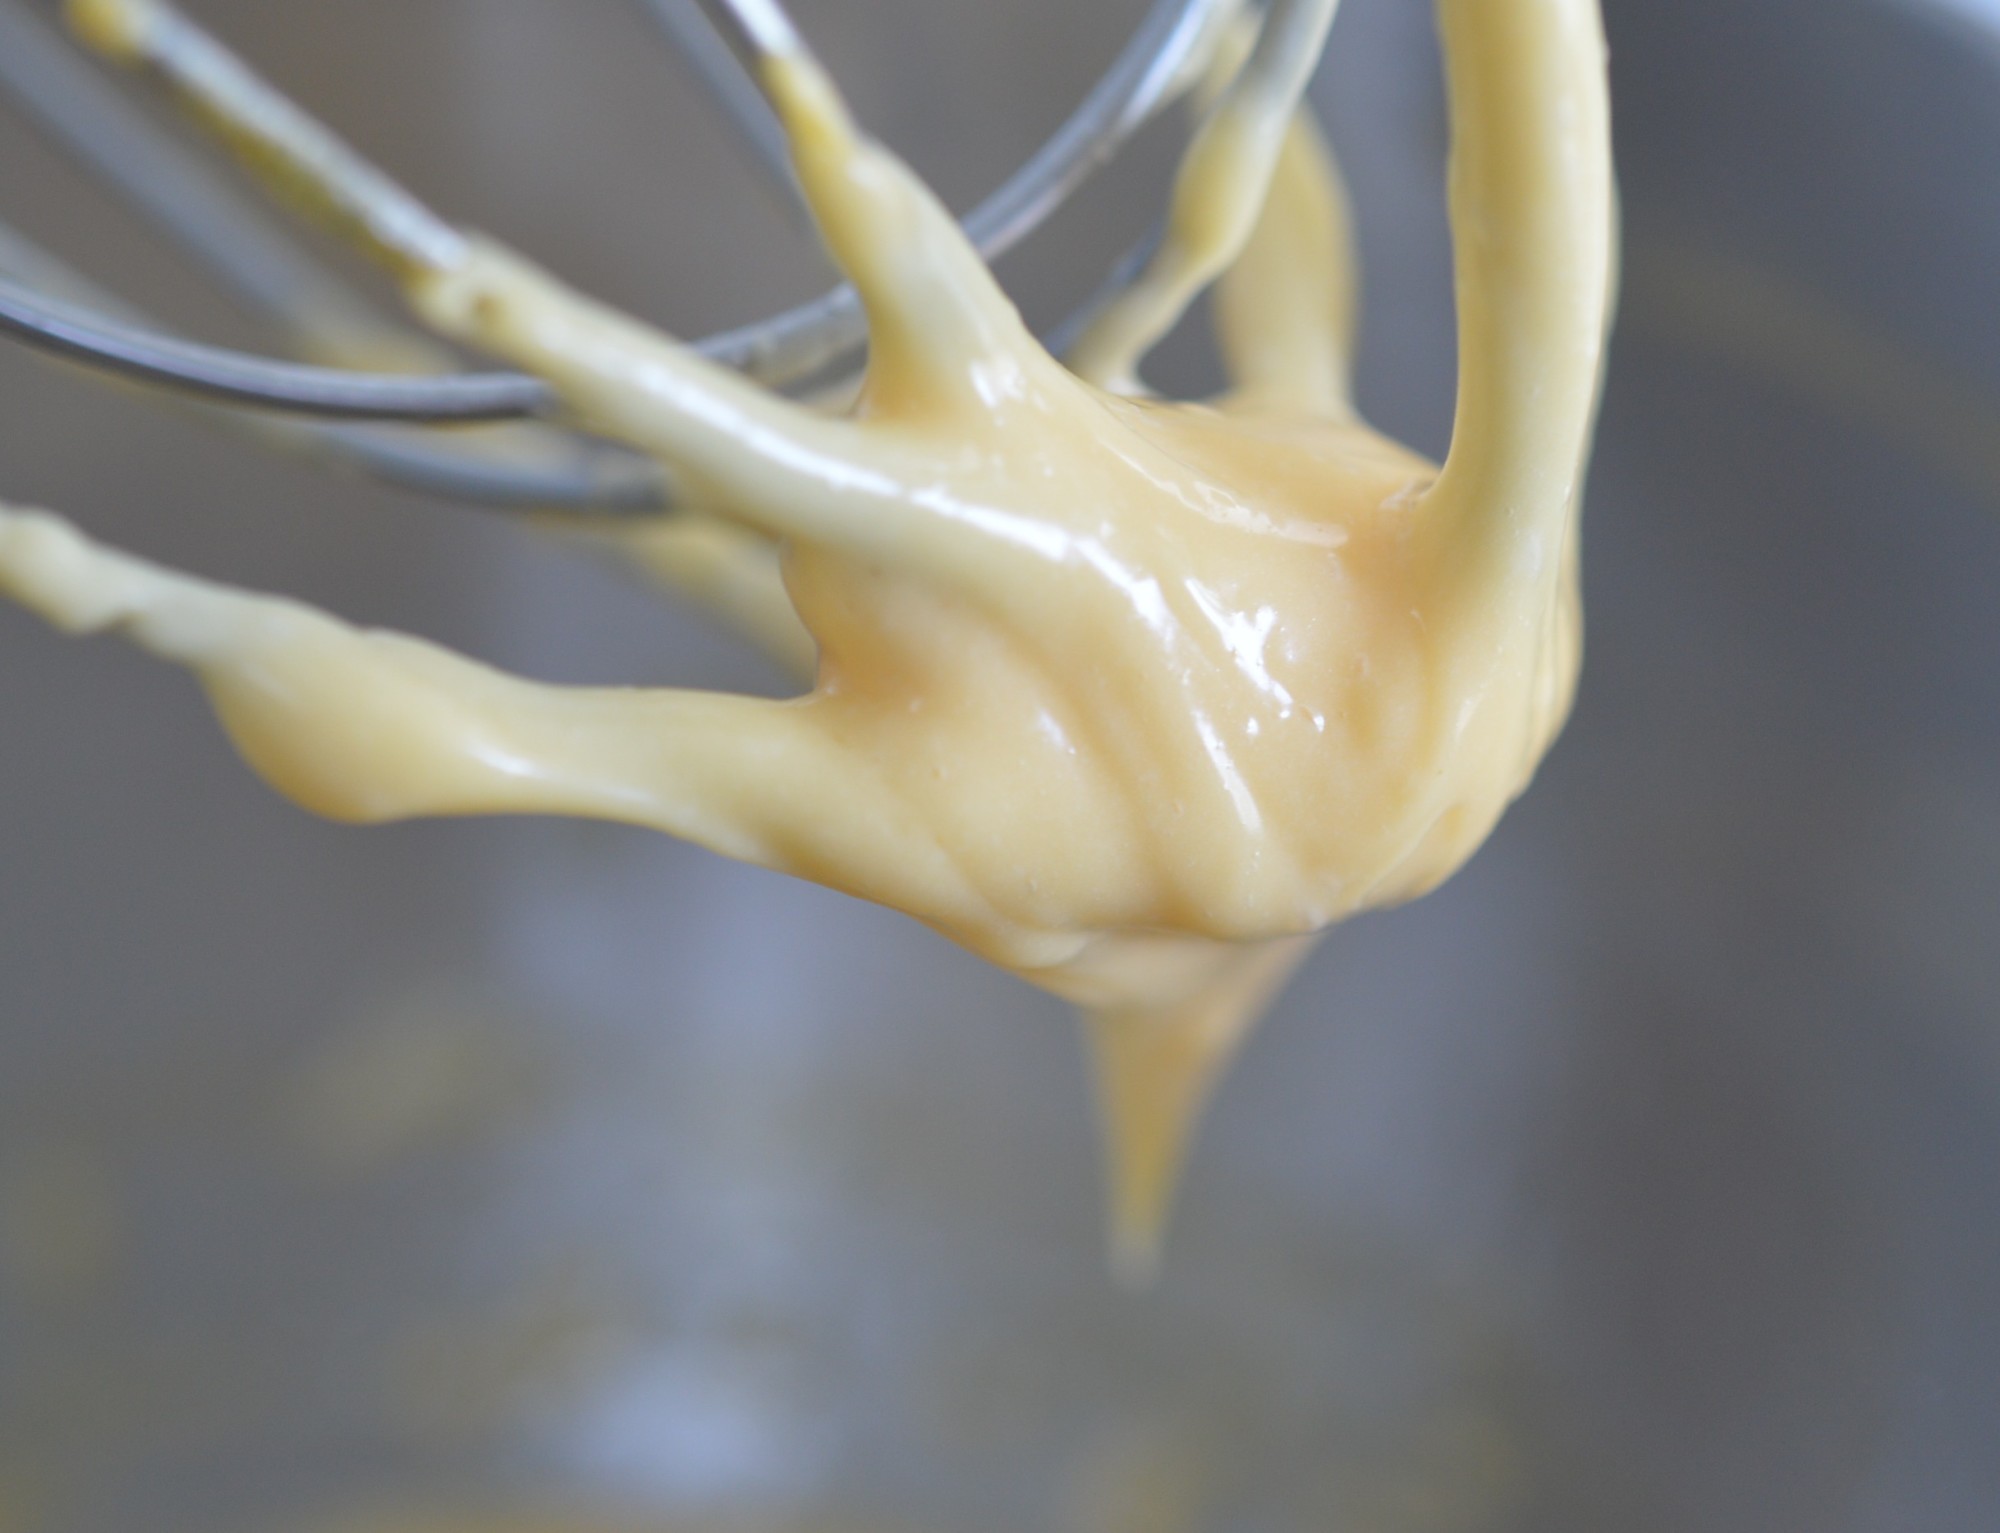
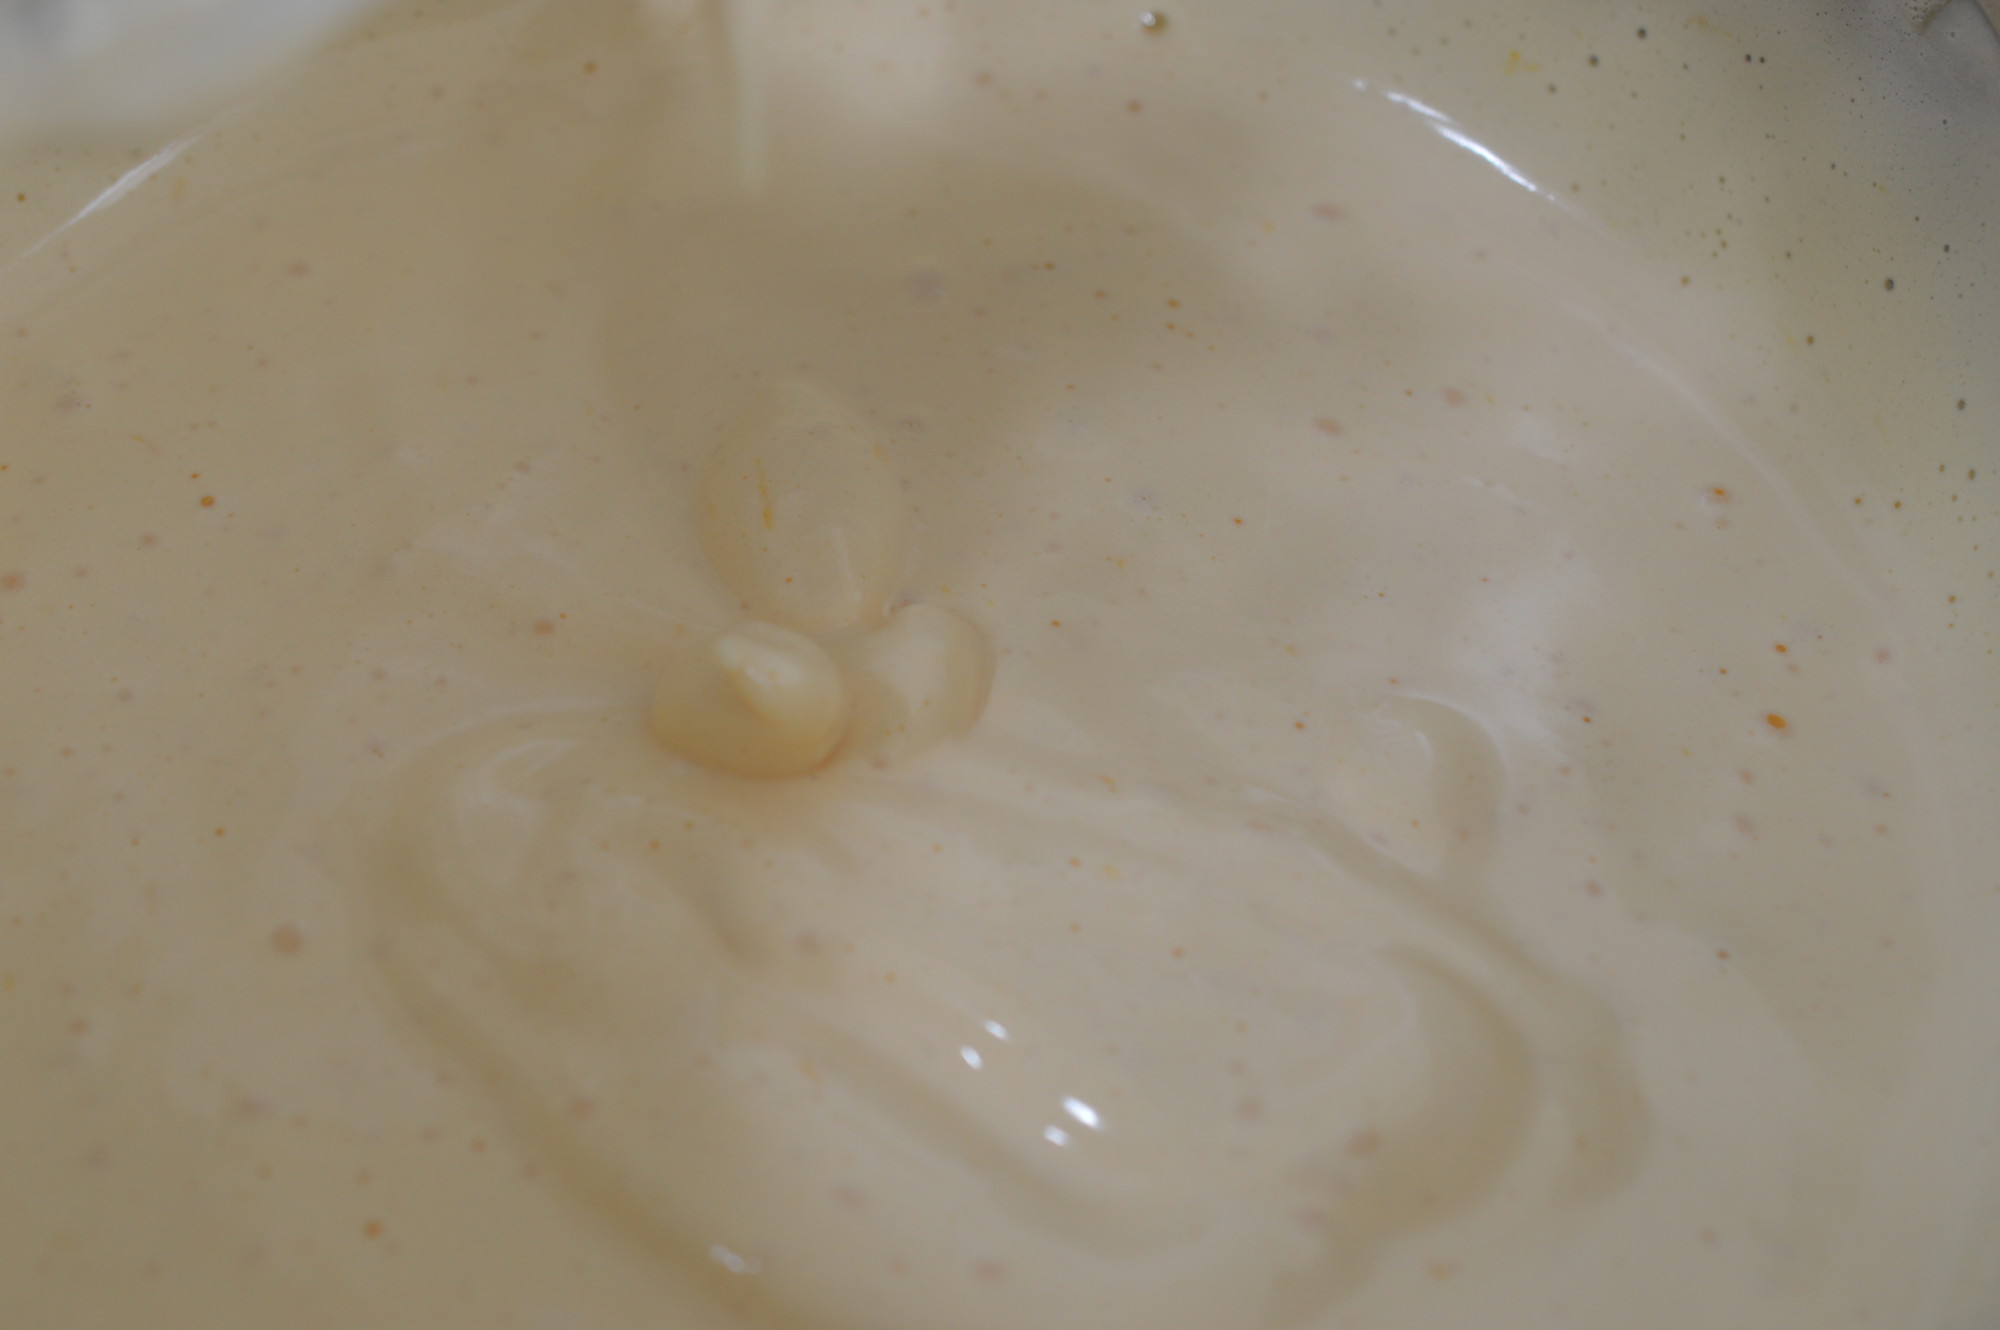
It’s done when you can lift the whisk out and draw a figure of eight with the mixture. It’ll rest on the surface for a few moments.
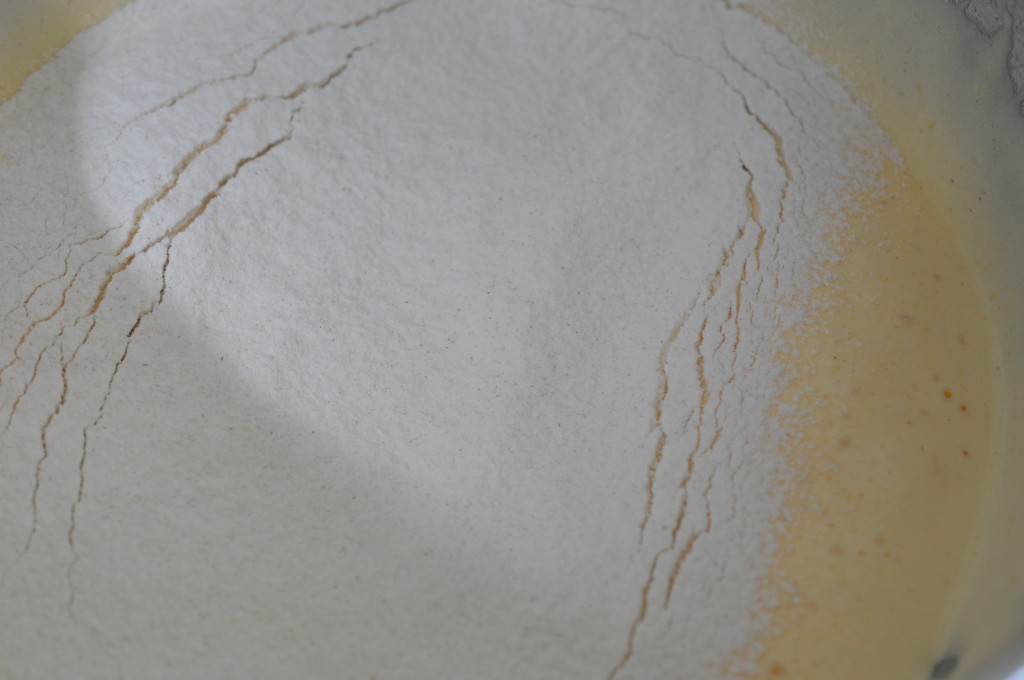
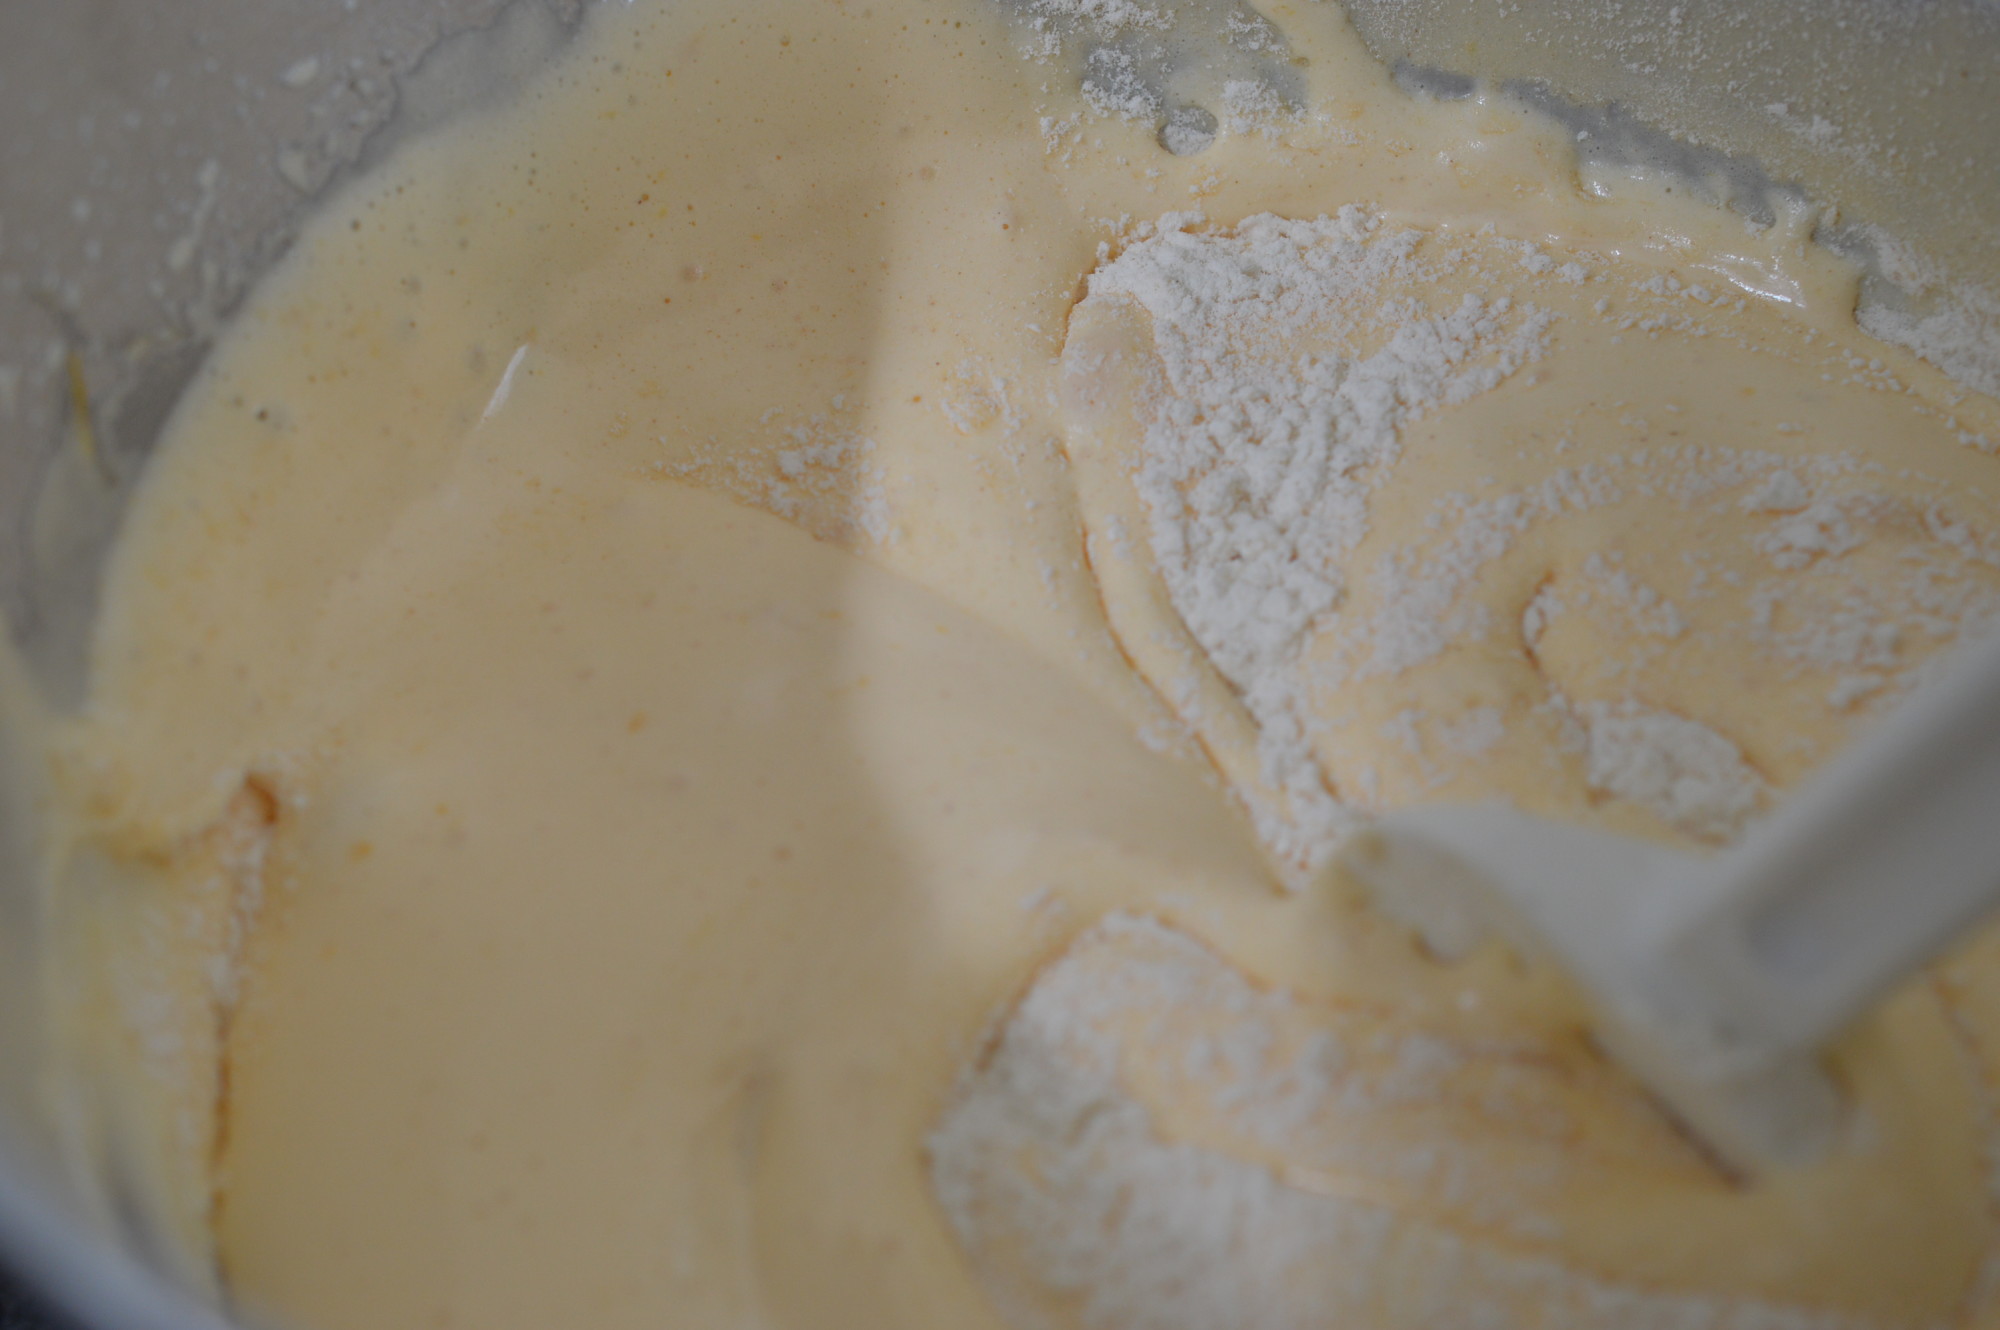
If you’ve been whisking over a bowl of simmering water, now is the time to remove from the heat. Whichever method, sift over half the flour.

Gently – fold in. The aim is to keep as much air in the mixture as possible. Use the edge of the spatula (or metal spoon) and use a cutting motion. Once you’ve incorporated the first half, sift over the remaining flour and fold that in as well. Then, add the melted butter. Gently – fold that in, too.
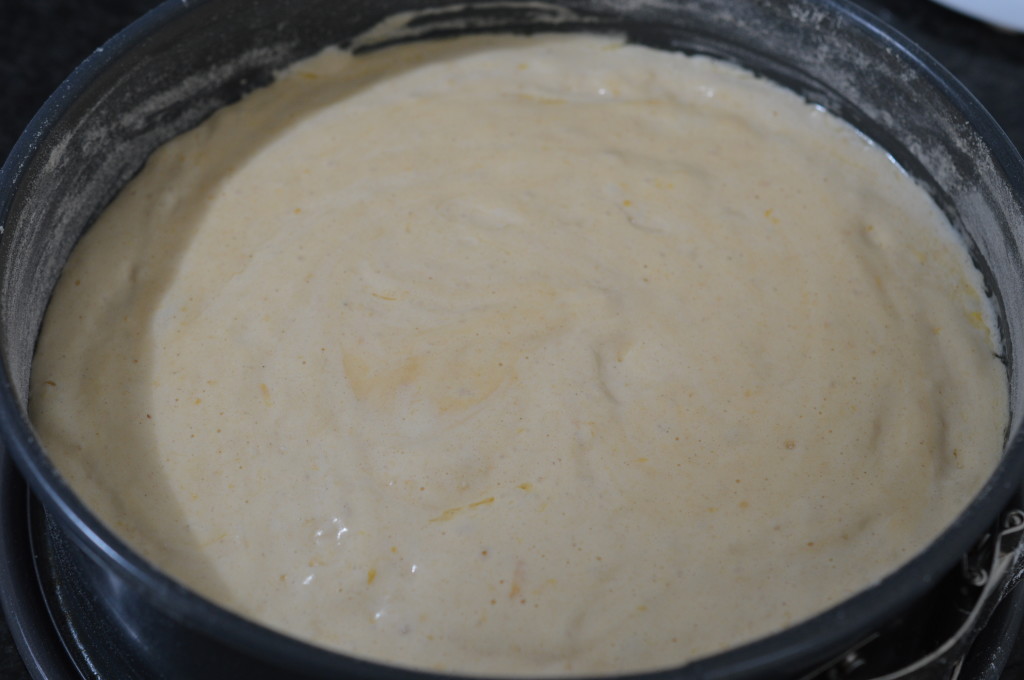
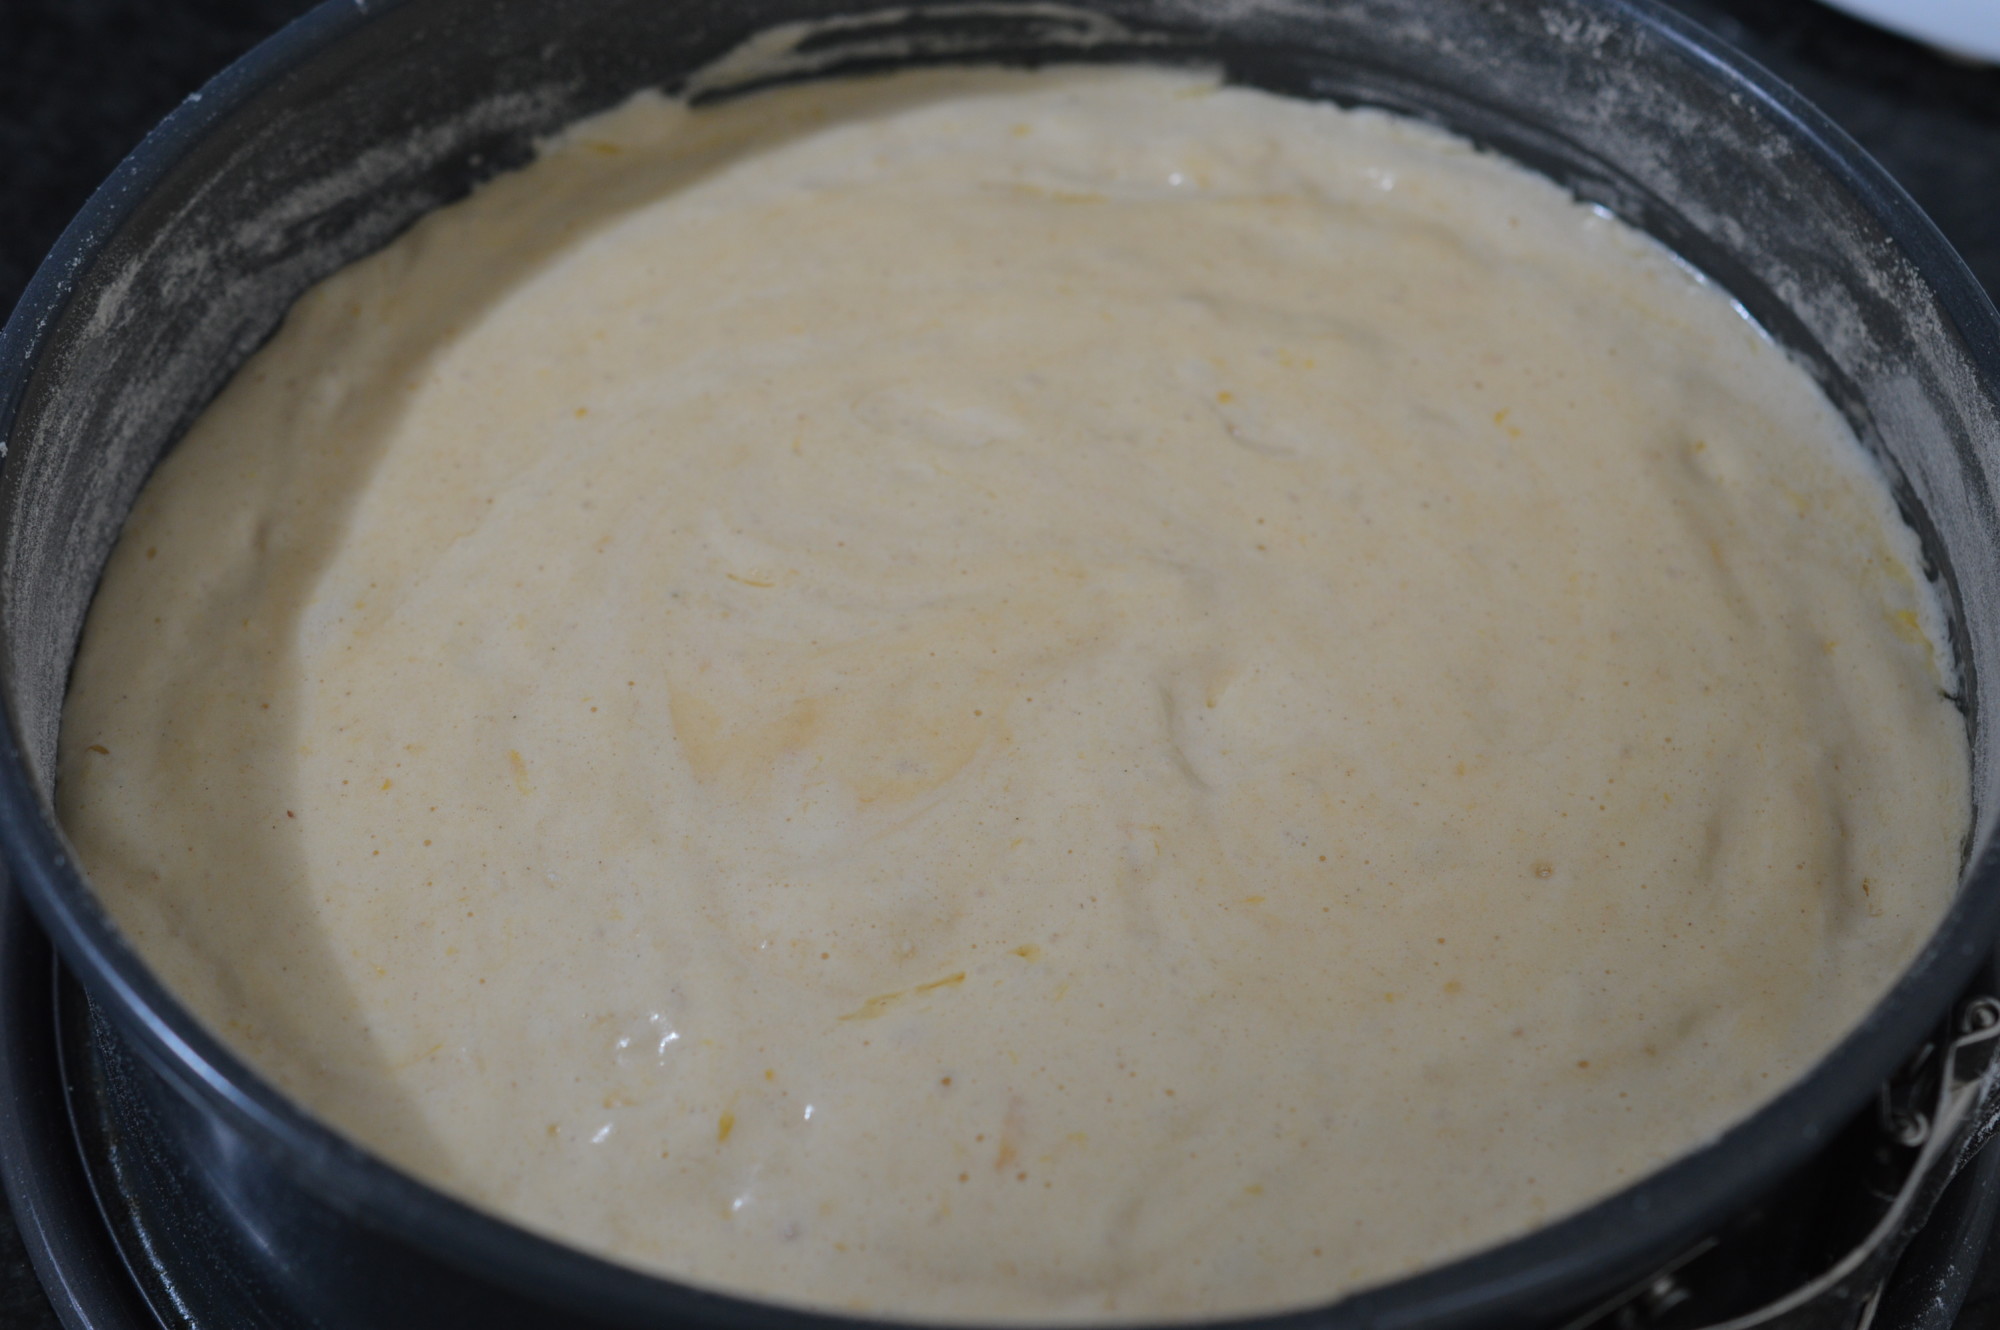
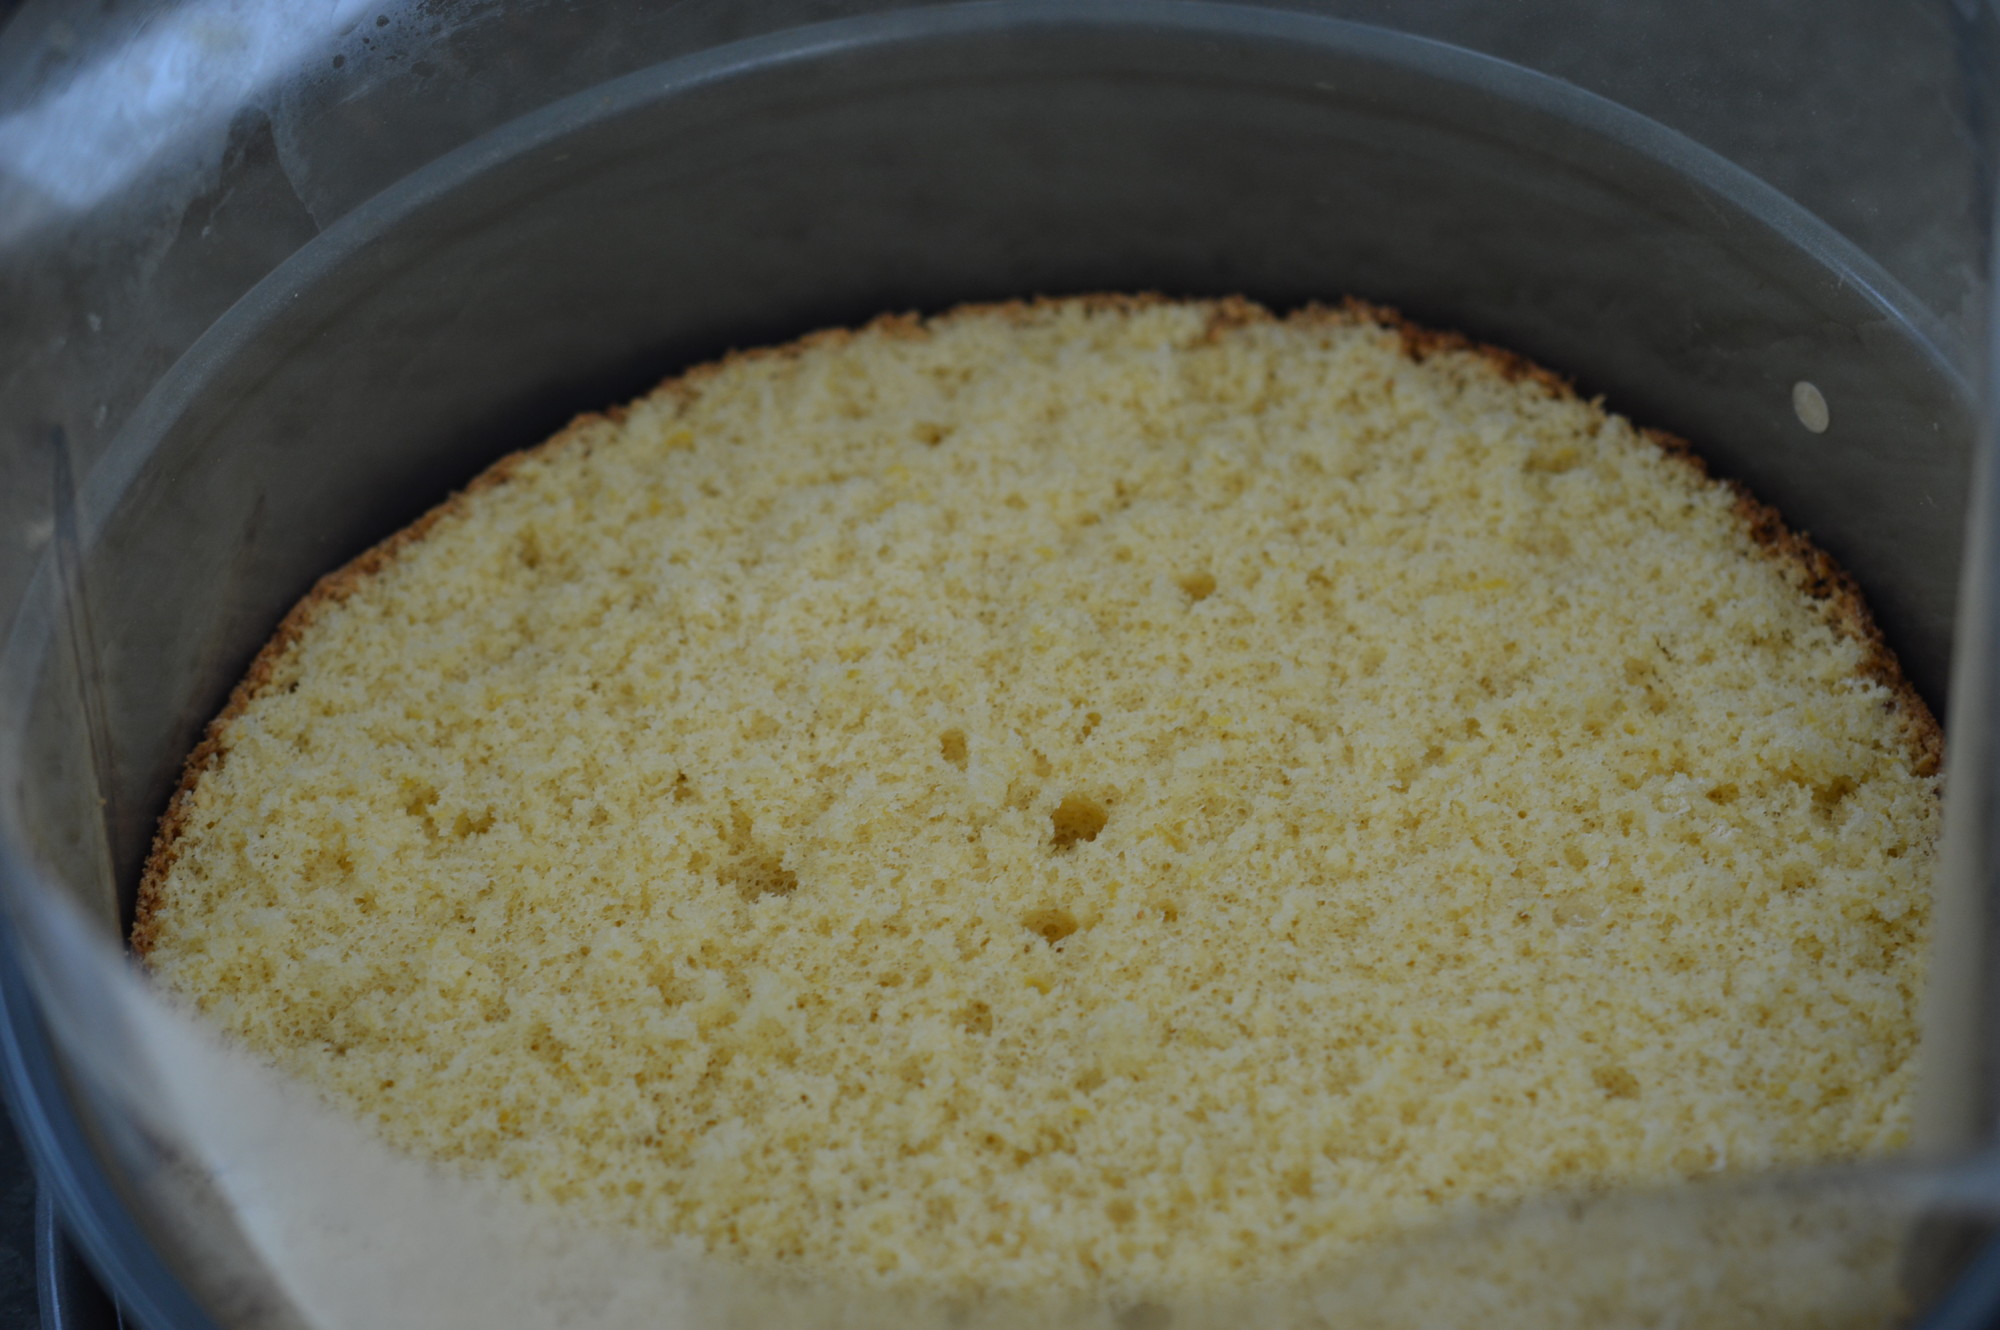
Pour into the prepared cake tin and bake for 25-30 minutes. In my 4-oven aga, I use the Baking Oven and bake for 20-25 minutes on the rack placed on the floor.
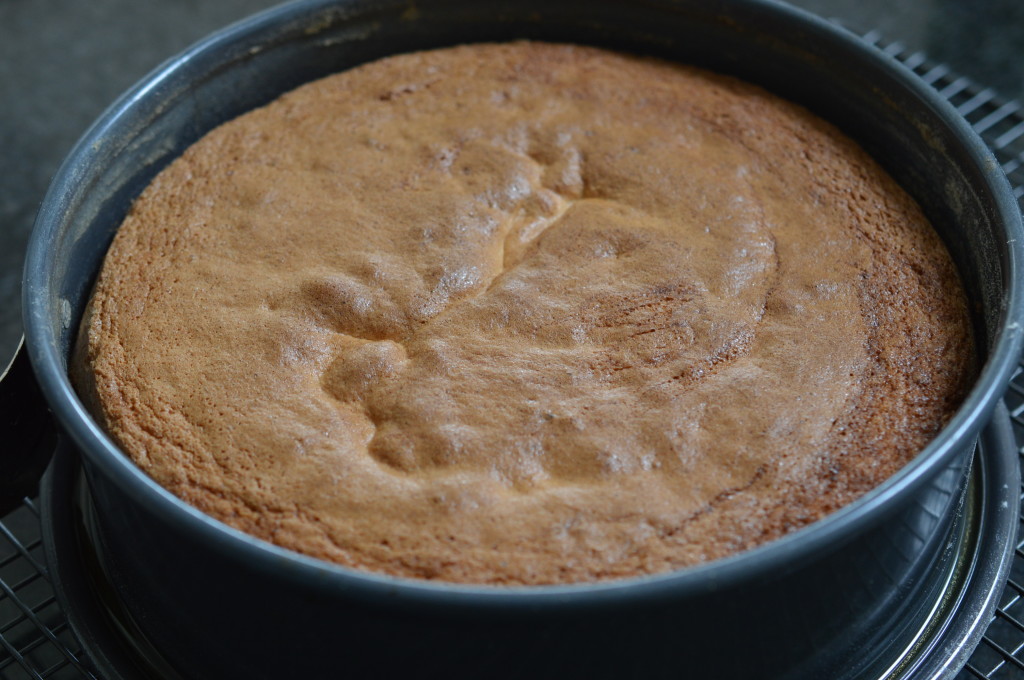
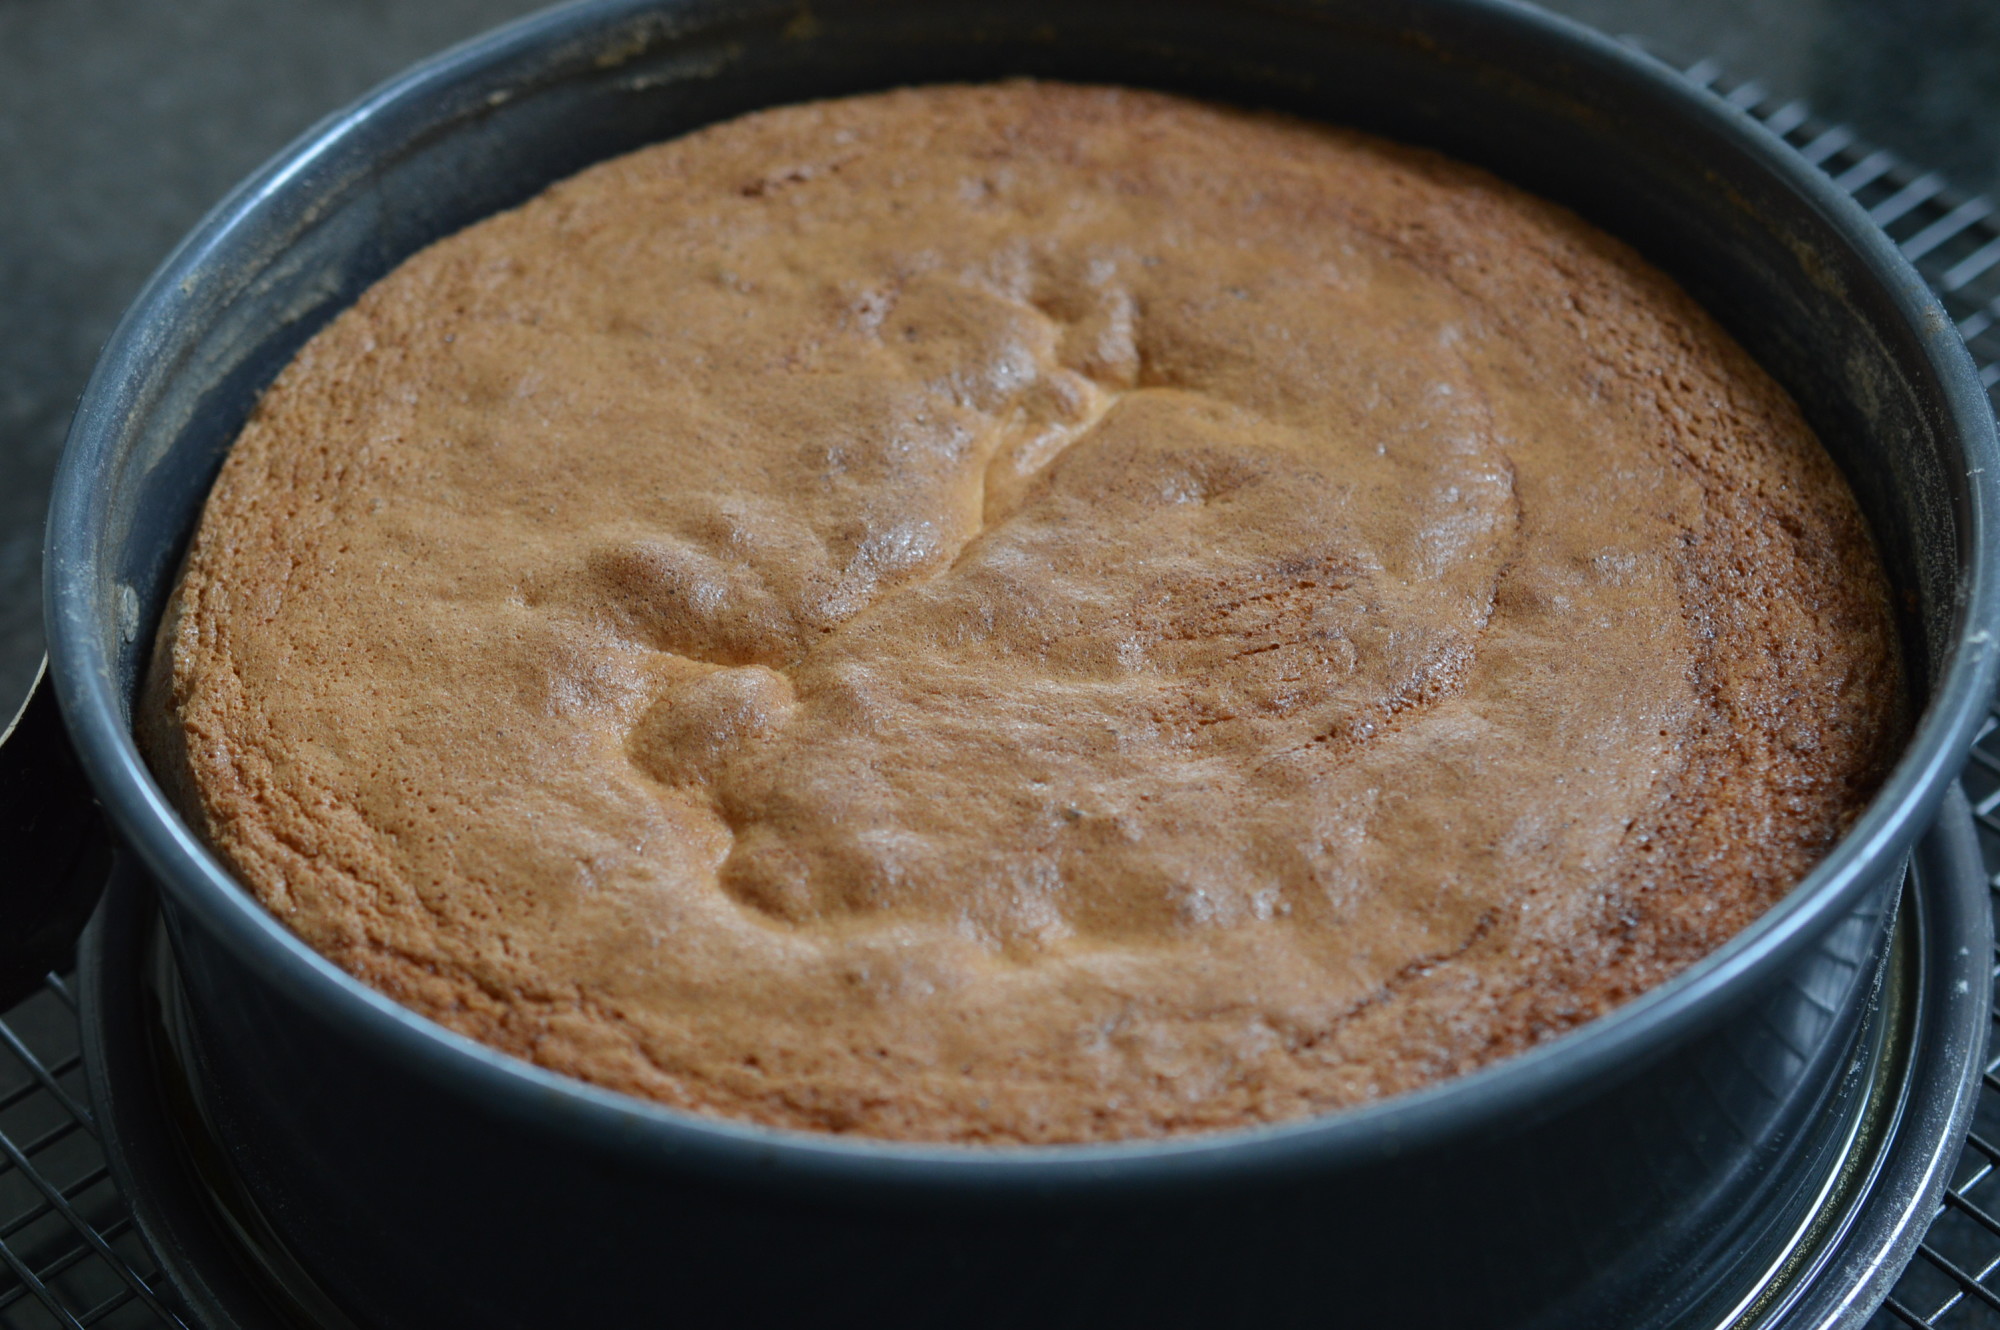
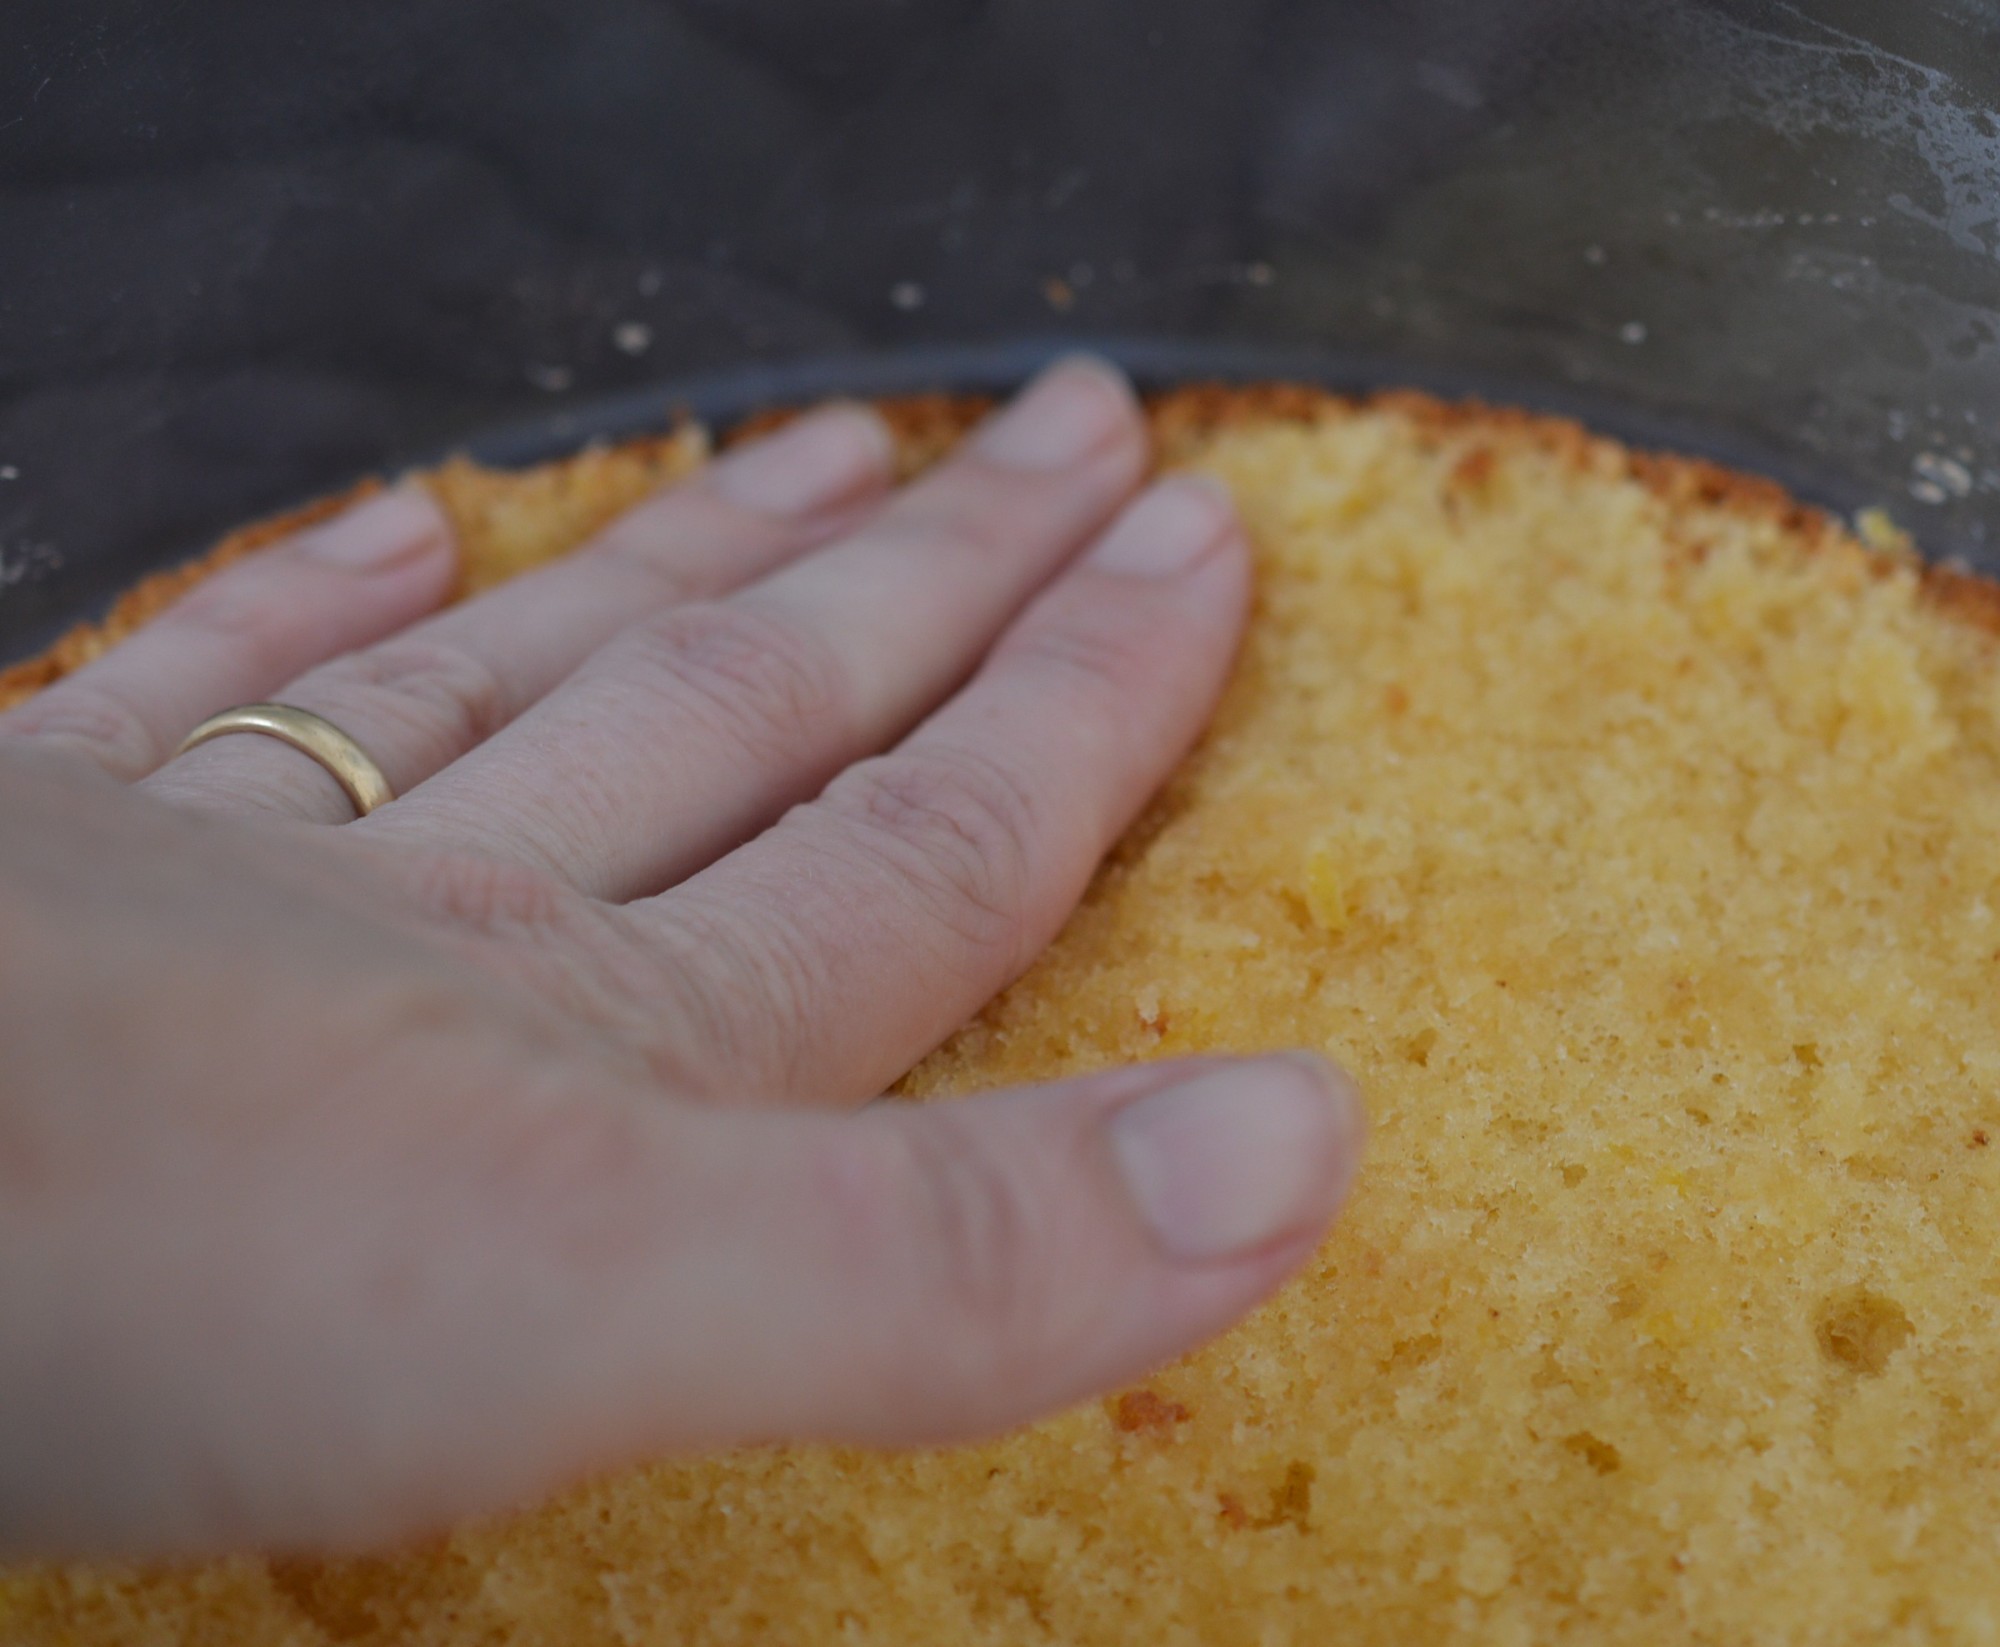
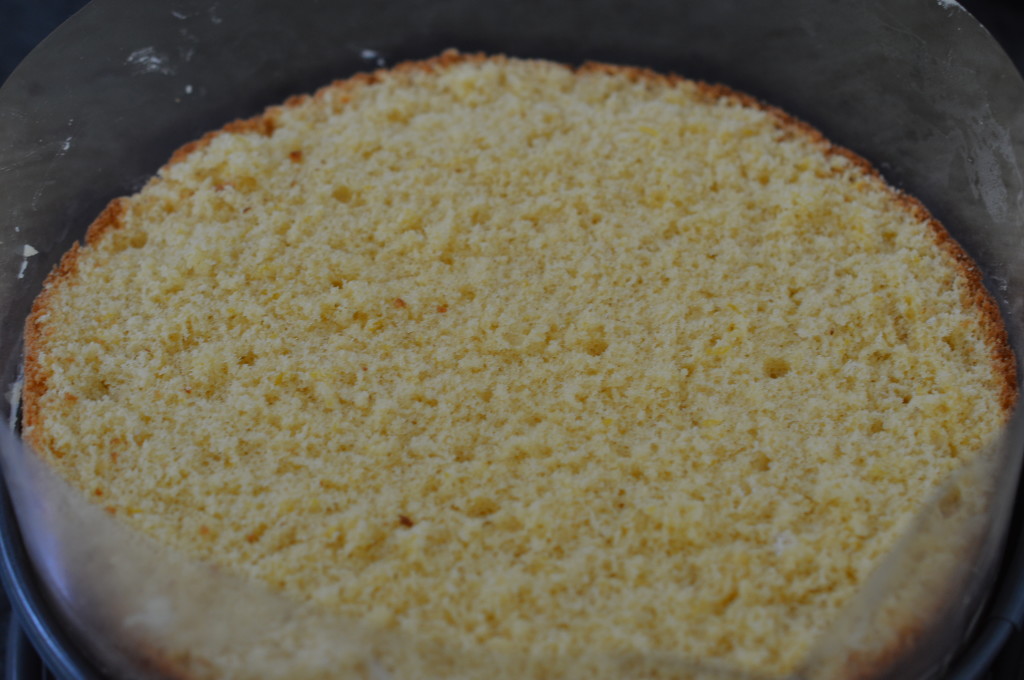
It’s done when the sides of the cake shrink away from the sides of the tin. Leave it to cool for five minutes, then loosen the side clip and transfer the cake to a cooling rack.
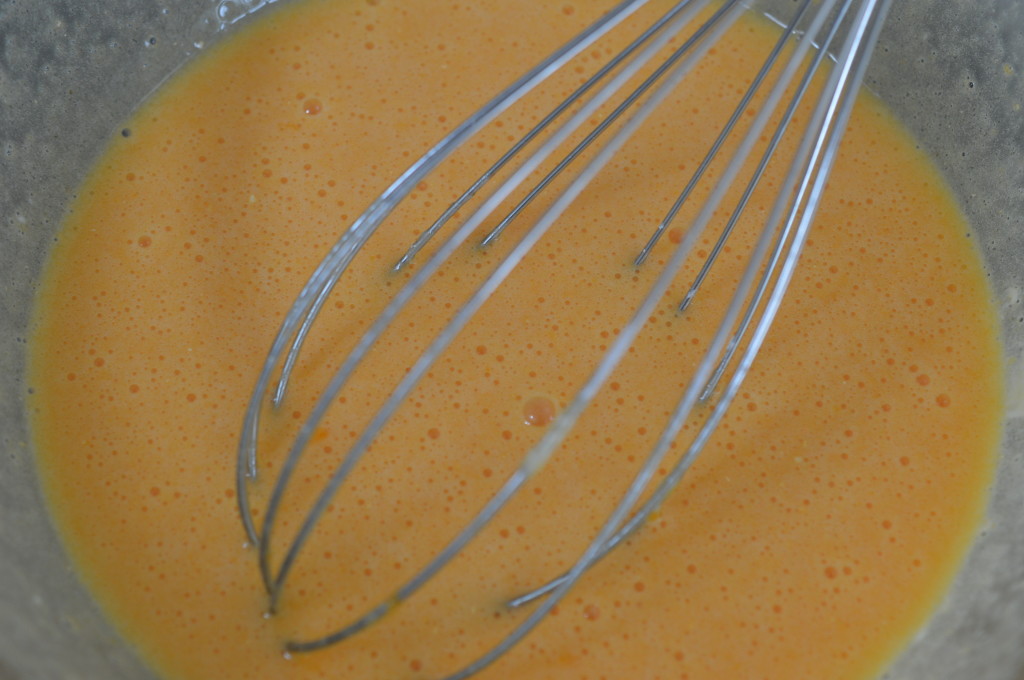
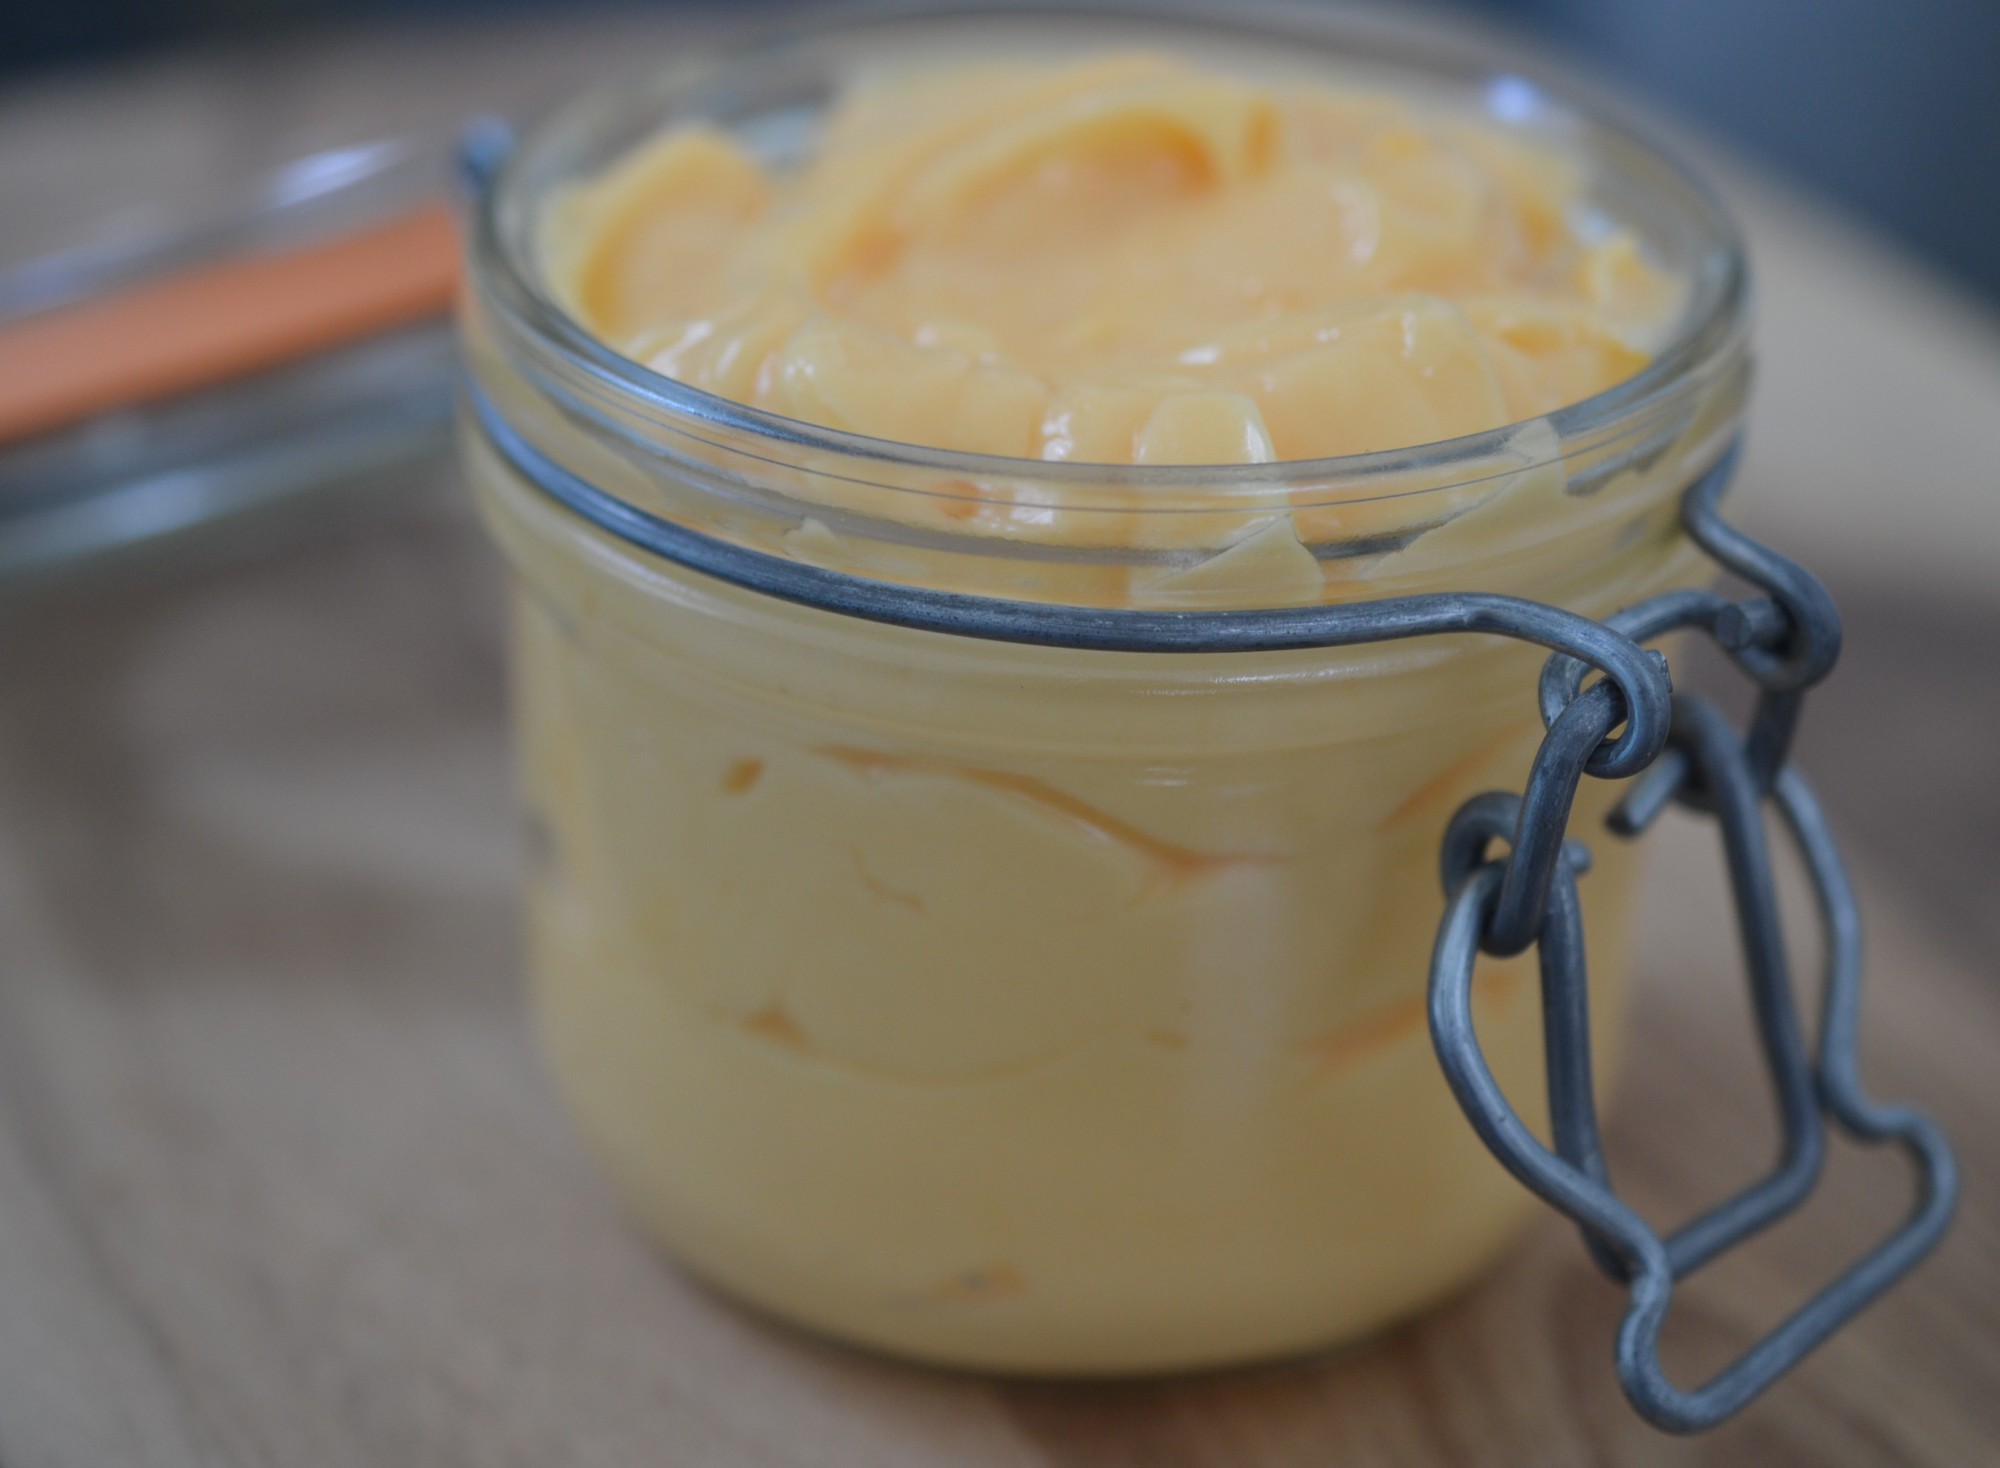
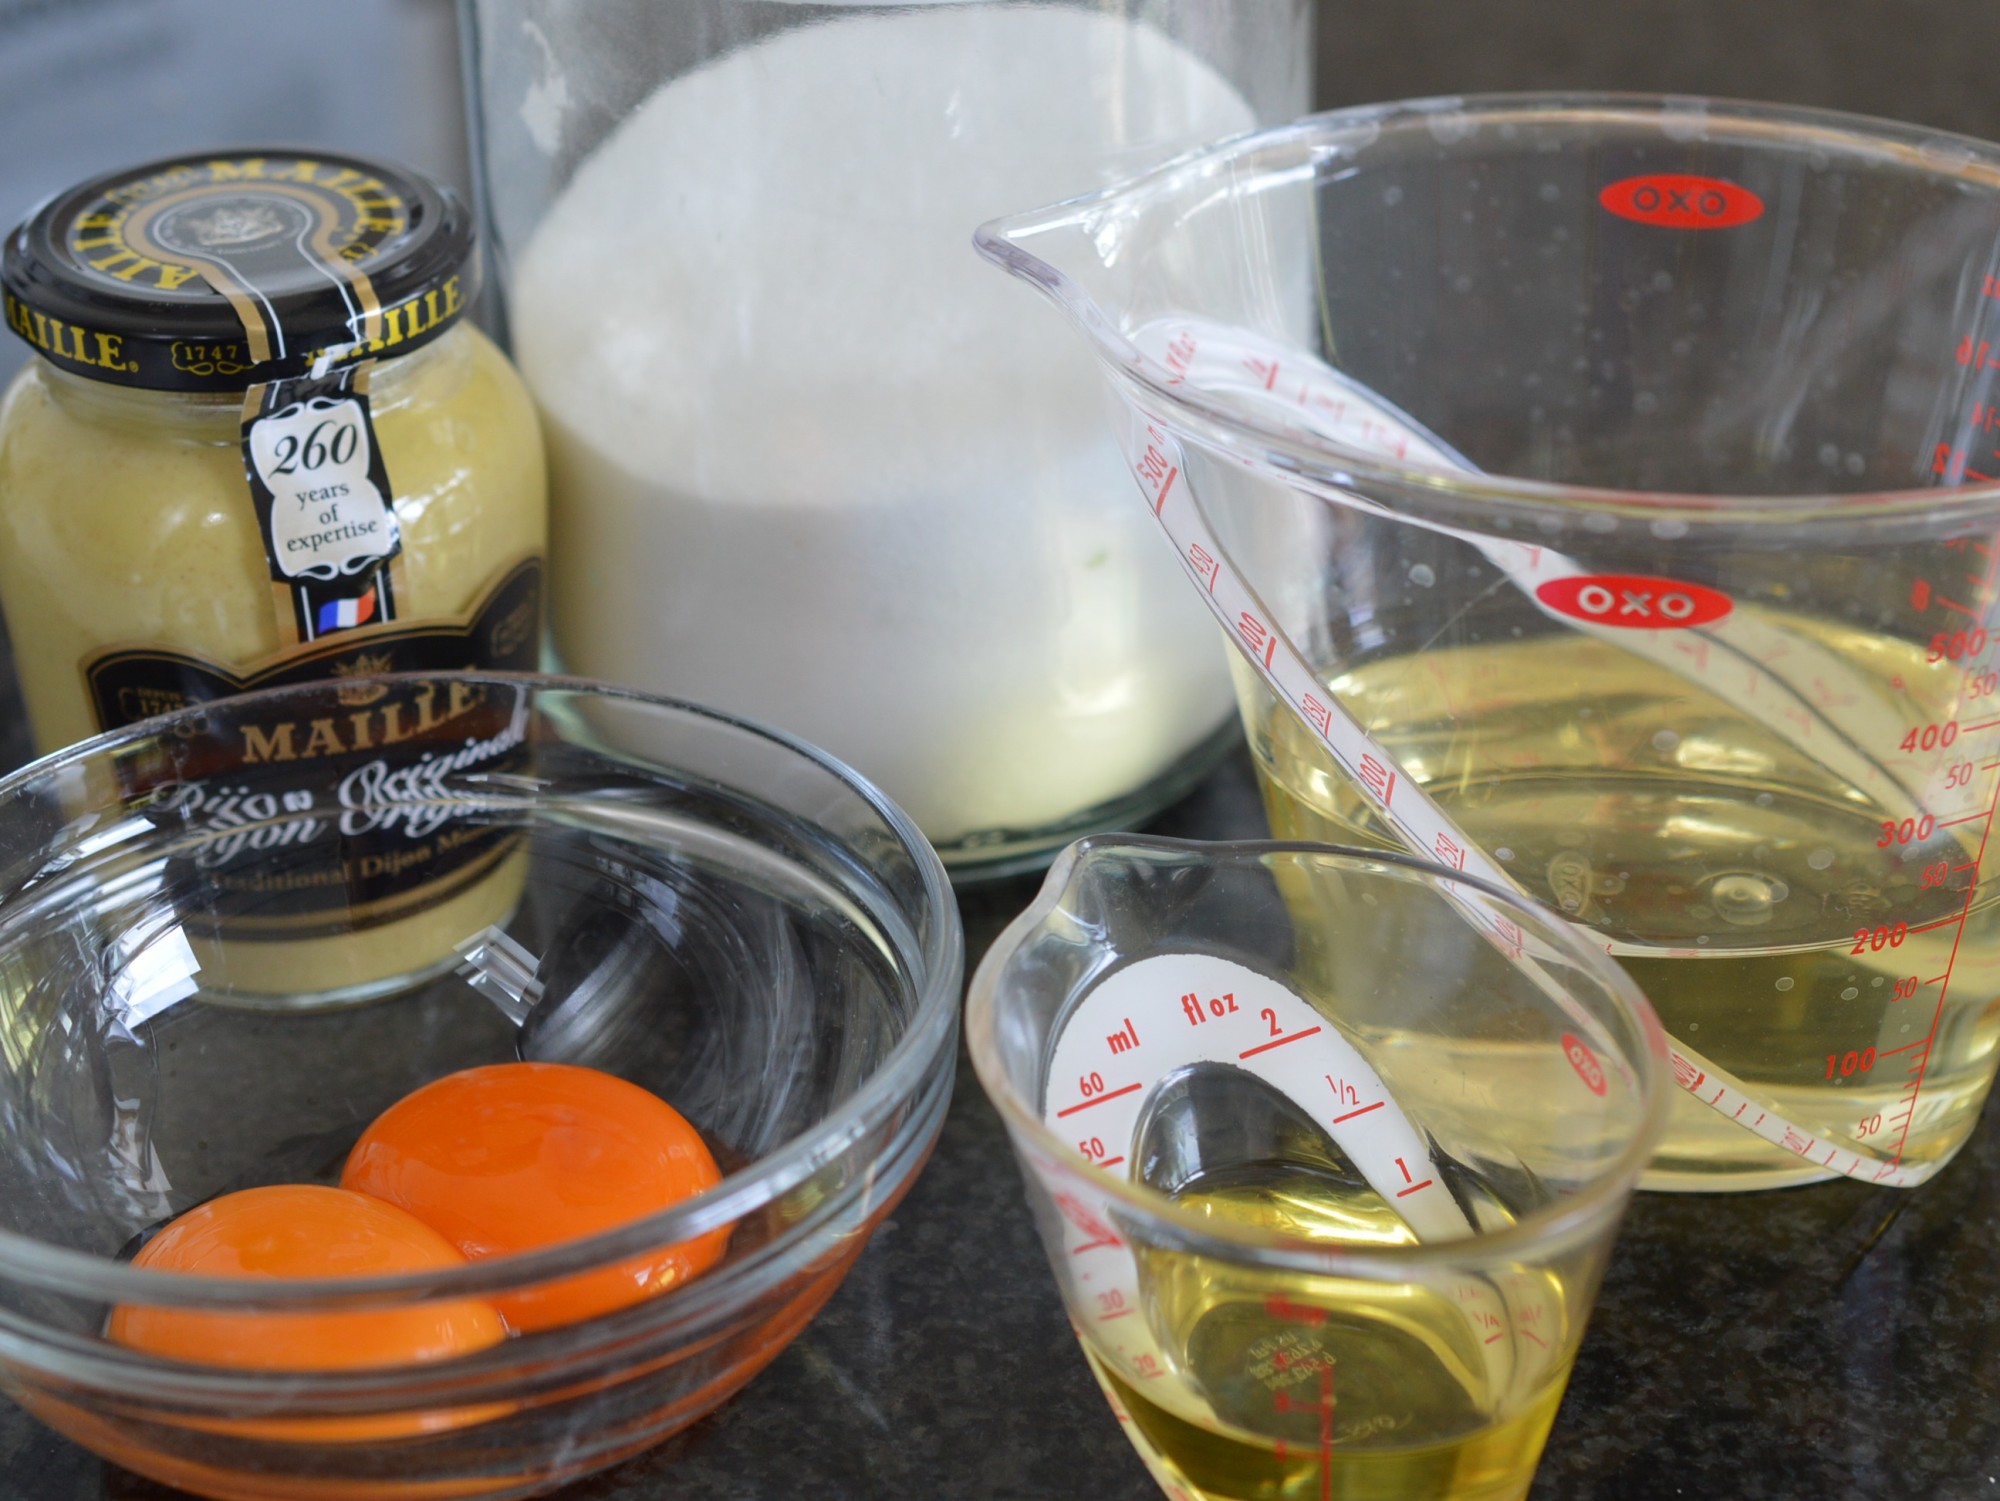
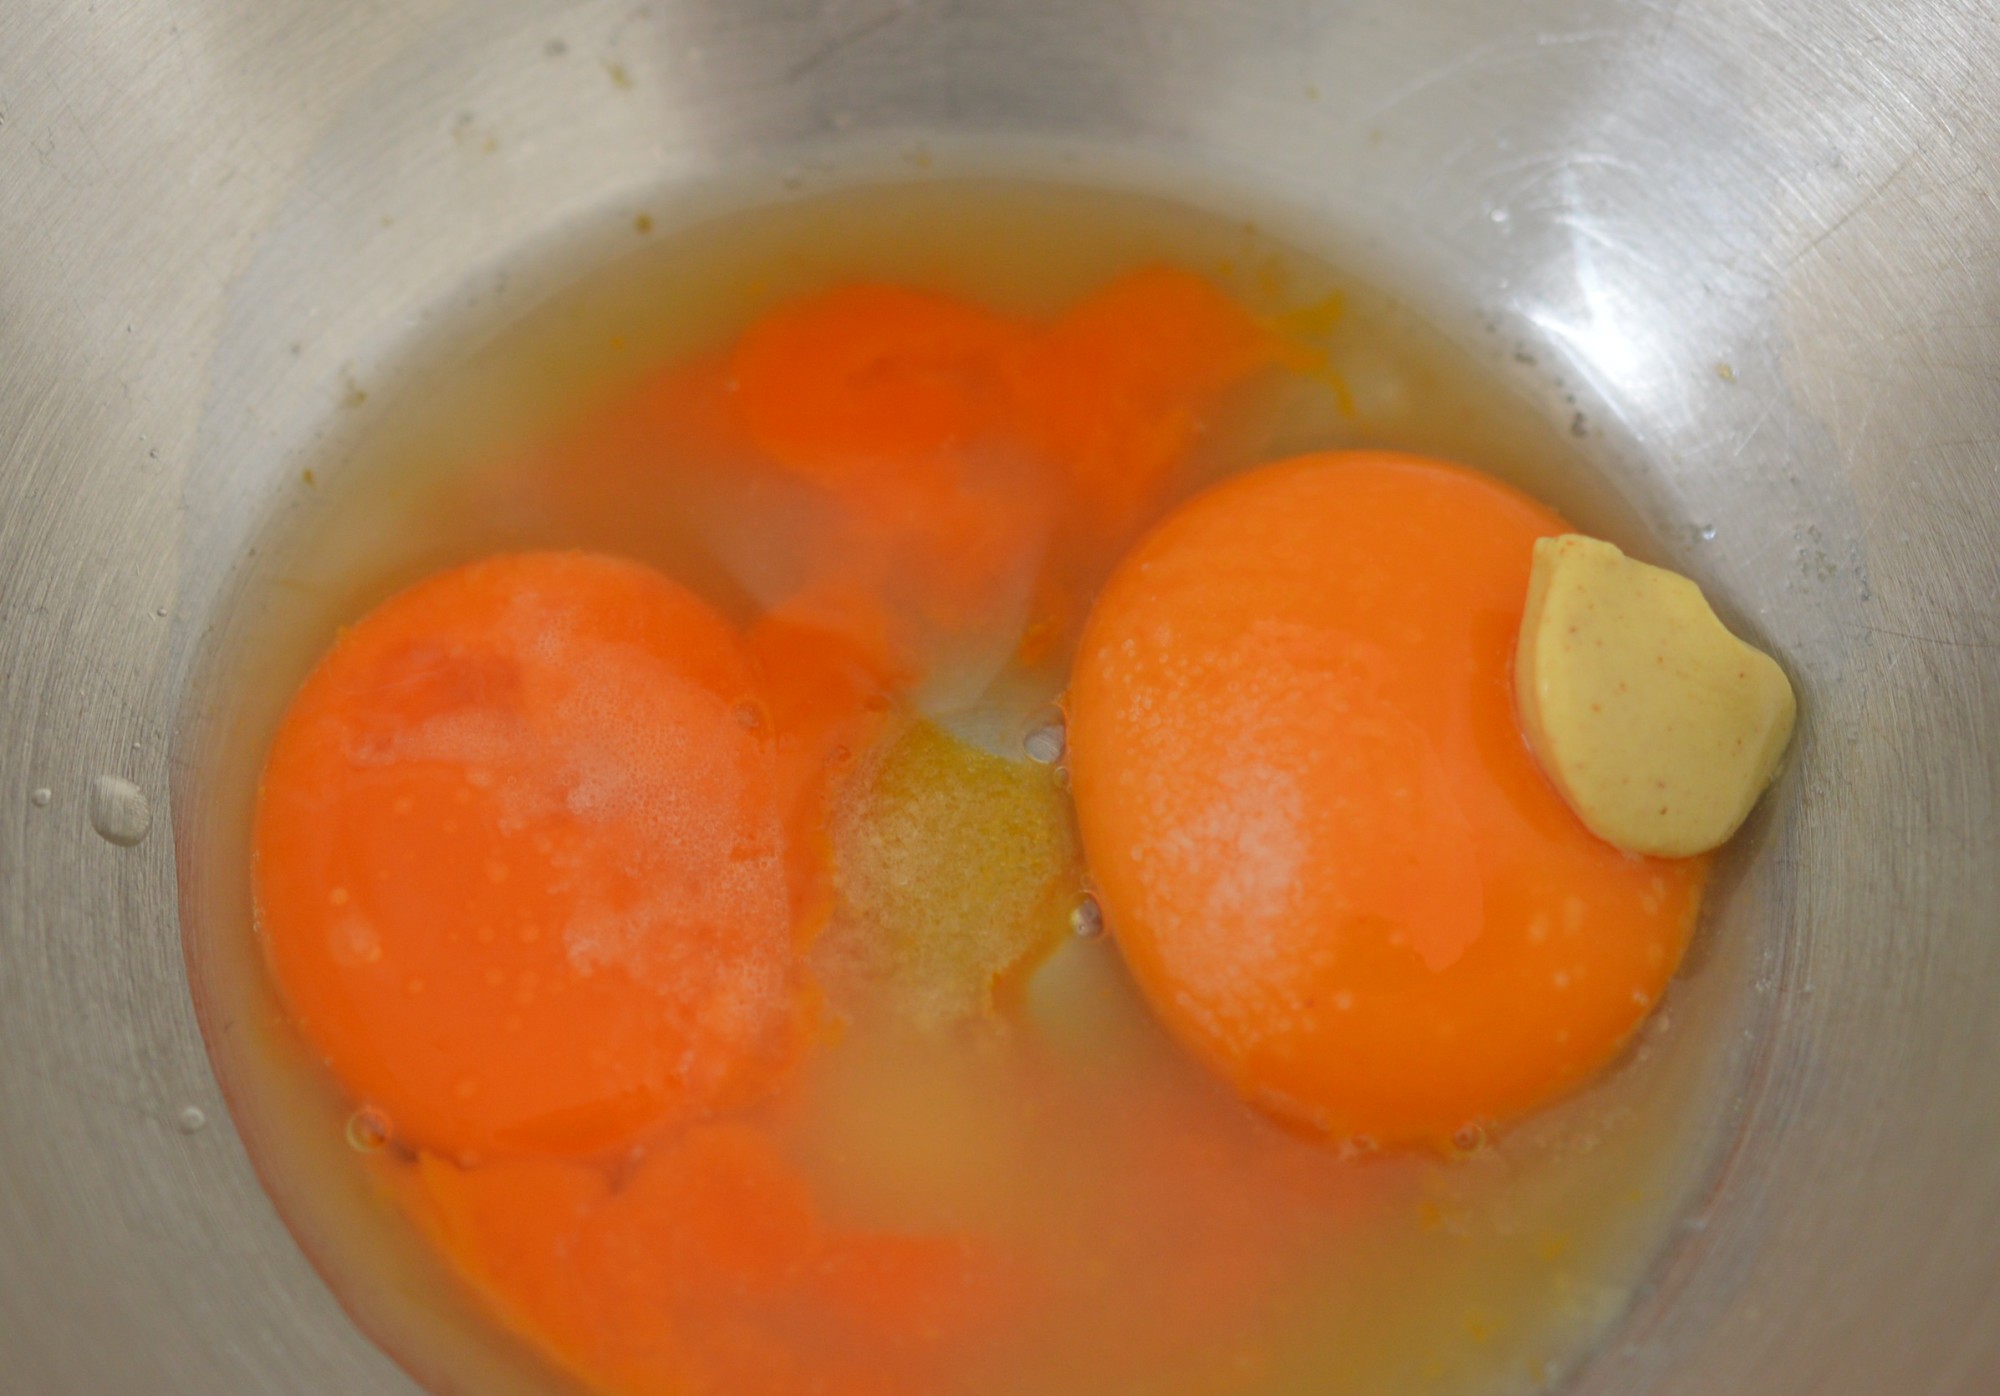
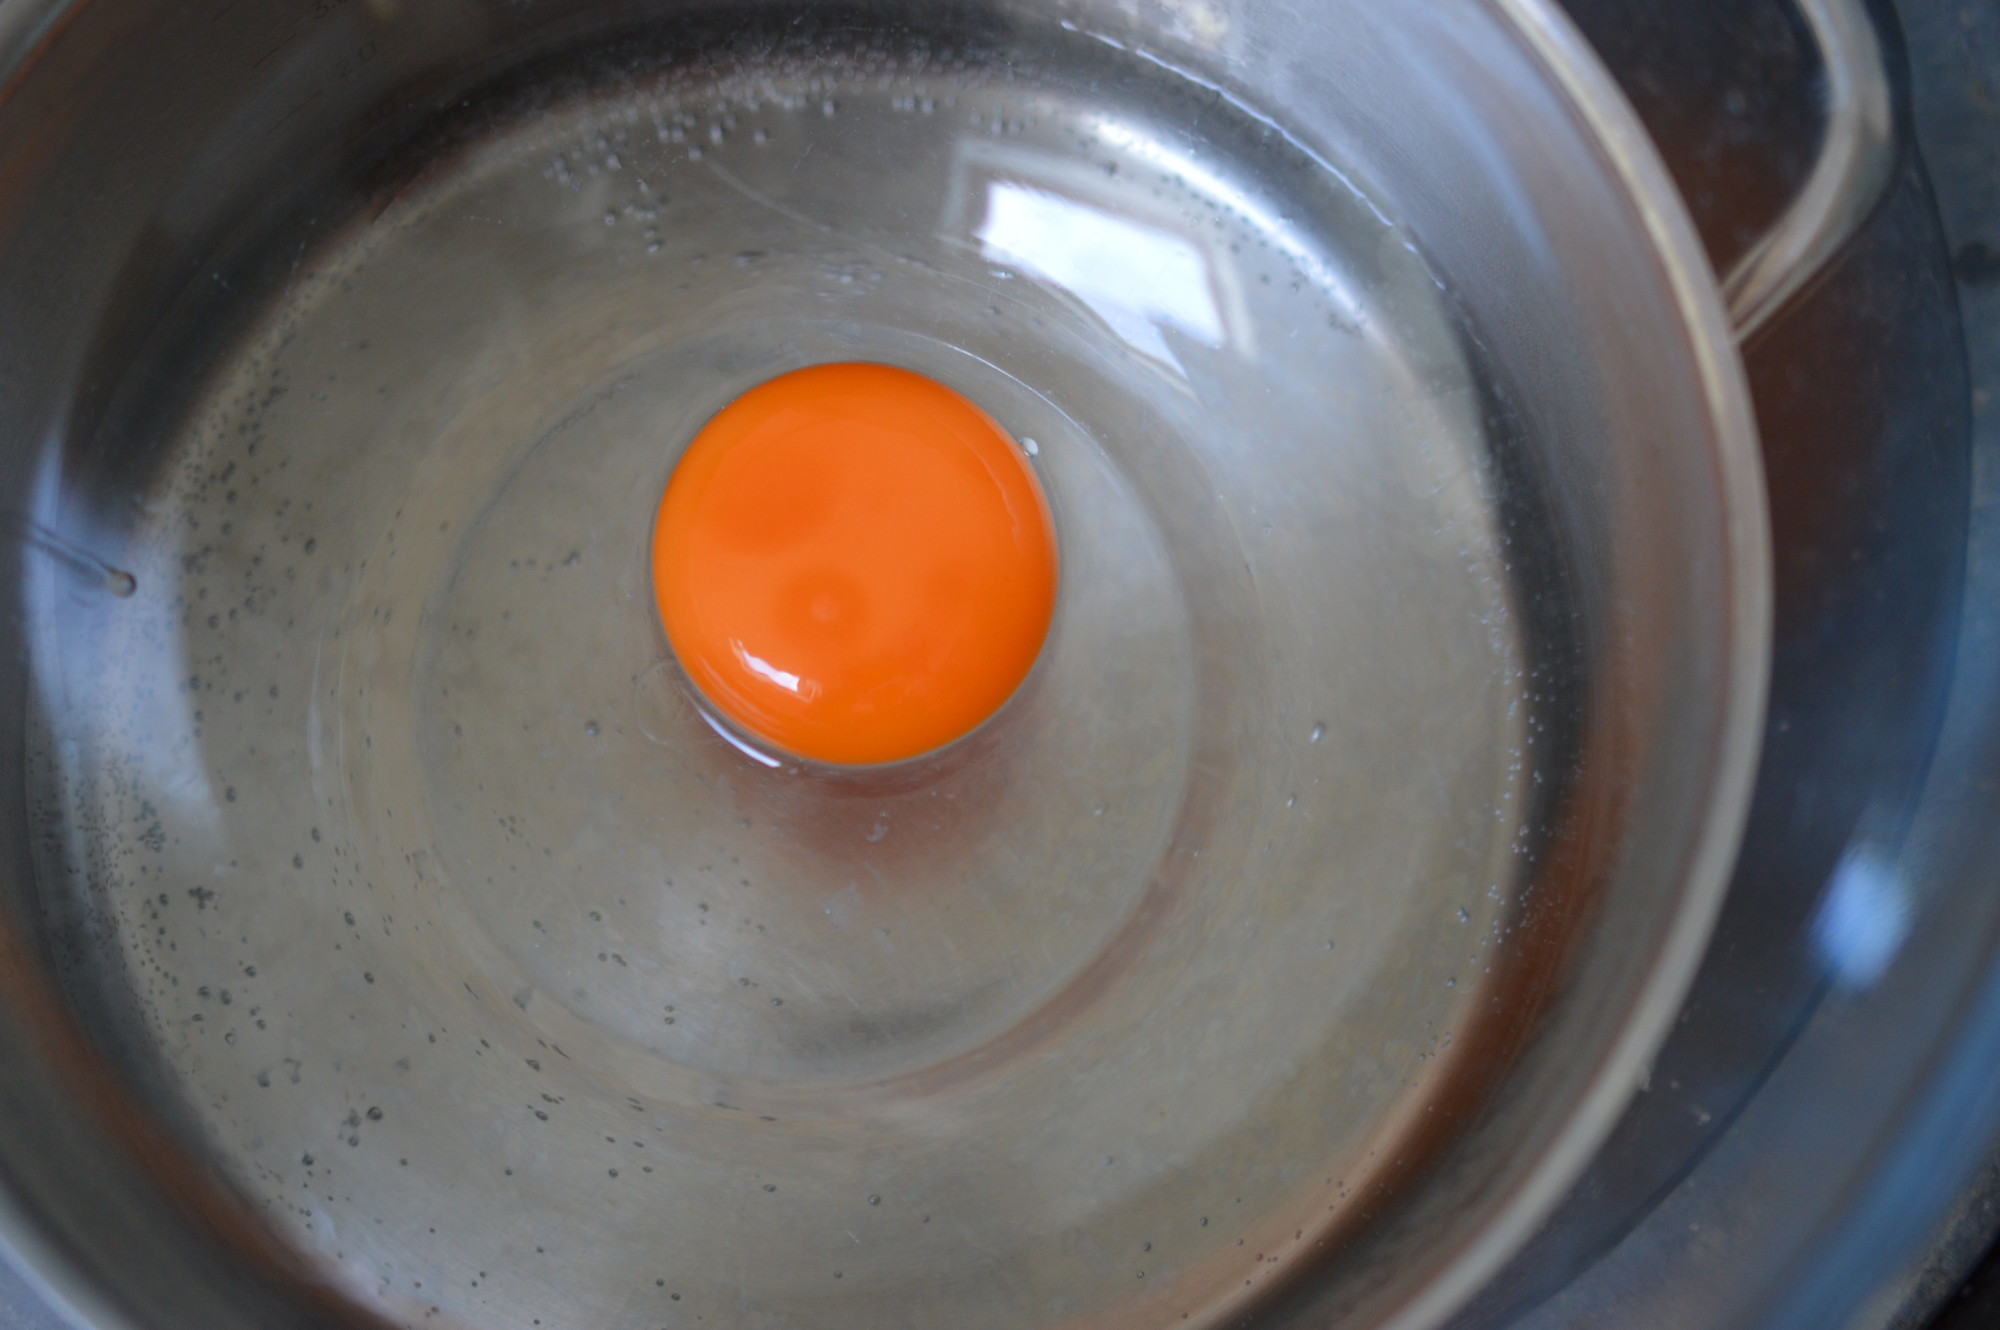
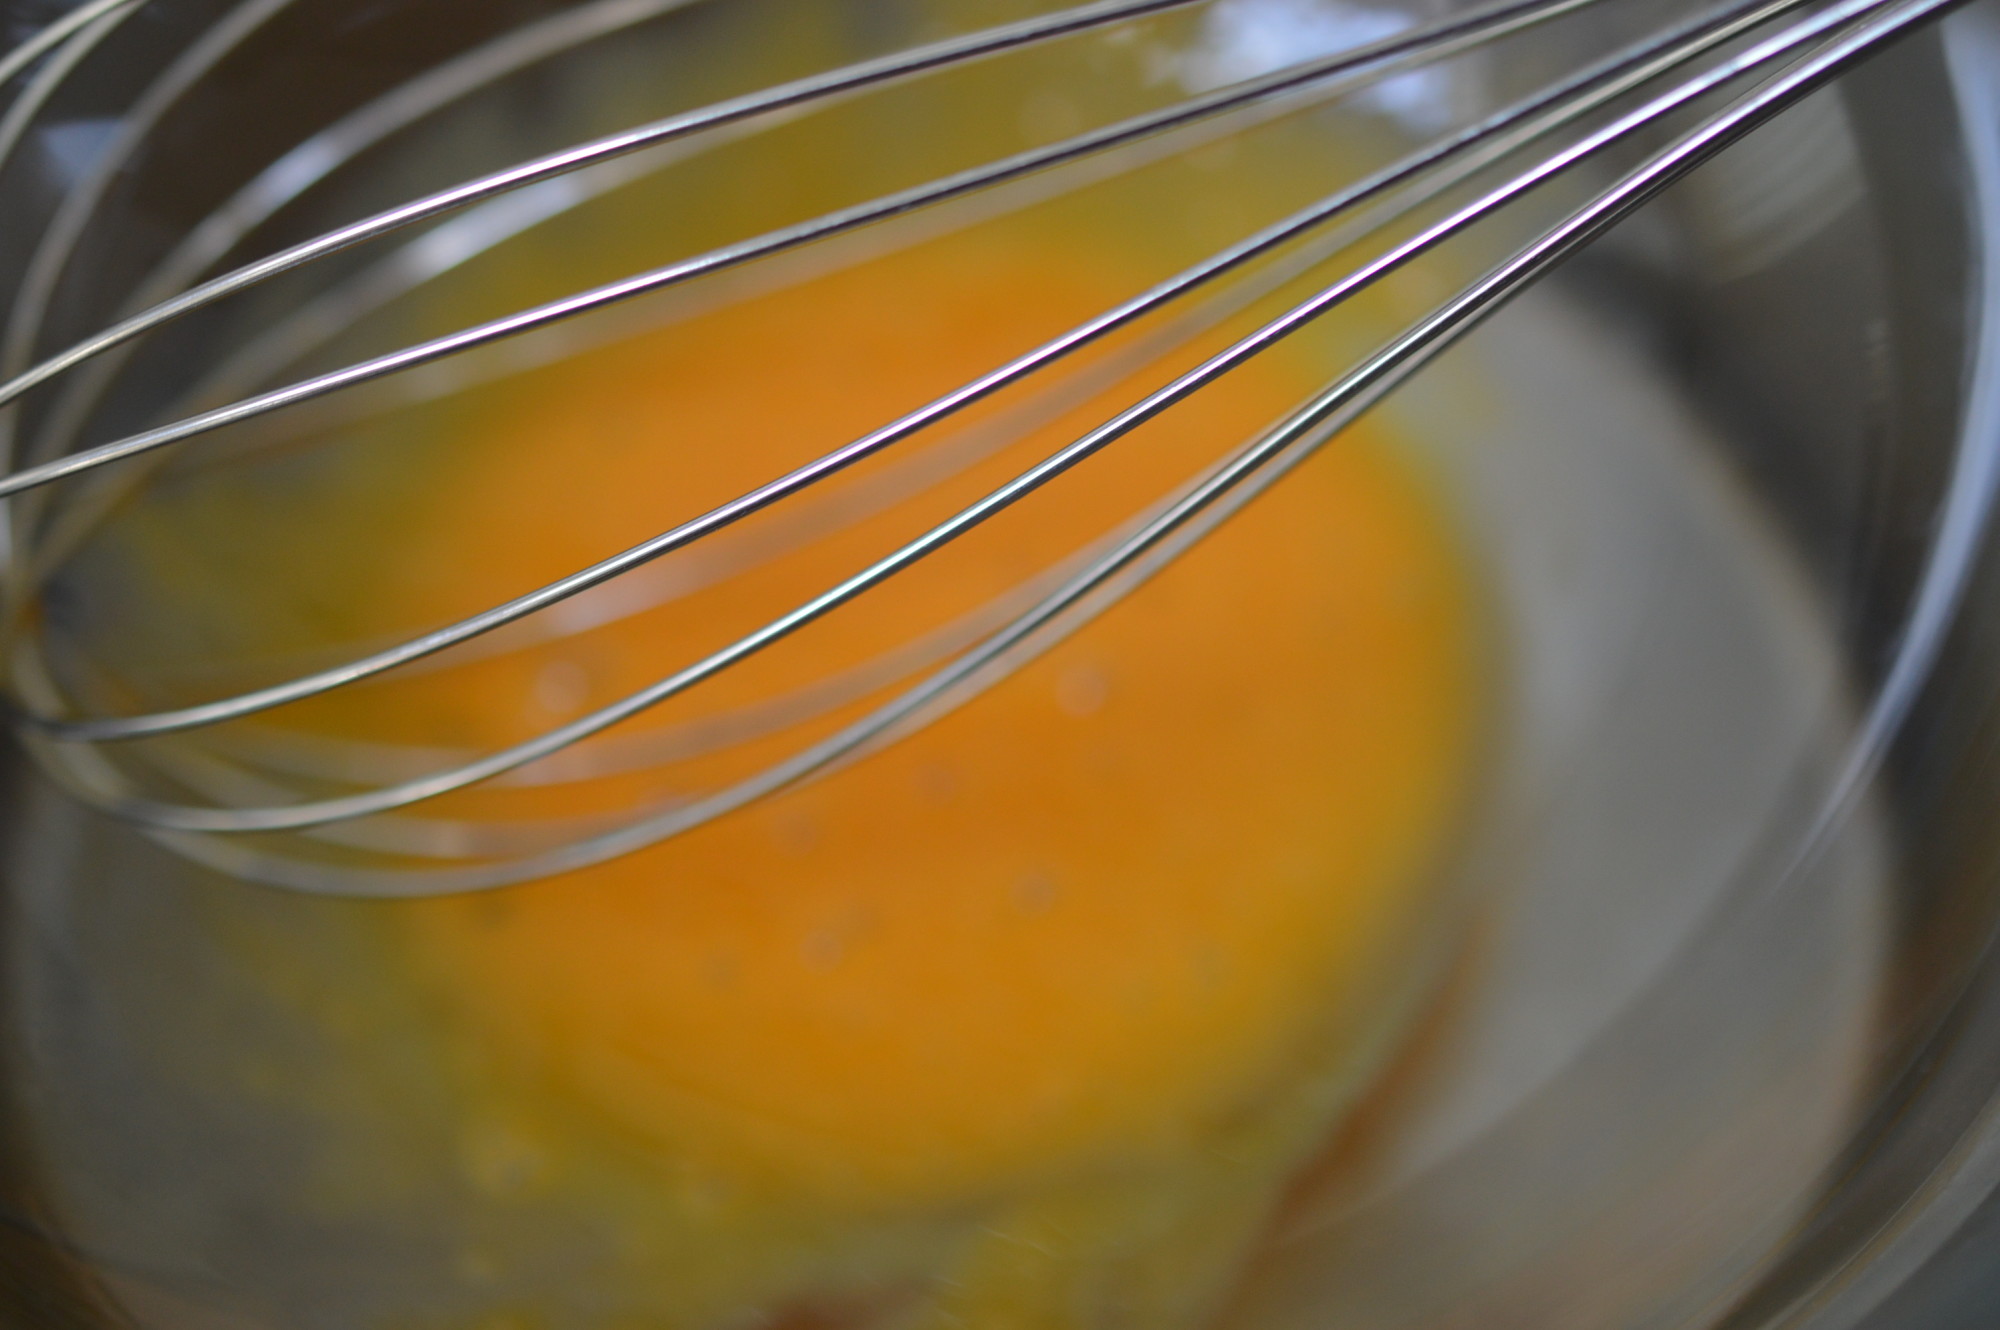
Crème pâtissière is a fancy custard. In a clean bowl, whisk together 4 eggs, 2 extra egg yolks, the sugar, cornflour and kirsch.
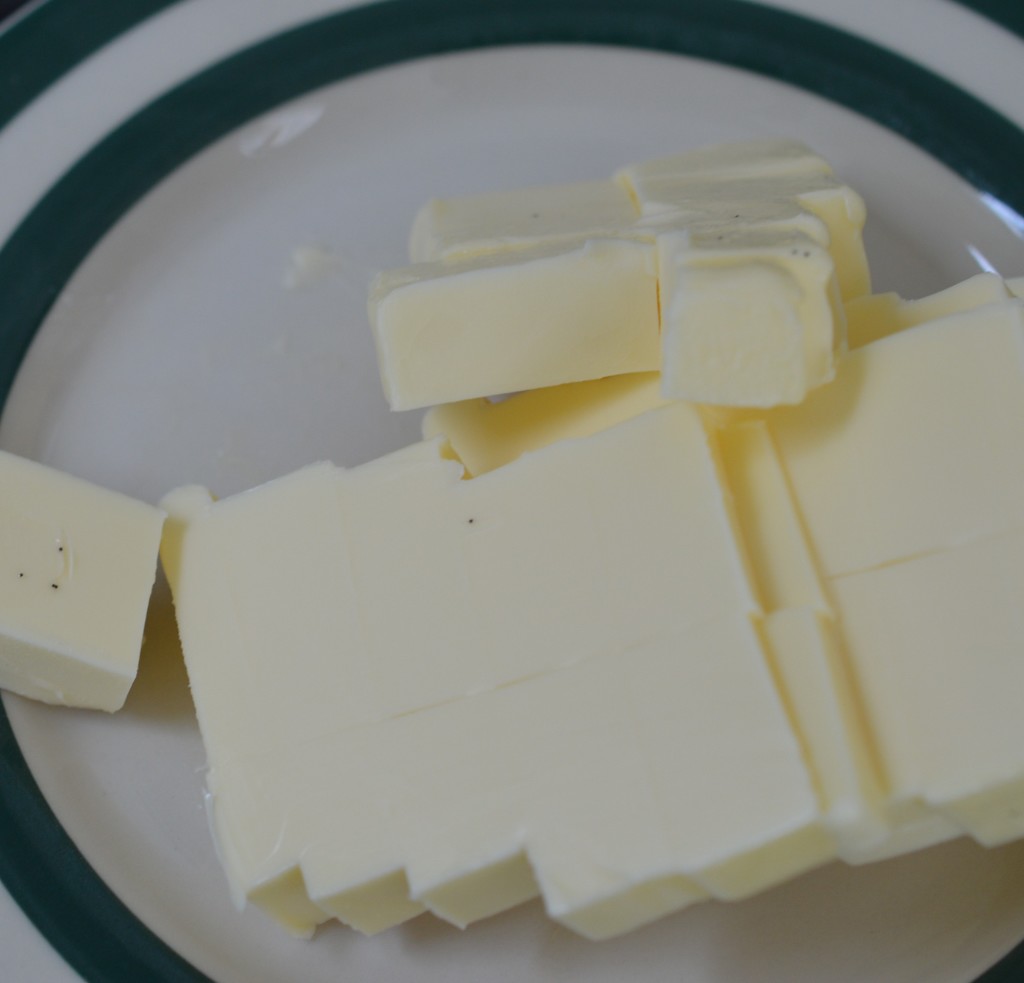
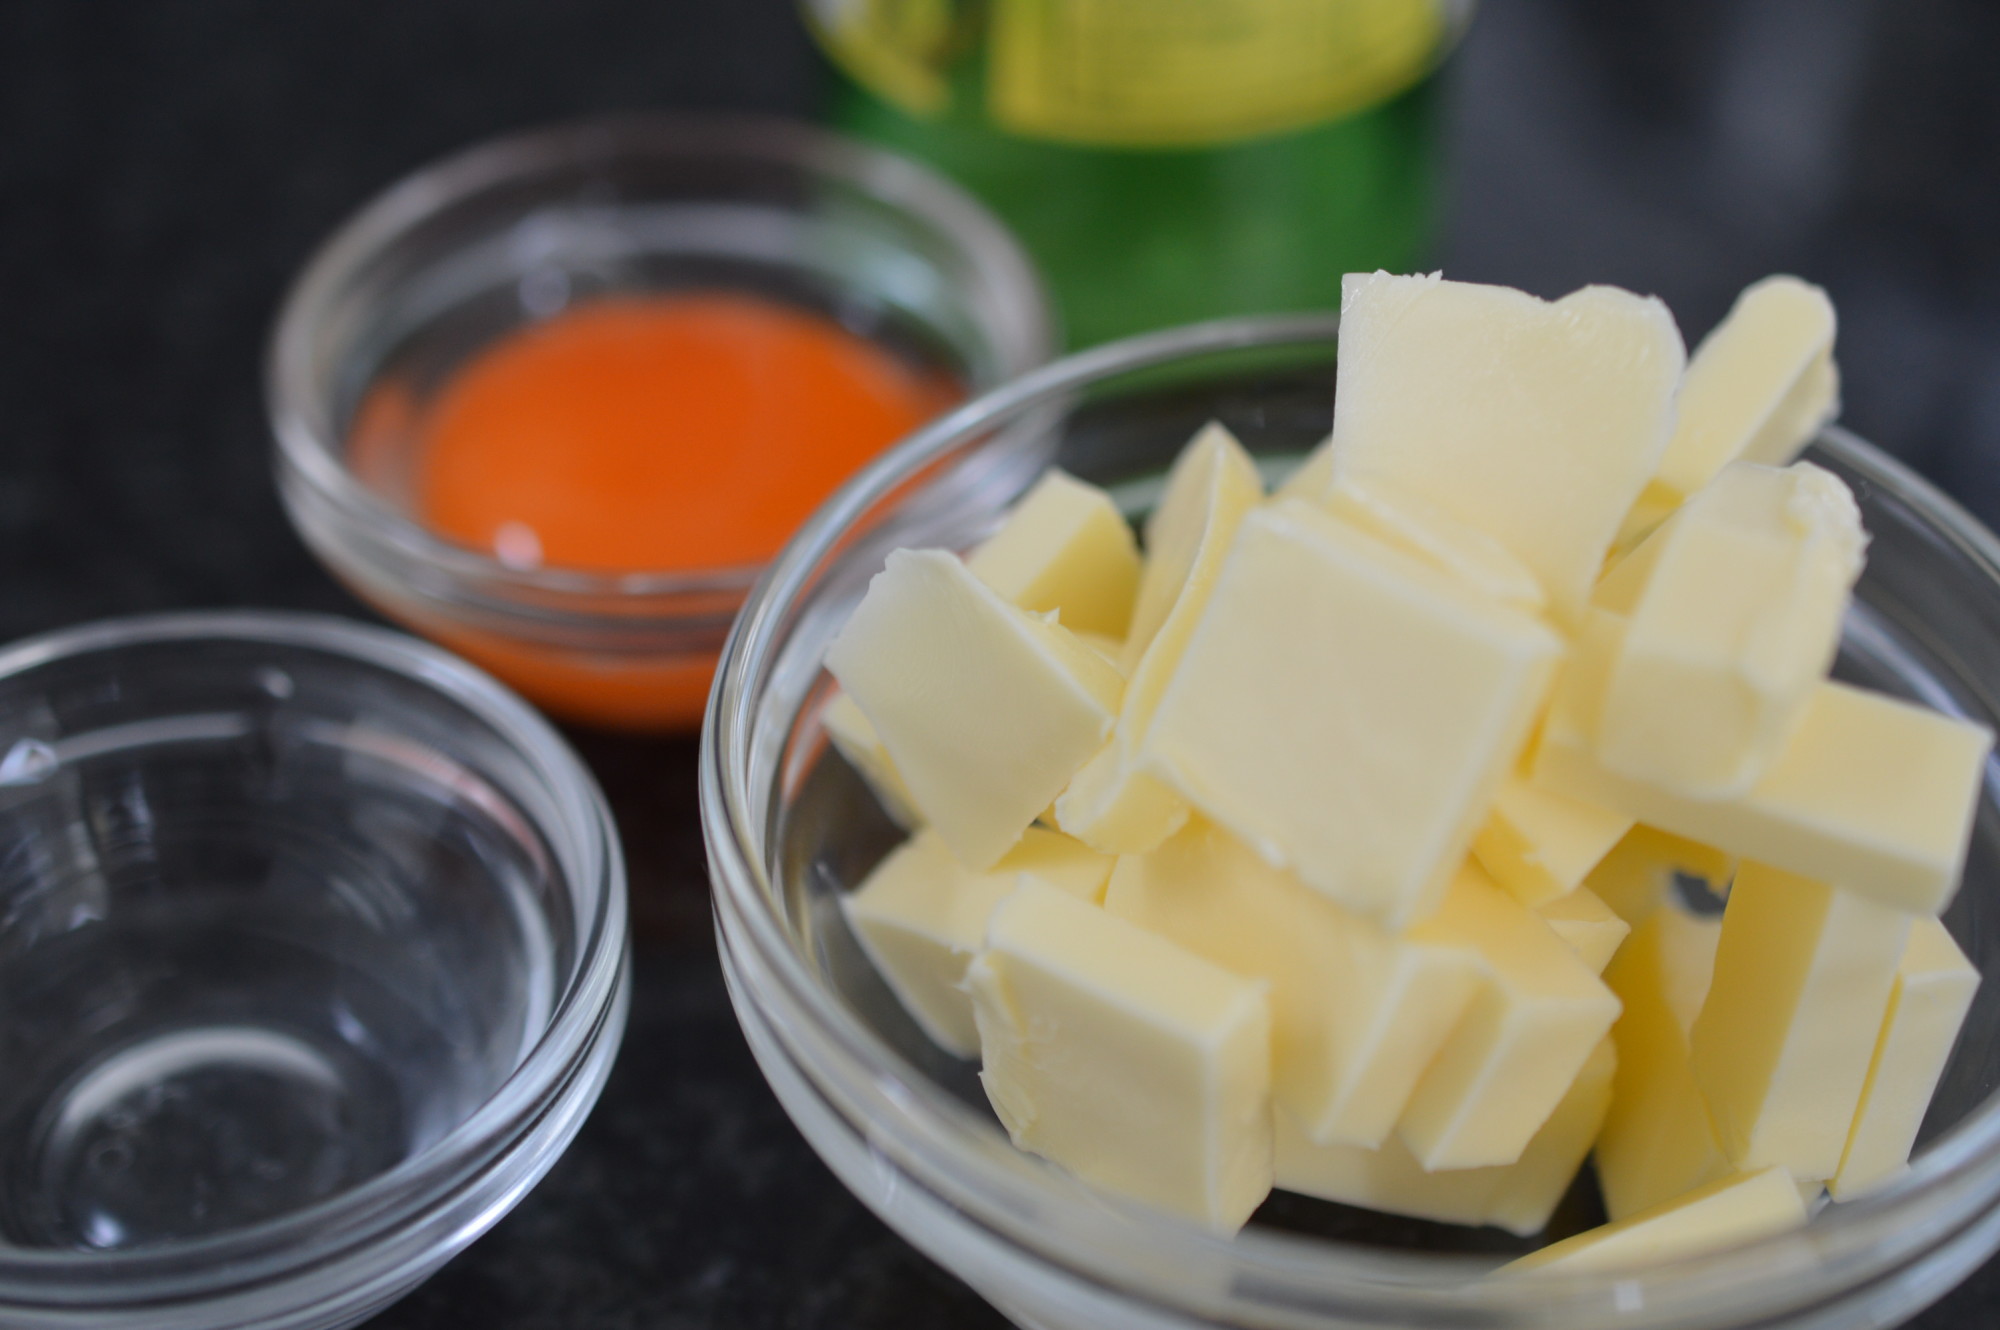
Cut 150g/5½oz butter into cubes.

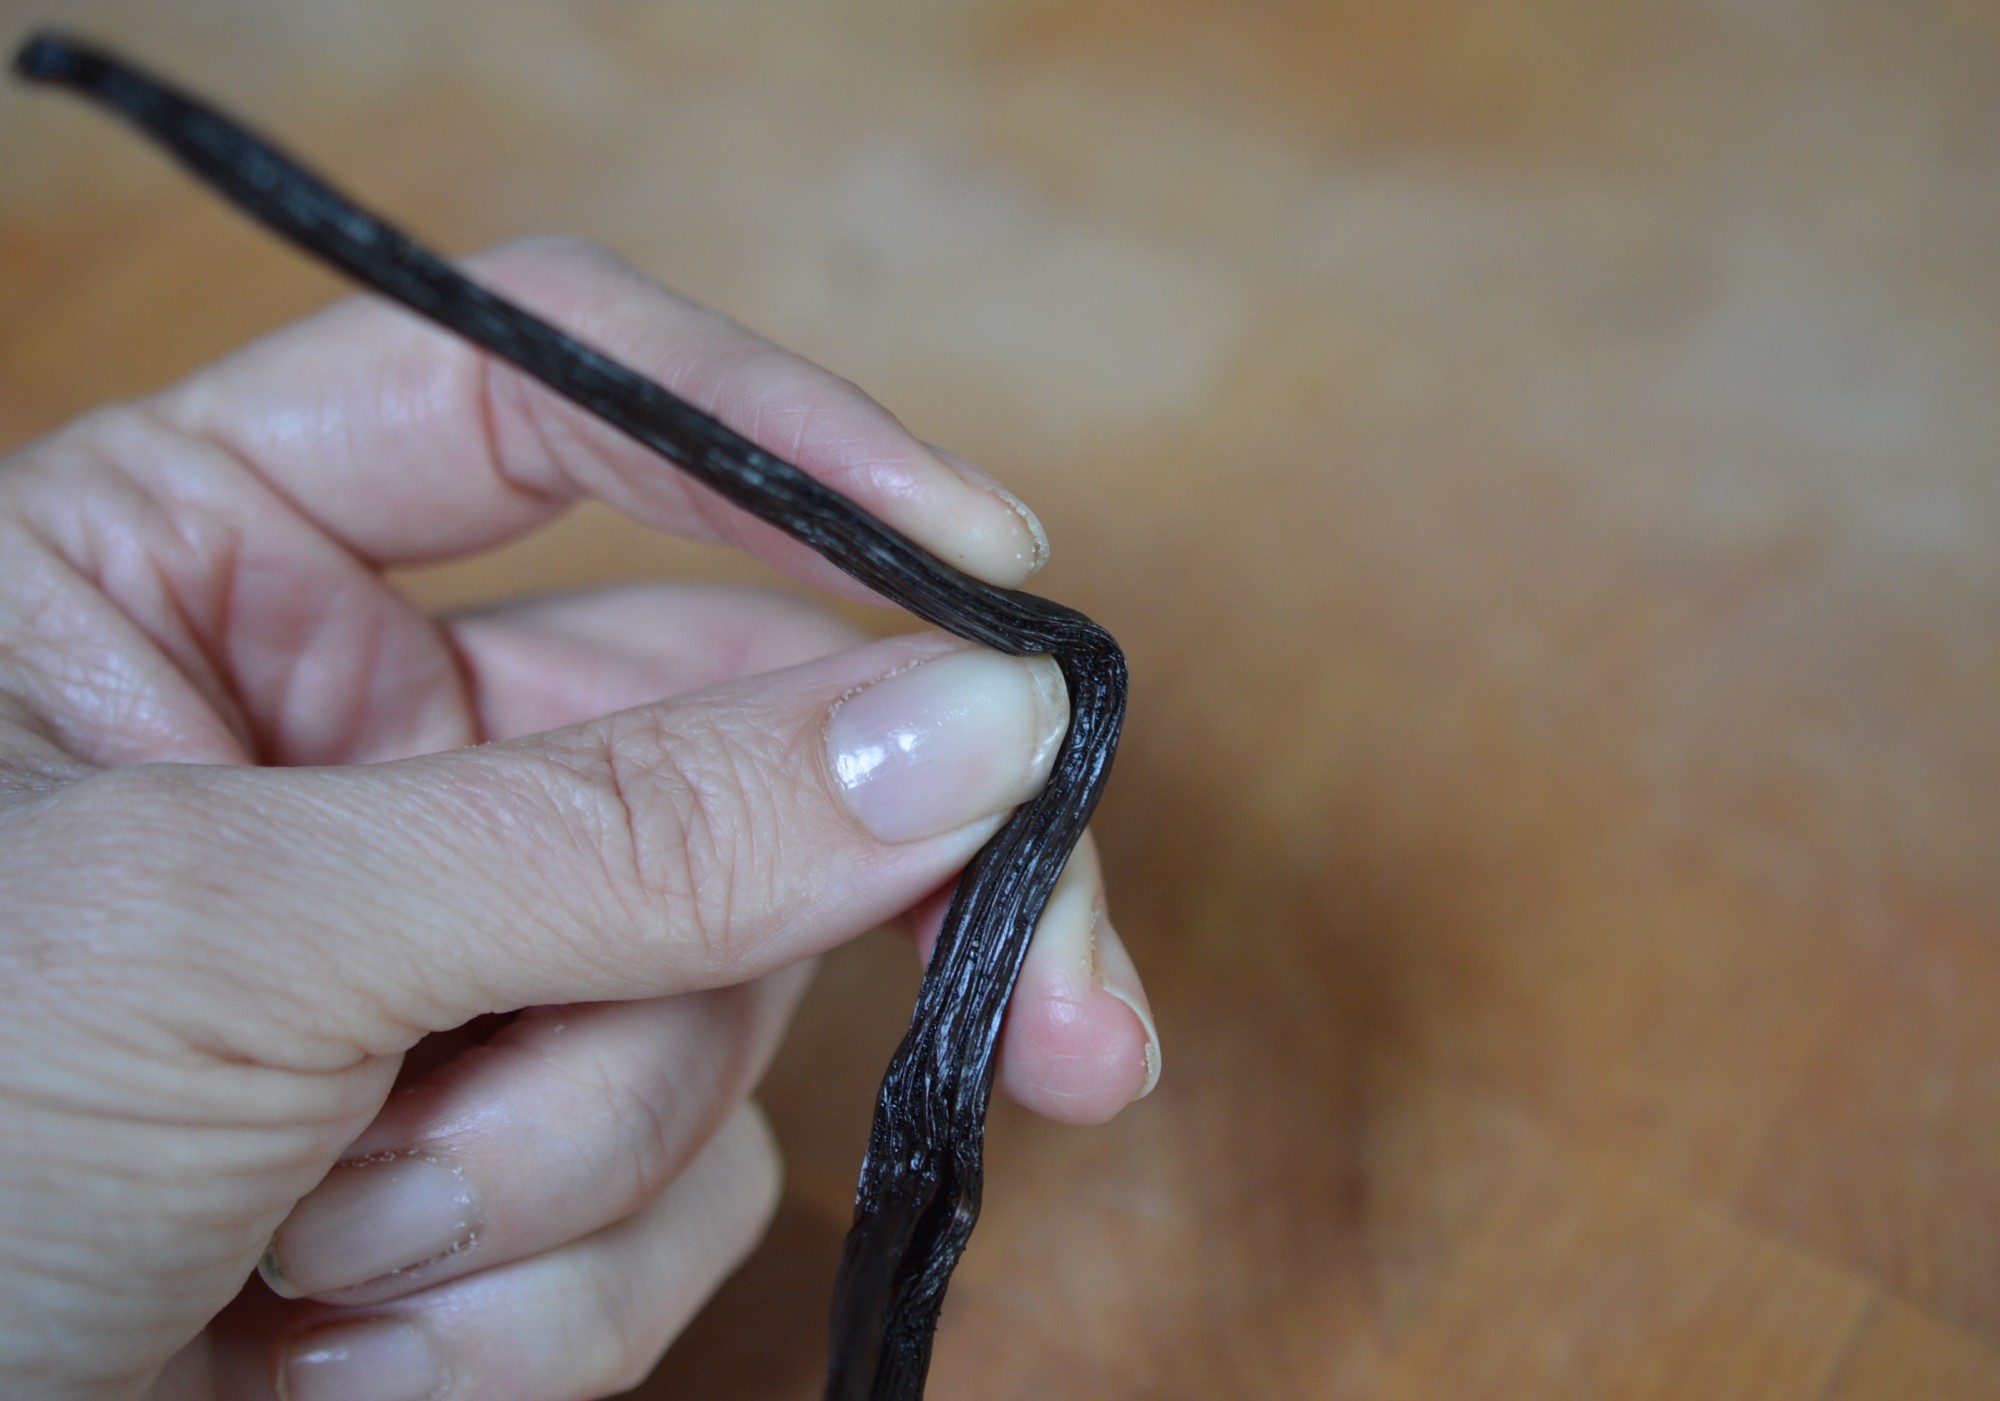
The best vanilla pods are the nice, fat, bendy ones.
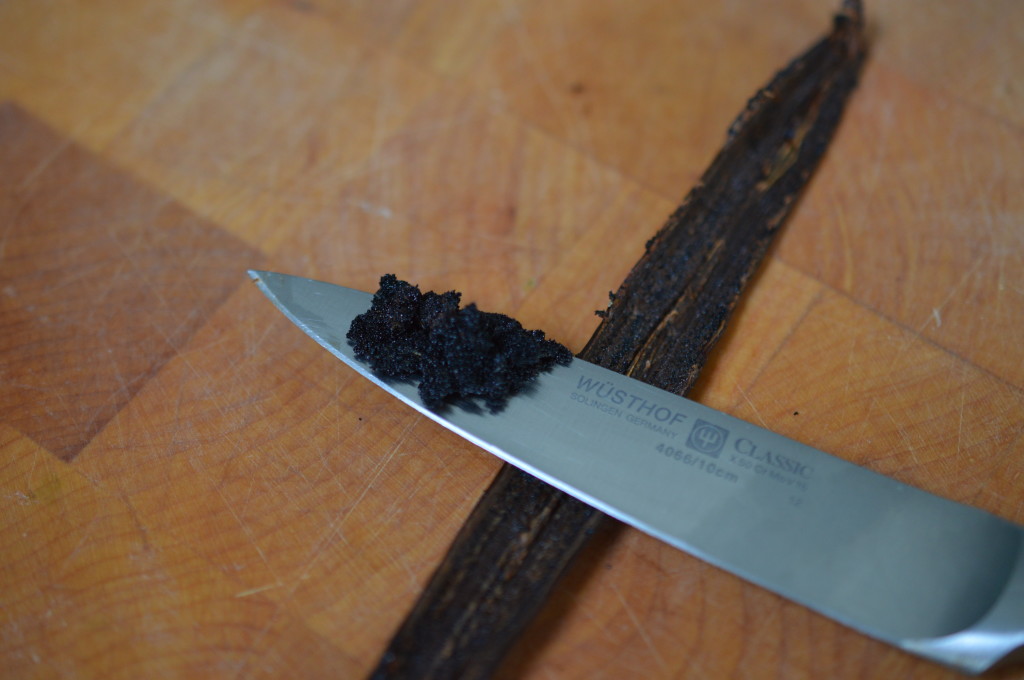
Scrape out the seeds with the back of a knife.

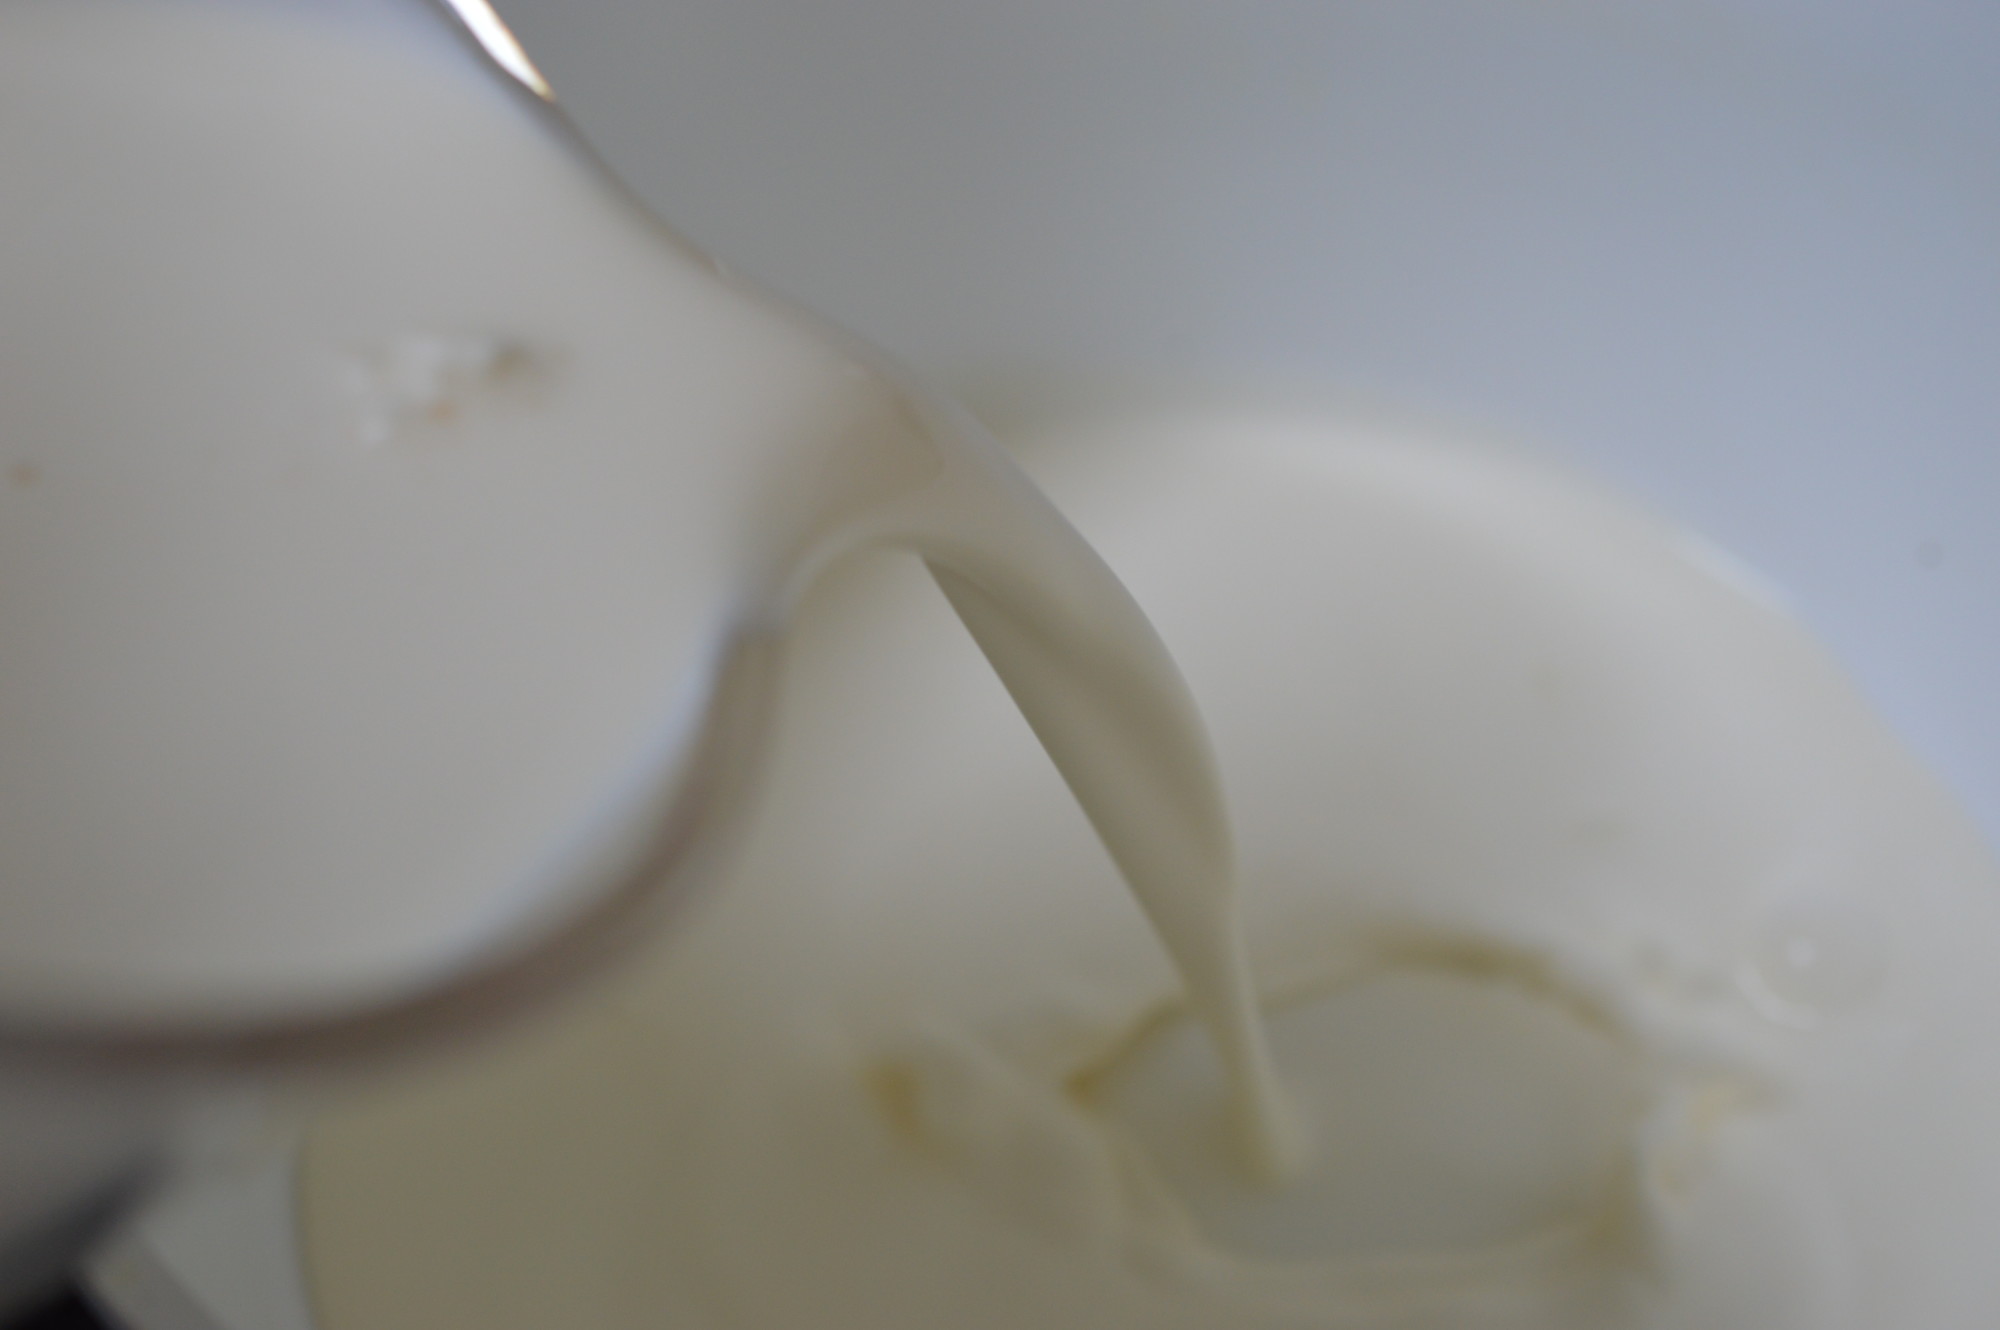
Pour the milk into a saucepan and add the vanilla seeds and pod. I chopped mine to get maximum flavour into the milk. Bring to a boil and take it off the heat.
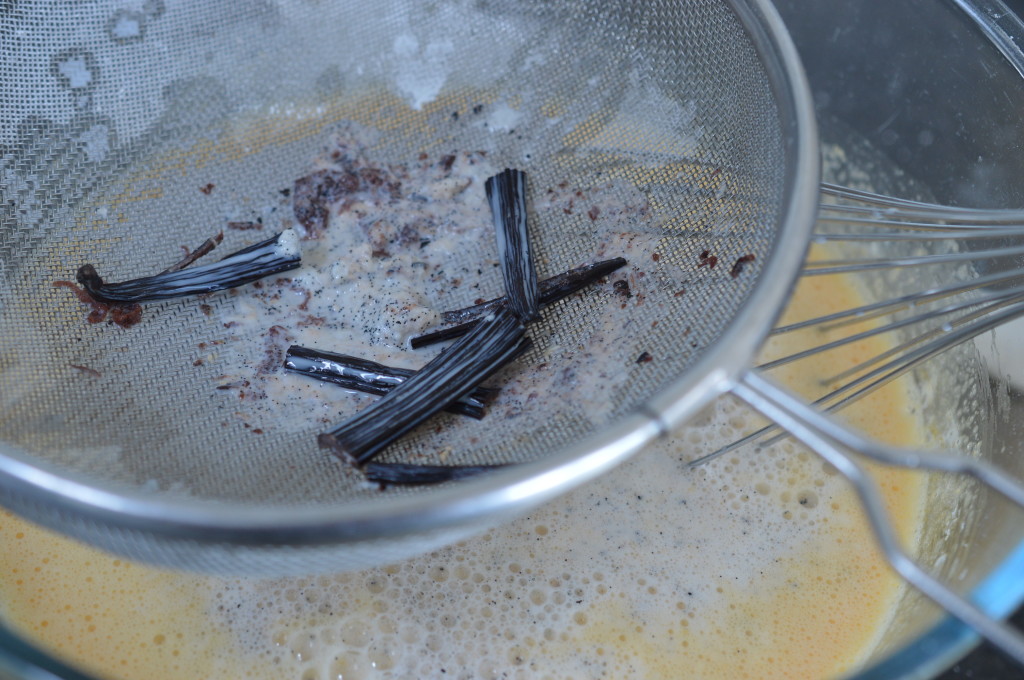
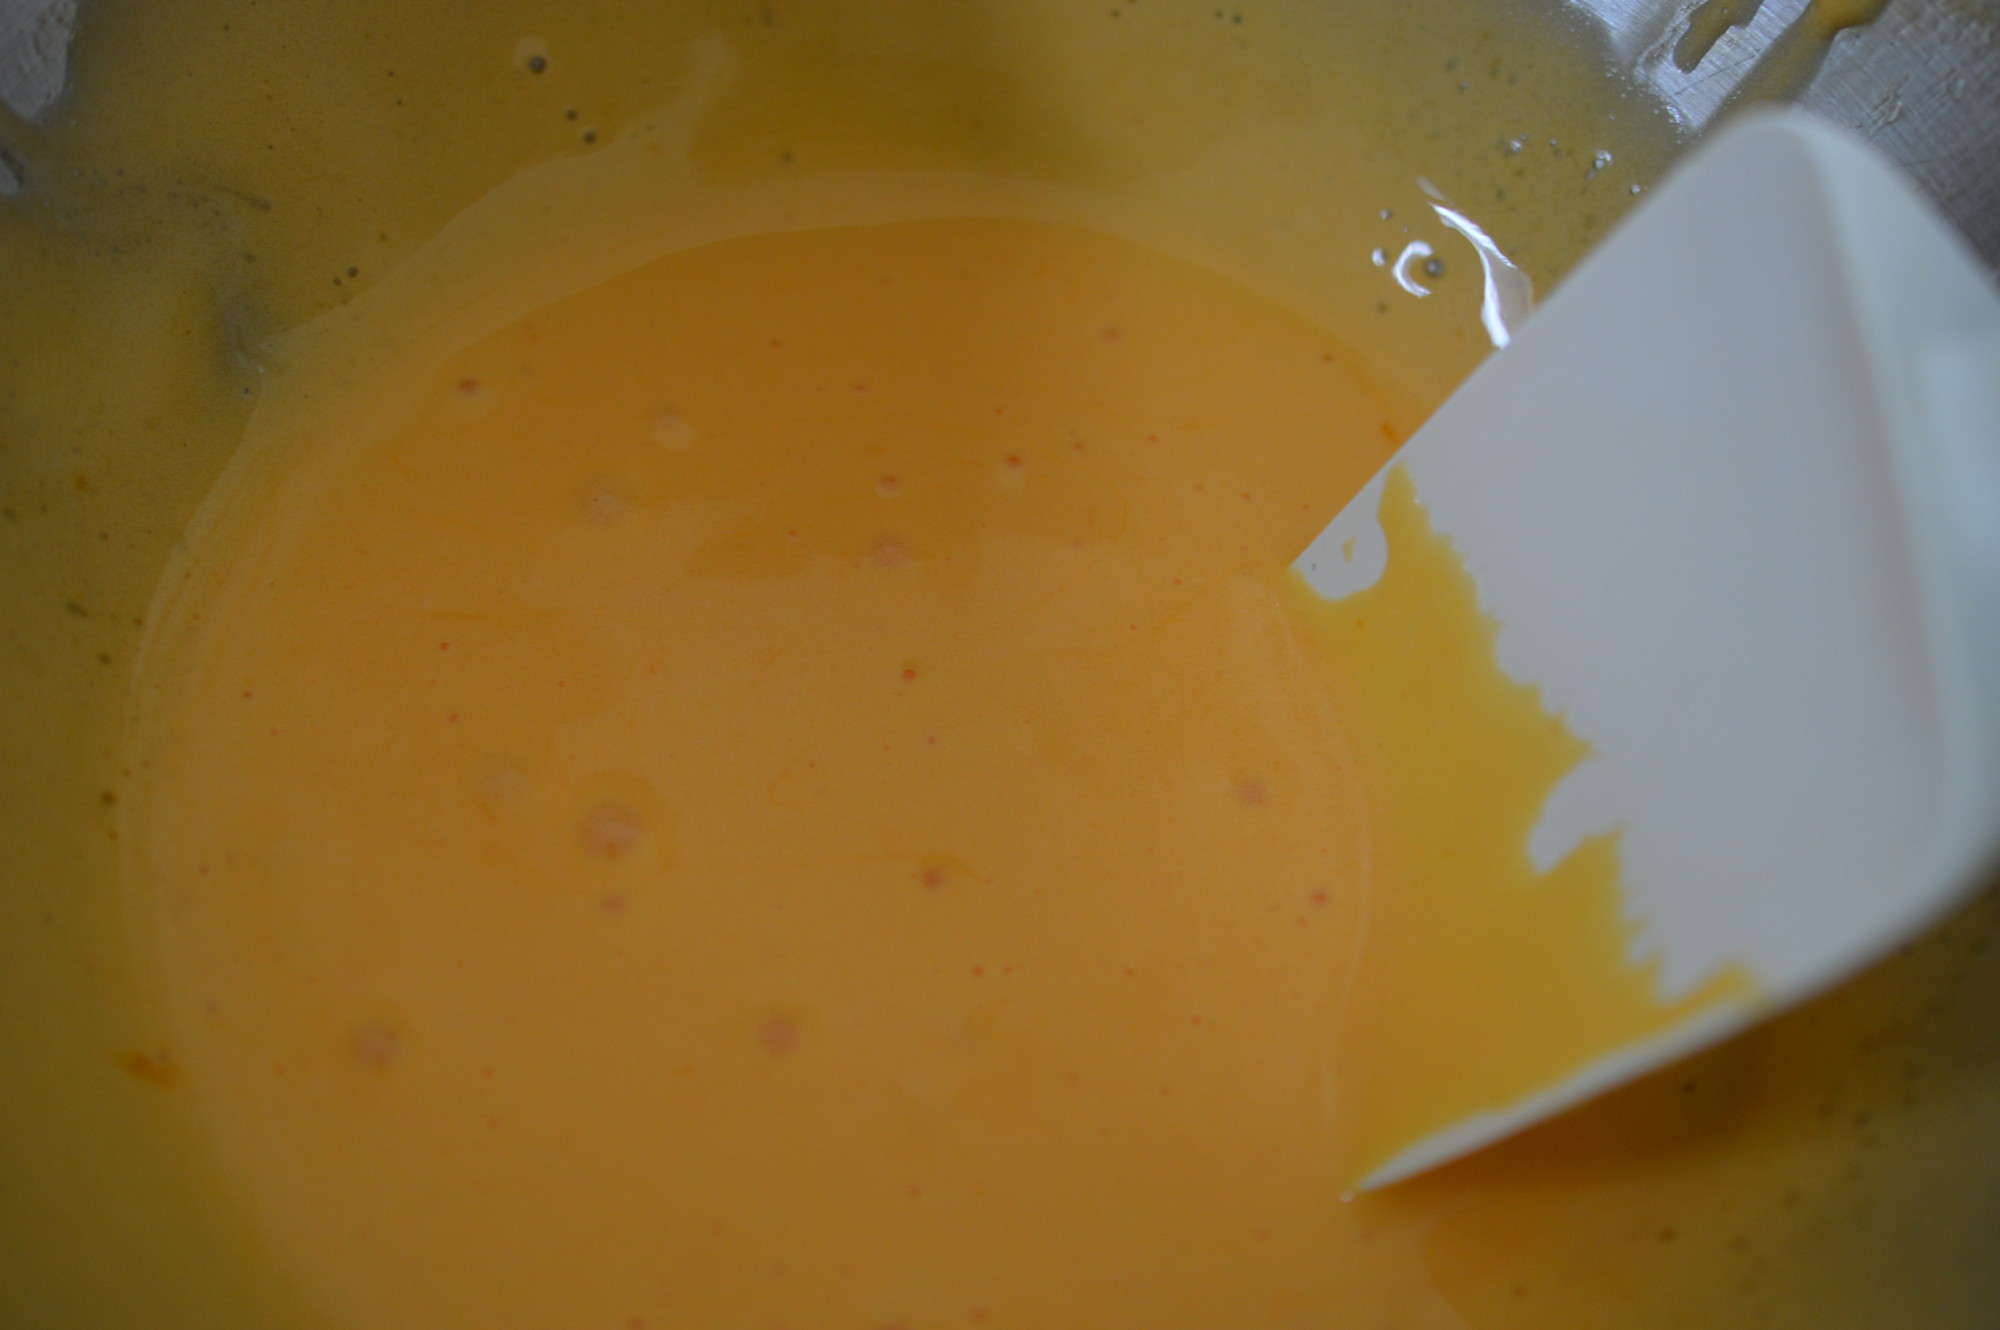
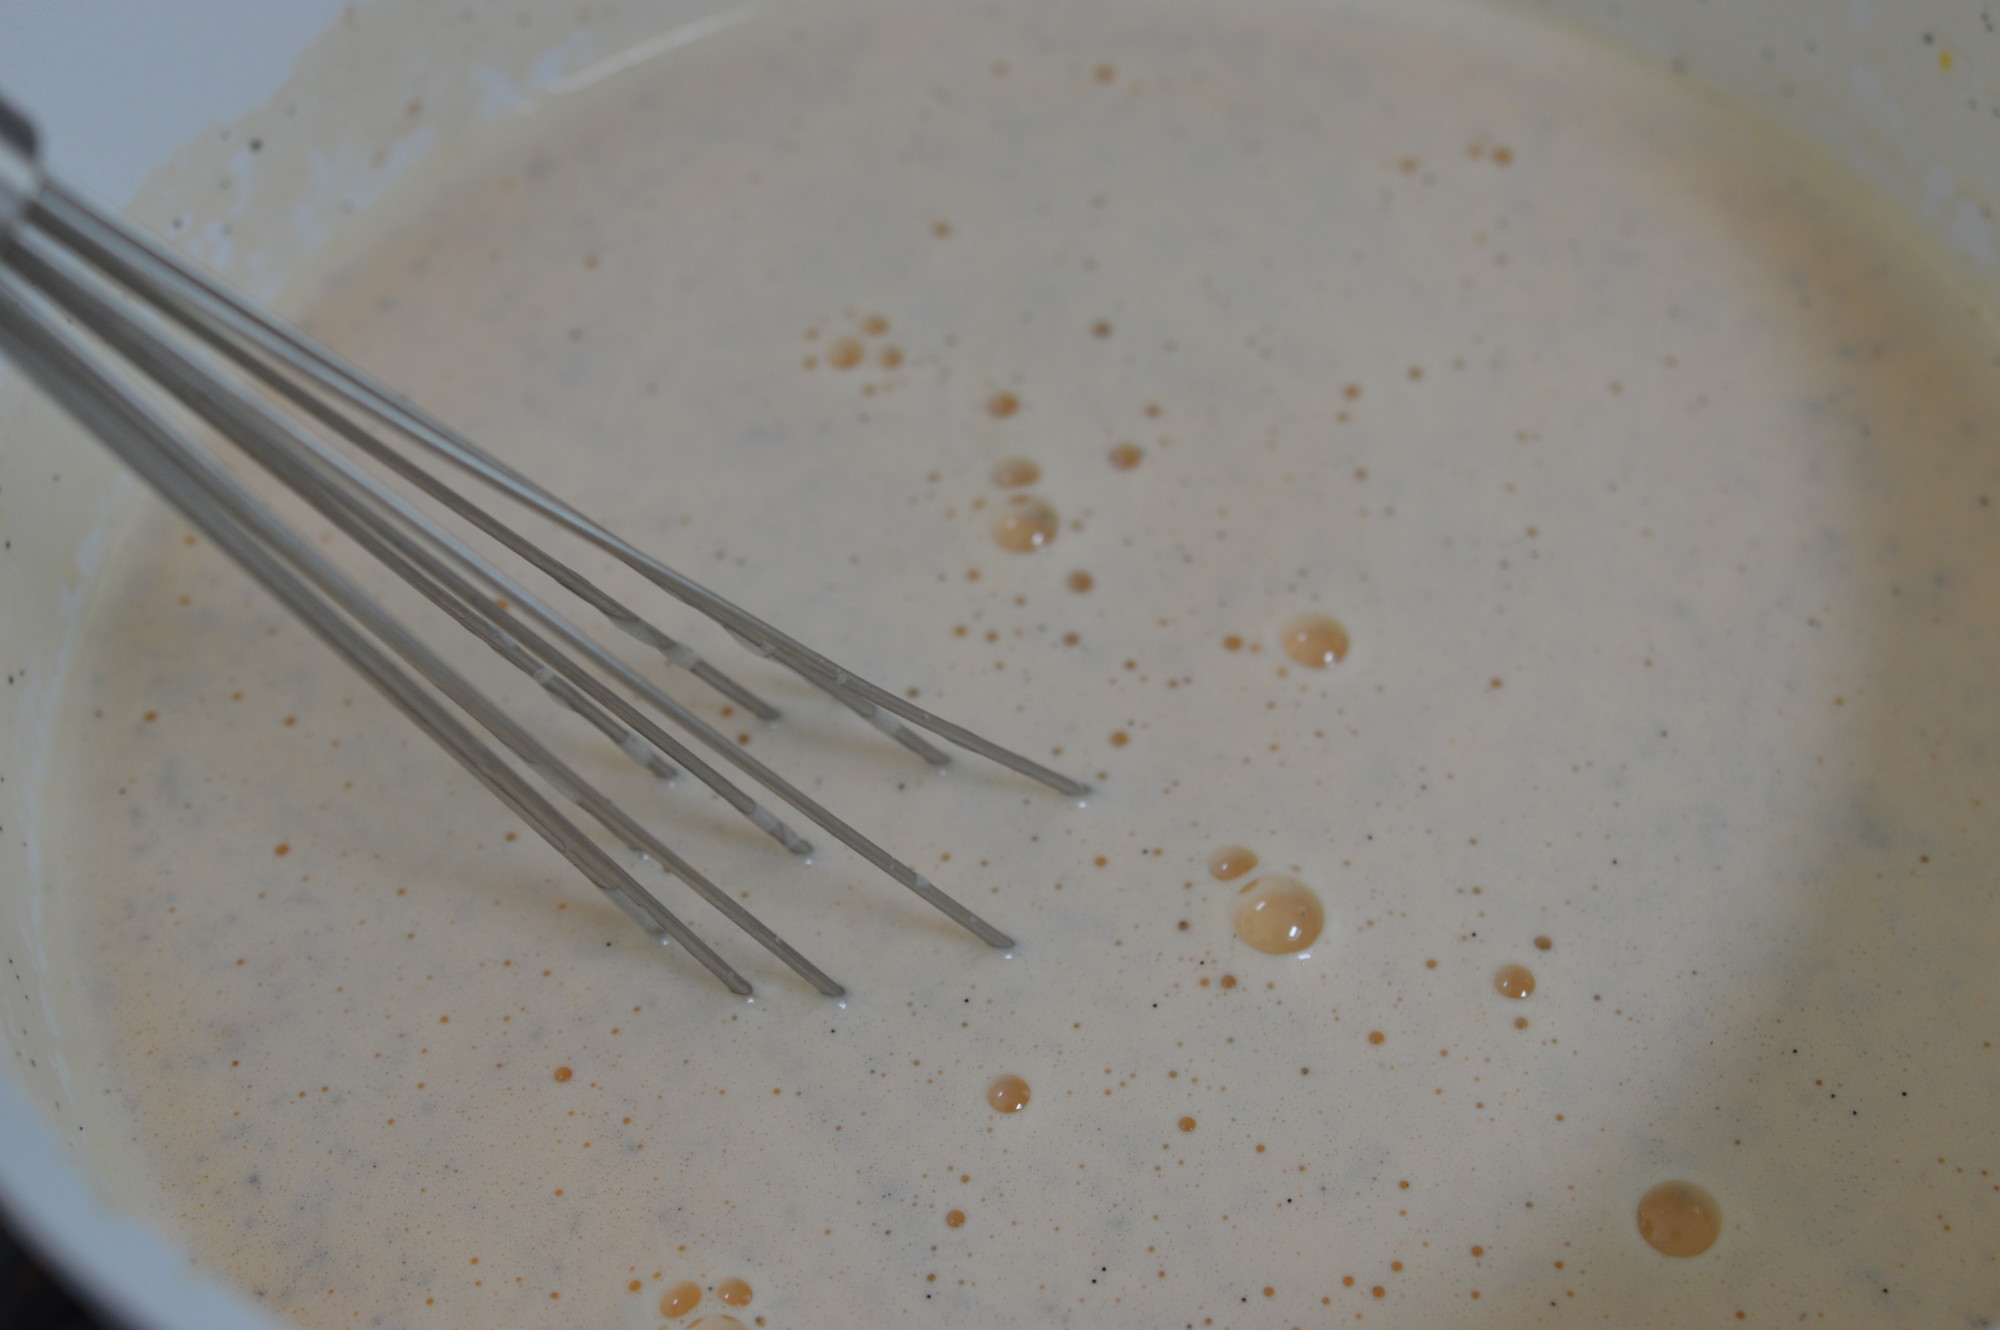
Place a sieve over the bowl holding the eggs and sugar and pour the hot milk on top. Whisk everything together.
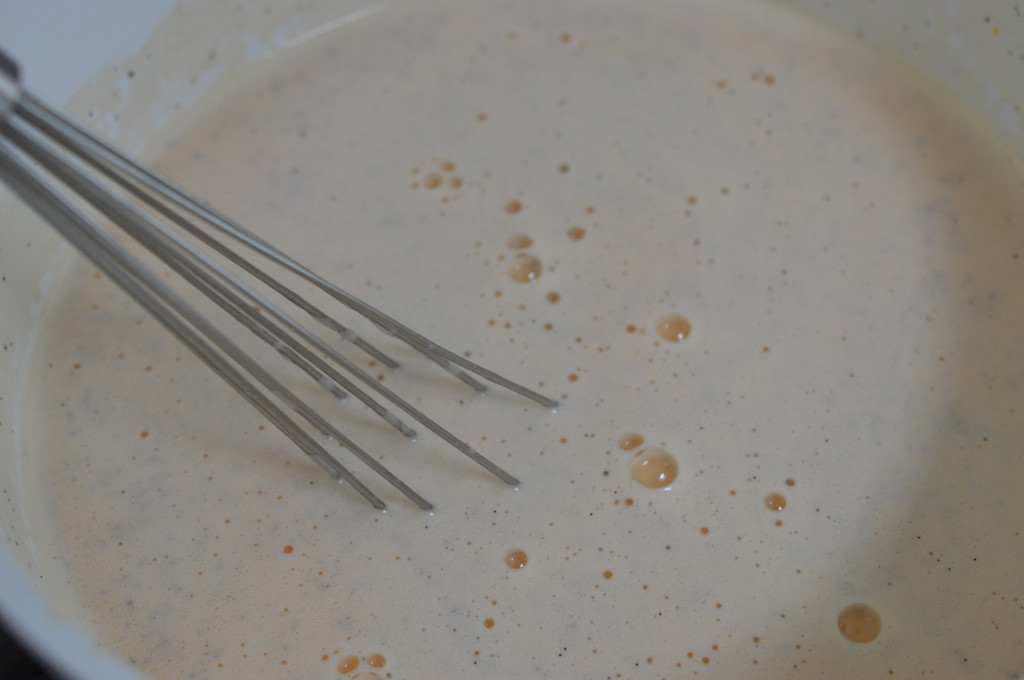
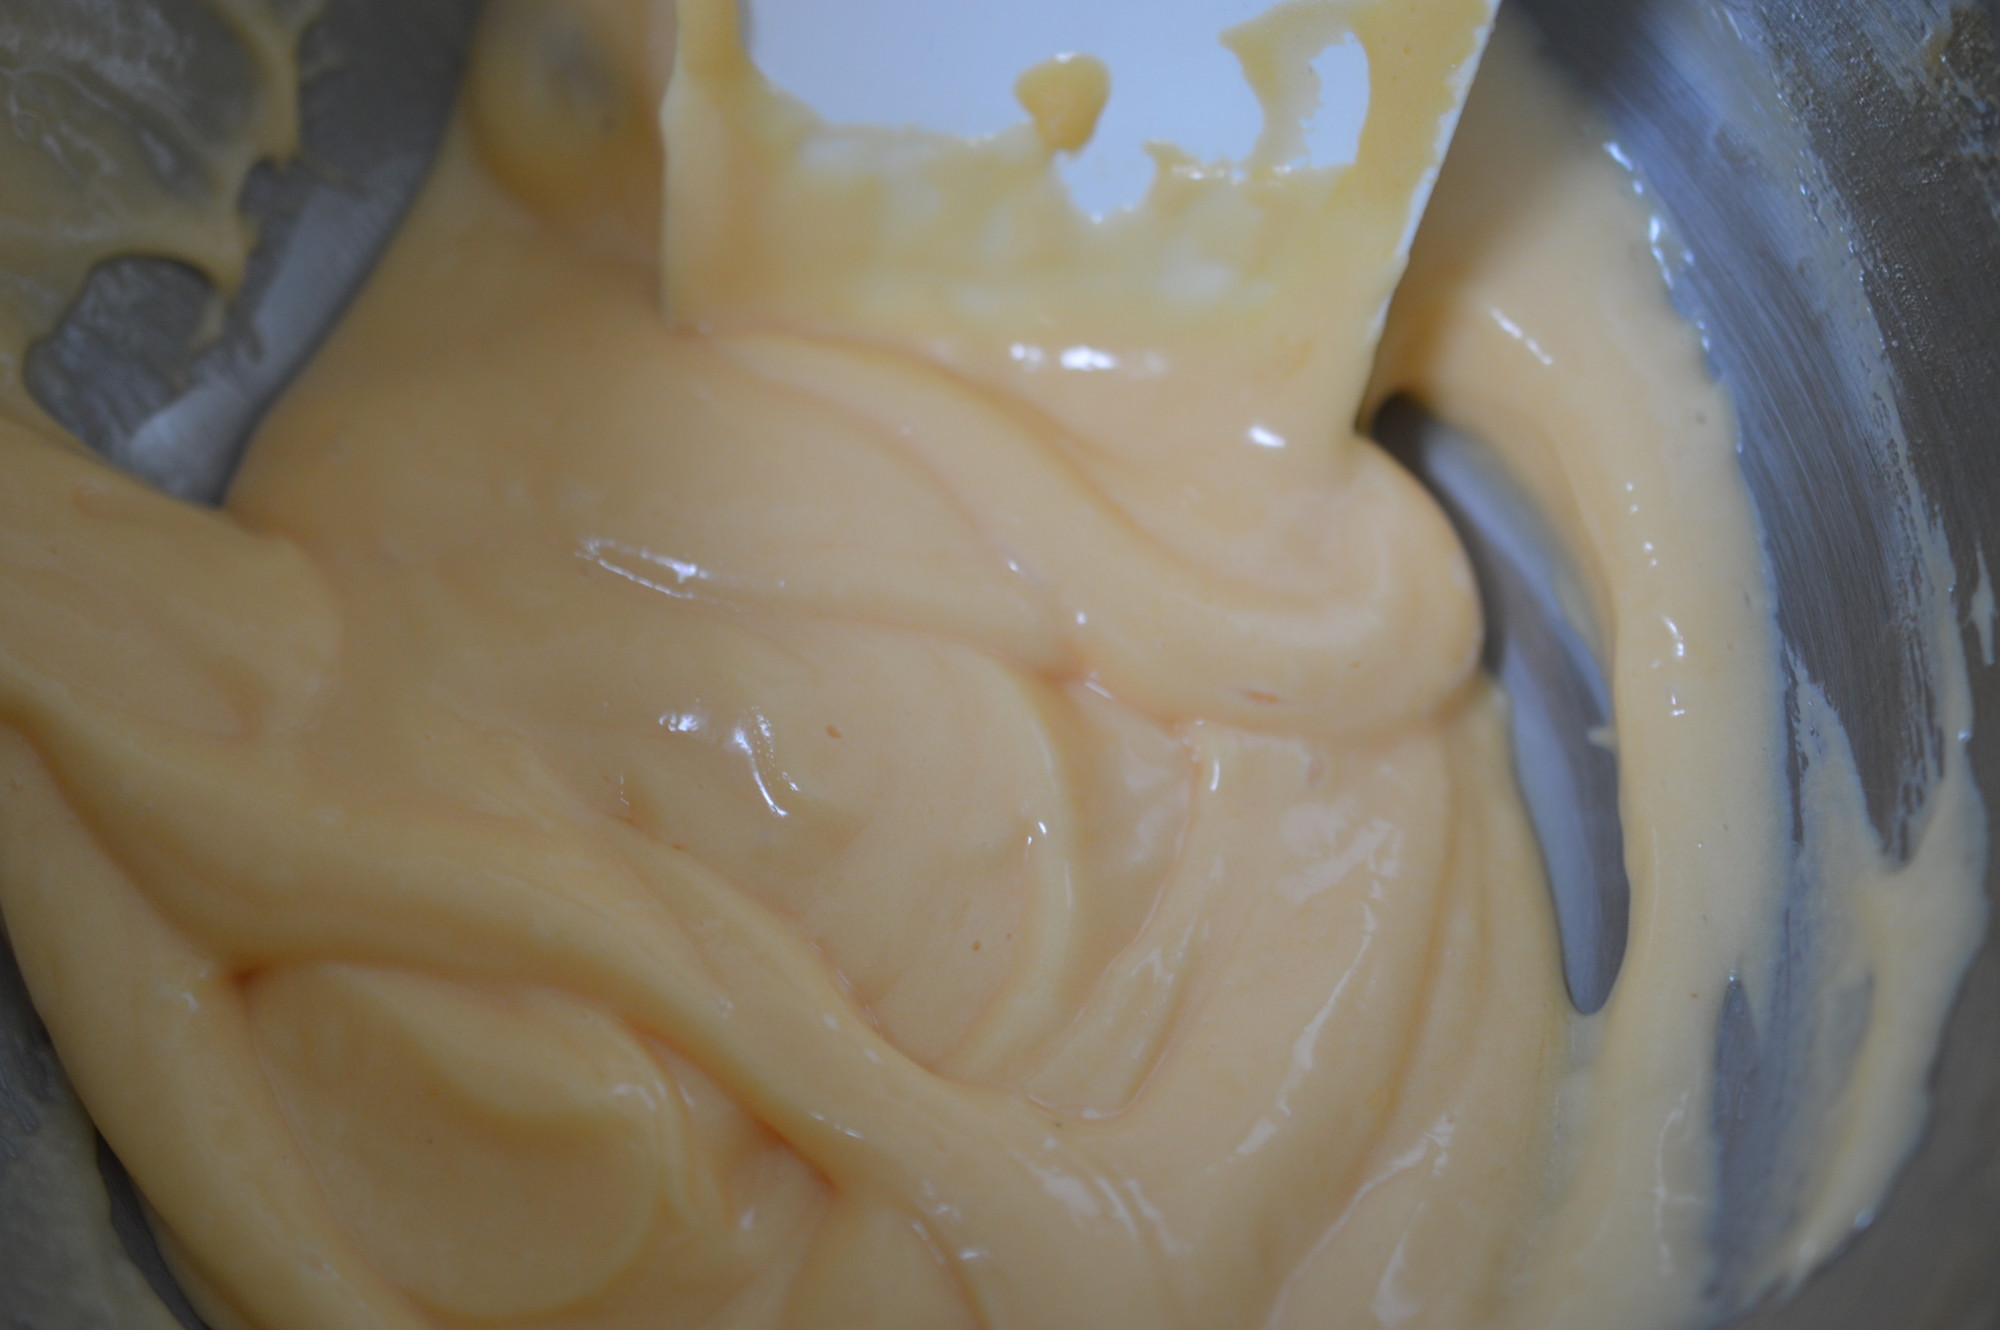
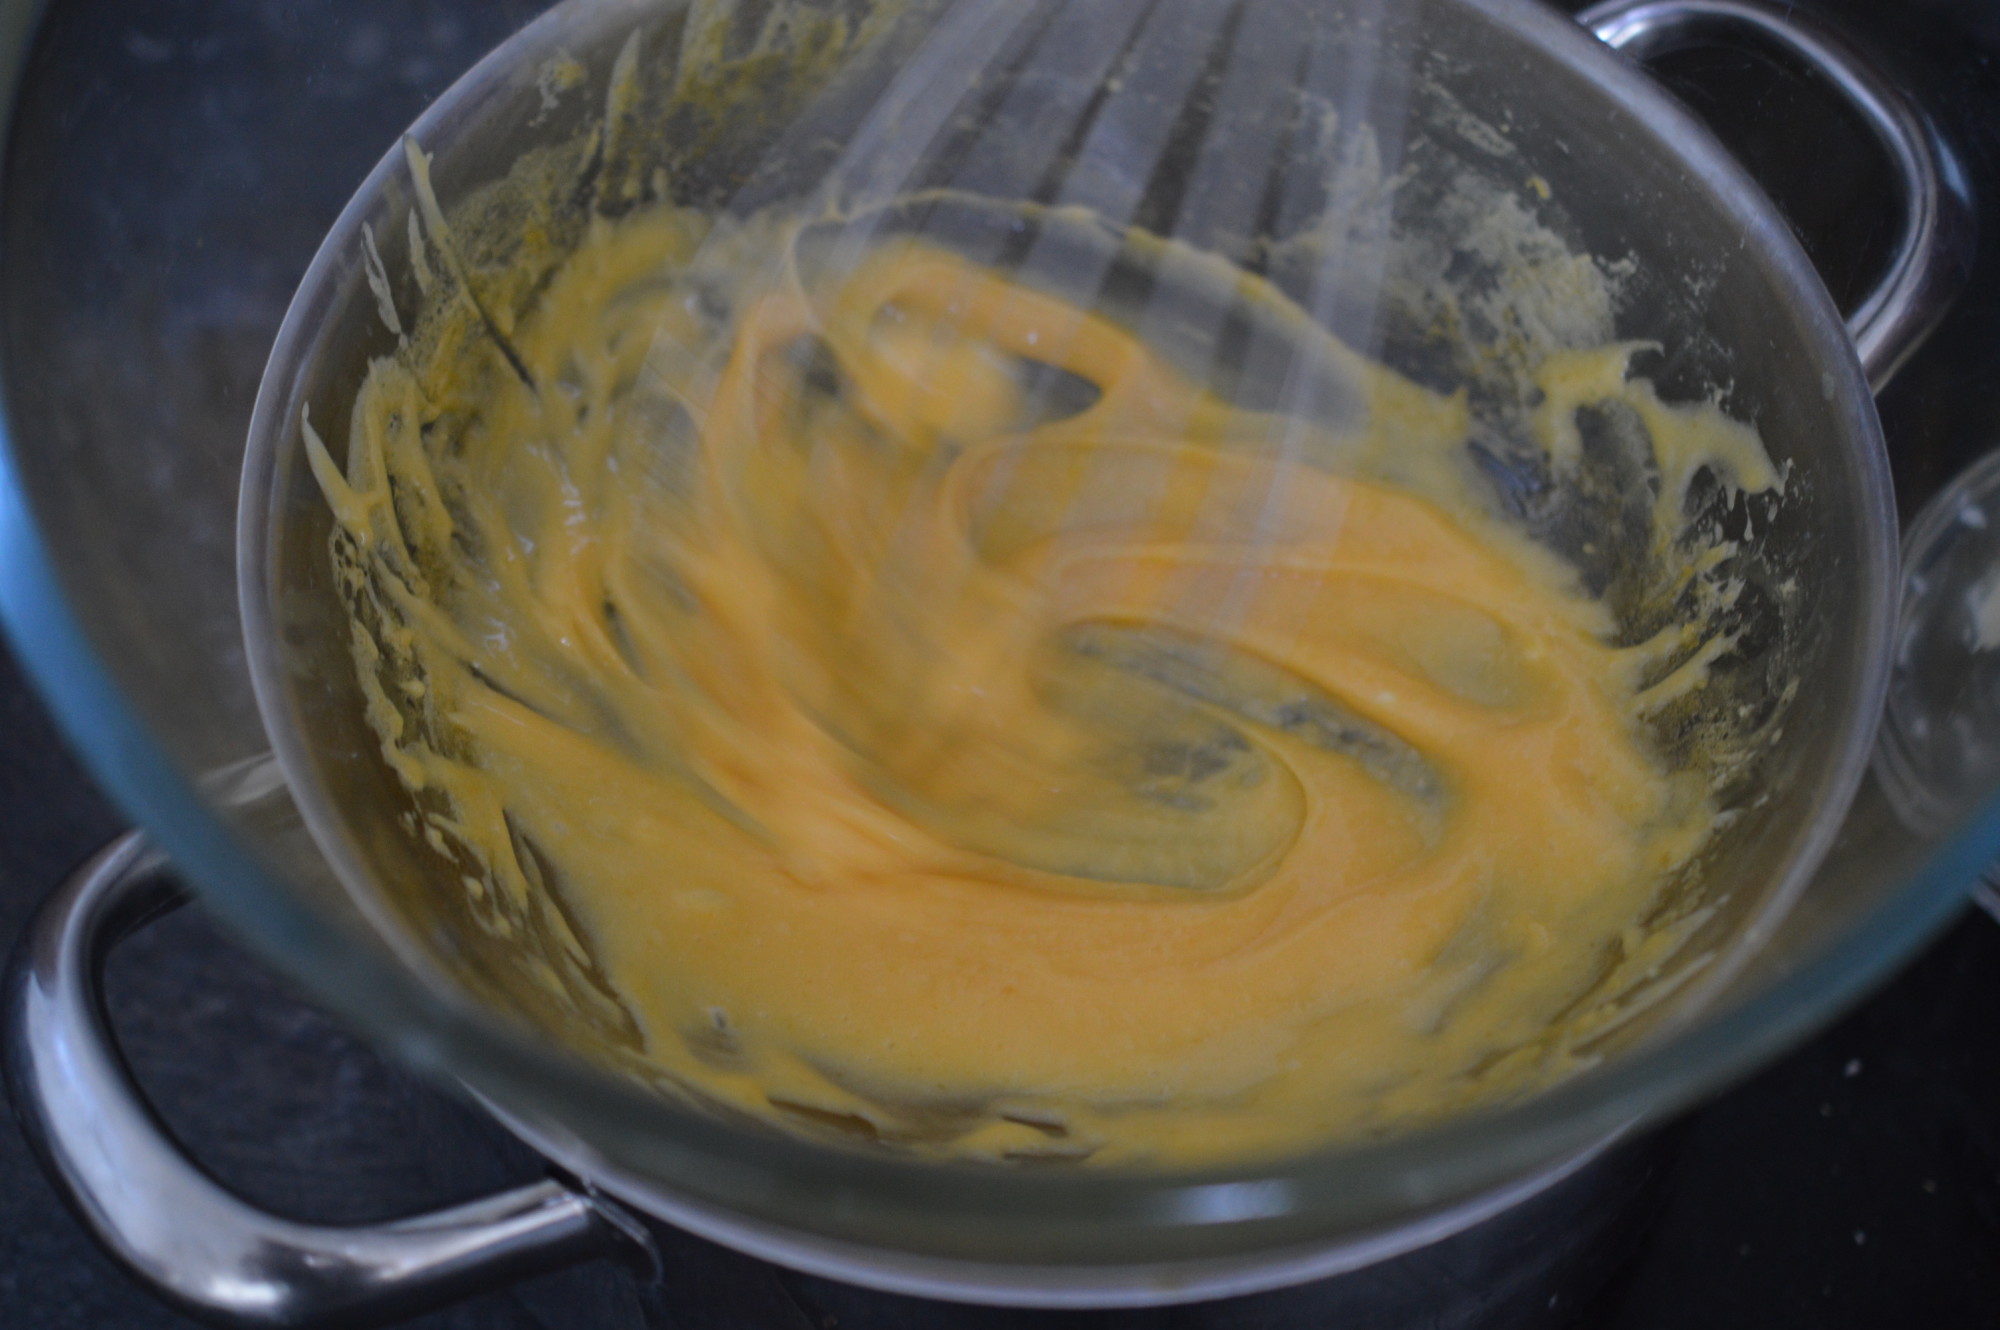
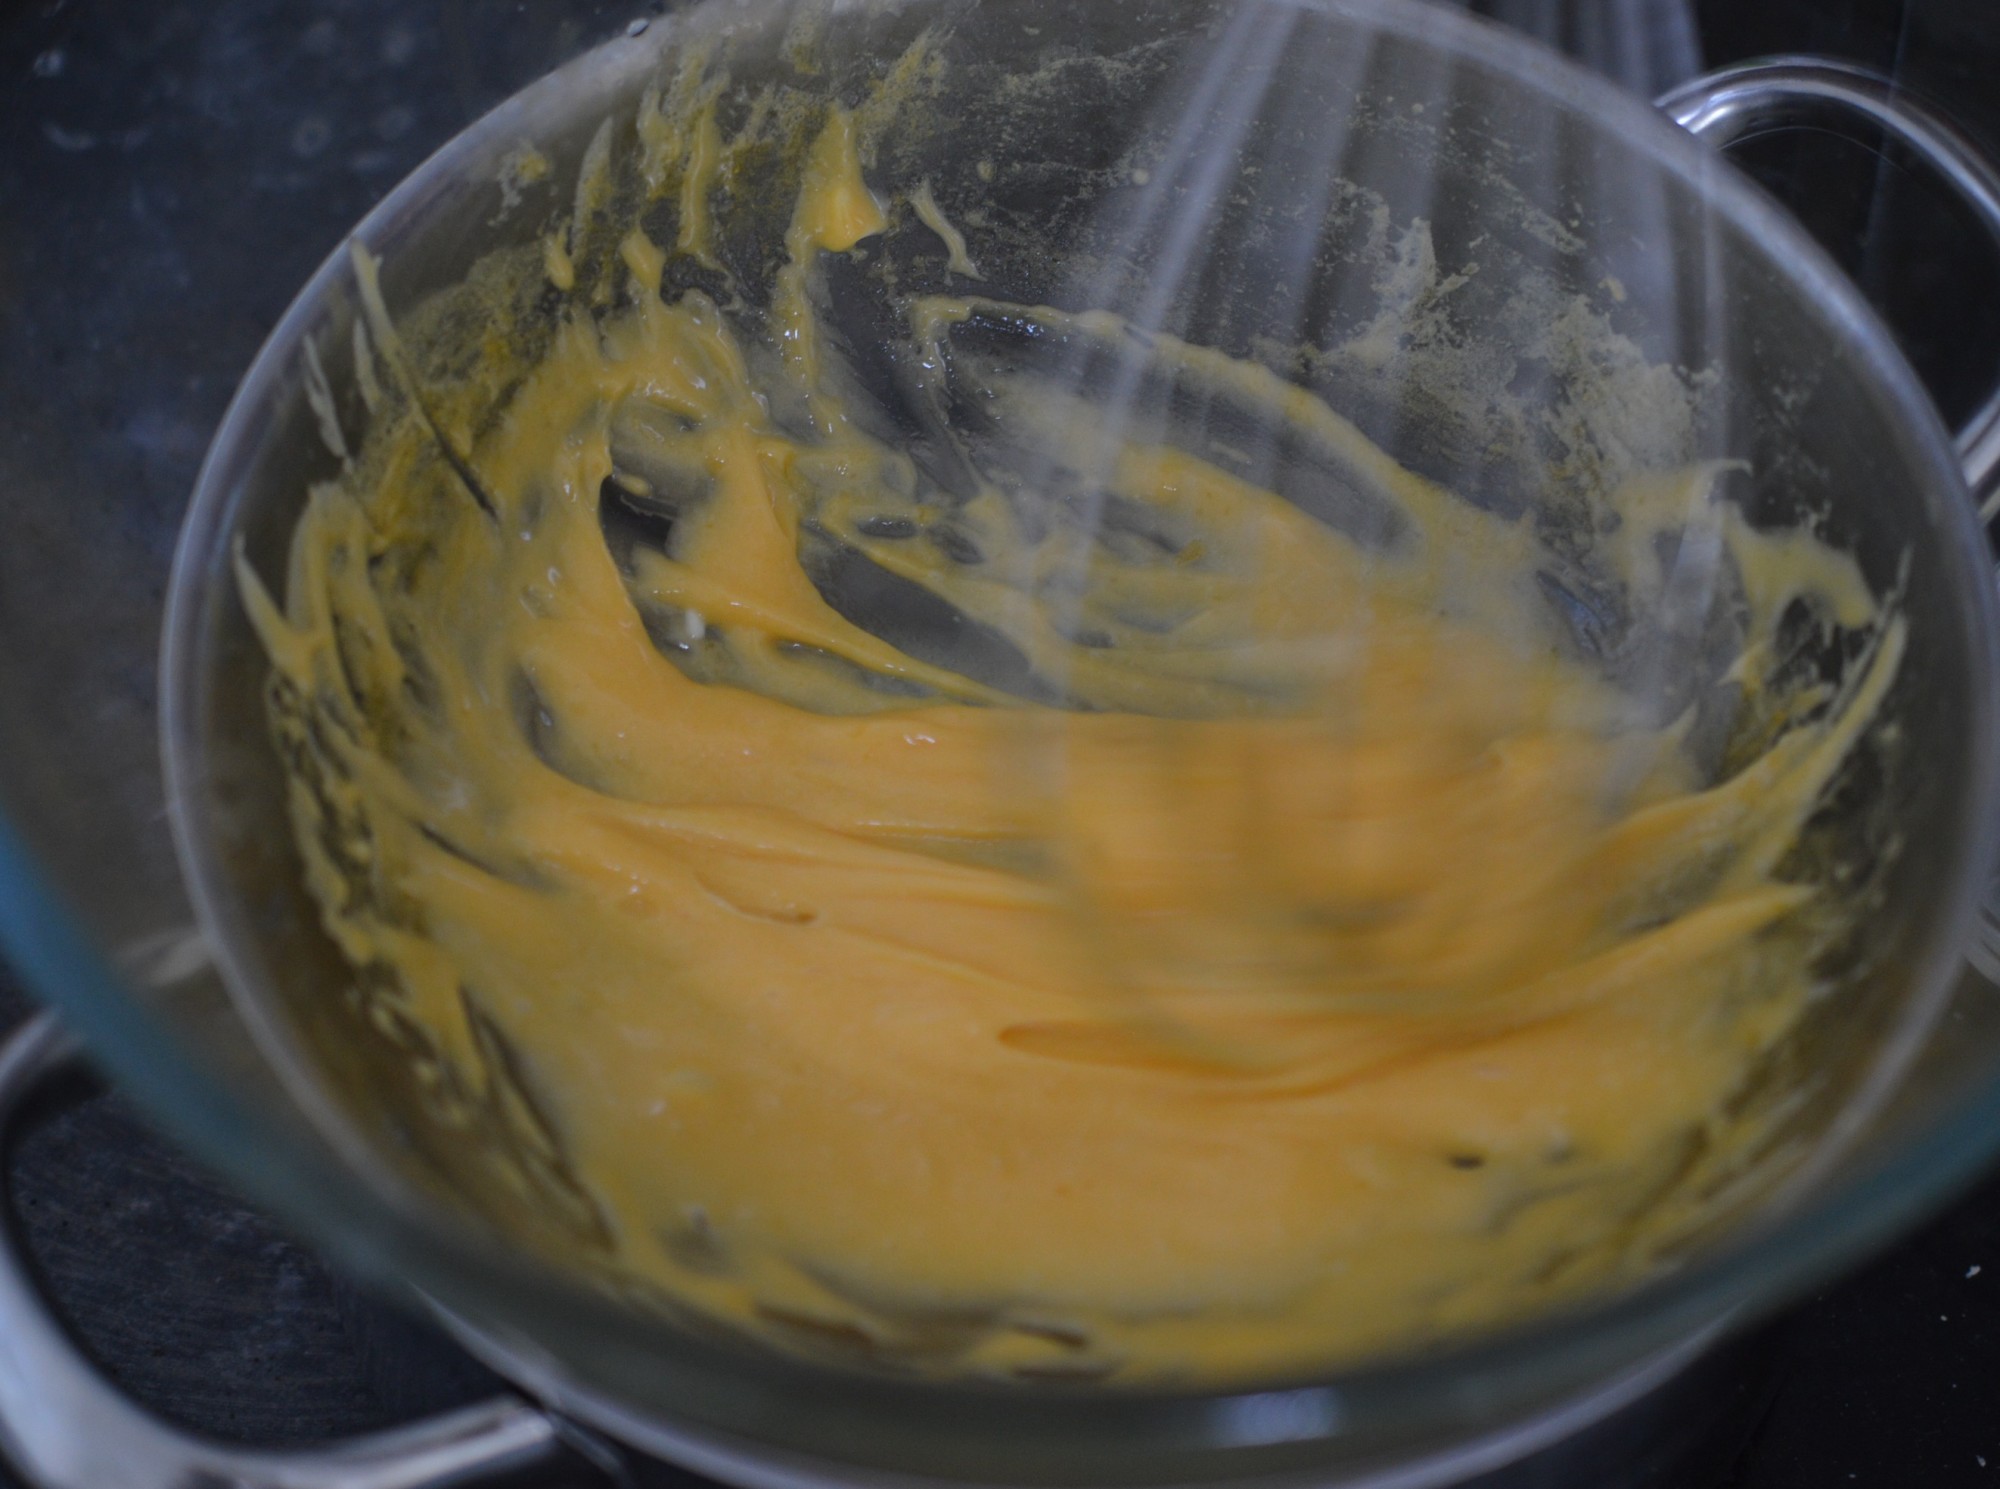
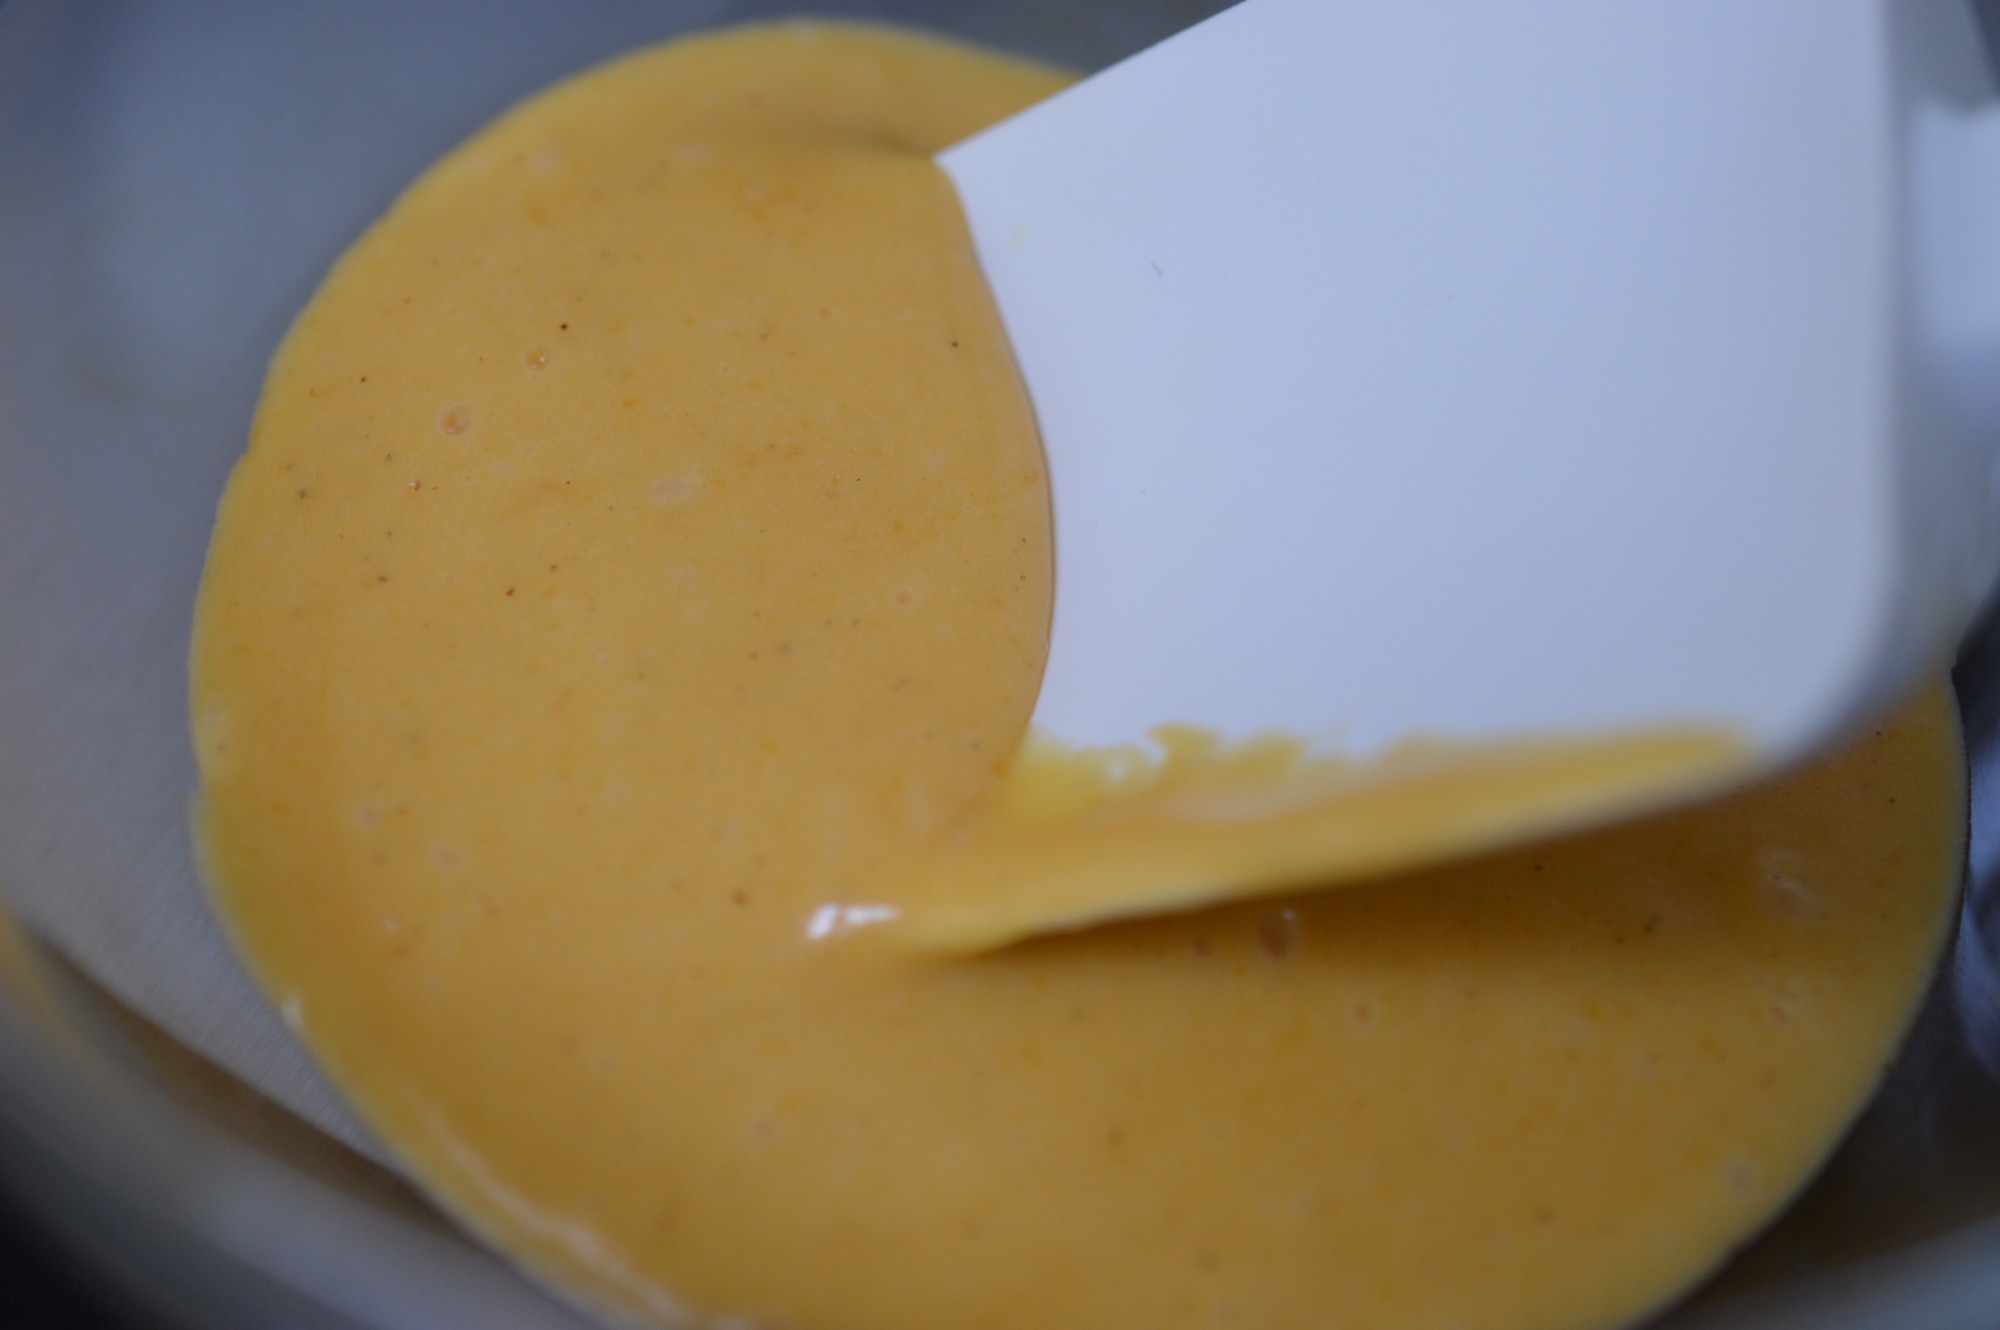
Pour the whole lot back into a clean saucepan. Over a medium heat, stir until it thickens.
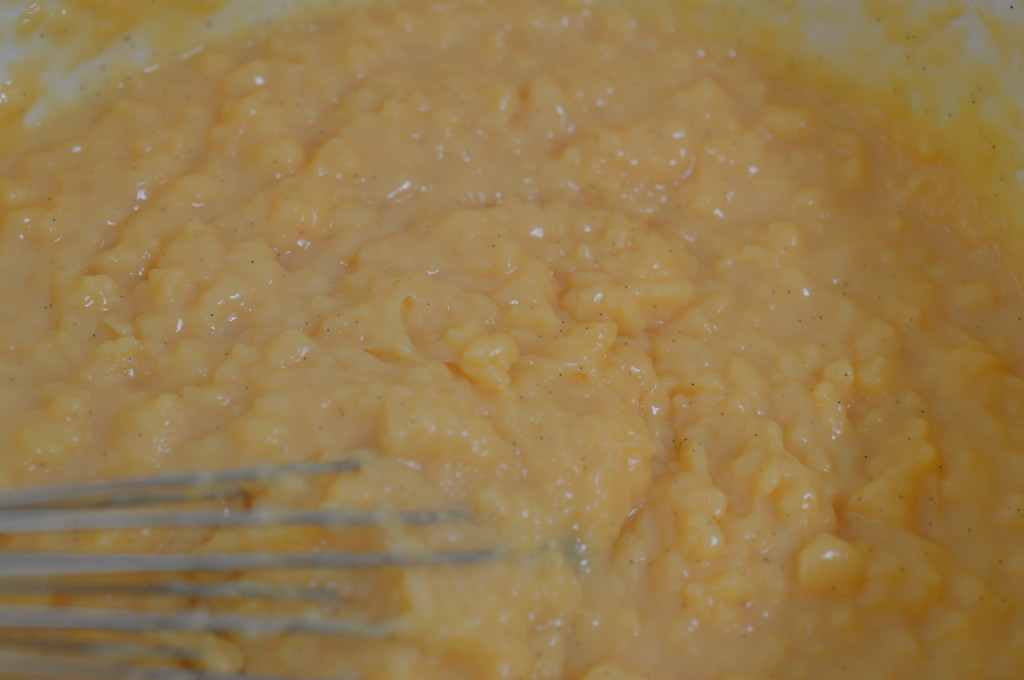
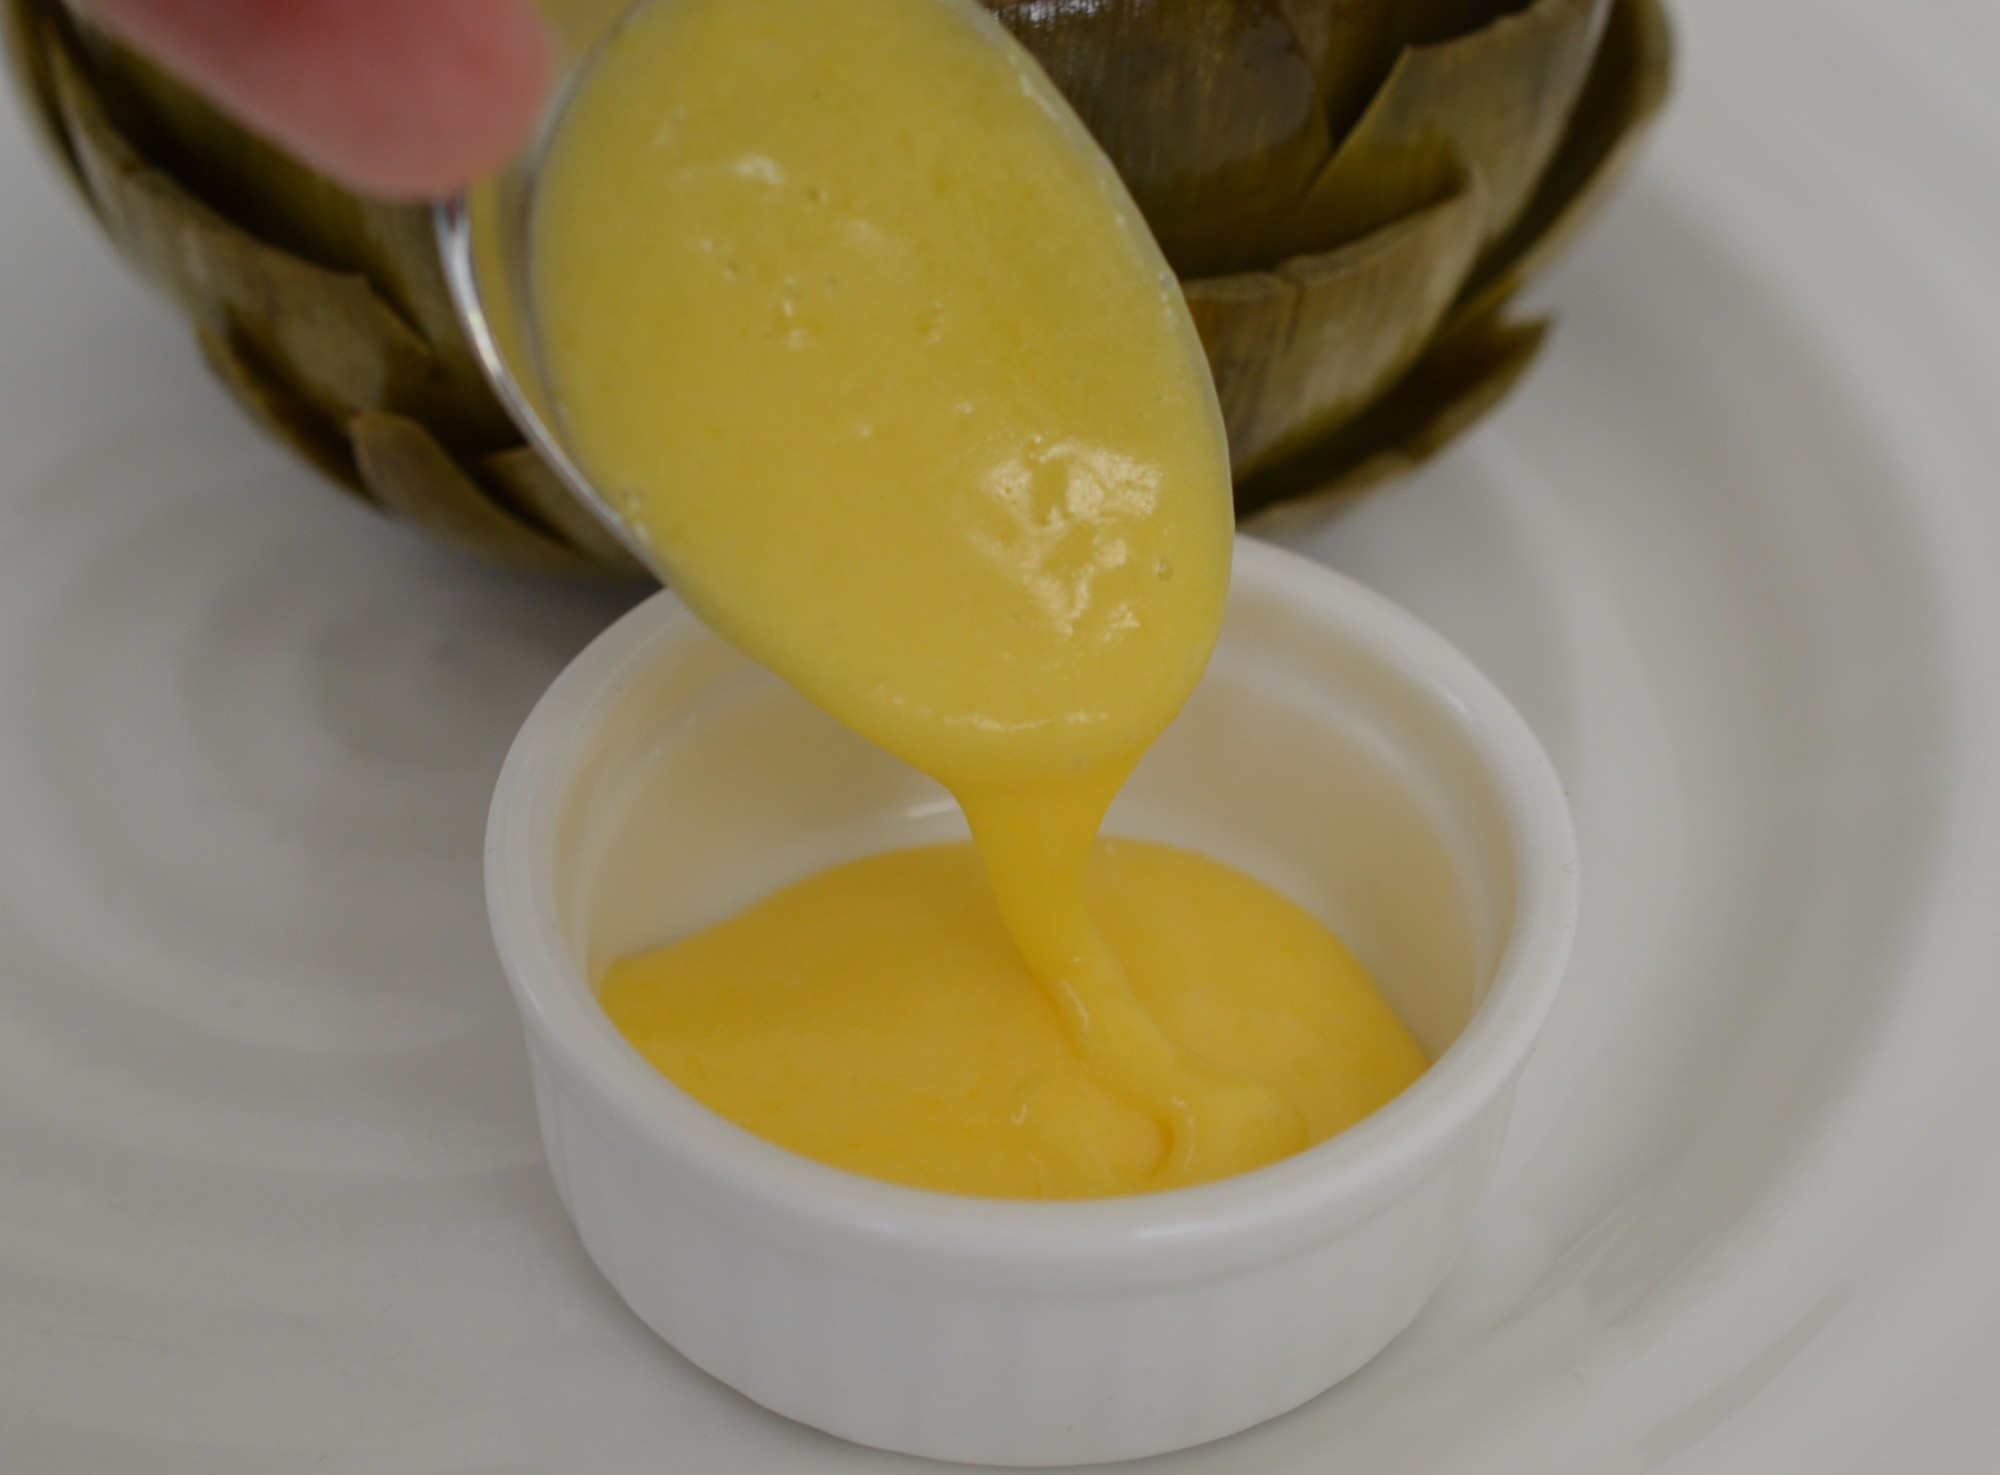
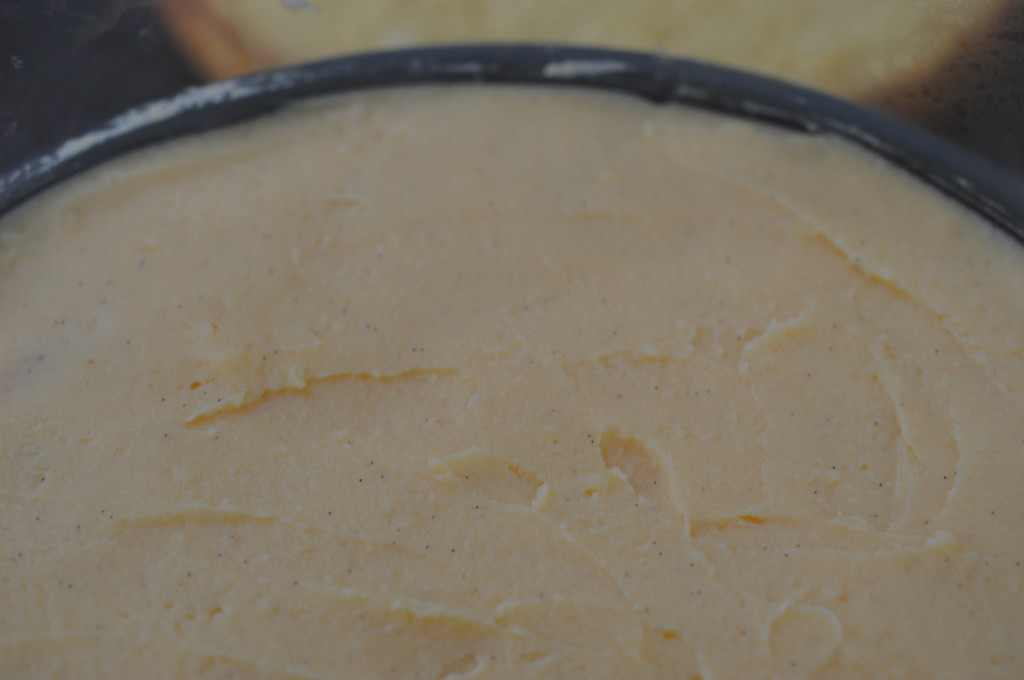
It happens suddenly. It’ll look like it’s got cellulite. Whisk out the lumps. You’re looking for a thick, smooth custard which will pipe.
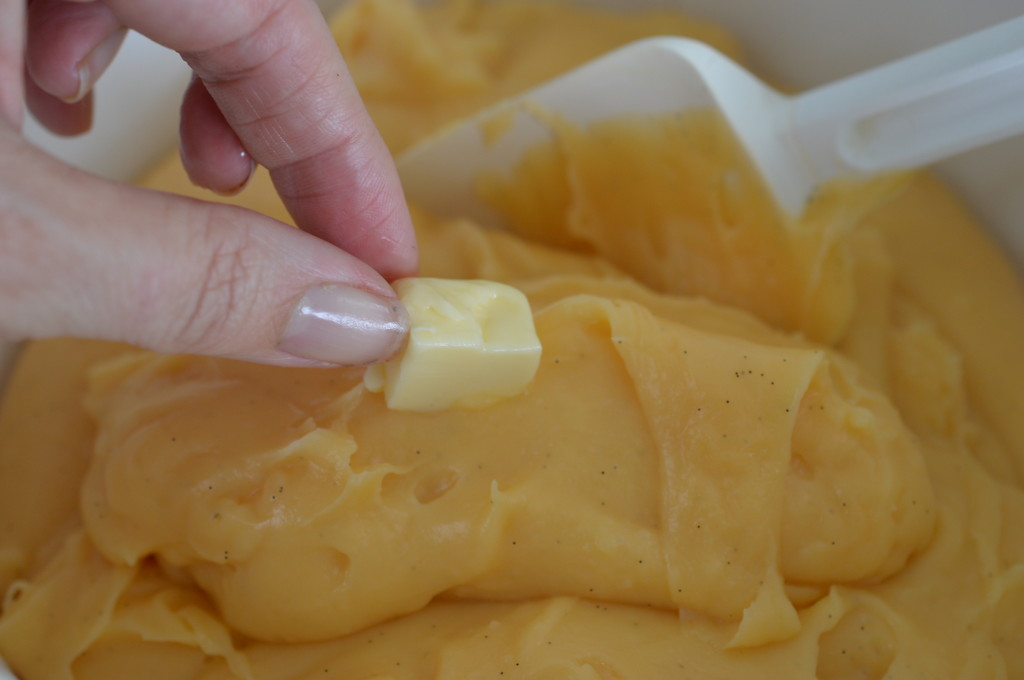
It’s about to get richer. You’re allowed to eat this guilt-free because you’ve made it and not bought it.
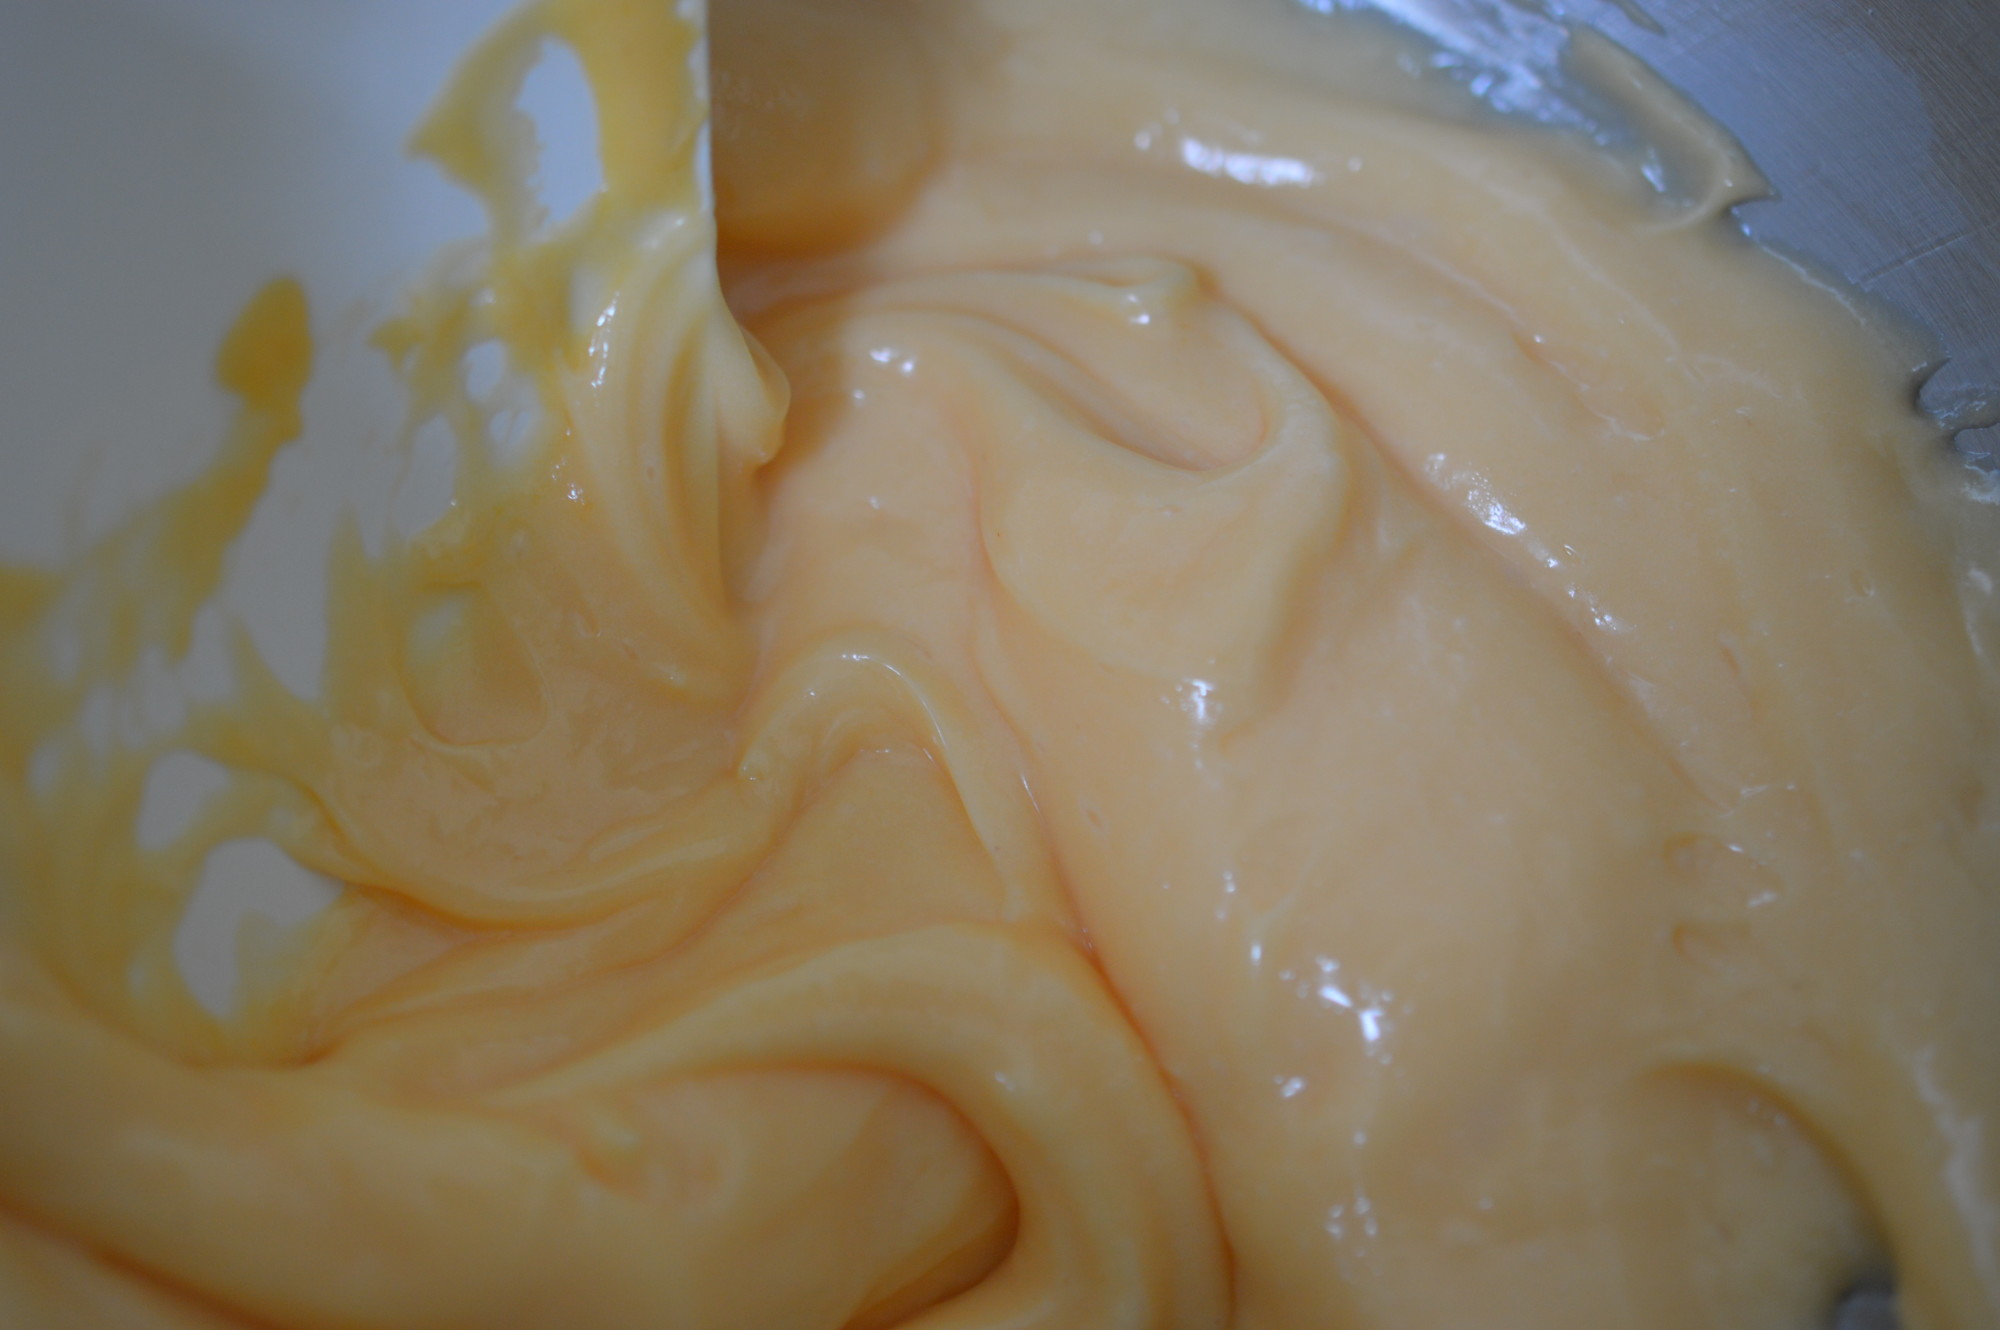
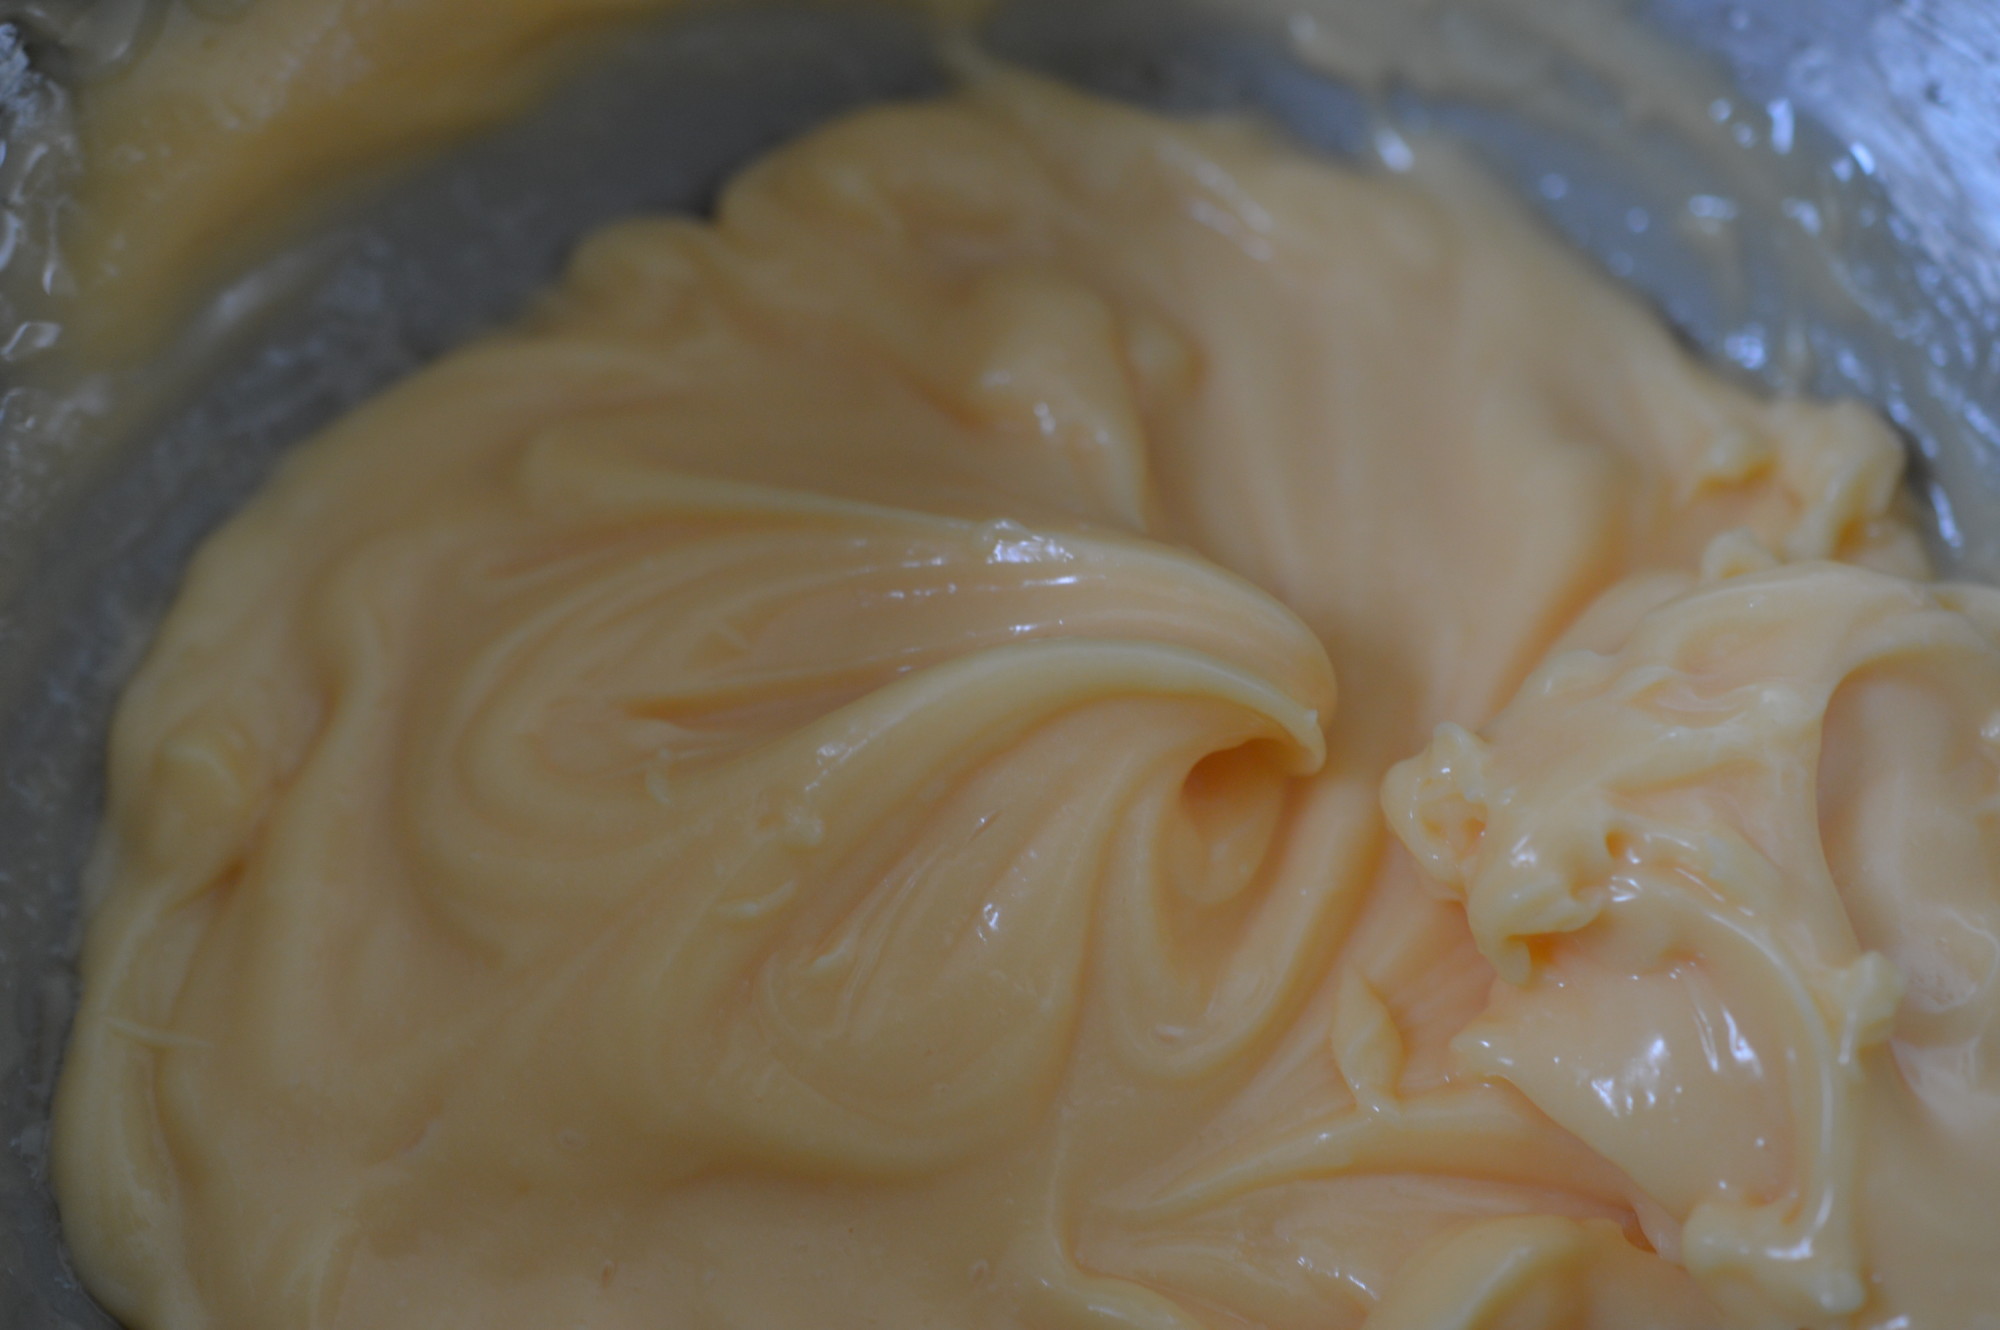
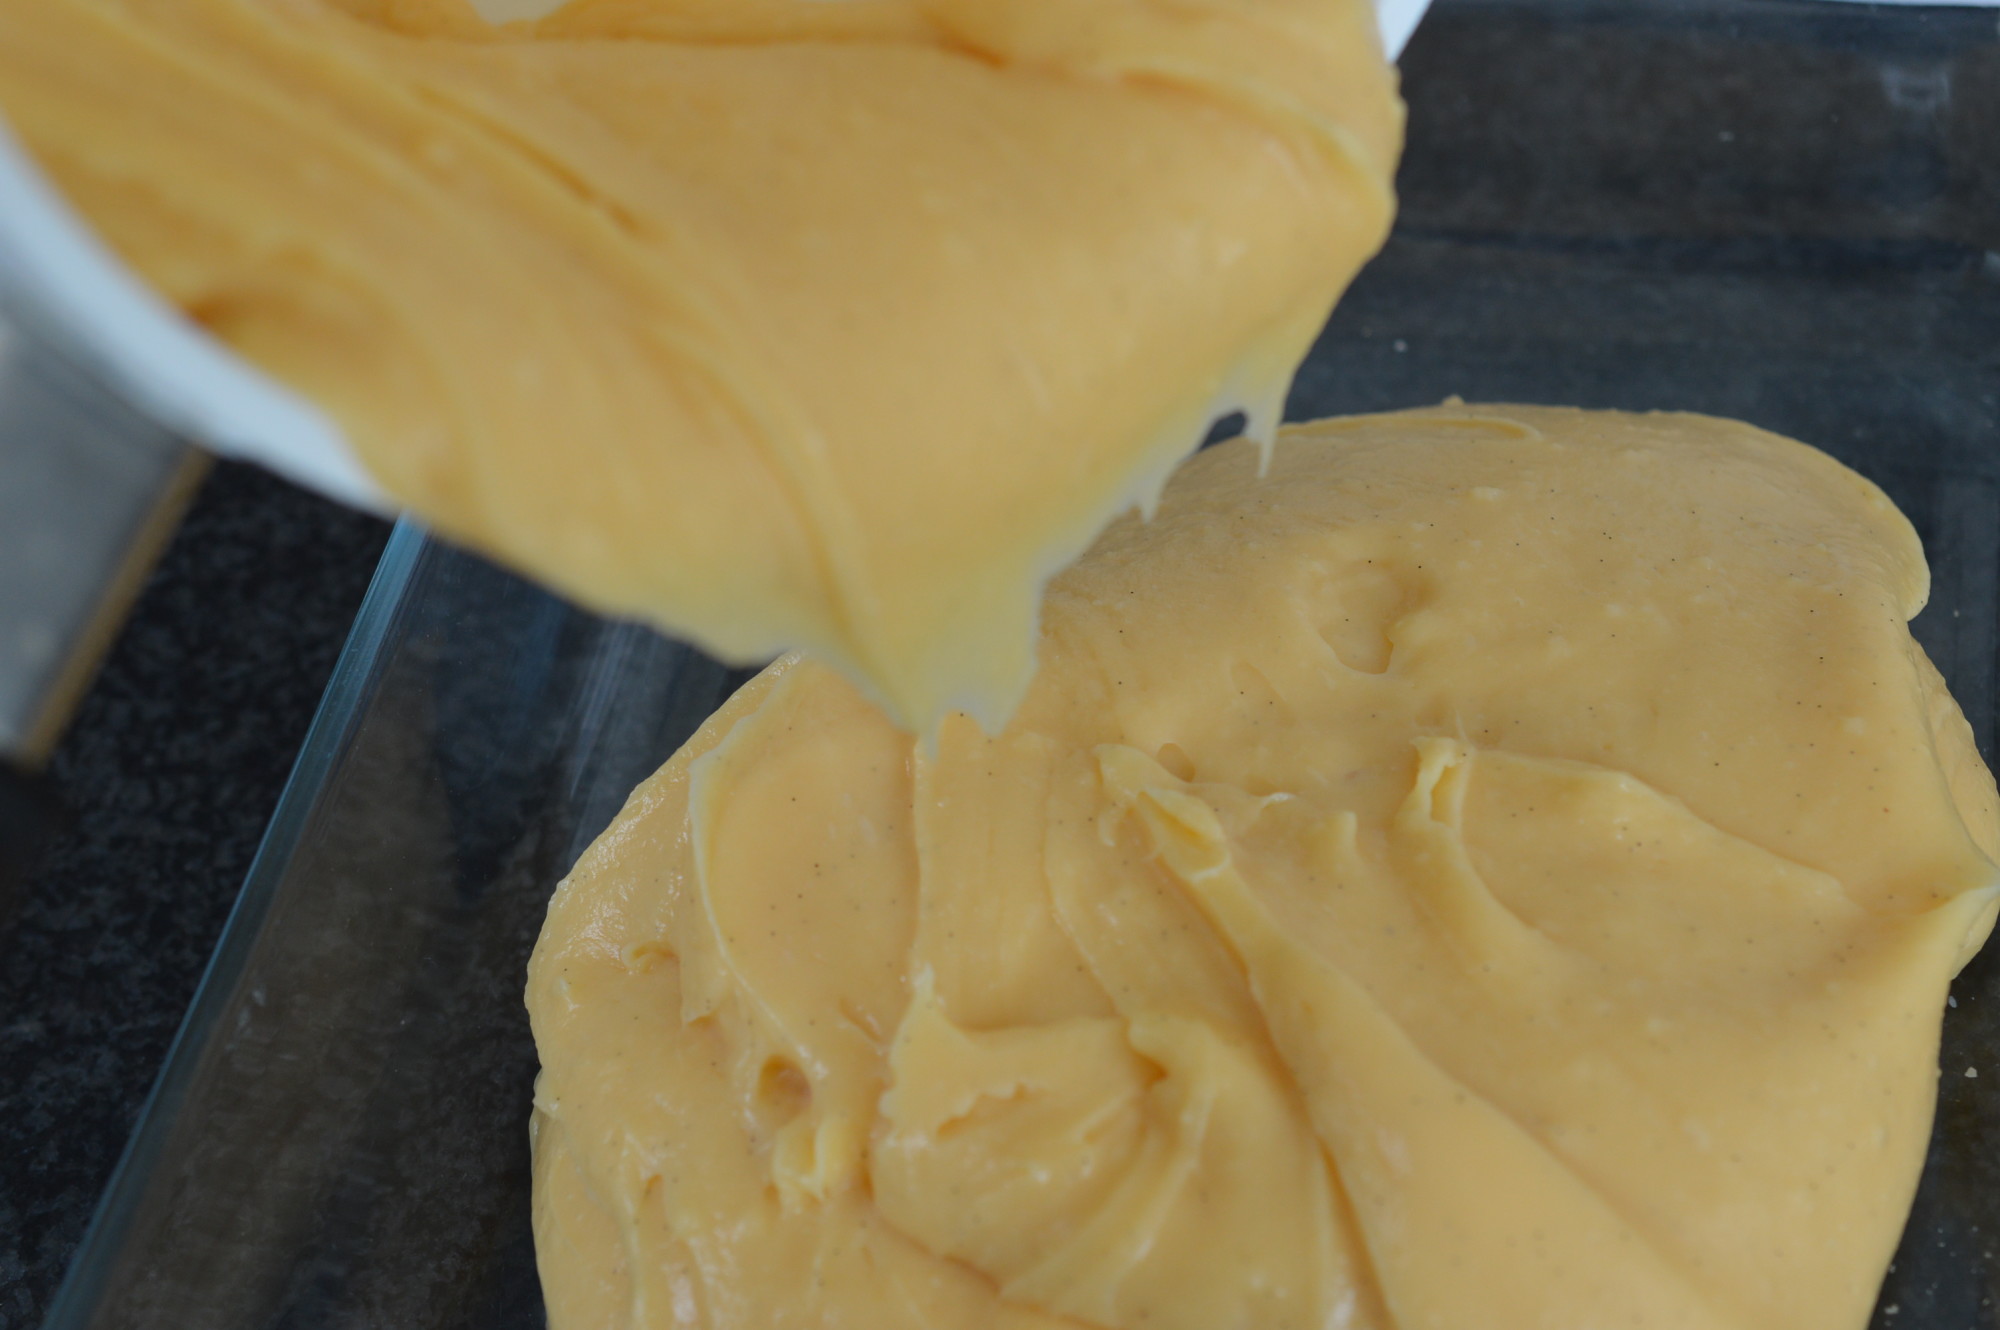
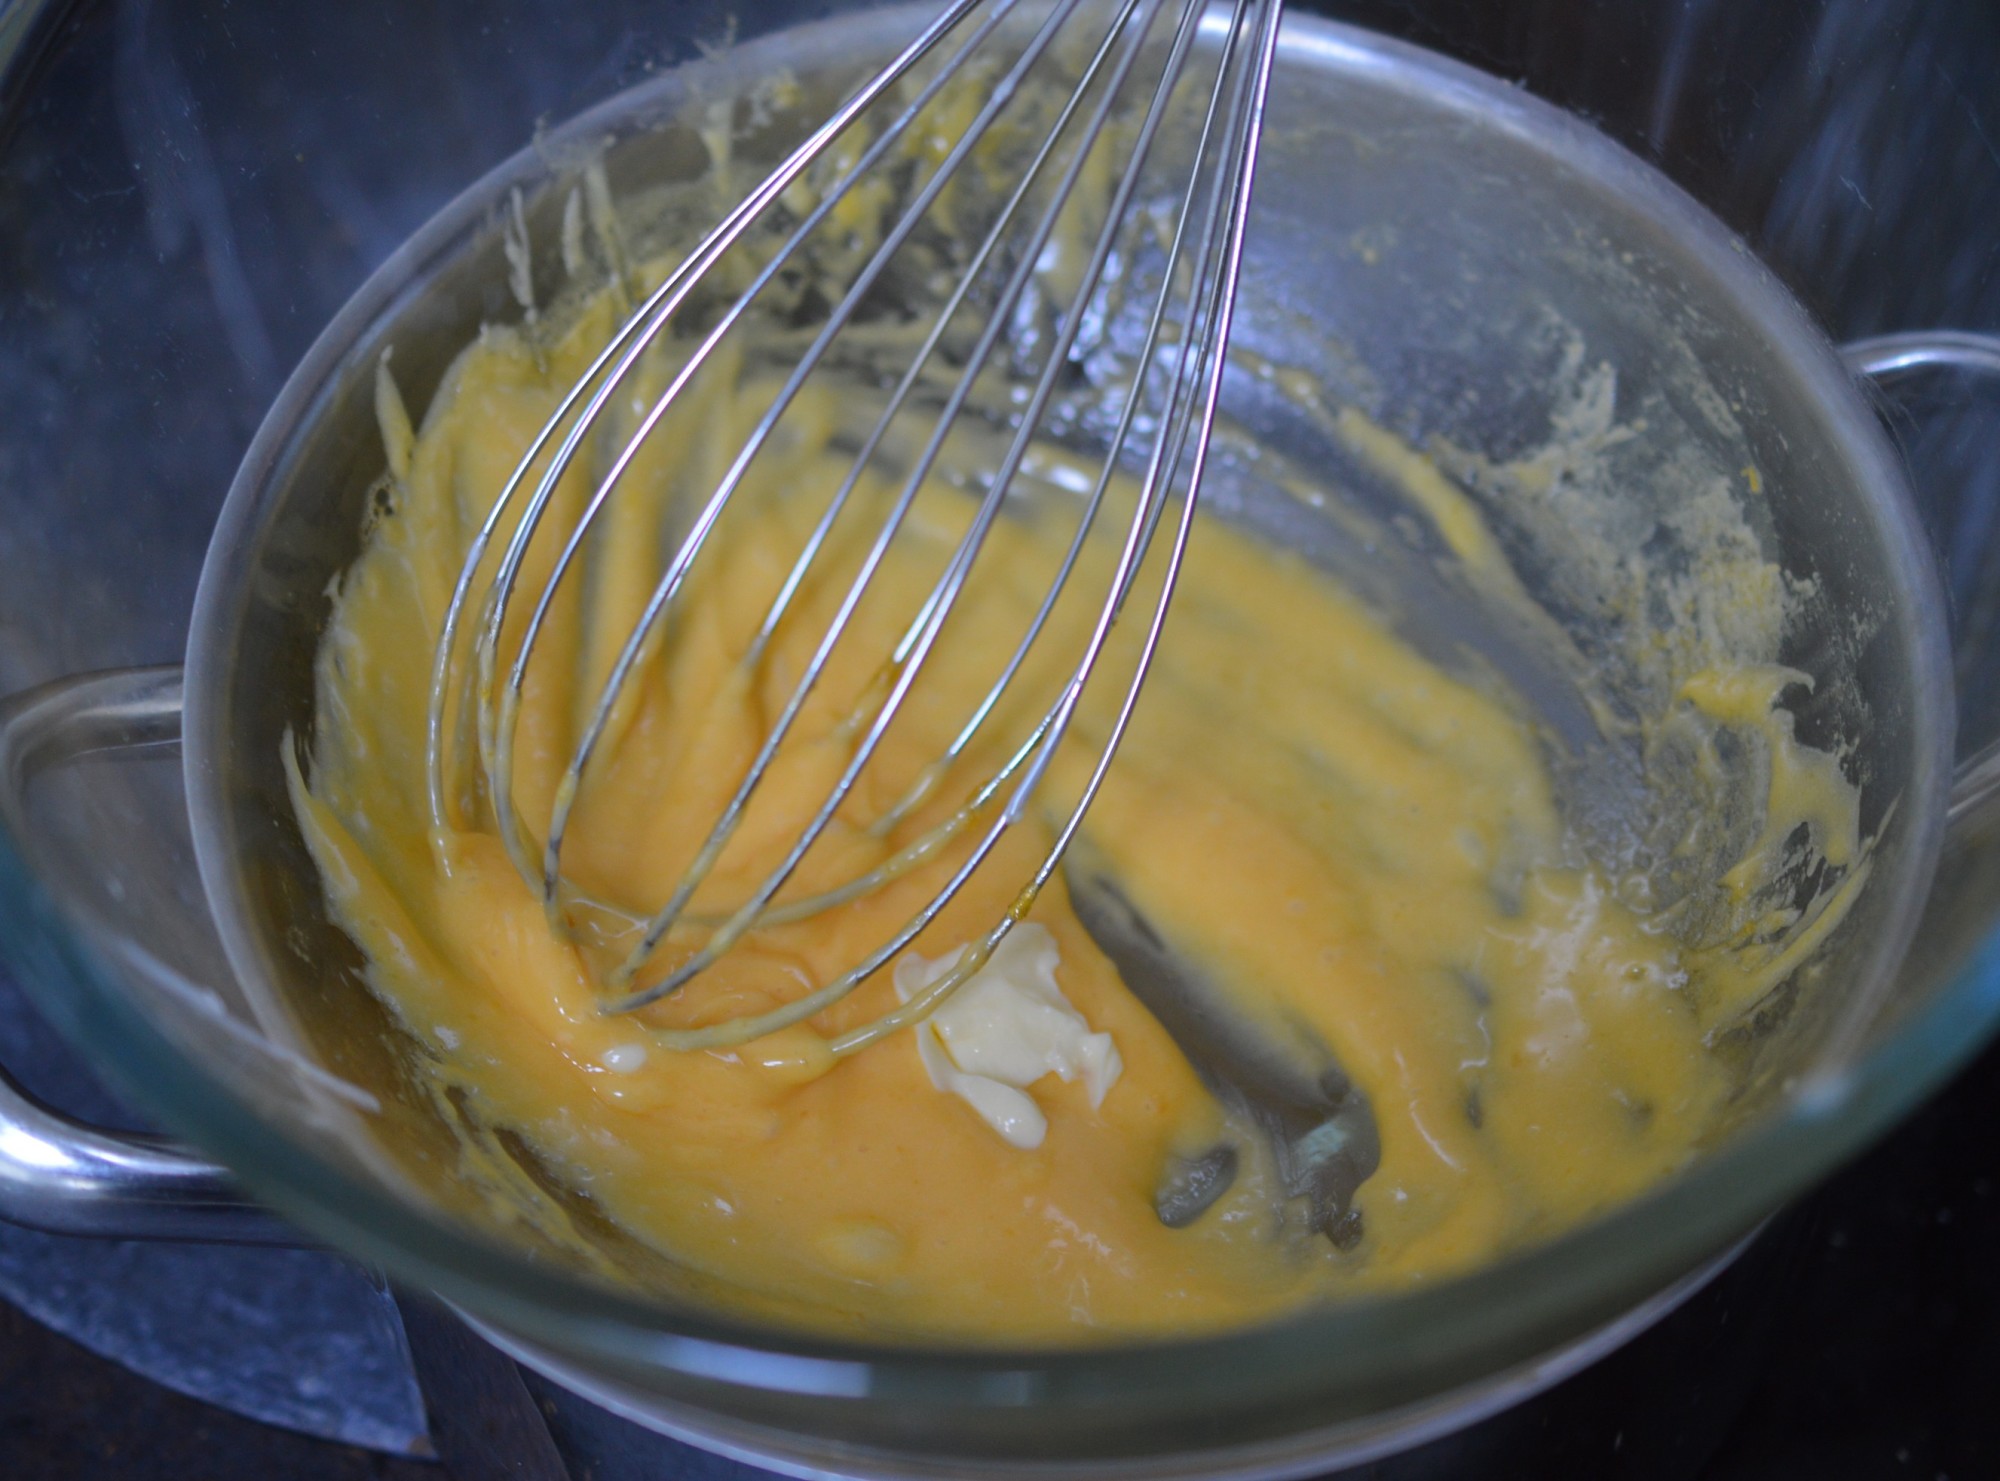
Cube by cube, drop in the butter. Stir and let the butter melt.

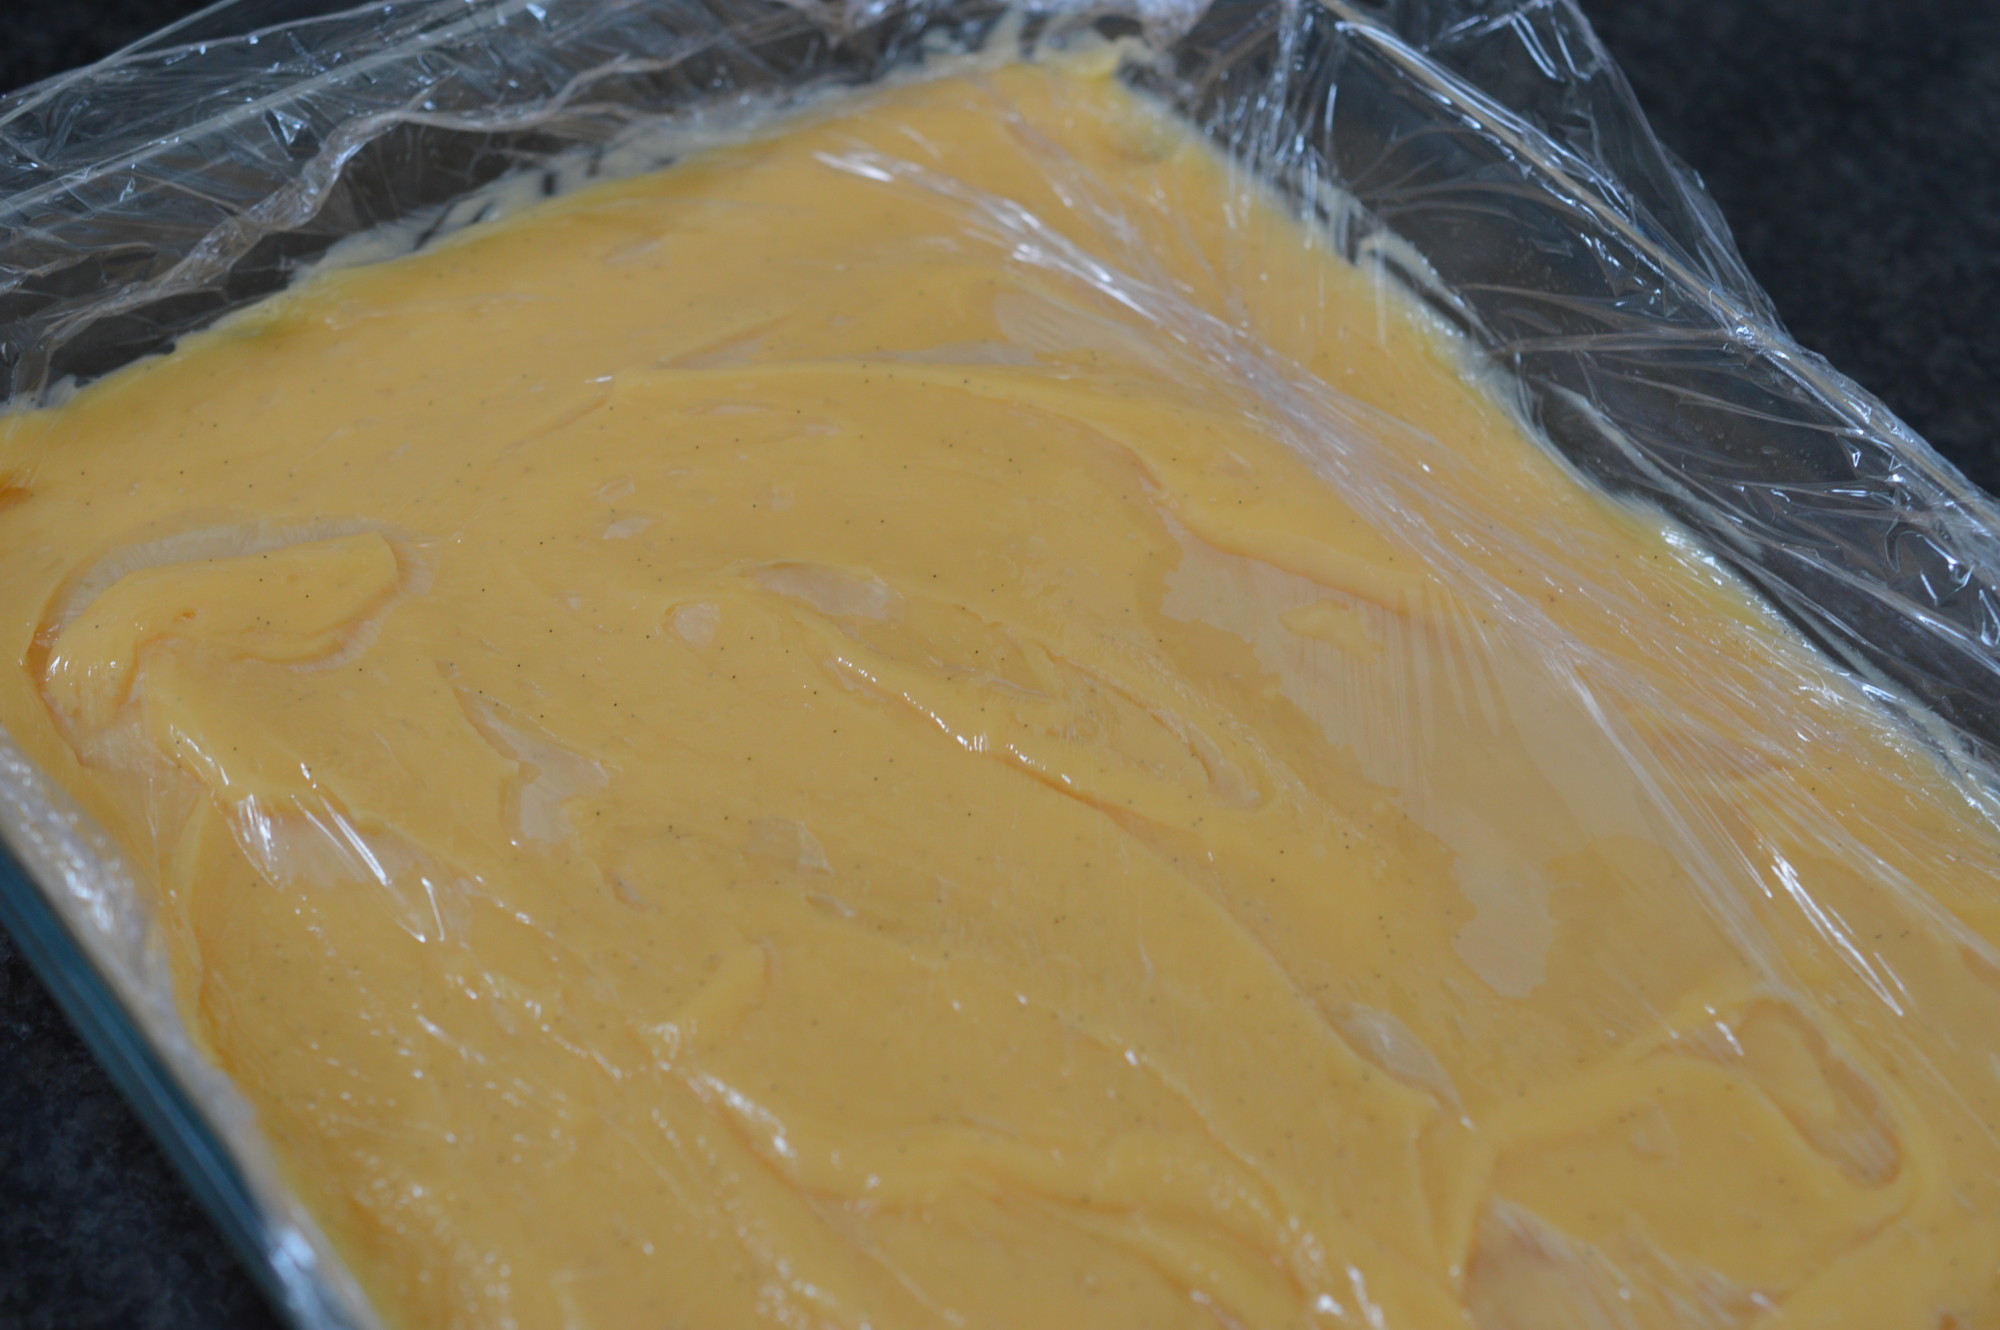
Once all the butter has been incorporated, it needs to cool. Pour it into a shallow dish so there’s a big surface area to speed up the time it takes to cool.
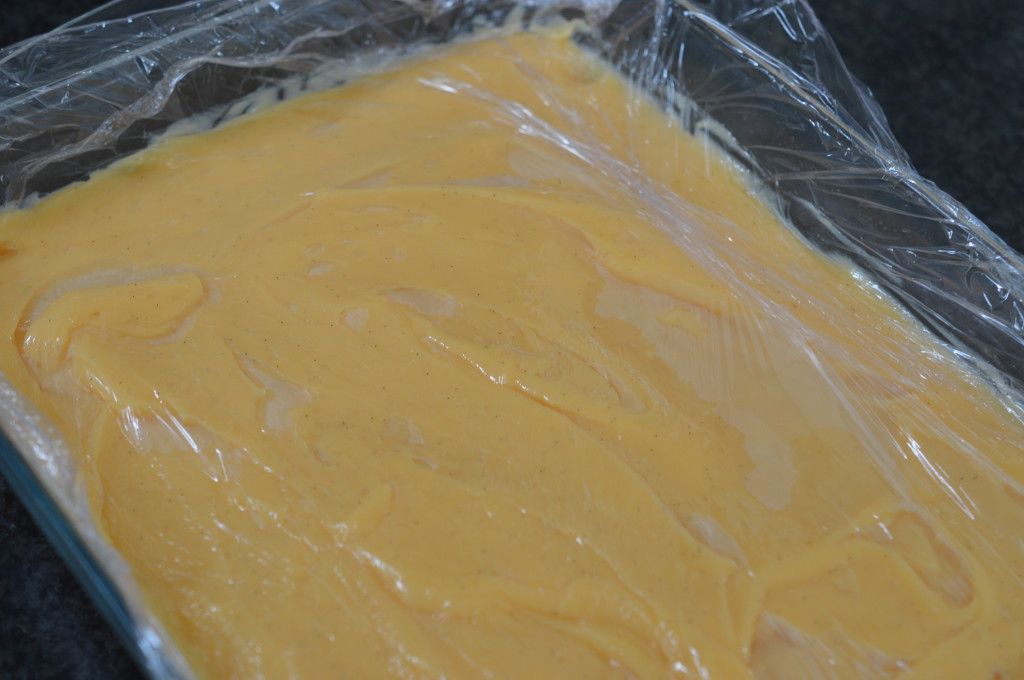
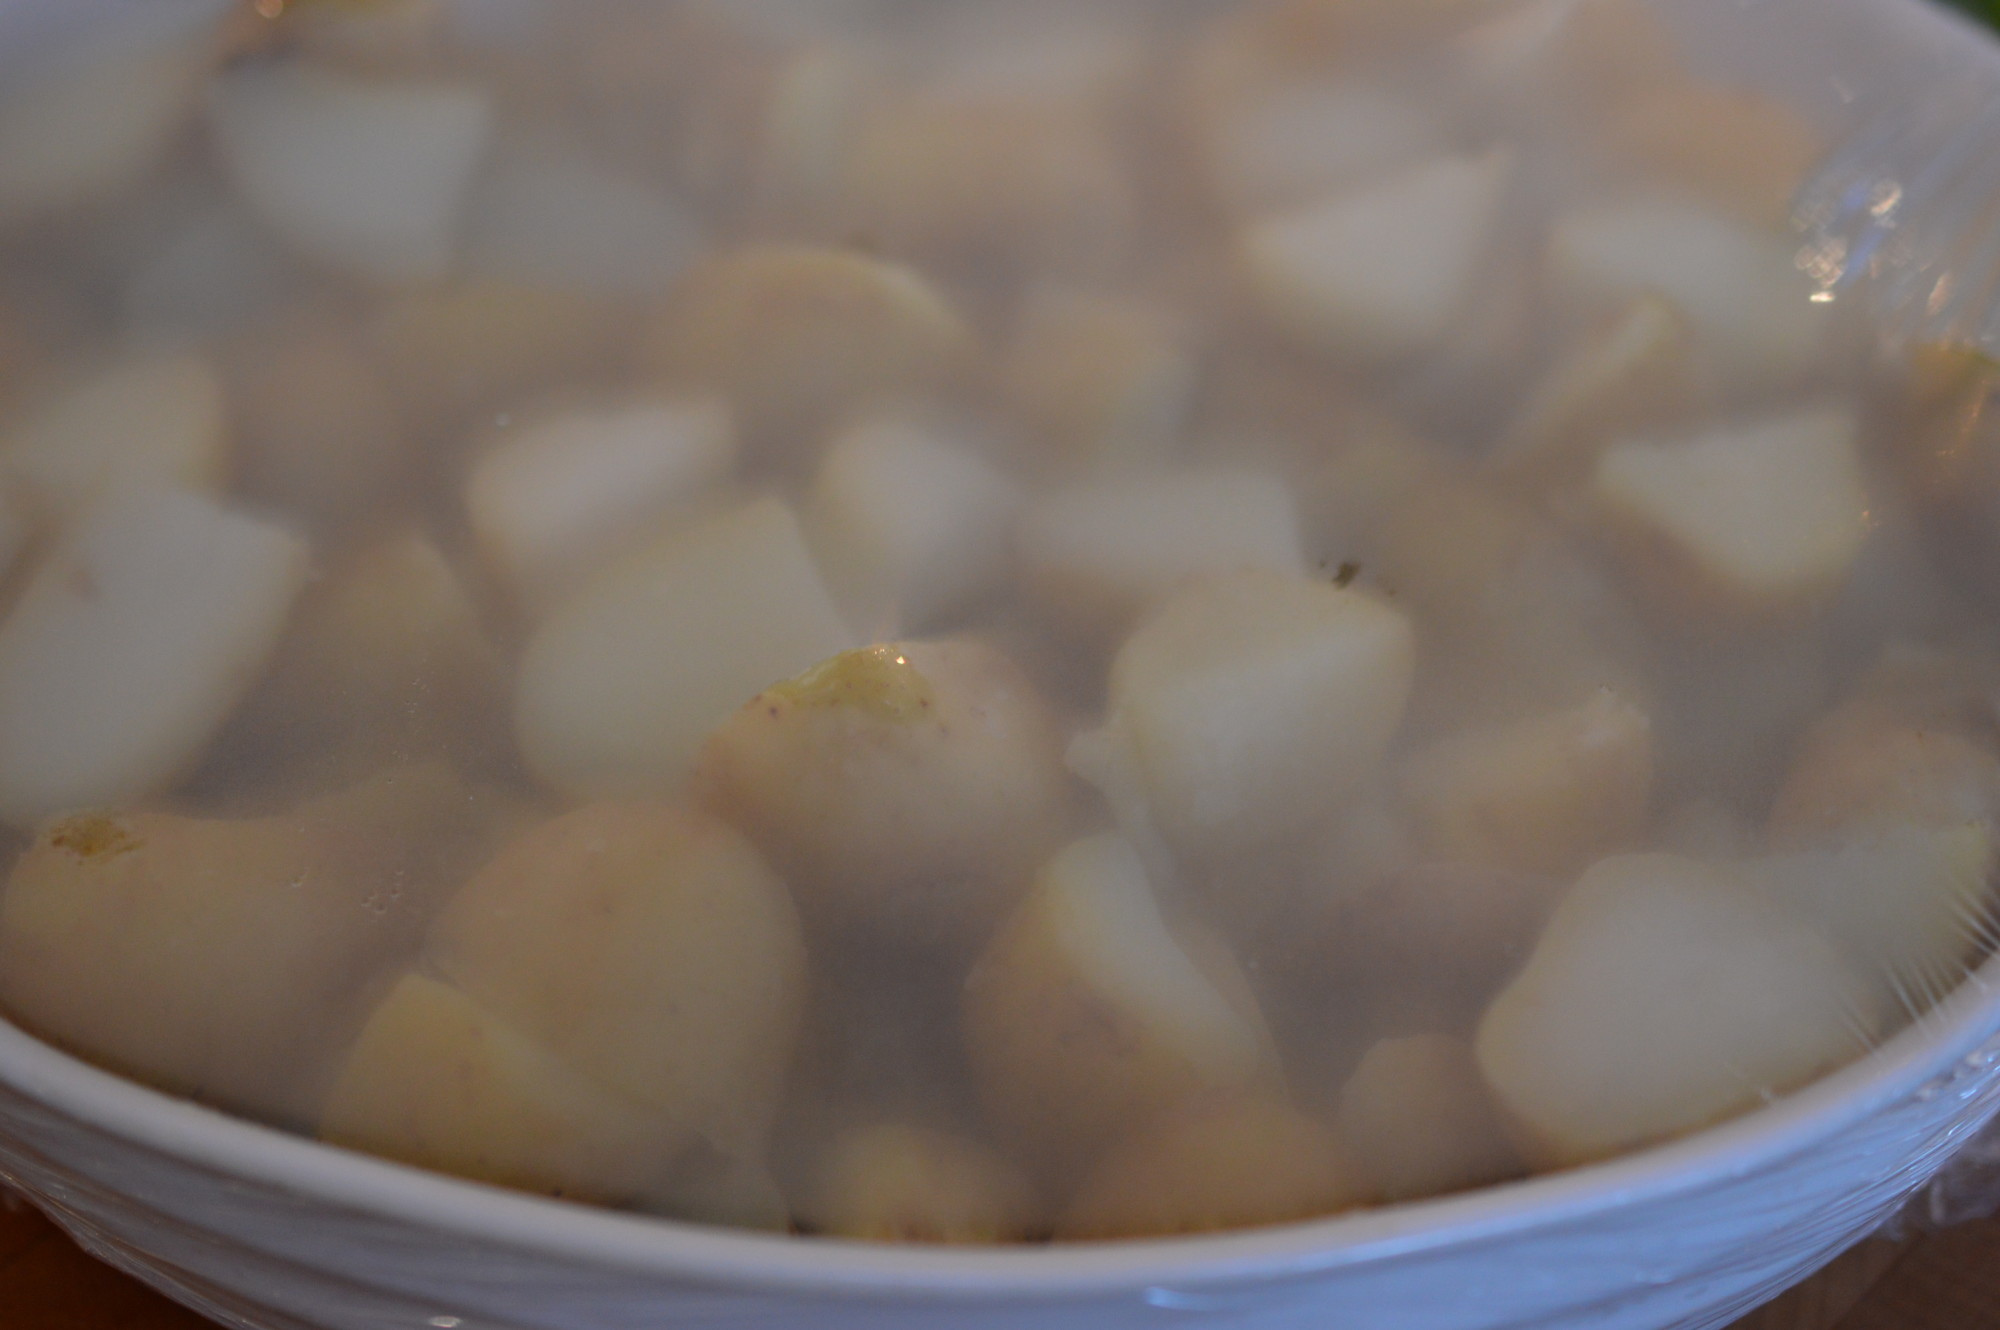
Cover with cling wrap to stop a skin forming. Put into the fridge. It’ll take about an hour.
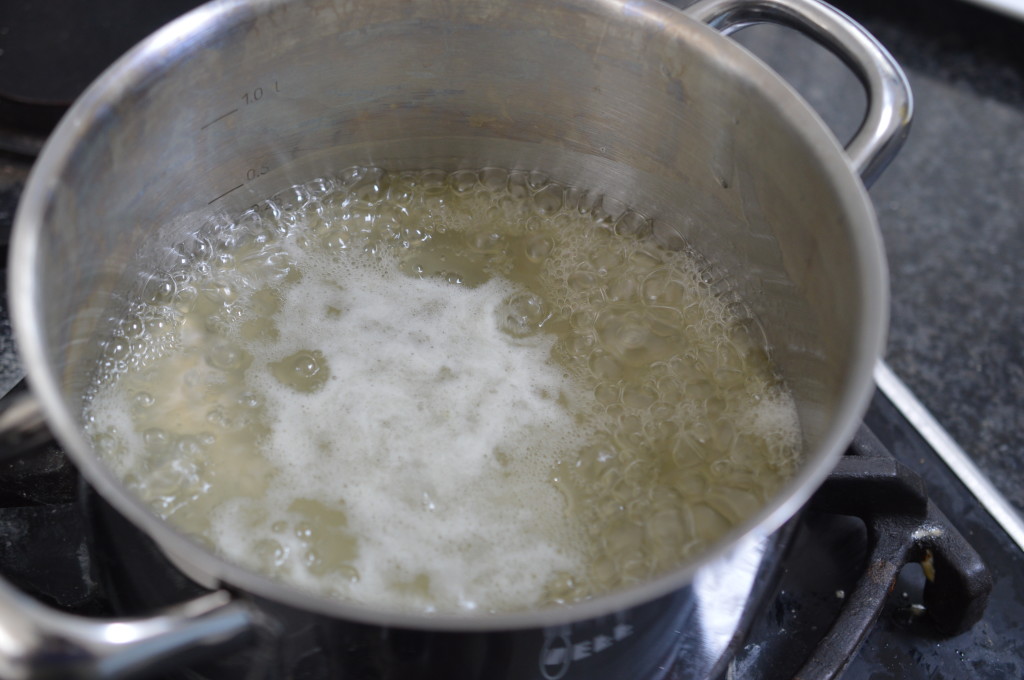
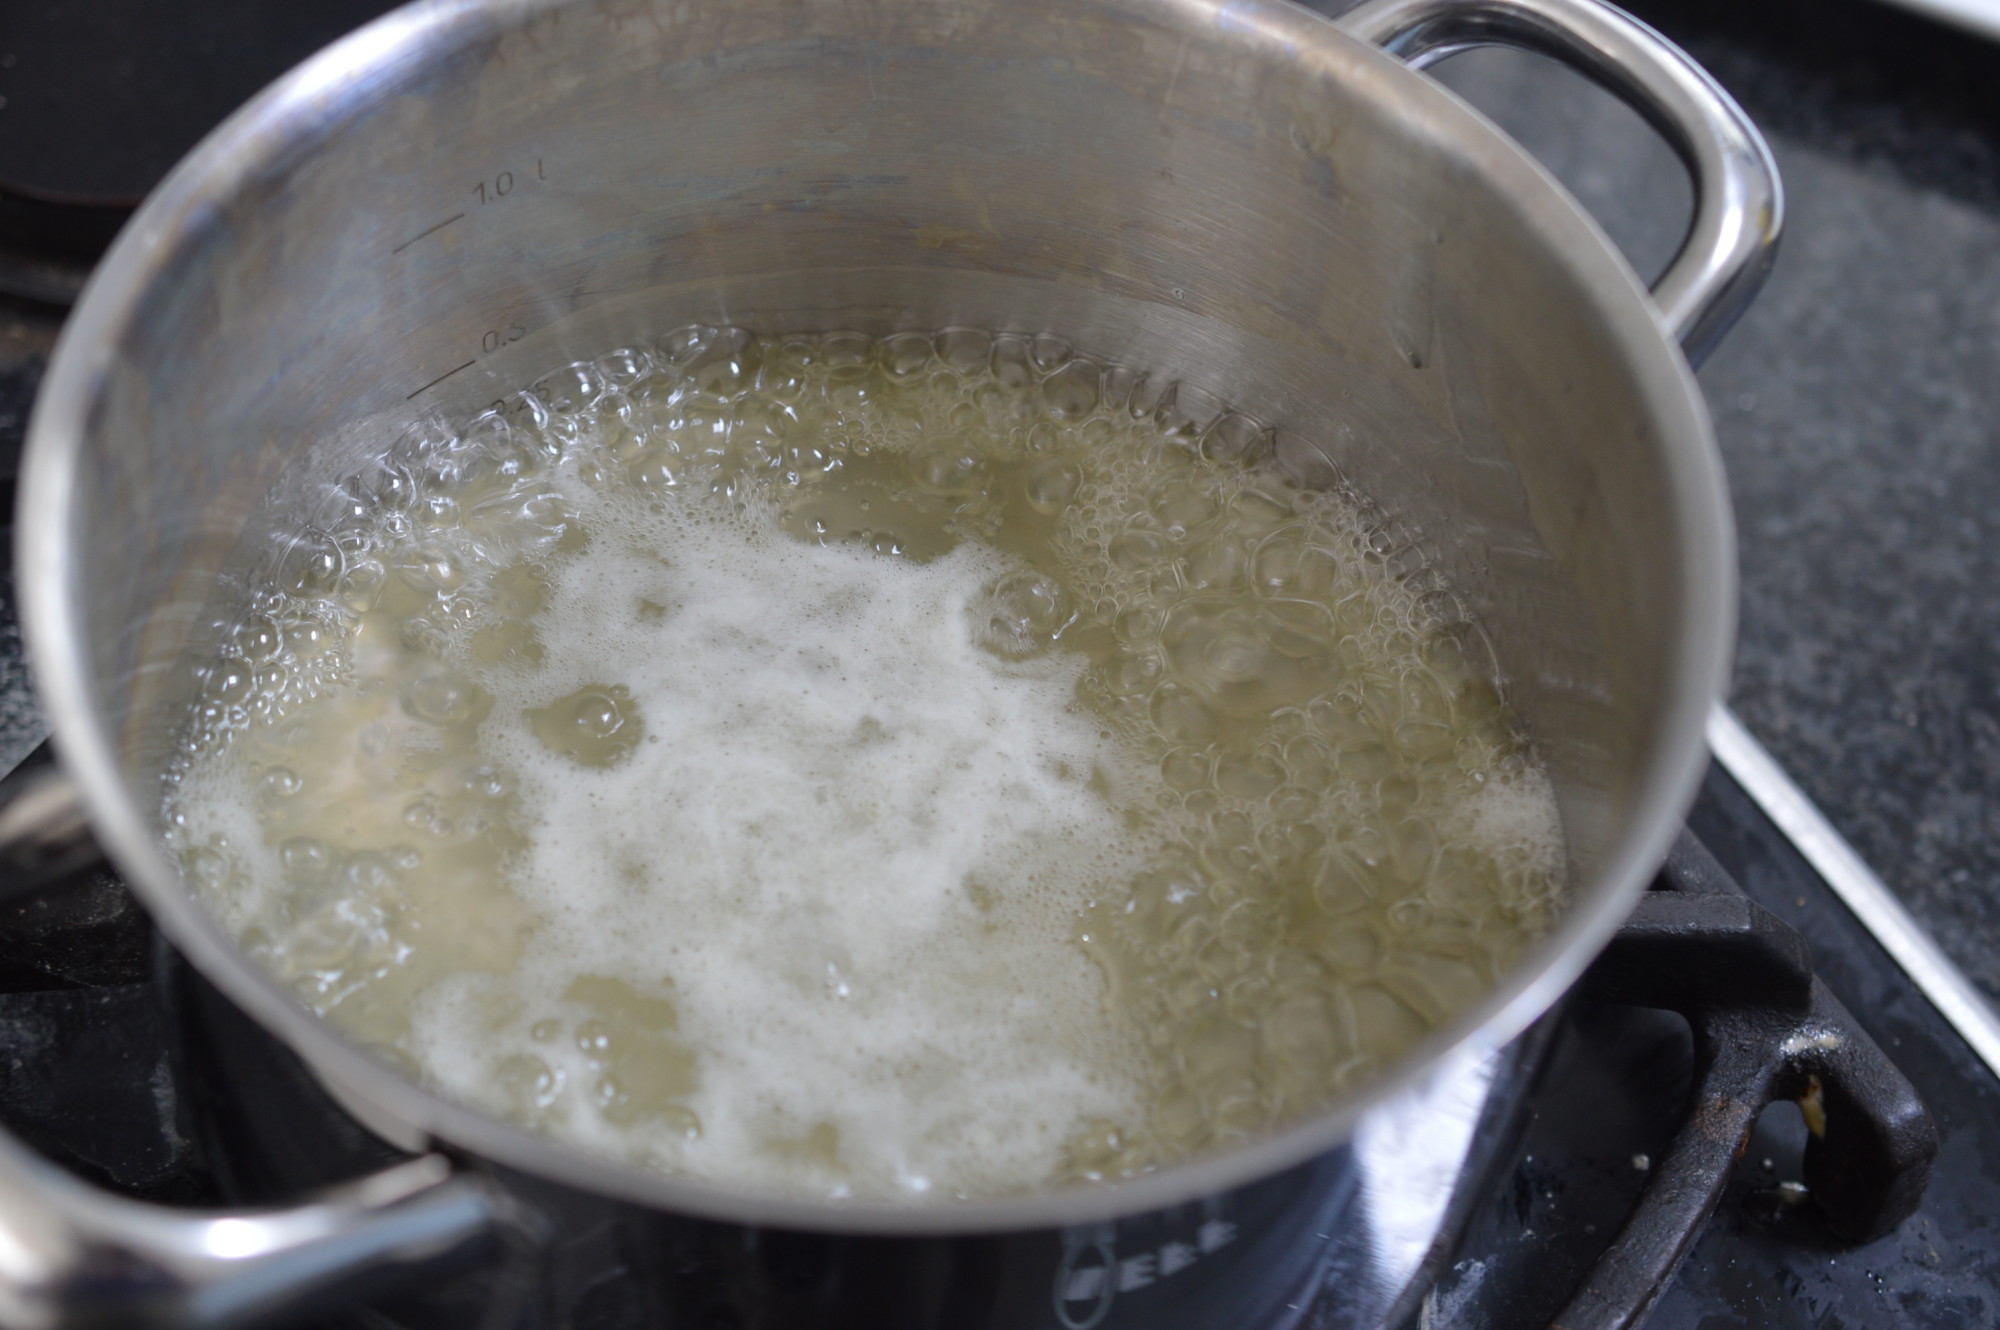
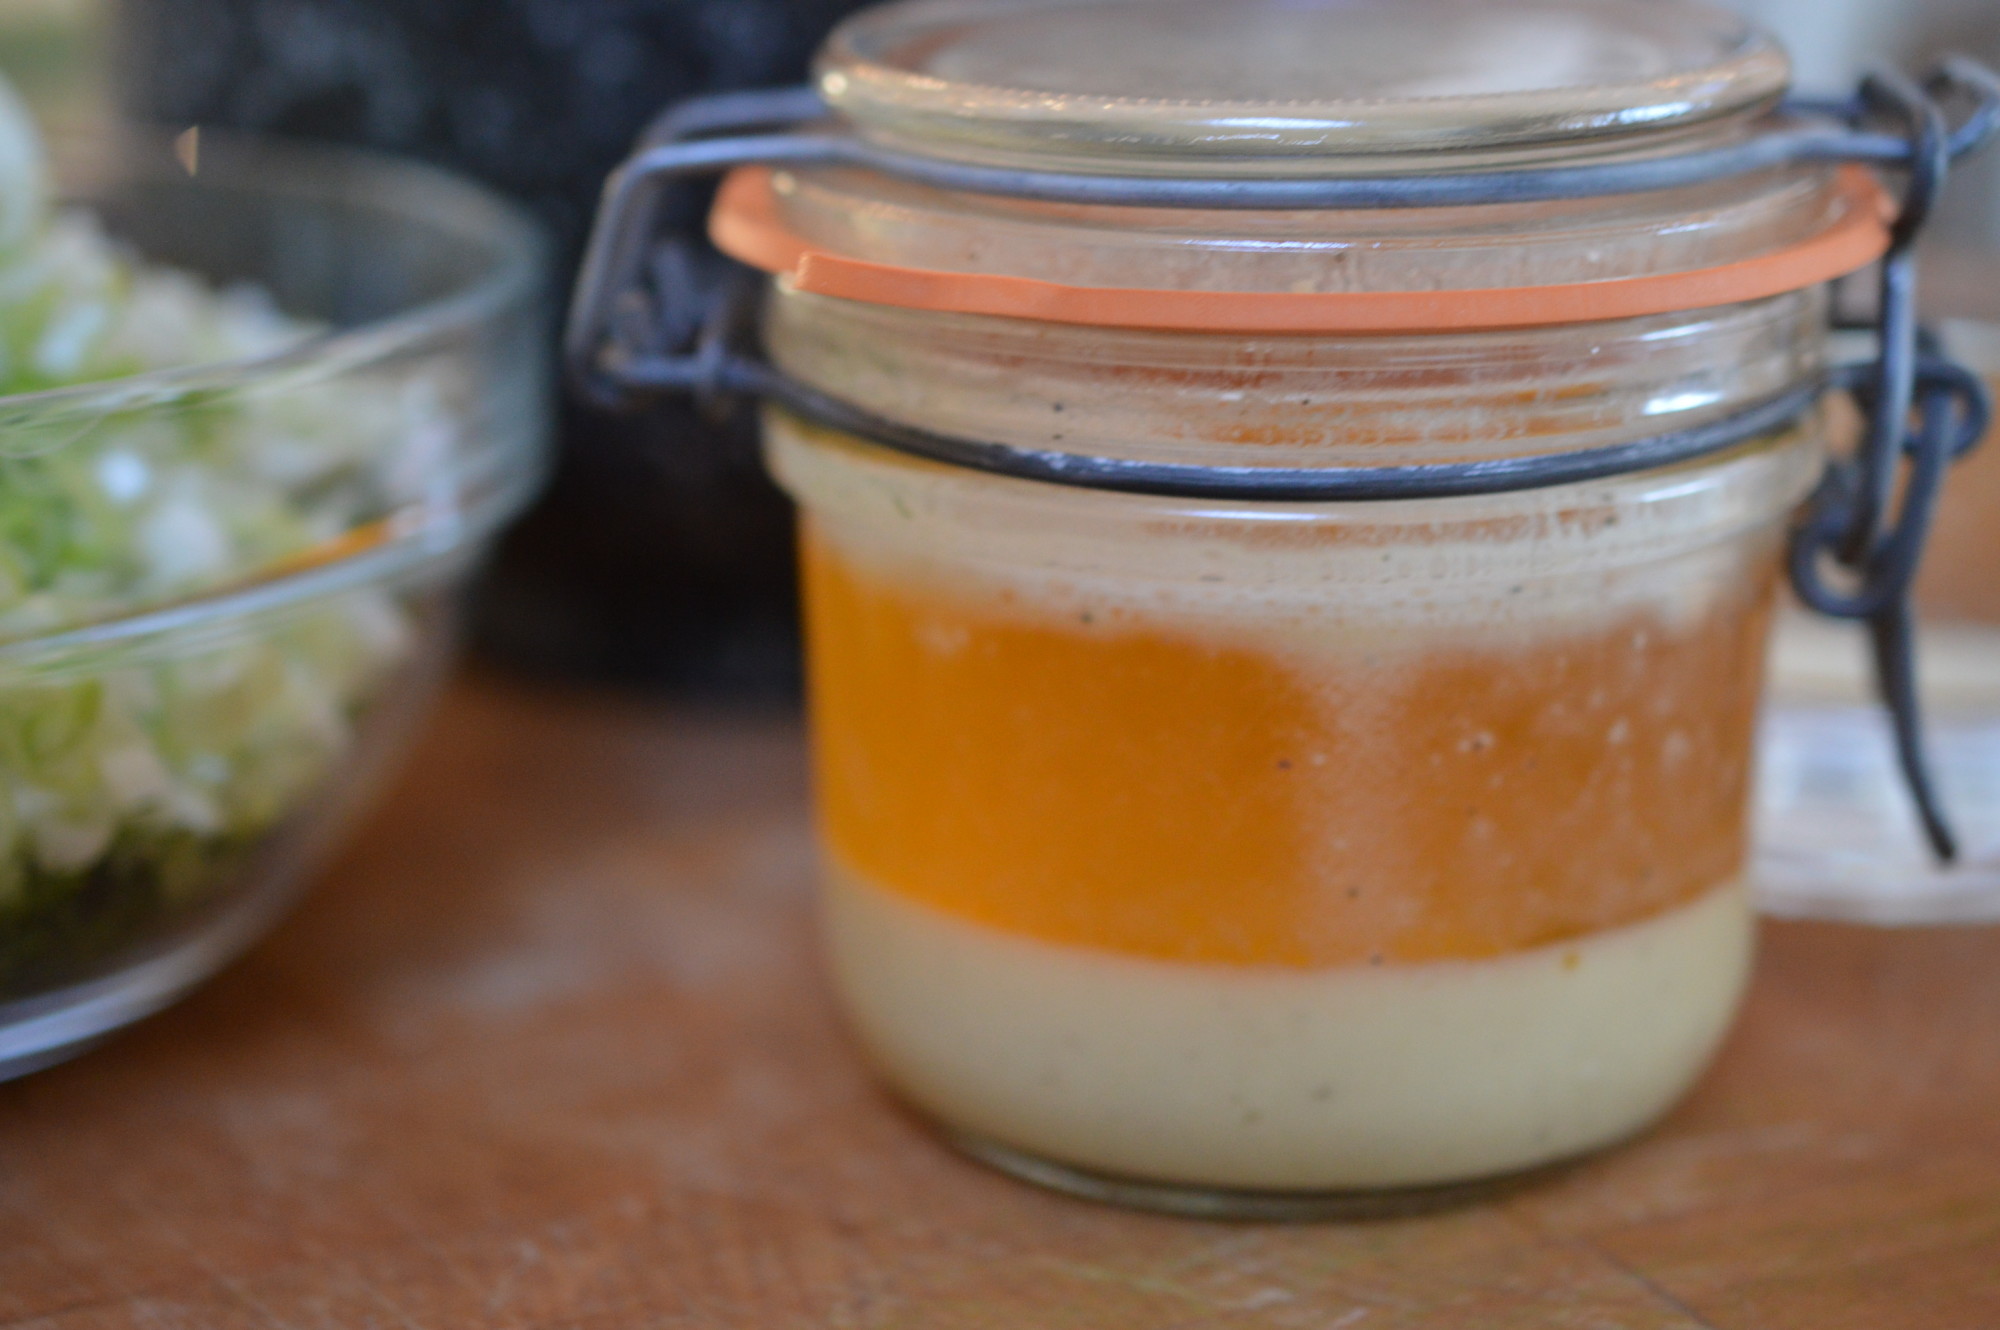
This is a lemon sugar syrup. A warm lemon yields more juice so I pop mine in the Simmering Oven for a couple of minutes, but even rolling a lemon on the work surface does the trick. Place the lemon juice in a saucepan, holding back a dessertspoon’s worth if you are making home-made marzipan.
Add the caster sugar and a splash of water. Stir over a low to medium heat until the sugar has dissolved. Then bring to the boil and let it boil for 2 minutes. Pour it into a heatproof jug or jar and leave to cool.
The marzipan. There is no such thing as bad marzipan and you can, of course, buy it. Home-made is a different texture than the standard commercial product because I don’t have big rollers to pass everything through. I make it when the marzipan is a ‘feature’. So, not when I’m covering a cake before I ice it but .. yes, when I’m making Simnel Cake at Easter, or covering marzipan balls in chocolate.
And, this.
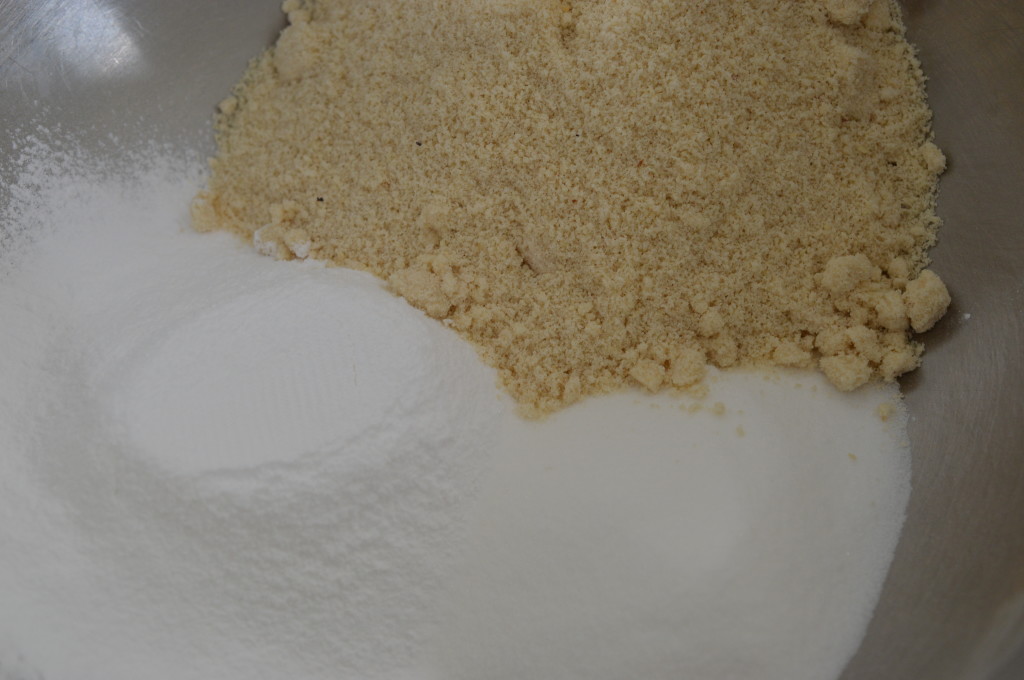
So, so easy. It’s ground almonds. If you’re really in the zone you can grind your own. I wasn’t. I didn’t. Icing sugar. Caster sugar.
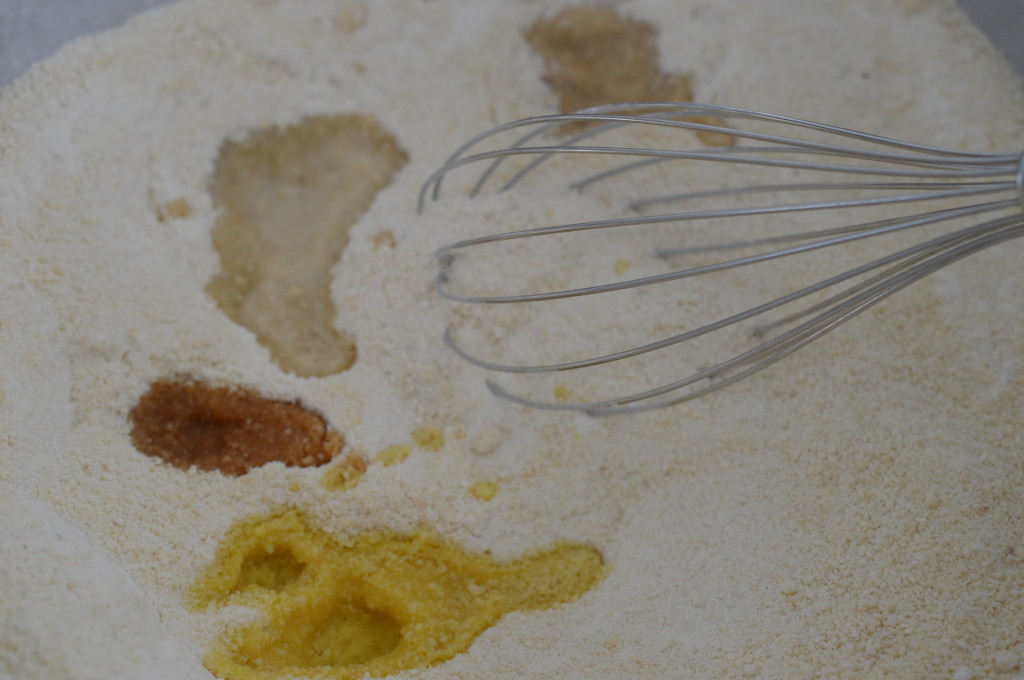
A dash of vanilla extract. Another of orange flower water. Another of sherry or rum. A splash of lemon juice.
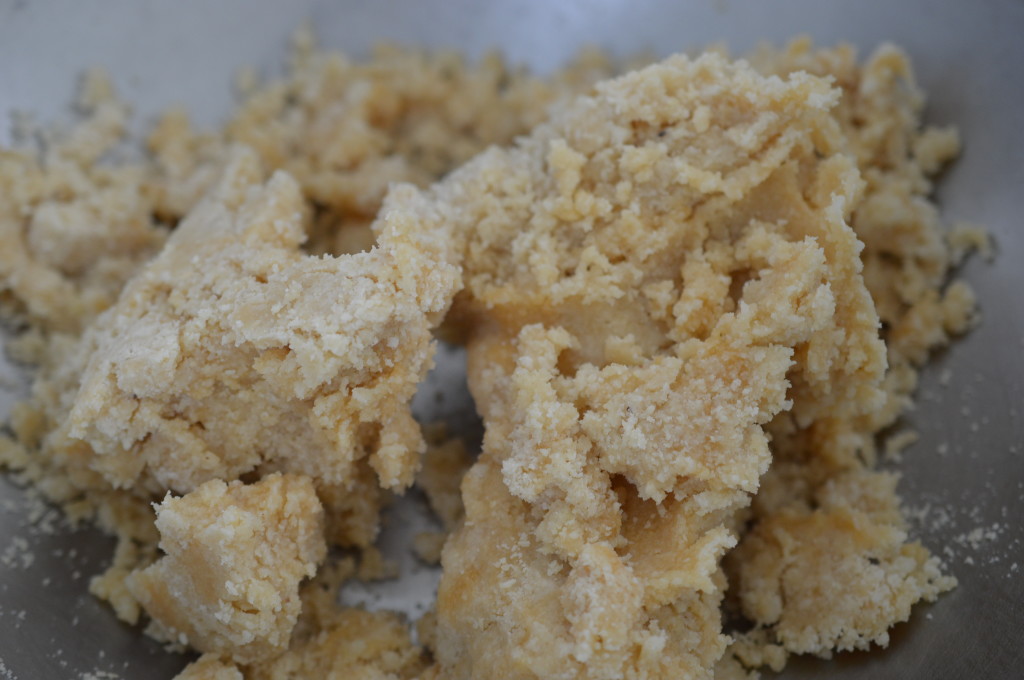
Lightly beat one egg. You may not need all of it. You want to end up with a stiff paste. Lightly dust your work surface with icing sugar, rather than flour (!).
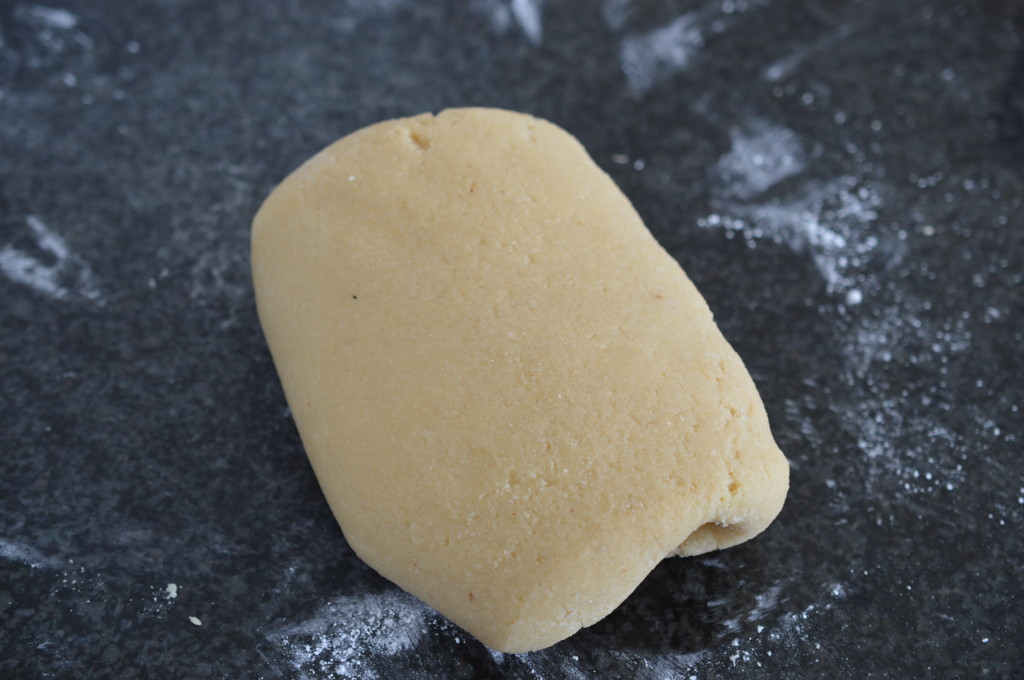
And, knead until it’s all smooth. This is more than you’ll need but it’ll keep in the fridge for a couple of weeks. Wrap in cling wrap and then foil.
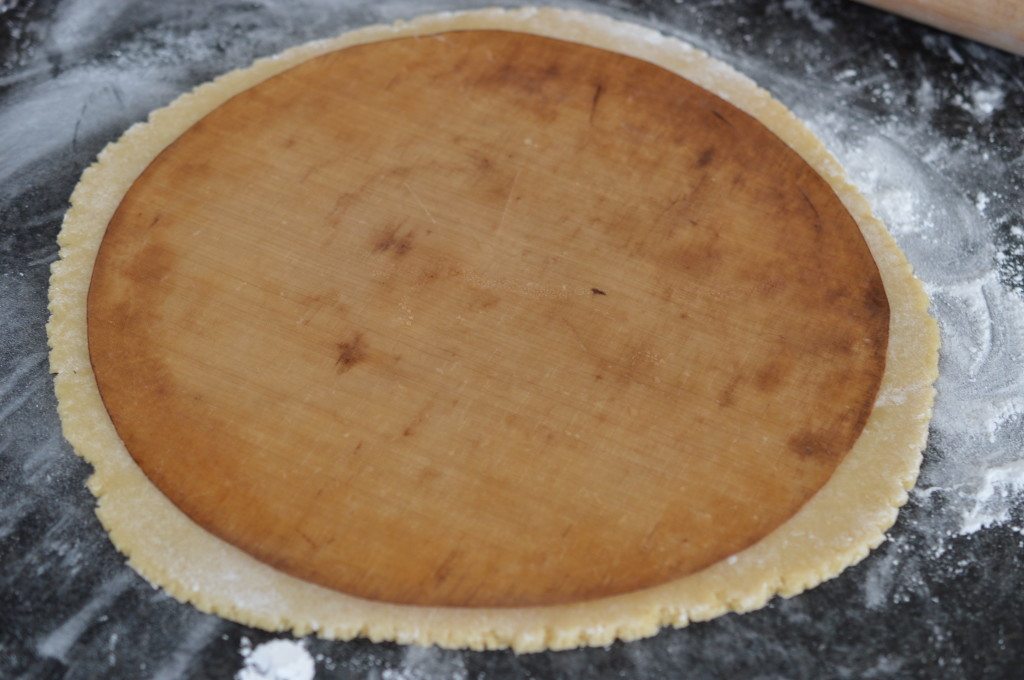
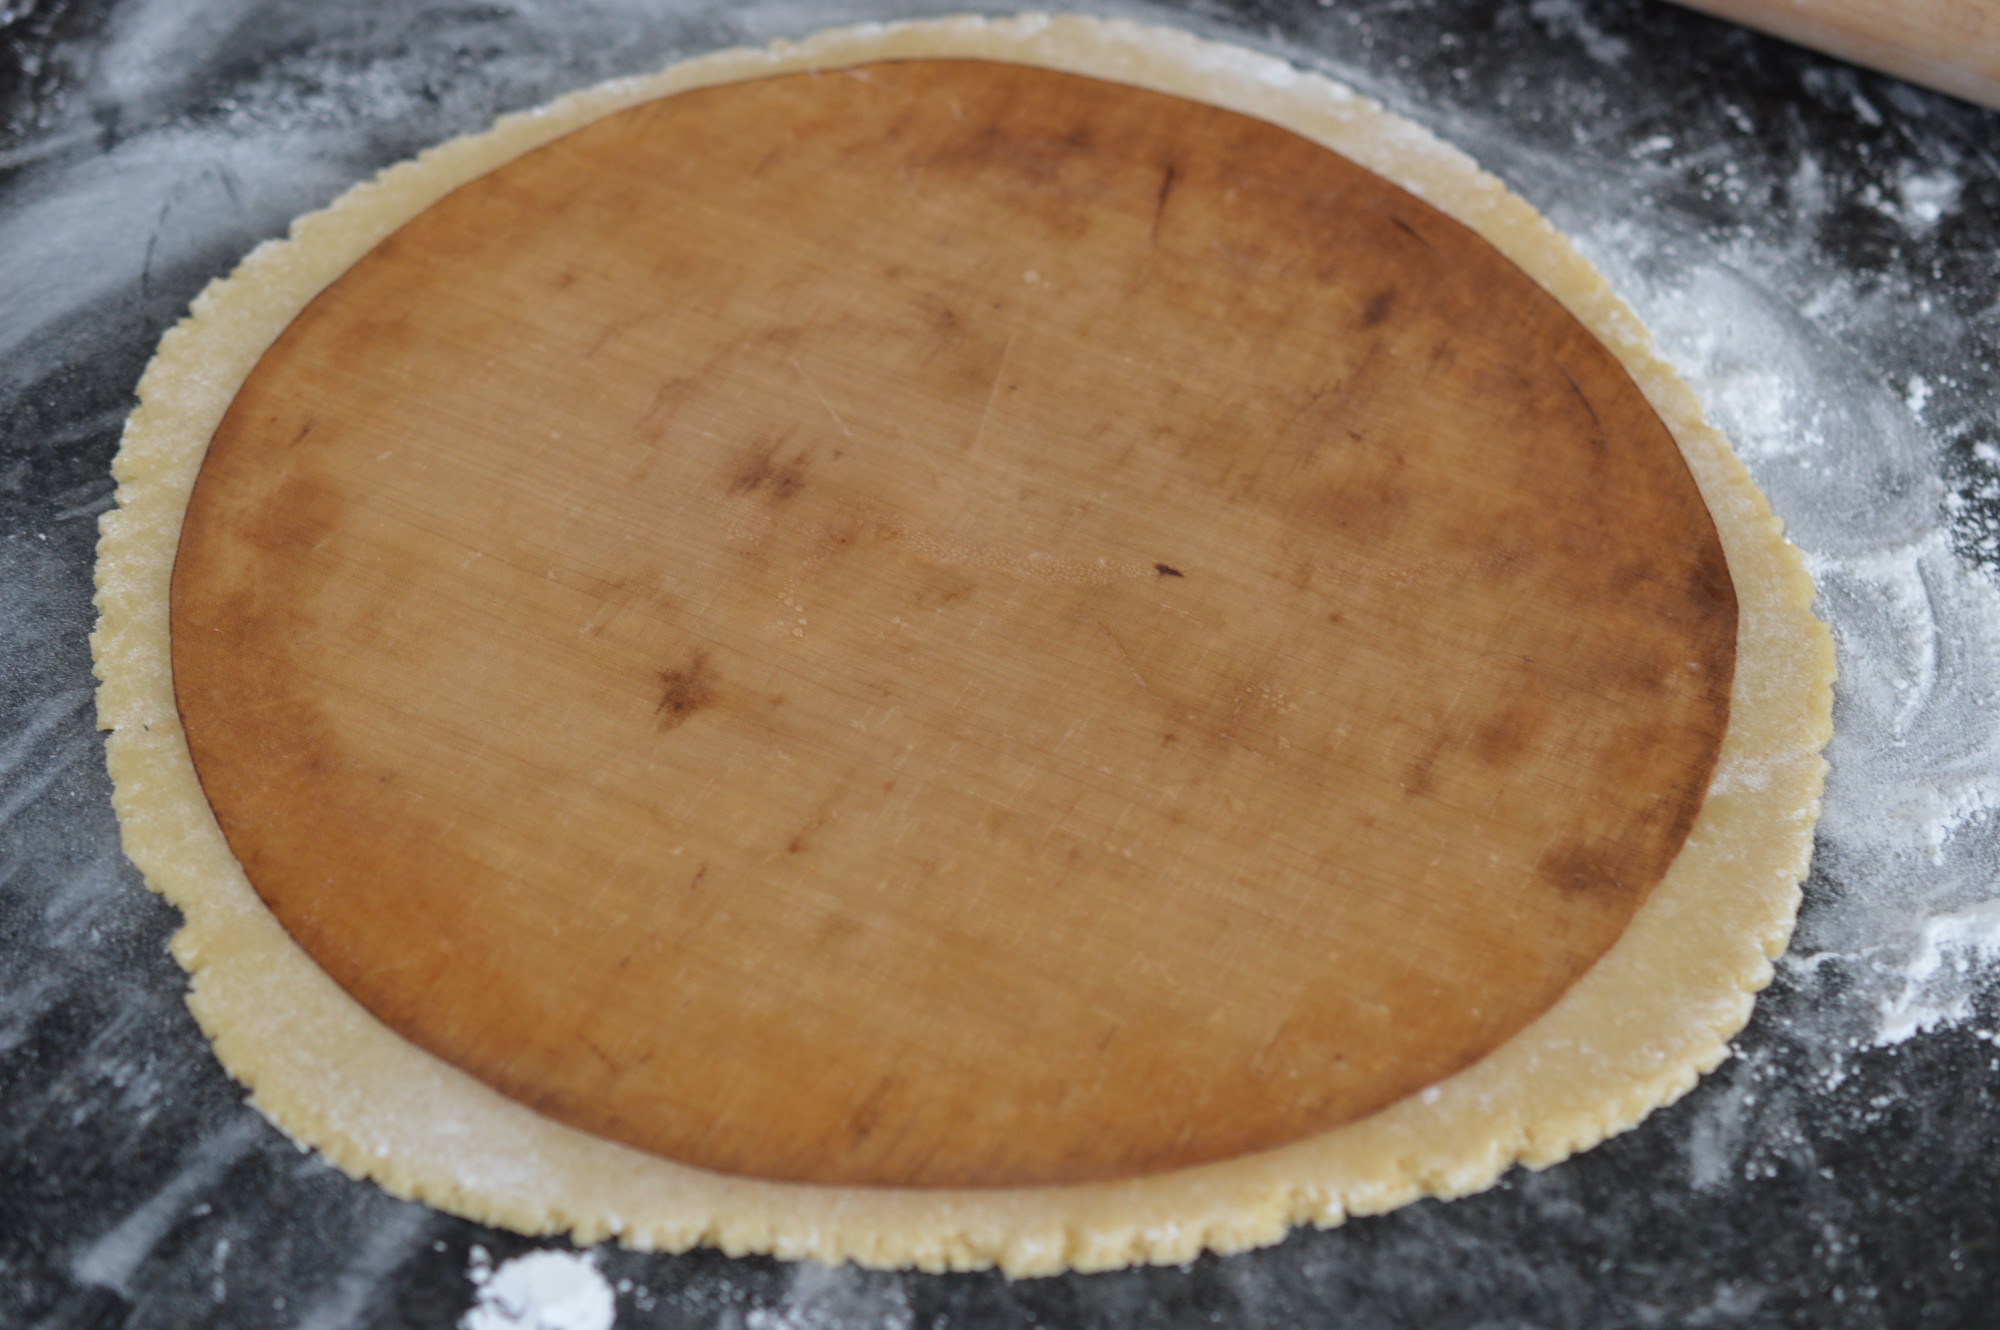
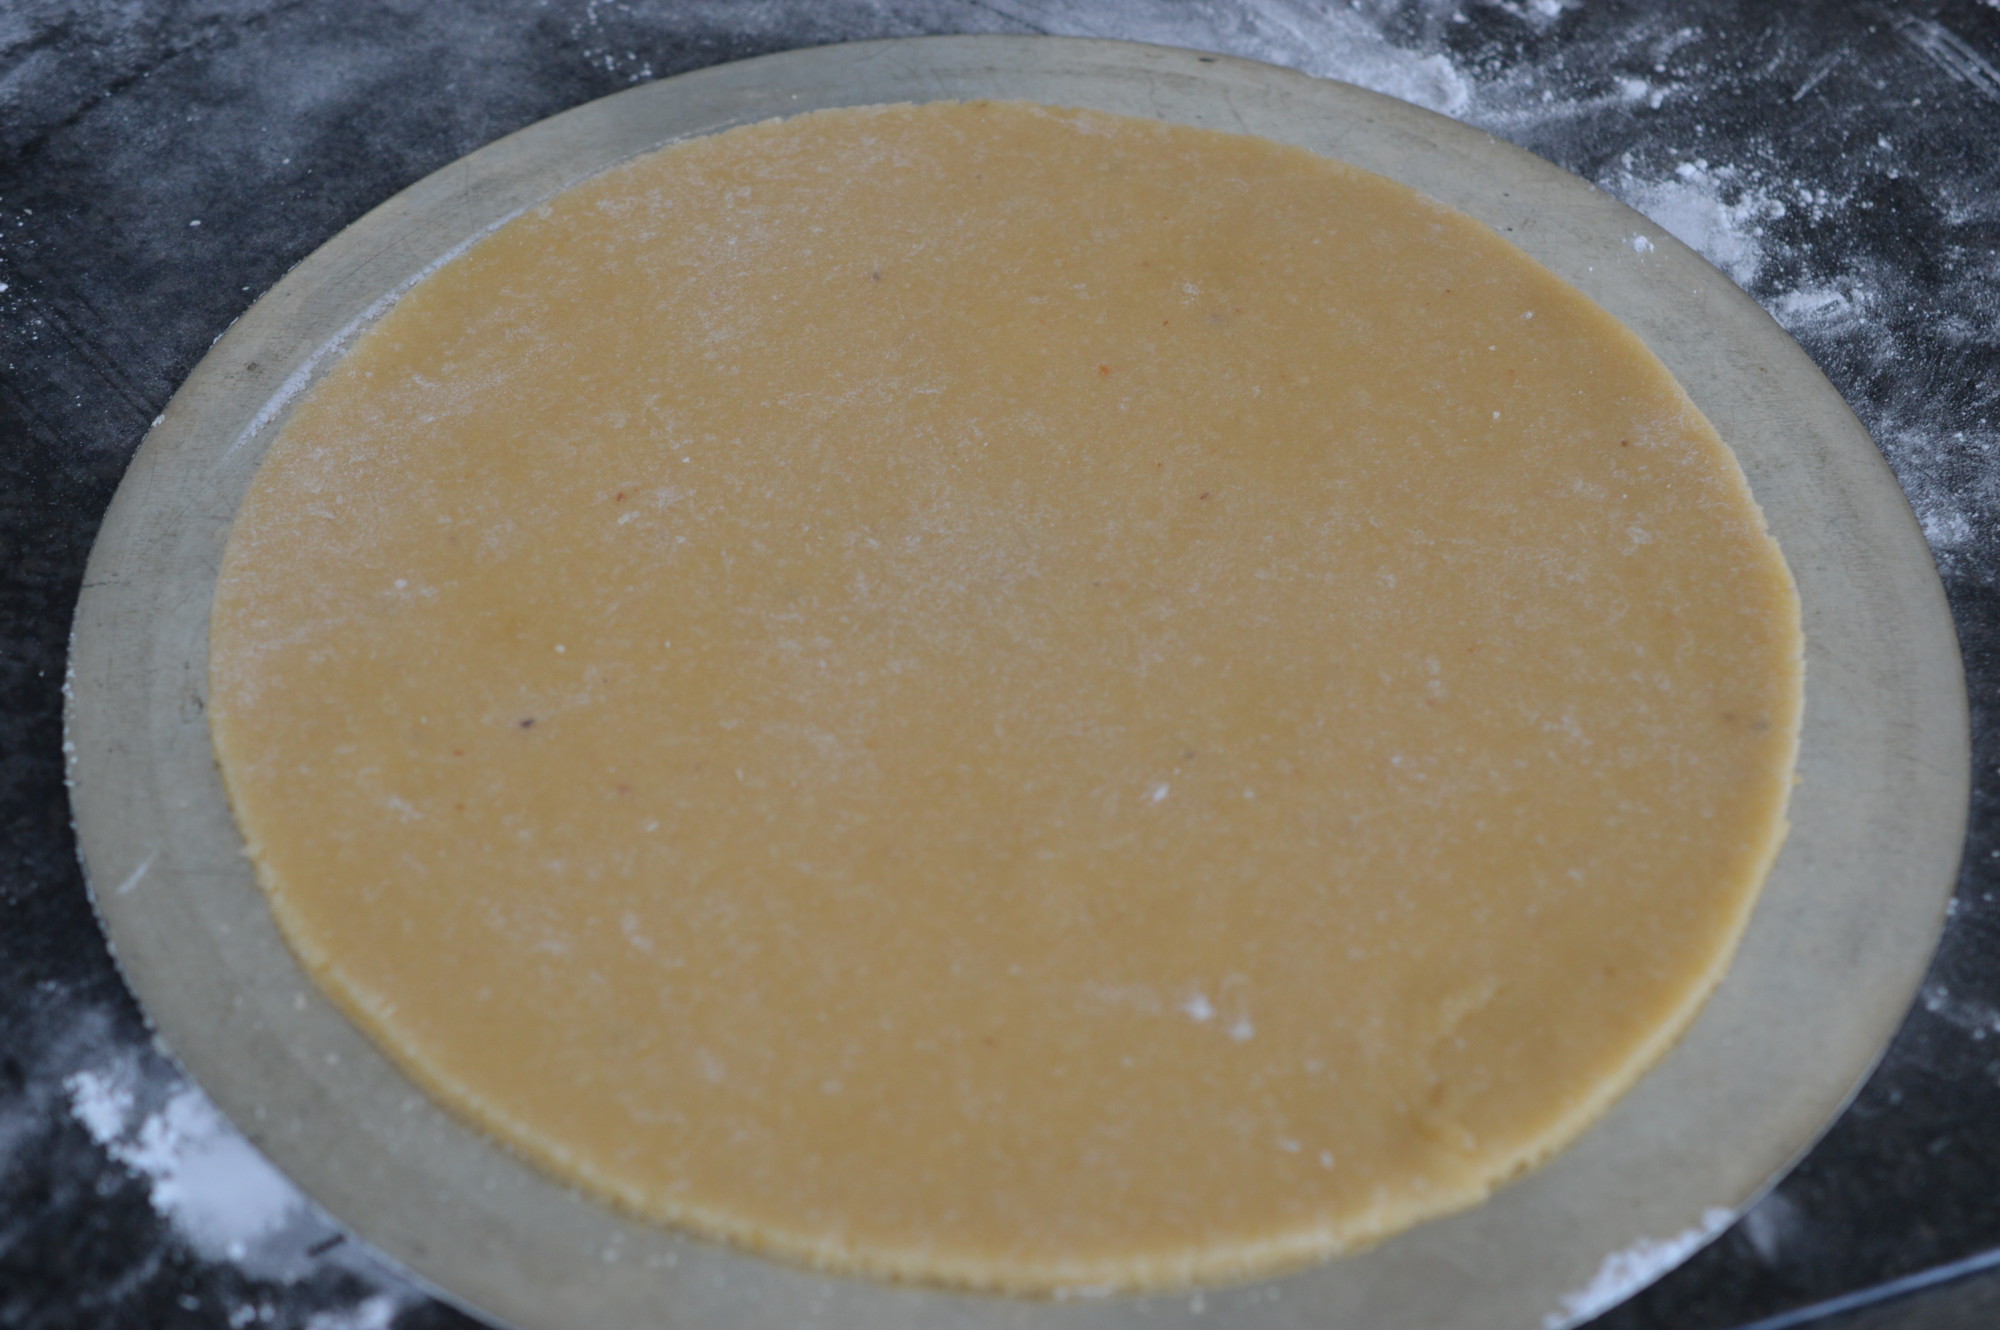
Roll out 200g/7oz of marzipan. It needs to fit the baking tin – I cut around the bake o’glide I use to line it with.

Slide it on to the base of a big quiche tin and put in the fridge to chill.
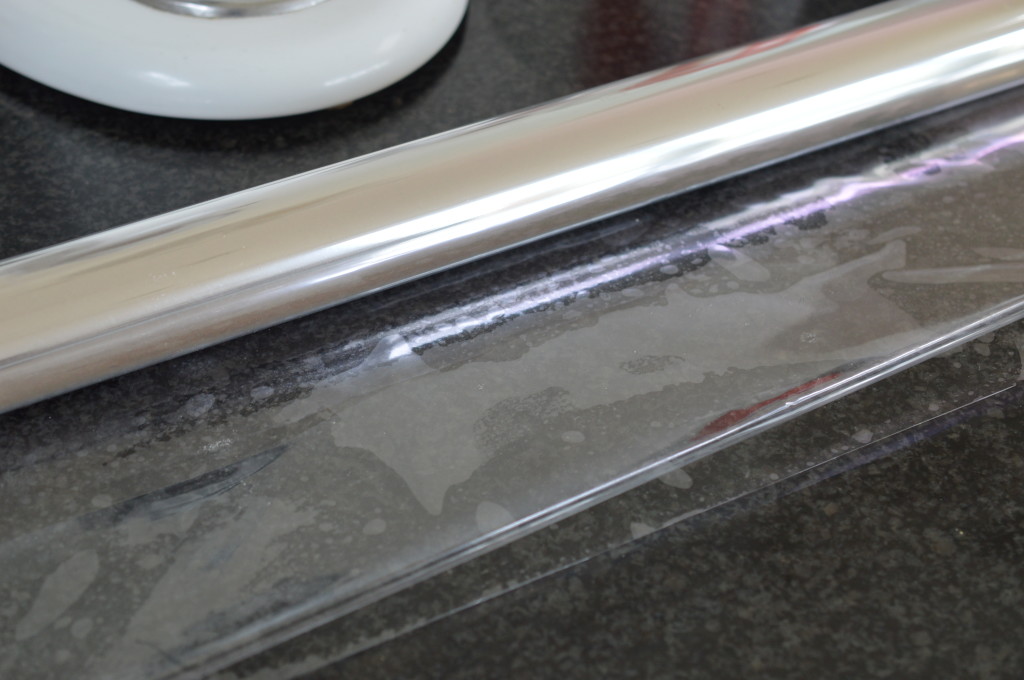
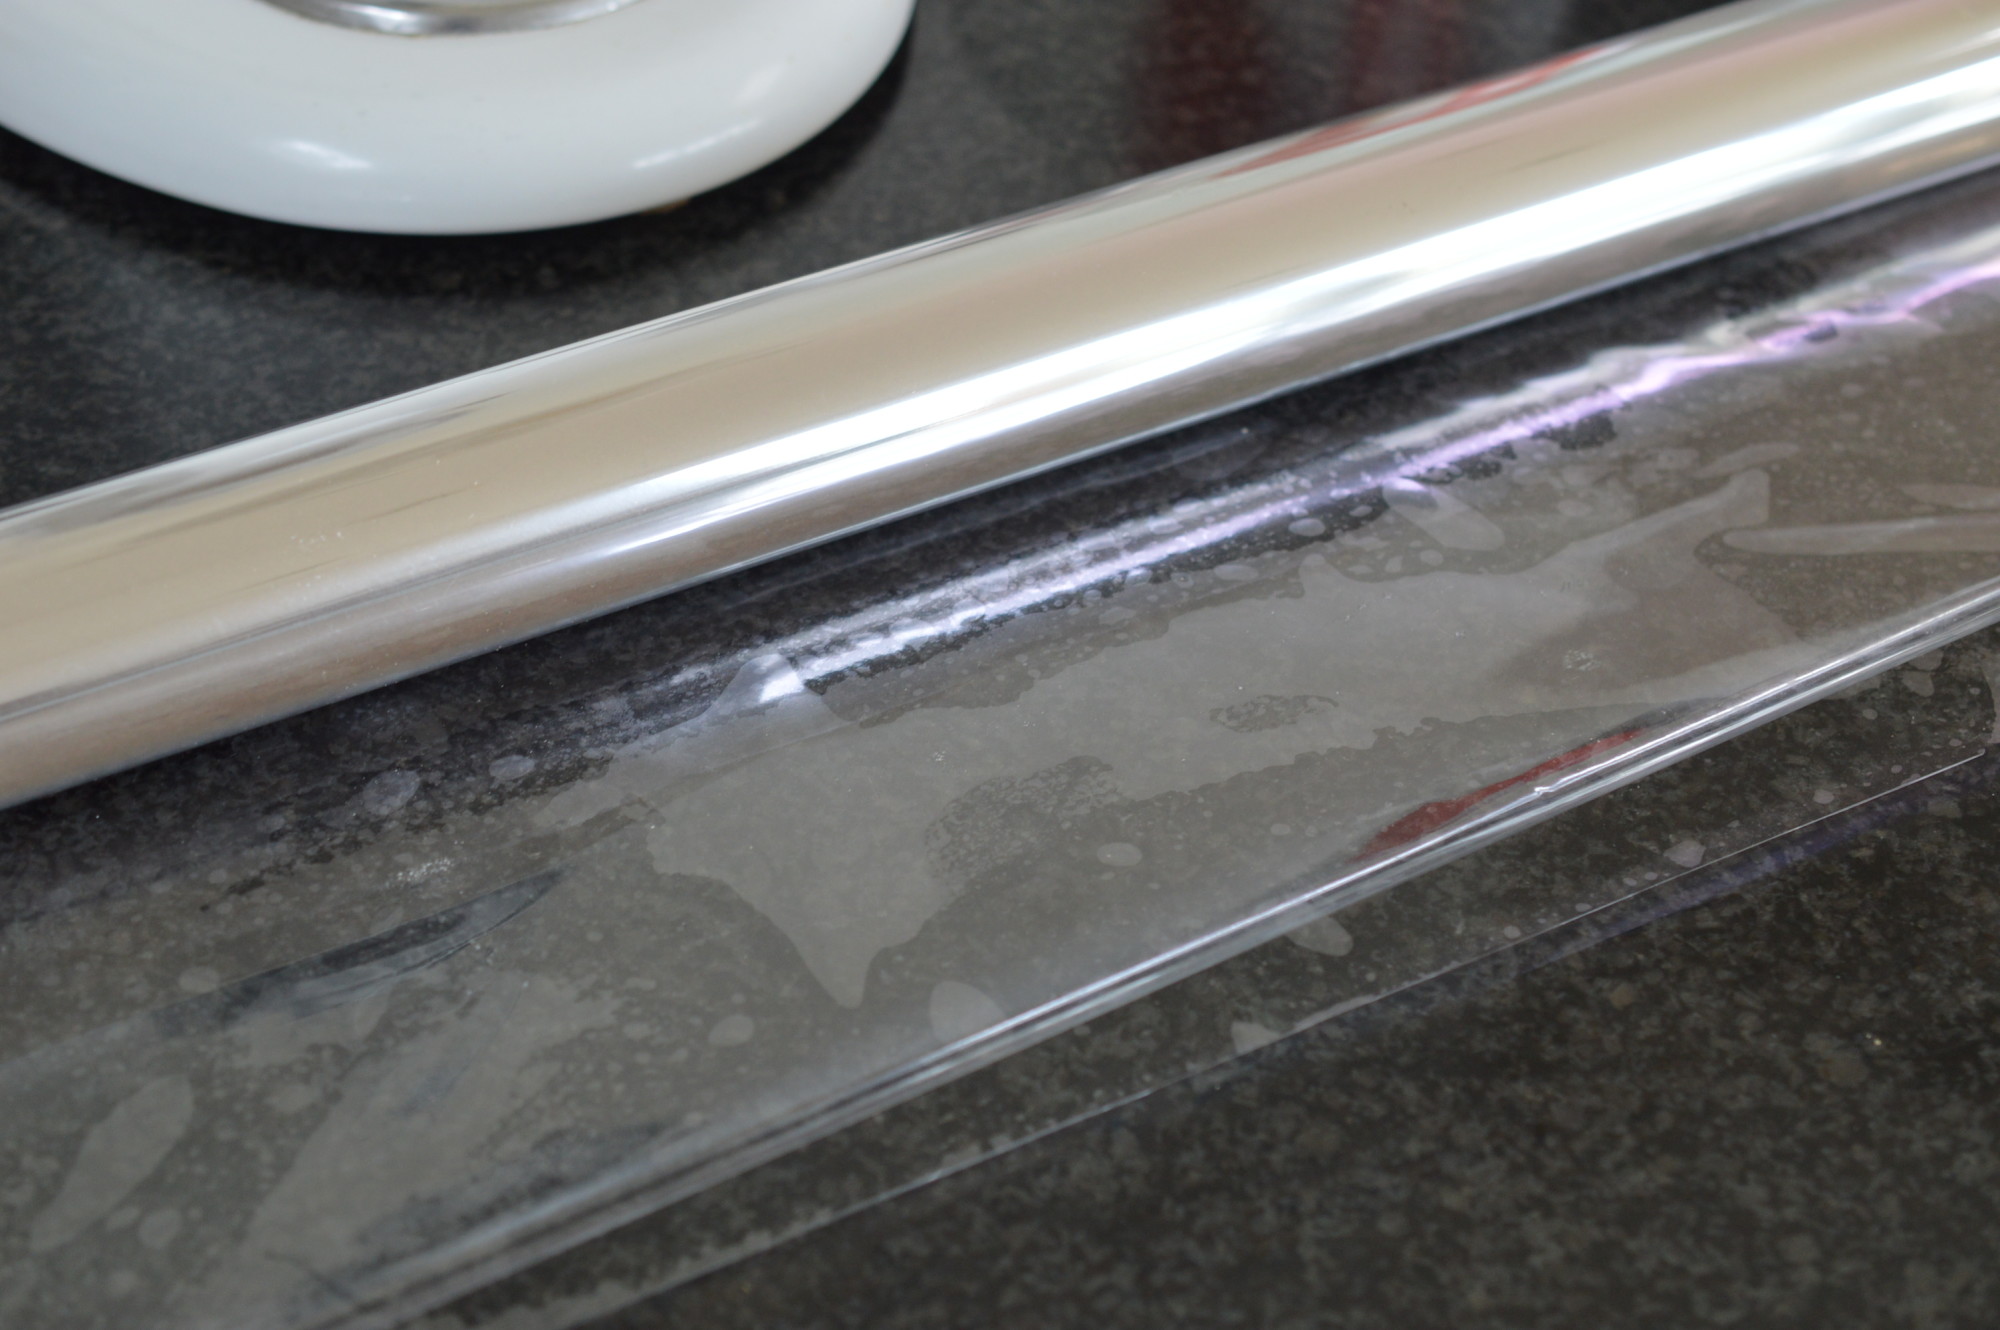
Back to the baking tin. You’re on the final stretch. Stay with me. I bought a roll of acetate plastic in John Lewis in the wrapping paper/birthday card department. It’s great for wrapping plants and bottles of wine (when combined with tissue paper) .. and this.
Cut a strip which is the height of your tin and a bit more.
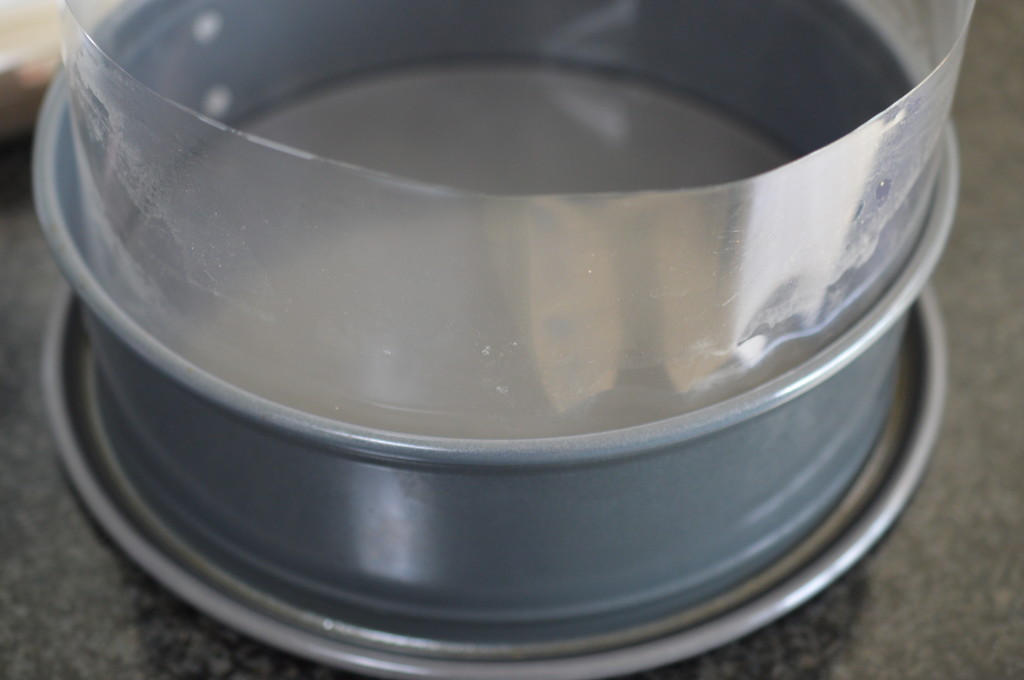
A clean tin! Line the sides with the acetate.

The Genoise sponge should now be cold. You could even bake this the day before, if you’re really organised, and it will slice more easily.
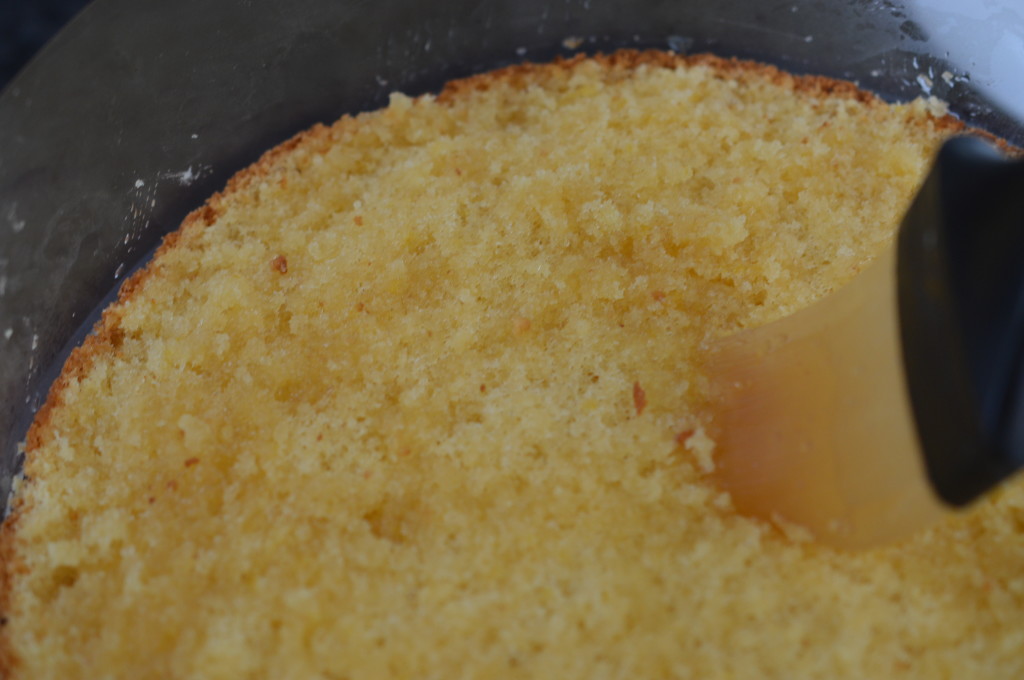
If you slice the cake unevenly it will show so this is my preferred method for getting it even. My cake measured 5cm/2″- ish. Four cocktail sticks mark the half way point and I use them as a guide, slicing with a bread knife.

Place one half in the bottom of the cake tin, top side bottomwards.

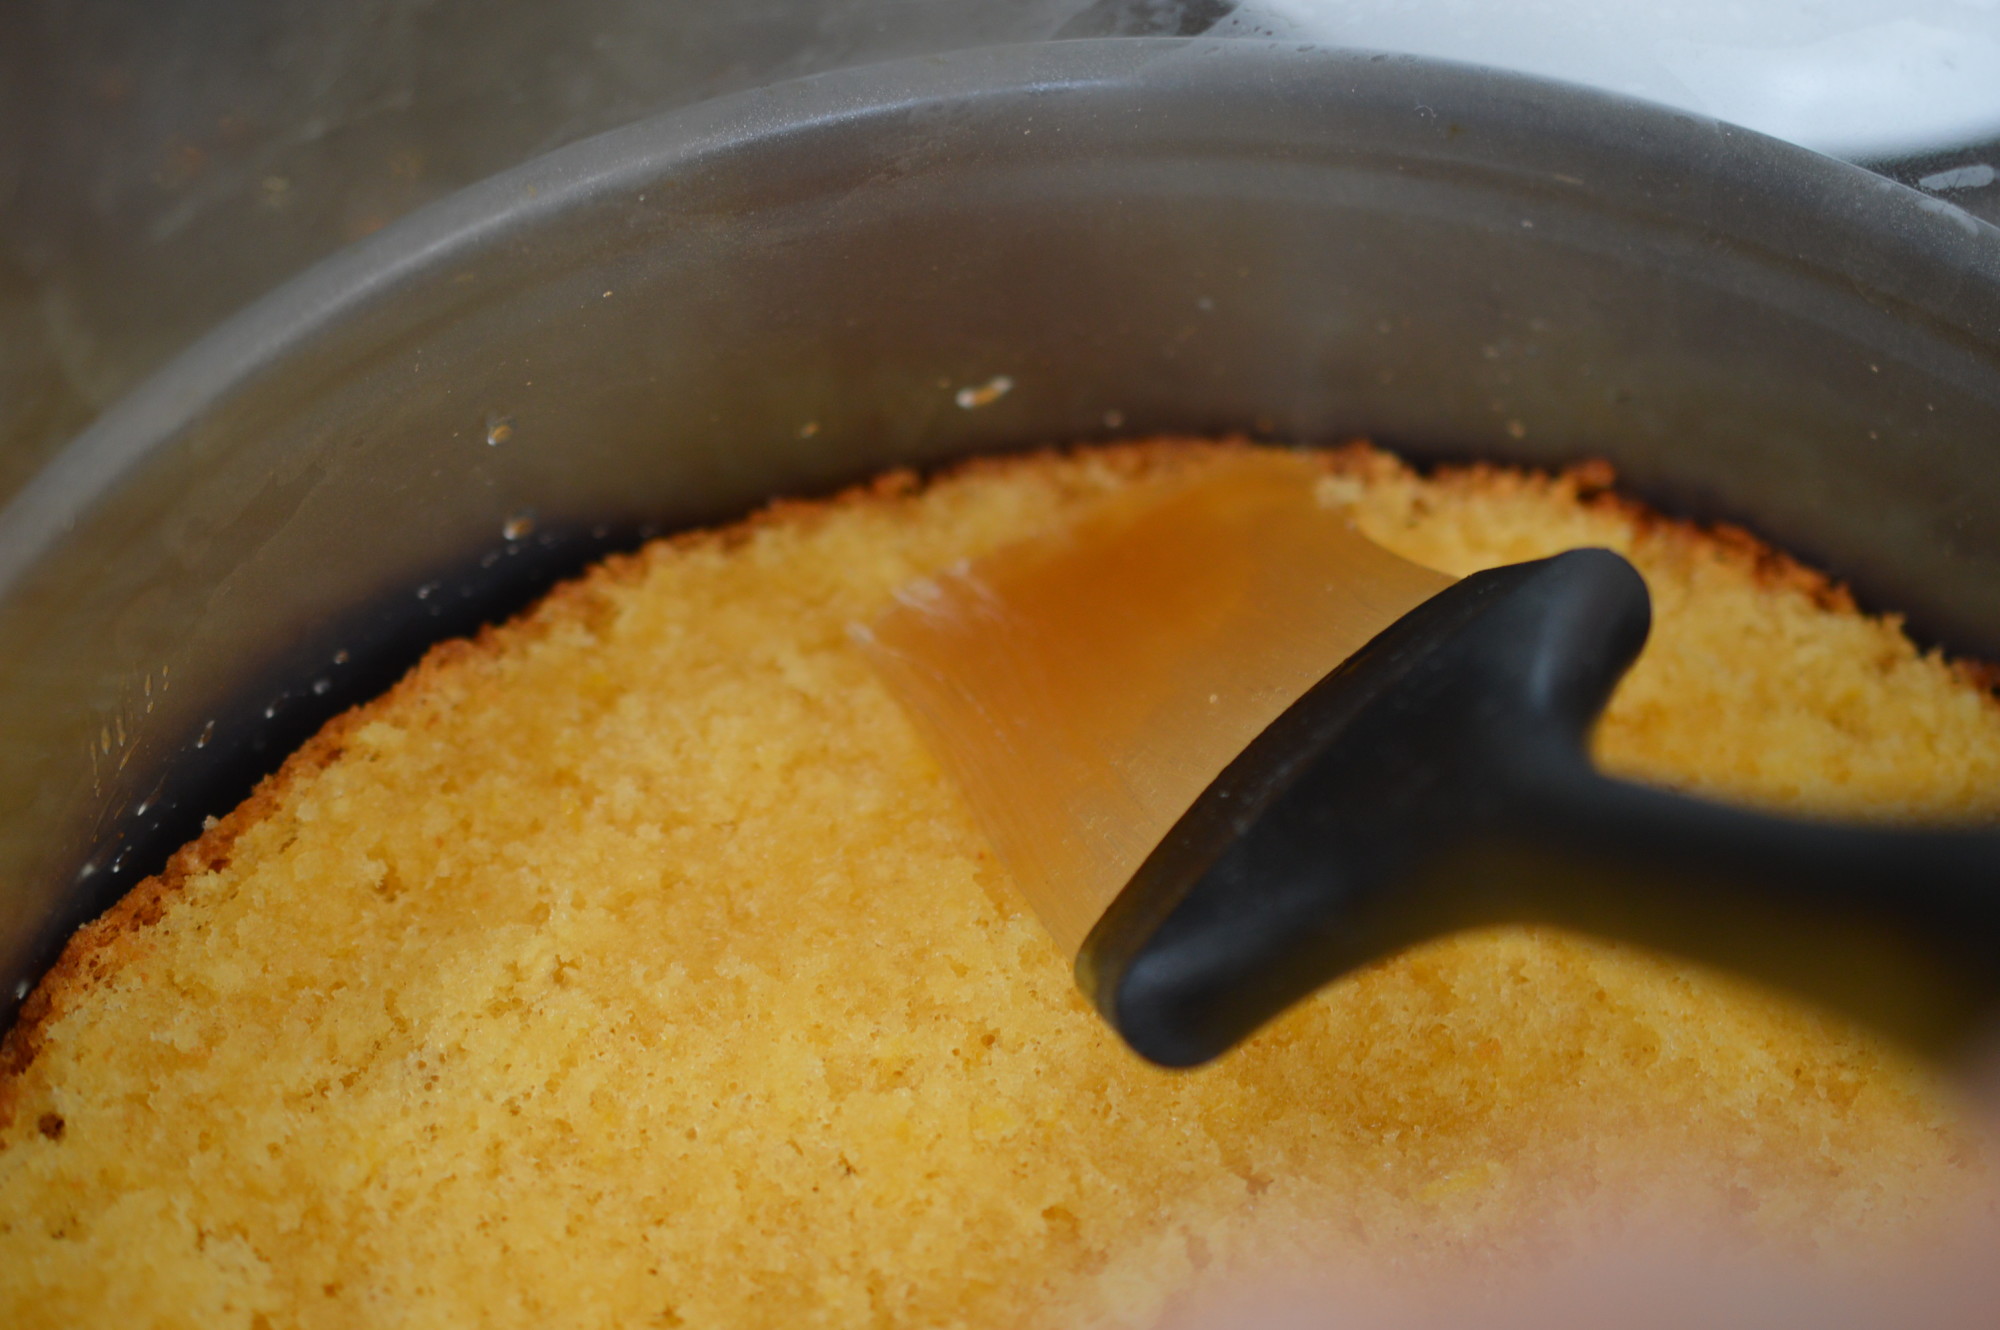
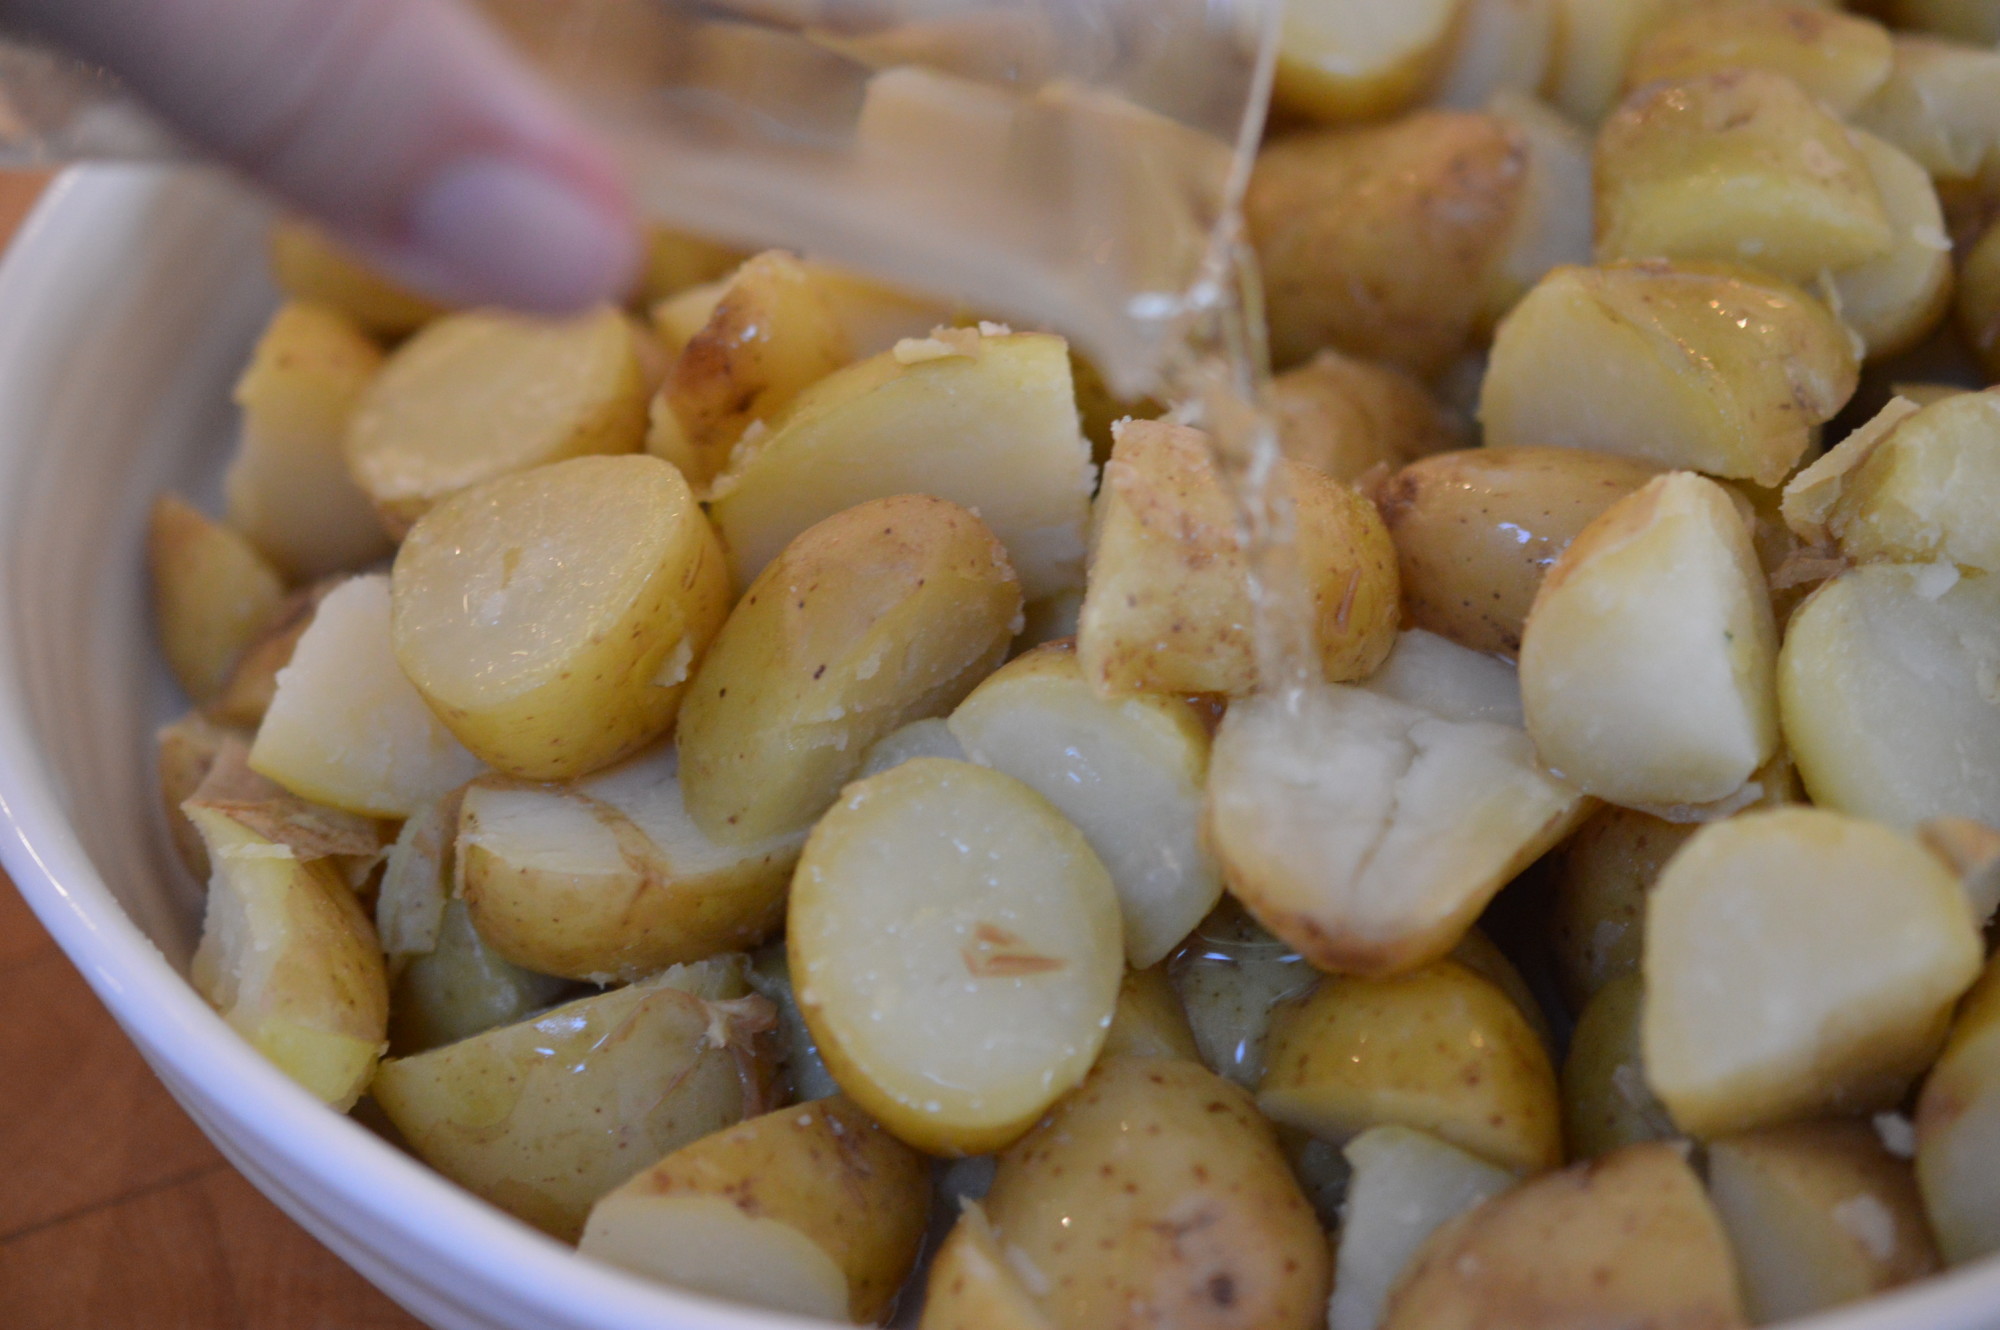
Now for the lemon sugar syrup. Brush on half the syrup.
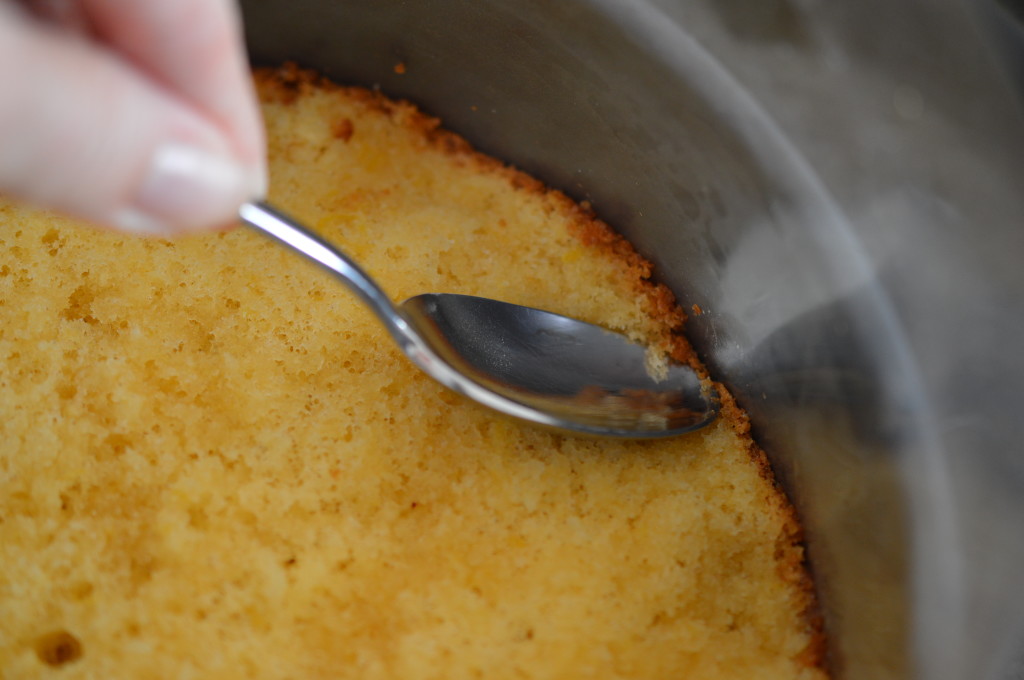
With the back of a spoon press the edges down really firmly. Coax the sponge up tight to acetate. It gives a much sharper finish.
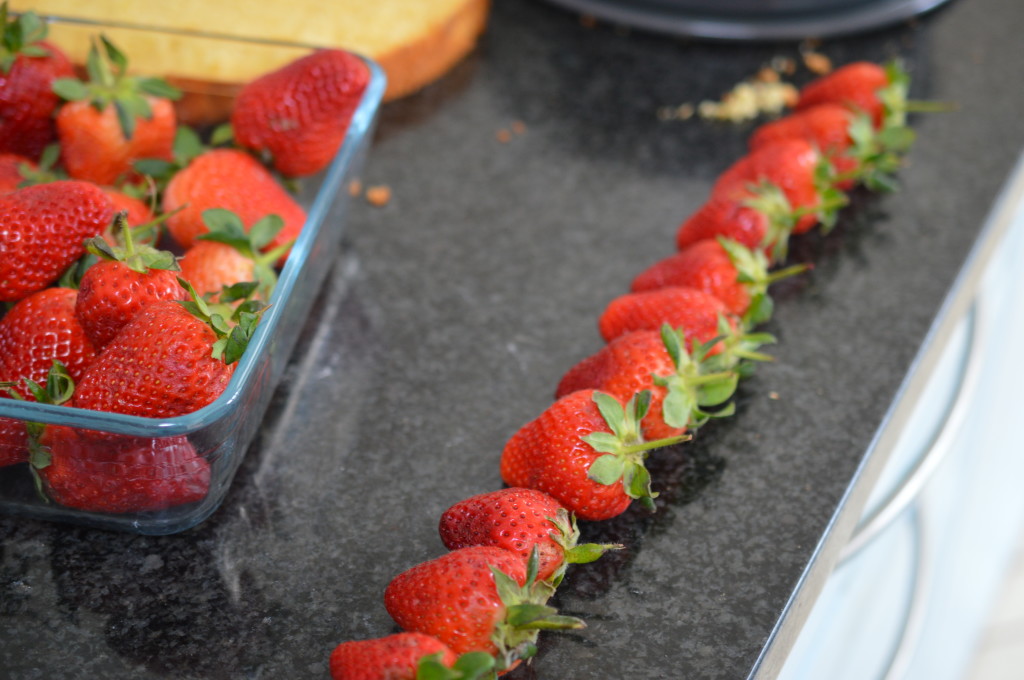
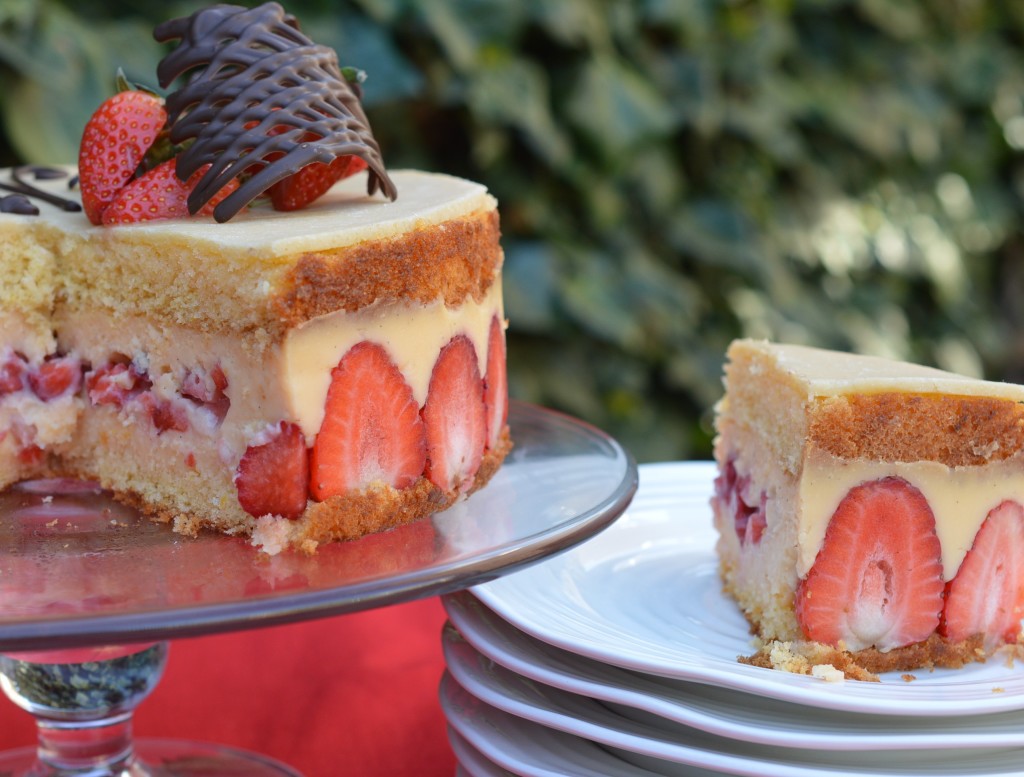
The strawberries. For a ‘wow’ finish you need to have strawberries with a similar height. How many .. will depend on their overall size.
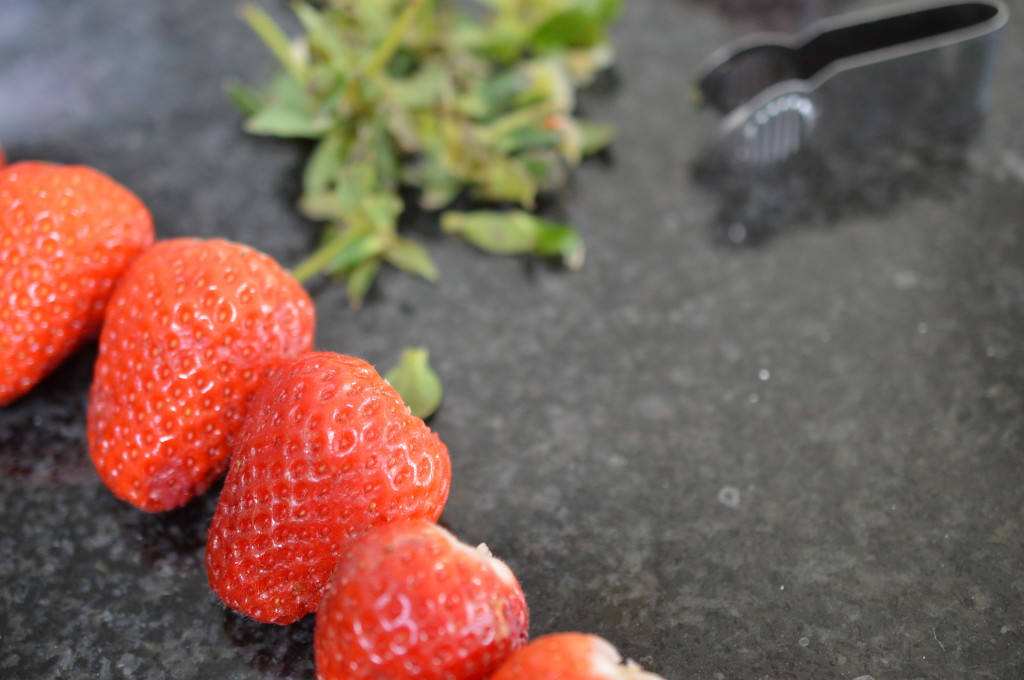
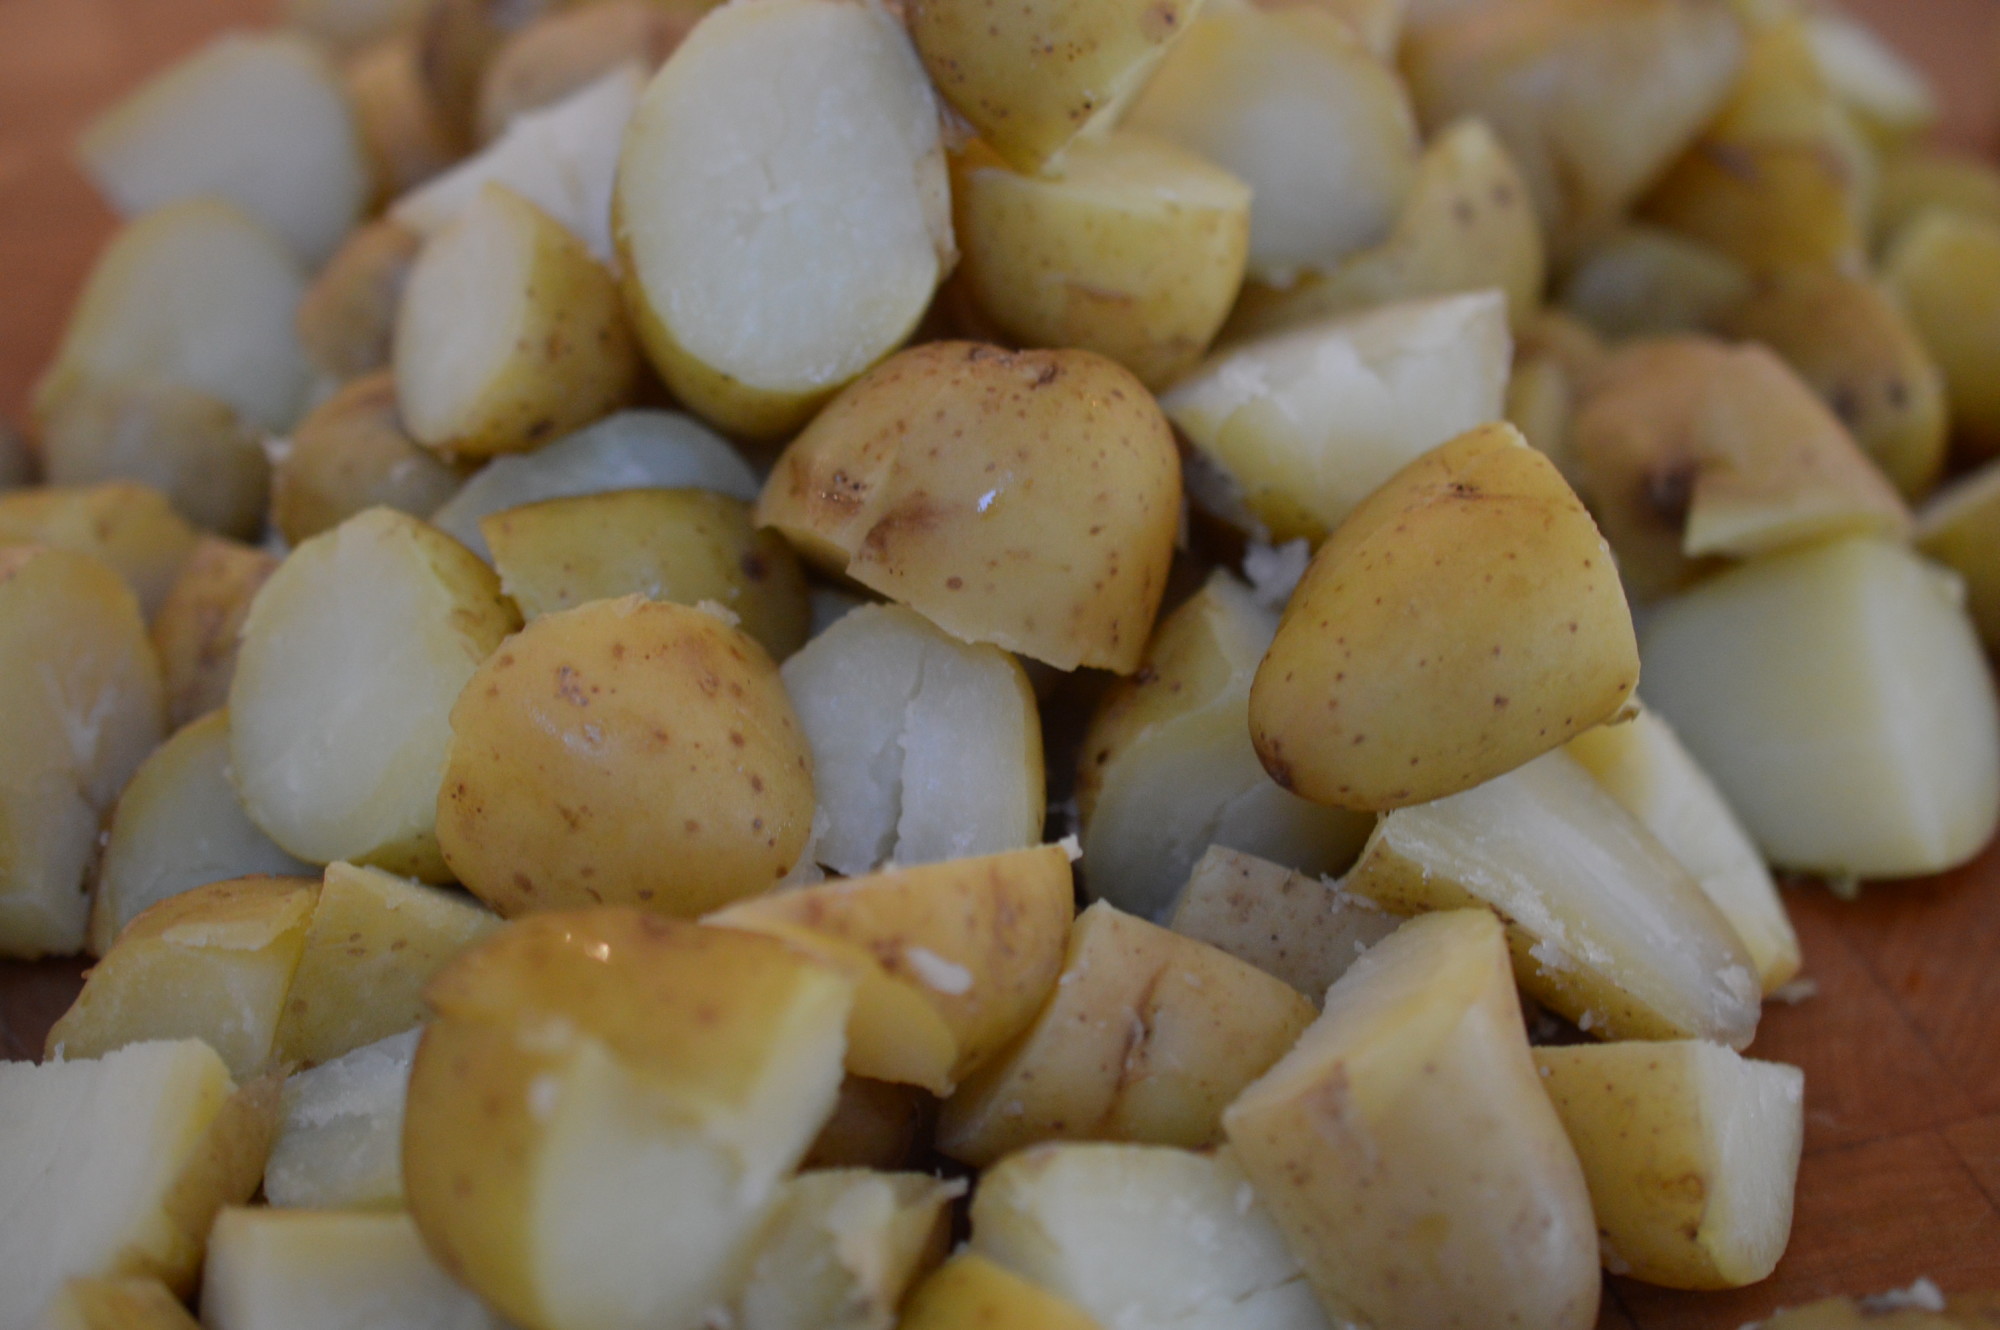
Hull and slice in half.
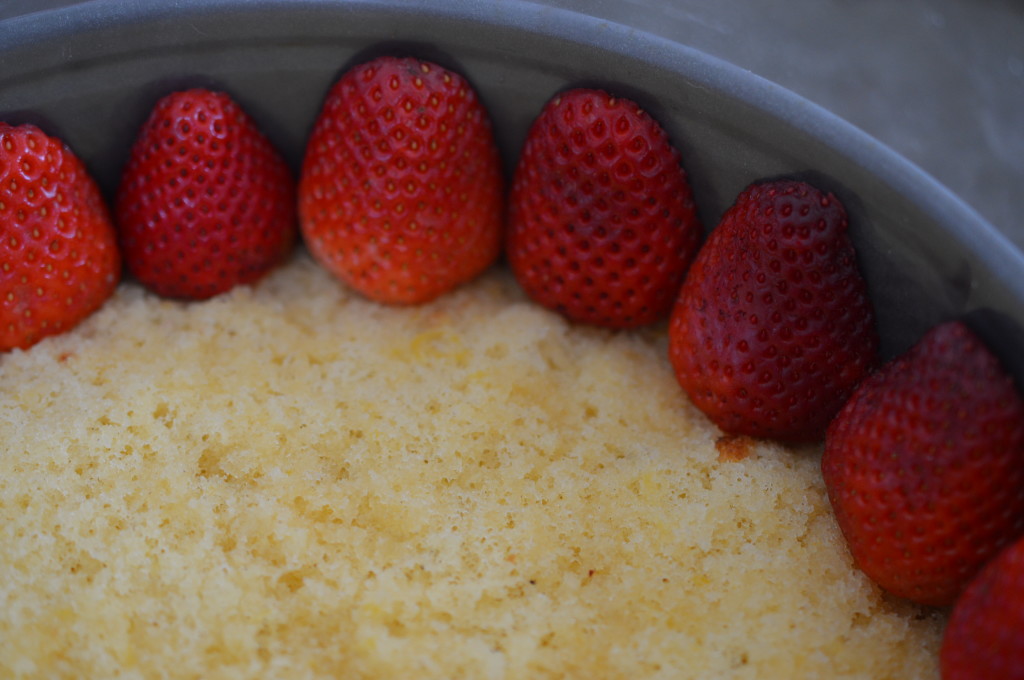
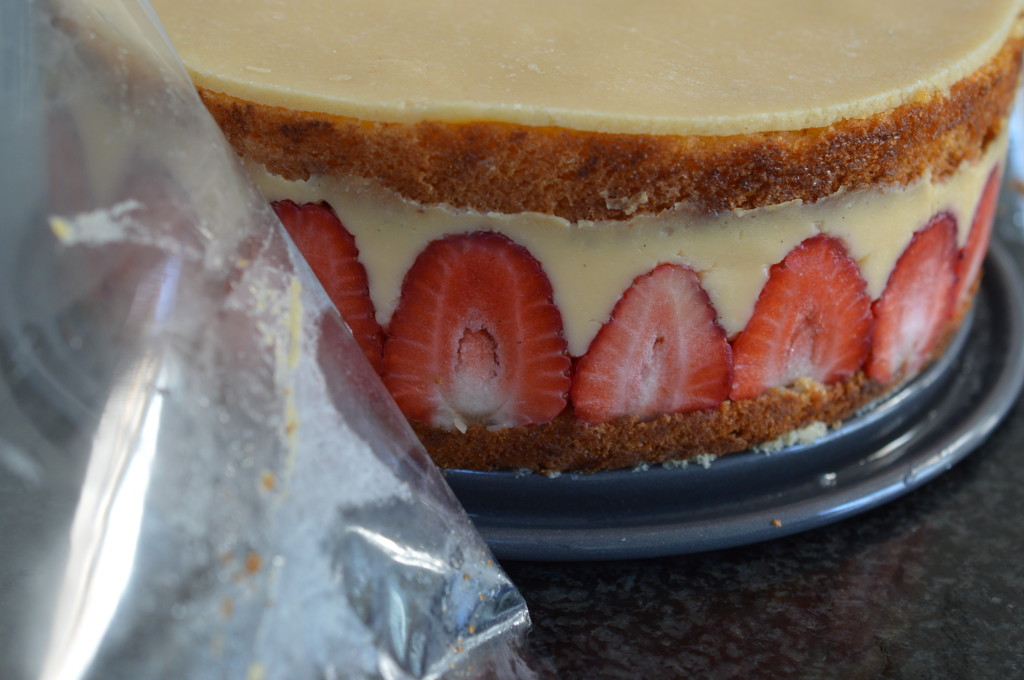
The cut side needs to face the acetate. Push them in really snuggly. It would be a tight fit.
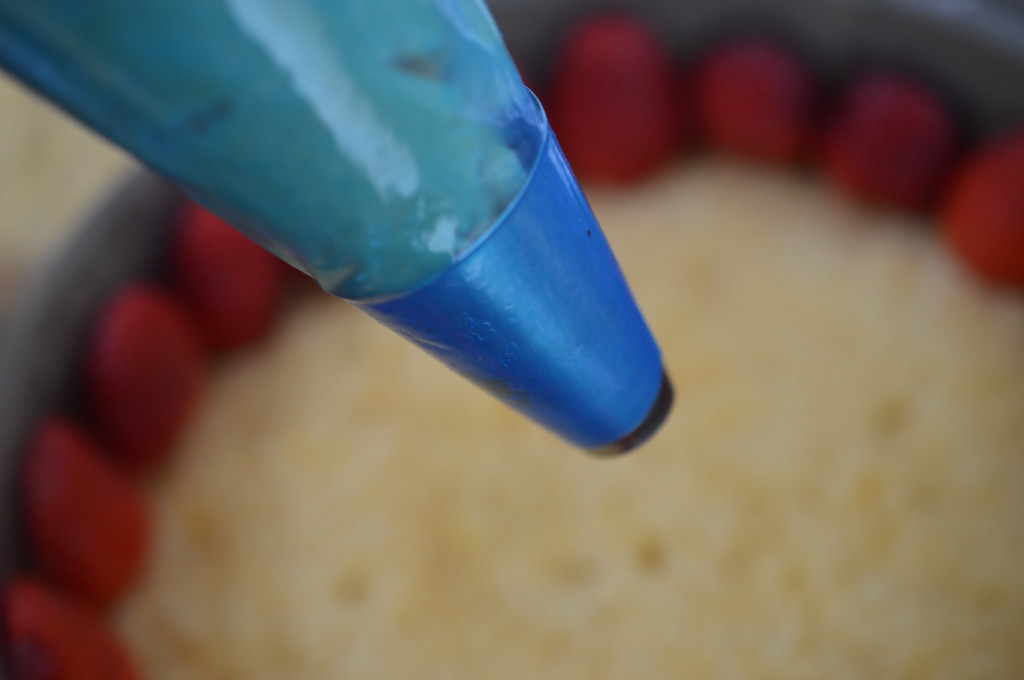
I use an easy-grip piping bag from Lakeland and a 1cm/½” nozzle. Fill the bag with two thirds of the cold crème pâtissière into the bag.
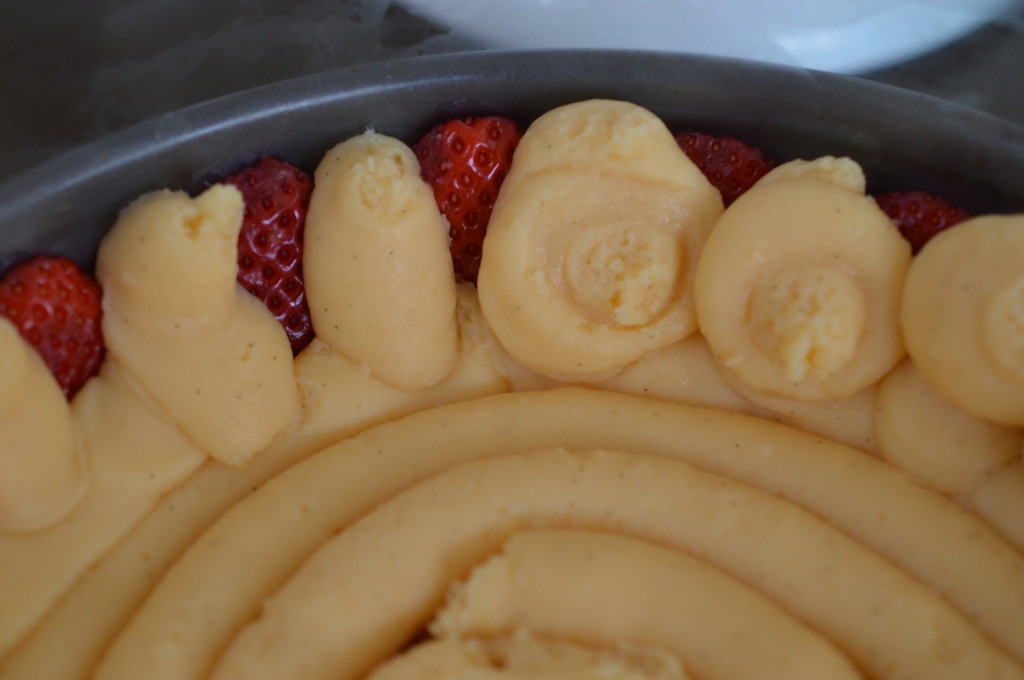
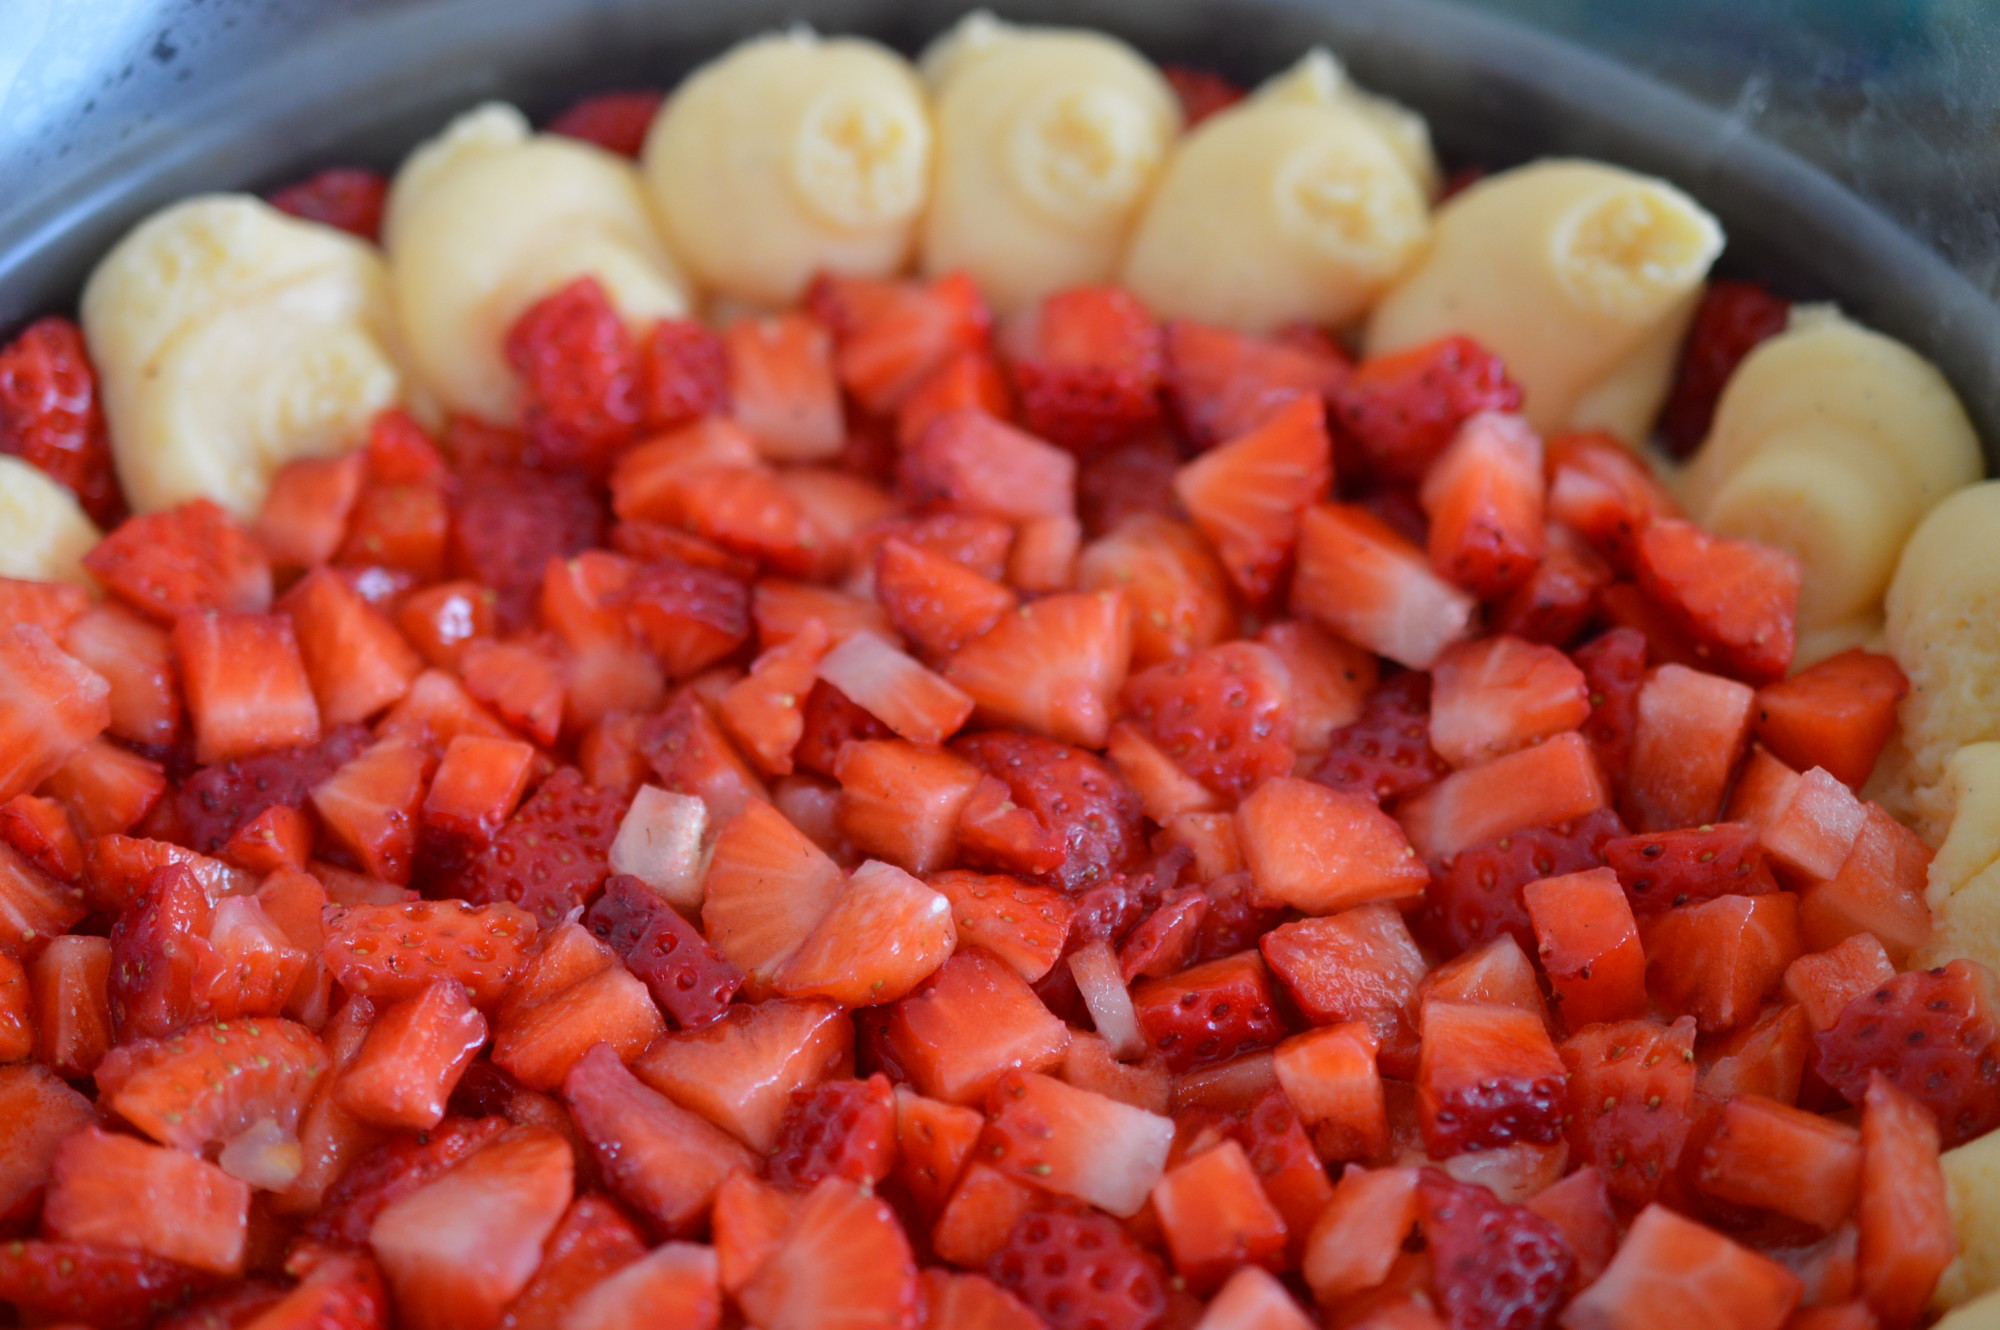
Pipe over the base and up between the gaps between the strawberries. Make sure the crème pâtissière reaches the top of the strawberries.
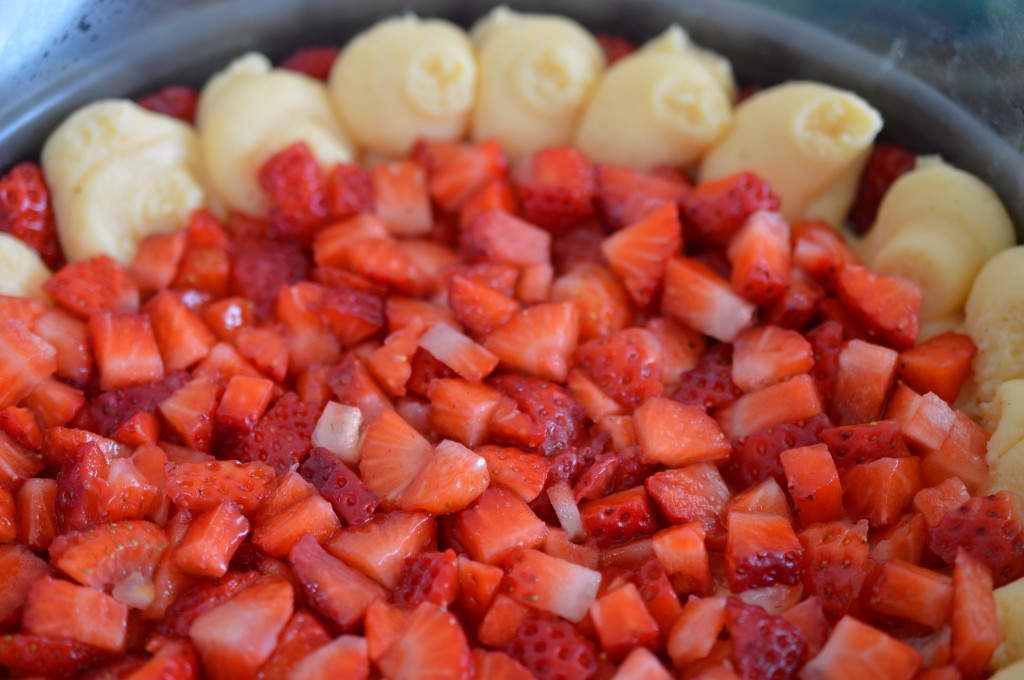
Aesthetically, I think this would probably look better if you filled the centre with whole strawberries but in the real world of a home kitchen that would be very wasteful. Save 3 strawberries for decoration and cut the rest into pieces. Pile them in the centre.
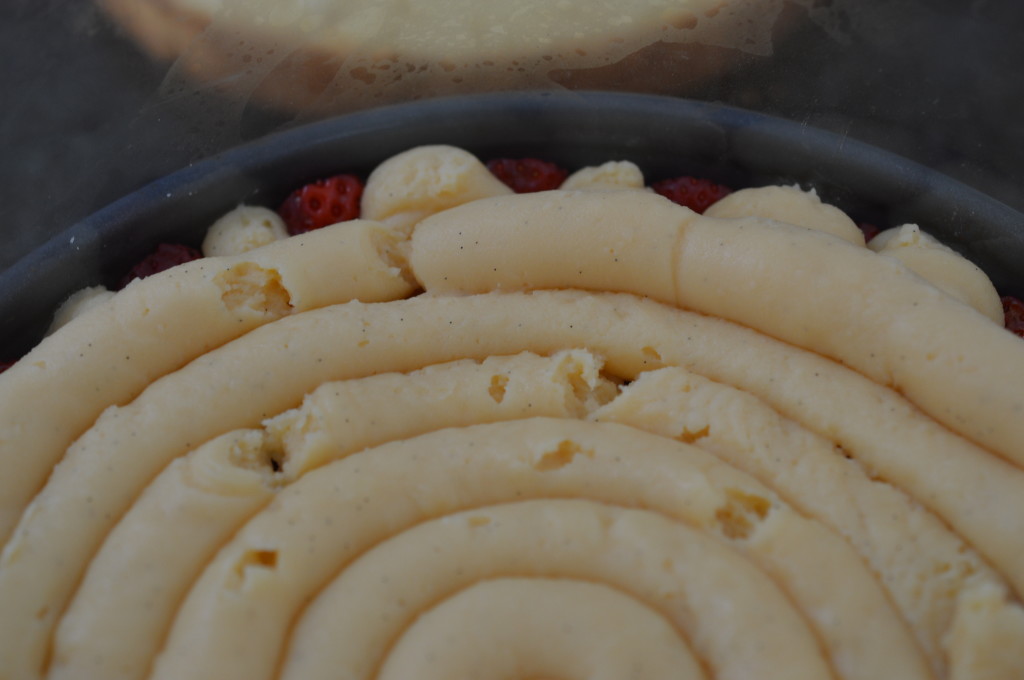
Pop the final third of the crème pâtissière into the piping bag and pipe over the top of the strawberries.
Smooth out the crème pâtissière with an offset spatula.
Top with the second half of sponge. Cut side uppermost.
Brush over the rest of the lemon sugar syrup.
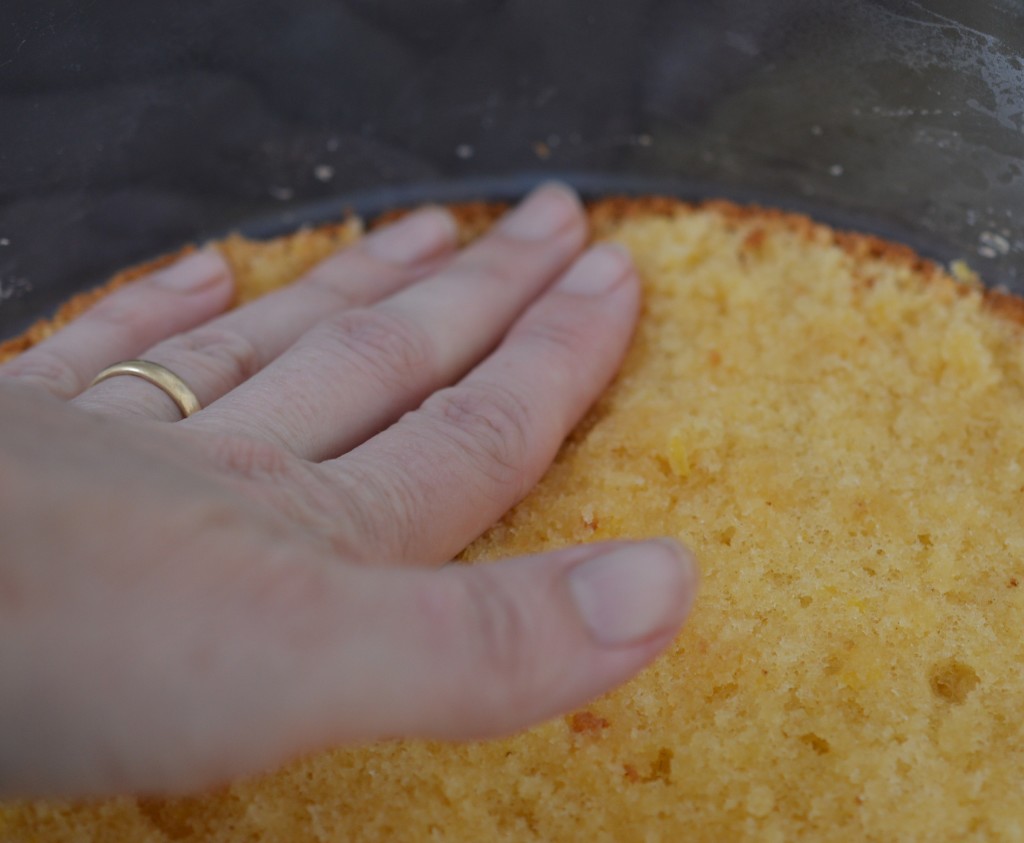
Push down. Get the edge of the sponge pushed up snuggly against the acetate.
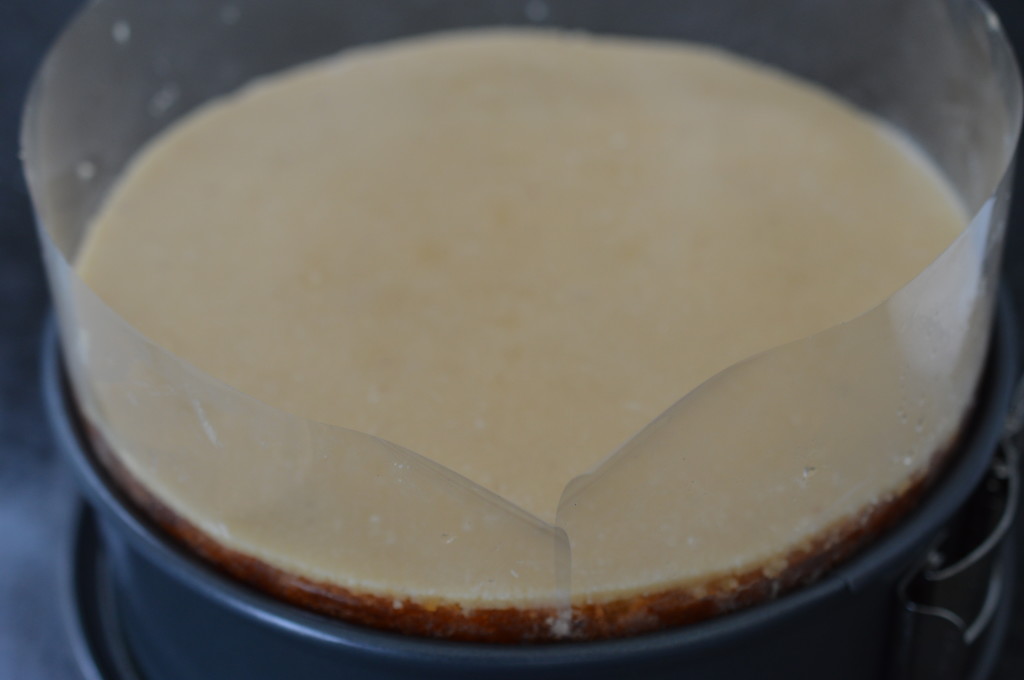
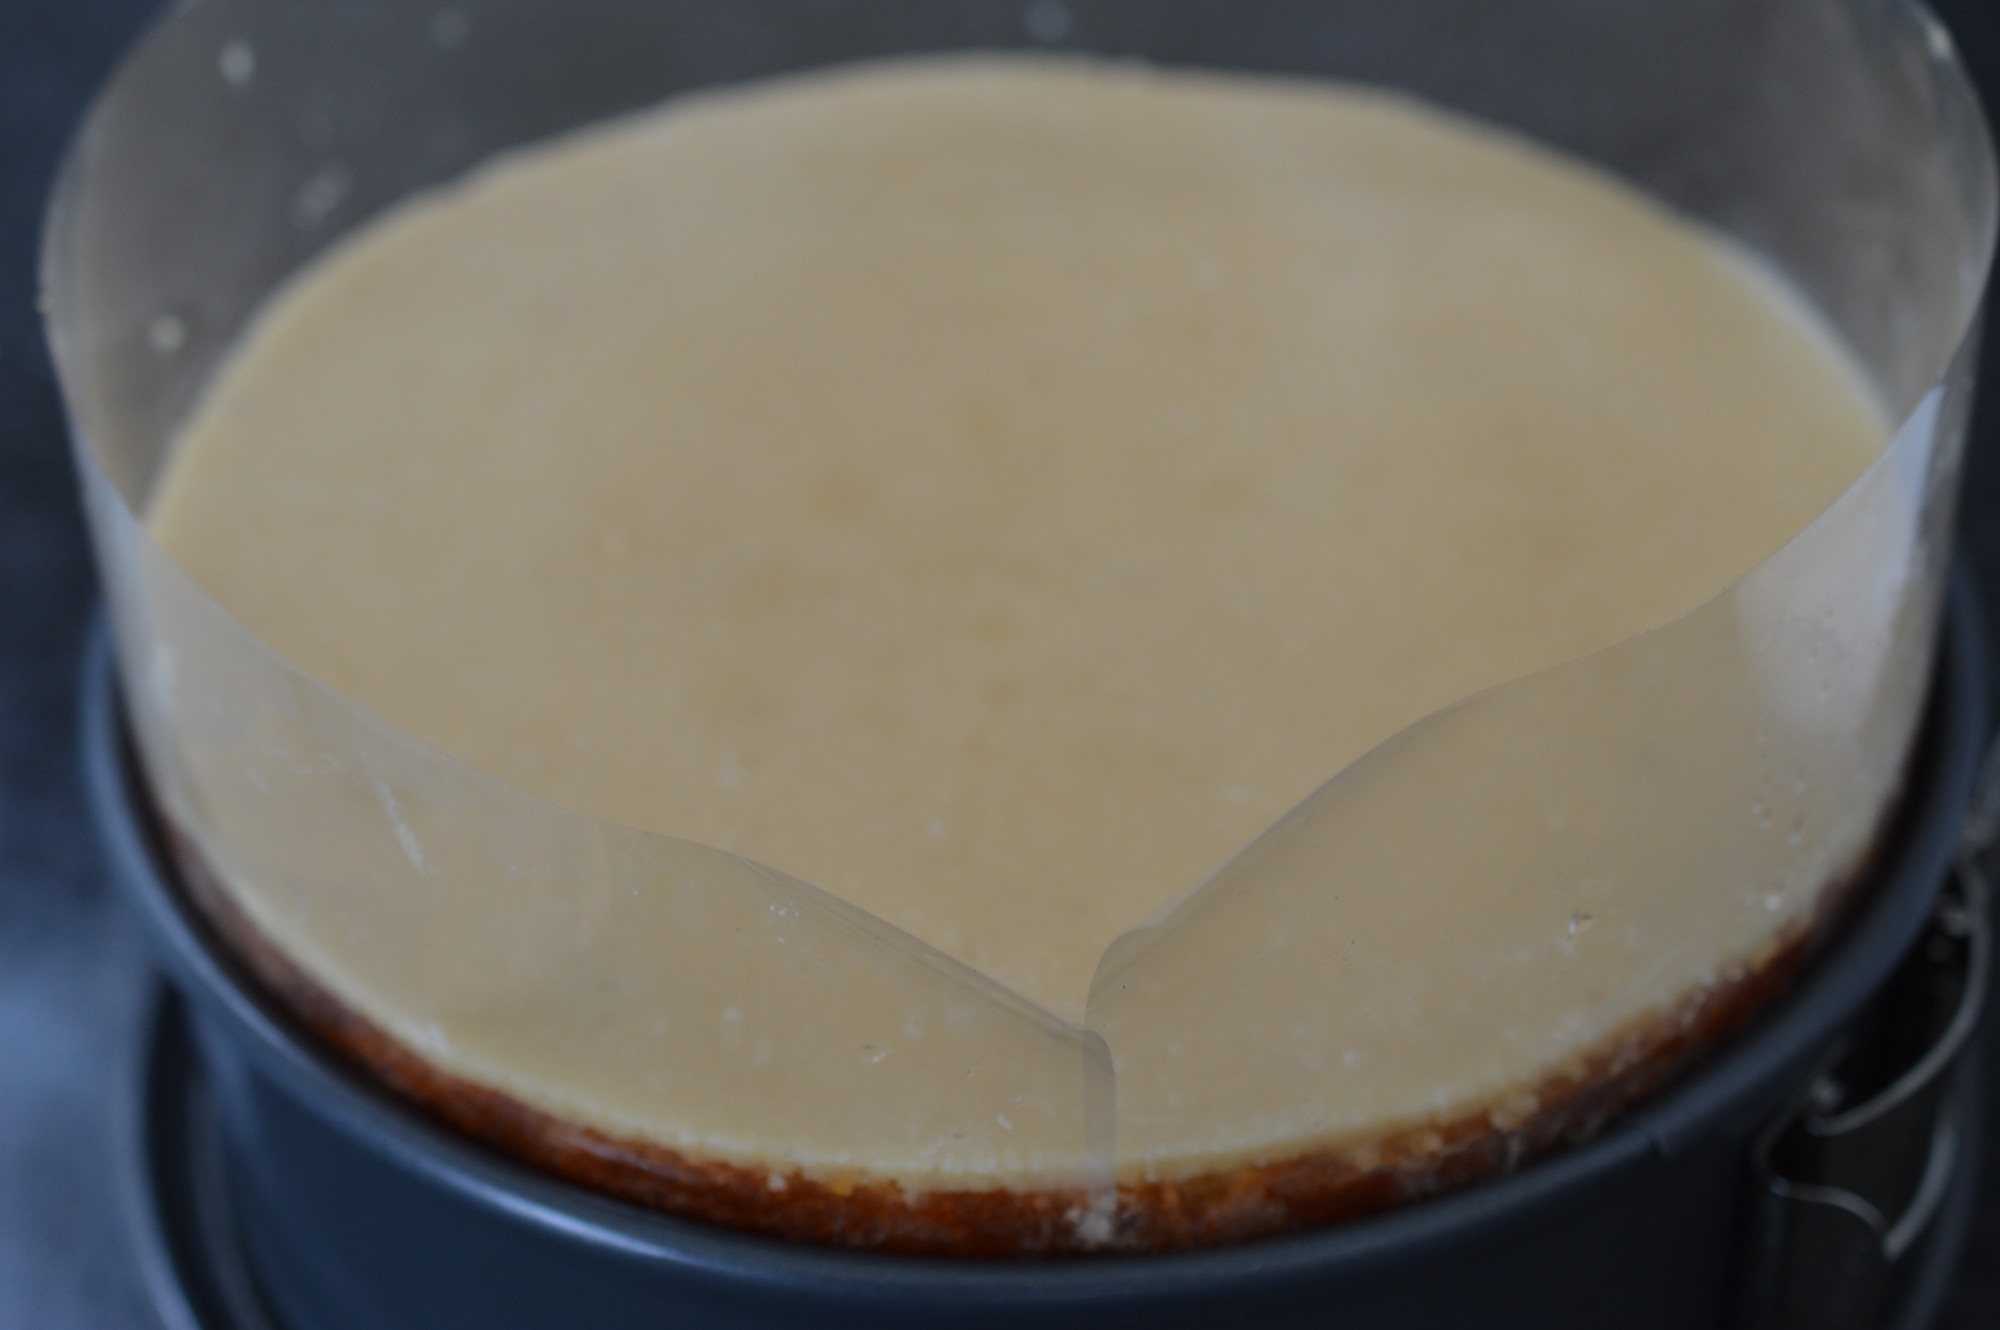
Slide the chilled marzipan disc on the top and put the cake into the fridge to chill.
Now’s the time to make any chocolate decorations … but a dusting of icing sugar and the reserved strawberries would be pretty, too.

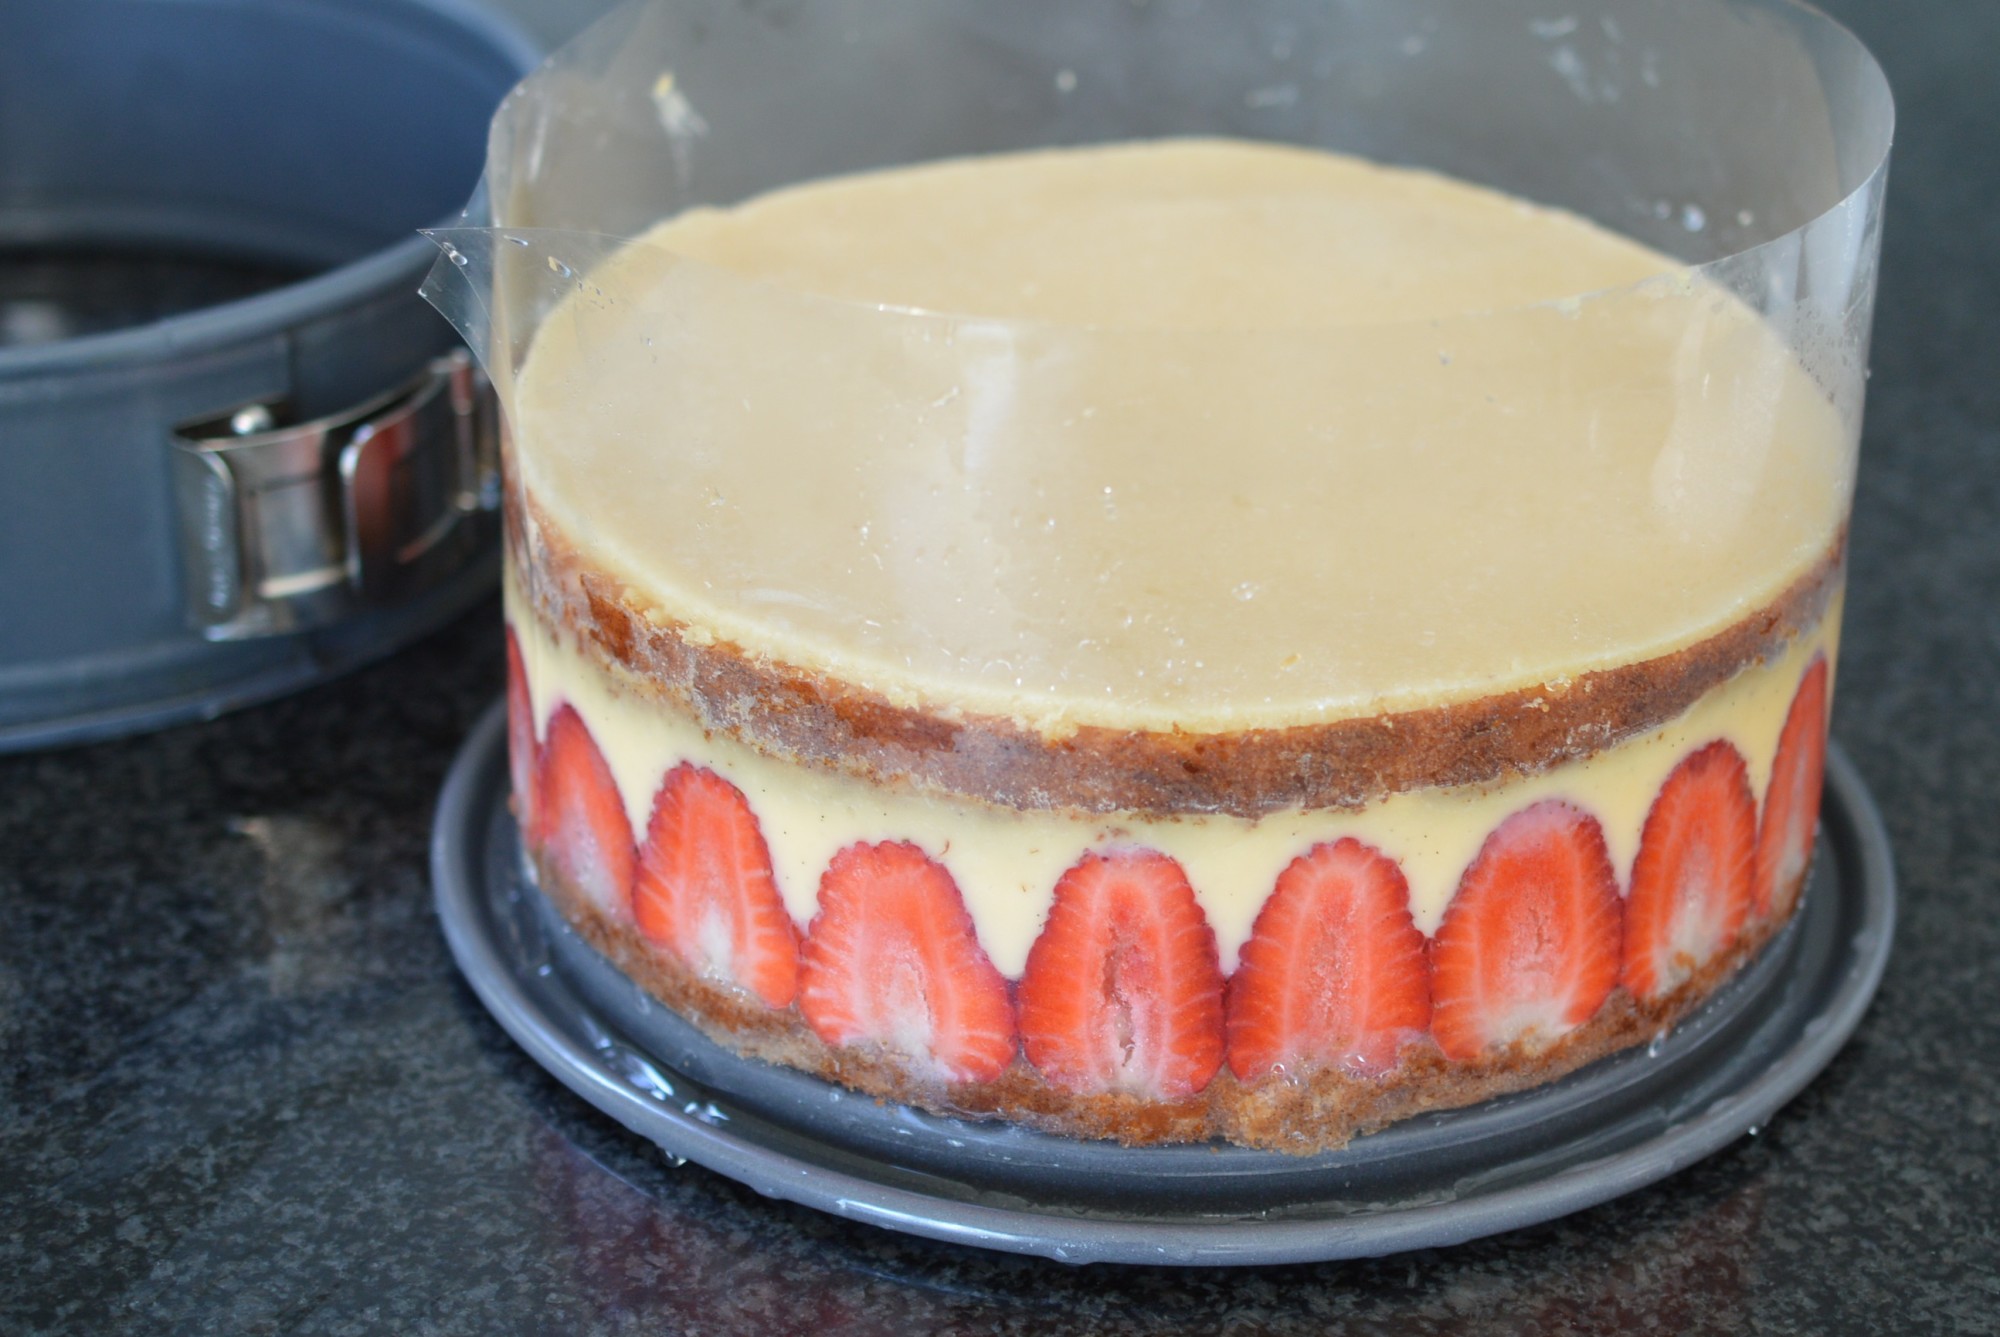
When you’re ready to serve. Unclip the baking tin.
Peel away the acetate.

Transfer to a serving plate – the quiche tin base I used to chill the marzipan disc makes it easier than you would think.

Decorate. Don’t place any cut strawberries on the marzipan too far ahead as they will eventually bleed.

Eat.
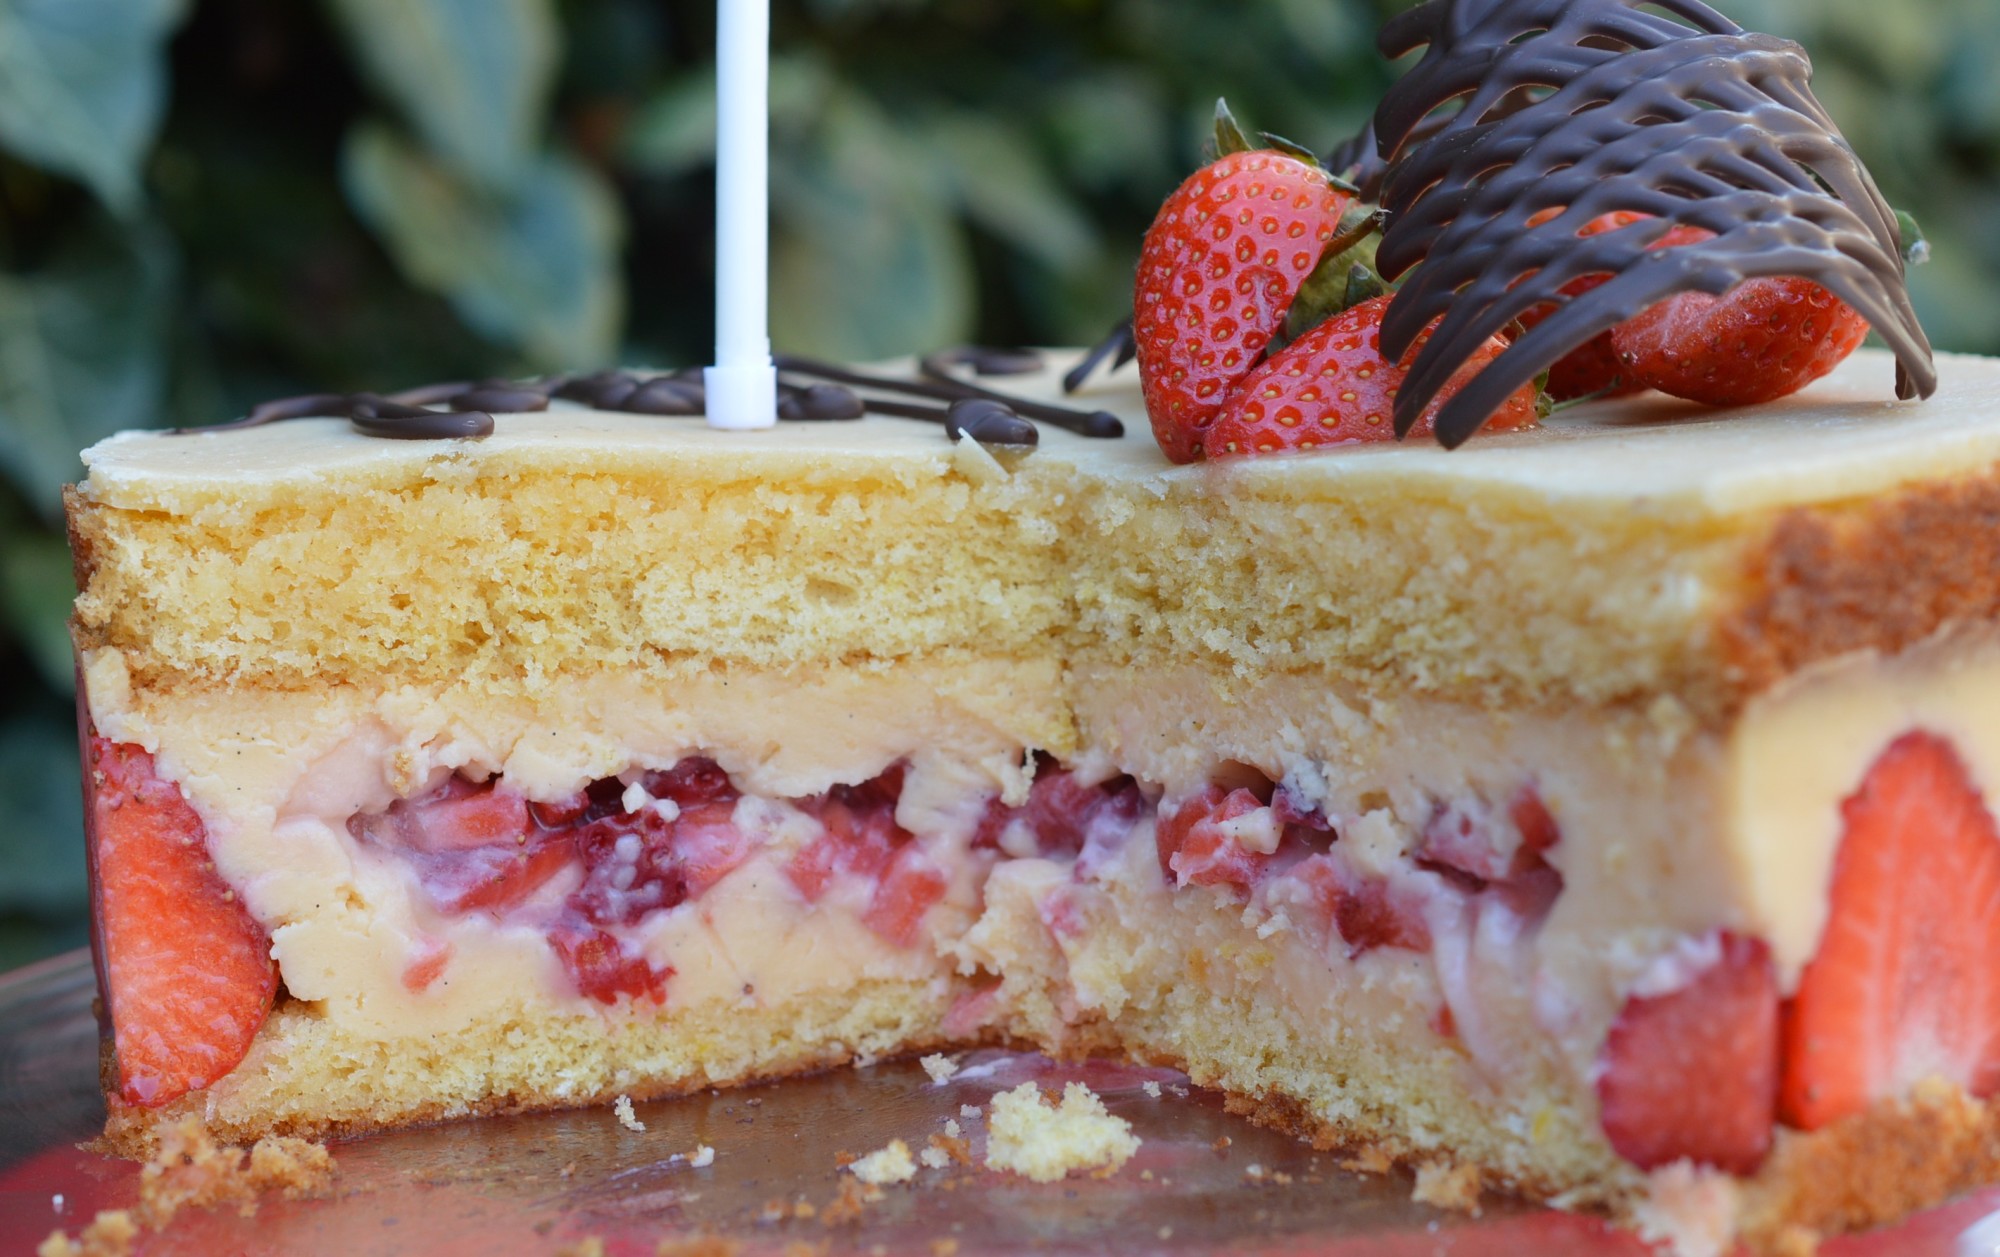
 Fraisier Cake
Makes one 23cm/9″ cake.
For the cake:
- 4 free-range eggs
- 125g/4½oz caster sugar
- zest of 2 lemons, microplaned or very finely grated
- 125g/4½oz self-raising flour
- 50g/1¾oz unsalted butter, melted and cooled
For the crème pâtissière:
- 4 free-range eggs
- 2 free-range egg yolks
- 500ml/20fl oz full-fat milk
- vanilla pod
- 180g/6¼oz caster sugar
- 1 tablespoon kirsch
- 100g/3½oz cornflour
- 150g/5½oz butter, cut into cubes
For the lemon syrup:
- 75g/2¾oz caster sugar
- juice of 2 lemons
- 70ml/4½ tablespoons cold water
For the marzipan (makes 500g/1lb 2oz):
- 125g/4½oz icing sugar
- 125g/4½oz caster sugar
- 250g/ ground almonds
- 1 dessertspoon of sherry (or rum)
- 1 dessertspoon of orange flower water (brands vary – check the strength)
- 1 dessertspoon of lemon juice
- a couple of drops of vanilla extract
- 1 free-range egg
To assemble:
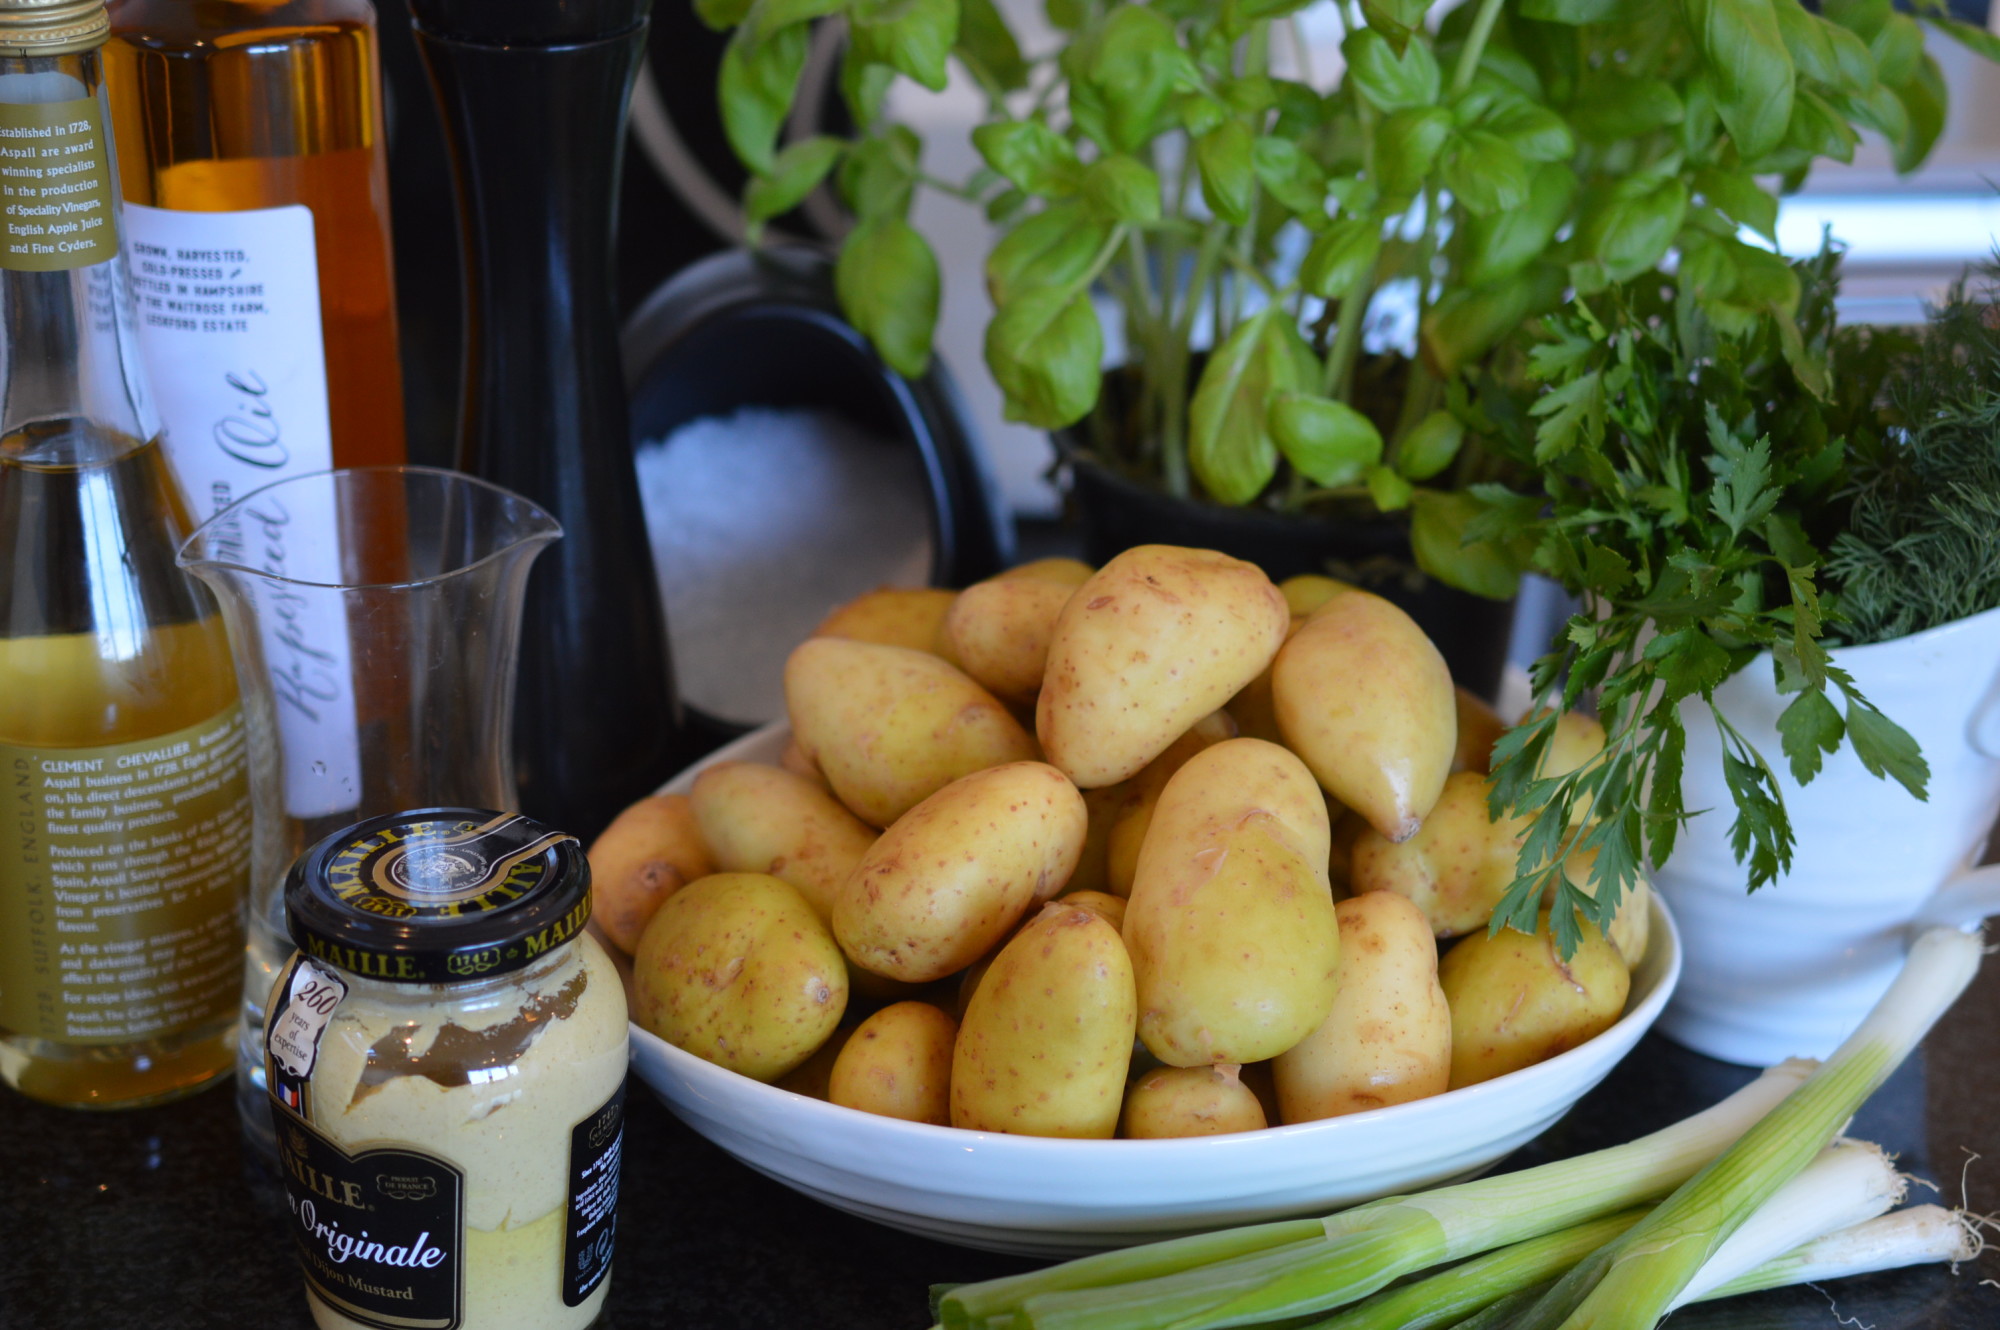
- 200g/7oz of marzipan, bought or home-made
- 600g/1lb 5oz strawberries
Preheat the oven to 180ºC/350ºF/Gas Mark 4.
Grease and line the base of a 23cm/9″ loose-bottom cake tin. It really does make life easier if you use a spring-form tin.
Place the eggs, sugar and lemon zest in the bowl of a powerful stand mixer or in a bowl placed over simmering water. In a stand mixer, whisk on full speed until you reach ‘ribbon’ stage’. With an electric hand whisk, whisk over simmering water on medium speed until you reach the same stage. Remove from the heat, if applicable. The egg mixture will be pale, have doubled in volume and leave a trail when you draw a figure of eight over the top.
Sift over half the flour and gently fold in. Add the remaining flour and fold again. Finally, the melted, but cooled, butter. Fold in.
Pour the mixture into the prepared cake tin and bake for 25-30 minutes or until the edges are pulling away from the sides. Aga: grid on the floor of the Baking Oven for 20-25 minutes.
Leave to cool for 5 minutes, before removing to a cooling rack until cold.
To make the crème pâtissière, place the eggs, sugar, kirsch and cornflour in a bowl and blend everything together.
Remove the seeds from a vanilla pod and place them and the pod into a saucepan. Add the milk. Bring to a boil, remove from the heat.
Place a sieve over the bowl holding the eggs, sugar and cornflour and pour the hot milk on top. Whisk together. Pour everything back into a clean saucepan and stir over a medium heat. It will thicken suddenly. Stir until thick enough to pipe easily. Remove from the heat. Stir in the cubed butter.
Pour into a shallow dish, cover with cling wrap and chill for an hour until firm and cold.
Make the lemon sugar syrup by placing the water, lemon juice and sugar in a small saucepan. Heat over a gentle heat until the sugar has dissolved. Bring to a boil and boil rapidly for 2 minutes. Transfer to a jug or jam jar and cool.
Make the marzipan by mixing the dry ingredients in a bowl. Add the sherry, orange flower water, lemon juice and vanilla extract. Gradually add enough beaten egg to form a stiff paste. Lightly dust the work surface with icing sugar and knead until smooth.
Roll 200g/7oz of there marzipan into a circle and cut a circle which will fit the cake tin. Place on a flat surface to chill.
Place a strip of acetate around the inside of your clean cake tin. There is no need to grease it.
Slice the sponge in half horizontally.
Place one layer of sponge in the bottom of the tin with the cut surface facing upwards. Brush with half the cold lemon sugar syrup. Press the edges against the acetate with the back of a spoon.
Select 12-14 strawberries of a similar height. Hull and cut in half. Press the strawberries, cut surface against the acetate, around the edge.
Place the two-thirds of the chilled crème pâtissière in a large piping bag fitted with a 1cm/½” piping nozzle. Pipe over the sponge and between the strawberries. Make sure you pipe the full height of the strawberries and fill in all the gaps.
Reserve a few strawberries for decoration. Hull and chop up the remaining strawberries and place them on top of the crème pâtissière.
Pipe the remaining crème pâtissière over the chopped strawberries. Smooth out with an offset spatula.
Lay over the second sponge half. Brush over the remaining lemon sugar syrup and press down firmly against the acetate.
Place the marzipan disc on the top and put the tin back into the fridge to set.
When you want to serve, remove the cake from the tin. Peel back the acetate and transfer to a serving plate. Dust with icing sugar and cut strawberries. Serve chilled.
Eat.
Print.