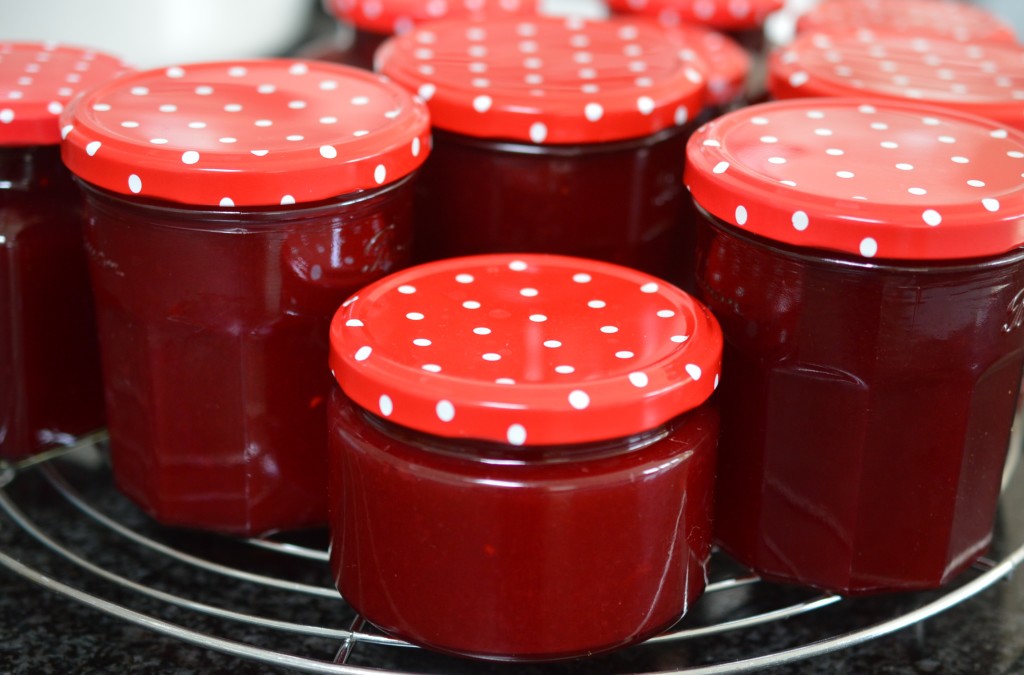
Seedless Raspberry Jam

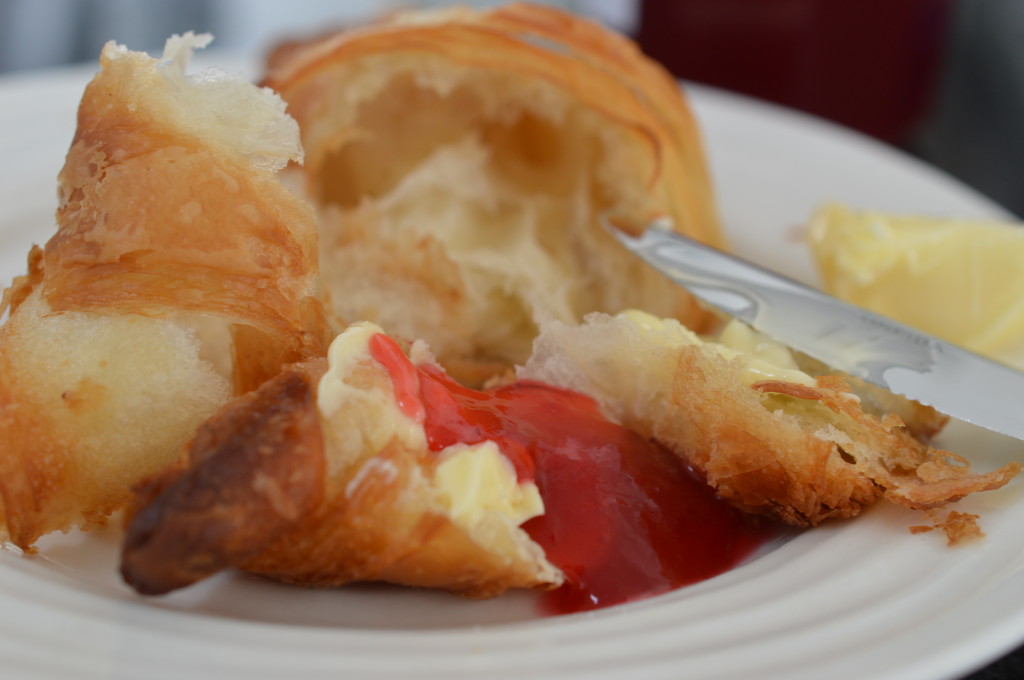
Seedless is the key here.  This is my jam of choice for filling doughnuts and what would life be without the occasional doughnut?  I have a real weakness for doughnuts hot from the fryer.  Can you tell I’m eating super healthily at the moment?  

In actuality, I made this batch almost a month ago – before I was sucked into relocating three of my children to their university cities.

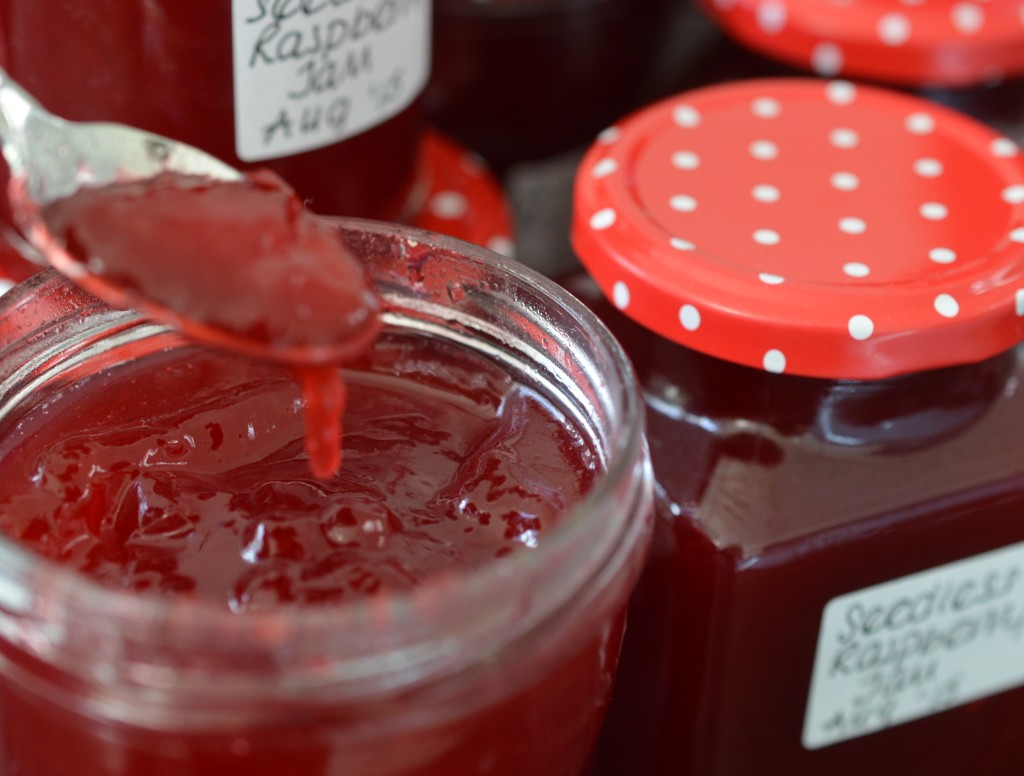
Seedless raspberry Jam on spoon

I know this is a post which is going to get ‘lost in translation’ between English English and American English – and goodness knows what’s happening elsewhere.  Anyone reading from Australia?  So … in this kitchen:

  • Jam = a cooked mix of sugar and fruit which has been mashed, chopped or squished.
  • Jelly = a cooked mix of sugar and fruit which is strained to give a clear liquid.
  • Preserves = jam which has big bits of fruit in it.
  • Conserve = jam with added extras, such as nuts or mixed fruit.

Then, there’s fruit curds, marmalade, fruit butters, chutneys, pickles – but I’m thinking they’re for another day.

Raspberry Jam without seeds 2

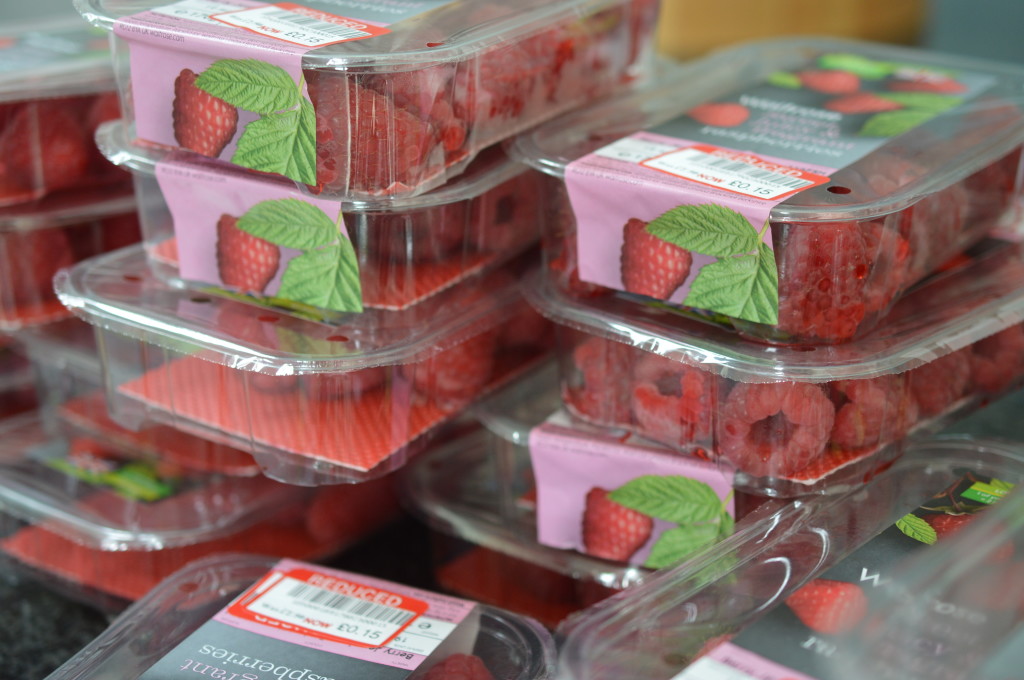
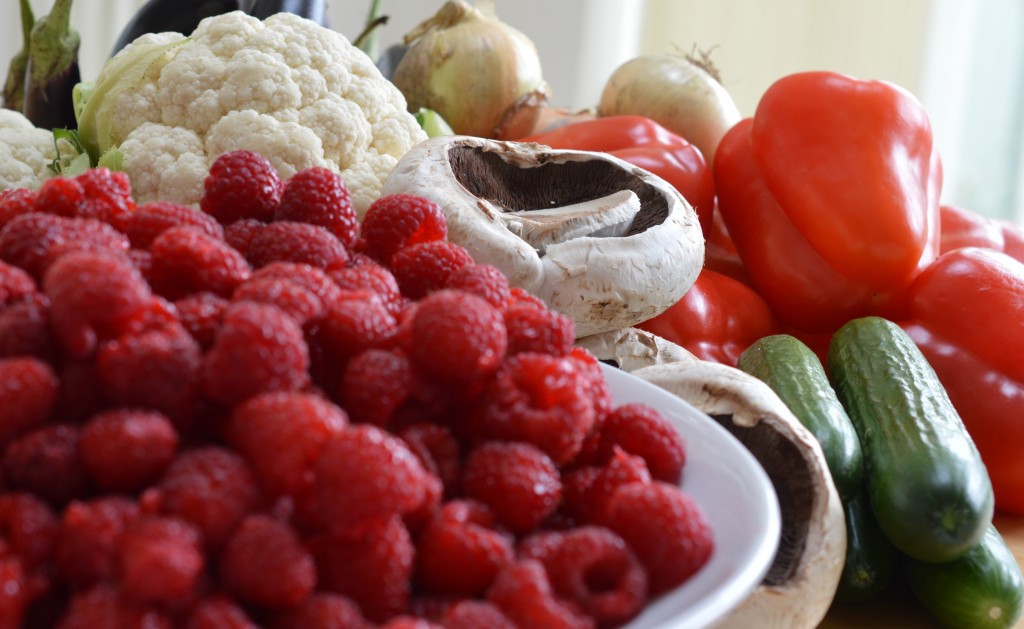
Here I’m squishing my fruit and not straining it which makes it ‘jam’.  This batch began with a large trolley of discounted raspberries.  15p for 170g.  Irresistible.  The truth is, it’s really better to make jam with fruit which is slightly under-ripe because the pectin levels (which is what gives you the ‘set’) are at their highest, but ‘beggars can’t be choosers’ ..

Raspberry Jam without seeds 3

Raspberry Jam rather divides people into those who claim it as the ‘jam of all jams’ and those who can’t get past the seeds.  Undeniably raspberries are a pippy fruit and I’m sandwiched between a parent who avoids seeds (it’s a teeth thing) and a couple of children who refuse any jam with ‘bits’.  This means I rarely make a ‘classic’ raspberry jam because I will eat it and I’m the one who probably shouldn’t.

I could have turned these berries into a raspberry jelly which removes the seeds, but we’re in ‘bramble’ season now and I’ve already got a shelf full of bramble and apple jelly.  Or raspberry curd, which I love but those doughnuts were seducing me …

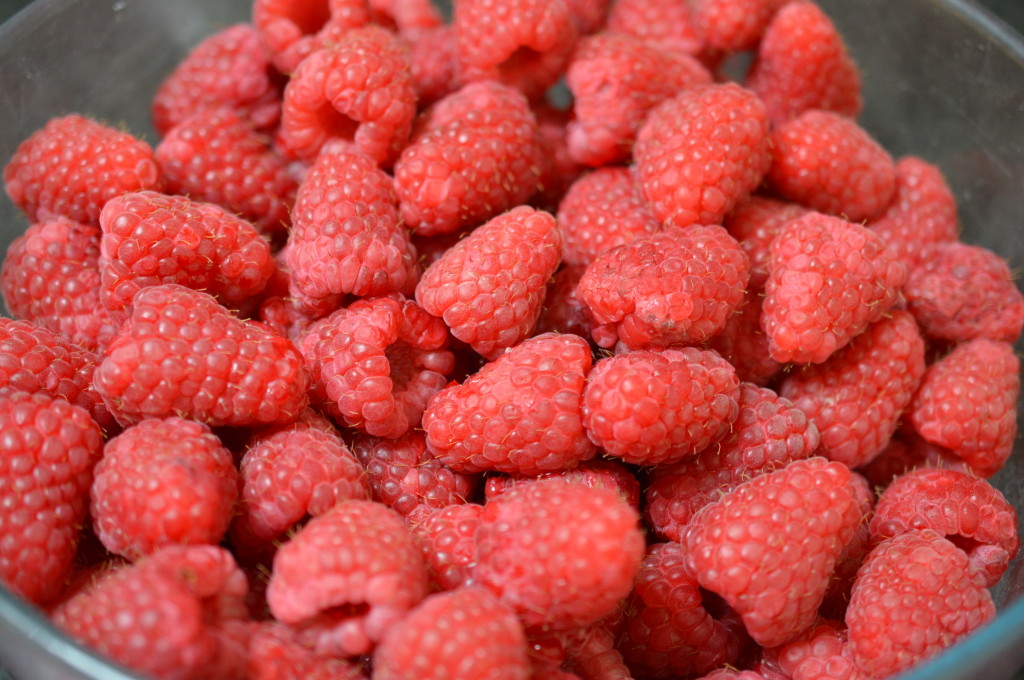
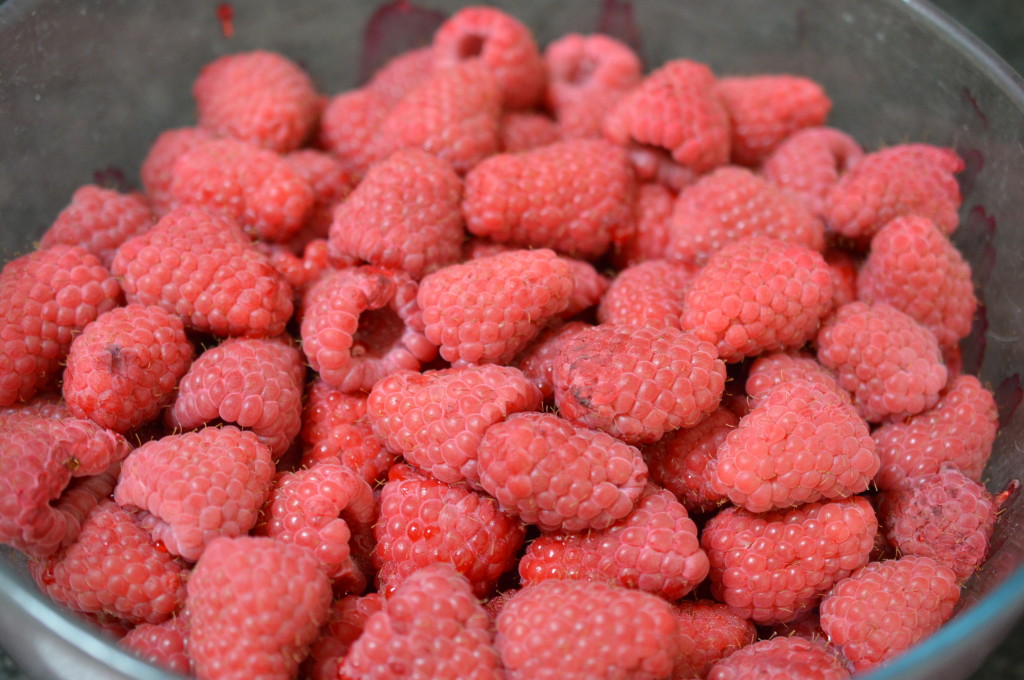
Discard any fruit showing signs of spoilage and give them a light rinse.  Place the raspberries in a heatproof bowl and place in a low oven for 40 minutes to an hour.

Raspberry Jam without seeds 5

There’s not a lot to see – but warming the fruit makes the next bit  so much easier, particularly if you’re using a sieve as opposed to a mouli.

Raspberry Jam without seeds 6

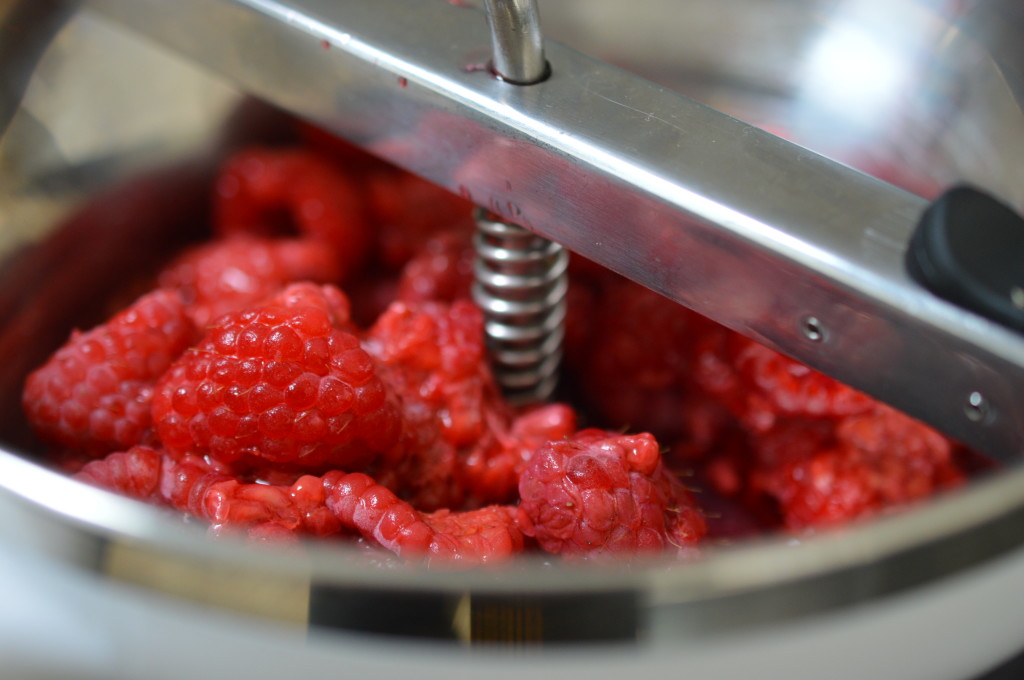
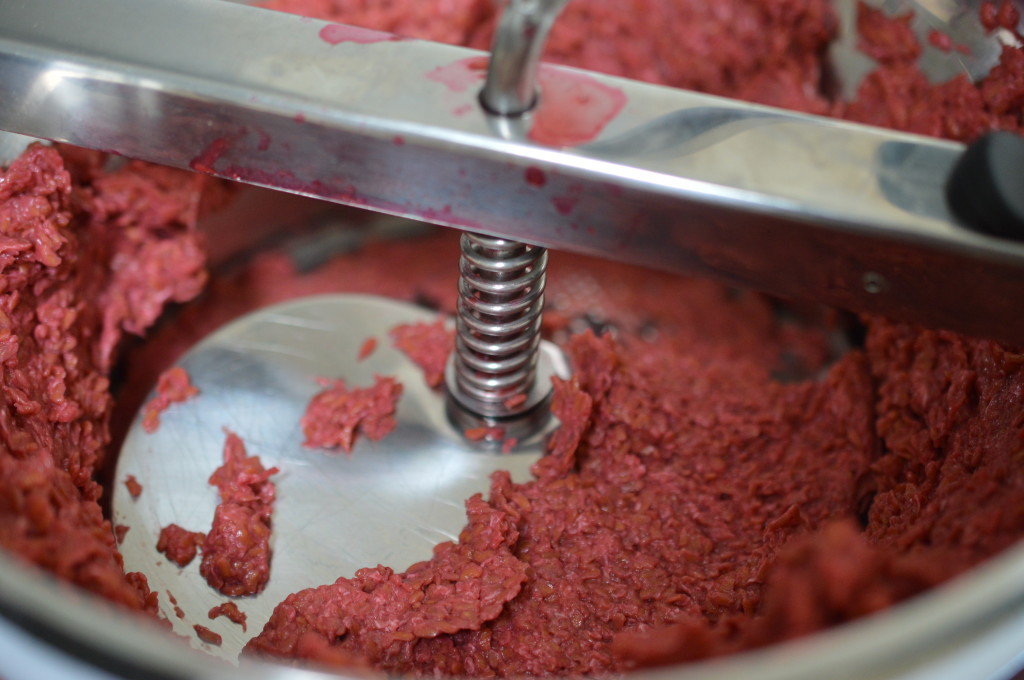
My weapon of choice is a ‘Good Grips’ food mill.  Sieving is your other option.  I would suggest trying to utilise any available child labour if you’re going that route.

Raspberry Jam without seeds 7

After a period of energetic squashing …

Raspberry Jam without seeds 8

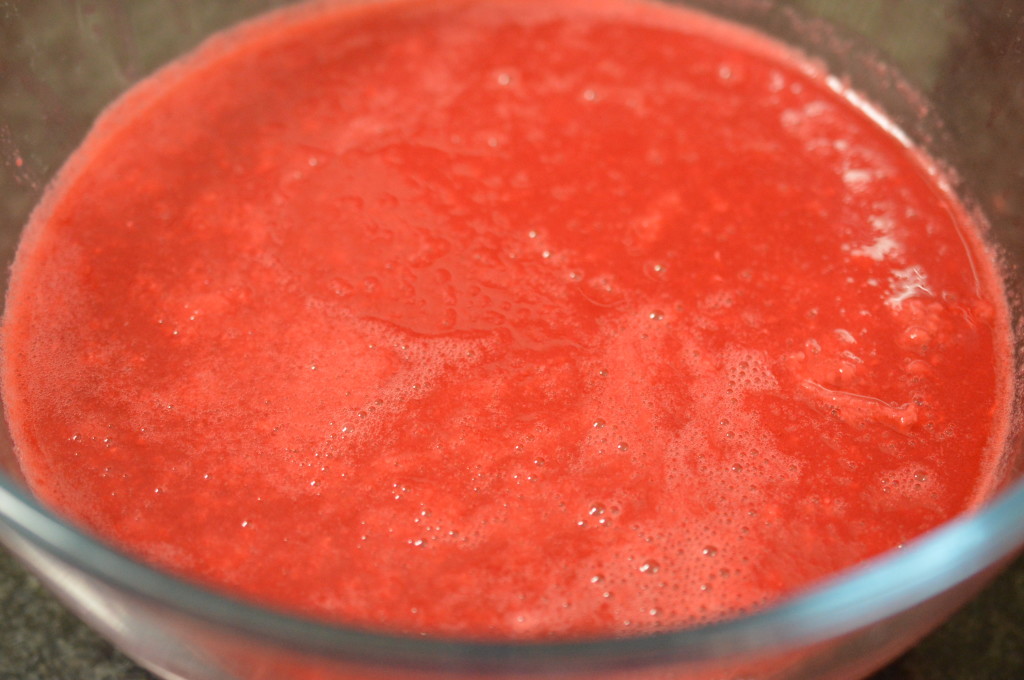
What you are left with is smoothish raspberry pulp.

Raspberry Jam without seeds 9

Preserving is a bit like bread making in that you can, if you wish, make it incredibly complicated and ‘scientific’.  I could, at this point, check the pectin levels in my fruit …

Or .. you can just make the jam.  You might miss a certain level of perfection, but ripe fruit waits for no cook and I’ve only got a small window of time to get this done.

I re-use glass jars without any qualms and I buy new lids.  Clean, rinsed jars and lids go into a low oven for 30 minutes.

Raspberry Jam without seeds 10

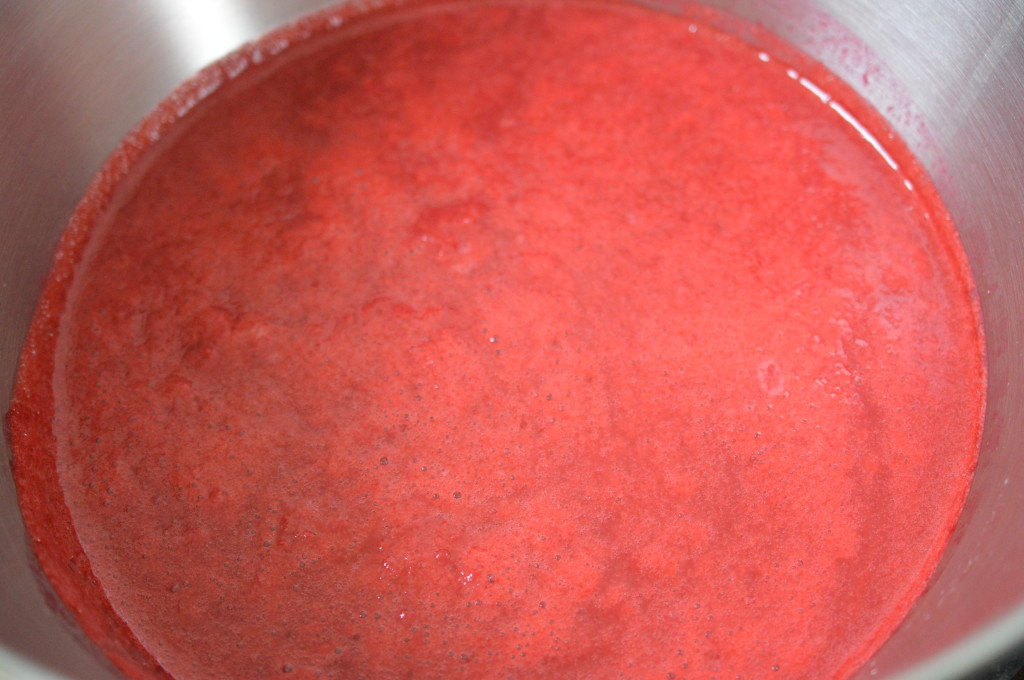
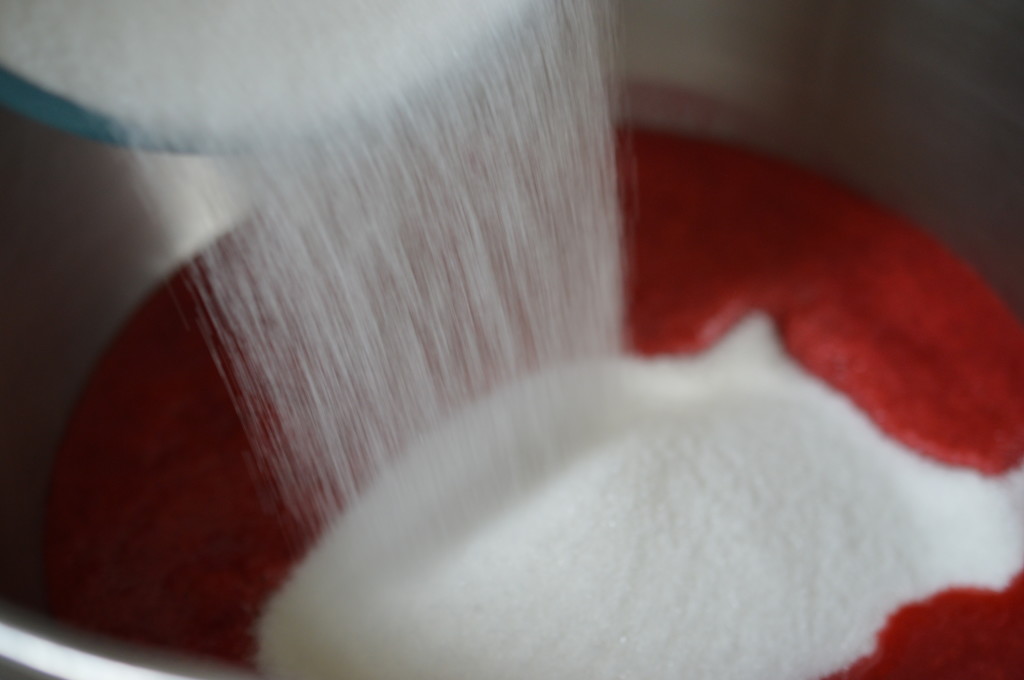
Traditional jam-making law adds the same weight of sugar as fruit, but you can tweak that depending on how sweet you like your jam and how naturally sweet your fruit is.  Sugar is the preservative so don’t go mad.  I weigh the fruit pulp and add three quarters of that weight in white granulated sugar.  It’s a trade-off between a softer set and a fresher taste.

I use a maslin pan because I own one, but it isn’t essential.  They’re the pan of choice because they give a large surface area which reduces the time you will need to boil the fruit/sugar to reach a set.  The quicker you reach a ‘set’ the cleaner tasting.

Warming the sugar merely speeds things up.  If you’ve planned ahead – great.  But it doesn’t actually matter.  Over a low heat, let the sugar dissolve.

Raspberry Jam without seeds 11

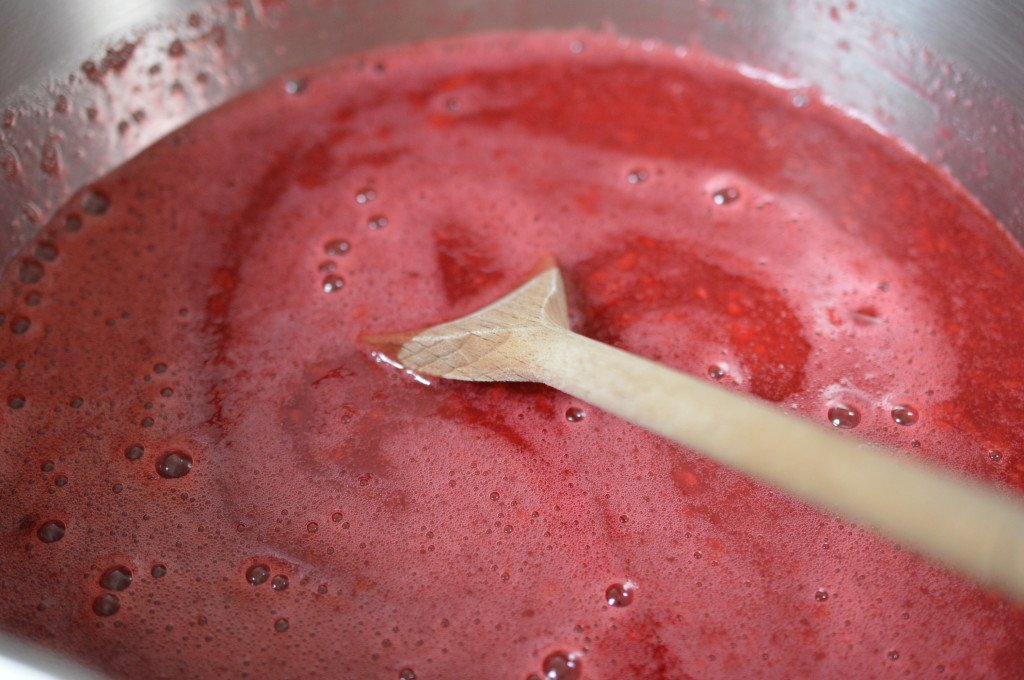
Keep stirring until you can feel no undissolved sugar on the bottom of the pan.

Raspberry Jam without seeds 12

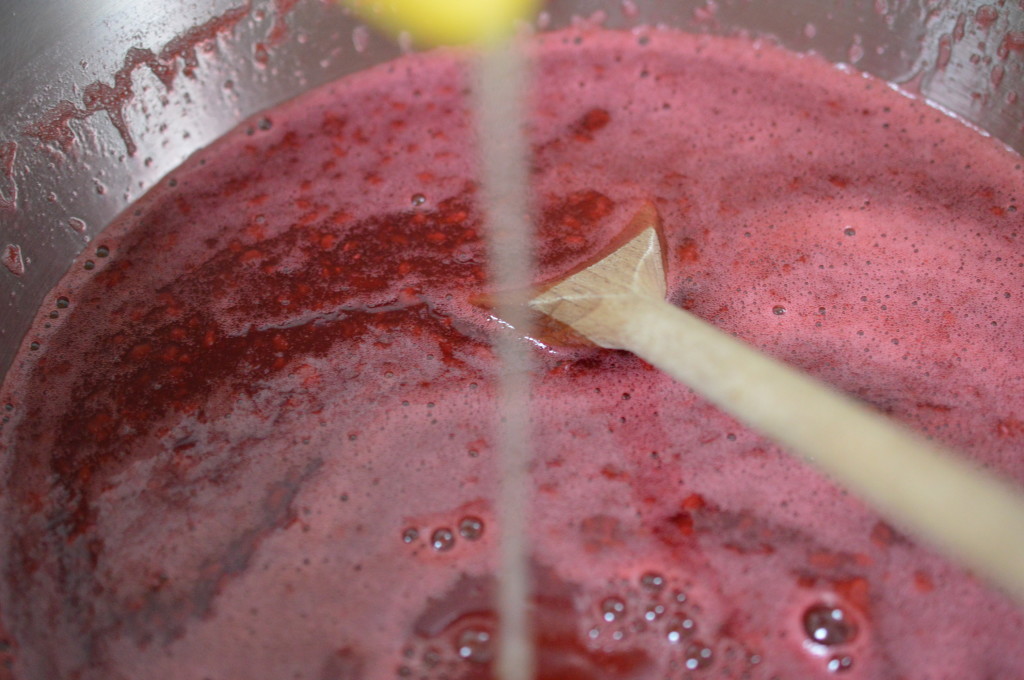
I add lemon juice to raspberry jam.  It’s high in pectin and helps with the set.  Redcurrants would be an alternative.

Raspberry Jam without seeds 14

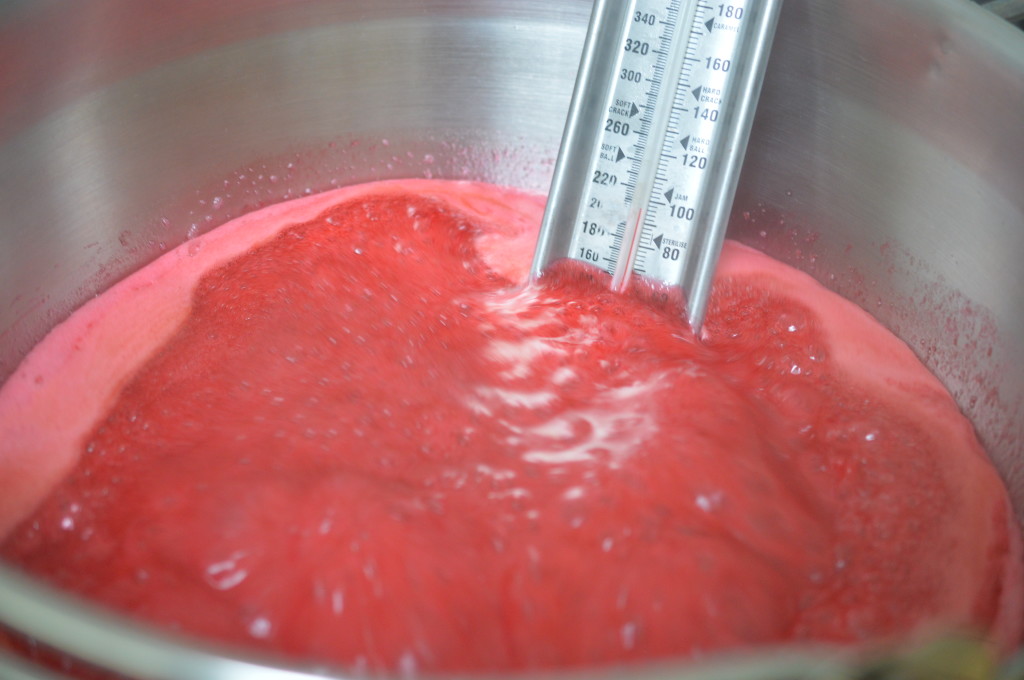
Bring everything up to a boil.  It’s reached a ‘set’ when a sugar thermometer reads 105ºC and it’ll take about 5 minutes.  Mine was a fraction under but I made the decision not to add any more lemon because I’m happy with a ‘soft set’.  If you boil for too long the jam will have a caramel tang.

Raspberry Jam without seeds 15

Turn off the heat.

Raspberry Jam without seeds 16

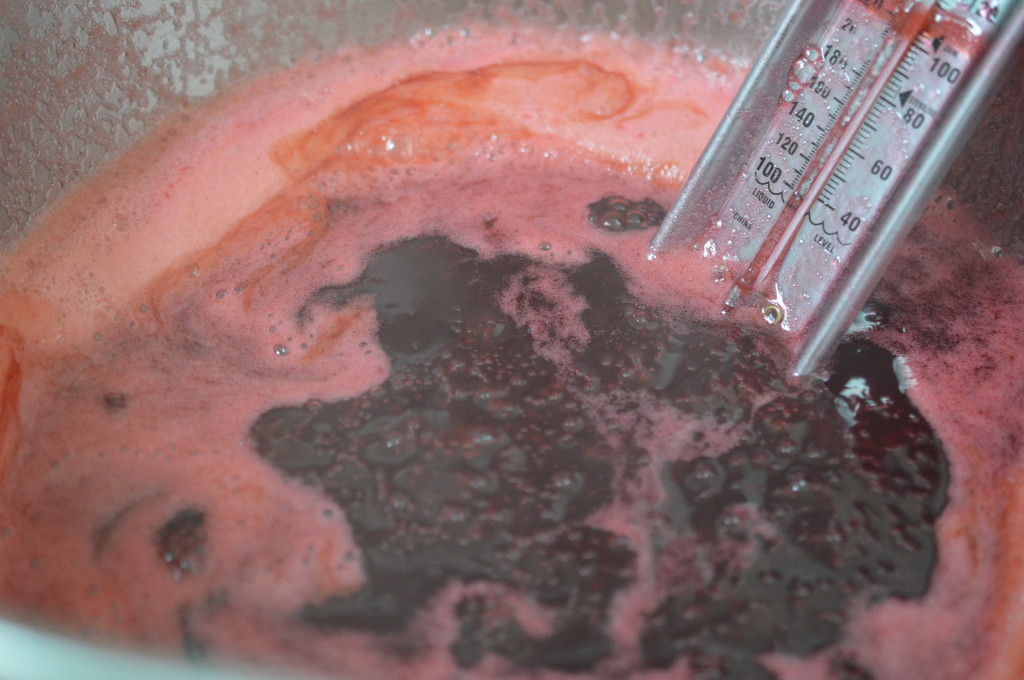
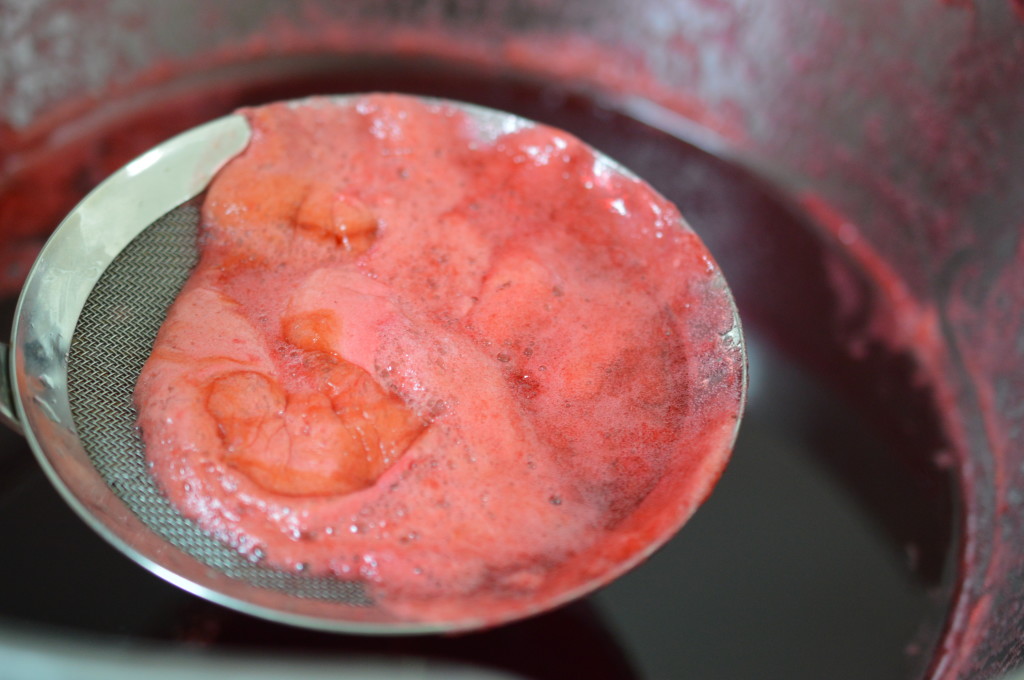
Now is the moment to remove the scum.  Just scoop it off.  You’re unlikely to get everything.

Raspberry Jam without seeds 18

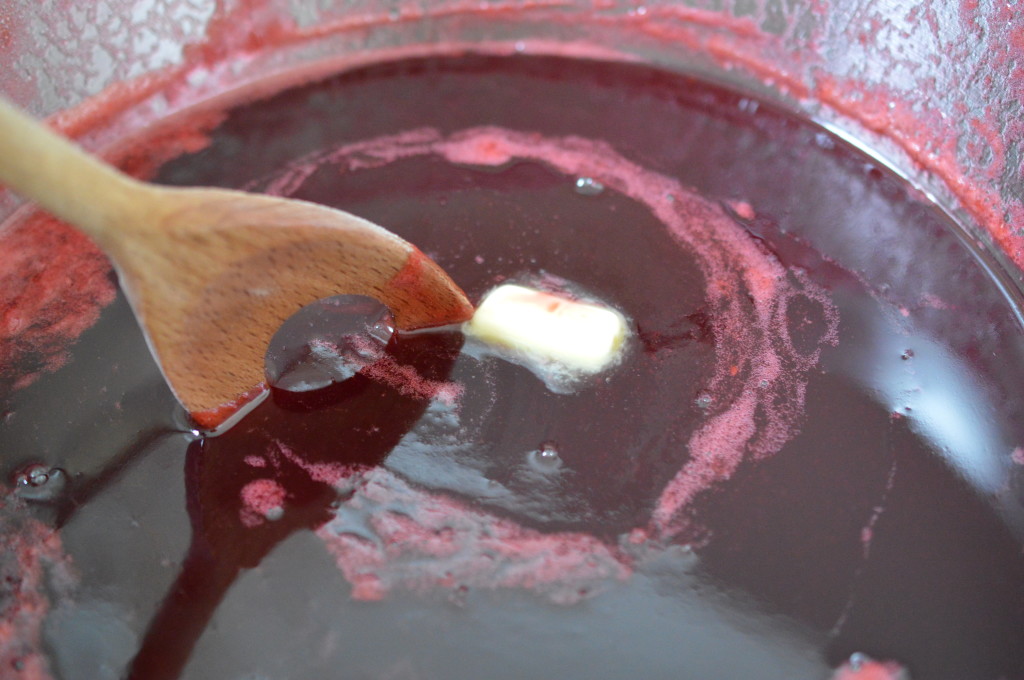
A knob of unsalted butter deals with the little that is left.

Raspberry Jam without seeds 19

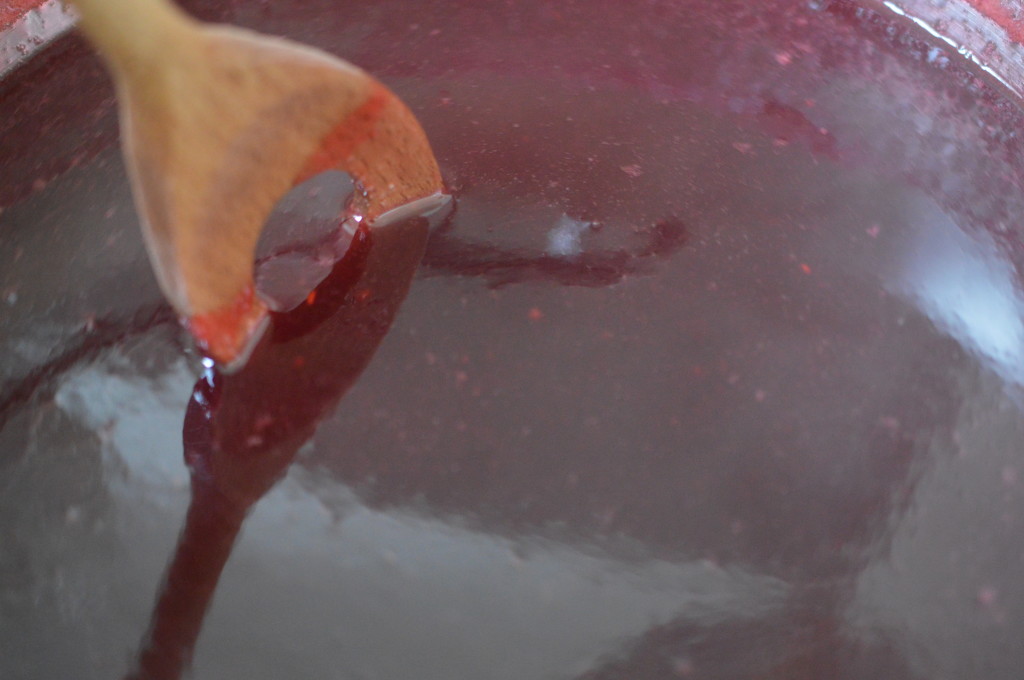
Stir, clockwise, until the butter has melted and the jam is crystal clear.

Raspberry Jam without seeds 20

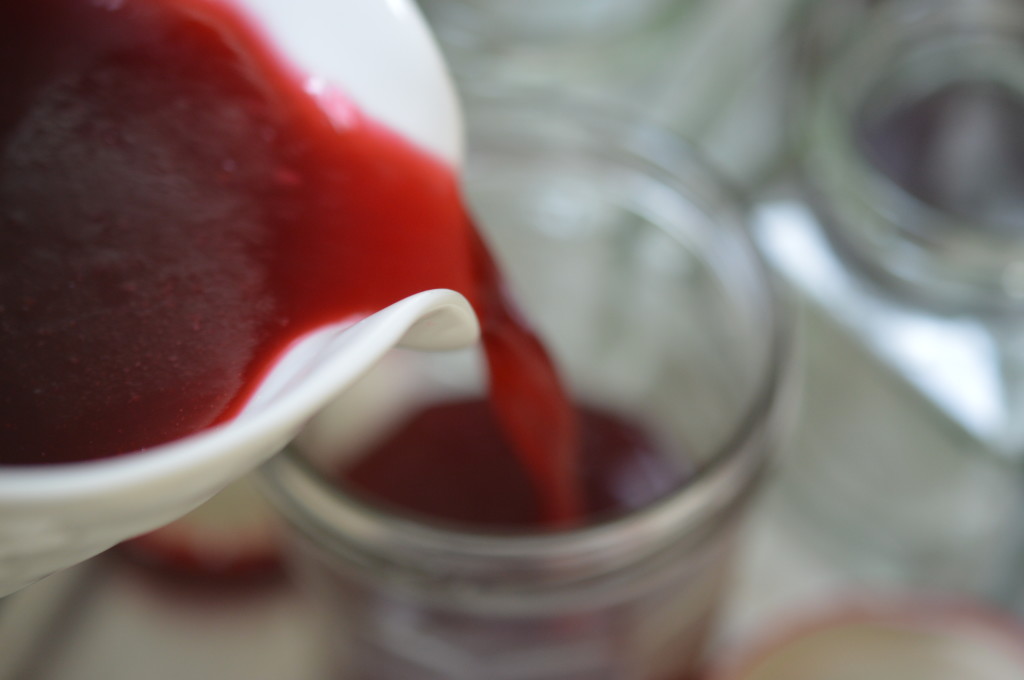
Take the jam jars from the oven and pour the hot jam into them.  You need to take it to the top of the jar and immediately screw the lid on top.

Raspberry Jam without seeds 23

Leave to cool.  Then label.

Seedless Raspberry Jam

Eat.

Seedless raspberry Jam on spoonSeedless Raspberry Jam

  • 1.5kg fresh raspberries
  • 1kg granulated sugar (adjust when you weigh the fruit pulp)
  • 1 lemon

Check over the raspberries and discard any with signs of spoilage.  Give the fruit a rinse and place in a heatproof bowl.  Warm the fruit in a low oven for an hour.

Wash the recycled glass jam jars and new lids.  Let them dry in the low oven.

Meanwhile, sieve out the seeds.  A food mouli makes easy work of it.  Weigh the fruit pulp and adjust the amount of granulated sugar.

Place the fruit and sugar in a maslin pan and heat gently.  Stir until the sugar has dissolved.  Add the juice of a lemon and bring everything to a boil.

After about 5 minutes a sugar thermometer will read 105ºC (or thereabouts).

Skim off the scum.  A small knob of unsalted butter, stirred through in a clockwise direction will deal with any remaining.

Pour into the sterilised jars, taking the jam to within a few millimetres of the rim. Immediately cover with the sterilised lids and lightly screw on.  Tighten when cool.  Then label.

Eat.

Print.


Baked Vanilla Cheesecake with fresh raspberries

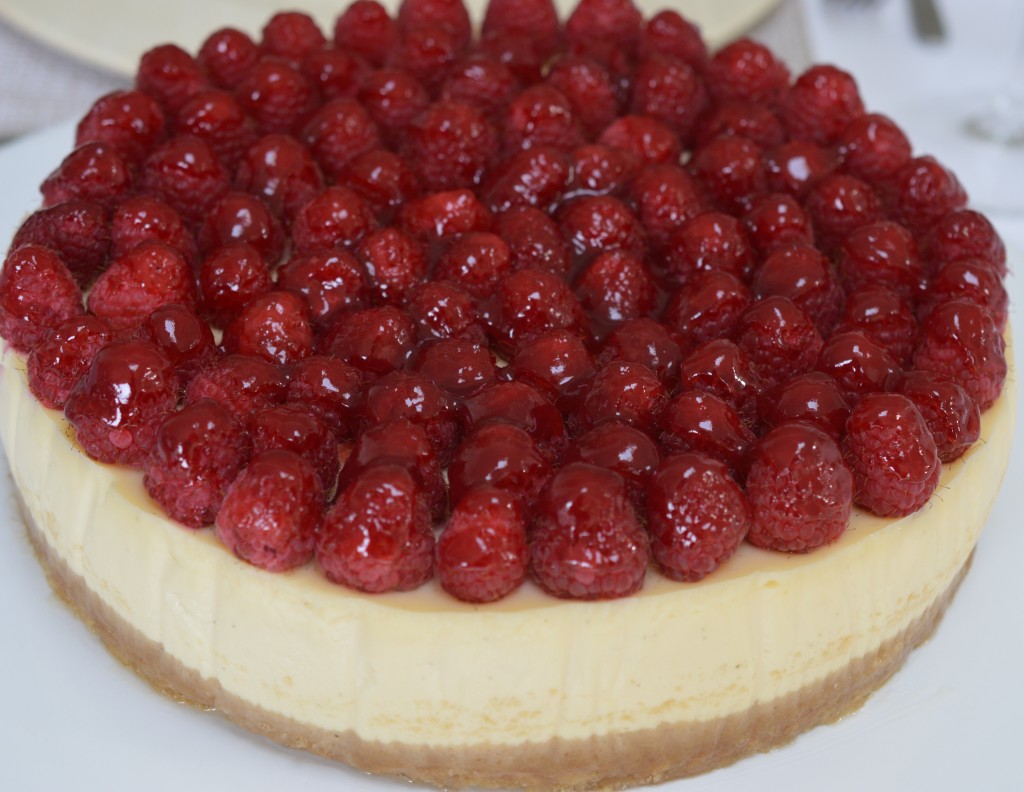
This is my baked vanilla cheesecake topped with fresh raspberries – a) because I particularly like fresh raspberries with vanilla cheesecake and b) because it’s a ‘birthday’ cheesecake and I felt I needed to make an effort.  
Cheesecake - glazed

In actual fact, it wasn’t anyone’s birthday.  Monday I drove Seb and assorted plastic storage boxes to uni and since he’ll be away on the ‘real’ day, we decided to celebrate early.  (He demonstrated a sad lack of any ‘separation issues’, btw, and it reminded me of his ‘first day at school’ when I stood forlornly waving goodbye to my four year old who scarcely looked back.  Who’d be a mum?) 
Cheesecake - eaten

Now to concentrate on vanilla cheesecake.
Cheesecake - 11

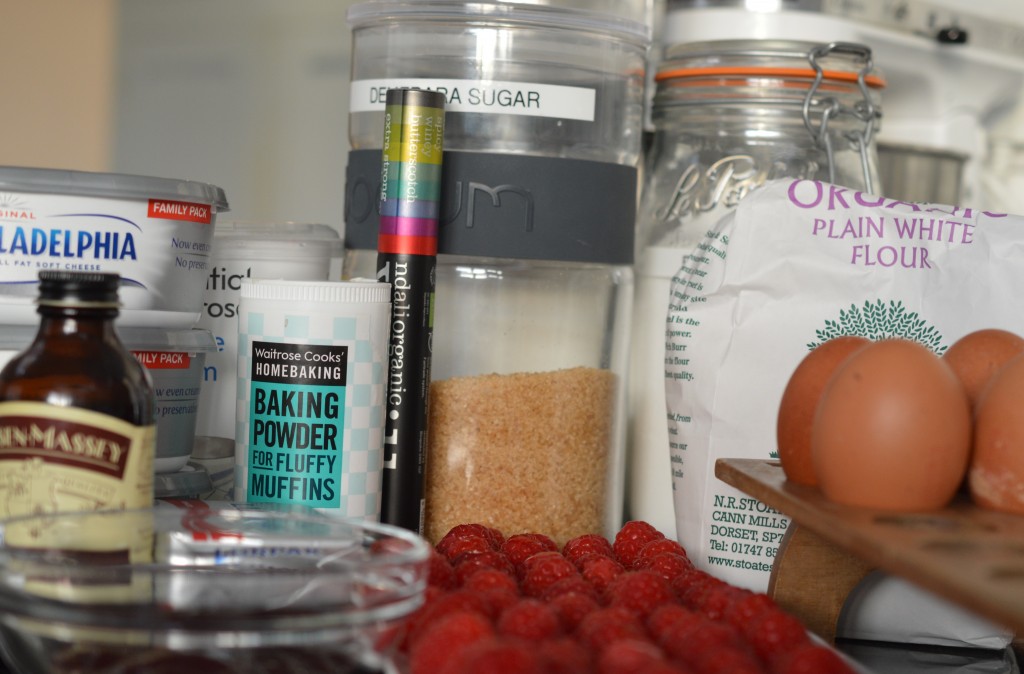
It is really important your cream cheese and eggs are at room temperature.  So get them out at the very beginning.  If you to try use fridge cold cream cheese you’ll never get a smooth mixture.  The eggs are the ’emulsifier’ and if they’re cold they encourage your mixture to curdle.

Now the base.  Until very recently I’d have been whizzing up oaty hobnobs or digestive biscuits in my food processor, but now … now I make my own.  (I can hear you groan, but trust me …!)  I promise it’s so easy and definitely worth it.

This epiphany came about when I happened across a recipe book called ‘The Pocket Bakery’ by Rose Prince.  In there, page 204, there’s a recipe for ‘Ricotta Cheesecake with Roasted Peaches and Toasted Pinenuts’.  She says, “Just to show you what a real cheesecake is, setting aside all those industrial versions, we want to encourage you to make your own biscuit base.”  Where it not for the fact Rose Prince uses Stoates flour, as I do and which led me to think she might know a thing or two, I might never have taken the idea out of the steamy bathroom where I do my reading.  (Bubblebath, glass of wine, candles .. no-one can get me …)
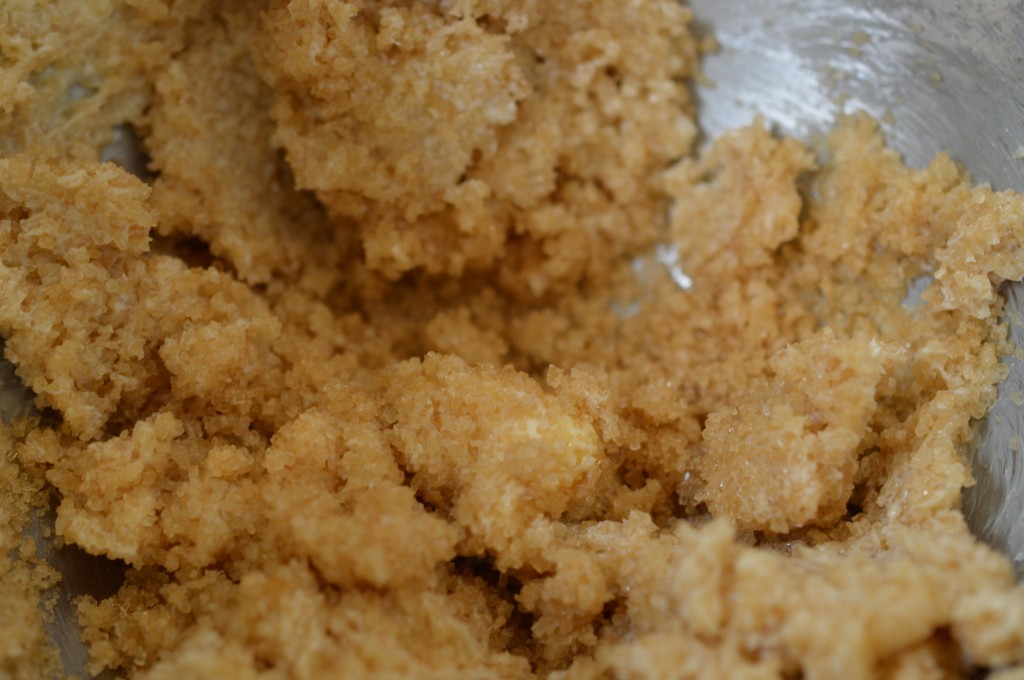
Cheesecake - 17

I’m totally converted.  Firstly, it tastes better.  Secondly, it feels emotionally ‘right’ not to be pouring butter into something I otherwise avoid eating.  And, thirdly, there’s no temptation to finish the packet which, I admit, is something I’ve been known to do in times of stress.

So, put 80g/2¾ of softened butter and 165g/6oz Demerara sugar in a bowl and mix.  Rose Prince states mix until it is ‘pale and light textured’.  I find this butter/sugar mix needs frequent scraping down of the bowl sides and I never reach anything which I’d describe as ‘light textured’.
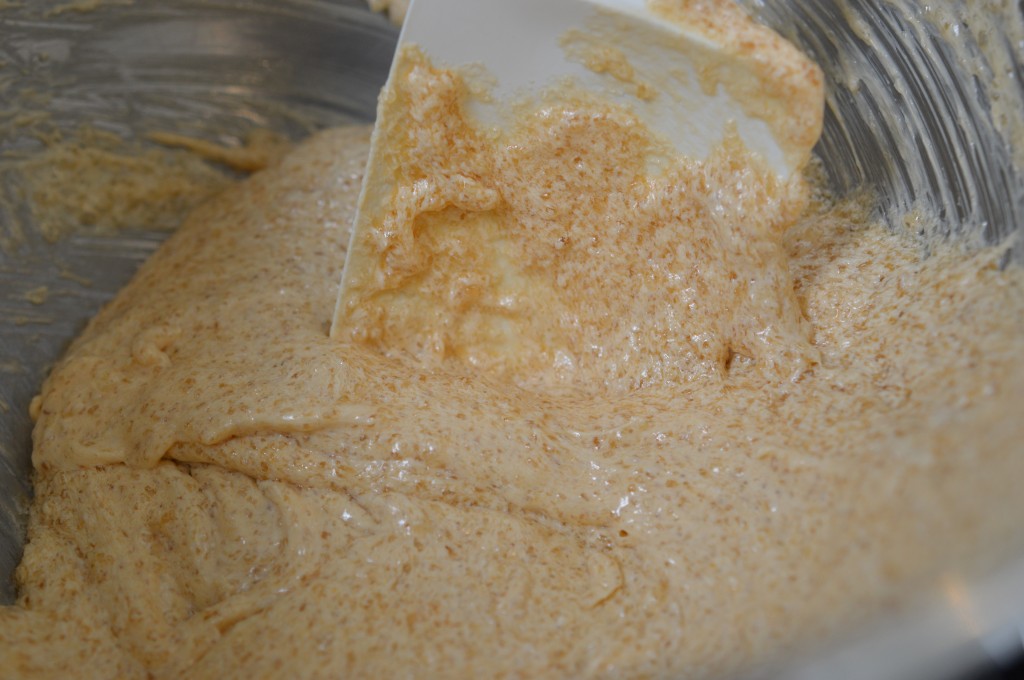
Cheesecake - 18

Add the egg, vanilla extract and stir.  Then the flour, baking powder and salt.  Gather everything into a soft dough, wrap in cling film and pop into the fridge for 30 minutes or so.  Pre-heat the oven to 180ºC/Gas mark 4, 350ºF (or do nothing, while feeling smug you cook on an aga) and have a cup of tea.
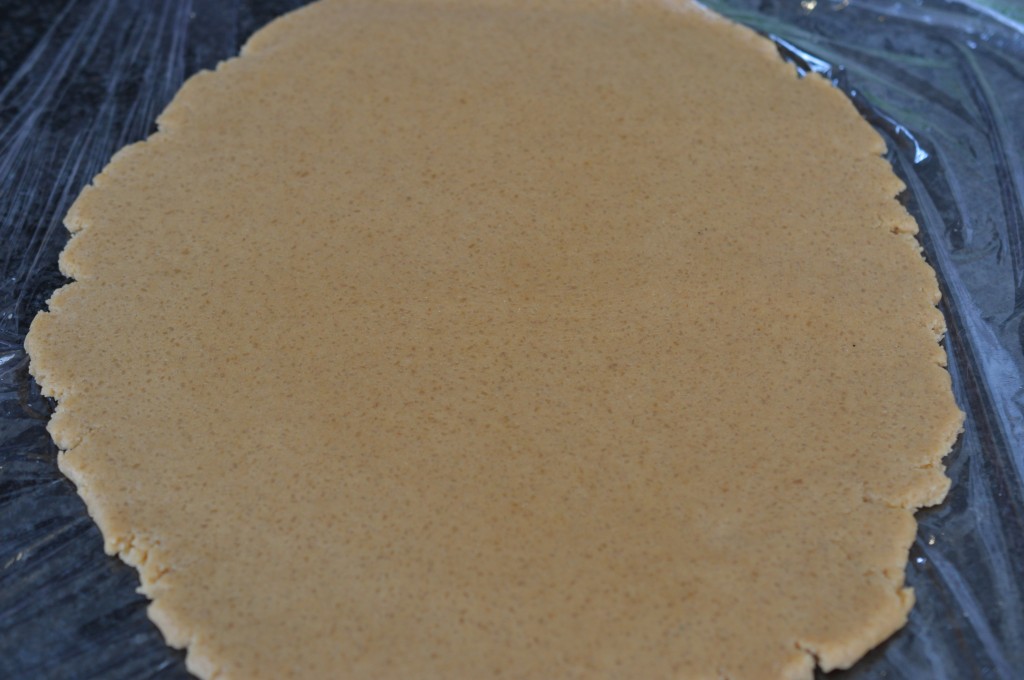
Cheesecake 19

Time in the fridge makes the dough ‘roll-able’, but it’s a tricky thing to transfer to the baking sheet.  I roll between sheets of cling film which helps.  Roll to about ½cm/¼” thick, and place on a baking sheet lined with bake-o-glide or baking parchment.
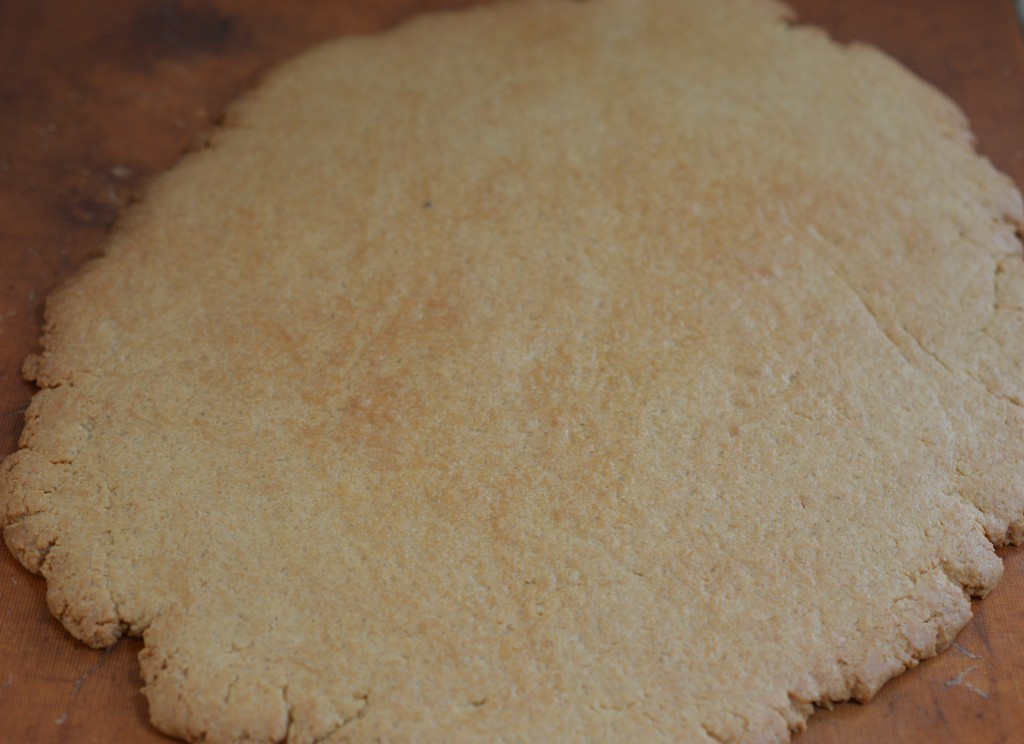
cheesecake - 20

Bake for 15 minutes.  (Aga:  I cook on the top set of runners in the Baking Oven for the same time.)  Then, leave to cool.
Cheesecake - lining strips

While that’s happening, prepare the tin.  Ideally, you need a springform tin which measures 23cm/9″ across the bottom …  You will immediately notice there’s a problem with that – as 23cm isn’t the same as 9″.  Anyone else frustrated by inconsistent tin sizes???

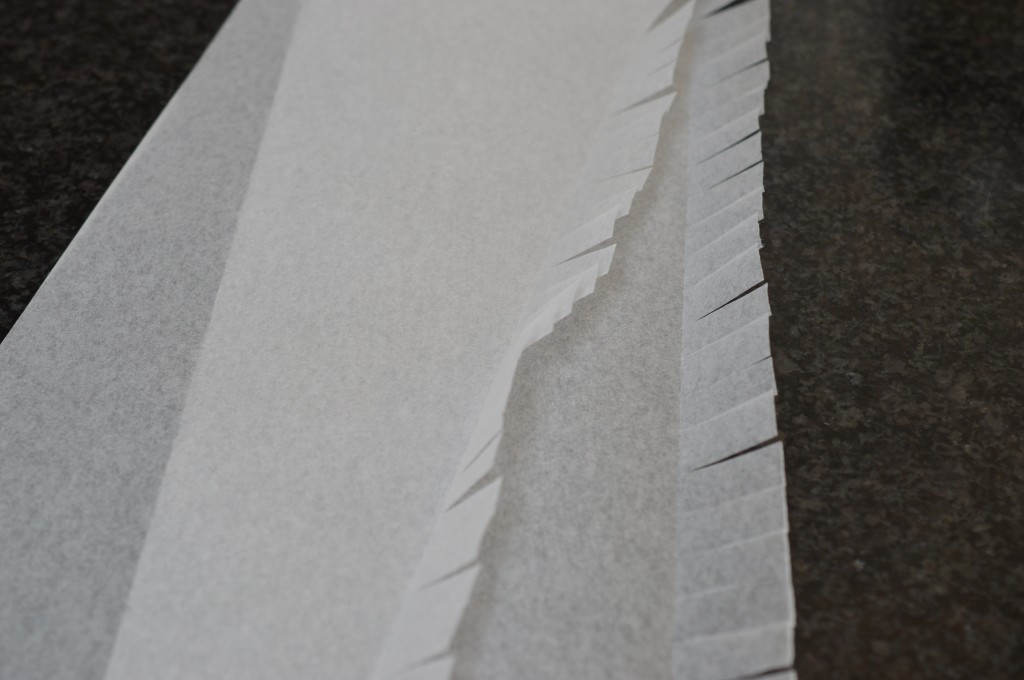
Springform is the best choice because you can unclip the sides to release the cheesecake without risking too much damage.  (My tin actually measures 22.5cm, btw, and is a Kaiser La Forme plus.)  Cut strips of baking parchment a good 6cm/2″ deeper than the height of the tin and fold up a narrow strip and cut up to the line.  This is so it will lay smoothly round a curve.
Cheesecake 22

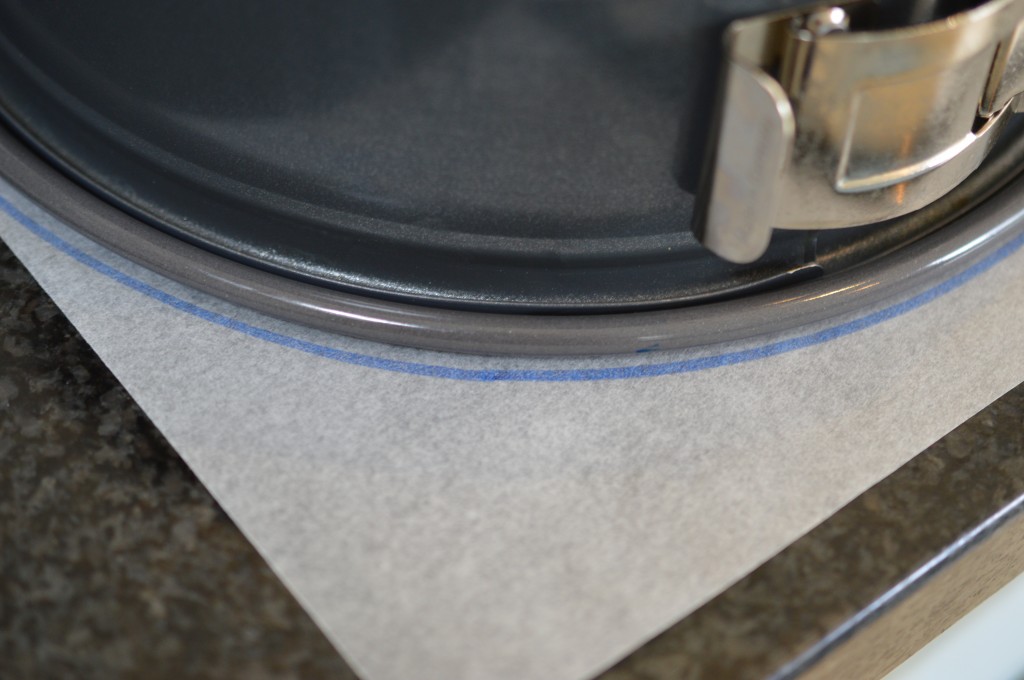
Draw around the base of the tin.  Twice.  Cut out the circles.

The downside to many springform cake pans is that they have an internal lip which makes getting anything off the base difficult.  My Kaiser springform doesn’t have that lip which is a plus, but the trade-off for the completely flat base is the lip is outside the side.  So I now have two circles of baking parchment larger than I need.  I place them into the tin and mark a score line with my nail around the base, then cut around that line which leaves me with two accurate paper circles.
Cheesecake - lining

Grease thoroughly.  I brush on melted butter.  Thoroughly buttering the tin isn’t just about getting the cheesecake out at the end, it’s also about avoiding cracks across the top.  You want your mixture to rise evenly and gently pull away from the sides without pressure put on that top surface.

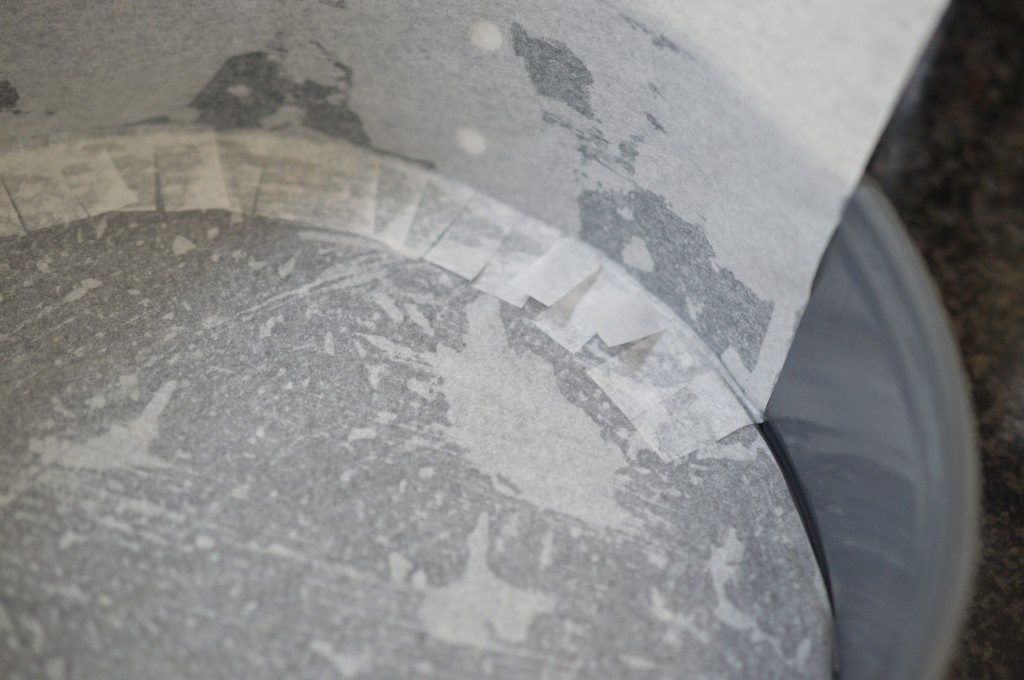
Place one of the parchment circles in the base and then line the sides with the scissored strips.  Brush with butter.  It’s the glue that keeps the paper in place.
Cheesecake 23

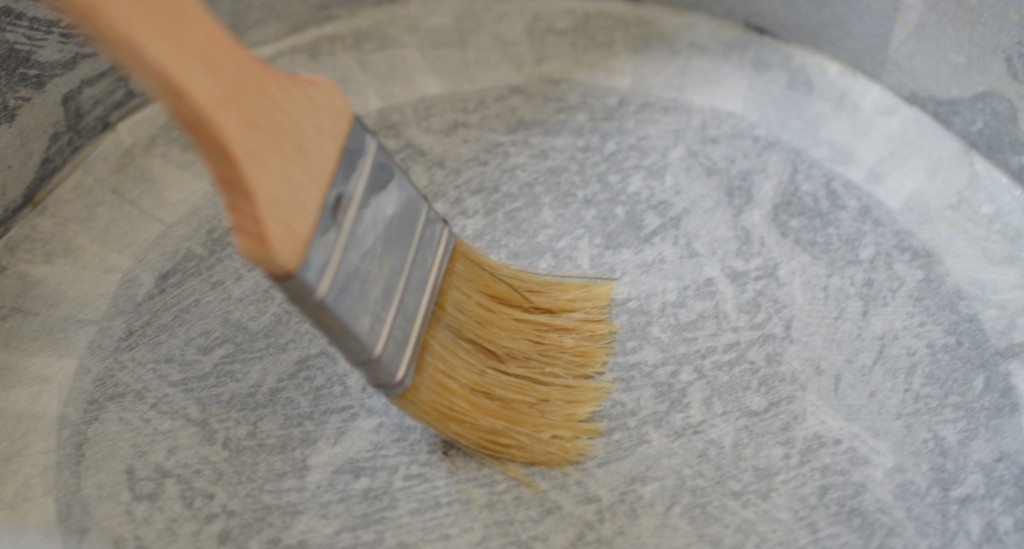
Finally, top with the second circle.  Brush with butter.  That’s the tin ready.
Cheesecake - 1

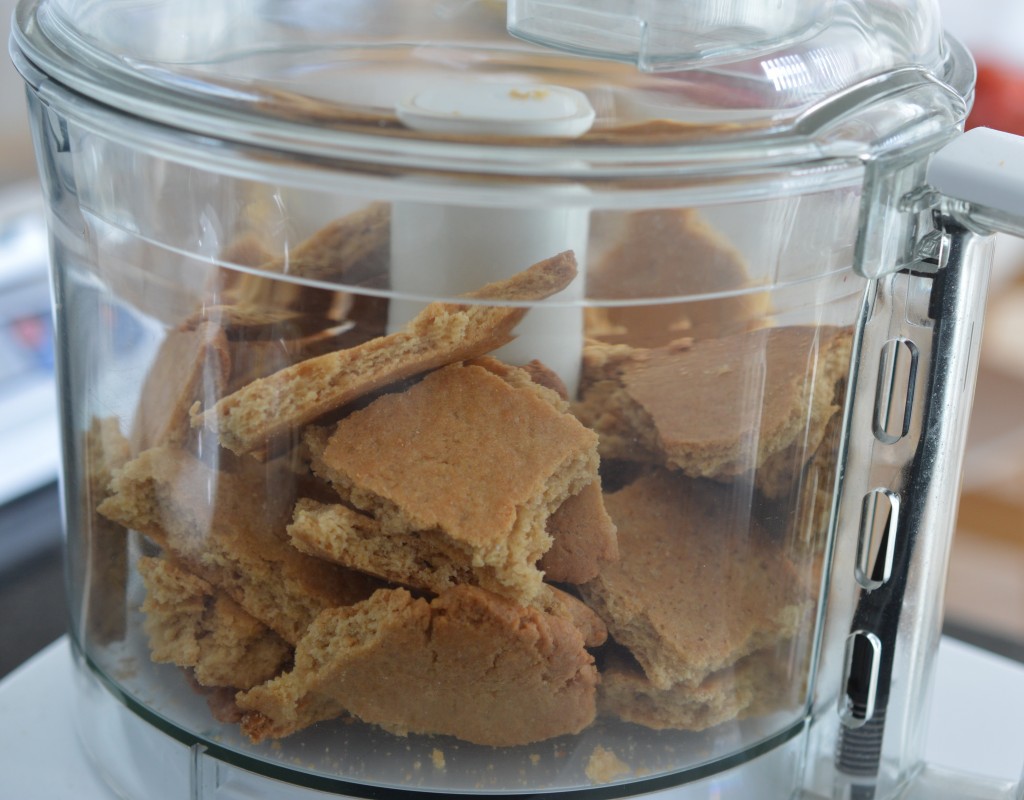
Break the now-cooled ‘biscuit’ base into generous shards and place in a food processor (or plastic bag).  Whizz (or bash).  Until you have fine breadcrumbs.
Cheesecake - 2

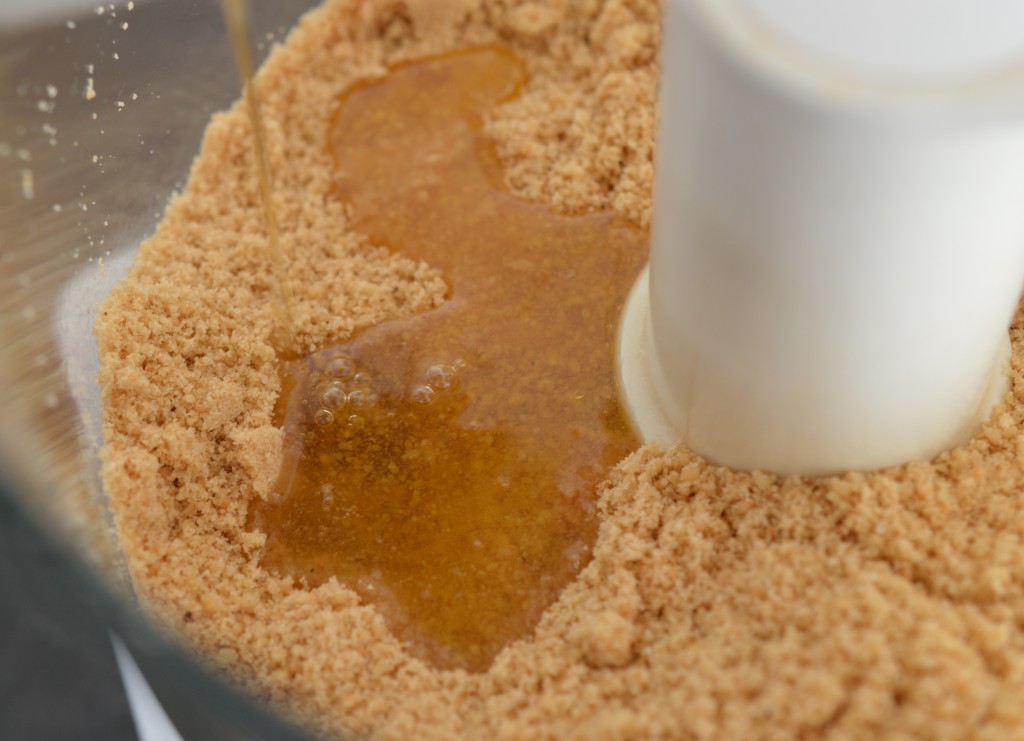
Add 40g melted butter and whiz again.
Cheesecake - 3

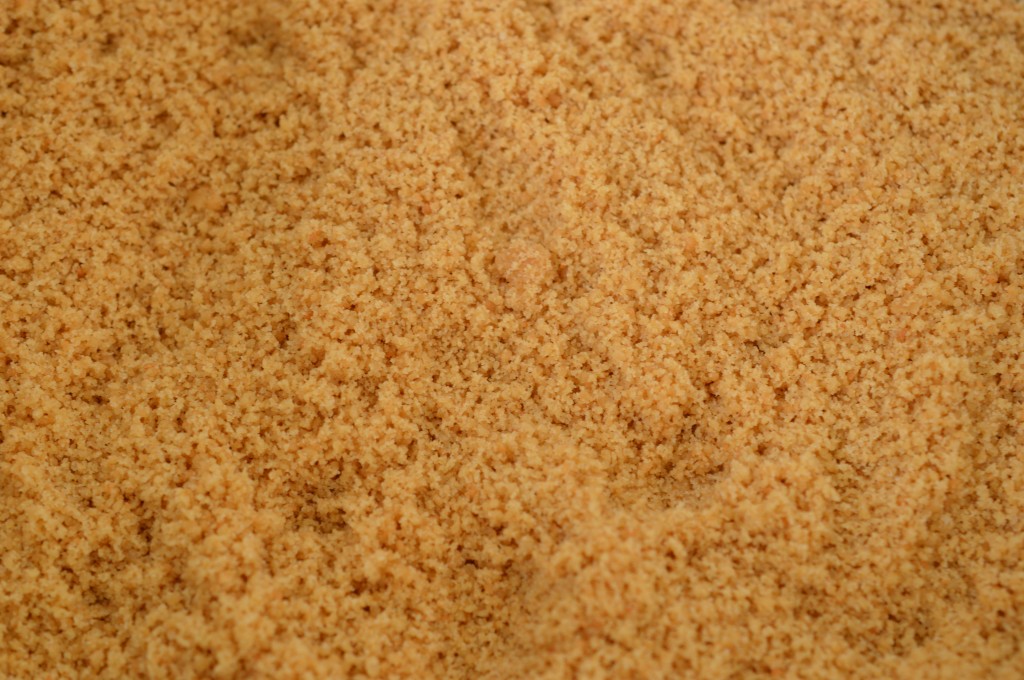
You are left with fine, sandy breadcrumbs. Press into the base of your prepared tin, using the back of a dessertspoon.  At this point, using ready-made biscuits you would usually put it in the oven for a 10-15 minute bake.  Don’t do that.  Rose Prince’s recipe moves seamlessly on to adding the ricotta cheesecake topping and then baking.

The first time I tried this recipe I baked my biscuity base before adding the cheesecake mixture.  What I ended up with was a damp ‘seepage’ line.  So, no baking.  Simply whizz and press.

Now would be the time to reduce your oven temperature.  160ºC/320ºF/Gas Mark 3.
Cheesecake - 4

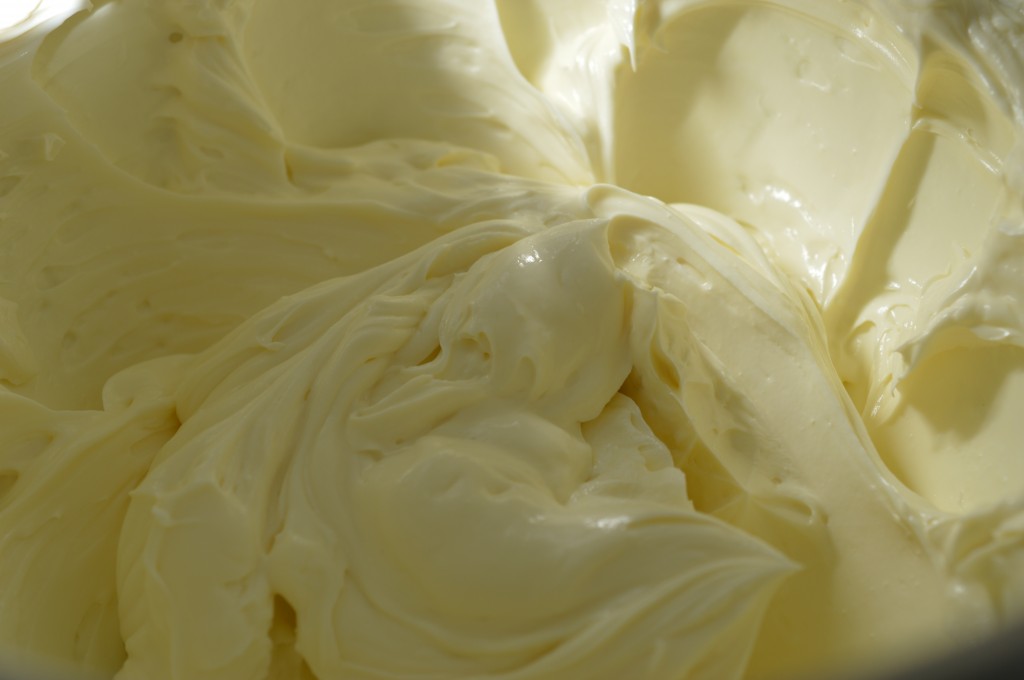
I put my room temperature cream cheese into the mixer bowl and beat until smooth.  Then I add a small carton of sour cream and the same amount of double cream (for me that’s cream with a 48% butterfat content).  I add that to the cream cheese to give me a lighter end result.
Cheesecake - 6

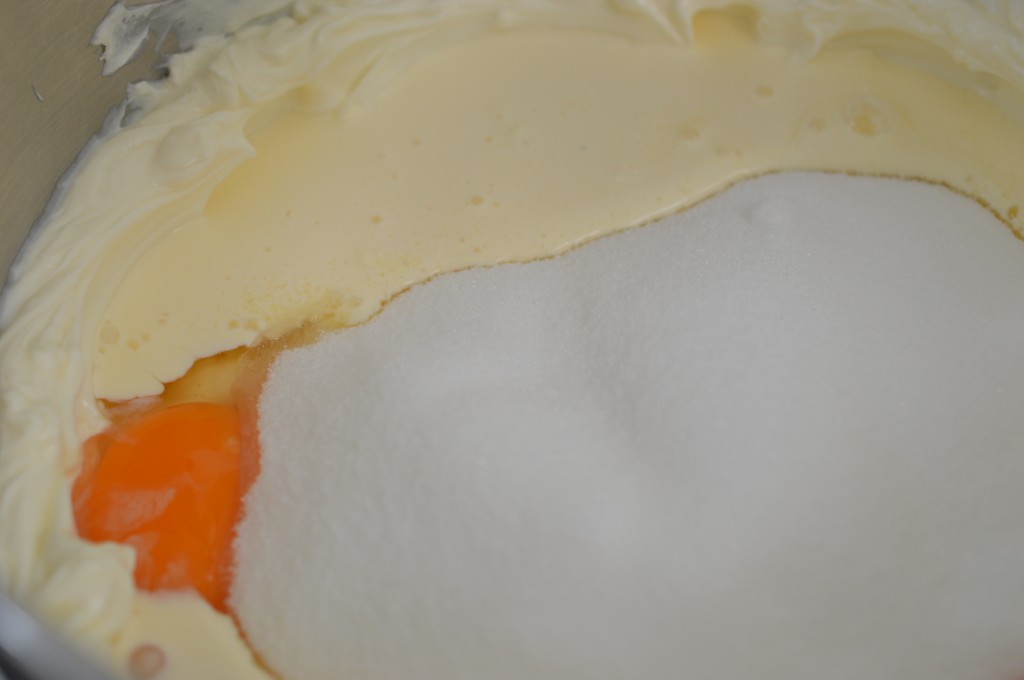
Then it’s the sugar and the room temperature eggs.  You are not trying to add air, but ensure a beautifully smooth mixture.  Beat, using a flat beater on a medium speed, for 5 minutes.  It should be smooth and very creamy.  Scrape down sides of the bowl to catch anything missed on the bottom and add the flavouring.
custard - vanilla pod

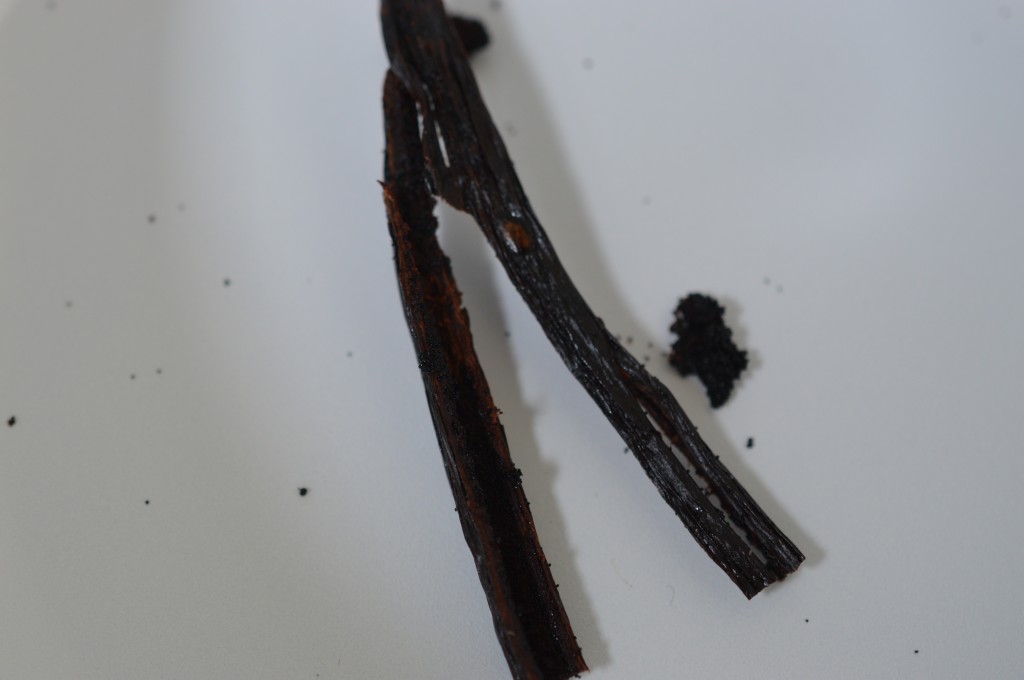
Vanilla here.  With vanilla, I’m afraid you get what you pay for.  You want a soft, fat, bendable pod.  Split the pod with the point of a sharp knife and scrape out the gooey seeds with a teaspoon.  (Pop the pod casing into a jar of caster sugar – eventually you end up with ‘vanilla sugar’ which is lovely to bake with.)  The seeds go into the cheesecake mixture.  Mix again.

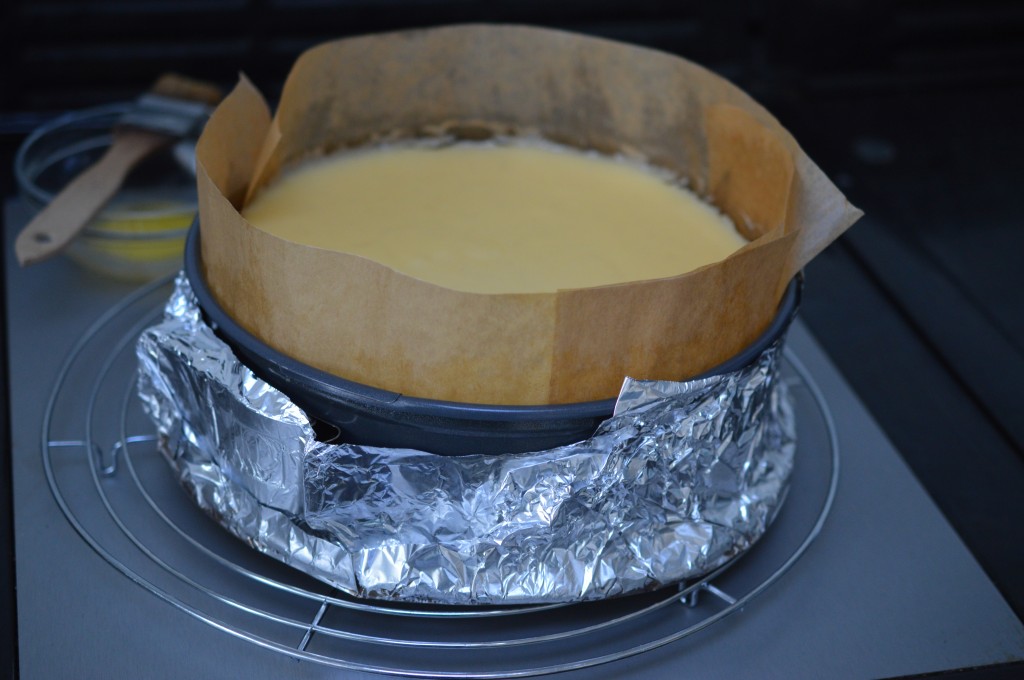
Cheesecakes need a gentle bake and the best way to do that is to use a water bath.  Wrap the base of your prepared cake tin in foil.  Make a good job of this.  Two sheets are better than one.  There must be no gaps or water will seep into your cheesecake and it will be fit for nothing but the bin.

Once all is watertight, place into a roasting tray.  Put on the kettle.  This time, it’s not for you.
Cheesecake - 7

Pour the silky smooth cheesecake mix on top of your biscuity base.   Once the kettle is boiling, pour hot water into the roasting tin so your cheesecake is sitting in a gentle water bath which reaches halfway up the sides of the tin.  Then into the oven.  Bottom shelf.  1½ hours.

(Aga:  I cook in a water bath because I find it still gives better results.  It’s 20 mins on the grid shelf on the floor of the Roasting Oven and then transfer to the simmering oven for a further 2 hours.)
Cheesecake 30

It’s cooked when the sides are gently pulling away from the paper and the centre is set but still a little wobbly.  The cheesecake will continue to cook as it cools.

Conventional ovens – turn off the oven and leave the door ajar for an hour or so and let the cheesecake cool very gently.  This is all about avoiding cracking.  Then you remove completely, cover the top with clean foil but making sure it’s not in contact with the surface, and put into the fridge.  Four hours or overnight.

(Aga – I have a four oven aga so after two hours in the simmering oven, I take my cheesecake out of the water bath and put on a cooling rack resting on the warming plate.)
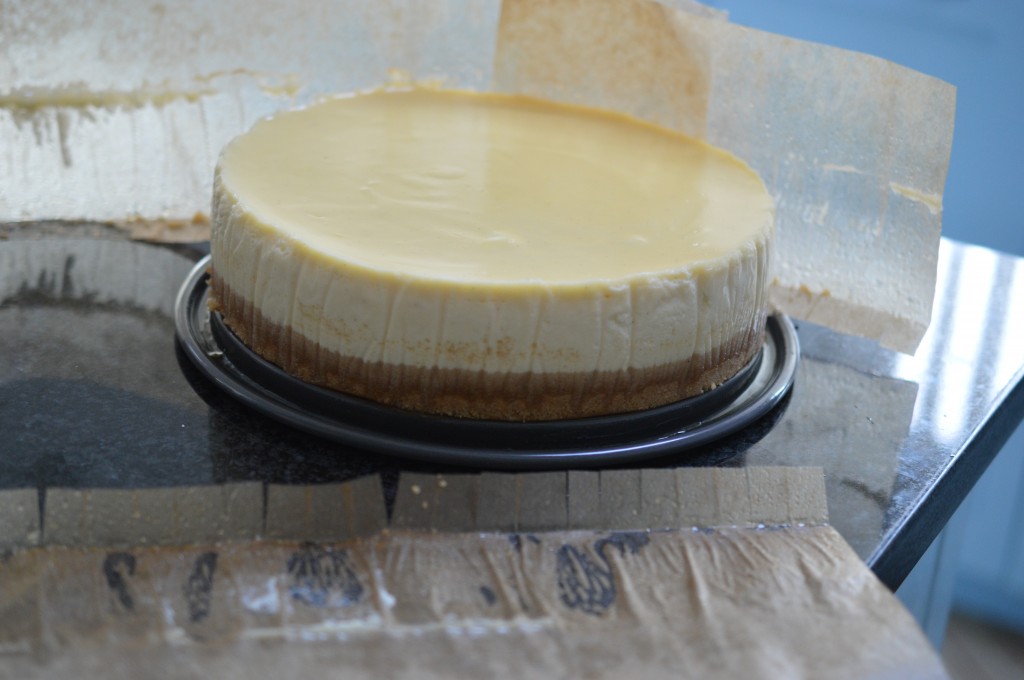
Cheesecake 31

The now completely cooled cheesecake is ready to be unwrapped.  Go gently.  A cheesecake is a fragile beauty.  Release the clip and gently pull away the baking parchment.
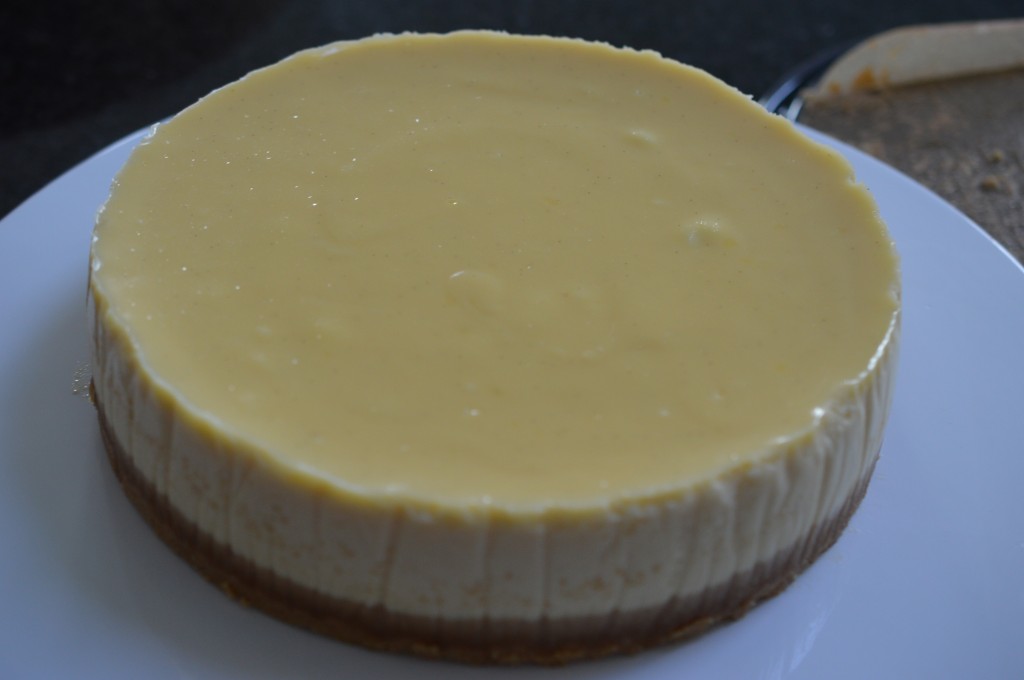
Cheesecake 32

I like to remove the base.  The easiest way I’ve found is to use the flat base of a larger quiche/flan tin.  Slide it between the biscuit base and the tin.  It’s one of those nerves of steel situations …
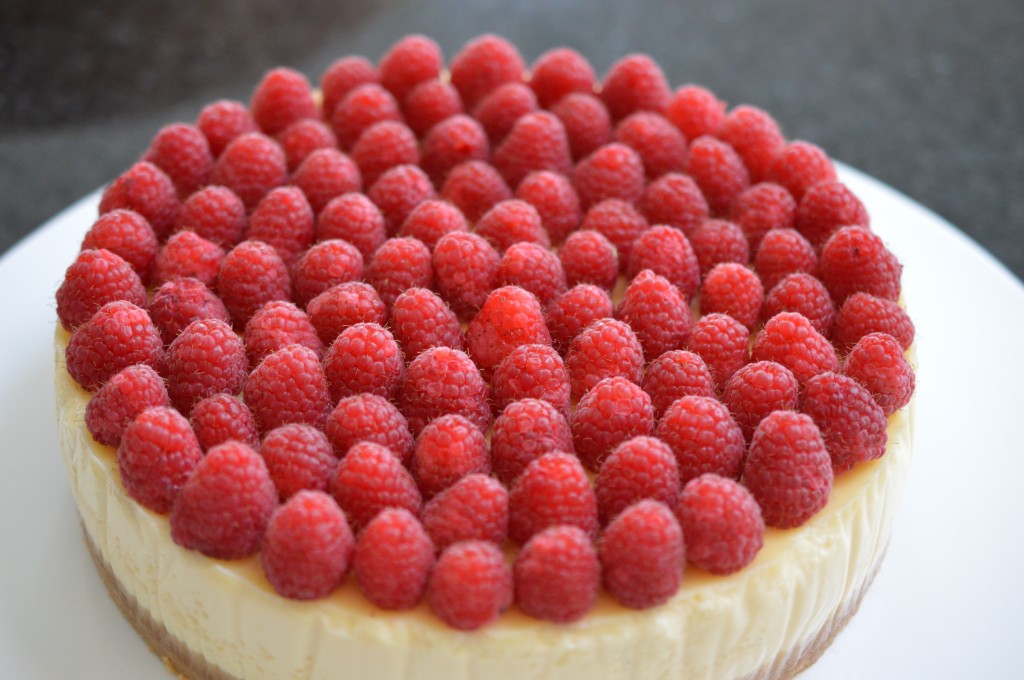
Cheesecake 34

For my ‘birthday’ version.  I covered the top with fresh raspberries.
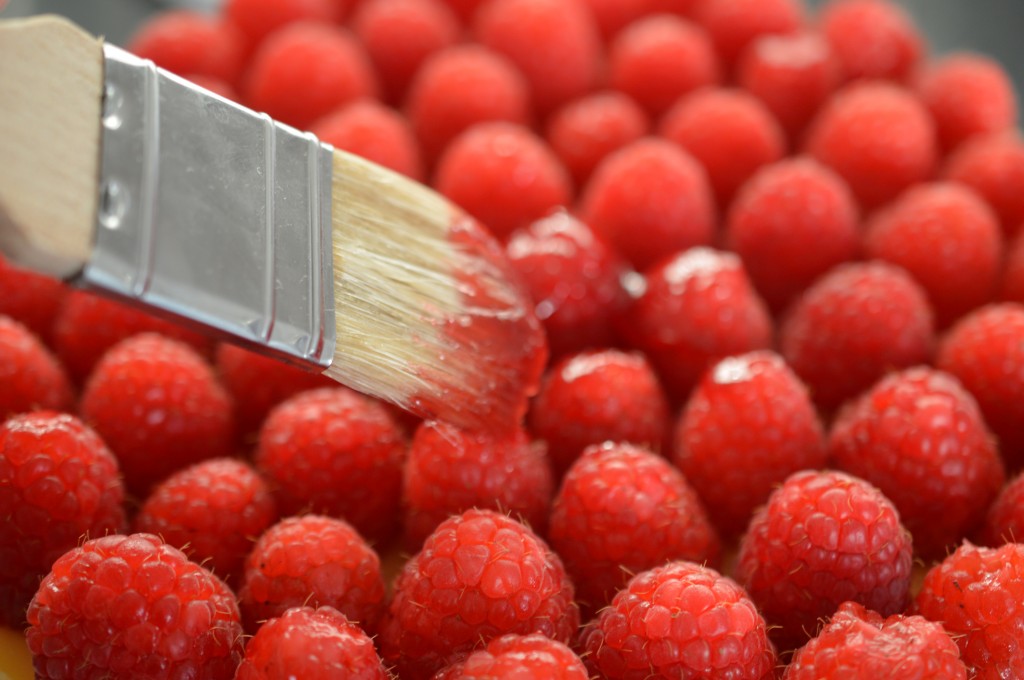
Cheesecake 15

It may well have been easier to have brushed my raspberries with warmed, slightly thinned with water, sieved and cooled raspberry jam before placing on the cheesecake .. but, I didn’t …
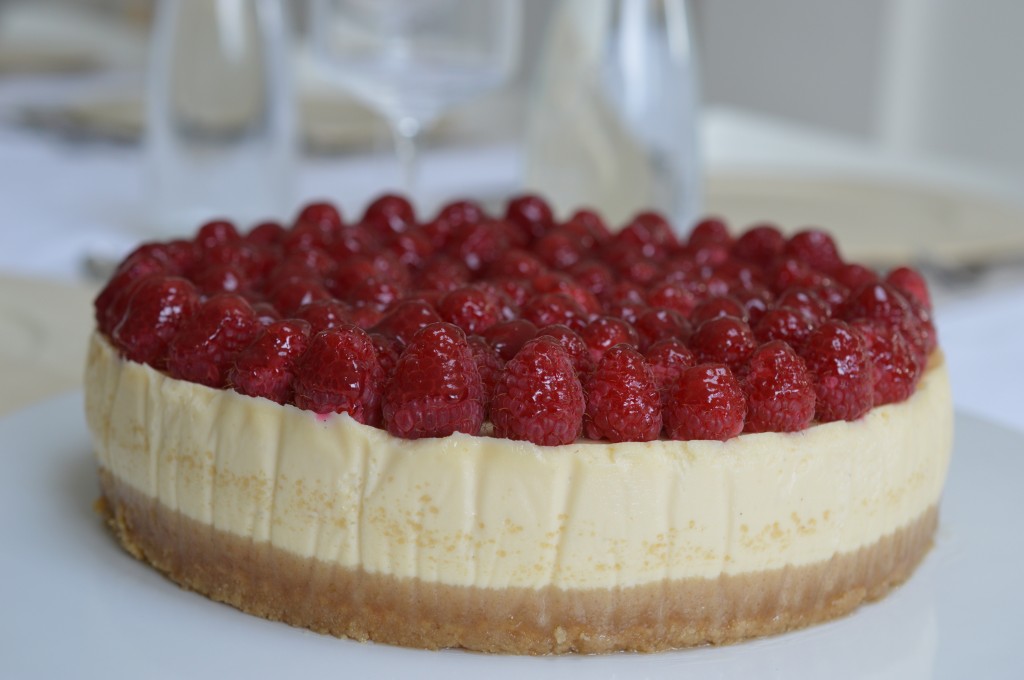
Cheesecake - finished

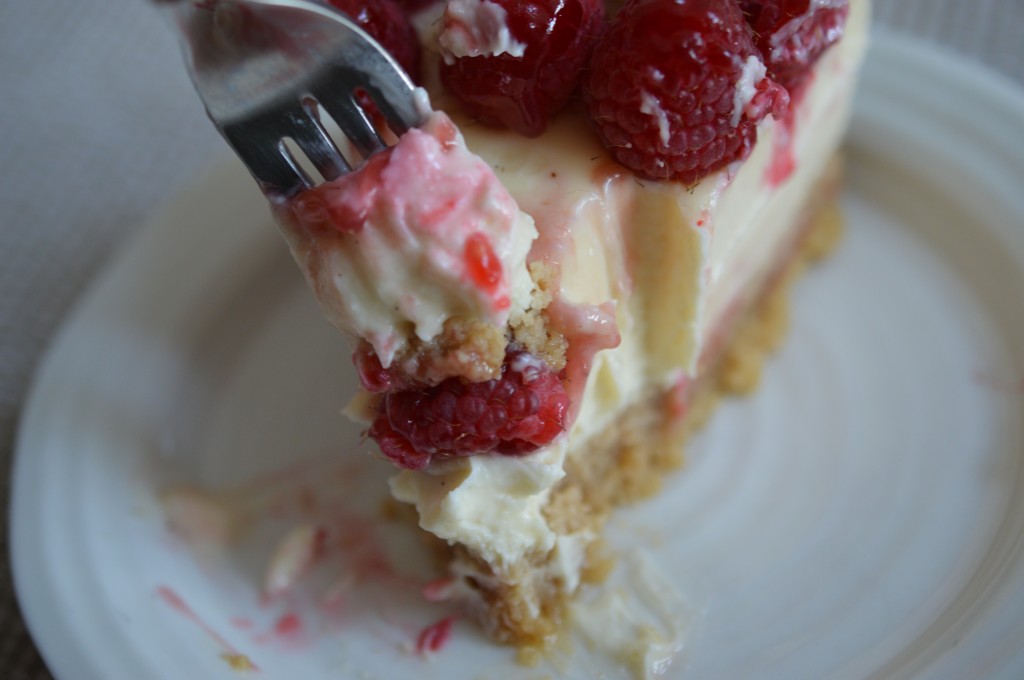
That’s it.  A calorific slice of Heaven.  And candles ..
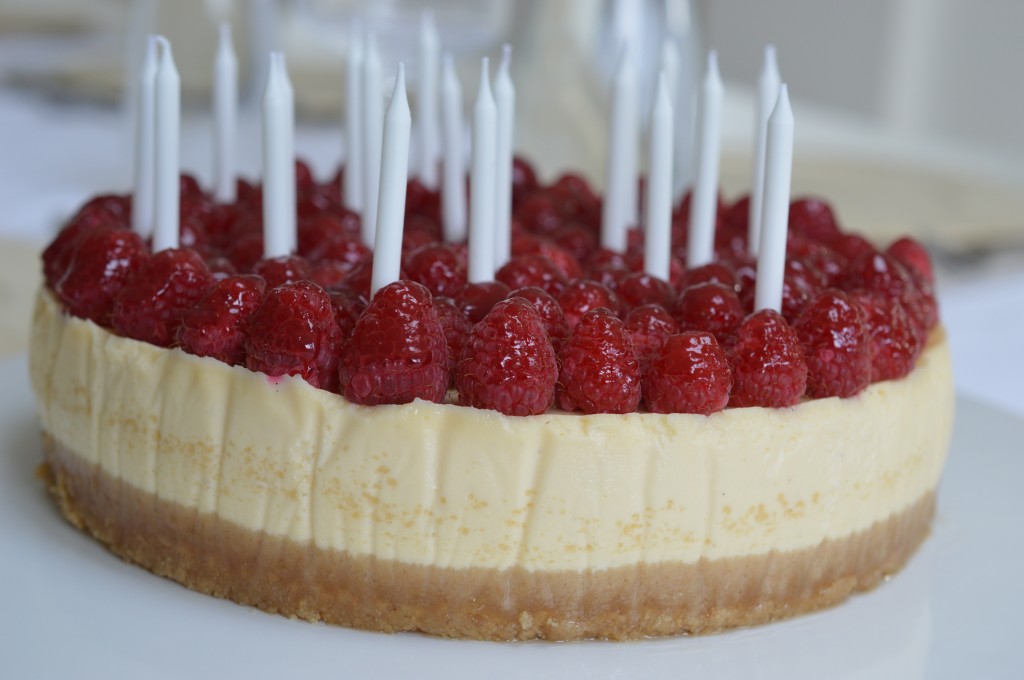
Cheesecake - candles

Yes, of course, I did! Happy Birthday Seb!


Baked Vanilla Cheesecake with fresh raspberries – Serves an optimistic 12


The Base (discovered in ‘The Pocket Bakery’ by Rose Prince)

  • 120g/4½oz softened butter
  • 165g/6oz Demerara sugar
  • 1 large egg
  • ¼tsp vanilla extract
  • 225g/7½oz plain flour
  • ¾tsp baking powder
  • Pinch of salt

Cream 80g/2¾oz of the butter with the Demerara sugar until is is lighter in colour and very soft with a flat beater.  Add the egg, vanilla extract, flour, baking powder and fine salt.  Mix again.  Scrape the dough out onto your work-surface and form into a ball, then press into a disc, wrap in cling film and put into the fridge.

Pre-heat your oven to 180ºC/350ºF/Gas Mark 4 and prepare your 22cm/9″ springform cake tin.

After half an hour your dough should be roll-able.  Between two sheets of cling film, roll until it is approximately ½cm/¼” thick.  Then, transfer to a baking sheet lined with bake-o-glide or baking parchment.

Bake for 15 minutes until it is golden and ‘cooked’ through.  Set aside to cool. (Four Oven Aga:  I cook on the top set of runners in the Baking Oven for 15 minutes.)

Break into shards and put into the bowl of a food processor.  Blitz until it becomes sandy crumbs.  (Or place in a plastic bag and bash until you reach the same stage.)

Melt the remaining 40g butter and add that to the crumb mix.

Melt the remaining 40g of butter.  Add that to the biscuit crumbs.  Whiz again.  Then pour into the lined and greased springform tin and press in, evenly and firmly.

Wrap the base of the cake tin in strong foil to make a waterproof coat.  Place in a large roasting tin.


The Filling

  • 900g/2lb full-fat cream cheese, at room temperature
  • 170g carton of soured cream
  • 170g double cream, I measure using the soured cream pot
  • 270g/9½oz caster sugar
  • 4 large eggs, at room temperature
  • 1 vanilla pod, split with a knife lengthways and the sticky seeds scraped out with a teaspoon

Preheat the oven to 160ºC/320ºF/Gas Mark 3.

Place the cream cheese into a bowl and beat until smooth.

Add the double cream and soured cream and beat again.

Now the sugar and eggs.  Mix for 5 minutes on a medium speed until your cheesecake mix is silky smooth.

Add the vanilla seeds and mix to incorporate.

Pour into the prepared tin and smooth the top with an angled palette knife.

Put on the kettle.  Once boiling, pour the water into the roasting tin until the hot water reaches halfway up the sides of the springform cake tin.  Then transfer to the oven.  Bottom set of runner for 1½ hours. (Aga: cook for 20 mins on the grid shelf on the floor of the Roasting Oven and then transfer to the simmering oven for a further 2 hours.)

Once the sides are slightly pulling away from the baking parchment and the centre is set but still has a slight wobble, turn the oven off.  Leave the cheesecake in place and leave to cool very gently for an hour.  (Aga:  remove the cheesecake from the Simmering Oven and either place on a cooling rack on the warming plate or leave to cool in the water bath.)

Cover the top with foil, making sure it isn’t in contact with the delicate cheesecake top, and put in the fridge to chill for a further four hours or so.

Completely cold, remove the cheesecake from the wrappings.  Loosen the clip and peel away the baking parchment.  The flat base of a large quiche/flan tin makes it easier to transfer to a serving plate.

Decorate with fresh raspberries.  With warmed, thinned with water, sieved and cooled raspberry jam – glaze.  Serve at room temperature.  Eat.

Print UK – Metric and Imperial


Raspberry Curd

Fresh raspberries don’t travel well – which makes them an expensive fruit.  I look at those plastic boxes of single layer fruit in the supermarket and wince.  Rarely buy.  They do, however, freeze fantastically and the bags of frozen berries are so much cheaper.  When I’m making jam I go in that direction, but there are times when a fresh berry is needful.

I suppose the optimum situation would be if I grew them myself, but having watching Monty Don (presenter on BBCs ‘Gardeners’ World’) performing advanced knotting on his raspberry canes I do wonder whether a girl whose wellington boots have a wedge heel would be up to the job.

Raspberries - Market Day

All of which made market day this week so much more exciting.  Yes, they are a little on the ripe side and for the benefit of my photo I sacrificed a few!  Raspberries really don’t like to be artistically stacked, do they?  Immediately after this photo was taken I carefully laid them out on several plates and tucked them away in the fridge – because that’s the other annoying thing about them, they don’t keep well ‘in the raw’ either.

Almost immediately on getting home with my hoard, my mind turned to vodka.  I have a few steeping now and you can follow their progress here.  It’s a bit of an annual event.  Eventually the sozzled berries will find their way into a Christmas trifle and the raspberry vodka will become a summer indulgence.

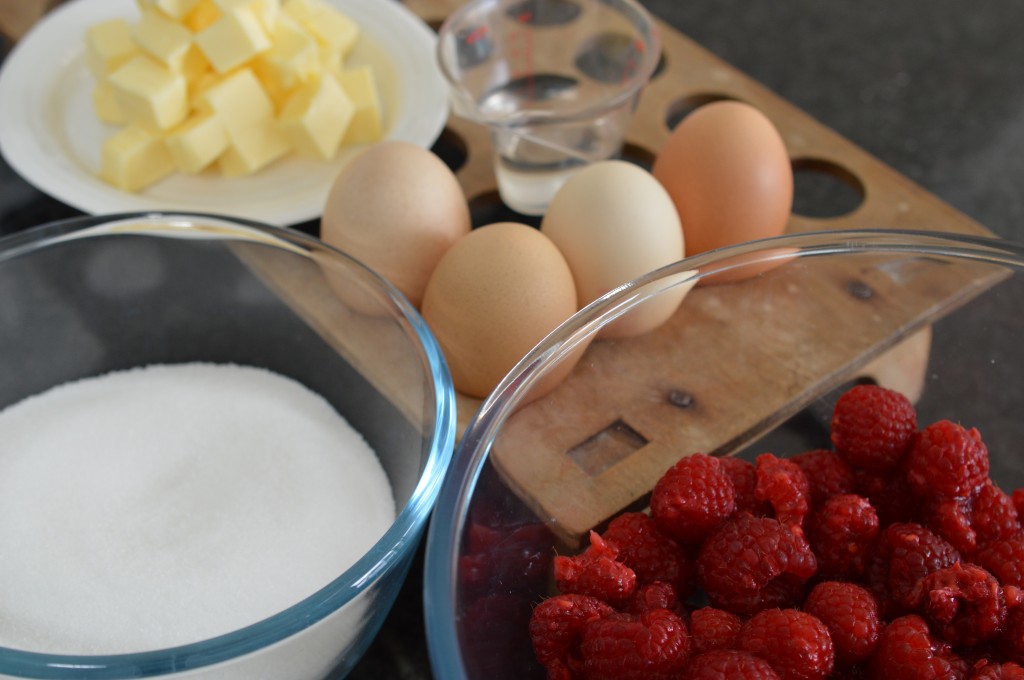
Rasberries - Ingredients for curd

One cup of strong coffee later and I began on raspberry curd.  I won’t lie.  There’ll be a moment during this process when you’ll lose the will to live.  Making it requires constant attention and, much like risotto, I find I have to be in the right mood to make it.  The reward is a reasonably small quantity of a quite extraordinary tasting preserve.  If I tell you it tastes of ‘raspberries’ I’ll sound daft, but that’s exactly it.  It tastes of raspberry more than a raspberry …

Raspberries - curd - in pan

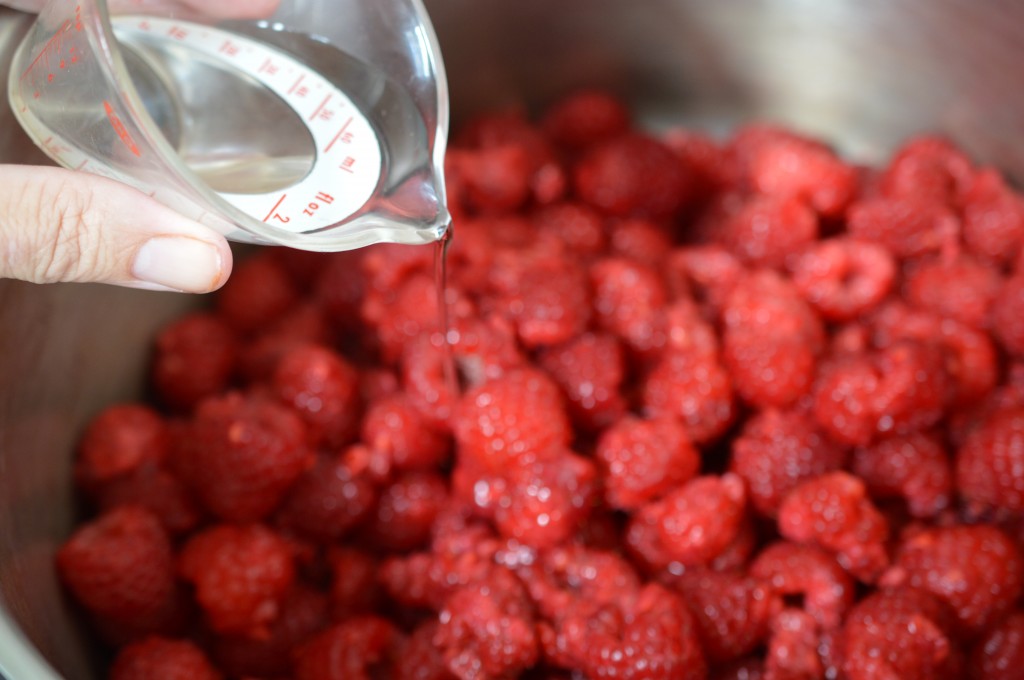
You begin by putting your raspberries in a saucepan and adding a little bit of water.  I’m using 1kg (that’s 2¼lb) of raspberries and I add just a couple of tablespoons of water.

Rasberries - curd - boil

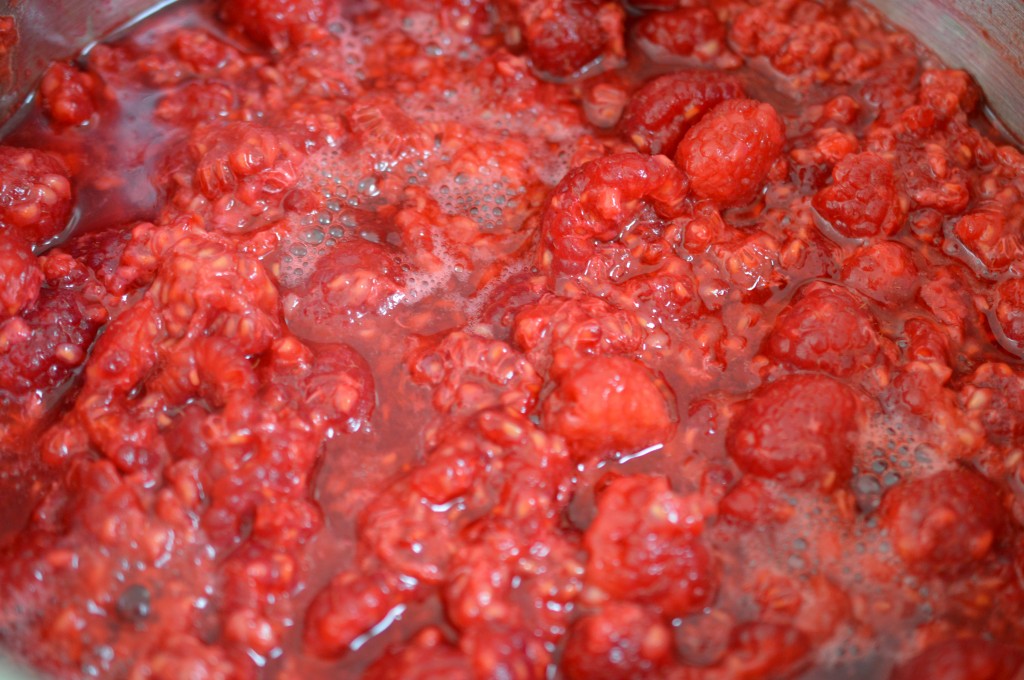
Bring the whole thing to boiling point and then turn down the heat and simmer for about 5 minutes.  You want the fruit to be entirely soft and mushy, so keep going if yours are not ready.

Raspberries - curd - sieve

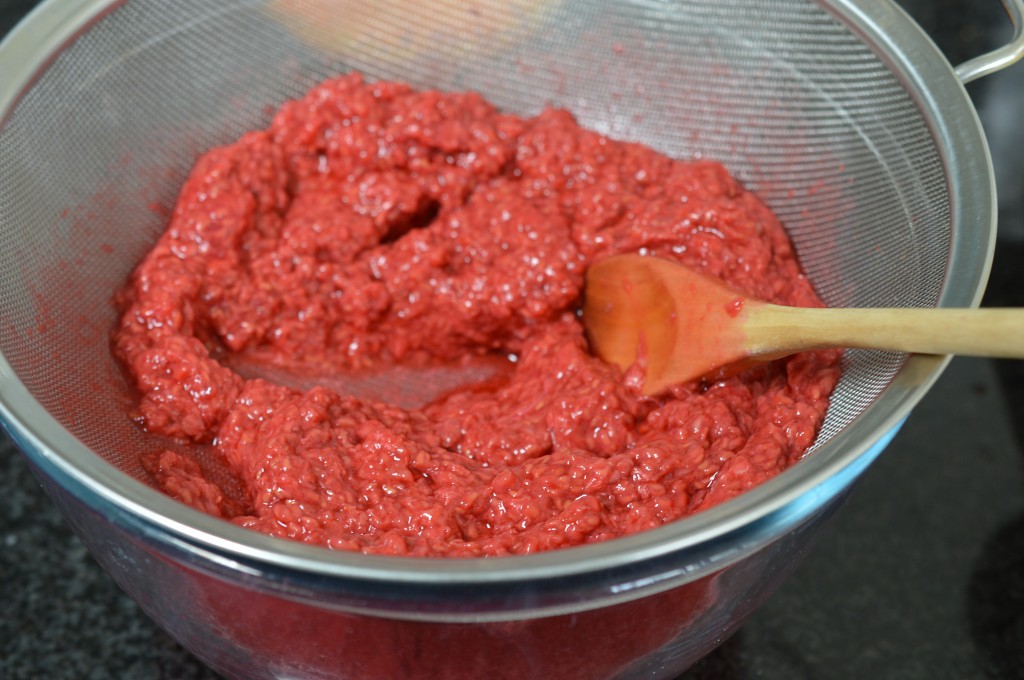
Tip it into a fine sieve and with the back of a wooden spoon push as much of the pulp through as possible.  You’ll never get it all through.  When you’ve done your reasonable best, discard what’s left in the sieve.

Raspberries - curd - jug

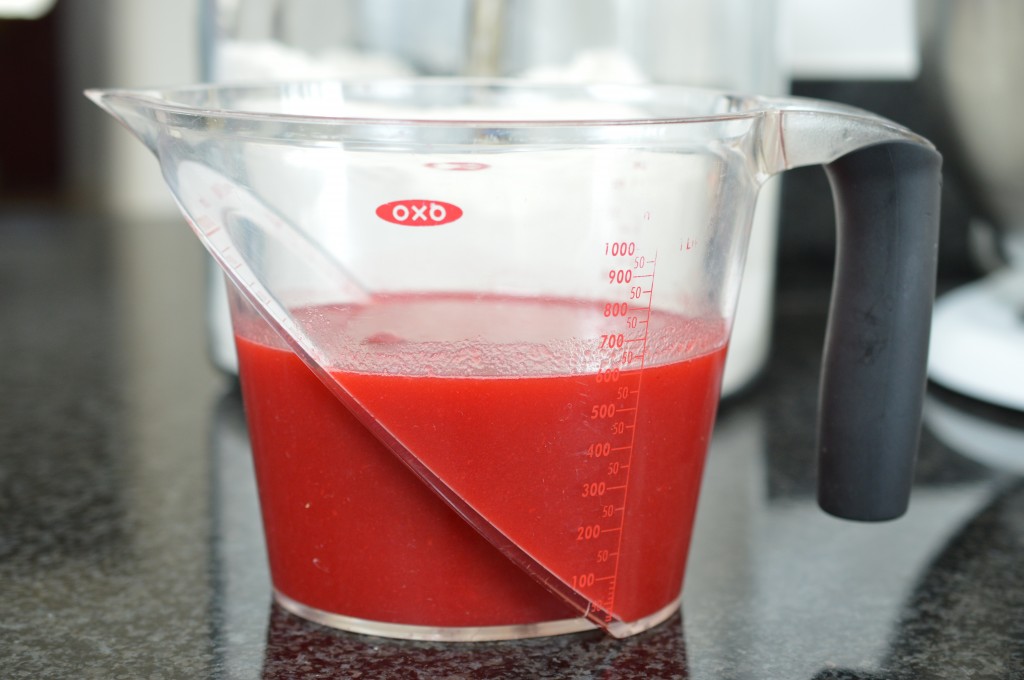
And here’s a first, I’ve never measured what ends up in my bowl.  It’s 600ml.

Rasberries - curd - eggs beaten

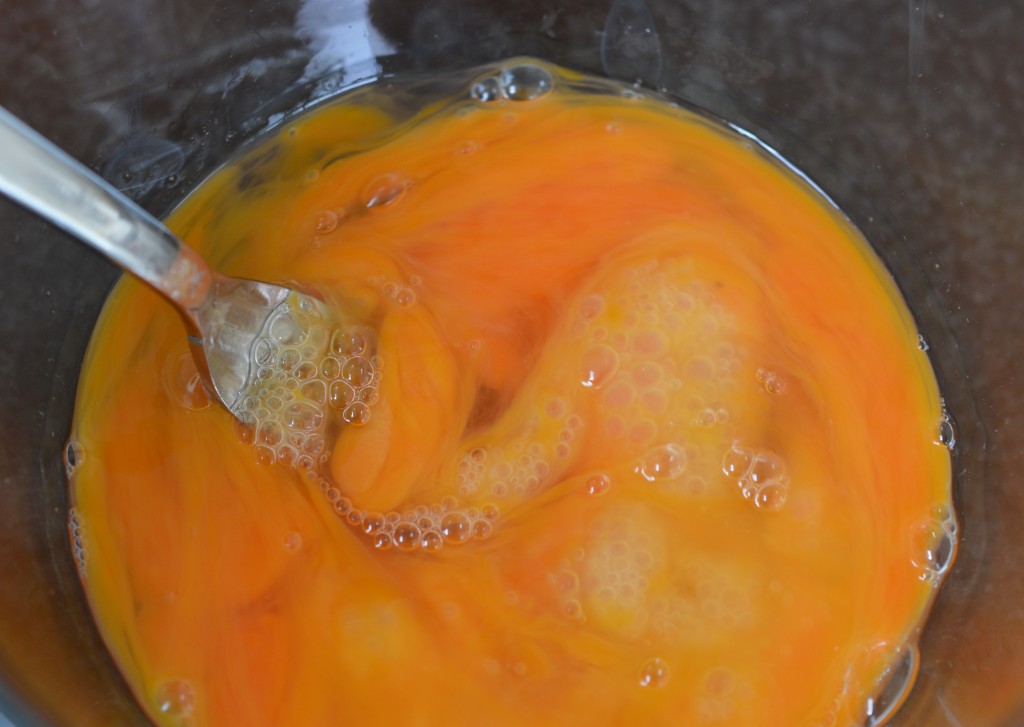
Have everything ready. Pop your clean glass jars into a low oven to sterilise. Have the white granulated sugar measured. Salted butter, diced small. 4 eggs, beaten.

That’s the ‘thing’ about making raspberry curd – it doesn’t like to be left.  Since you are going to be here for a while you might like to put on the radio ..?  I’m addicted to ‘audible.co.uk’ and have story tapes at the press of a button.  Currently listening to Georgette Heyer’s ‘The Quiet Gentlemen’.

Raspberry - curd - egg

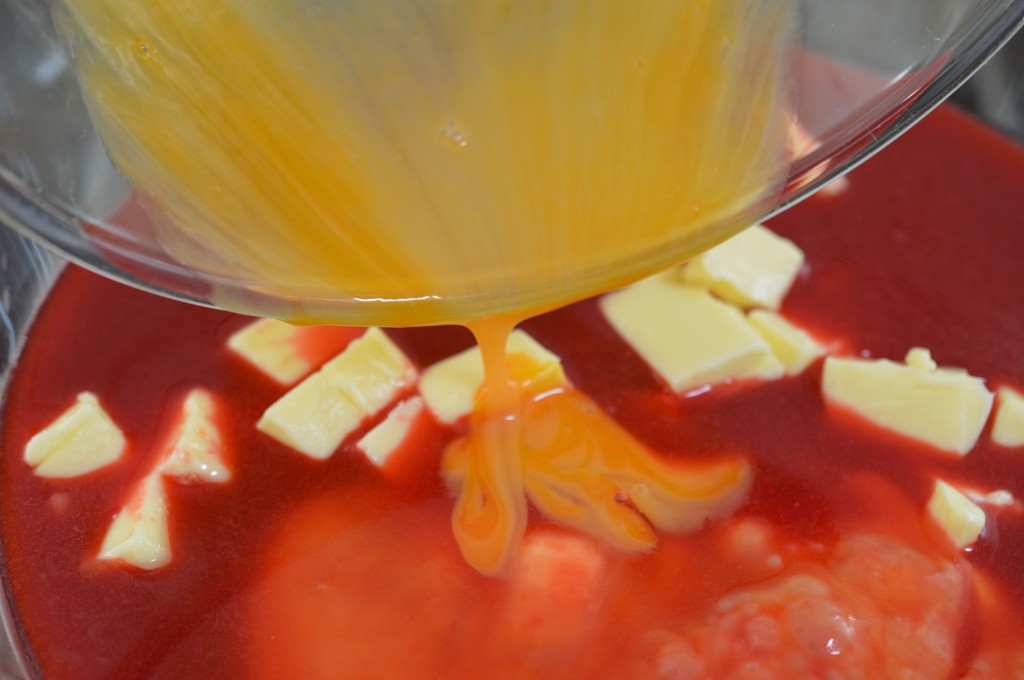
Put the raspberry juice into a large bowl and suspend that over a saucepan with a few centimetres of barely simmering water, unless you are one of the lucky few who own a double boiler.  If so, use that.  Then you add the sugar, diced salted butter and the beaten eggs.

Raspberries Curd - whisk

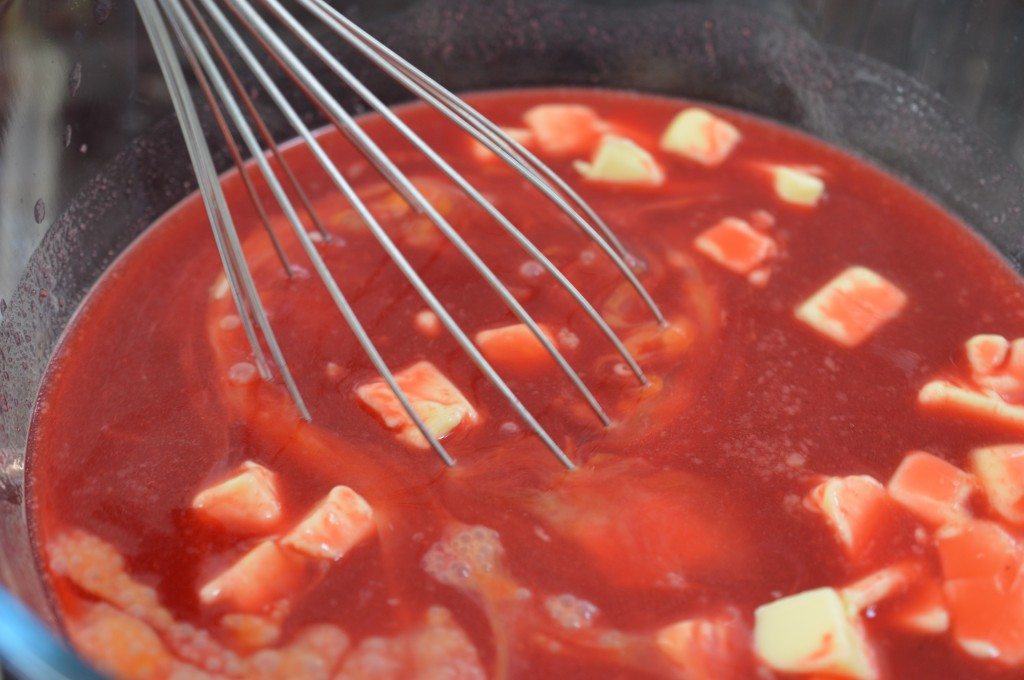
Get your whisk in and gently stir.  You are looking for the butter to melt and for there to be no gritty, undissolved sugar.  Once all is smooth, swap your whisk for a wooden spoon.

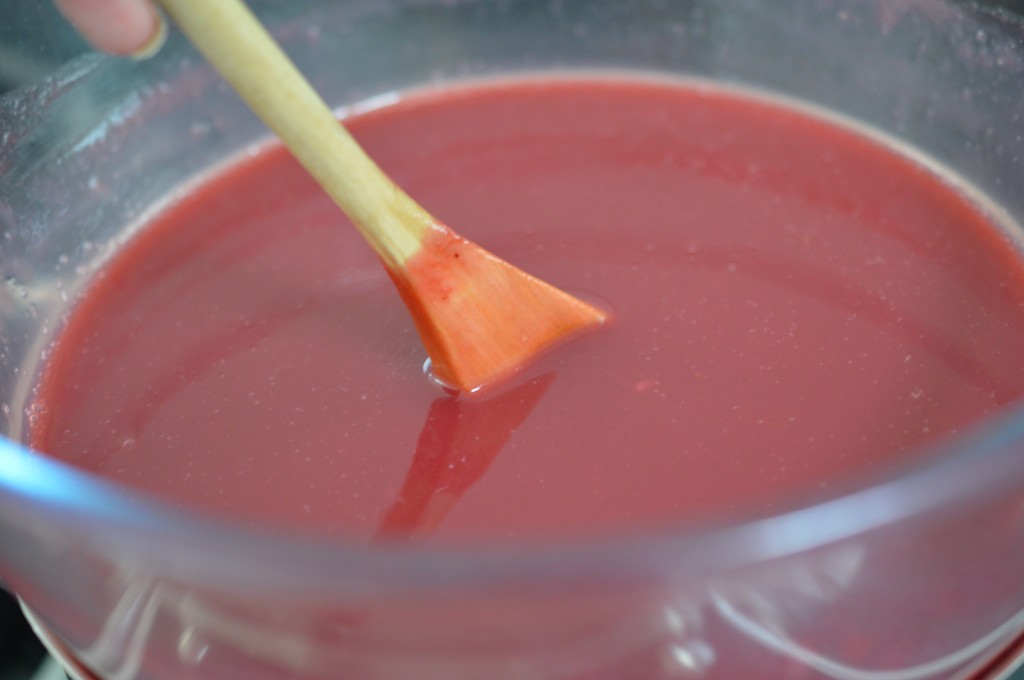
Raspberry Curd - smooth - spoon

And continue to stir. Keep the liquid moving.  That’s really all there is to it.  Eventually the egg yolks will thicken the mixture and you will have raspberry curd.

Only there are a few things that can go wrong:-

  • The mixture may curdle.  At the first sign of it, whip the bowl off the heat, cool everything down rapidly (sit the bowl in some cold cold water) and stir the life out of it.  Berate yourself for your lack of vigilance while stirring.  I think you’re allowed to swear quietly – but just the once.  As soon as all is calm again you can look to the causes.  It may be you’ve had the bowl touching the water.  Well, don’t do that again!  Or you may need to lower the temperature beneath your saucepan as the heat is too fierce.
  • The mixture may not thicken.  If you’ve been going for half an hour you probably should increase the heat below your pan.  Just don’t be tempted to add any cornflour as that diminishes the raspberry hit in the finished curd.  If you’ve really got a problem, then add a single egg yolk and keep stirring.

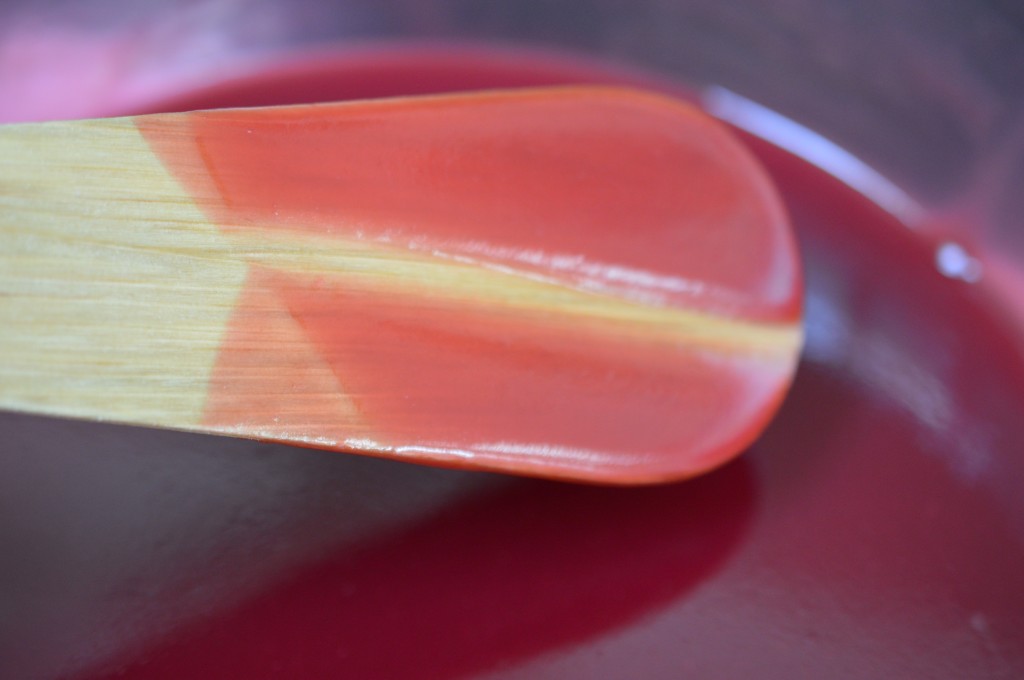
Raspberry Curd - wooden spoon

Eventually you reach the point where the curd will coat the back of a spoon.  If this is your first time making raspberry curd you should know that it will thicken as it cools, so this isn’t the consistency you’ll end up with.  I give the mixture a quick sieve at this point to remove the white stringy bit that holds the egg yolk to the white.

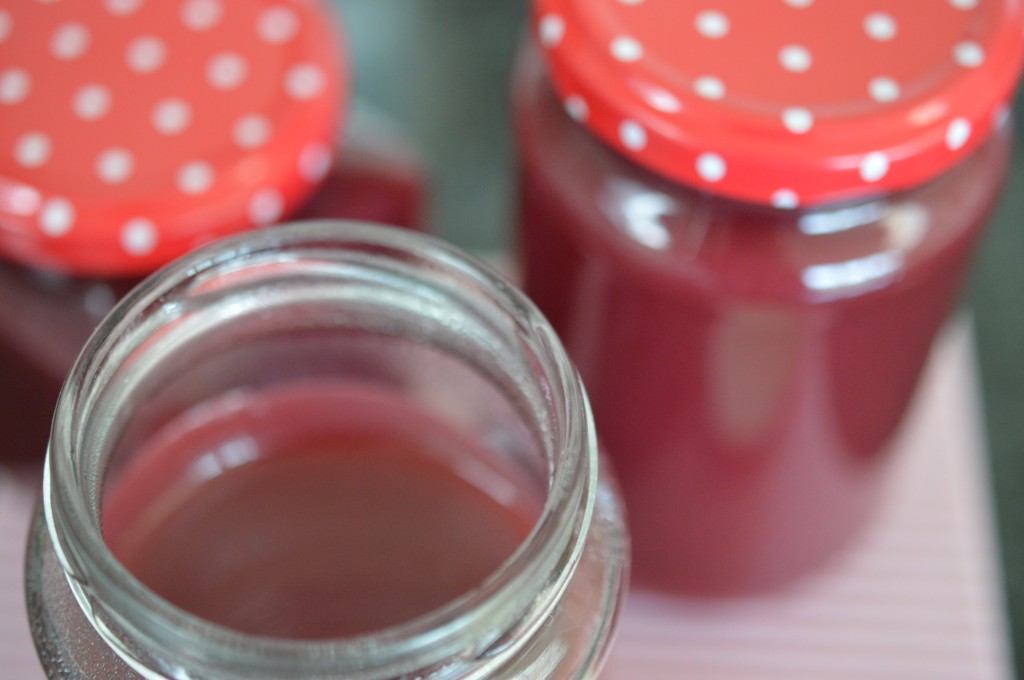
Raspberry Curd - in jars

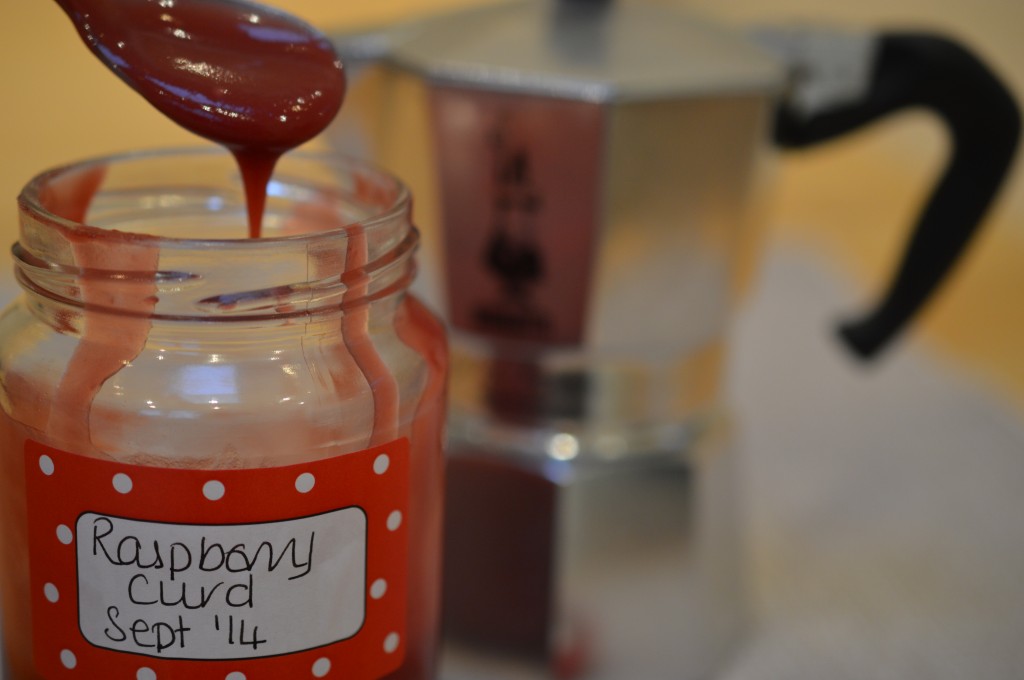
Then it’s straight into warm, sterilised jars.  Smaller is better than large jars because a fruit curd doesn’t keep for long.  Unopened you’ve probably got about 3 months.  Once you’ve started a jar you really ought to eat it within the week.  Opened or unopened, store in the fridge.  I’ve never had a problem getting through it – but if you think you might, it freezes brilliantly.

DSC_0133

Like raspberry anything, this curd has a natural affinity with cream and dark chocolate.  It’s good stirred through Greek yoghurt and frozen as iced treats.  Lovely in a roulade.  Layered with buttercream in a Victoria sandwich.

DSC_0113

But, me, I’m heading in this direction …


Raspberry Curd – Makes five 4oz jars.

  • 1kg/2¼lb raspberries
  • 450g/1lb white granulated sugar
  • 115g/4oz salted butter,  diced small
  • 4 large eggs, beaten

Place the raspberries in a saucepan with 2 tablespoons of water and bring to the boil.  Reduce the heat to a simmer for about 5 minutes until your fruit is extremely soft and sieve-able.

Using the back of a wooden spoon push as much of the fruity mixture through a fine sieve as you can.  Discard the pips.  Place the smooth fruit in a bowl on top of a saucepan of simmering water.

Add the sugar, butter cubes and beaten eggs.  Over a low heat, whisk until all the butter has melted and the sugar dissolved.  Swap to a wooden spoon and keep stirring – about 20 minutes – until the mixture has thickened enough to coat the back of the spoon.

Sieve to remove any stray bits of egg, then transfer to sterilised jam jars.  The curd will thicken as it cools.

Store in the fridge.  Eat within three months.  Or freeze for up to a year.

Print – Metric and US