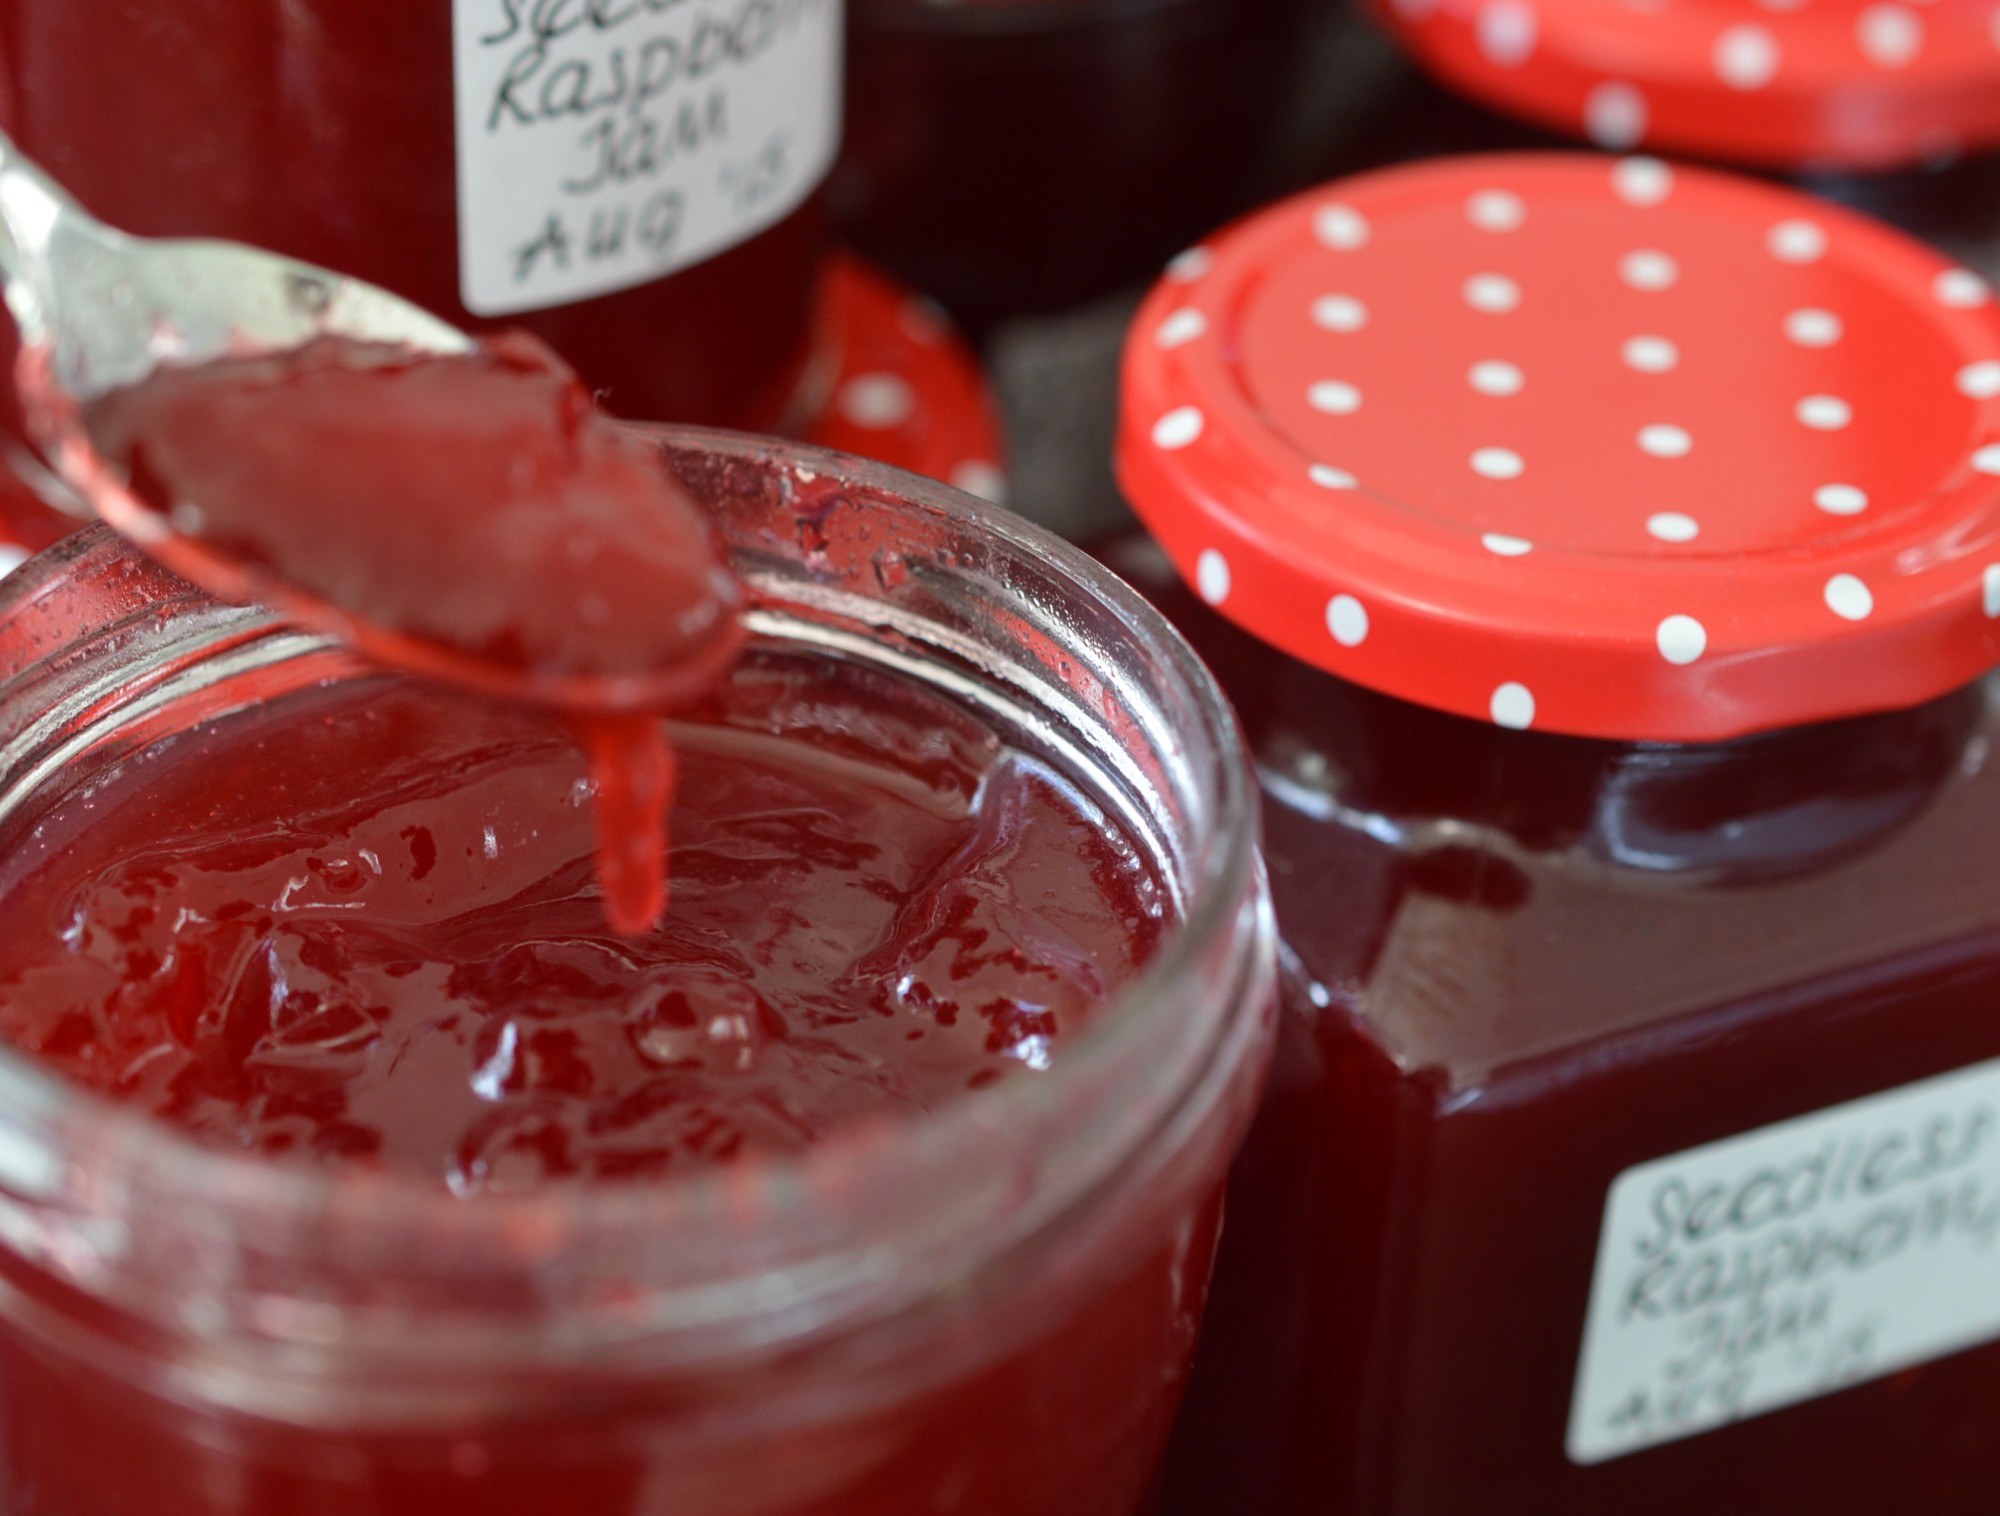
Seedless Raspberry Jam
Seedless is the key here. This is my jam of choice for filling doughnuts and what would life be without the occasional doughnut? I have a real weakness for doughnuts hot from the fryer. Can you tell I’m eating super healthily at the moment?
In actuality, I made this batch almost a month ago – before I was sucked into relocating three of my children to their university cities.
I know this is a post which is going to get ‘lost in translation’ between English English and American English – and goodness knows what’s happening elsewhere. Anyone reading from Australia? So … in this kitchen:
- Jam = a cooked mix of sugar and fruit which has been mashed, chopped or squished.
- Jelly = a cooked mix of sugar and fruit which is strained to give a clear liquid.
- Preserves = jam which has big bits of fruit in it.
- Conserve = jam with added extras, such as nuts or mixed fruit.
Then, there’s fruit curds, marmalade, fruit butters, chutneys, pickles – but I’m thinking they’re for another day.
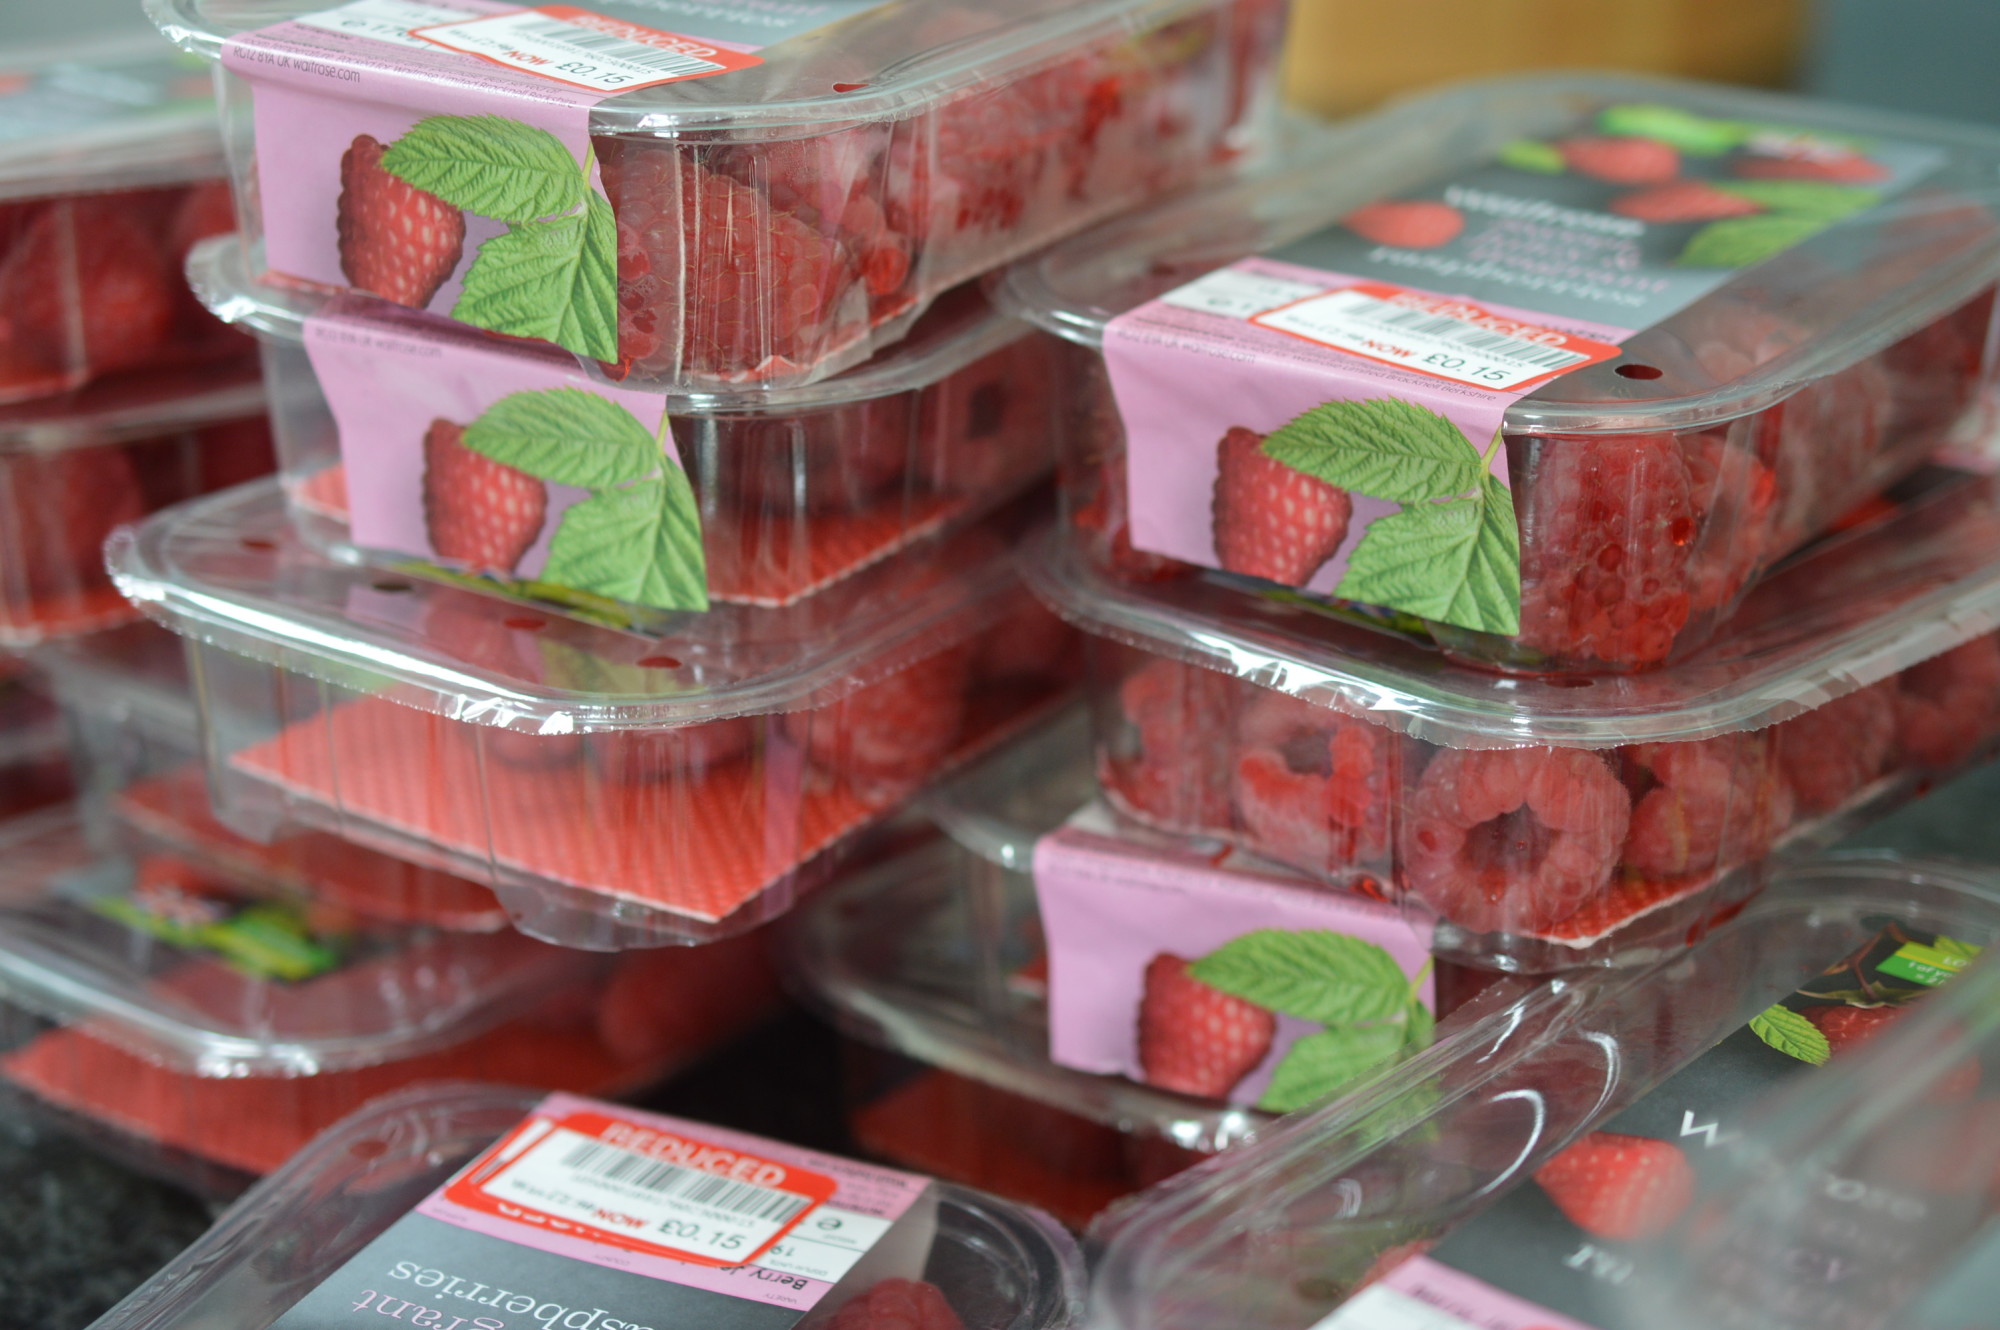
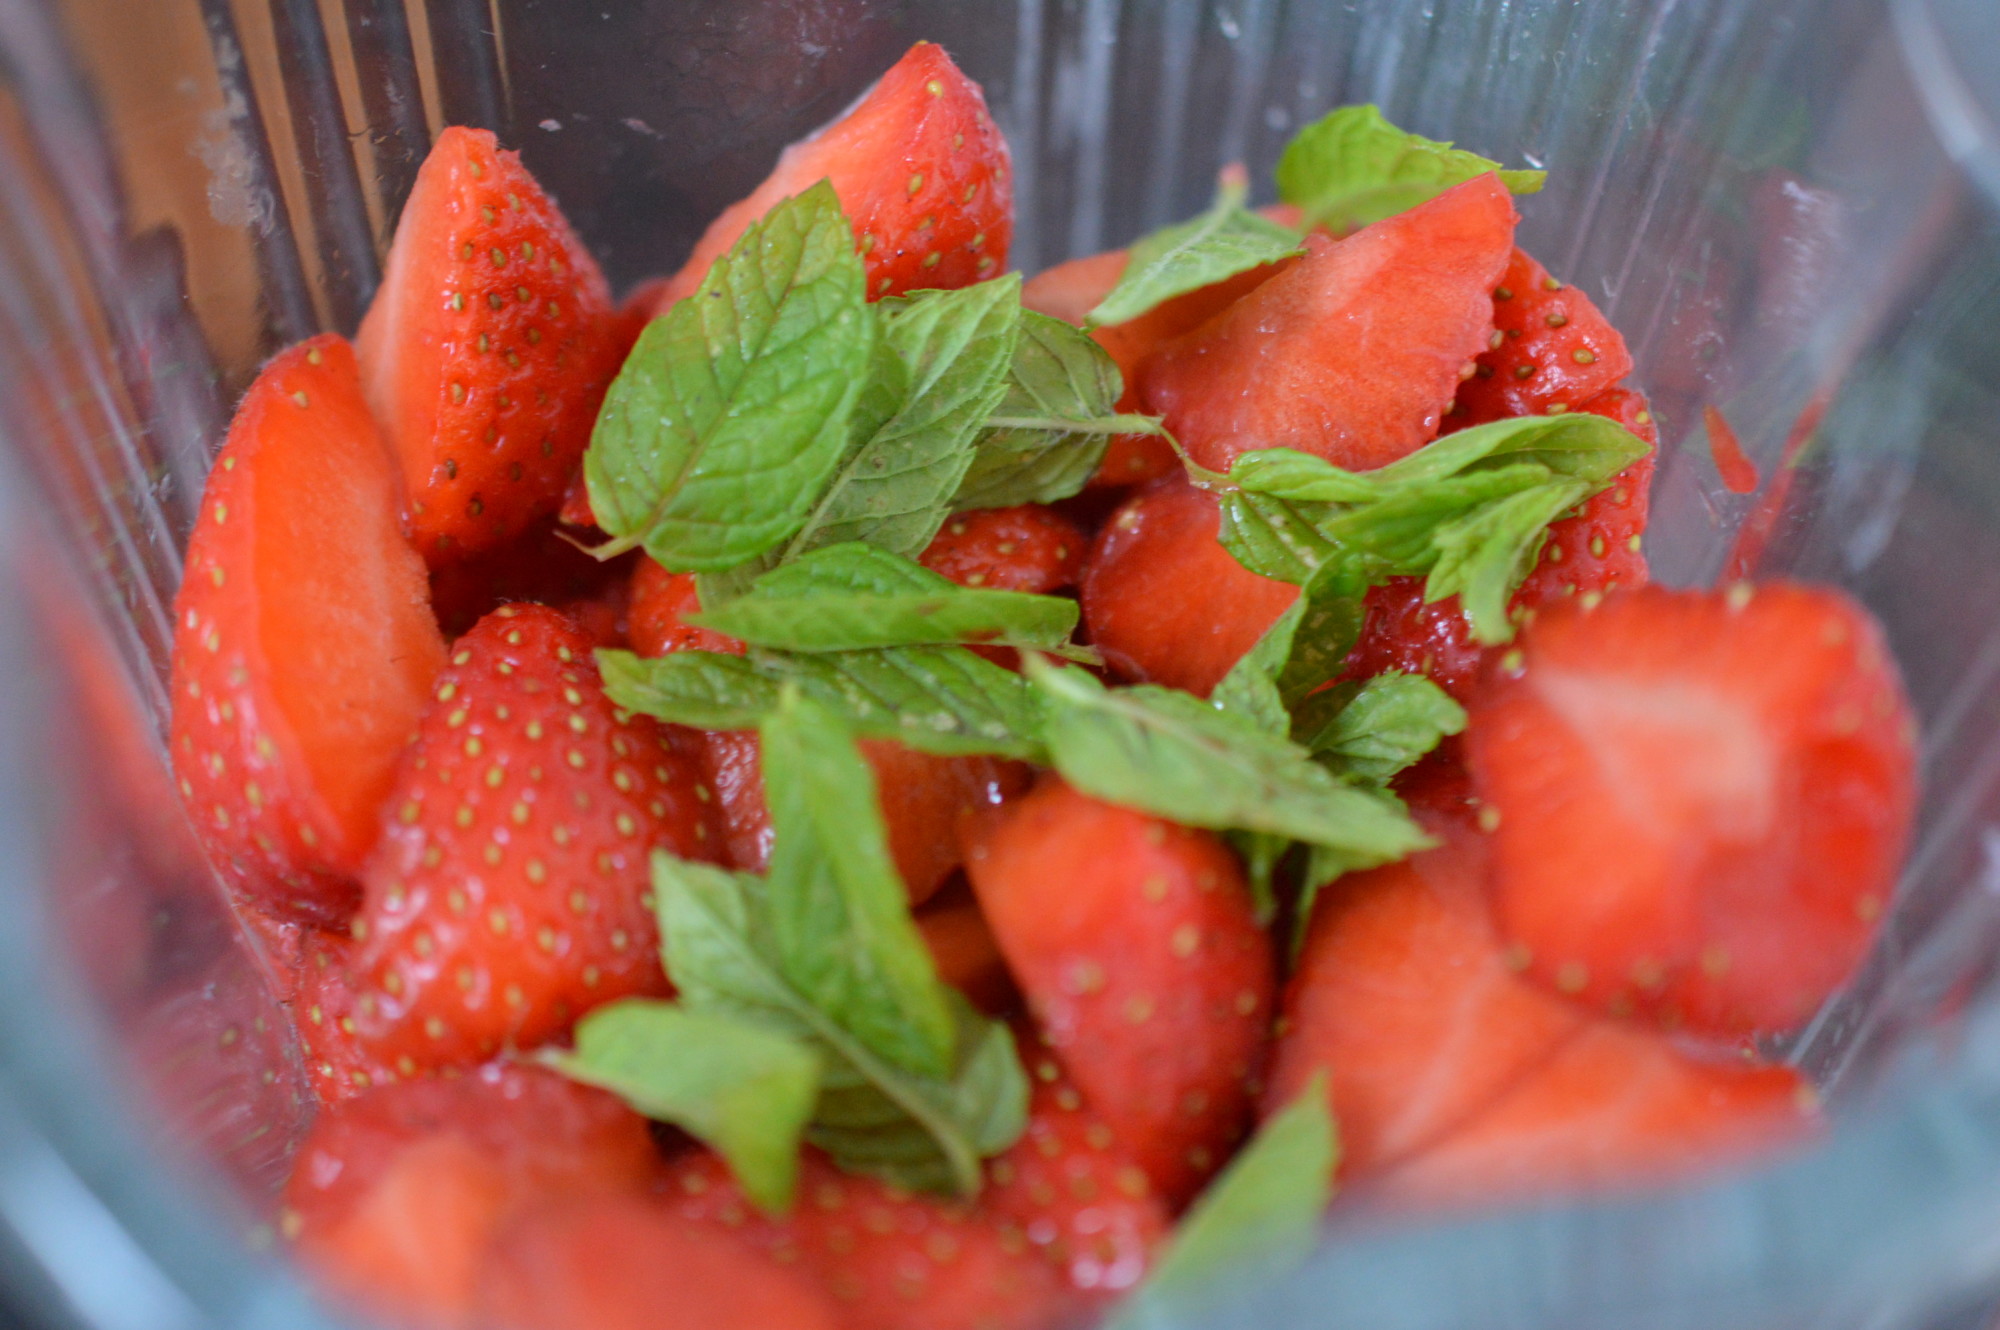
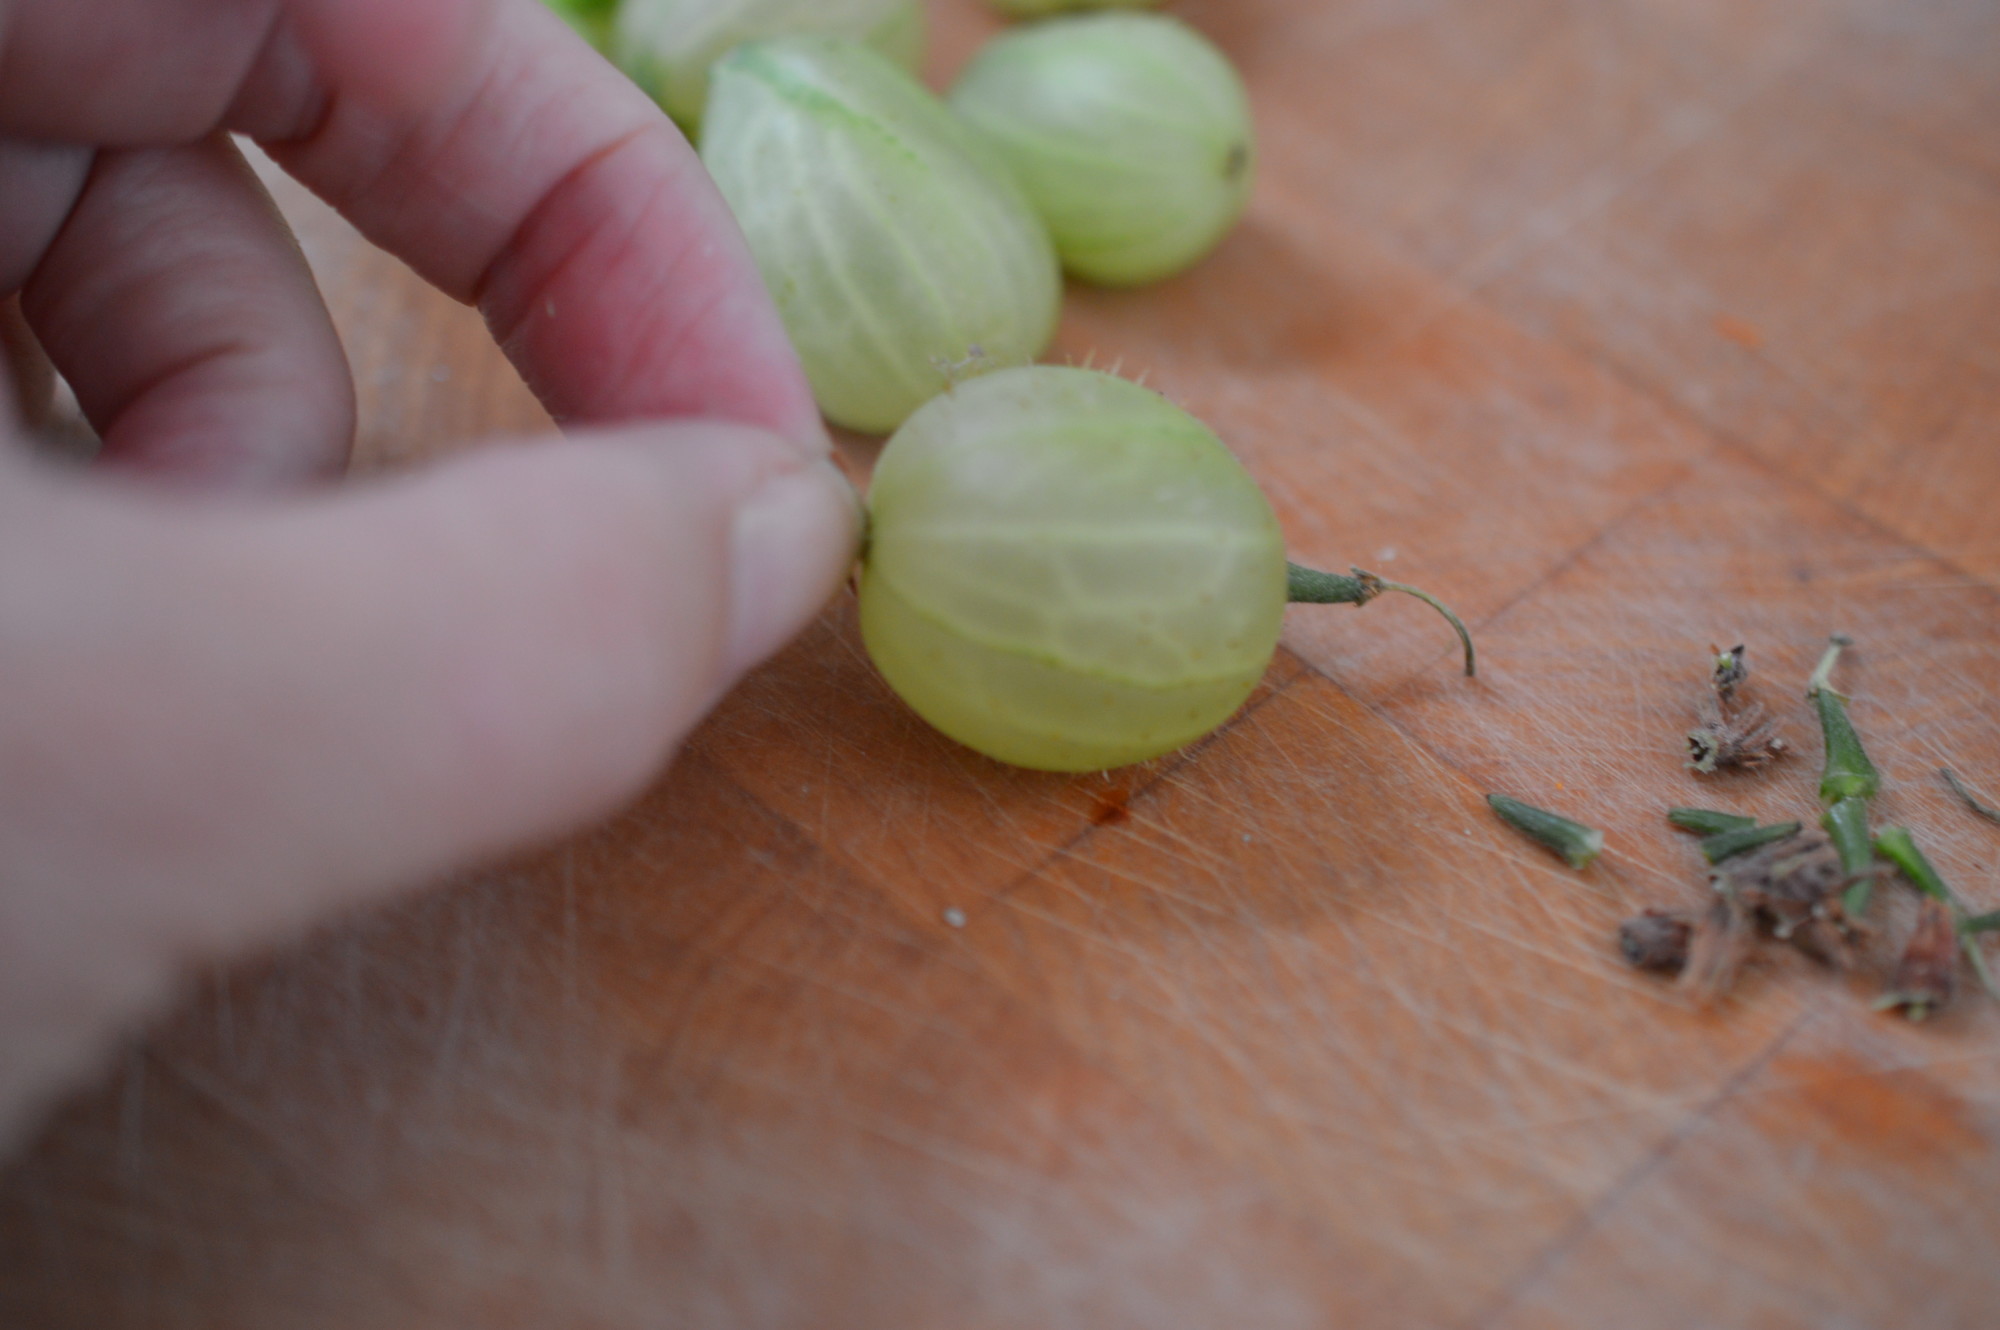
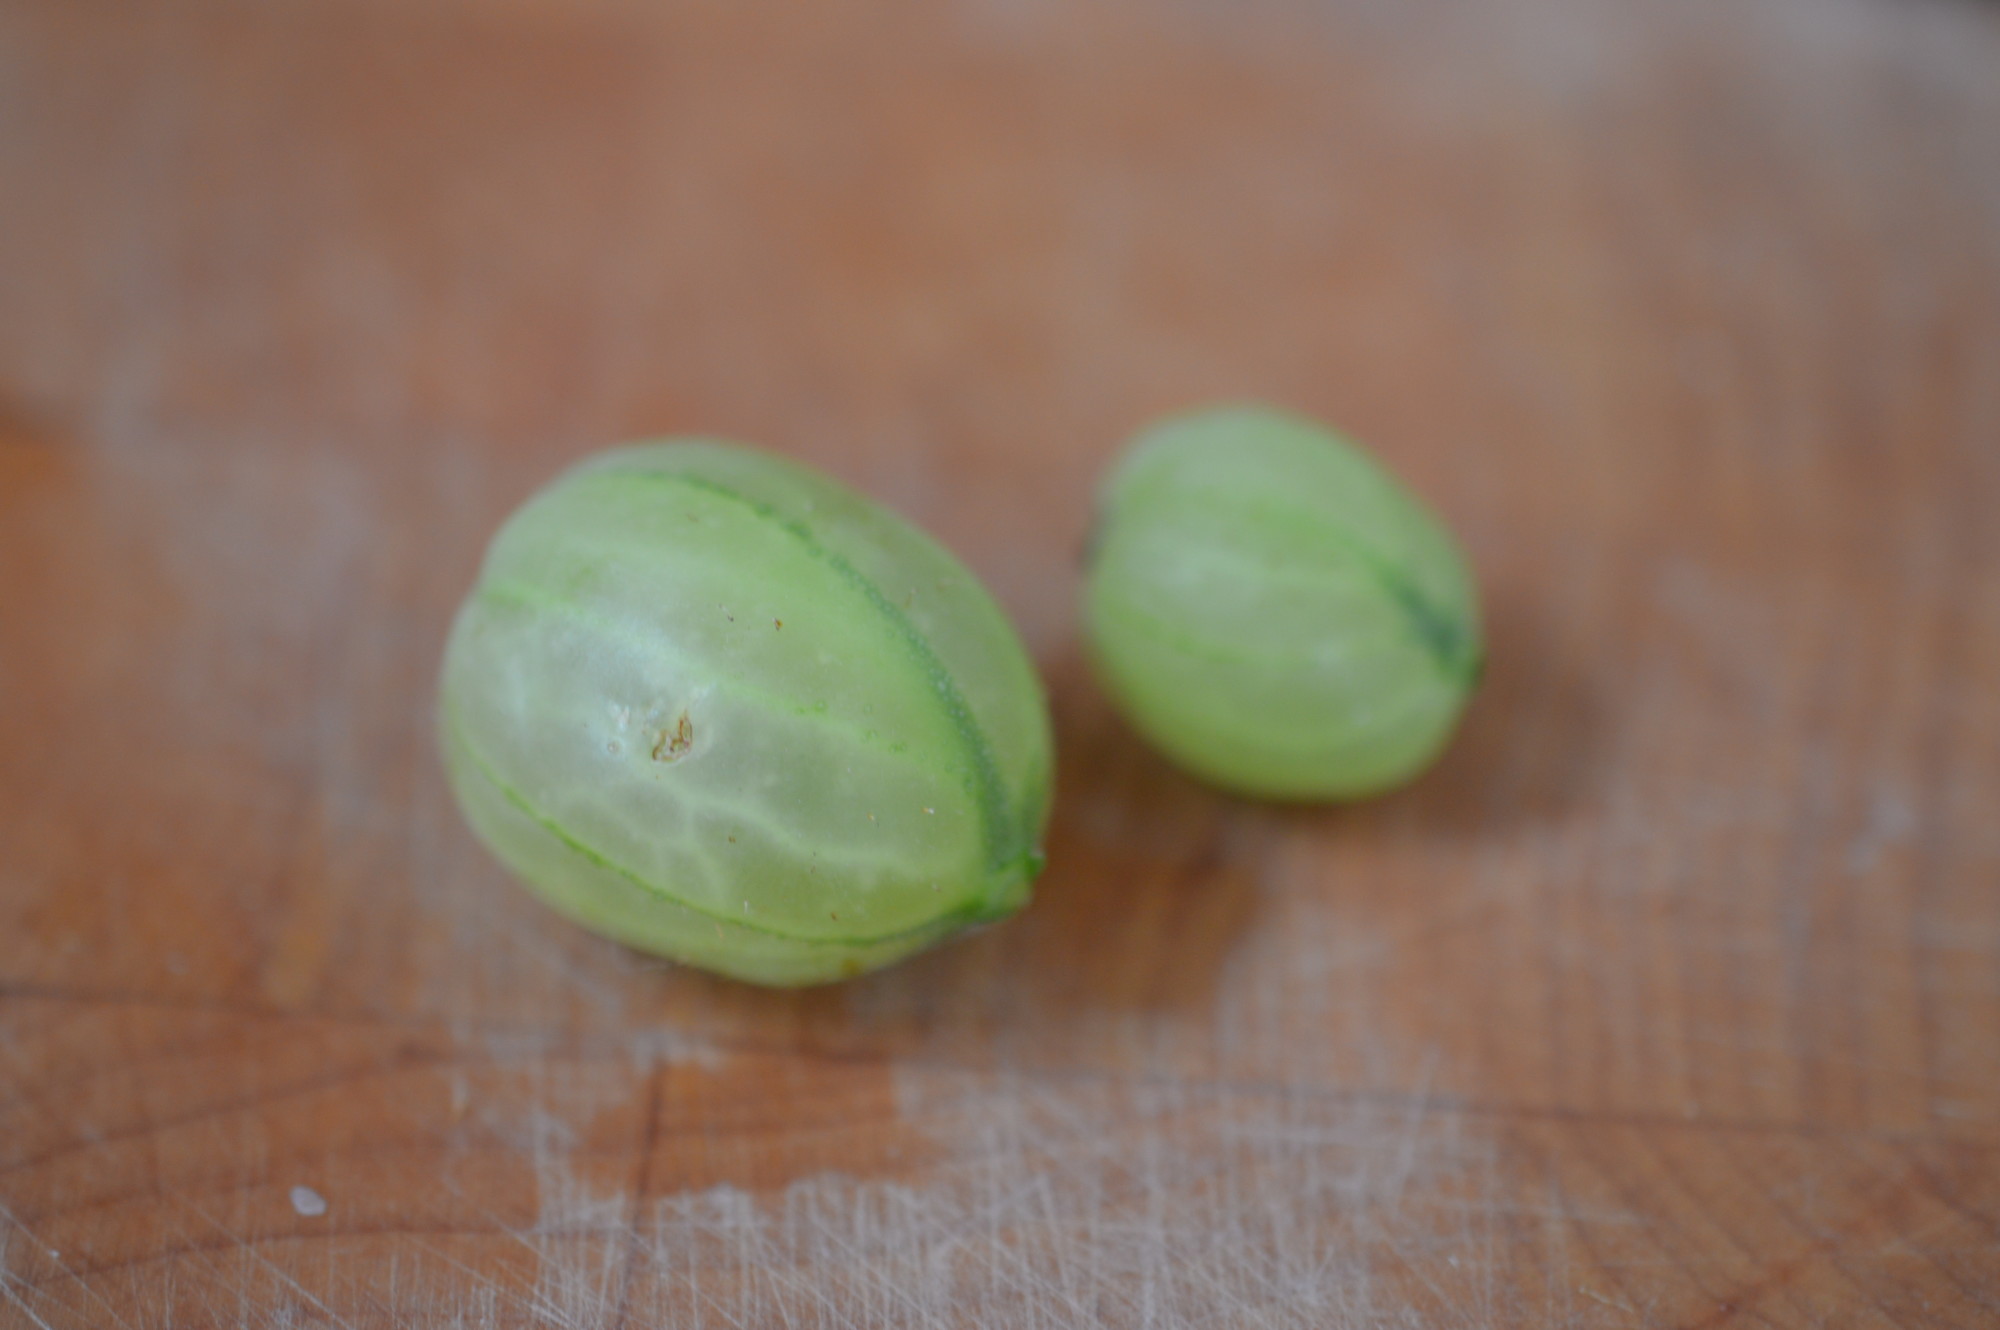
Here I’m squishing my fruit and not straining it which makes it ‘jam’. This batch began with a large trolley of discounted raspberries. 15p for 170g. Irresistible. The truth is, it’s really better to make jam with fruit which is slightly under-ripe because the pectin levels (which is what gives you the ‘set’) are at their highest, but ‘beggars can’t be choosers’ ..
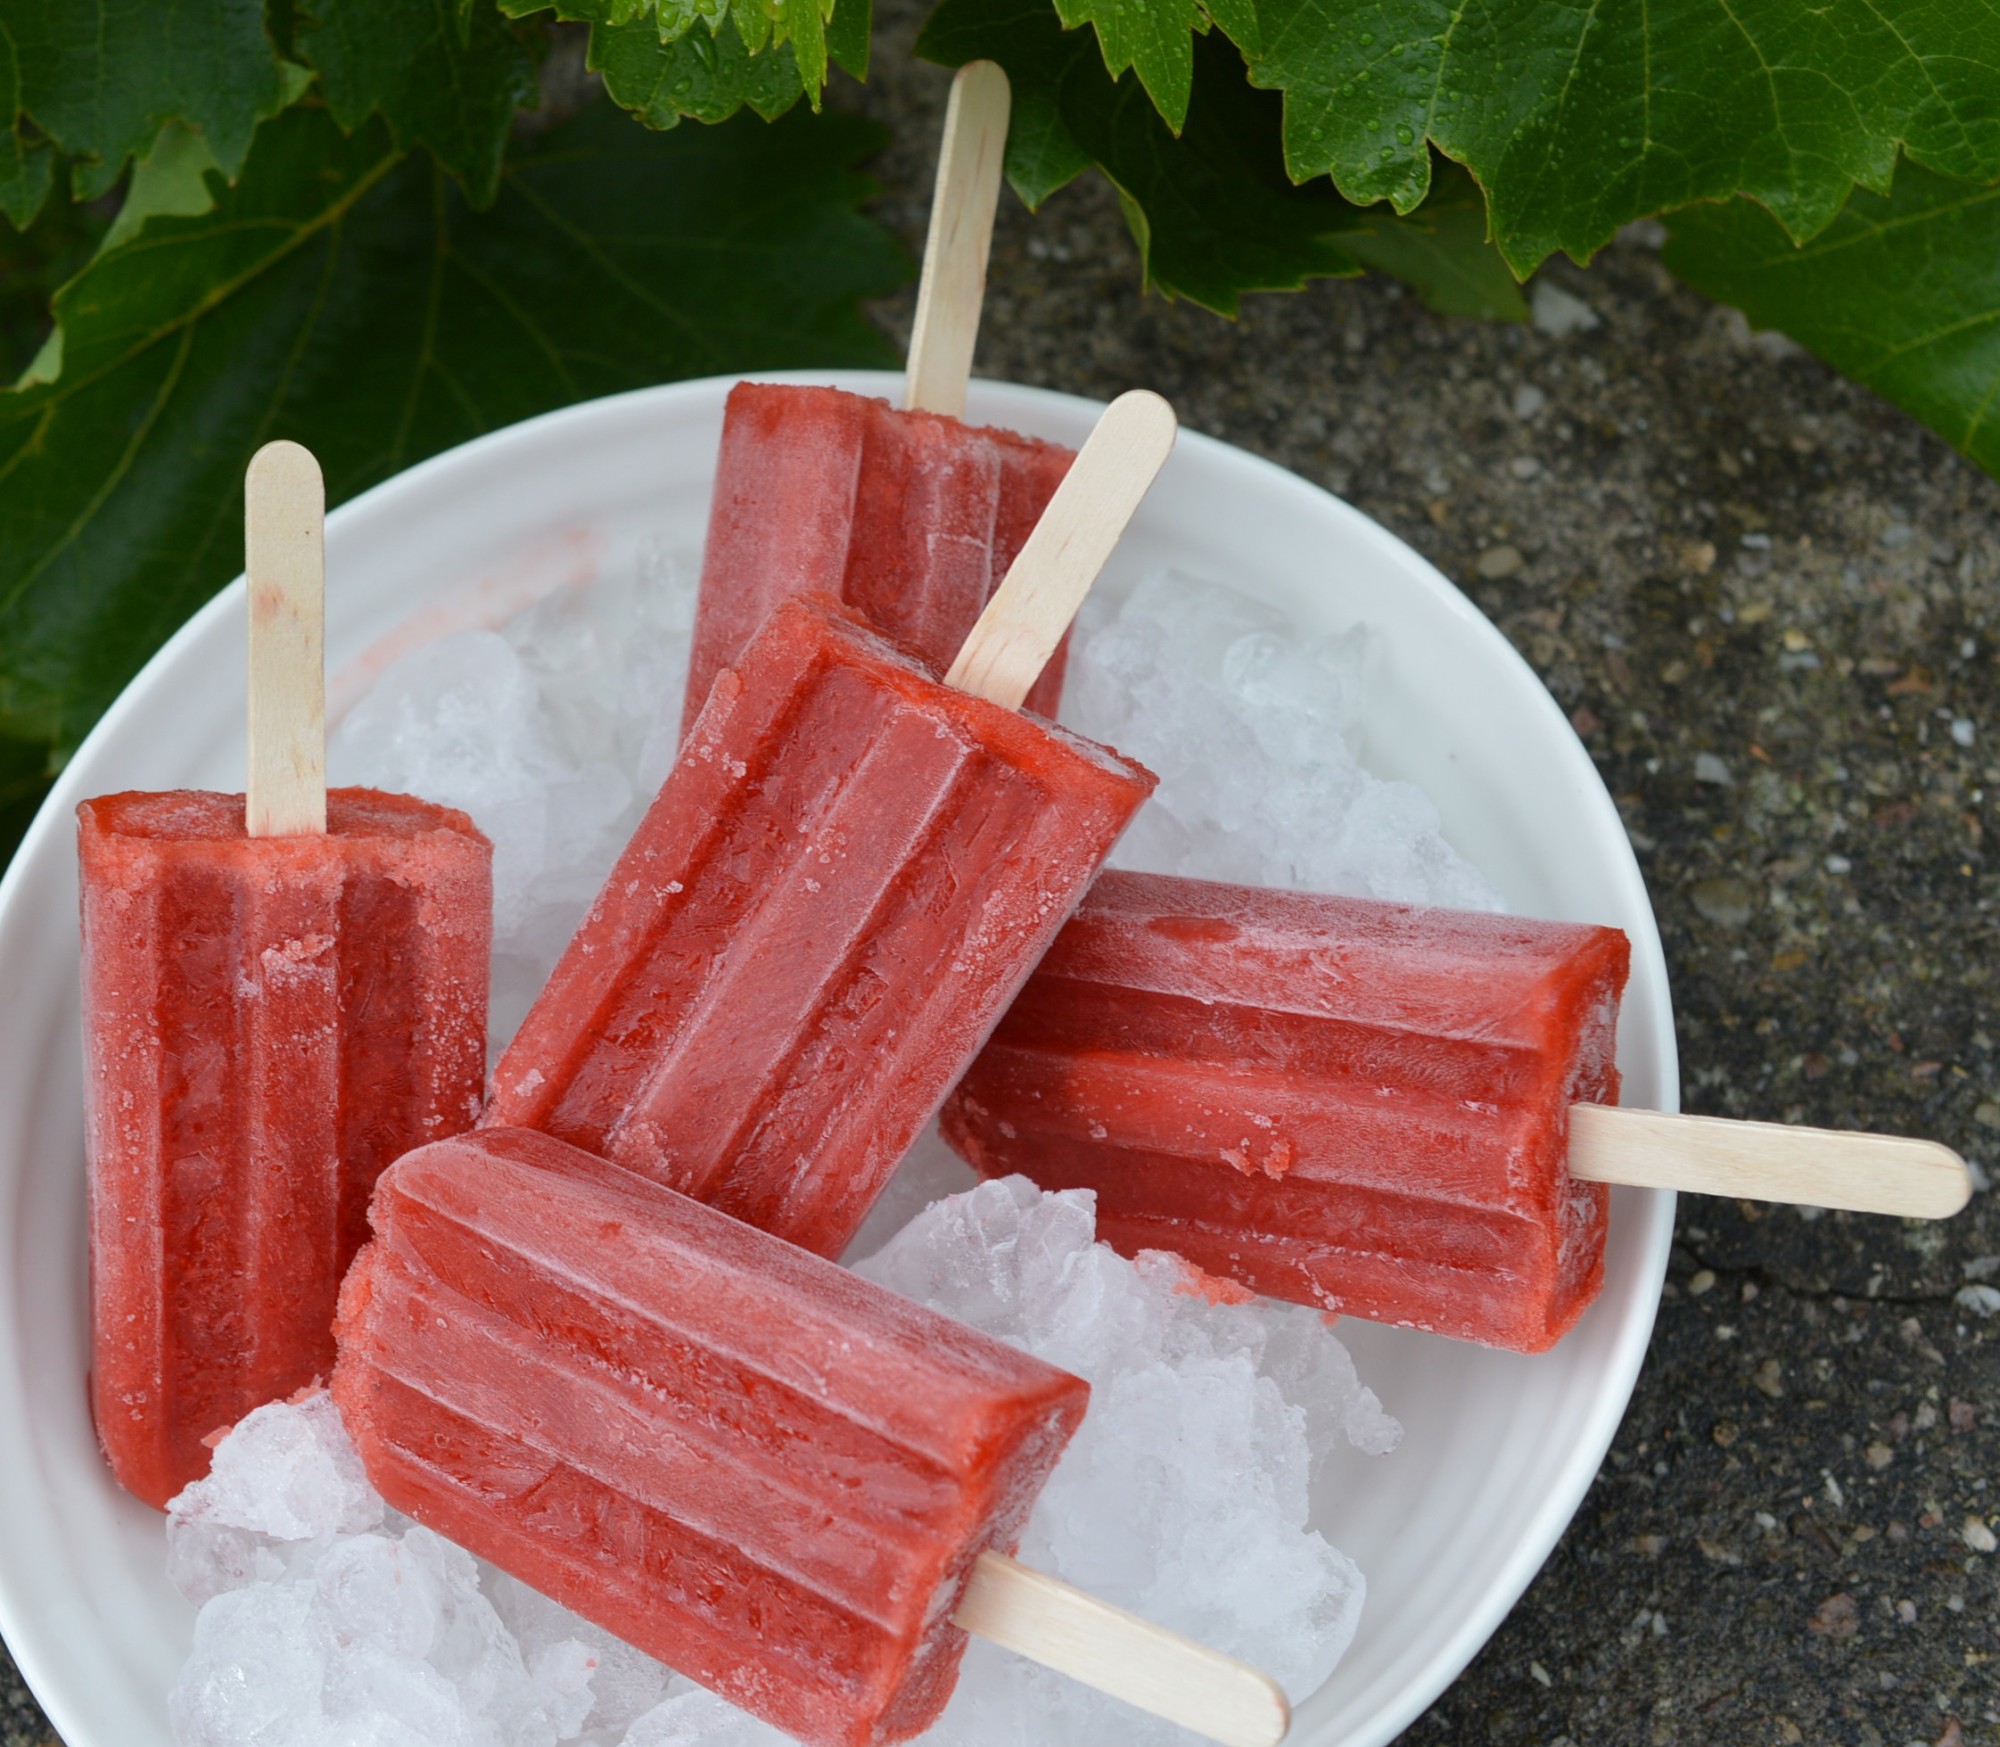
Raspberry Jam rather divides people into those who claim it as the ‘jam of all jams’ and those who can’t get past the seeds. Undeniably raspberries are a pippy fruit and I’m sandwiched between a parent who avoids seeds (it’s a teeth thing) and a couple of children who refuse any jam with ‘bits’. This means I rarely make a ‘classic’ raspberry jam because I will eat it and I’m the one who probably shouldn’t.
I could have turned these berries into a raspberry jelly which removes the seeds, but we’re in ‘bramble’ season now and I’ve already got a shelf full of bramble and apple jelly. Or raspberry curd, which I love but those doughnuts were seducing me …
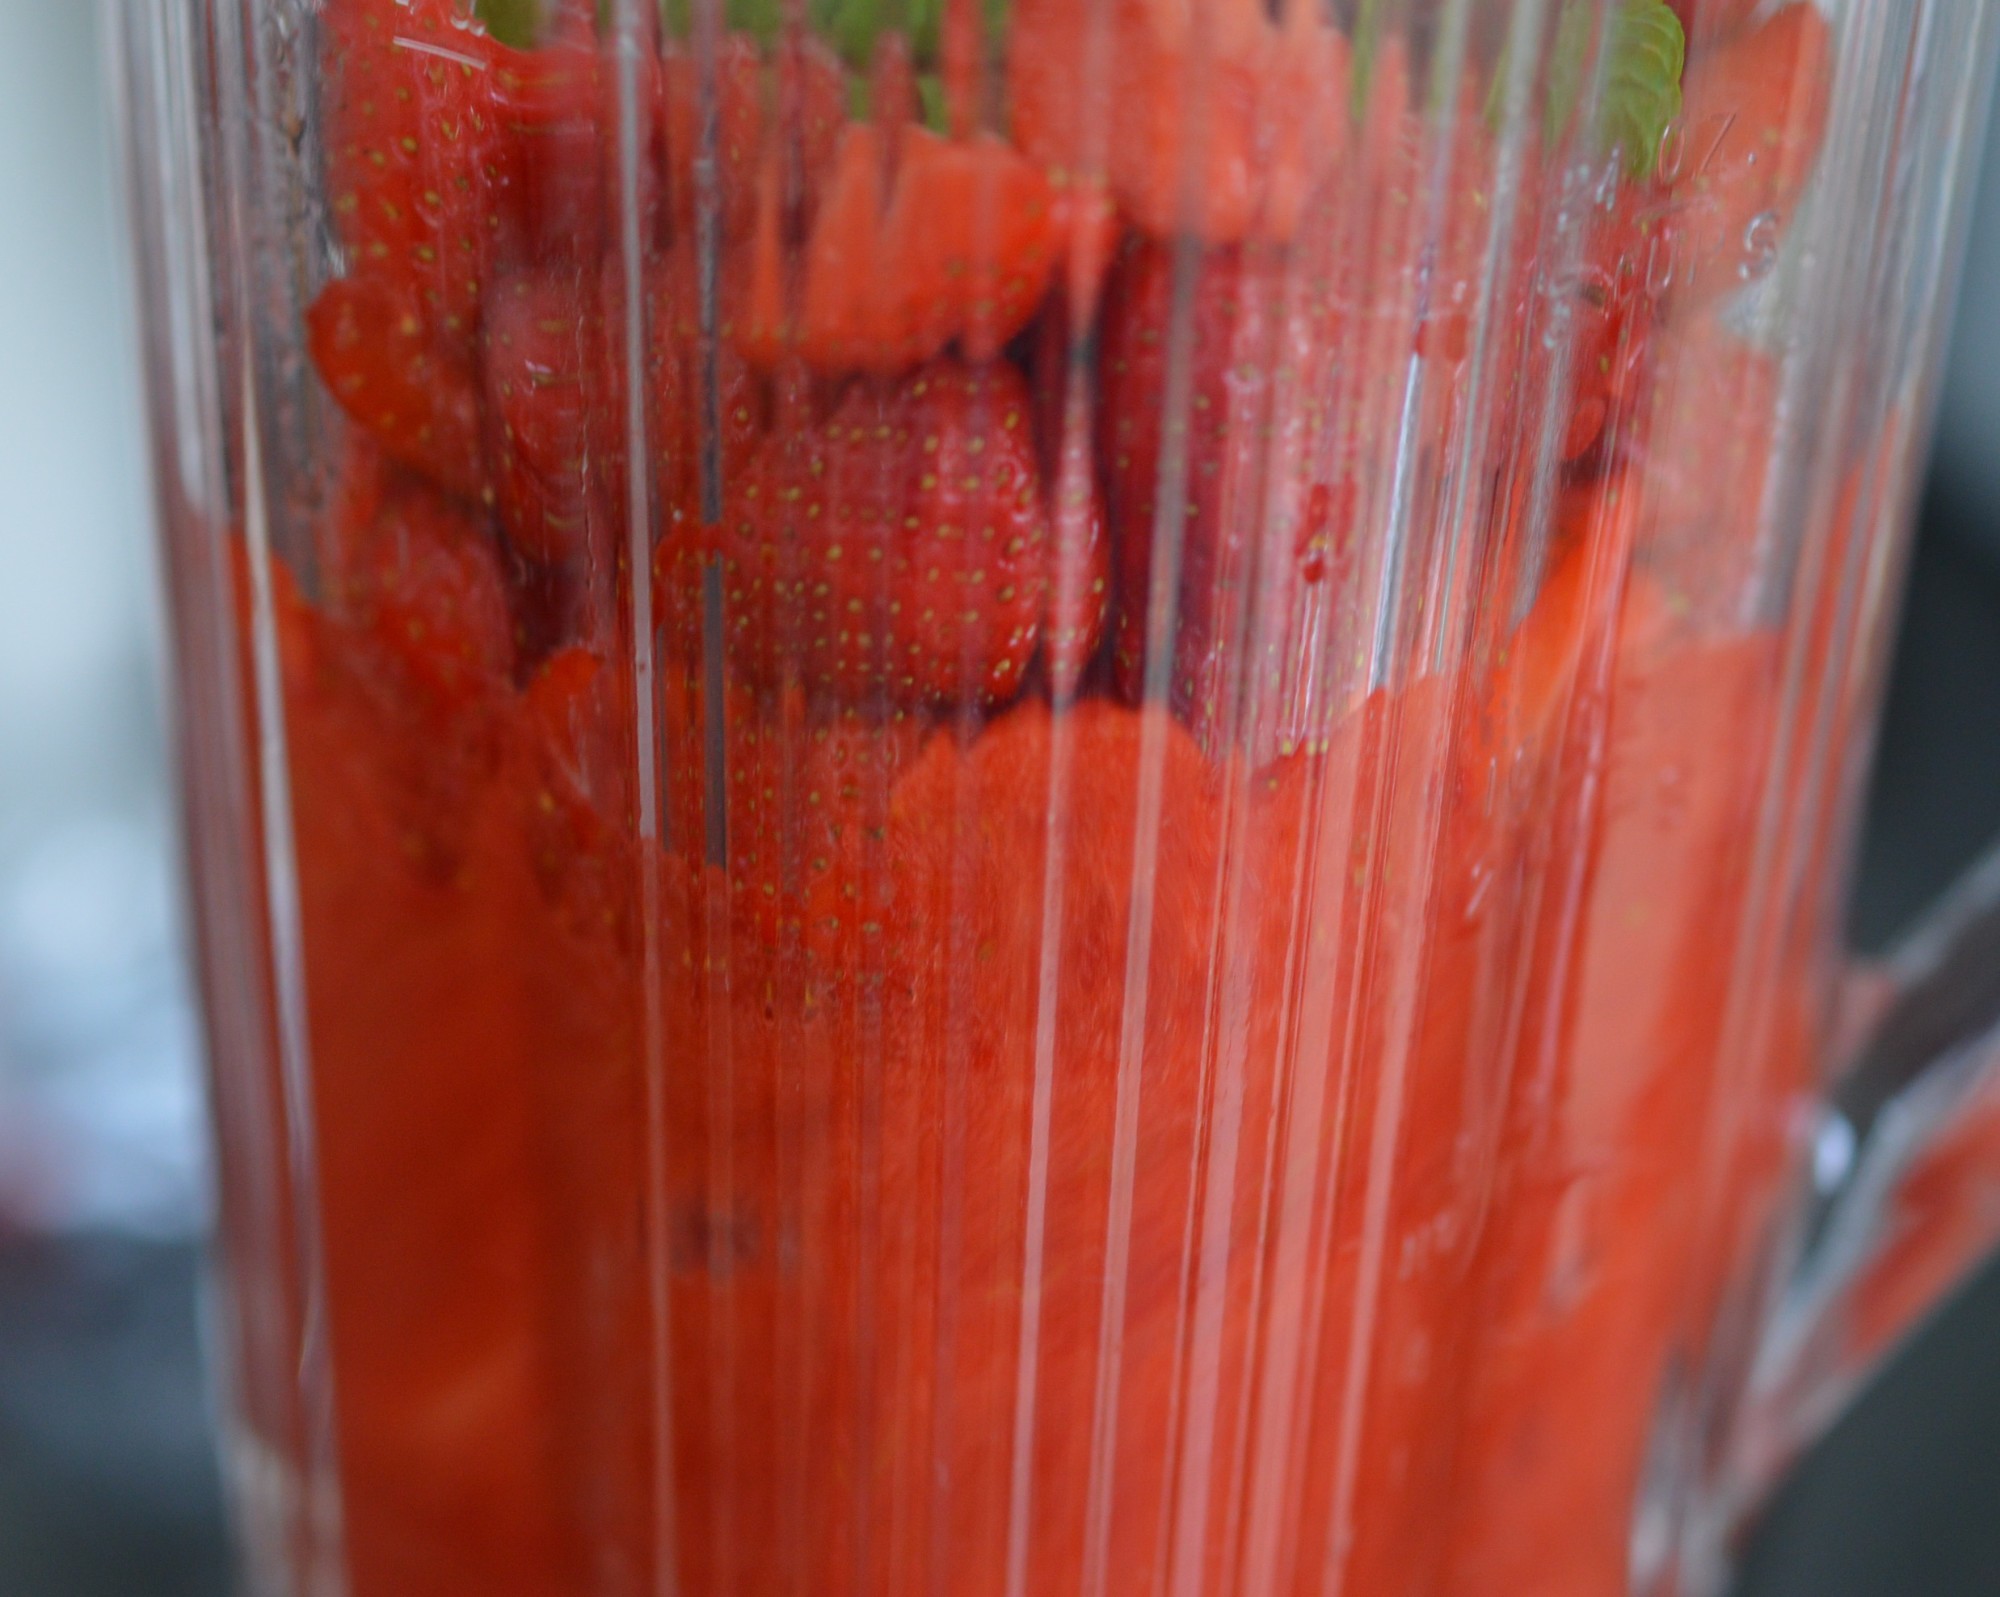
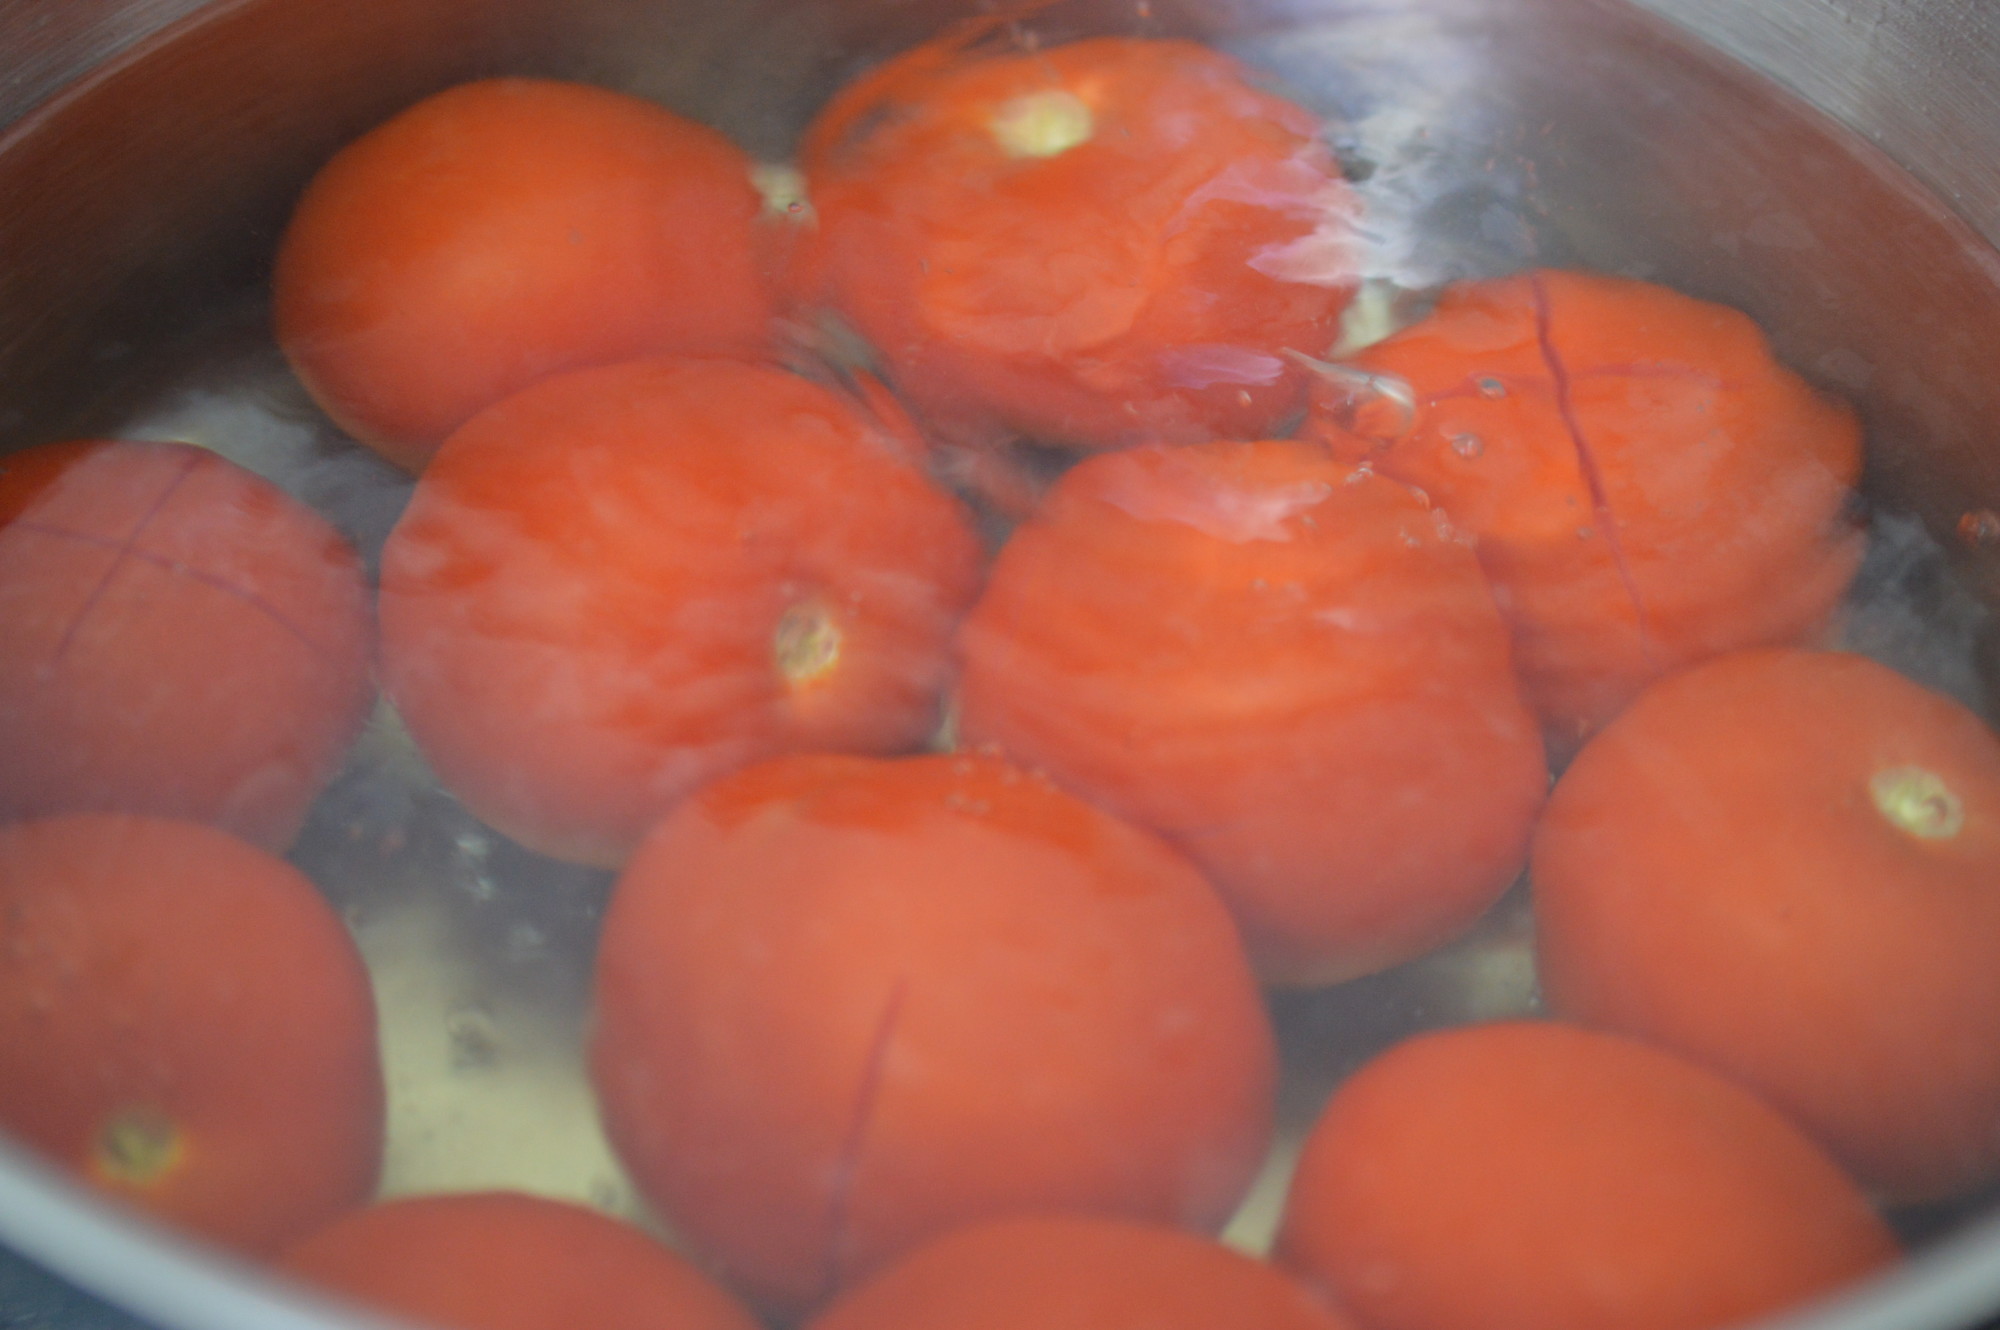
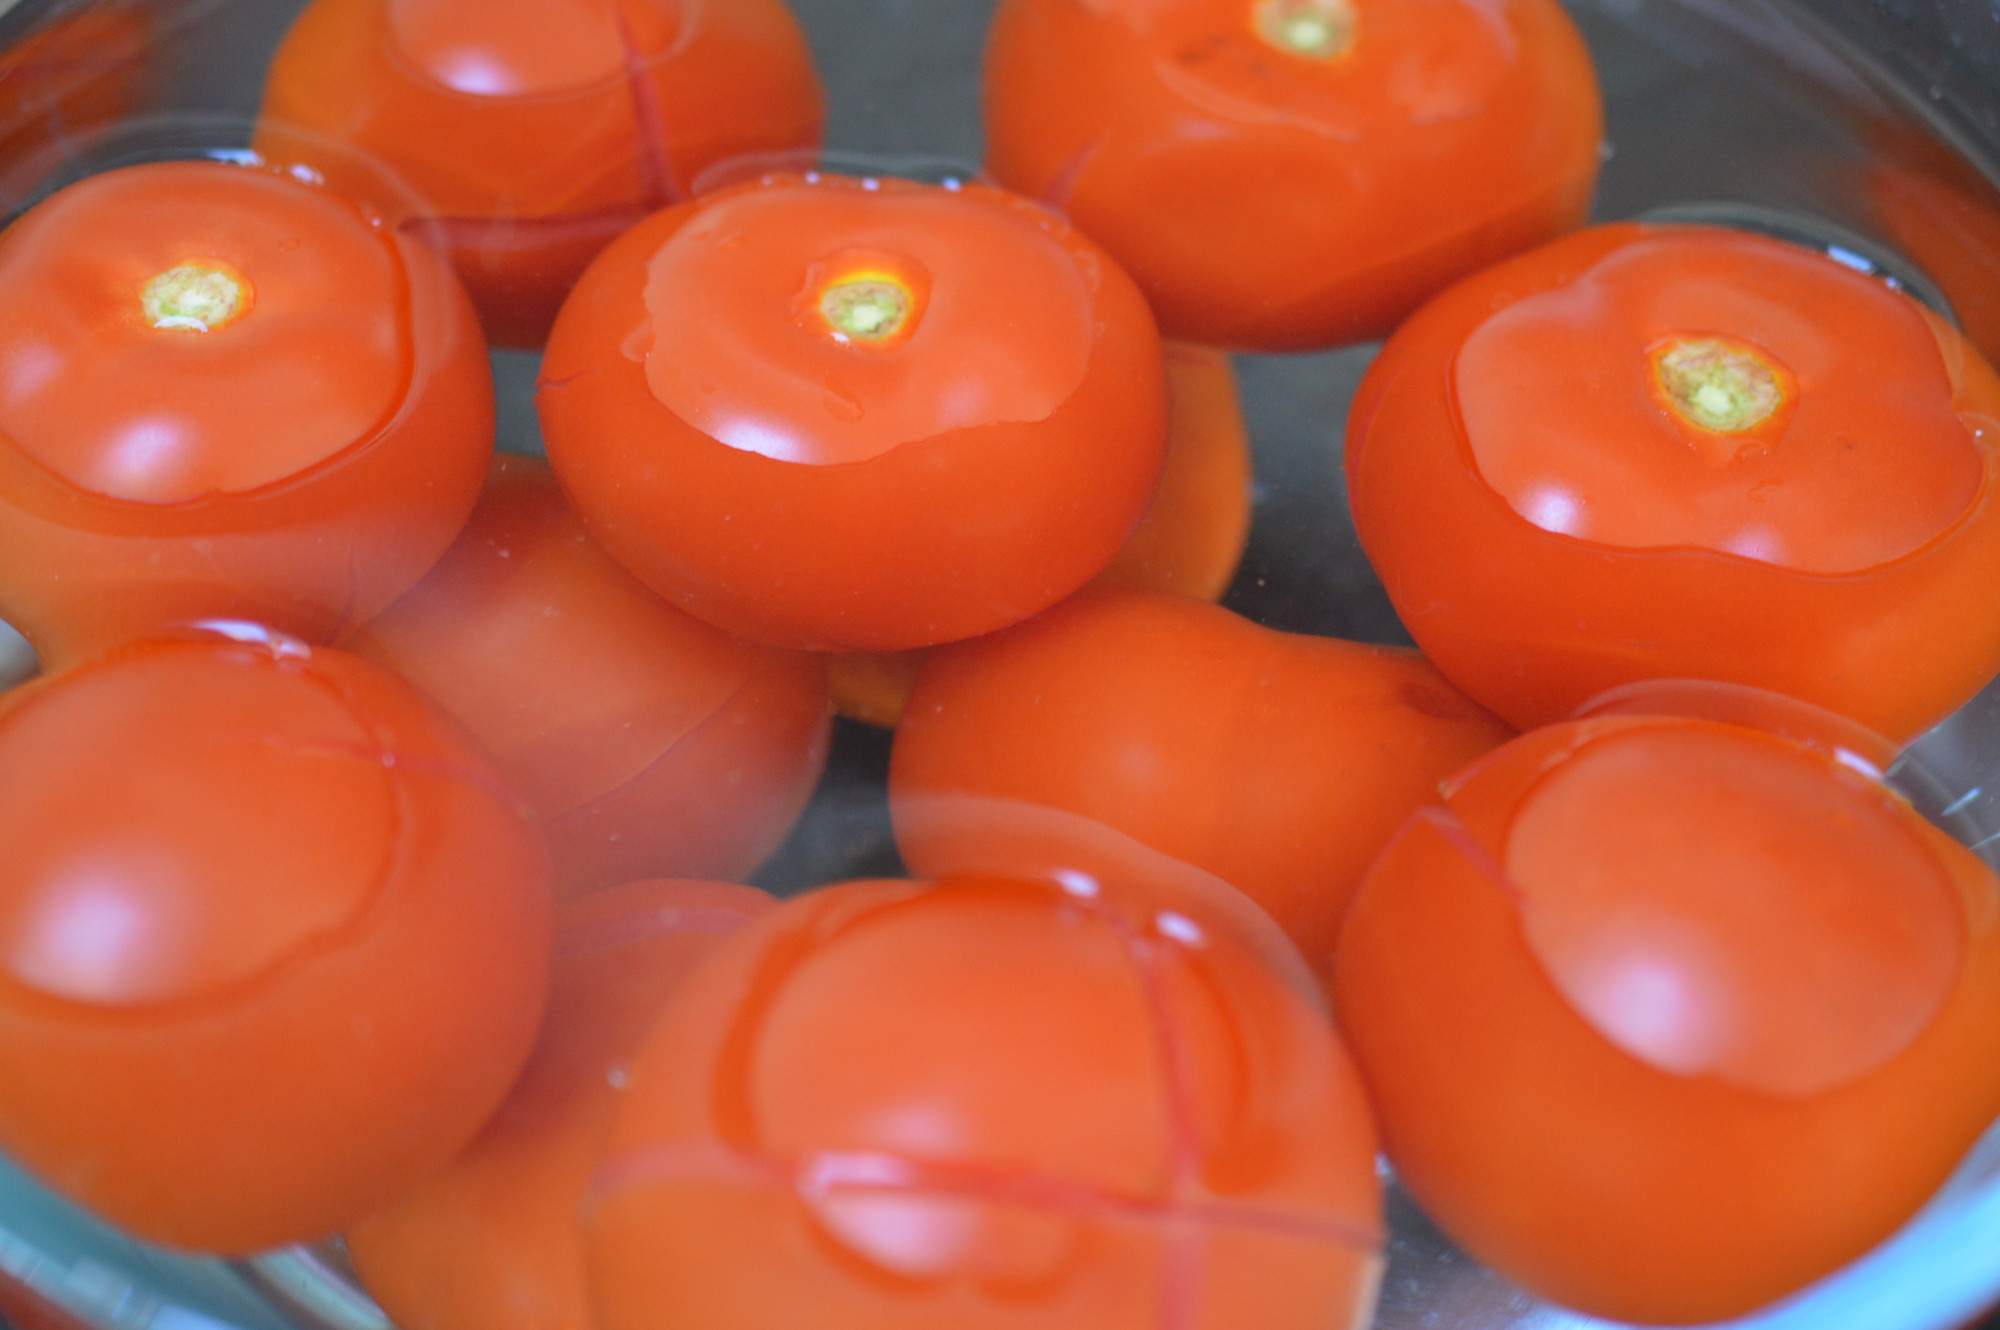
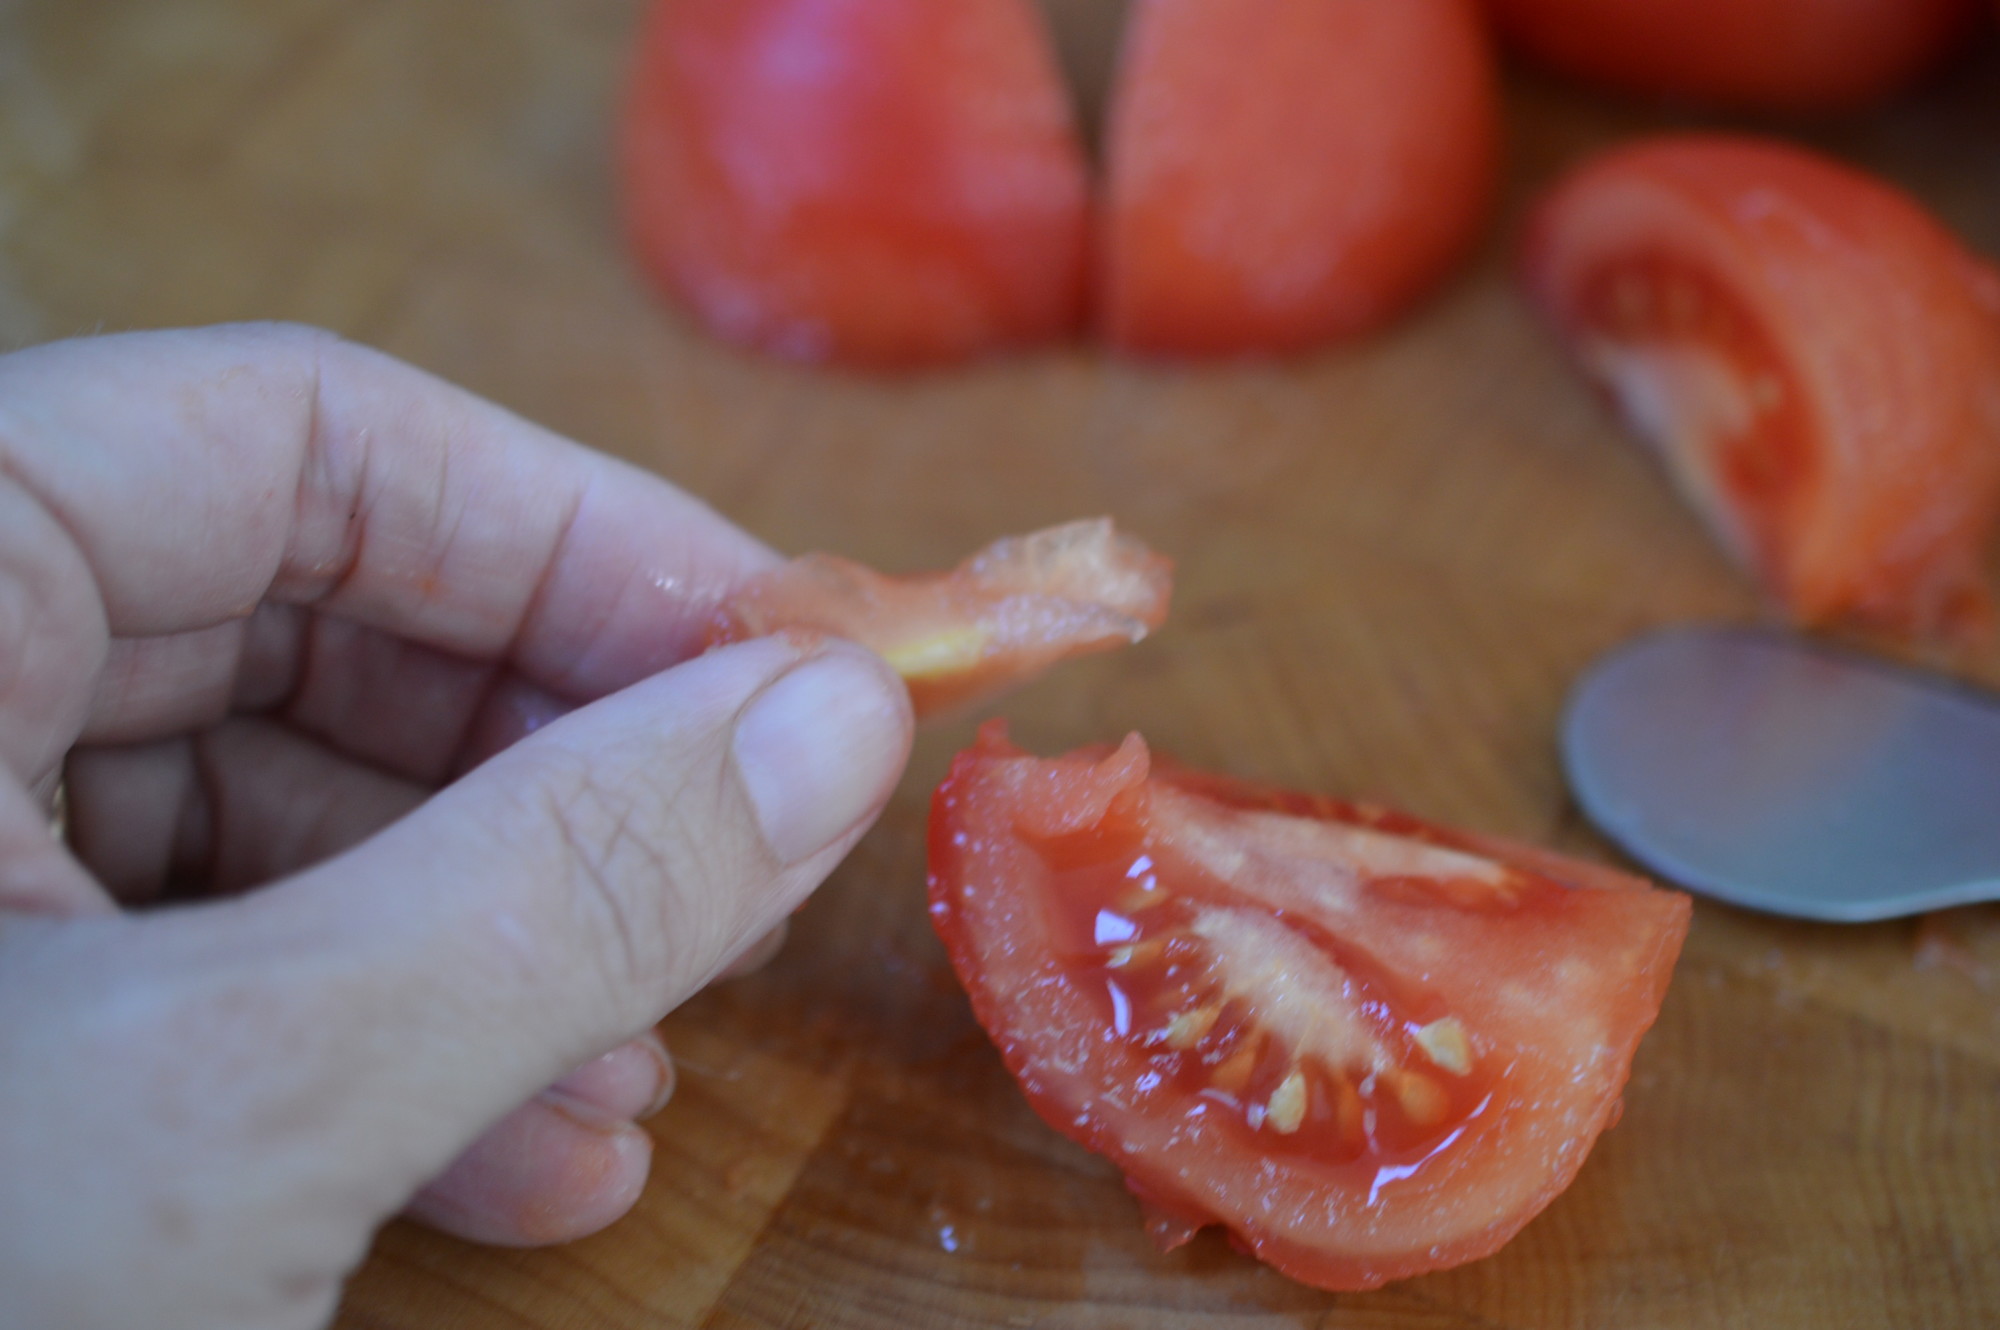
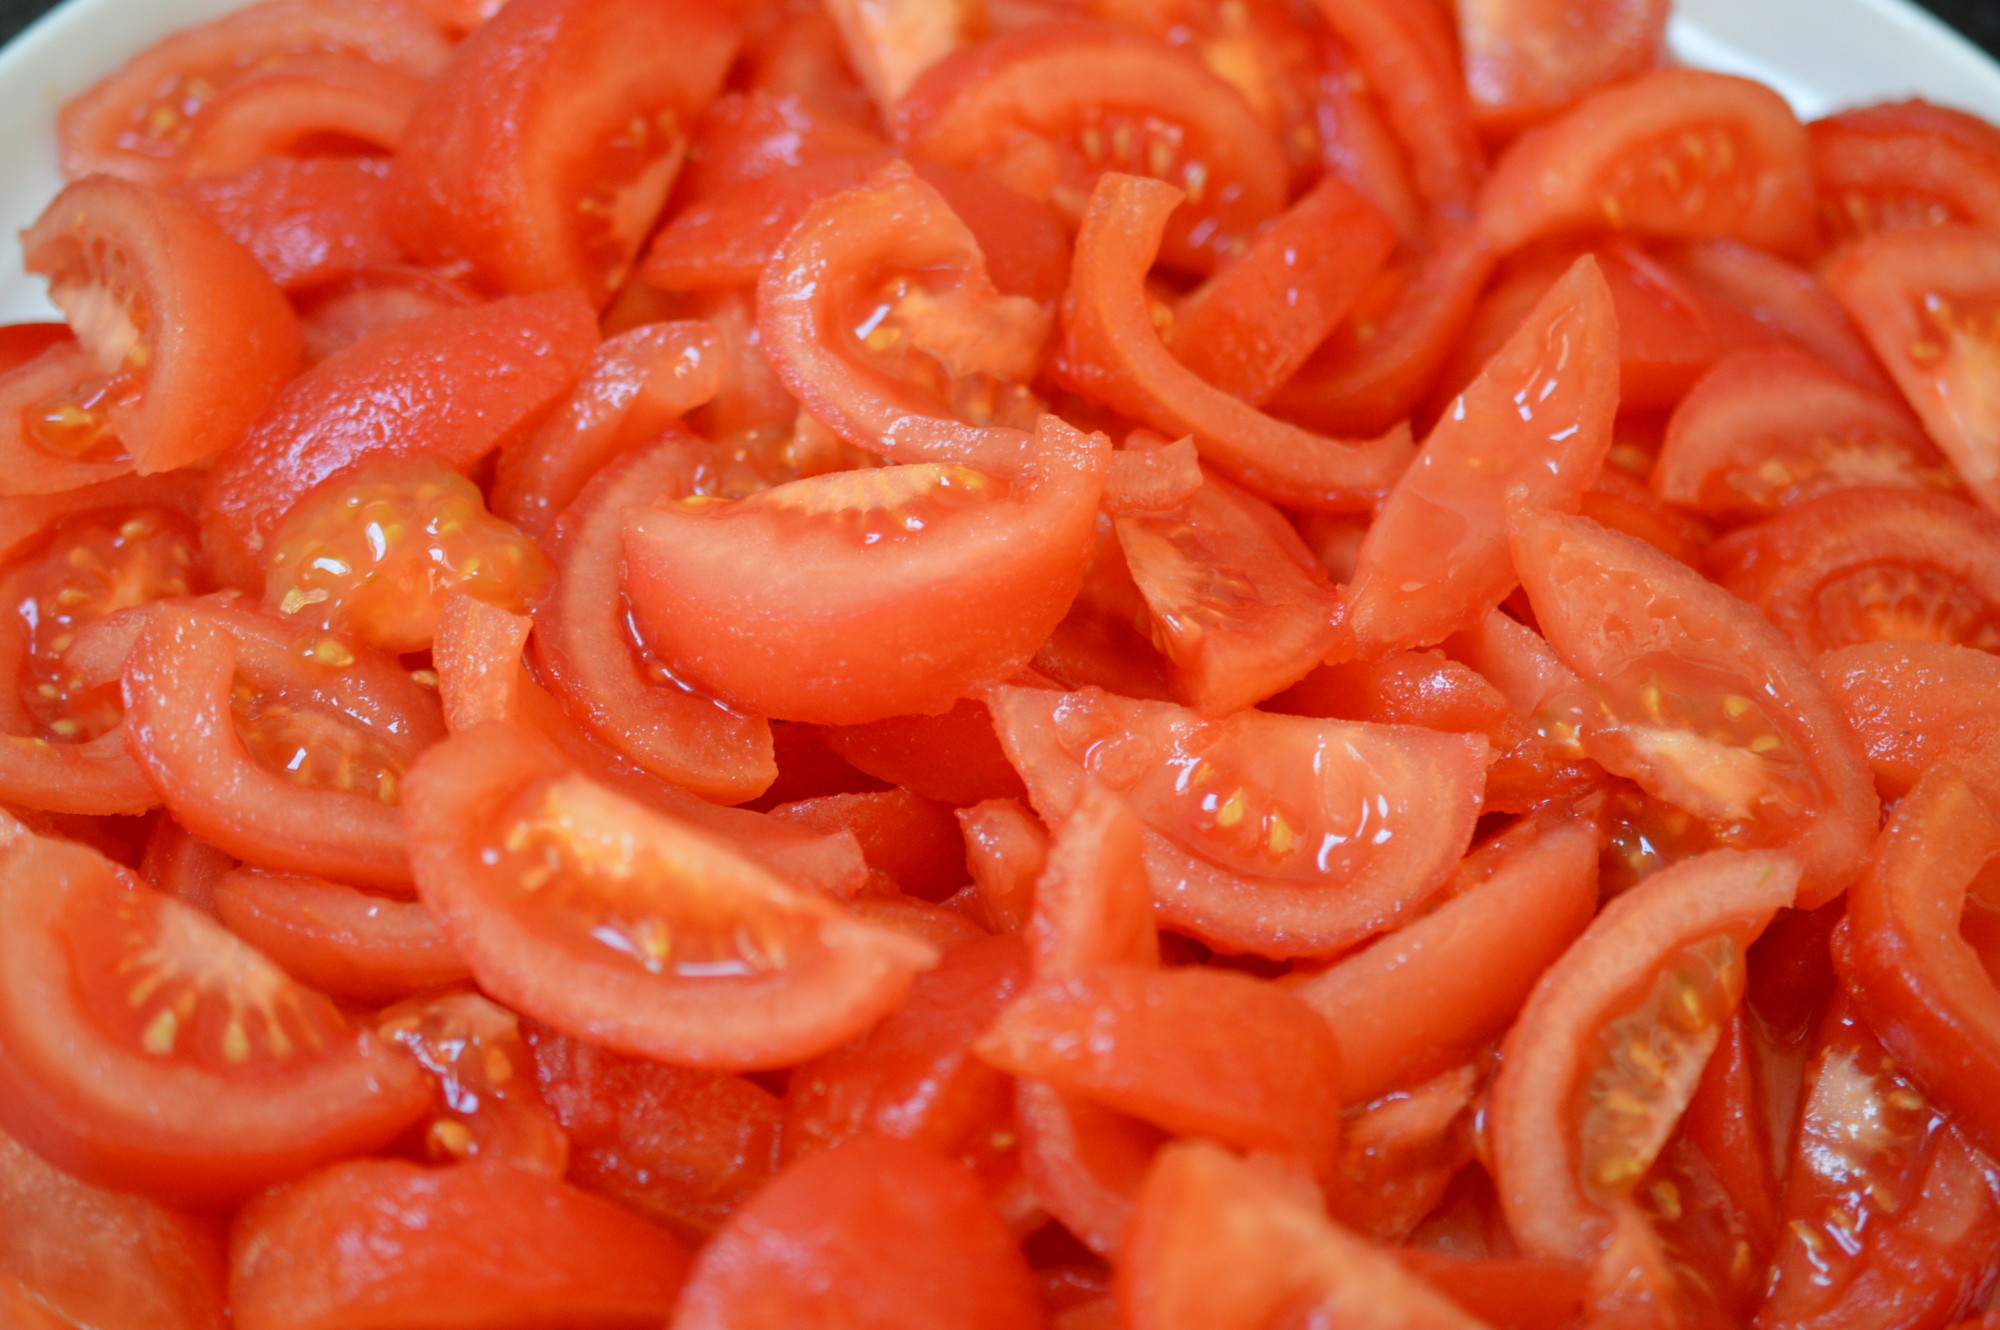
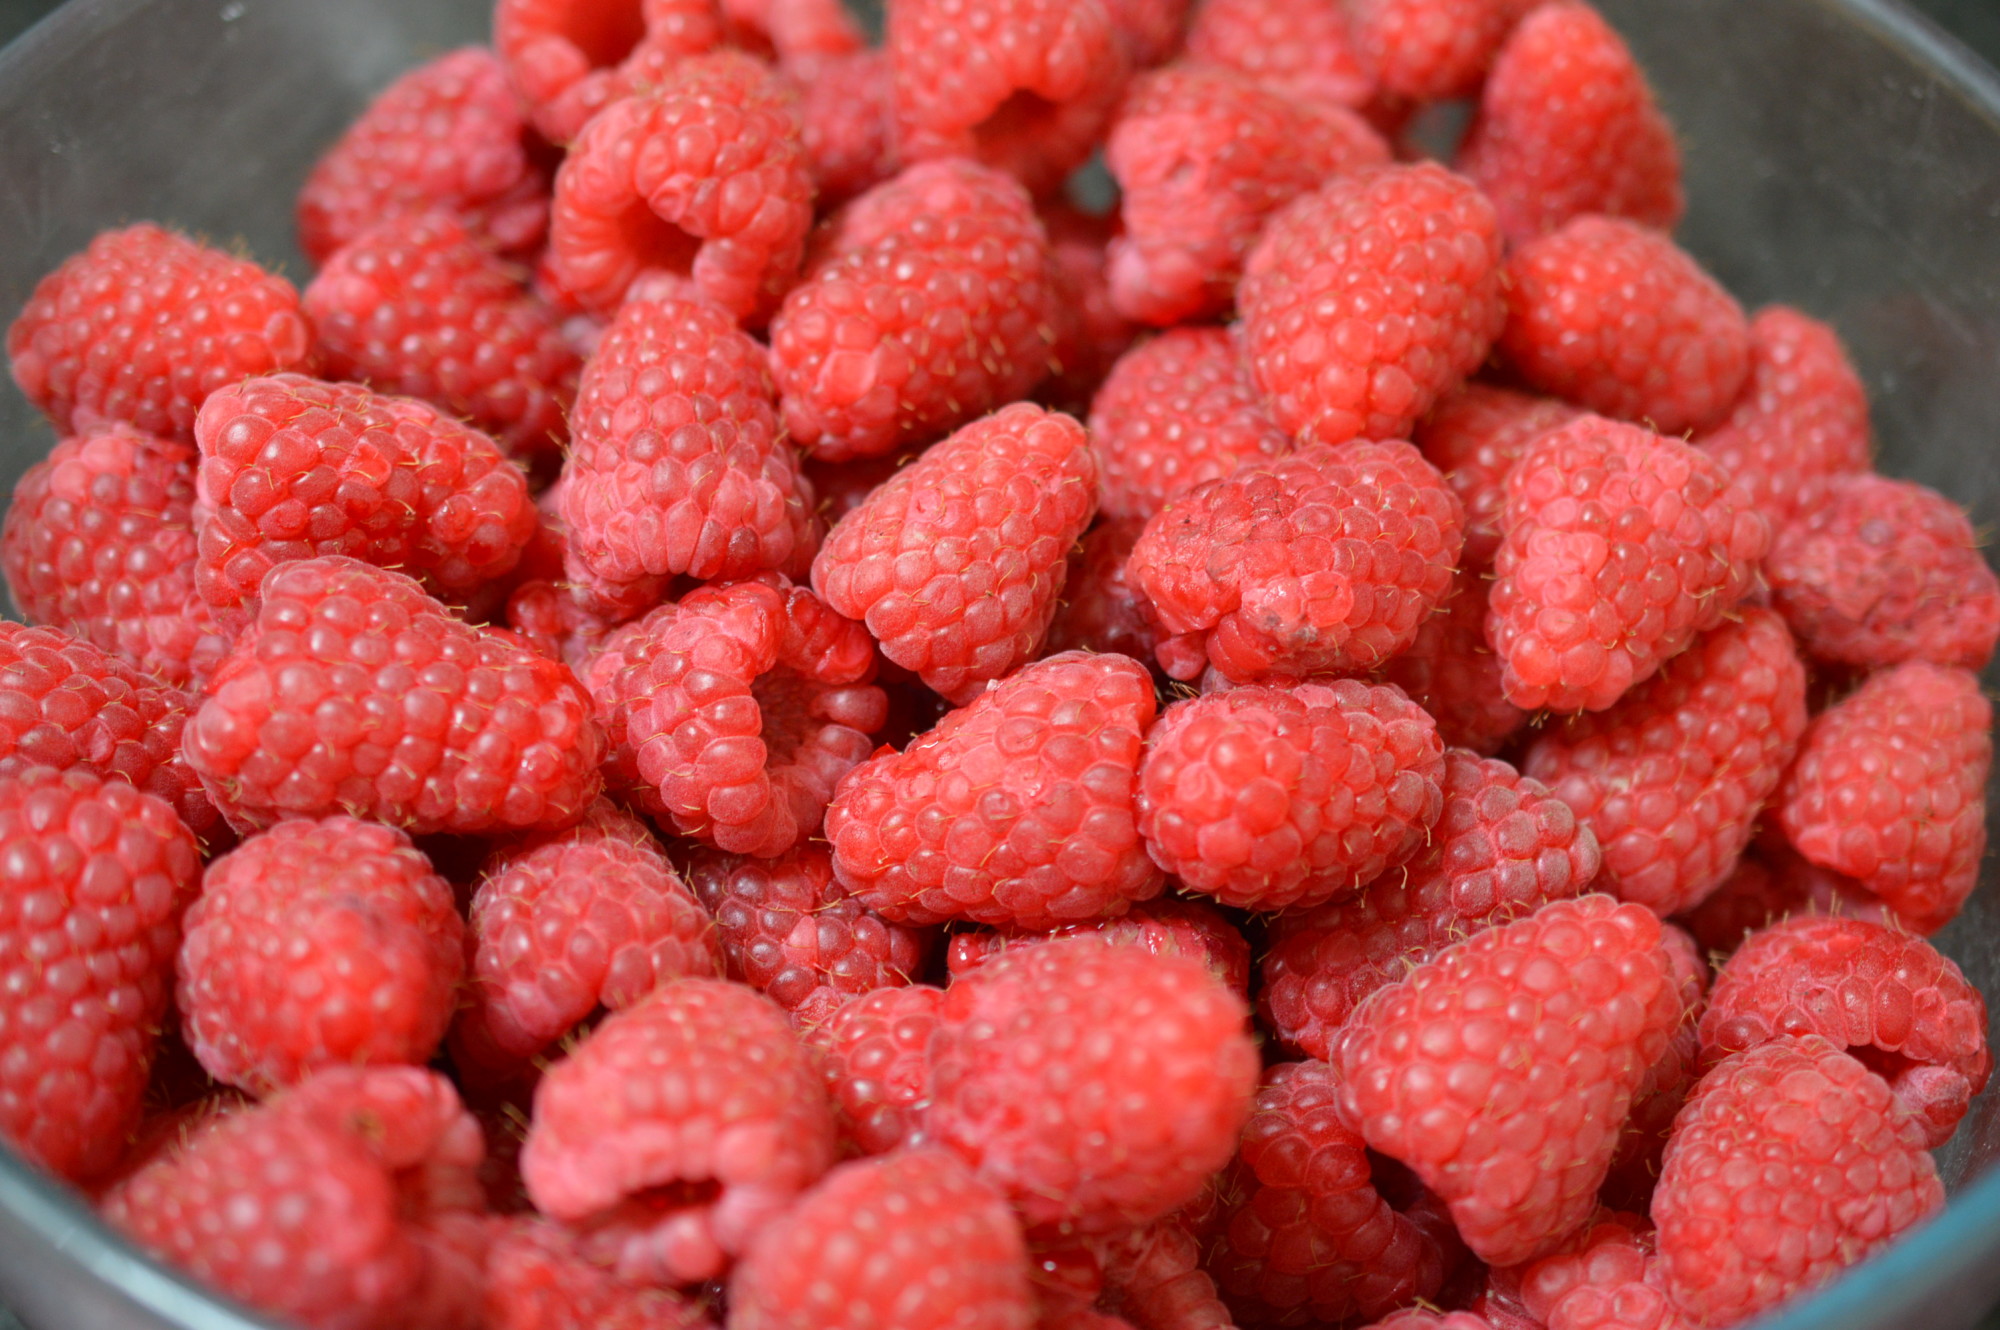
Discard any fruit showing signs of spoilage and give them a light rinse. Place the raspberries in a heatproof bowl and place in a low oven for 40 minutes to an hour.
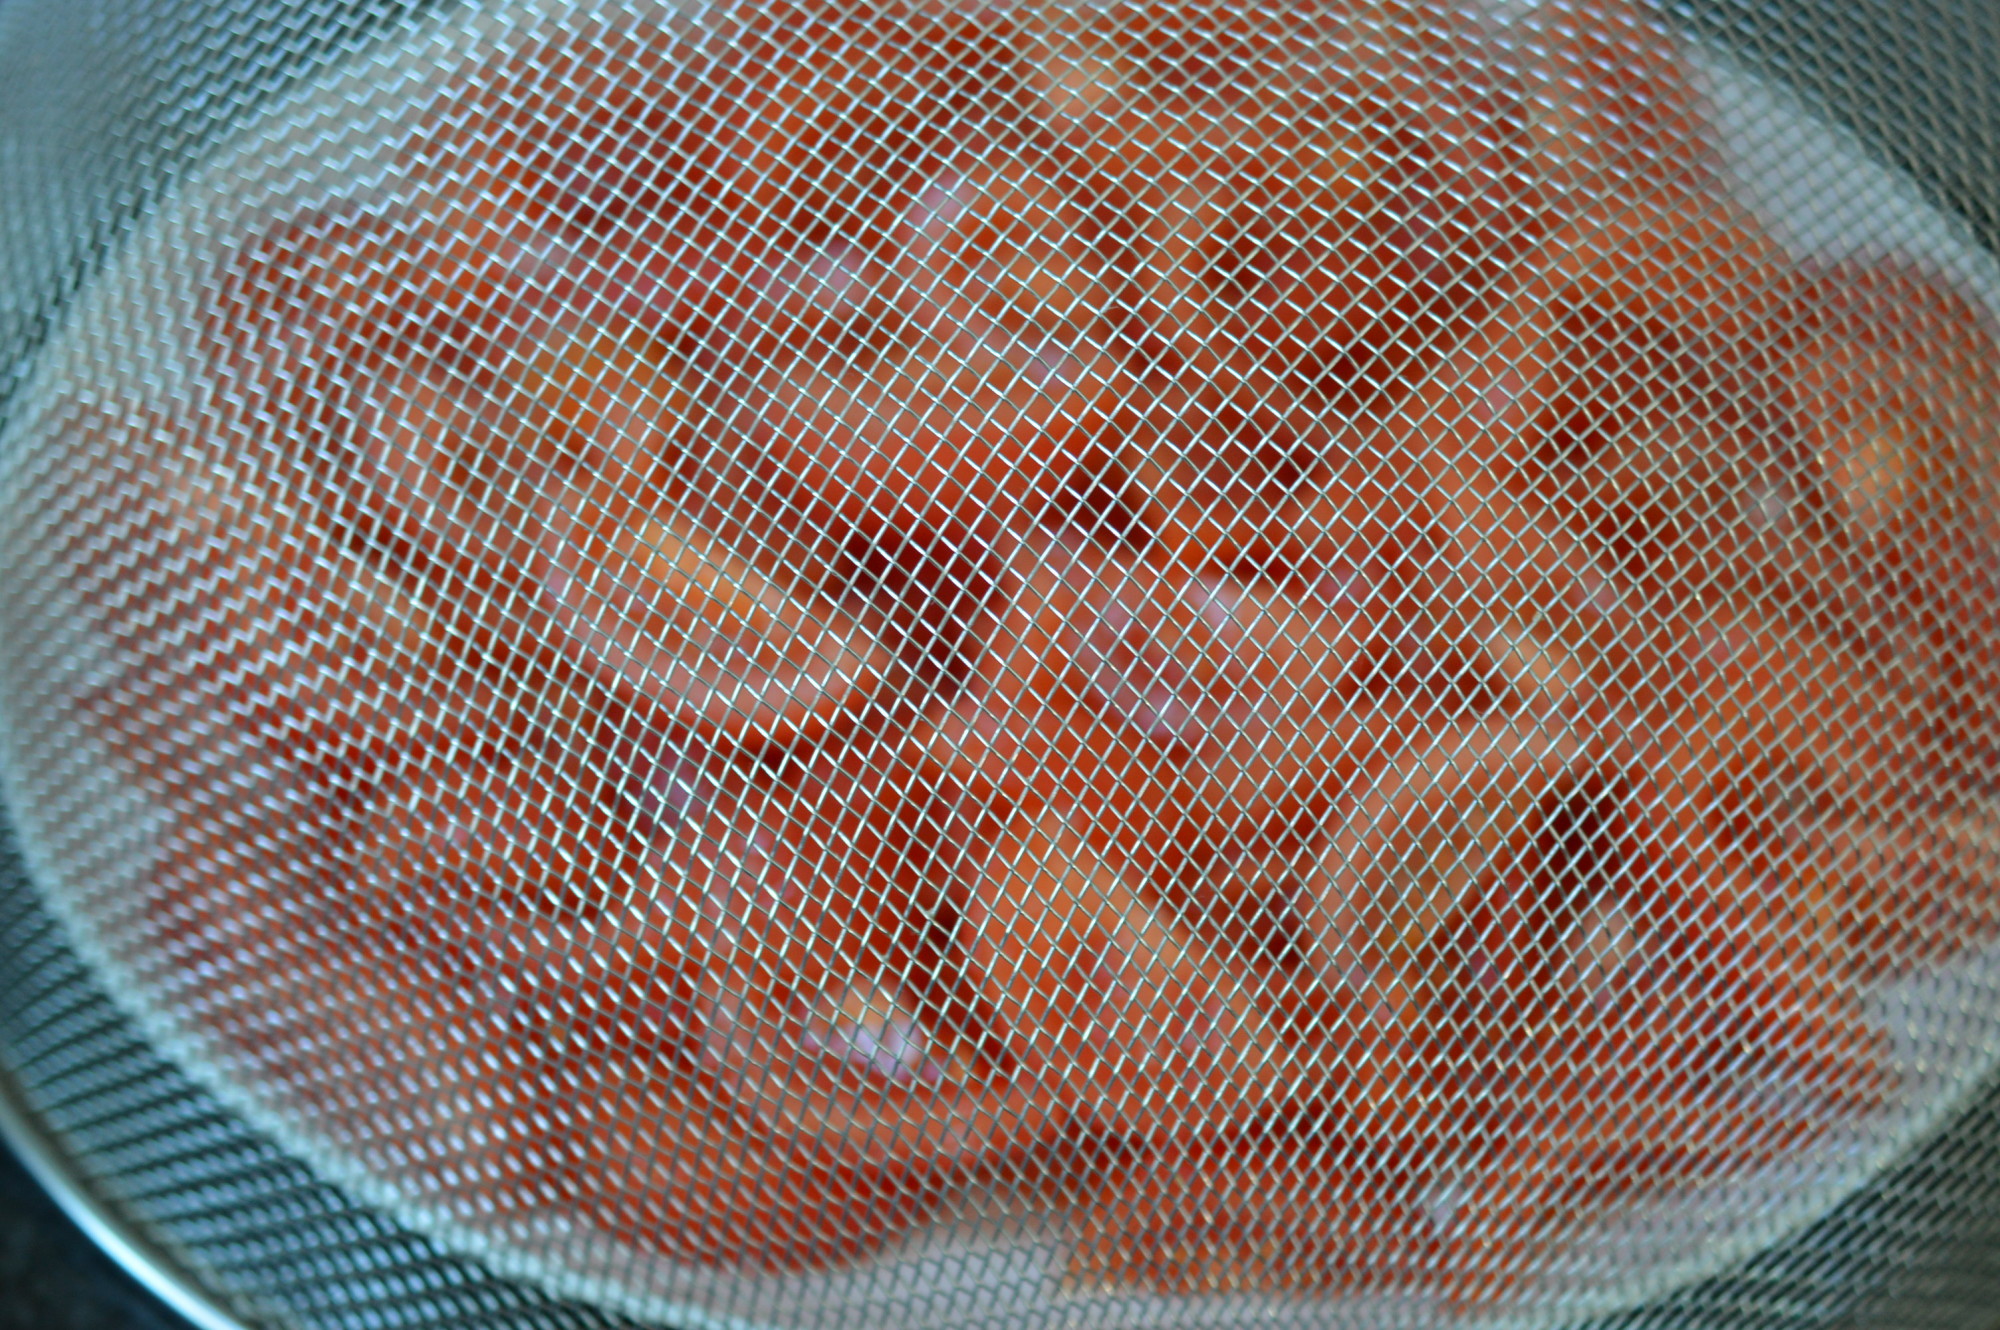
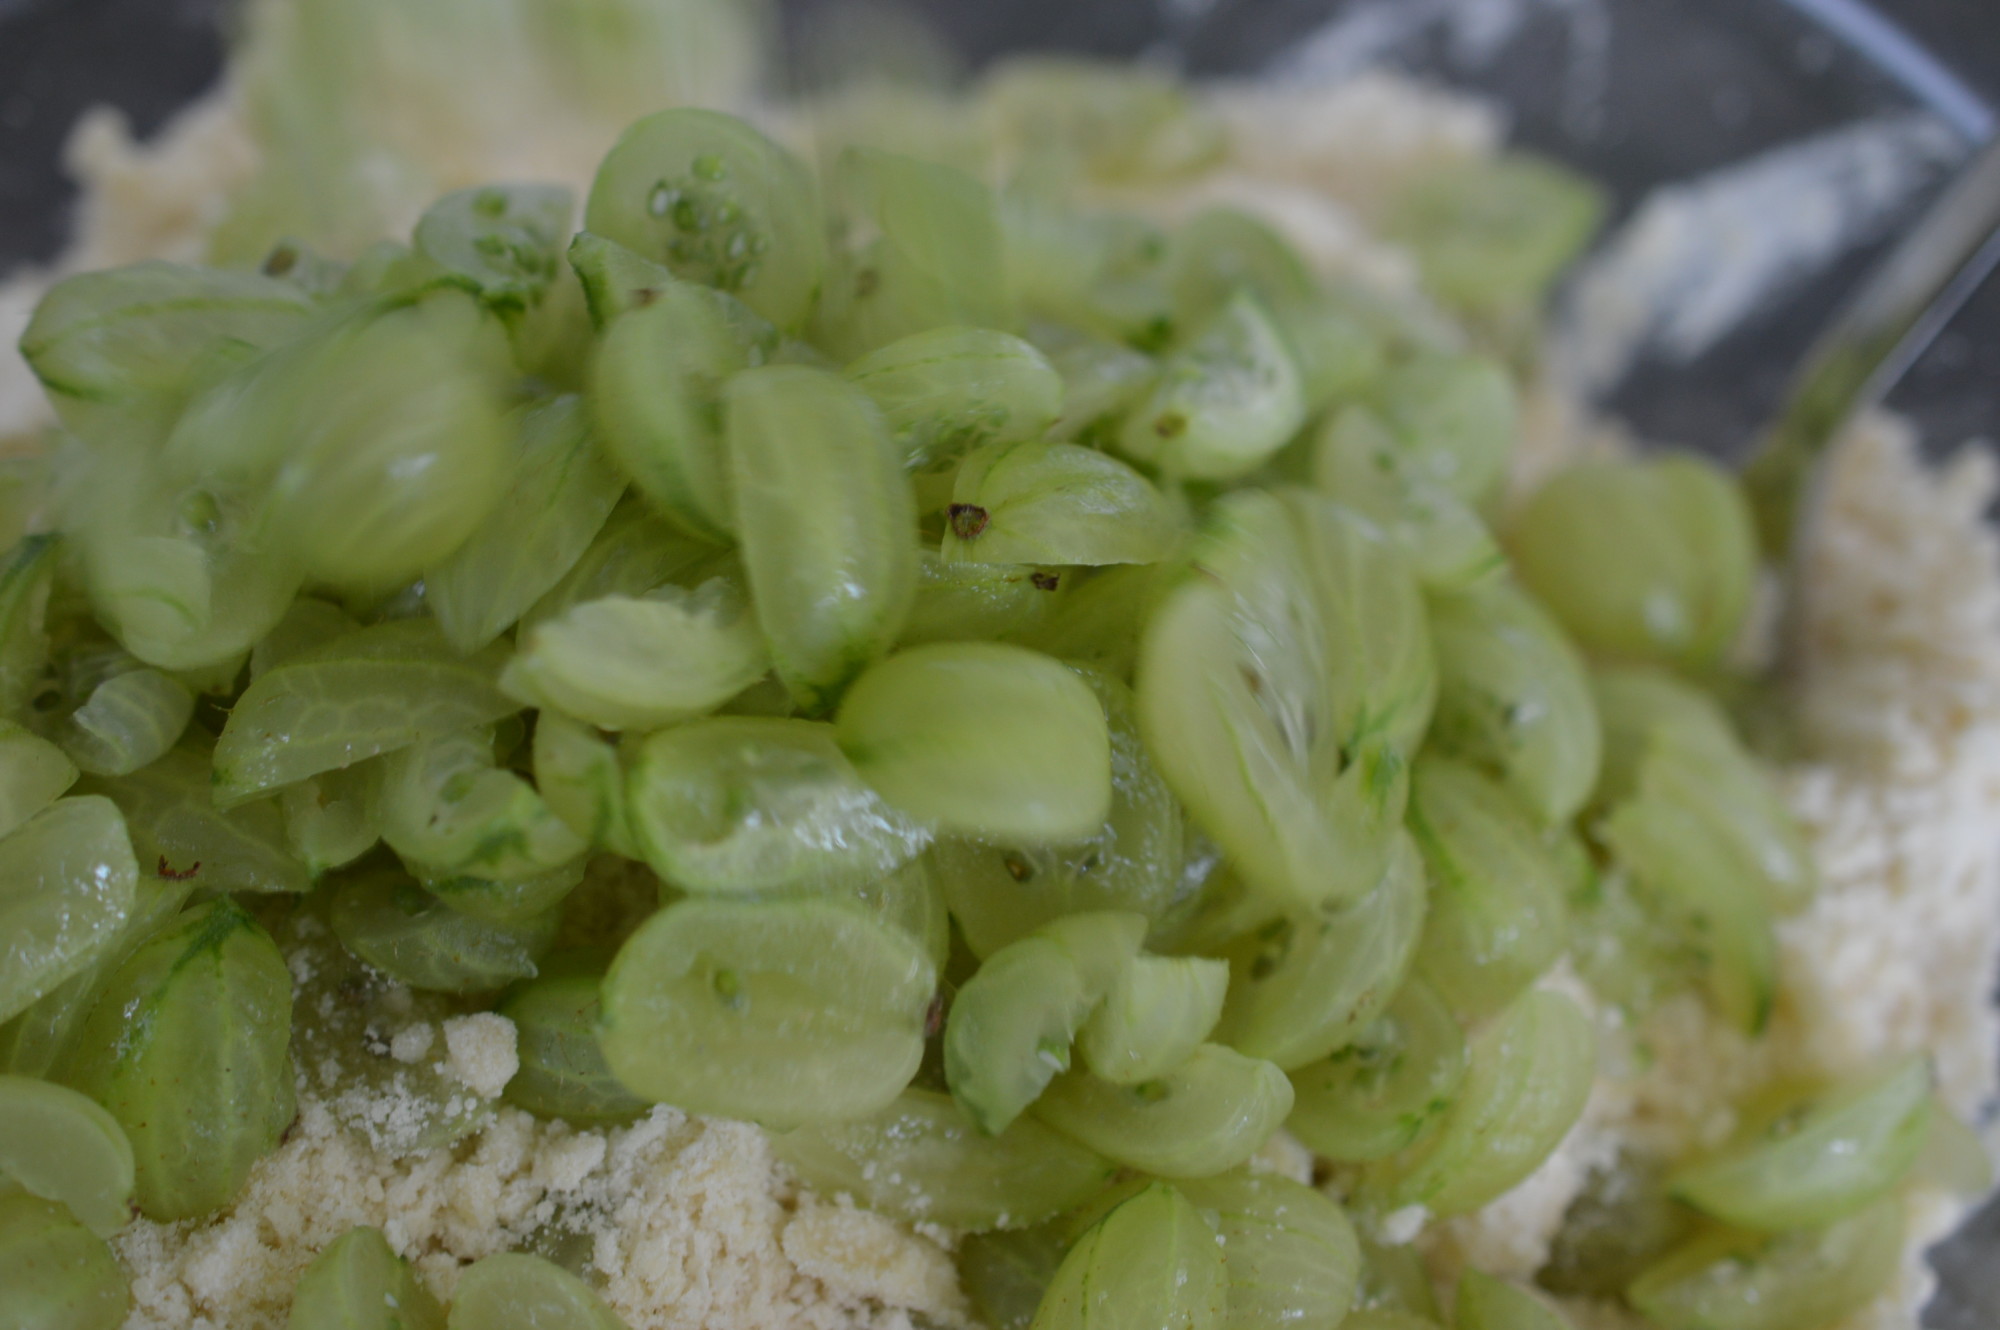
There’s not a lot to see – but warming the fruit makes the next bit so much easier, particularly if you’re using a sieve as opposed to a mouli.
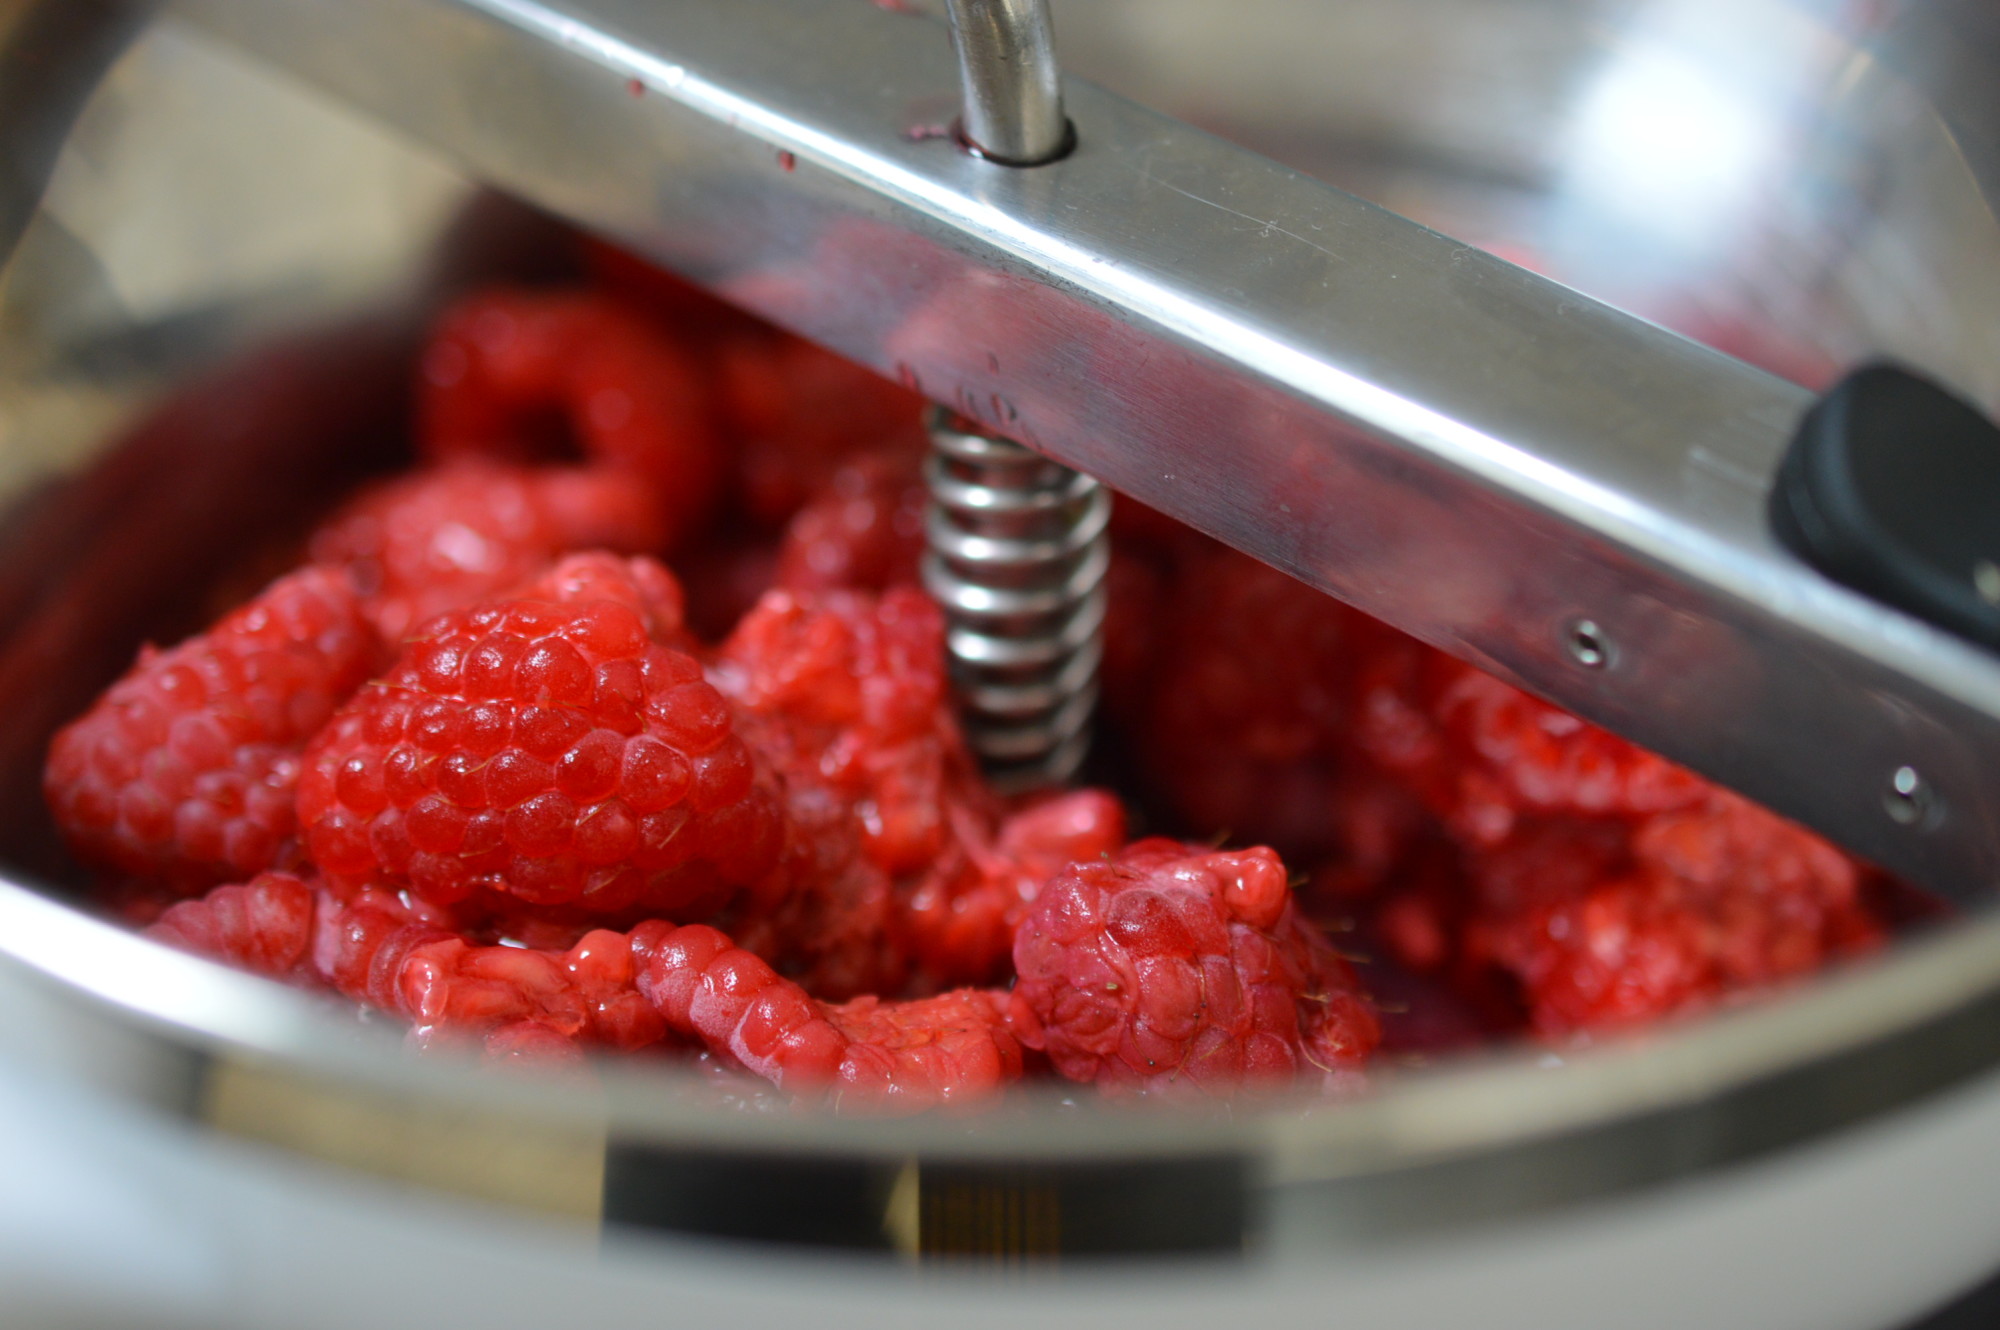
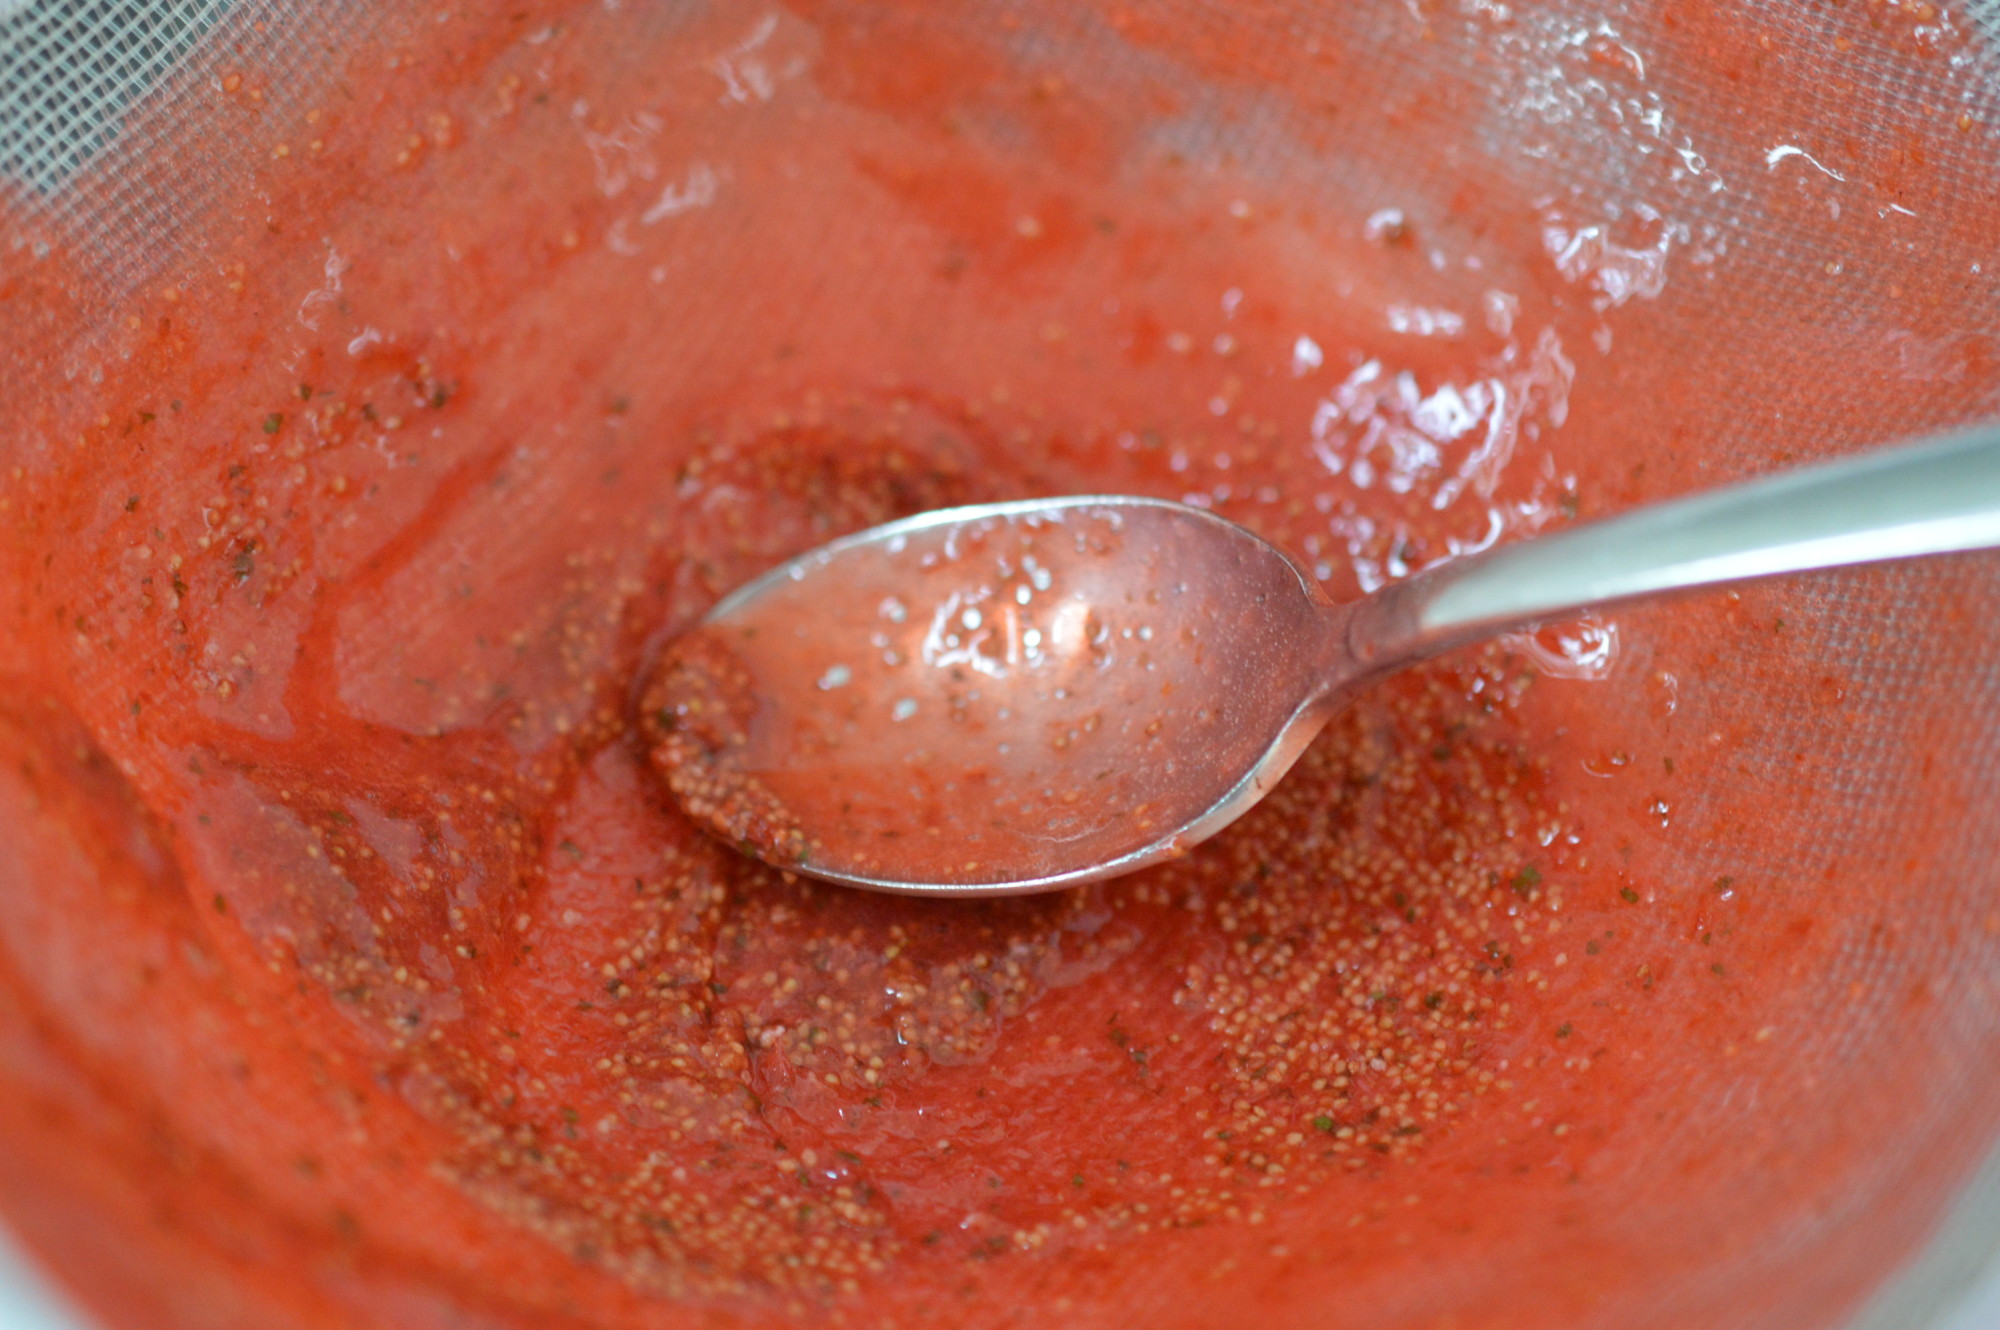
My weapon of choice is a ‘Good Grips’ food mill. Sieving is your other option. I would suggest trying to utilise any available child labour if you’re going that route.
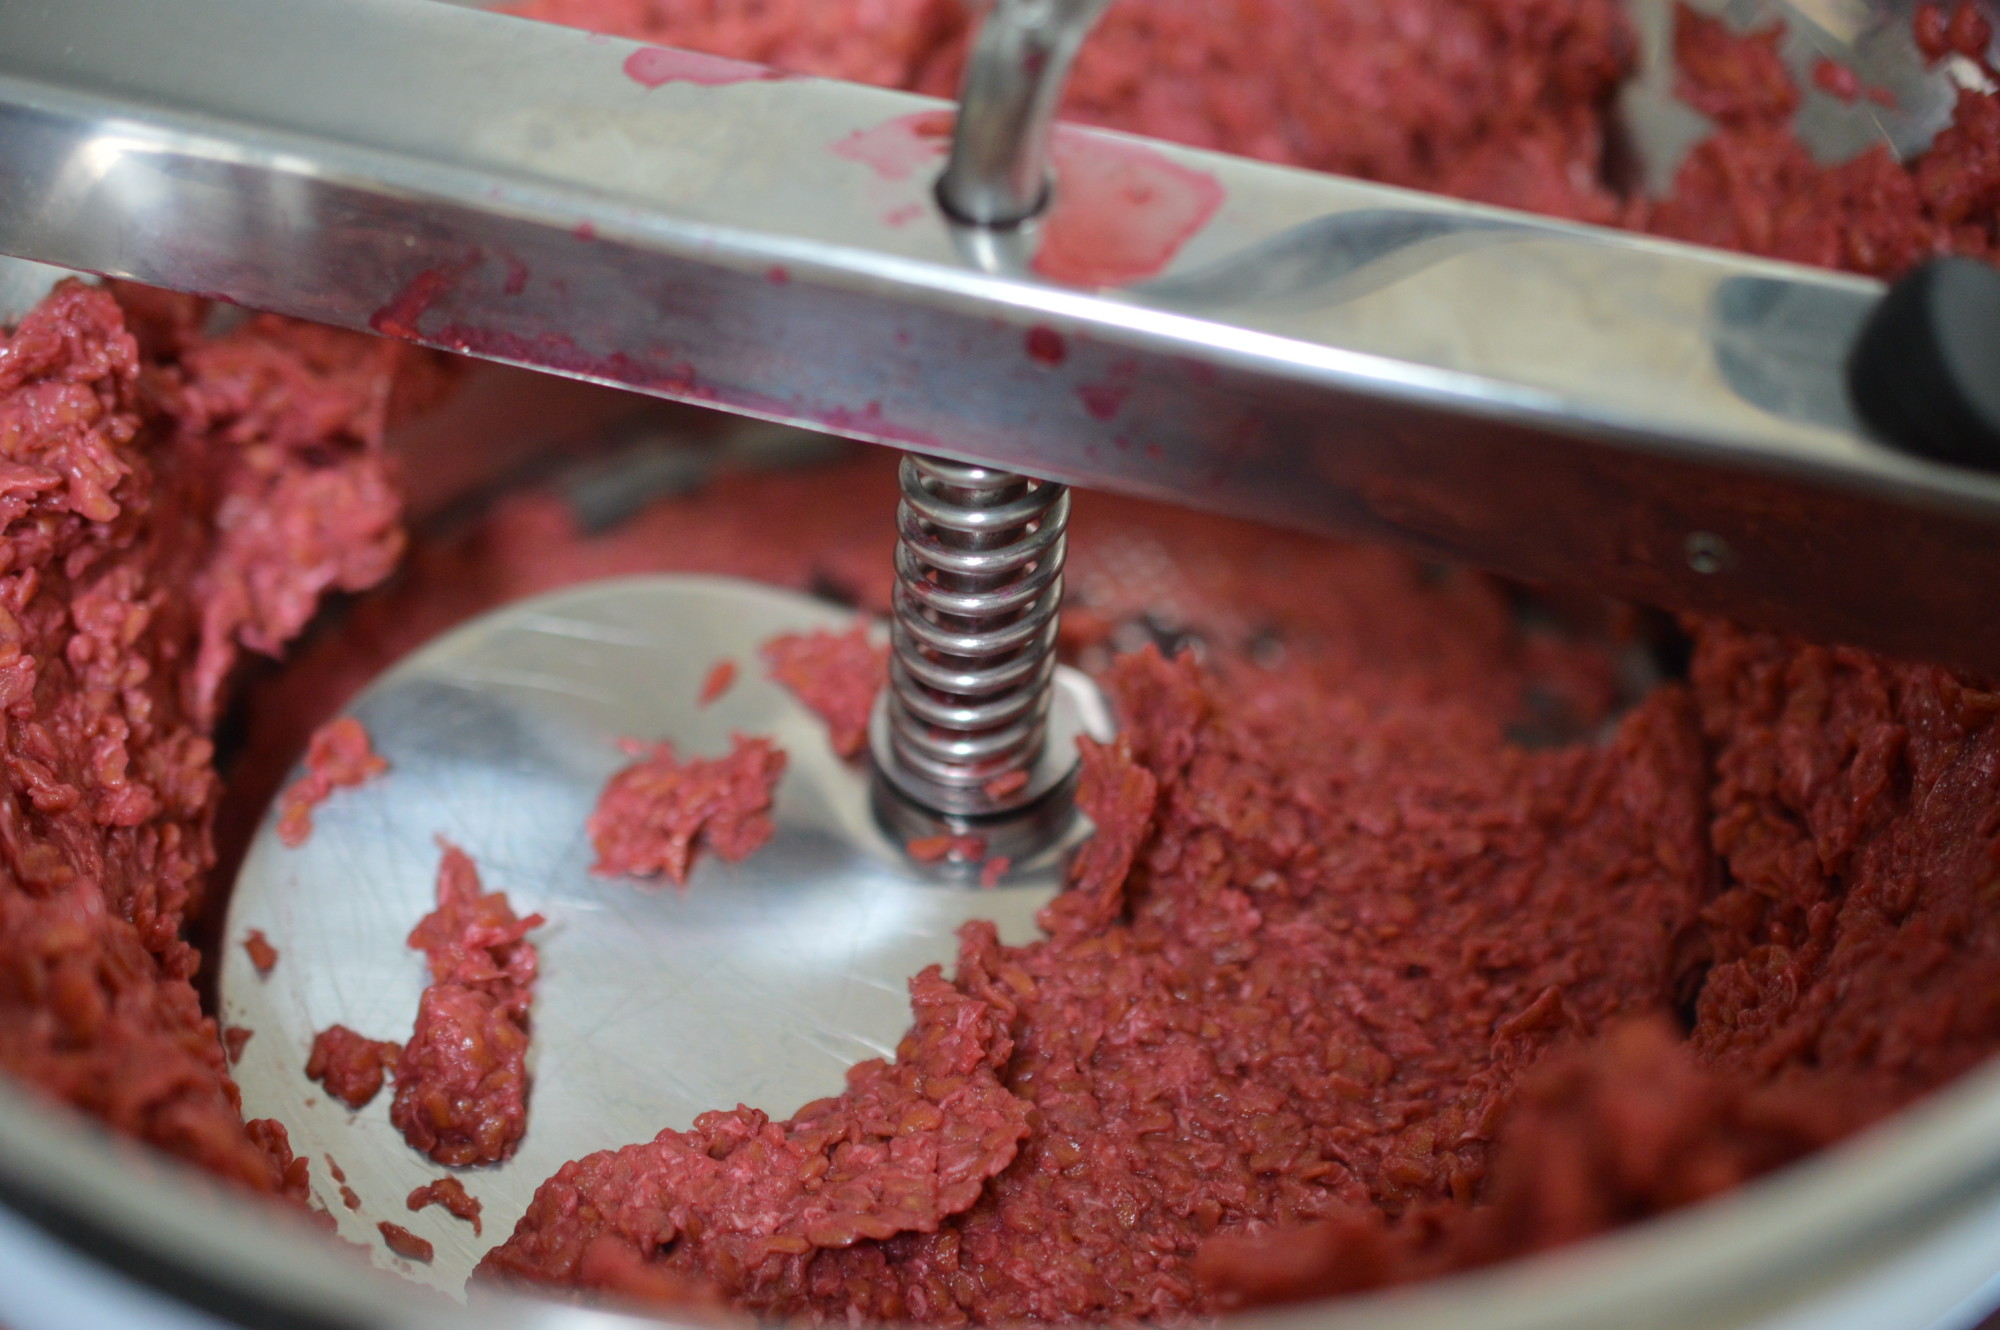
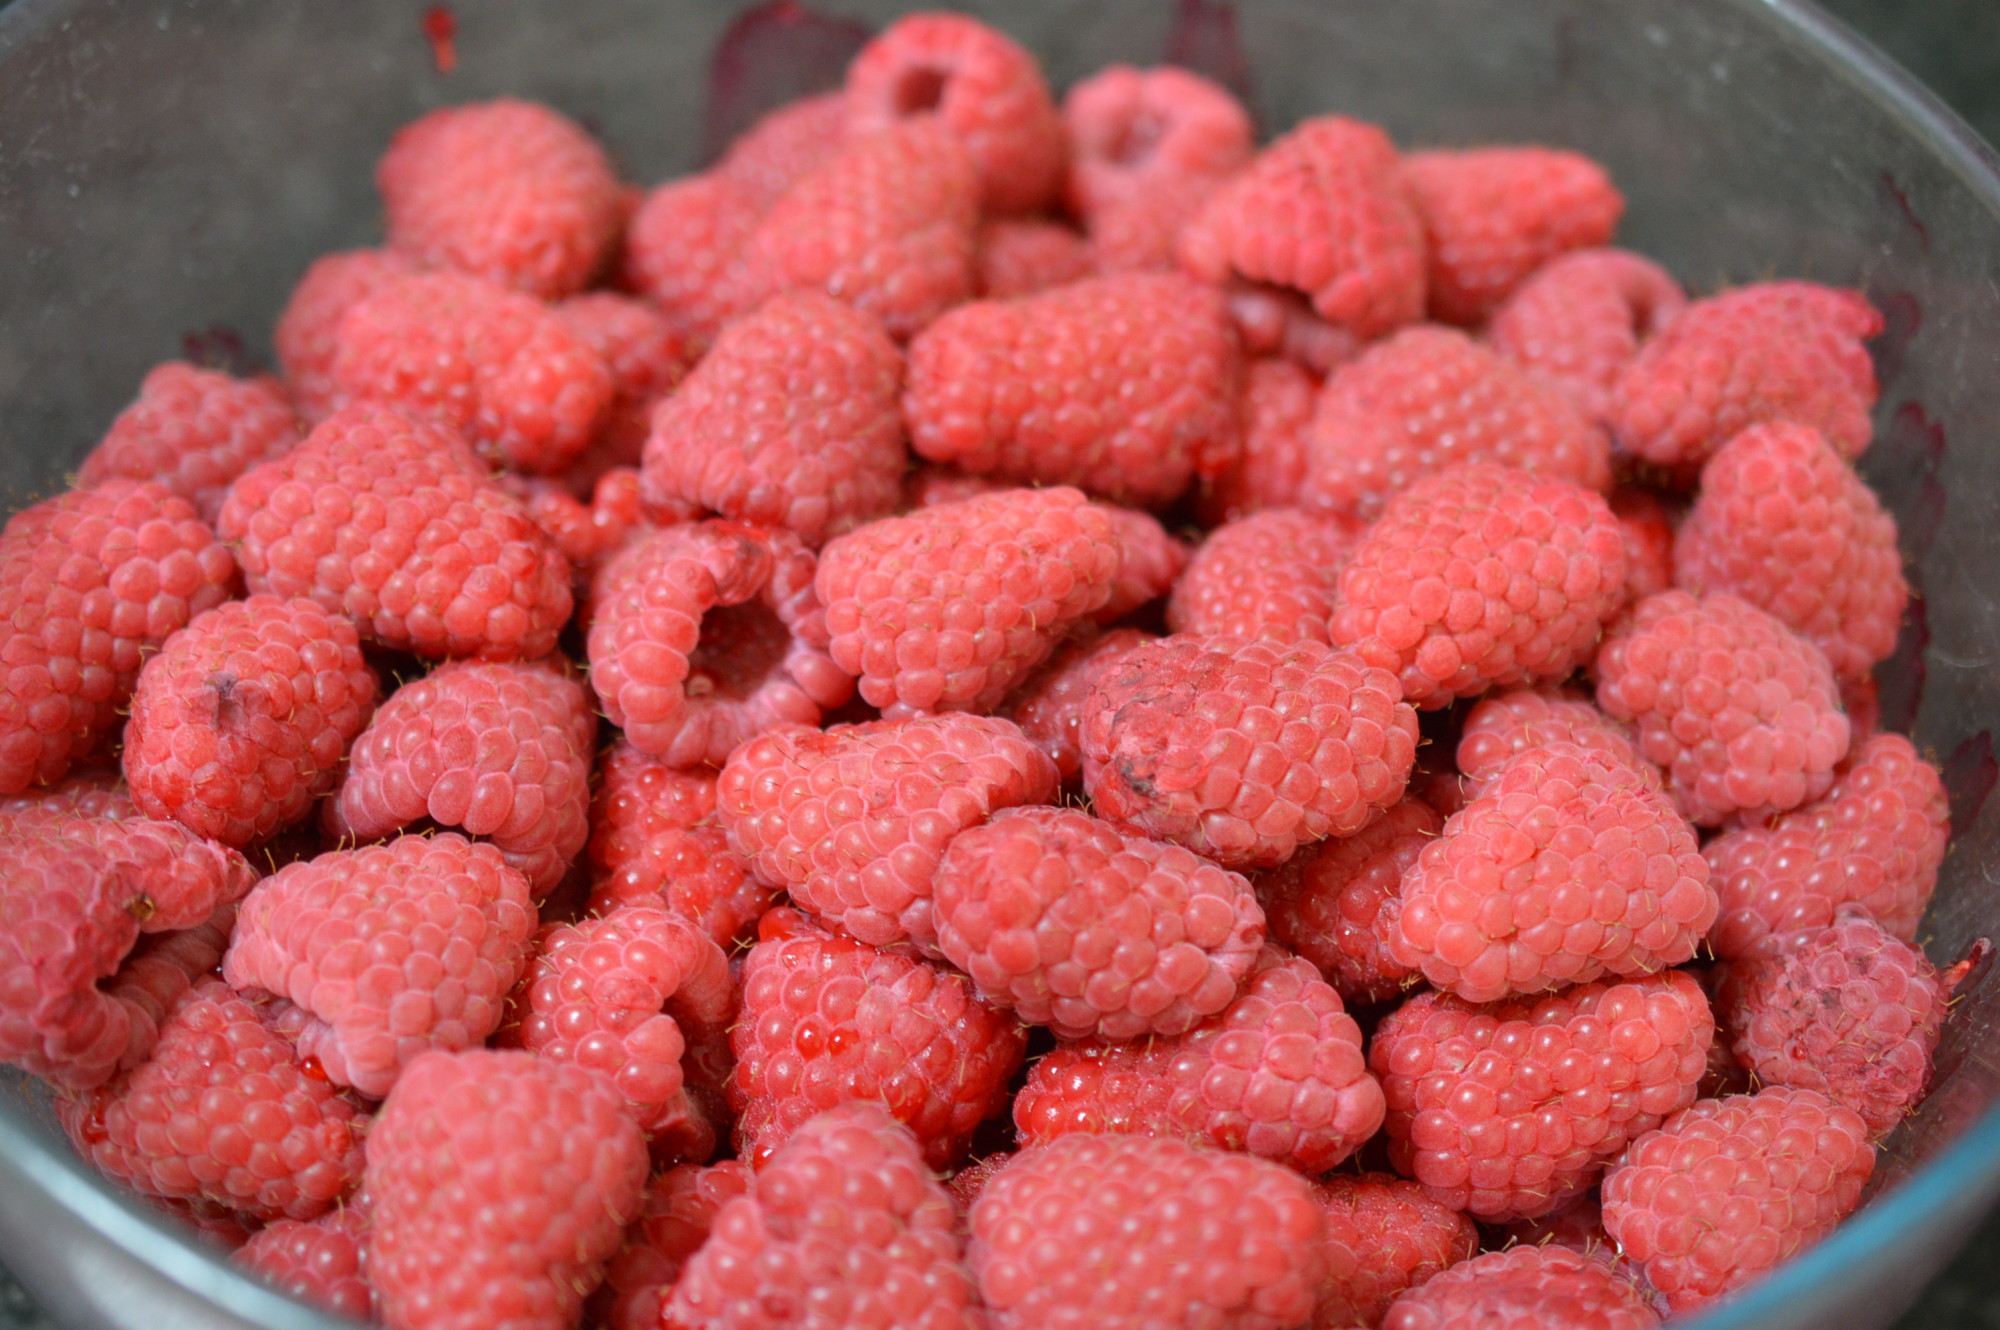
After a period of energetic squashing …
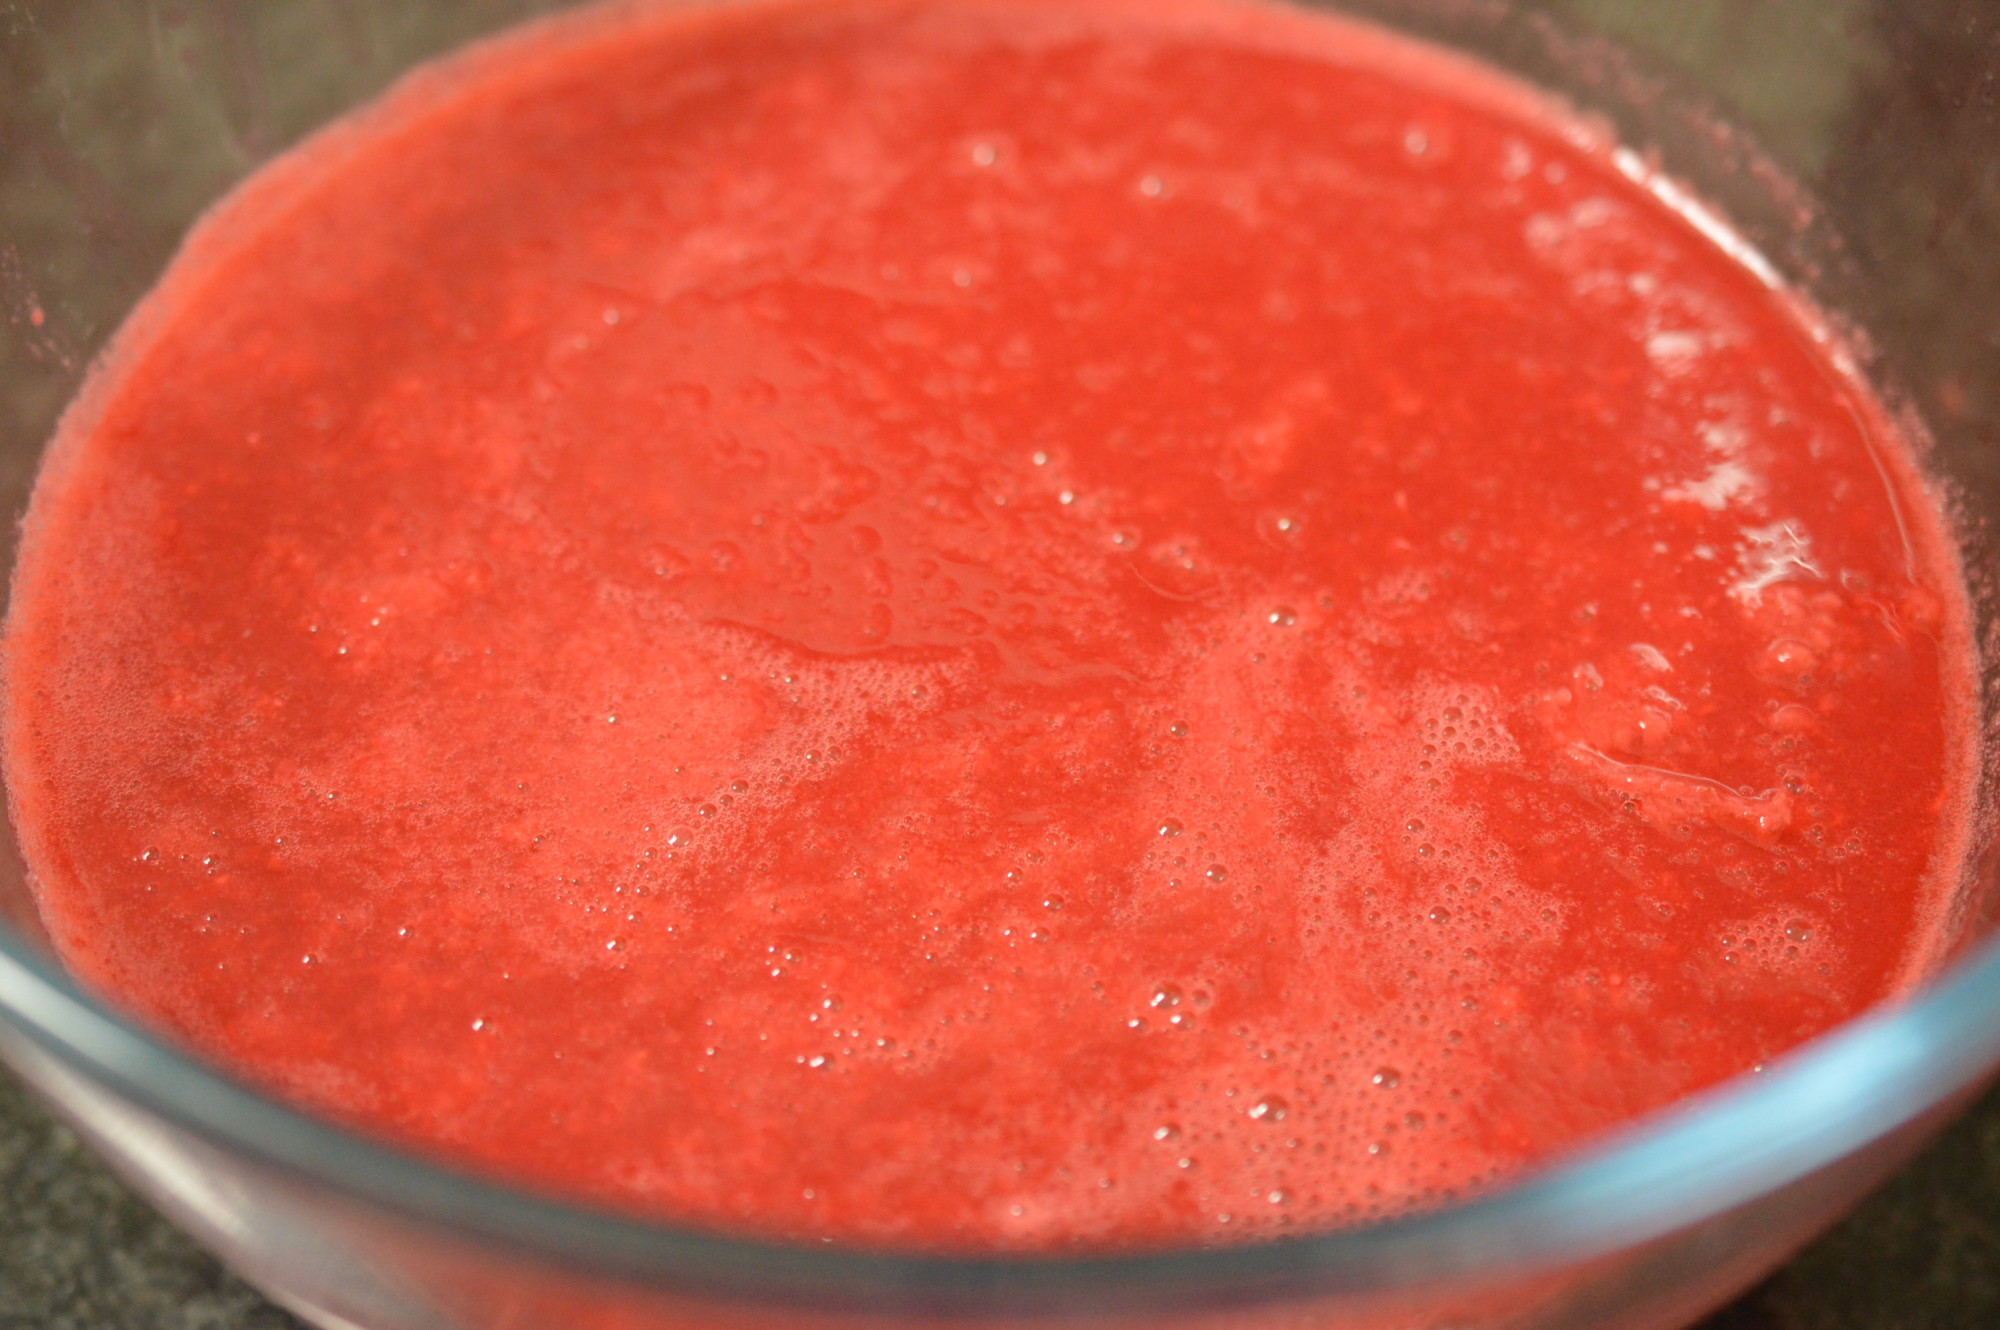
What you are left with is smoothish raspberry pulp.
Preserving is a bit like bread making in that you can, if you wish, make it incredibly complicated and ‘scientific’. I could, at this point, check the pectin levels in my fruit …
Or .. you can just make the jam. You might miss a certain level of perfection, but ripe fruit waits for no cook and I’ve only got a small window of time to get this done.
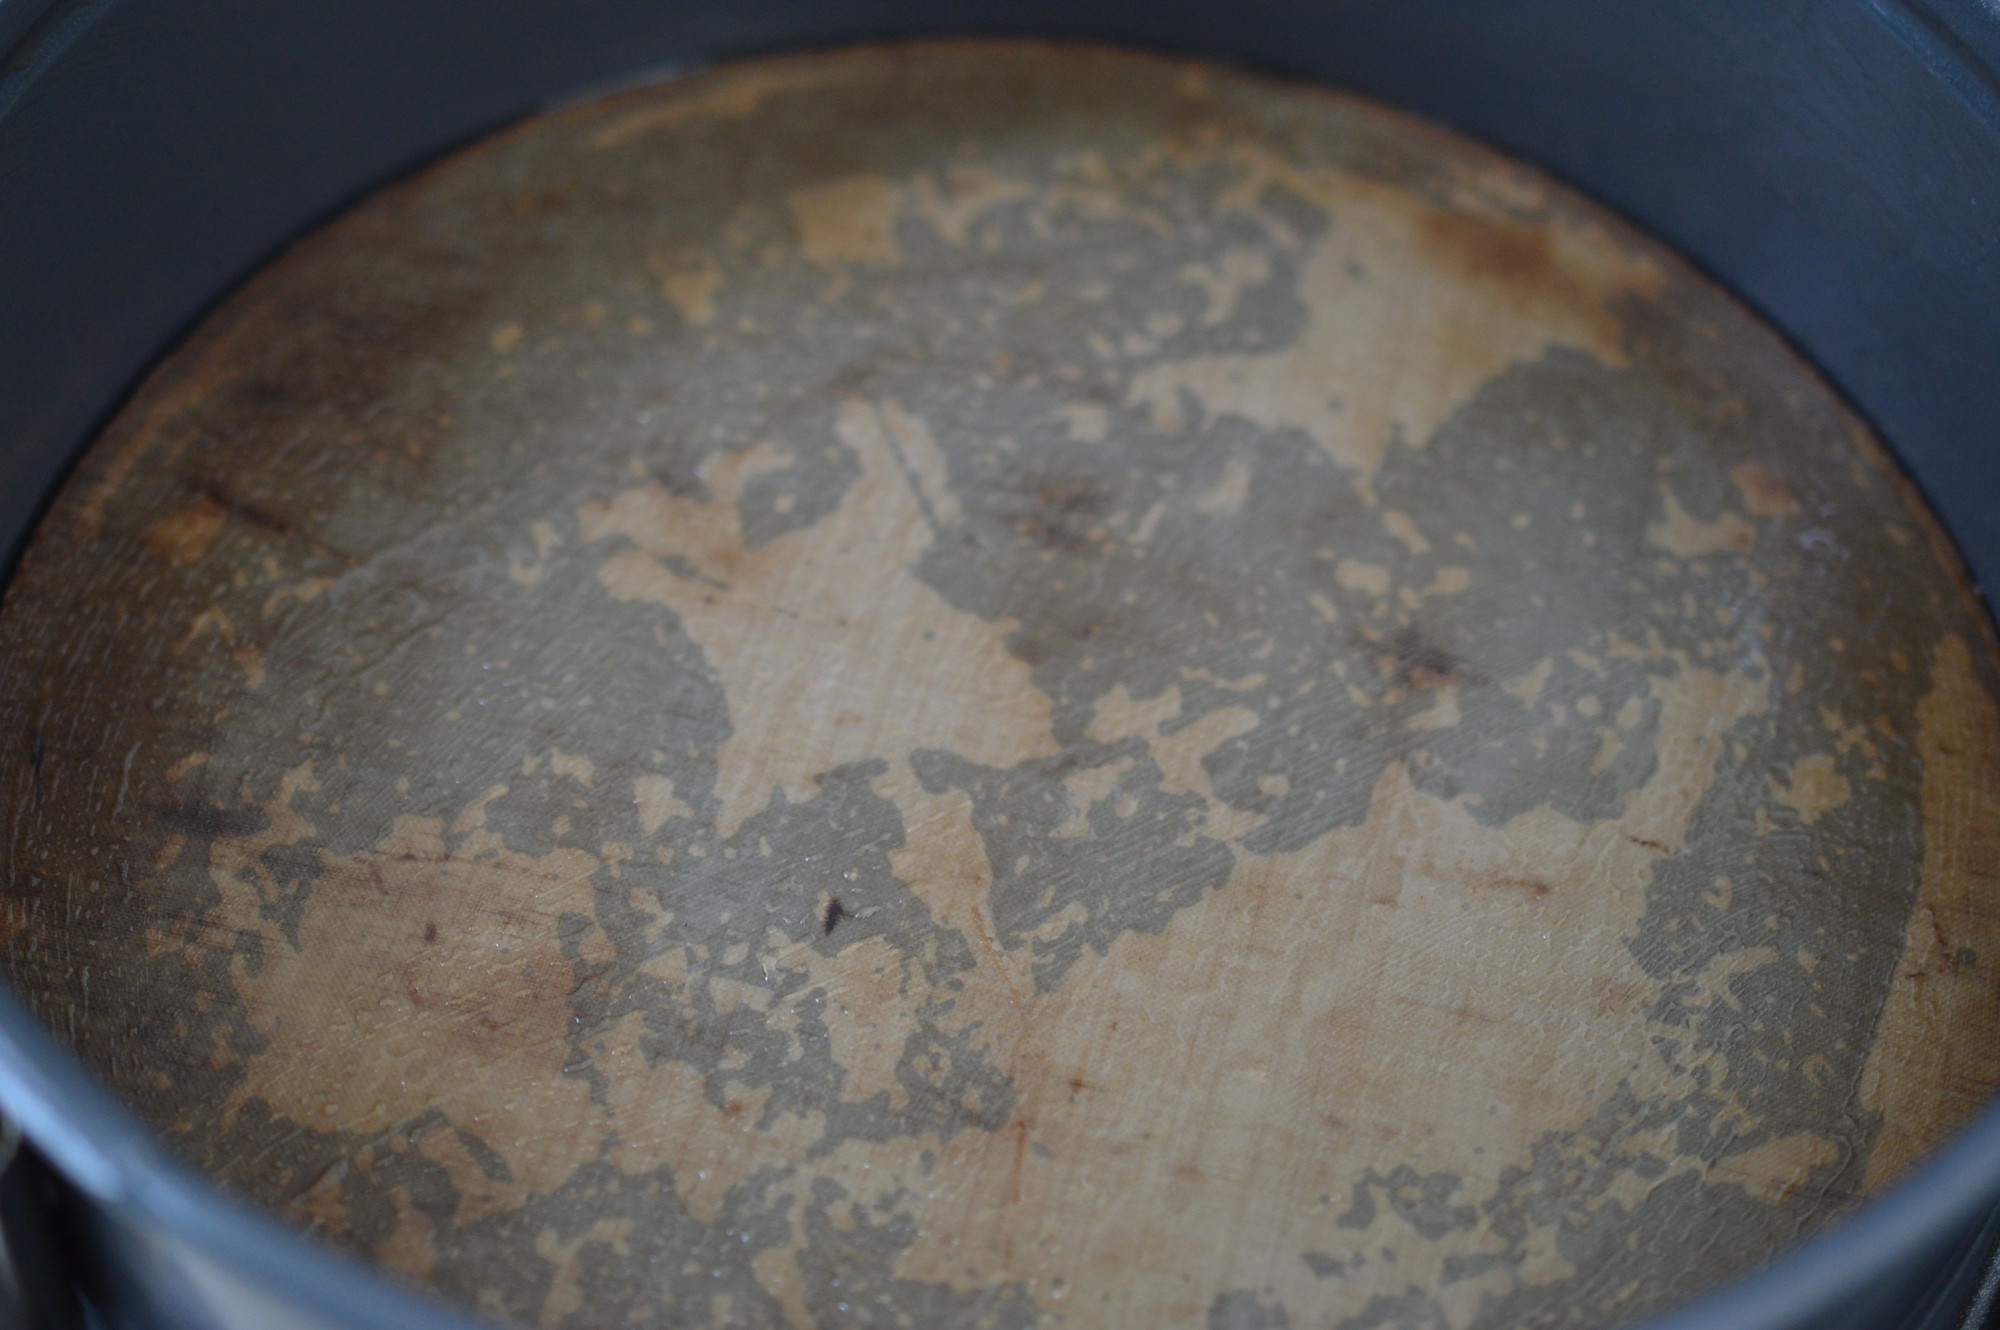
I re-use glass jars without any qualms and I buy new lids. Clean, rinsed jars and lids go into a low oven for 30 minutes.
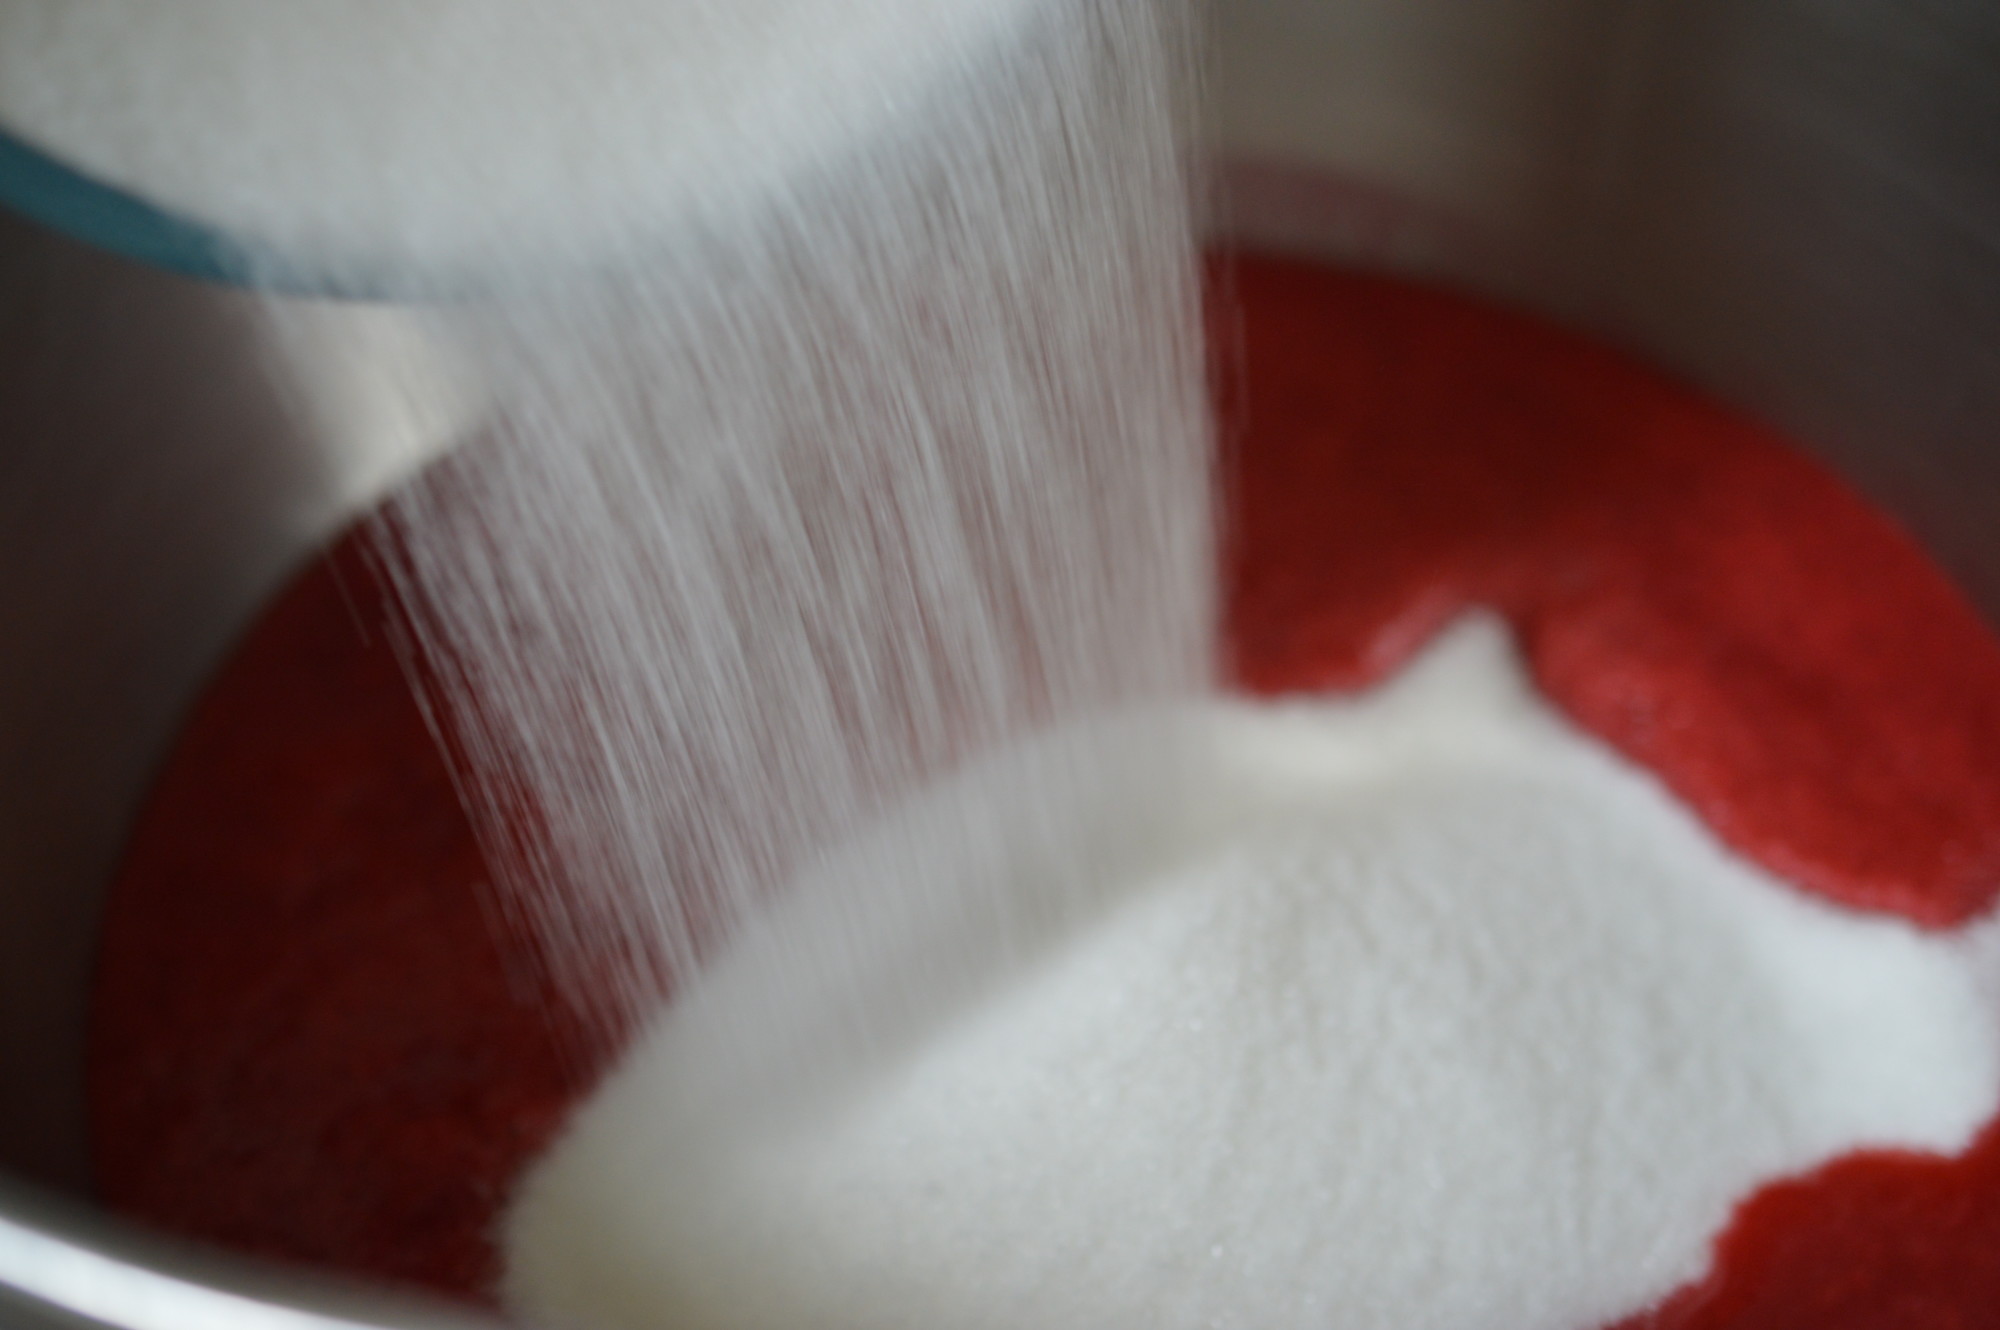
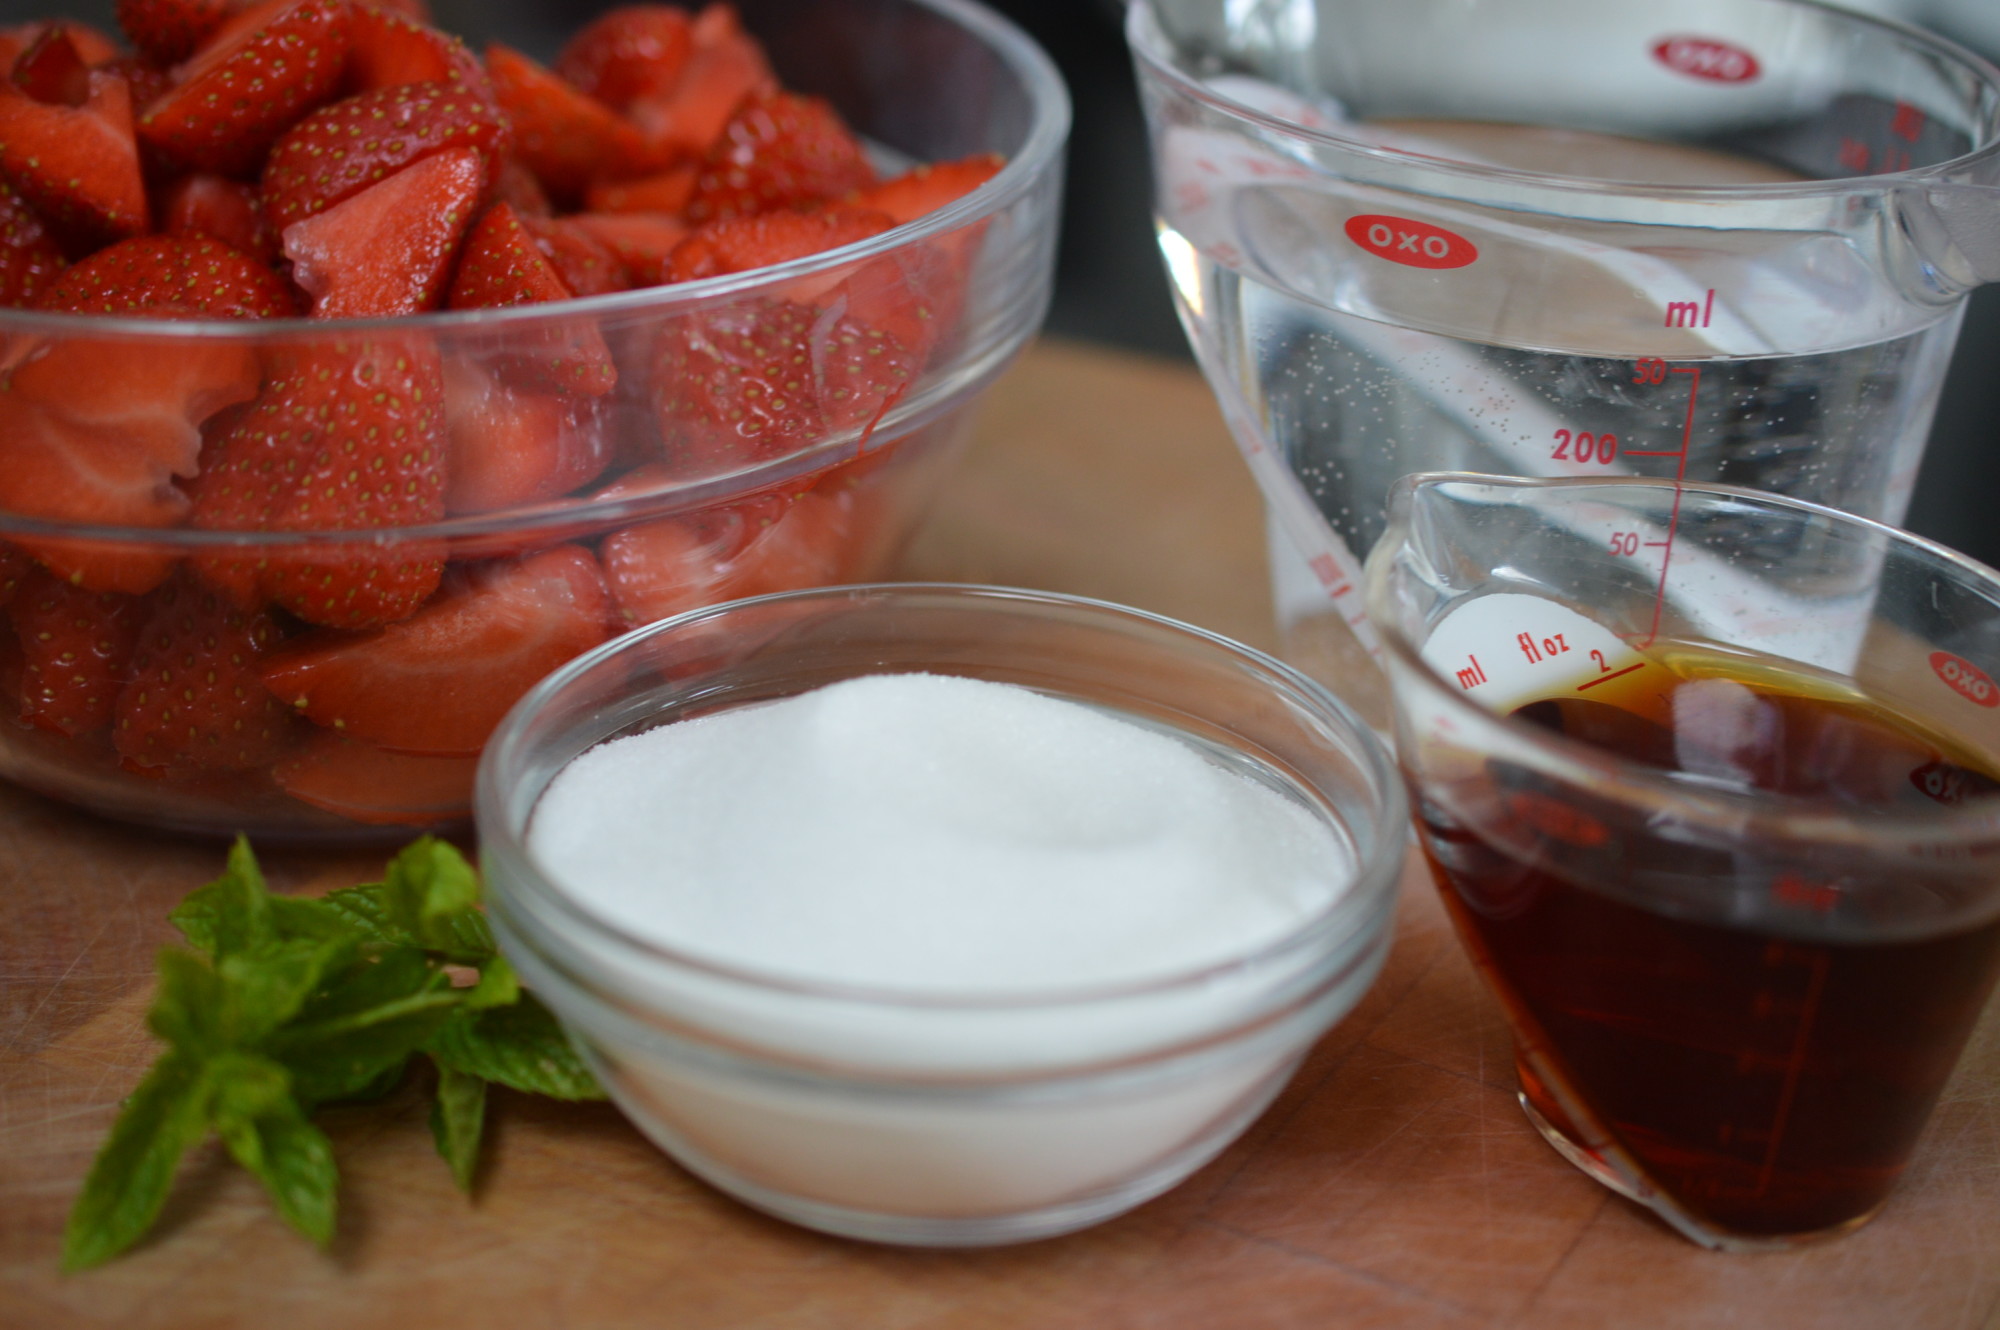
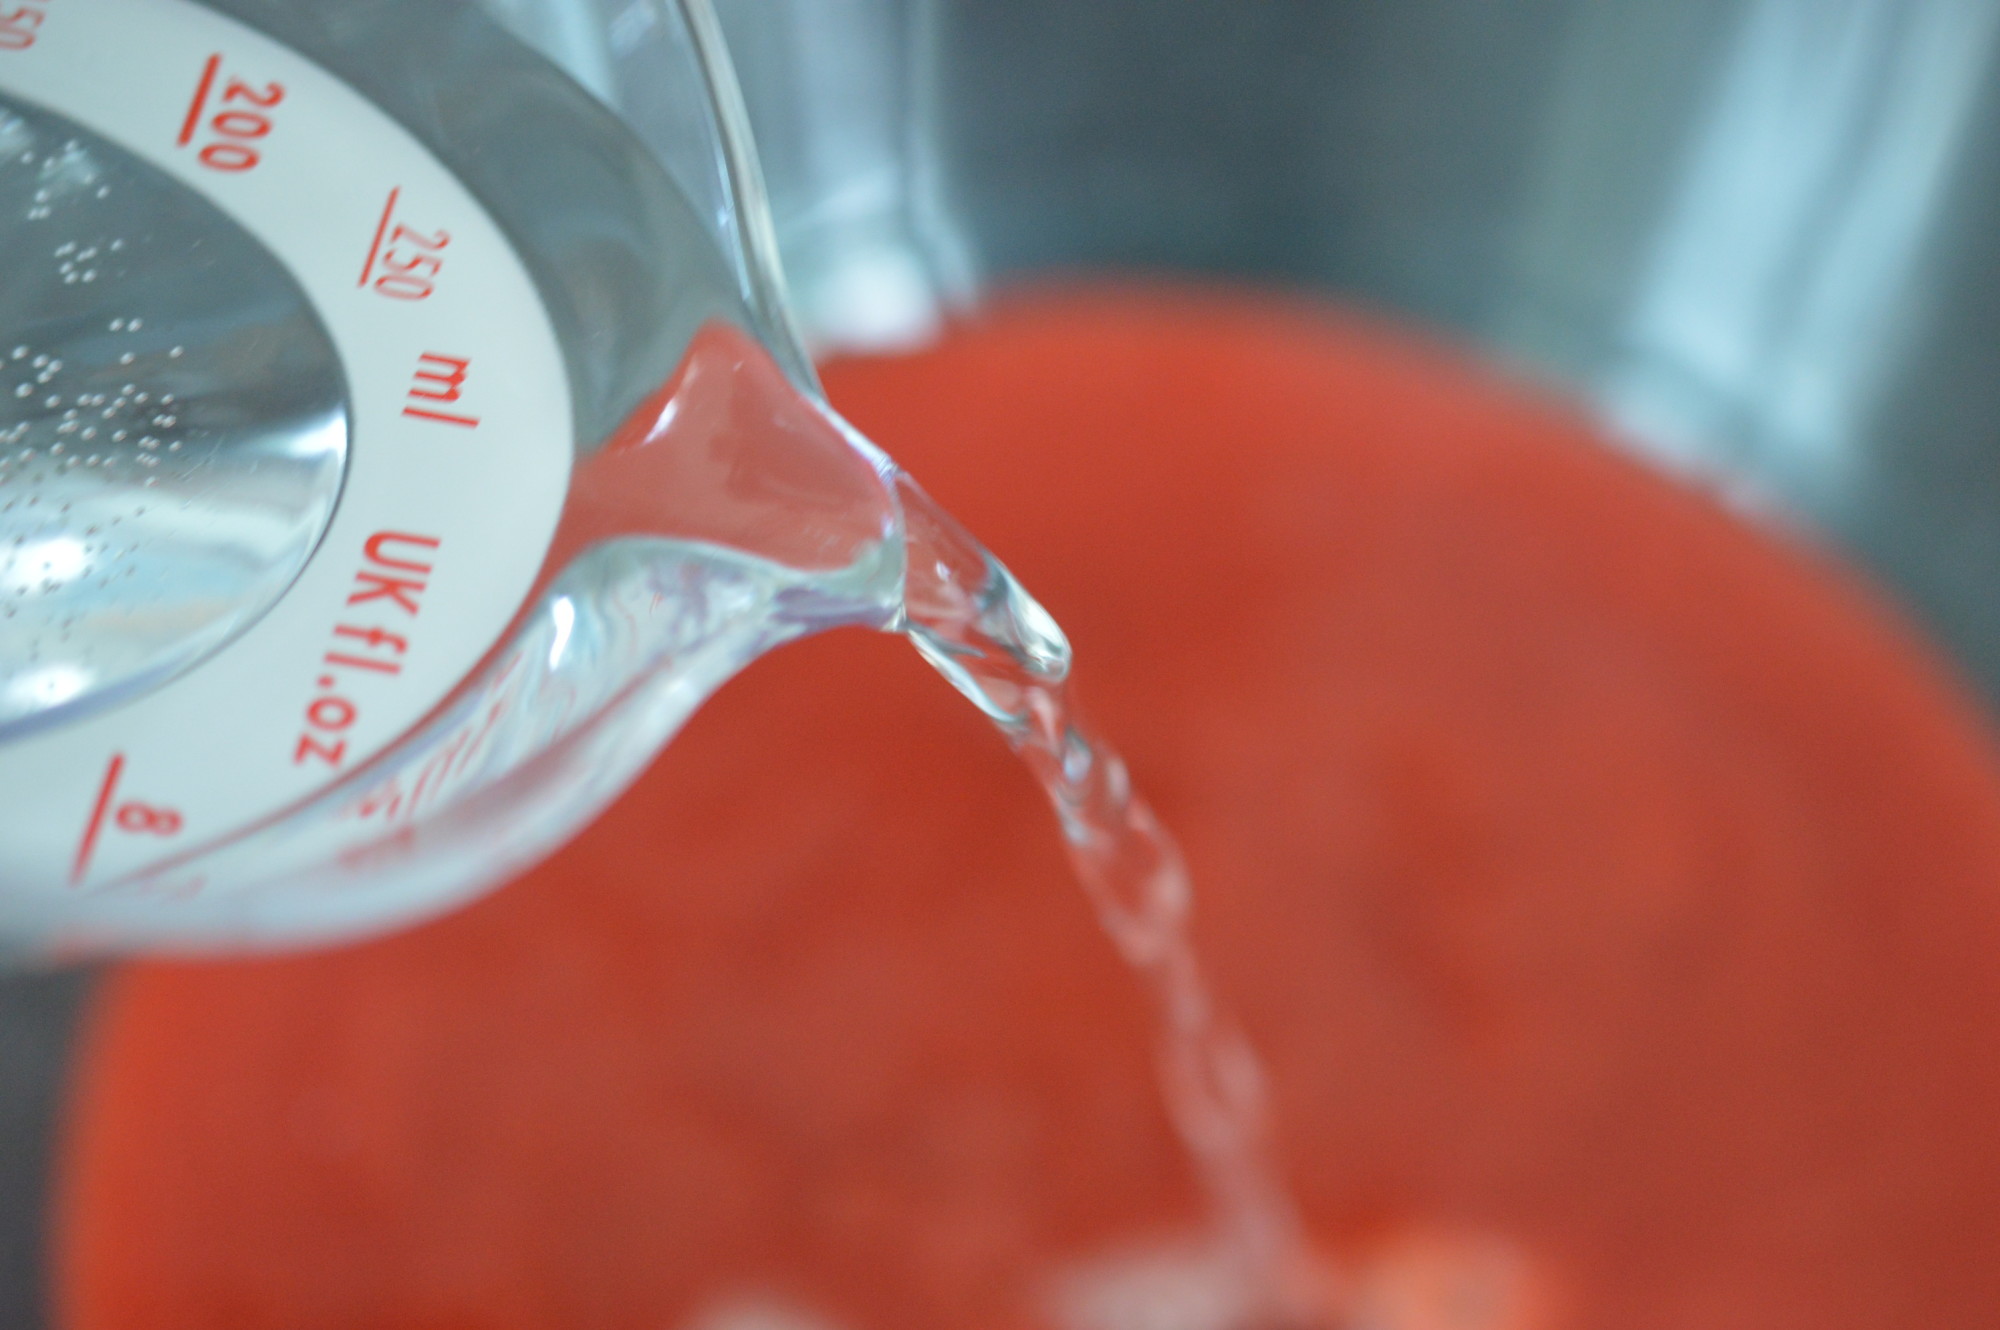
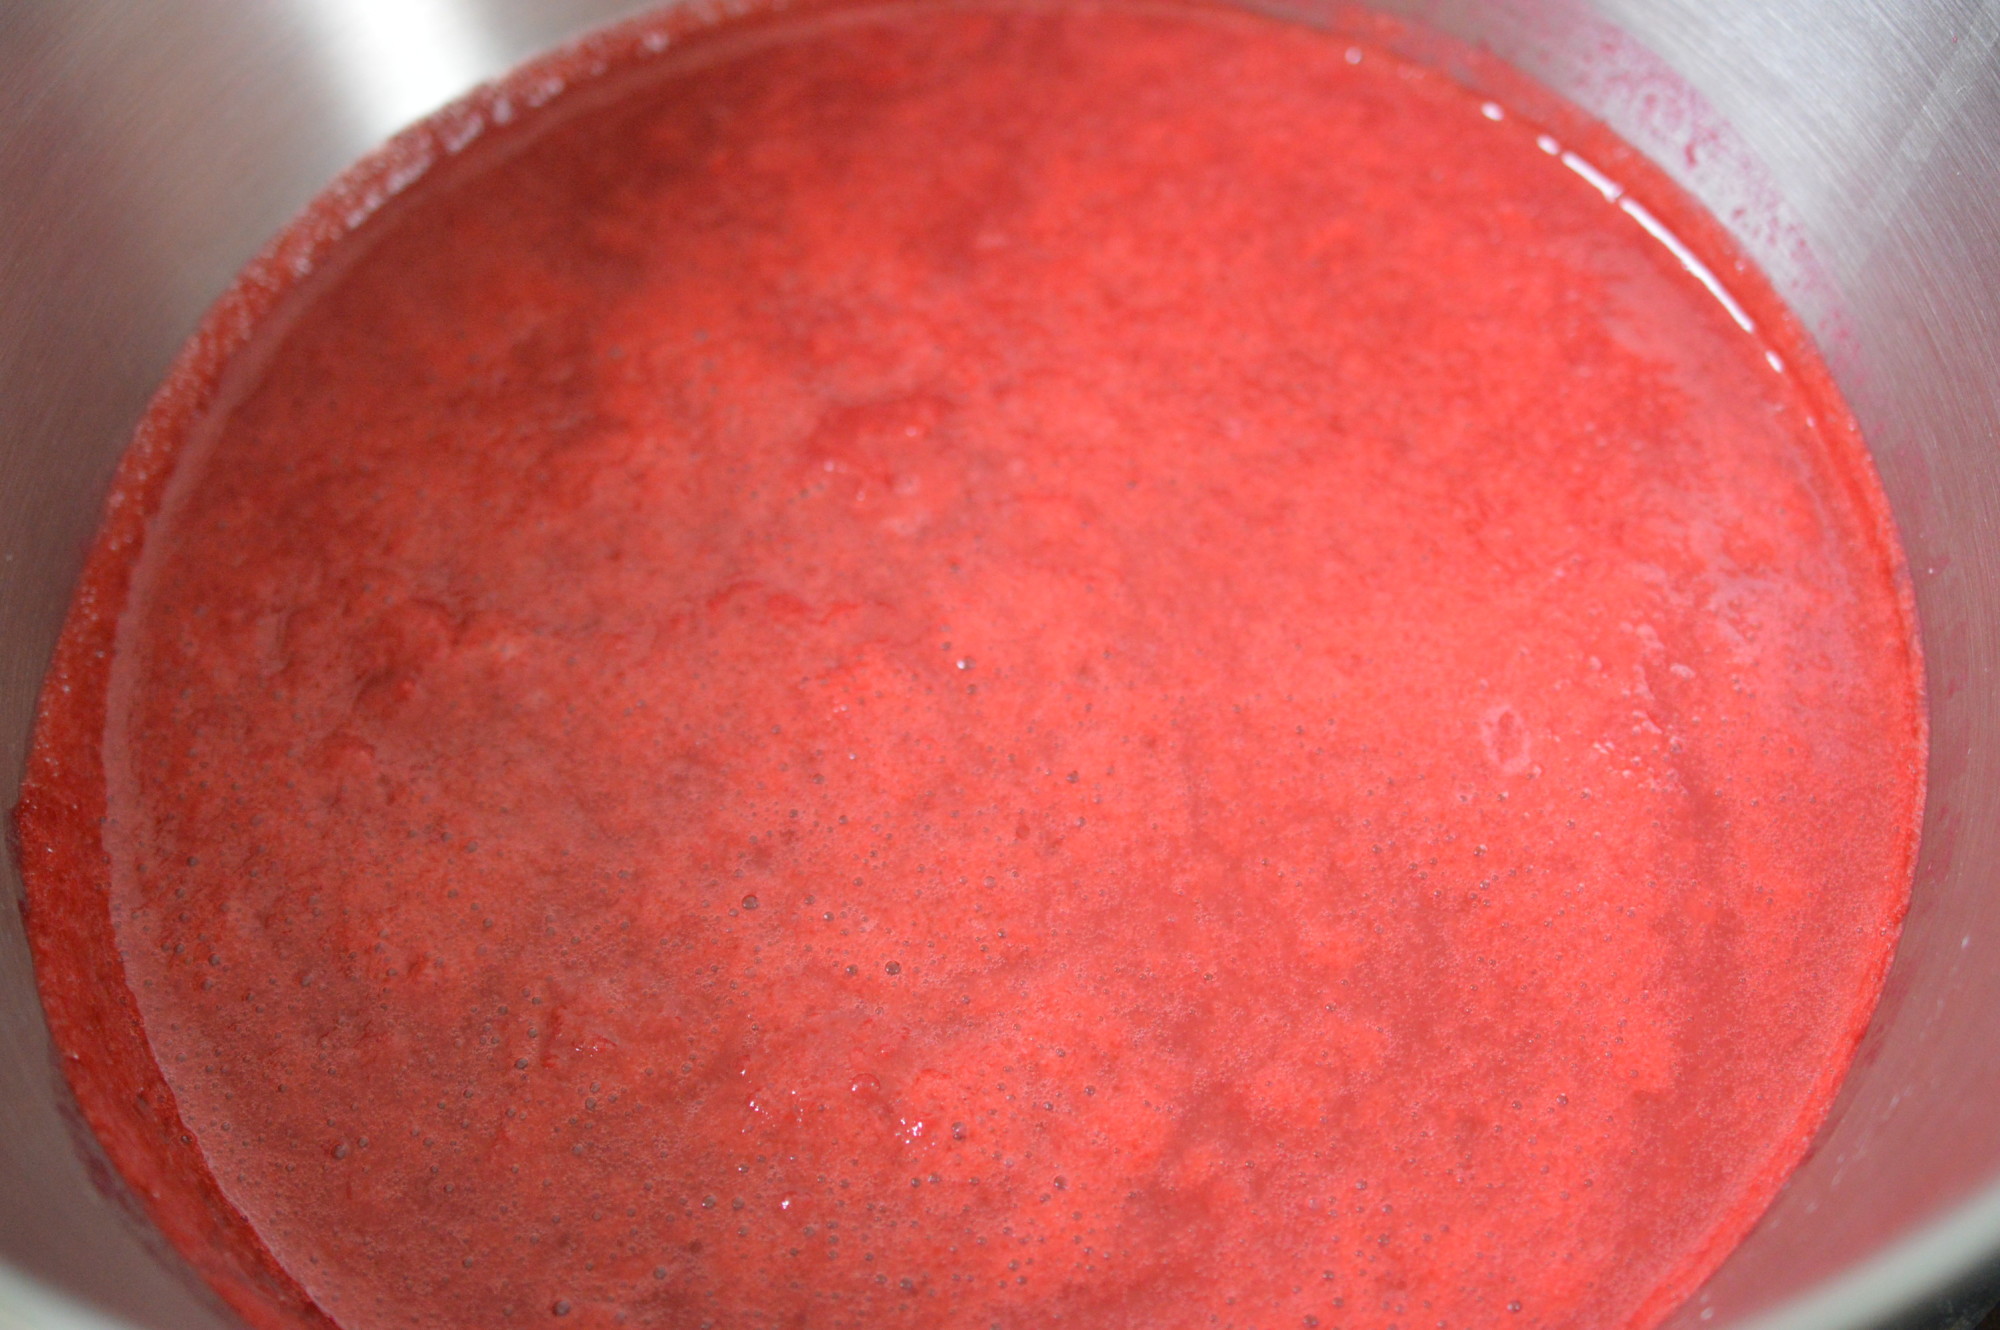
Traditional jam-making law adds the same weight of sugar as fruit, but you can tweak that depending on how sweet you like your jam and how naturally sweet your fruit is. Sugar is the preservative so don’t go mad. I weigh the fruit pulp and add three quarters of that weight in white granulated sugar. It’s a trade-off between a softer set and a fresher taste.
I use a maslin pan because I own one, but it isn’t essential. They’re the pan of choice because they give a large surface area which reduces the time you will need to boil the fruit/sugar to reach a set. The quicker you reach a ‘set’ the cleaner tasting.
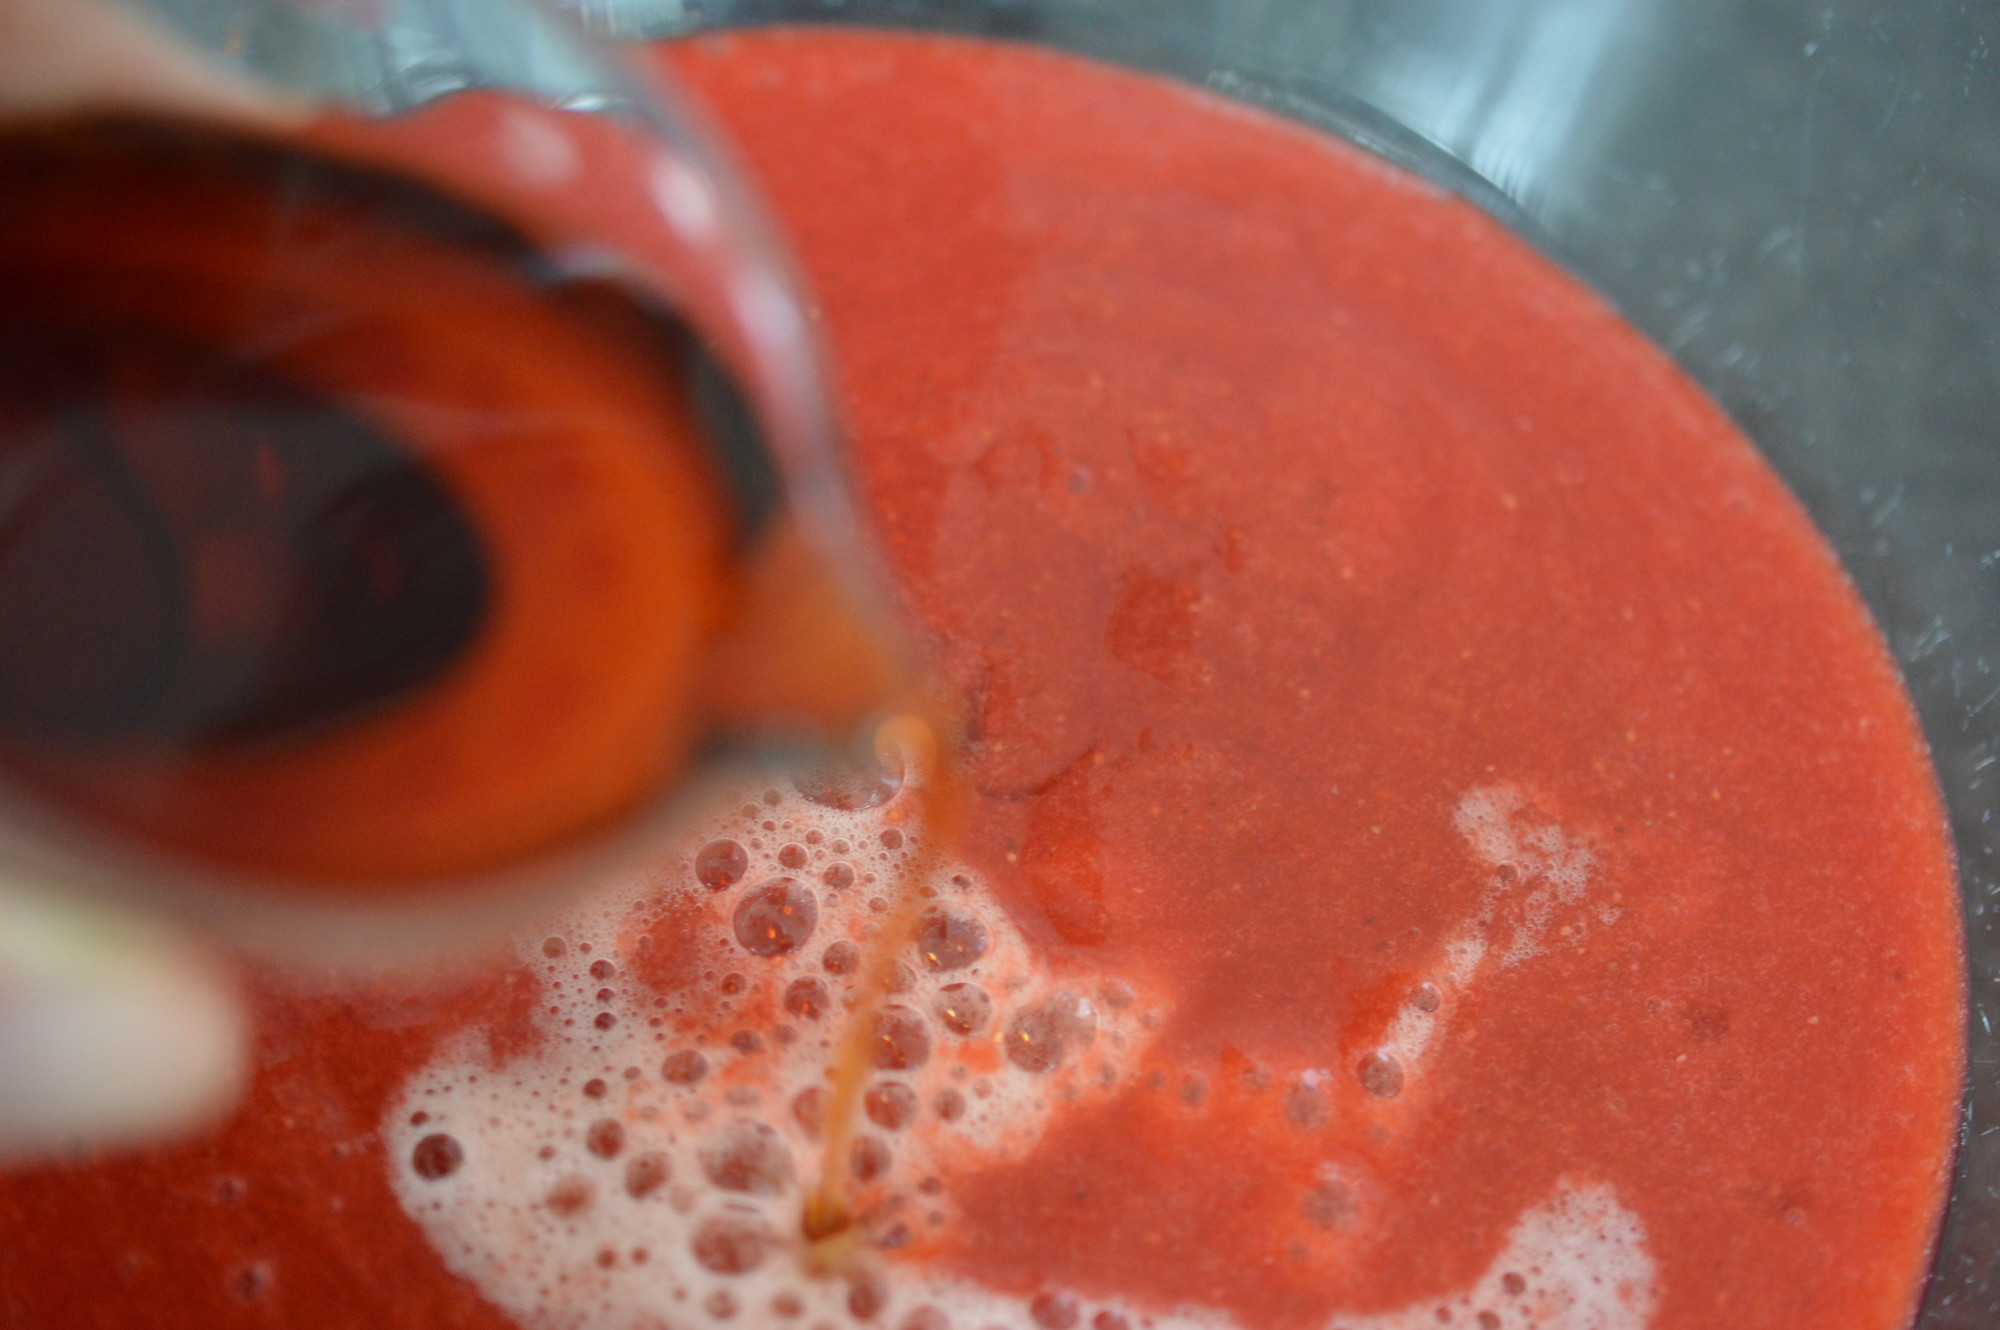
Warming the sugar merely speeds things up. If you’ve planned ahead – great. But it doesn’t actually matter. Over a low heat, let the sugar dissolve.
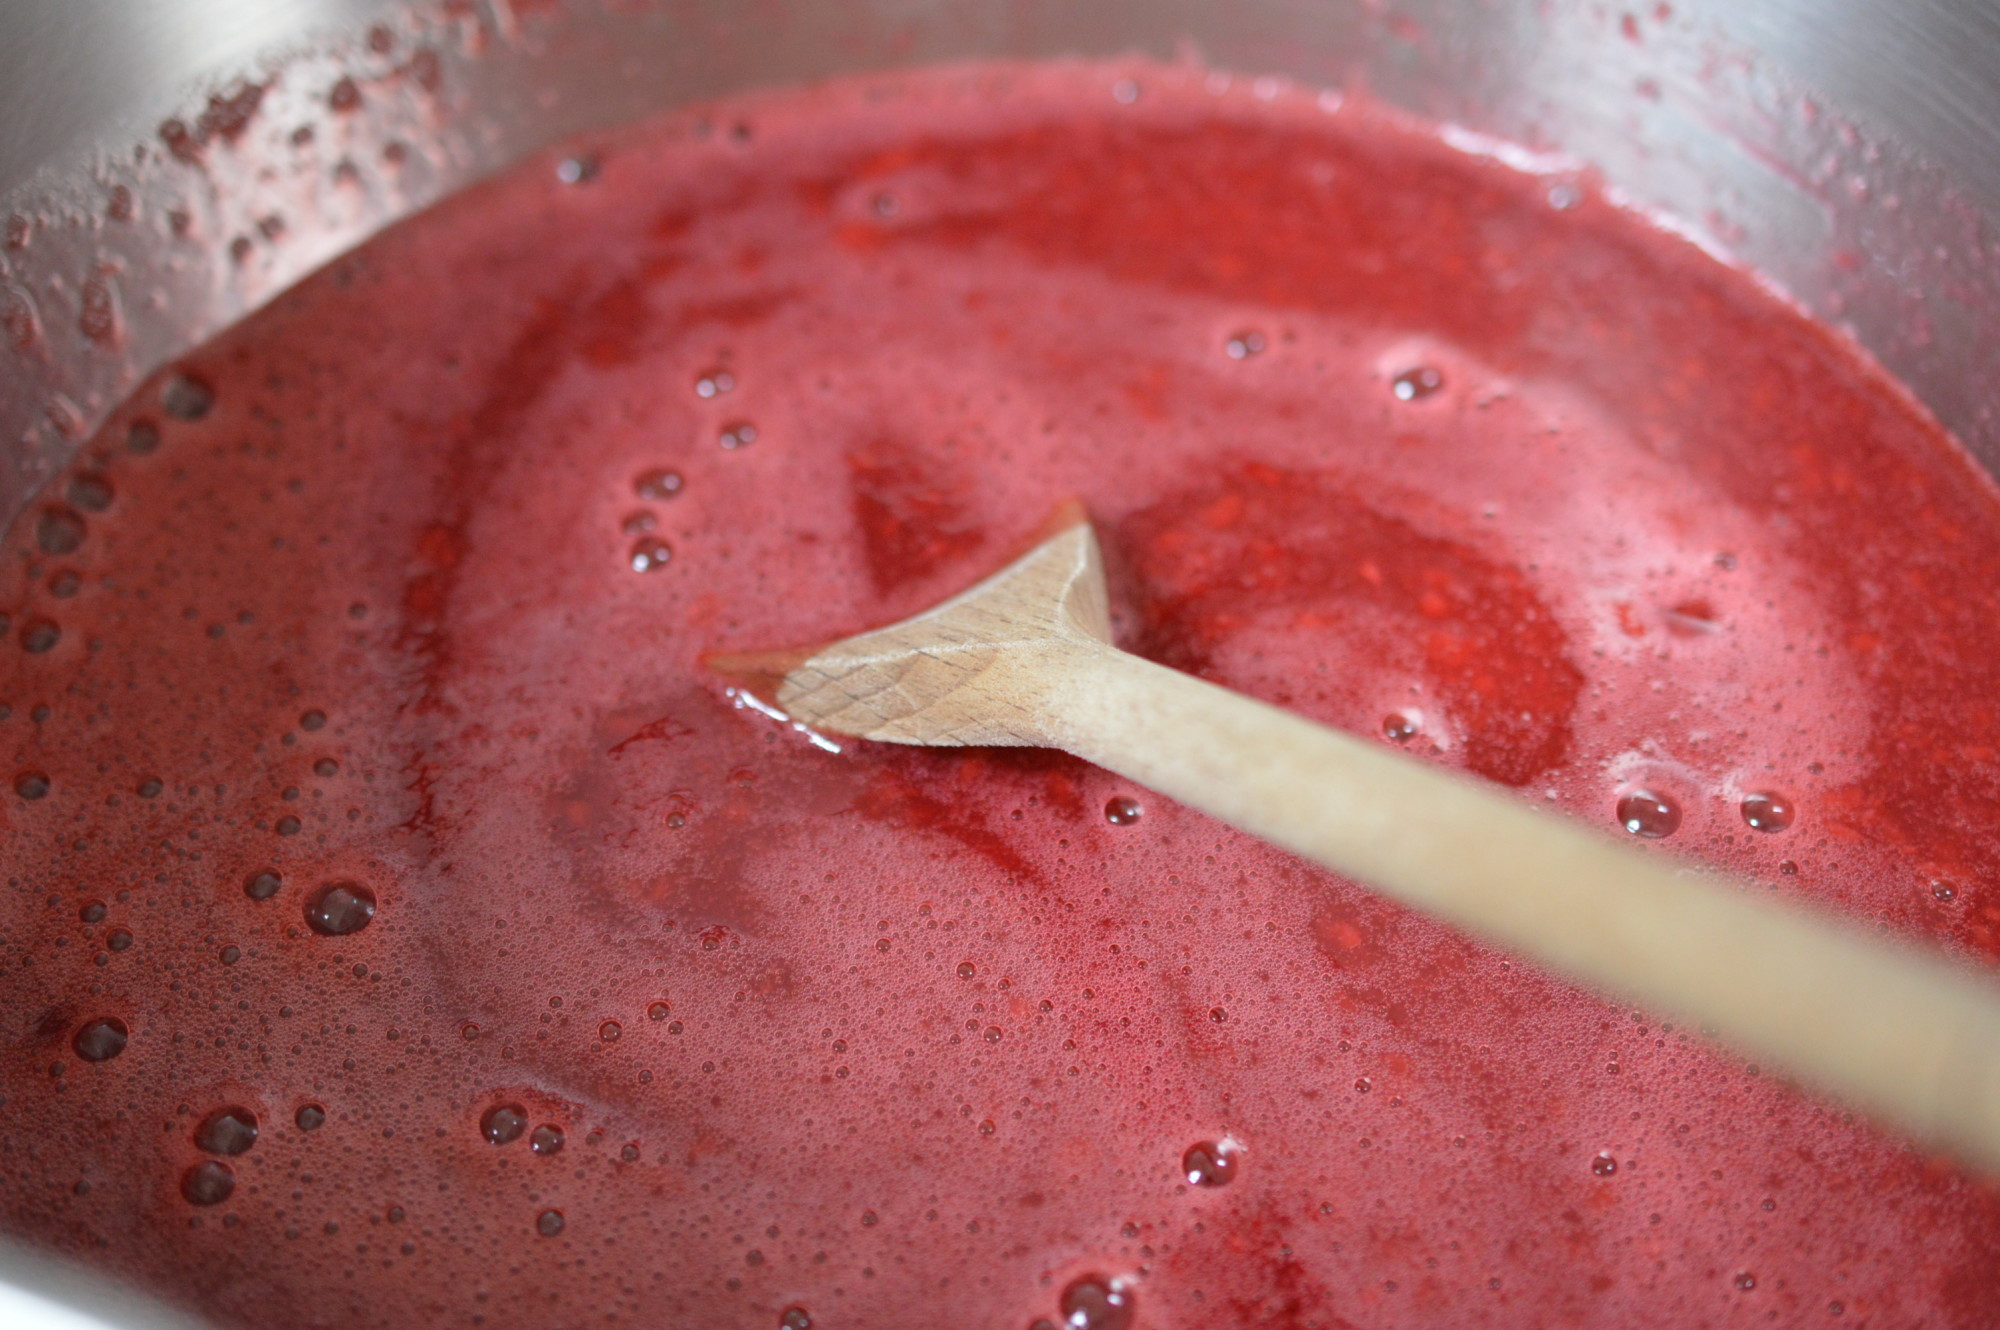
Keep stirring until you can feel no undissolved sugar on the bottom of the pan.
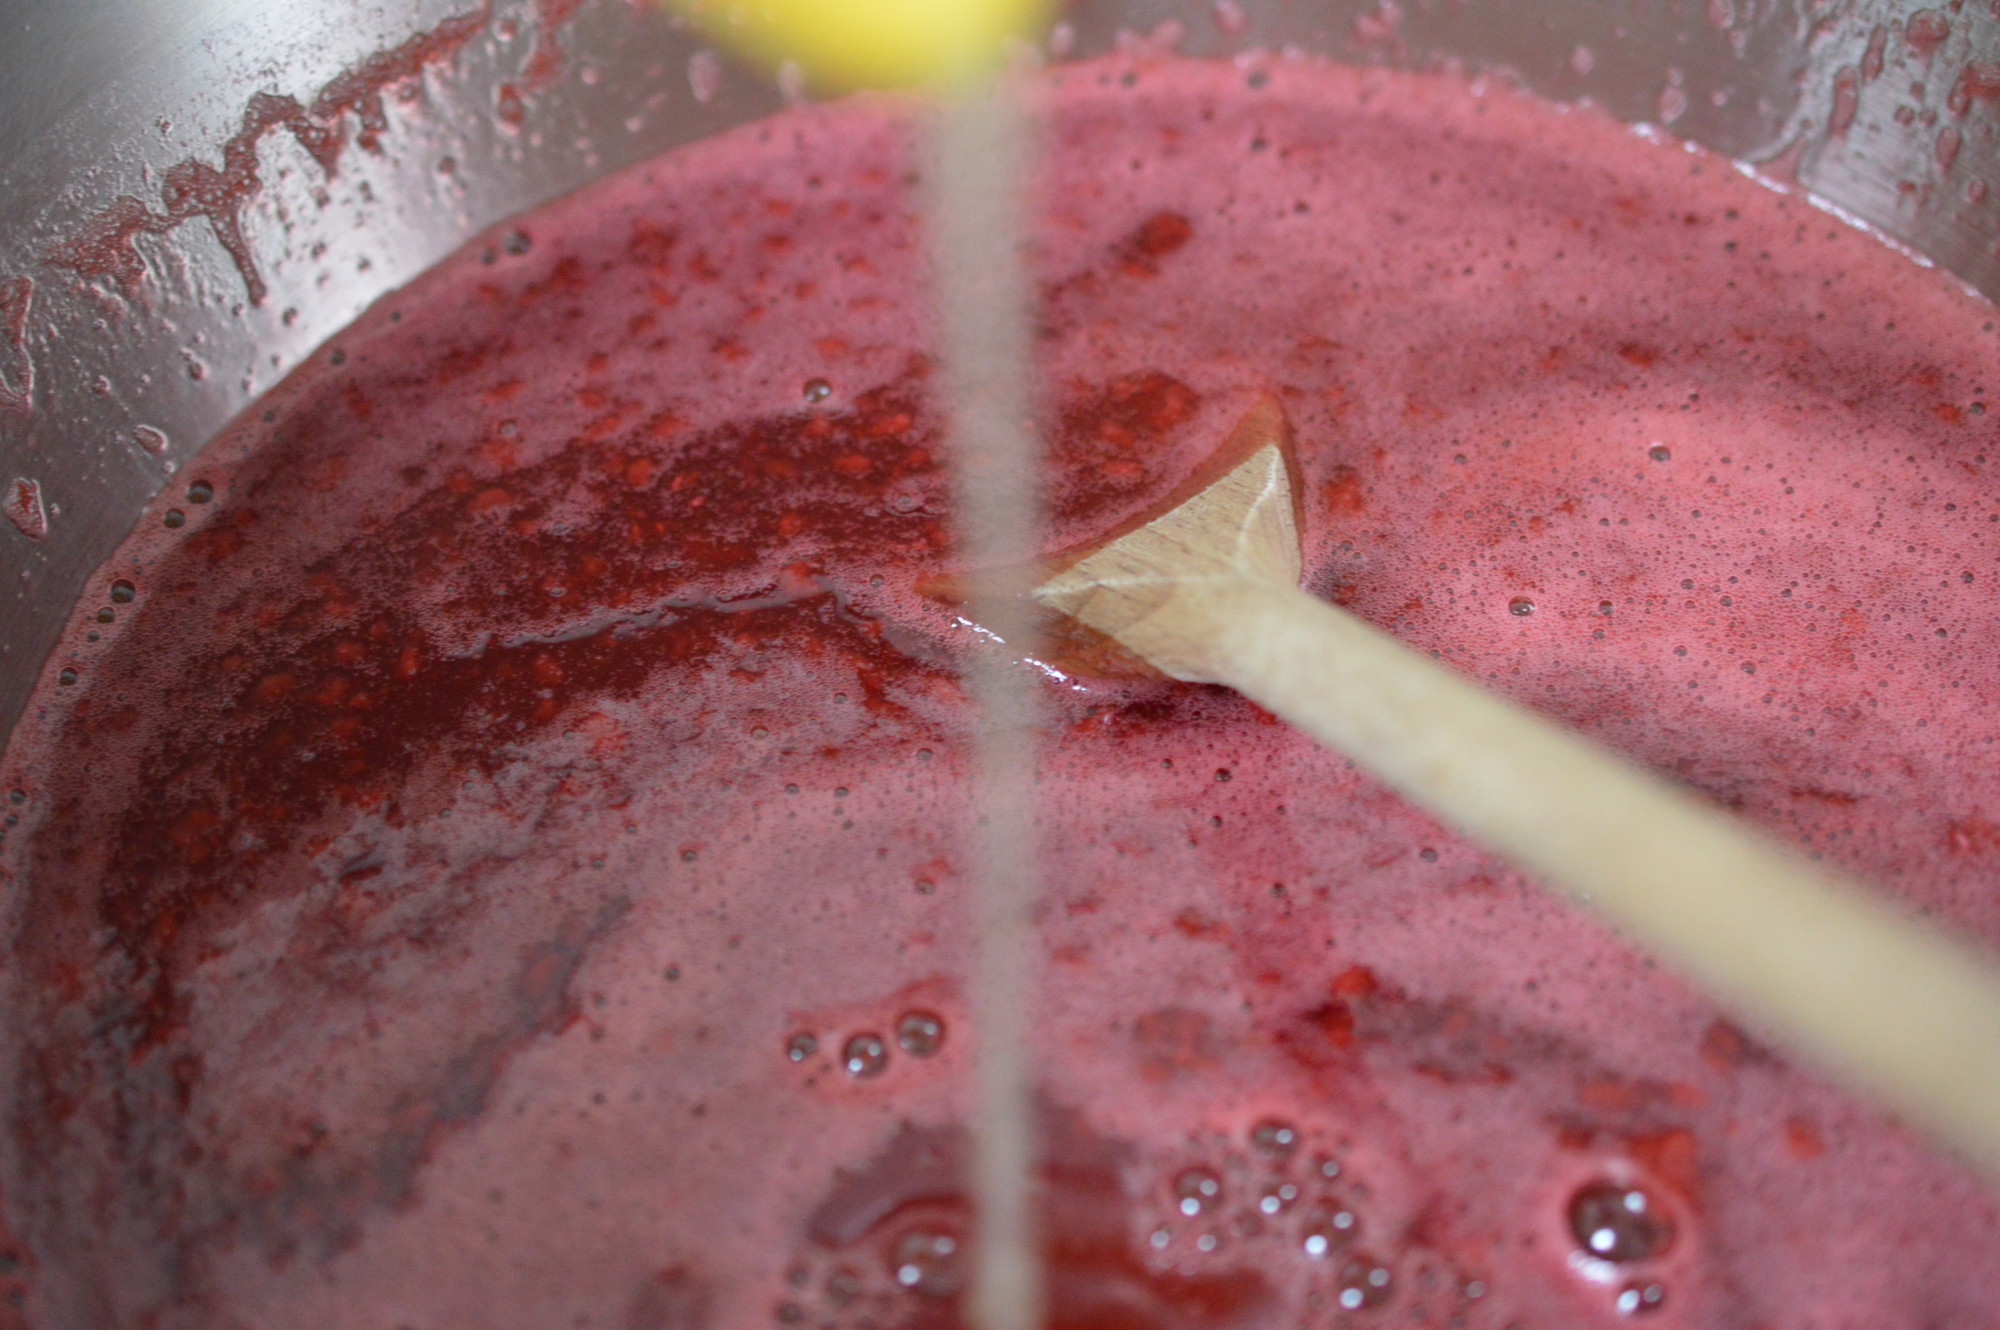
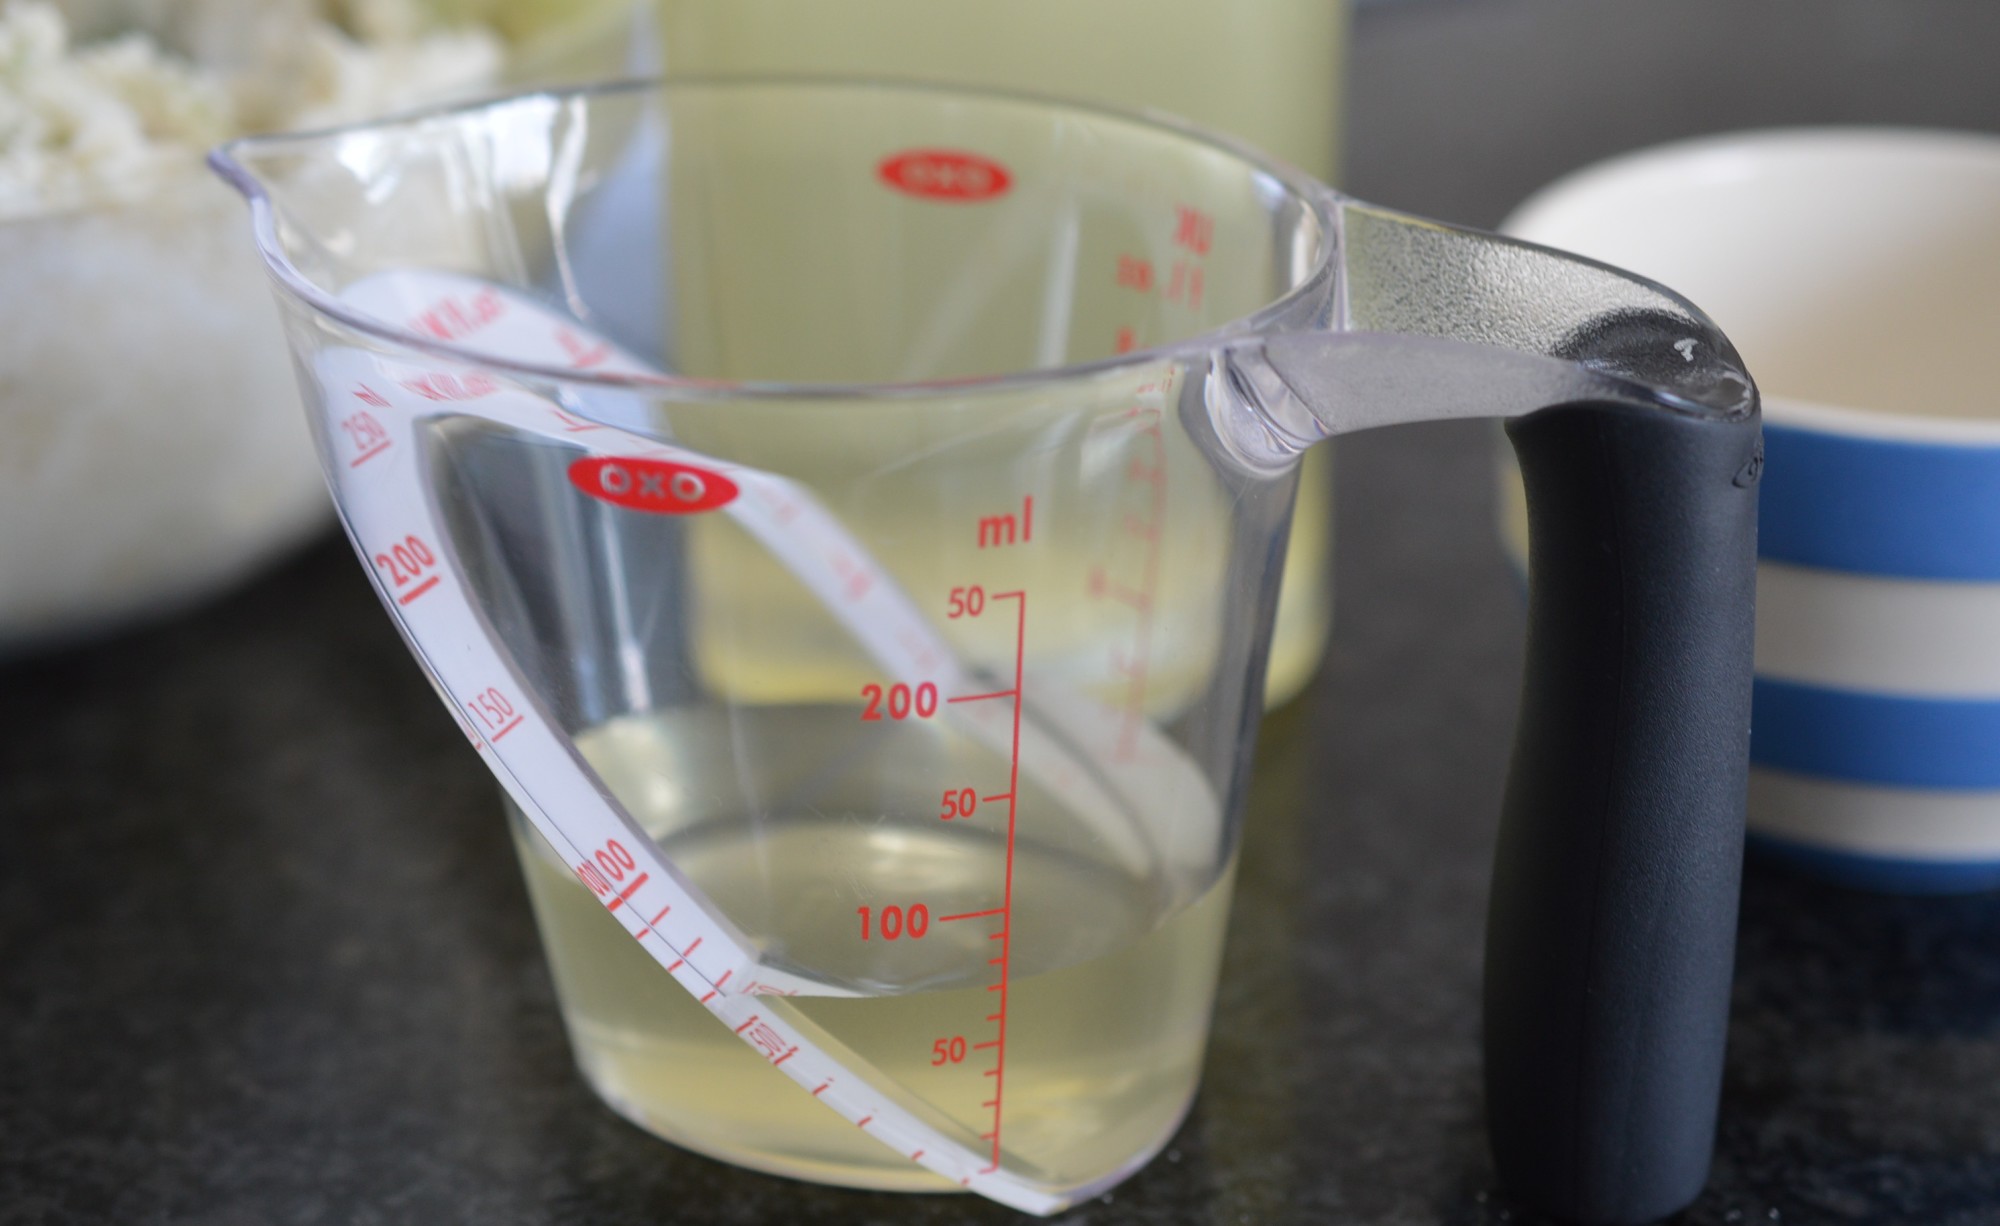
I add lemon juice to raspberry jam. It’s high in pectin and helps with the set. Redcurrants would be an alternative.

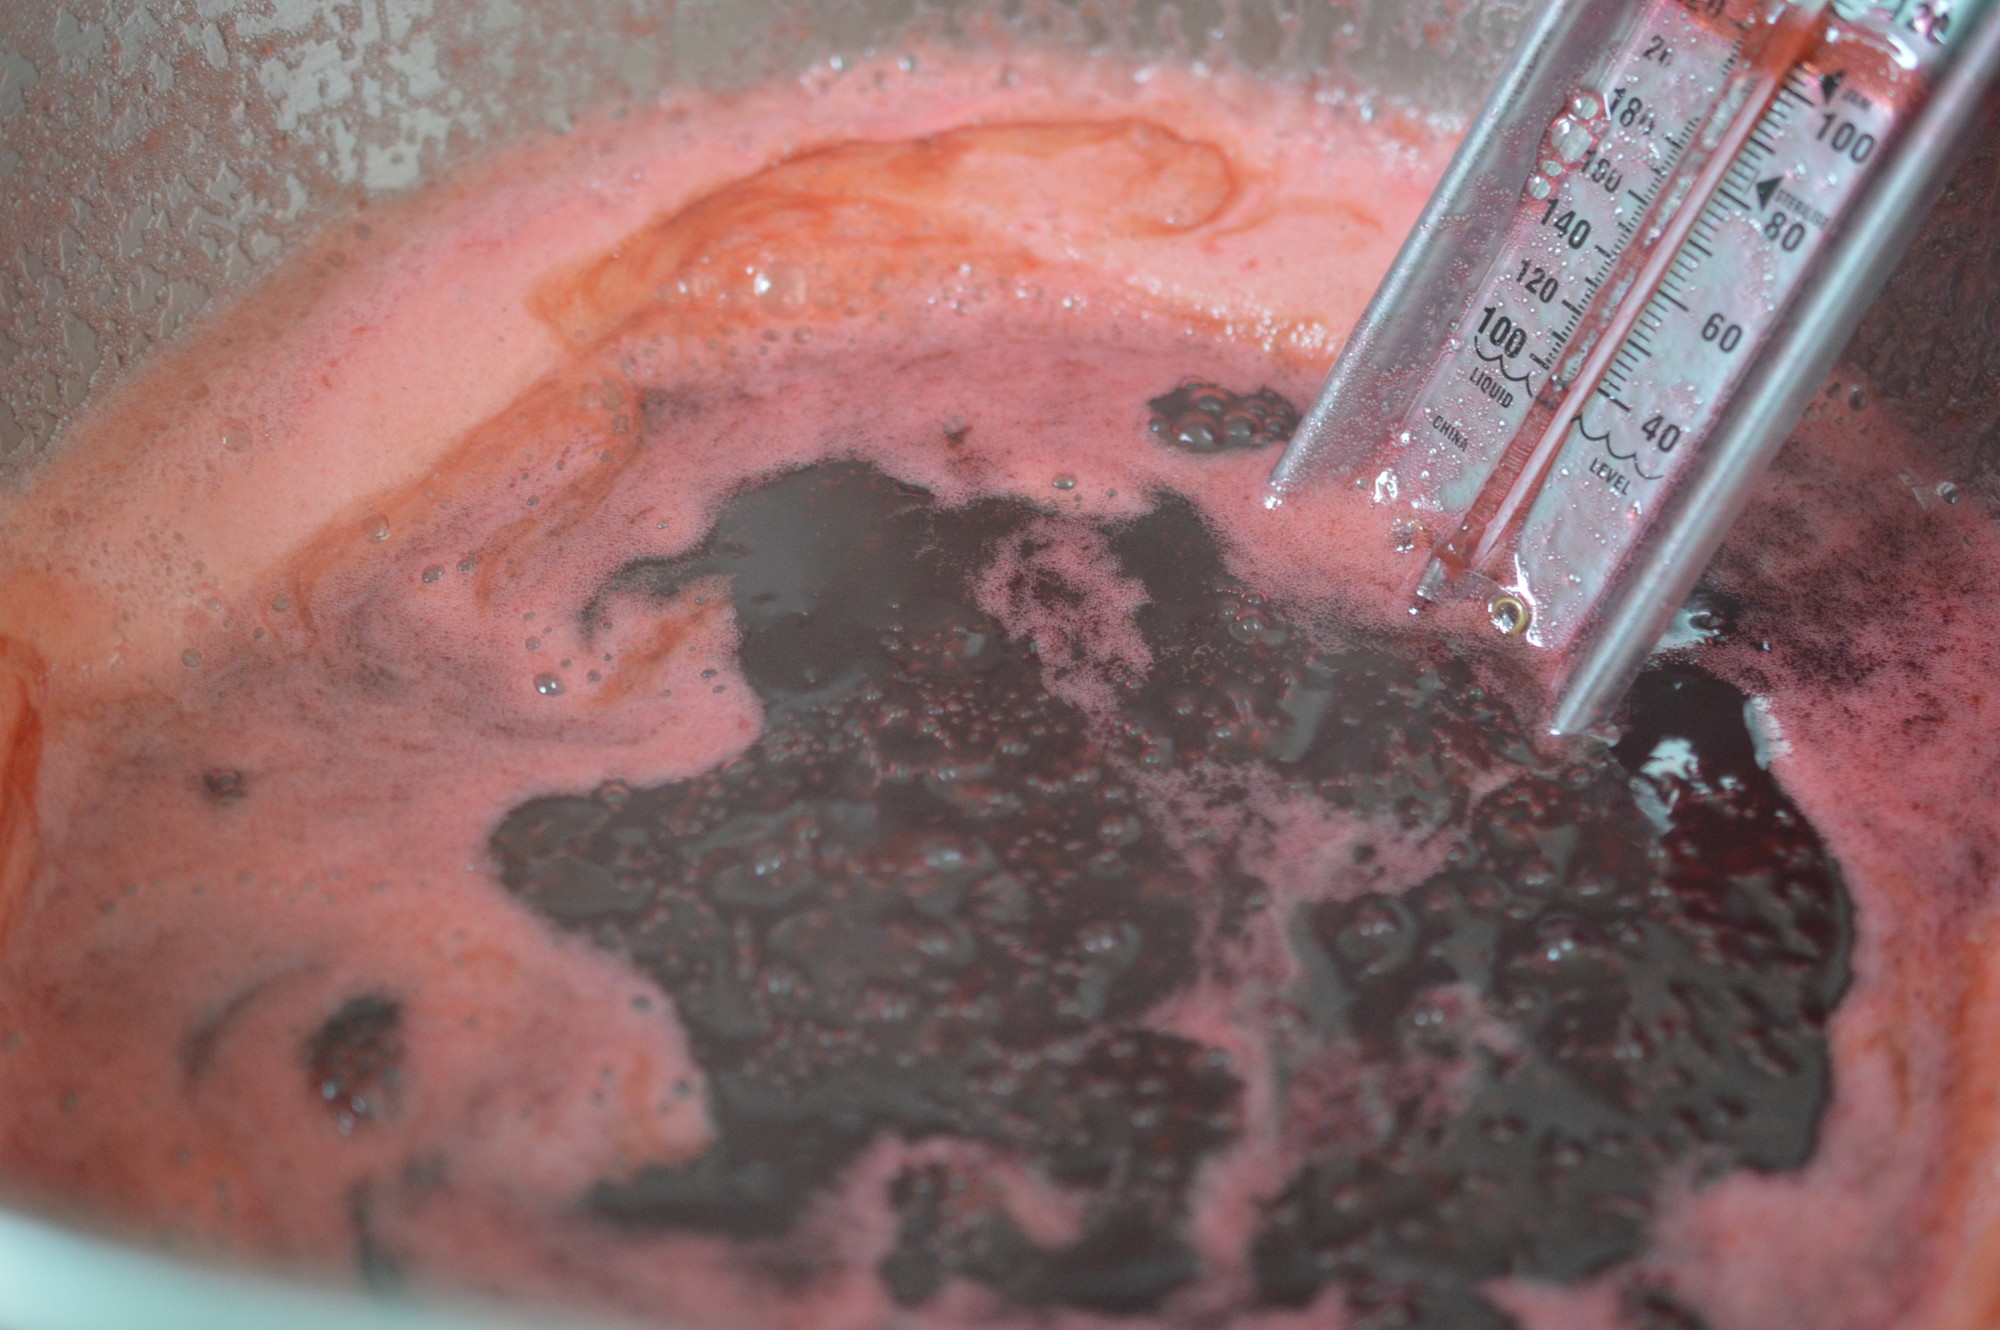
Bring everything up to a boil. It’s reached a ‘set’ when a sugar thermometer reads 105ºC and it’ll take about 5 minutes. Mine was a fraction under but I made the decision not to add any more lemon because I’m happy with a ‘soft set’. If you boil for too long the jam will have a caramel tang.
Turn off the heat.

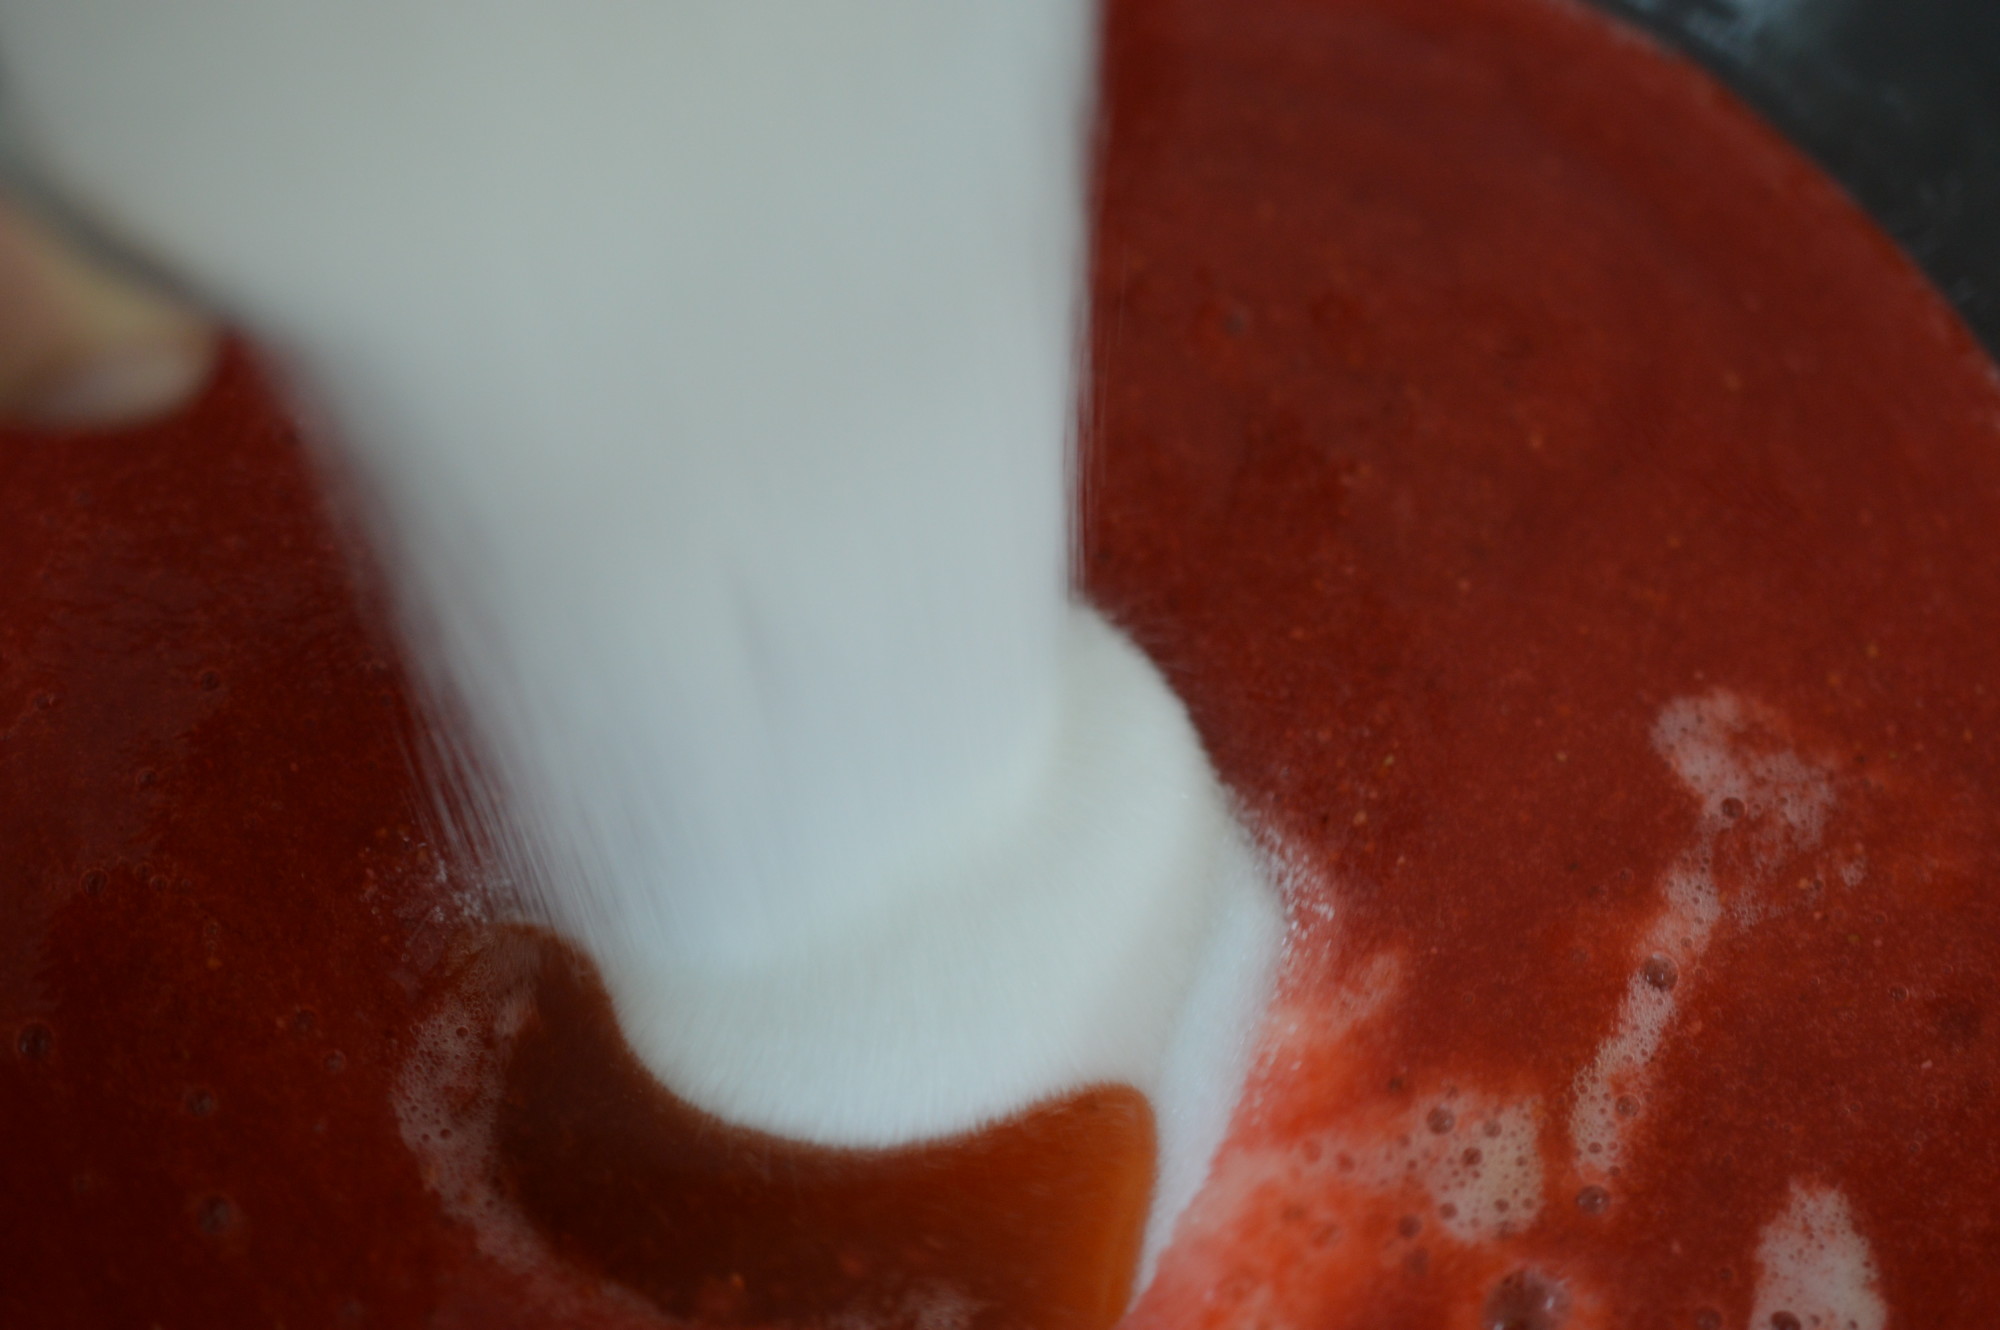
Now is the moment to remove the scum. Just scoop it off. You’re unlikely to get everything.
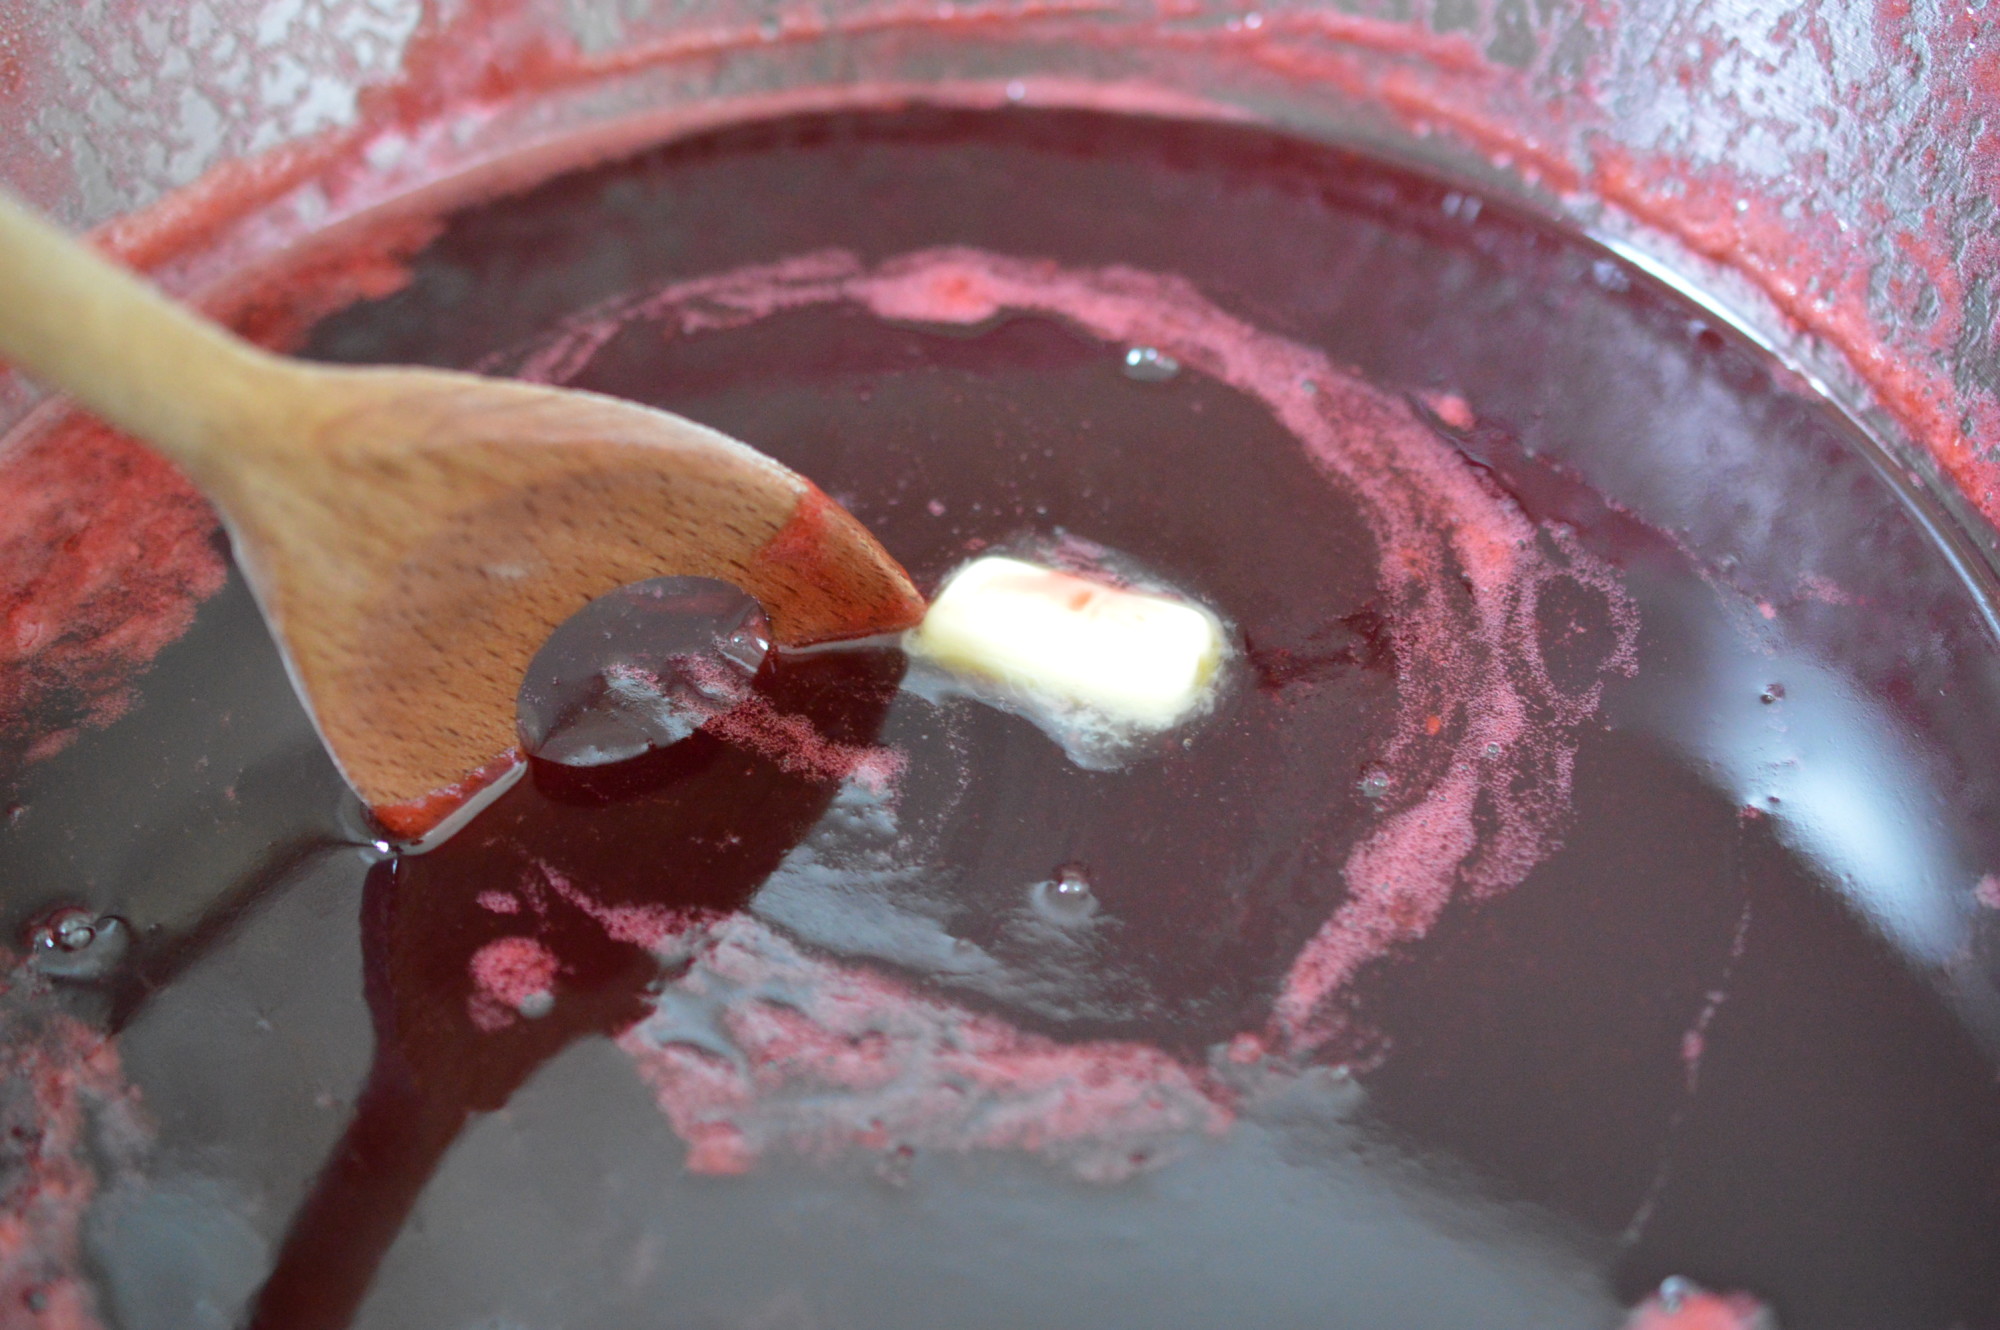
A knob of unsalted butter deals with the little that is left.
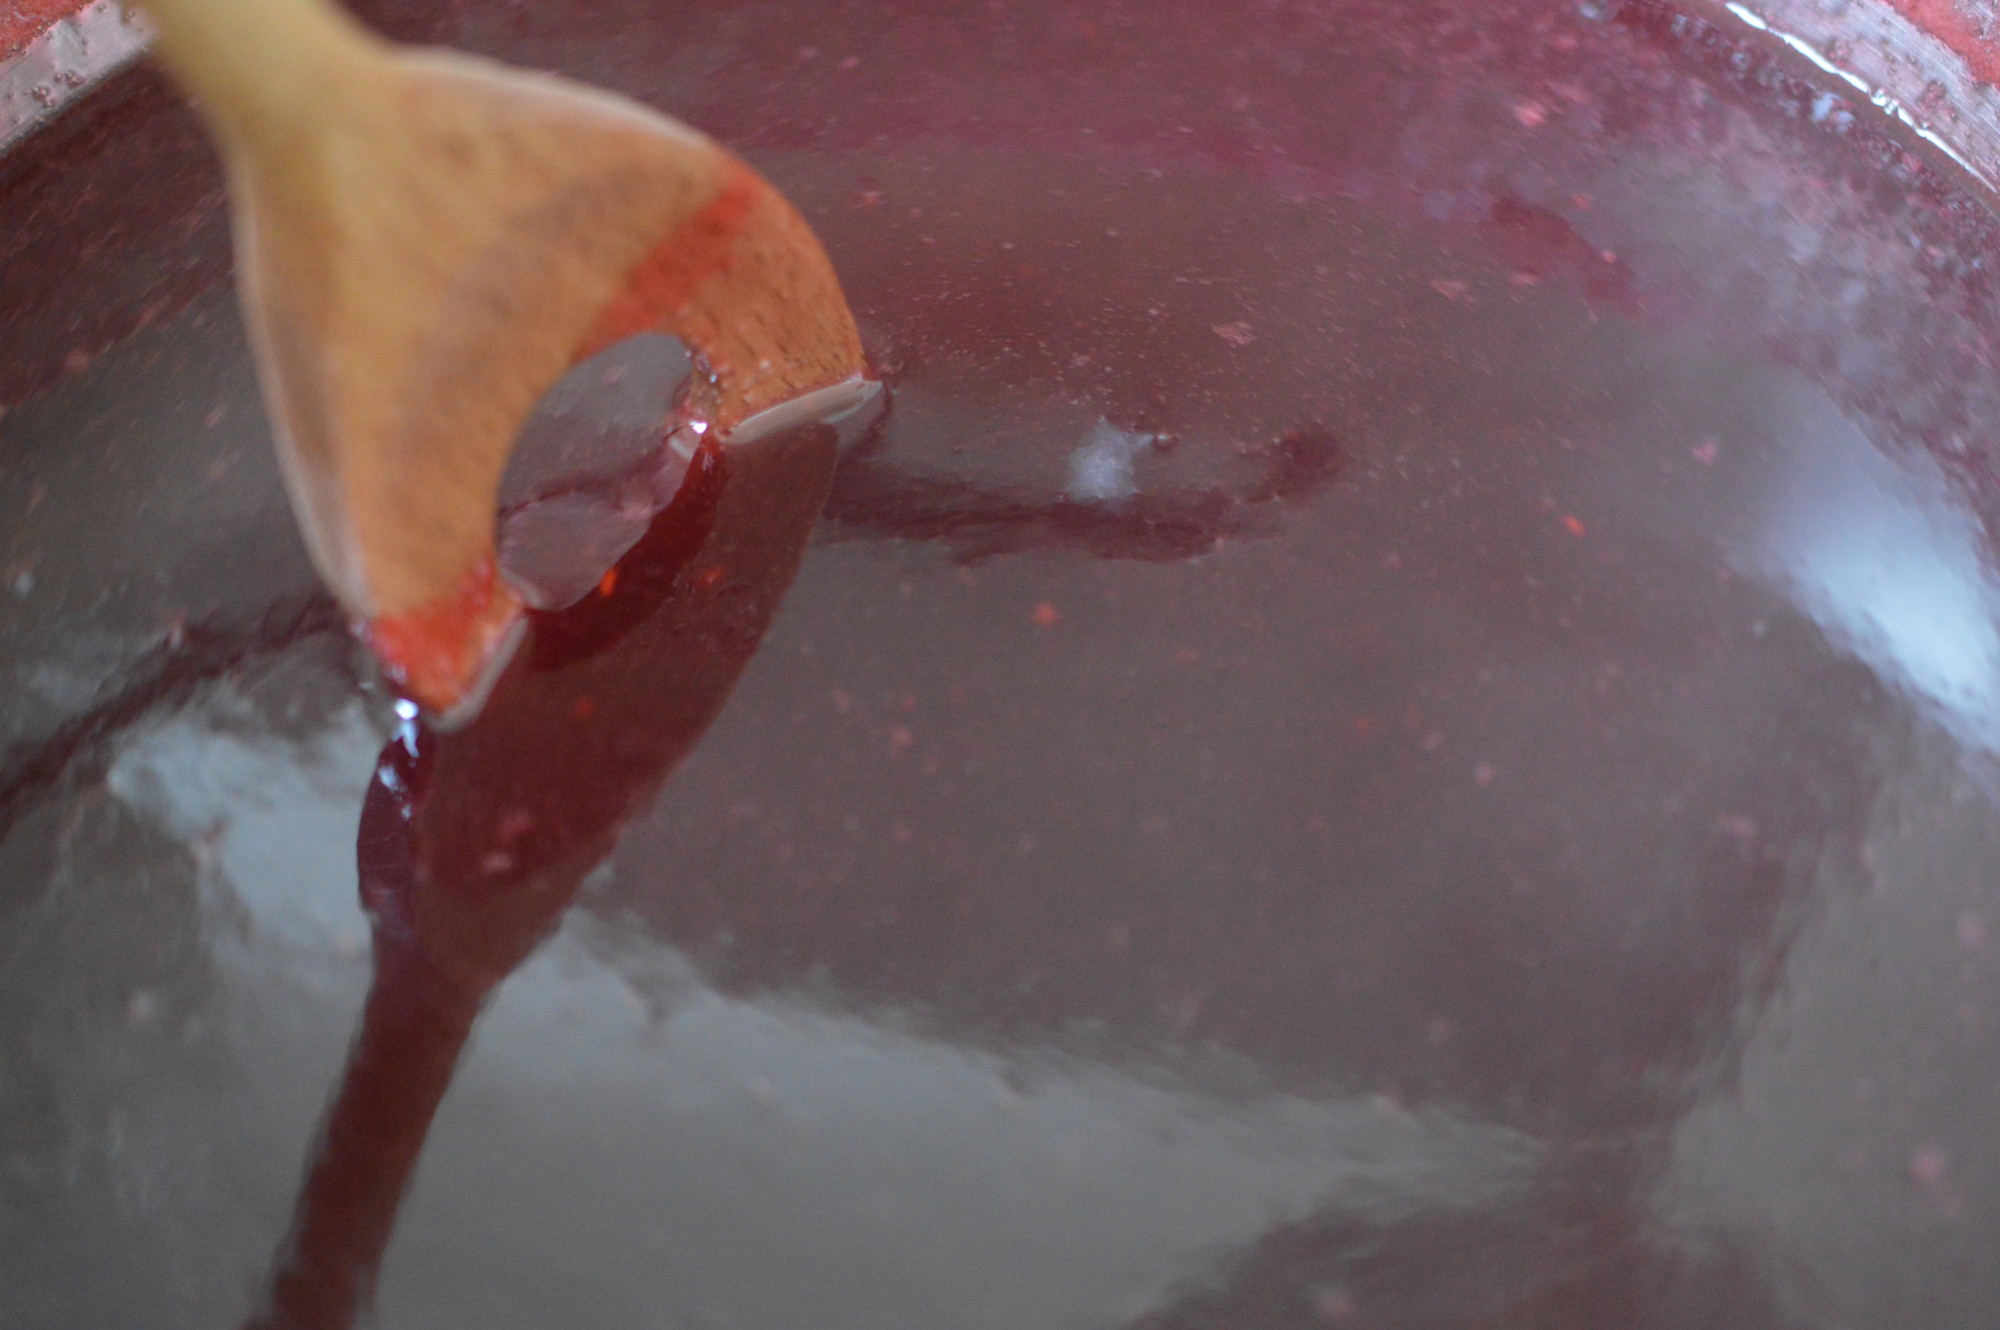
Stir, clockwise, until the butter has melted and the jam is crystal clear.

Take the jam jars from the oven and pour the hot jam into them. You need to take it to the top of the jar and immediately screw the lid on top.
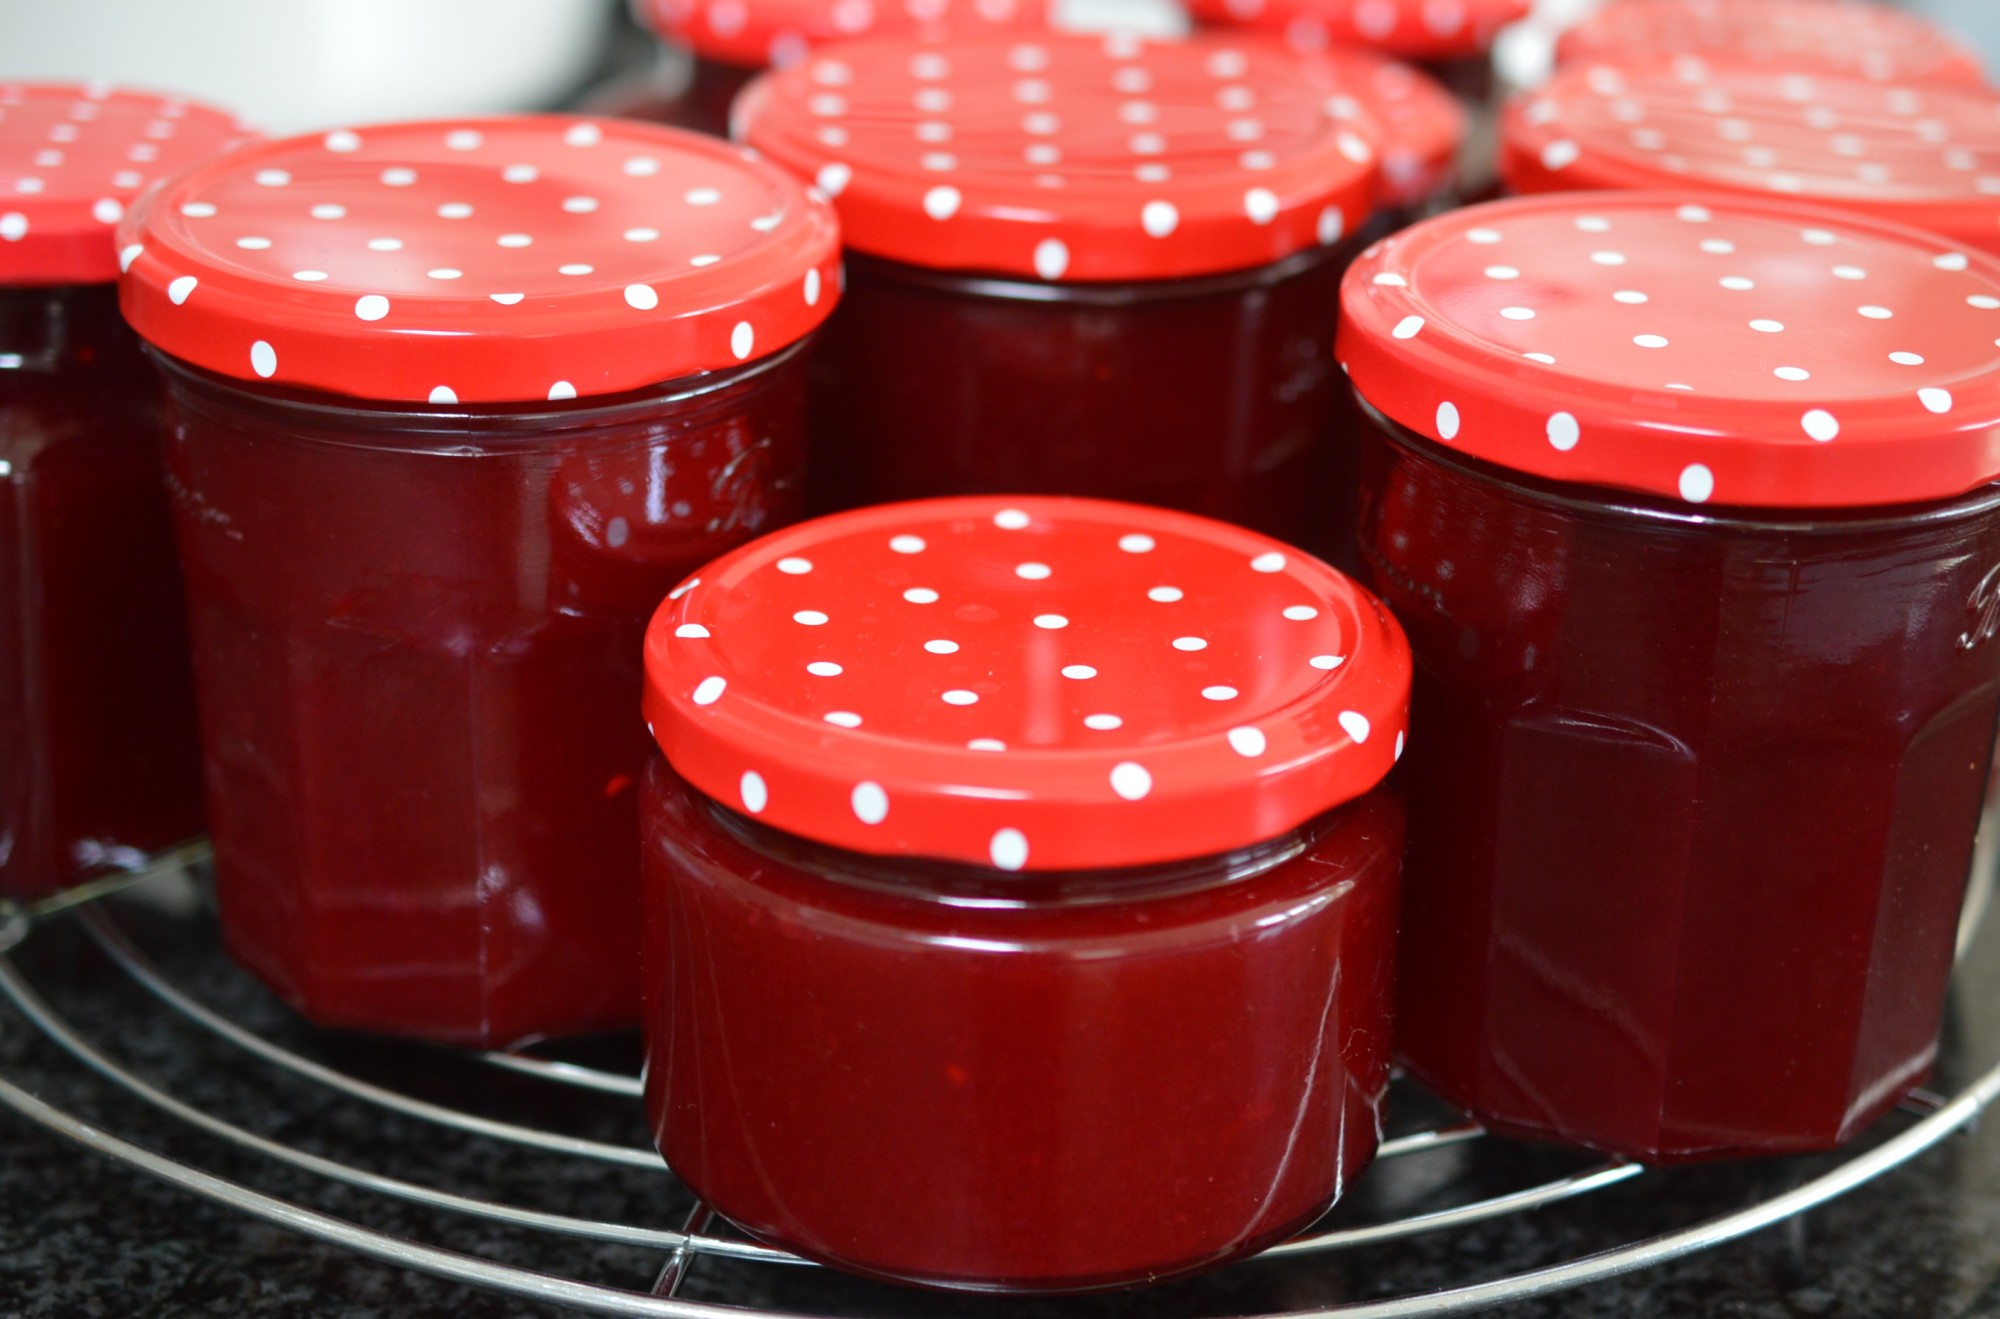
Leave to cool. Then label.
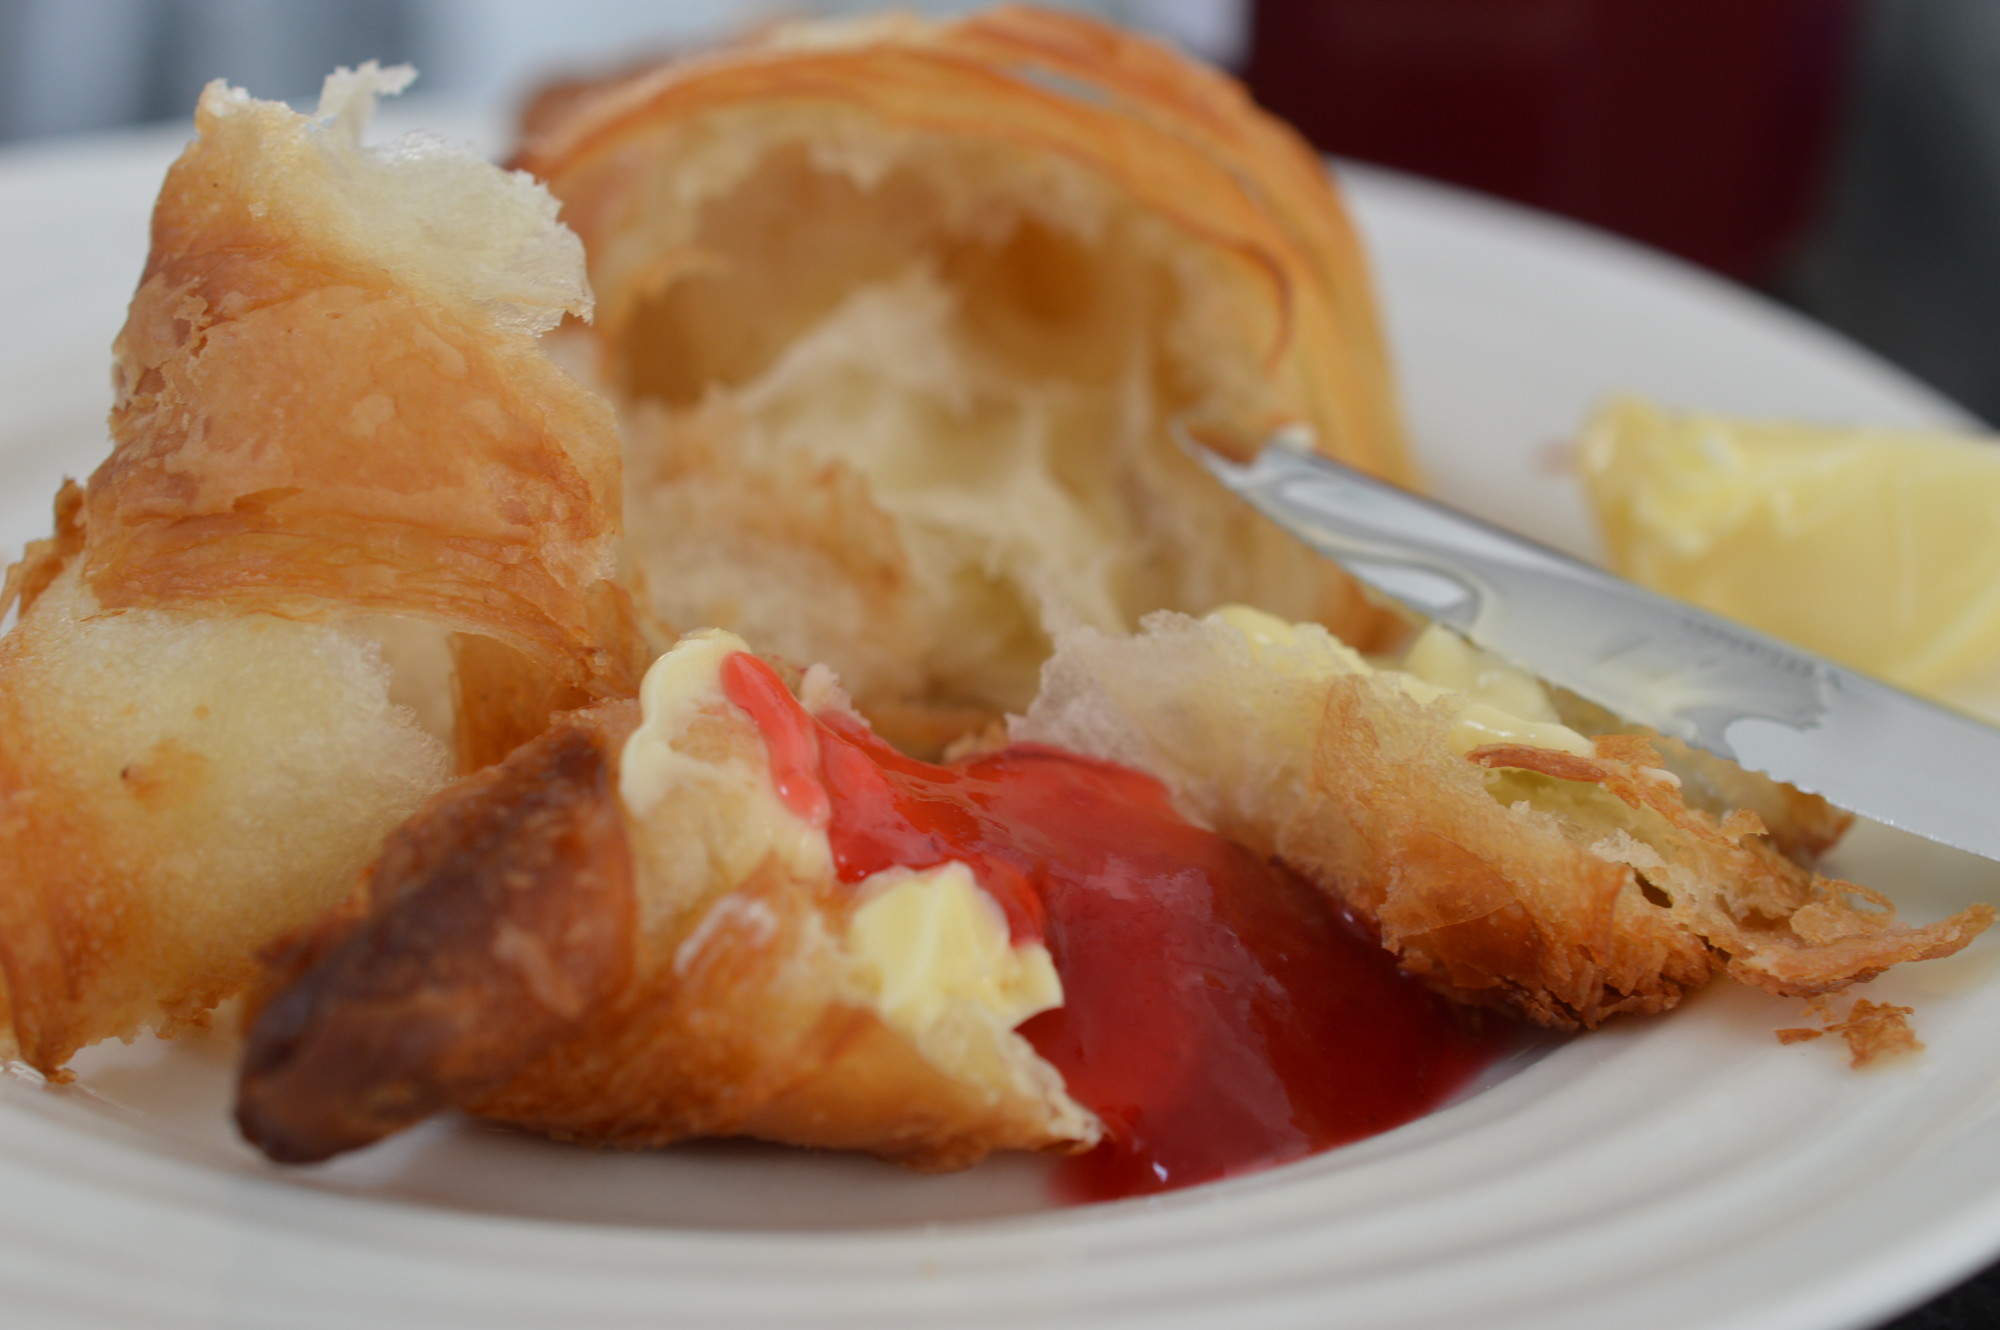
Eat.
Seedless Raspberry Jam
- 1.5kg fresh raspberries
- 1kg granulated sugar (adjust when you weigh the fruit pulp)
- 1 lemon
Check over the raspberries and discard any with signs of spoilage. Give the fruit a rinse and place in a heatproof bowl. Warm the fruit in a low oven for an hour.
Wash the recycled glass jam jars and new lids. Let them dry in the low oven.
Meanwhile, sieve out the seeds. A food mouli makes easy work of it. Weigh the fruit pulp and adjust the amount of granulated sugar.
Place the fruit and sugar in a maslin pan and heat gently. Stir until the sugar has dissolved. Add the juice of a lemon and bring everything to a boil.
After about 5 minutes a sugar thermometer will read 105ºC (or thereabouts).
Skim off the scum. A small knob of unsalted butter, stirred through in a clockwise direction will deal with any remaining.
Pour into the sterilised jars, taking the jam to within a few millimetres of the rim. Immediately cover with the sterilised lids and lightly screw on. Tighten when cool. Then label.
Eat.