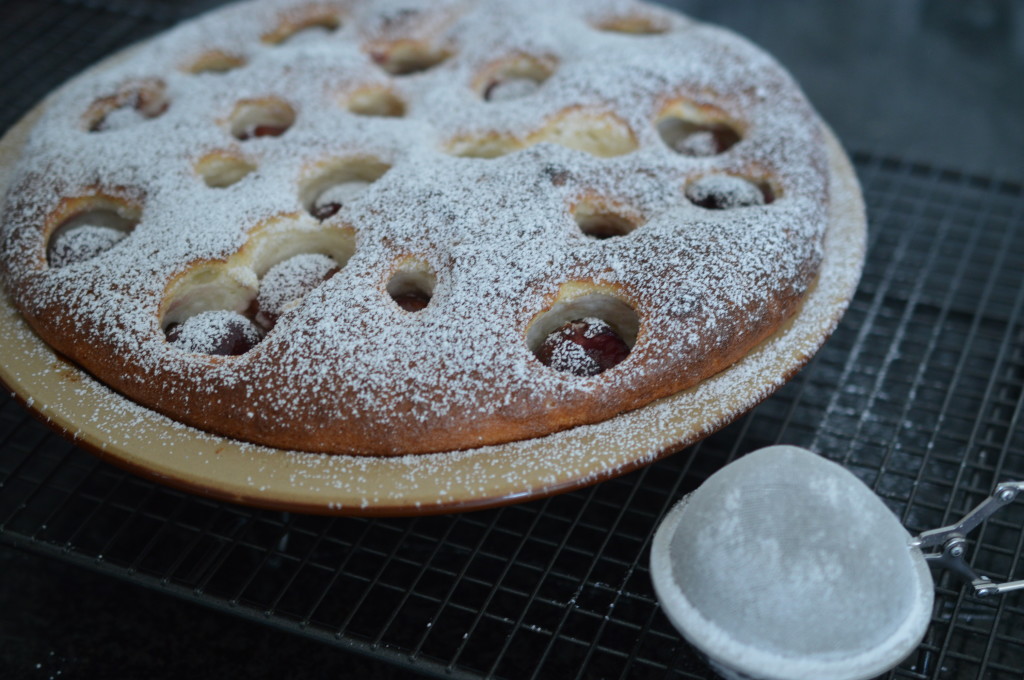
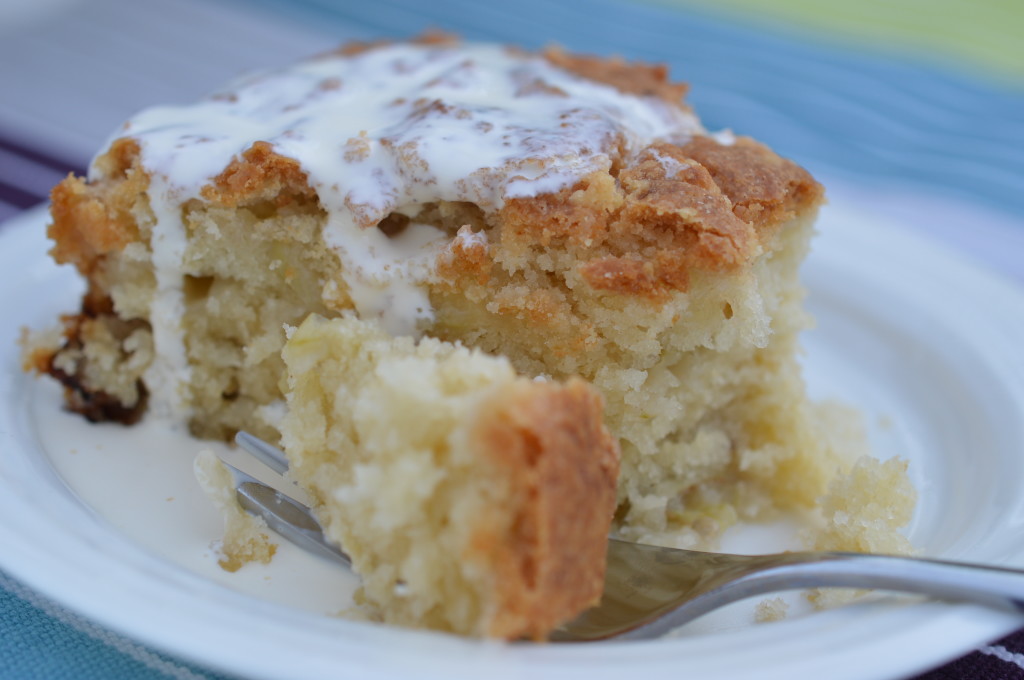
Kentish Cherry Batter Pudding

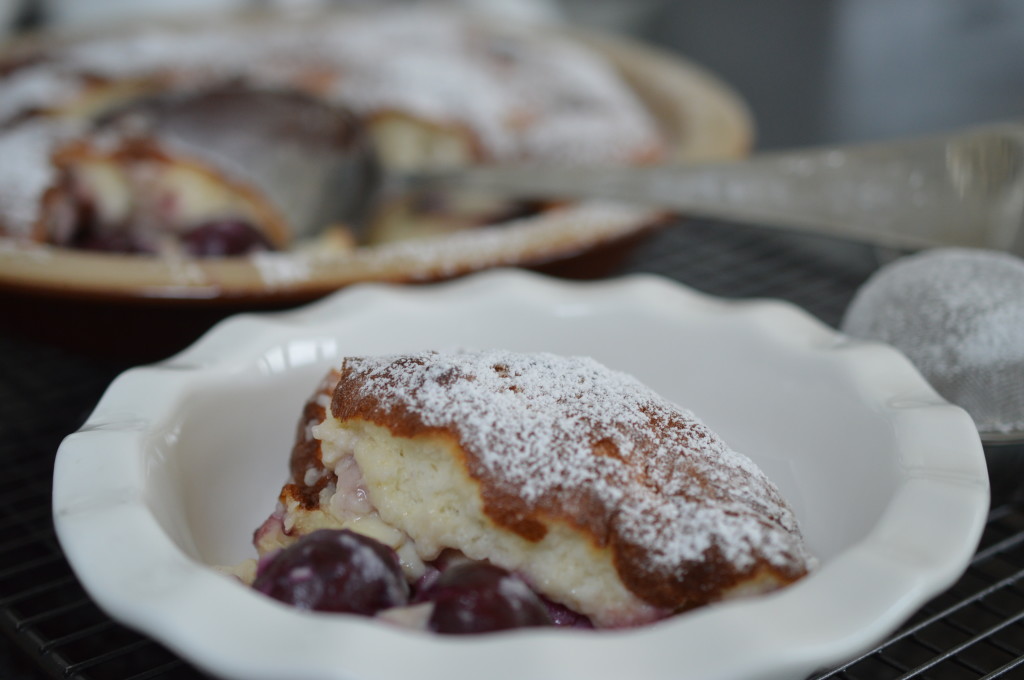
Kentish Cherry Batter Pudding is a close relative of Clafoutis.  So close I wouldn’t be remotely surprised to learn it made it’s way to England via some invading Normans.

Clafoutis comes from the Limousin region of France and is made with griottes, or sour morello cherries.  Traditionally, it’s a stone-in dessert.  The cherry stone contains amygdalin which is an active chemical in almond extract and keeping them in adds a little something.  Annoying, though.  I haven’t got the hang of spitting out cherry stones elegantly … and I’ve reached an age and stage where I’m worried about my teeth.

(Incidentally, if you make it with a different fruit you should called it flaugnarde.)  I have absolutely no idea why I retain that kind of information so effortlessly when working out how to use pdf on this blog is so entirely beyond me.

serving batter pudding

Kentish Cherry Batter Pudding is made with dessert cherries – which are much easier for me to get hold of.  It’s ‘Kentish’ not so much because batter puddings are a Kent thing but because it’s the county where the cherries are grown.  That’s Henry VIII’s fault.  A gluttonous monarch, he instructed cherry trees to be planted in Tenyham, Kent, in 1533.  Before the second world war there was something like 40 000 acres of beautiful cherry orchards in Kent, but the 12 metre-plus high cherry trees became uncommercial to harvest and 90% of the orchards vanished.

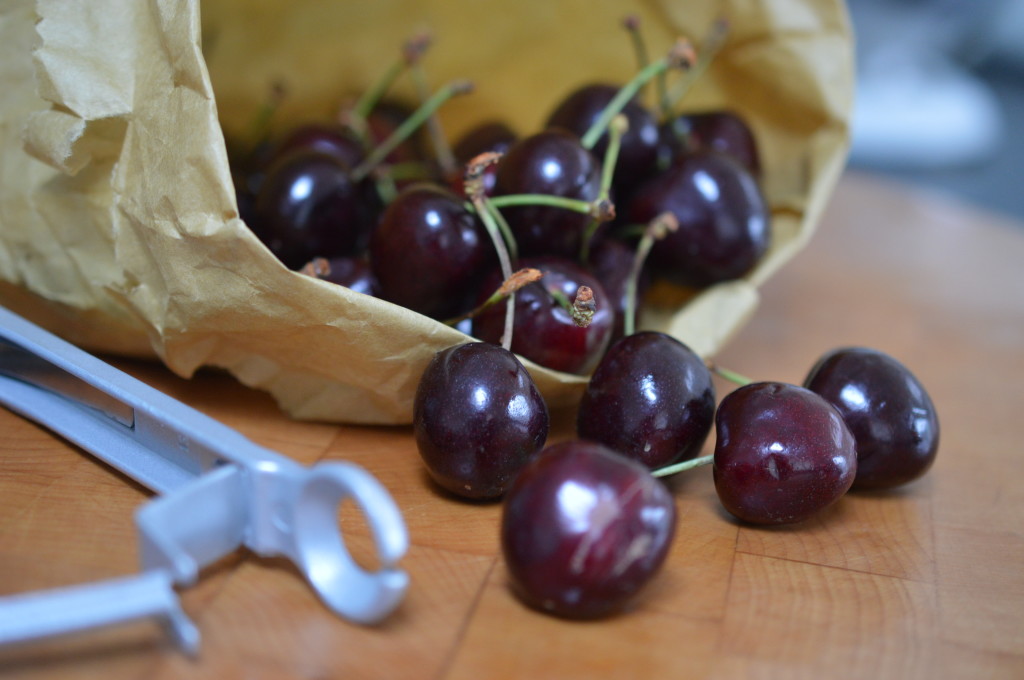
cherries

There were twenty tough years for the British cherry but now things are looking brighter, if not quite as photogenic.  Cherries are grown on dwarf shrubs and the short season has been extended by using polytunnels.  You can now buy British cherries from June to September – which is a source of great delight to my nephew, Josiah.

Kentish Cherry Batter Pudding 8

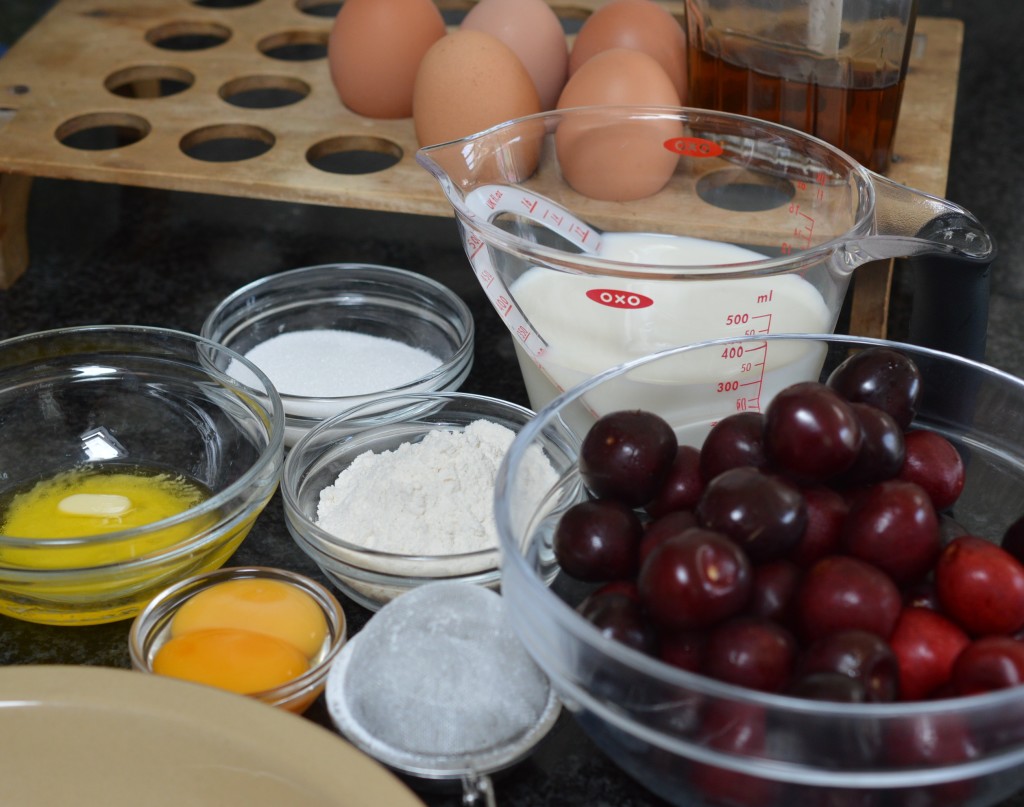
With the exception of the cherries themselves, a Kentish Cherry Batter Pudding requires store cupboard ingredients.

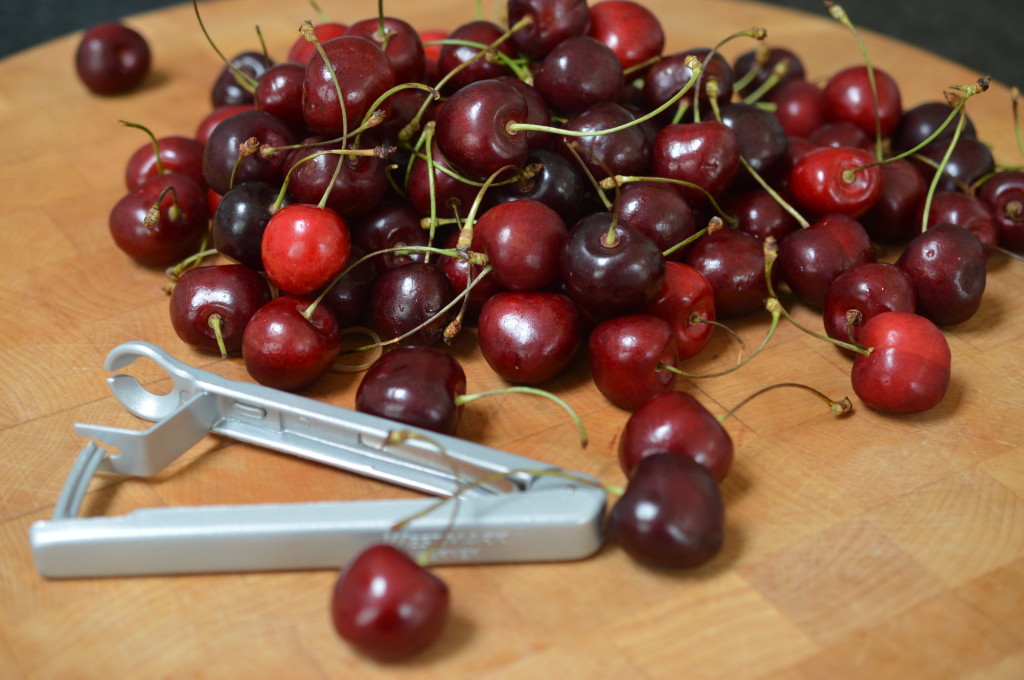
Cherries

And a cherry stoner.  Unlike it’s continental cousin, it’s stone out.  I love my Westmark Cherry Stoner.  It works.

Kentish Cherry Batter Pudding 2

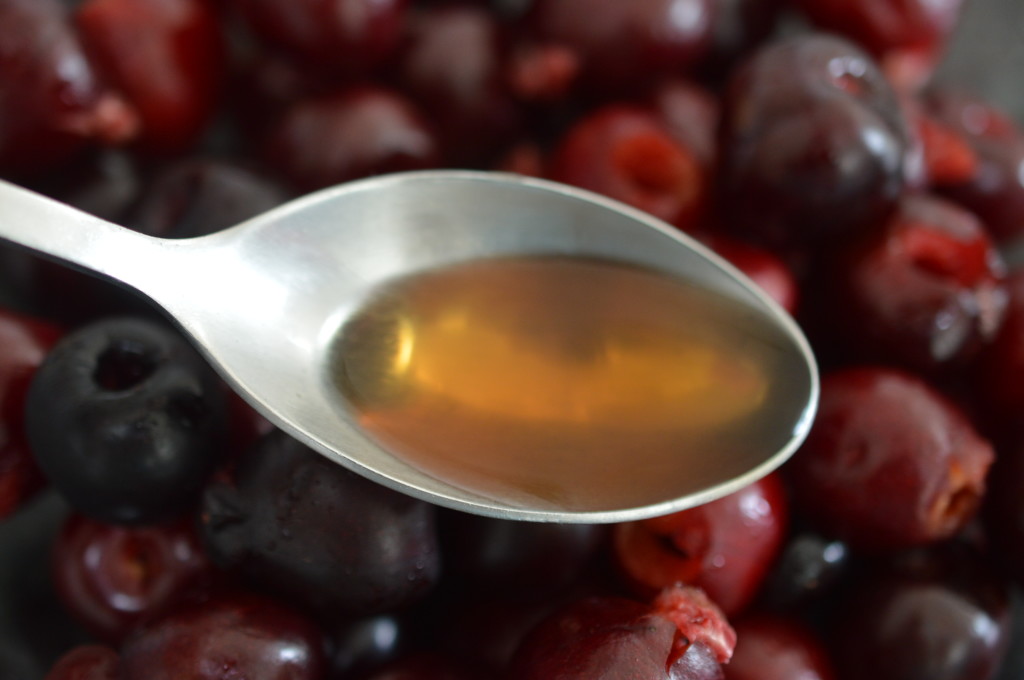
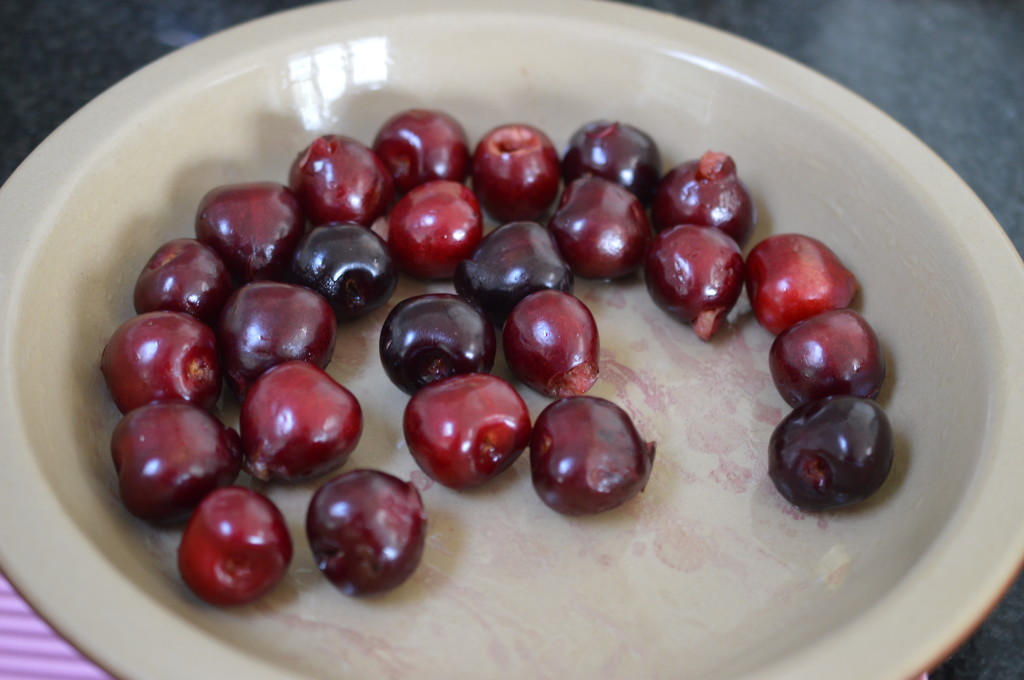
One the advantages of removing the cherry stones is that the cherry is now receptive to receiving a spike of something.  I steep my cherries in home-made cherry brandy.  Kirsch would be good.  Vanilla extract, I guess, would also be lovely.

Kentish Cherry Batter Pudding 3

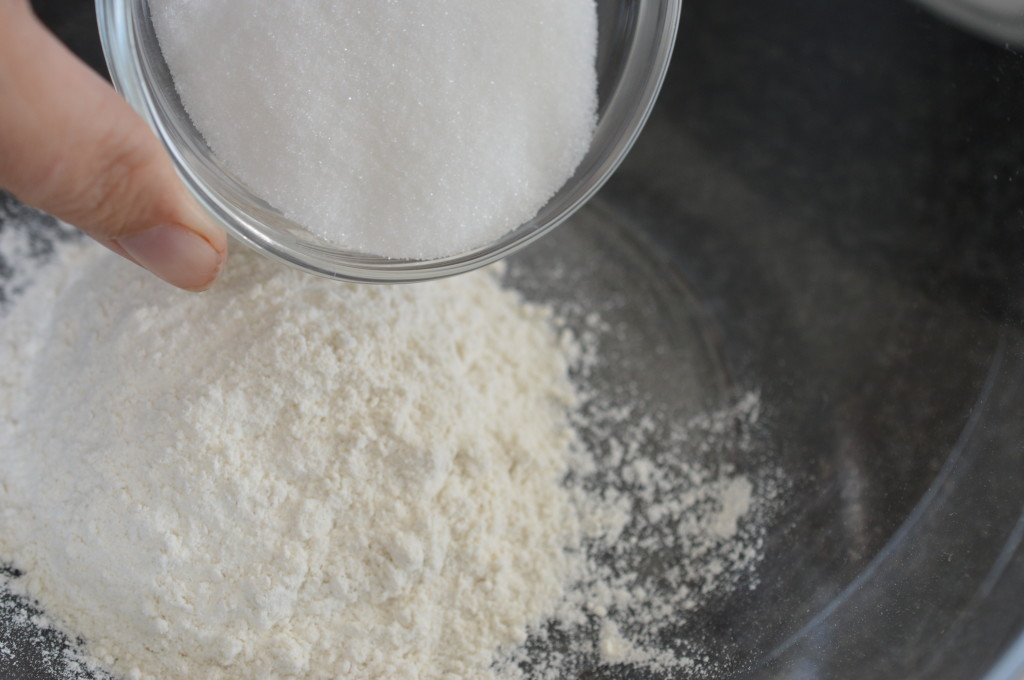
Put the flour in a bowl, add the sugar and a pinch of salt.

Kentish Cherry Batter Pudding 4

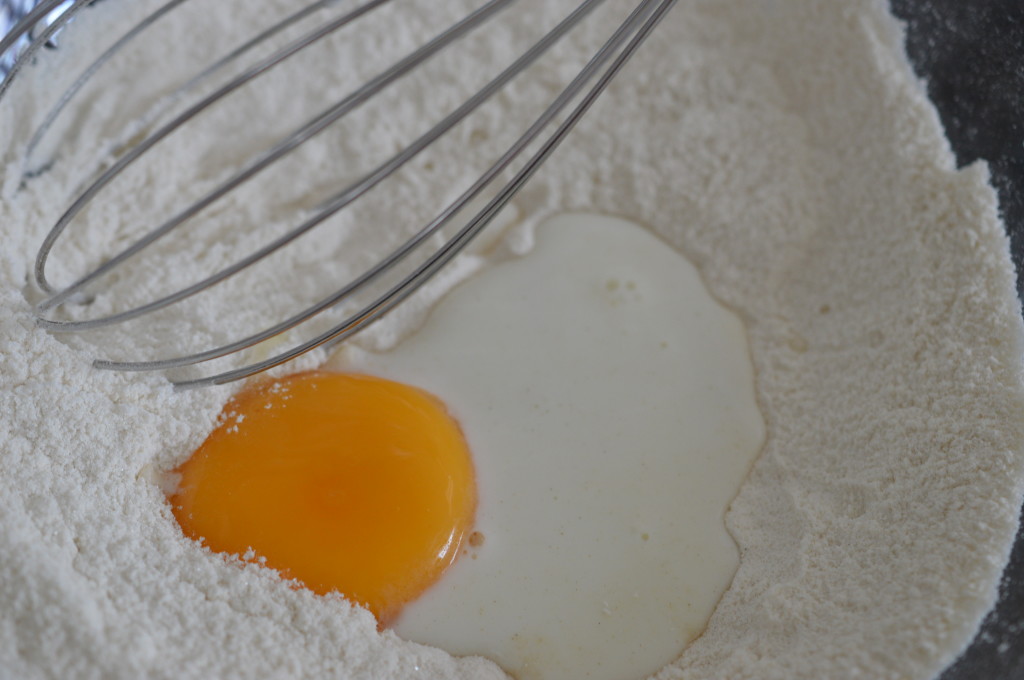
Whisk the dry ingredients together.  Add a splash of milk and one of the egg yolks.

Kentish Cherry Batter Pudding 5

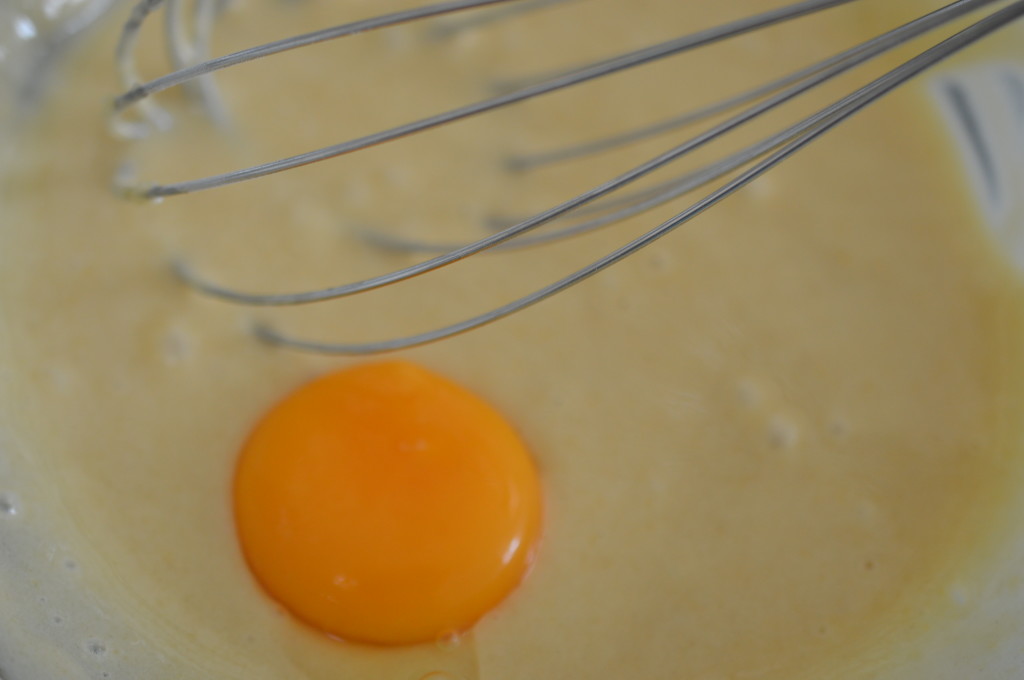
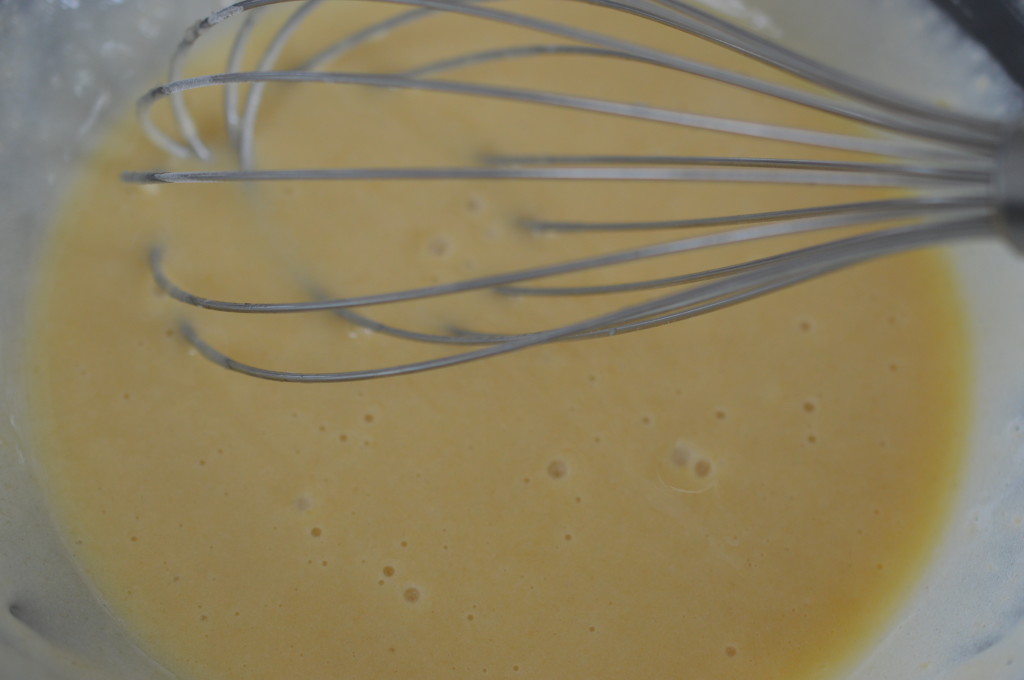
When that’s lump free, add the second egg yolk and another splash of the milk.  Whisk until there are no visible lumps.

Kentish Cherry Batter Pudding 7

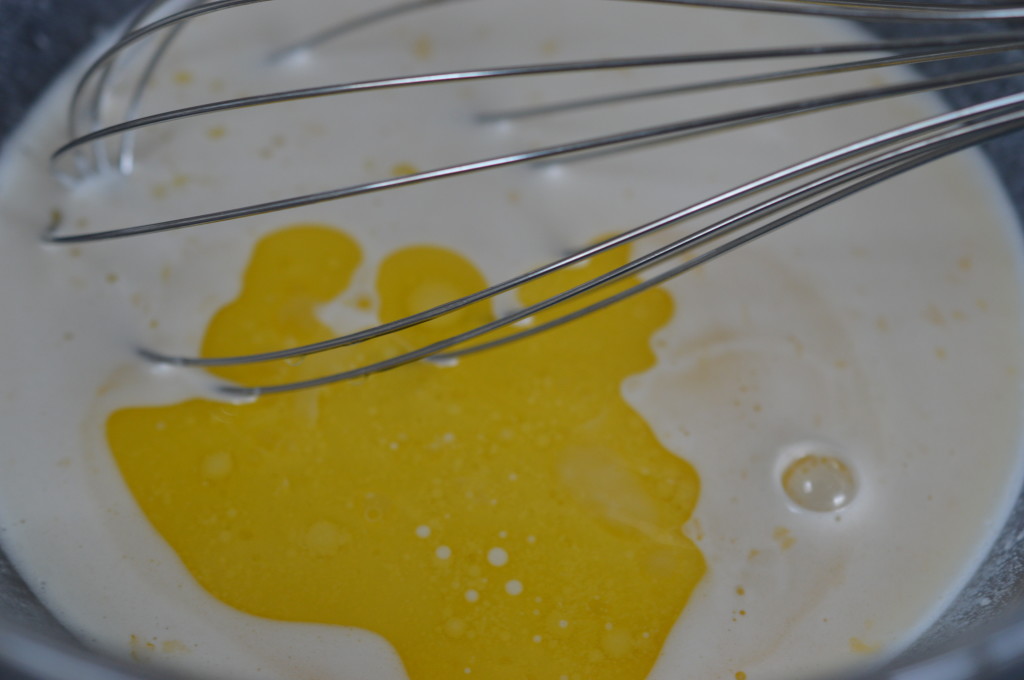
Into the smooth mixture, add the remaining milk and melted butter.  Drain the cherries and add any leftover brandy.

Kentish Cherry Batter Pudding 6

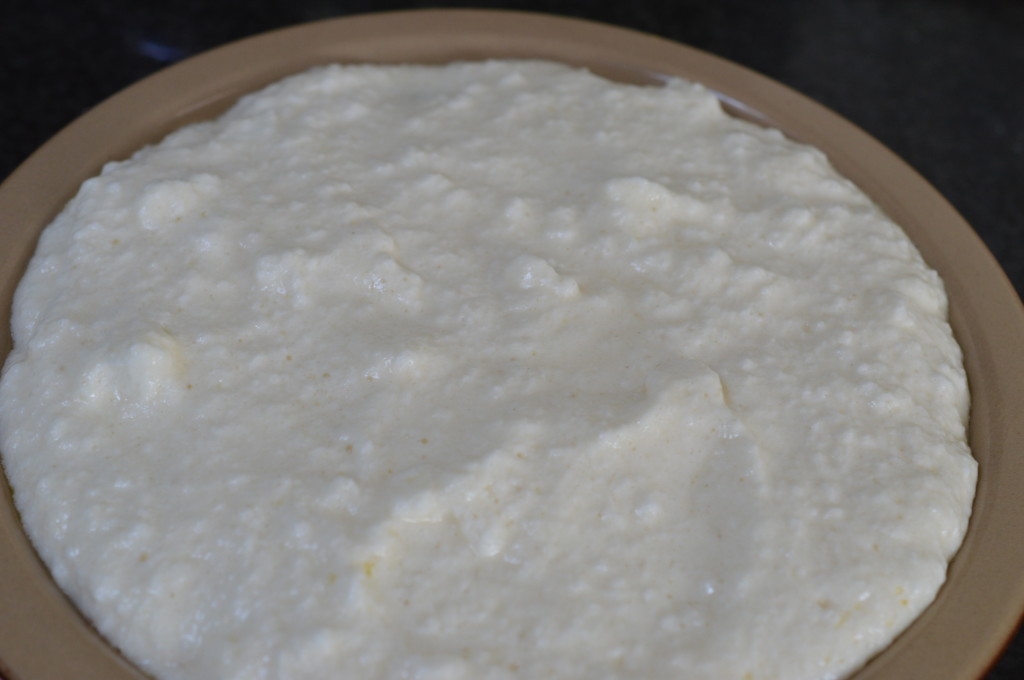
Batter done.

Kentish Cherry Batter Pudding 10

I use a 26cm pie dish (1.5 litres) to cook my batter pudding.  Into the greased pie dish I place half the steeped cherries and give them 5 minutes in a hot oven.

egg whites

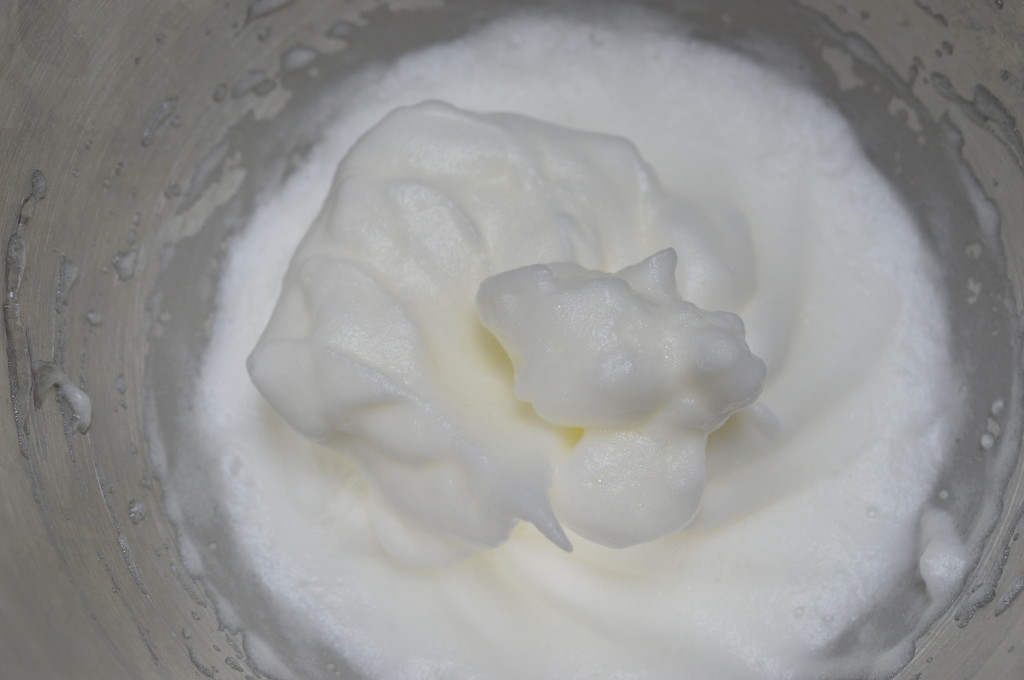
Whisk the reserved egg whites to stiff peaks.

fold in

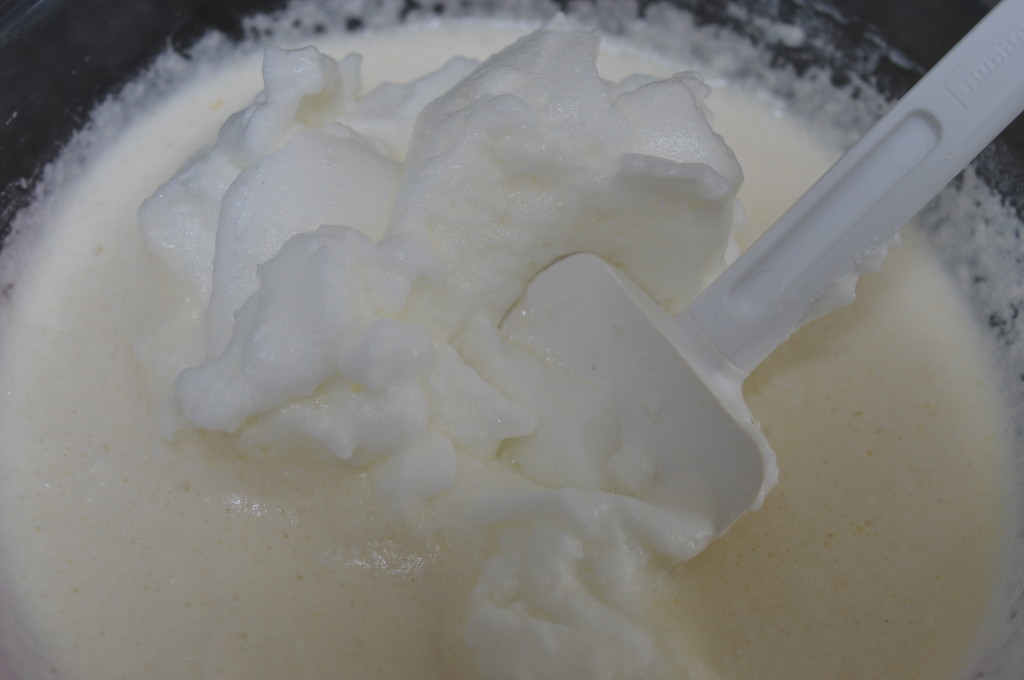
It’s easiest if you whisk in one third of the billowy egg whites before gently folding in the remainder.

Kentish Cherry Batter Pudding 11

Remove the pie dish from the oven and pour the soufflé-like batter on top.

Kentish Cherry Batter Pudding 12

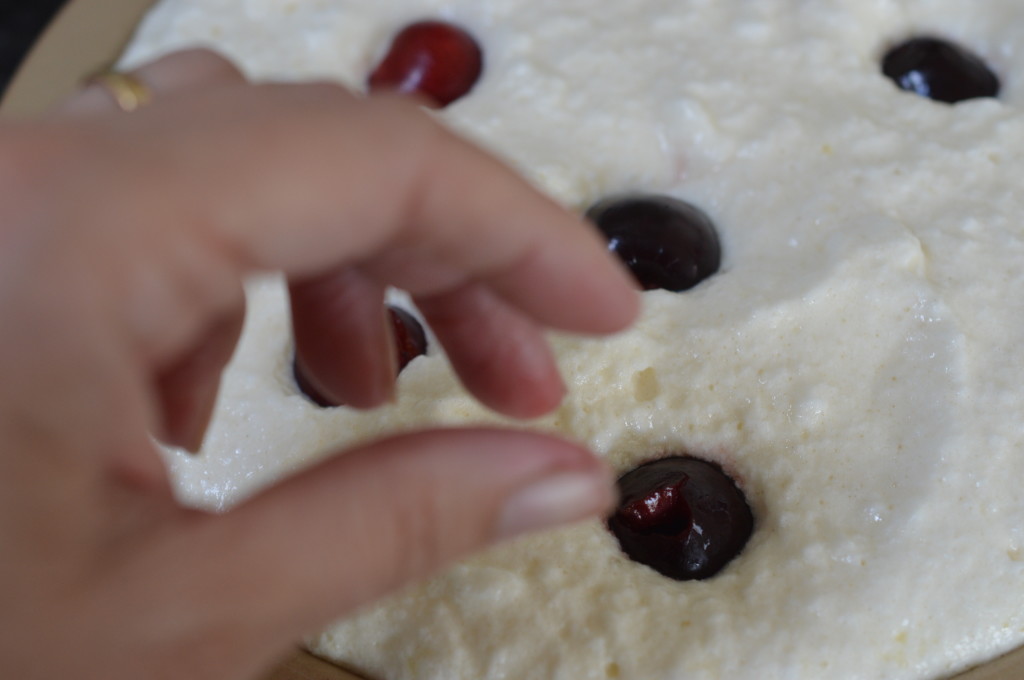
Then, plop in the remaining cherries.  Back into the oven.

Kentish Cherry Batter Pudding 13

Want a peak?

Kentish Cherry Batter Pudding 14

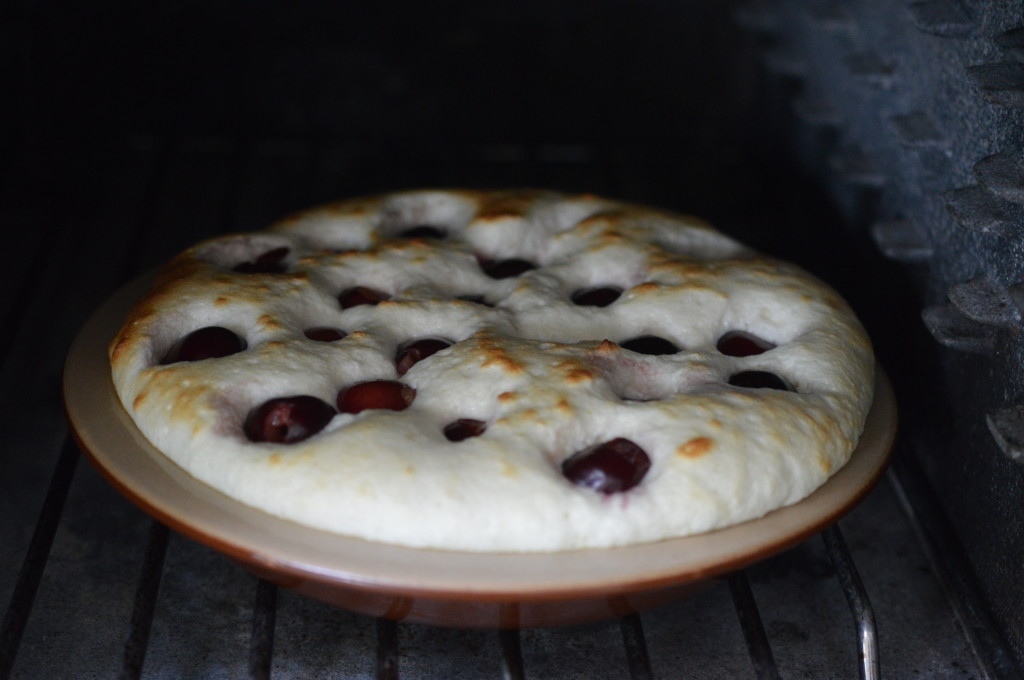
Exact cooking times will depend on your oven and you may have to fiddle a bit.  In my conventional oven I bake for 20 minutes at 200ºC, then I lower the temperature to 190ºC/375ºF/gas mark 5 and cook for a further 20 minutes.  (My oven is truly hopeless and I have to use an oven thermometer.)

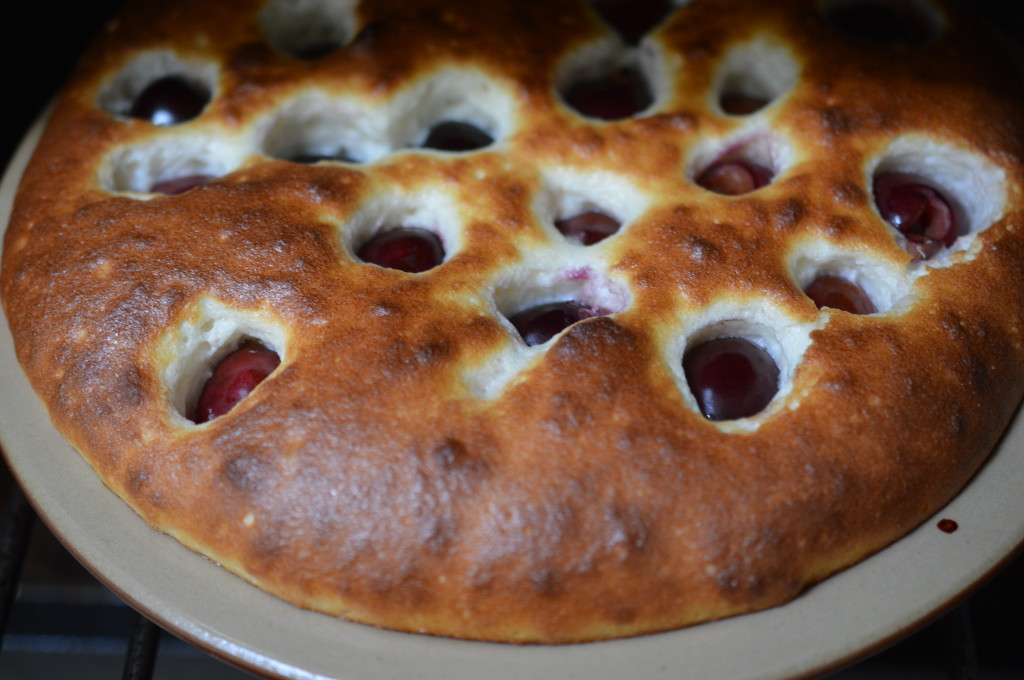
In my Aga I cook for 10 minutes on the rack on the floor of the Roasting Oven and then place on the rack on the floor of the Baking Oven for 20 minutes.  The depth of your dish will make a difference.  You are looking for your batter pudding to be puffed up and golden with the custard just-set but still having a seductive wobble.

Kentish Cherry Batter Pudding 16

Dust with icing sugar.

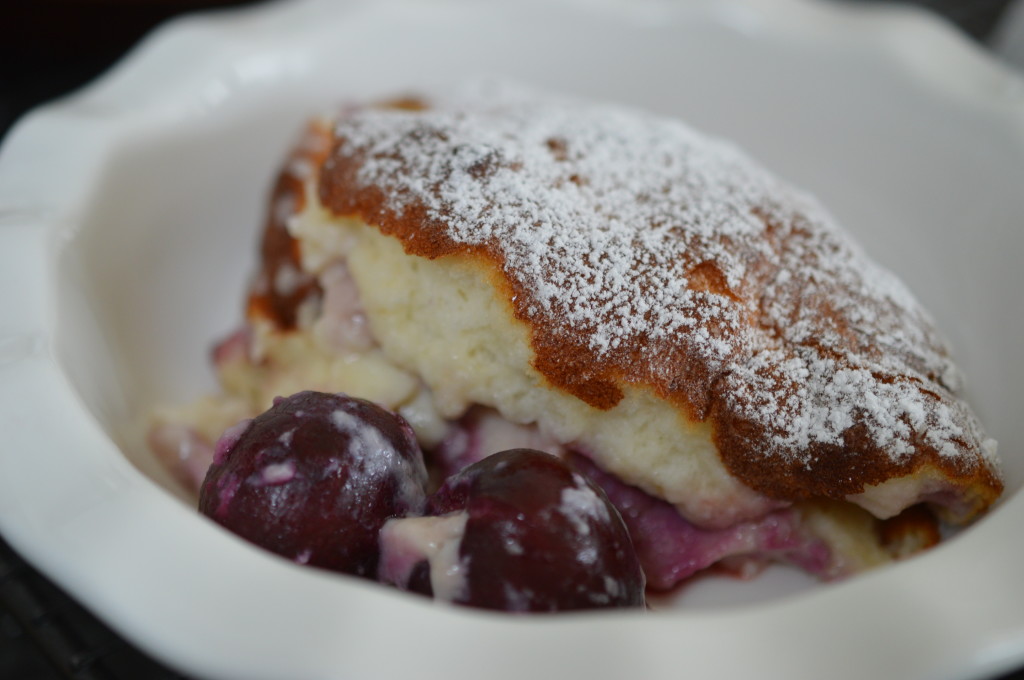
big bowl batter pudding

Serve warm or room temperature.  I like it warm best.  With a vanilla custard or with cold pouring cream.

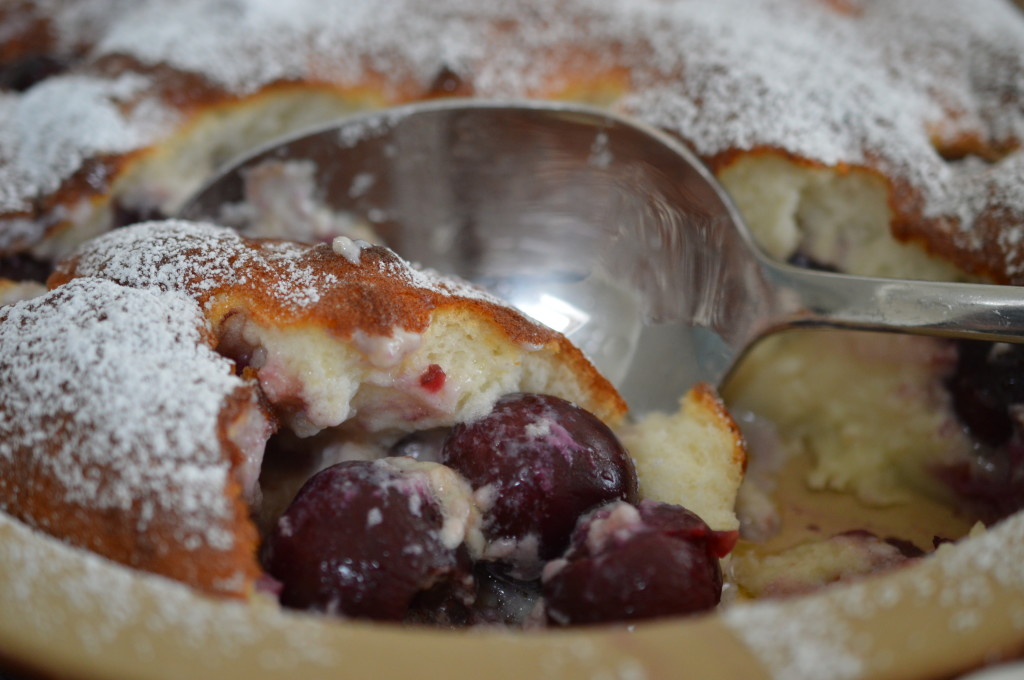
close up batter pudding

Eat.

Kentish Cherry Batter Pudding 17Kentish Cherry Batter Pudding

Serves 6

  • 500g/1lb ripe dessert cherries
  • 1 tablespoon cherry brandy (or kirsch/almond extract)
  • 50g/1½oz plain flour
  • pinch of salt
  • 50g/1½oz caster sugar
  • 25g/1oz unsalted butter, melted
  • 300ml/½pint full-fat milk or single cream
  • 2 eggs, separated

Stone the cherries.  Spoon over 1 tablespoon of cherry brandy and give the cherries a stir.  Set aside to allow the cherries time to absorb the alcohol.  (This can even be done the night before.)

Place the flour, salt and caster sugar in a bowl and whisk together with a balloon whisk.

Make a well in the centre and add one of the egg yolks, together with a splash of the milk/cream.  Using the balloon whisk, start to incorporate the flour and whisk until there are no lumps.  Add the second egg yolk and another splash of milk and continue whisking until you have a smooth thick batter.

Add the remaining milk, the melted butter and whisk together.  (If you wish to get-ahead with the batter, it will sit in the fridge perfectly happily.)

Grease a 1.5 litre pie dish and drop half the soaked cherries in the bottom.  Cook for 5 minutes in a 200ºC/400ºF/Gas Mark 6.  (Aga:  On a rack on the floor of the Roasting Oven.)  Drain the remaining cherries and add the brandy to the batter.

Whisk the egg whites until the stiff peak stage.  Whisk in one third into the batter and then, gently fold in the remaining two-thirds.

Take the hot dish from the oven and pour over the batter.  Drop the second half of cherries over the top.

Back into the oven for a initial 20 minutes.  (Aga:  I find 10 minutes is enough for the batter pudding to be golden and puffed up.)  Reduce the temperature to 190ºC/375ºF/Gas Mark 5 for a further 20 minutes.  (Aga:  Baking Oven for a further 20 minutes.)

Dust with icing sugar.

Eat.

Print.


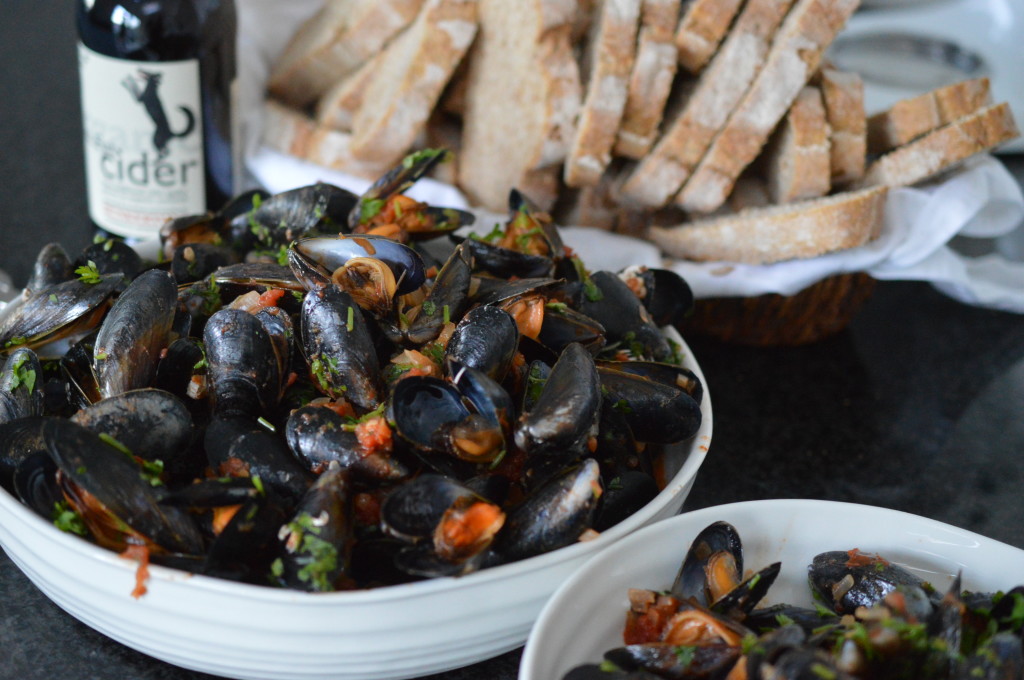
Mussels in Tomatoes and Cider

This academic year has been exam heavy and, in actual fact, by the official end of term the only person going to school was my husband.  Friday was the official finish – and this was supper.  I’d been to the supermarket to pick up milk (Seb drinks it by the pint – and I have no idea why we still buy milk in pints when we are supposed to be metric.  I’m disregarding the 2.272 litres labelling, as that’s just daft.) and they were reducing the seafood.

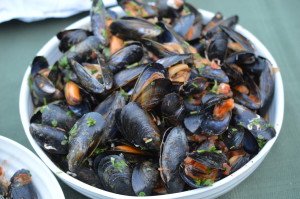
Mussels in tomato broth

50p for this lot.

For all mussels are reckoned to be best eaten between November and April (aka when there’s an ‘r’ in the month), I can’t walk away from them at that price.  The only reason for the ‘season’ is that winter is when they are at their ‘meatiest’.  Personally, I tend to avoid mussels in the spring because that’s their traditional spawning time but I gather climate change is making it all more complicated.

Anyway, I swung my trolley round and picked up some cider and a crusty loaf.

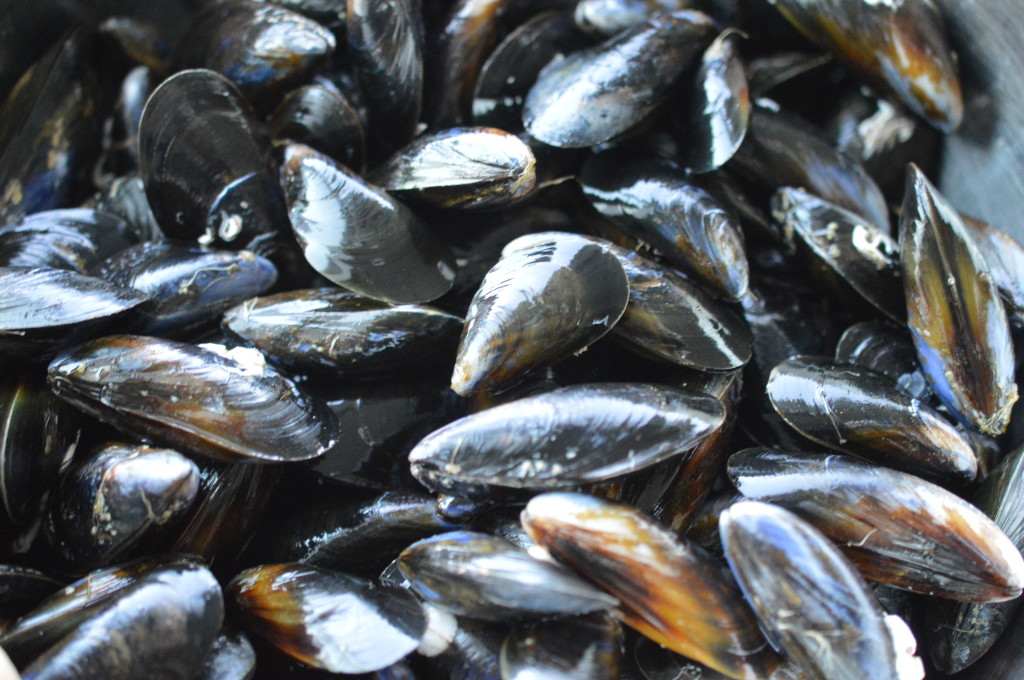
Mussels ready to be prepared

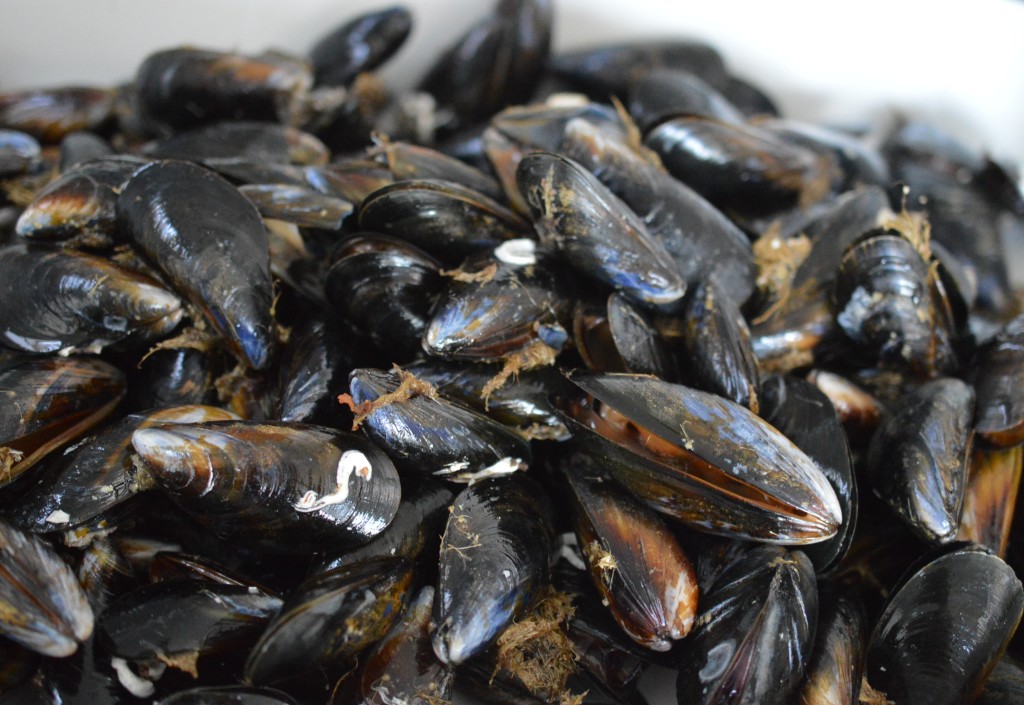
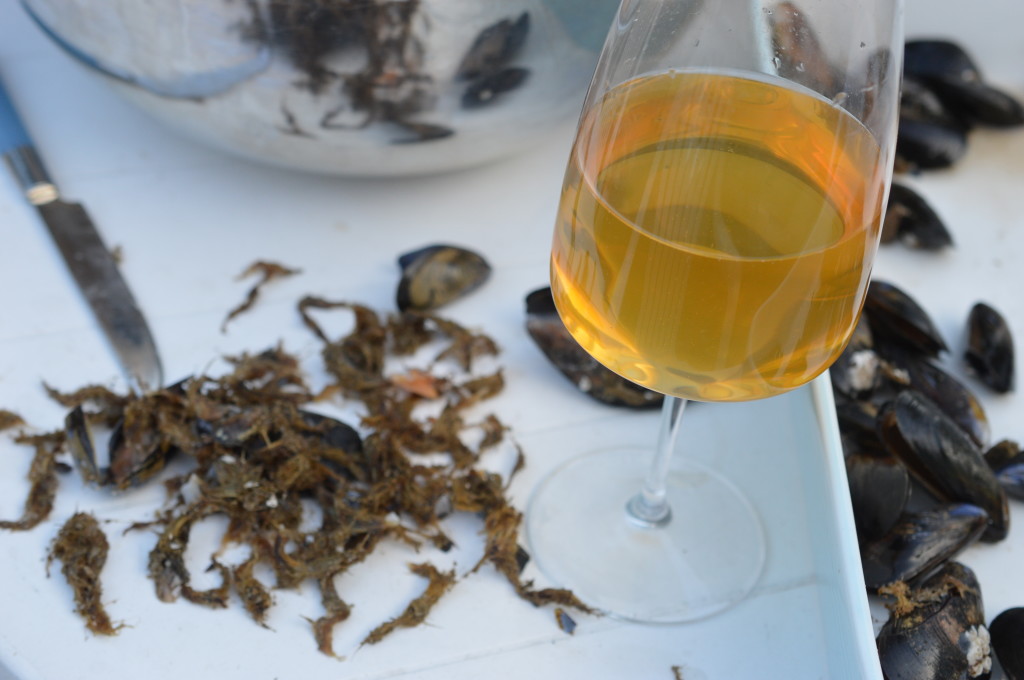
Mine are rope grown in classified water – so I know they’ve not been affected by any toxic algae.  They come in net bags and should smell like the ‘seaside’.  Mine did.  When you get them home you need to cut open the bags and put them in a dish to collect any juices.  Don’t clean them until shortly before you plan on cooking them.  And, plan on cooking them quickly.  Mussels don’t have a long shelf life.  At 50p, my guess was mine needed using the day I bought them.

Don’t cover them with a lid – or put them in a bowl of water.  If you store them in freshwater they’ll die (being sea creatures) and if you use salted water they’ll use up all the oxygen .. and die.  I covered mine with a piece of damp kitchen towel and popped it all in the bottom of my fridge.

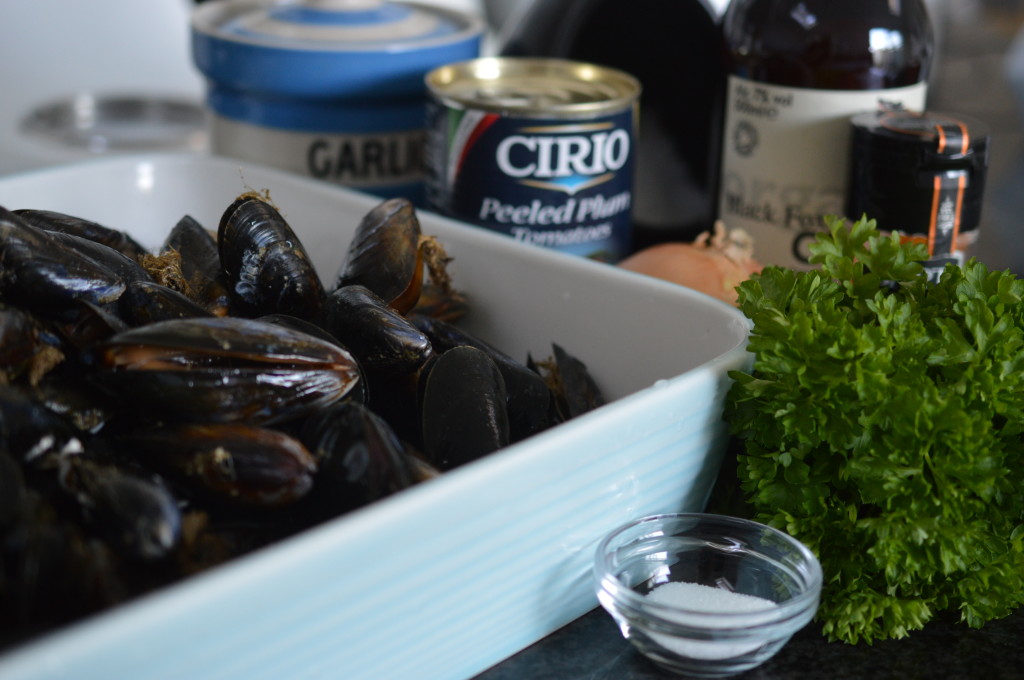
Mussels in cider ingredients

I have a number of issues with mussels.  The first being they are alive .. and I am of a squeamish disposition.  The second is the smelling ‘like the seaside’.  Intellectually, I know that’s a good thing but it’s not a smell I like when I open the fridge door.

My final issue is the cleaning of them.  I understand it’s better to buy them uncleaned because they have a longer shelf life if the ‘beard’ is still attached, but it’s a horrible job prepping mussels.  I do not consider them a ‘wonderfully quick and convenient thing to cook’.

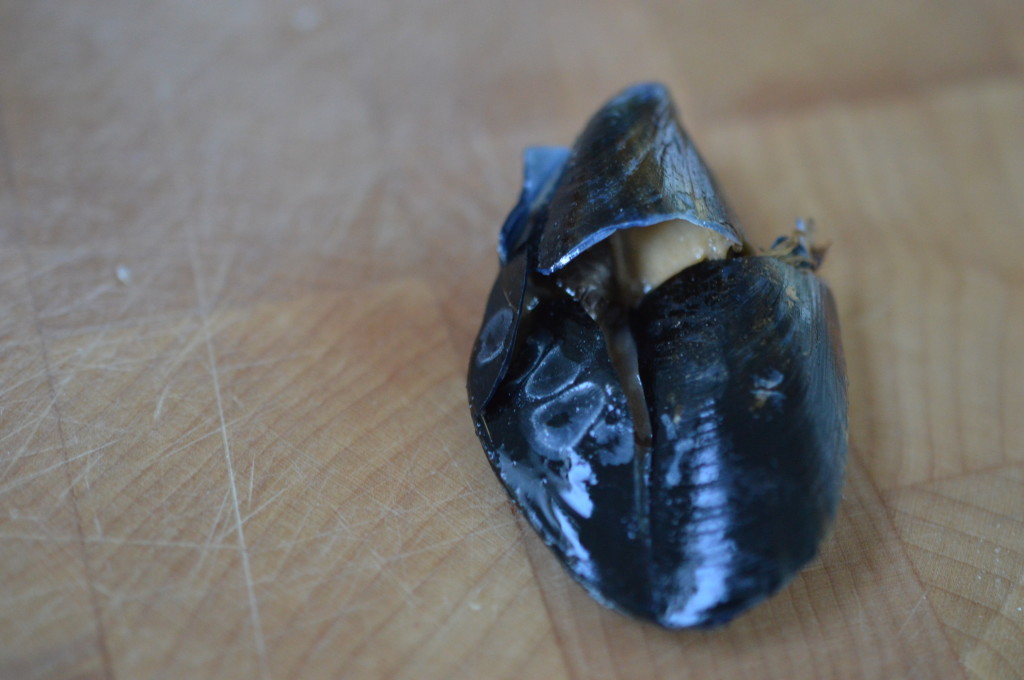
Mussels broken

My grandparents used to briefly soak their mussels in water and flour/oatmeal to ‘purge’ them.  In the UK you don’t need to do that any more as all commercially sold mussels have to be purified before they are sold.  So, that’s something in their favour.

My first job was to discard any with broken shells.  Even the slightest crack and it’s not worth risking the mussel being dead inside.  Chuck it away.

Mussels - Nigel

Next – and this is my top tip – delegate.  Always.  These are not my hands.

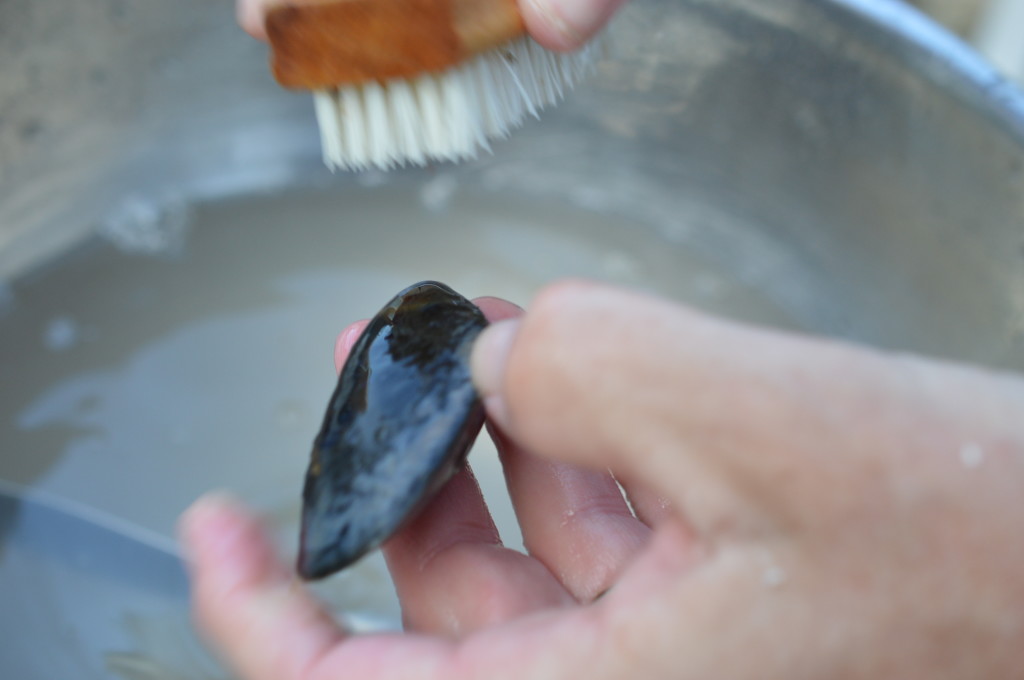
Scrape off any barnacles.  Give them a brush over.  Mussels grown on rope are not that bad.  If the shell is open, give it a sharp tap with your knife and it will slowly close shut.  If it doesn’t, chuck it away.

Mussels - beard

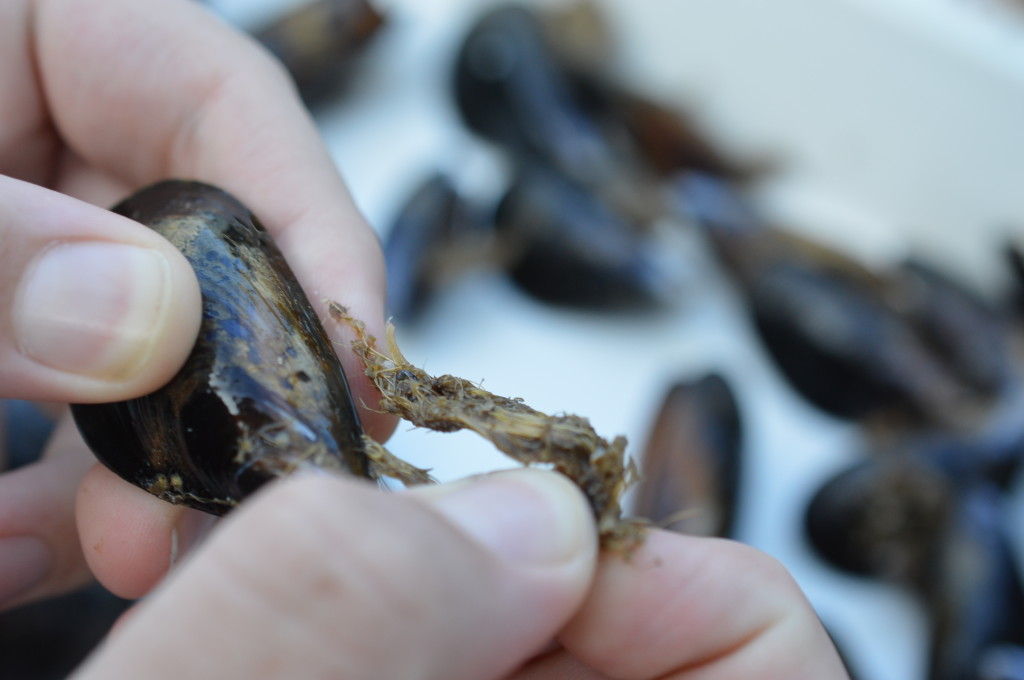
Now’s the time to pull off the ‘beard’ which are protein membranes the mussel uses to attach itself to a stable something rather than float off into the deep.  In my case, my mussels attached themselves to rope.  The other end is attached to them – which is why you pull this off shortly before cooking rather than prematurely traumatise it.  (Yes, I know I’m about to put it in a steaming pot, but this isn’t really for the benefit of the mussel.)

Mussels - chop onion

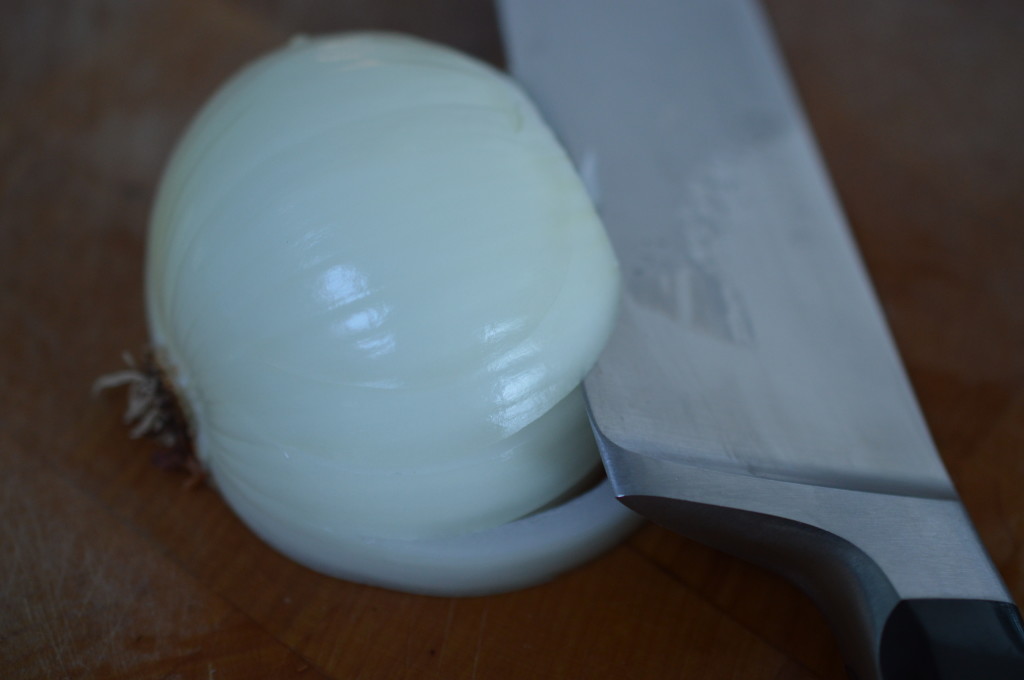
Meanwhile, I return to the clean end of the business.  Finely chop an onion.

Mussels - garlic

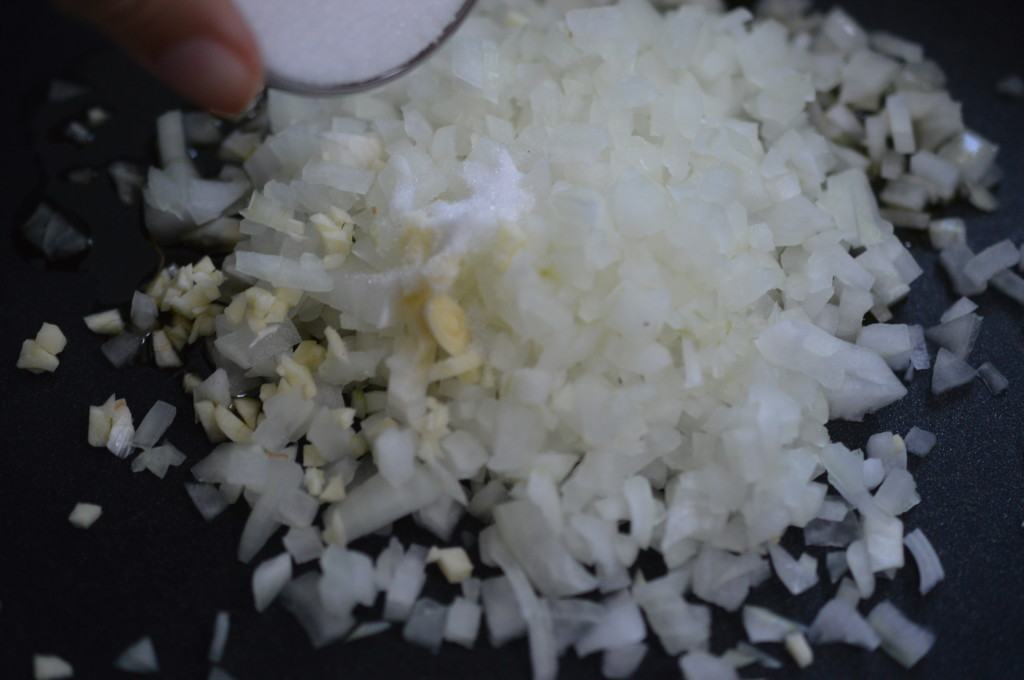
My Grandad would never have done such a thing – but I add a chopped clove of garlic.  A little sugar.

Mussels - soften onion

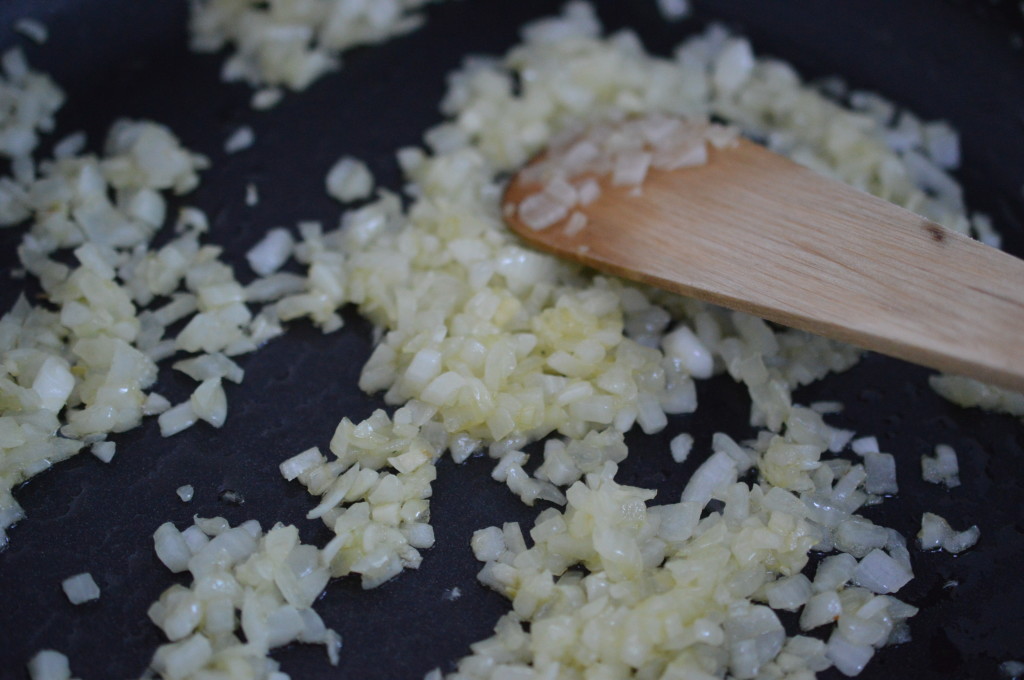
Soften in rapeseed oil.  He used butter.

Mussels - add cayenne

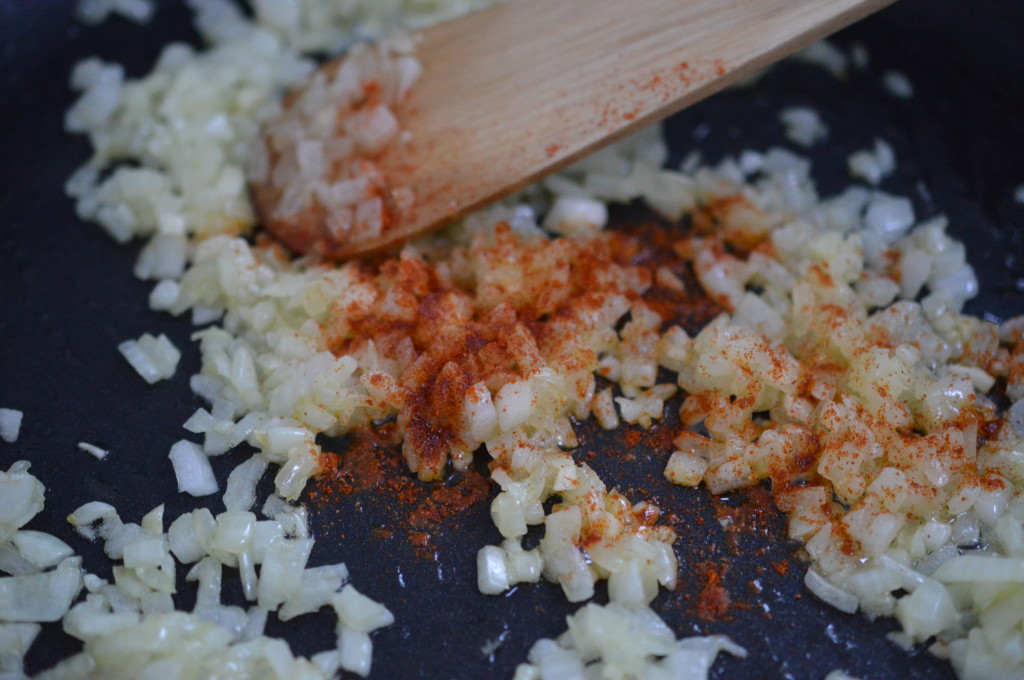
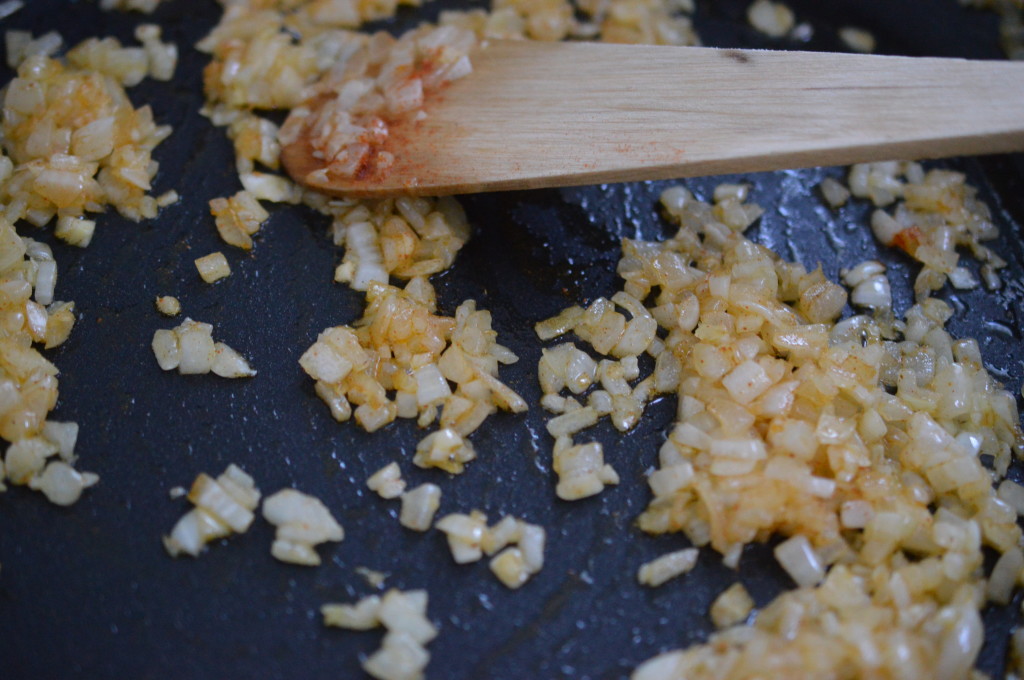
Again, I’m wilfully deviating.  A little kick of something is really tasty.  Cayenne pepper.

Mussels - stir in spice

Stir.

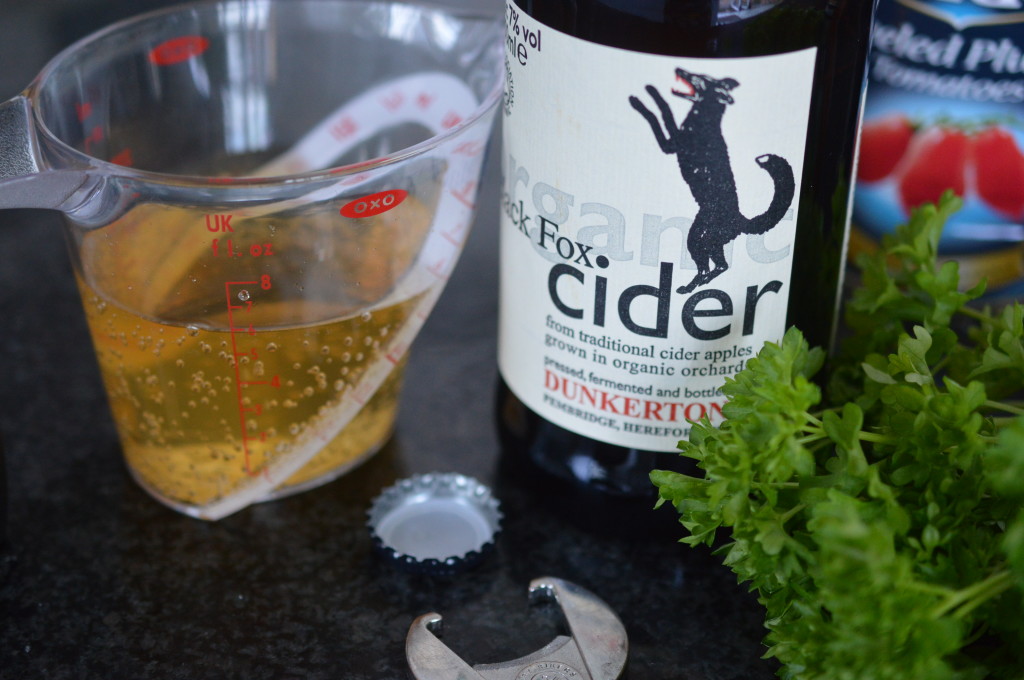
Mussels - cider

I’m using one of my favourite ciders.  Go for something dry.

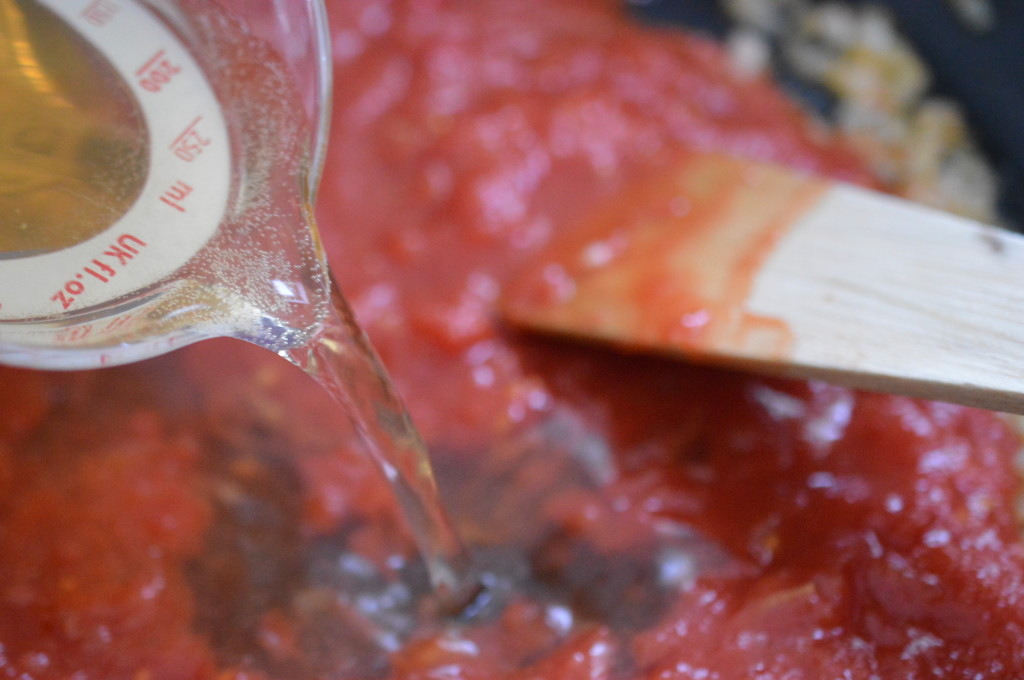
Mussels - add tomatoes and cider

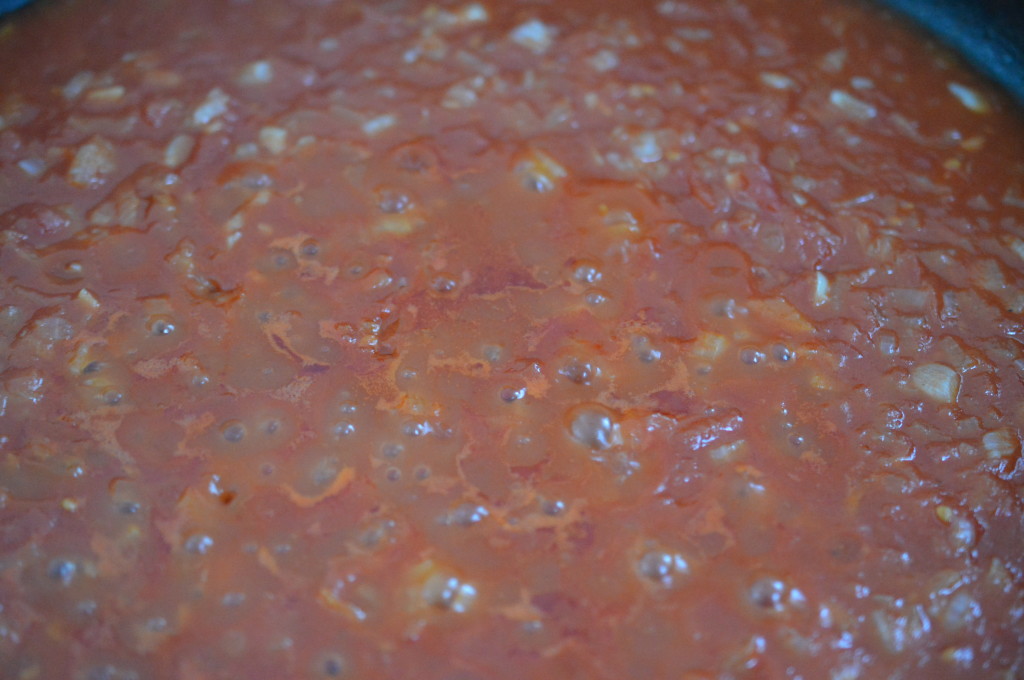
Add a tin of tomatoes and the cider.

Mussels - allow cider to preparation team

This is something of a moral dilemma.  The rest of the cider could be considered ‘cook’s perks’ .. or you could motivate the person/perspons cleaning the darn things.

Mussels - all clean

There they are – ready for the pot.  Give them a rinse under cold running water.

Mussels - cook sauce

Give the sauce a little taste to check for seasoning.  A little pepper, maybe.  Don’t add any salt now as the juices the mussels release are naturally salty.  Get everything boiling.

Mussels - steam

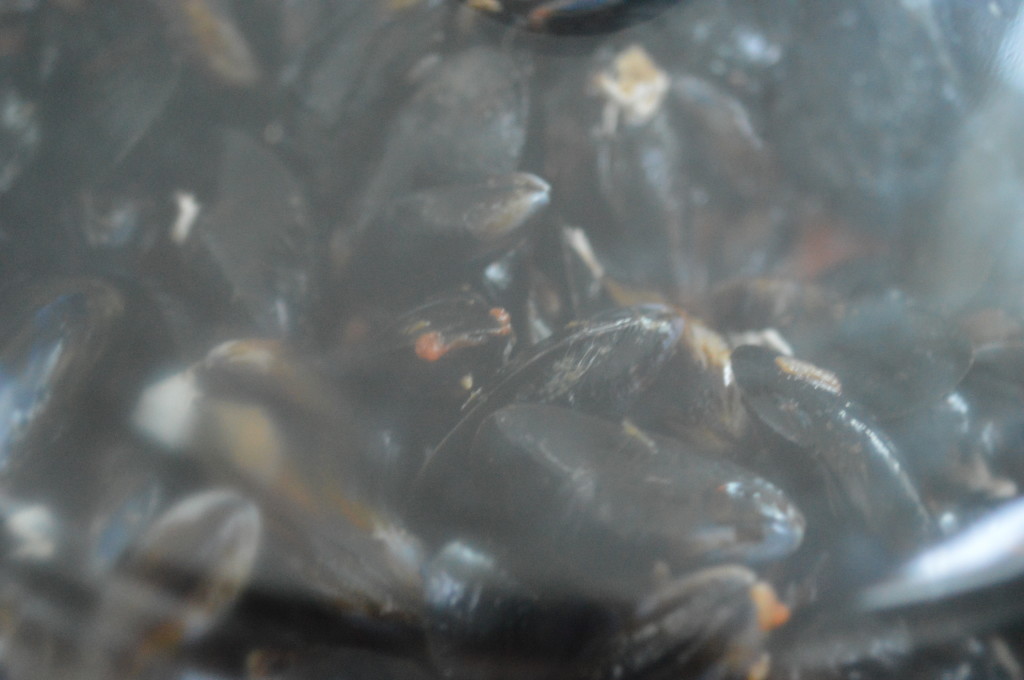
Tip the mussels in the pot and cover with a lid.  Give everything an occasional shake – but the steam will cook the mussels on the top without too much worry.  Through the misty haze of my see-through lid I watched the mussels open.

Mussels - cooked

There they are.

Mussels - add parsley

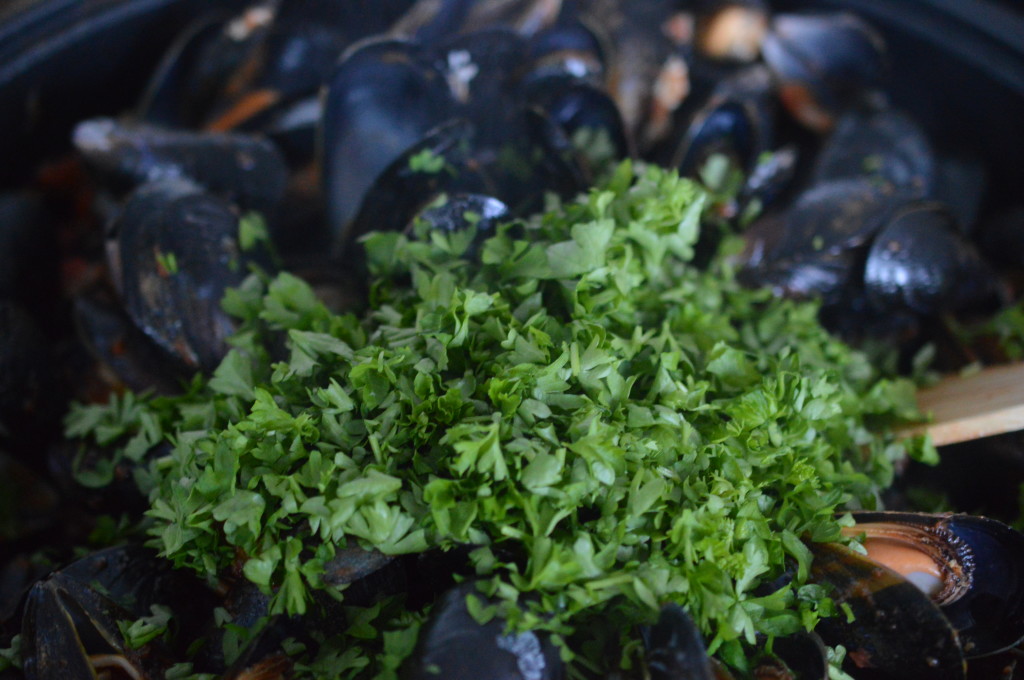
A little chopped parsley, as much for colour as anything else.  Curly was what my grandparents used and it makes me smile.

Mussels - served

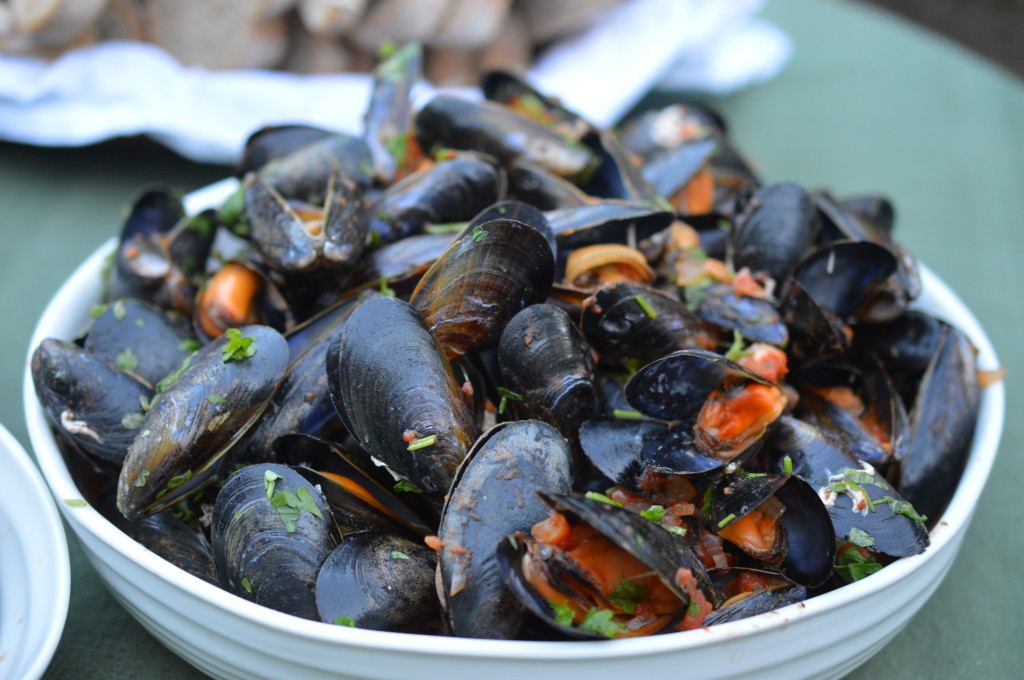
Give everything a stir and transfer to a big, warm serving dish.  If you spot any mussels which stubbornly remain closed, discard.  Don’t try prizing them open, it’s not worth it.

Mussels -eat

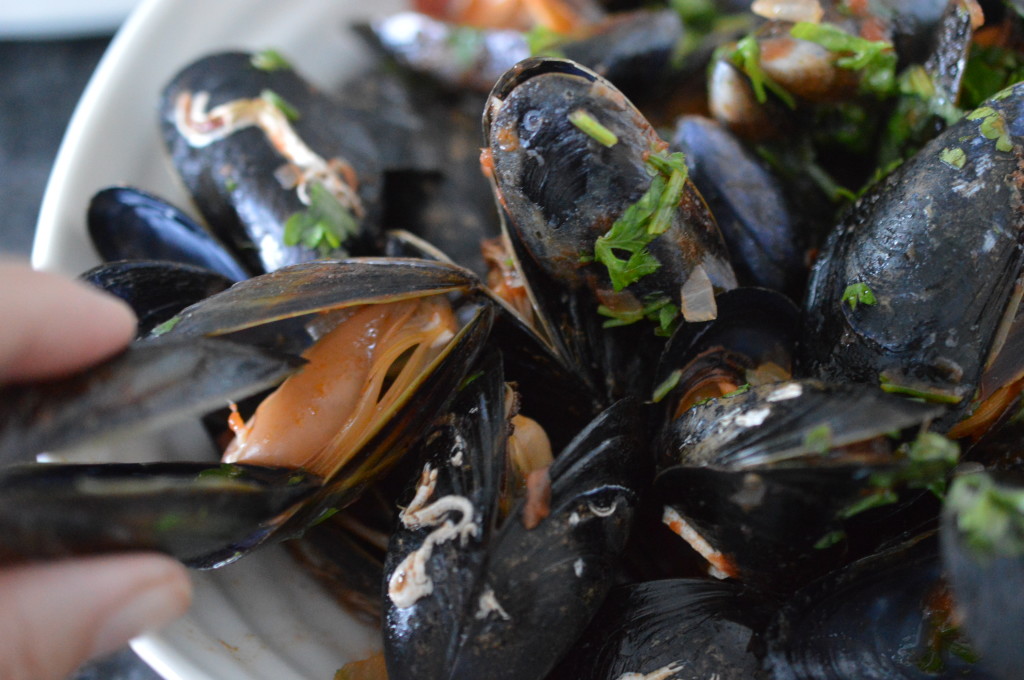
You’ll need some crusty bread to soak up all the juices and some bowls for the empty shells.  Use an empty shell as a pincer.  It’s all gloriously communal.  Eat.

Mussels - served 4Mussels in Tomatoes and Cider

Serves 4-7  (1lb of mussels is usually reckoned to be a portion, but I serve it with lots of crusty bread ..)

  • 4lb/1.8kg mussels
  • 1 onion, finely chopped
  • 1 clove of garlic, finely chopped
  • 1 teaspoon of sugar
  • 2 tablespoons of rapeseed oil
  • A shake of cayenne pepper
  • ¼ pint/150ml dry cider
  • 400g/14oz tin of tomatoes, chopped
  • Fresh parsley
  • Black pepper
  • Lots of crusty bread to serve

Prepare the fresh mussels.  Discard any with cracked shells or any which do not shut when tapped with the back of a knife.  Scrape off any barnacles and pull of the ‘beards’.  Rinse under cold water.

Heat the rapeseed oil in a large pan and soften the onion, garlic and sugar.   Cook until the onion is soft and beginning to take on a little colour.  Add the cayenne pepper and stir.

Add the tomatoes, cider and a little black pepper.  Bring to a boil.

Add the mussels.  Cover with a lid and cook, shaking the pan occasionally.  3-5 minutes later the mussel shells will have opened.

Sprinkle with parsley.  Stir.  Transfer to a large, warmed serving dish and discard any mussels which remain shut.

Eat.

Print.


Fraisier Cake

It was Nigel’s birthday earlier this month – and that always involves strawberries.  Despite the fact we’d been picking them from the garden for most of June, when Nigel was a child his birthday always signalled the first strawberries of the summer and some things should be respected.
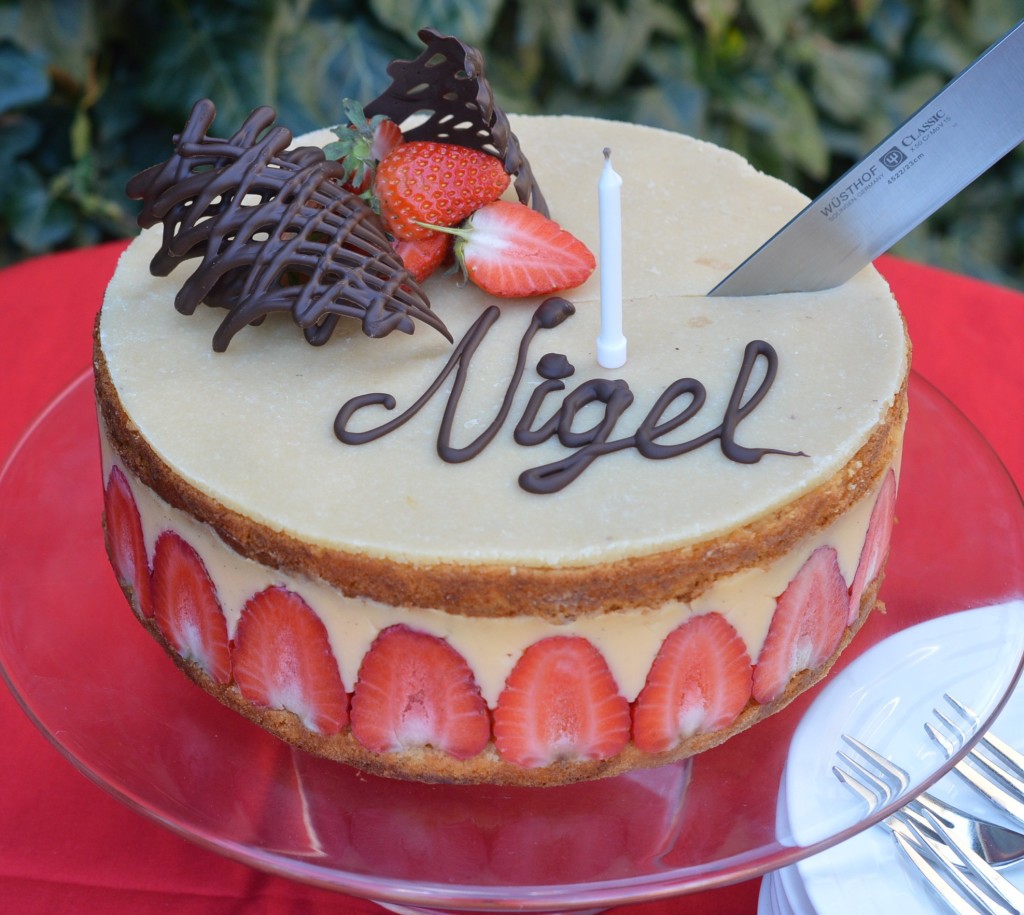
Fraisier Cake Cutting

Le Fraisier is a french strawberry gateaux, fraise being the french word for strawberry.  I don’t think it can be a creation of too much antiquity because strawberries in this plump form, as opposed to the wild variety, are a fairly recent arrival.  Amédée-François Frézier (1682-1773) gets the credit for introducing them to Europe, having brought some specimens back from Chile.

Whoever the culinary genius was who created this celebration of the strawberry I can’t say.  I do know where I came across it.  Baking a Frasier Cake was a Mary Berry technical challenge on series 3 of ‘The Great British Bake Off’.
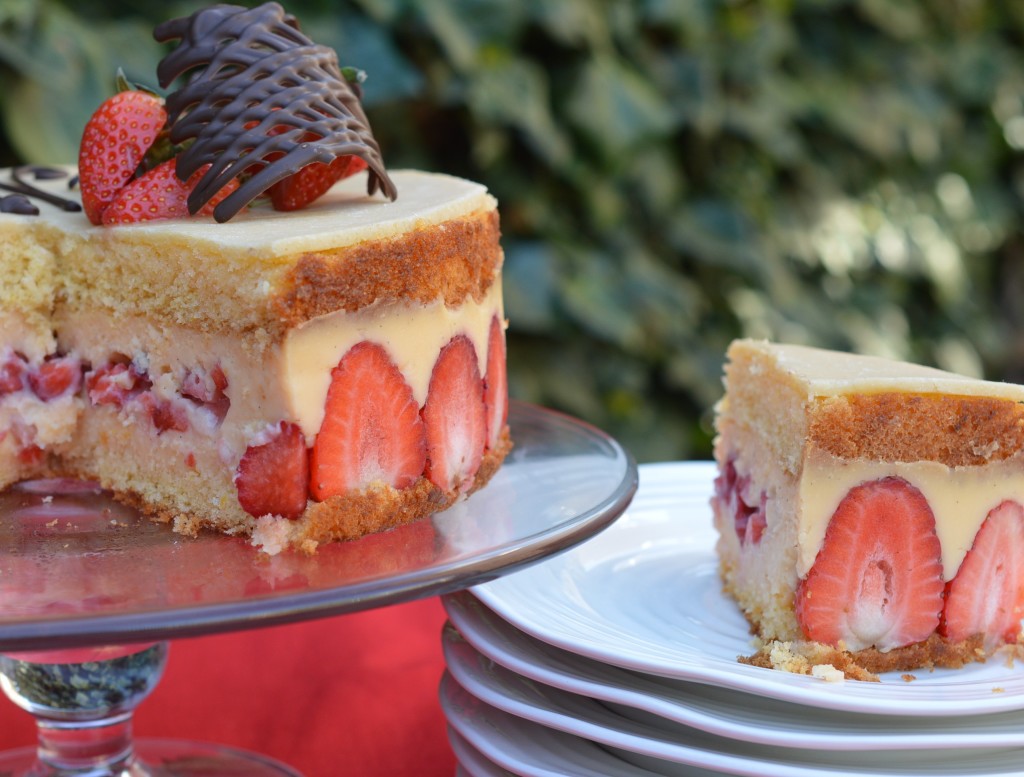
Fraisier Cake 54

I’m fairly confident my children, with the exception of Liddy who can be trusted not to tell her brothers, will not be reading this .. so I will make a confession.  All those technical challenges … well, they’re a whole lot easier if you are not cooking in a tent, have a complete set of instructions, no interruptions, no tv camera pointed at you watching for mistakes and as much time as you like to cook.

This is fun to make.  Okay, so it’s not something I’d whip up on an average week night, but no stage is complicated – and then it’s an assembly job.  It tastes amazing.
Fraisier cake 1

Making a Genoise Sponge is so much easier with a stand mixer.  If that’s not what you have, you need to do it the classic way which is in a bowl set over a pan of simmering water.

Melt 50g/1¾oz of unsalted butter, and allow it to cool slightly.  Heat your oven – 180ºC/Gas Mark 4/350ºF.  Prepare a round 23cm/9″ cake tin – I melt more butter to grease my tin really thoroughly and line the base with bake o’glide.
Fraisier Cake 2

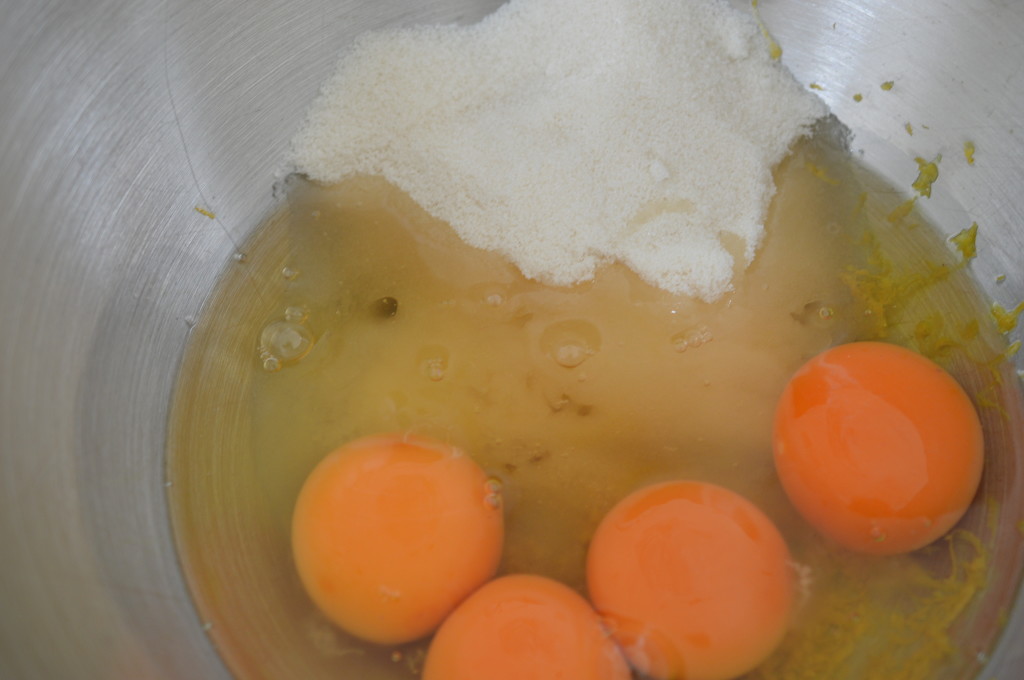
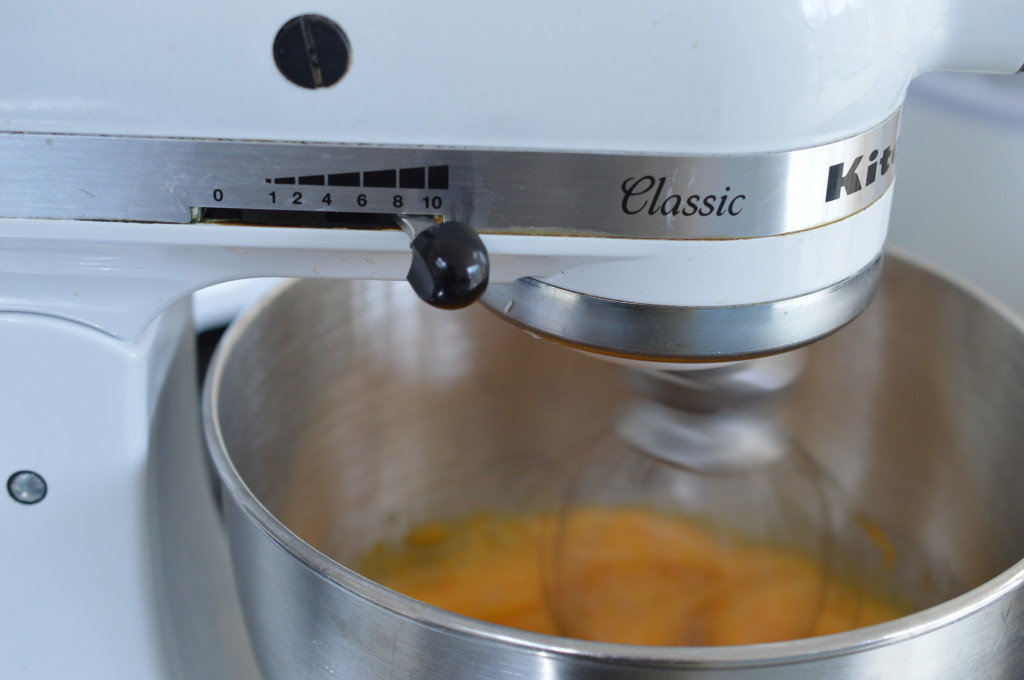
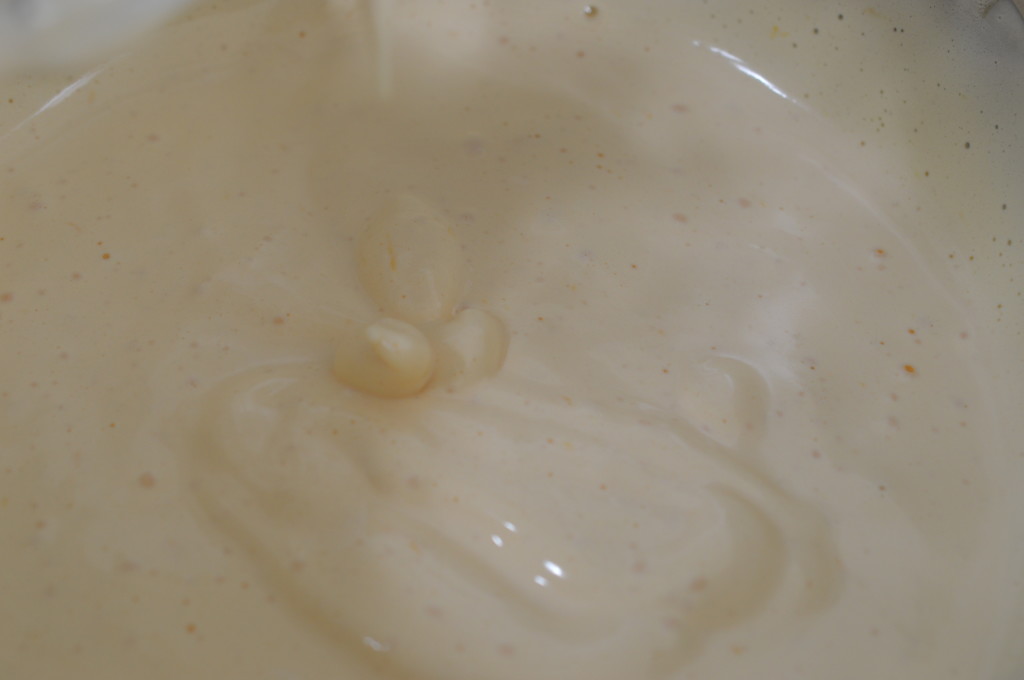
Then, with the four eggs, finely grated zest of two lemons and 125g/4½oz caster sugar in the bowl – whisk.  I use my kitchen aid  with the  whisk attachment on maximum.
Fraisier Cake 3

It’s done when you can lift the whisk out and draw a figure of eight with the mixture.  It’ll rest on the surface for a few moments.
Fraisier Cake 4

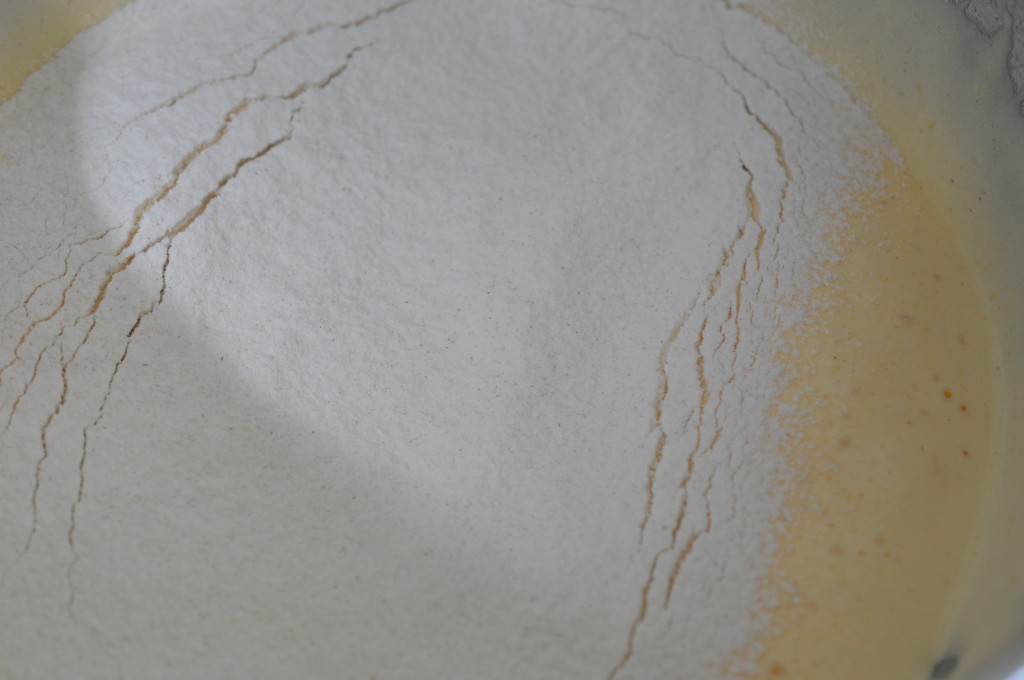
If you’ve been whisking over a bowl of simmering water, now is the time to remove from the heat.  Whichever method, sift over half the flour.
Fraisier Cake 5

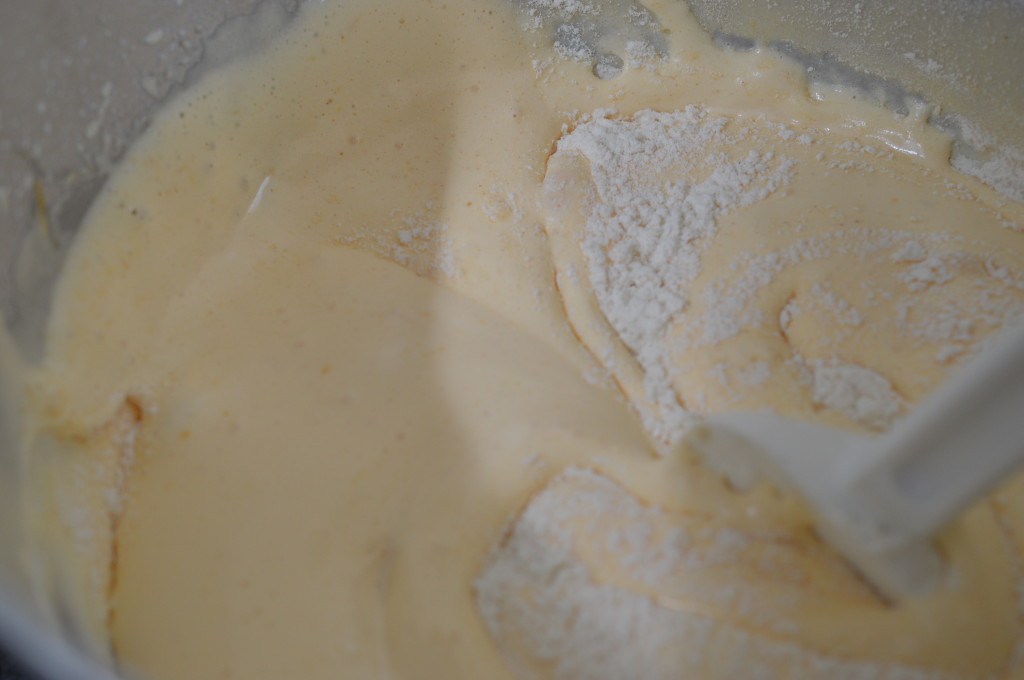
Gently – fold in.  The aim is to keep as much air in the mixture as possible.  Use the edge of the spatula (or metal spoon) and use a cutting motion.  Once you’ve incorporated the first half, sift over the remaining flour and fold that in as well.  Then, add the melted butter.  Gently – fold that in, too.
Fraisier Cake 6

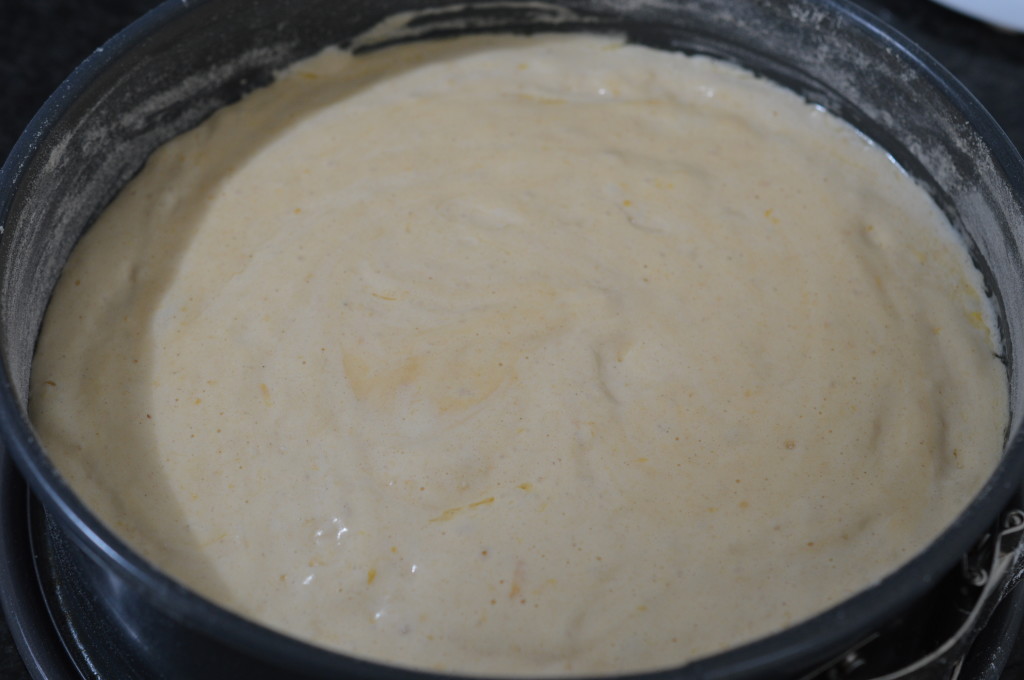
Pour into the prepared cake tin and bake for 25-30 minutes.  In my 4-oven aga, I use the Baking Oven and bake for 20-25 minutes on the rack placed on the floor.
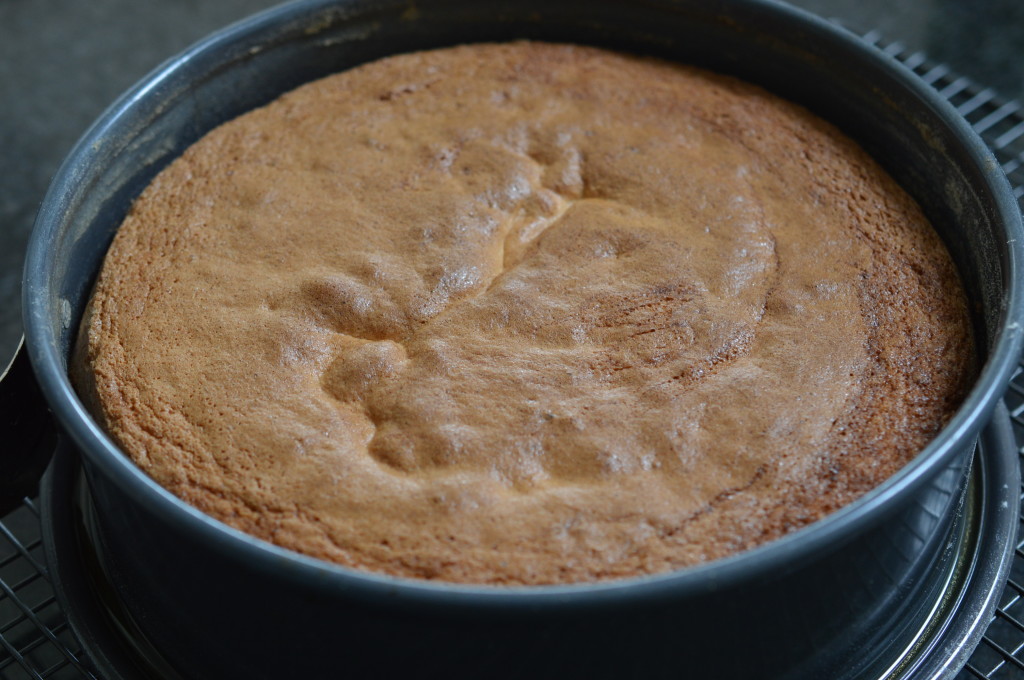
Fraisier Cake 14

It’s done when the sides of the cake shrink away from the sides of the tin.  Leave it to cool for five minutes, then loosen the side clip and transfer the cake to a cooling rack.
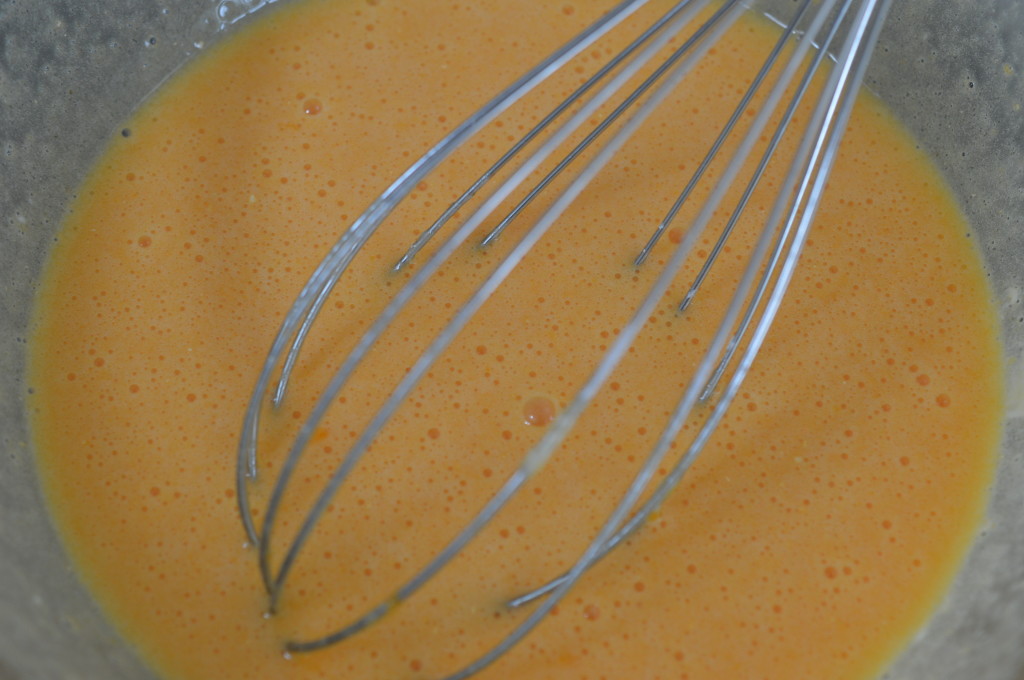
Fraisier Cake 9

Crème pâtissière is a fancy custard.  In a clean bowl, whisk together 4 eggs, 2 extra egg yolks, the sugar, cornflour and kirsch.
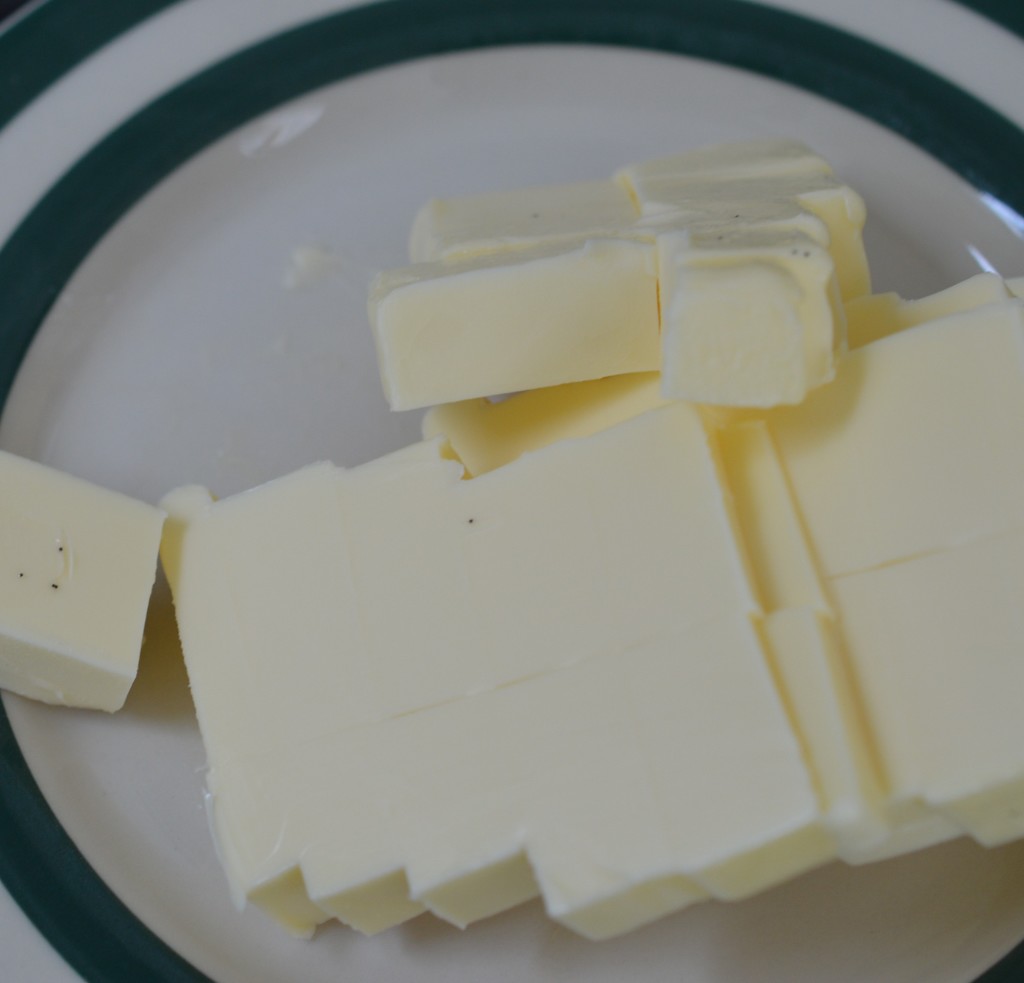
Fraisier Cake 13

Cut 150g/5½oz butter into cubes.

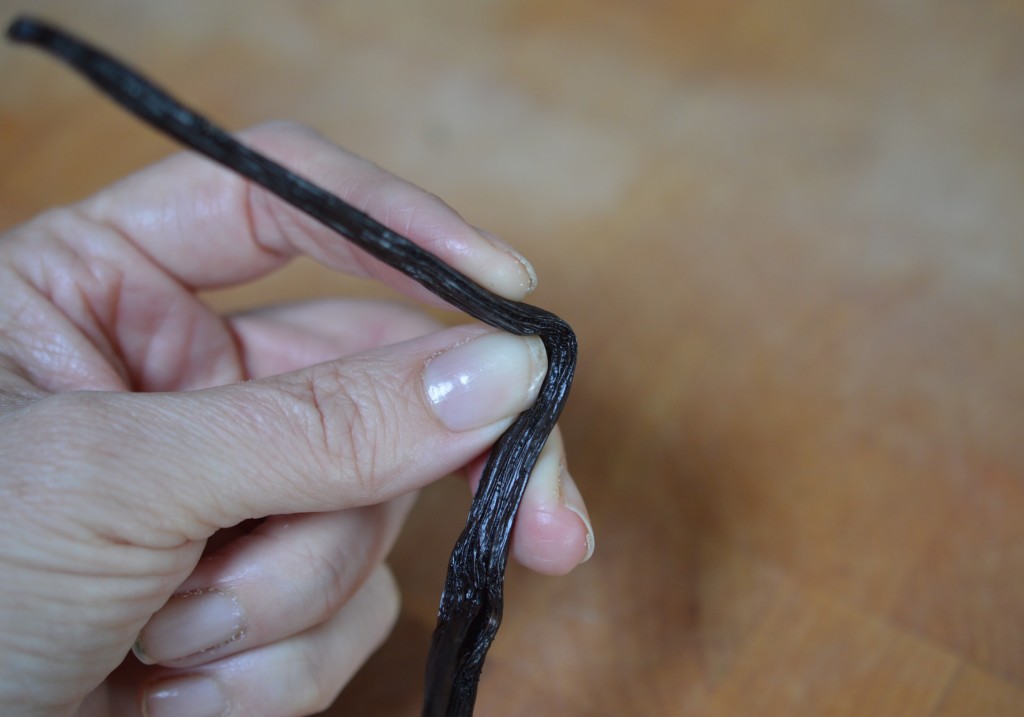
Vanilla ice cream pod

The best vanilla pods are the nice, fat, bendy ones.
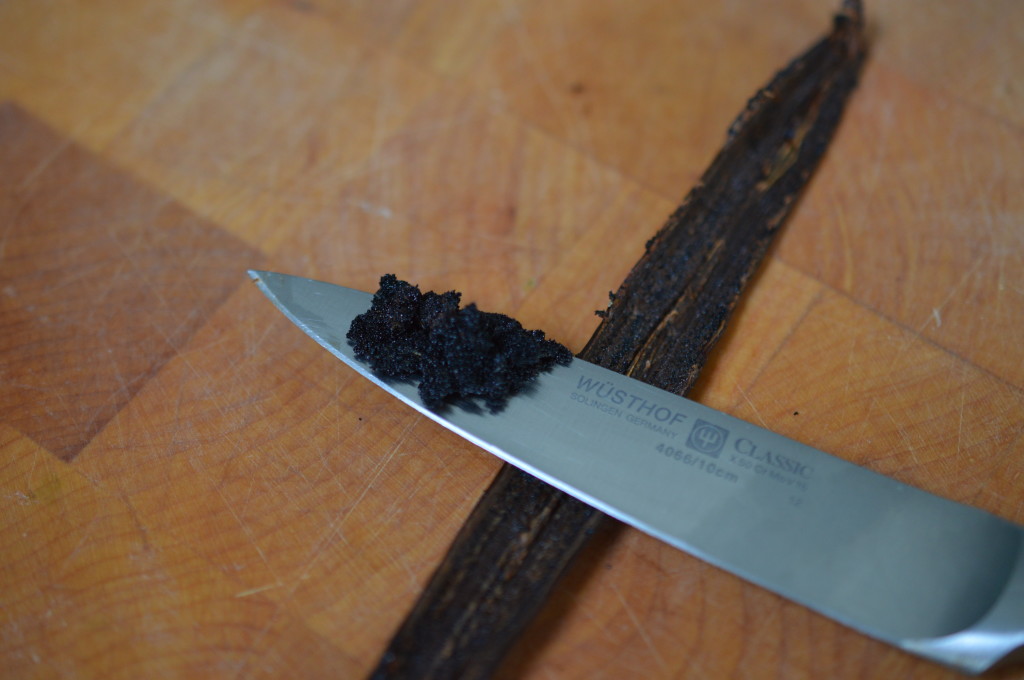
Vanilla ice cream seeds

Scrape out the seeds with the back of a knife.
Vanilla ice cream scalded

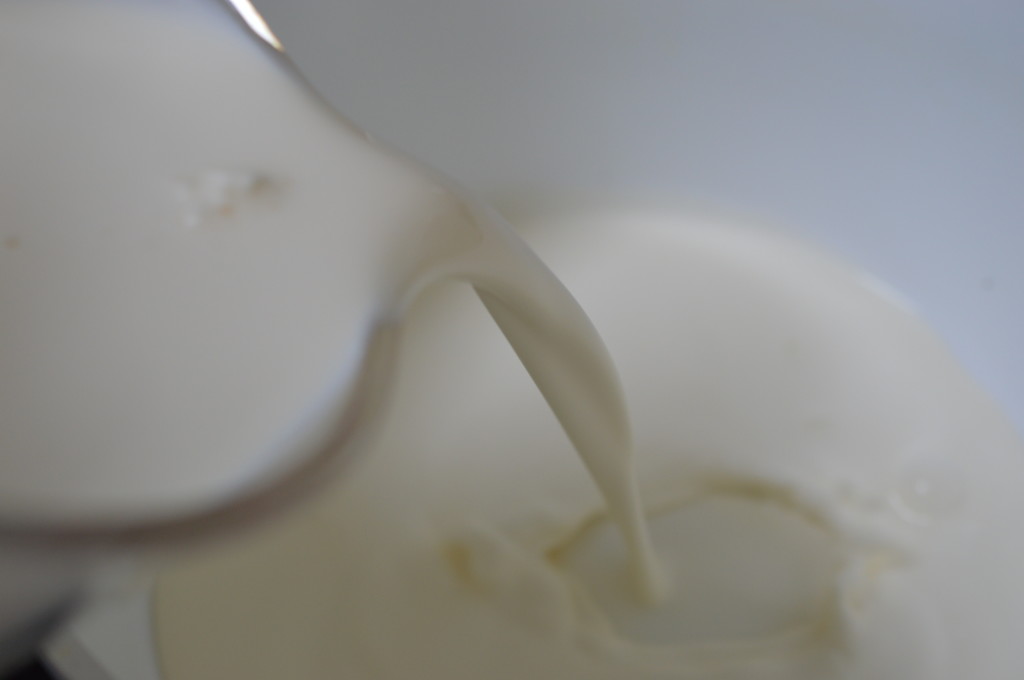
Pour the milk into a saucepan and add the vanilla seeds and pod.  I chopped mine to get maximum flavour into the milk.  Bring to a boil and take it off the heat.
Fraisier Cake 10

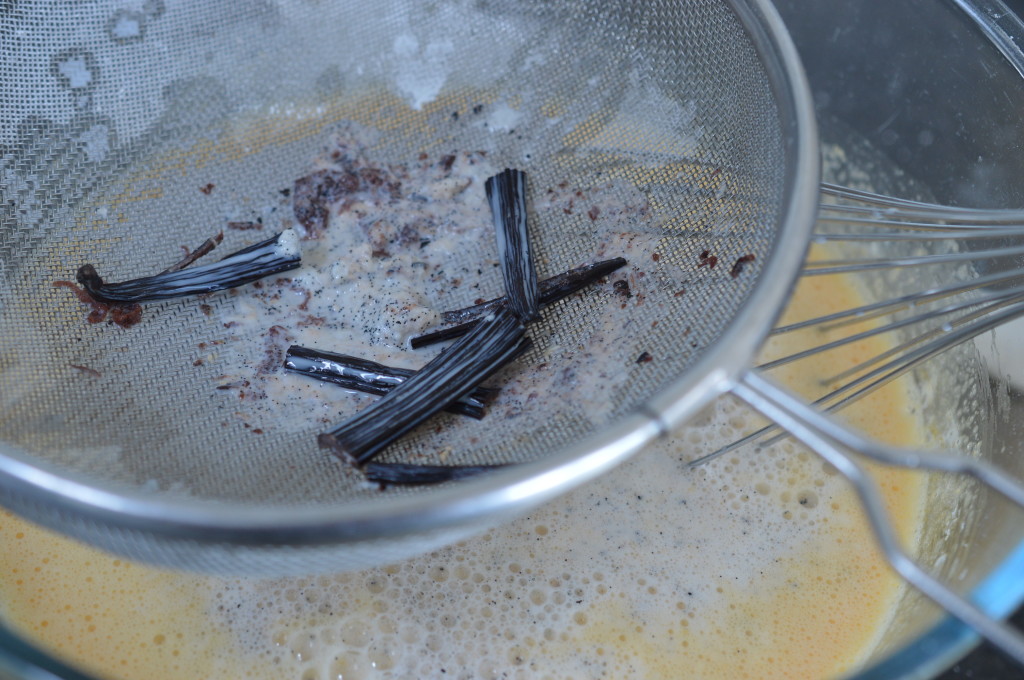
Place a sieve over the bowl holding the eggs and sugar and pour the hot milk on top.  Whisk everything together.
Fraisier Cake 11

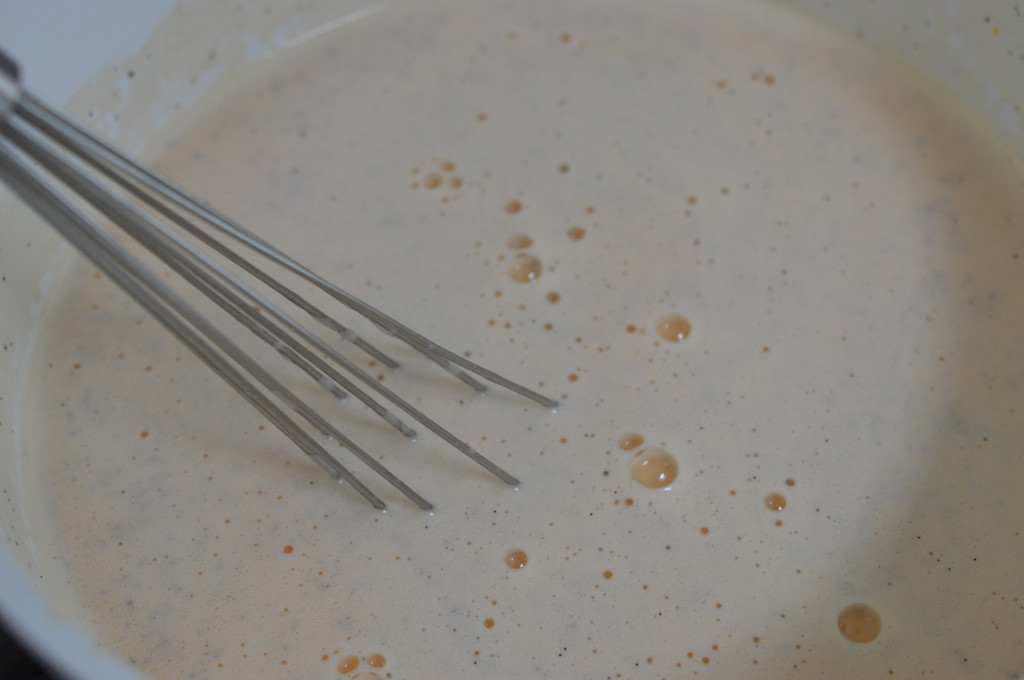
Pour the whole lot back into a clean saucepan.  Over a medium heat, stir until it thickens.
Fraisier Cake 12

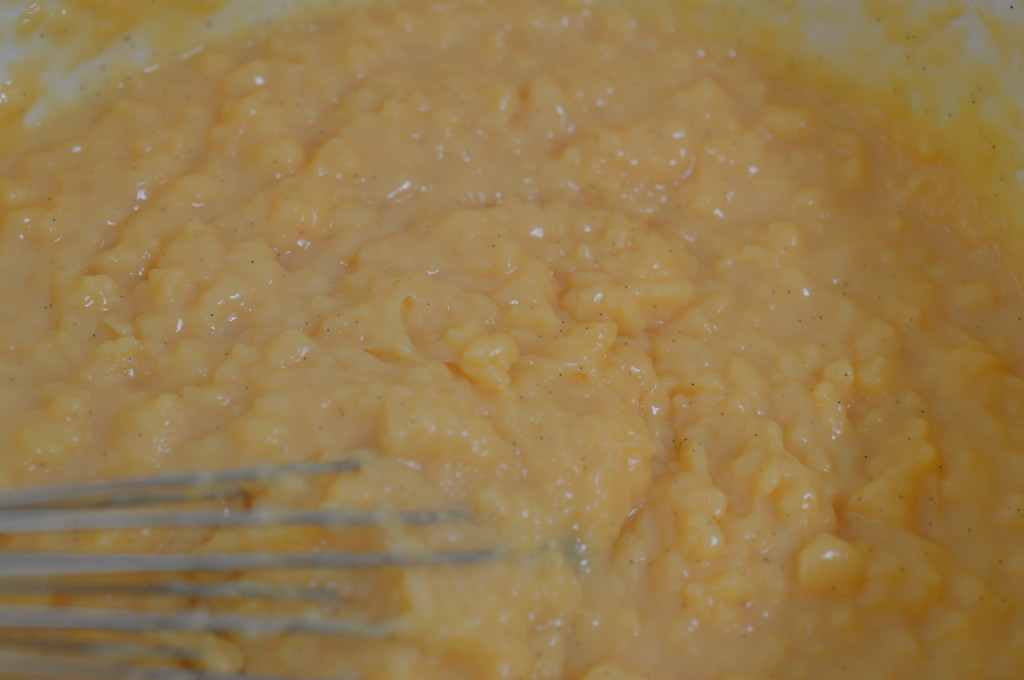
It happens suddenly.  It’ll look like it’s got cellulite.  Whisk out the lumps.  You’re looking for a thick, smooth custard which will pipe.
Fraisier Cake 15

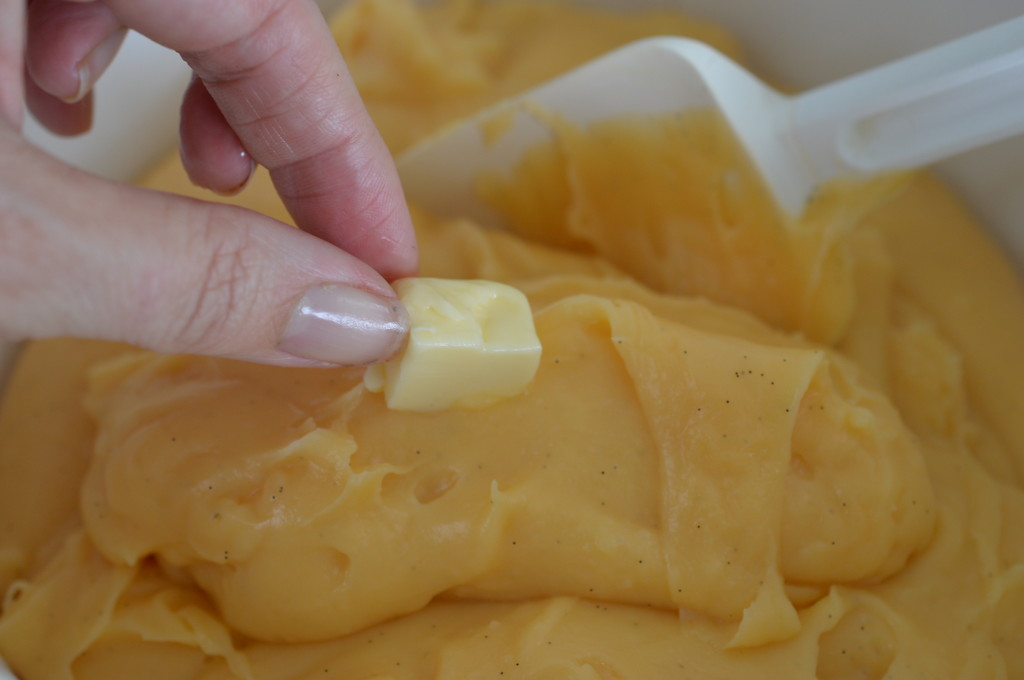
It’s about to get richer.  You’re allowed to eat this guilt-free because you’ve made it and not bought it.

Cube by cube, drop in the butter.  Stir and let the butter melt.
Fraisier Cake 16

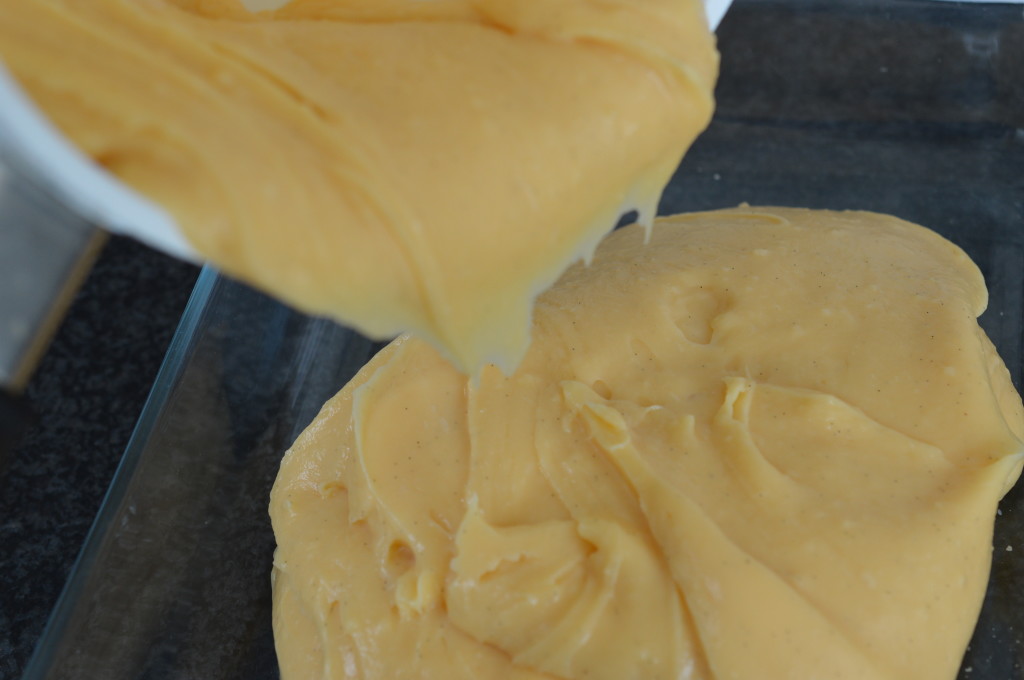
Once all the butter has been incorporated, it needs to cool.  Pour it into a shallow dish so there’s a big surface area to speed up the time it takes to cool.
Fraisier Cake 17

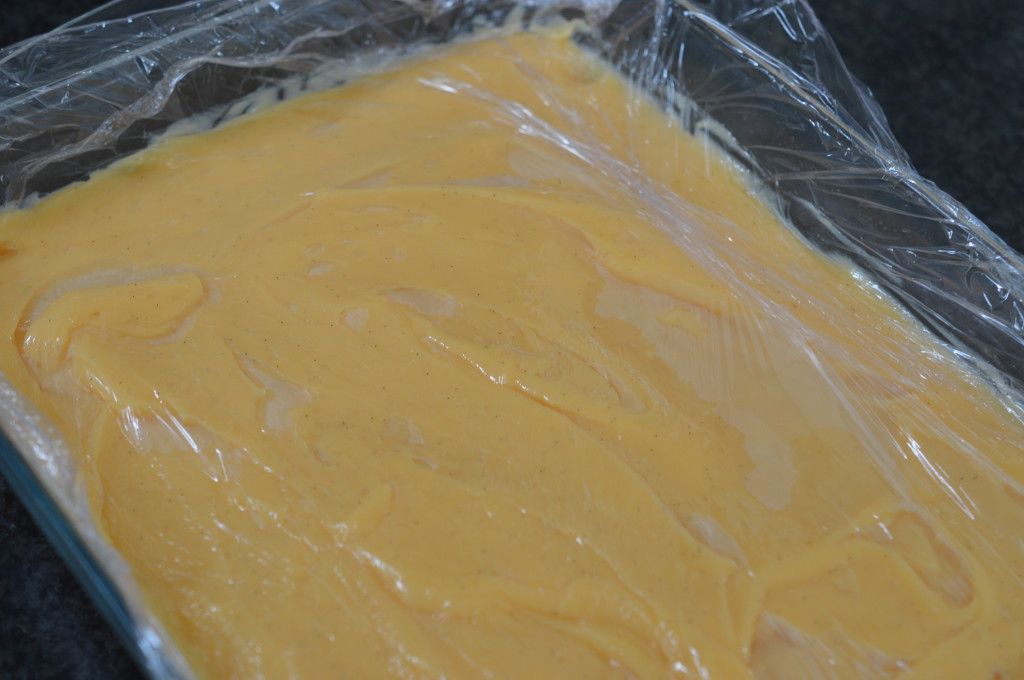
Cover with cling wrap to stop a skin forming.  Put into the fridge.  It’ll take about an hour.
Fraisier Cake 18

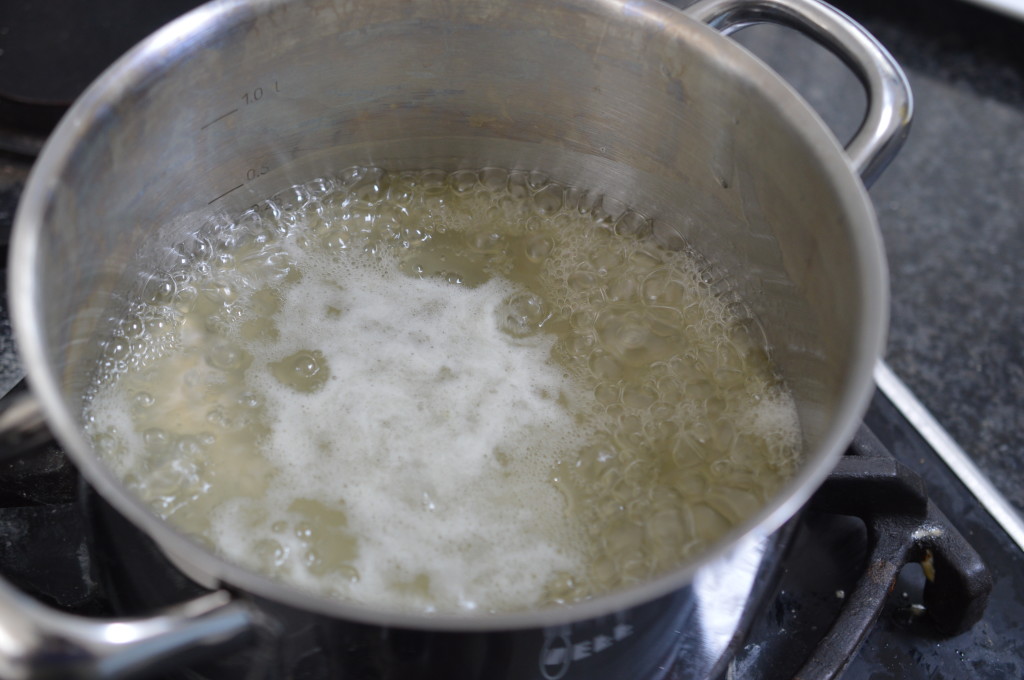
This is a lemon sugar syrup.  A warm lemon yields more juice so I pop mine in the Simmering Oven for a couple of minutes, but even rolling a lemon on the work surface does the trick.  Place the lemon juice in a saucepan, holding back a dessertspoon’s worth if you are making home-made marzipan.

Add the caster sugar and a splash of water.  Stir over a low to medium heat until the sugar has dissolved.  Then bring to the boil and let it boil for 2 minutes.  Pour it into a heatproof jug or jar and leave to cool.
Fraisier Cake 19

The marzipan.  There is no such thing as bad marzipan and you can, of course, buy it.  Home-made is a different texture than the standard commercial product because I don’t have big rollers to pass everything through.  I make it when the marzipan is a ‘feature’.  So, not when I’m covering a cake before I ice it but .. yes, when I’m making Simnel Cake at Easter, or covering marzipan balls in chocolate.

And, this.

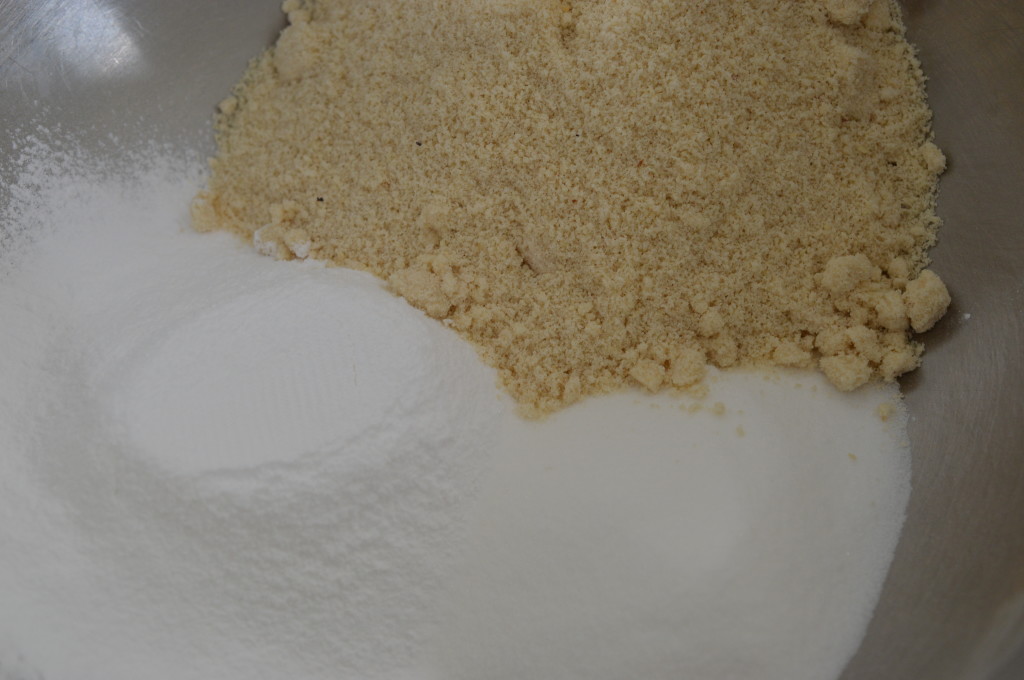
So, so easy.  It’s ground almonds.  If you’re really in the zone you can grind your own.  I wasn’t.  I didn’t.  Icing sugar.  Caster sugar.
Fraisier Cake 20

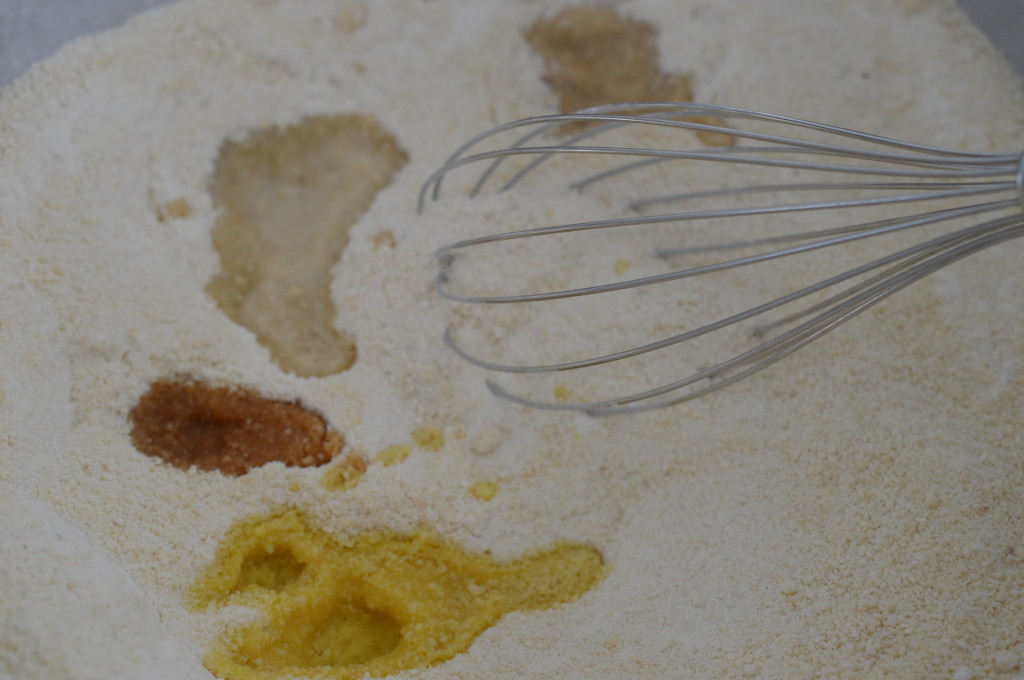
A dash of vanilla extract.  Another of orange flower water.  Another of sherry or rum.  A splash of lemon juice.
Fraisier Cake 21

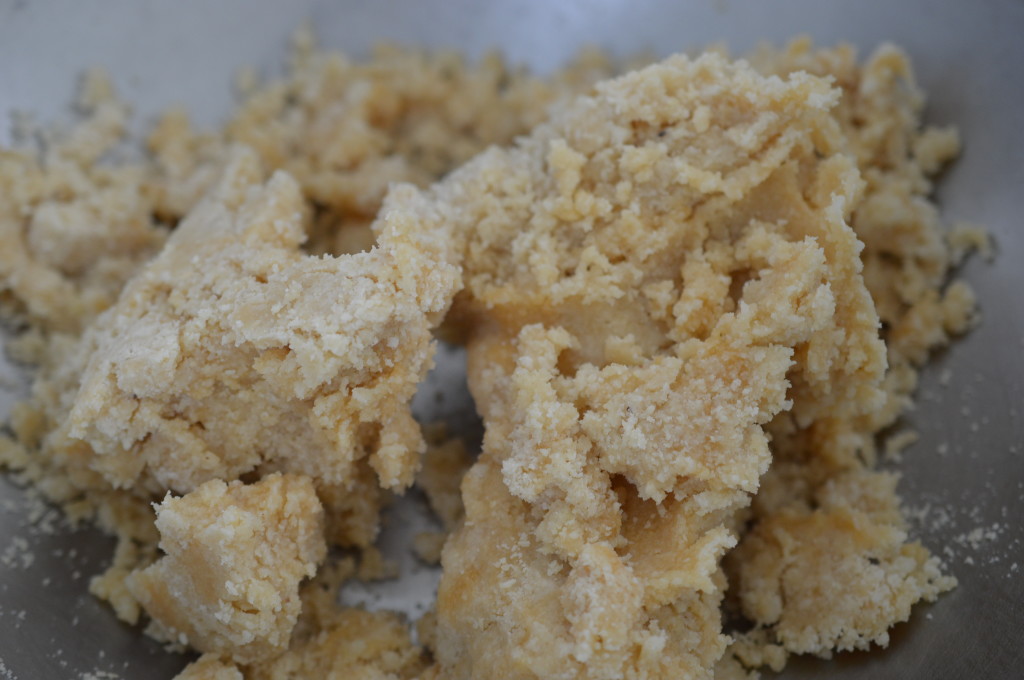
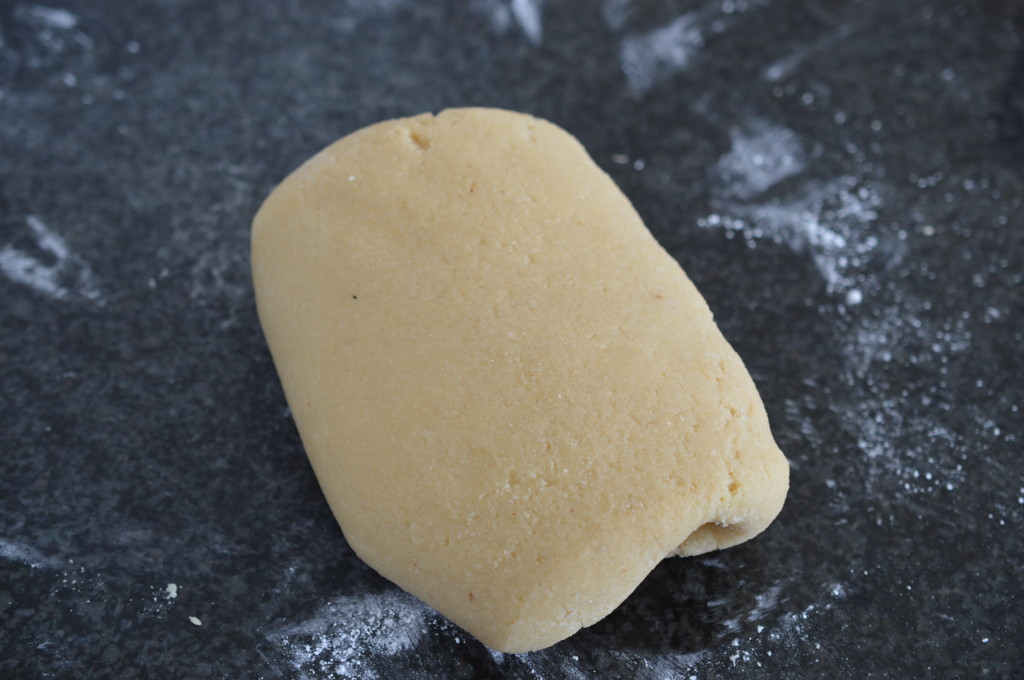
Lightly beat one egg.  You may not need all of it.  You want to end up with a stiff paste.  Lightly dust your work surface with icing sugar, rather than flour (!).
Fraisier Cake 22

And, knead until it’s all smooth.  This is more than you’ll need but it’ll keep in the fridge for a couple of weeks.  Wrap in cling wrap and then foil.
 

Fraisier Cake 23

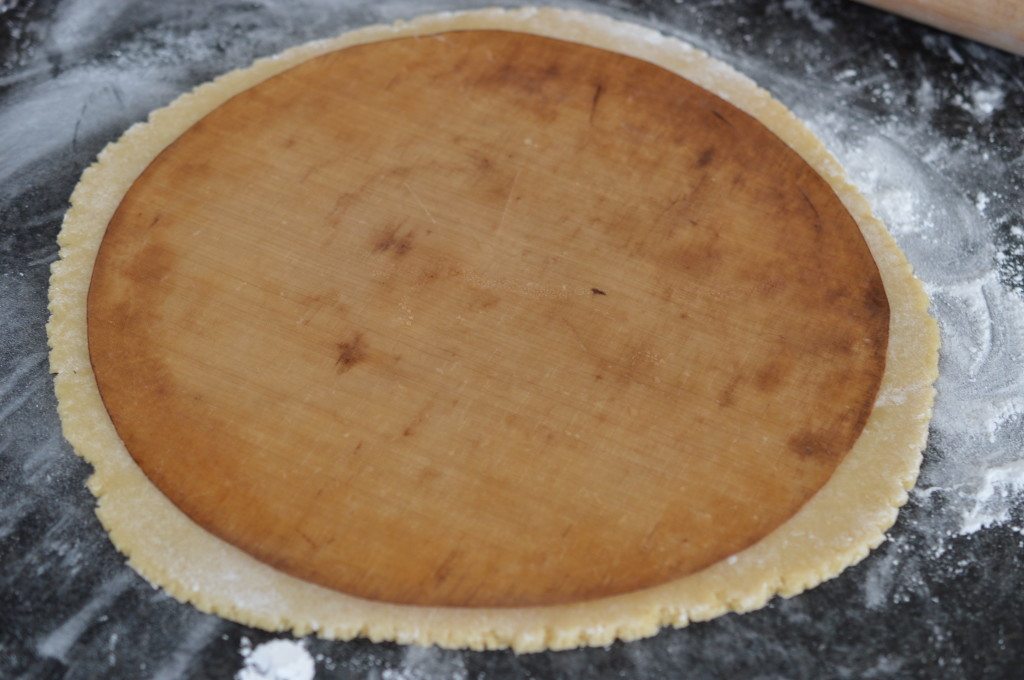
Roll out 200g/7oz of marzipan.  It needs to fit the baking tin – I cut around the bake o’glide I use to line it with.
Fraisier Cake 25

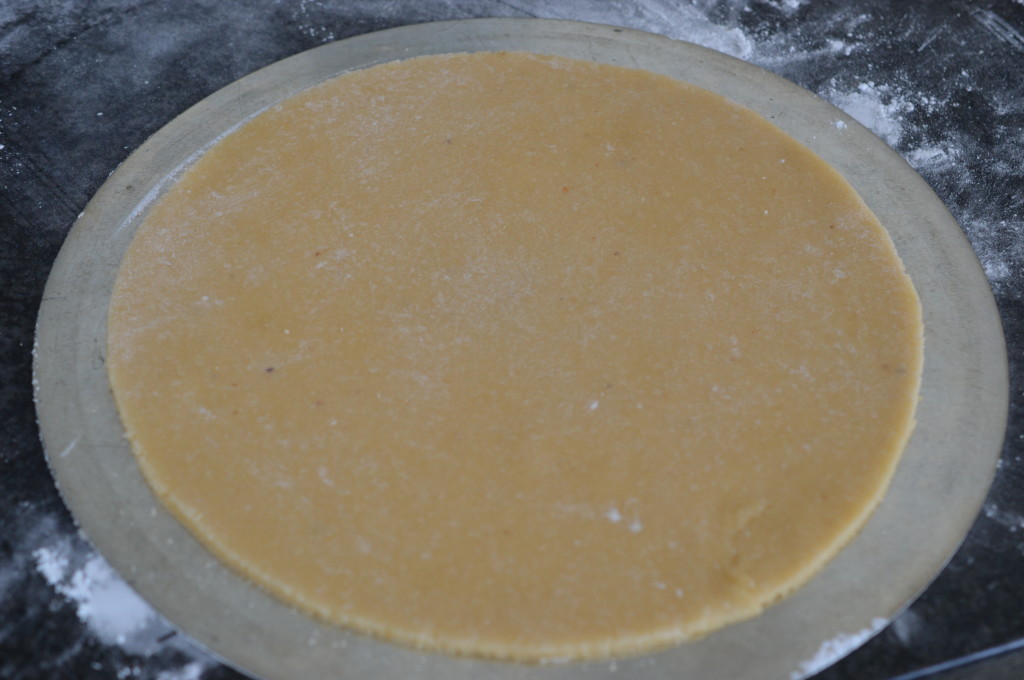
Slide it on to the base of a big quiche tin and put in the fridge to chill.
Fraisier Cake 26

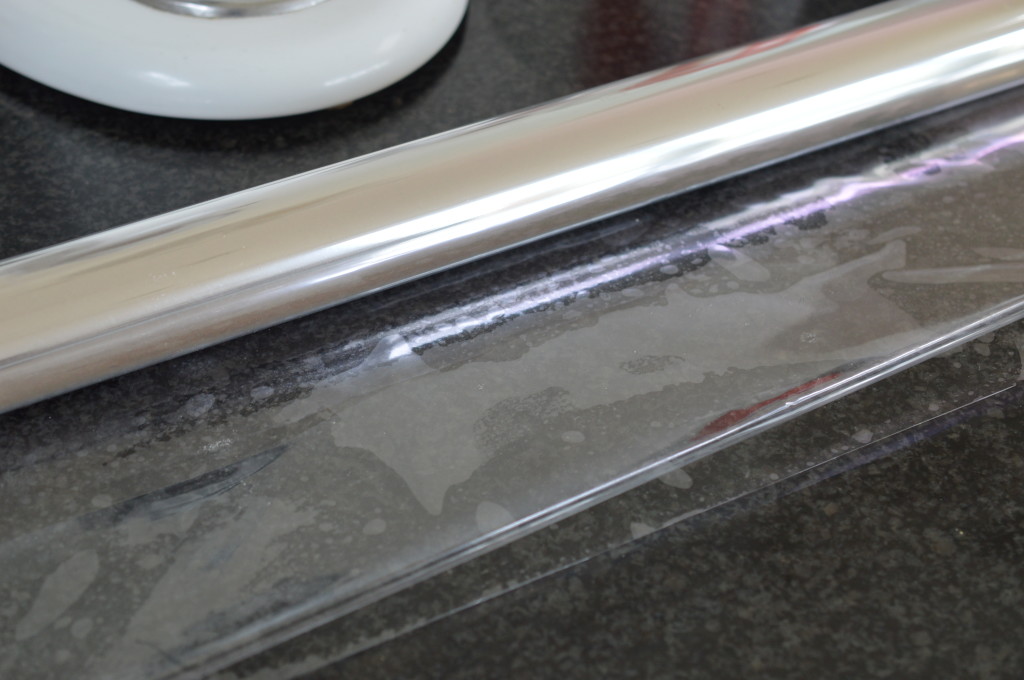
Back to the baking tin.  You’re on the final stretch.  Stay with me.  I bought a roll of acetate plastic in John Lewis in the wrapping paper/birthday card department.  It’s great for wrapping plants and bottles of wine (when combined with tissue paper) .. and this.

Cut a strip which is the height of your tin and a bit more.
Fraisier Cake 27

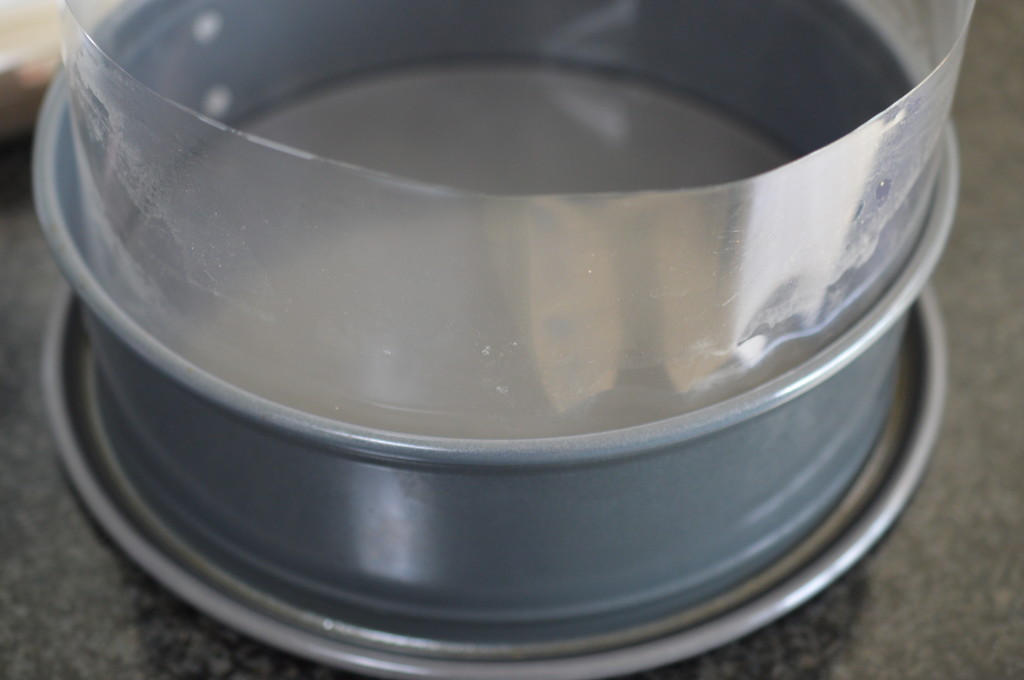
A clean tin!  Line the sides with the acetate.
Fraisier Cake 28

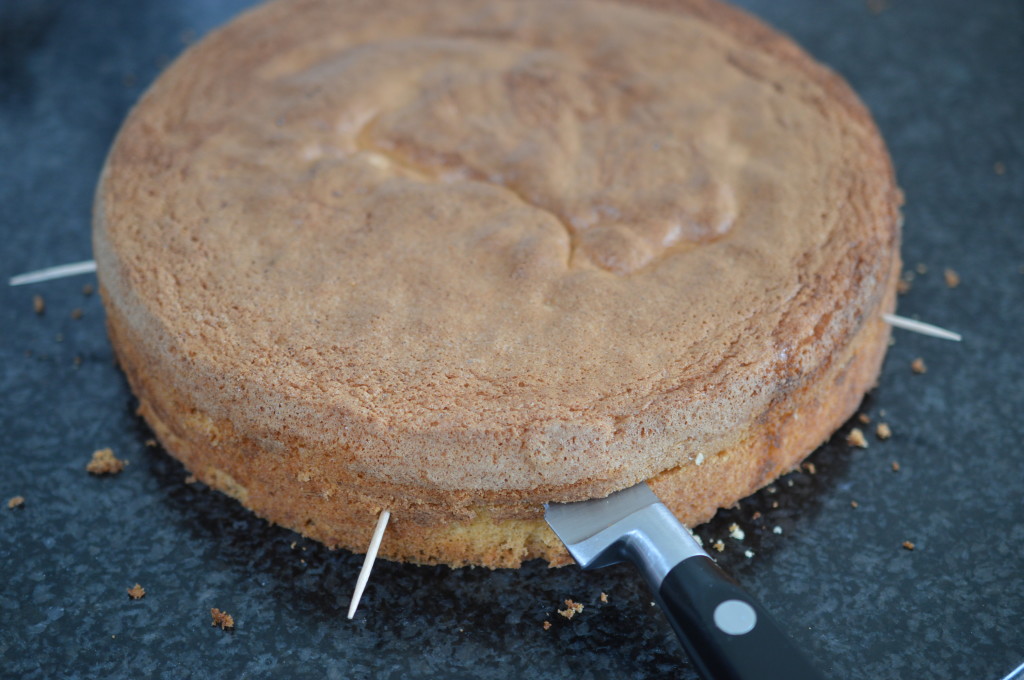
The Genoise sponge should now be cold.  You could even bake this the day before, if you’re really organised, and it will slice more easily.

If you slice the cake unevenly it will show so this is my preferred method for getting it even.  My cake measured 5cm/2″- ish.  Four cocktail sticks mark the half way point and I use them as a guide, slicing with a bread knife.
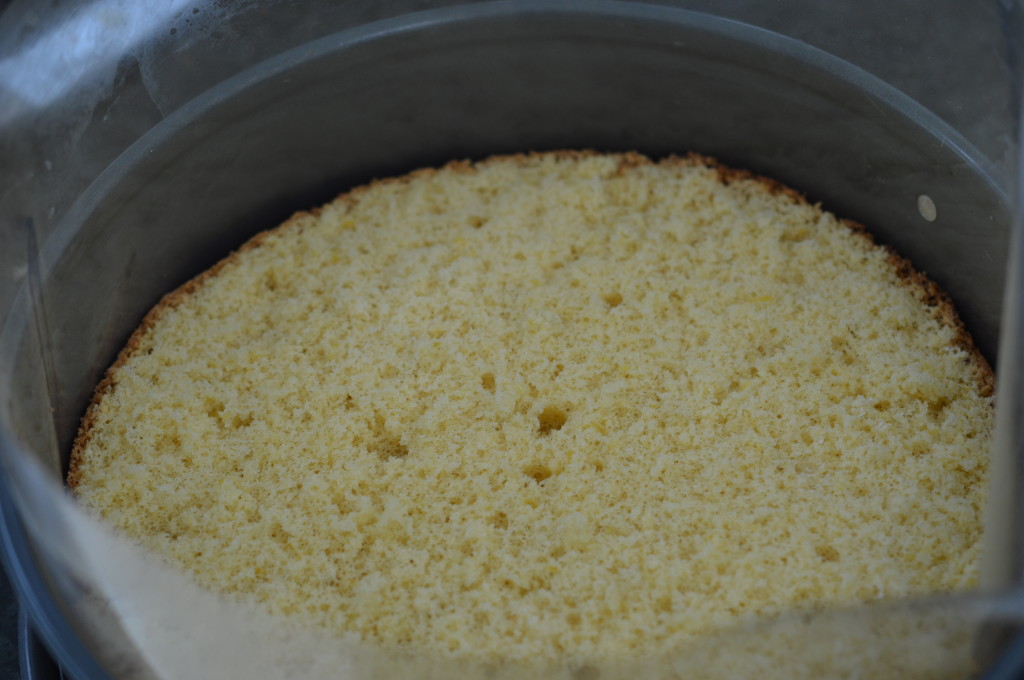
Fraisier Cake 29

Place one half in the bottom of the cake tin, top side bottomwards.
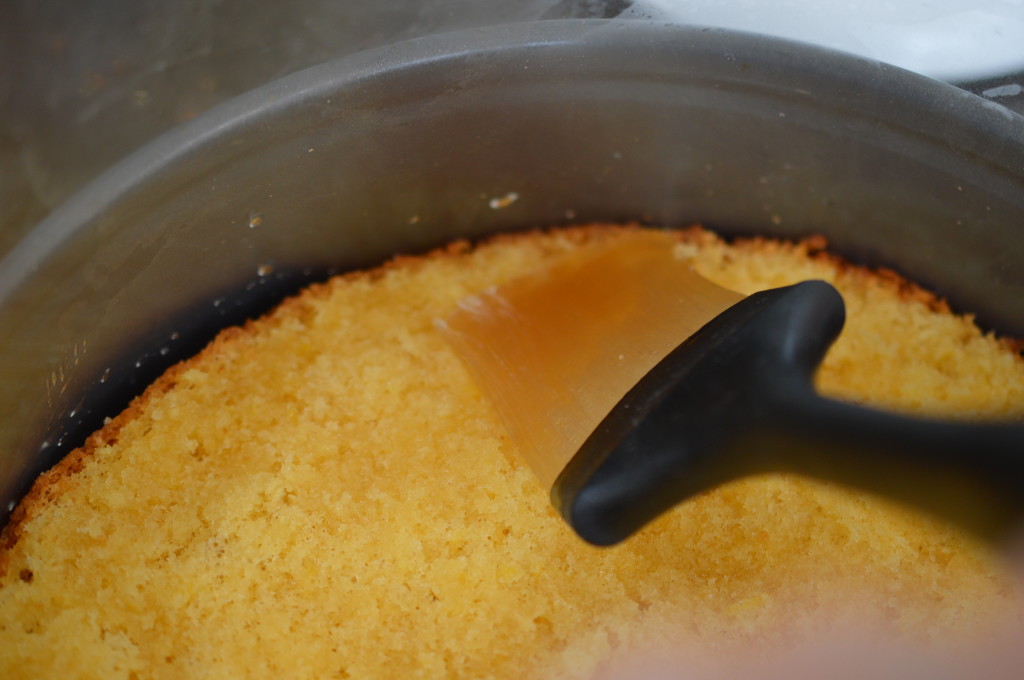
Fraisier Cake 30

Now for the lemon sugar syrup.  Brush on half the syrup.
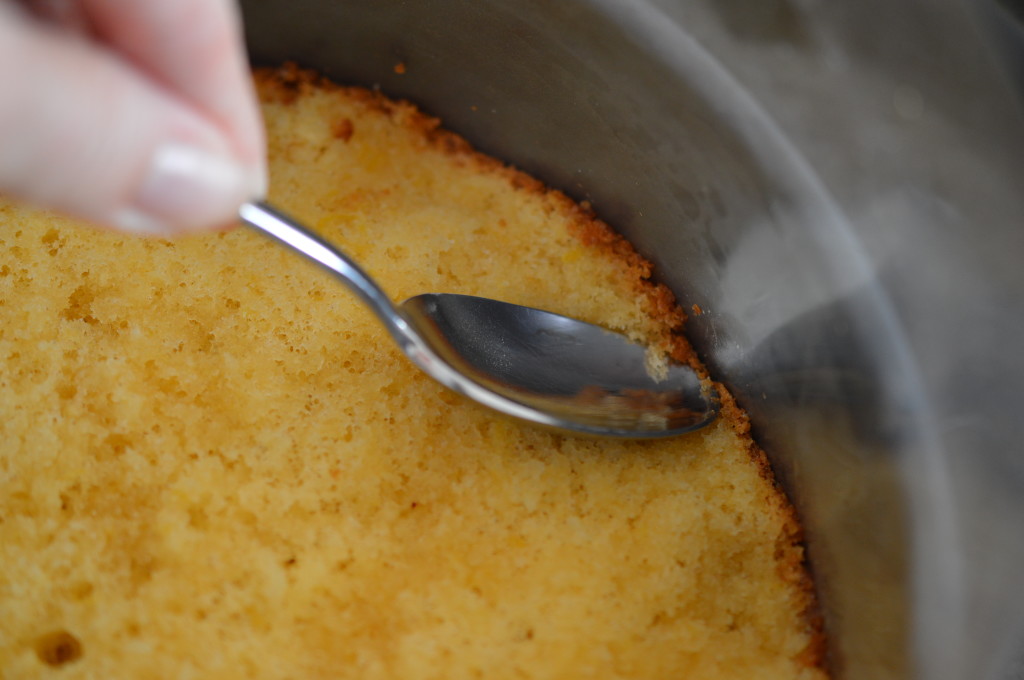
Fraisier Cake 31

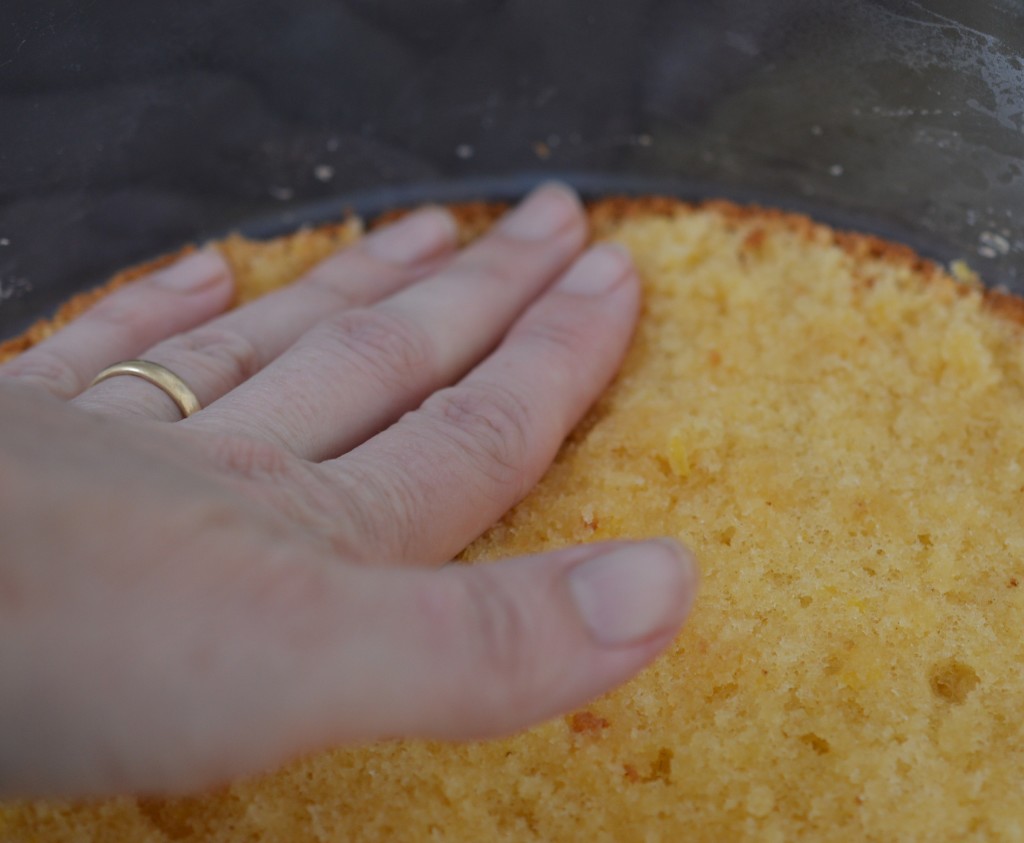
With the back of a spoon press the edges down really firmly.  Coax the sponge up tight to acetate.  It gives a much sharper finish.
Fraisier Cake 32

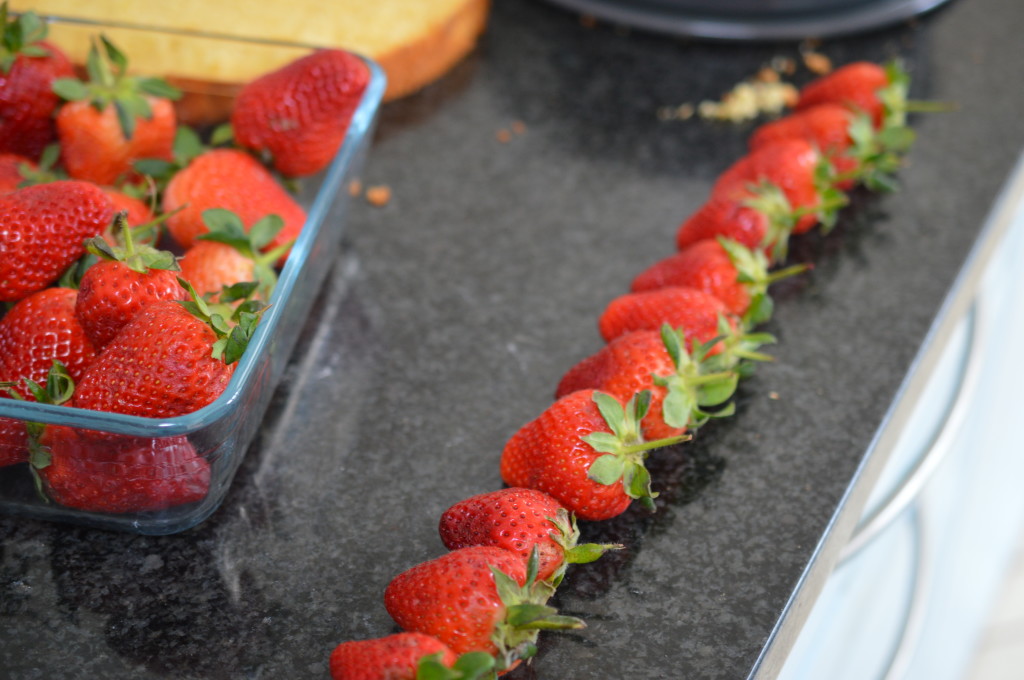
The strawberries.  For a ‘wow’ finish you need to have strawberries with a similar height.  How many .. will depend on their overall size.
Fraisier Cake 33

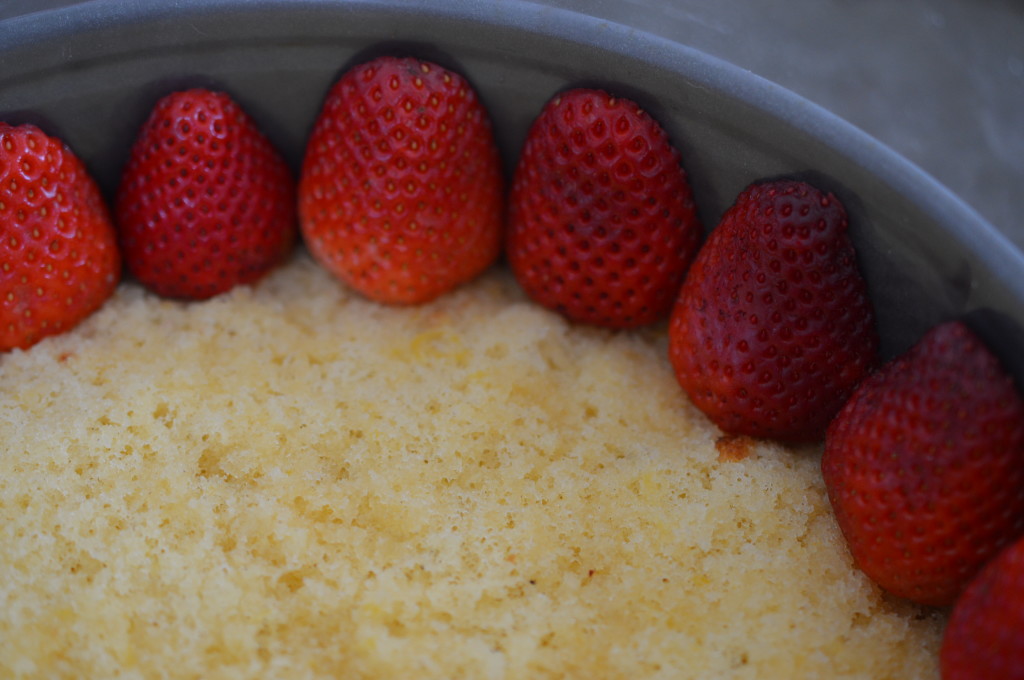
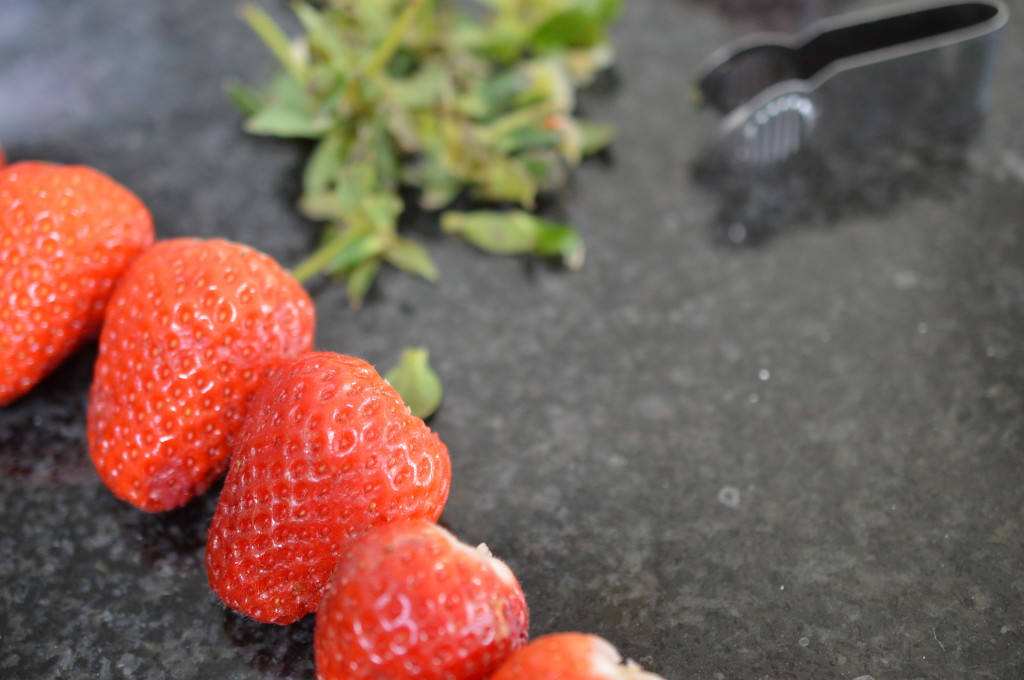
Hull and slice in half.

Fraisier Cake 34

The cut side needs to face the acetate.  Push them in really snuggly.  It would be a tight fit.
Fraisier Cake 35

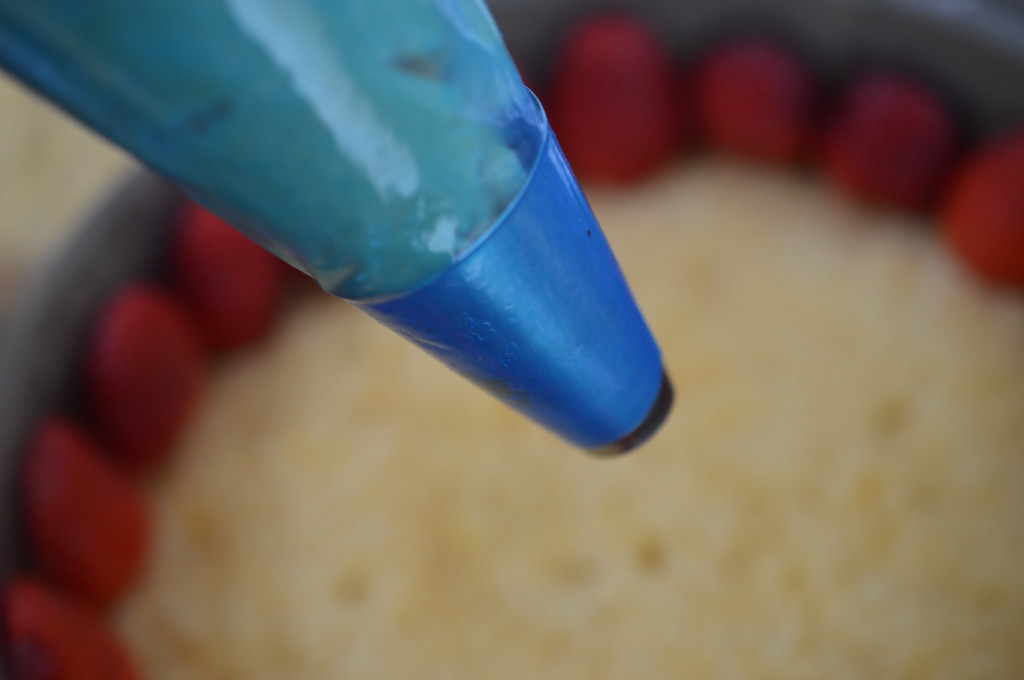
I use an easy-grip piping bag from Lakeland and a 1cm/½” nozzle.  Fill the bag with two thirds of the cold crème pâtissière into the bag.
Fraisier Cake 36

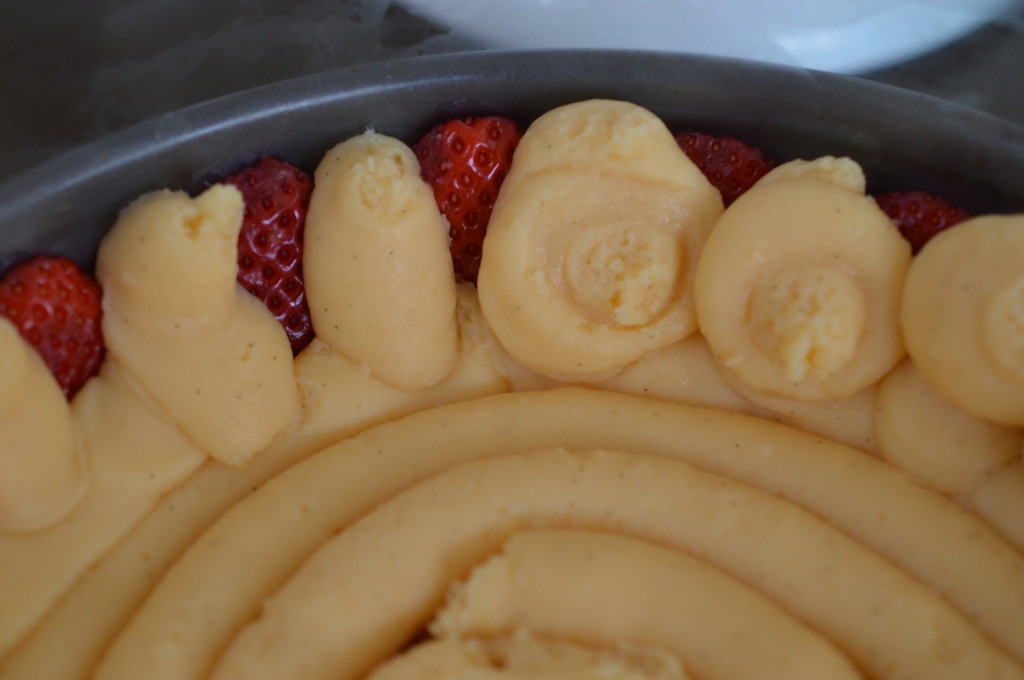
Pipe over the base and up between the gaps between the strawberries.  Make sure the crème pâtissière reaches the top of the strawberries.
Fraisier Cake 37

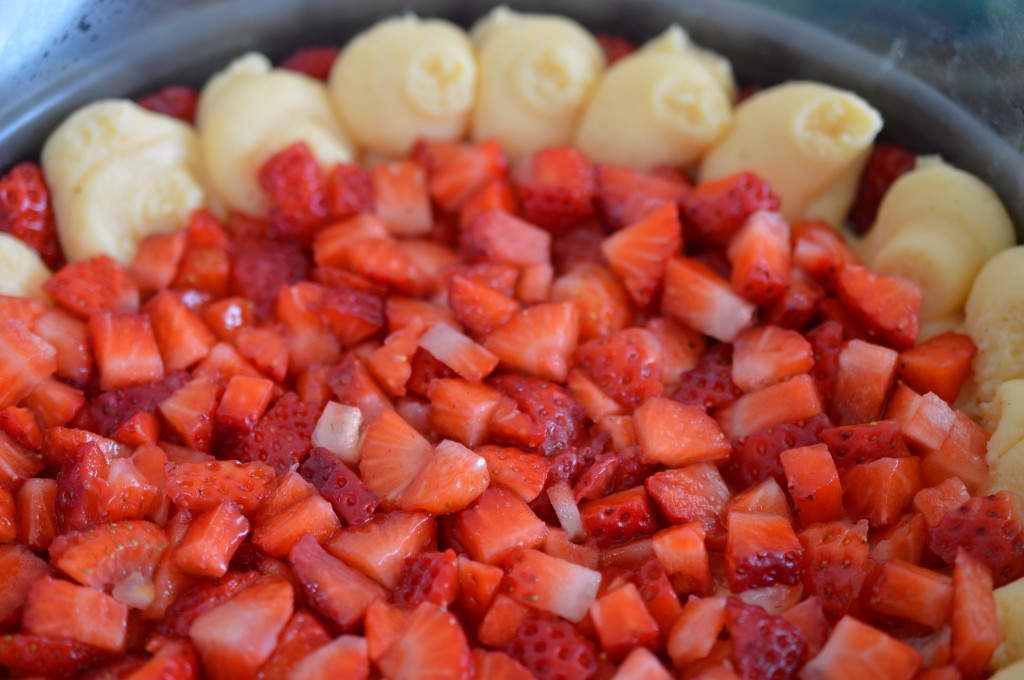
Aesthetically, I think this would probably look better if you filled the centre with whole strawberries but in the real world of a home kitchen that would be very wasteful.  Save 3 strawberries for decoration and cut the rest into pieces.  Pile them in the centre.
Fraisier Cake 38

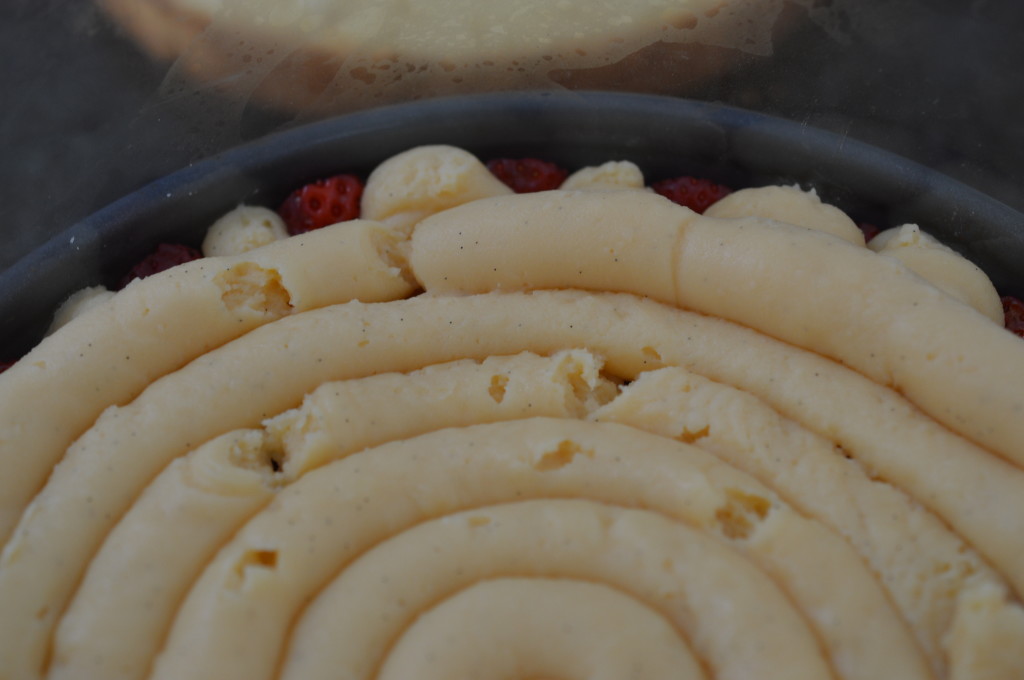
Pop the final third of the crème pâtissière into the piping bag and pipe over the top of the strawberries.
Fraisier Cake 39

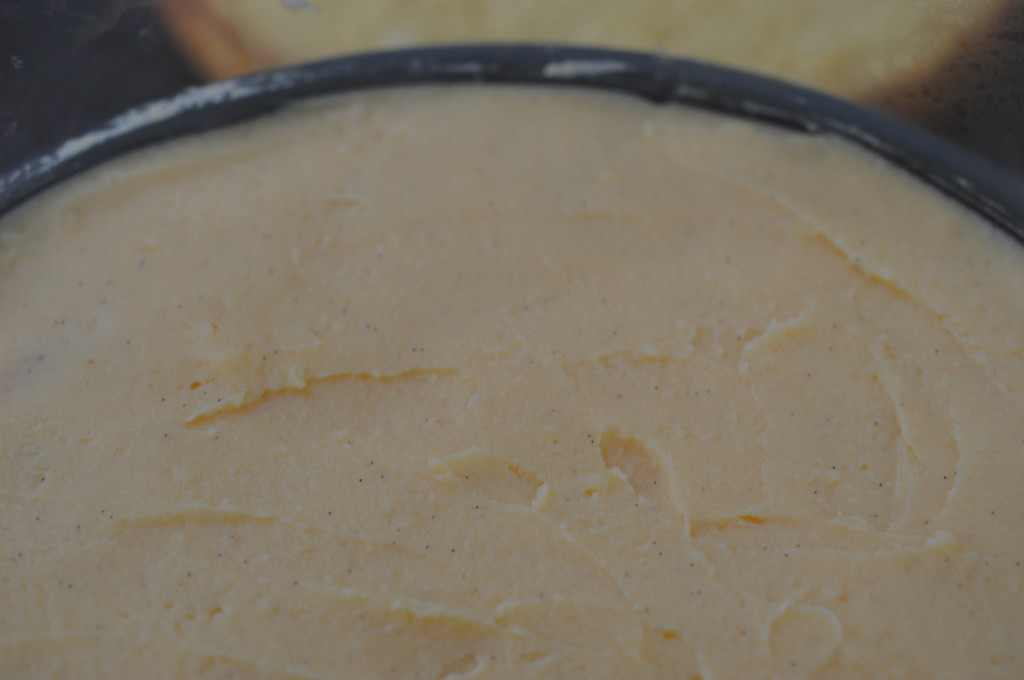
Smooth out the crème pâtissière with an offset spatula.
Fraisier Cake 40

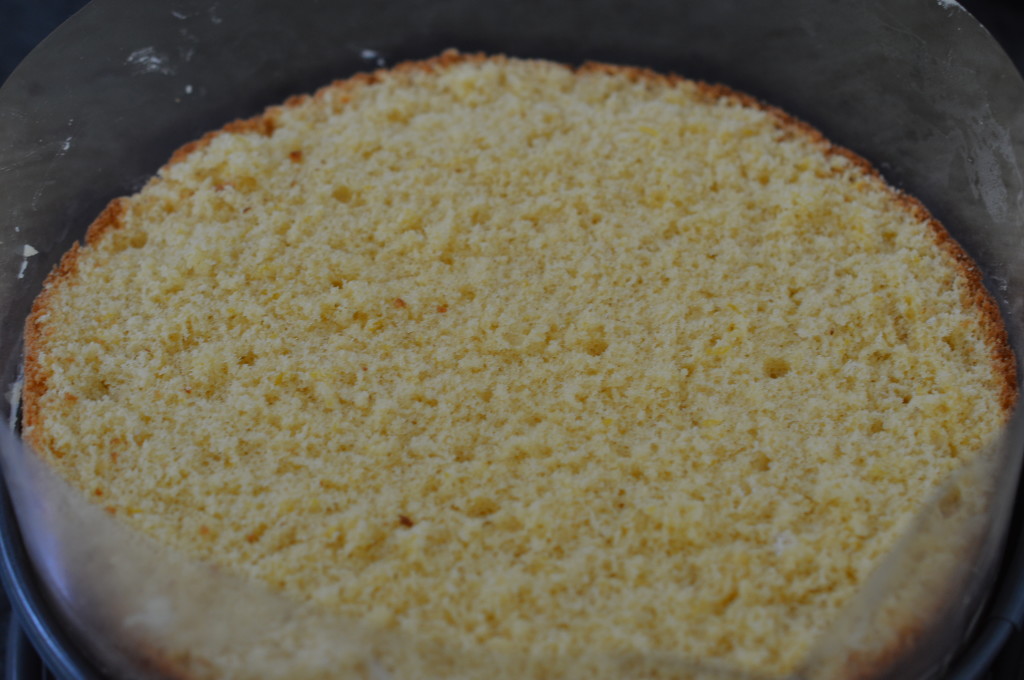
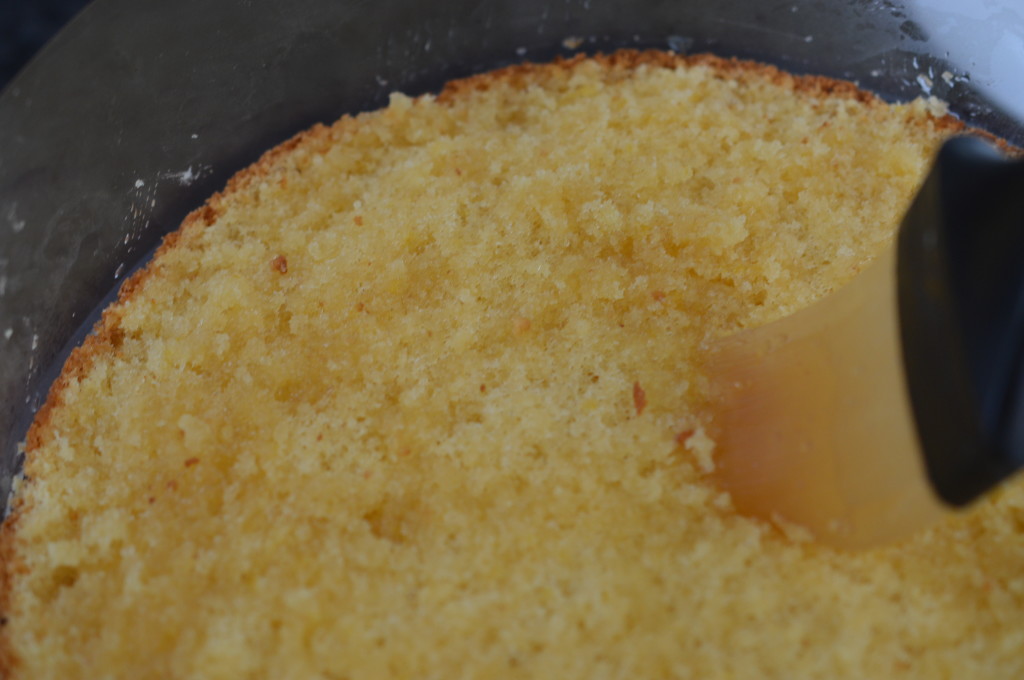
Top with the second half of sponge.  Cut side uppermost.
Fraisier Cake 41

Brush over the rest of the lemon sugar syrup.
Fraisier Cake 42

Push down.  Get the edge of the sponge pushed up snuggly against the acetate.
Fraisier Cake 43

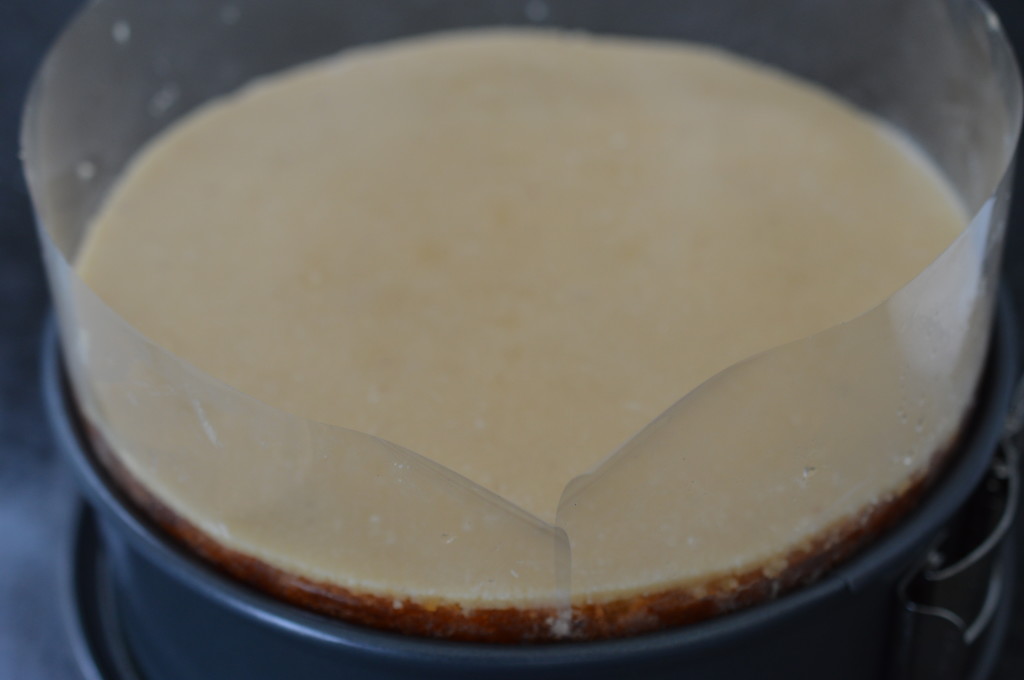
Slide the chilled marzipan disc on the top and put the cake into the fridge to chill.

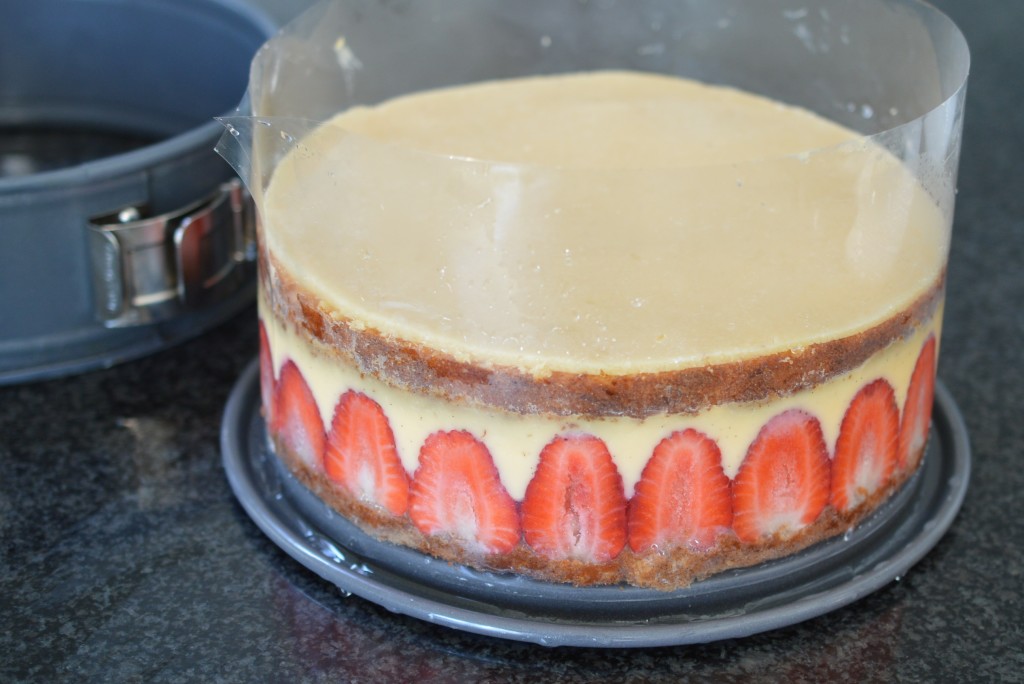
Now’s the time to make any chocolate decorations …  but a dusting of icing sugar and the reserved strawberries would be pretty, too.
Fraisier Cake 44

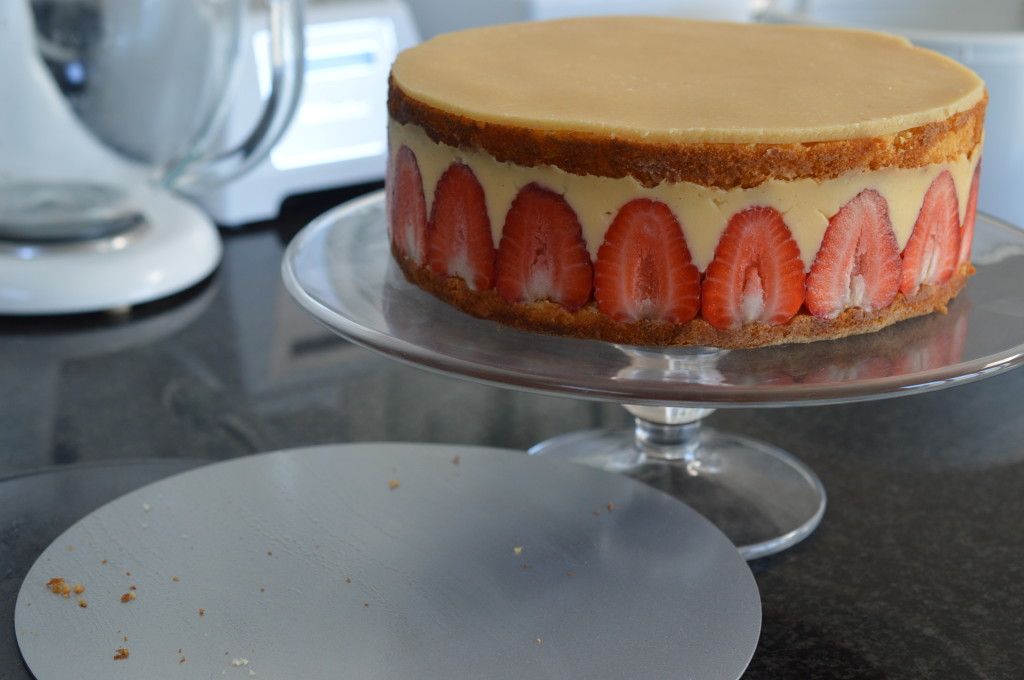
When you’re ready to serve.  Unclip the baking tin.
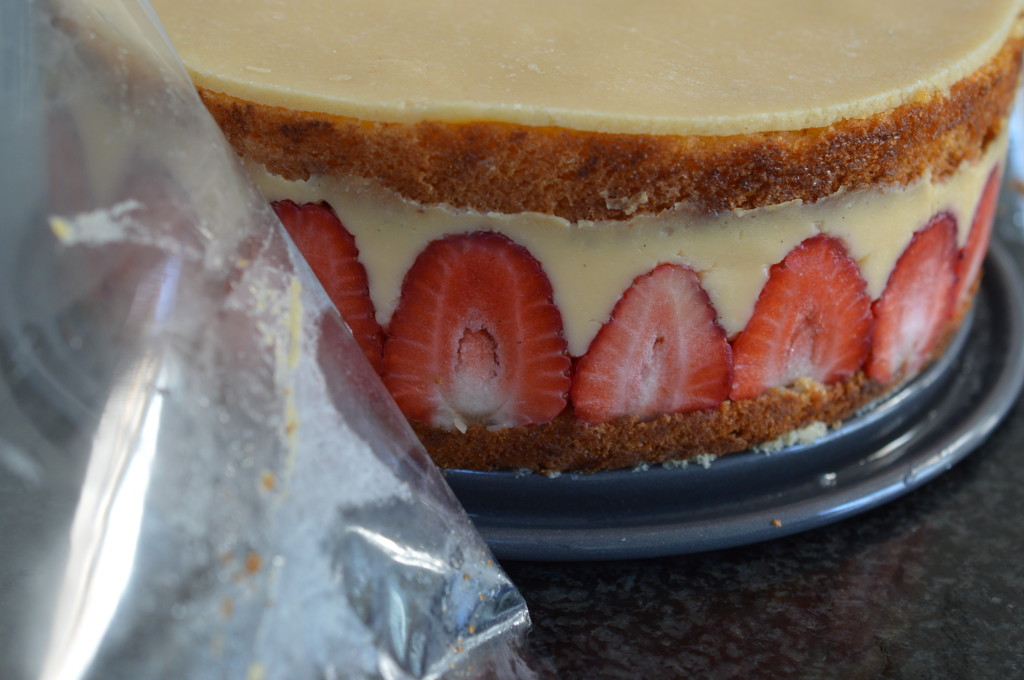
Fraisier Cake 45

Peel away the acetate.

Fraisier Cake 47

Transfer to a serving plate – the quiche tin base I used to chill the marzipan disc makes it easier than you would think.
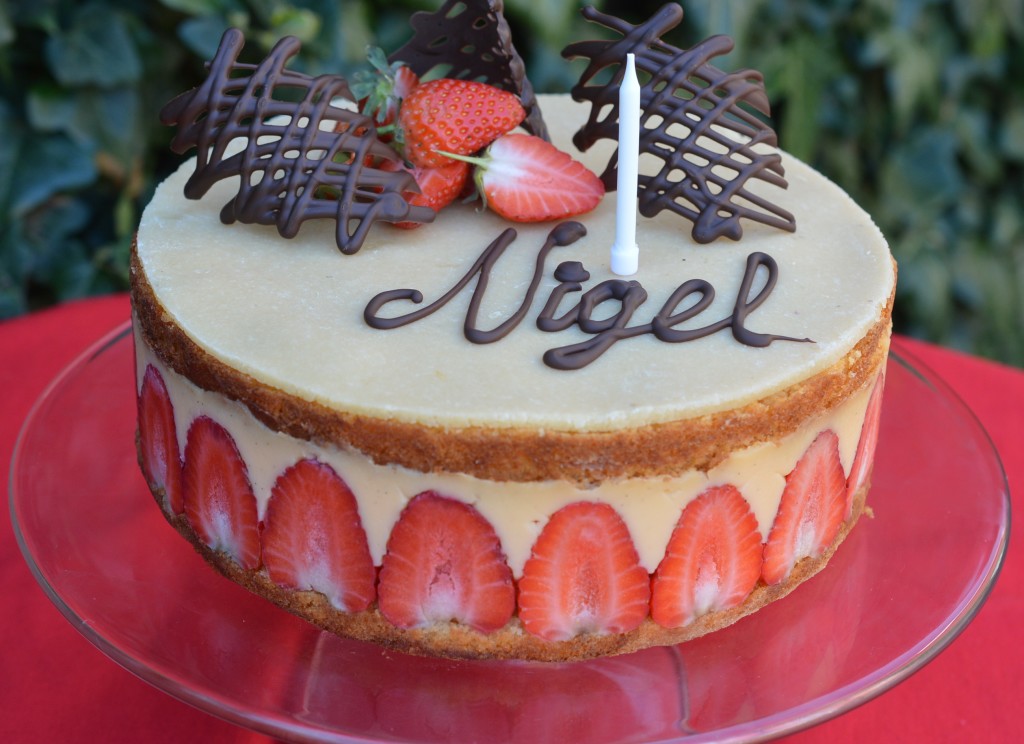
Fraisier Cake 53

Decorate.  Don’t place any cut strawberries on the marzipan too far ahead as they will eventually bleed.
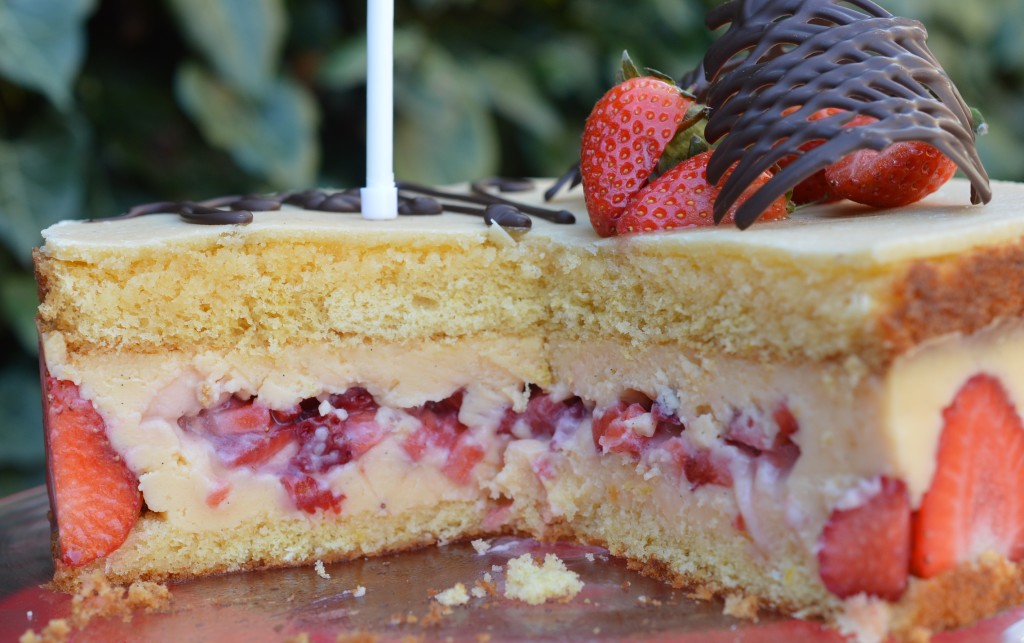
Fraisier Cake 56

Eat.

Fraisier Cake CuttingFraisier Cake

Makes one 23cm/9″ cake.

For the cake:

  • 4 free-range eggs
  • 125g/4½oz caster sugar
  • zest of 2 lemons, microplaned or very finely grated
  • 125g/4½oz self-raising flour
  • 50g/1¾oz unsalted butter, melted and cooled

For the crème pâtissière:

  • 4 free-range eggs
  • 2 free-range egg yolks
  • 500ml/20fl oz full-fat milk
  • vanilla pod
  • 180g/6¼oz caster sugar
  • 1 tablespoon kirsch
  • 100g/3½oz cornflour
  • 150g/5½oz butter, cut into cubes

For the lemon syrup:

  • 75g/2¾oz caster sugar
  • juice of 2 lemons
  • 70ml/4½ tablespoons cold water

For the marzipan (makes 500g/1lb 2oz):

  • 125g/4½oz icing sugar
  • 125g/4½oz caster sugar
  • 250g/ ground almonds
  • 1 dessertspoon of sherry (or rum)
  • 1 dessertspoon of orange flower water (brands vary – check the strength)
  • 1 dessertspoon of lemon juice
  • a couple of drops of vanilla extract
  • 1 free-range egg

To assemble:

  • 200g/7oz of marzipan, bought or home-made
  • 600g/1lb 5oz strawberries

Preheat the oven to 180ºC/350ºF/Gas Mark 4.

Grease and line the base of a 23cm/9″ loose-bottom cake tin.  It really does make life easier if you use a spring-form tin.

Place the eggs, sugar and lemon zest in the bowl of a powerful stand mixer or in a bowl placed over simmering water.  In a stand mixer, whisk on full speed until you reach ‘ribbon’ stage’.  With an electric hand whisk, whisk over simmering water on medium speed until you reach the same stage.  Remove from the heat, if applicable.  The egg mixture will be pale, have doubled in volume and leave a trail when you draw a figure of eight over the top.

Sift over half the flour and gently fold in.  Add the remaining flour and fold again.  Finally, the melted, but cooled, butter.  Fold in.

Pour the mixture into the prepared cake tin and bake for 25-30 minutes or until the edges are pulling away from the sides.  Aga:  grid on the floor of the Baking Oven for 20-25 minutes.

Leave to cool for 5 minutes, before removing to a cooling rack until cold.

To make the crème pâtissière, place the eggs, sugar, kirsch and cornflour in a bowl and blend everything together.

Remove the seeds from a vanilla pod and place them and the pod into a saucepan.  Add the milk.  Bring to a boil, remove from the heat.

Place a sieve over the bowl holding the eggs, sugar and cornflour and pour the hot milk on top.  Whisk together.  Pour everything back into a clean saucepan and stir over a medium heat.  It will thicken suddenly.  Stir until thick enough to pipe easily.  Remove from the heat.  Stir in the cubed butter.

Pour into a shallow dish, cover with cling wrap and chill for an hour until firm and cold.

Make the lemon sugar syrup by placing the water, lemon juice and sugar in a small saucepan.  Heat over a gentle heat until the sugar has dissolved.  Bring to a boil and boil rapidly for 2 minutes.  Transfer to a jug or jam jar and cool.

Make the marzipan by mixing the dry ingredients in a bowl.  Add the sherry, orange flower water, lemon juice and vanilla extract.  Gradually add enough beaten egg to form a stiff paste.  Lightly dust the work surface with icing sugar and knead until smooth.

Roll 200g/7oz of there marzipan into a circle and cut a circle which will fit the cake tin.  Place on a flat surface to chill.

Place a strip of acetate around the inside of your clean cake tin.  There is no need to grease it.

Slice the sponge in half horizontally.

Place one layer of sponge in the bottom of the tin with the cut surface facing upwards.  Brush with half the cold lemon sugar syrup.  Press the edges against the acetate with the back of a spoon.

Select 12-14 strawberries of a similar height.  Hull and cut in half.  Press the strawberries, cut surface against the acetate, around the edge.

Place the two-thirds of the chilled crème pâtissière in a large piping bag fitted with a 1cm/½” piping nozzle.  Pipe over the sponge and between the strawberries.  Make sure you pipe the full height of the strawberries and fill in all the gaps.

Reserve a few strawberries for decoration.  Hull and chop up the remaining strawberries and place them on top of the crème pâtissière.

Pipe the remaining crème pâtissière over the chopped strawberries.  Smooth out with an offset spatula.

Lay over the second sponge half.  Brush over the remaining lemon sugar syrup and press down firmly against the acetate.

Place the marzipan disc on the top and put the tin back into the fridge to set.

When you want to serve, remove the cake from the tin.  Peel back the acetate and transfer to a serving plate.  Dust with icing sugar and cut strawberries.  Serve chilled.

Eat.

Print.


Gooseberry and Elderflower Cake

I wasn’t fond of gooseberries as a child and I told everyone the reason for that was because they made me ‘blink’.  I was right.  They can be lip pursing-ly sour and even the sweetest need sugar.  What’s more, they are spiteful to pick, with thorns like spears.

Gooseberry Fool was the only way I was prepared to eat them.  Now, I’ve branched out but it’s still important to treat them with love – which is probably why they’re not so easy to find.  If you don’t grow them yourself you’re more likely to find gooseberries at farm shops and farmers’ markets than at the supermarket.

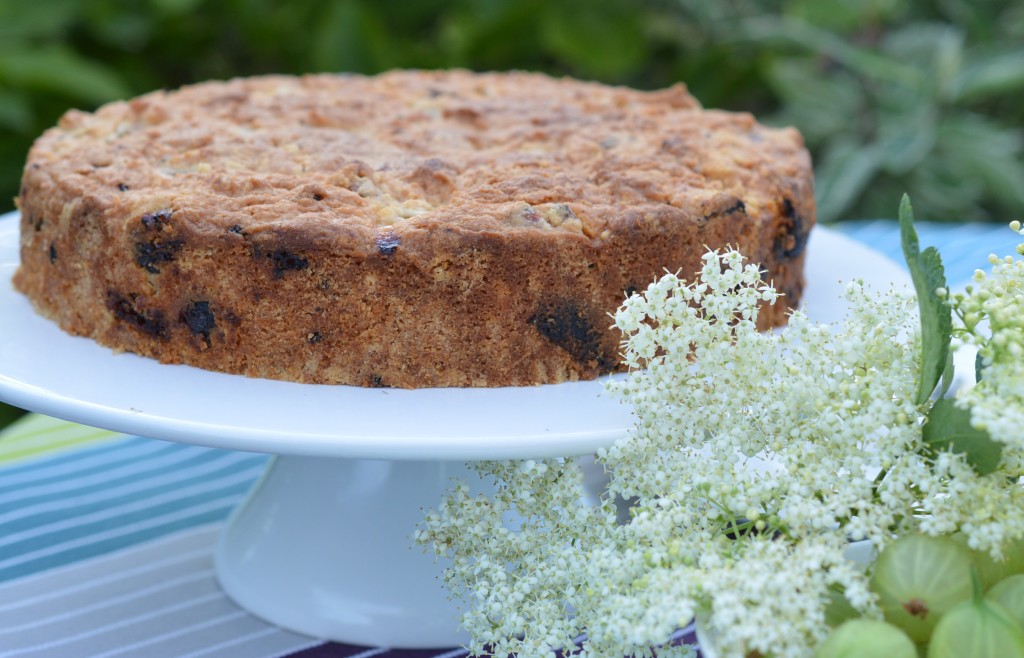
Gooseberry and Elderflower Cake 15

(Please note the artistic positioning of gooseberries and elderflowers in this photo.)

The parent recipe of this cake features in my mum’s recipe collection as ‘Apple Cake’ and I suspect it will have entered my mum’s life via a ‘parish cookbook’; the kind that’s produced by fantastic home cooks in aid of their Grade I listed 12th bell towers and my mum would always buy when on holiday.  Warm from the oven, it’s lovely with cream or custard and eaten as a pudding.  Cold, it’s perfect picnic and packed lunch food.

Gooseberry and elderflower is an early summer switch away from apple.

Gooseberry and Elderflower Cake

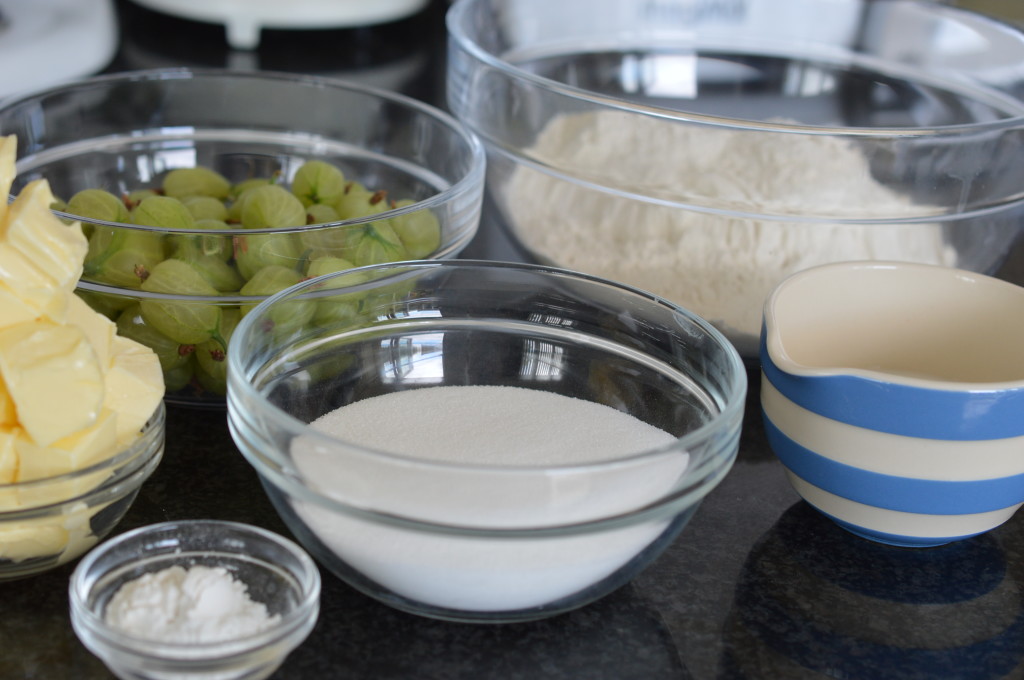
It’s a wonderfully simple cake and easy to scale up or down.  It’s the same weight of flour and fruit, in this case gooseberries.  Half the weight of the flour in sugar and the same of butter.  A little baking powder and milk to mix.  That’s it.

No eggs – which is useful if you’re baking for someone who reacts to the protein in eggs.

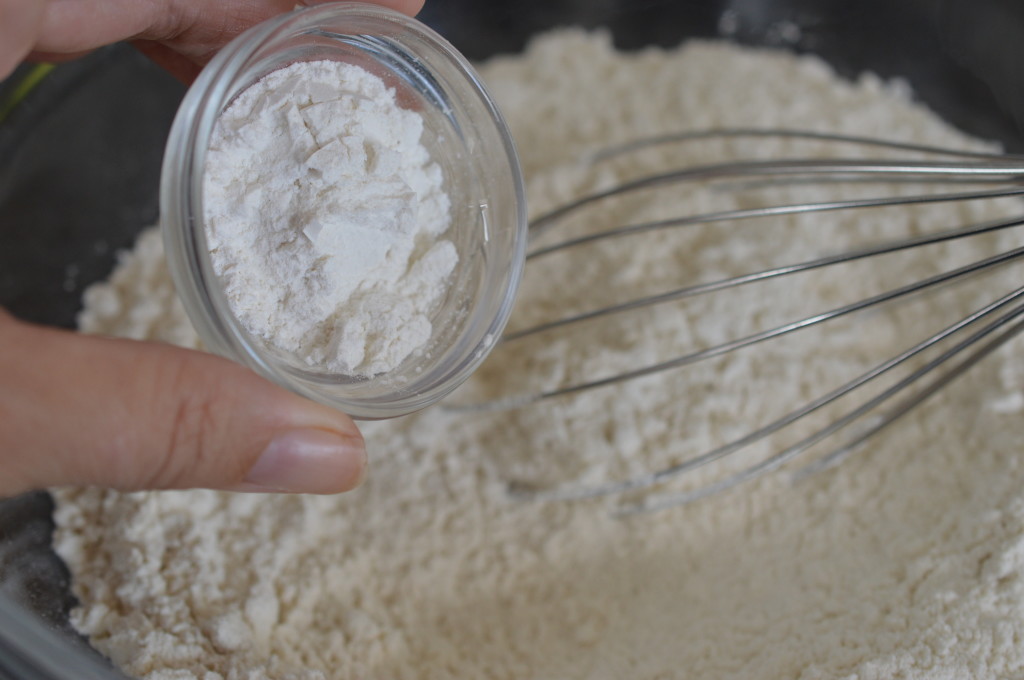
Gooseberry and Elderflower Cake 2

14oz/380g plain flour, mixed with 2½ tsp baking powder.

Gooseberry and Elderflower Cake 3

7oz/190g butter ‘rubbed in’.  Using just the tips of your fingers you lightly ‘rub in’ small cubes of butter.

If you aren’t as washing up phobic as I am you could blitz the flour, sugar and butter together in a food processor.  Breadcrumbs is the usual way to describe the result you are hoping for but I think sandy rubble is closer to what I aim for in this kind of cake.

Gooseberry and Elderflower Cake 4

Stir through the sugar.

Gooseberry and Elderflower Cake 5

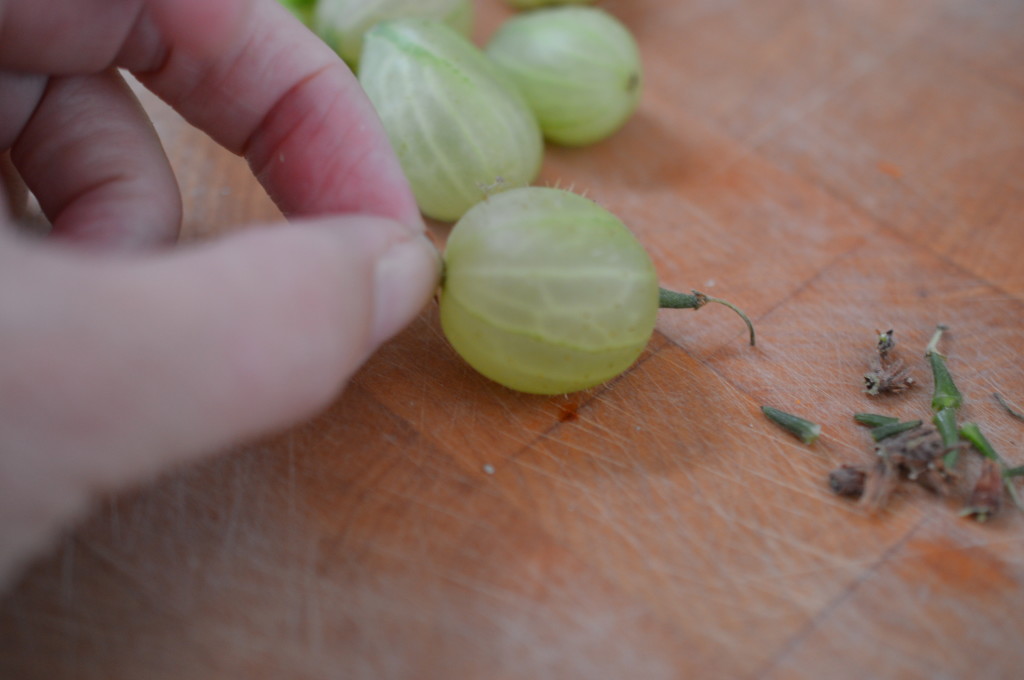
There is no escaping this bit.  Topping and tailing.  Pinch off the top and the tail with your fingers.

Gooseberry and Elderflower Cake 6

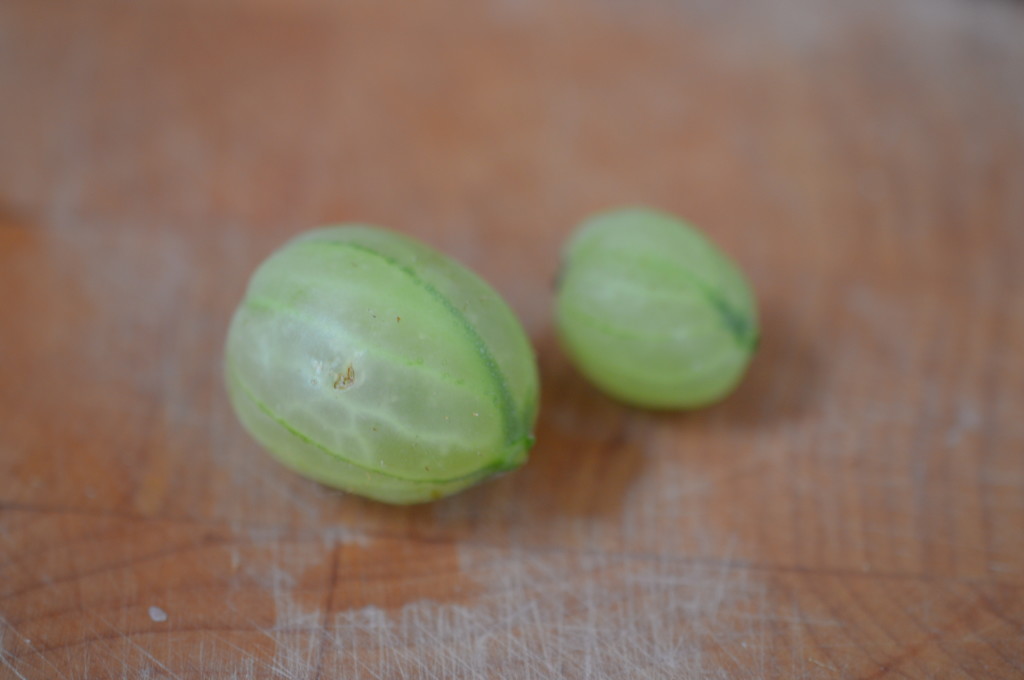
You are left with what looks like veiny grapes.  In order to prevent the gooseberries sinking you need to cut them in half or quarters, depending on their size.

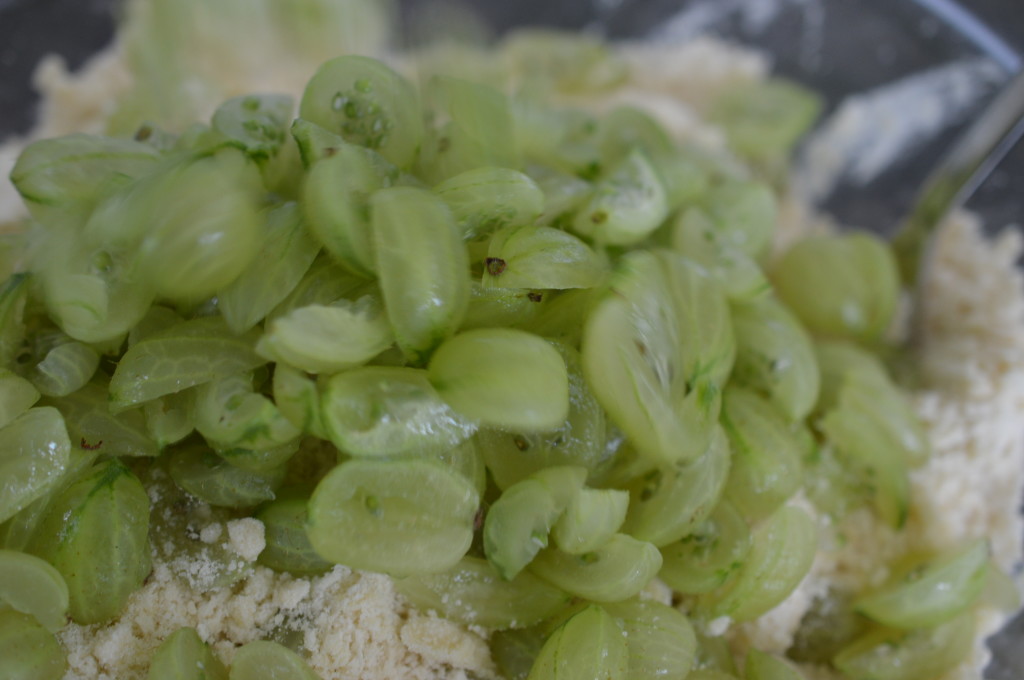
Gooseberry and Elderflower Cake 7

Stir the prepared gooseberries through the flour mixture.

Gooseberry and Elderflower Cake 8

Now for the elderflower cordial.  If you haven’t made this, there are commercial versions available.

Gooseberry and Elderflower Cake 9

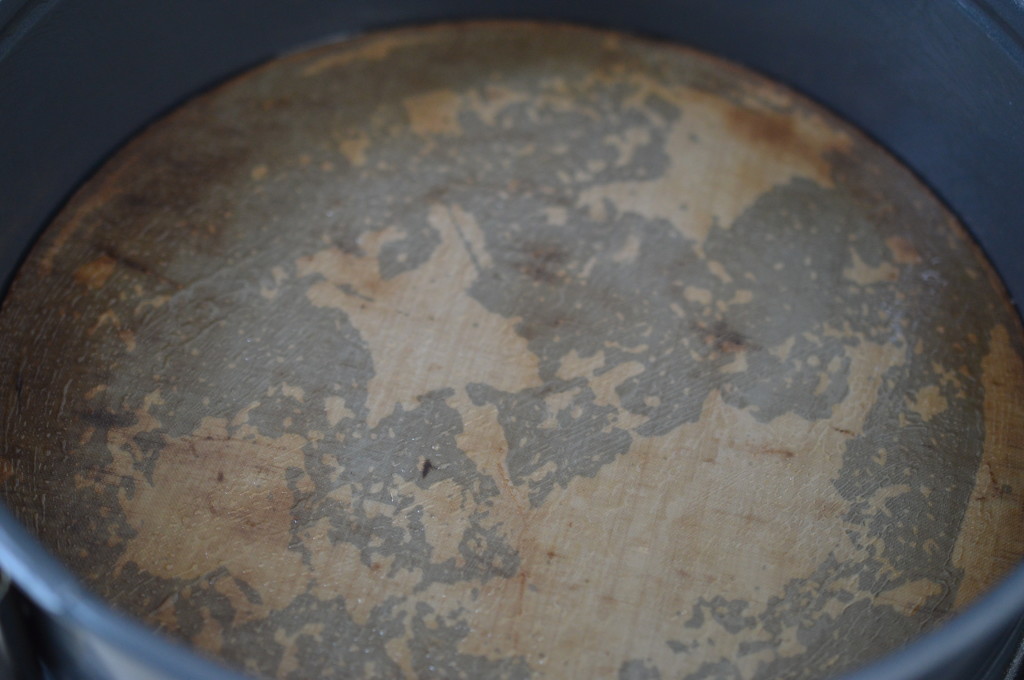
I melt butter to lightly grease the sides and bottom of my cake tin.  In an ideal world (the kind where days are longer than twenty-four hours and university student children didn’t want their washing done) I would line the sides.  Truthfully, I rarely do for a cake like this and I have pre-cut bake o’ glide to fit my tin collection.

Gooseberry and Elderflower Cake 10

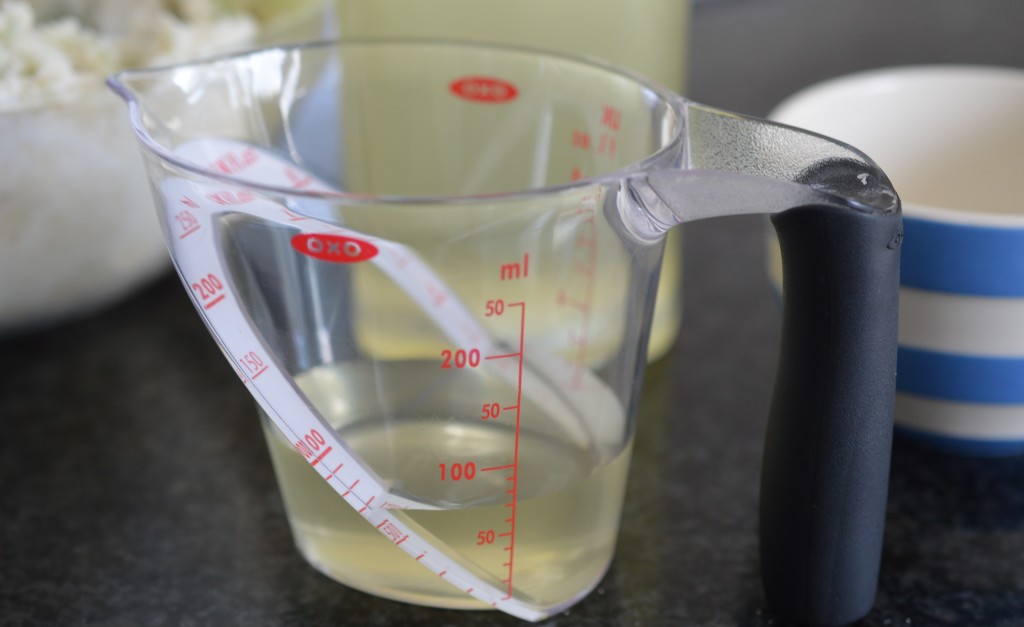
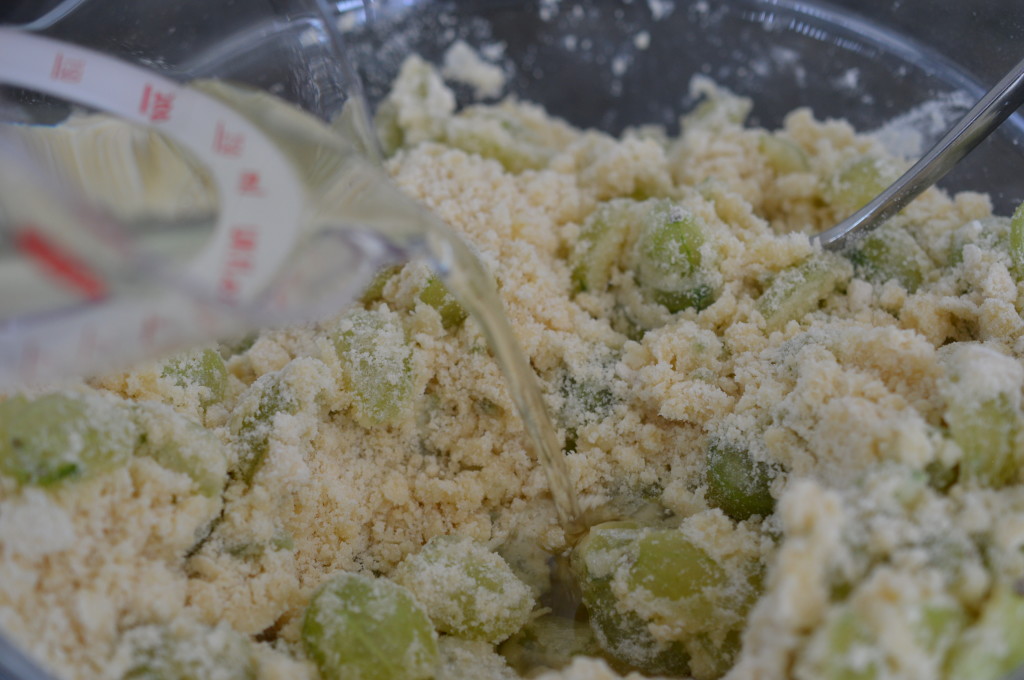
Now, it’s the liquid.  75ml/2½ fl oz of undiluted elderflower cordial.

Gooseberry and Elderflower Cake 11

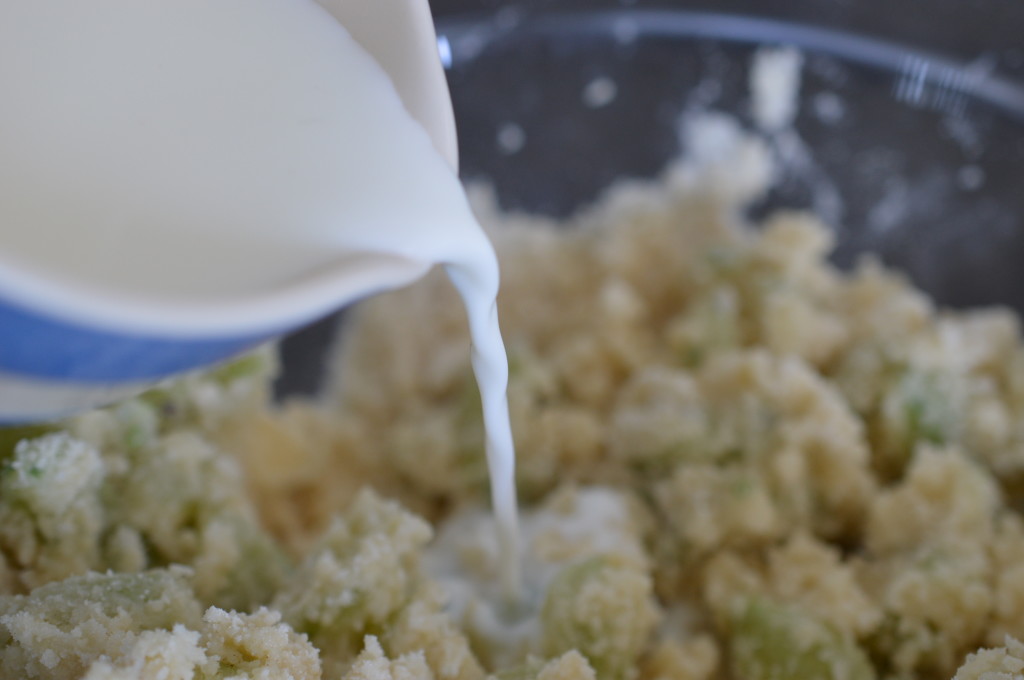
You’ll need a little milk.  Go careful.

Gooseberry and Elderflower Cake 12

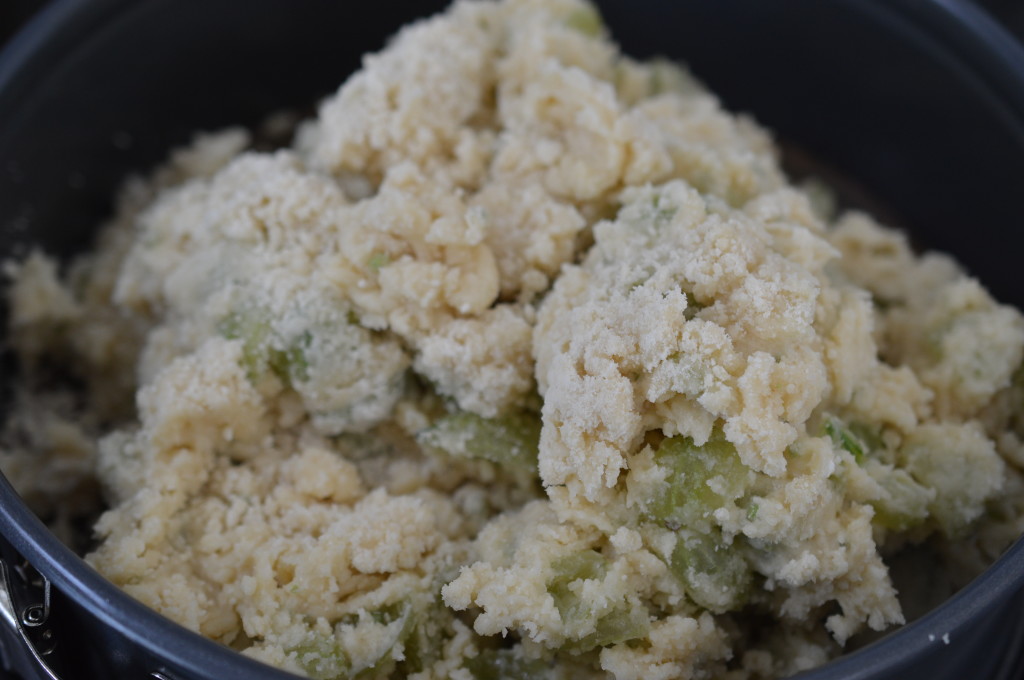
You want a dry mix rather than a more usual cake batter.  The gooseberries will release lots of moisture.

Gooseberry and Elderflower Cake 13

Level out the top.  To get a nice flat top, I use the back of a spoon.  If you dunk it in water first, so much the better.

Gooseberry and Elderflower Cake 14

An 20cm round cake tin cooks in the Aga Baking Oven (rack on the floor) in 1 hour.  Conventionally, it’s 180ºC/Gas Mark 4/350ºF.

Gooseberry and Elderflower Cake 16

If you want you can sprinkle the warm cake with a little caster sugar.

Gooseberry and Elderflower Cake 17

I forgot.  Since we were eating this warm with pouring double cream I don’t know that it mattered.

Gooseberry and Elderflower Cake 18

Eat.

Gooseberry and Elderflower Cake 16Gooseberry and Elderflower Cake

Makes 1 20cm/8″ round cake or a 20cm x 25cm tray bake.

  • 380g/14oz plain flour
  • 190g/7oz butter
  • 190g/7oz caster sugar
  • 2½ tsp baking powder
  • 380g/14oz gooseberries, top and tailed, then halved or quartered depending on their size
  • 75ml/2½fl oz elderflower cordial
  • A drizzle of milk, as needed

Pre-heat the oven to 180ºC/Gas Mark 4/350ºF

Add the baking powder to the flour and whisk to combine.

Rub the cold cubed butter into the flour, then add the sugar and prepared gooseberries.

Drizzle over the elderflower cordial and use a knife to stir through.  Add a drizzle of milk to make a dry mix, remembering the gooseberries will release lots of juice as the cake cooks.

Bake for 1 hour, turning halfway if necessary.  (Aga:  Baking Oven with the rack on the floor – 1 hour.)

Sprinkle with caster sugar, if desired.  Allow to cool in the tin for 5-10 minutes before transferring to a wire cooling rack.  Serve warm with cream or custard or cold.

Eat.

Print.


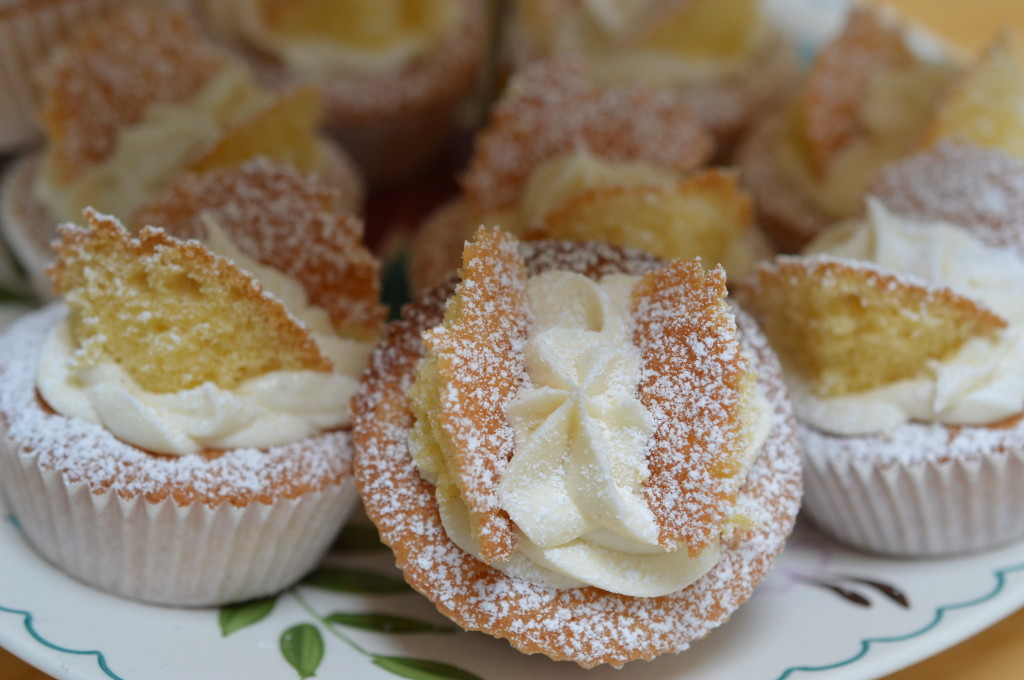
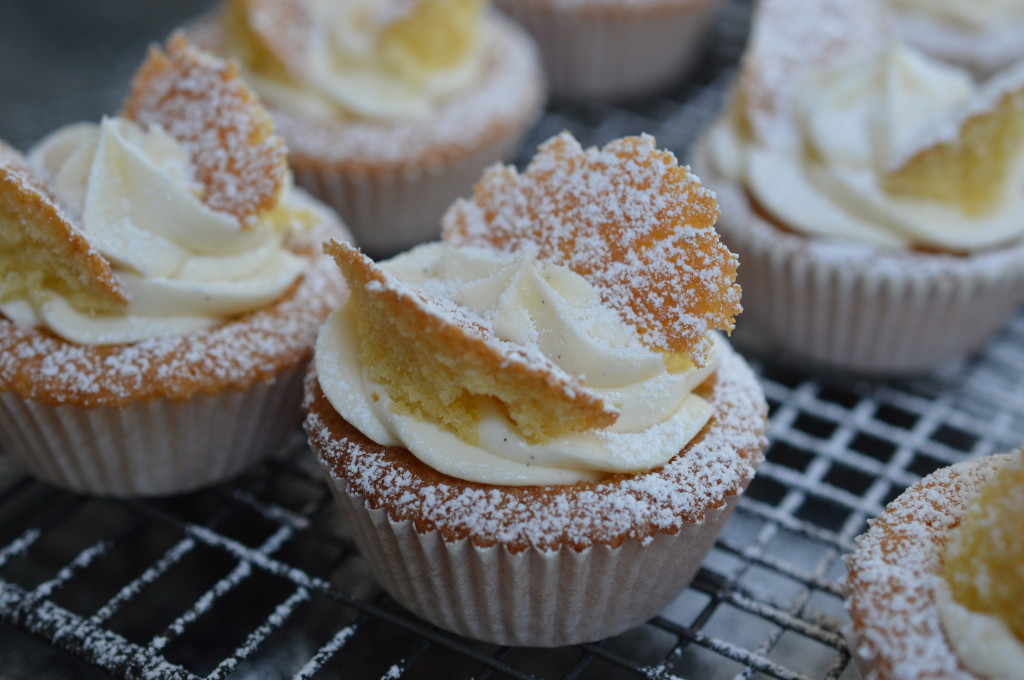
Vanilla Butterfly Cakes

Butterfly Cakes are a little piece of nostalgia for me.  I was thinking .. I’d never seen them outside of a home kitchen when I decided to make these on Friday, but there’s clearly something in the air at the moment.

On Saturday, Nigel and I happened upon a new-to-us garden centre/food hall.  There they were.  Butterfly cakes (£3.00 for six), along with the first of the English strawberries and asparagus.

Butterfly Cakes plate

Then, this Sunday, one newspaper stated ‘Jamie Oliver slams schools who let pupils get away with making fairy cakes’.  I imagine he’s being taken somewhat out of context since, of course, you want people to cook healthily but with tight school budgets and a chronic lack of equipment I think they’re a good starting point.  Anything that builds confidence in the kitchen.  Besides, I think balance is worth teaching too.  A life of unremitting self-denial would be extremely dull .. and not achievable for most of us.
Butterfly Cake Icing Rack 2

Butterfly Cakes are probably the first things I learnt to make.  My brother had the disgusting habit of always eating the wings first and then licking out the buttercream.  Is that over-sharing???  It’s an image which haunts me.

Butterfly Cakes - weighing eggsButterfly Cakes 1

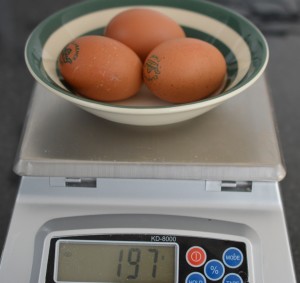
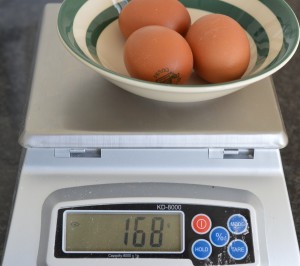
The cake batter is a Victoria sponge ‘sandwich’ cake mixture.  That’s an equal quantity of butter, caster sugar, eggs and flour.  Most recipes ask for 3 eggs for a ‘Victoria’ sponge which is only possible because supermarket eggs come ‘sized’.  Even so, there can be significant differences.

I always weigh my eggs – in their shells.  It doesn’t matter if you prefer imperial or metric – just stick to the same unit of measurement.  You want the eggs at room temperature and not fridge cold.  A fresh egg will give you better results than one that’s been hanging around.
Butterfly Cake - softened butter

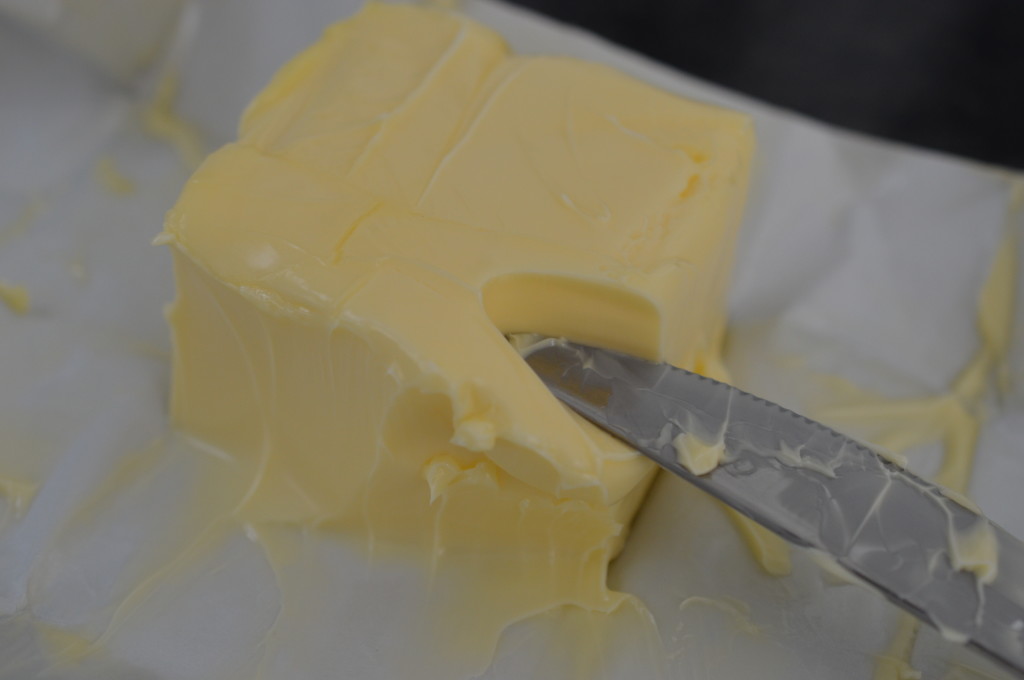
Then it’s that weight in softened butter.  Imagine you are going to cream your butter and sugar with nothing but a wooden spoon.  It needs to be soft.  Even with the help of an electric mixer, cold butter will result in a ‘heavier’ cake.
DSC_0065

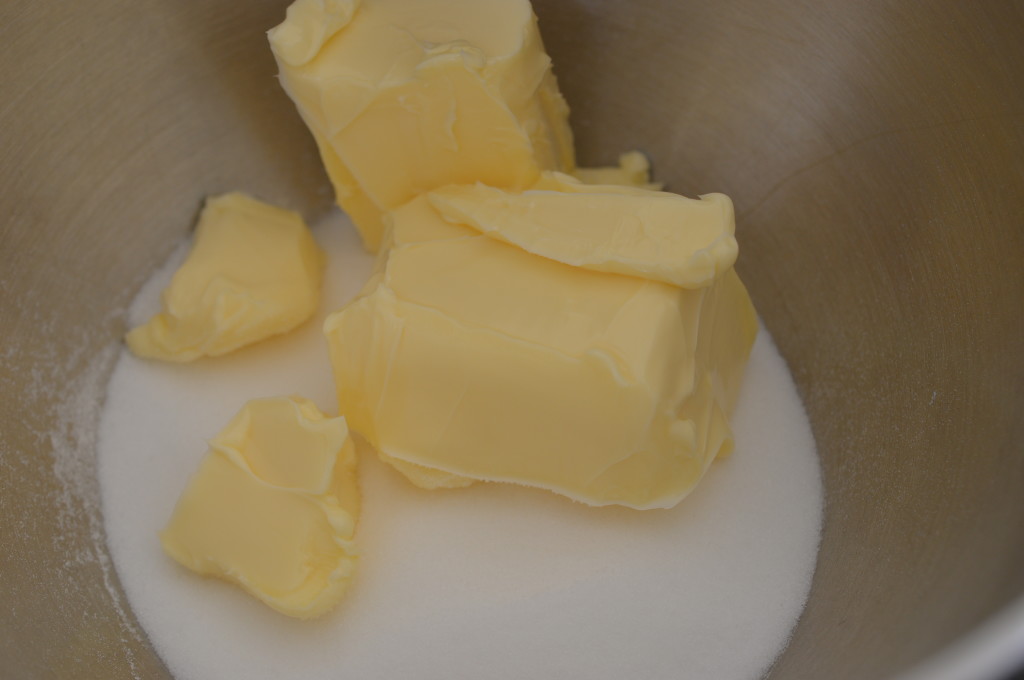
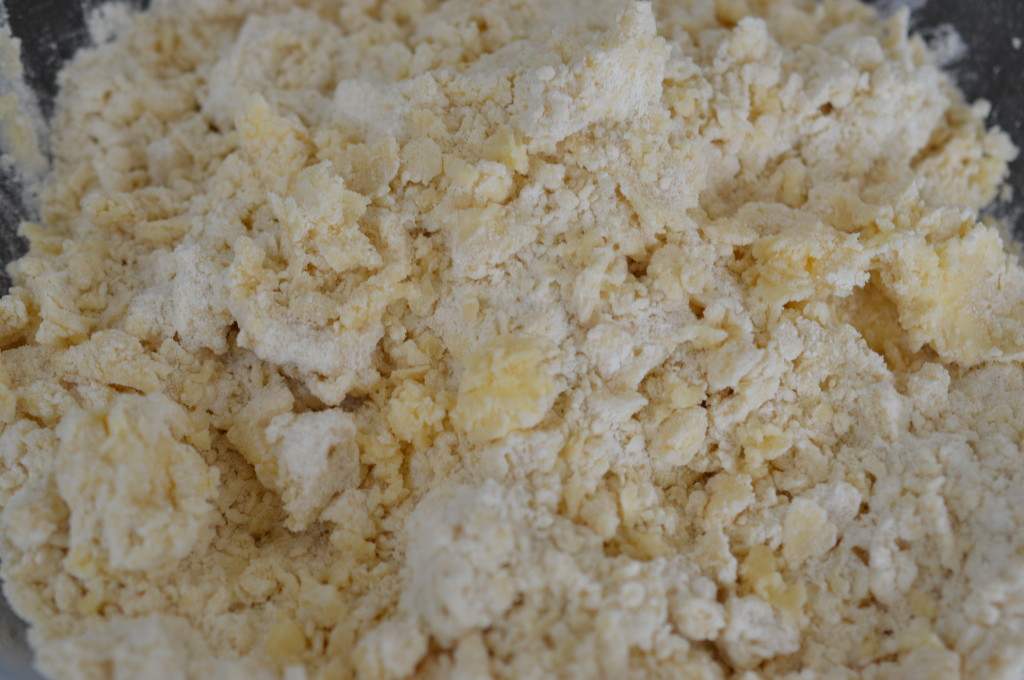
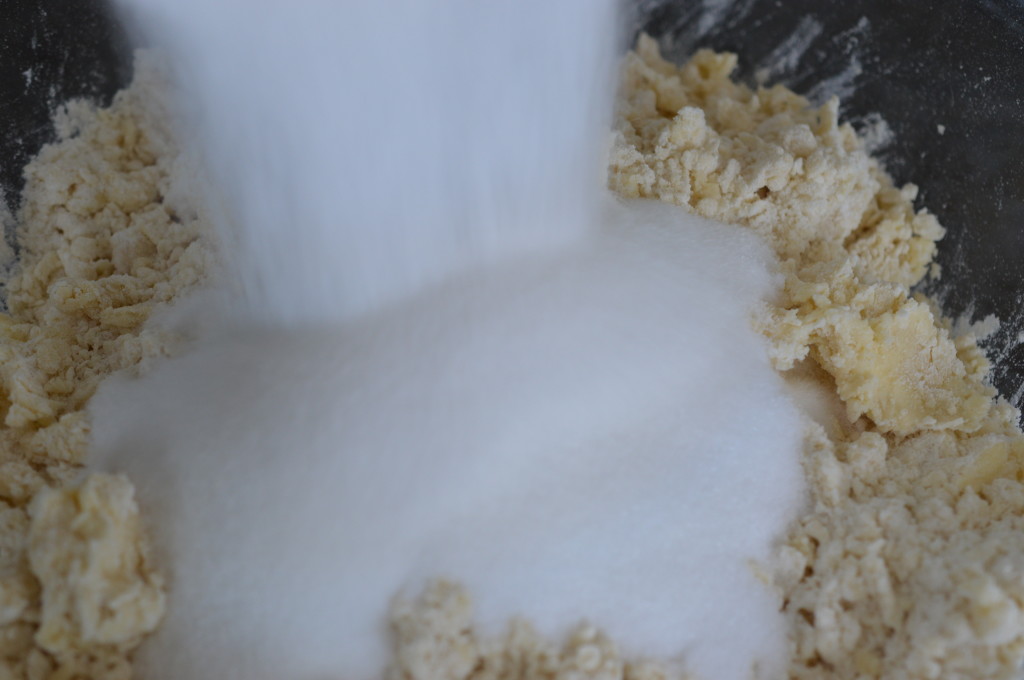
Put the butter and the same weight of caster sugar in your bowl.  With an electric mixer it’s entirely possible to use an all-in-one method.  That’s everything into the bowl and mix.  Or a food processor.  By hand, you have to separate out the stages.

Is there a difference in the finished cake if you separate out the stages?  Yes.  I think there is, but it’s tiny.  If I were challenged to a blind tasting I might look like a twit.  Do what seems easiest to you.  Just don’t pay £3.00 for six!
Butterfly Cake - mix 1

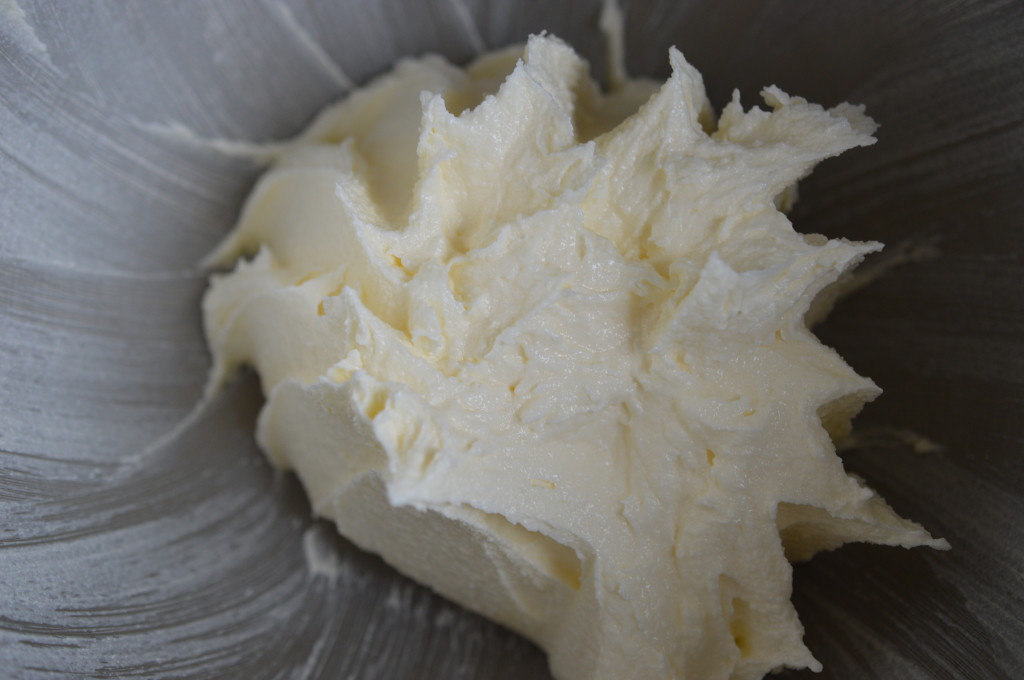
I ‘cream’ the butter and sugar together.  You can’t overdo this stage.  You want pale, light and fluffy.  It will also increase in volume.

Butterfly Cake - mix 2

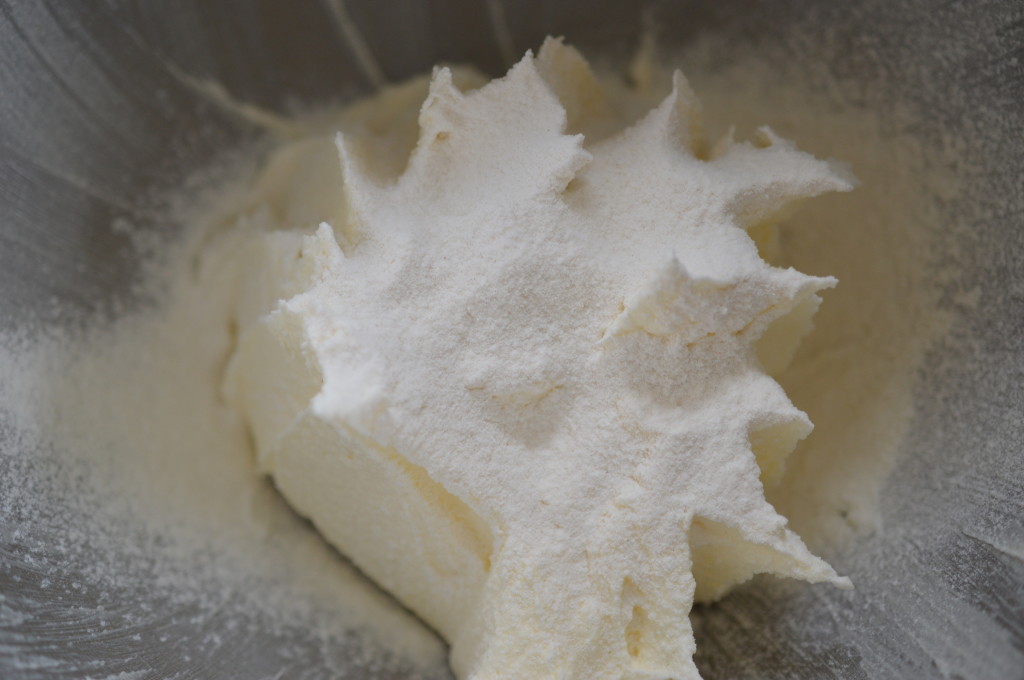
The same weight of self raising flour, whisked or sieved, will be waiting in a bowl.  I sieve over a couple of tablespoons of that before adding the eggs.  It’s my insurance policy against the mixture curdling.  That’s when the eggs have given the butter/sugar mix the appearance of cellulite.  The reason will be not ‘beating’ an egg in sufficiently well before adding the next one and/or your ingredients not being at room temperature.  If it happens, just add a little bit of your flour and ‘beat’.  Your cake won’t be as light as it might have been otherwise, but ….  Really, it’s just cake!  Let’s not worry.

Butterfly Cake - add eggs

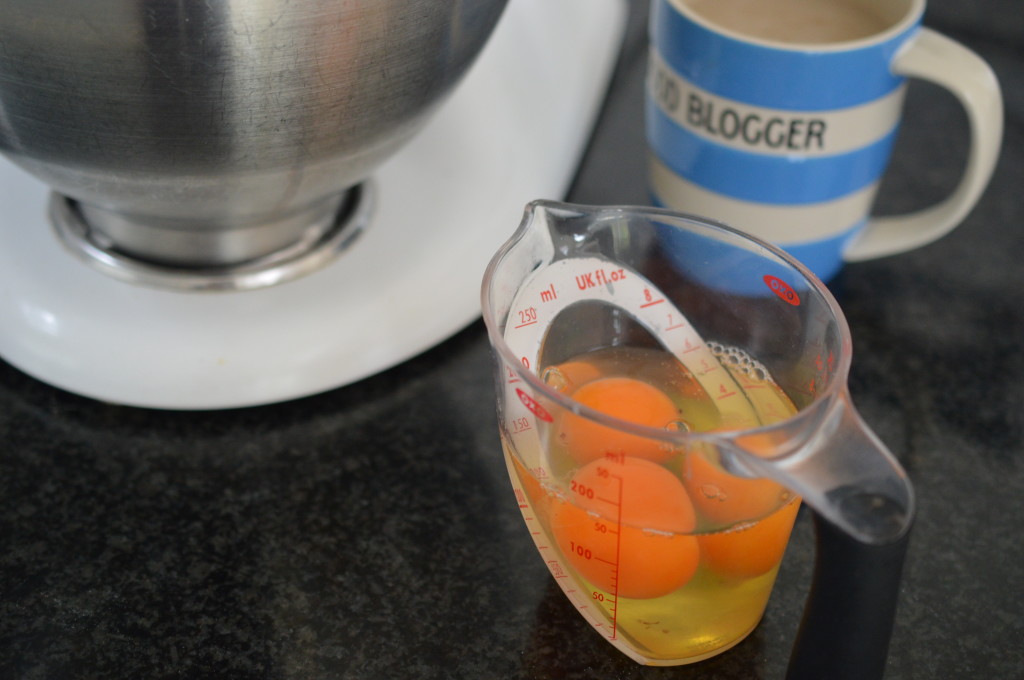
Then it’s the three eggs – one at a time.  I find it easiest to break the eggs into a jug.  In the normal run of things (i.e. when you aren’t trying to take sequential pictures) it means you don’t have to stop the mixer.

Butterfly Cake - egg 1

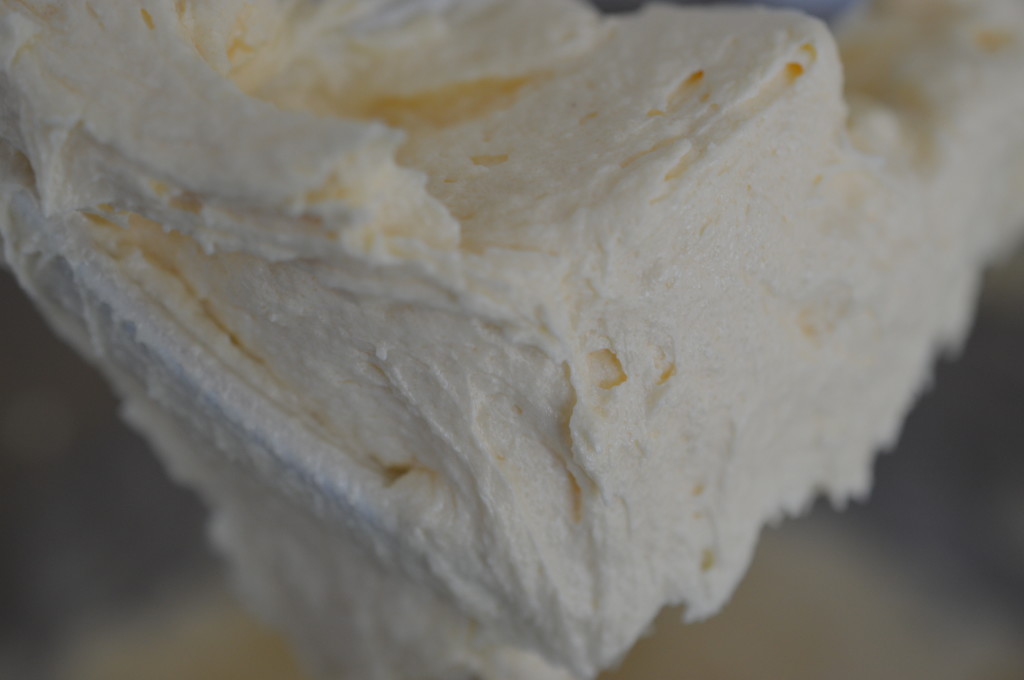
Beat the first egg in thoroughly before adding the second.

Butterfly Cake - egg 2 mixed

Then add the second.  Beat.  And then the third.  Beat.

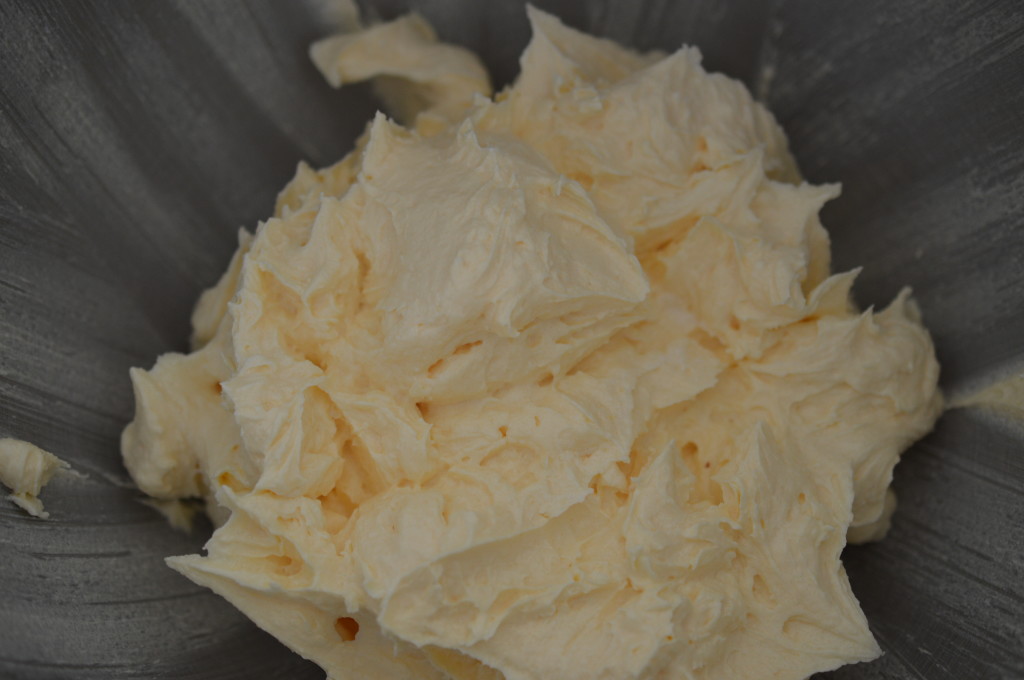
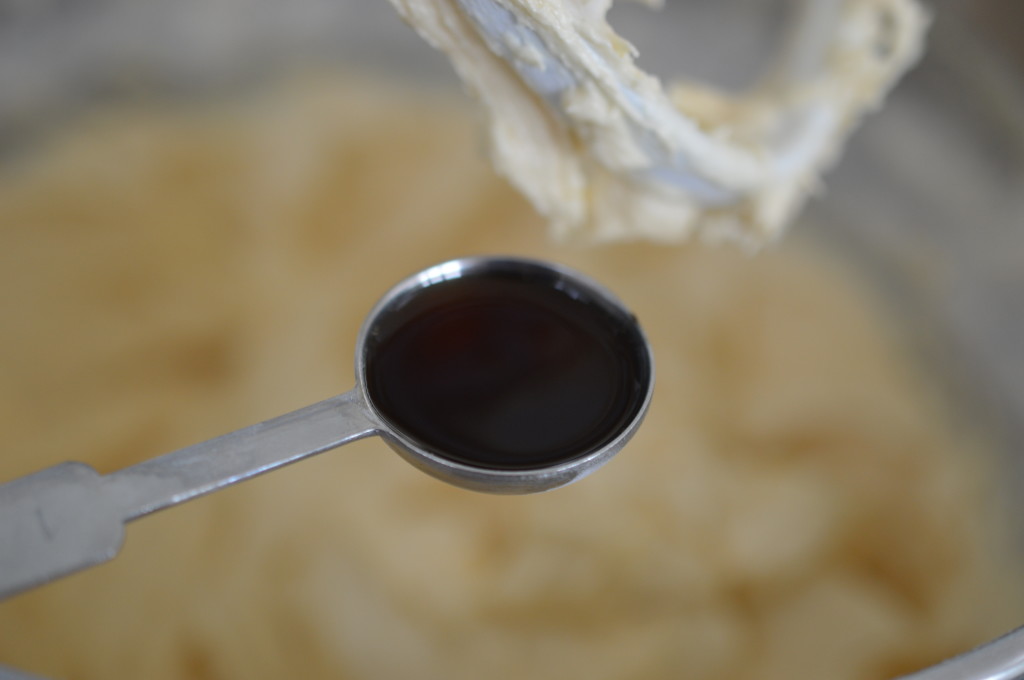
Butterfly Cake - vanilla extract

Now it’s the vanilla.  1 tsp of good vanilla extract.

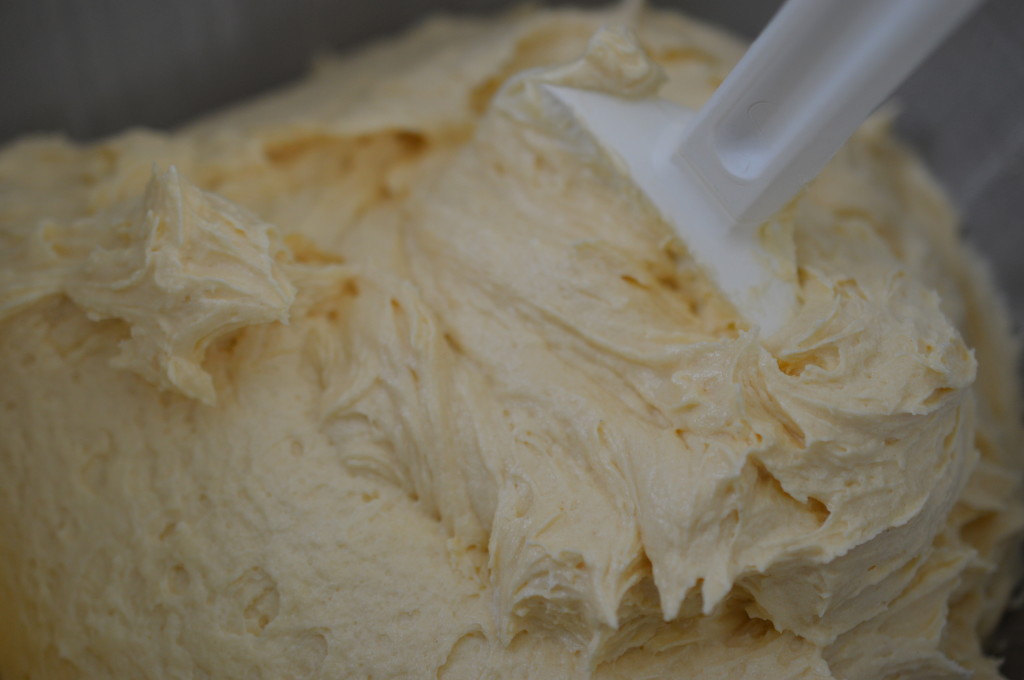
Butterfly Cake - finished mix

And then the flour.  At this point you don’t want to over-mix.  I continue with my paddle attachment and beat just enough for everything to be incorporated.  Traditionally, it’s a metal spoon and a light folding.

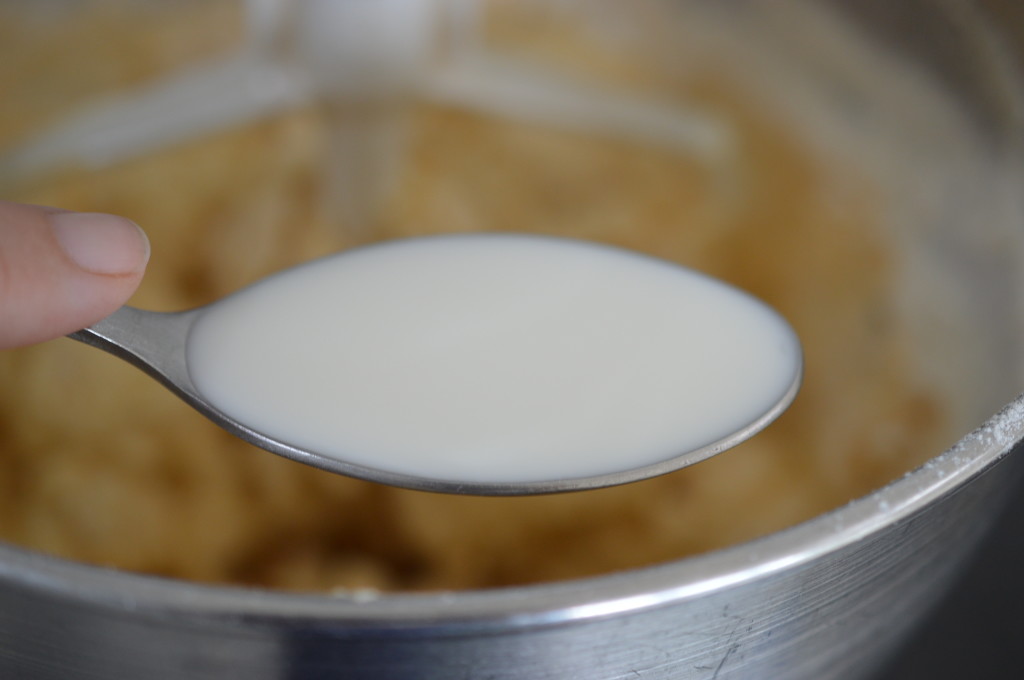
Butterfly Cake - milk

Loosen with a couple of tablespoons of milk.  You are looking for ‘dropping consistency’.  That’s when the mixture will fall off your spoon with a sharp tap on the side of the bowl.

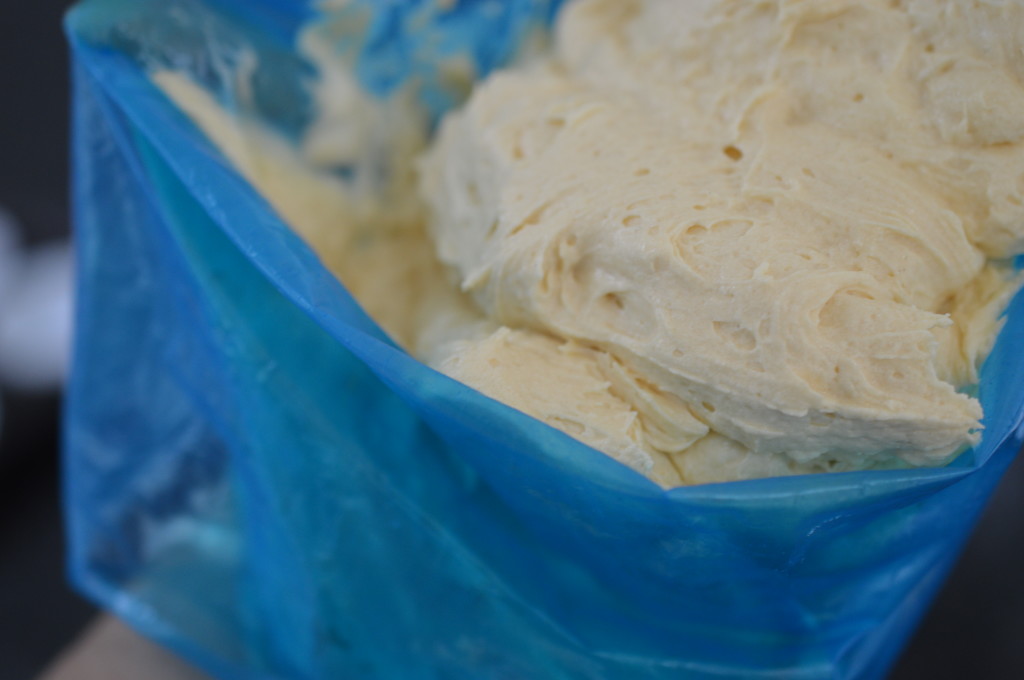
Butterfly Cake - into piping bag

Older recipes will ask you to place two heaped teaspoons into each paper case, but I prefer to pipe mine in.

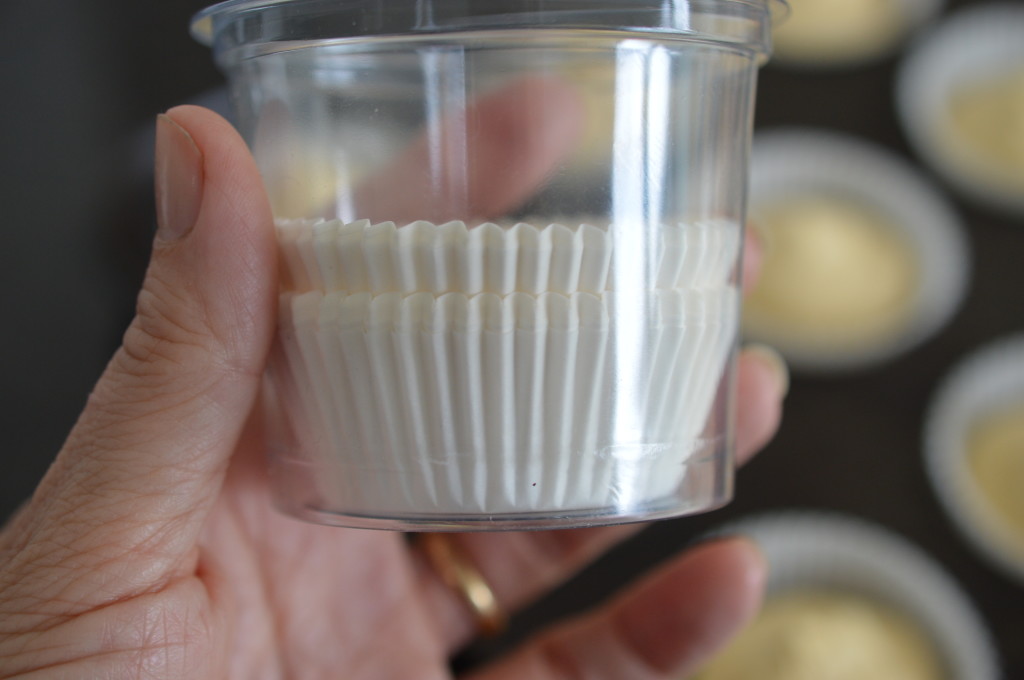
Butterfly Cake - cases

The cases you need are labelled ‘Fairy Cases’ in the UK and they fit neatly into a shallow bun tin (patty tin).  It’s worth buying good quality cases because the paper used is thicker and will hold their shape better.  Also try and get them in a protective tube as a mis-shapened case means it’s already flattening out and ultimately likely to pull away from your finished cake.

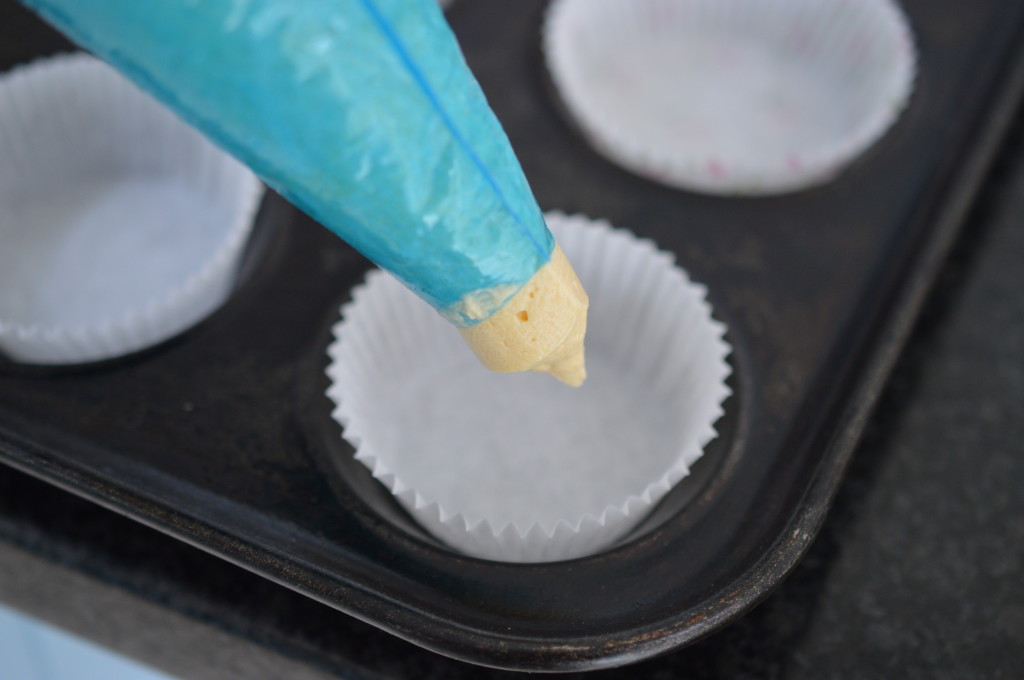
Butterfly Cake - pipe

Pipe the mixture in.  You’ll get between 18 and 24, depending on the size of the eggs you’ve used and whether or not you want a flat or peaked top to your cakes.

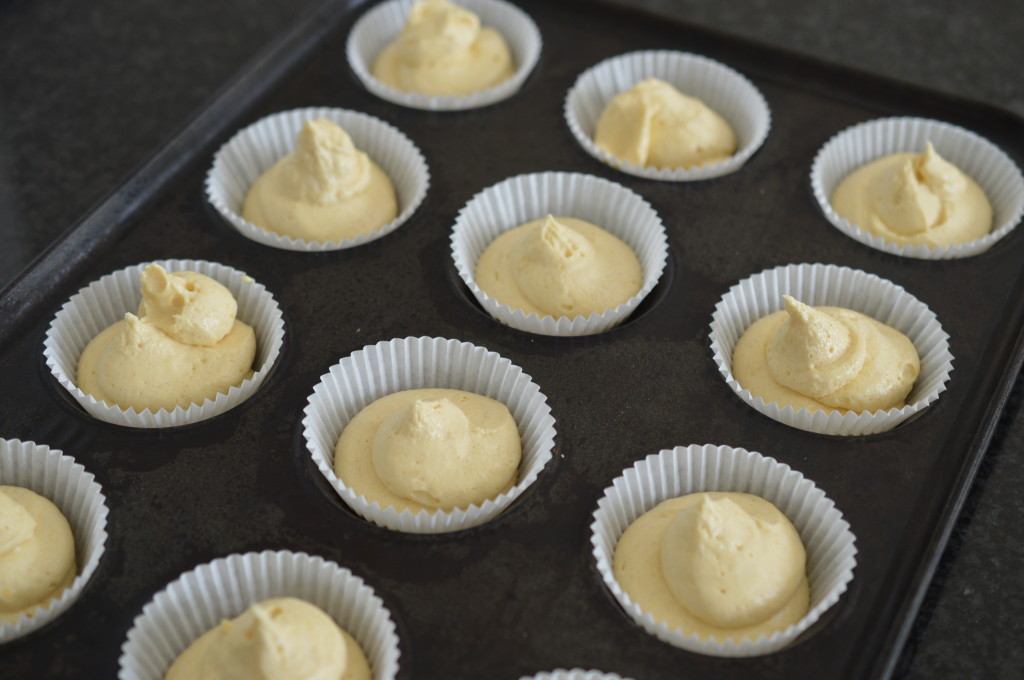
Butterfly Cake - piped in cases

This amount – halfway – and you end up with a flatter top.  Two-thirds full gives a slight ‘muffin’ top which is prettier if you are serving your fairy cakes plain.

DSC_0114

Victoria ‘sandwich’ cakes are notoriously temperamental when it comes to oven temperature.  They are the perfect thing to test a new oven with.   Fairy cakes are supposed to be more resilient but, oddly, I find the Aga doesn’t do them well.  That and 2 lb loaf cakes.

You’d think with all the technological advances it would be possible to manufacture conventional ovens which heat, evenly, to the temperature it says on the dial, but no.  They all vary and there is no way round it – you are on your own with yours.  Even the best of them will vary depending on how old a model and how much you have cooking in it at any one time.  My conventional oven is a disaster.  They only way to come close to my desired temperature is to use an oven thermometer and there’s no hope of getting good results if I put two trays in at the same time because the variation top-to-bottom is ridiculous.  Plus I also have to turn anything two-thirds through the cooking time as it’s hotter on the left-hand side.  This breaks the cardinal rule of ‘do not open the oven door whilst your cake is cooking’.  The rush of cold air causes the cake mixture to deflate.

(You can put it’s presence in my life down to the fact I was focussed on convincing my husband it was worth buying a cooker which cost the price of a small car (Aga) whilst still needing a back-up …!  It was a tough sell.)

Navigate it all as best you may.

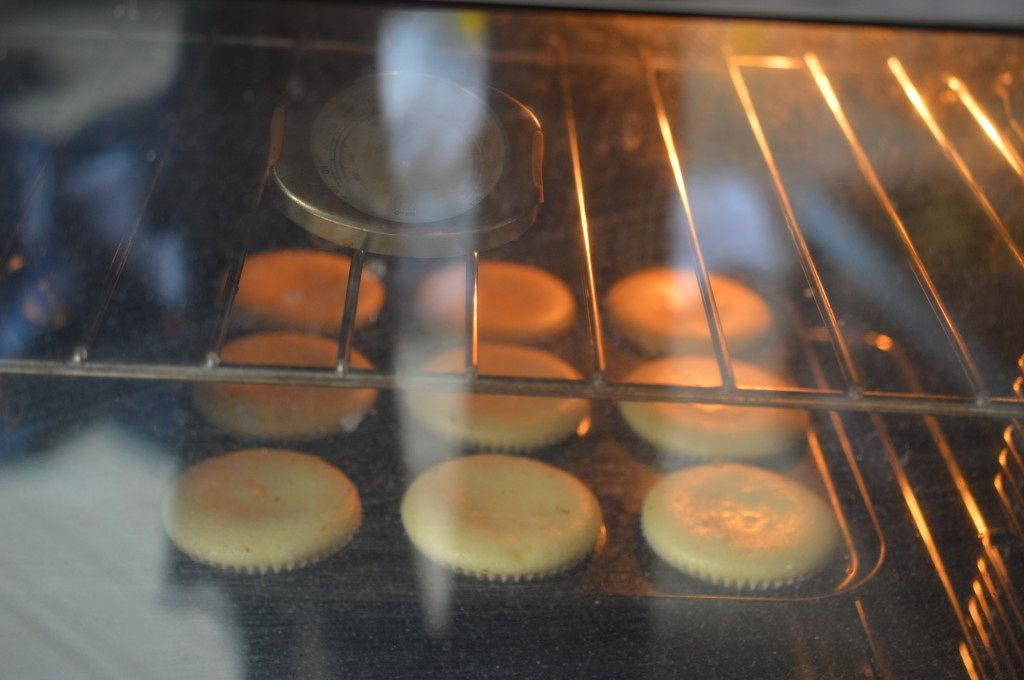
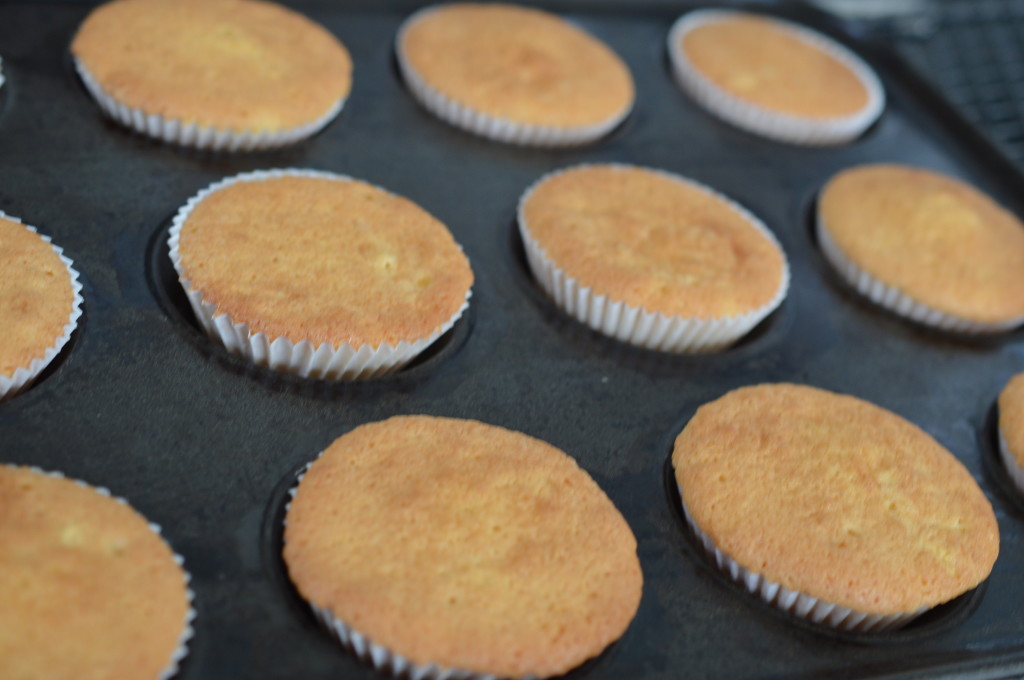
Butterfly Cakes - cooked

Fifteen minutes later, having done battle with the blasted thing, I have this.  If you’re in any doubt they are cooked, a wooden cocktail stick will come out clean.

It’s really important to take them out of the shallow bun tin immediately you remove them from the oven. Transfer them to a cooling rack.  If you leave your fairy cakes in the tin the cases will start to peel away as the steam flattens out all those pleats.

Butterfly Cakes - Icing Sugar

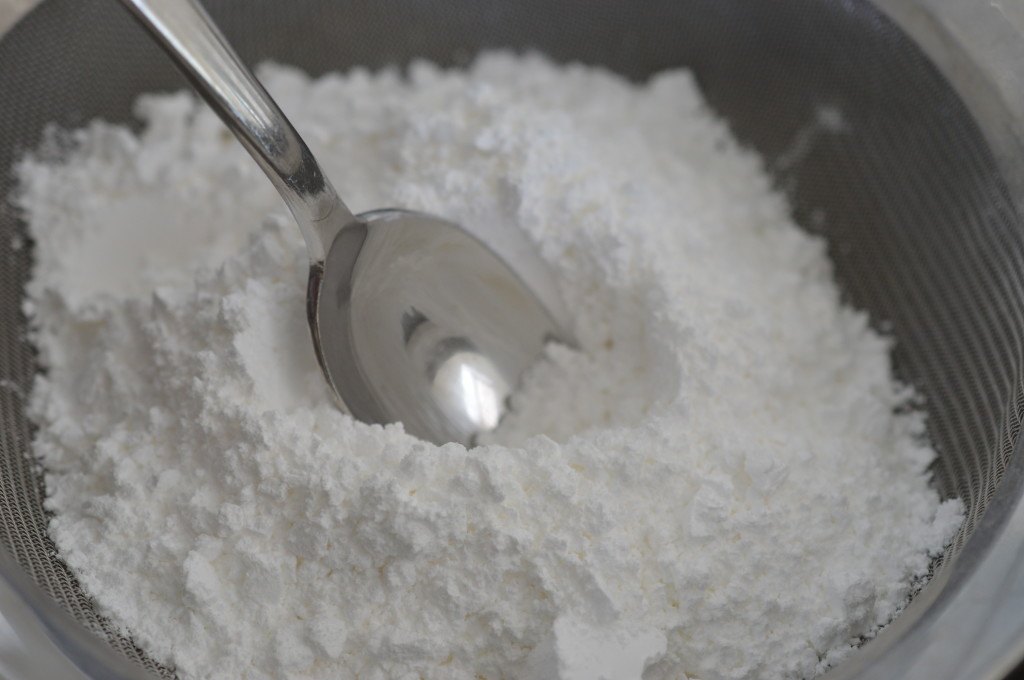
Now the buttercream.  This is the traditional ‘English’ buttercream.  That’s one part unsalted butter to two parts icing sugar, with milk to loosen.  The icing sugar needs sieving to get rid of all the lumps.  No airy wafting or you’ll be covered in sugar.  Push it through the sieve with the back of a spoon.

Butterfly Cakes - Sieved Icing Sugar

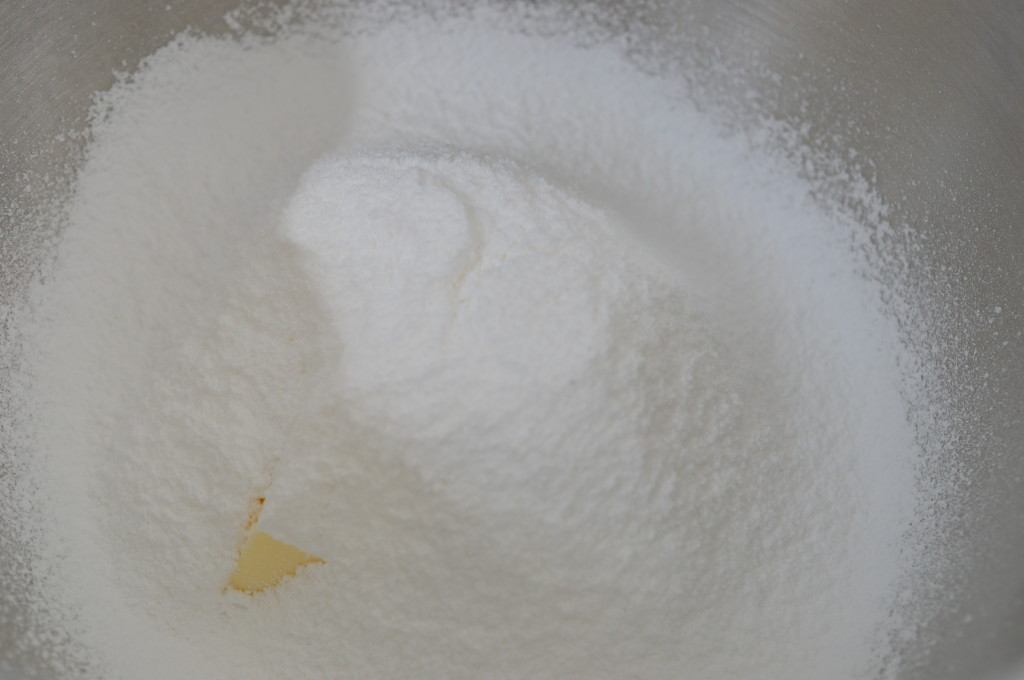
If you are making your buttercream by hand – beat the butter until it is soft and add the icing sugar a couple of tablespoons at a time.

Butterfly Cakes - mixing buttercream

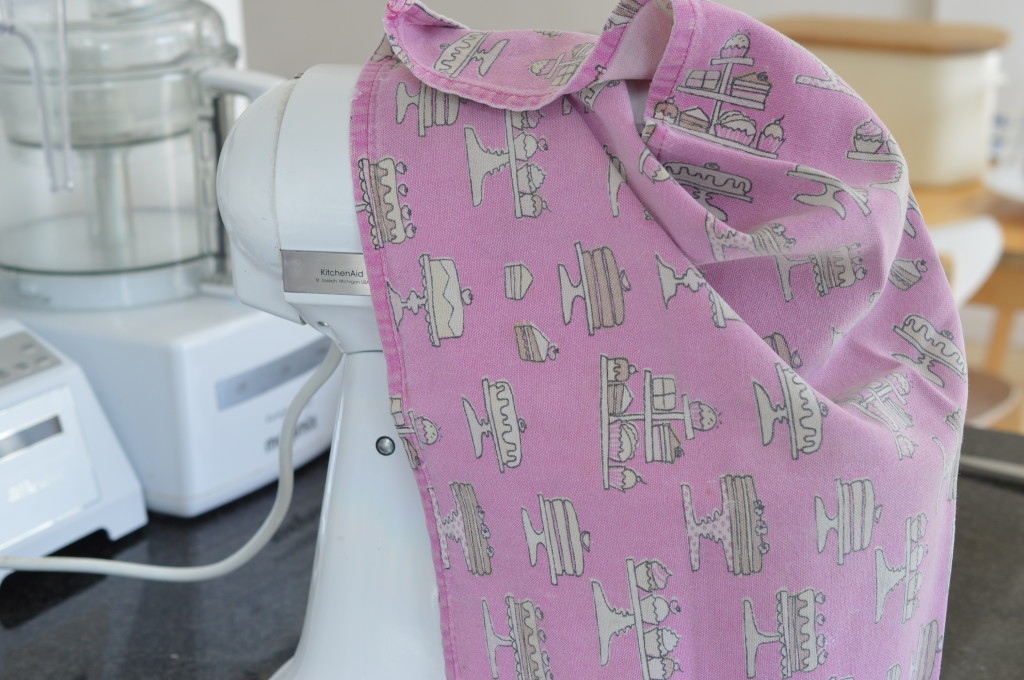
If you are using a stand mixer … this is my top buttercream tip – wrap your mixer in a clean tea towel and you can keep everything in the bowl.  Resist the temptation to peak or you will be engulfed in a white cloud.

You want super-smooth buttercream.  Beat far longer than you believe necessary.  Once everything is together, you can add any colour or flavouring.  For my Vanilla Butterfly cakes I’ve added .. vanilla.  It’s nice to have the flecks of vanilla so I’ve used a teaspoon of vanilla paste.  The seeds from a vanilla pod is the more expensive option.

The consistency is something like whipped double cream.  Transfer it to a piping bag (Wilton IB tip) if you want to play.

Butterfly Cake Take off Lids

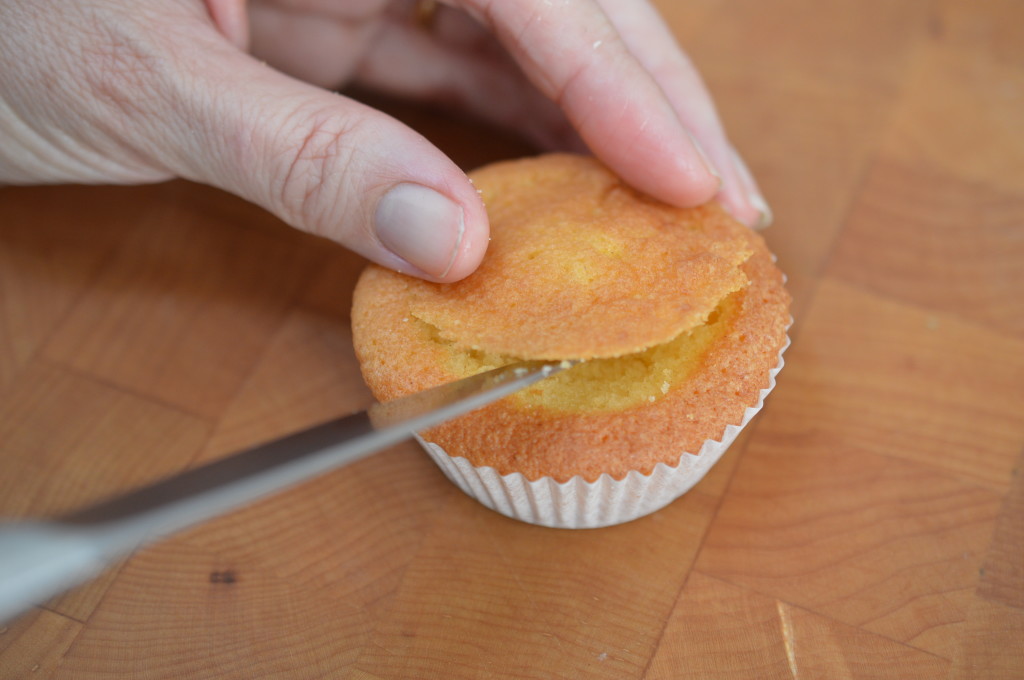
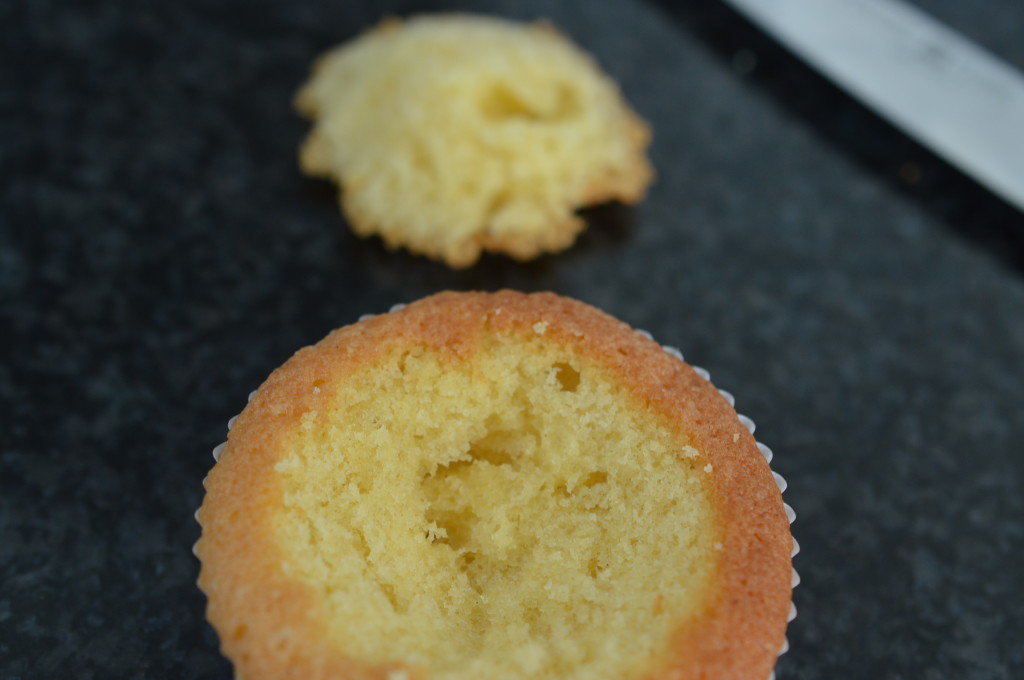
Returning to the cooled fairy cakes, you need to cut a circle out of the top.

DSC_0124

Which leaves room for the buttercream.  Pipe in a swirl.  Or simply spoon in a blob.

Butterfly Cake cut wings

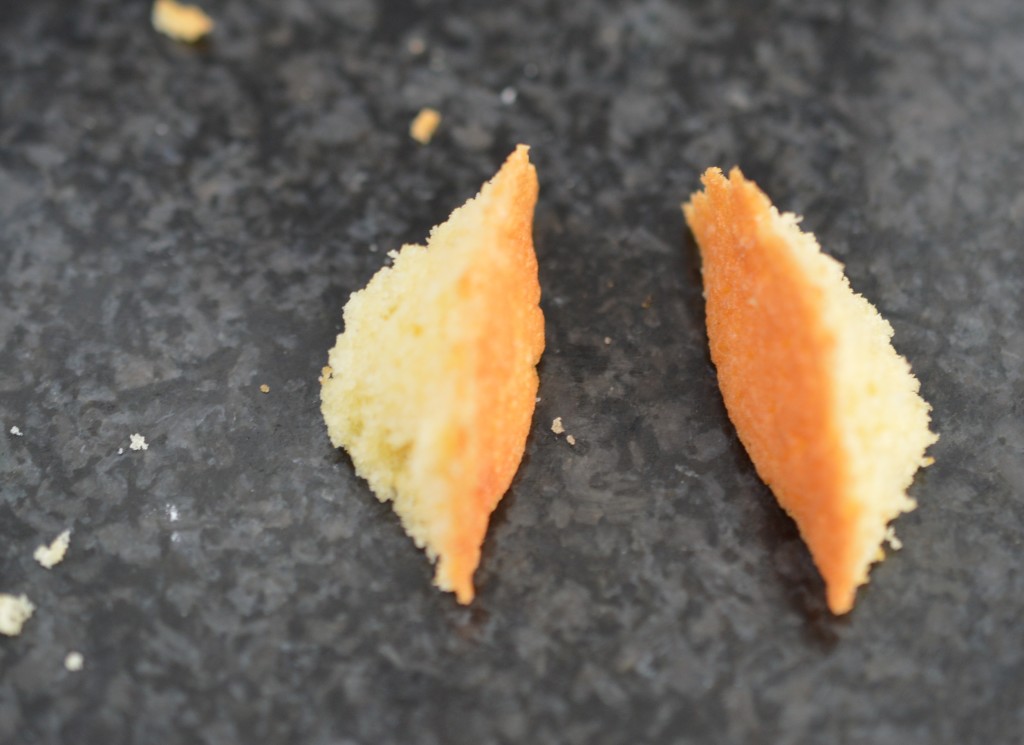
Cut the circle lid in two.

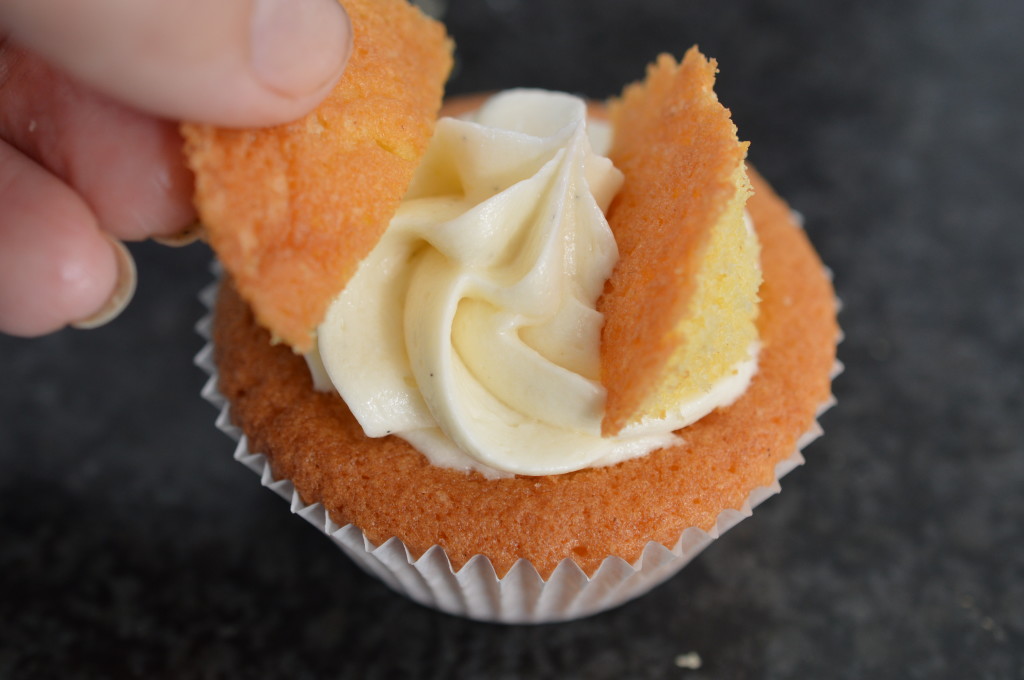
Butterfly Cake wings

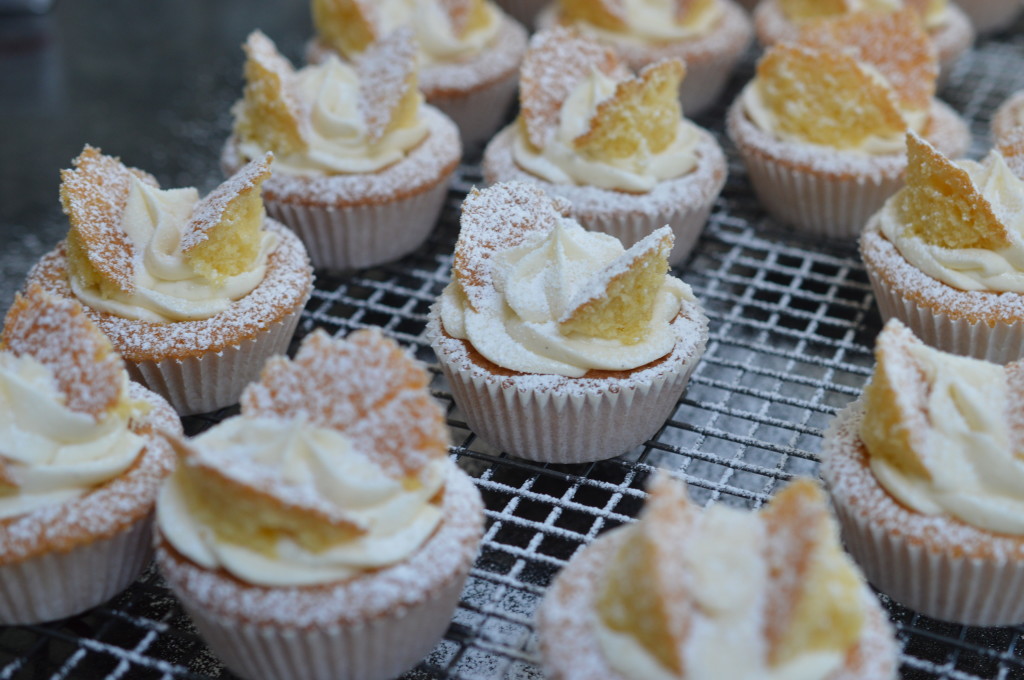
And place like butterfly wings on top of the buttercream.  They are best eaten ‘fresh’, but will store for a couple of days.  Use a non-airtight tin or the moisture in the cakes will have the paper cases peeling away.

Butterfly Cake icing sugar

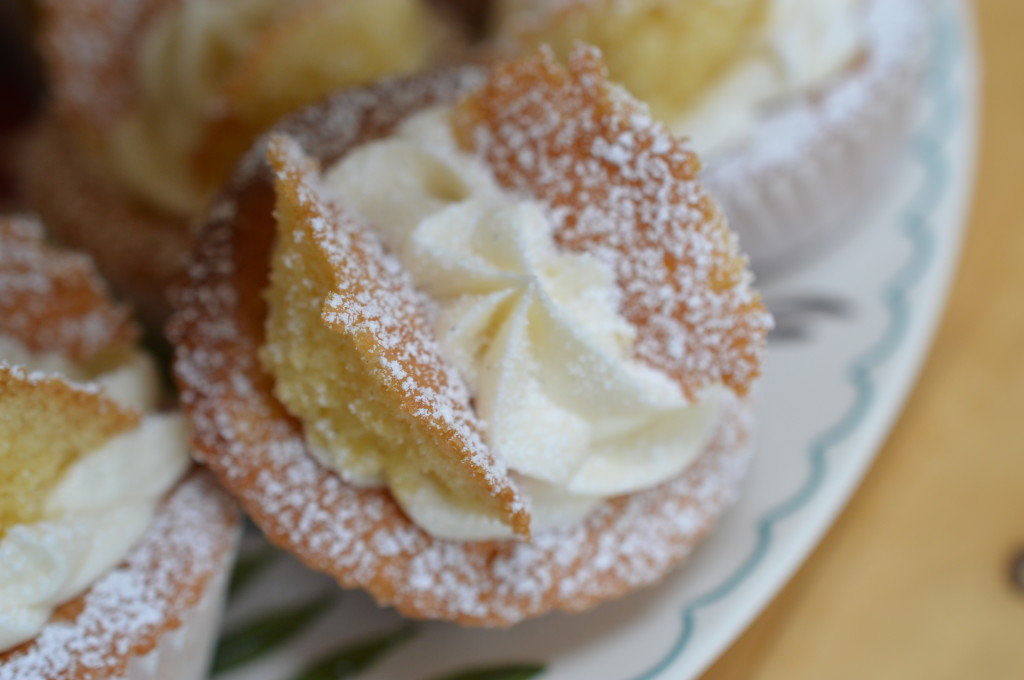
Just before serving, dust with icing sugar.

Butterfly Cake close-up

Eat.


Butterfly Cake Icing Rack 2Vanilla Butterfly Cakes

Makes 18-24

For the Fairy Cakes:

  • 3 eggs at room temperature, weighed in their shells
  • unsalted butter, softened – preferably the same weight as the eggs.  Default 175g/6oz.
  • caster sugar – preferably the same weight as the eggs.  Default 175g/6oz.
  • Self-raising flour – preferably the same weight as the eggs.  Default 175g/6oz.
  • 2 tablespoons milk
  • 1 tsp vanilla extract

For the English Buttercream:

  • 88g/3oz unsalted butter, softened
  • 175g/6oz icing sugar, sieved
  • 1-2 tablespoons milk
  • 1 tsp vanilla paste (or the seeds of one vanilla pod)

Pre-heat the oven to 200ºC/180ºC Fan/Gas Mark 6/400ºF

Line shallow bun tins with good quality ‘Fairy Cake’ paper cases.

Weigh your eggs, sugar, butter and flour.

‘Cream’ the unsalted butter and caster sugar together until smooth, pale and fluffy.  Then sift over a couple of tablespoons of the flour.

Break the eggs into a jug and add one at a time, beating well between each addition.

Sieve over the rest of the flour and incorporate it into the mix.  Scrape down the sides of the bowl and loosen the mix with a couple of tablespoons of milk, if necessary, to give a ‘dropping consistency’.

Pipe or spoon the mixture into the paper cases.  Bake for around 12-15 minutes until risen and springy to the touch.  Immediately transfer to a cooling rack.

Weigh the butter for the buttercream into the mixer bowl and lightly ‘beat’.  Then sieve over twice the weight of icing sugar.  Beat until super smooth, then add the vanilla paste.  Beat again.  Finally, beat in a little milk.

Cut off the tops of the fairy cakes, leaving a well for the buttercream.  Pipe or spoon into the cavity.  Split the ‘lids’ in two and arrange the ‘wings’ on top of the buttercream.

Just before serving, dust with icing sugar.

Eat.

Print.